
Fine line roses dominate feeds right now, but the versions that still read crisp after three years are the ones planned around placement and line weight, not just the freshest photo. Expect some fading with tiny work, be realistic about touch-ups, and pick a spot that matches your daily clothes and job. Start with an inner-forearm idea that balances delicacy with longevity and the rest of the list will make sense at the chair.
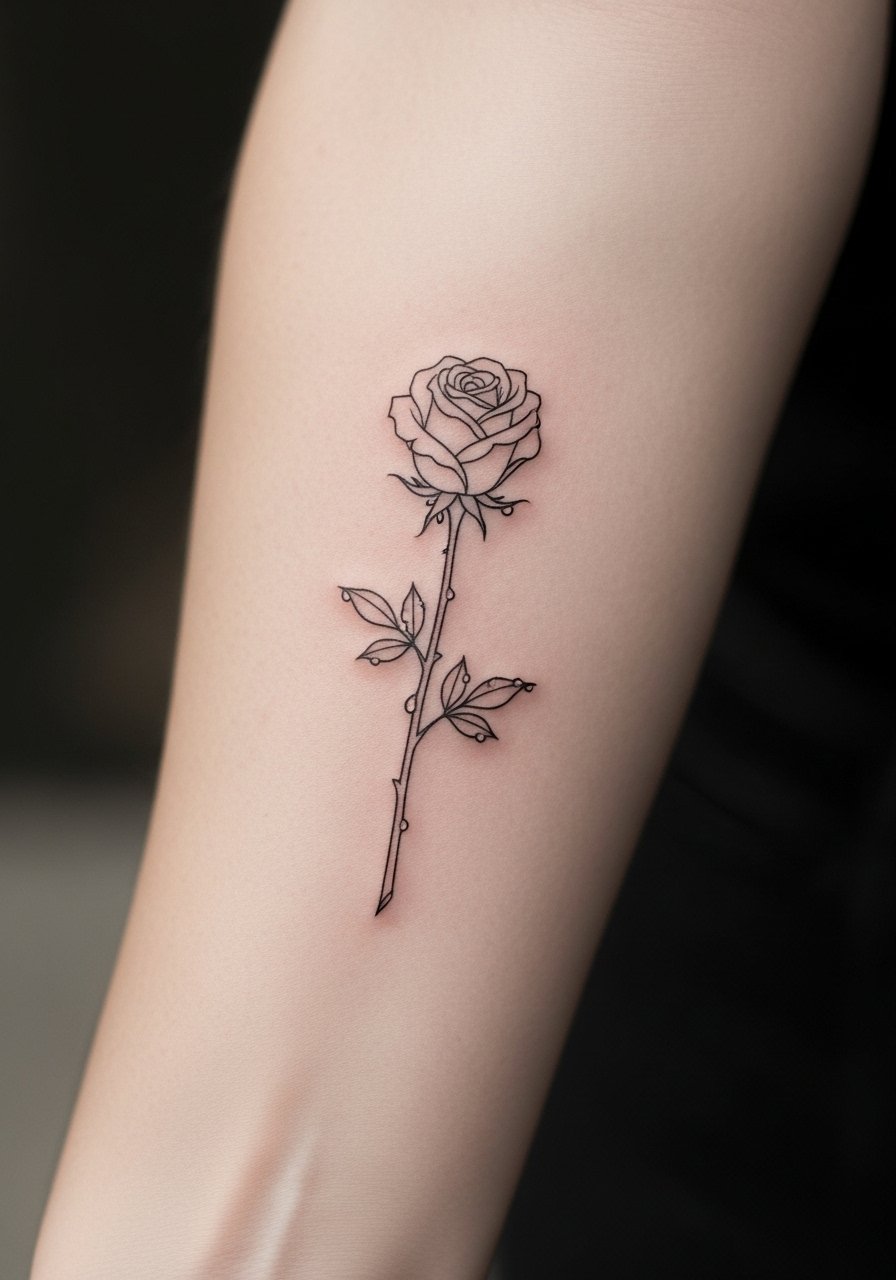
1. Single Stem Rose with Dew on Inner Forearm
I've seen this one hold up well when the lines are kept to a single needle family and spaced slightly wider than a flash piece. Pain is mild on the inner forearm and a single session usually handles a 1.5- to 2-inch stem. Tell your artist you want subtle dew highlights and slightly heavier contour at the base so the shape stays legible as the fine line softens. A common mistake is requesting ultra-tiny petals that merge after a year. Expect a touch-up by year two or three if you want the dew to remain crisp. For showing it off, roll up a chambray shirt and add a thin leather cuff bracelet opposite the tattoo.
2. Bold Outlined Rose with Thorny Vine on Outer Forearm
This one reads from across a room because the outline is heavier and the vine gives a vertical flow. Outer forearm pain is low and a compact 2.5- to 3-inch piece usually takes one session. Ask your artist for clear outline thickness so the thorns do not become fuzzy with time. The controversy about fine line versus thicker outline matters here. Some artists argue fine line looks more modern and will age fine on the arm. Others insist thicker outline preserves contrast. If you prefer aging well, pick a stronger contour. Pair this with a fitted henley shirt you can roll to mid-forearm to show the vine.

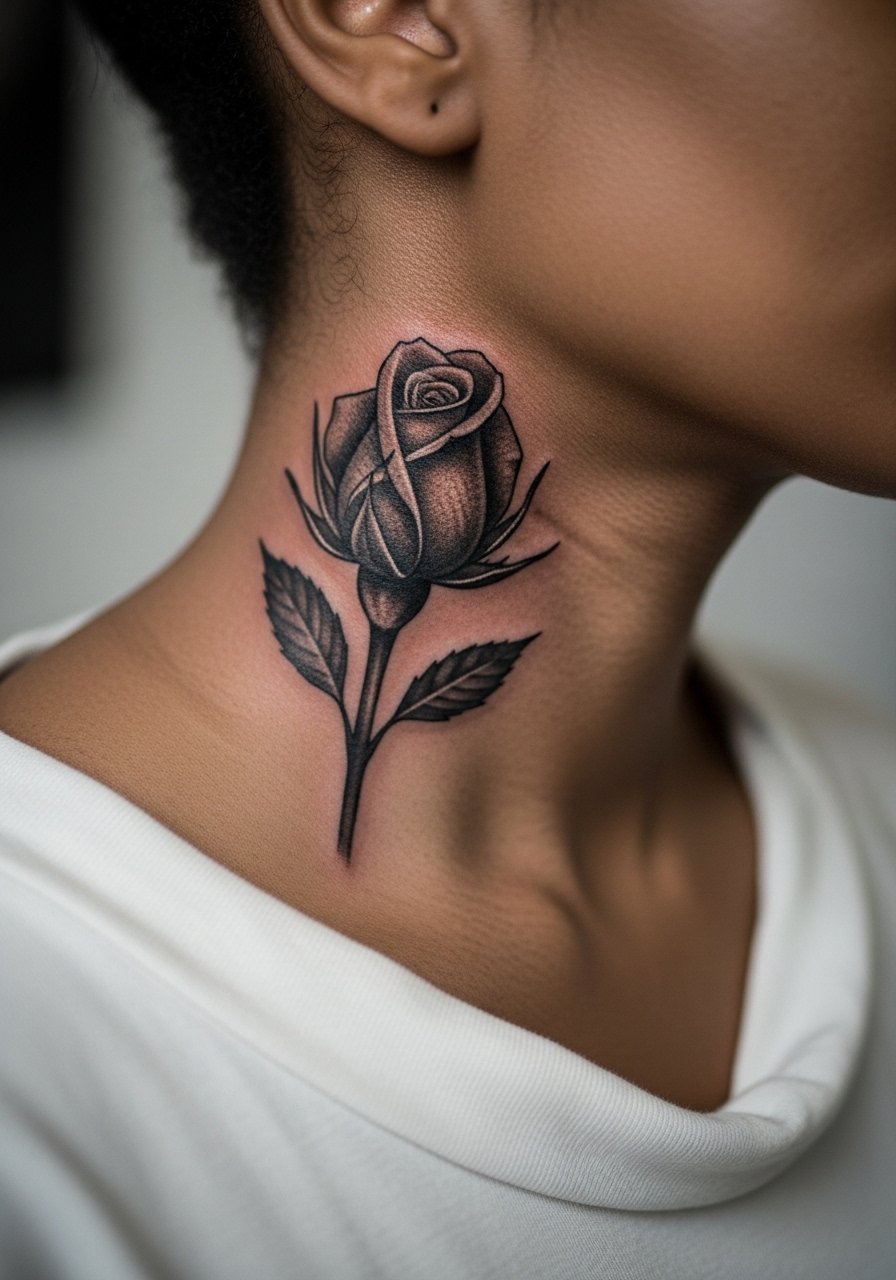
3. Realistic Rose Bud in Black and Gray on the Side Neck
Neck pieces demand clear contrast because the skin there moves a lot. Pain is higher on the neck than the arm, but a 2-inch bud in grayscale often fits a single session. When consulting, show close-up grayscale references and ask for a slightly heavier outline around the bud so it keeps shape as shading softens. Artists are split on fine line neck work. One camp says fine line blurs quickly from movement. The other camp says proper depth and spacing keeps realism for years. Ask where your artist stands. For subtle daily exposure pairings, an open-collar polo sits well with this placement.
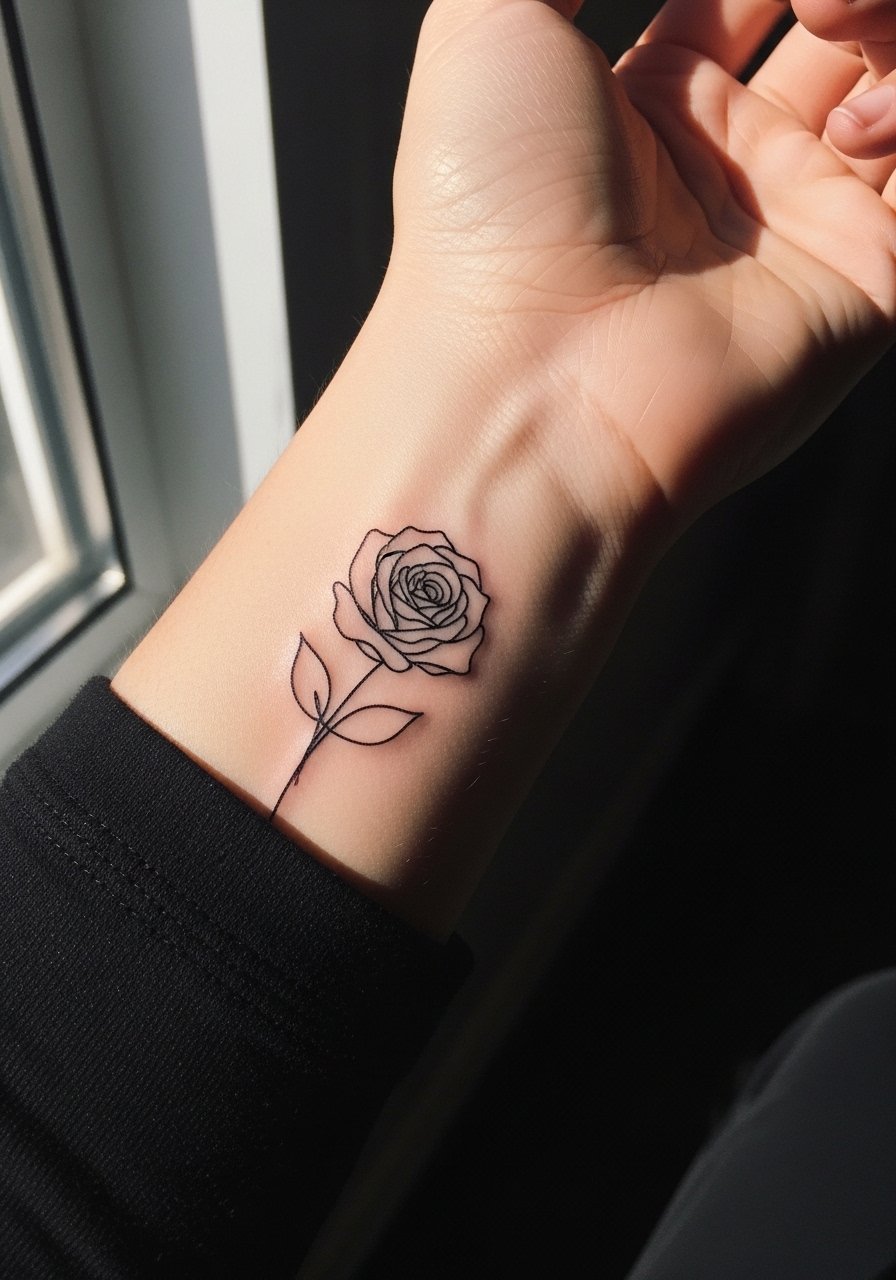
4. Minimalist Rose Outline with Negative Space on the Wrist
Wrist tattoos face frequent washing and friction, so line clarity matters for longevity. This tiny, mostly-outline rose does well at about an inch, but expect faster fading on hands and wrists. Common mistake is making the negative space areas too small, which causes loss of shape as lines spread. For a first-timer, plan a thin but confident contour and schedule a touch-up at 12 to 18 months. For showing it off, wear a slim leather watch on the opposite wrist and choose short sleeves during the session to give the artist clear access.
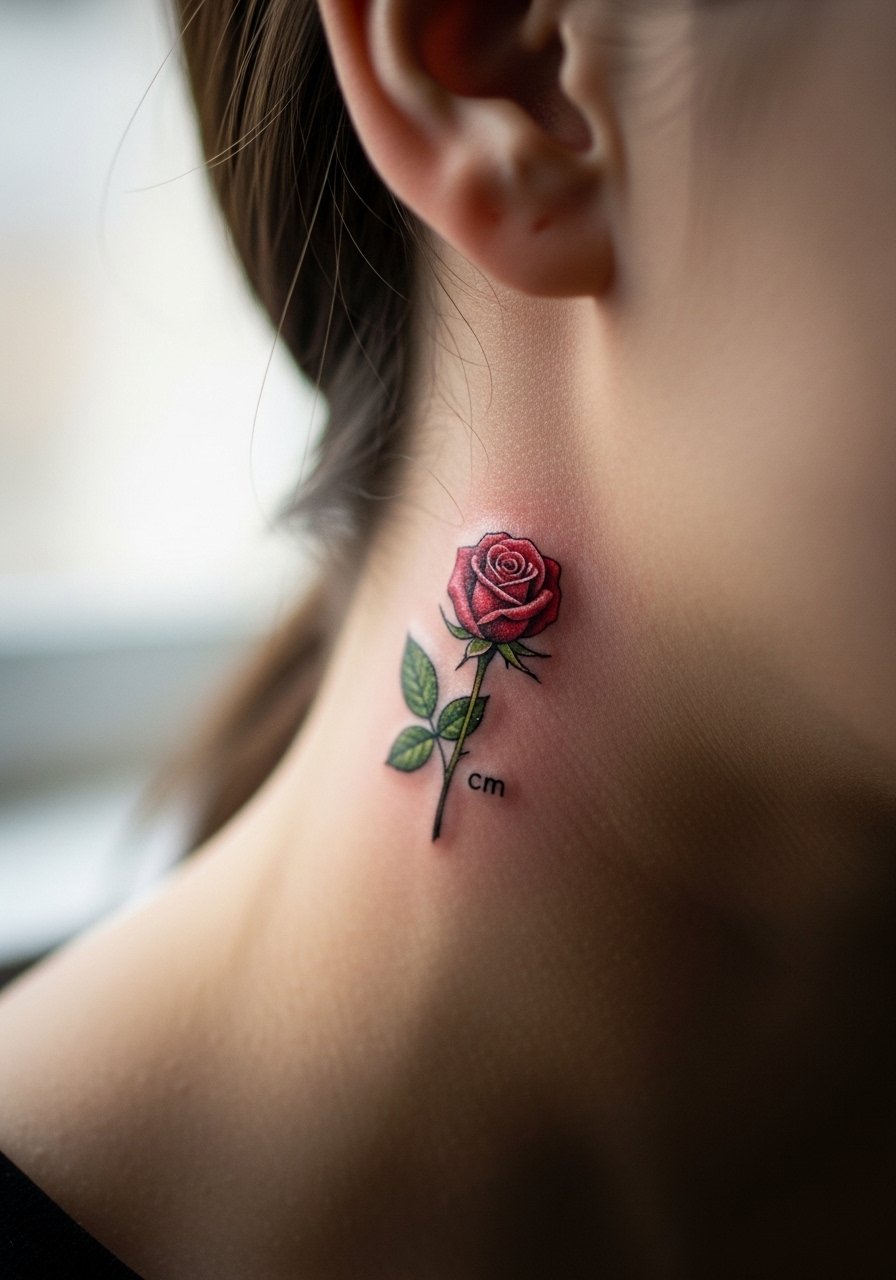
5. Micro Rose with Single Leaf Behind the Ear
This 0.5-inch micro spot is discreet and ideal for someone who wants near-invisible ink most days. Expect a sharp but brief session and watch for early fading because the area gets hair and movement near the hairline. During consultation ask for slightly deeper placement of the linework to avoid early bleed. Session wear recommendation is light headwear that does not rub the area for the first week. Note that behind-the-ear images need careful framing during photography so the tattoo remains visible without exposing the subject. This placement requires an artist used to micro realism in small spaces, and you should ask to see healed photos on similar skin tones.
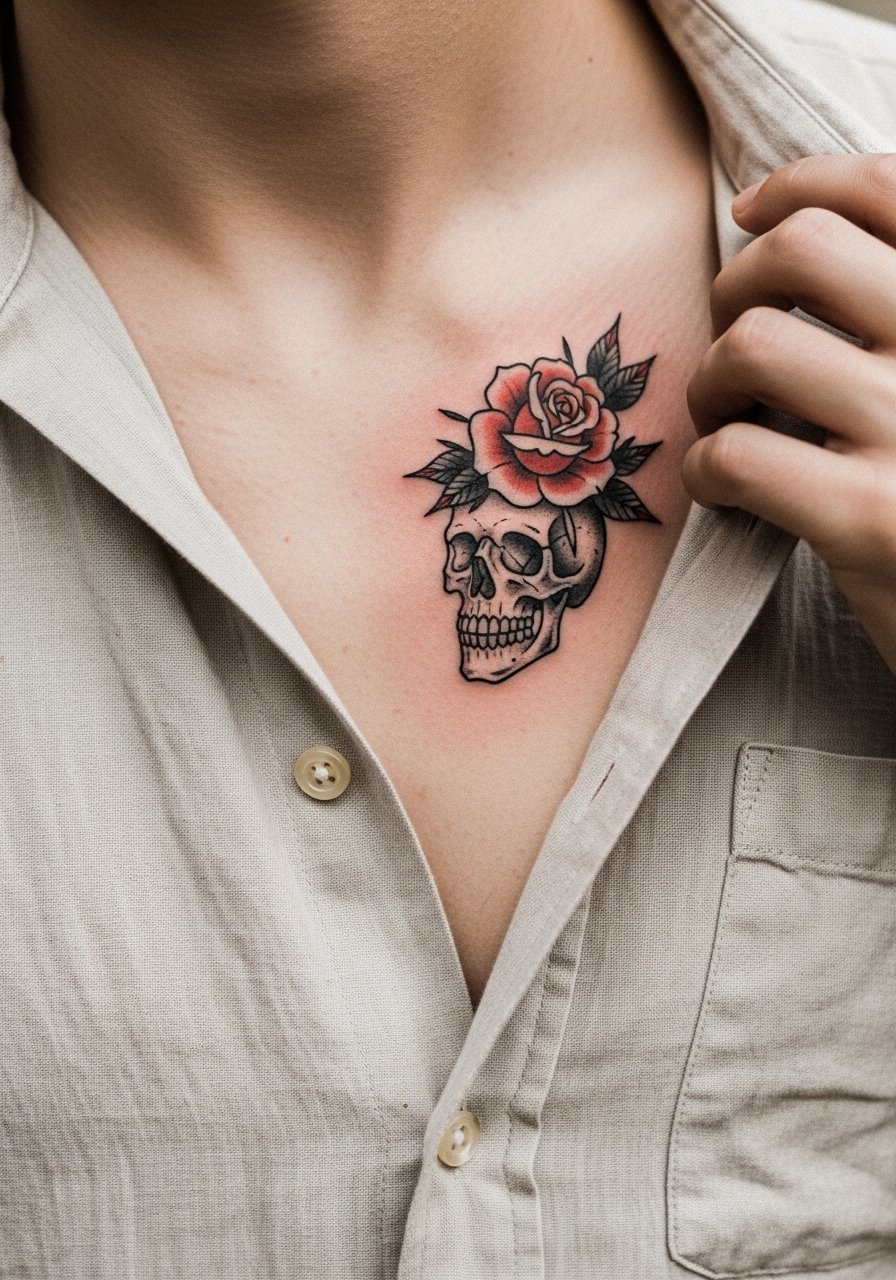
6. Neo-Traditional Rose with Skull Accent on the Chest
A chest piece gives scale and gravity to a mini rose plus skull combo that reads like a memorial or hard-edge motif. Pain is moderate and a 3.5- to 4-inch chest piece often needs two sessions for color saturation. Tell your artist you want color accents only inside the petals, not on the skull, so the contrast holds. A rookie mistake is crowding text or ornament too close to the skull, which makes the design illegible as it heals. For showing off, an unbuttoned linen shirt in cream gives peeks without competing for attention.
Studio Day Picks
The inner forearm, wrist, and chest pieces above all benefit from a little prep and the right first-week supplies.
-
Stencil transfer paper kit. Lets you preview exact placement and line thickness on skin for the dew-drop and micro ideas above.
-
Topical numbing cream. Useful for neck and wrist sensitivity when you need the extra edge off during the session.
-
Thin protective film roll. Keeps wrist and hand tattoos clean while you move and wash in the first week.
-
Fragrance-free body wash. Gentle cleansing for chest and forearm areas without stripping pigment.
-
Aquaphor healing ointment. A thin layer protects delicate fine line areas in the first 48 hours without clogging.
7. Watercolor Rose Splash on the Shoulder
Watercolor washes can look painterly on a rounded shoulder canvas when kept to three inches or less. The shoulder handles color saturation well and pain is low with easy session access. The problem with watercolor in tiny formats is loss of definition; ask your artist to anchor washes with subtle linework so the shape reads as it fades. Expect the washes to soften fastest at six months, while the outline retains structure longer. For session comfort and for showing it off later, pull on an off-shoulder muscle tee or a lightweight button-down you can unbutton.

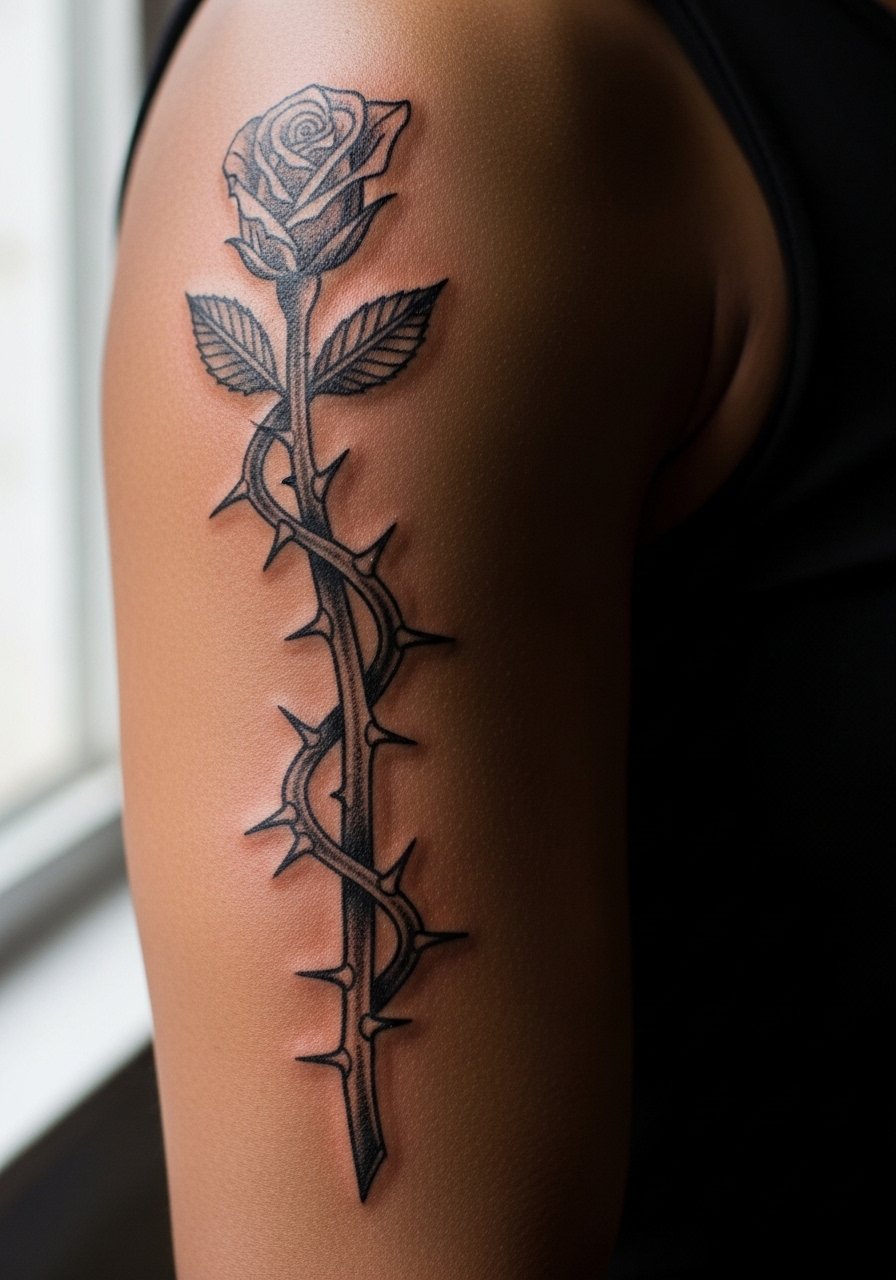
8. Thorn-Wrapped Rose Stem on the Bicep
A linear four-inch thorn-wrapped stem suits the outer bicep and shows well when flexed. Bicep pain is moderate and most artists complete this in one session with solid blackwork. Ask for dense saturation in the thorns to prevent them disappearing into skin texture over time. The common mistake is making the stem too narrow, which causes visual breakage as the piece ages. Pair the result with a sleeveless flannel for a rugged look and bring a loose short-sleeve tee for the session so the artist has full access.
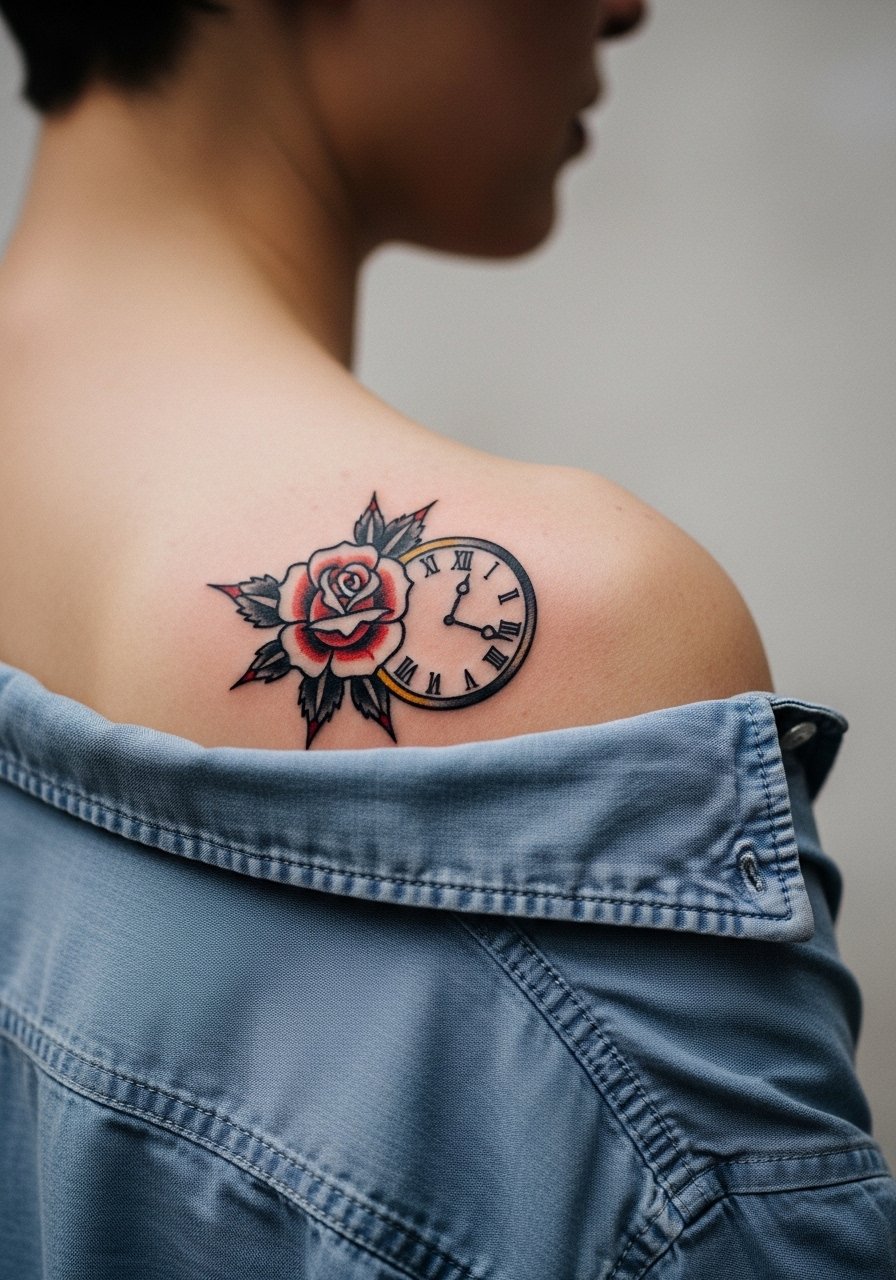
9. Rose Clock Hybrid for a Small Back Panel
A mini rose fused with a tiny clock face leans memorial without taking a full back piece. Placed on the upper back near the shoulder blade, this 3- to 4-inch hybrid needs 2 sessions for crisp numerals and petal color. Expect moderate pain when the artist works close to bone. Ask for larger numerals than you think you need so they remain readable as shading settles. Show healed examples in consultation because timepieces lose clarity faster than plain florals. For photography, plan for a button-down worn backwards to give the artist access and the camera a clean frame.
10. Ornamental Rose Frame on the Collarbone
An ornamental two-and-a-half-inch rose framed with geometric lines sits nicely along the collarbone and pairs well with small dates or initials. Collarbone work can be ticklish and the area is thin, so expect a 45- to 75-minute session. Tell your artist you want negative-space breathing room inside the frame so geometry does not merge as it heals. The common mistake is crowding lettering into the corners. For showing off, a white button down slim fit pulled open at the collar highlights the framing without overt exposure.

11. Ignorant-Style Scribble Rose on the Hand
Hand placements are bold and fast to judge over time because of constant use and washing. A rough, scribbled ignorant rose reads punk and can be done in a short single session. The trade-off is early touch-ups. The biggest mistake is asking for ultra-fine scribbles on the hand. That detail rarely survives everyday friction. Expect blister-style scabbing early on and plan for a top-up at year one. Also think about job implications since some industries still view visible hand tattoos unfavorably.

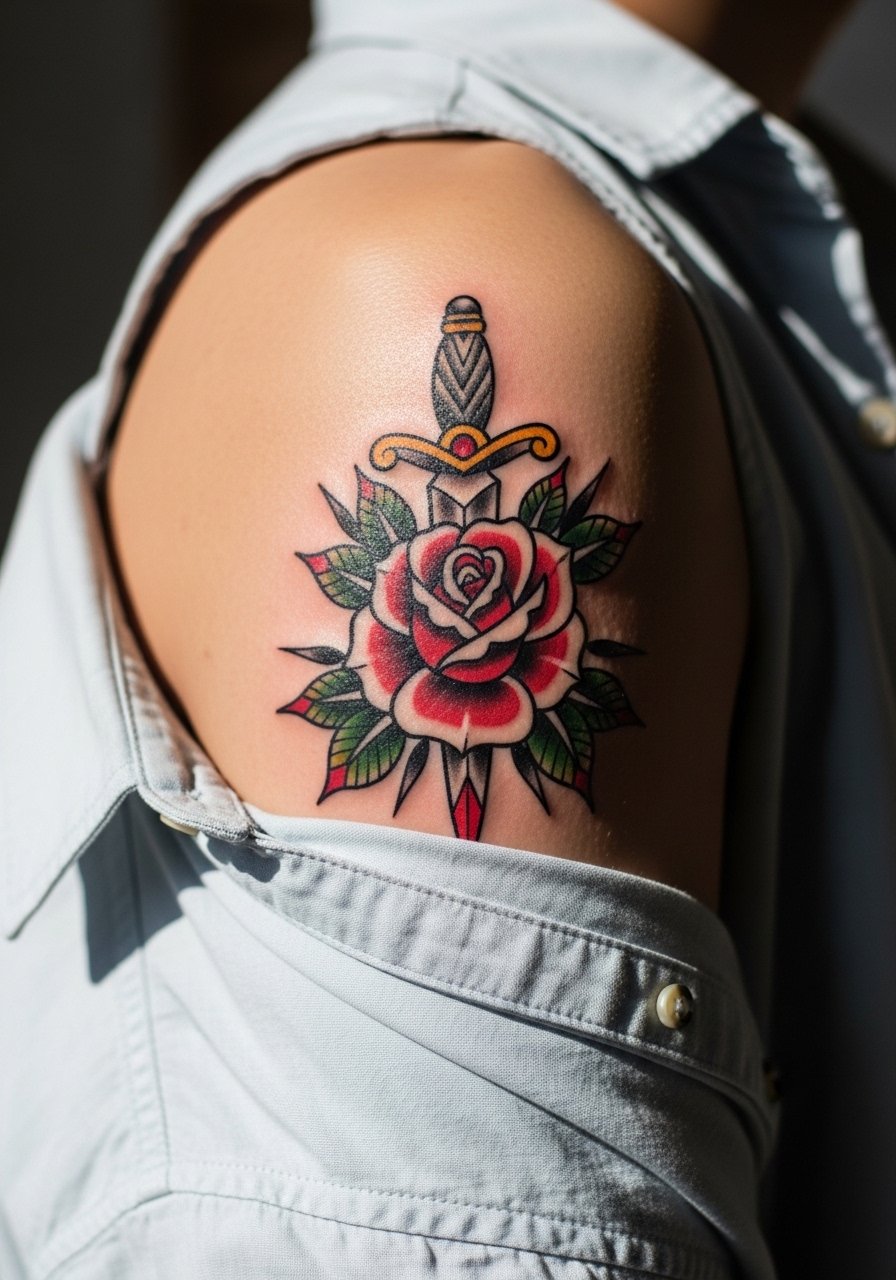
12. Rose Pierced by a Dagger on the Shoulder Cap
This neo-traditional pairing leans masculine and reads as a short narrative about survival or betrayal. Shoulder cap pieces take one or two sessions depending on color. Request separation between the dagger and rose so each element keeps its identity as saturation settles. A common error is crowding decorative filigree into the gap, which blurs with time. Wear a lightweight button down that you can pull aside for the session and later style with open sleeves to reveal the art.
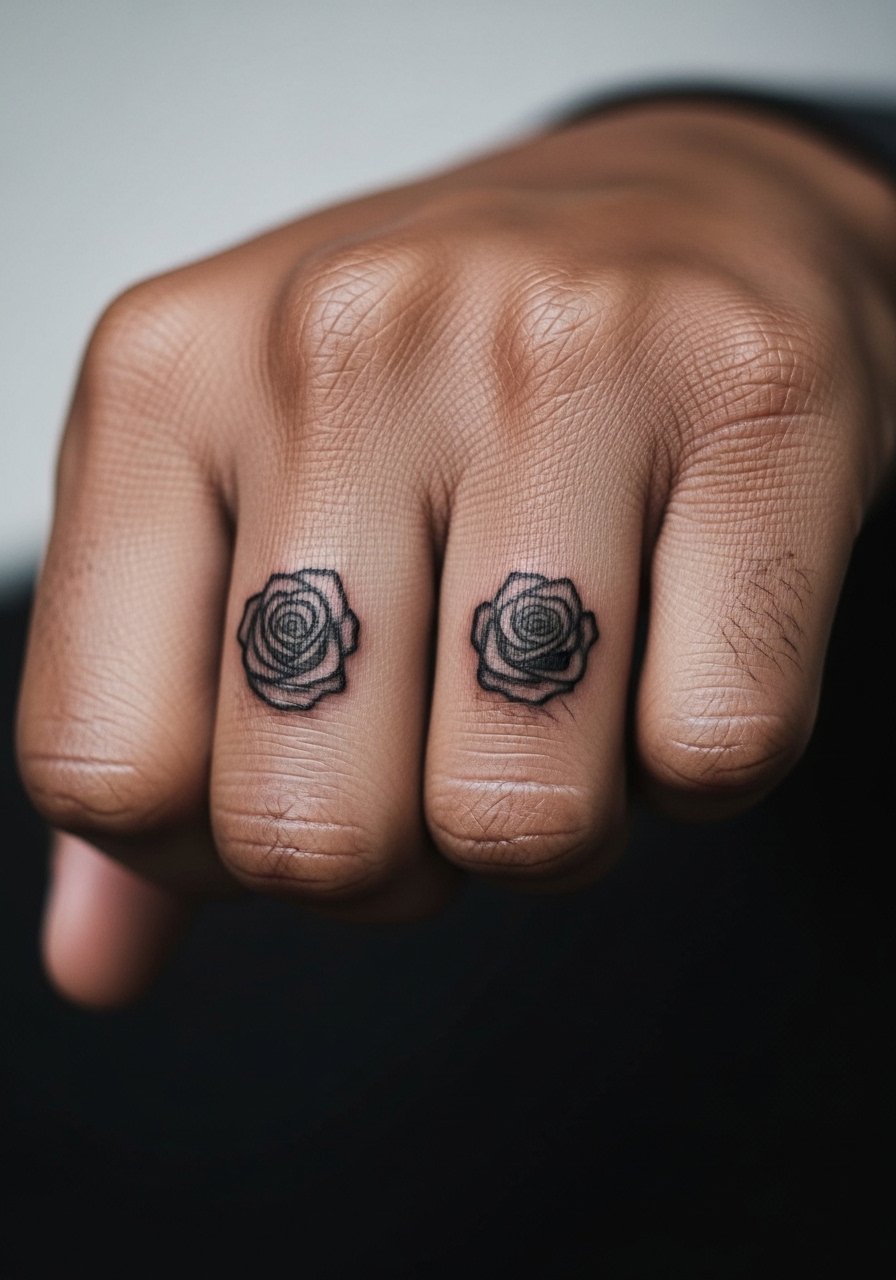
13. Negative-Space Knuckle Rose Set
Knuckle and finger placements are high risk for fast fading. A negative-space mini rose across two or three knuckles is a bold choice if you accept yearly touch-ups. Pain is sharp and the session is brief. Ask the artist to overline slightly and keep interior gaps wide enough to avoid merging. The controversy about fine line aging matters here because some artists will refuse to do delicate negative-space work on knuckles. Expect scabbed healing that can alter crisp edges, so plan for short-term maintenance.
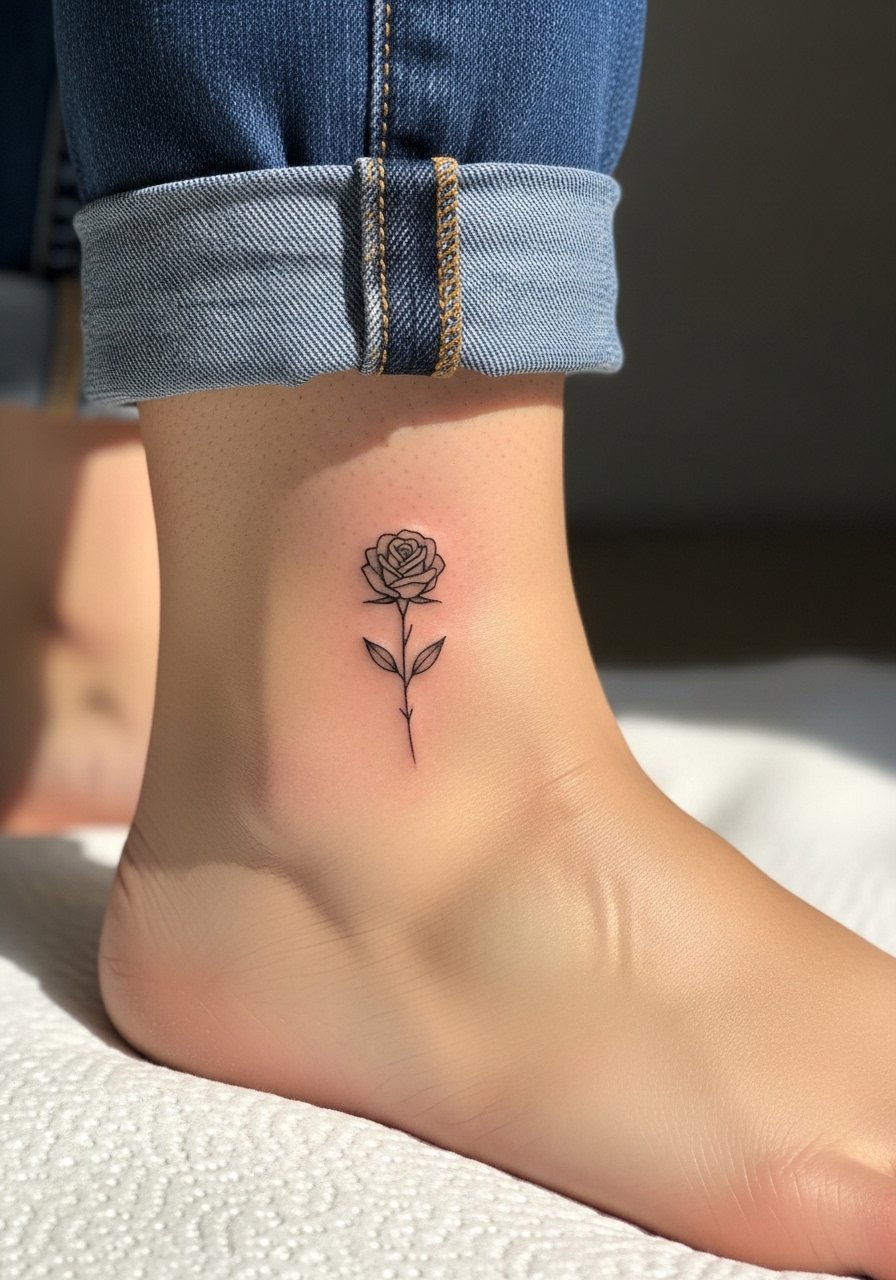
14. Tiny Ankle Rose for Low-Visibility Placement
Ankle tattoos offer subtle visibility and are easy to cover with pants. A 1-inch rose sits nicely above the lateral malleolus and should be a short single-session job. Tell your artist you want slightly heavier outer contour because ankle skin can blur detail faster. A common oversight is placing the design too low where shoe friction dulls the edges. For the session, wear rolled jeans or shorts so the artist has unobstructed access and you can test footwear around the area during healing.
15. Compass Rose on the Outer Forearm
A small compass rose blends geometrics with petals for a travel-ready motif. Outer forearm placement lets you go 2 to 3 inches and still fit one session. Tell the artist to keep deviations between radial lines wide, so the compass points remain distinct after a year. The typical mistake is crowding tiny directional ticks close to the center. Pair with a fitted henley for evenings when you want the compass visible and sleeves rolled to mid-forearm on show days.

16. Micro Rose on the Inner Bicep
Inner bicep work looks intimate and sits well when you want it hidden unless you flex. The area is skin-fold prone and pain ups slightly toward the armpit. Sessions run short for a 1.5-inch micro rose. Ask for slightly bolder contour so the piece survives the natural stretch and rubbing from shirts. The common mistake is choosing too many tiny internal details. For the session, wear a loose tank top so you can raise your arm without constraining motion.

17. Ribcage Mini Rose with Tiny Script
Ribcage pieces are notorious for pain and movement during breathing. A small rose with a one-word script sits nicely near the lower rib but expect a higher pain score and a careful 1.5- to 2-hour session. Artists are divided about fine line on ribs. One camp says the skin stretch and breathing blur delicate work within two years. The other camp believes good needle depth preserves lines. The safe route is slight size increase and simple script with clear spacing. Wear a cropped top or loose shirt you can lift slightly for the session.

18. Geometric Negative-Space Rose on the Inner Forearm
Combining geometry with a small rose gives an exploratory look that still fits a 2-inch canvas. Inner forearm placement keeps aging in your favor compared with hands. Ask for negative-space gaps at least 2 mm wide to prevent merging of linework. A common mistake is asking for ultra-tight tessellation; the shapes need breathing room. The session is comfortable and often done in under an hour. For longevity, avoid using too fine a needle for dense geometric fills.

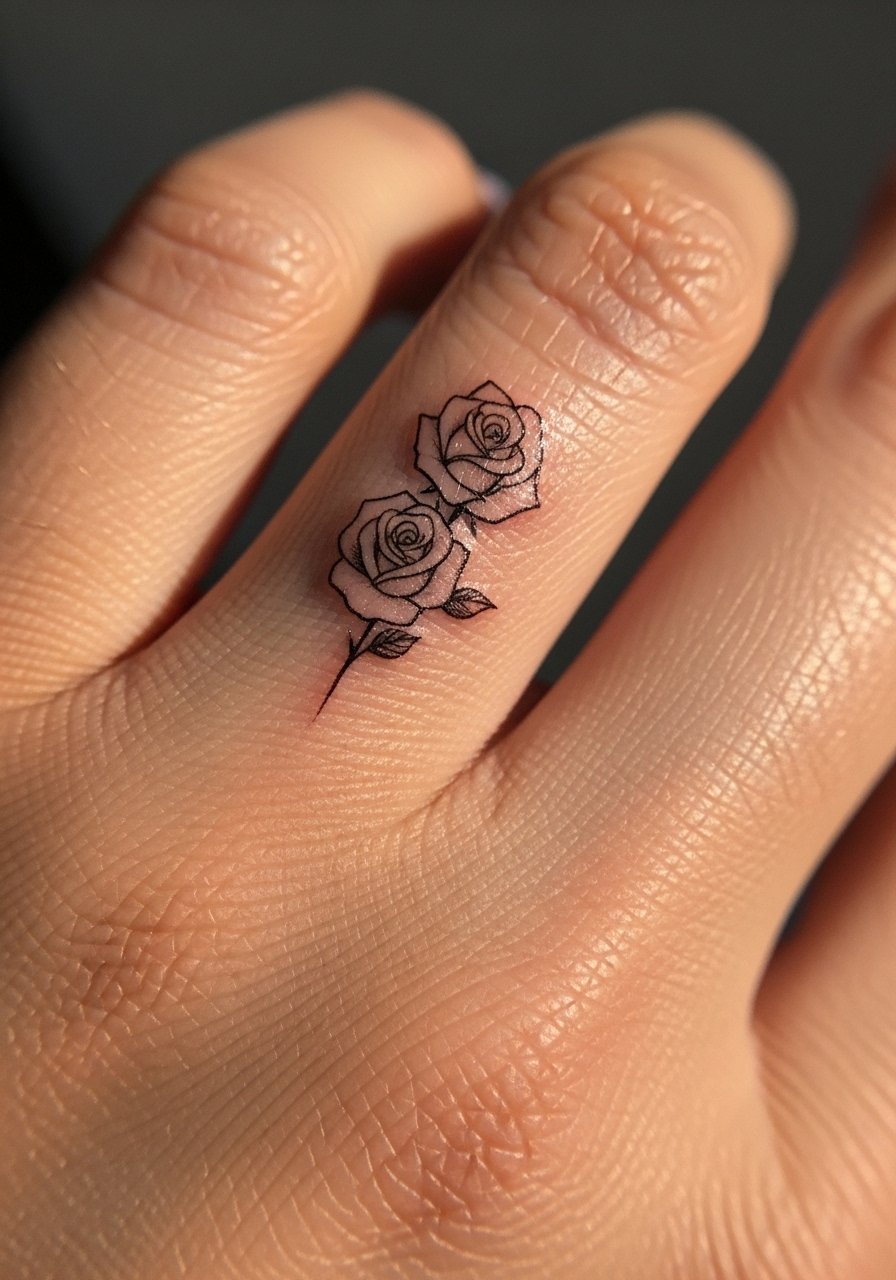
19. Stacked Mini Roses Along the Side of a Finger
A vertical trio of tiny roses along the finger looks neat but carries fast fade risk. Finger skin is thin and sees daily abrasion so touch-ups are the norm. When booking, ask for slightly broader petals and a bit more ink depth to delay loss of contrast. Sessions are quick and the pain is sharp. Avoid placing the lowest rose where rings will rub it. For photography frame the hand alone on a neutral surface to show detail without the rest of the body.
20. Tiny Calf Rose for a Hidden Pop
The outer calf gives more canvas and lower visibility for a mini rose placed just above the ankle line or mid-calf. Pain is low and the area takes saturation well, so a 2-inch rose can hold color and shading. Ask your artist for mid-tone shading rather than extreme gradients to avoid patchy healing. A typical mistake is too-fine stippling which can look spotty at six months. For session comfort wear shorts you can roll or athletic pants with an easy cuff.

21. Lower Back Tiny Rose Accent
A lower back mini rose can be framed by clothing and stays hidden for conservative work environments. The area has low daily abrasion and tends to hold pigment well. Session time is brief and pain is moderate. Tell your artist you want a centered composition with no unnecessary flourishes that could distort when the skin stretches. A common mistake is over-detailing the stem area. For photos and style, a tank top with high-waisted jeans that sit just above the tattoo makes the placement feel intentional.

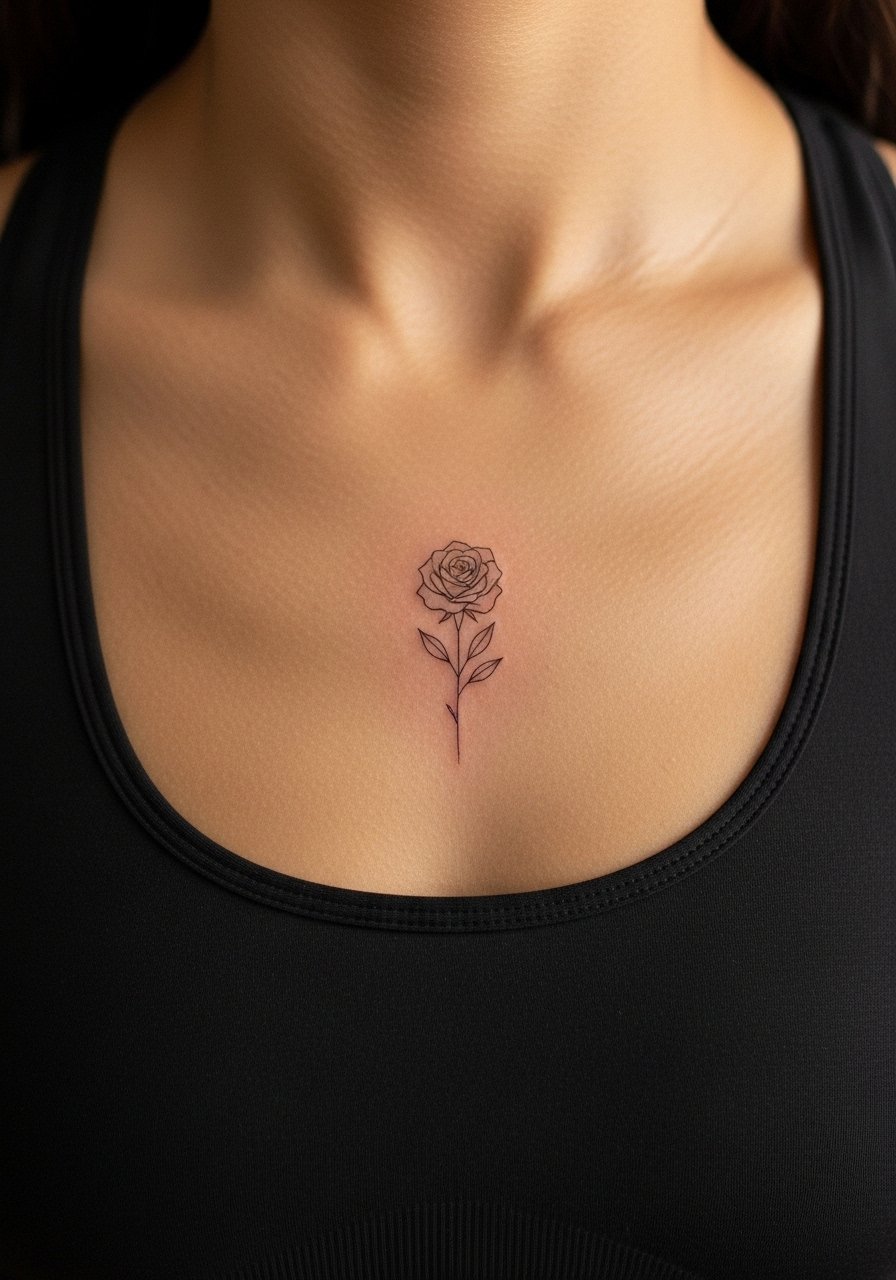
22. Sternum Micro Rose Just Above the Fabric Line
Sternum micro work requires precise placement and a studio practice comfortable with chest anatomy. The area is sensitive and often done in a short but intense session. Ask your artist for minimal negative space so the rose holds form as the chest moves. The common mistake is expecting a whisper-thin outline to hold at the sternum. For session dressing, wear a fitted sports bra or bandeau that keeps the tattooed area visible without exposing the rest of the torso.
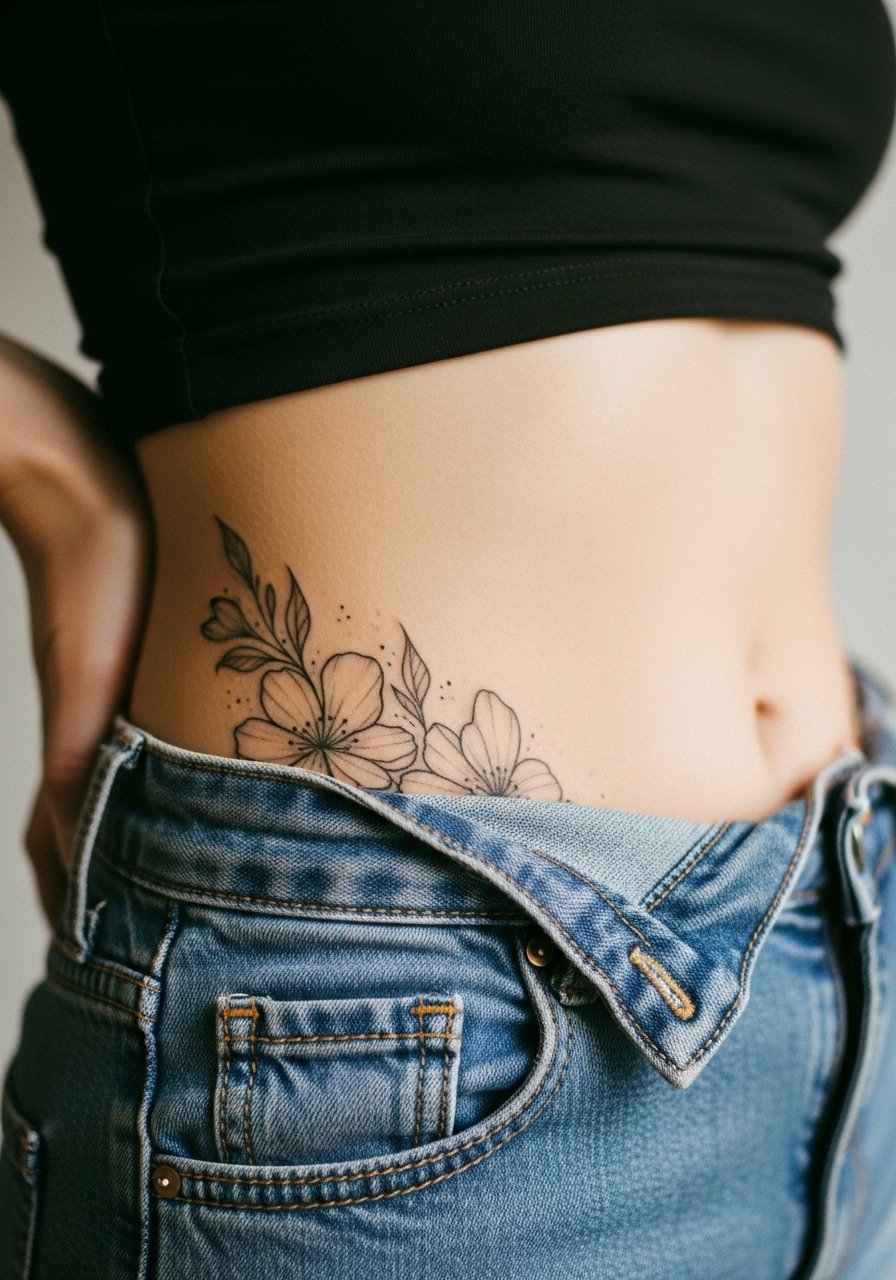
23. Hip Mini Rose at the High Waist
A high-hip placement pairs privacy with occasional reveal. A tiny rose here is usually a quick session and the curvature of the hip gives the design natural movement. Tell the artist to avoid extreme fine detail where clothing will rub, and place the piece slightly higher if you wear low-rise styles. The session wear note is to wear high-cut shorts or jeans so the artist can easily shift the waistband while keeping the area modestly covered.
24. Tiny Rose on the Calf Behind the Knee
A small bouquet just above the back of the calf can peek out when you sit or cross your legs. The area is more flexible and can distort slightly with movement, so ask for slightly stronger outlines on the petals to prevent softening. Expect low pain but variable healing depending on how much you bend the knee during recovery. The usual mistake is placing it in the fold too close to deep creases. Wear loose shorts to avoid pressure on the area during the first week.

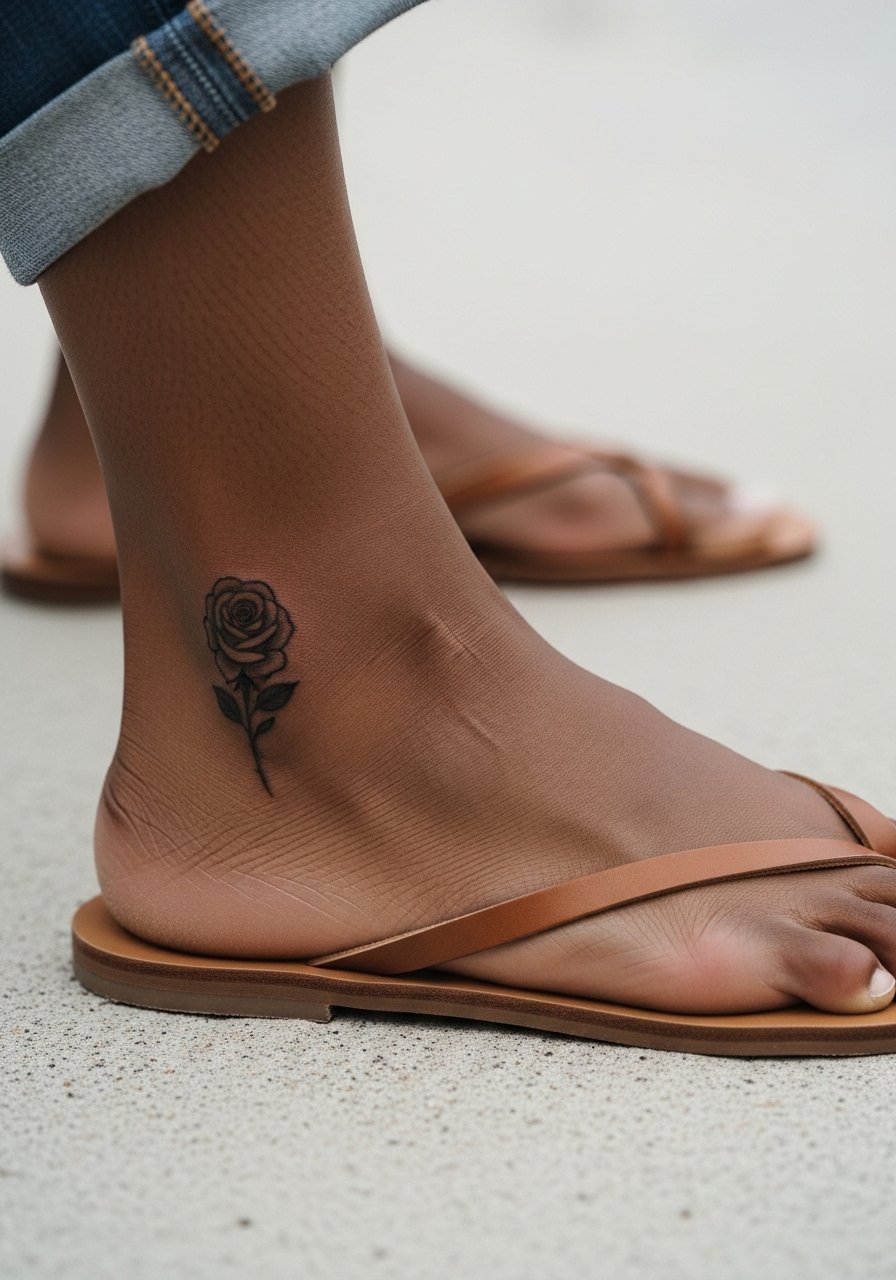
25. Tiny Rose on the Side of the Foot
Foot placements are high touch and high fade from shoe friction. A minimal rose on the side of the foot can be striking but expect early touch-ups and careful footwear for two weeks. Ask the artist to avoid ultra-fine shading near the sole where wear is greatest. The session is quick and pain varies with foot sensitivity. For recovery plan to wear open sandals or slide-ons so the tattoo avoids constant pressure.
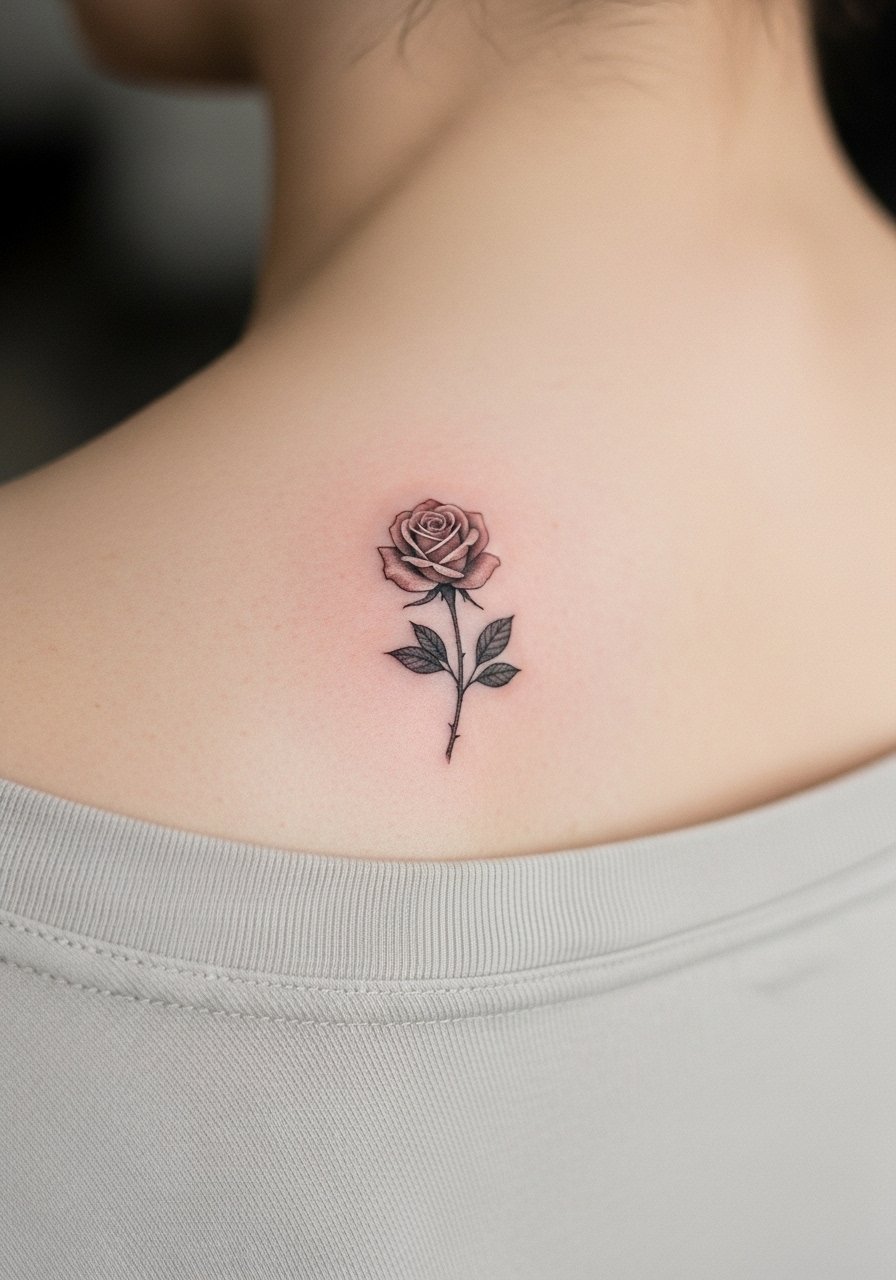
26. Micro Realism Rose Behind the Collar on the Upper Back
Placed just below the neckline, a micro realism rose here reads as a private detail with occasional reveal. The area heals well and is modestly protected by clothing. Ask for simple contrast points so the tiny realism does not fade into a gray smudge. Session time is short and discomfort is low. Avoid layered heavy color that will require excessive saturation in a tiny area. For showing it off, wear a wide-neck shirt that can be pulled aside to photograph the design.
27. Tiny Rose with a Single Leaf on the Behind-Ear Neck Nook
This is a slightly different take on behind-the-ear placements, tucked lower on the neck so it peeks when hair is up. It is discreet and usually done in a quick session. Ask for slightly heavier linework on the leaf vein to avoid disappearing against hair shadow. Common mistakes are trusting too-fine detail in a spot that sees friction from collars. For session and photos, keep hair tied up and wear a v-neck cotton tee so the area is visible without full exposure.

Frequently Asked Questions
Q: How much does a mini rose tattoo typically cost and why does it vary?
A: Mini roses fall into broad price ranges because shops set a minimum for small pieces and time. Expect to see minimums or price ranges rather than exact numbers. Factors include how many sessions the design needs, the artist's hourly rate, and whether the piece is custom. If price is a concern, look for guest spots or flash days where shops offer smaller work at lower cost.
Q: Will a fine line mini rose fade faster than a thicker-outlined one on my forearm?
A: It depends on placement and skin type. Fine line camp argues the aesthetic is worth touch-ups, while the thicker-outline camp says a stronger contour preserves form longer on high-motion zones. For the inner forearm a clean fine line can hold for years with UV care. For wrists and hands consider slightly thicker contours to delay blur.
Q: Are there special aftercare products I must buy for small roses on hands or wrists?
A: Aftercare products were listed in the Studio Day Picks block above. Hand and wrist work sees more friction and water, so items that protect the area and a thin healing ointment in the first 48 hours help. Follow your artist's specific routine and avoid heavy creams that can clog delicate channels.
Q: I have darker skin. Will these mini rose styles show up well?
A: Many styles show up on dark skin when artists adjust contrast and line weight. Black and gray realism and bold outlines tend to translate best. Ask your artist to pull healed photos of similar skin tones during the consultation. Avoid ultra-fine gray shading without strong anchors.
Q: How soon should I expect to need a touch-up on tiny rose placements like fingers or knuckles?
A: Fingers, knuckles, and areas with constant abrasion commonly need touch-ups within 6 to 18 months. Plan for maintenance if you choose those spots and discuss realistic timelines with your artist before booking.
Q: Should I use numbing cream for a neck or ribcage mini rose?
A: Numbing cream is controversial. One camp supports it for sensitive, bony areas like ribs and neck to make the session manageable. The other camp prefers the natural sensation to read needle depth. If you choose numbing, discuss brand and application timing with your artist so it does not affect pigment placement.
