
Fine line elbow trends look flawless on a phone screen, but the reality at year two is often different. Elbow skin moves, rubs, and sits over bone, and those conditions decide which micro designs keep their shape. Below are 17 micro elbow tattoo ideas built around what actually holds up, how each session feels, simple consultation lines to get the result you want, and wardrobe tips so the piece reads the way you planned.
1. Micro Skull Outline on Outer Elbow
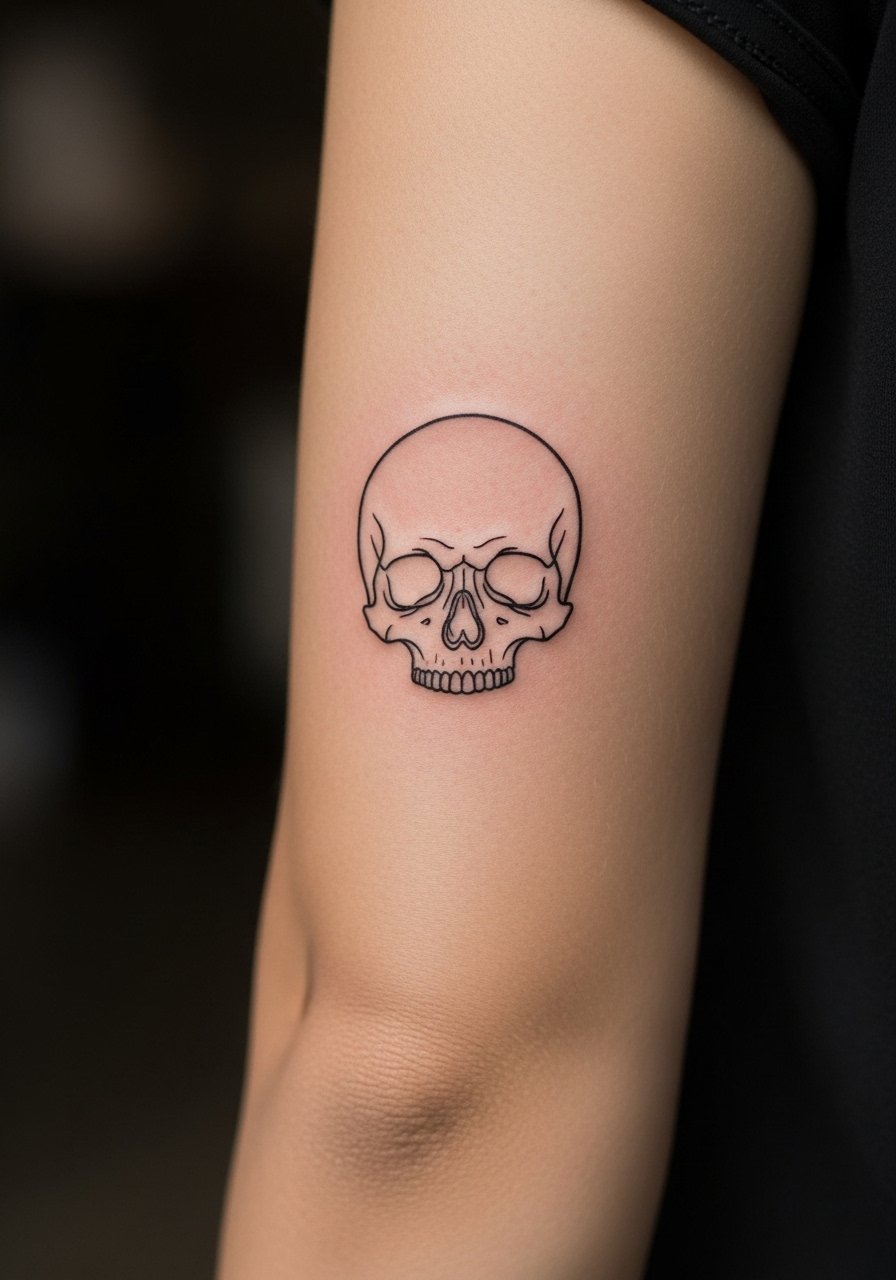
A tiny skull on the outer elbow reads bold because of the contrast between solid black linework and textured skin. I recommend keeping the skull to about 1.5 inches so the jaw and eye sockets have breathing room, and ask your artist to plan slightly thicker outer lines for elbow resilience. Pain is high at the ridge near bone, expect a single short session and sharp needle taps. A common mistake is asking for hair-fine detail that blurs after months. For showing it off, push sleeves up and wear a fitted henley shirt in dark tones so the skull sits visually against the fabric. Touch-ups are typical at year one to maintain crisp edges.
2. Fine Line Geometric Mandala at Inner Elbow Crease

Inner-crease mandalas look incredible when the lines have room to breathe. For a micro mandala, insist on 1 to 1.5 inch diameter and ask the artist to space petals wider than on paper. Expect a painful session since the inner elbow is thin and sensitive, but the work is usually one focused sitting. Artists are split on fine line here. One camp insists spacing and depth make it last, the other says constant flexing makes fine detail fade faster. I tell people to choose the thicker filigree version if longevity matters. Roll cuffs in a men’s button down to frame the art, and plan a touch-up at 12 to 24 months if dots soften.
3. Tiny Planetary Orb in the Elbow Dimple

The elbow dimple is a smart spot for a spherical motif because the curve gives a three-dimensional pop. Keep this orb under one inch and ask for tight gray shading rather than fragile stipple. Session pain is moderate because the dimple area has a bit more padding than the ridge, but bending during healing is the challenge. A mistake is placing too many tiny stars around the orb, which creates visual clutter as the ink settles. For a dressed-down reveal, pair the piece with a slim fit polo that has an elbow vent, so the orb catches eyes without fabric rubbing. Expect a possible touch-up at year two depending on your lifestyle.
4. Blackwork Spiderweb Radiating from the Elbow

A spiderweb radiating from the elbow makes use of the joint like a structural center. This style relies on saturated black and strategic negative space to resist the elbow’s abrasion. Plan for one to two sessions because saturation across folds demands more time. The most common mistake is trying to compress too much webbing into a micro scale. When you want longevity, ask for heavier outer lines and slightly larger web gaps. For wearing out, push short sleeves or a fitted henley and add a leather cuff on the opposite arm to balance the look. Healed, this style typically needs fewer touch-ups than ultra-fine work.
5. Minimalist Eye Motif in the Elbow Center

A central eye uses the elbow’s geometry to make a tiny image read larger in motion. Size it around an inch and request a focus on bold contour lines rather than hair-thin lashes. Pain spikes when the needle crosses the bone, so the session feels staccato with short breaks. A typical error is requesting lots of interior detail inside the pupil that becomes muddied with movement. For styling, roll sleeves or choose a slim fit polo to let the eye peek from under fabric. Plan on a touch-up between year one and year three for pupil crispness.
6. Ornamental Arrow Pointing Outward from Elbow

Arrows suit active lifestyles because they read motion with arm movement. For micro arrow work keep the shaft simple and pick an arrowhead with clear negative space to avoid line merge. Session pain is moderate at the ridge. A common mistake is loading the shaft with tiny dots and barbs which can blur on joints. Tell your artist you want slightly bolder main strokes and light interior detailing. For the session wear a loose short-sleeve tee so the artist can rotate your arm freely. This piece ages predictably but expect small line touch-ups by year two if you’re hard on shirts.
Pre-Session Essentials
The outer and inner elbow pieces above have different access needs and friction risks, so these items smooth the session and the first week.
-
Thin healing balm. Apply thin layers during the early heal to avoid clogging needle channels on joint skin which tends to trap thicker ointments.
-
Unscented lotion. Daily post-shower moisture prevents dry flaking that pulls on micro lines in the second week.
-
Fragrance-free body wash. Gentle cleansers let you shower without irritating freshly inked elbow creases.
-
Thin protective film roll. A roll helps cover elbow pieces during high-friction tasks like lifting or manual work for the first few days.
-
Aquaphor healing ointment. A thin coat for the first 48 hours keeps fine lines from drying into heavy scabs while you limit elbow flex.
7. Micro Compass Rose on Inner Elbow
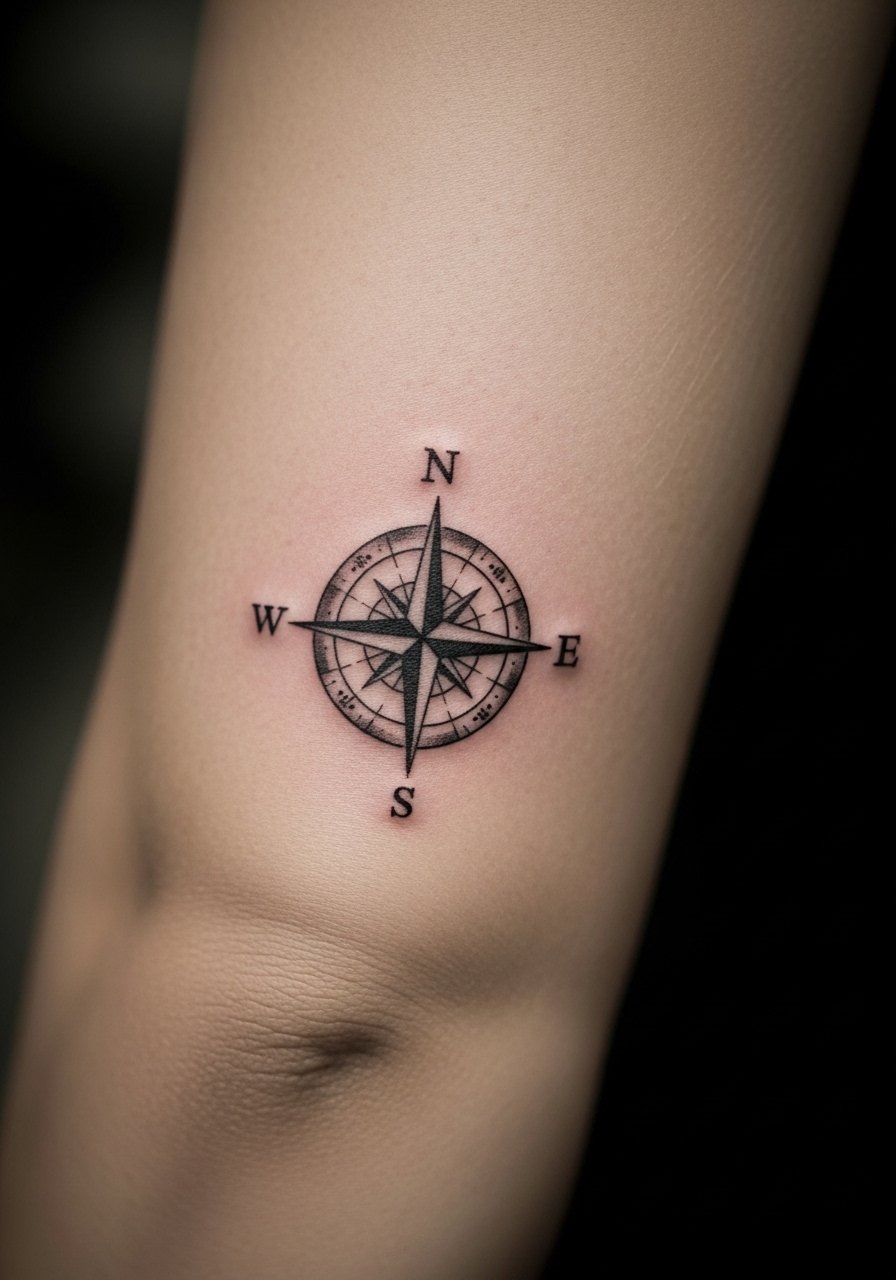
A compass rose in the inner elbow balances symbolism and concealability. Keep it near one inch and favor strong cardinal points that survive skin stretch. The inner crease makes the session sharp, and swelling for 48 to 72 hours is common. A mistake is packing in ornate filigree inside the compass face which fills in as the skin moves. Tell the artist to prioritize clear directional points and light secondary shading. For those building a sleeve, mention how you want connecting linework so future pieces line up. Expect a touch-up at year one if the tiny ticks soften.
8. Bold Tribal Knot Encircling the Joint
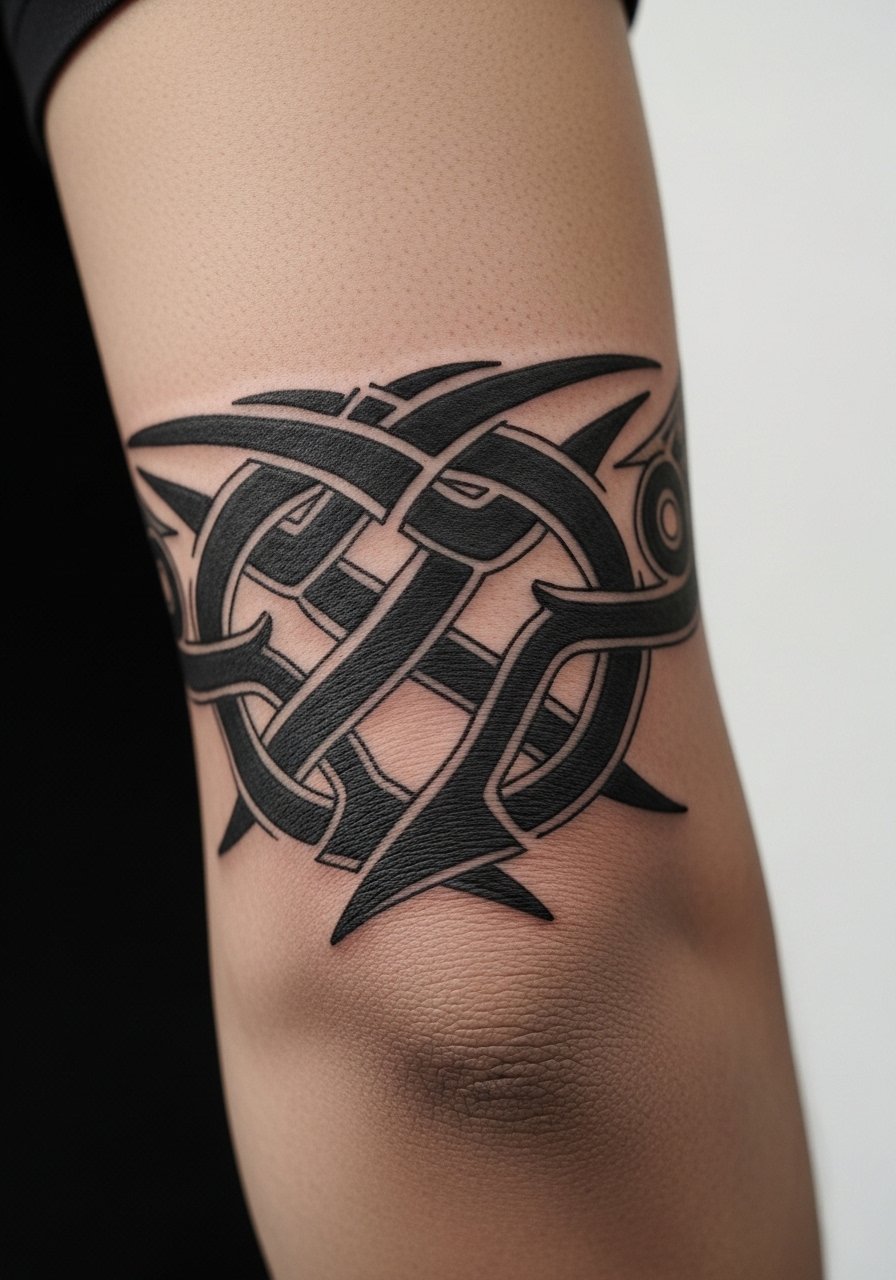
A knot that wraps the elbow reads masculine because it uses the joint as structure rather than trying to hide it. This is heavier work, typically two sessions for proper saturation. Pain is uneven across the ring, higher where bone shows through. The common mistake is keeping lines too thin for a wrap, which leads to rapid fading on high-friction zones. Ask for consistent saturation and slightly wider negative channels between knots. For larger arms this ages into a graphic band that holds well, so touch-ups are less frequent than for fine line wraps.
9. Fine Line Constellation Cluster at Elbow Peak
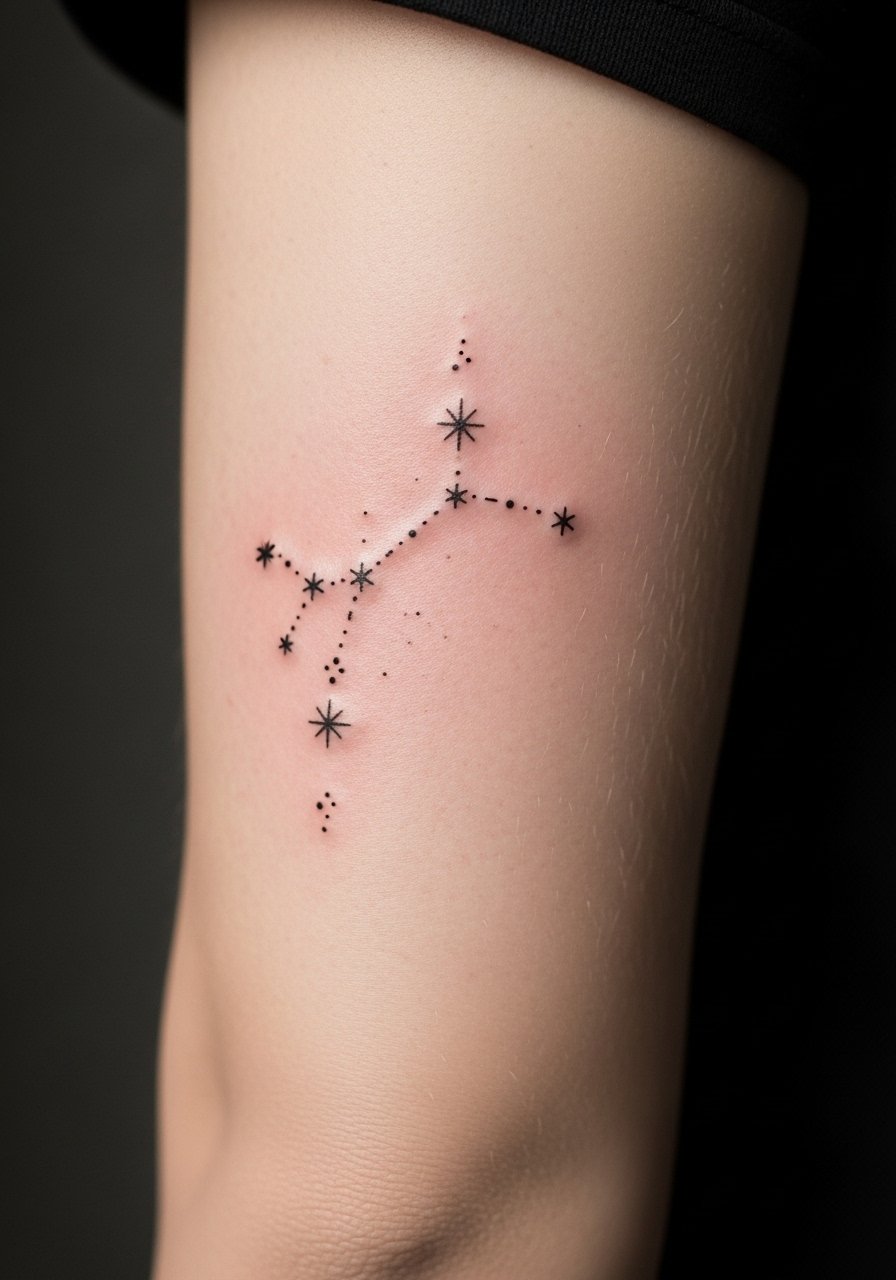
Constellation clusters are a fresh choice for personalization without dominating the arm. Keep the cluster to 1 to 2 inches and request modest dot sizes rather than pinprick points. The upper elbow peak catches light and motion, which helps the stars show, but frequent shirt rubbing is a risk. A mistake is cramming too many micro stars close together which merges over time. For styling, slide sleeves to show the cluster with a fitted athletic tee or use a compression sleeve for workouts to protect it. Plan for a touch-up at year two if the dots start to lose separation.
10. Black and Gray Realistic Eyeball in Elbow Hollow
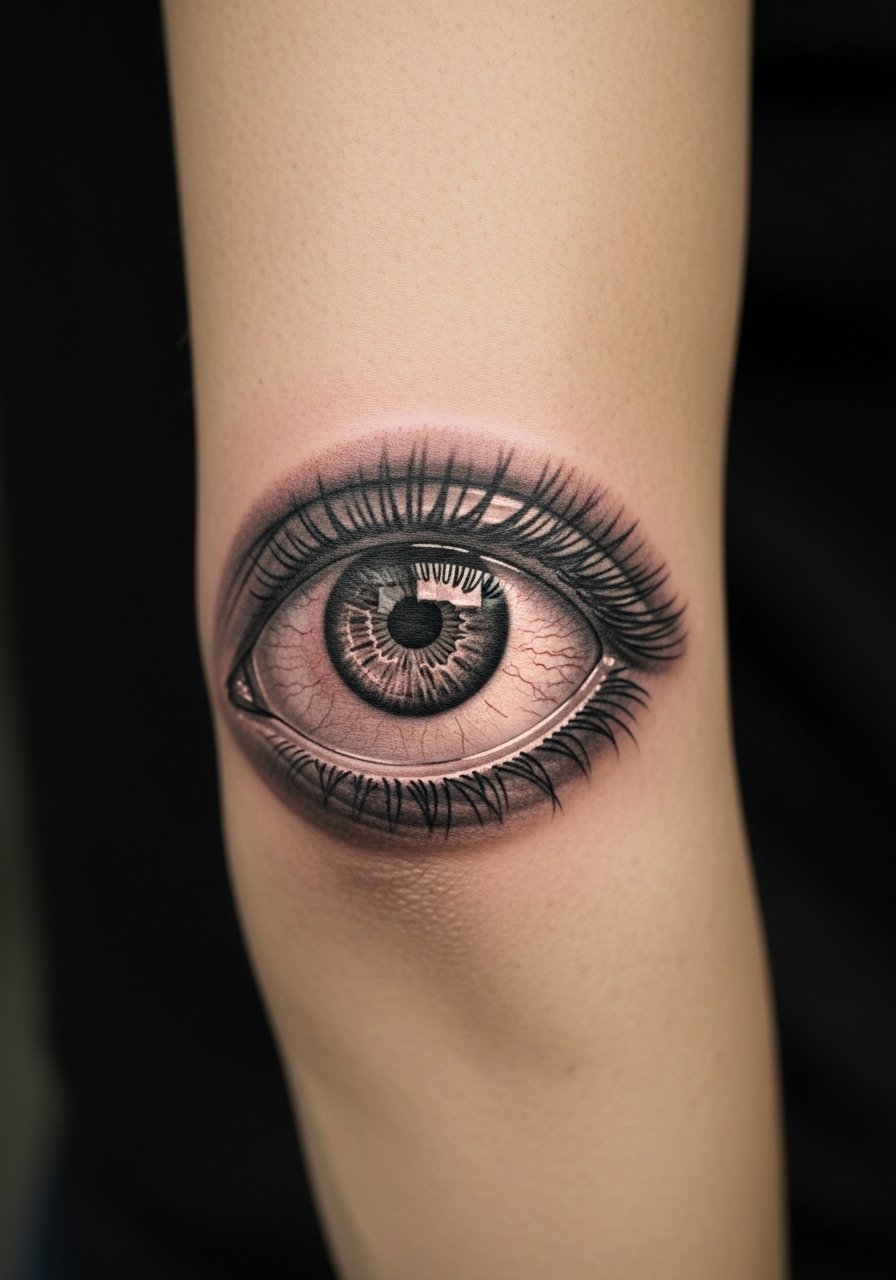
An eyeball tucked in the hollow can create an unsettling, clever gaze when the arm bends. For realism keep it around 1.5 inches and insist on smooth gradient shading. The hollow is sensitive and scabs may crack during flexion, so healing requires limiting heavy bending for a week. A frequent error is asking for excessive white highlights that vanish once healed. Be clear in your consultation that you want subtle contrast and not overdone glints. Expect a touch-up to restore midtone transitions a year out if you wash or sun-expose often.
11. Minimal Dotwork Mandala Frame Around Elbow Perimeter
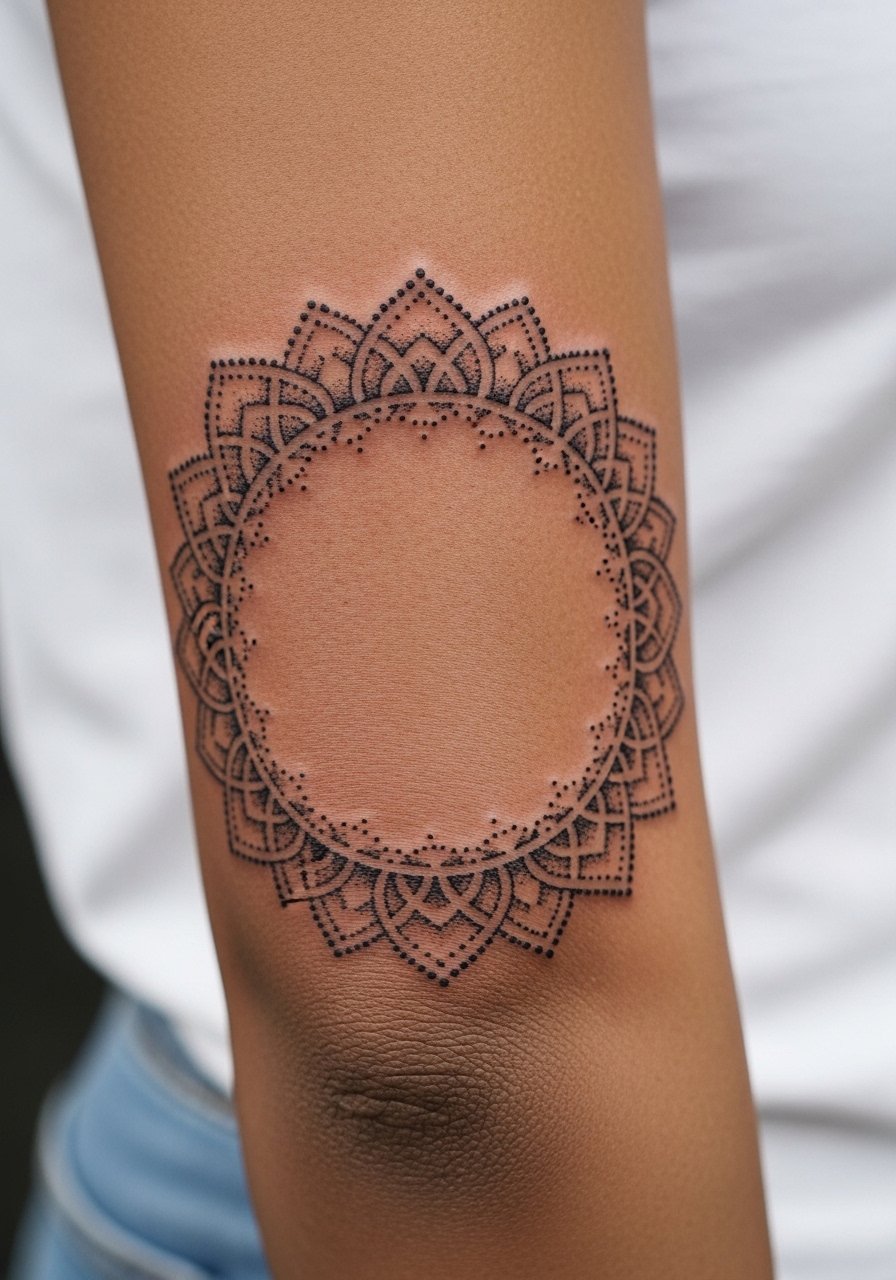
A dotwork frame leverages the elbow edge to create a meditative halo without heavy lines. Require larger dot spacing and slightly bigger dots than usual so the pattern keeps structure as skin shifts. Session time is moderate and focused since stipple shading takes patience. Mistakes arise when artists make dots too small or too dense, causing merging in months. For an athletic look, pair the frame with compression arm sleeves pulled down to reveal the ring during casual moments. Dotwork can age gracefully if kept simple, with occasional touch-ups on outer dots.
12. Tiny Anchor on the Upper Elbow Ridge
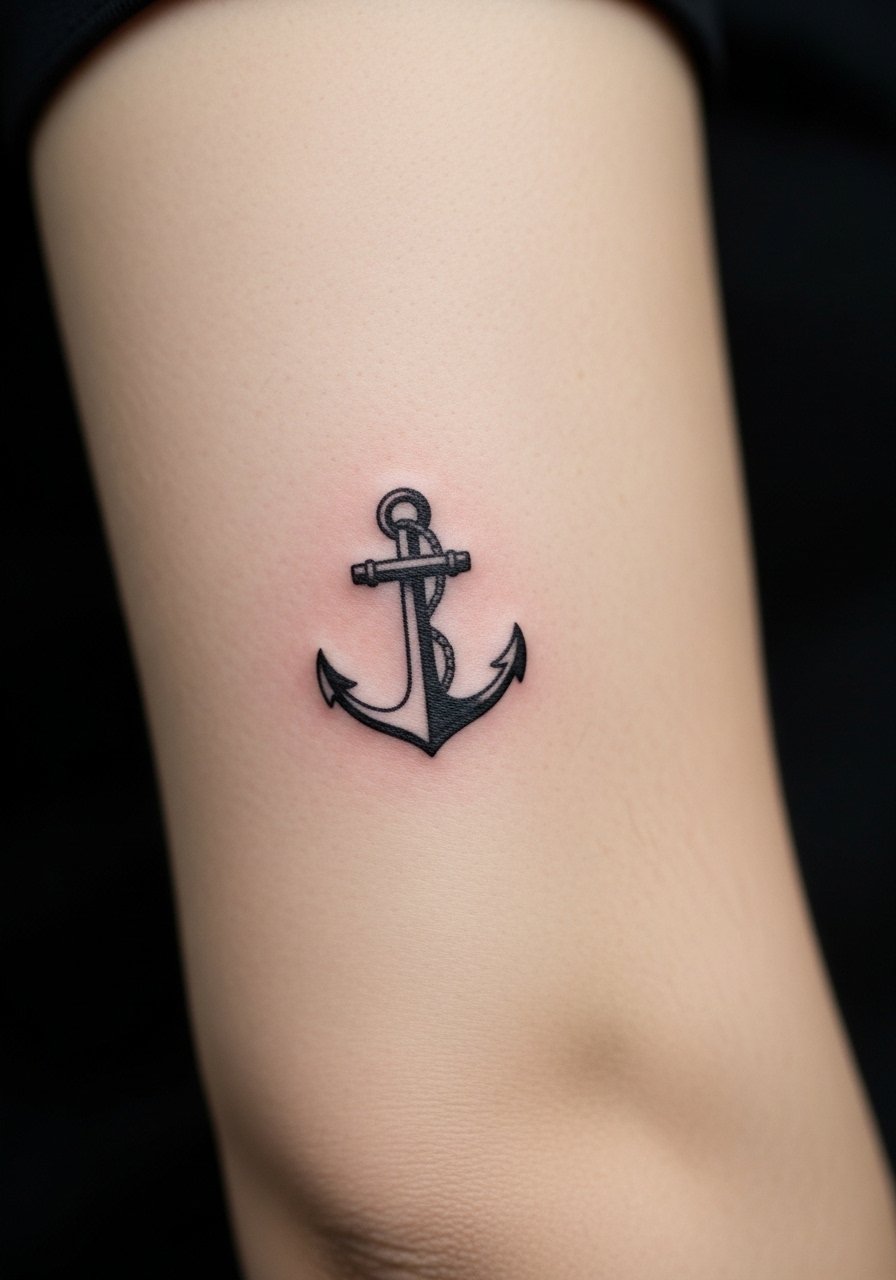
Anchors translate well to elbow ridges because their silhouette stays readable even when the arm bends. Keep it under one inch and use a thicker outer stroke to prevent line loss. Pain is sharp over the ridge. The worst mistake is requesting extra tiny rope details that blend into the bone area. For a rugged pairing, a denim jacket with rolled sleeves frames the anchor, though keep pressure off the area while it heals. Touch-ups are common when you work in manual trades that scrape elbows frequently.
13. Fine Line Waveform Encircling the Joint
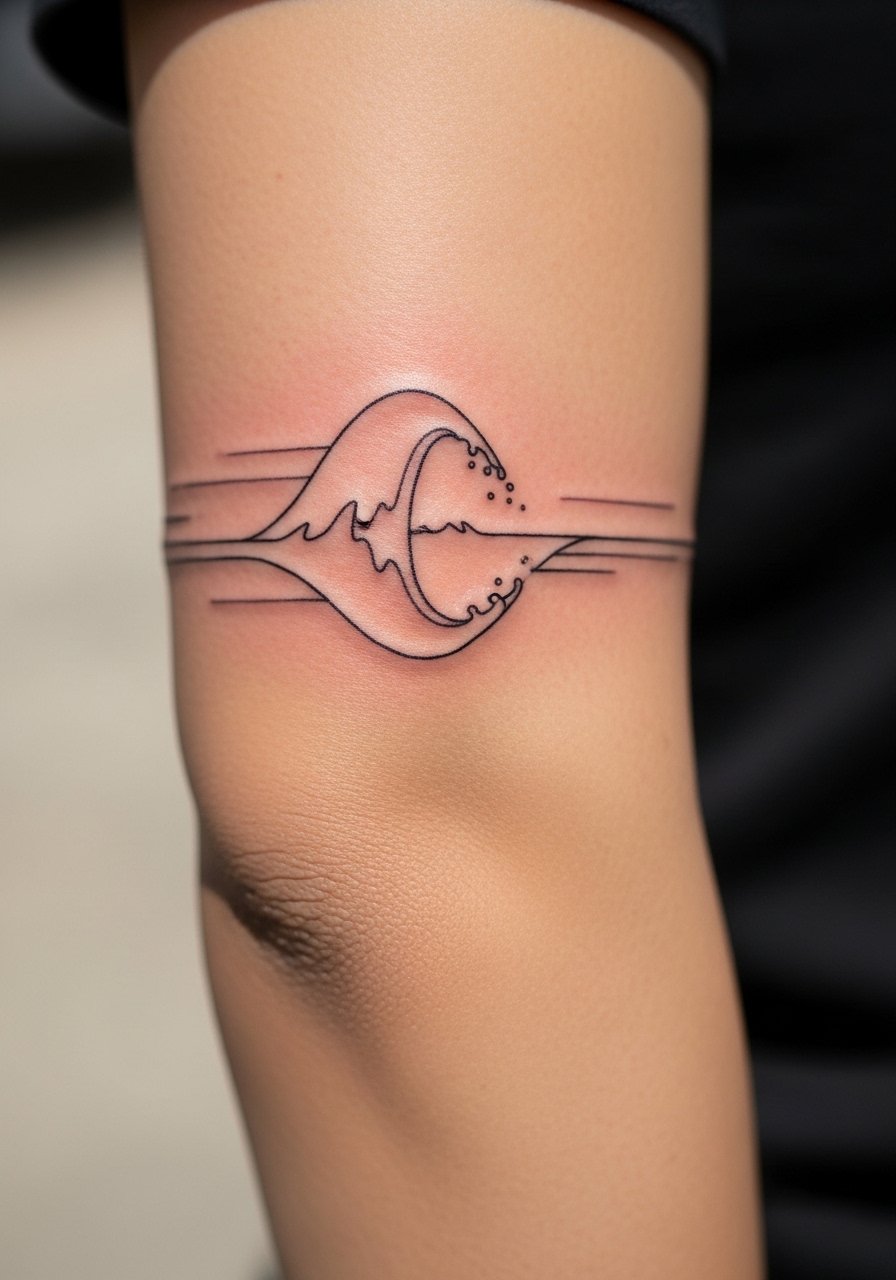
Waveforms suit elbows because motion animates the wave. For micro waveform work keep amplitude moderate and avoid micro spikes that crowd the band. Expect one session with concentrated linework and a fair amount of post-session stiffness from the joint's movement. Artists differ on durability for tight wave bands. One group suggests bold lines for joint work, another says spacing and depth suffice for fine line. Bring both opinions to your consultation so you and the artist pick the method that matches their hand. Pair the finished piece with neutral cargo pants and a simple tee when showing off the wrap, and expect small touch-ups at the two-year mark.
14. Tiny Lightning Bolt at Outer Elbow Ridge

A lightning bolt is a low-commitment bold choice. Keep the bolt short and ask for a thicker outline to survive frequent fabric contact. Pain peaks at the ridge and the session feels quick but intense. A typical mistake is elongating the bolt too much which increases bending stress across the shape. For session day wear choose a loose tee that you can pull aside without tugging, and for showcasing, a cuffed short-sleeve works well. Expect a minor touch-up in a year if you work with abrasive surfaces.
15. Single Rose Bud Tucked Near the Elbow Crease

A rose bud near the crease reads delicate but can age unpredictably if shaded too finely. Keep the bud compact, and ask for slightly bolder petal outlines to prevent early blur. The inner crease hurts and swelling is common for a few days. A common mistake is asking for heavy petal texture at micro scale. For showing it off, roll up a button-down shirt or wear a minimalist watch on the opposite wrist to balance subtlety. Touch-ups for petal edges are likely at 12 to 18 months.
16. Crescent Moon Sitting on the Elbow Dimple
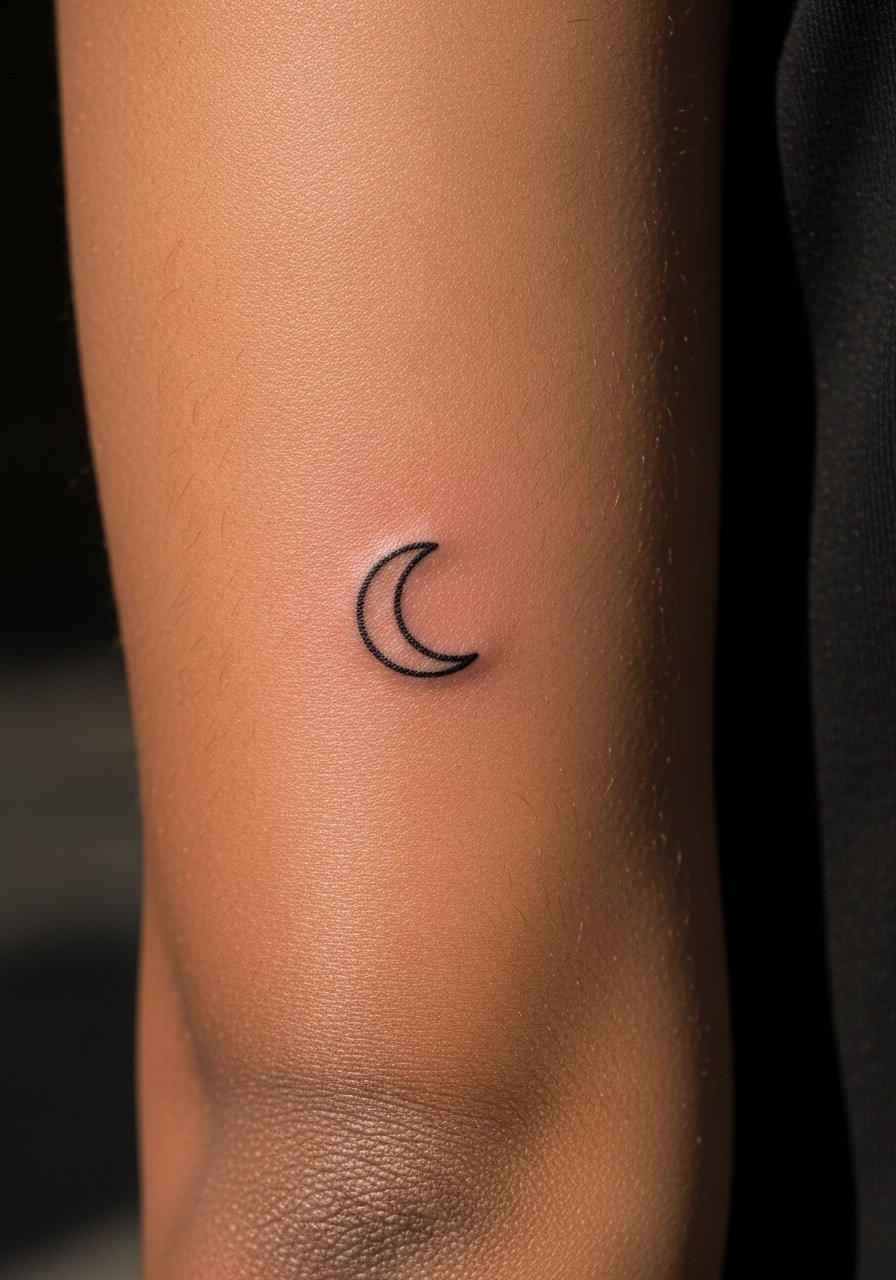
A crescent moon uses the dimple curve for a compact and symbolic look. Keep the moon under one inch and specify a hollow crescent with a bold curve rather than filled black. Pain in the dimple is moderate and short. A mistake is asking for micro filigree inside the crescent which gets lost as the skin moves. For session comfort wear a short-sleeve shirt with an elbow vent and for casual reveal pick a slim polo that lets the moon peek out. Expect a minor line refresh by year two depending on friction.
17. Micro Dagger Outline on the Outer Elbow Ridge
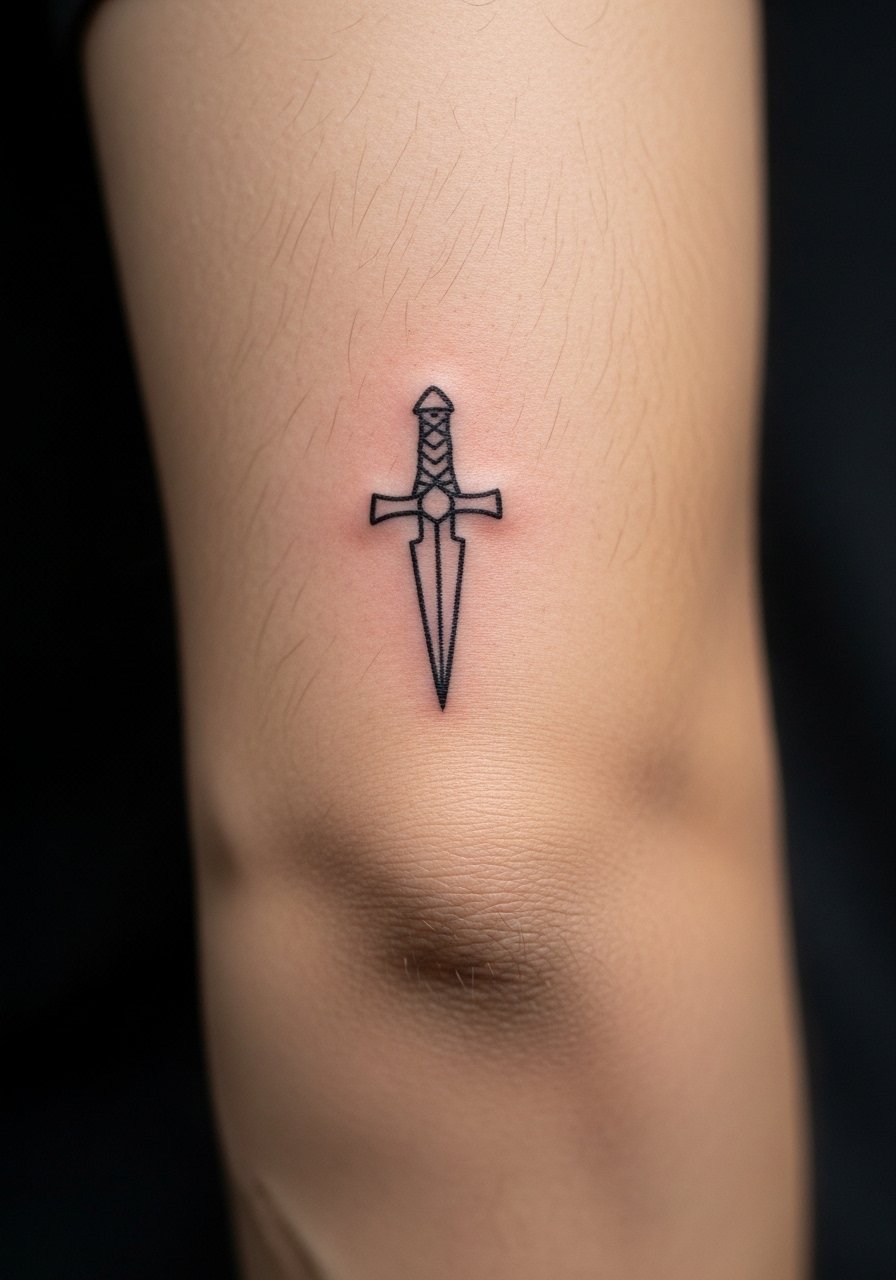
A dagger gives a classic edge when scaled down and placed on the ridge. Keep the blade length under two inches so balance and handle detail stay readable. Sessions are brief but uncomfortable over the bone. The main mistake is cramming ornate handle work into a micro dagger which becomes illegible. For the appointment wear a loose tee to allow artist positioning and after healing, pair with a rolled denim jacket sleeve to frame the piece. Touch-ups on the pommel and blade edge are not uncommon by year two.
Frequently Asked Questions
Q: How painful is a micro elbow tattoo compared with a forearm piece?
A: Elbow work usually ranks higher on most pain scales because the needle crosses thin skin and bone. The ridge is the sharpest spot, the dimple and outer peak are slightly more forgiving, and the inner crease is sensitive for other reasons. Plan for short intense sessions and expect soreness that lingers for a couple of days.
Q: Will fine line mandalas fade faster on the inner elbow than bold blackwork?
A: In my experience fine line tends to soften faster on joints, but skilled artists who space lines and deposit at the proper depth can make fine work last longer. There are two camps: one says fine line on joints blurs within a year, the other says proper technique and spacing prevent that. Ask where your artist stands and see healed photos from past clients.
Q: How often should I expect touch-ups for micro elbow pieces?
A: Expect a possible touch-up between one and three years depending on style, placement, and daily abrasion from clothing. Bold blackwork and wraps often need fewer touch-ups than dense fine line or stipple details. Lifestyle factors like sun exposure and manual work accelerate fading.
Q: What should I wear to the session for an inner elbow mandala or dimple piece?
A: Wear a sleeveless or loose short-sleeve shirt so the artist can extend your arm without fabric pulling. A loose tank top or a button-down you can roll works well. Comfortable clothing makes positioning easier and limits accidental pressure on the fresh ink.
Q: Is Saniderm recommended for elbow tattoos or should I dry-heal?
A: Artists and forum folk split on this. One group favors protective film for joints to keep the area clean during the first day, the other warns that sealed film on a bending elbow can trap sweat and bacteria. Follow the specific instruction your artist gives for the product they trust with joint work.
