
Fine line tattoos dominate saved boards right now, but they do not always age the way the feed promises. The inner forearm is forgiving in size and sun exposure, so many modern looks that begin delicate keep their clarity longer here. Below are 21 clean inner forearm ideas, each with what to tell your artist, how it holds up over time, and practical wardrobe tips for both the appointment and after the heal.
1. Fine Line Lavender Sprig on Inner Forearm
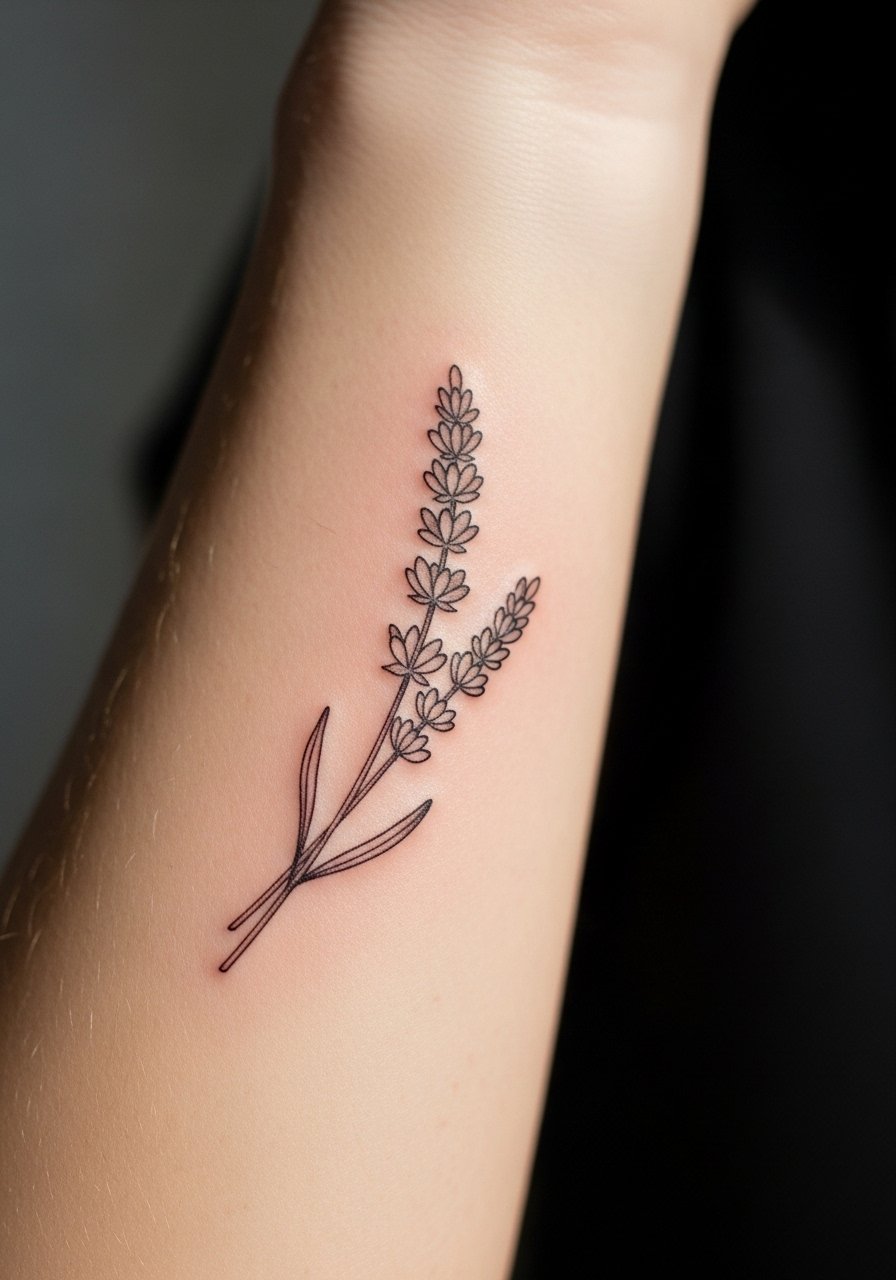
I've seen delicate florals hold best when they breathe. Ask your artist for slightly thicker main stems and thinner secondary stems so the design keeps contrast at year two and five. Common mistakes are packing petals too tightly or requesting ultra-tiny veins that merge after a year. Pain here is on the low side and most sessions finish inside an hour. For showing it off, pair the tattoo with a rolled cuff linen shirt in ivory tones and a dainty silver bracelet. Wear a linen short sleeve shirt to the session so the artist can work without fabric tugging.
2. Vertical Script Quote Along the Inner Forearm
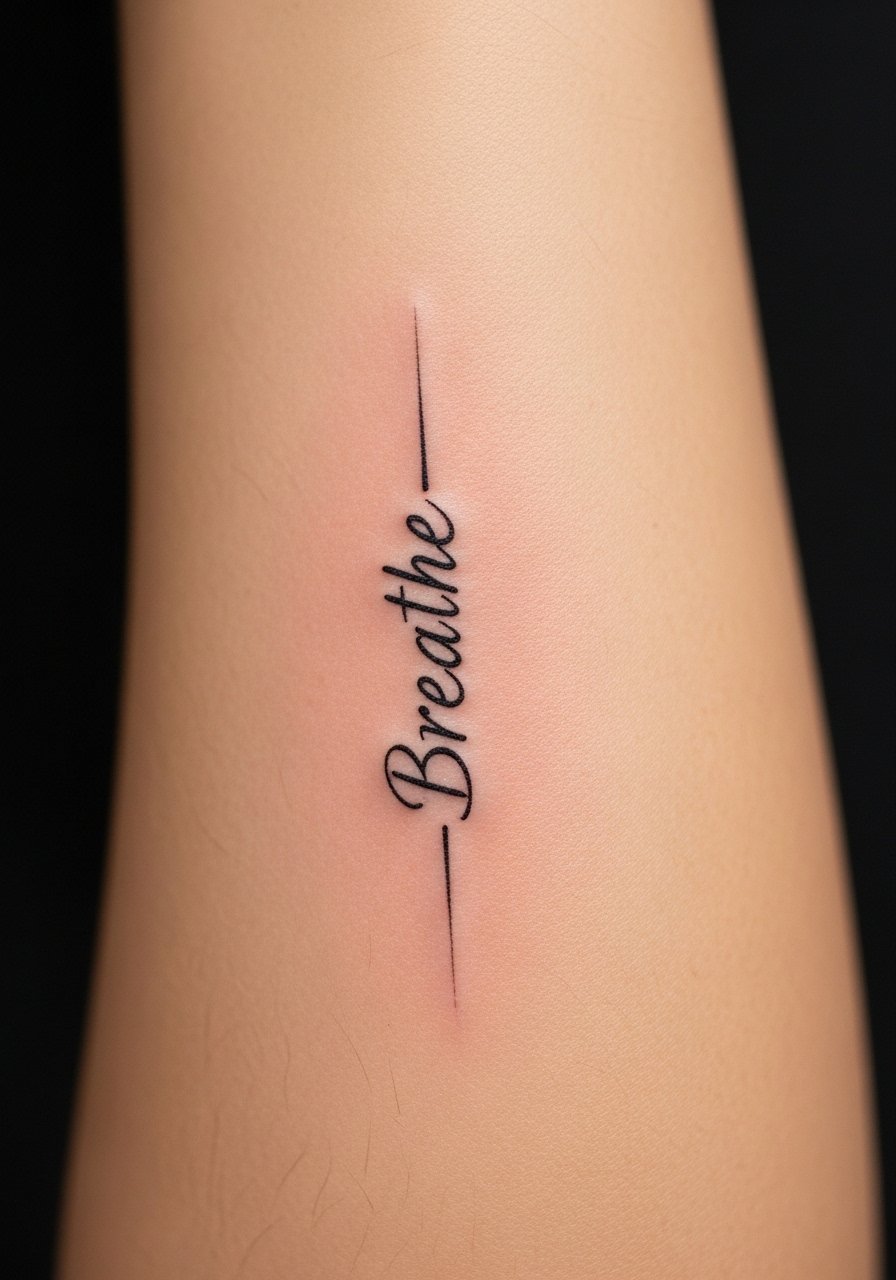
When you pick lettering, bring the exact font sample and the exact wording. Tiny script can blur if stroke width is inconsistent. Most artists will size the letters to avoid eventual merging, and the session often takes 45 to 90 minutes depending on length. A mistake I see a lot is asking for a font that looks great on a desktop but has hairline strokes that will disappear on skin. Expect a touch-up around year two for thin scripts. For the consultation, say you want steady line weight and vertical spacing that reads at arm length.
3. Polygonal Geometric Stack Along the Forearm
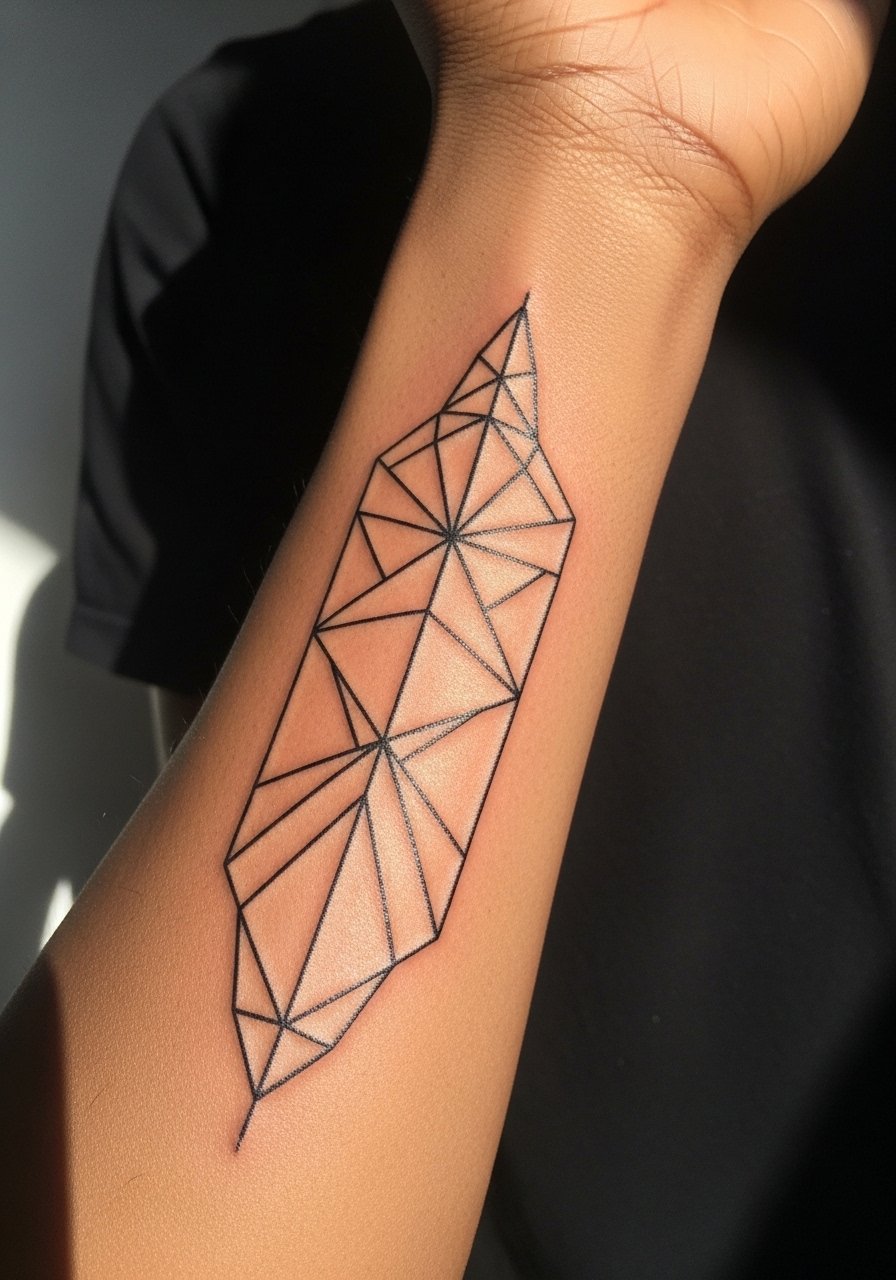
The polygonal aesthetic reads modern and it shows forearm contours well when the shapes follow muscle lines. The biggest mistake is scaling the polygons too small. Give each polygon room to breathe so dot work and line intersections do not fill in over time. This style takes about one to two sessions depending on complexity and line density. For a casual frame that complements the angles try a rolled cuff chambray shirt and a thin leather wrap bracelet on the opposite wrist. During the consult, ask your artist to map the geometry so major joints do not interrupt repeating patterns.
4. Thin Constellation Band that Wraps Slightly
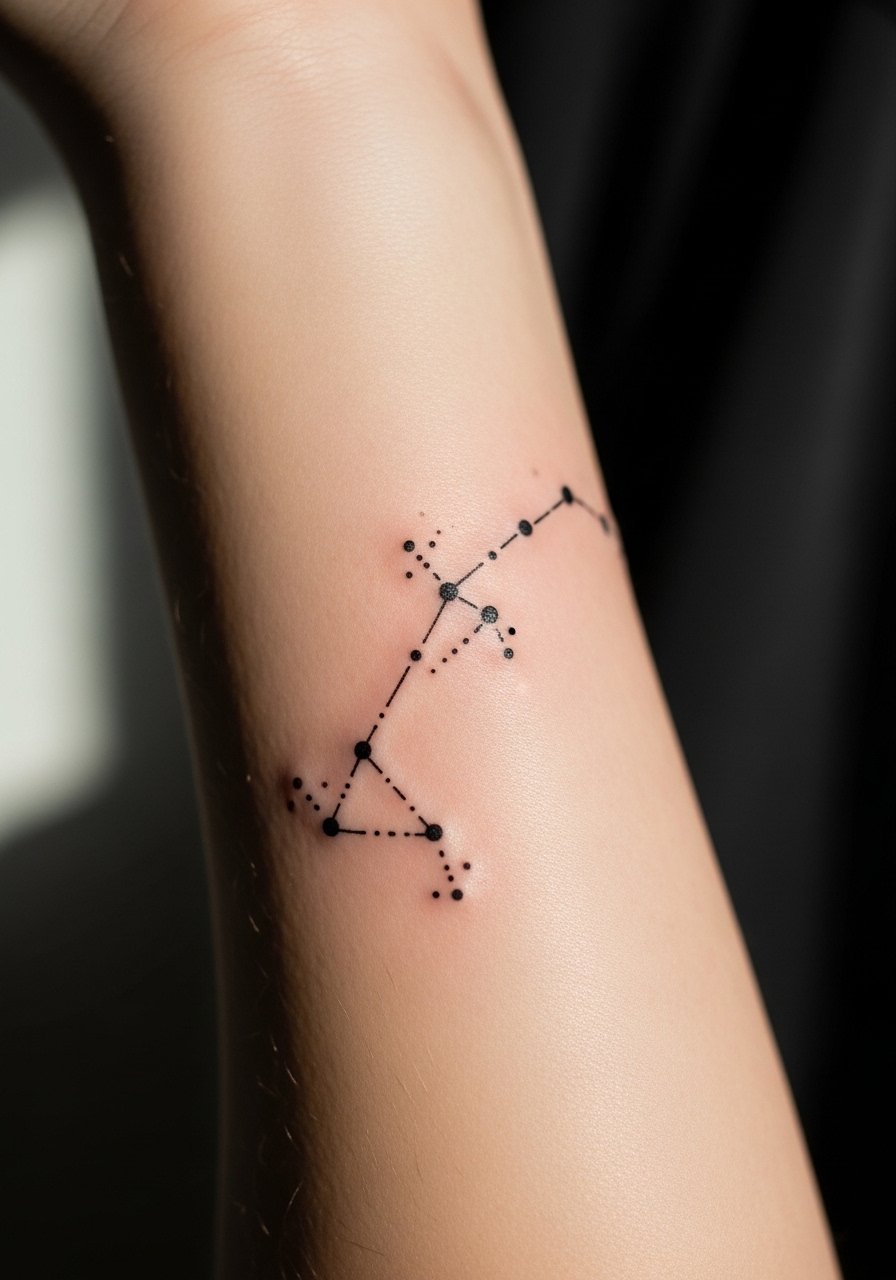
Constellation pieces age differently because they rely on negative space and dot spacing. The hold-up trick is spacing dots just wide enough to avoid merging at two years. Young clients often ask for ultra-tiny dots and then come back for touch-ups. Session time is short, often under an hour. For showing off a subtle celestial band, roll up a short sleeve button down so the cuff frames the piece without covering it. Mention to your artist that you want negative gaps preserved for long-term clarity.
5. Micro-Realism Lion Portrait, Black and Gray
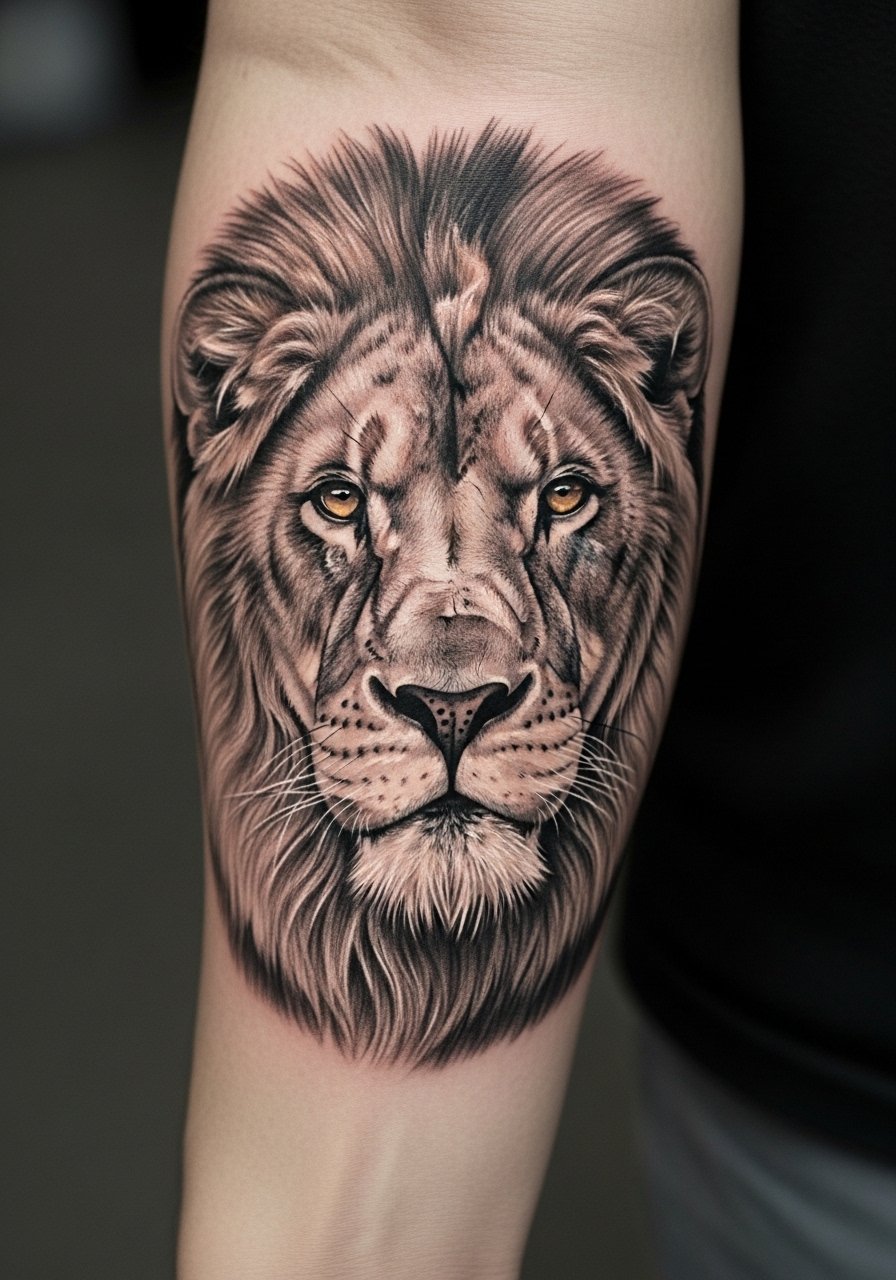
Realism on the inner forearm does well because the skin is flat and consistent. The secret is vertical scale. Ask for a portrait at least 4 to 6 inches tall so stipple and whip shading keep texture over years. A common error is shrinking a head and cramming too much detail into a tiny canvas. Expect two to three sessions for complex shading and a touch-up window at year one. For sessions, wear a loose short-sleeve button-up so the artist has clear access and your shirt does not press on fresh ink.
6. Single Butterfly with Subtle Stipple Shading
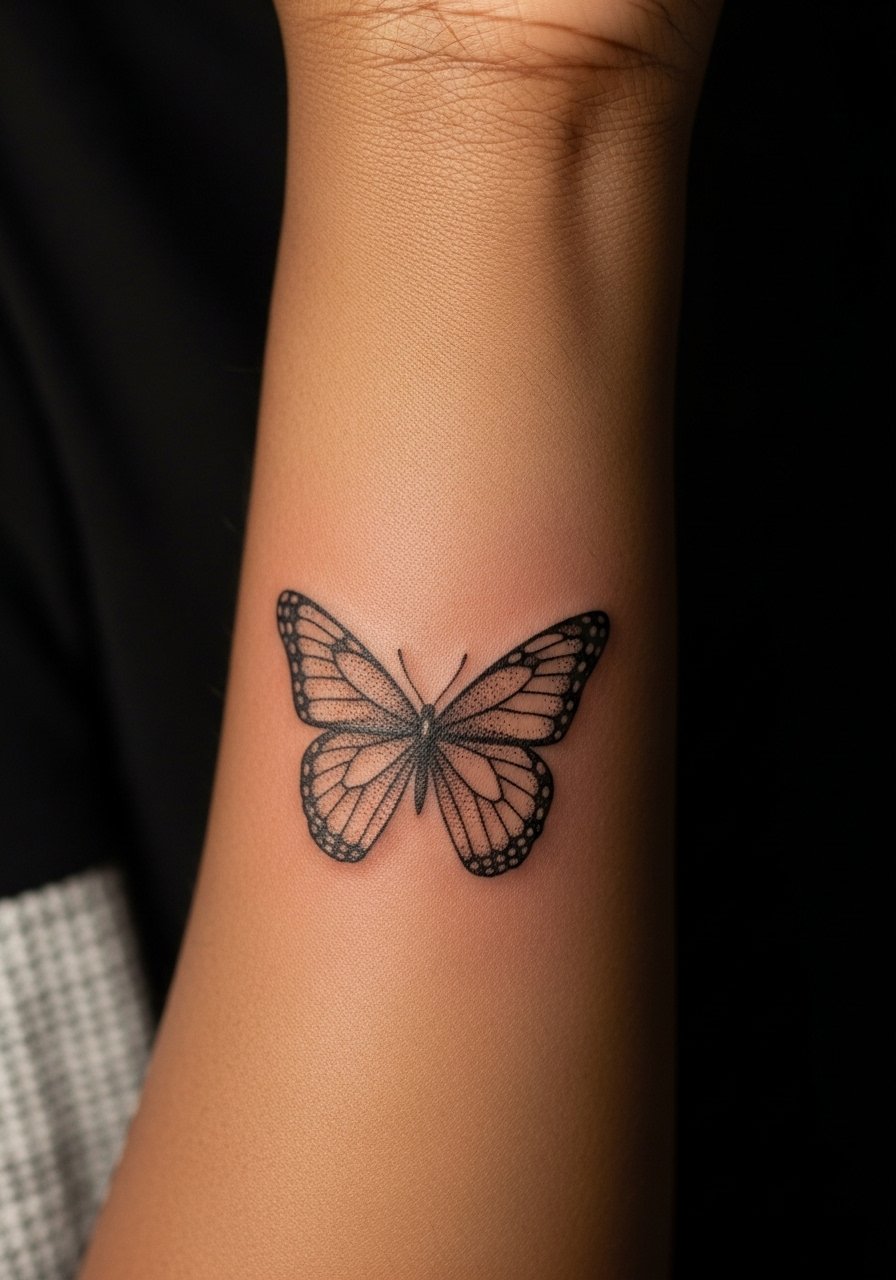
Butterflies rely on crisp edges and soft fills to keep their shape. The mistake is over-detailing wing veins at a micro scale. Ask for slightly bolder outlines and stipple shading inside to preserve the silhouette by year three. This type of piece is usually a single-session job under 90 minutes. For showing it off, a flowy linen top in sage and a dainty silver chain bracelet on the opposite wrist frame the motif without competing for attention. Mention in the consult that you want a confident outline, not hairline lace.
Studio Day Picks
The first six inner forearm ideas above include both delicate linework and denser blackwork, and a few small items make the session and the first week easier.
- Stencil transfer paper kit. Lets you preview placement on skin, which is handy for vertical scripts and constellation wraps from ideas above.
- Topical numbing cream. Applied per instructions about 45 minutes before can ease wrist sensitivity without changing linework.
- Thin protective film roll. Keeps forearm pieces clean during the first few days when clothing friction is highest.
- Fragrance-free gentle body wash. Cleans the area without stripping moisture that fine line work depends on.
- Aquaphor healing ointment. A thin layer for the first few days helps keep small needle channels moist without clogging them.
7. Single Needle Minimalist Mountain Range
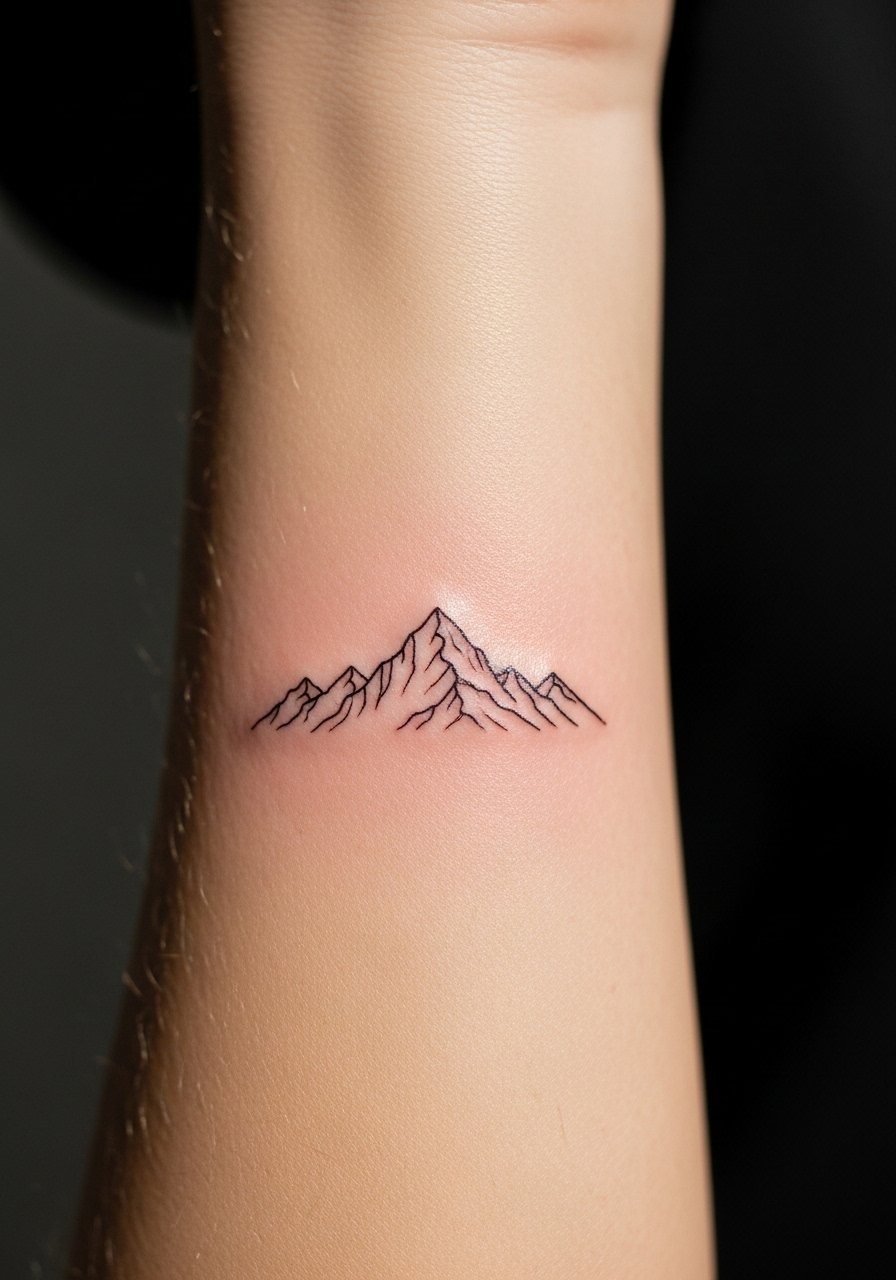
Most mountain ranges done with a single needle look crisp early on but need space between peaks. The failure mode is drawing lines too close across small peaks, which merges at year two. Ask for modest spacing and slightly heavier apex points. This design is low pain and often completes in under an hour. For longevity, expect to plan a light touch-up at the two to three year mark. The session feel is a focused buzzing that is easy to manage with short breaks.
8. Chain Link Geometry That Flows With Muscles
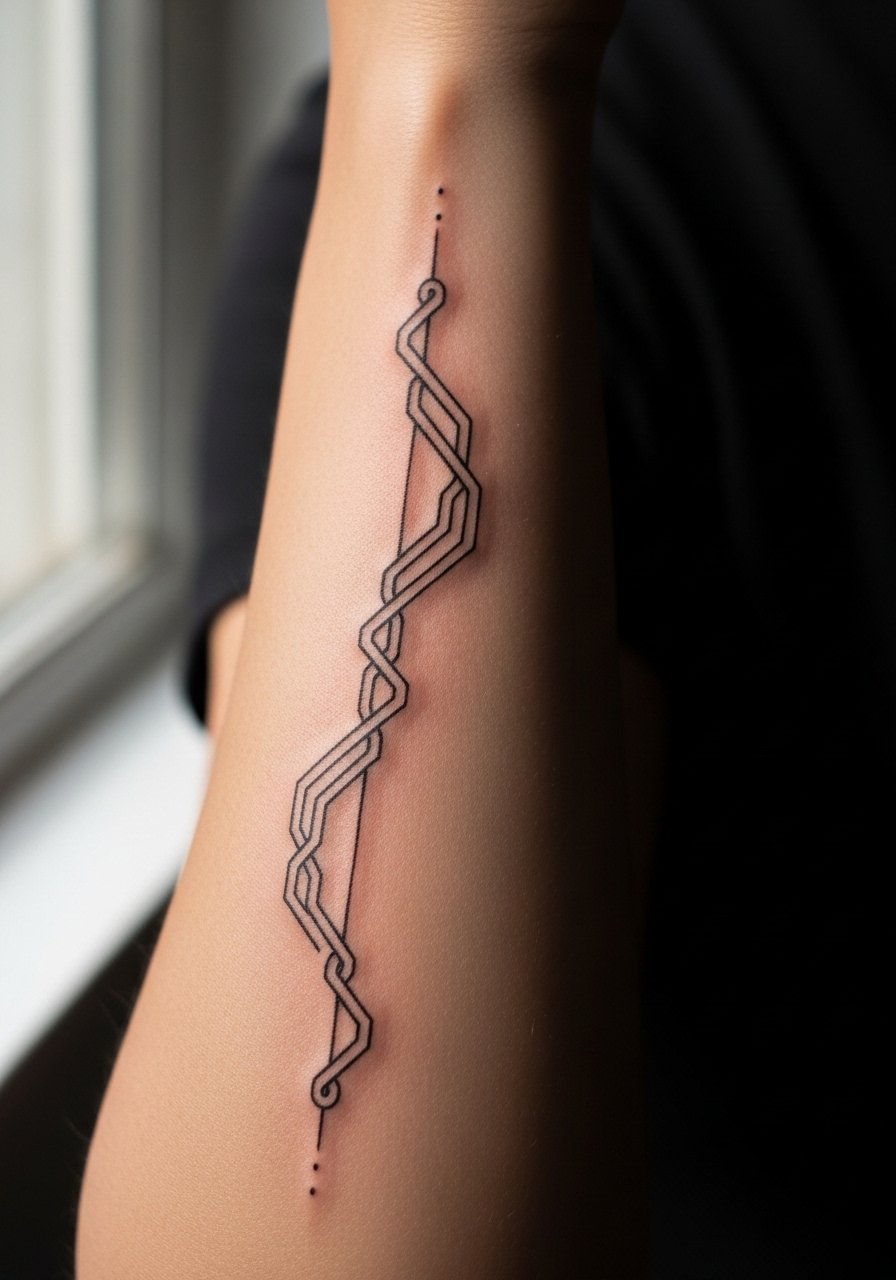
When geometry follows muscle direction, it reads like a custom fit. A frequent mistake is forcing a repeating pattern across a joint without accounting for stretch. Tell your artist you want the repeat broken slightly at the wrist and elbow so the design does not distort when you bend. This work usually runs one to two sessions for precision. For showing the pattern best, roll up a tailored henley shirt and let the cuff sit just under the most intricate section.
9. Blackwork Negative Space Chevron
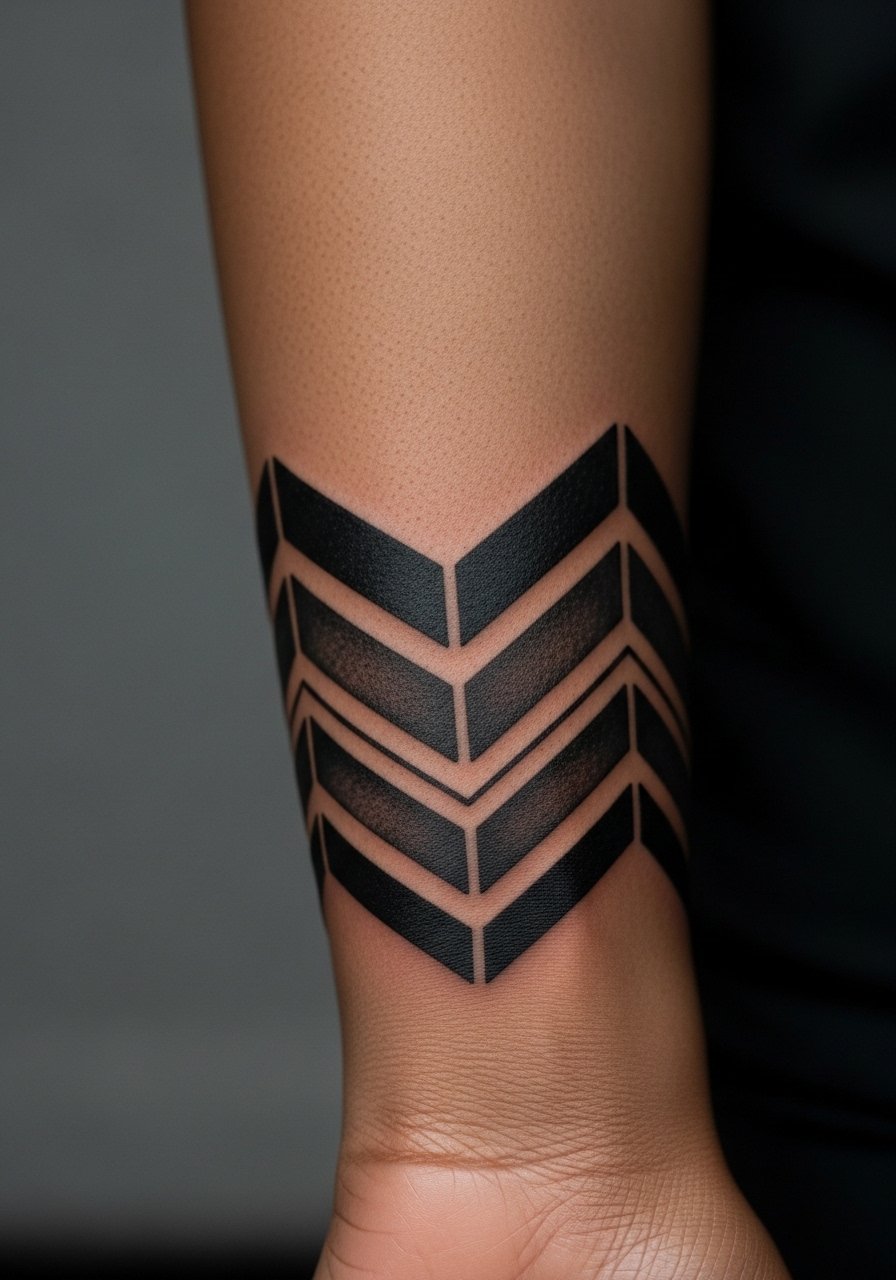
Blackwork fills are forgiving long term because saturation ages into a stable mass. The risk here is heavy blocks over thin skin near the wrist that can feel raised during healing. Expect two sessions for saturation and a longer initial touch-up window if the artist layers too quickly. For consultation, say you want solid fills but ask about saturation pacing so the skin does not overwork. The pain is moderate, especially where the forearm meets the wrist.
10. Botanical Half-Branch That Extends Toward Wrist

Botanical half-branches do well when the stem is given a natural taper and leaf spacing is generous. Tiny leaf serrations often blur, so instruct your artist to imply texture with shading rather than micro-etching. Sessions are commonly an hour to ninety minutes. For showing it off, consider a dainty silver chain bracelet or a slim leather cuff opposite the tattoo to balance the look. Mention you want the stem to flow with the forearm grain so it reads from both angles.
11. Small Compass with Fine Cardinal Points

A compass needs center-to-edge balance. The common mistake is making the outer points too fine. Ask for slightly thicker cardinal points and a clear negative space circle to preserve shape by year three. This piece usually takes 45 to 75 minutes. If navigation symbolism matters to you, bring coordinate numbers or a short phrase in precise text. Touch-ups are common for very small compasses after about two years.
12. Column of Small Icons That Tell a Story
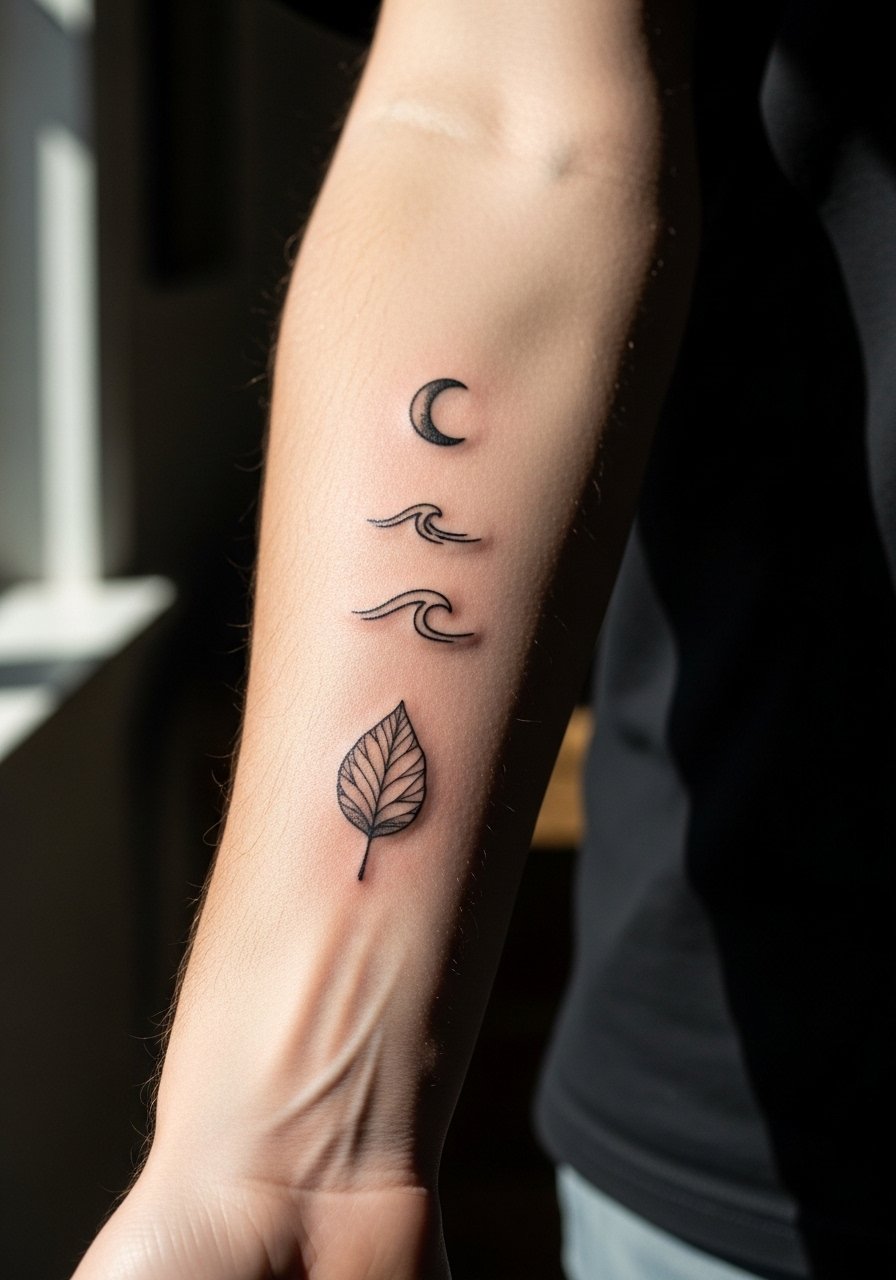
Stacked icon columns are great for adding elements over time when you plan a larger arm narrative later. The mistake is mixing scales and line weights. Ask your artist to standardize icon size so future additions slot in seamlessly. Sessions are modular, usually 30 to 60 minutes per icon. For showing the column, roll up a short sleeve button down so the cuff frames the vertical story. Tell the artist you might add pieces later and want consistent spacing.
13. Micro-Realism Eye with Subtle Highlights
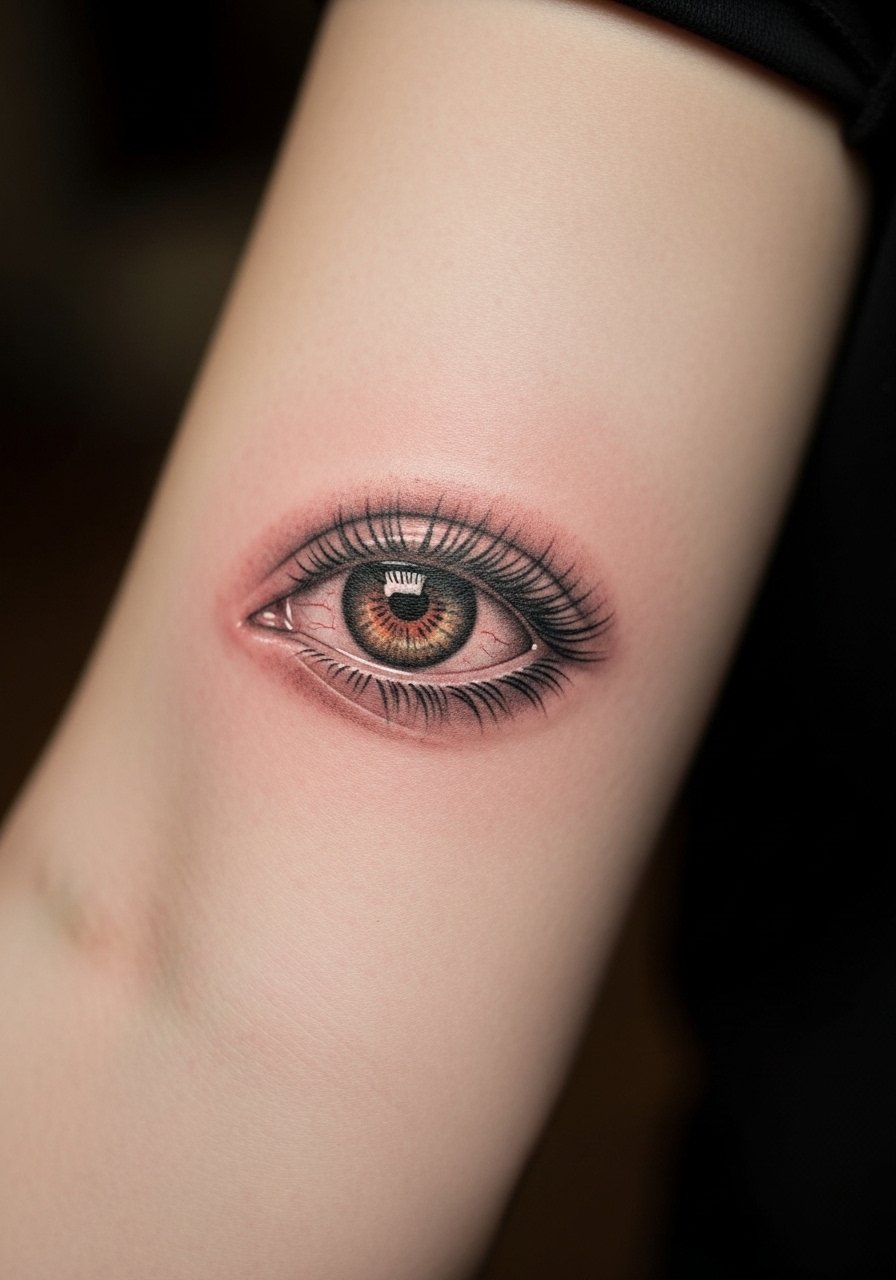
Eye portraits need careful white-space planning. Artists differ on highlight technique, and that split creates a small controversy. One camp argues highlights should be left as untouched skin, which preserves brightness. The other camp prefers white ink to strengthen the catchlight. Both approaches work, but the choice changes touch-up needs. Expect one to two sessions and a touch-up at year one for small highlights. Be explicit in consultation about whether you want natural skin highlights or white ink.
14. Minimalist Anchor with Rope Detail
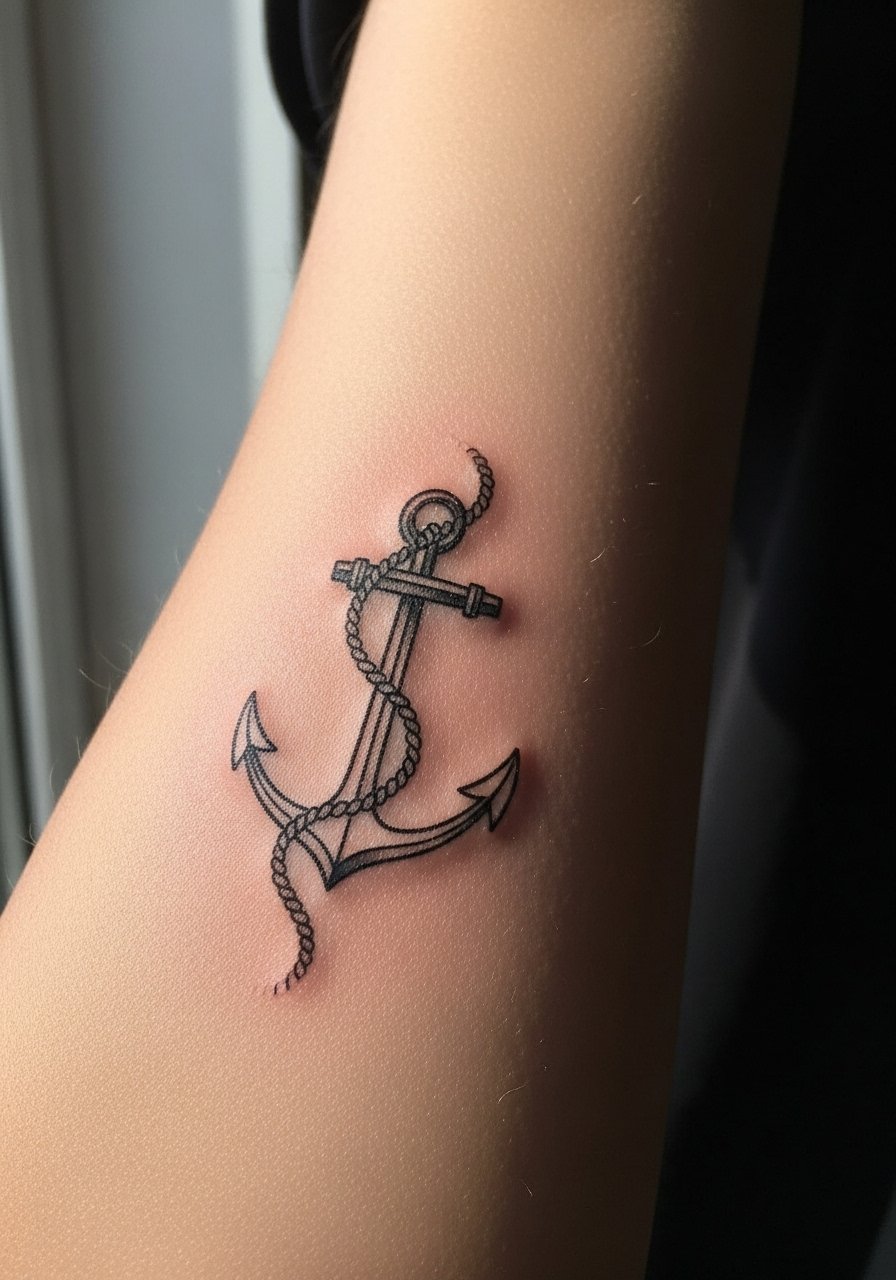
Anchors age predictably if the outline is confident. Tiny rope twists erode into blobs when over-etched. Ask for a simplified rope suggestion with implied twists rather than micro-detail. Sessions are short, often under an hour. For a classic look in casual wear, pair it with a fitted crewneck tee in navy or olive which makes the black lines read cleanly. During the consult, note you want lasting silhouette over tiny surface texture.
15. Wave Line with Stipple Foam Accent
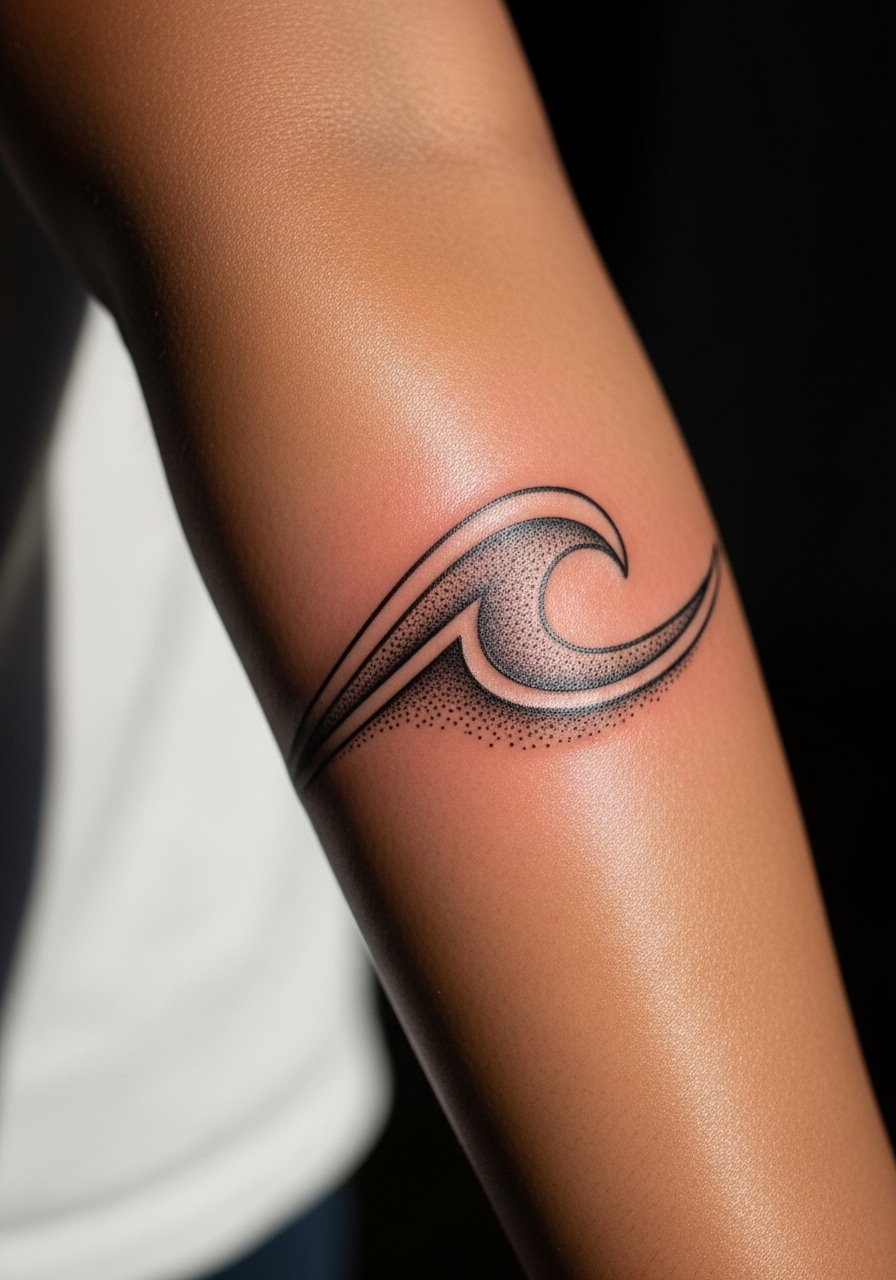
Wave lines can be almost timeless if the movement is clear. The common error is over-stippling near the crest which clogs fine negative space. Ask for airy stipple and heavier outer wave line to keep silhouette. This style is low pain and typically finishes in one session. Plan on a small refresh at two to three years depending on sun exposure. For session wear, loose short sleeves or a tank avoid pressure on the forearm.
16. Geometric Sunburst That Radiates Toward Elbow
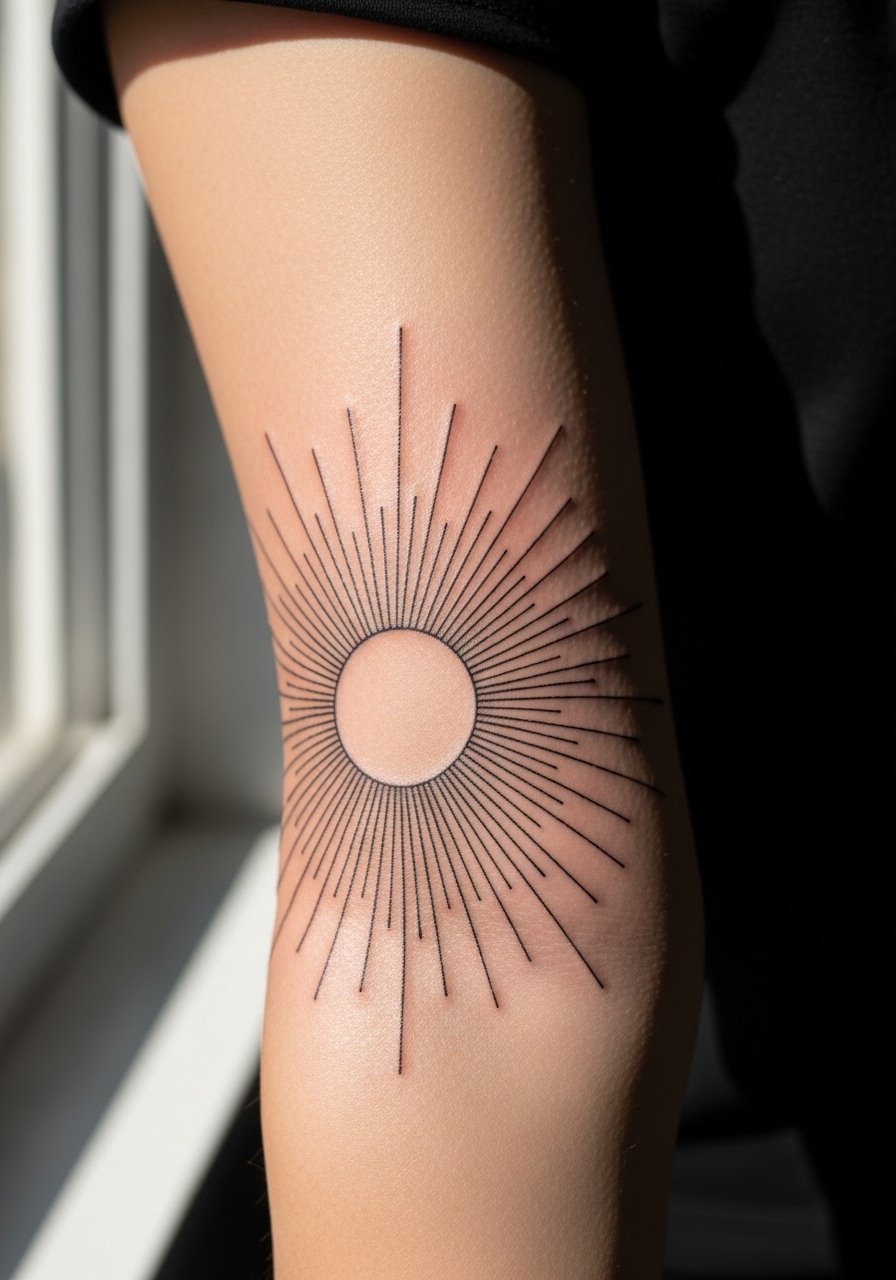
Sunburst geometry benefits from spacing and staggered line weights. Too many close radial lines blur into a gray block over time. Tell the artist you want graduated line weight so the core stays crisp even as outer rays soften. Sessions can be one to two hours. For showing it off, a charcoal henley shirt with sleeves rolled frames the upper rays without hiding the center. Discuss where the burst should stop so it can integrate with future sleeve work if you choose.
17. Thin Bar Code or Coordinate Band

Bar code or coordinate bands lean on precise spacing and line weight uniformity. The main mistake is choosing font hairlines that disappear. Provide the exact numbers or location text to the artist and pick a clean monospace or thin serif that prints well on skin. Expect a short session of under an hour. For longer-term clarity, plan to keep sun exposure low and request slightly heavier line weight for the numeric elements.
18. Moth with Gentle Whip Shading

Moths require balanced wing negative space and soft internal shading. The controversy here splits artists into two camps. One side favors tight lines and dense wing patterning for realism. The other side recommends open negative areas and whip shading so the wings do not clog. Both can look great, but they age differently. If you want longevity, ask for a plan that keeps major veins simple and uses dot shading for texture. Sessions vary from one to two hours.
19. Half-Sleeve Transition Panel Toward Outer Arm
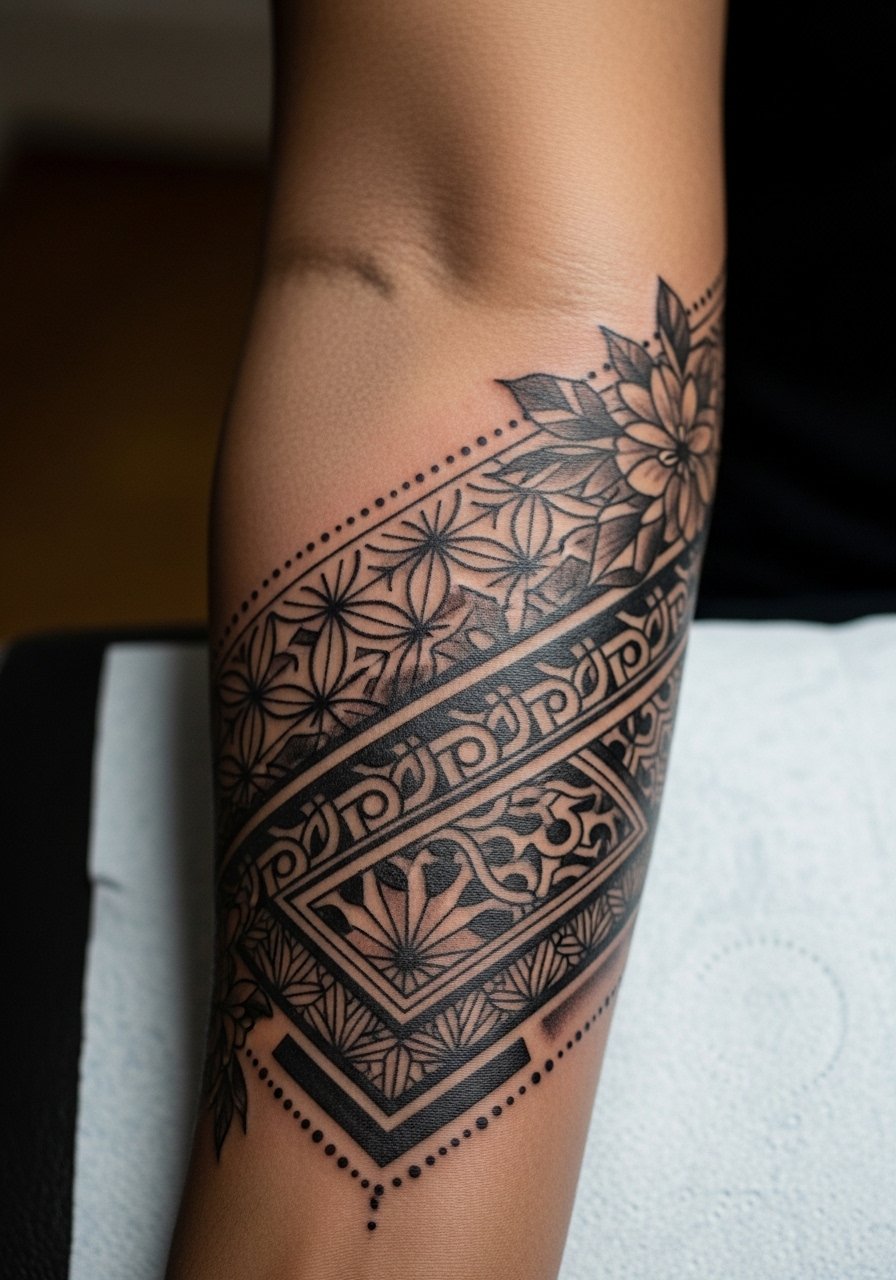
Using the inner forearm as the starter for a larger sleeve is a smart move if you want flexibility later. The key is creating an entry panel with clear anchors so additions do not feel tacked on. Common mistakes are tight borders that limit future blending. This planning session is often longer because the artist maps future seam lines. For comfort, wear a loose roll cuff long sleeve that you can push up between sessions. Discuss the half-sleeve roadmap in your consultation.
20. Tiny Morse Code Line That Reads Along the Arm
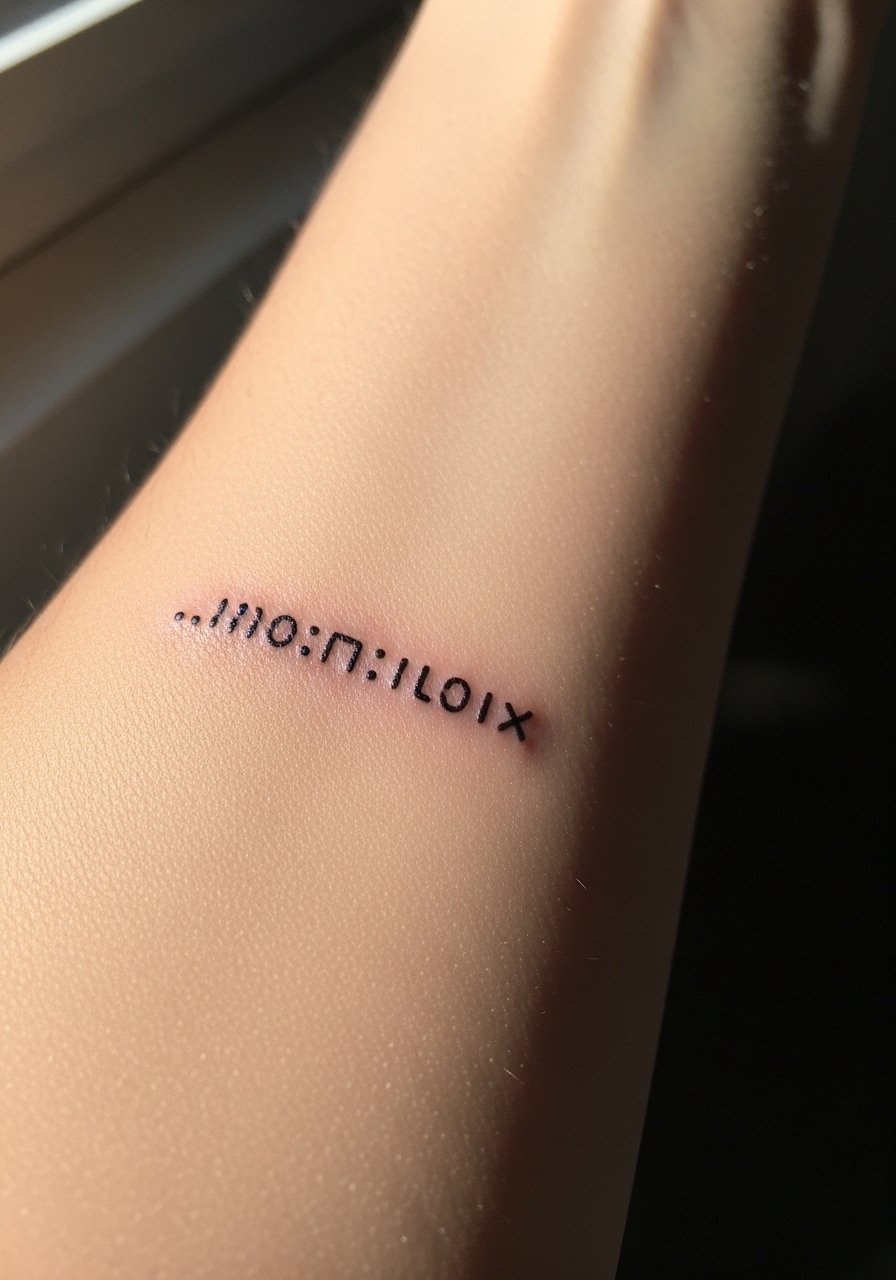
Morse code relies on exact spacing. The worst mistake is inconsistent dot size, which destroys legibility. Ask your artist to mark out the full run and check spacing before any ink goes down. Sessions are quick, often 30 to 45 minutes. For showing off a subtle linear message, a rolled cuff chambray or a fitted crewneck tee keeps the line visible when you want it to be. Tell the artist you want the code readable at arm length.
21. Single Bold Arrow with Negative Feathering
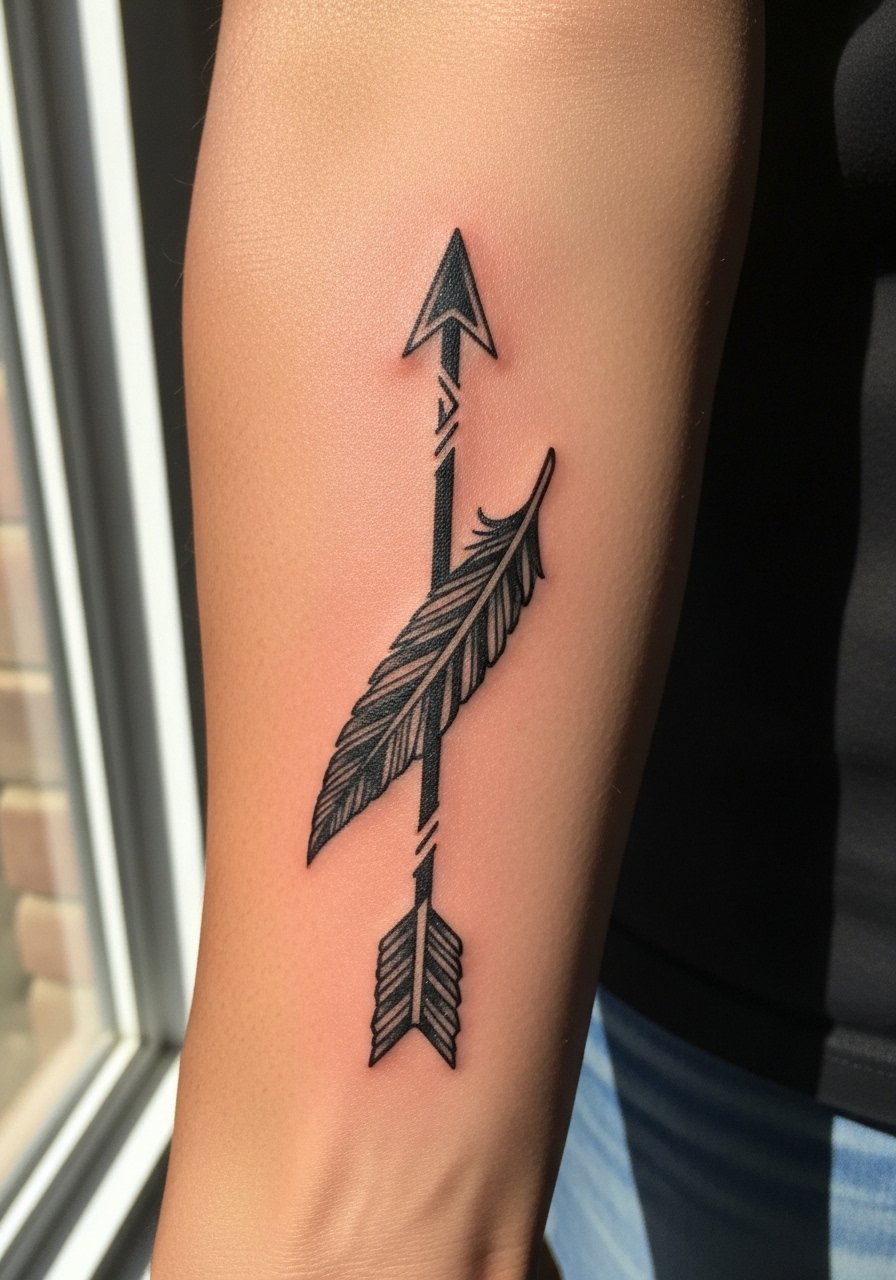
Arrows are deceptively simple. The risk is overworking negative feather details that age into grey smudges. Request clear negative cuts inside the fletching rather than tiny etched lines. This piece commonly finishes in one session under an hour. For appointment comfort, wear a loose short sleeve button-up that allows easy access and does not press against fresh ink. Discuss edge crispness in the consultation so the arrow keeps its graphic quality.
Frequently Asked Questions
Q: How does fine line work on the inner forearm hold up compared to blackwork?
A: Fine line can look fantastic on the inner forearm because the skin tends to be flatter and less exposed than outer surfaces. Expect thinner pieces to need touch-ups sooner than saturated blackwork. If longevity is a priority, ask your artist to slightly reinforce main lines and preserve negative space for clarity.
Q: Will a geometric band that wraps the forearm distort when I bend my arm?
A: Geometry that follows muscle grain will read more naturally when you bend. The safer approach is to ask the artist to map the repeat so major joints interrupt the pattern intentionally. That prevents unplanned distortion and keeps the pattern stable over time.
Q: Are there design choices that make a realistic portrait last longer on the inner forearm?
A: Scale is the main factor. Portraits sized at least four inches tall give room for stipple and whip shading, which hold up better. Also plan for staged sessions rather than dense packing, because gradual saturation reduces the risk of skin trauma that can blur fine detail.
Q: How soon can I roll sleeves back over a fresh inner forearm tattoo without harming it?
A: Wait until the initial protective film is removed and the skin is no longer weeping, usually two to three days. After that you can wear sleeves that are loose and soft to avoid rubbing. Tight cuffs and abrasive fabrics increase the chance of scabbing and pigment loss.
Q: If I want to expand a small inner forearm piece into a half sleeve, what should I discuss with the artist first?
A: Talk about anchor points and negative space. Request a plan that leaves transition zones so future pieces blend without sharp seams. Ask the artist to sketch a roadmap that shows how the new elements will tie into what you already have. Trust your artist on flow, but be specific about where you want coverage and where you want breathing room.
Q: Do tattoo styles like stipple shading or whip shading require different session wear?
A: The session wear is similar, but shading styles can require the arm position to be held longer. Wear a loose tank or short sleeve that the artist can adjust so your arm stays steady and the fabric does not press on the working area.
