
Fine line butterflies dominate saved boards, but trend and reality often drift apart. Many people pick a tiny outline thinking it will stay crisp, only to find it softens after months of handwashing. Others assume small means cheap and are surprised by session minimums or bone-level pain on knuckles. Read on for 27 mini butterfly hand tattoo ideas with real aging notes, styling tips, and what to ask your artist first.
1. Fine Line Outline on Side of Hand
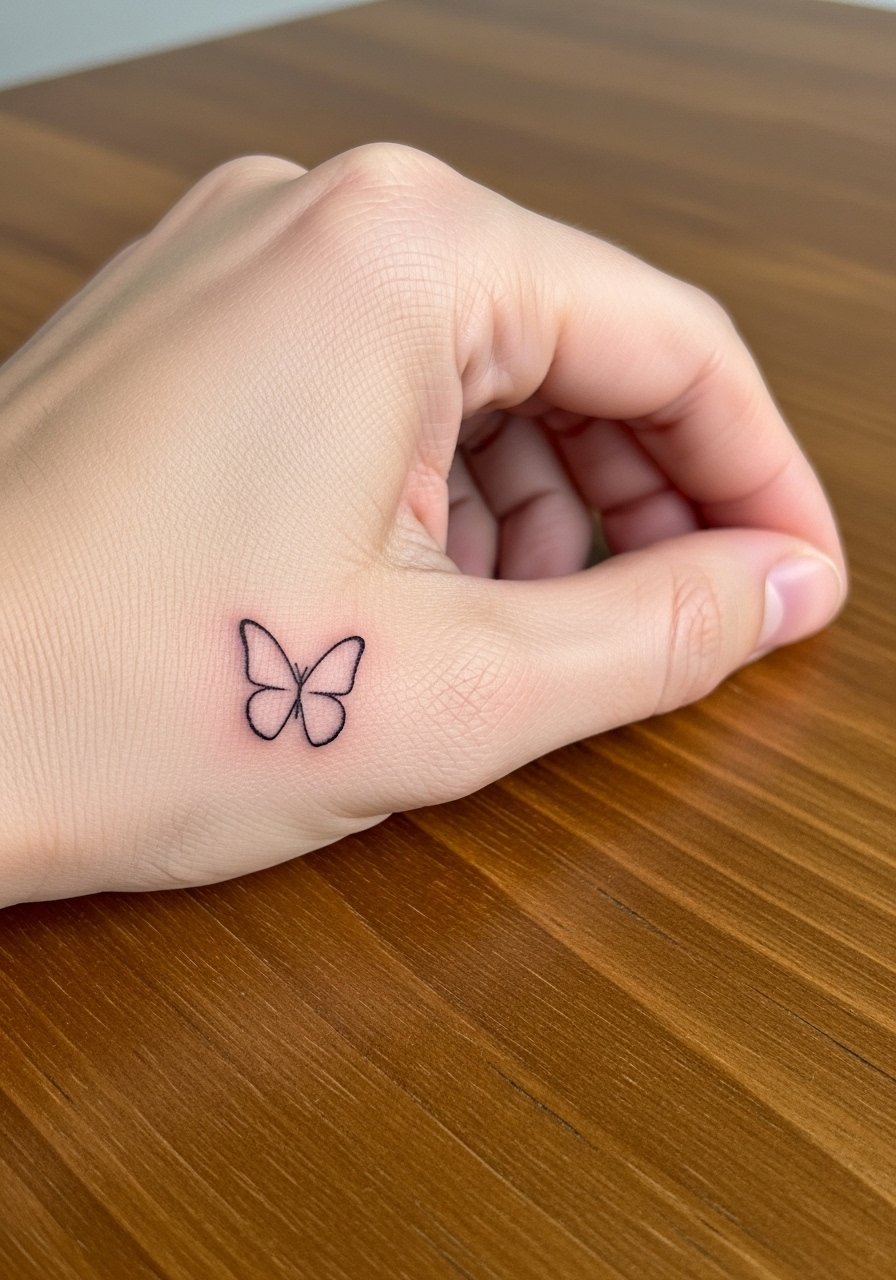
This is the classic mini butterfly people pick for subtlety. Pain is lower than knuckles but higher than the wrist because that webbing sits over thin tissue and moves a lot. Ask your artist for 1-2mm line weight and a simple shape so the lines have room to hold. The common mistake is asking for a single-needle ultra-thin outline that looks great fresh and fades to a ghost after months. Expect a touch-up around six to twelve months on this placement. For showing it off, stack a thin silver ring stack above the tattoo and keep nails short during the session so the artist has clean access.
2. Blackwork Geometric Back-of-Hand Butterfly
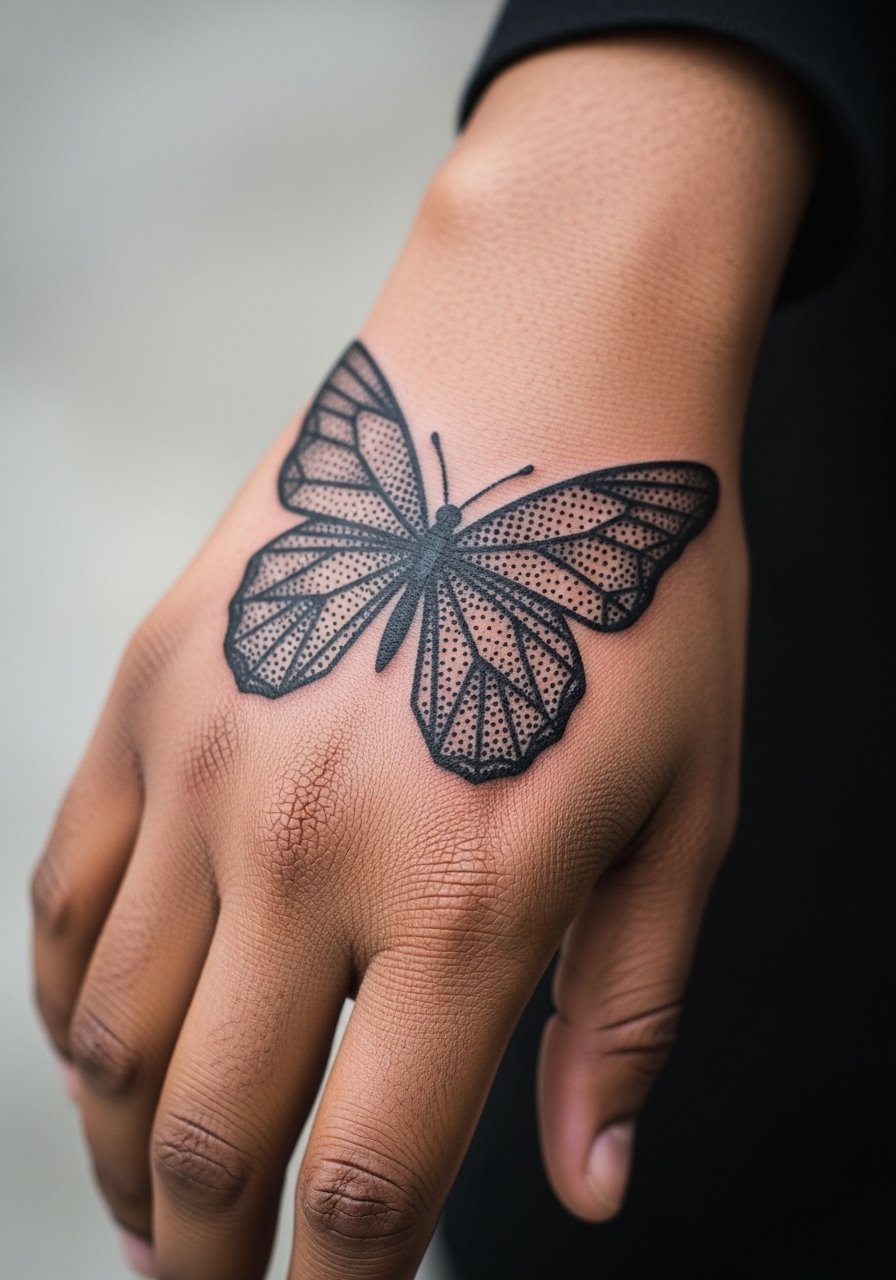
If longevity matters, this is the safer bet. Big black fills and geometric shapes resist washout from daily friction better than single-needle outlines. Expect more session discomfort on the back of the hand because the area is high-movement and thin. Bring clear references that show negative space so the artist spaces the geometry to avoid merging lines later. A mistake is crowding tiny geometric details into a small 2cm area. For a street-ready vibe, pair this with leather fingerless gloves when showing it off, and wear a loose short-sleeve top on tattoo day for unhindered access.
3. Watercolor Splash from Inner Wrist to Hand
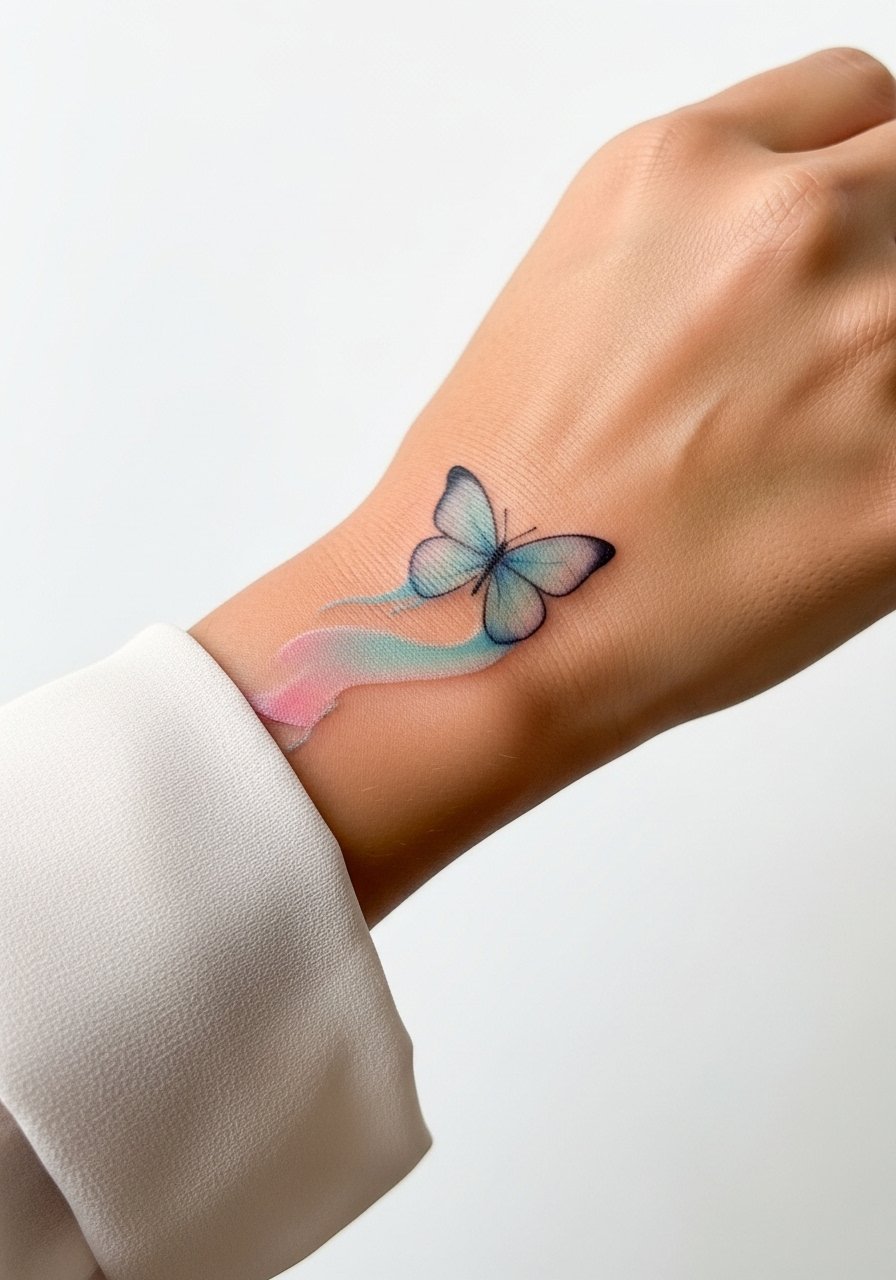
Watercolor looks like jewelry when it reads soft and airy at the cuff. On hands it is riskier because color fades with sweat and washing. Tell your artist you want muted pastel washes rather than dense saturated blobs so the bleed blends on purpose. The common issue is oversaturated color that migrates during heal, leaving a muddy patch. Expect that colors will need refreshes sooner than black over the first one to two years. For evenings out, pair the look with a chiffon blouse that frames the wrist and keeps attention on the color flow.
4. Neo-Traditional Top-of-Hand Butterfly with Florals
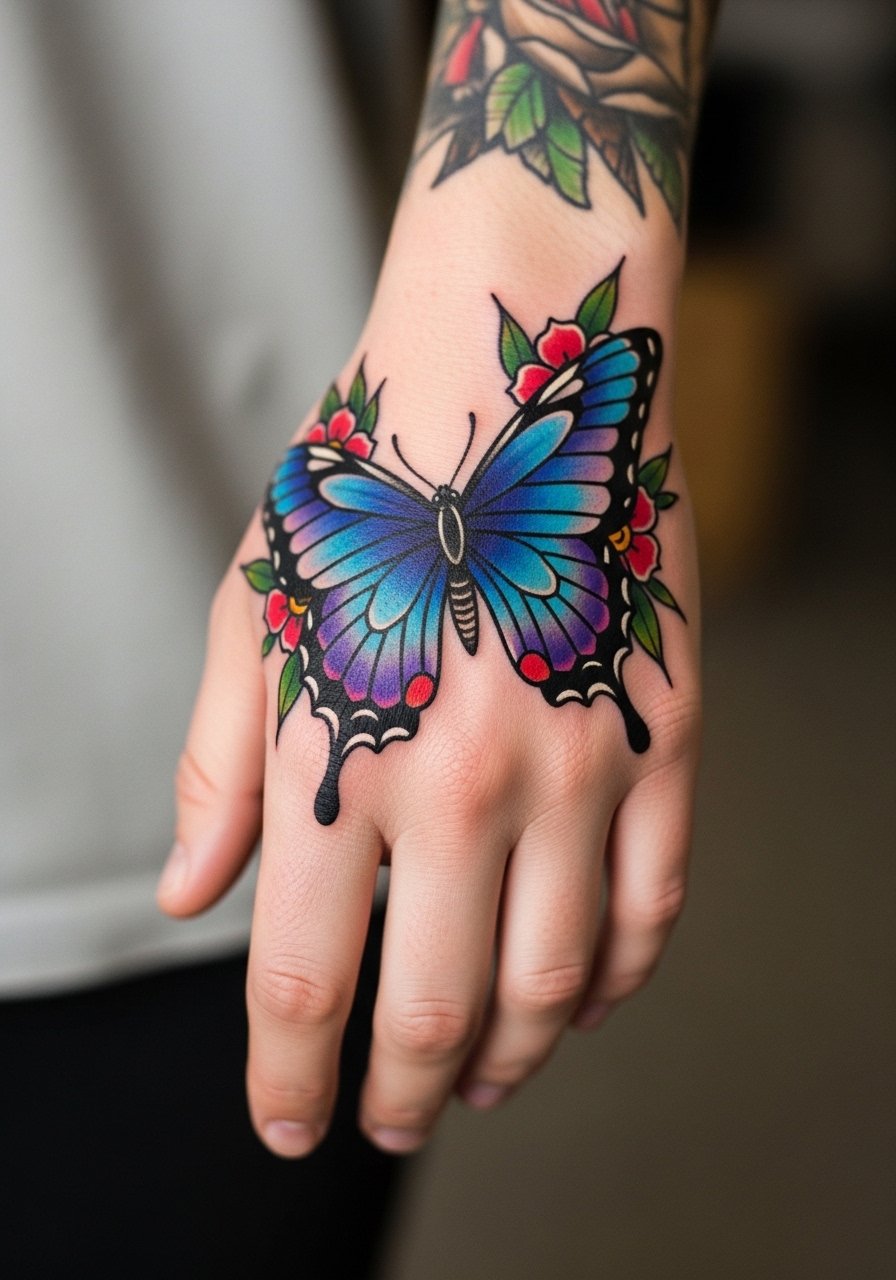
Bold outlines make neo-traditional pieces sit well on hands because they resist blurring. Pain at the top of the hand is moderate and the session time is short for a 2.5 to 3cm motif. During consult, specify that you want slightly heavier outlines and open floral spacing so the design avoids dense blocks that can blur. Some people ask for tiny petals packed tight and then complain the piece looks like a smudge after a year. A touch-up at year two keeps saturation lively. For a retro match, wear a chunky chain bracelet on the opposite wrist.
5. Micro-Realism Monarch on Finger Webbing
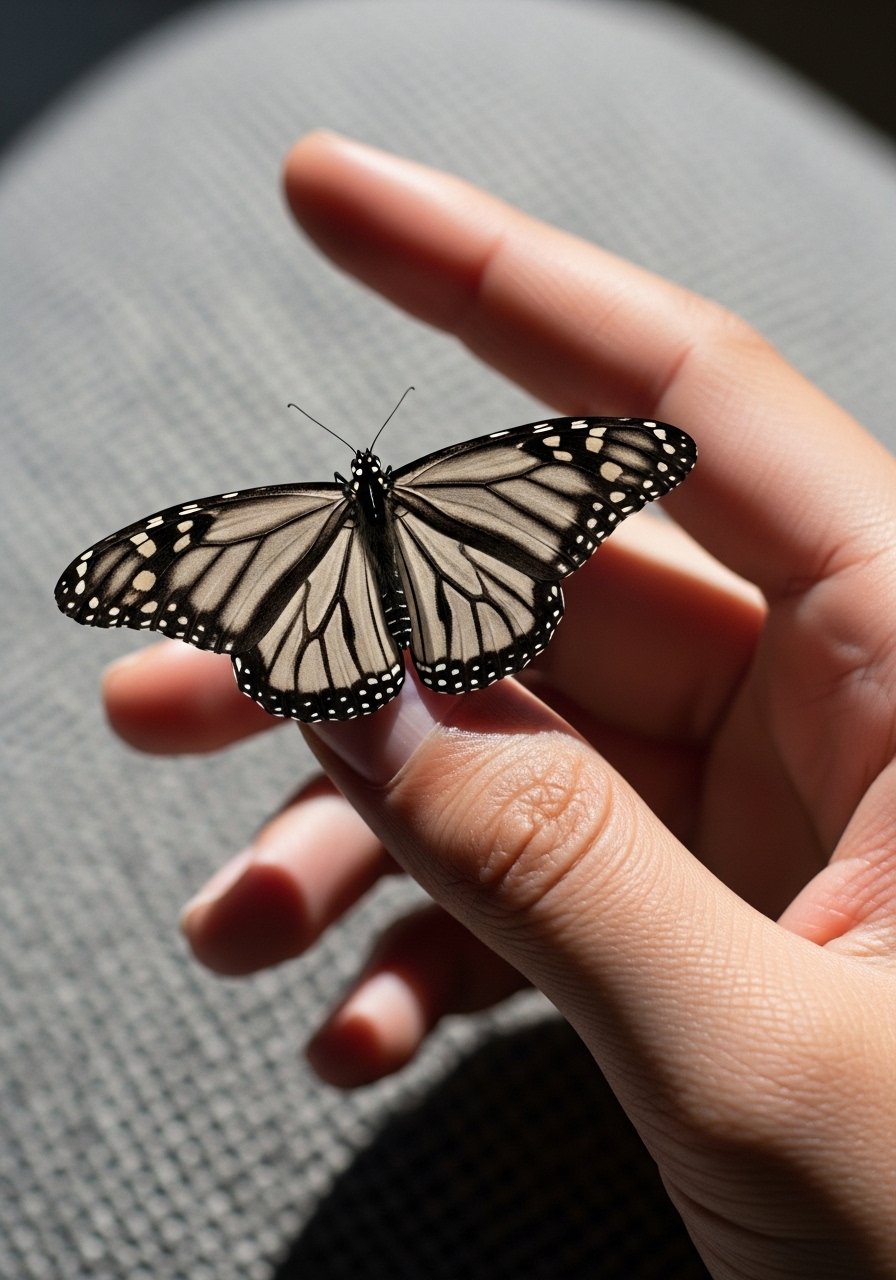
Finger webbing is tiny real estate that hides well and can look surprisingly detailed. Pain can spike because the skin is thin and the area is worked through small motions. Tell your artist you prefer crisp contrast over tiny texture so the pattern holds after healing. Common mistakes include asking for ultra-fine shading that softens into a gray patch. Expect a touch-up window in six to nine months. For a spare look that draws attention only to the tattooed finger, wear a gemstone minimalist ring on the same hand when you want the detail to pop.
6. Ornamental Mandala Butterfly on Palm Edge

This is a henna-like ornamental option that reads like a cuff across the hand. The palm edge heals against friction, so expect faster fading there than on the back of the hand. Ask for bolder outer lines and open negative space inside the mandala so the detail stays readable. A frequent error is packing too many tiny stipple elements that merge into a gray shape. Touch-ups will likely be needed within the first year. Note that ornamental patterns have cultural origins in several traditions and some people choose modest adaptations rather than exact replicas out of respect.
Pre-Session Essentials
The six hand placements above present a mix of friction and fine detail, so a few thoughtful items smooth the session and early healing.
-
Lush Tattoo Balm. A lighter indie balm that users say absorbs faster than heavy ointments, helpful for small hand pieces that sweat during the first week.
-
Hada Labo moisturizing lotion. Thin hydration without residue keeps hand skin from feeling greasy, which is useful for fine line pieces that need thin layers of moisturizer.
-
Australian ink oil. A thinner oil option that some report helps dark skin tones avoid ashiness during healing on high-friction areas.
-
Sage and Citrus fragrance-free balm. An unscented, light balm that reduces sticky buildup on hands during desk work.
-
Hustle Butter Deluxe. A commonly recommended thin balm artists prefer for the first few days because it is less likely to clog pores on sweaty hands.
7. Ignorant Style Scribble on Knuckles
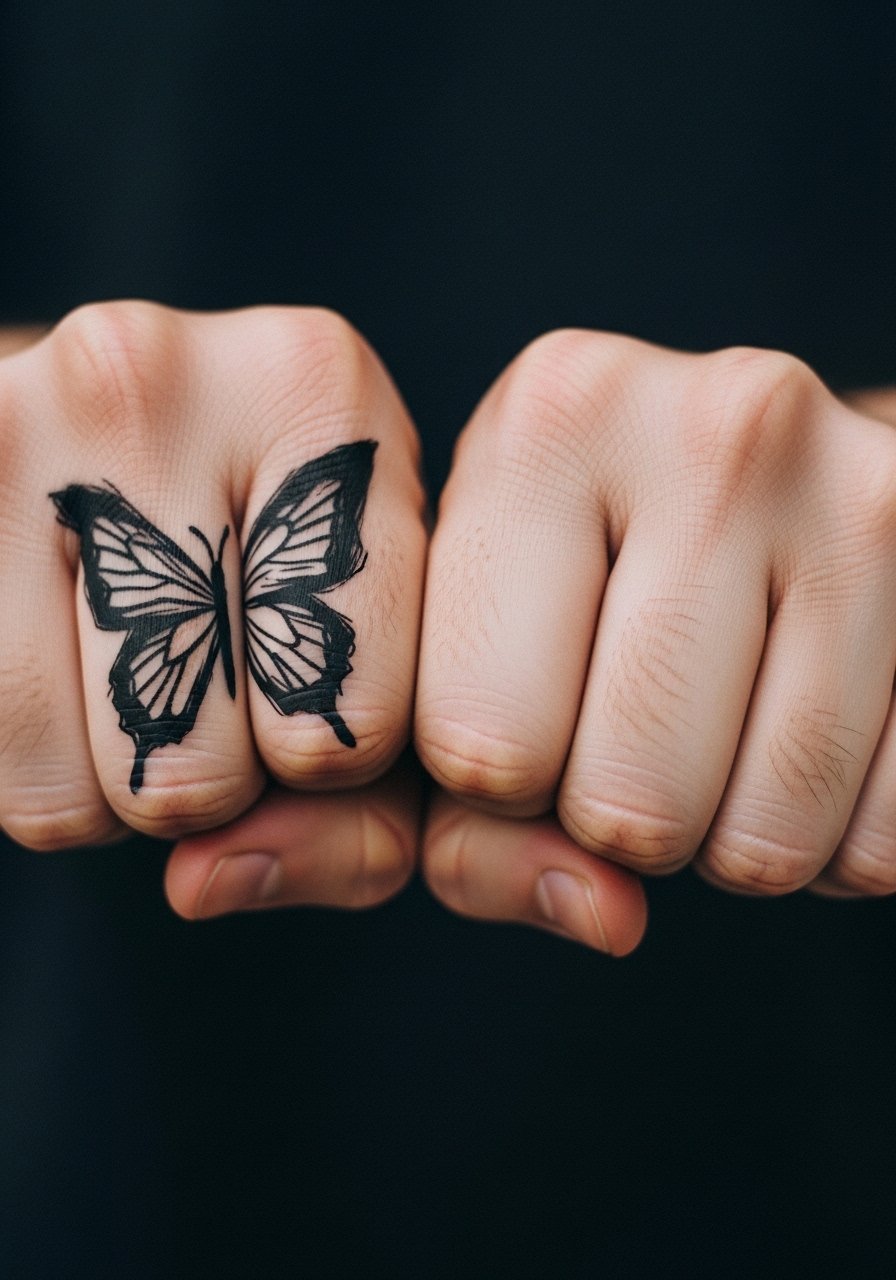
Knuckles hurt more than the back of the hand because you are tattooing over bone and thin tissue. The appeal here is raw, punk energy rather than polish. Ask your artist to draw the scribble large enough that the rough texture reads intentionally rather than looking like an underworked patch later. The usual mistake is cramming a tiny scribble across a single knuckle which reads like faded ink after a few months. Expect heavier touch-ups and potential re-inking each year. For photo-ready looks, pair the knuckle script with a ripped denim jacket or biker gloves when you go out.
8. Traditional Thumb-Base Butterfly with Heart Motif
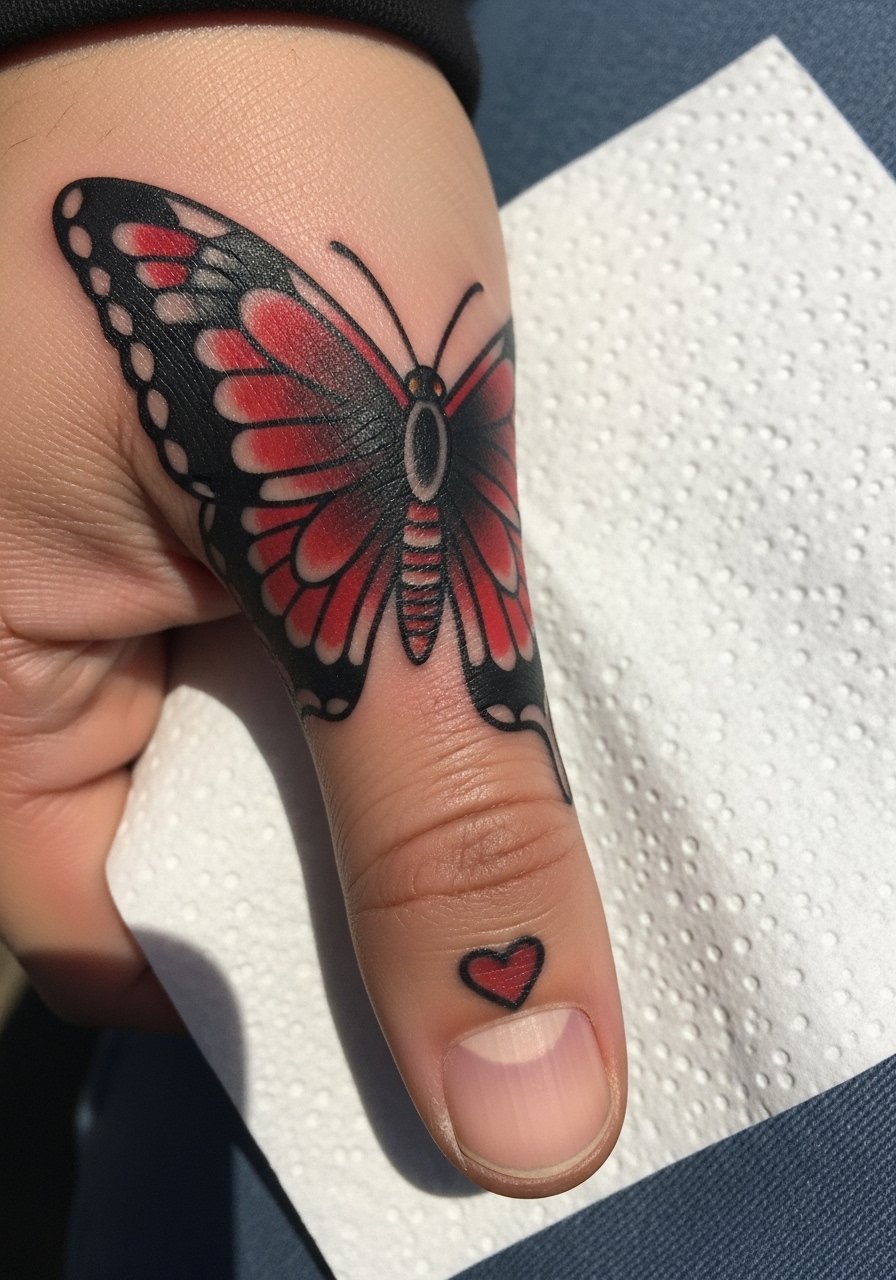
The thumb base offers a little shelter from constant contact compared with fingers. Bold outlines and saturated color are the strengths of traditional work on hands. In consult, ask for closed outlines and solid fill areas so the pigment stays vivid. A common error is requesting tiny color gradients that wash out. Expect good longevity from bold black outlines and color refreshes at year two to three if needed. Style with a bold thumb ring and chunky bracelets on the other wrist for a vintage nod.
9. Fine Line with Trailing Vines from Wrist onto Hand
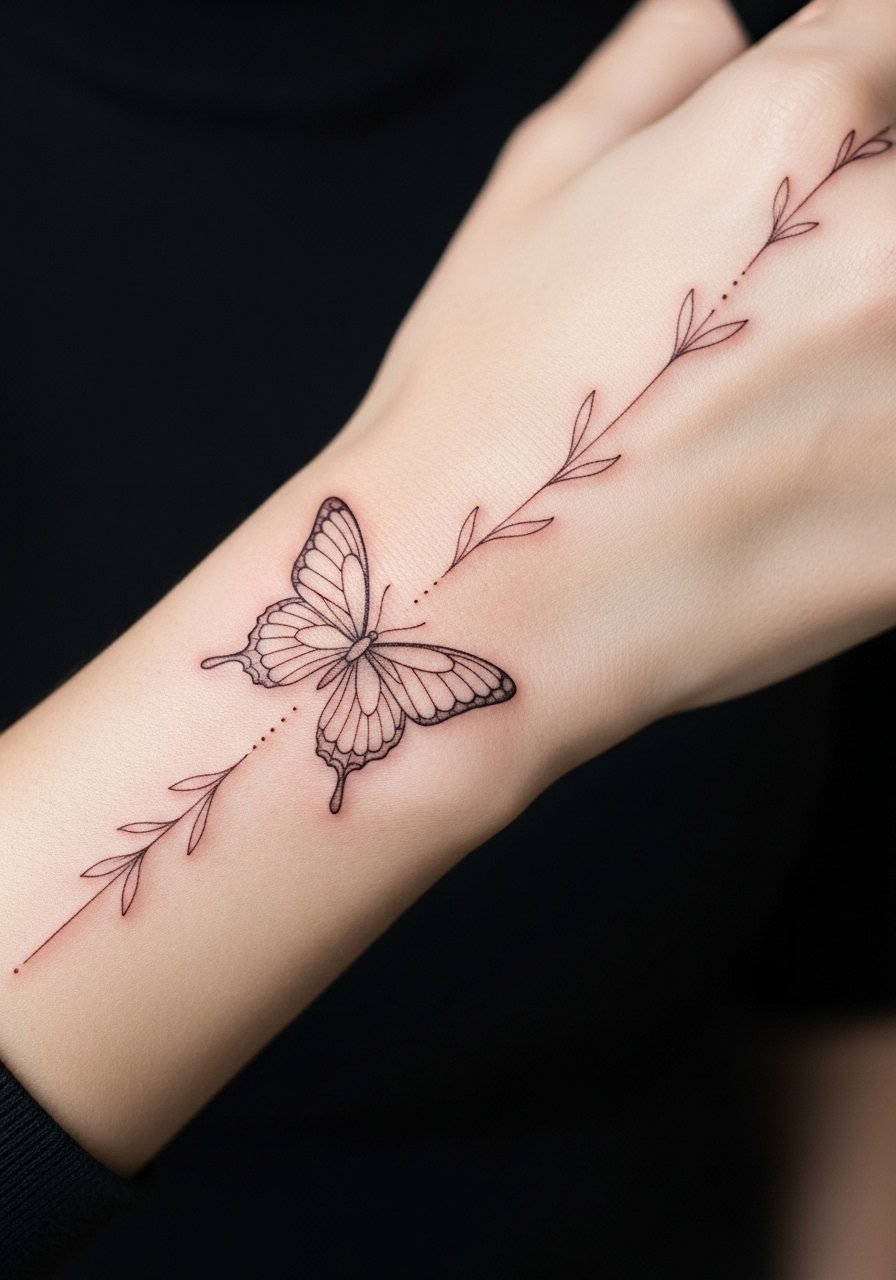
This elongating design flatters longer hands and works as a bridge to existing forearm pieces. The risk is that wrist movement can stretch fine line vines so they blur sooner. Tell the artist you want slightly increased spacing between vine loops and modest line weight so each curve keeps definition. The mistake is packing tight curls into the wrist crease. Plan for a touch-up in the first year and treat the wrist gently during the peel. For soft daytime outfits, pair with a rolled sleeve blouse to reveal the vine when you want it seen.
10. Minimalist Single-Line Butterfly on Ring Finger
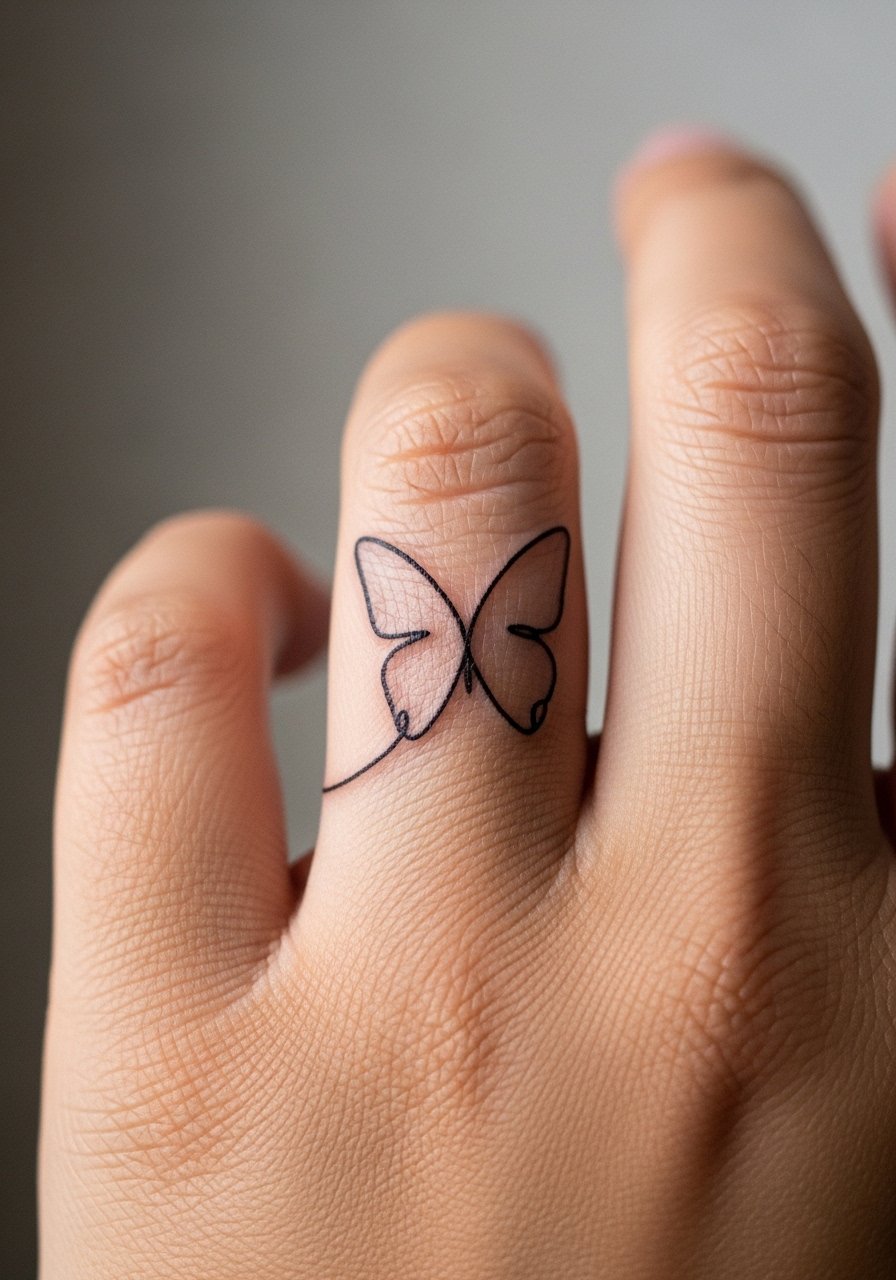
A single-line ring finger tattoo reads like jewelry but hides easily. Pain is concentrated when the artist works near the knuckle. Tell the artist you want a continuous motion line rather than multiple tiny segments so heals look fluid. The mistake is making the motif too detailed for the narrow surface which leads to blurring. Expect the highest fading among hand placements and prepare for touch-ups every year or so. When showing it off, wear a dainty finger ring on the same hand for subtle coordination.
11. Dotwork Silhouette on Side of Hand
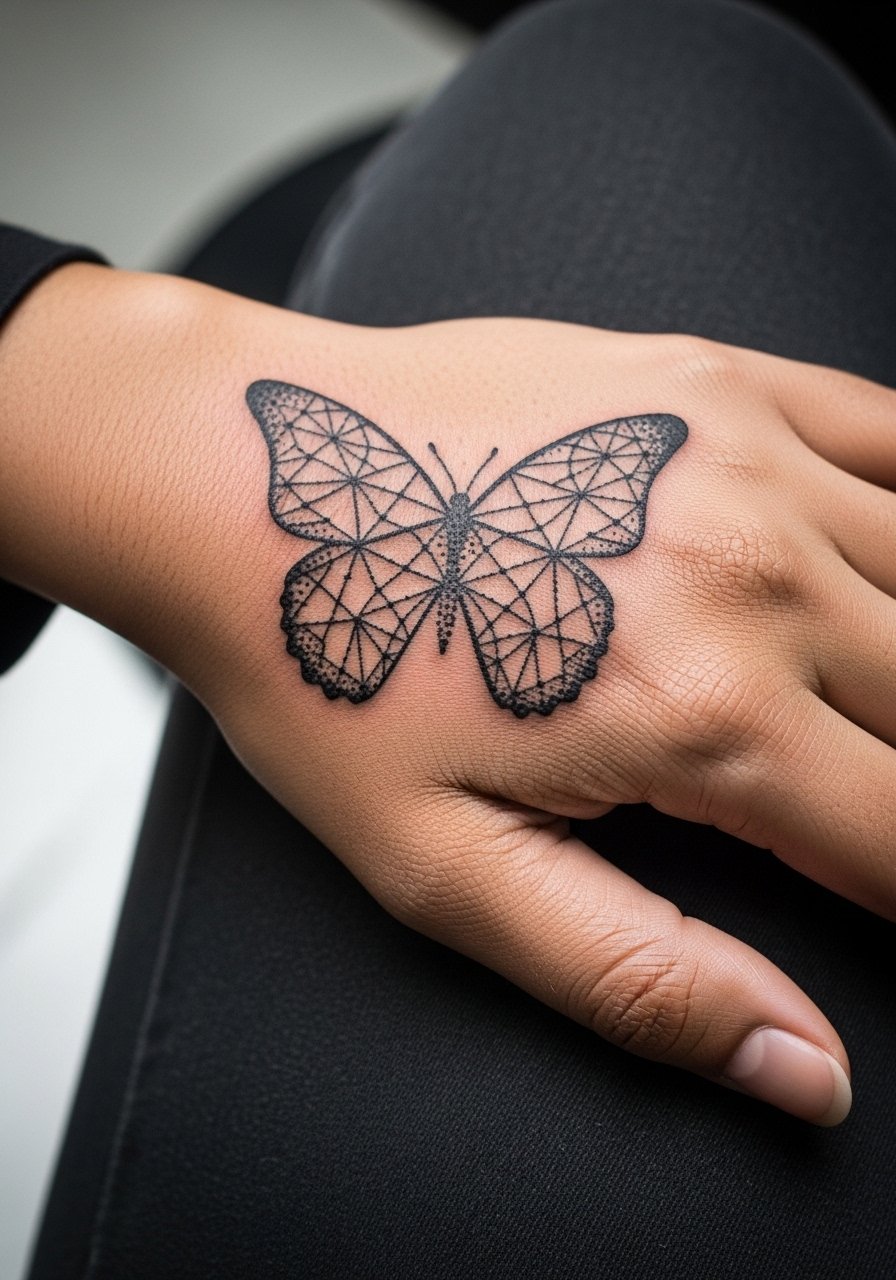
Dotwork uses stippling to create texture that ages differently from linework. On the hand, dots can hold well if they are large enough and not packed into tiny clusters. During consult ask for clear spacing and a slightly larger dot size so the texture avoids merging. A common error is requesting ultra-fine stipple that bleeds into a gray block. Touch-ups depend on how often the hand rubs against surfaces but expect at least one refresh within two years. Pair the piece with open lace gloves for a styled look that echoes the dotted texture.
12. Neo-Traditional Chrysalis-to-Butterfly on Top of Hand
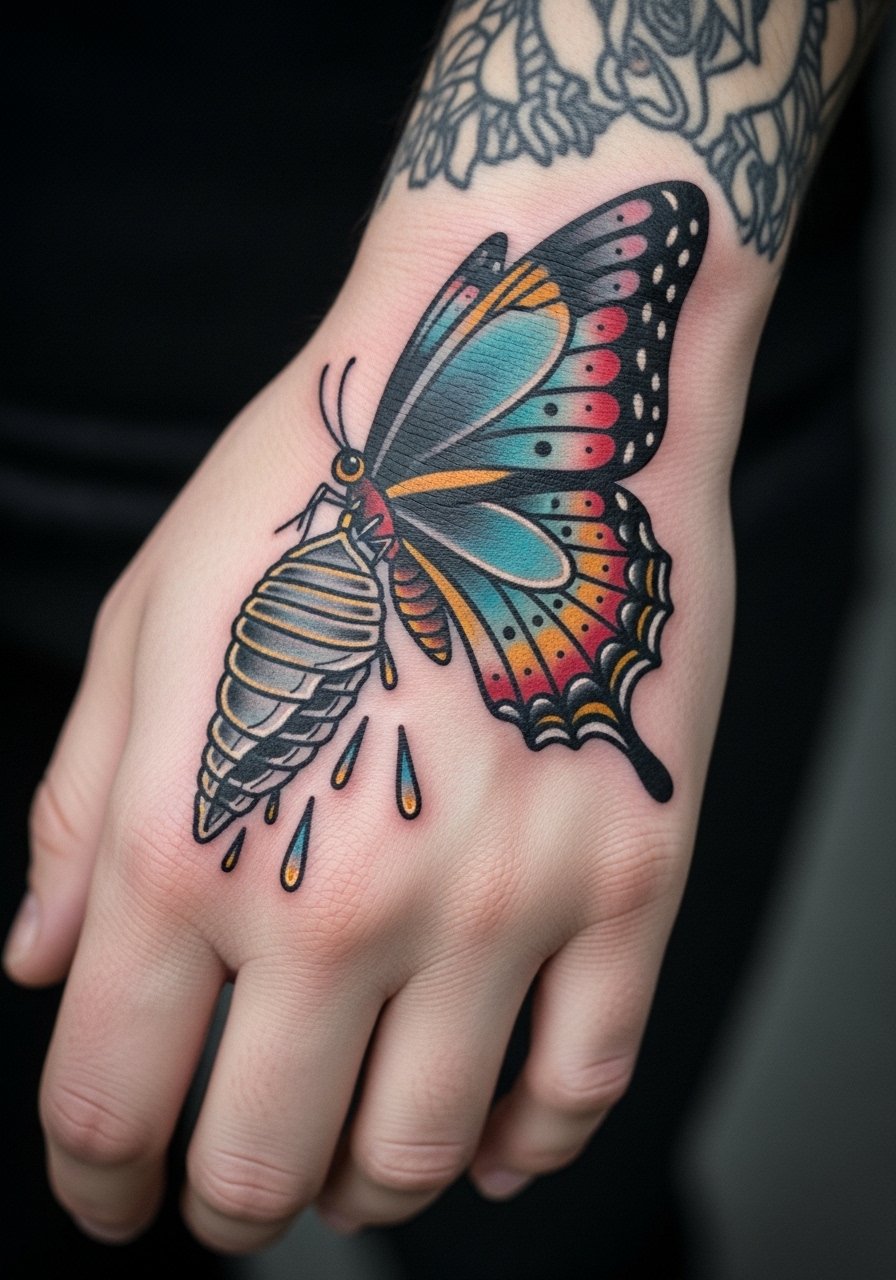
This narrative option gives visual movement across a small canvas. Bold outlines anchor the colors so the image does not soften into a blob. Tell your artist you want clear separation between the chrysalis and wing to preserve the story as it heals. A mistake is crowding the two elements so they become indistinguishable after a year. Pain is moderate and session time is short for a 3cm piece. For a retro look, match with a vintage band tee.
13. Black and Gray Mid-Flight on Inner Hand
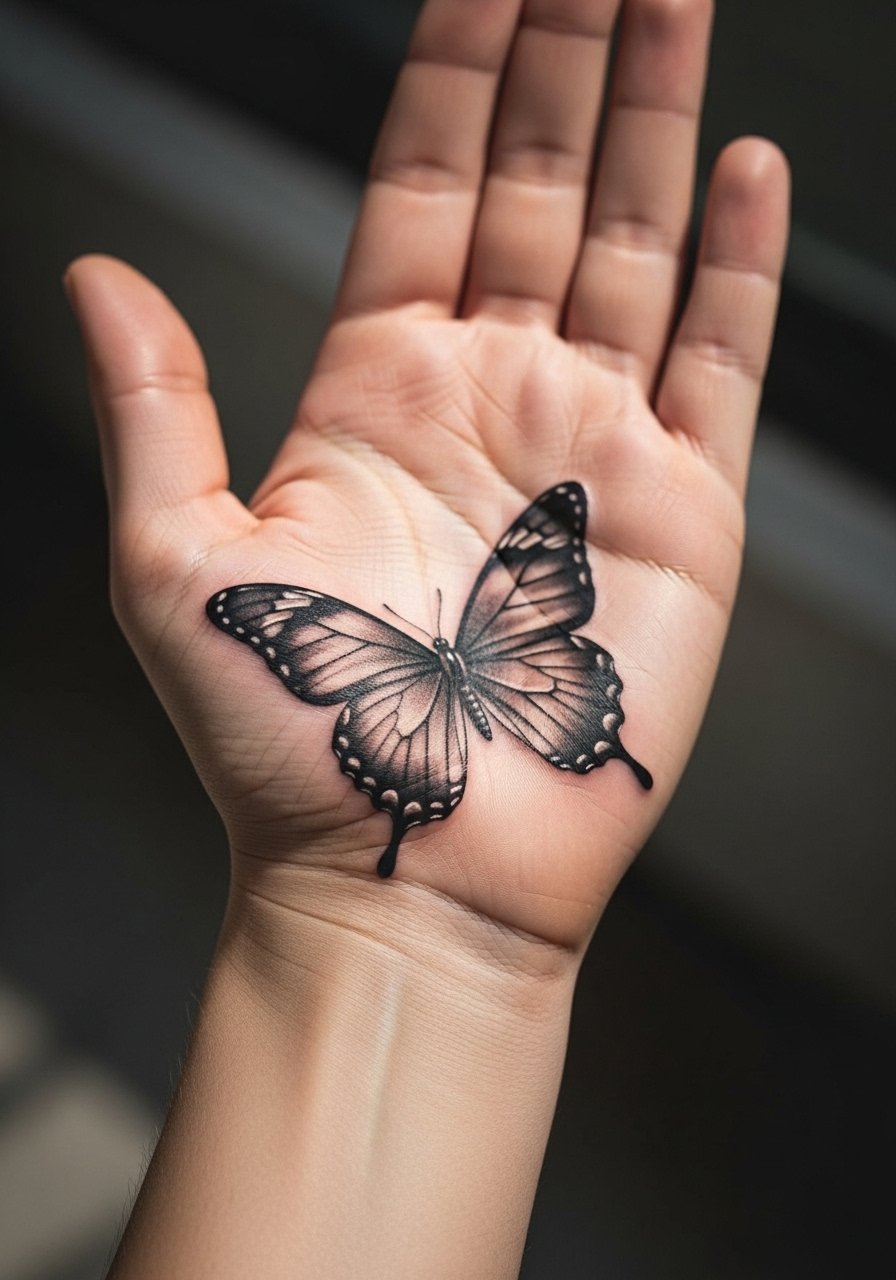
Inner hand placements face more contact and therefore faster fading than backs of hands. Black and gray realism can look soft and dimensional but needs slightly heavier contrast up front. Ask for a clear midtone and deeper dark accents so the piece reads after healing. The common mistake is asking for feathered micro-shading that disappears under repeated washing. Touch-ups at six to twelve months are common. Consider a simple bracelet or cuff when you want to reveal the inner-hand detail.
14. Inverted Design for Mirror-Viewers
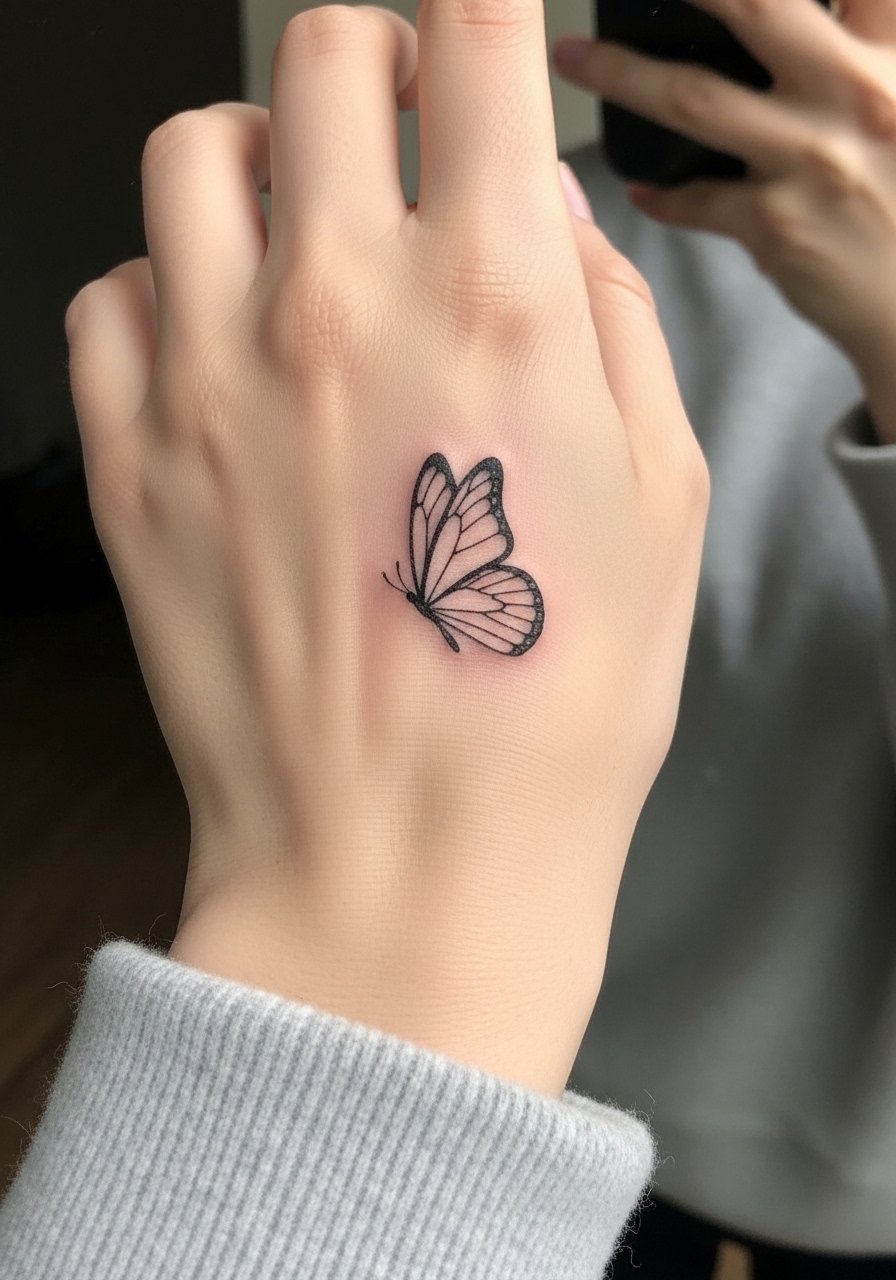
A clever trick is inverting the design on the left or right hand so it appears right-side up in selfies or mirrors. This is a small consult detail but it matters for personal satisfaction. Tell the artist you want mirror orientation specified on the stencil. Mistakes happen when people assume symmetry means the same orientation for both hands. Pain and touch-up expectations match similar fine line placements. For session comfort, wear a loose short-sleeve tee so the artist can position your arm easily.
15. UV-Reactive Ink Accent for Nightlife Glow
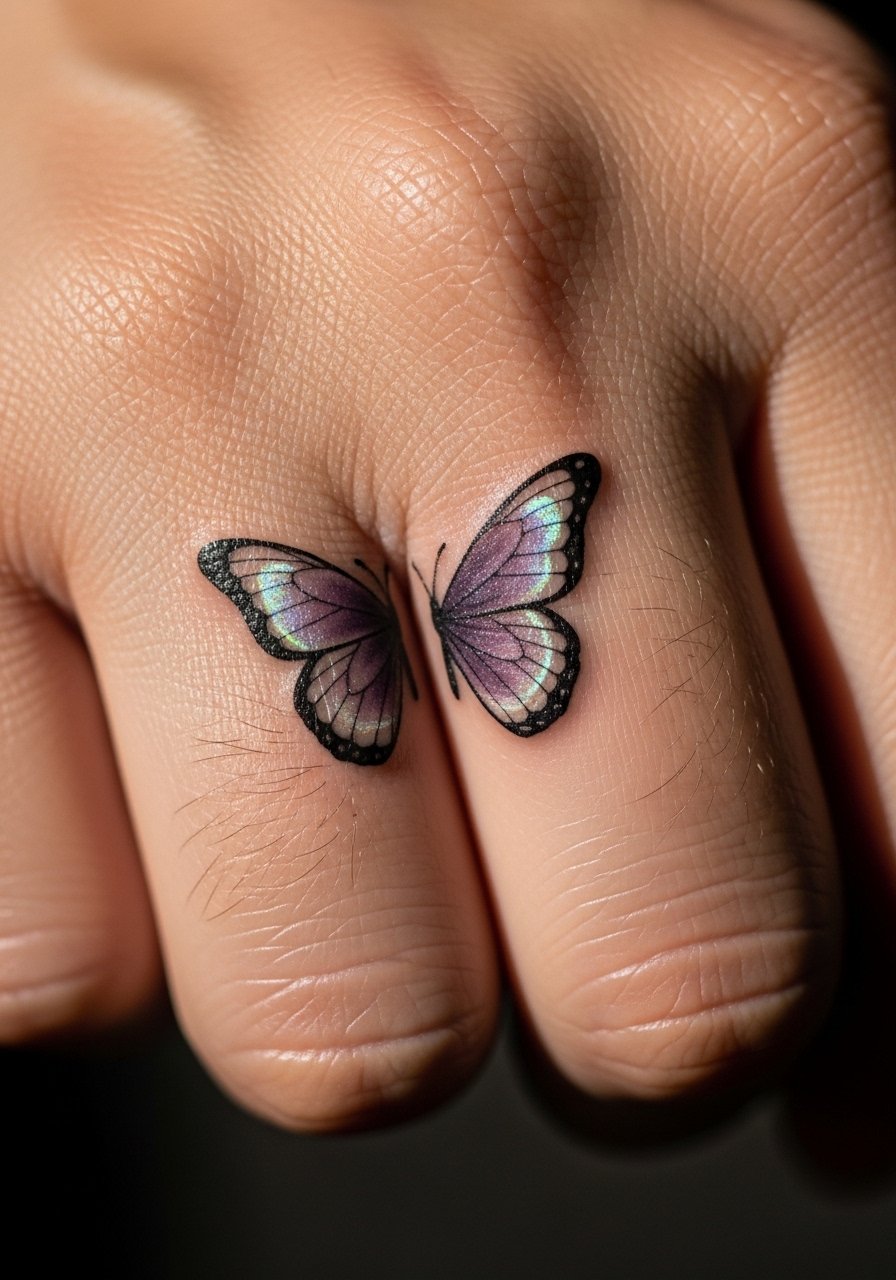
UV ink adds a hidden flash that only shows under blacklight. On hands it is a novelty and not ideal for longevity in bright light, but it can look fun in nightlife settings. Mention to your artist you want UV sparingly and layered over stable black outlines so day visibility remains. A misstep is relying on UV as the main color, which fades and may look pale outdoors. Pain and session time are similar to small color pieces. For evenings, the tattoo pairs well with dark linen shirts and a simple chain.
16. Progress Marker Series Across the Hand
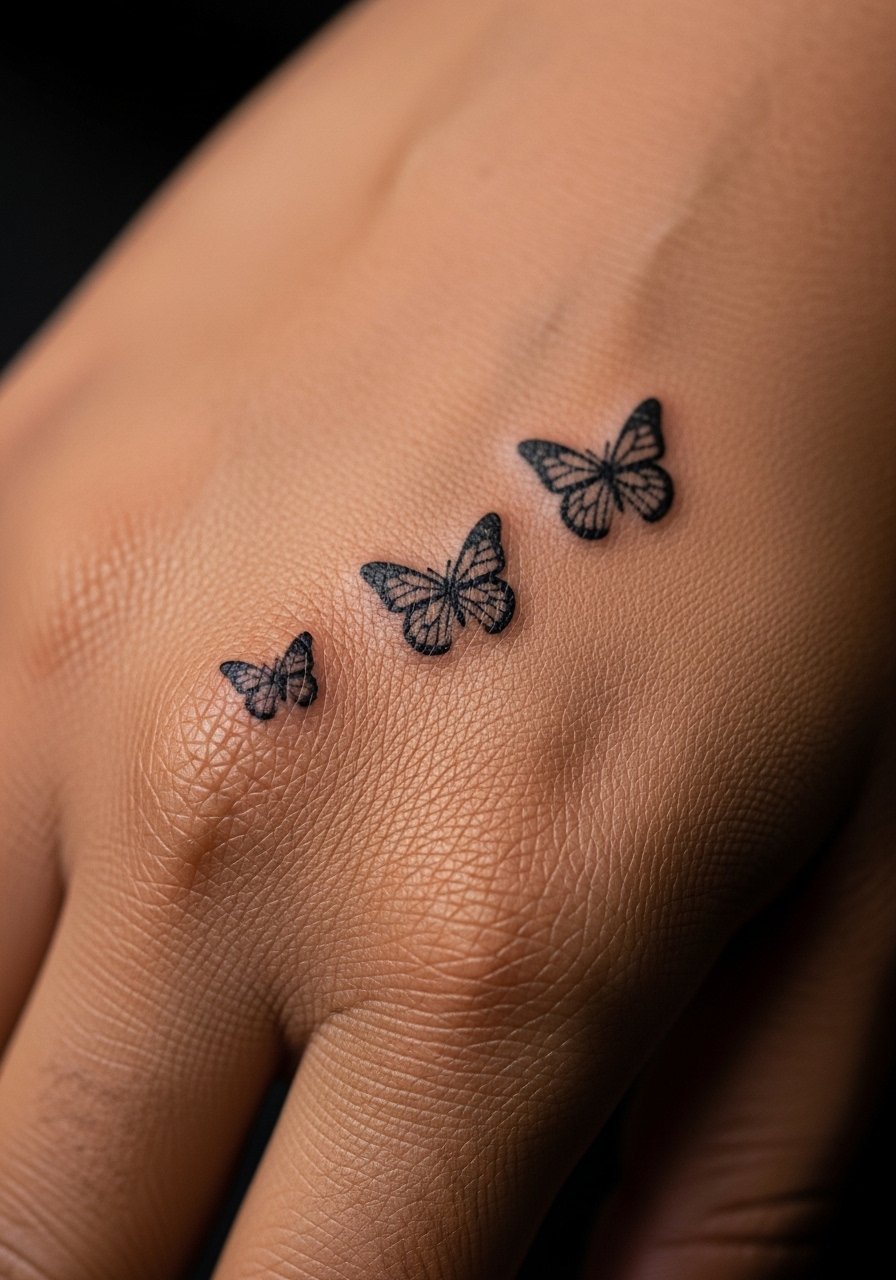
Use multiple minis across the hand to mark life moments. This strategy keeps each butterfly small and meaningful while allowing future growth. Plan spacing at the consult so each butterfly has room to hold as skin and movement change over time. The mistake is placing them too close which causes merging later. Expect incremental touch-ups as you add new pieces. For a casual reveal, wear a sleeveless tank on the session day so the artist can move your arm freely.
17. Micro-Realism Monarch Between Fingers
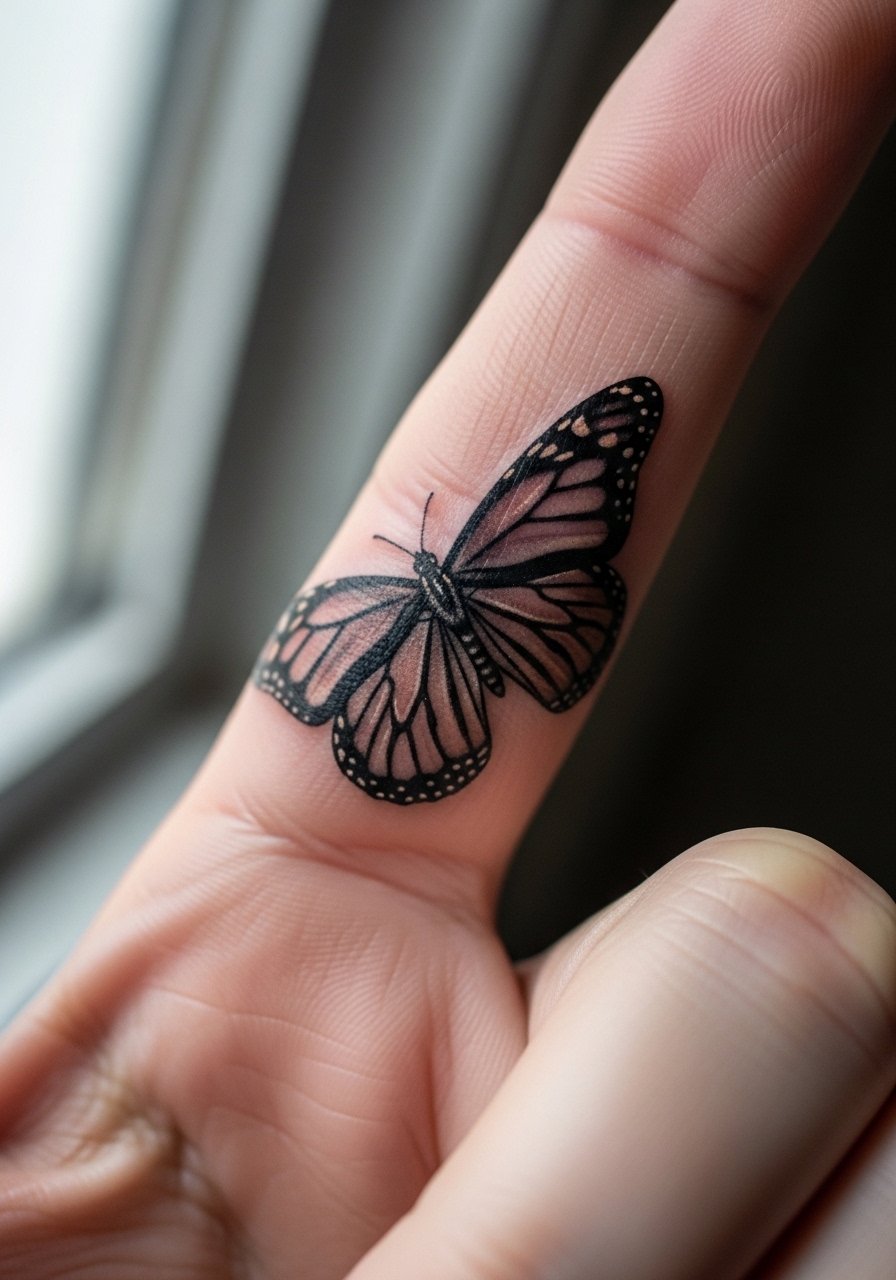
Between-finger placements are discreet and can work as a hidden charm. The skin there stretches and sees lots of friction, so tiny realism must favor contrast over fine texture. Tell your artist you want crisp edges and fewer micro lines to reduce blur. People sometimes request excessive detail that then softens into a gray patch. Expect more frequent touch-ups than back-of-hand pieces. For a refined reveal, wear a silk camisole strap and a single minimalist ring on the tattoo finger.
18. Minimal Outline on the Back of the Hand
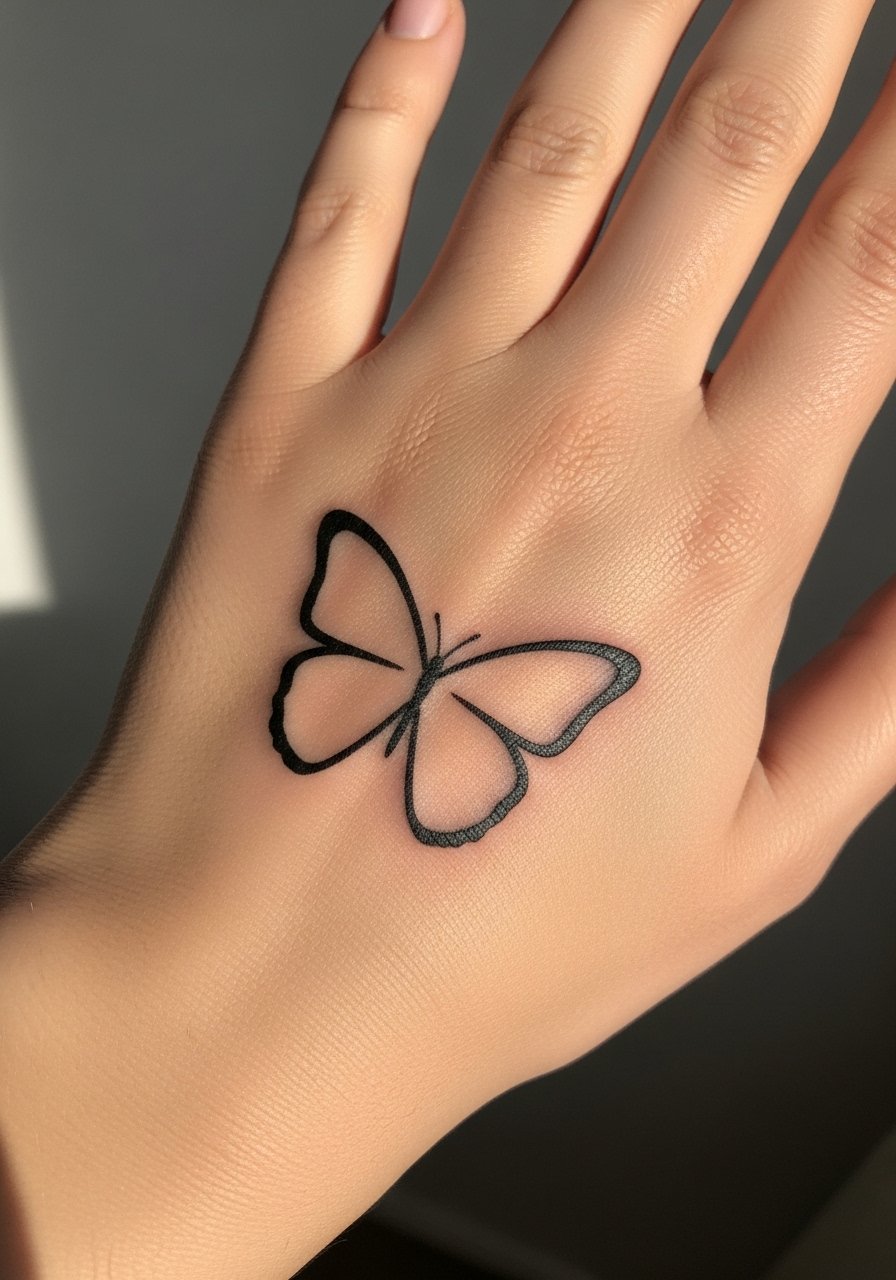
A minimal outline can read very modern but it is vulnerable on hands because small thin lines blur faster. If you choose this, ask for slightly bolder line weight and scaled simplicity so the outline keeps its silhouette. The mistake is pressing for the absolute thinnest line possible. Touch-ups are likely in under a year. For everyday styling, a thin chain pendant necklace draws the eye upward without crowding the hand.
19. Pairing with Existing Rings: Wrap-Under Designs
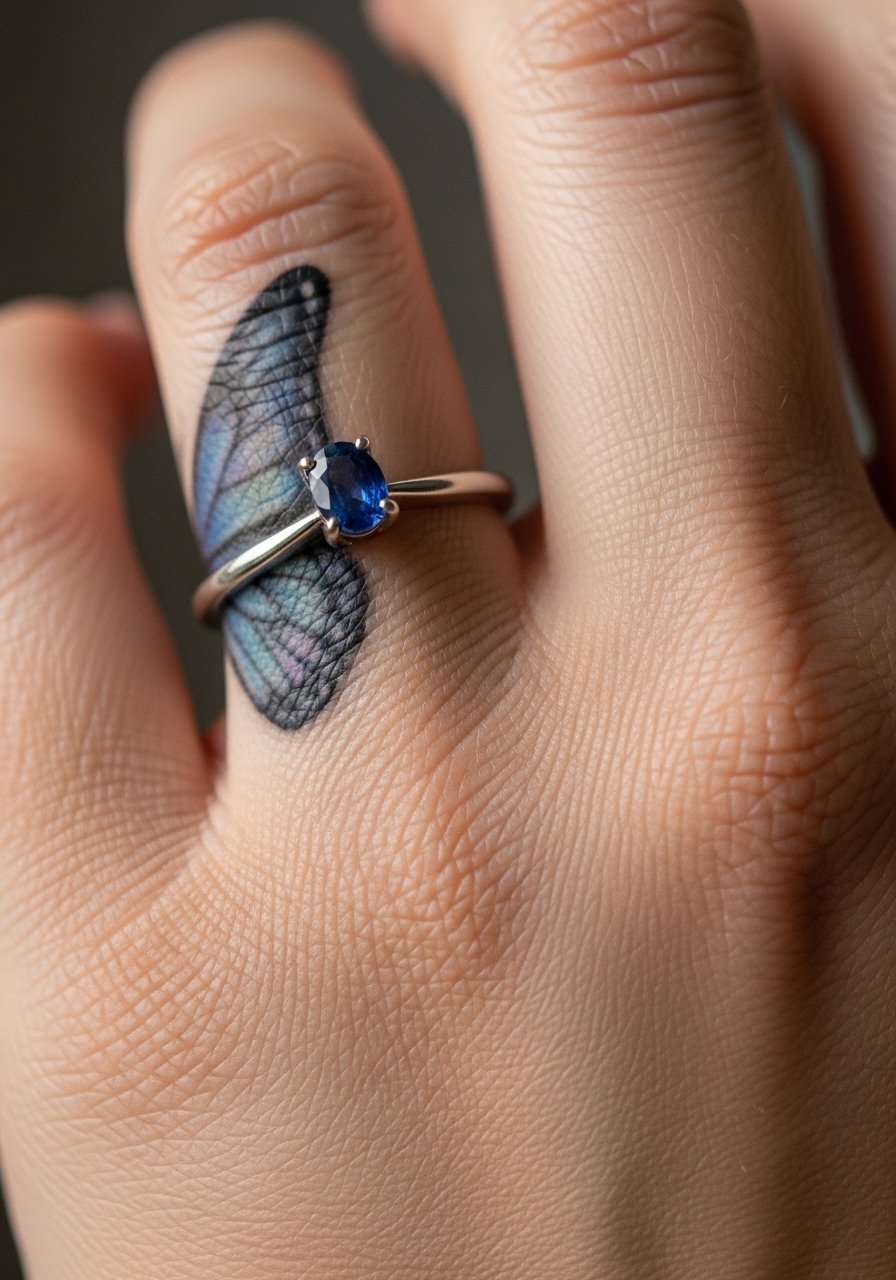
Designs that wrap under a ring finger offer 360-degree visibility while staying low-profile. This placement sees a lot of contact so ask for a compact composition with clear margins. The common error is trying to fit too many elements under the ring which causes rubbing and faster fading. Touch-ups will be more frequent if the tattoo sits against metal. For a clean reveal, pair with a gemstone ring minimalist that sits just above the ink.
20. Thumb Webbing Mini Butterfly
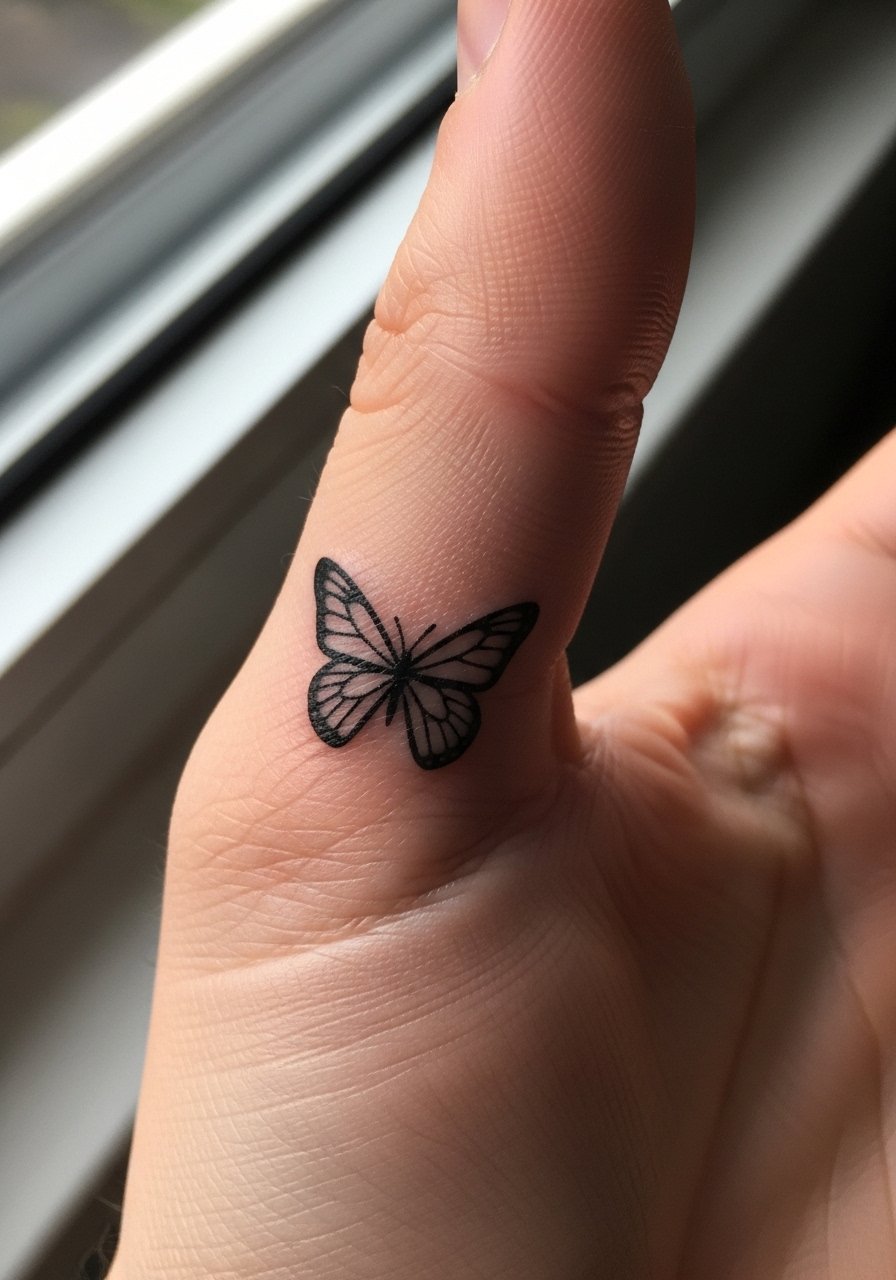
Thumb webbing is a small, hidden spot that can surprise you with how often it appears in daily photos. The area moves and flexes, so request bolder outlines and simple wing shapes. People often ask for too much interior detail which becomes indistinct. Expect the need for touch-ups at six to twelve months. For session ease, keep the thumb exposed and wear an easy-to-remove ring if needed.
21. Palm-Side Cuff Butterfly Near Wrist Crease
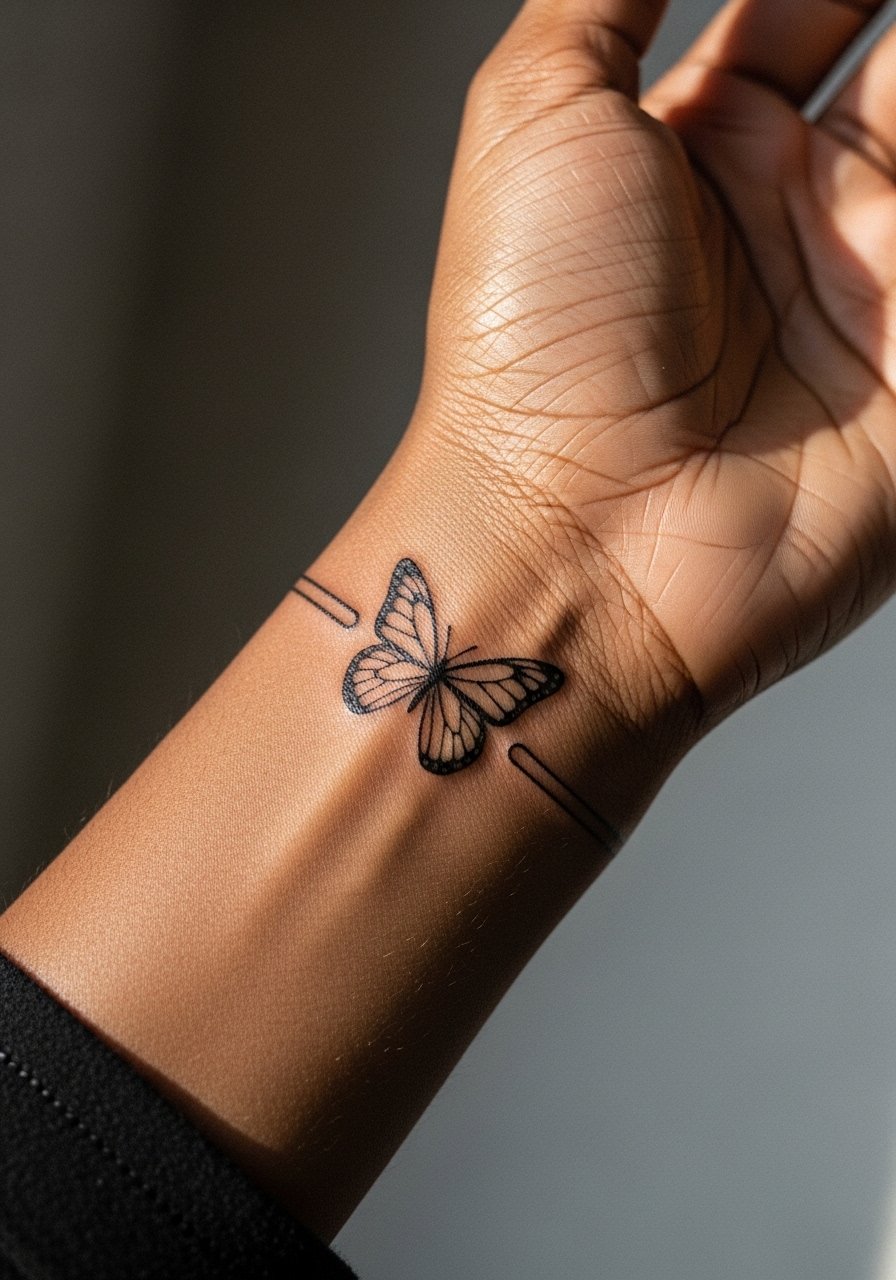
The palm-side wrist crease is exposed to soap and surfaces, which shortens pigment life. Ask for negative space and strong outer lines so the motif survives the constant contact. A mistake is dense interior detail that becomes a blurred mass within months. Plan a touch-up at the first sign of softening. For clothing, keep sleeve cuffs loose and consider a rolled sleeve blouse when you want the cuff to peek out.
22. Subtle Serif Lettering with Tiny Butterfly Accent
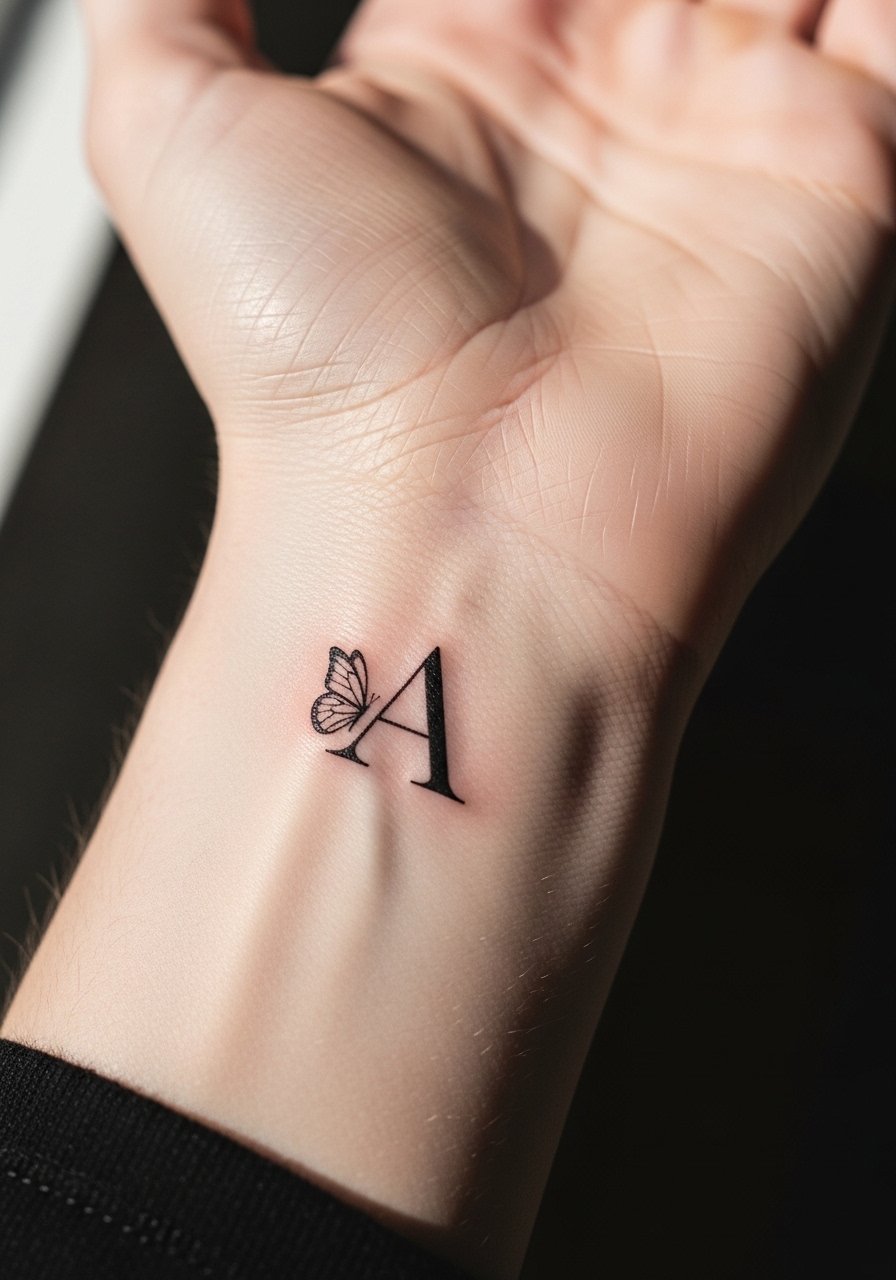
Combining tiny lettering with a butterfly adds personal context but increases the risk of illegible detail on hands. If you want text, choose a single initial or a short date in a clean serif and keep the butterfly slightly larger than the letter. The usual mistake is choosing script that looks elegant on paper and disappears on skin. Touch-ups for lettering are common to maintain crisp edges. Style the piece with a thin silver ring stack to balance the visual weight.
23. Geometric Winged Silhouette
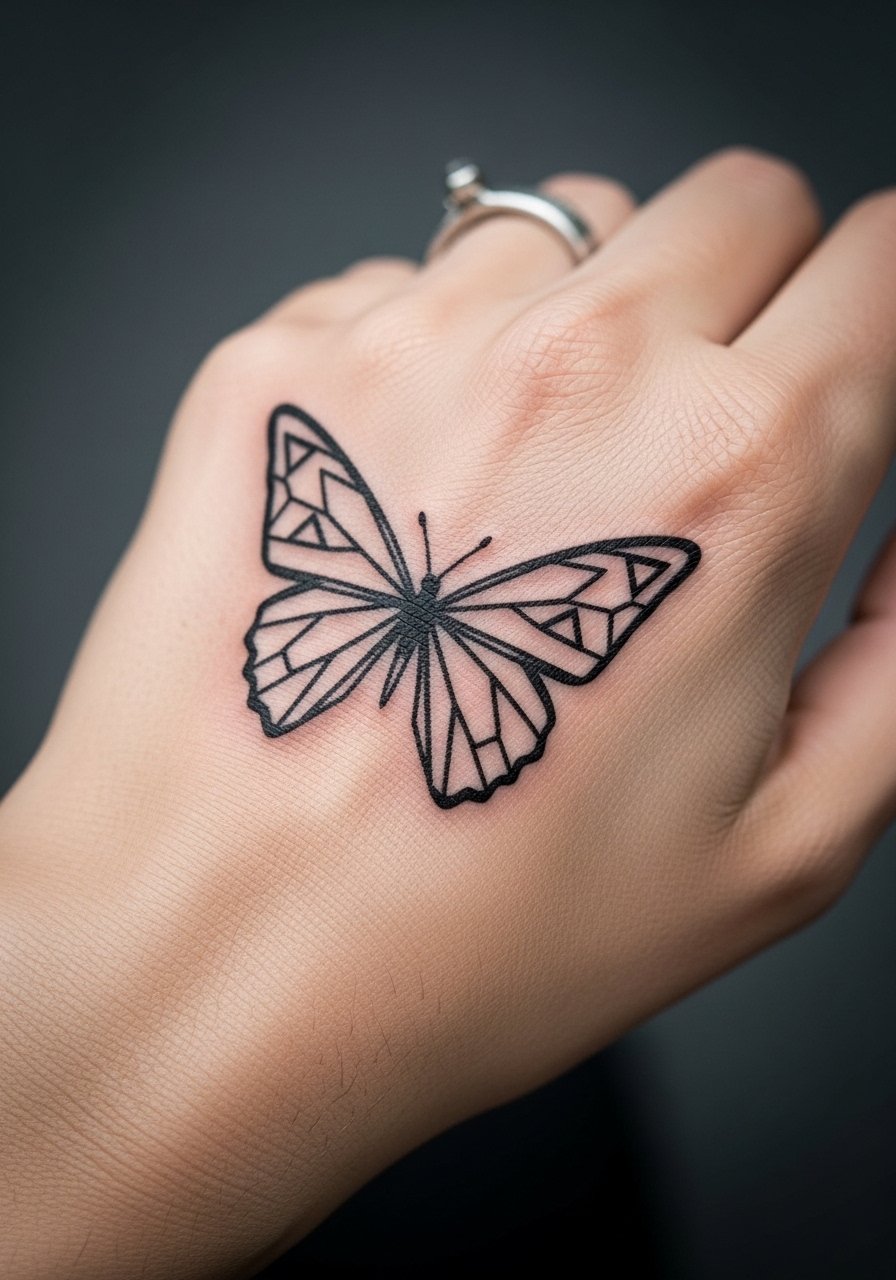
Geometric silhouettes read modern and can hold better than tiny filigree if executed with open spacing. During consult ask the artist to space shapes so the design breathes rather than packing triangles tightly. A common error is cramming repeated small angles that merge on healing. Pain and session time are moderate. For a coordinated outfit, pair with a sheer mesh top rolled to the elbow to showcase the back of the hand.
24. Small Color Pop Accent on Finger Side
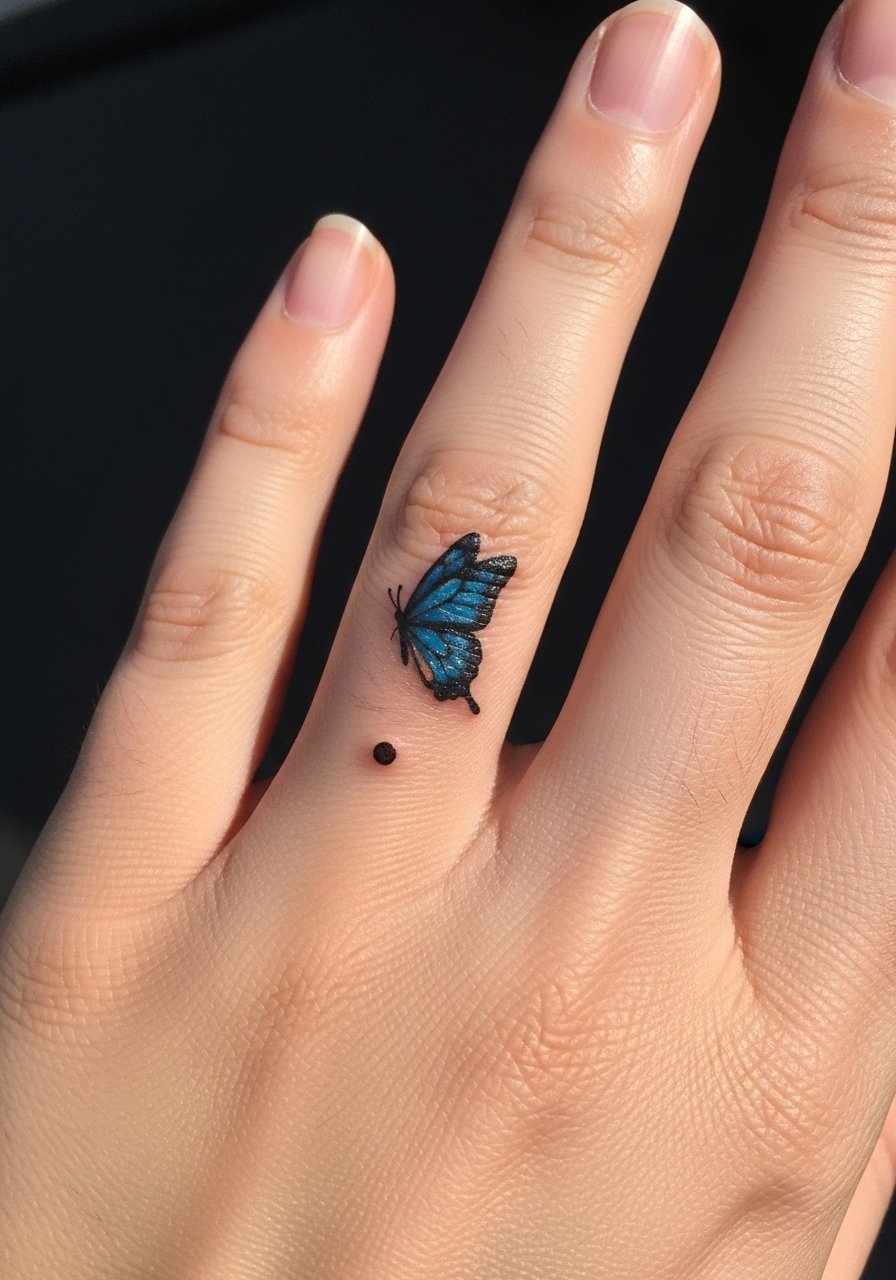
A single color accent can make a mini butterfly feel special without committing to large areas of pigment. Pick colors that contrast well with your skin tone and request small, saturated spots rather than broad washes. The mistake is choosing pastel washes on fingers, which often vanish into hueless patches. Expect the color to mellow and plan for periodic refreshes. For styling, a dainty finger ring keeps focus on the colored wing.
25. Palm Border Ornamental Stack
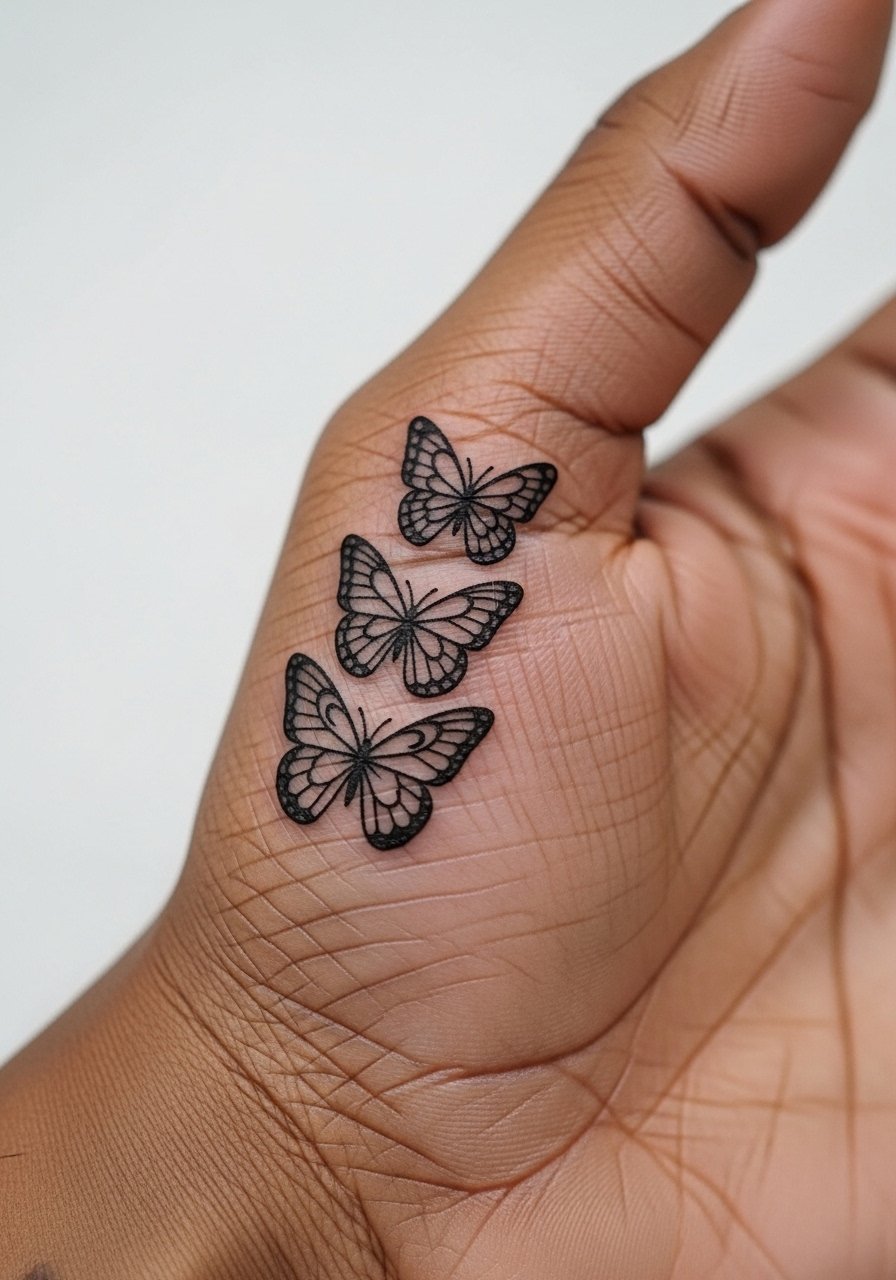
A stacked approach along the palm border creates a bracelet-like effect that reads as intentional decoration. This edge sees heavy contact so ask for bolder outline and spacing to avoid merging. Common mistakes include overly fine filigree that turns into a smudge. Touch-ups will be necessary sooner than on the back of the hand. For an evening look, combine with fingerless lace gloves that echo the ornamental motif.
26. Tiny Monarch Accent on Nail Bed Edge
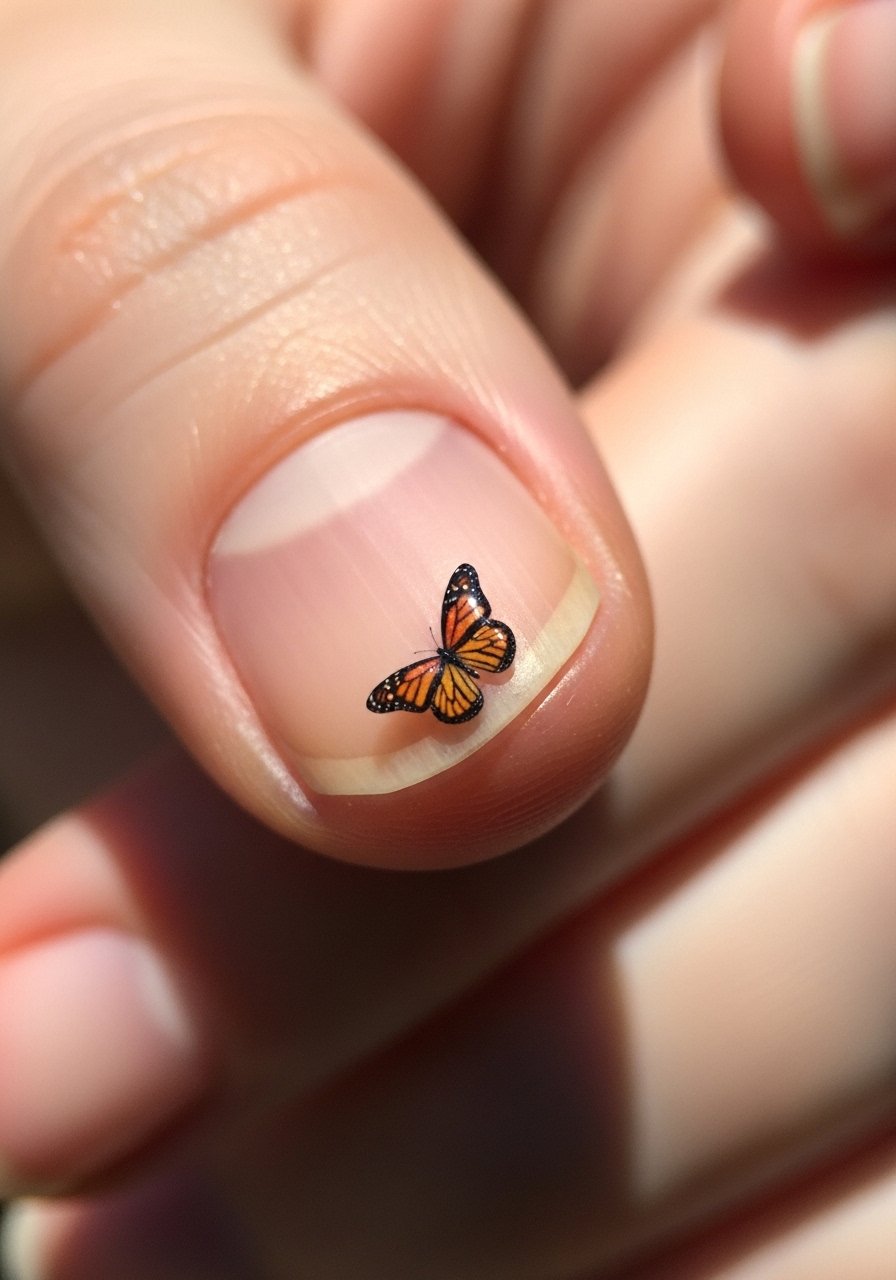
Nail-bed edge placements are ultra-discreet and prone to wear from hand washing and manicures. If you choose this, favor bold silhouette over fine interior shading. The common error is asking for detailed wings that dissolve after routine tasks. Expect the shortest lifespan of any hand placement and be prepared for yearly touch-ups. For session prep, remove polish and keep nails short so the artist can position the area cleanly.
27. Negative Space Butterfly Over Knuckle Crease
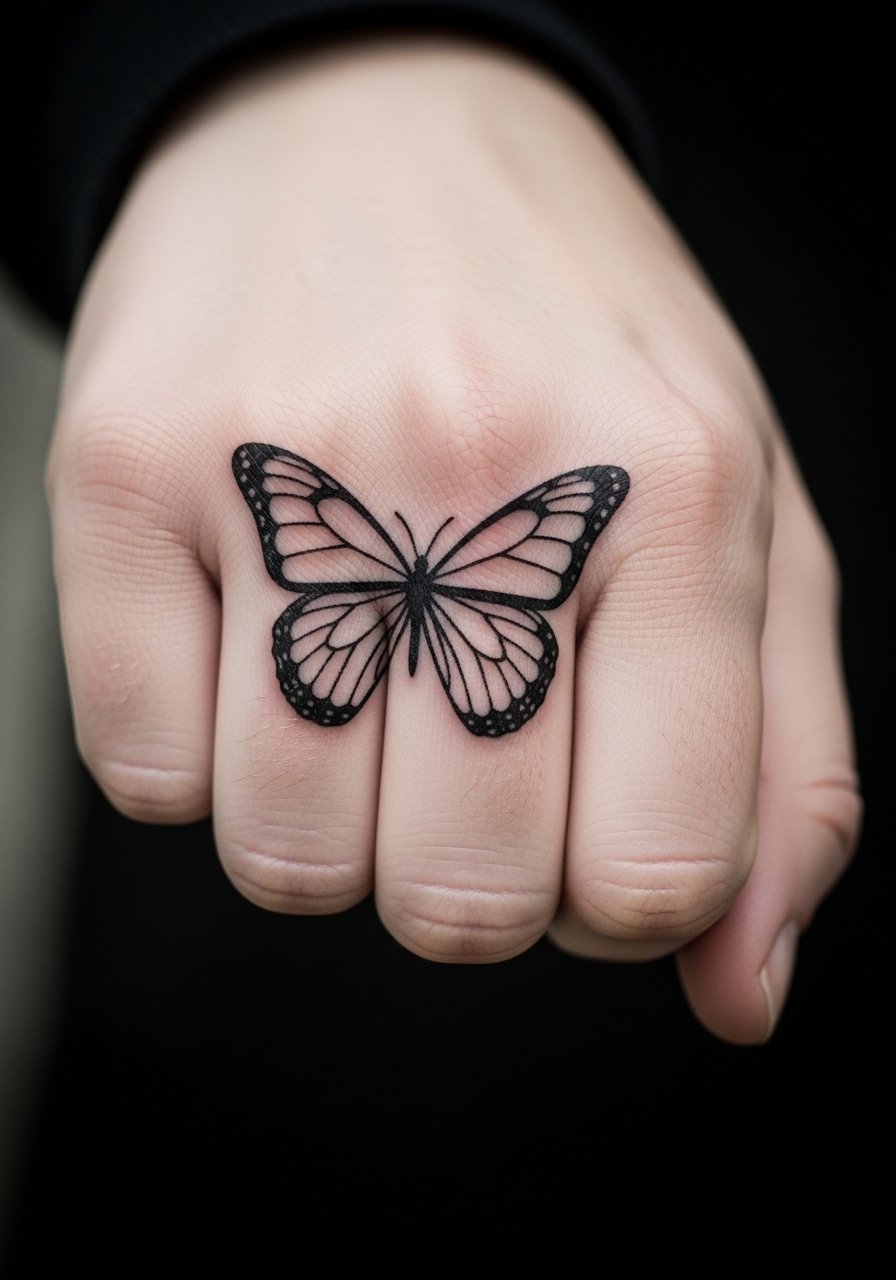
Using skin as negative space creates a clever visual trick that reads fresh and intentional. The knuckle crease moves constantly which increases blur risk. Ask the artist for strong surrounding black to maintain contrast, and for spacing that avoids ink on fold lines. A common mistake is sketching too many internal shapes which then lose clarity after movement. Expect touch-ups semi-regularly. For a finished look, keep hands free of tight rings during the first month.
Frequently Asked Questions
Q: Will a fine line mini butterfly on the hand fade faster than a blackwork one?
A: From what I have seen, fine line tends to soften quicker on hands because the single-needle channels sit closer to the surface and rubbing speeds up fade. Blackwork or heavier outlines age into a readable shape for longer. If longevity is a priority, ask for slightly bolder line weight and plan a touch-up at six to twelve months.
Q: Are there hand placements that hide better at work but still look cute?
A: Yes. Finger webbing, ring-finger wraps, and underside placements near the thumb base hide more easily while still offering small visual moments when you want them shown. Between-finger micro-realism is great for concealment but it comes with a higher need for touch-ups.
Q: Should I use Saniderm or dry heal for a hand butterfly?
A: Artists and collectors split on this. One camp prefers protective films because they reduce scabbing and keep color in when the hand sweats. The other camp favors dry healing, arguing films can macerate skin on a high-movement area. What I recommend is discussing the plan with your artist and factoring in how much you wash and sweat. If you use a film, follow removal timing guidance closely.
Q: How much does a mini butterfly on the hand usually cost and how do I find a cheaper option?
A: Prices vary by city and artist, and minis can fall into session minimums that push costs up. If budget matters, look for guest spots, reputable apprentices, or shops with clear flat-rate minis. Compare three studios via booking apps and pick one with healed photos that match the look you want.
Q: I have darker skin. Which mini butterfly styles read best over time?
A: On darker skin tones, bold outlines and blackwork hold up better than single-needle fine line. Micro-realism can work if contrast is emphasized. Some people test a temporary henna version to preview visibility. Ask the artist for healed examples on a similar tone.
Q: What should I wear to a hand tattoo session to make the day easier?
A: Wear a loose short-sleeve tee or a tank so the artist can position your arm without fabric tug. Avoid jewelry on the tattooed hand and keep nail polish removed so they can see clean skin. If you want to show the result that night, bring a lightweight top like a sheer mesh blouse to frame the hand.
Q: How painful are knuckle and finger butterflies compared with the back of the hand?
A: Knuckles and finger areas tend to register higher on pain because they sit over bone and thin tissue. Back-of-hand and thumb-base placements are usually less intense. Short sessions under 45 minutes help manage discomfort and reduce hand cramping.
