
Fine line tattoos are everywhere online right now, and the gap between what trends and what lasts keeps getting wider. The delicate styles that photograph beautifully often need planning to avoid early fade, especially on high-movement spots like fingers and wrists. Below are small, careful designs that read like quiet markers of repair, plus notes on placement, how they age, what to ask your artist, and when to expect a touch-up.
1. Fine Line Lotus on Inner Forearm

I've seen this one on a lot of wrists and forearms. I recommend the inner forearm over the outer wrist when you want the lines to hold, because the skin moves less and avoids constant sun exposure. Tell your artist you want slightly bolder linework than you think you need so the petals keep definition at year two. Common mistake is requesting ultra-hairline stems for a busy area. Expect a one-session tattoo that feels like light sandpaper for 20 to 40 minutes. Plan a touch-up at year 2 if you wear your forearms in the sun often. Pair it with a roll-up sleeve shirt when showing it off.
2. Minimalist Semicolon on the Finger
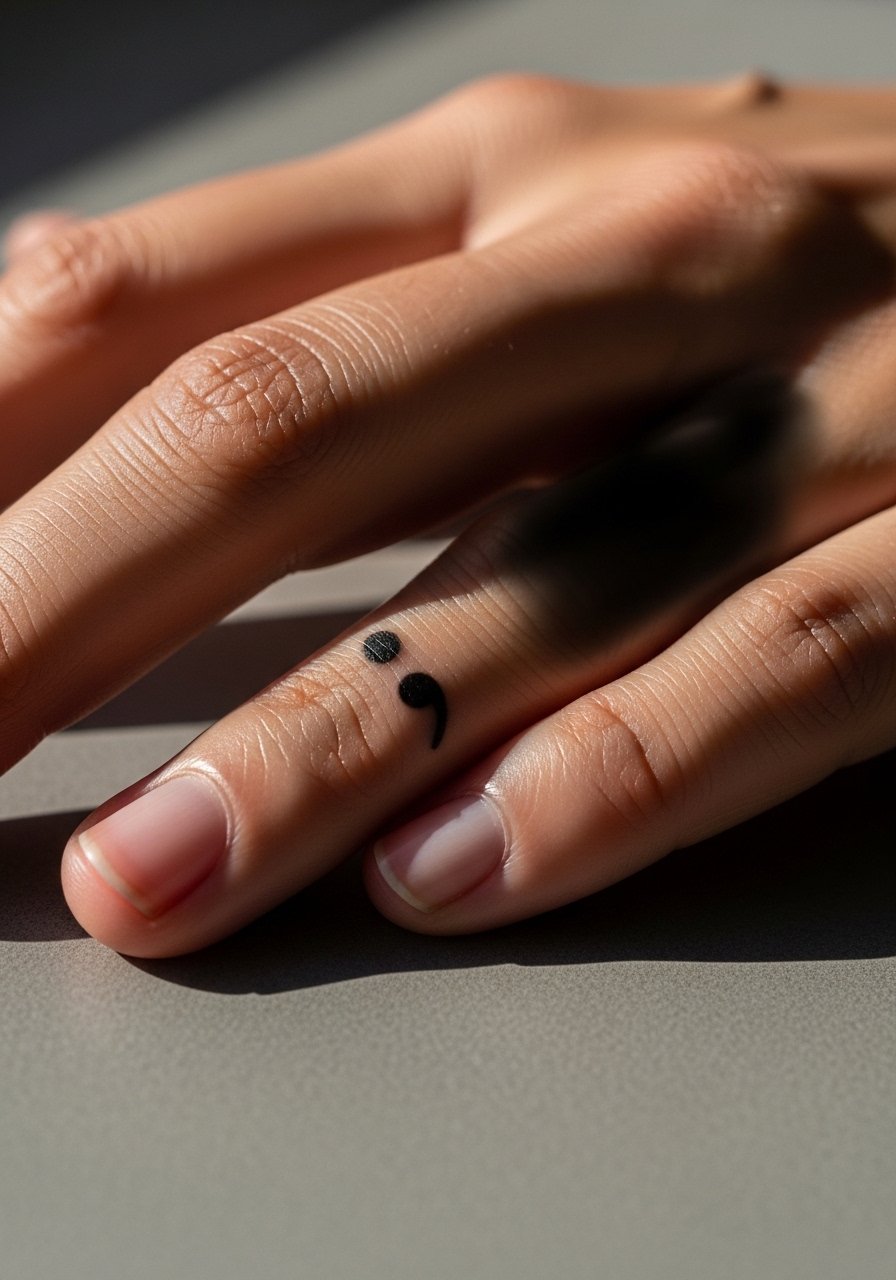
Fair warning, fingers demand different expectations. The skin there sheds and the line sits very surface-level. One camp says wrap protective film for the first few days to reduce friction, while the other camp warns film can trap moisture and pull pigment out. Ask your artist which they prefer and schedule a touch-up at six to twelve months. The needle press is sharp and brief, usually under 15 minutes. A thin minimalist semicolon reads best with simple jewelry, so consider a minimalist knuckle ring on a different finger to avoid crowding the tattoo.
3. Butterfly Metamorphosis Outline on the Collarbone
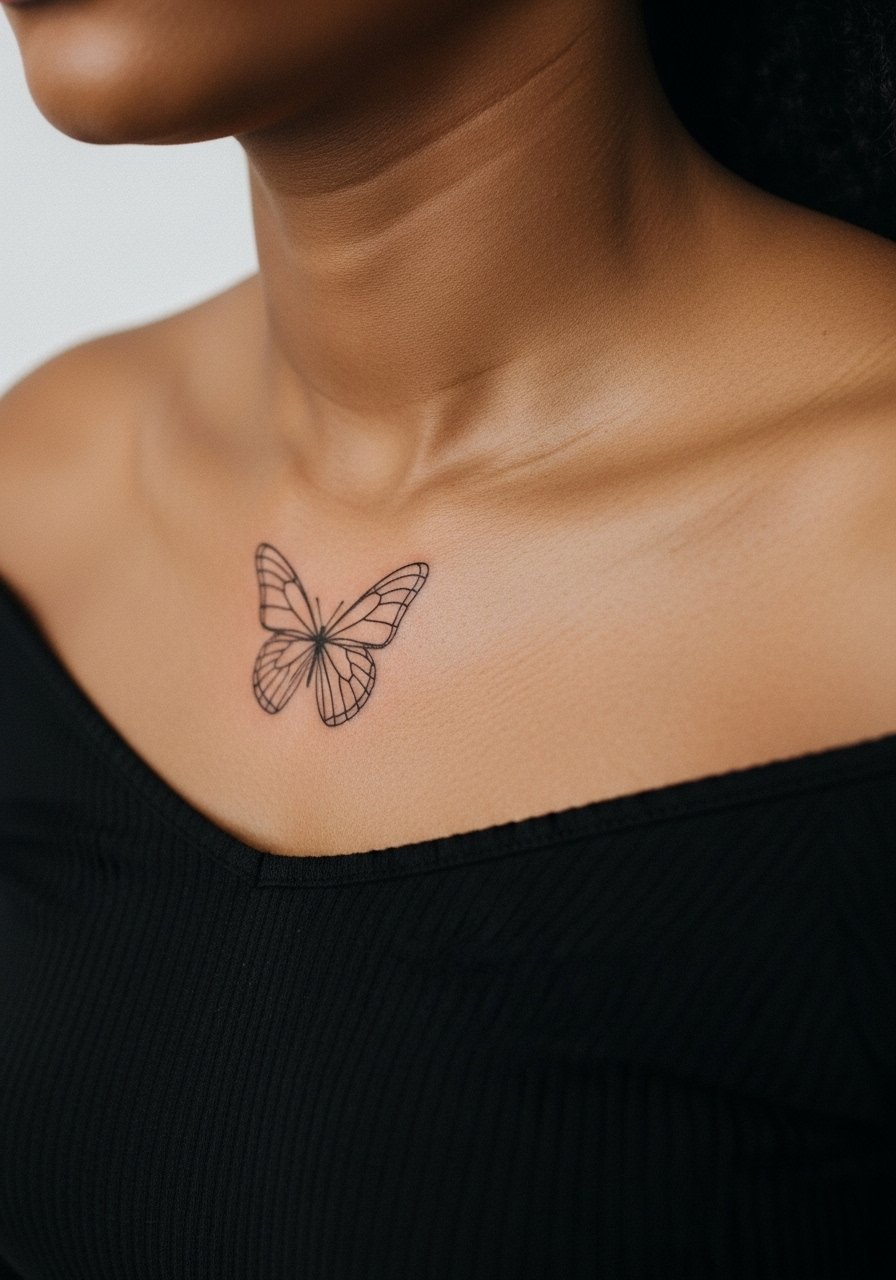
I often recommend collarbone placement when someone wants a visually graceful piece but not a constant display. The collarbone moves with breathing and posture, so keep the wings compact and avoid dense stipple in the center. Ask for clean negative space between wing veins so the pattern does not blur into a shaded mass after a couple years. The session is usually 30 to 45 minutes with a sunburn-like sting while the artist works. Off-shoulder tops frame this area well, and a casual off shoulder top keeps the tattoo visible without competing with necklaces.
4. Seated Meditator Silhouette at the Ankle

A small ankle meditator reads like a discreet grounding cue. The ankle will feel more sore than the forearm; expect throbbing rather than a sharp jab. Because shoes and socks rub, ask for slightly bolder contouring to compensate for early friction. Most of these fit into a single 20 to 30 minute session. If you want to show it off in summer, cuffed pants or cuffed ankle pants make it visible while keeping the skin protected most of the year. Plan a touch-up at year 1 if you wear low-cut shoes daily.
5. Phoenix Rising Feather on the Outer Forearm
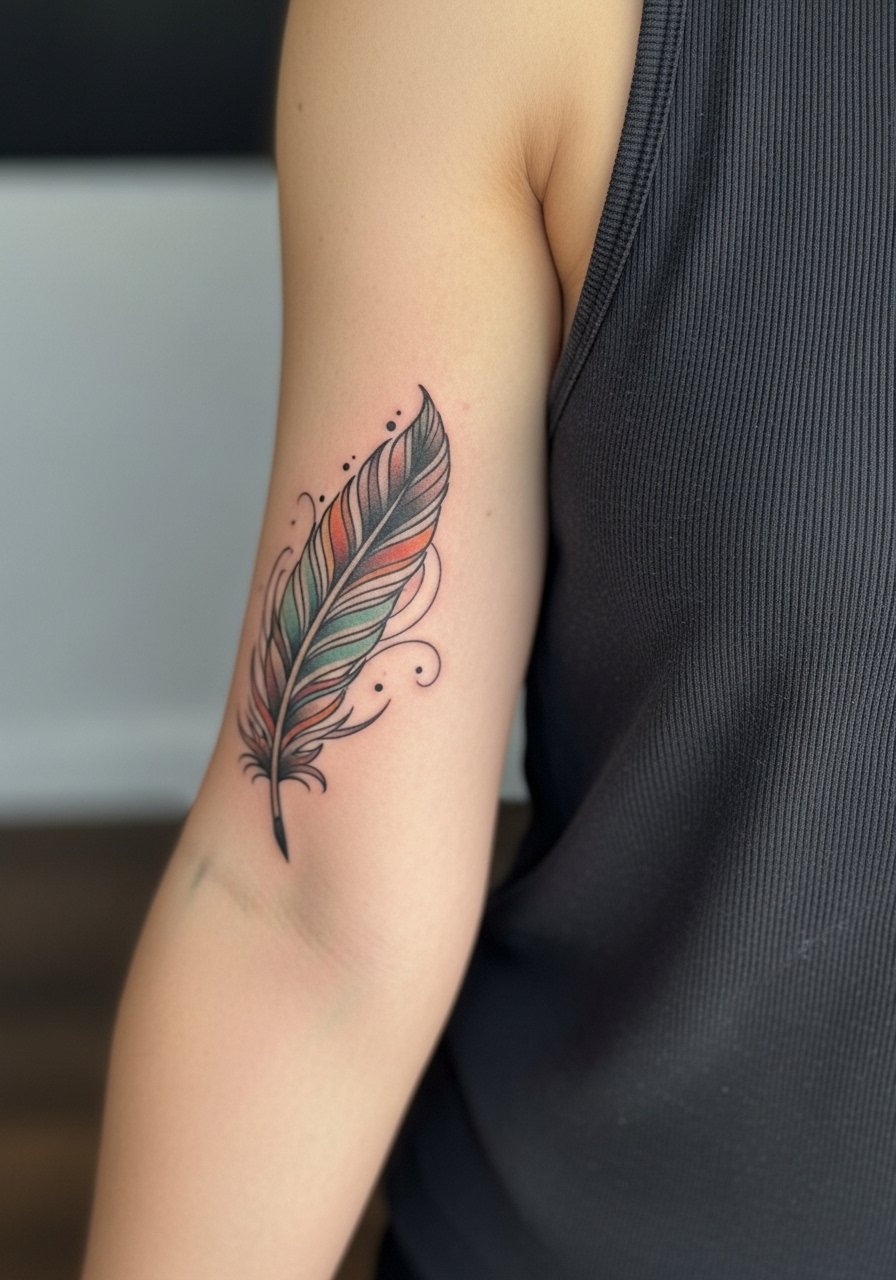
There is something about a single feather evoking rebirth without full-on wingspan. The outer forearm tolerates slightly more saturation than the inner wrist, so subtle graywash or a muted color accent will hold better. Tell your artist you want moderate needle saturation and clear anchor lines so color doesn't wash out unevenly with sun exposure. The session tends to run 45 to 75 minutes. For evenings out, a v neck black tee frames collarbone-feather pieces without distracting from the linework.
6. Mandala with Wave Motif on the Ribcage

Most people do not love the ribcage pain, which is high on most scales, but the canvas is worth it for geometric work that needs breathing room. Artists split on fine line there. One camp says skin flex and breathing blur tight geometry within two years. The other camp says proper spacing and depth keep mandalas crisp. Make sure your consultation covers spacing, and plan for one or two sessions because you may want spacing adjusted as the piece heals. Wear a loose tank for the appointment. If you plan to flash it occasionally, a crop tank top reveals the art without strain on the area.
Studio Day Picks
The forearm, collarbone, and ribcage pieces above call for slightly different prep and first-week items, so a compact kit makes the session and healing window easier.
-
Stencil transfer paper kit. Lets you preview linework placement on skin, which is especially useful for mandalas and lotus pieces in ideas 1 and 6.
-
Topical numbing cream. Applied before a ribcage or forearm session can reduce the sting so you can sit through longer detail work.
-
Thin protective film roll. Handy for finger and wrist pieces to limit friction during the first 48 to 72 hours.
-
Fragrance-free gentle body wash. Cleans the skin without irritating delicate fine line edges while the tattoo peels.
-
Aquaphor healing ointment. A thin layer helps keep moisture balanced for fine line work in the first week.
7. "Grow Through Mud" Script on the Inner Wrist

When script carries a metaphor, clarity matters. The inner wrist is visible and moves constantly, so request slightly thicker hairlines and spaced letters so the words do not blur together over time. The session is quick, under 20 minutes, but expect itching during peeling. A typical mistake is choosing cursive with lots of tight loops. Ask your artist to redraw the lettering with open counters and consistent x-height. For the session, a loose button-down shirt you can pull aside makes access simple and keeps fabric from sticking to the area afterwards.
8. Broken Chain Link on the Ankle
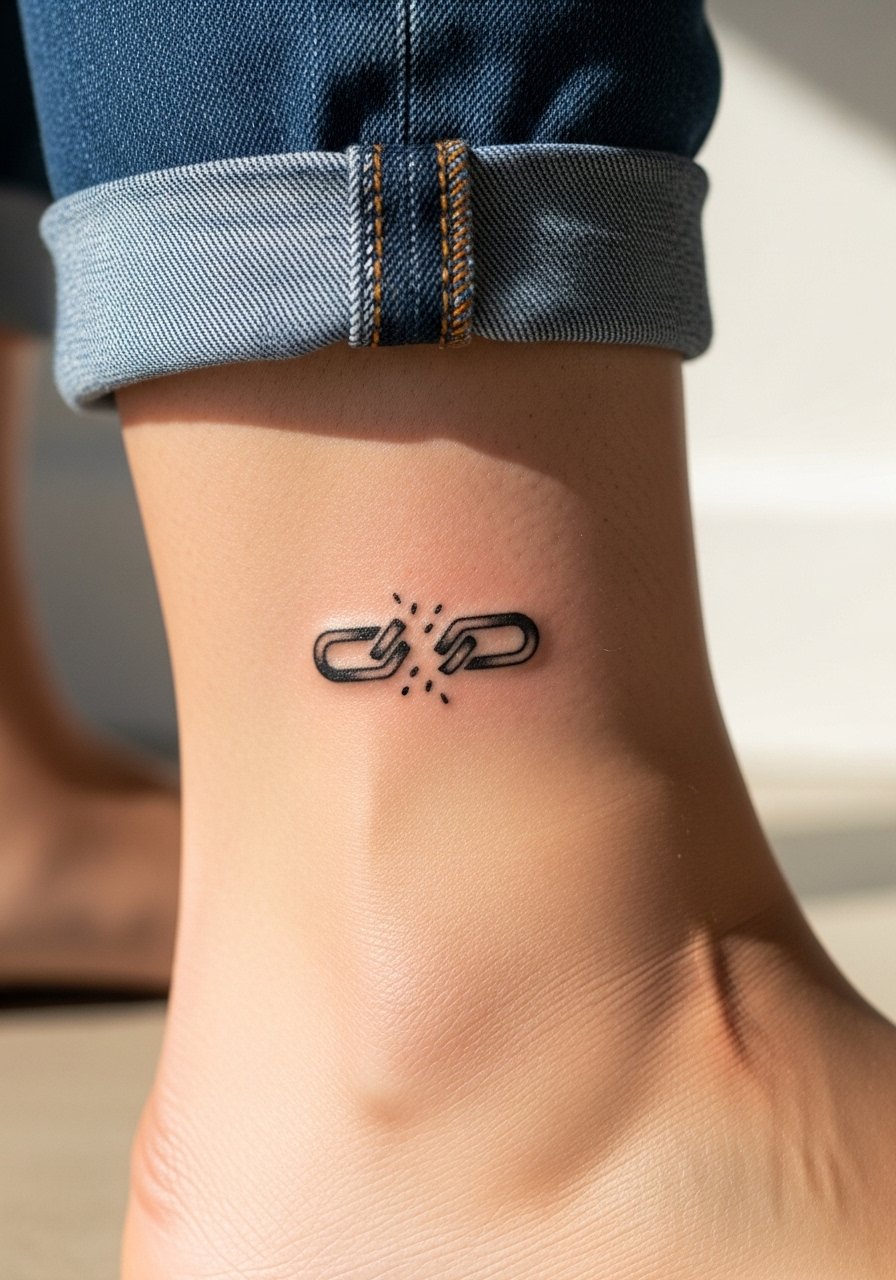
I like the ankle for a broken chain symbol because it feels private but visible in the right outfits. The ankle takes less saturation so keep the link bold rather than hairline. A common user error is placing it too close to bony protrusions where blowout risk increases. Pain is moderate and the session is short. For showing it off, cuffed pants and strappy flat sandals work well without rubbing the fresh ink.
9. Lotus with Semicolon Hybrid on the Forearm
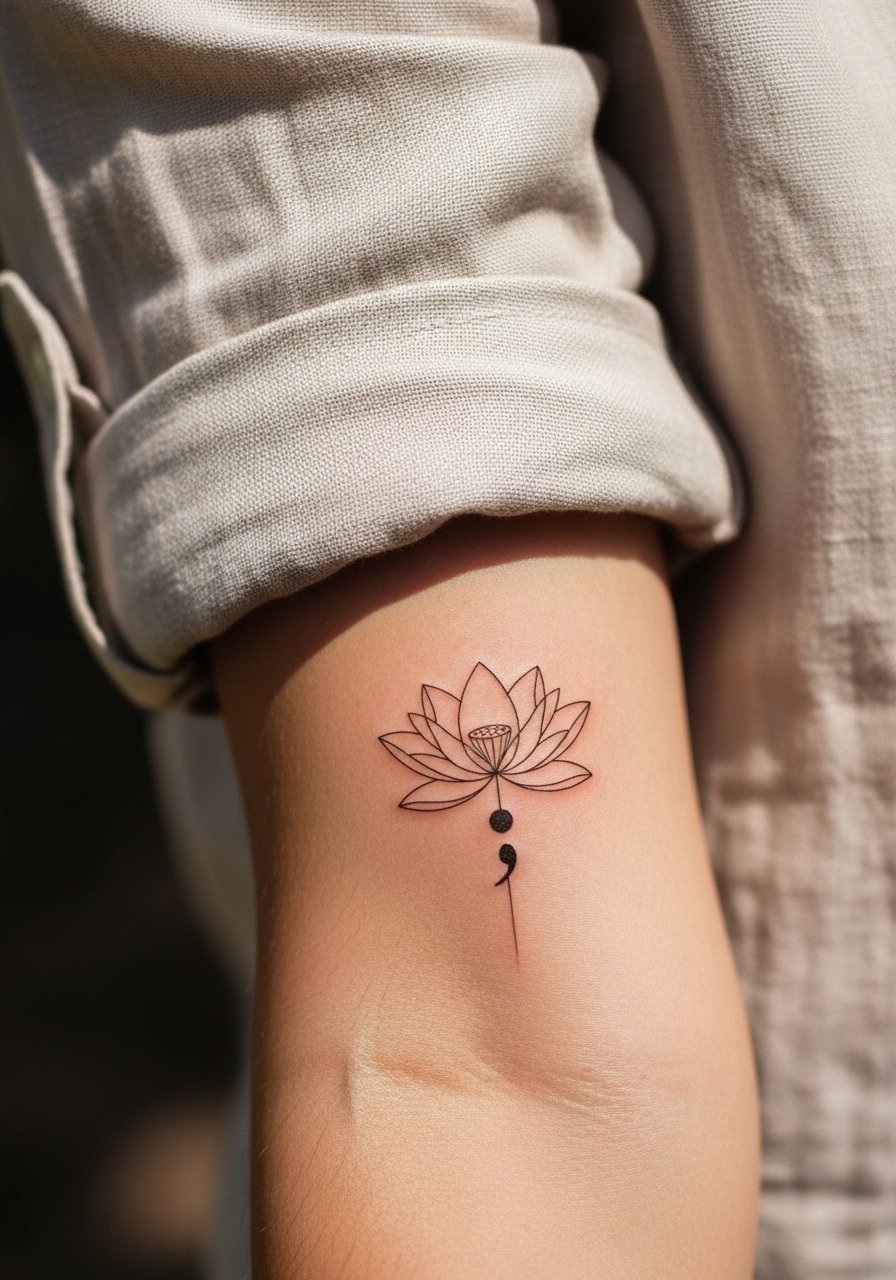
This hybrid layers two familiar markers in one compact piece. Ask for the semicolon to sit inside the negative space of the lotus so the element does not look pasted on. Forearm placement gives room and lowers early fade risks compared with fingers. The session usually runs 30 to 50 minutes. A frequent mistake is cramming too many petals into a small size. Wearing a beige linen button down shows the piece off without overwhelming its delicate linework.
10. Feather with Heartbeat Line on the Collarbone
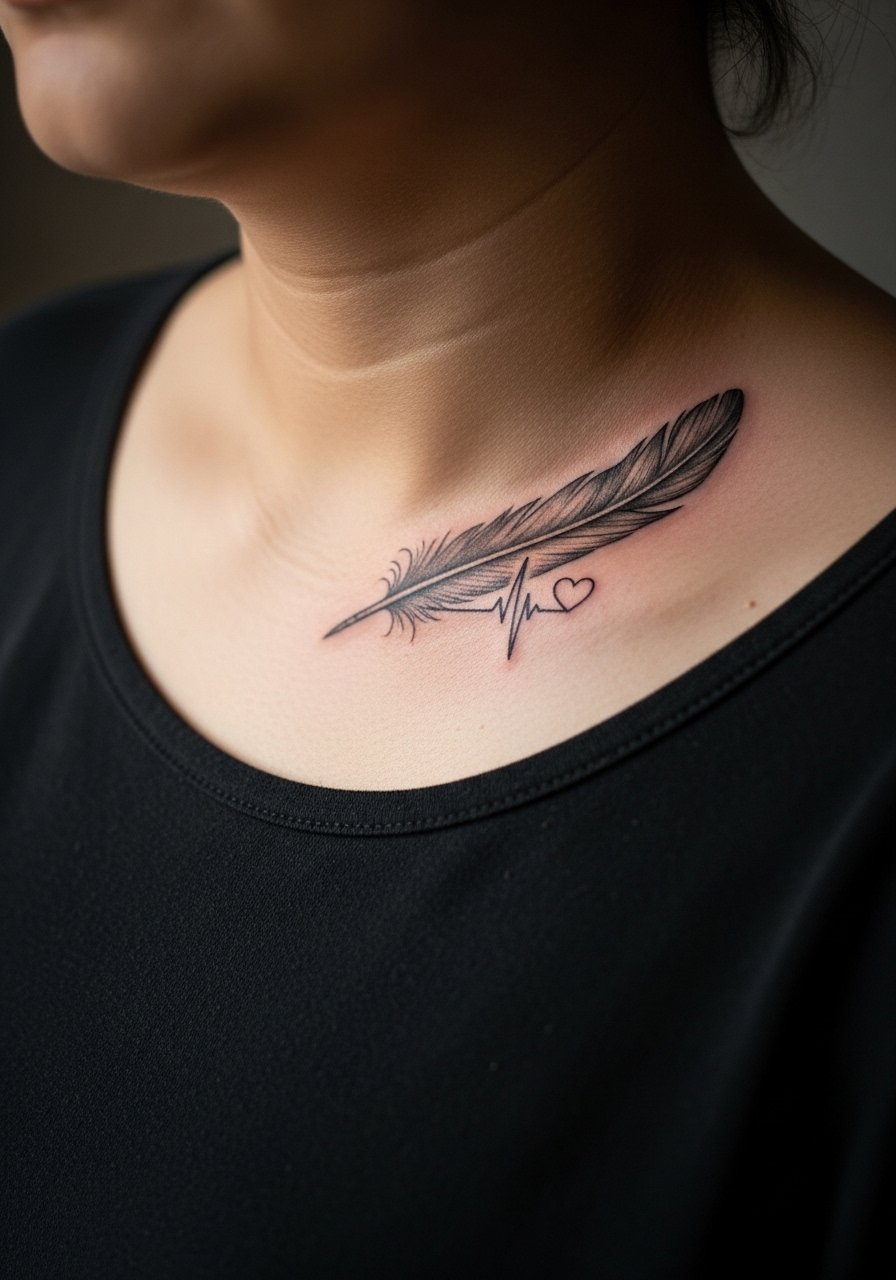
This design reads emotional without literal imagery. Collarbone skin varies, so I advise asking for a thin but confident contour so the micro-realism detail remains legible at year two. The session runs 30 to 60 minutes depending on shading. Avoid dense graywash that can consolidate into a blur on thin skin. A thin chain pendant necklace can sit above the line without competing for attention.
11. Om Symbol Outline Near the Wrist

This tiny spiritual glyph is best placed where you can touch it while breathing. The wrist works but the crease shortens the design over time. Ask for a slightly raised baseline and avoid microdot fills that vanish. The session is very short, usually under 15 minutes, and pain is mild. When wearing jewelry, keep it simple so the symbol remains readable. A thin gold chain bracelet on the opposite wrist balances attention.
12. Kintsugi Cracked Pot Lines on the Inner Thigh

This is one of the less-covered small concepts I keep recommending. The inner thigh tolerates delicate lines because it sees less abrasion, but pigment retention for gold ink can be patchy. Discuss realistic expectations for color with your artist and plan for a second session for gold accents. Sessions feel awkward because you may have to shift posture, but the area is forgiving for healing. Wear high waist shorts to the appointment so the artist can access the zone without fabric pressure during healing.
13. "Breathe" Script on the Side of the Hand
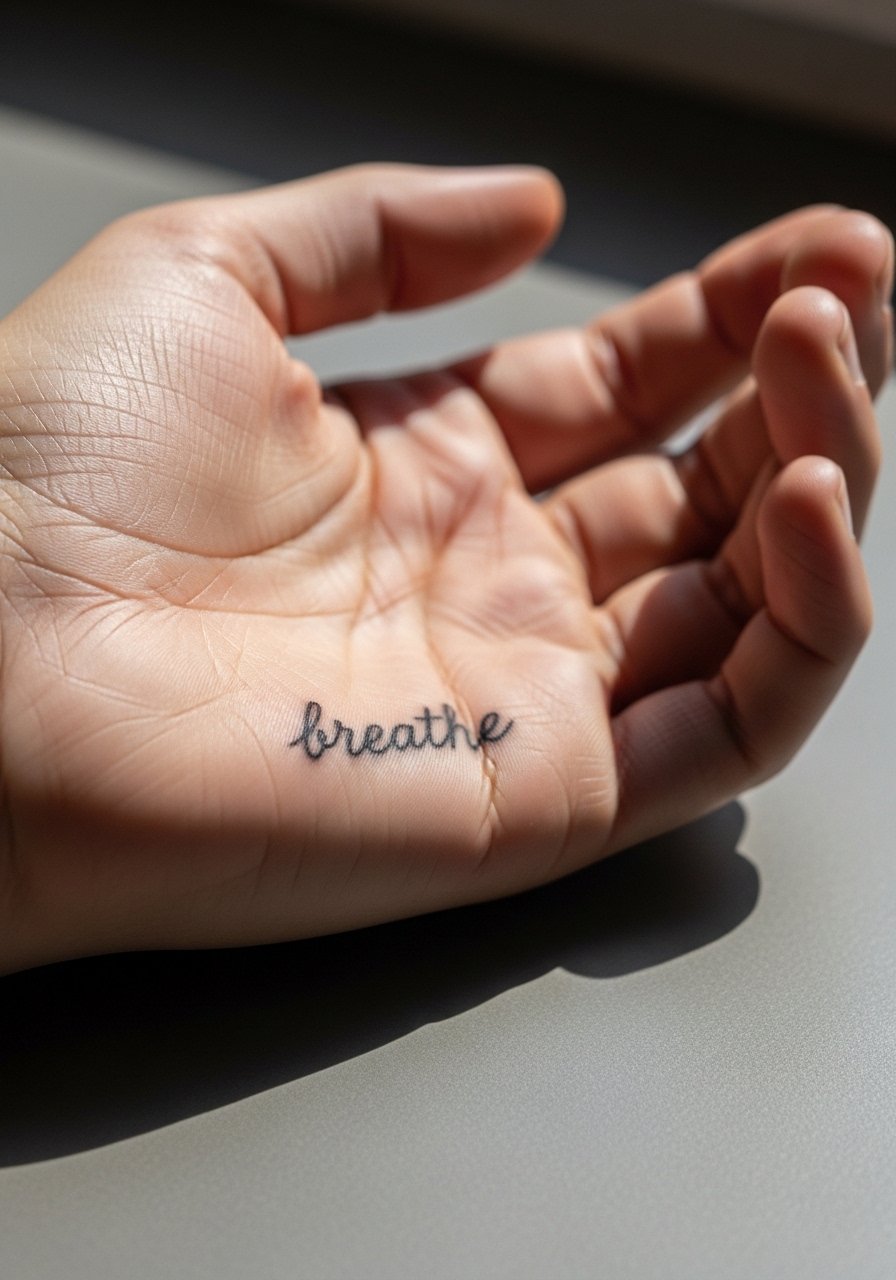
Hand placements demand realistic expectations. The thin skin and regular washing speed fading. If you want durability, ask for slightly thicker stems and accept a likely touch-up at year one. Many regret choosing intricate calligraphy here because letters blur with constant movement. The session will sting and the peeling stage can feel itchy for a week. Keep rings minimal around the tattooed hand during healing and consider a small dainty finger ring on the opposite hand to draw attention elsewhere.
14. Minimalist Mountain Range on the Inner Forearm
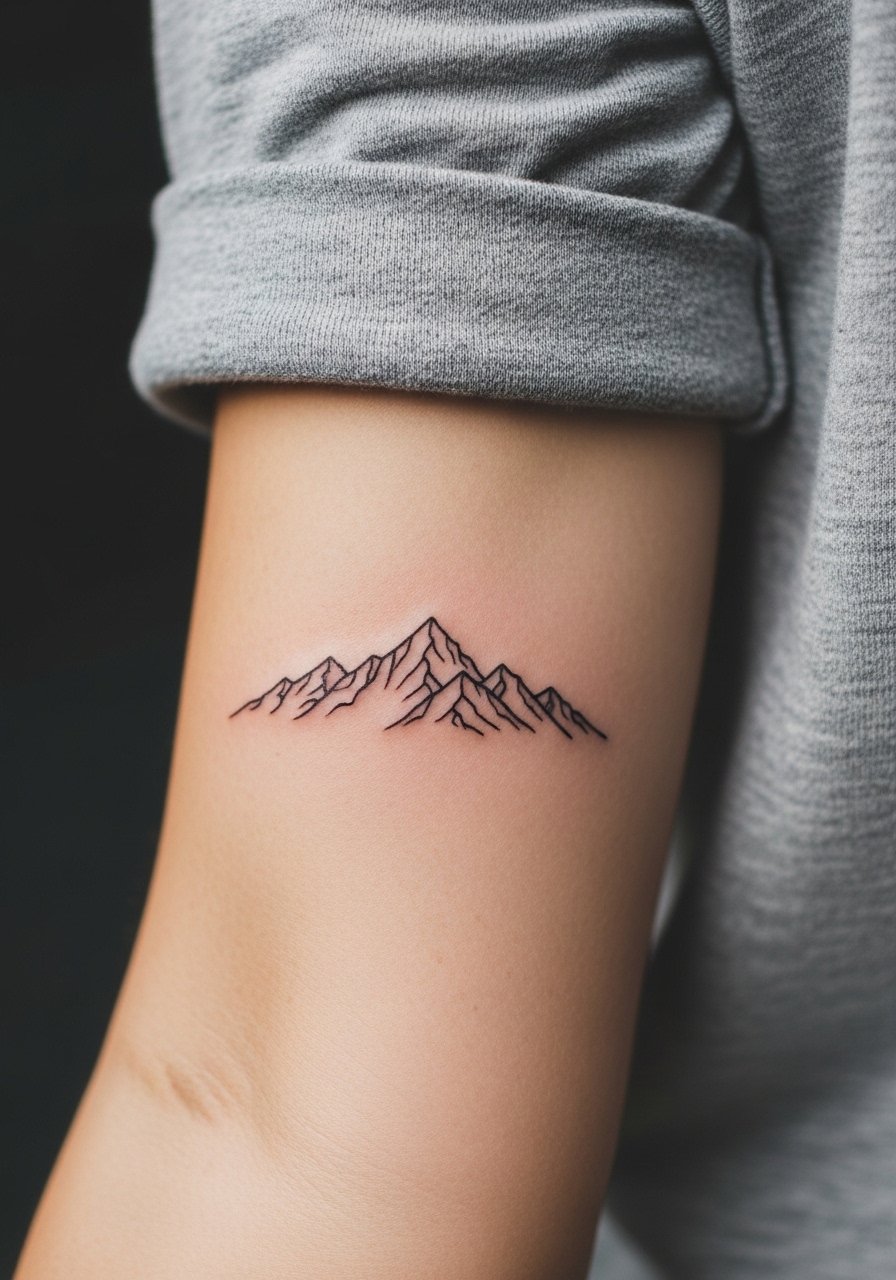
Visual impact leads this pick. Inner forearm gives the artist space to scale lines for longevity so the ridges stay crisp at year three. Ask for consistent lineweight across peaks and valleys and avoid extra tiny peaks that will muddle. The session is comfortable for most, about 20 to 30 minutes. For casual shows, rolled-sleeve button-downs in white or beige keep air around the piece, so try a loose fit blouse you can roll for quick reveals.
15. Tiny Anchor with Broken Rope on the Wrist
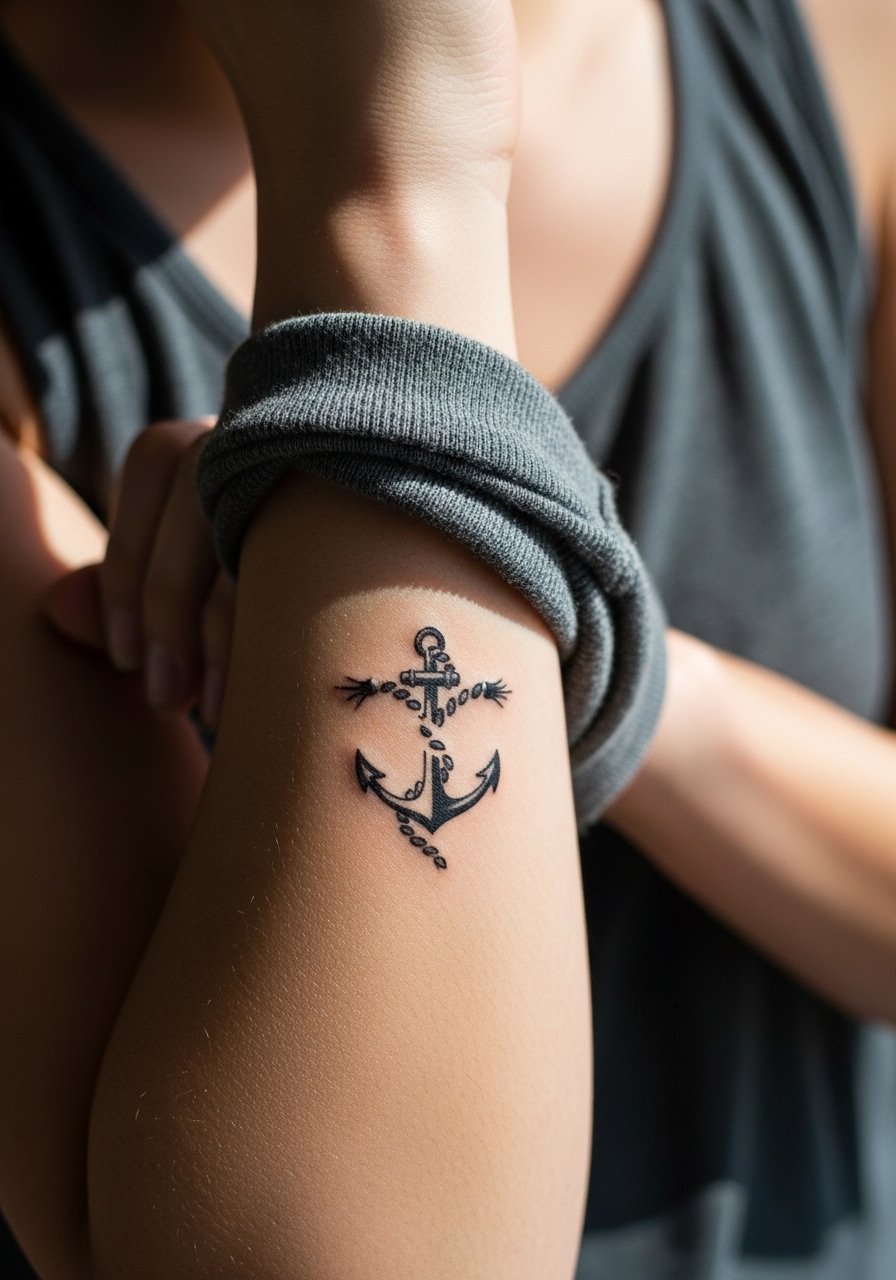
The wrist shows small nautical motifs well, but the skin there moves and the design needs clear negative space. If you want the rope detail to last, ask for simplified rope loops instead of ornate braiding. Sessions are under 20 minutes and feel like a persistent buzz. Thin chain bracelets on the opposite wrist keep the focus balanced. Consider a thin gold chain bracelet if you want a polished accessory.
16. Crescent Moon Behind the Ear

Behind-the-ear pieces are intimate and subtle because hair covers them most of the time. The skin is thin and the area needs a skilled hand for even linework. Sessions are very short but the artist may ask you to tilt your head for access. Because of the location, this demands a professional who has steady experience with small placements. Consider how often you will show it before booking. No jewelry is needed for the session, and a simple hairstyle change is enough to reveal it when you want.
17. Micro-Realism Seedling Sprout on the Upper Arm

A small seedling can function as a quiet emblem of repair without heavy symbolism. The upper arm takes saturation and shading well so micro-realism holds. Ask for crisp linework in the stem and subtle stipple shading for the leaves to age gracefully. The session often ranges 30 to 45 minutes and the pain is mild. For the appointment wear a loose tank top so the artist can access the shoulder without fabric tugging.
18. Single-Line Wave at the Ankle
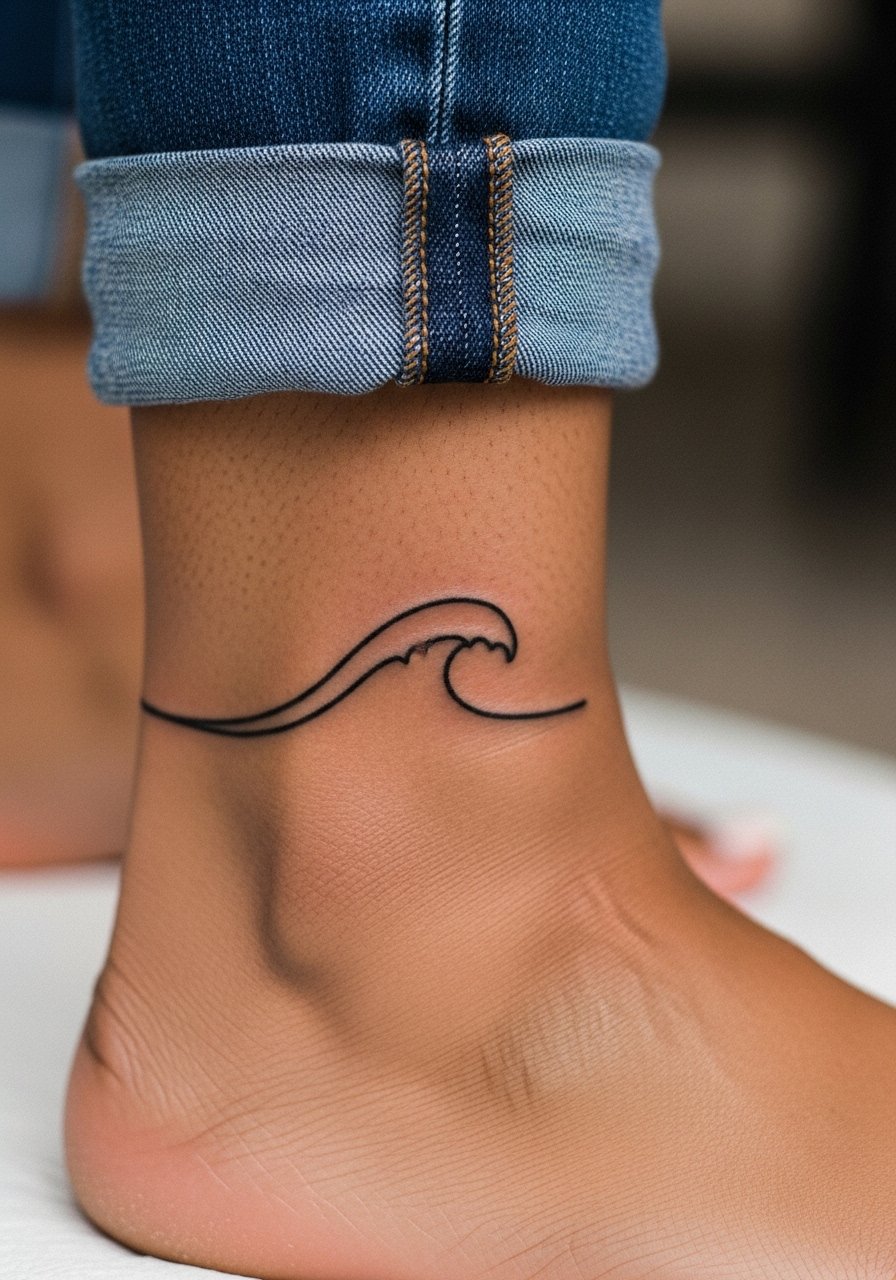
A wrapped single-line wave is simple and ages predictably if you keep the lineweight moderate. The ankle sees shoe and sock friction, so thicker strokes help. The session is short and the discomfort is a steady throb. A common mistake is trying to make the curve too fine, which disappears faster than you expect. Cuff your jeans or wear sandals when showing this one off, and think about touch-ups if you train barefoot outdoors often.
19. Tiny Dotwork Heart with Stitch Detail on the Rib Edge
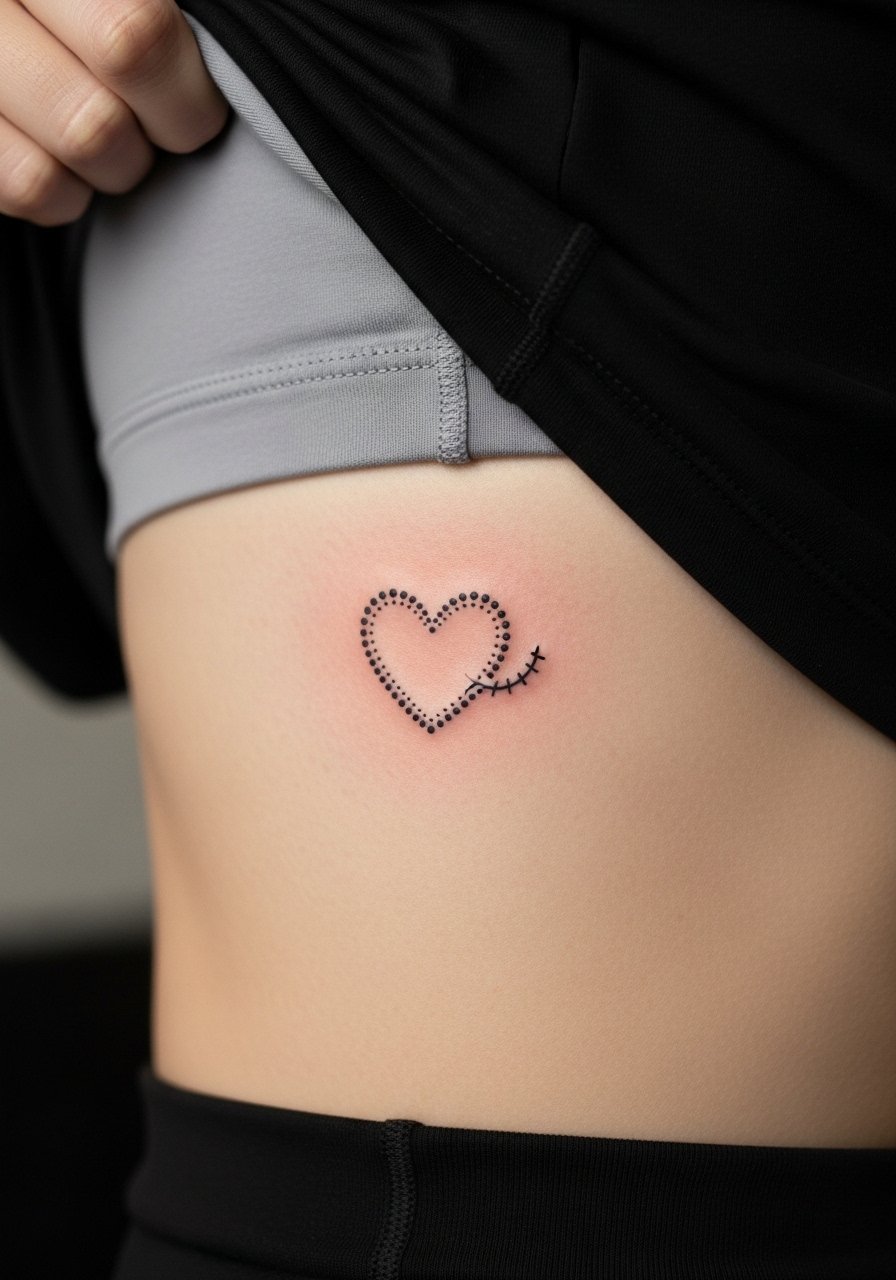
A dotwork approach can make small rib pieces look delicate without heavy lines. The ribs hurt more than other zones and sessions are often split to keep you comfortable. Dotwork holds because it relies on spaced points rather than continuous thin lines, but the skin there still shifts with weight change, so ask the artist about dot frequency. For the appointment wear a fitted sports bra or cropped top that lets the artist work without exposing more than the targeted area.
20. Tiny Compass Needle on the Outer Wrist

People pick a compact needle for orientation cues and subtle reminders. The outer wrist tolerates a bit more saturation than the inner fold, so ask for a clear pivot point and slightly bolder cardinal ticks. The appointment is quick and the sensation is a short, steady sting. Avoid small, intricate ticks that will merge over time. For jewelry balance try a thin chain bracelet on the opposite wrist.
21. Minimalist Spiral on the Back of the Neck

Neck placement above the shoulder blade is surprising and subtly visible with the right shirts. The back of neck sees movement and friction from collars, so ask for slightly bolder outlines and avoid tight concentric spirals that can blur. Sessions are brief but you should expect a few days of soreness. For the appointment wear a wide-neck shirt so the artist can expose the area without you getting cold.
Frequently Asked Questions
Q: Will fine line lotus and script pieces need touch-ups faster than bolder work?
A: From what I have seen, fine line sits closer to the surface and often needs touch-ups sooner, especially on high-friction spots like wrists and fingers. Expect a possible touch-up around year one to three depending on exposure and how bold the original linework was. Ask your artist about planned touch-up windows during the consultation.
Q: Should I use a protective film or go with dry healing for tiny tattoos on fingers?
A: Artists split into two camps. One group prefers protective film for the first 2 to 7 days to shield weeping tattoos. The other group argues film traps moisture and can pull surface ink from fine lines. Tell your artist about your daily routine and follow their preferred method. If they recommend film, ask how long to keep it on and when to check in.
Q: How do Kintsugi gold accents behave on darker skin tones?
A: Gold tones can be subtle on darker skin and may require denser saturation or a second pass to keep the metallic visible. Talk to your artist about realistic expectations for contrast. Many artists adapt the linework so the gold reads as an accent rather than the primary pigment.
Q: What should I wear to a ribcage or inner-thigh session for easy access and modesty?
A: Wear a cropped top or shorts that you can lift slightly so only the tattoo area is exposed. A loose drawstring linen pant or high-waisted shorts are easy choices for thigh sessions and keep fabric away from the skin during healing.
Q: Where can I find contemporary artists who specialize in subtle fine line work without naming people?
A: Search hashtags like #finelinetattoos and #semicolontattoo on Instagram, use filters on apps like Tattoodo, and check recent threads on Reddit r/tattoos for up-to-date recommendations. Look for portfolios showing healed photos, not just fresh work, and ask studios about healed results before booking.
