
Fine line kiss marks are everywhere on saved boards right now, and the trend explains a lot about what people want from small tattoos: intimacy that reads like a secret, not a billboard. The challenge is keeping them readable as skin moves and light fades. These 27 tiny kiss mark tattoo ideas balance placement, linework, and a pinch of color so the prints still look sweet after years of wear. Start with the inner wrist options that follow and work down the body for placements that suit short sessions or bold statements.
1. Tiny Lip Outline on Inner Wrist
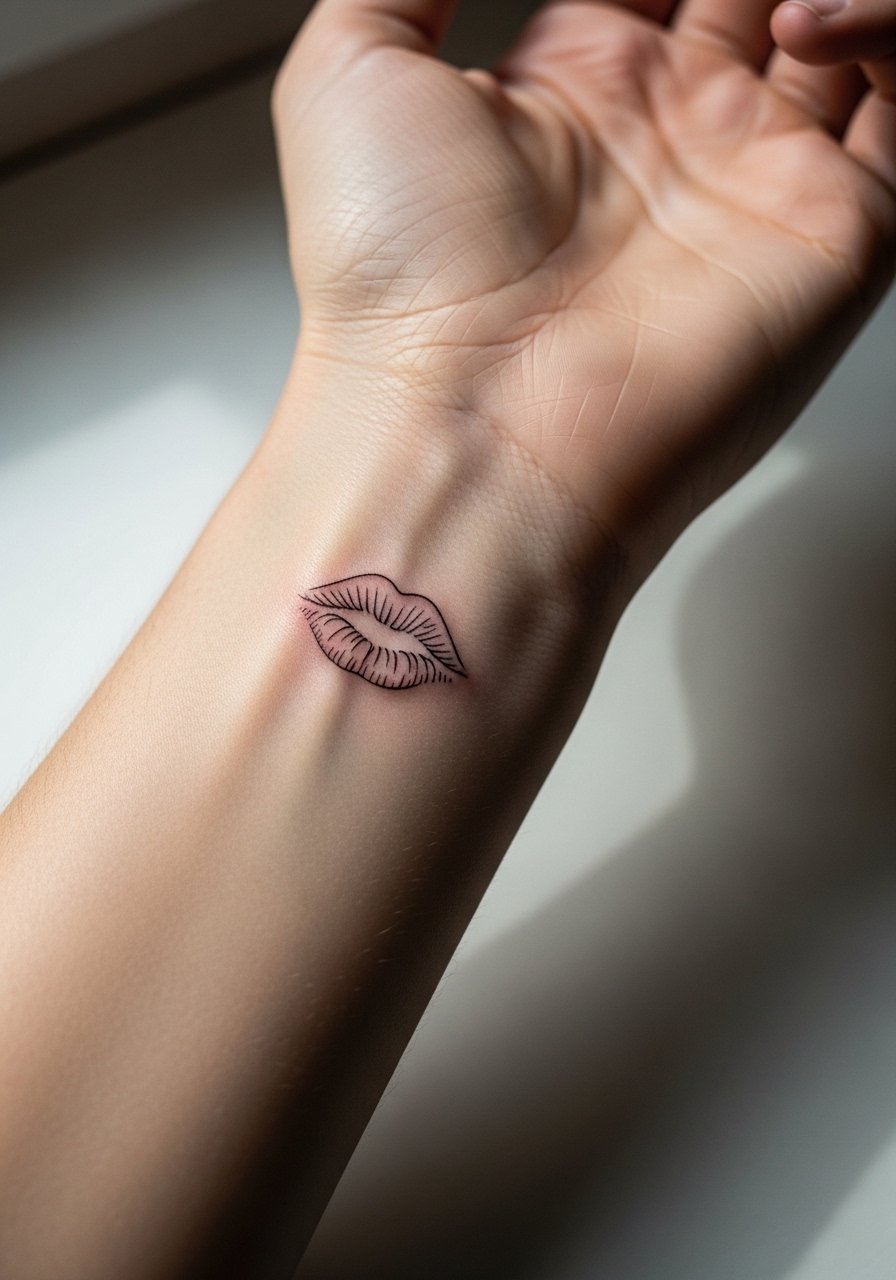
Ive seen this one a lot in consultations because it is small and readable. Pain is mild for most people and the session time is short, often under thirty minutes. Tell your artist you want a bit of breathing room in the outline and slightly slower hand speed so the ink sits cleanly in the shallow dermis. A common mistake is making the outline too thin for wrists, which invites early blurring and touch-up at year two. For showing it off, try a thin chain bracelet or a minimalist watch that frames the wrist without crowding the linework.
2. Micro-Realism Colored Lip Print on Behind the Ear
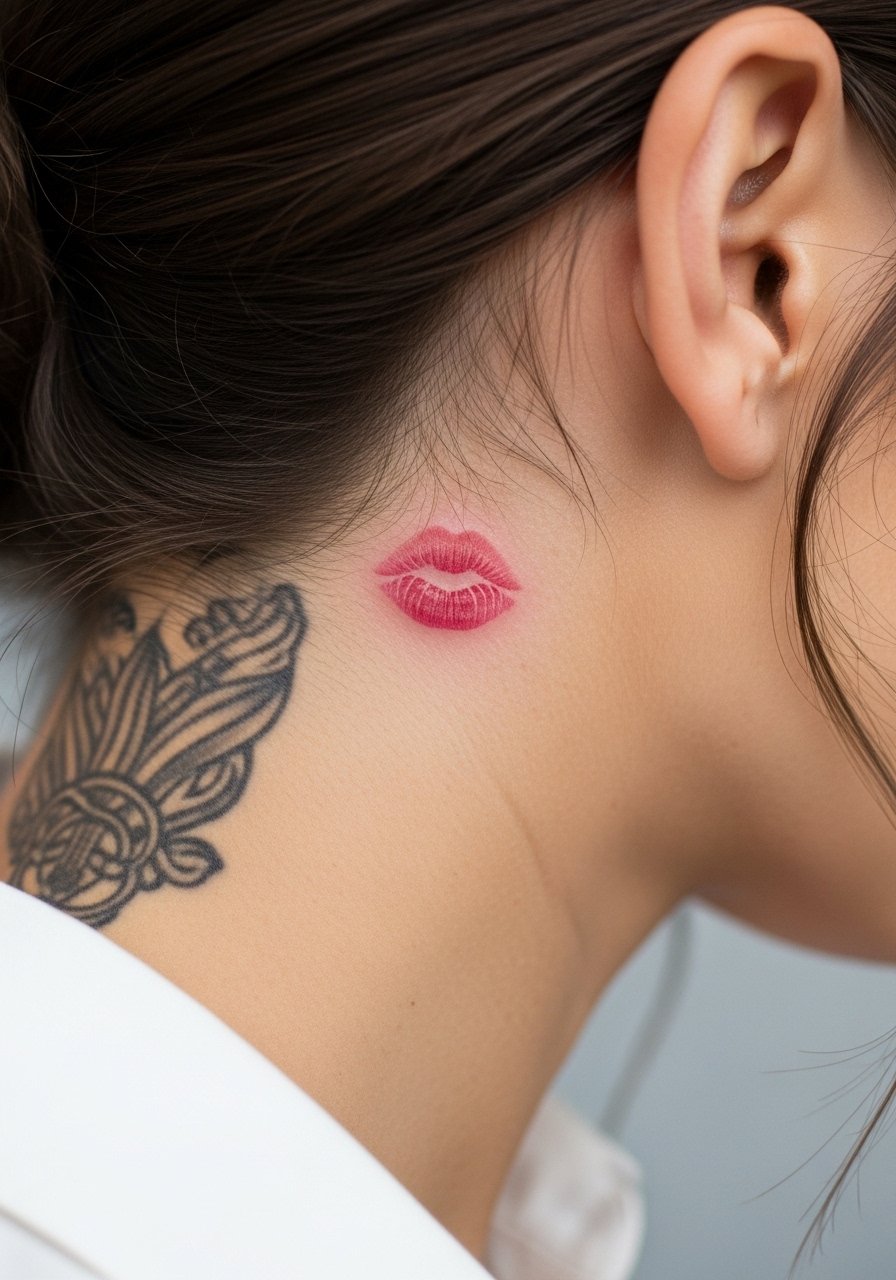
Behind-the-ear placements are discreet and photograph well when you tuck hair back. Sessions are quick but require a steady hand and shallow saturation to avoid blowout. Artists disagree on fine line here. One camp says the skin below the hairline is thin and shifts with movement causing lines to blur, while the other camp argues careful depth and spacing can make tiny designs hold. Ask the artist which side they fall on during consultation. For the appointment wear a wide-neck tee so you can move hair and sit comfortably.
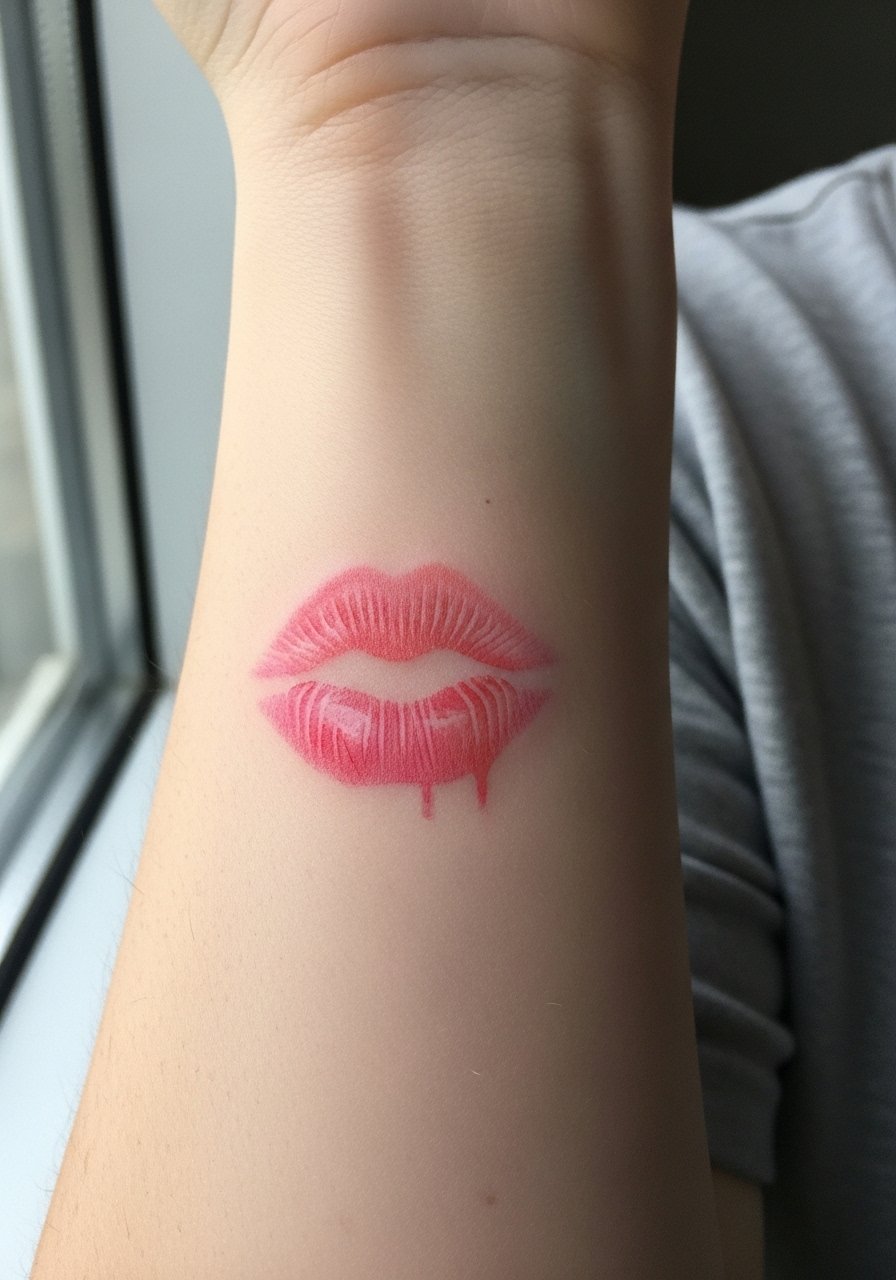
3. Classic Lip Stamp on Outer Forearm
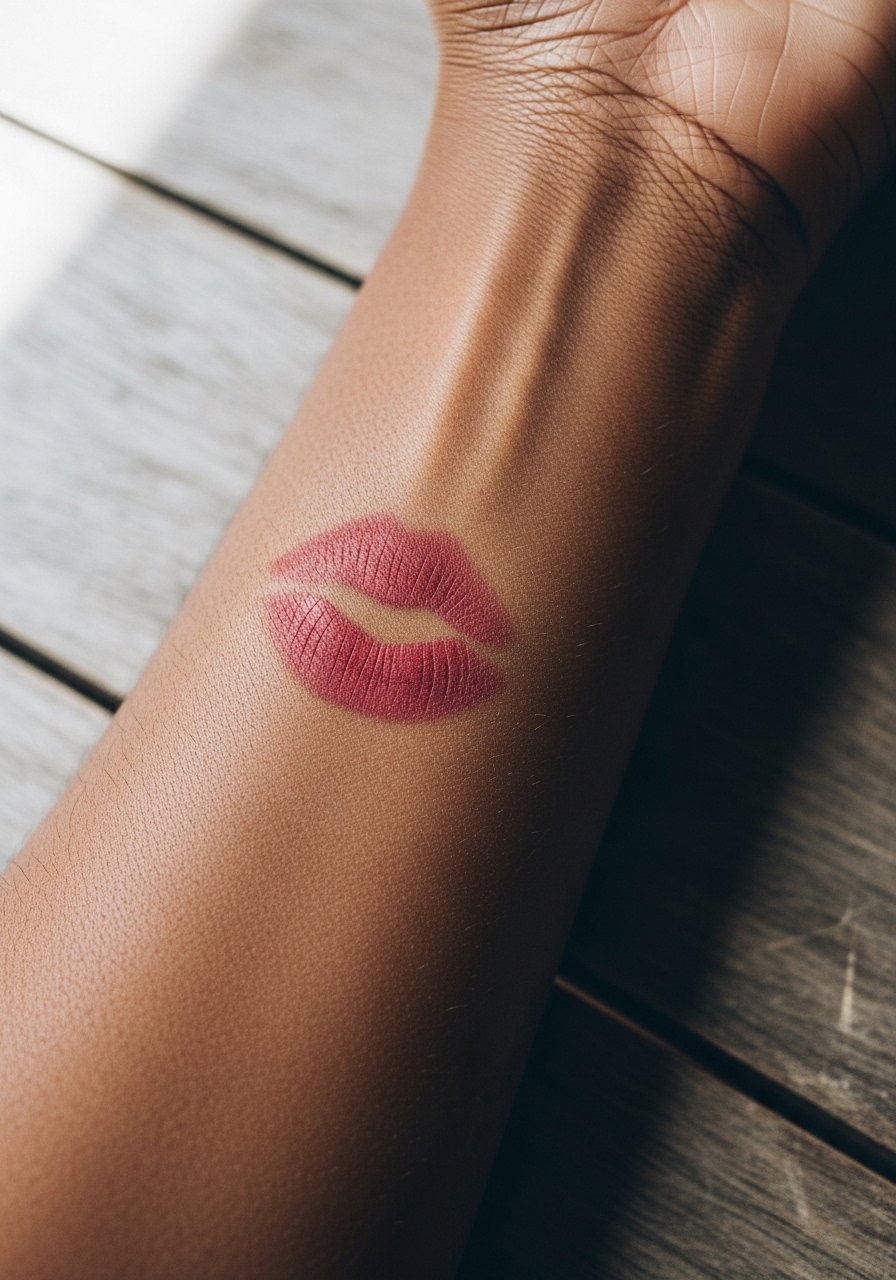
The outer forearm gives a little space for micro-realism shading without looking crowded. Expect low to moderate pain and a session that runs thirty to forty-five minutes depending on color layering. Tell your artist you want subtle stipple shading rather than heavy saturation to avoid patchy fading over time. A mistake is requesting full pigment at first pass which often leads to uneven fade. A rolled sleeve or a short-sleeve linen shirt highlights the placement when you want it visible.
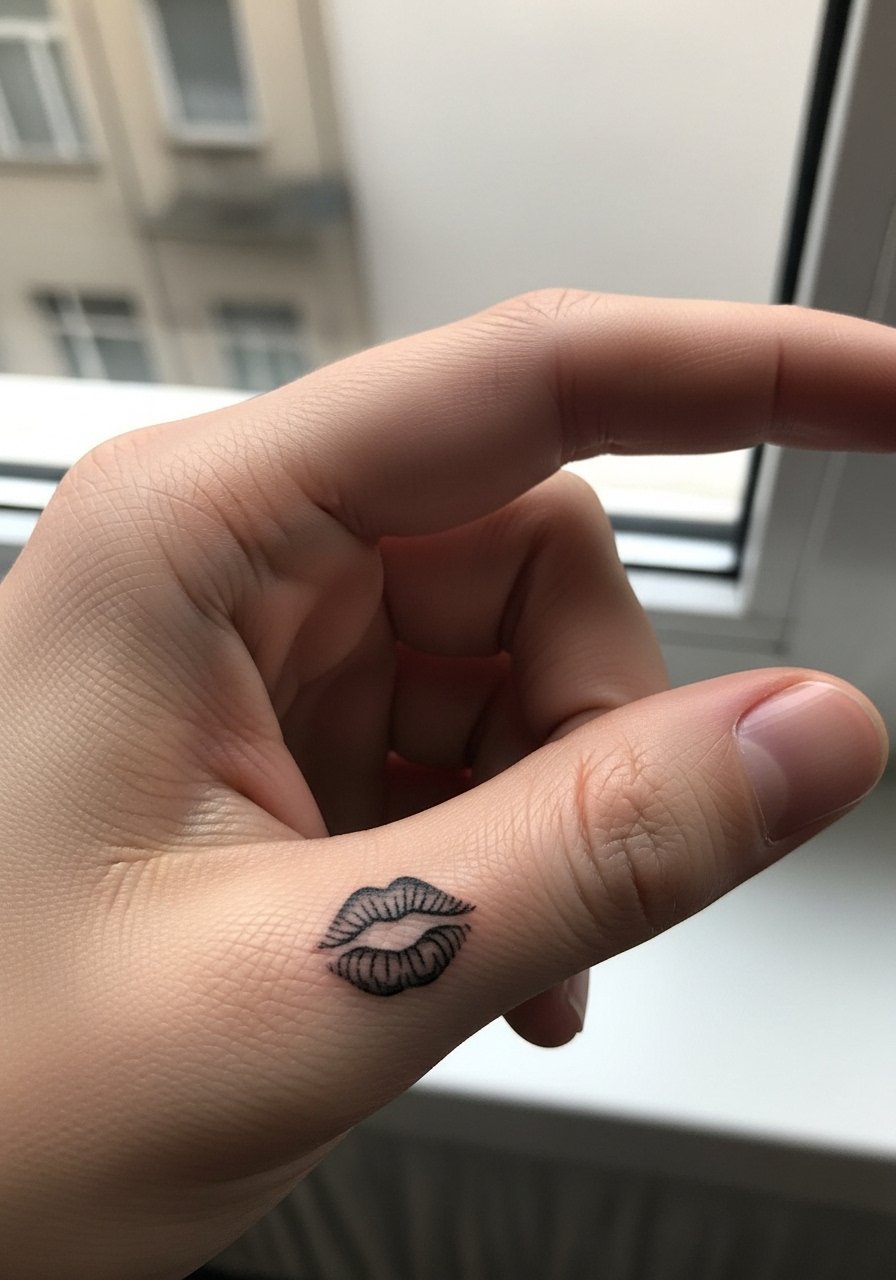
4. Minimalist Lip Mark on the Side of a Finger
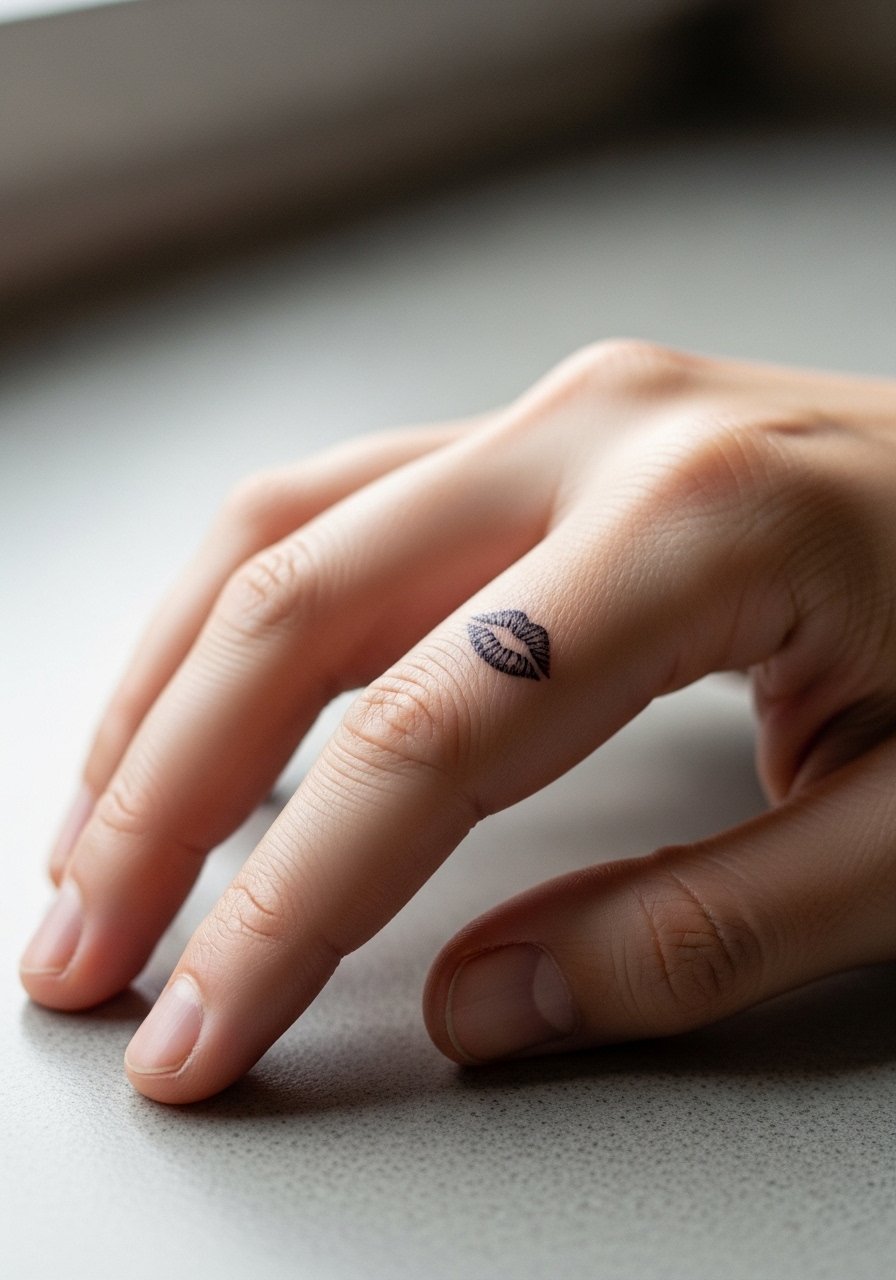
Finger pieces are tempting because they feel intimate and playful but they age differently. Pain is brief and sharp, session time under twenty minutes. The real issue is friction and constant washing which pulls at saturation. Most artists recommend going slightly thicker on the outline to delay early fade. A common mistake is expecting a lifetime of crisp edges without planning for touch-ups at year one or two. Pair the design with a minimalist ring that complements the tiny print without covering it.
5. Tiny Kiss with Tiny Date in Roman Numerals on the Collarbone
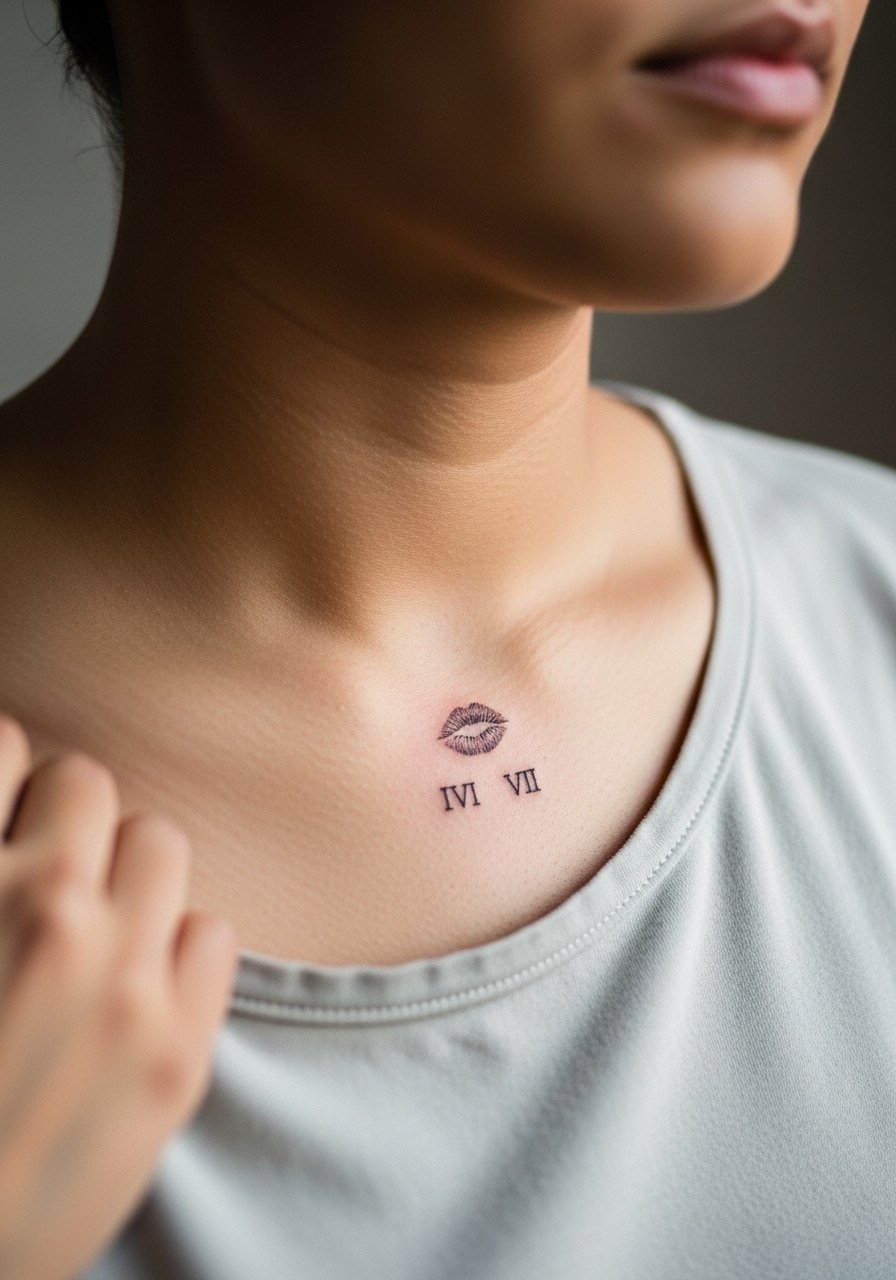
Collarbone placements read as deliberate and can sit close to jewelry. Pain ranges moderate and sessions are usually under forty minutes. For lettering in small sizes specify the exact numerals and font to the artist so the script stays legible long term. A frequent error is squeezing numerals too close to the kiss mark which causes both elements to merge as they fade. For evenings out, an open-back midi dress or a thin chain necklace draws attention to the collarbone without competing.
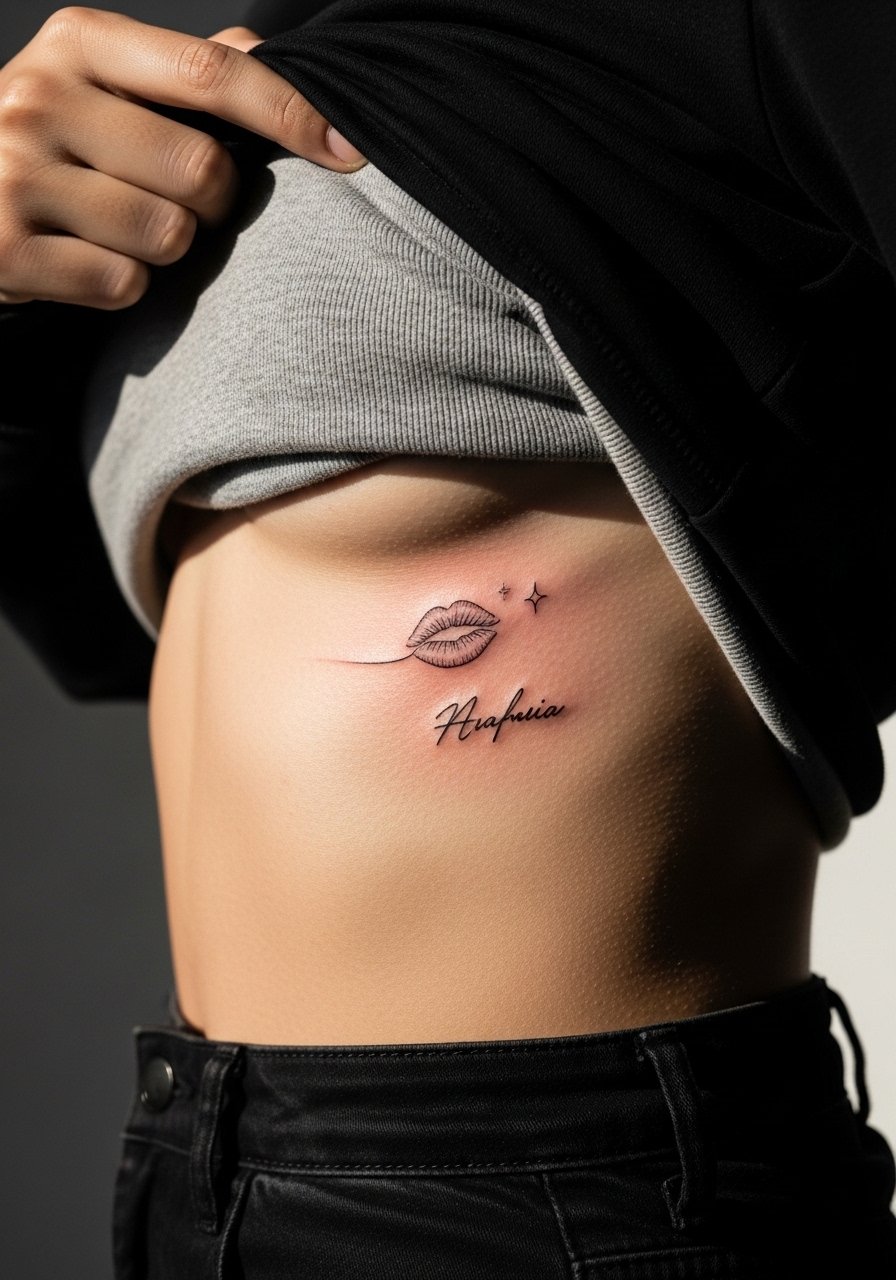
6. Whispered Kiss on the Side Ribcage
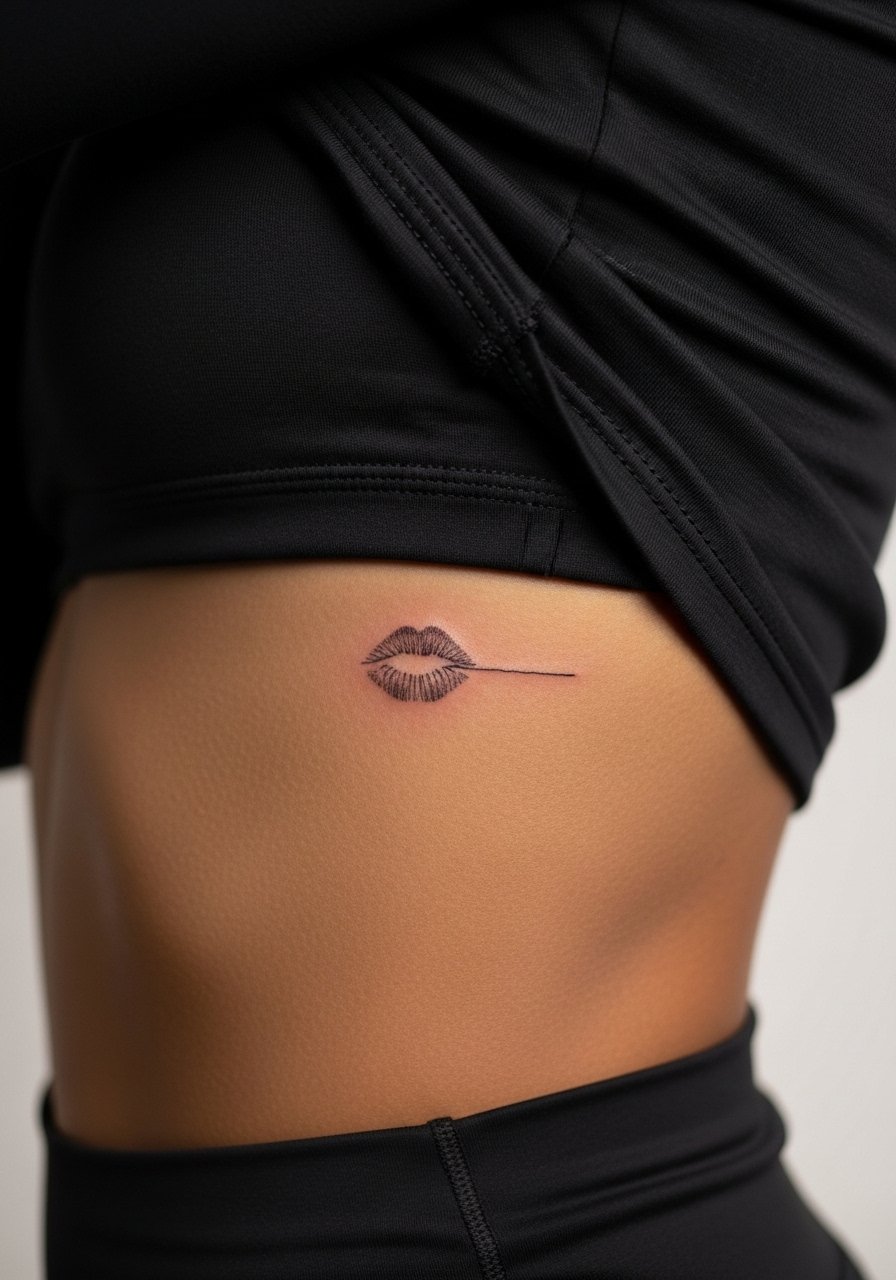
Fair warning: the ribcage is a 7 out of 10 on most pain scales, but that does not stop people from choosing this spot. Sessions are short for tiny marks yet breathing control matters. Artists split on whether fine line on ribs holds up. One camp says constant skin stretch and torso movement blur thin lines within two years. The other camp argues correct needle depth and slightly thicker line weight makes the design settle fine. Ask your artist where they stand. For the studio wear a cropped tank so the artist can expose only the side you want tattooed.
Studio Day Picks
Those wrist and collarbone examples above heal differently from rib and side torso pieces, so a few small items make the session smoother and the first week less fussy.
-
Stencil transfer paper kit. Lets you preview placement directly on skin which helps with tiny kiss marks that must sit precisely on the wrist or collarbone.
-
Topical numbing cream. Use it before a rib or sternum session to reduce sharp sensitivity without impacting linework when applied correctly.
-
Thin protective film roll. Small placements on fingers and wrists can rub against surfaces. A light protective film shields the area during the first showers.
-
Fragrance free gentle body wash. Cleansers without perfume avoid irritation on delicate micro-realism color work.
-
Aquaphor healing ointment. Thin layers in the earliest window keep fine line channels moist so ink heals evenly, especially on low-fat areas like the wrist.
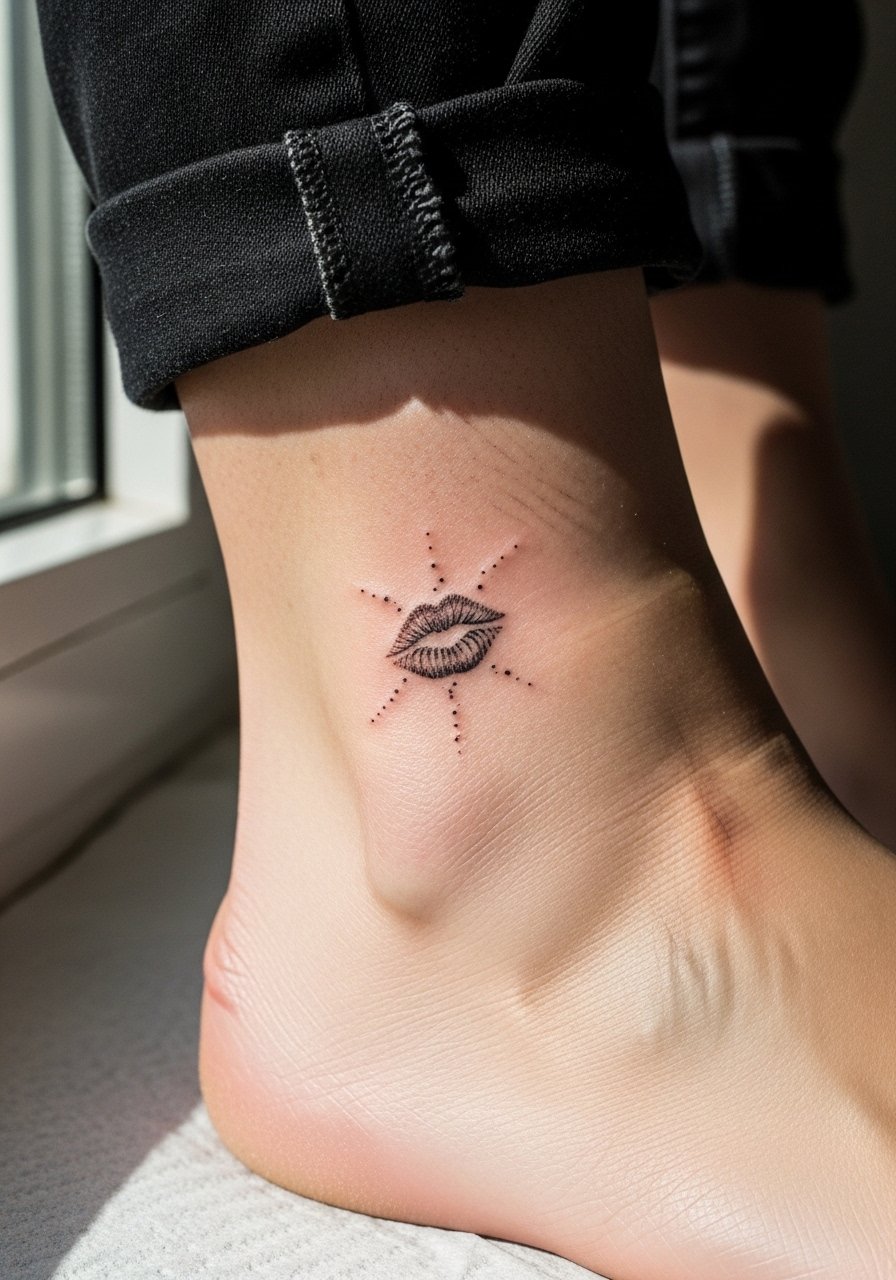
7. Pair of Tiny Kiss Marks on Each Ankle
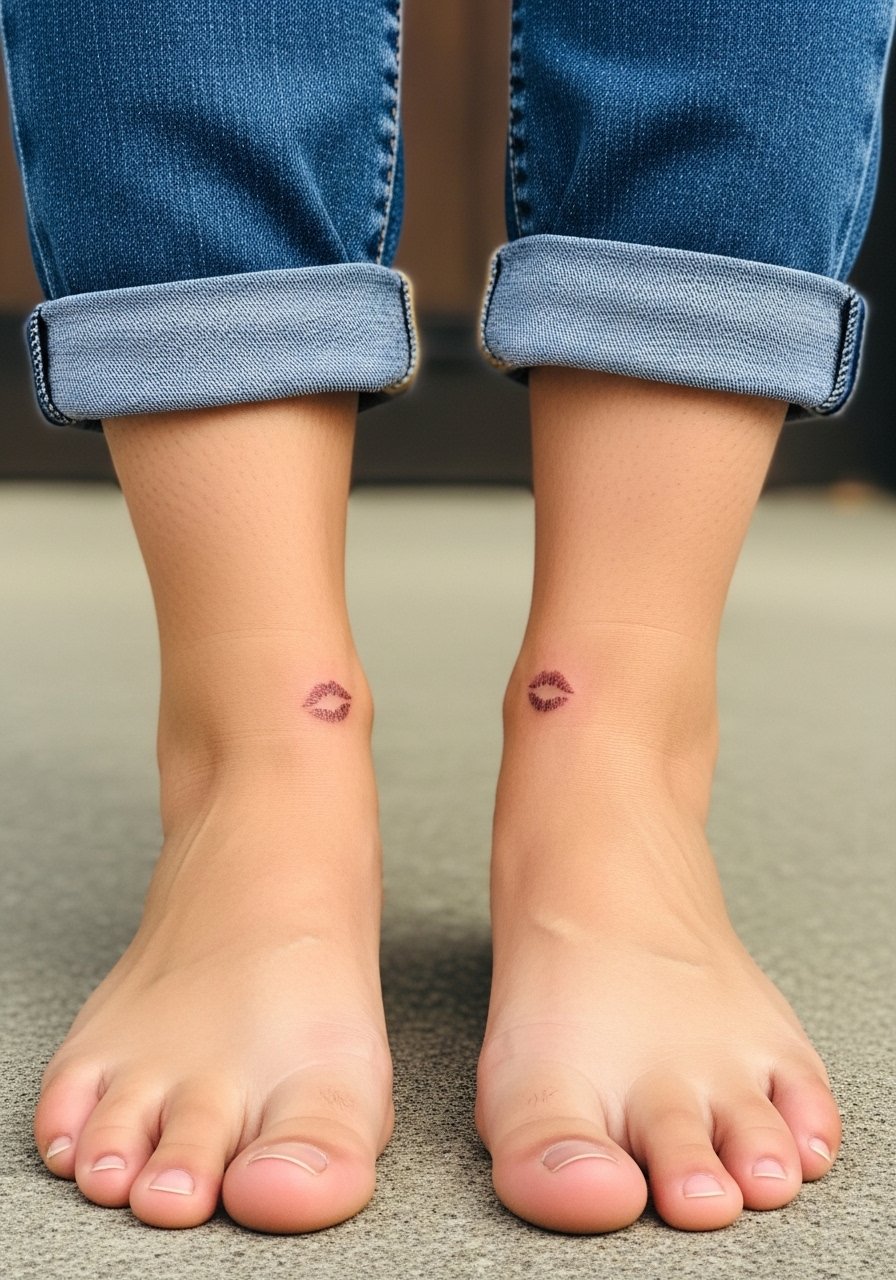
Ankle tattoos are a low-visibility option with moderate friction from socks and shoes. Sessions are brief and the pain is mild to moderate. Tell your artist you plan to wear sandals often so they can advise on placement away from shoe straps. A common mistake is placing the marks too low where rubbing accelerates fading. For warm months pair with ankle strap sandals to show off the prints without irritating them.
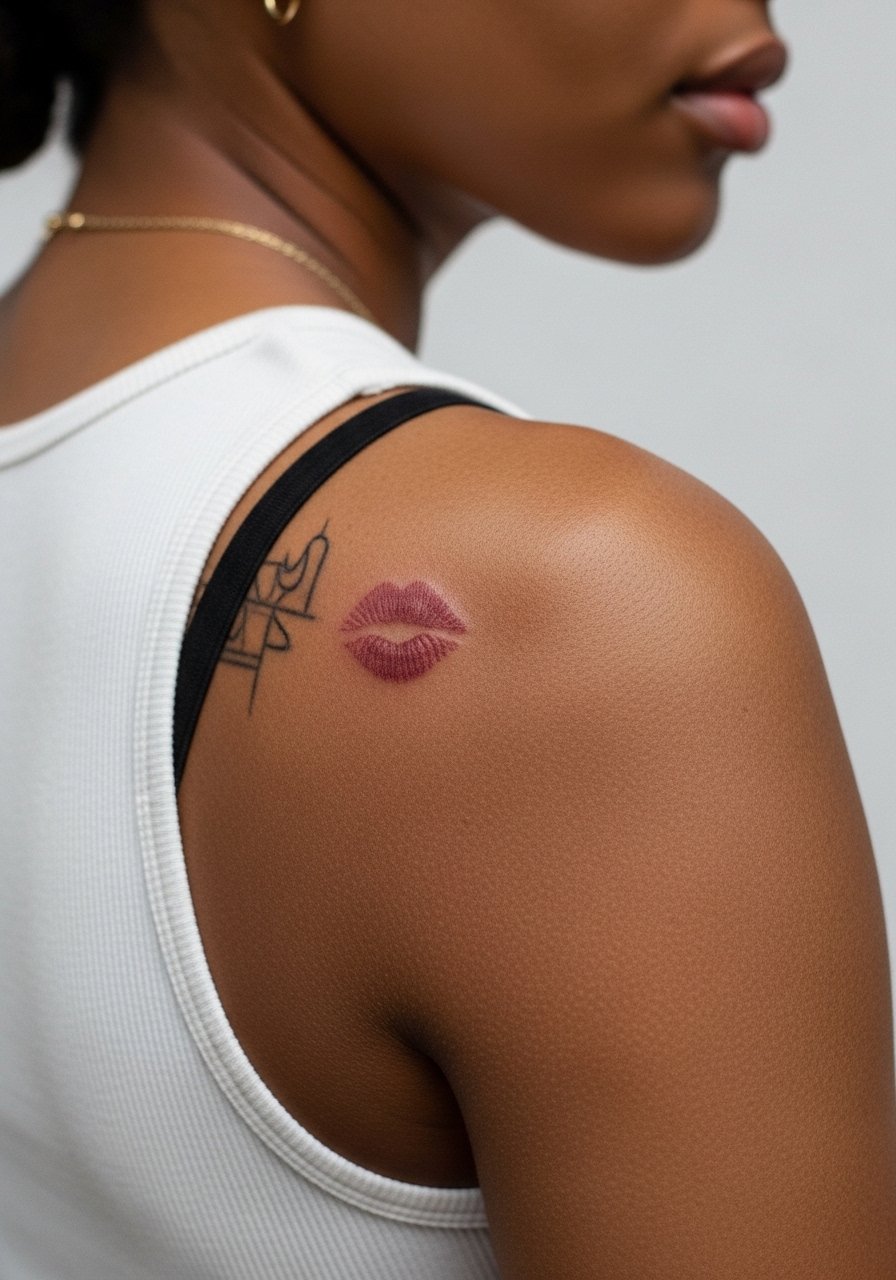
8. Tiny Kiss with Floral Accent on Upper Shoulder
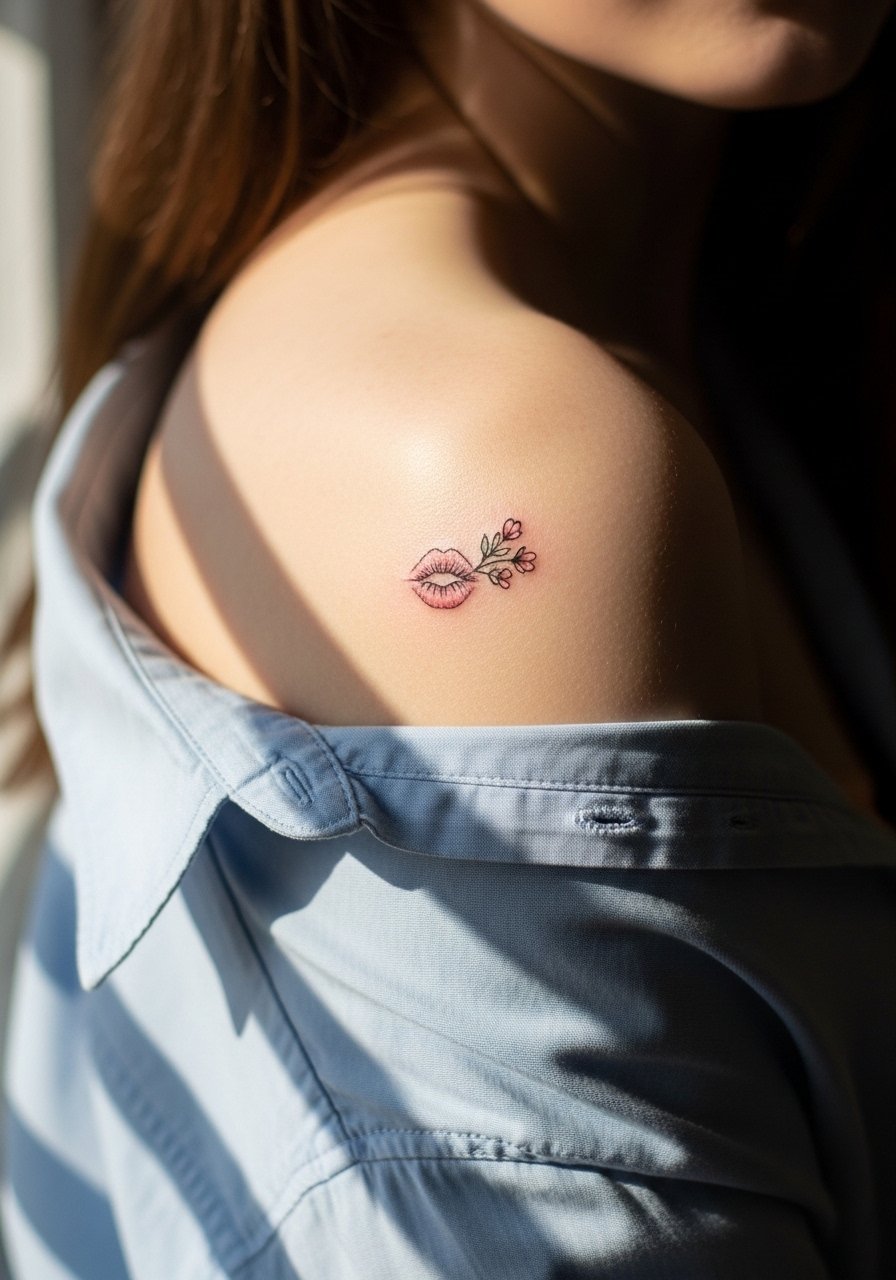
The upper shoulder is forgiving for small color work and tends to age well because it sees less constant stretch. Pain is low and sessions often run thirty minutes. Ask for stipple shading in the floral accent instead of heavy saturation to avoid patchy fade. A mistake is tacking on large petals that compete with the tiny kiss, which makes touch-ups more complicated later. For showing the area, wear a loose button-down shirt you can pull aside at the studio and cinch for photos afterward.
9. Single Lip Print on the Back of the Neck
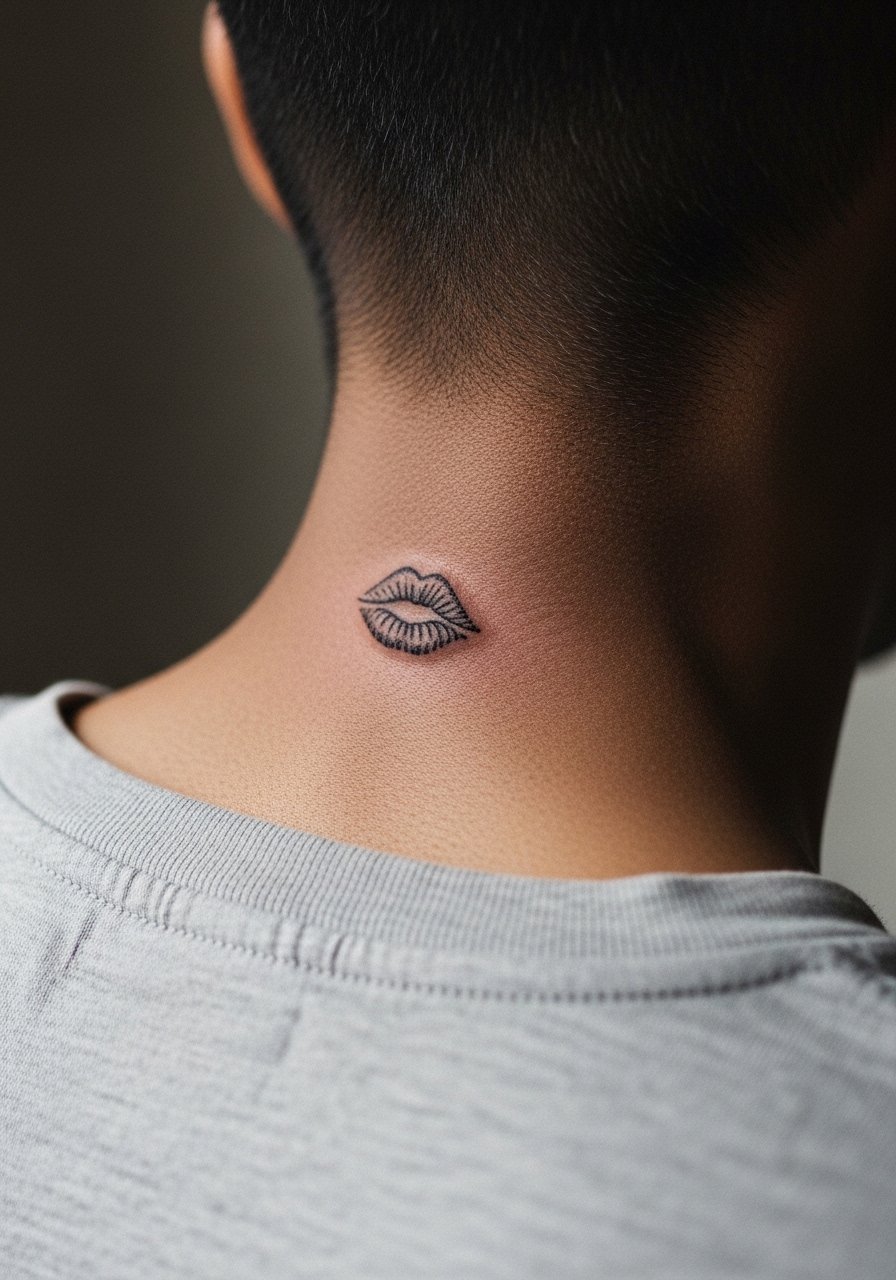
Back of neck placements are subtle unless you wear your hair up. Sessions are quick and pain is usually mild. The main consultation point is hairline interference, so the stencil should be tested with hair up and down. A common error is placing the design too close to the hairline which complicates touch-ups and can make the print look uneven. For appointment ease, bring a wide-neck shirt so the artist can expose just the area needed.
10. Tiny Watercolor Smudge Kiss on the Inner Arm
Watercolor approaches give a soft smear effect but they also require more planning. Expect low to moderate pain and sessions that may run closer to an hour if layering color. Tell your artist you want controlled bleeding that keeps the silhouette readable after fading. The error is asking for aggressive watercolor beyond what a tiny canvas can hold, which becomes muddled over time. For casual wear, roll up sleeves or use a racerback tank so the inner arm is visible without stretching the skin.
11. Kiss Mark with a Tiny Crown Accent on the Wrist

Adding a small crown plays with symbolism while keeping the tattoo petite. Wrist skin needs slightly bolder linework than other places to avoid early blur. Pain is mild and sessions are short. Ask your artist for a light touch in the crown so the tiny points do not clog. A common mistake is over-detailing the crown which looks muddy after a couple of years. Pair it with a thin chain bracelet or a delicate cuff that frames the wrist without covering the tattoo.
12. Matching Couple Kiss Marks on the Shoulder Blade
Shoulder blade placements are private but photograph elegantly. Sessions are comfortable and brief. When doing matching pieces, make sure both stencils are applied to similar coordinates relative to shoulder anatomy so the prints sit symmetrically. A frequent mistake is relying on the same stencil without adjusting for each person’s curvature which can skew the placement once healed. For studio comfort wear a loose tank top that you can pull aside to expose only the blade.
13. Tiny Negative-Space Kiss That Forms a Heart on the Ankle
Negative-space techniques rely on surrounding shading to define shape which is clever for tiny designs. The ankle tolerates this well but keep the negative area wide enough to survive surface wear. Pain is mild and sessions are short. A mistake is carving too fine a negative area that fills in as skin heals. For styling, a pair of minimalist anklets or sandals shows off the negative-space effect without crowding the ankle.
14. Tiny Kiss with Script Name on the Ribcage
Ribcage pieces are intimate and can be rewarding but they come with a longevity debate. One school says lettering near the ribs fades and blurs quickly due to skin stretch. The other school insists small script can hold when spaced correctly and inked slightly deeper. If you want a name included, pick a thicker micro-script and ask for spacing tests. Pain is high compared with wrist work and sessions may feel interrupted by breathing. For the appointment bring a cropped athletic top that lifts easily and keeps the rest of the torso covered.
15. Tiny Kiss Inside a Tiny Circle on the Back of the Hand
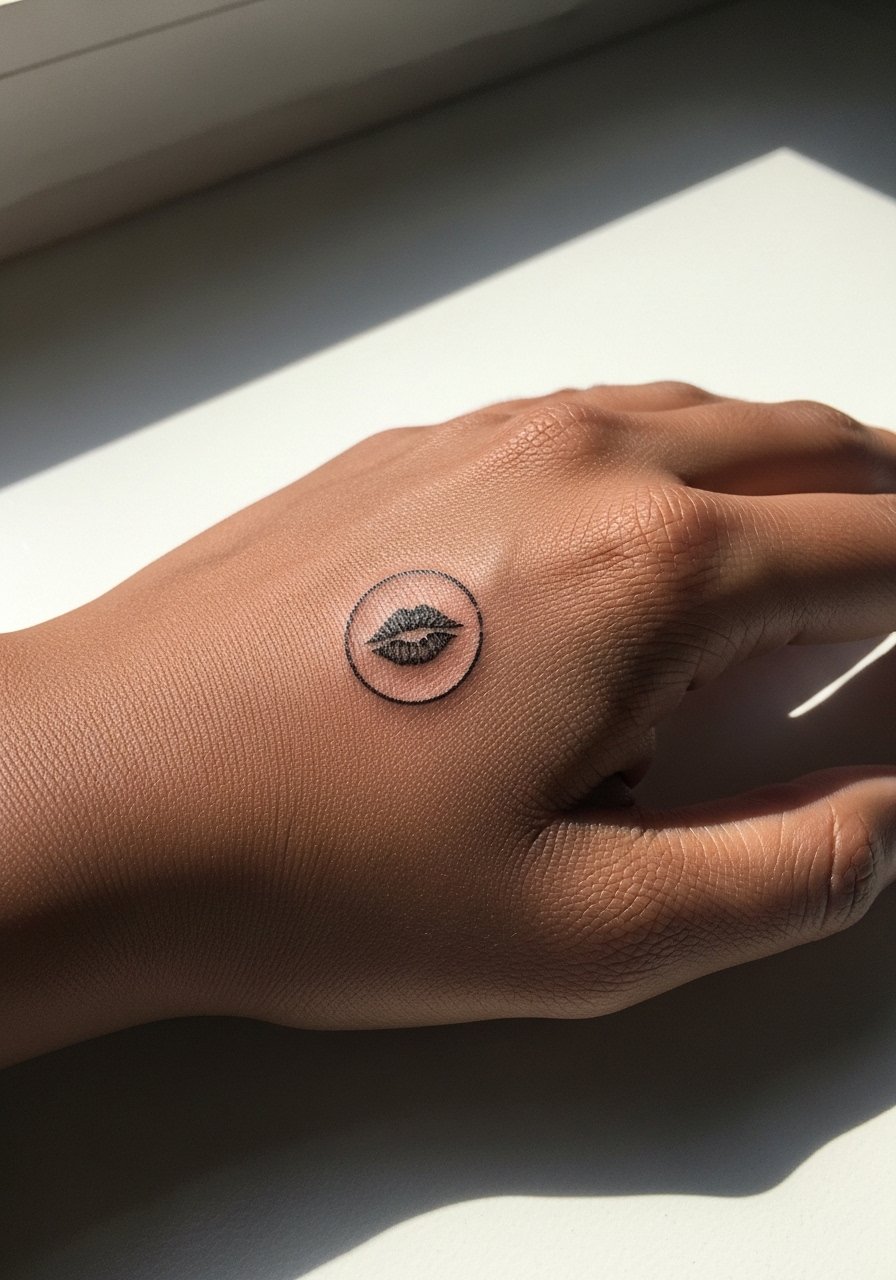
Hand tattoos still affect hiring in some industries, so think about career plans before committing. Hands are high-movement zones and the thin circle may break up as time passes. Sessions are quick but expect more frequent touch-ups than forearm pieces. Tell your artist you want the circle slightly thicker than usual to guard against early distortion. A common error is choosing a razor-thin ring that disappears within a year. Pair with a stackable ring set that keeps attention on the back of the hand without crowding.
16. Tiny Kiss Mark with Tiny Stars on the Calf
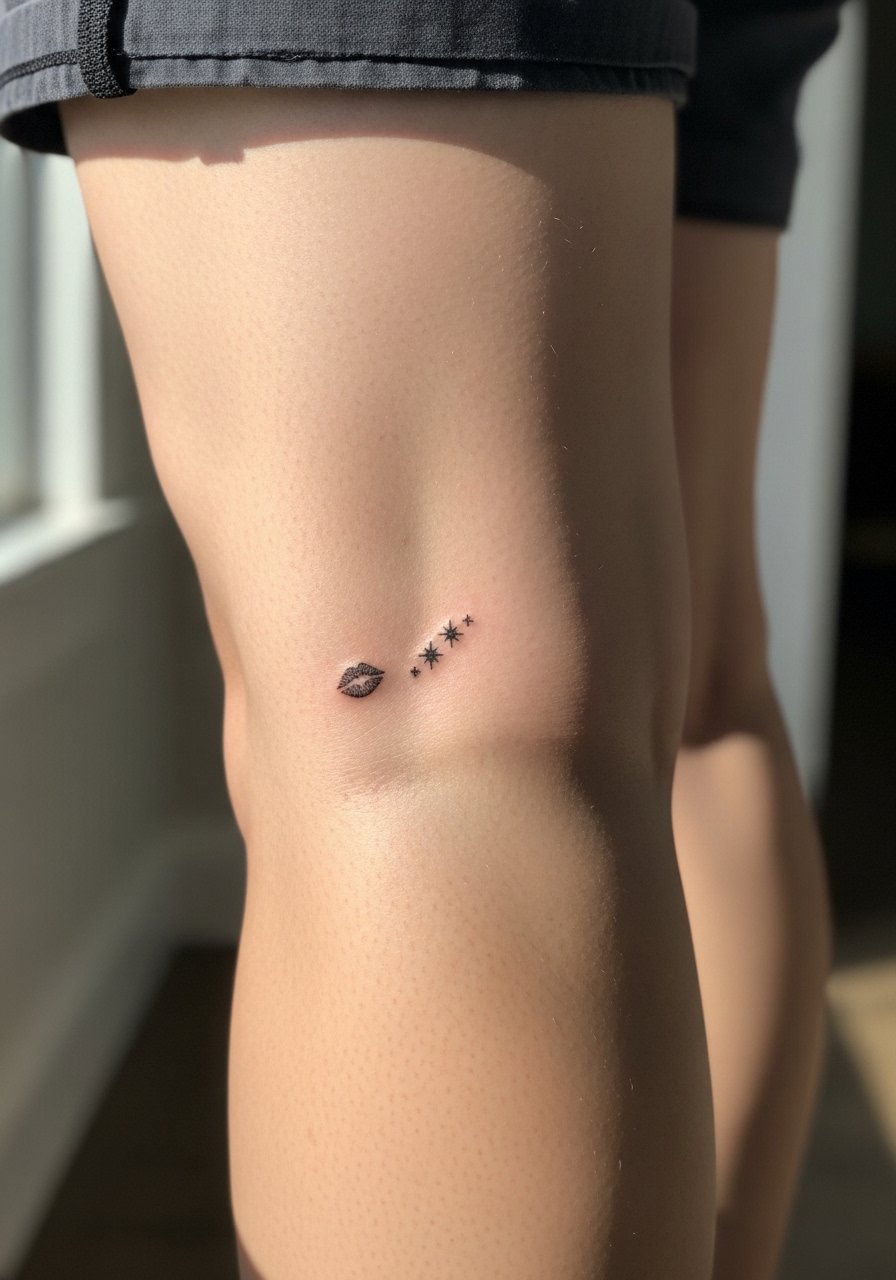
Calf placements are forgiving and often retain saturation well because they avoid constant friction. Pain is low and sessions are relaxed. Ask for dot work or tiny stipple shading in the stars for texture instead of solid black fills which can look heavy at small scales. A mistake is clustering stars too close to the kiss which makes the composition feel crowded. For showing it off, roll up a pair of loose drawstring linen pants or wear shorts that let the calf remain visible.
17. Tiny Lip Smudge on the Side Hip
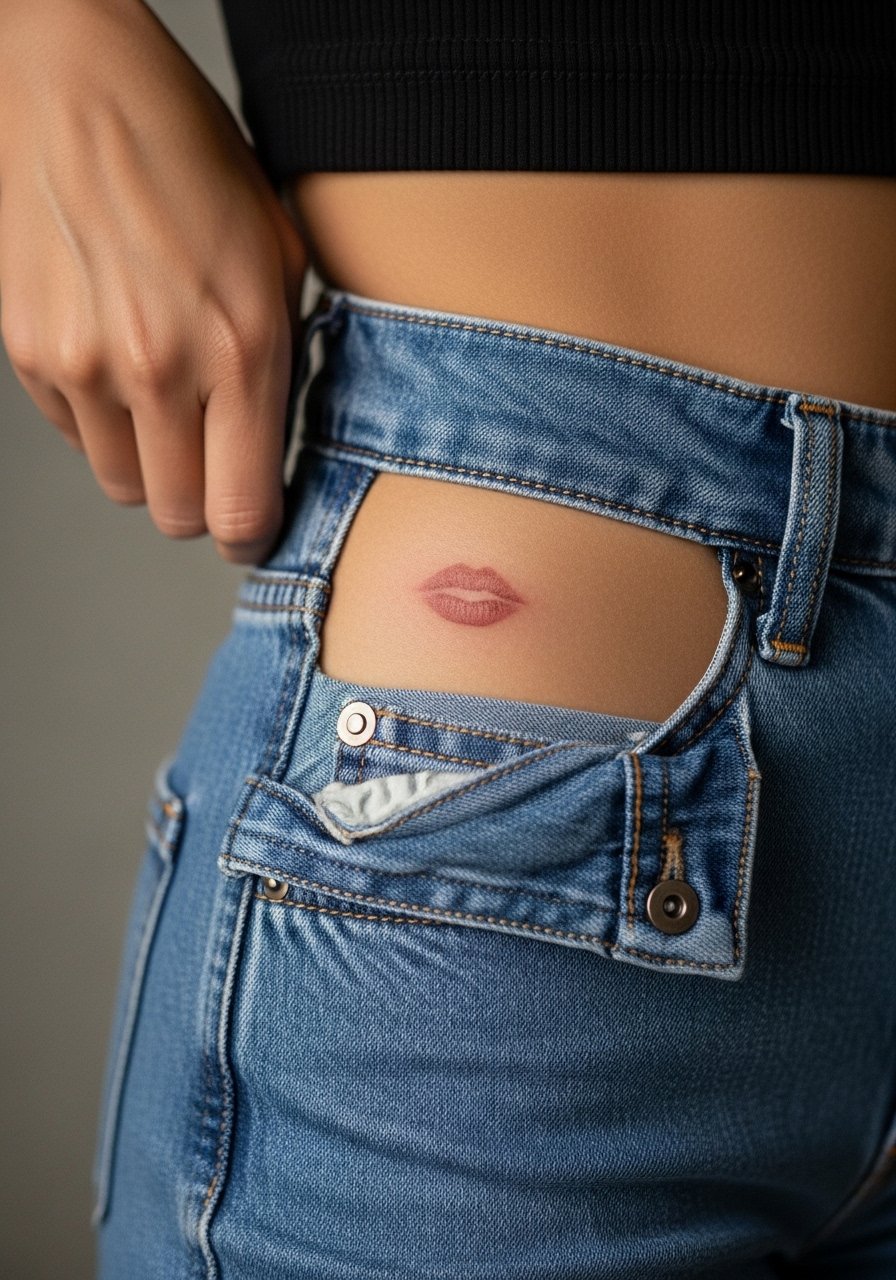
Hip placements are sensual and private, with moderate pain and brief session time. For tiny color smudges use soft shading and ask the artist to avoid heavy saturation near the waistband which can cause chafing during healing. People often forget daily friction from waistbands which accelerates fade. For the studio wear high-cut shorts or high-waisted denim that can be shifted without exposing excess skin.
18. Tiny Kiss Mark with Tiny Arrow Accent on the Clavicle
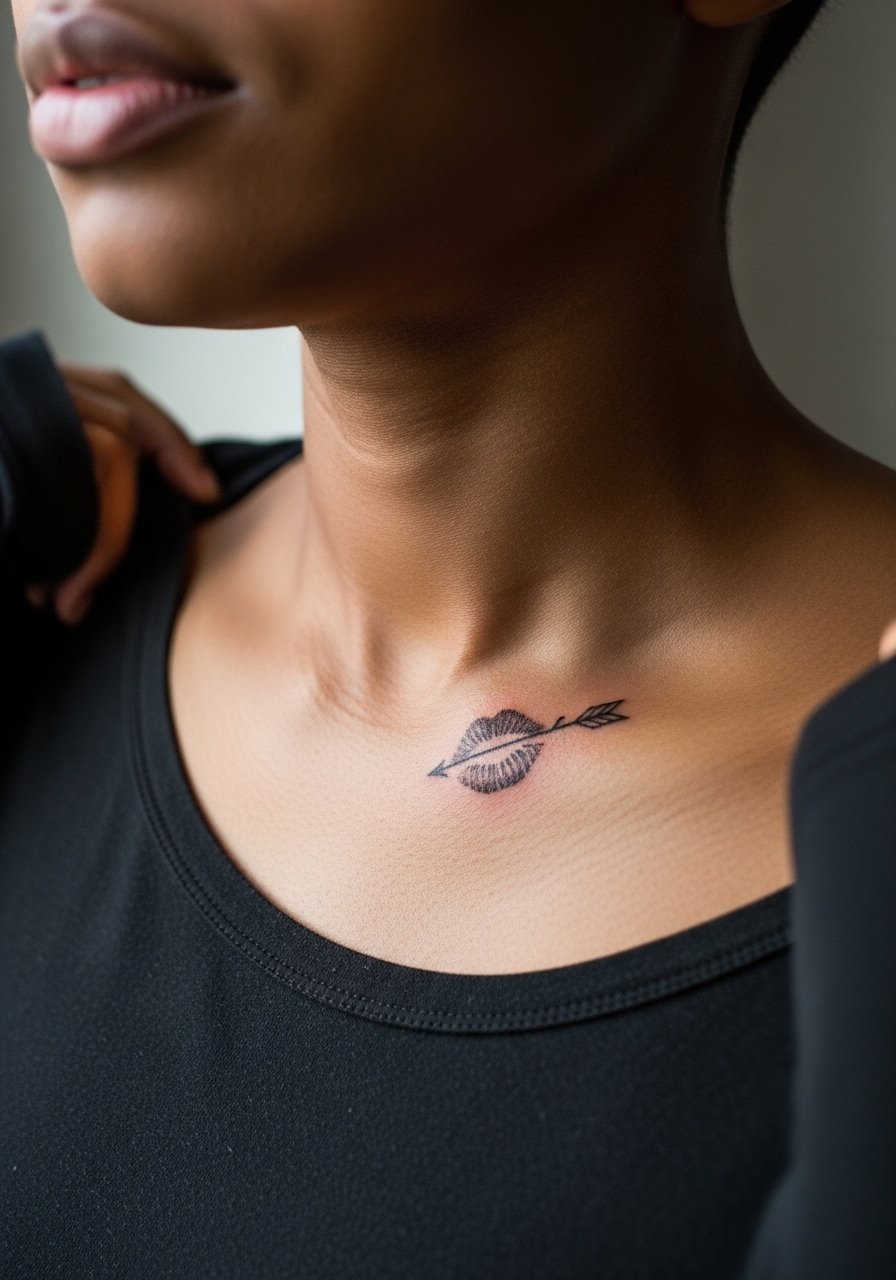
Clavicle placements photograph like jewelry and hold linework well with moderate sun exposure protection. Sessions are short and pain is low to moderate. Ask for the arrow to be designed with a single clean stroke so it scales with the kiss mark. A common error is overloading this small area with too many accents which compete for attention. Pair with a thin chain pendant necklace that sits above the design without covering it.
19. Tiny Kiss with Tiny Gem Dot Work on the Inner Bicep
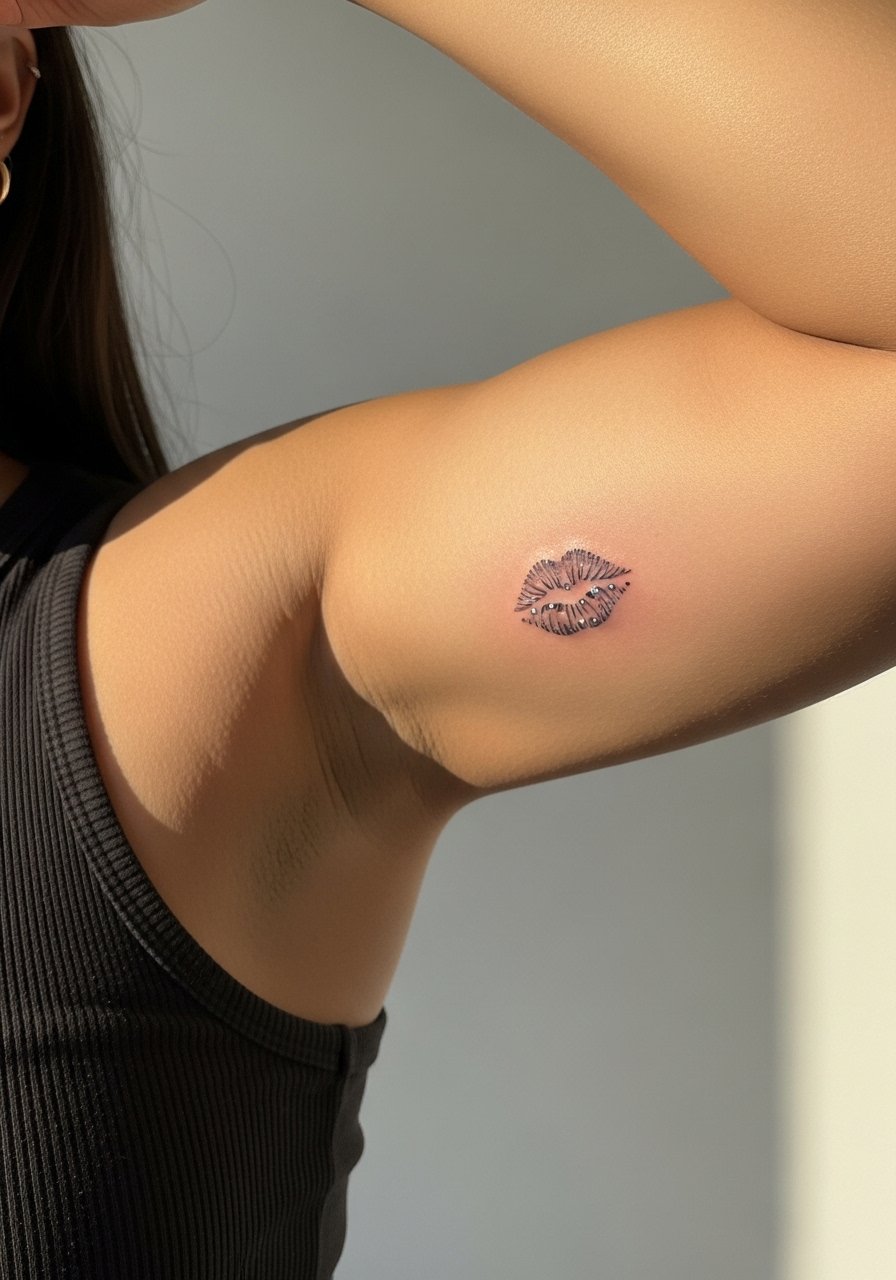
Inner bicep tattoos are semi-private and can be tender during the session. Pain is moderate and you might need small breaks. Ask your artist for stipple shading around the gem dot work to keep it delicate without dense saturation. A frequent mistake is requesting dense black dots that merge when the arm moves. For comfort and access wear a tank top so the artist has full reach to the inner arm.
20. Tiny Kiss with Geometric Frame on the Thigh
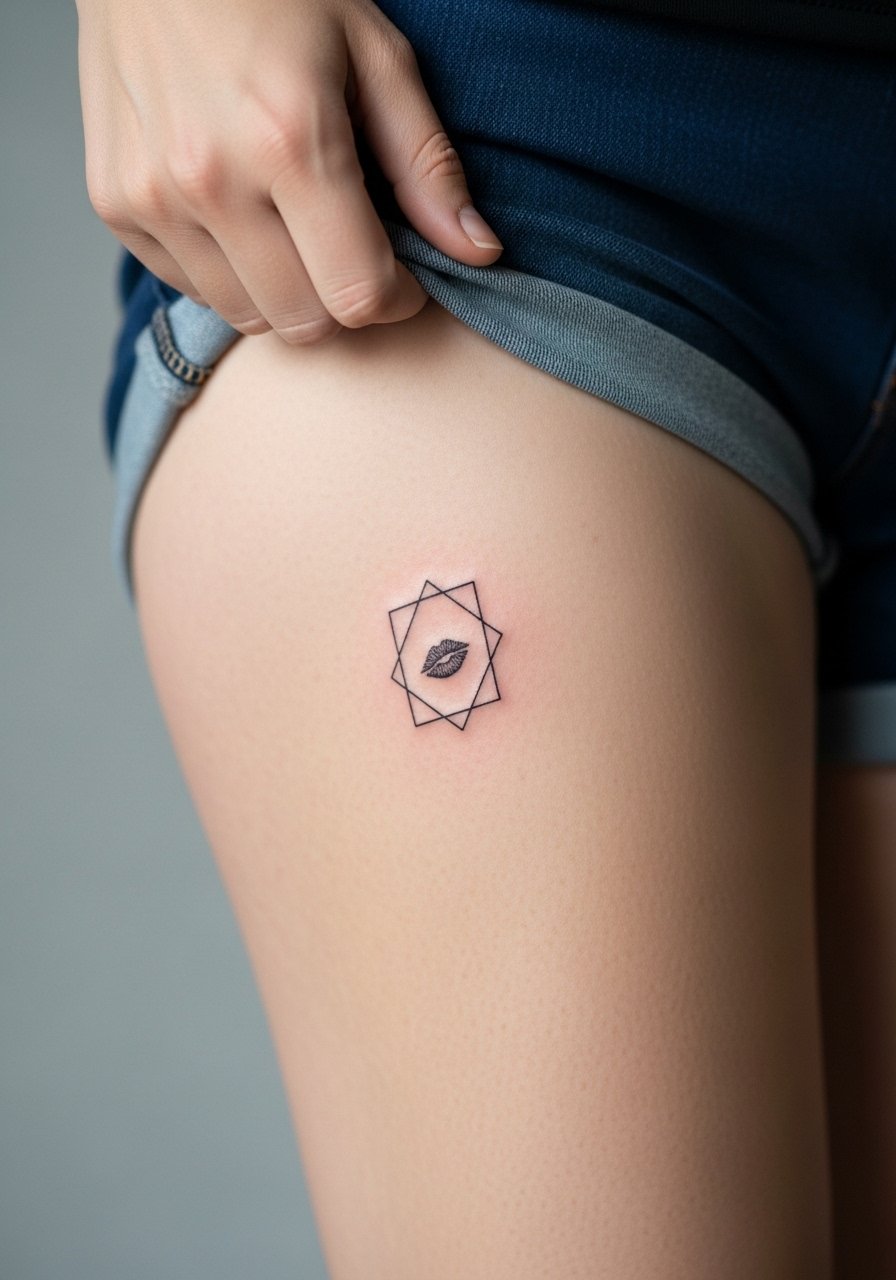
Thigh tattoos are comfortable and photograph well, but placement changes with muscle tone and weight shifts. Sessions are low pain and usually under an hour for a tiny piece. Tell the artist to anchor the frame to a clear anatomical landmark so the geometry looks intentional after movement. A mistake is designing a frame that assumes static skin rather than flexible anatomy. For the session bring loose shorts or a wrap skirt so the artist can reach the thigh without pressure.
21. Tiny Kiss with Tiny Floral Vine on the Lower Back
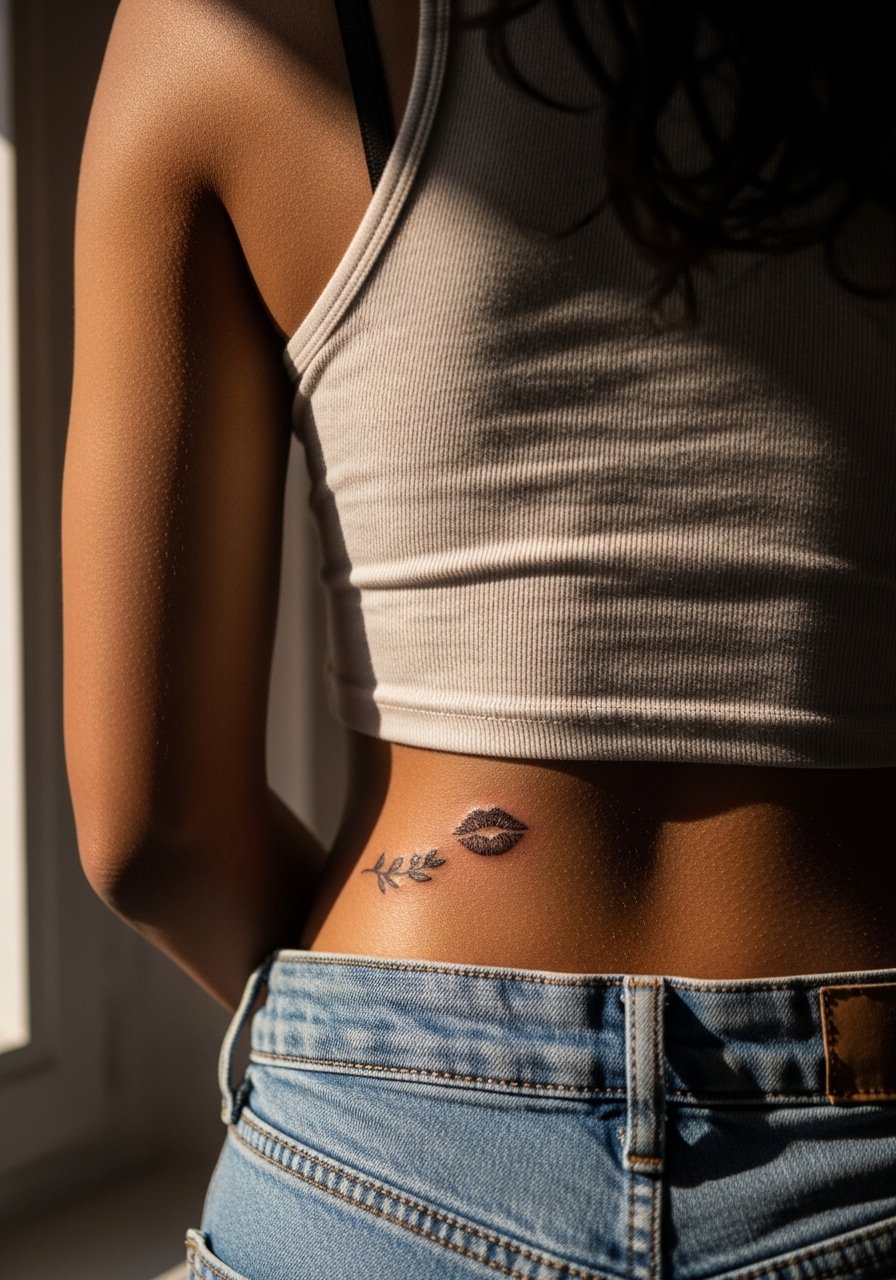
Lower back pieces sit in a zone that sees less sun but can be affected by waistbands. Sessions are comfortable and brief. Mention waistband position in your consult so the tattoo does not sit under tight clothing. A mistake is placing the design where daily belts or waistlines rub, which increases early fading. For showing it off choose a crop top and high-waisted skirt combination that reveals the lower back without exposing the full torso.
22. Tiny Kiss with Tiny Moon and Stars on the Side Neck
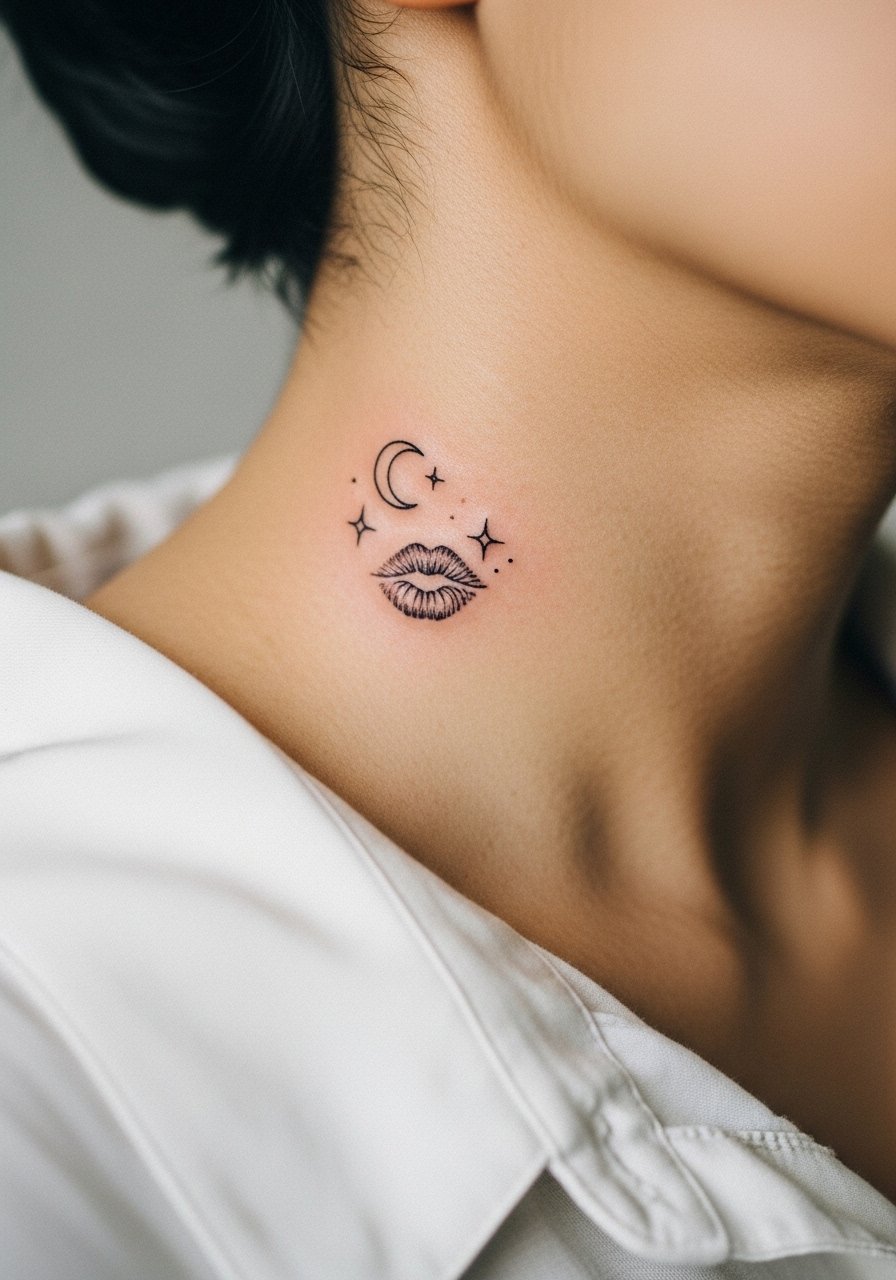
Side neck tattoos read bold because they are highly visible with certain hairstyles. Pain is moderate and sessions are short. For longevity ask for slightly bolder linework than you would use on the wrist, because neck skin moves a lot. Many artists debate neck placements and caution about social visibility. Discuss workplace considerations if that matters to you. A simple wide-neck shirt will let you hide or show the piece as needed.
23. Tiny Kiss in Micro-Blackwork on the Palm Edge
Palms and inner hand edges are heavy-wear zones and heal unpredictably. Expect quick sessions and a high probability of early fading that requires touch-ups. Tell your artist you accept touch-ups as part of the plan so they avoid over-saturating the first pass. A mistake is assuming palm work will last without maintenance. Keep expectations realistic and plan for a touch-up in months rather than years. For showing smaller wearable pieces, consider stacking with a simple leather bracelet that draws the eye away from the high-wear zone when needed.
24. Tiny Kiss with Tiny Script "Breathe" Near the Sternum
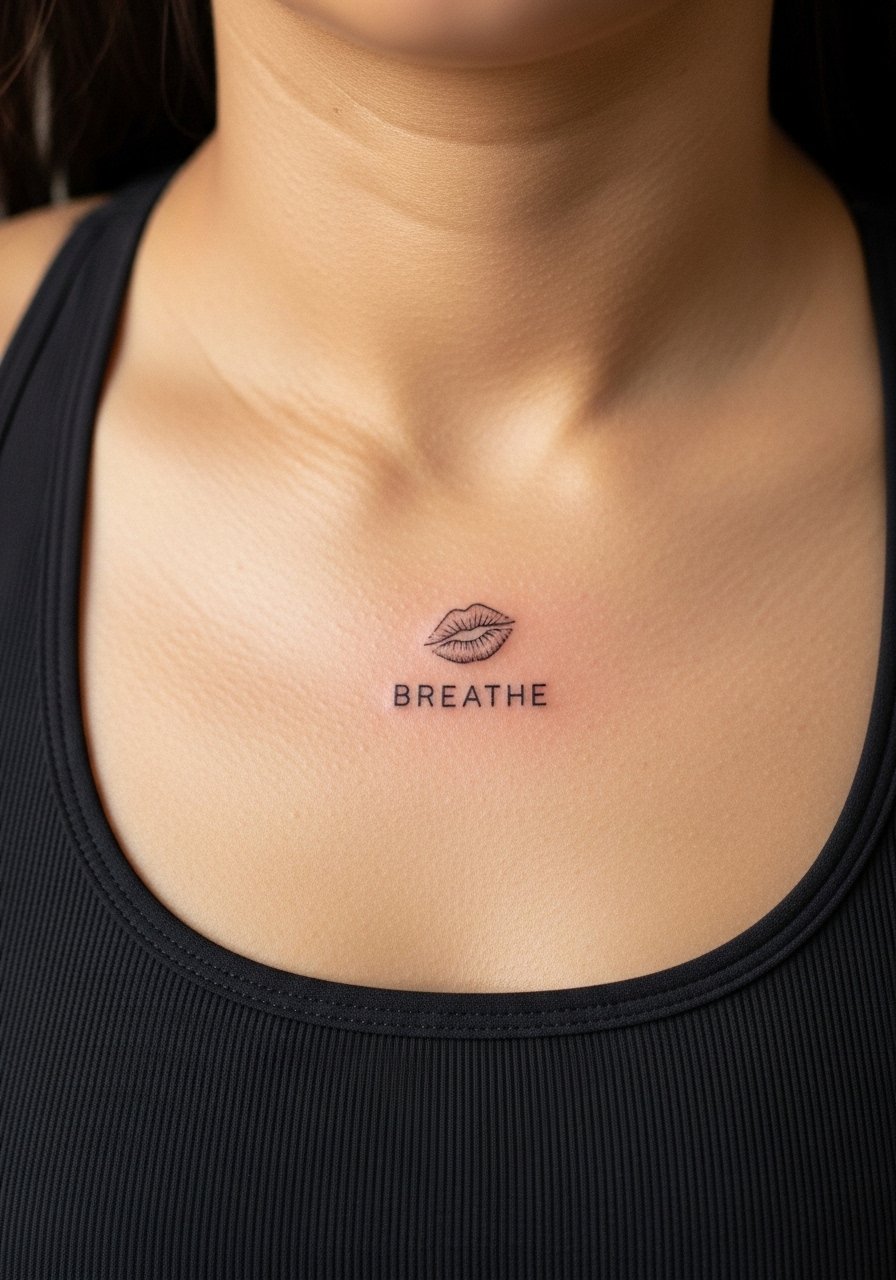
Sternum placements are intimate and require careful clothing choices for the studio. Pain can be higher near bone and sessions may need short breaks. If you want small script include the exact word and font during consult because lettering on sternum compresses differently than on flat skin. A common mistake is placing script too close to the kiss which makes both elements hard to read as they age. For the session wear a fitted sports bra to keep coverage while giving the artist access.
25. Tiny Kiss with Tiny Arrow Tattoo on the Finger Webbing
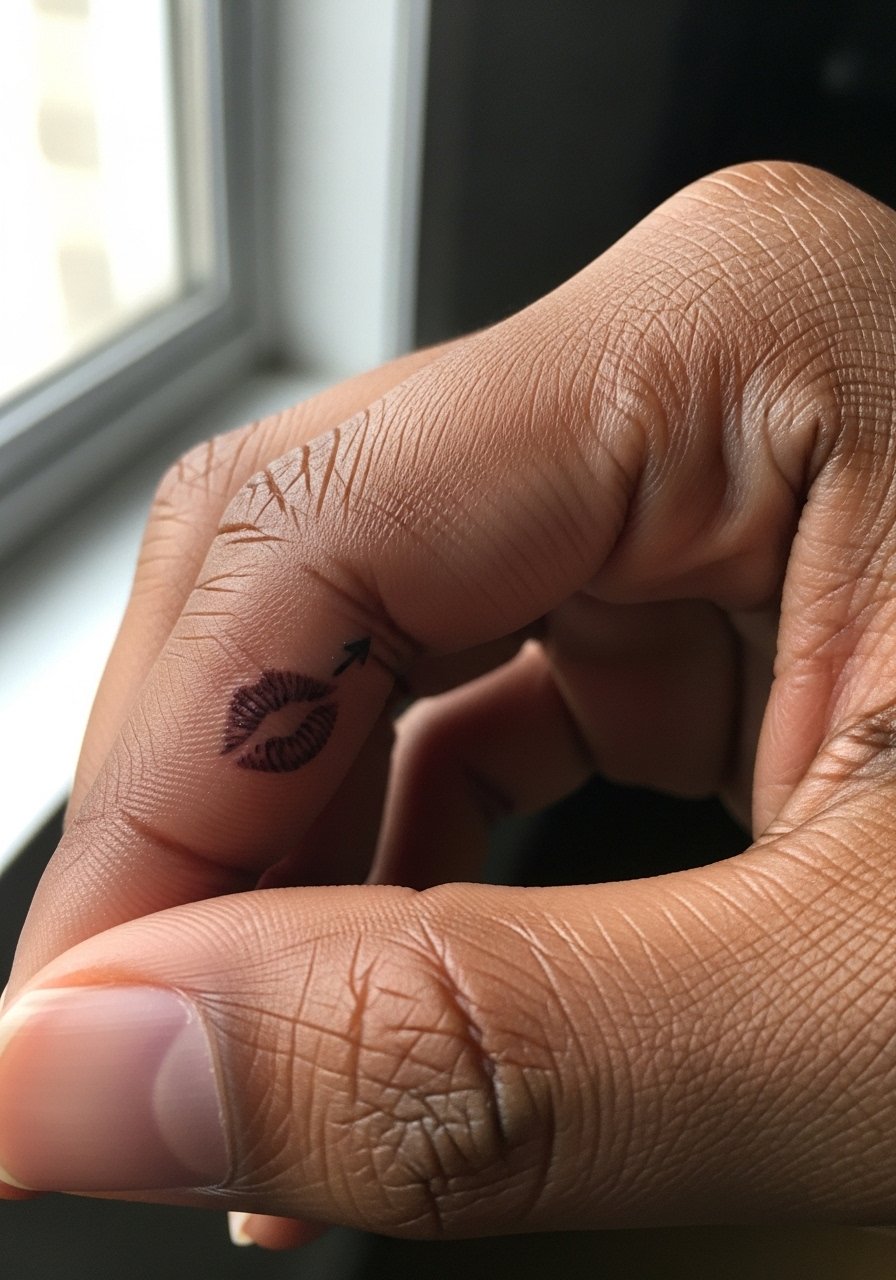
Finger webbing sees constant movement and is prone to humidity and washing, which makes small details melt faster. Sessions are quick but you should expect a touch-up within months. Request slightly bolder linework for the arrow so it does not dissolve into a blur. The main mistake is assuming a one-and-done approach for high-mobility zones. A minimalist ring can complement the area without covering the tattoo.
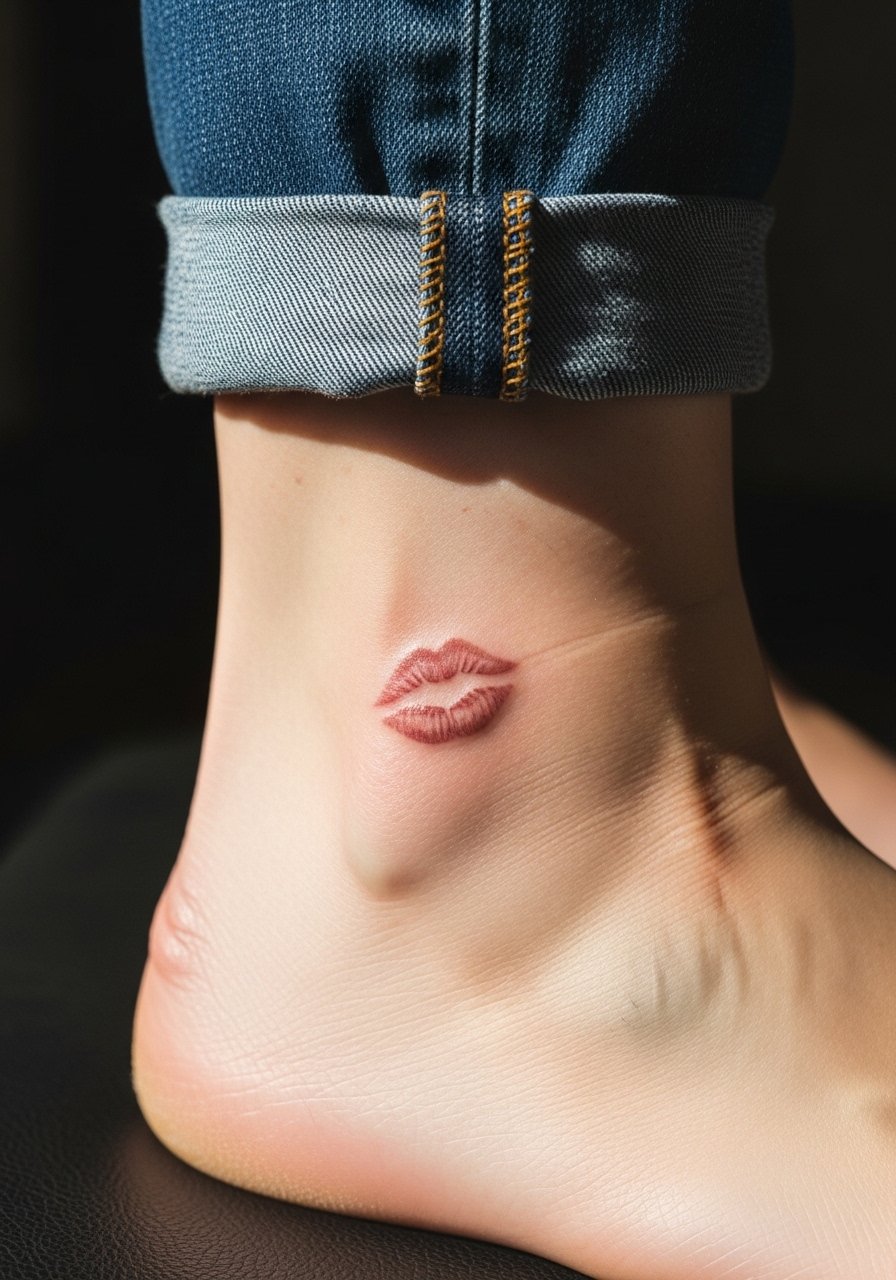
26. Tiny Lip Print with Tiny Constellation Dots on the Ankle Inner Side
Inner ankle pieces are low friction if you wear boots less. Sessions are fast and pain is mild. Ask the artist for dot work that spaces beyond the kiss mark so the constellation reads as distinct even as dots settle. A mistake is clustering dots so they merge into a single blob. For display pair with sandals or cropped pants that let the ankle remain visible.
27. Tiny Kiss Mark on the Toe Near the Nail
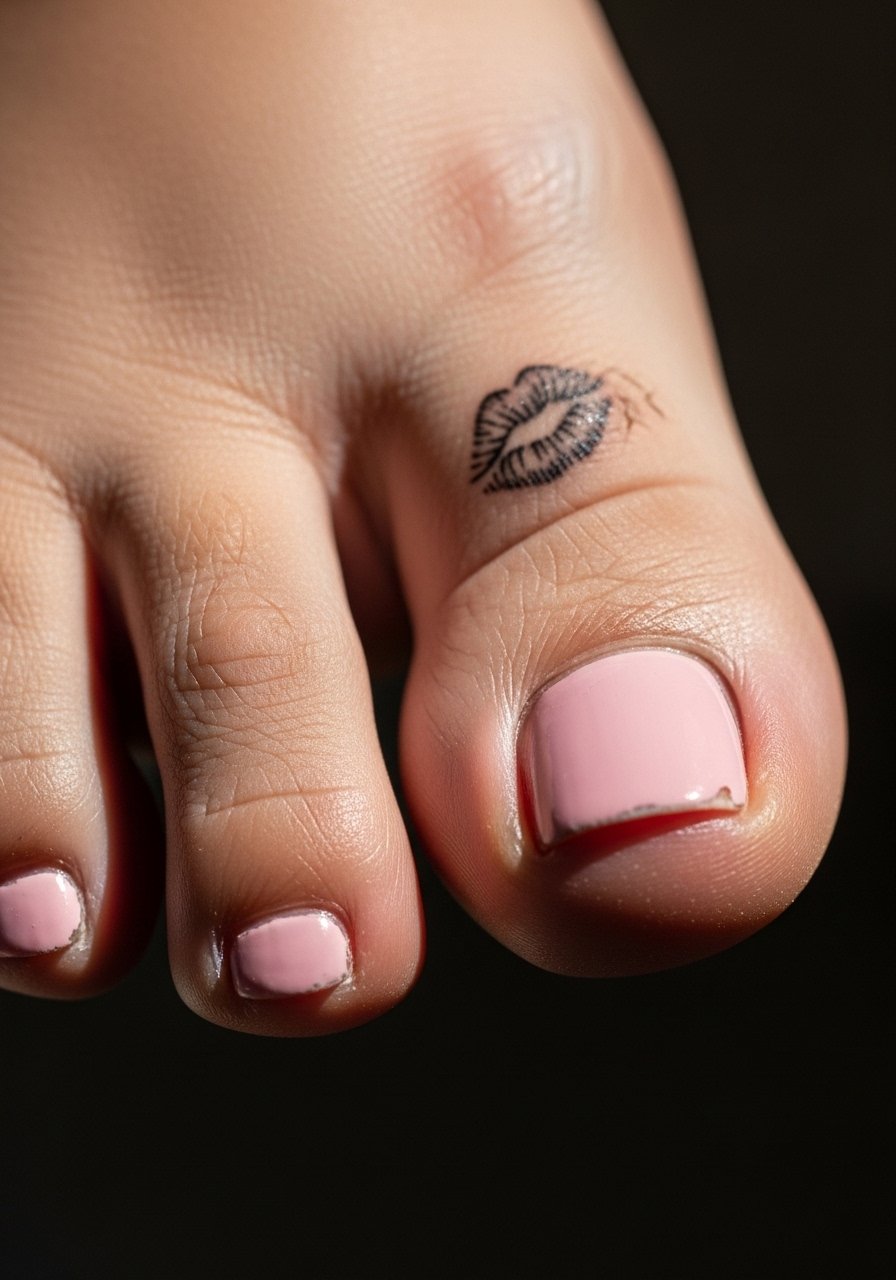
Toe tattoos are small and cute but sit in a high-friction zone with shoes. Sessions are brief and the pain can feel sharp due to thin skin. The biggest mistake is expecting heavy saturation to last without smudging from shoe contact. If you pick this spot, plan for touch-ups and avoid tight shoes during the early weeks. For the studio wear open-toed sandals or flip-flops so the artist can access the foot without pressure on the area.
Frequently Asked Questions
Q: Will a tiny kiss mark tattoo on the wrist blur faster than one on the forearm?
A: From what I have seen, wrists often need slightly bolder linework than the forearm because wrists get more flex and washing. The forearm usually holds micro details longer. If you want a wrist piece to last, ask for modest line weight and plan for a touch-up around year two.
Q: Do colored micro-realism kiss marks need different aftercare than black fine line ones?
A: The core healing steps are the same, but color pieces often need more gentle cleansing in the first week because tiny pigment pools can dry into flakes. Keep the area clean and avoid heavy scrubbing. Follow the studio’s aftercare plan and expect color touch-ups earlier than black-only work.
Q: Are ribcage and sternum kiss marks more likely to blur, and what should I ask my artist?
A: Yes, those areas see more stretch and movement which can affect tiny details. Ask your artist during consultation whether they prefer slightly thicker linework or more spacing for those spots. Also ask about their touch-up policy for torso placements so you know the maintenance plan.
Q: If I want to show off a collarbone kiss mark with outfits, what should I pack to the studio and post-session?
A: Bring a wide-neck shirt you can pull aside during the session and wear afterward. For evenings out try an open-back midi dress or thin chain necklace that frames but does not cover the area.
Q: How often should I expect to touch up tiny kiss marks on high-wear spots like fingers or palms?
A: High-wear zones often need touch-ups much sooner than other placements. Plan for a possible touch-up within six to twelve months for fingers and palms. Scheduling a realistic timeline with your artist before booking avoids surprises.
Q: Are matching couple kiss marks a good idea if we have different skin tones or curvature?
A: They can be meaningful but require tailored stencils so the prints sit similarly on different bodies. A good artist will adjust scale and placement based on each person’s anatomy rather than copying one template across both people.
Q: Can a tiny kiss mark be covered with makeup if I need to hide it temporarily?
A: Yes, there are camouflage products designed for tattoos but they vary in effectiveness by placement and color. Ask your studio about recommendations before trying anything new on fresh ink.
