
Fine line work looks fresh and delicate at first, but what keeps a piece readable after years is placement, spacing, and honest talk with the artist. I still remember a consultation where an apparently perfect wrist sketch turned too dense once inked. Small changes in spacing and a slightly heavier anchor line gave the design years more life. Read these 27 ideas as portable options, with what to ask for in the chair and how to show each piece off afterward.
1. Minimal Arrow on Inner Forearm
I've seen this placement age well because the forearm moves less and gets more sun protection than the hand. Ask your artist for a slightly heavier anchor point at the shaft so the tip and tail keep clarity as the piece softens over time. Common mistake is making the arrow too thin overall, which leads to early fading and occasional break in the shaft line. Expect a low pain level and a single short session. For showing it off, roll up sleeves and pair with a rolled linen shirt to keep attention on the linework.

2. Single Stem Botanical on Wrist
Fair warning: the wrist gets friction and frequent washing, which eats at delicate linework. Most people prefer a vertical stem along the inner wrist that tapers into the forearm. Tell your artist to leave breathing room between tiny leaves to avoid merging. That extra spacing helps the piece look intact at six months and still readable at two years. The session feels quick but the area is sensitive. Pair with a thin chain bracelet when you want to highlight the design without crowding it.

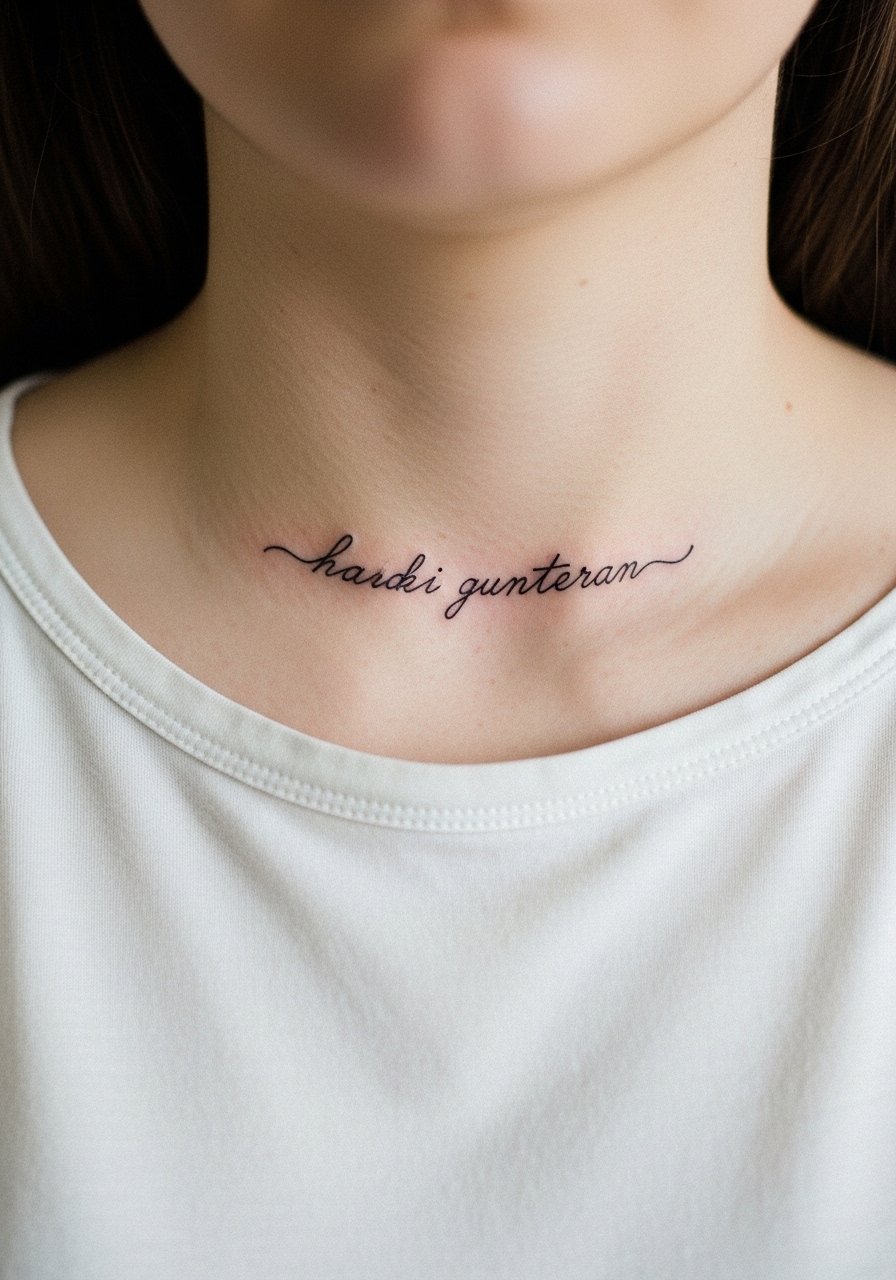
3. Collarbones Script Accent
There is a clean way to place small script near the collarbone so it breathes as skin shifts. When you consult, show exact lettering size and placement against a wide-neck top so the artist can test the curve. The big mistake is compressing long words into tiny script. That looks crisp on day one but turns unreadable after a year. Pain is moderate. For evening looks, an open-back midi dress or a simple racerback lets the piece be seen without competing with necklaces.
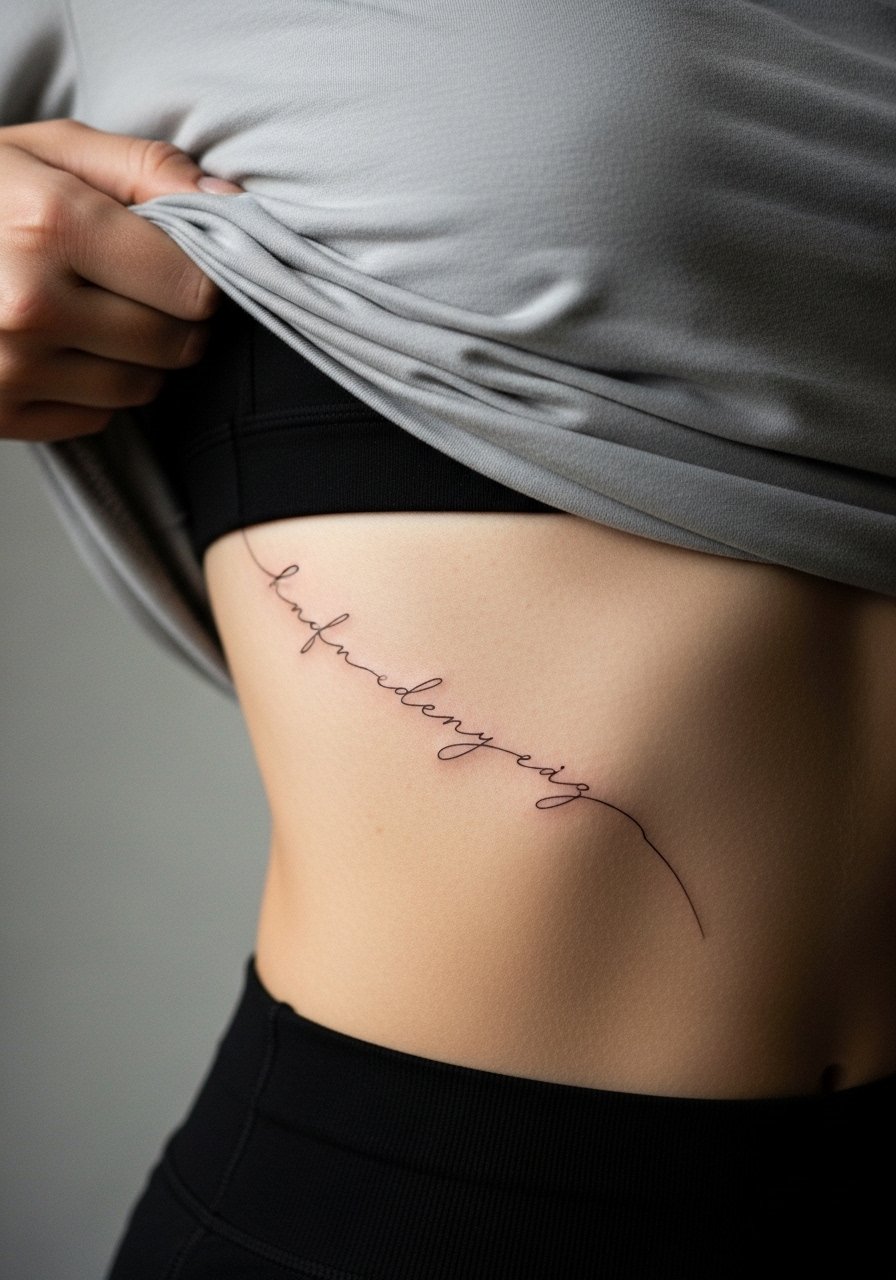
4. Ribcage Floral Sprig
Most watercolor or overly dense floral ribs I see blur within a couple years. This fine line sprig works when kept narrow and long instead of packed. Artists split into two camps on ribs. One camp says the skin there stretches and lines blur quickly. The other camp argues proper spacing and depth make fine line settle fine on the ribcage. Ask your artist where they stand and review healed photos on skin similar to yours. Expect a higher pain score and a session that might need breaks.

5. Tiny Constellation on Ankle
This placement is great for micro pieces that read like jewelry. The ankle faces shoe friction, so the common mistake is packing stars too tight along the lateral bone. Leave gaps and focus on single-point stars so the pattern holds up. The session is short and the pain is moderate. For casual dates, a low profile ankle strap sandal or rolled jeans highlights the constellation without rubbing it.

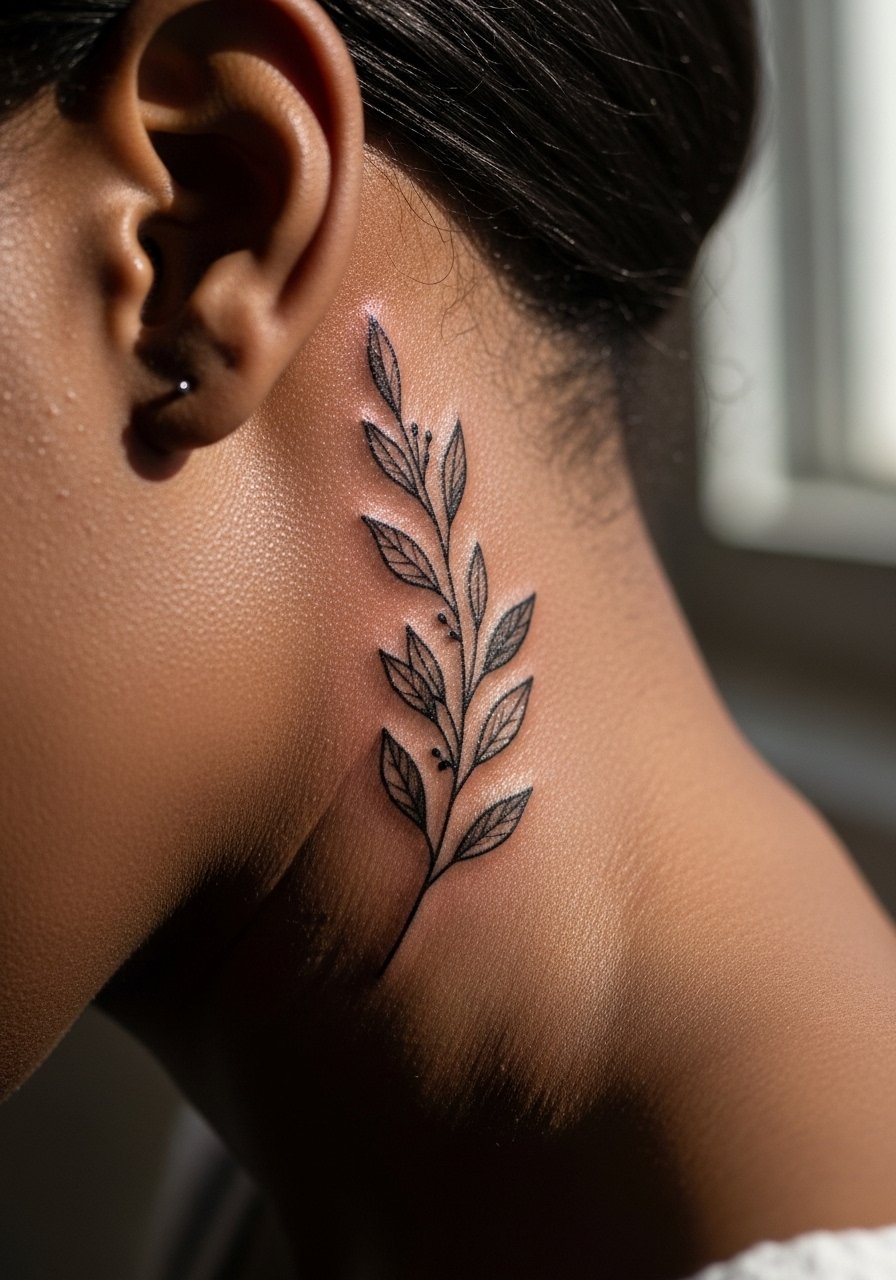
6. Behind-the-Ear Tiny Botanical
This placement reads like a secret. When showing reference, describe it as on the skin behind the ear below the hairline on the neck so the artist frames it correctly. The area is sensitive and healing needs care from hair oils and shampoo. A common mistake is choosing too much detail for the tiny canvas. Sessions are quick but expect some buzzing near the bone. For career considerations note that subtle placement is easy to cover with hair.
Studio Day Picks
The forearm, wrist, and ankle pieces above require a slightly different prep kit than chest or rib work, and a few small items smooth out the session and the first week.
-
Stencil transfer paper kit. Lets you preview line placement on skin for delicate pieces like the wrist botanical and ankle constellation.
-
Topical numbing cream. Applied about 45 minutes before can reduce wrist and behind-the-ear sensitivity while keeping the artist in control.
-
Thin protective film roll. Helpful for ankle and wrist tattoos to reduce friction from shoes and watches in the first days.
-
Fragrance-free gentle body wash. Cleans healing fine line work without irritating delicate ink channels on small placements.
-
Aquaphor healing ointment. A thin layer for the first few days helps lock in moisture for fine line pieces without clogging the area.
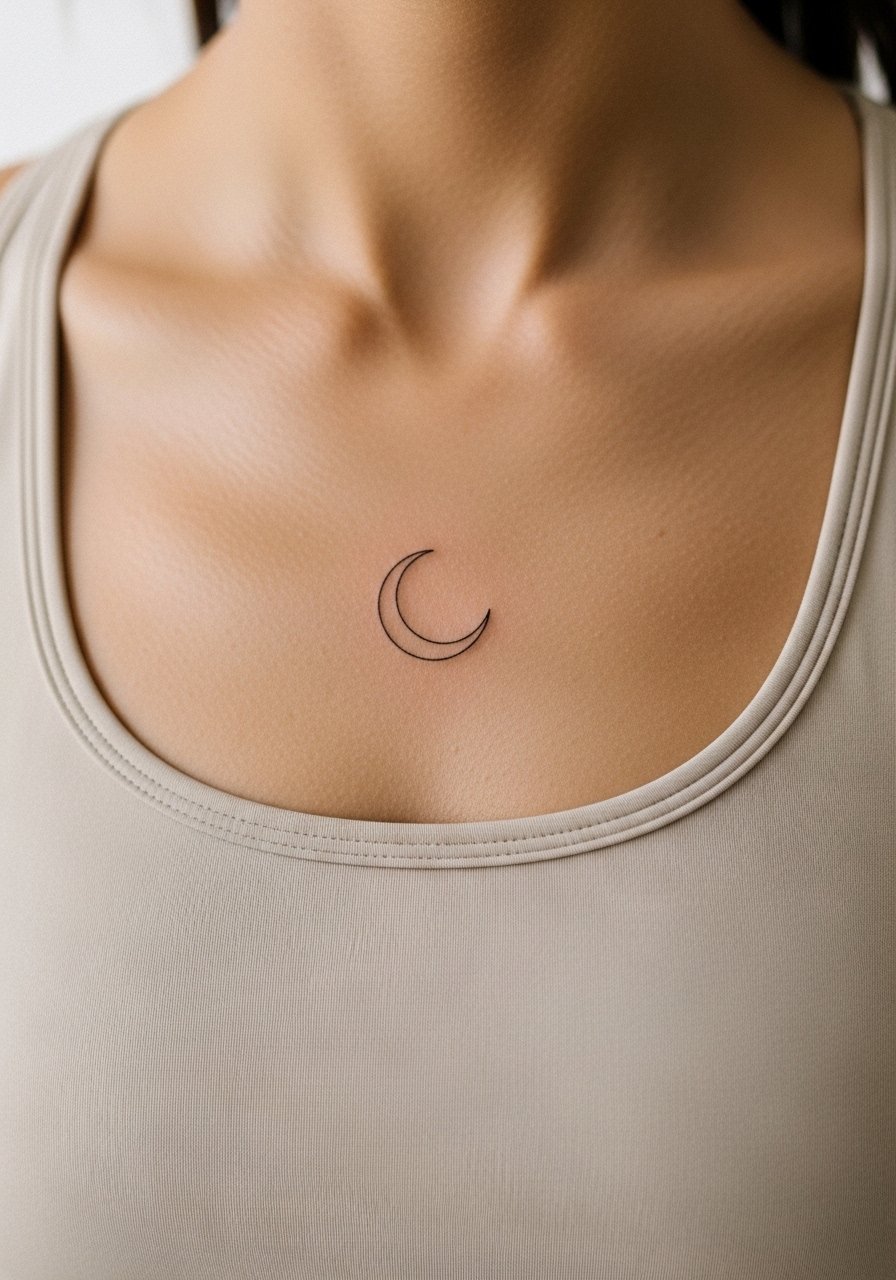
7. Sternum Crescent Motif
When placed across the sternum, fine line crescents need breathing space or they pack into a blotch. The common error is forcing dense detail across the chest curve. Artists are split on the sternum too. One group warns that movement and fabric friction blur the lines quickly. The other group says with correct spacing and a slightly firmer anchor line it can last. Bring a fitted sports bra to the session so the area is accessible and modestly covered during breaks.
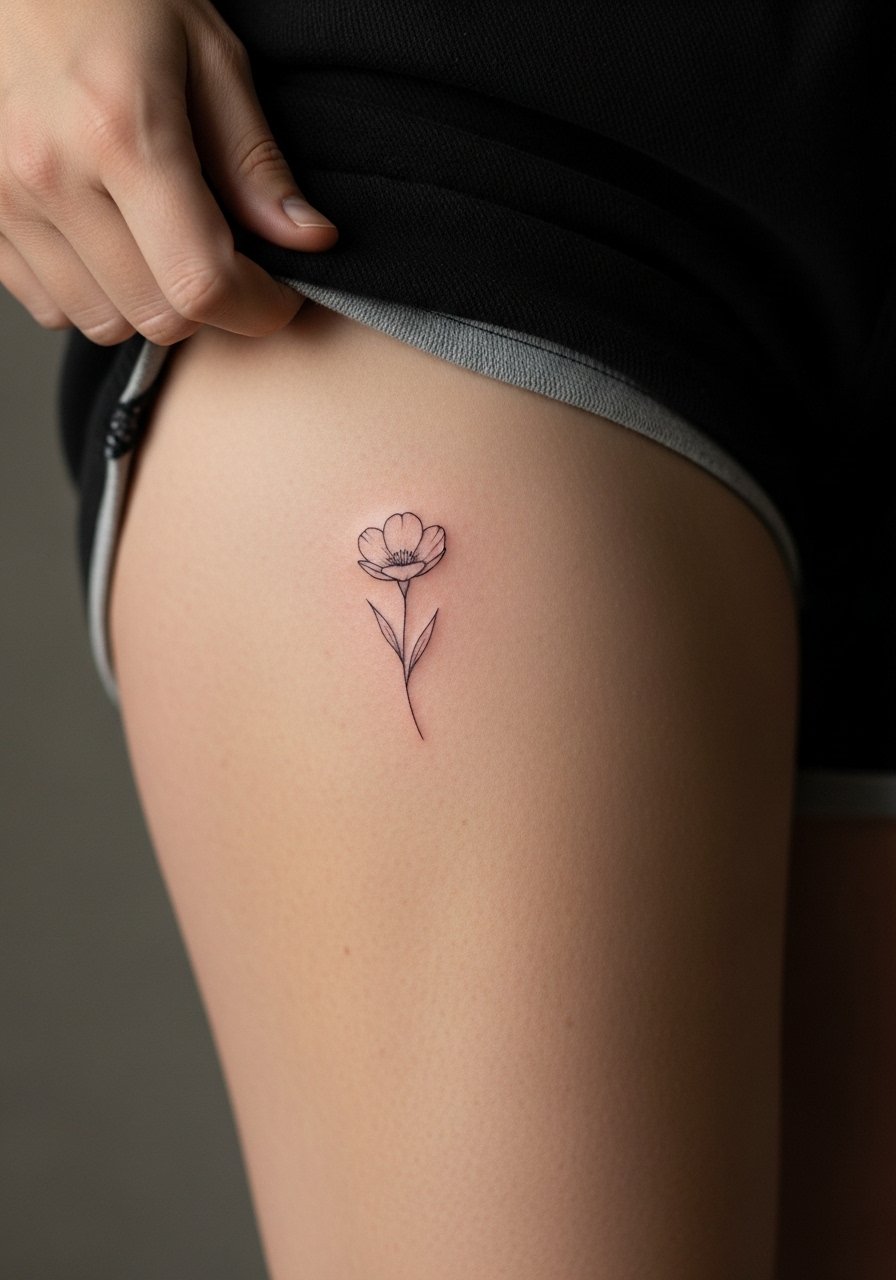
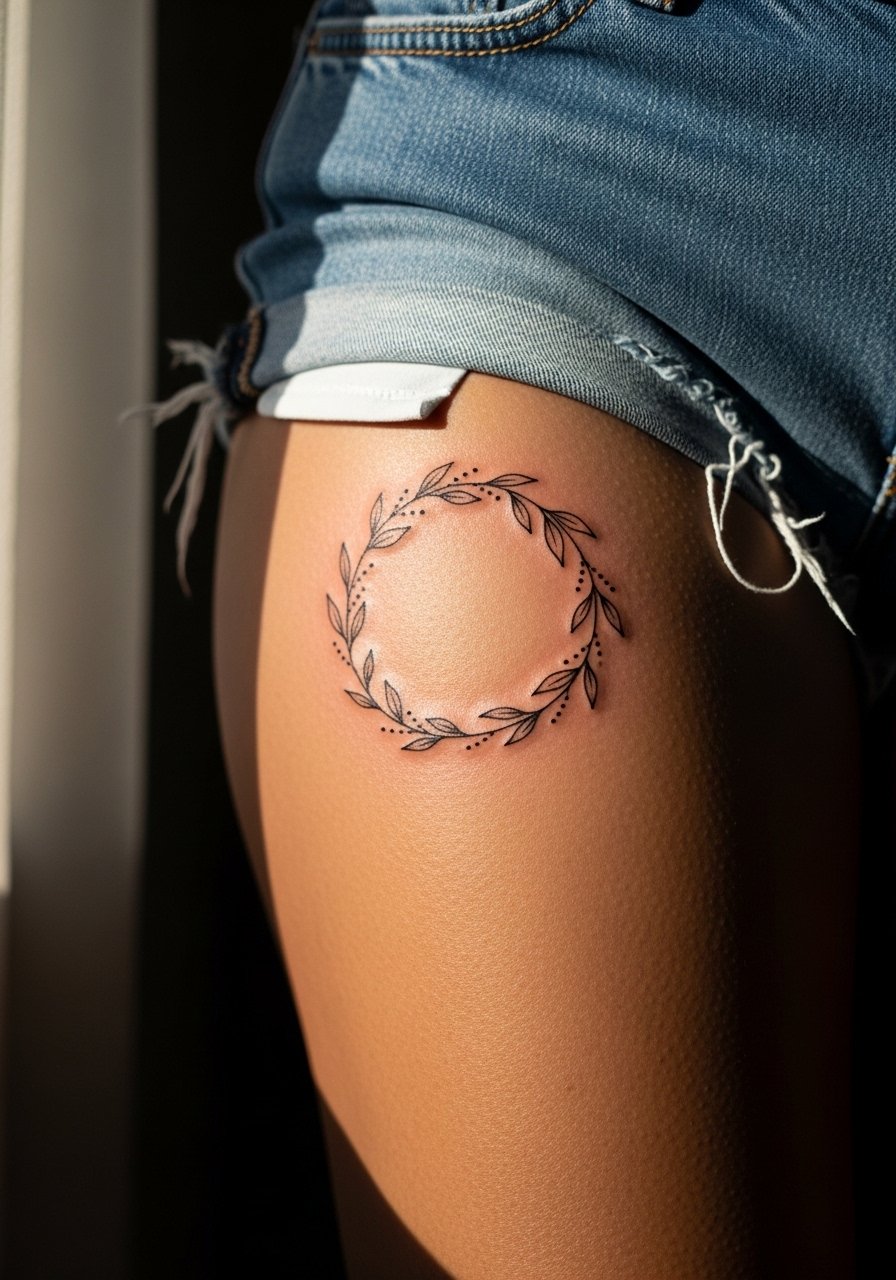
8. Thigh Single-Petal Bloom
Most thigh pieces age well because the area sees less sun and less abrasion than ankles or hands. For a fine line bloom, request an elongated petal structure instead of a compact rosette to avoid early merging. Pain is manageable and sessions tend to be pleasant if you wear loose shorts. For the appointment wear a loose drawstring linen pant you can slide to expose the area without pressure. Expect a low touch-up rate if you protect the piece from sunlight.
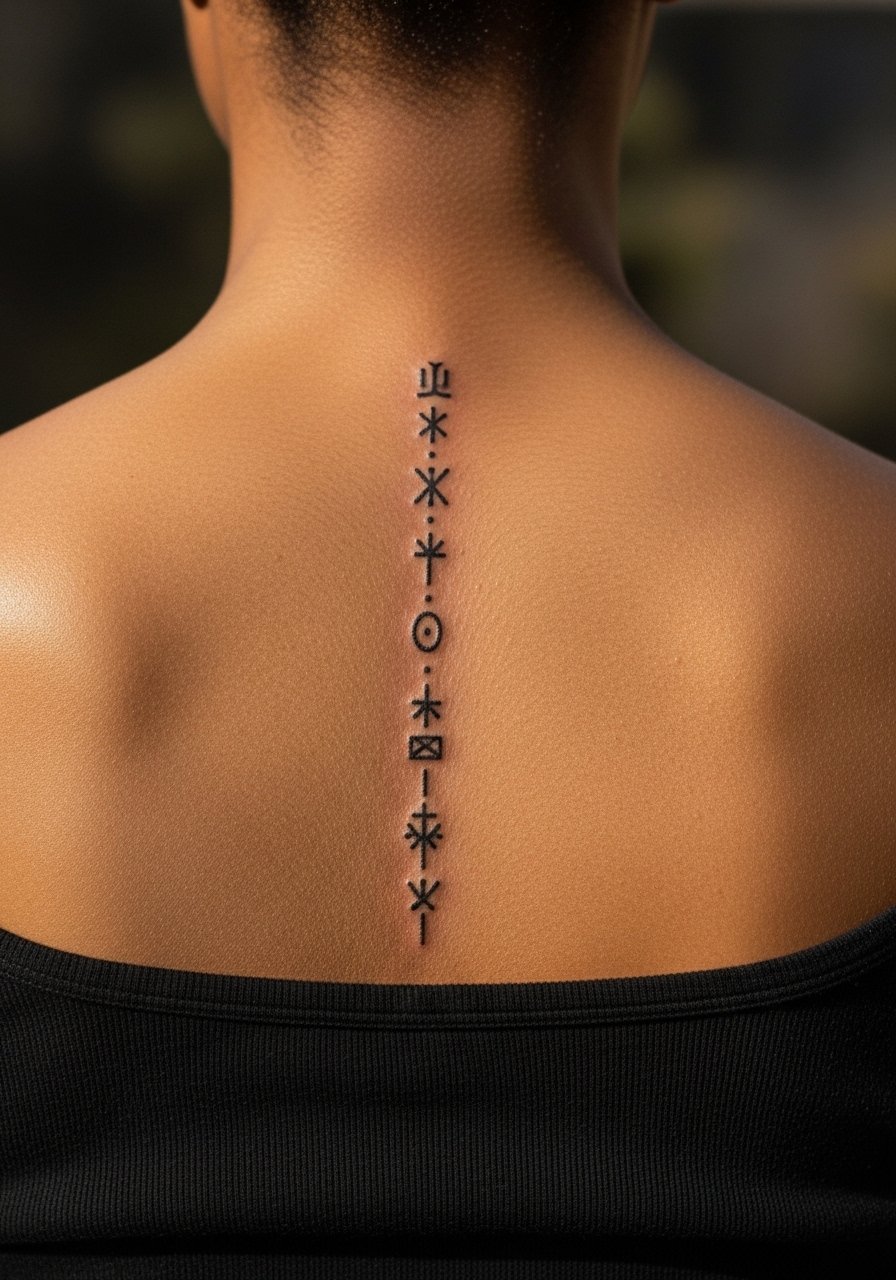
9. Spine Line of Tiny Symbols
There is something raw about a vertical string of tiny symbols along the spine. The skin follows the vertebrae so keep each glyph small but spaced evenly. If the symbols are too close they blur into a line after a few years. Sessions can be split across two shorter visits if you want time between placements. For evenings, open-back tops and halters frame the spine piece well. Pair with an open-back top when you want to show it off.
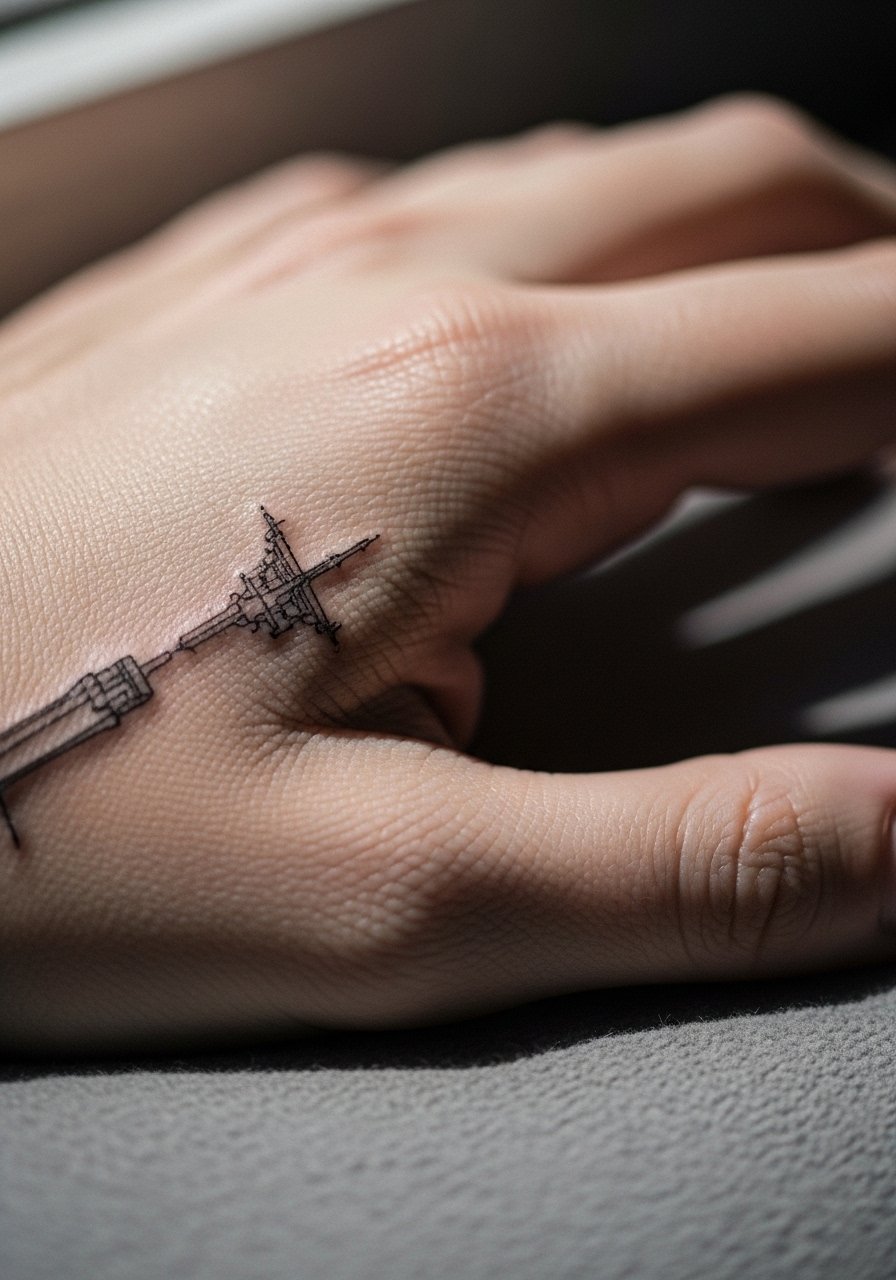
10. Micro Realism on the Hand Edge
Hand work reads loud fast and fades faster because of washing and sun exposure. If you want micro realism at the hand edge, ask for reinforced outline points and slightly larger negative space to prevent early loss of detail. The trade-off is higher visibility with more frequent touch-ups. Session pain is high and some employers still react to visible hand tattoos. For jewelry that complements without covering the art, try a minimalist signet ring.
11. Shoulder Cap Single Bloom
A shoulder cap bloom wears well because the skin there moves predictably. The common mistake is compressing too much detail into the rounded cap, which leads to smudging into dense areas. Tell your artist you want negative space in the petals and a gentle stipple shading to keep depth without heavy saturation. Sessions are comfortable and healing is straightforward. For showing it off, a loose button-down shirt you can pull aside showcases the shoulder without overexposing.

12. Calf Botanical Cluster
The calf is a forgiving canvas for slightly longer fine line pieces. Expect low blowout risk and a straightforward touch-up timeline. A mistake I see is wrapping the design too tightly around the calf. Keep it on one plane for visual clarity. Sessions can take a bit longer if the cluster is long. For casual wear, pair with crew socks and low sneakers to let the middle calf area peek through.

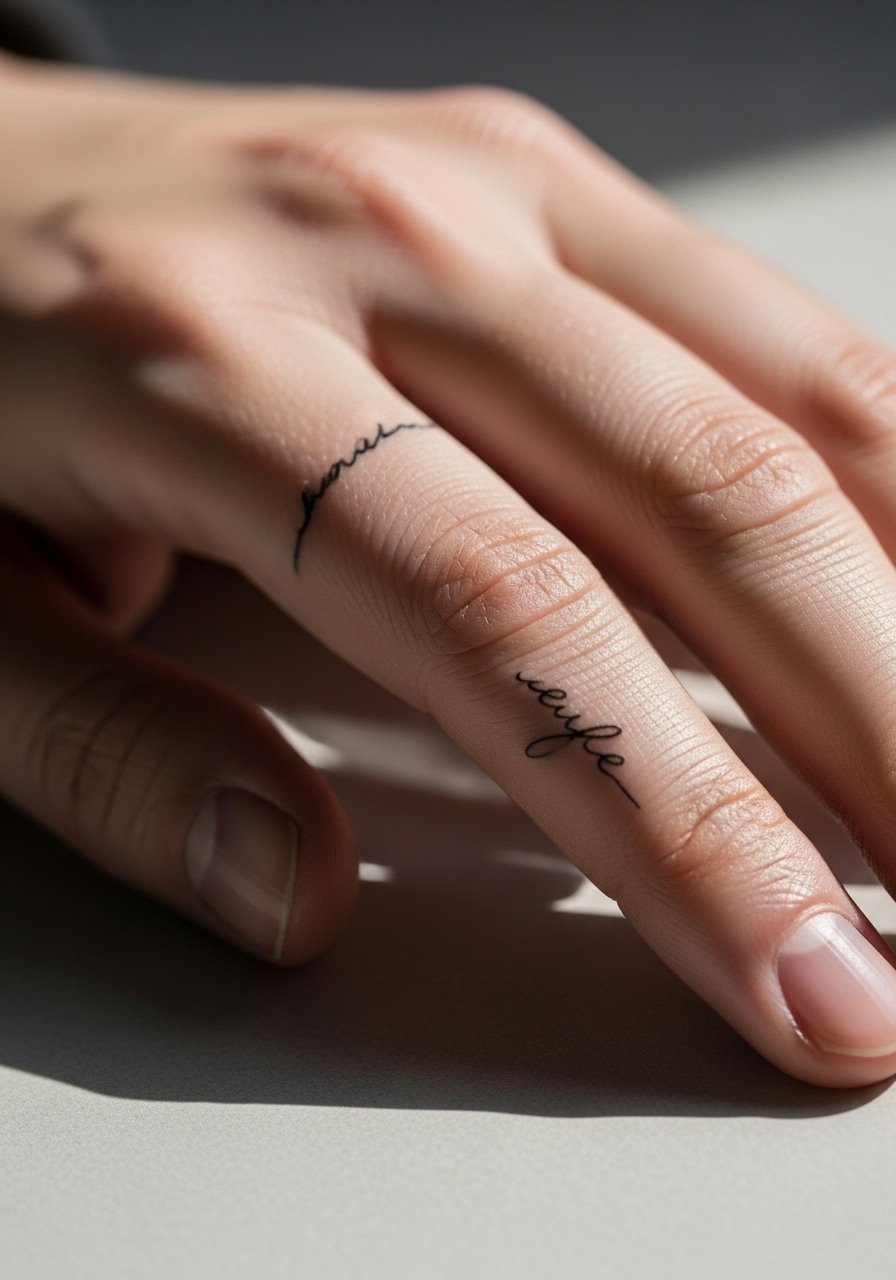
13. Tiny Script on a Finger
Finger script is intimate but notorious for fast fading. The single best adjustment is to choose blockier letterforms at a slightly larger size so the letters keep shape as they soften. Ask for a slightly deeper pass near the downstrokes. The trade-off is occasional touch-ups around year two. Sessions are quick but feel sharp. Stack a delicate thin chain ring on an adjacent finger to balance focus.
14. Crescent Moon on the Upper Arm
Upper arm moon work ages gracefully if you avoid packing tiny dot shading into the body. Instead, ask for subtle stipple shading and a modest anchor line around the crescent. Pain is low and sessions are short. The upper arm gives space so the piece can be scaled up later without reworking the concept. For warm-weather outfits, a racerback tank shows the upper arm without covering the ink.

15. Inner Thigh Garlands
Inner thigh designs ask for discretion in both placement and session wear. Most people wear shorts you can slide to expose only the required strip of skin. The inner thigh holds ink well but is sensitive, and dense patterns can look blotchy if placed too small. For sessions bring a comfortable short or bikini bottom to keep privacy while allowing access. Expect a moderate pain score and a slower healing due to friction in daily movement.
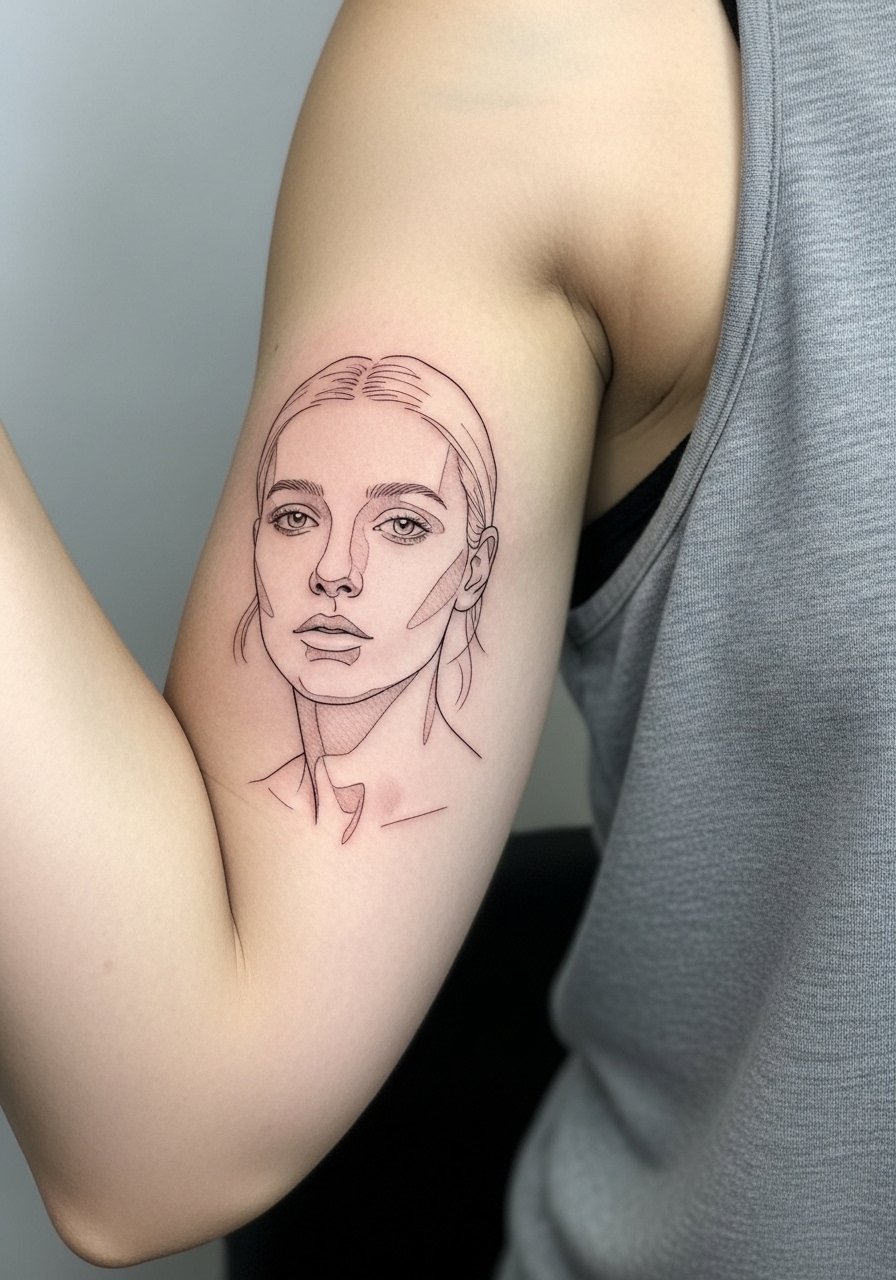
16. Bicep Portrait Mini
I've seen small portraits on the outer bicep last nicely when spaced and slightly larger than expected. The usual error is shrinking the portrait to fit an idea of "small." Ask your artist to scale up slightly and prioritize clear facial contours rather than micro-detail that will blur. Sessions can be one longer visit. For the appointment pick a loose tank top you can slide for access without rubbing the fresh ink.
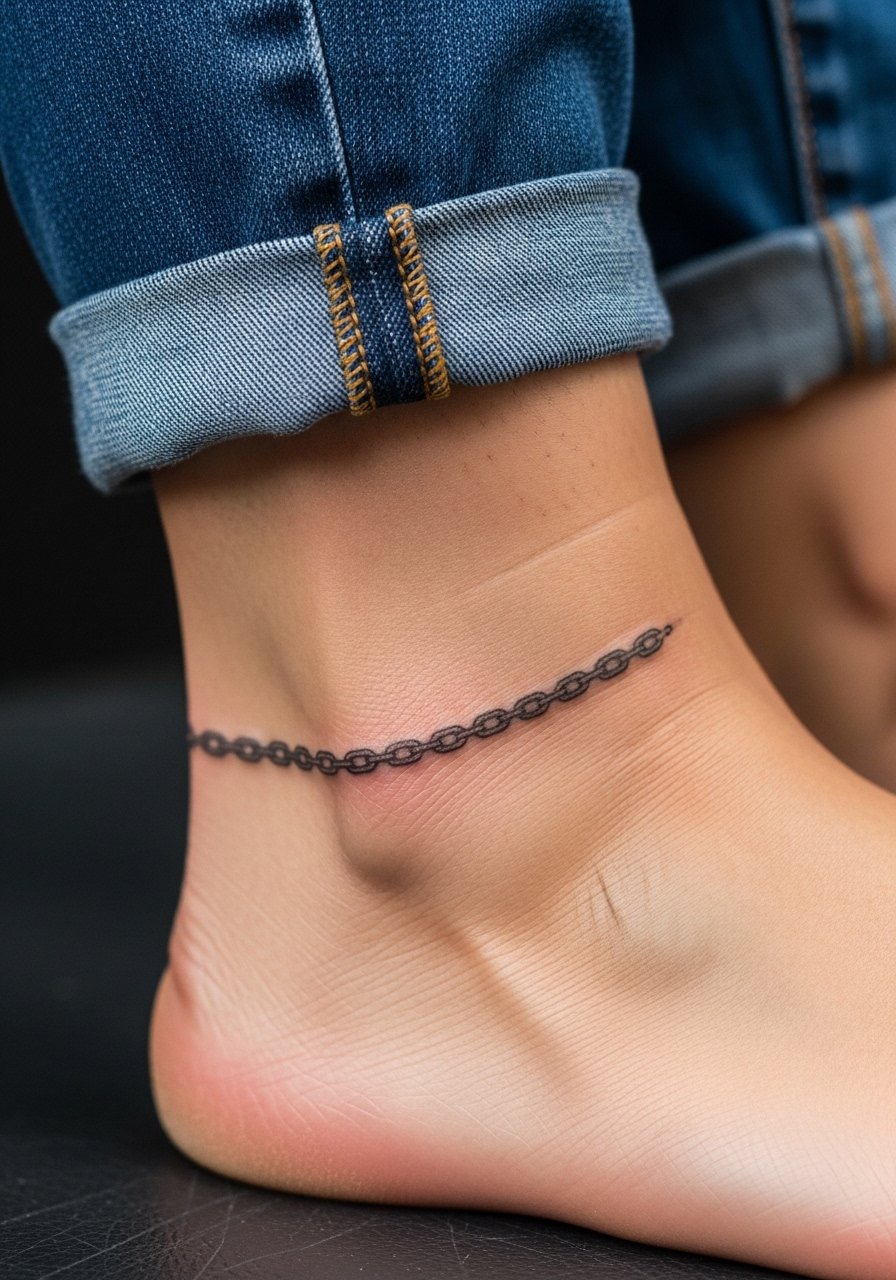
17. Ankle Chain Link
Chain-like fine line work around the ankle looks like jewelry but needs slightly thicker links to survive shoe friction. The common mistake is choosing single-needle delicacy that simply fades where the shoe strap rubs. If you want longevity request reinforced links at contact points. The session is short and the area is fairly tolerant. Pair the piece with low profile ankle bracelets for nights out.
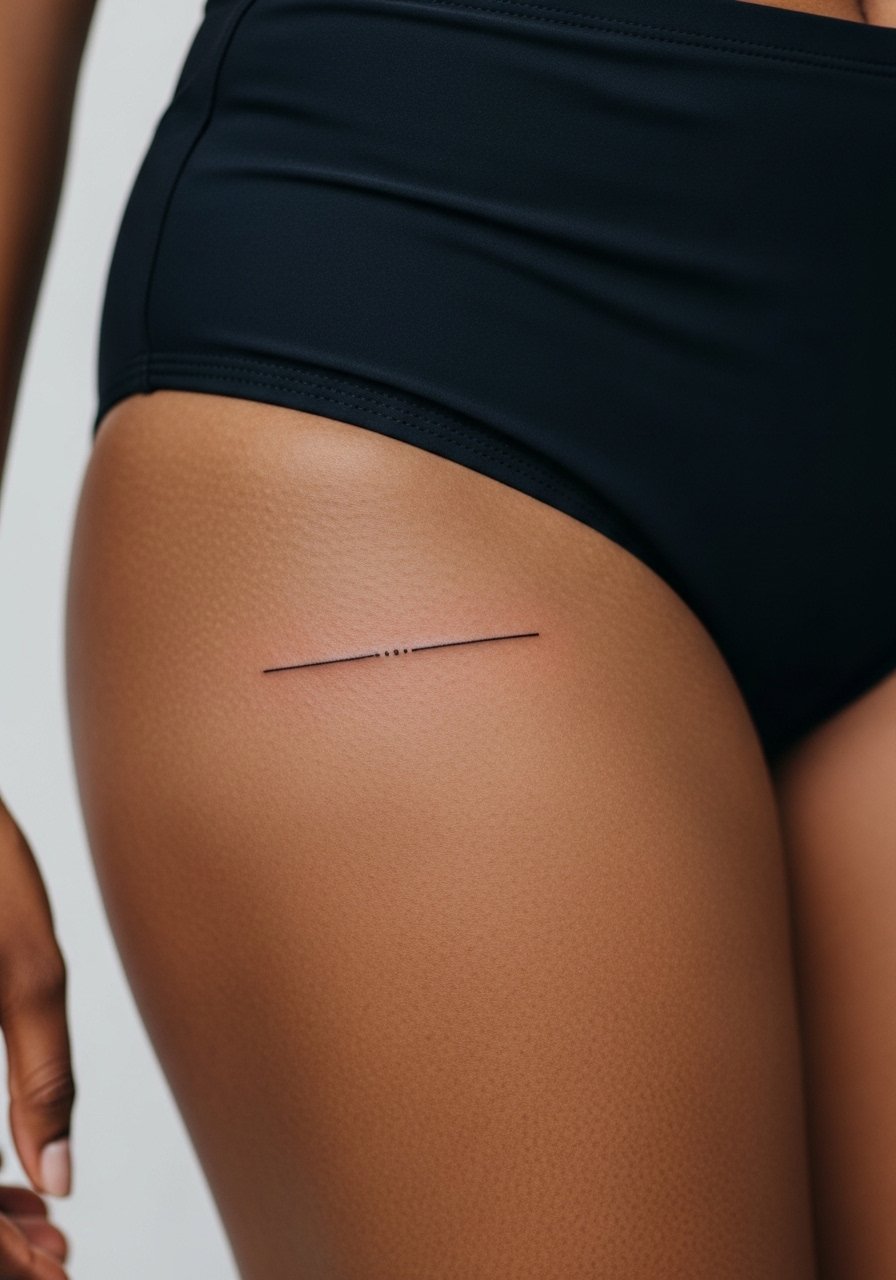
18. Outer Thigh Minimalist Line
Minimal lines across the outer thigh keep their integrity because the area is low friction. The mistake is adding fine interior detail that ages into noise. Stick to clean lines and consider negative spacing for enduring clarity. Sessions are comfortable and healing is straightforward. For showing it off, select a high-cut swim bottom that frames the piece without overly compressing skin.
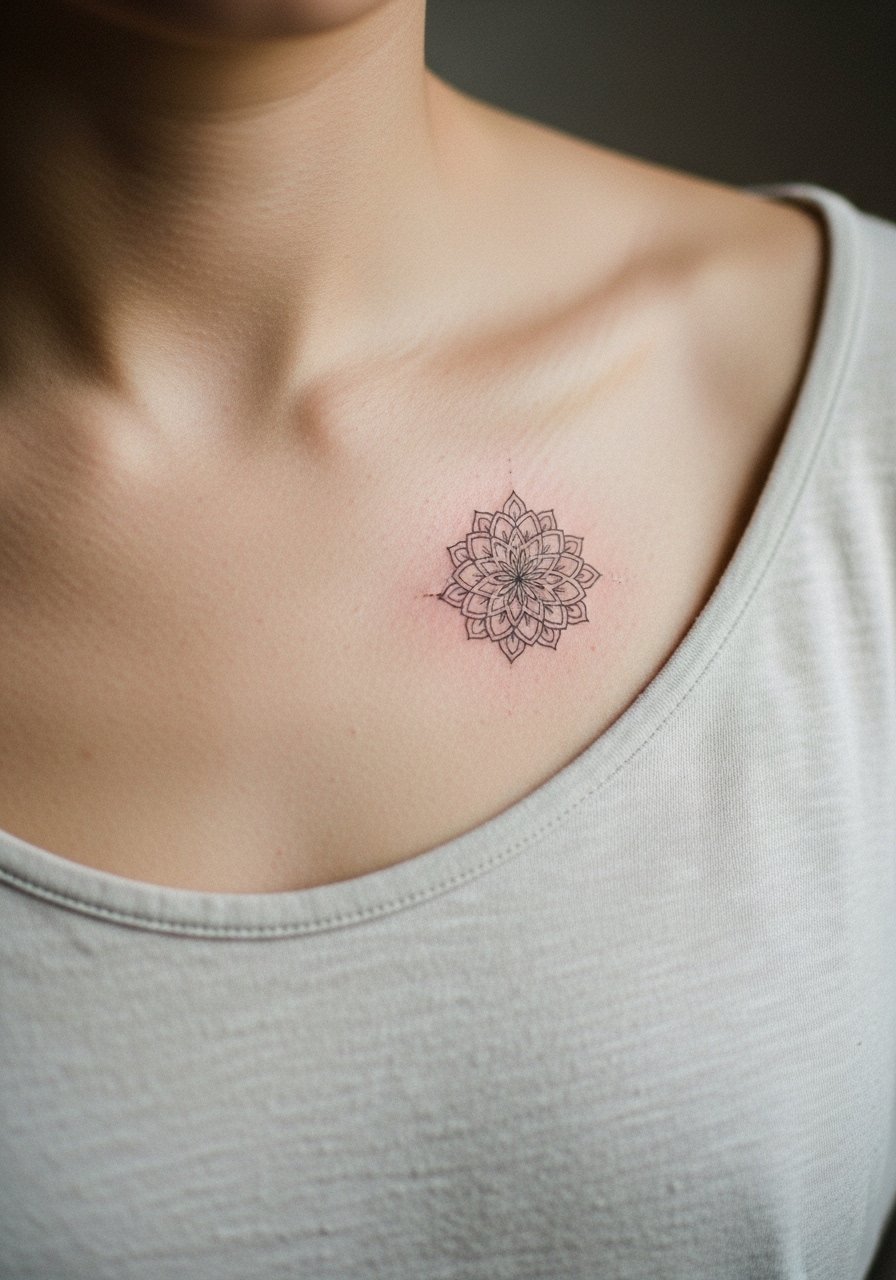
19. Small Mandala Near the Clavicle
Mandala elements are tempting but the common mistake is packing too much density for a small clavicle placement. Ask for an airy outer ring and avoid tiny interior dots that merge. Expect moderate pain and brief sessions. Because the clavicle area moves with breathing, spacing is the main longevity trick. Pair with a thin chain pendant necklace that sits above the script without competing.
20. Calf Single Line Mountain
There's an honest simplicity to a single-line mountain on the calf. The biggest mistake is wrapping the silhouette so it sits across the curve and distorts. Keep the range on one plane. The calf tolerates this style well and touch-ups are rare if you avoid direct sun. Sessions are low pain for most. For weekend wear, cuffed pants or shorts let a drawstring linen pant peek at the design.

21. Tiny Anchor Behind the Ear Variant
A tiny anchor behind the ear reads as a private nod. Keep the design minimal and avoid extra dot clusters that blur with hair oils. The area is very sensitive and requires careful shampooing while healing. The design is quick but the artist must see enough healed examples on similar skin. For privacy, style hair to fall naturally and use a clip when you want to show the piece.

22. Ribcage Script Sweep
If you want script along the rib line, be prepared for the area to shift and for some softening over time. The common mistake is squeezing long sentences into a tiny band. Ask for open letter spacing and test the curve against a fitted top. Artists split on ribs with fine line work. One camp warns of early blurring. The other camp says proper spacing and needle depth make it viable. Bring a cropped top to the session for modest access.
23. Minimalist Eye on the Wrist
A tiny eye motif on the inner wrist needs a solid pupil anchor so it keeps clarity as outlines soften. The wrist sees a lot of washing, so plan for a touch-up around year two. Sessions are quick and sharp. For a clean display, rotate bracelets with a thin leather cuff that frames the wrist without obscuring the eye.

24. Sternum Floral Lace
Floral lace across the upper sternum should avoid tiny filigree that will clump. The safe route is openwork with clear gaps between tendrils. The sternum area is sensitive and friction from clothing can impact healing. Ask for healed photos from the artist on similar placements and skin tones before booking. Wear a fitted sports bra so the artist can work without full exposure.

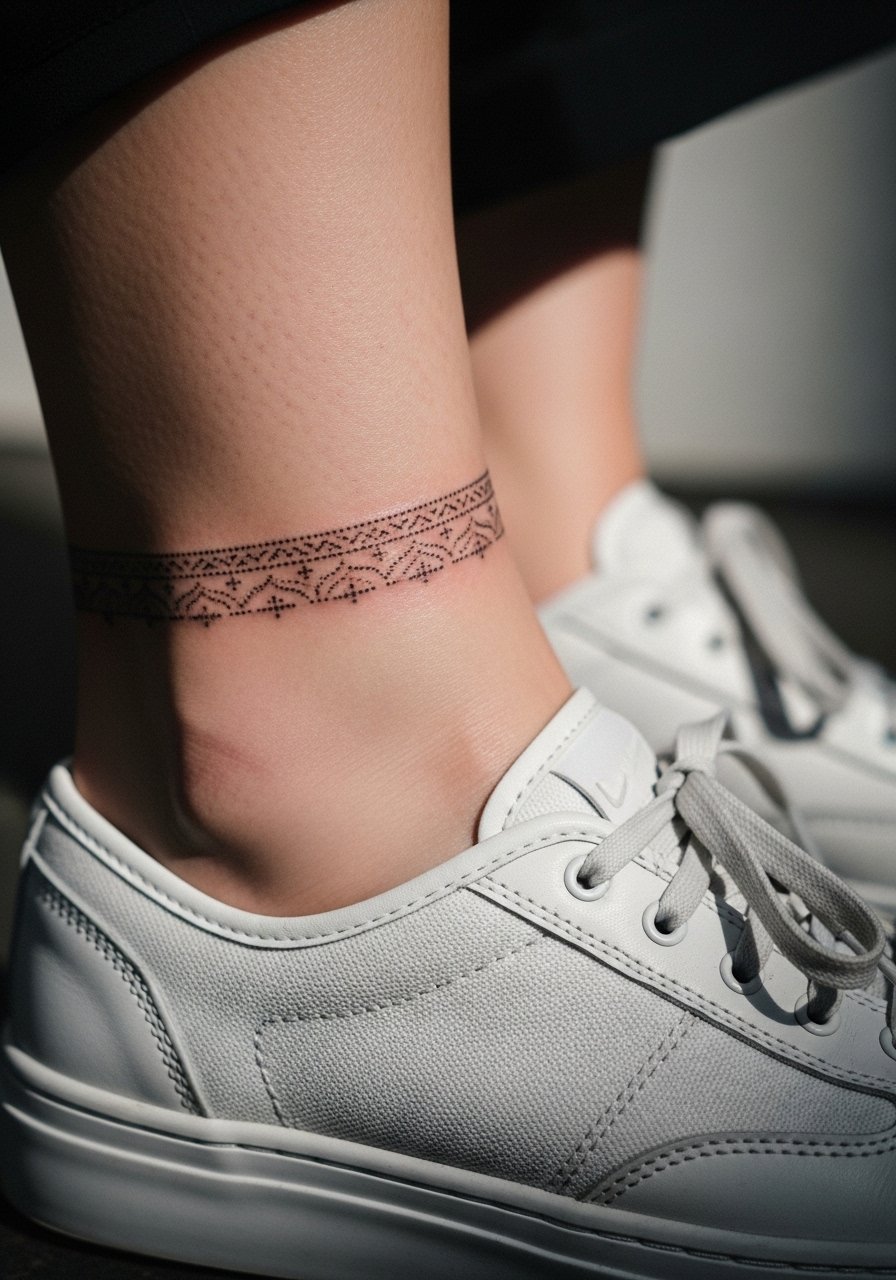
25. Ankle Tiny Dotwork Band
A dotwork band just above the ankle looks like a faint bracelet that ages well when dots are spaced deliberately. The error is compacting dots too close together. Request a slightly looser pattern and a thin protective film in the first week to cut down on shoe friction. Sessions are quick. For showing off choose low-top shoes to keep the band visible.
26. Lower Back Single Stem
Lower back placement is forgiving but avoid sprawling ornamentation that sits under tight waistbands. A single stem with negative space keeps the design readable and makes future expansion simple. The session is comfortable and healing is manageable if you avoid tight belts during the first weeks. For outfits, a tank top with high-waisted jeans pulled slightly low reveals the lower back stripe without full exposure.

27. Collarbone Cluster Accent
The last idea is a small cluster near the collarbone that works when the edges are left airy. The mistake people make is framing it with heavy dots that compete with necklaces. Ask for subtle stippling and clear negative edge space. The area is moderately sensitive. For daytime looks, pair with an open v-neck blouse to let the cluster show without overexposure.

Frequently Asked Questions
Q: Will fine line tattoos on my ribs last longer if I get them spaced out rather than in one session?
A: It depends on the design and your pain tolerance. Spacing sessions can help the artist adjust spacing and spacing decisions often improve longevity for rib pieces. Breaking a long script or dense floral into two visits gives time to assess swelling and line settling before continuing.
Q: How often do wrist and finger fine line tattoos need touch-ups?
A: From what I have seen, expect to revisit around year two to three for wrist and finger pieces. Those spots face constant washing and sun, so plan for occasional touch-ups and protect them with sunscreen once healed.
Q: Are there styling choices I should make for a sternum or rib session to stay modest during the appointment?
A: Yes. Wear a fitted sports bra or bandeau that can be shifted slightly for access without full exposure. A fitted sports bra is a practical pick for comfort and modesty during chest sessions.
Q: Is it better to choose slightly larger line weight for hand or ankle designs so they last?
A: Slightly larger line weight often helps on high-friction areas like hands and ankles. It trades some delicacy for durability, which is usually a smart choice if you want the design to remain readable without frequent touch-ups.
Q: How should I find an artist who actually does durable fine line work without name recommendations?
A: Use discovery pathways. Search local directories, read convention guest lists, follow hashtags focused on healed work, and browse Reddit threads where people post healed photos. Look for portfolios showing healed pieces on skin tones like yours.
Q: If I want a small portrait on my bicep, what should I ask in consultation?
A: Ask the artist for healed examples of similar-scale portraits and request a slightly larger scale than you imagine so facial contours remain legible. Discuss touch-up expectations and whether they recommend splitting the session to preserve detail.
