
Sitting in the chair with the stencil on the back of your arm is when expectations meet reality. That narrow strip of skin moves when you reach, shows differently under studio lights, and ages in its own way. These 17 traditional back-of-arm tattoo ideas focus on linework and saturation choices that hold up, what to ask your artist in the consult, and how to style the piece so it reads the way you want for years.
1. Bold Traditional Anchor on the Back of Upper Arm
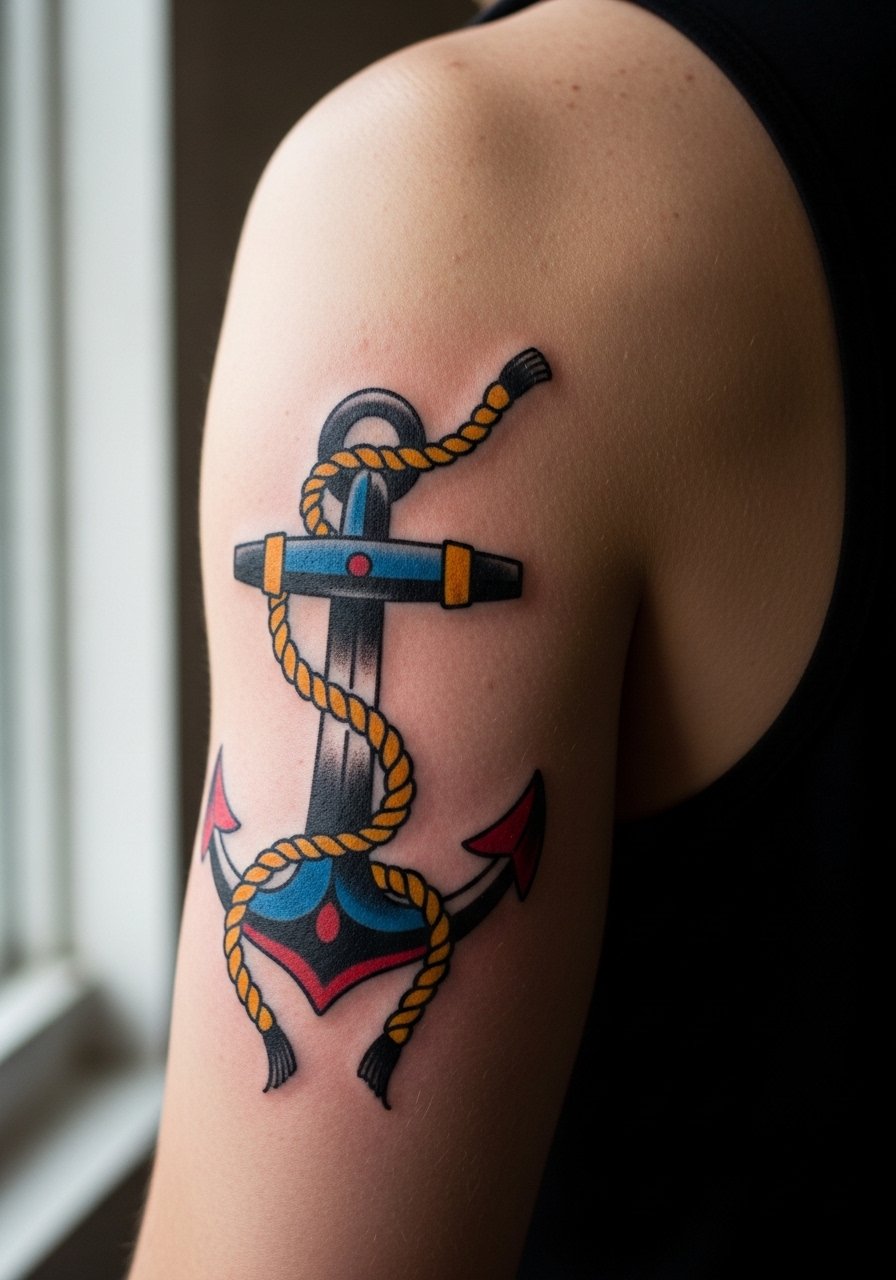
This classic reads strong from a distance because of heavy linework and solid black saturation. For the consult, ask for a slightly thicker outline than you might choose for a forearm piece so the anchor keeps its silhouette as the skin ages. Fair warning about the placement, the back of the upper arm moves with the shoulder, so expect a bit more discomfort than the outer bicep but less than the inner arm. A common mistake is shrinking the design too small. Tell your artist you want clear negative space around the flukes so the anchor does not blur into a dark block at year three. For showing it off, roll up a short-sleeve button shirt and let the silhouette peek out.
2. Traditional Rose Cluster Near the Tricep
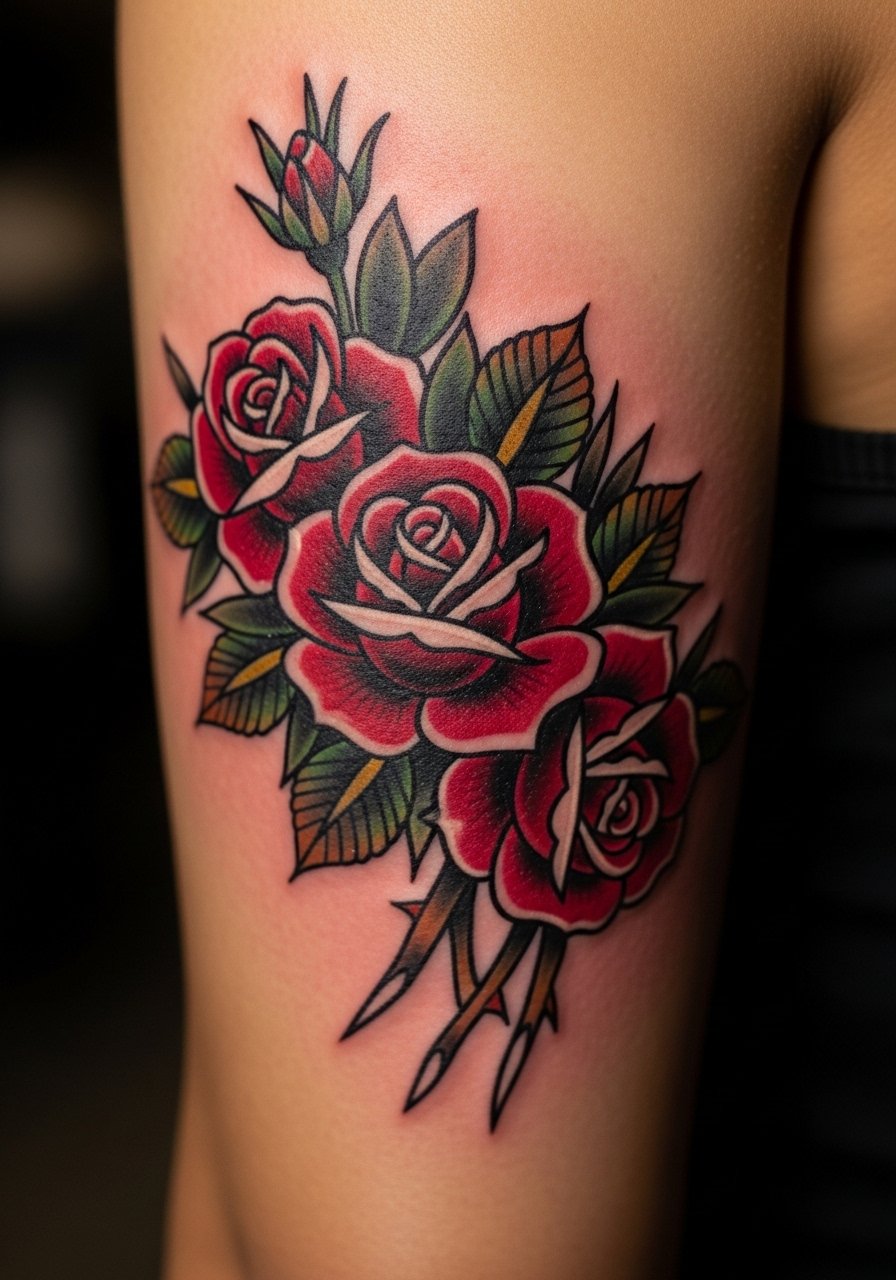
I recommend this when you want color that still looks crisp after five years. Ask your artist for denser saturation in the petals and for clear black borders around each bloom. The biggest aging issue is color migration when petals overlap too tightly. During the consult describe petal spacing and request the artist mark the negative space on the stencil. Expect moderate pain because the skin sits over muscle. Typical session time is one to two hours for a compact cluster. For session comfort, wear a loose tank top so the artist can access the back of the arm cleanly and you stay cool.
3. Sailor Sparrow with Banner Script Lower Arm
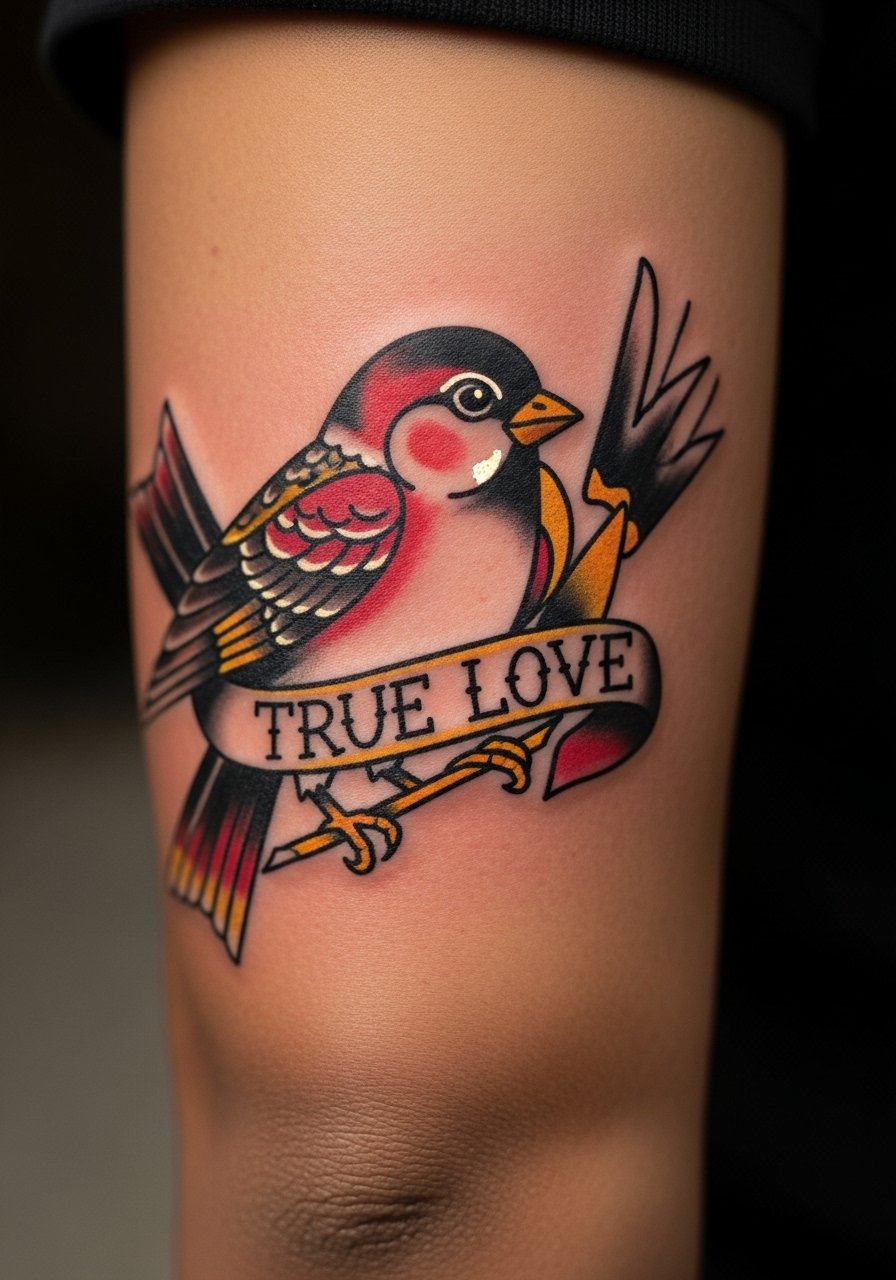
Visual impact leads this one because the bird in flight combined with a short script reads like movement. Tell your artist the banner needs to curve with the arm so the lettering stays legible when you bend the elbow. A common mistake is using dense script in a tight banner which blurs over time. Expect a short session under ninety minutes if you keep the script to three or four words. For showing off the curve wear a rolled sleeve tee that frames the banner without covering it. Artists split on fine script on curved spots. One camp says the wrap causes letters to compress and blur. The other camp argues proper spacing and bold counters prevent that. Ask where your artist stands during booking.
4. Nautical Wheel Framed on the Posterior Arm
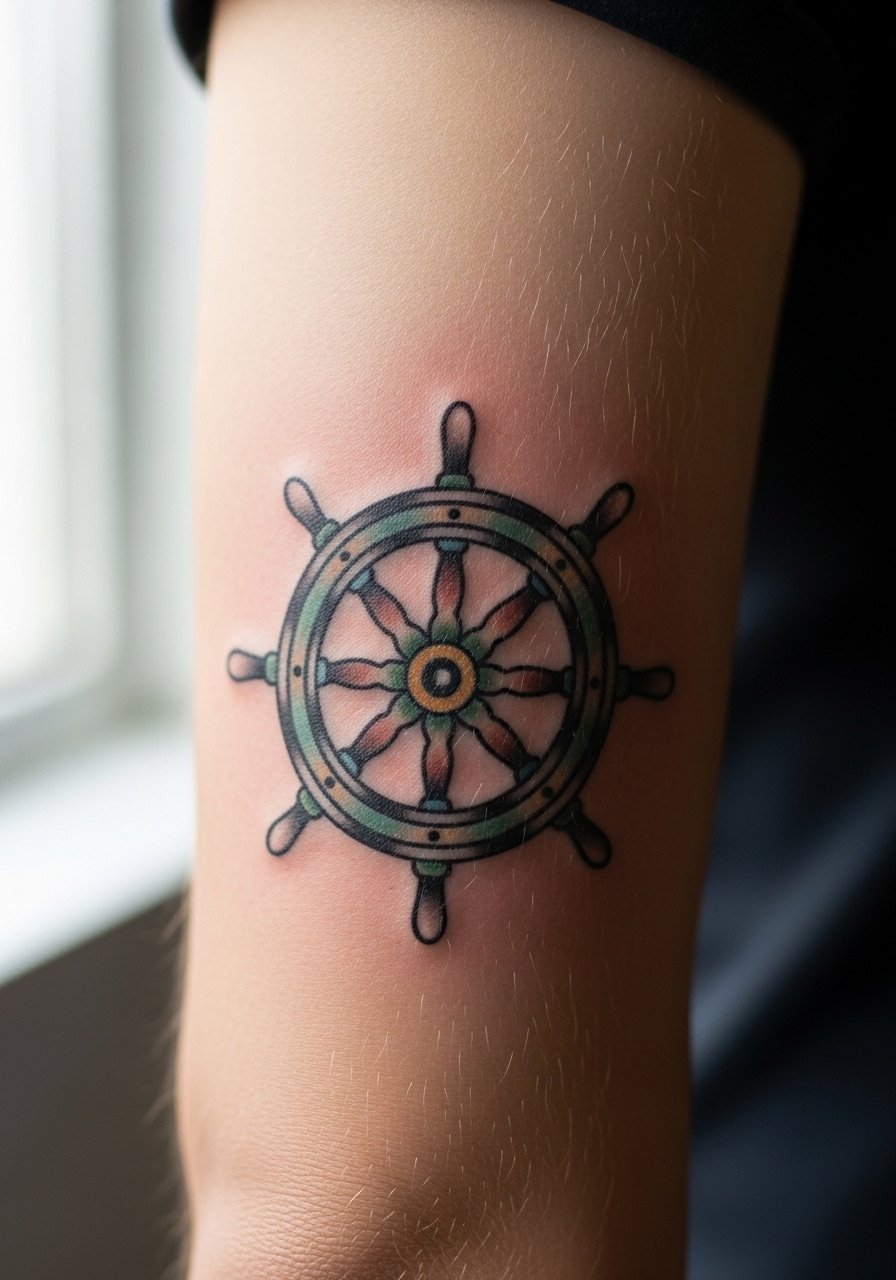
There is something about strong geometry and heavy linework that holds up on the back of the arm. In consult ask for the spokes to have slightly heavier anchors where they meet the rim. The error people make is over-detailing small decorative elements. Those tiny flourishes tend to blur into noise by year four. Pain on this zone is moderate with the elbow crease being more sensitive. For the session, wear a button-down shirt you can slide aside instead of a tight sleeve. Expect a single longer session if you want color filled and outlined cleanly.
5. Classic Dagger Piercing the Back Arm Panel
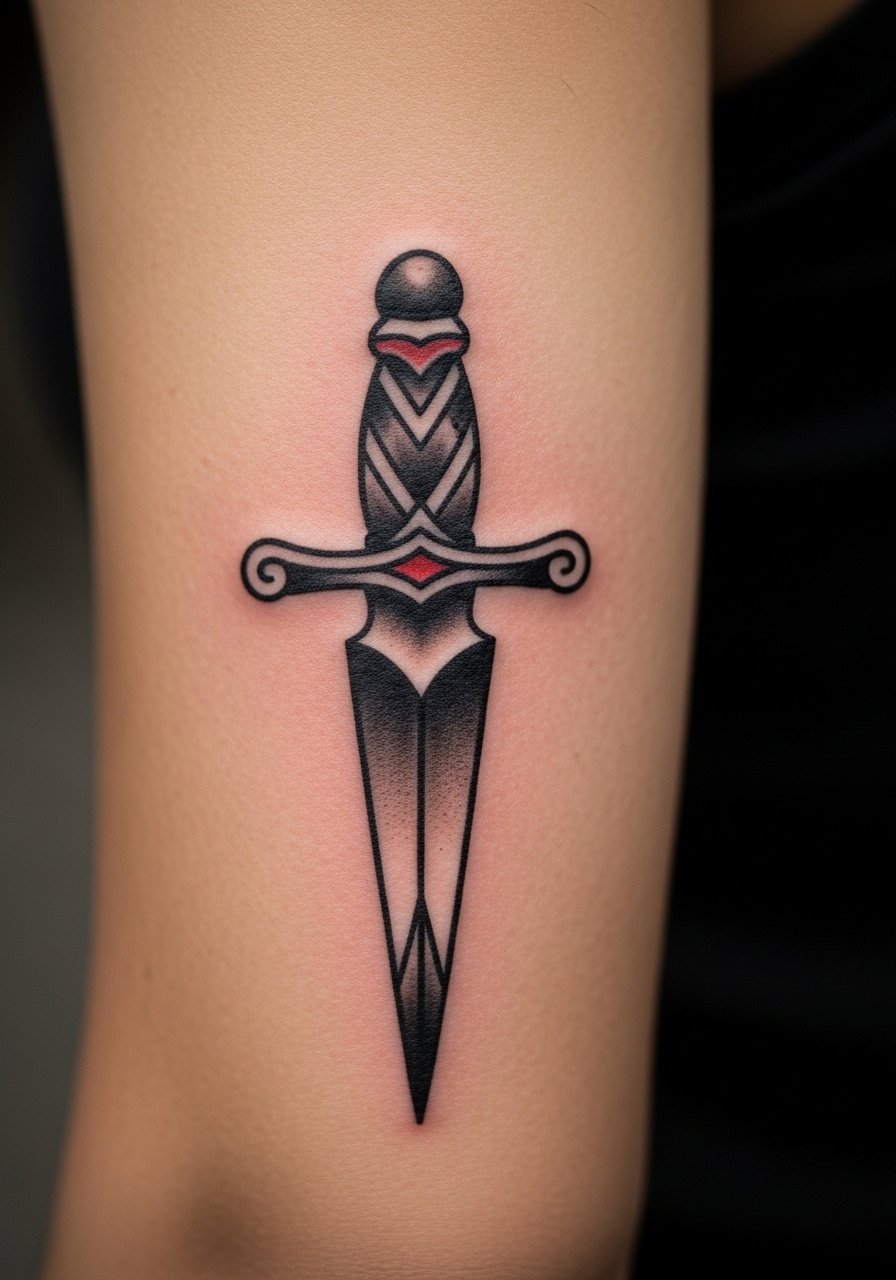
This is a go-to for people who want an edgier silhouette without committing to a sleeve. Tell the artist you want solid black at least on the dagger's spine so the negative spaces remain readable as the skin stretches. A common mistake is adding too much stipple shading inside the blade which softens into gray over time. The session is usually under two hours. If you plan to show it off on warm days, pair it with a sleeveless linen vest that leaves the panel visible while keeping the shoulder covered.
6. Anchor and Rope That Wraps Slightly Toward the Elbow
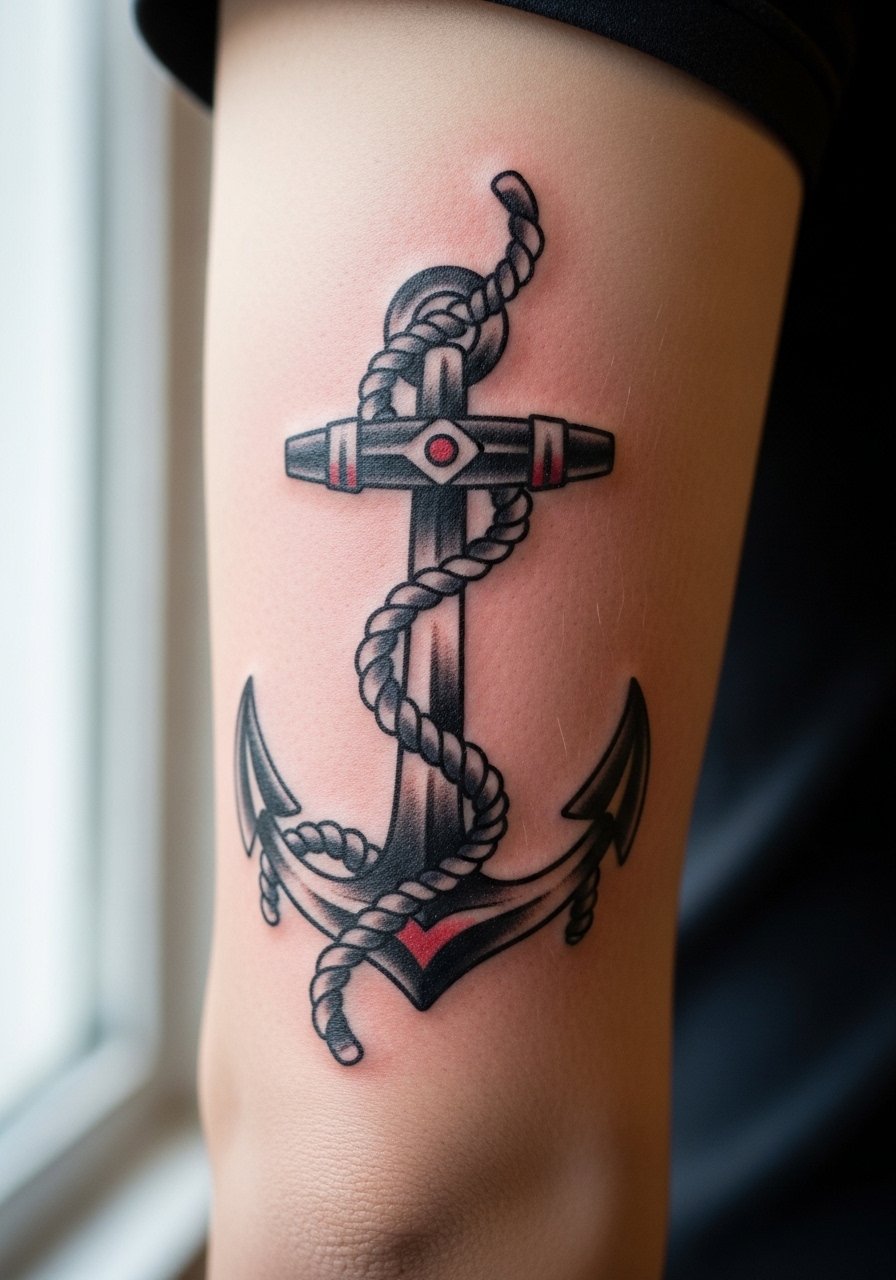
Consultation tip, have the artist map the rope so it follows muscle curvature and does not disappear into the crease at the elbow. The rope needs spacing between twists to avoid merging lines after a couple of years. Pain varies depending on how close the work comes to the elbow bones. A good session plan is to do the outline first and color in a second appointment if you want fresher saturation. For showing it off with casual wear, a rolled-up short sleeve shirt keeps the rope readable without hiding the anchor.
Studio Day Picks
These back-of-arm pieces above ask for different prep than a full sleeve, so a few practical things make the session and early healing easier.
-
Stencil transfer paper kit. Lets you see the exact placement on the curved back of the arm before the needle touches skin which is helpful for wraparound designs.
-
Topical numbing cream. Applied as directed before a sensitive elbow-adjacent piece it can ease the first thirty to sixty minutes without affecting linework.
-
Thin protective film roll. Useful for keeping back-of-arm tattoos clean when clothing rubs during the first week.
-
Fragrance-free gentle body wash. Keeps the area clean in the shower without stripping fresh ink from traditional saturated fills.
-
Aquaphor healing ointment. A thin layer in the first few days helps retain moisture for bold linework without clogging tiny needle channels.
7. Bold Swallow Pairing Mid-Arm Back
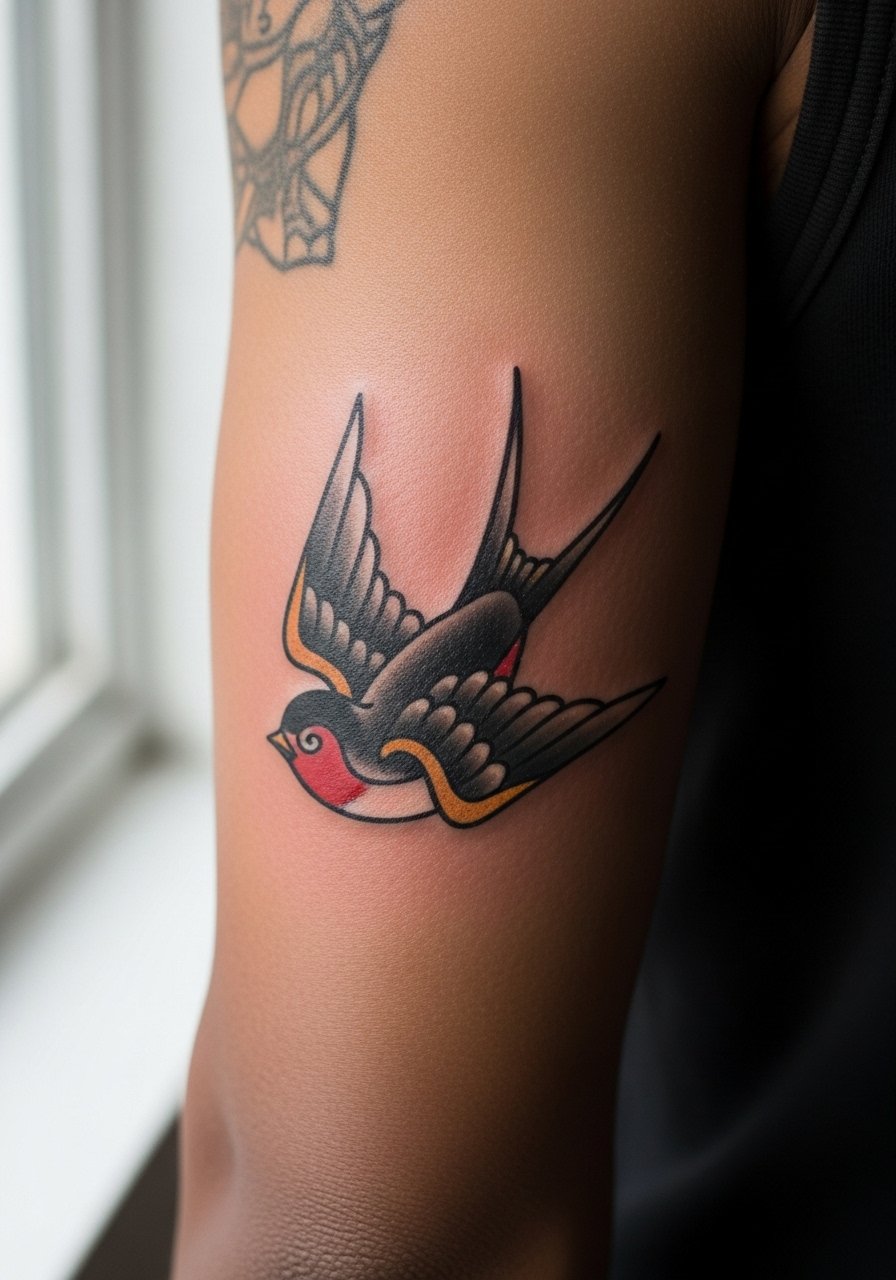
Visual symmetry is the selling point here. In the consult say whether you want mirrored placement or staggered heights. A common mistake is making them too small which loses wing detail after a few years. Expect low to moderate pain on the fleshy mid-arm with a typical session under 90 minutes for both outlines. If you plan matching ink, bring consistent reference images so both arms read the same. For evening outfits, try a slim cuff bracelet that sits above the swallow and frames the negative space around the wings.
8. Traditional Compass Rose Near the Tricep Ridge
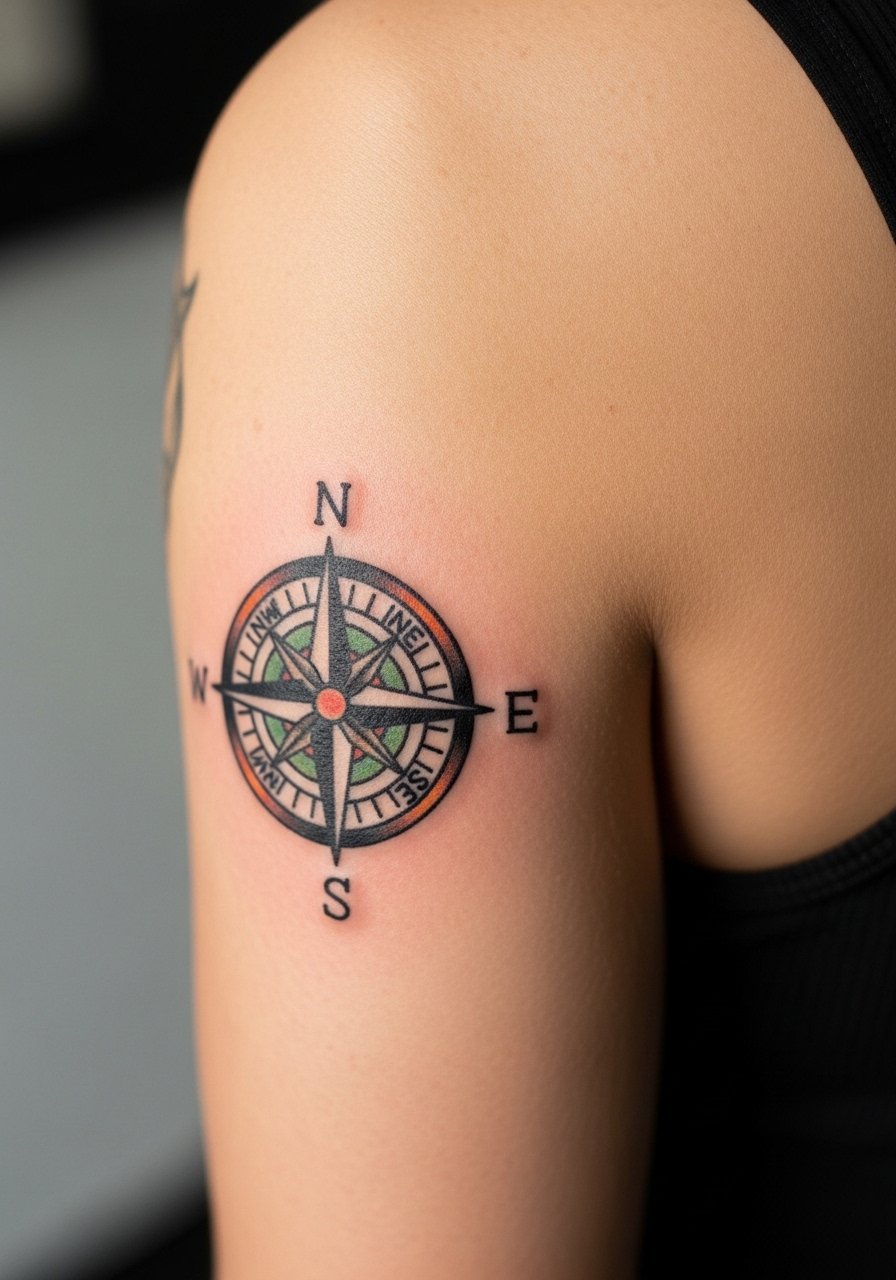
Consultation detail to ask for, request clearer negative space between the cardinal points so the star shape reads as a graphic instead of a blurred disk in a few years. The mistake is jamming too many tiny directional ticks into the center. Pain is moderate and session time depends on color choices. For a session-ready outfit pick a loose sleeveless top so the artist can have full access without you feeling exposed. Artists debate whether tight central detail holds on curved panels. One side says keep it bold. The other says light detail can still work if spaced carefully. Ask your artist which approach they recommend.
9. Anchored Heart with Banner on Posterior Arm
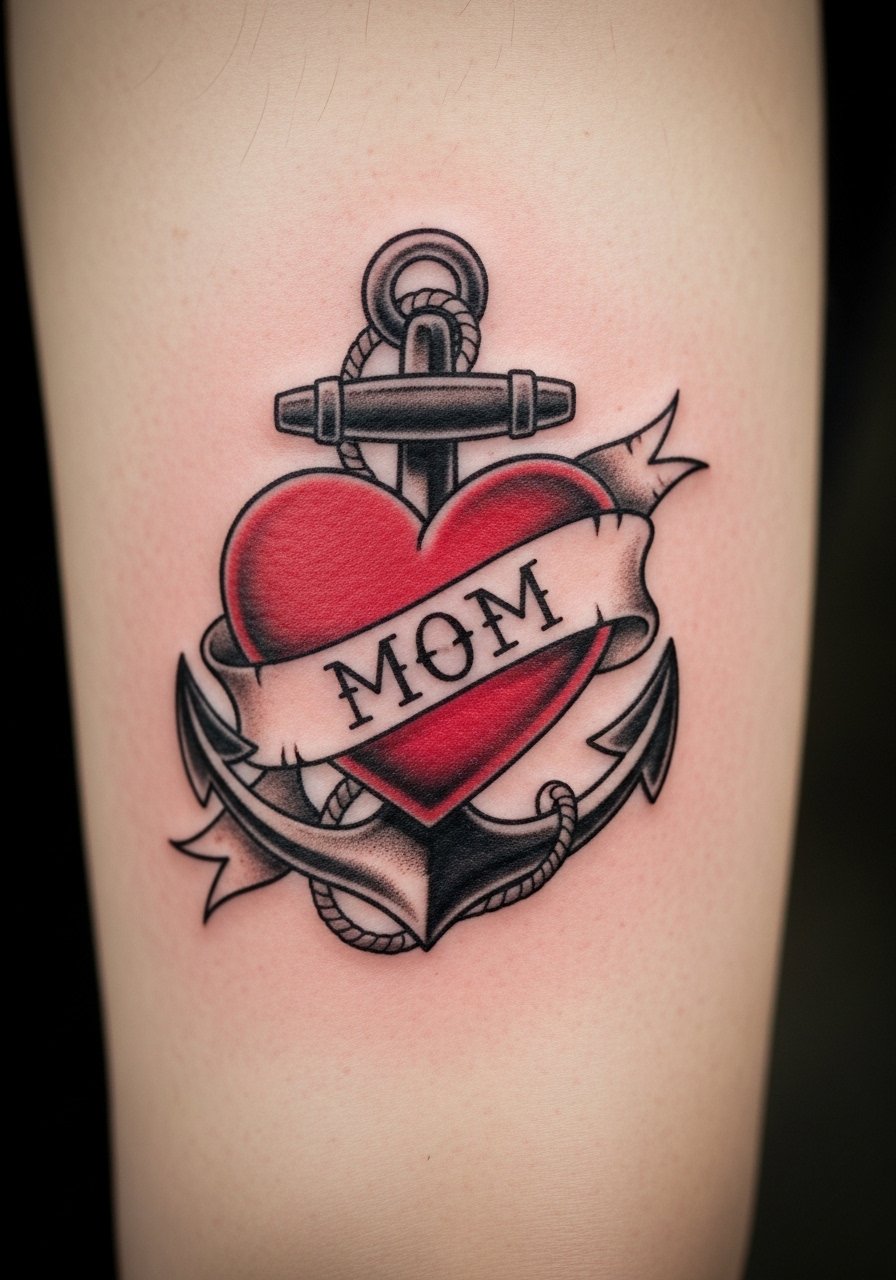
Aging note, saturated reds in this spot can remain vivid longer when separated from surrounding dark fills. Tell the artist you want the banner shallow with bold counters rather than thin script. The common error is tiny lettering that becomes illegible. Pain is similar to other back-of-arm spots, moderate but manageable. Session time is usually an hour for outline and color fill if you keep the banner short. For showing it off, pair with a delicate chain bracelet that does not compete with the banner but draws the eye to the heart.
10. Nautical Star Row Along the Back Arm Line
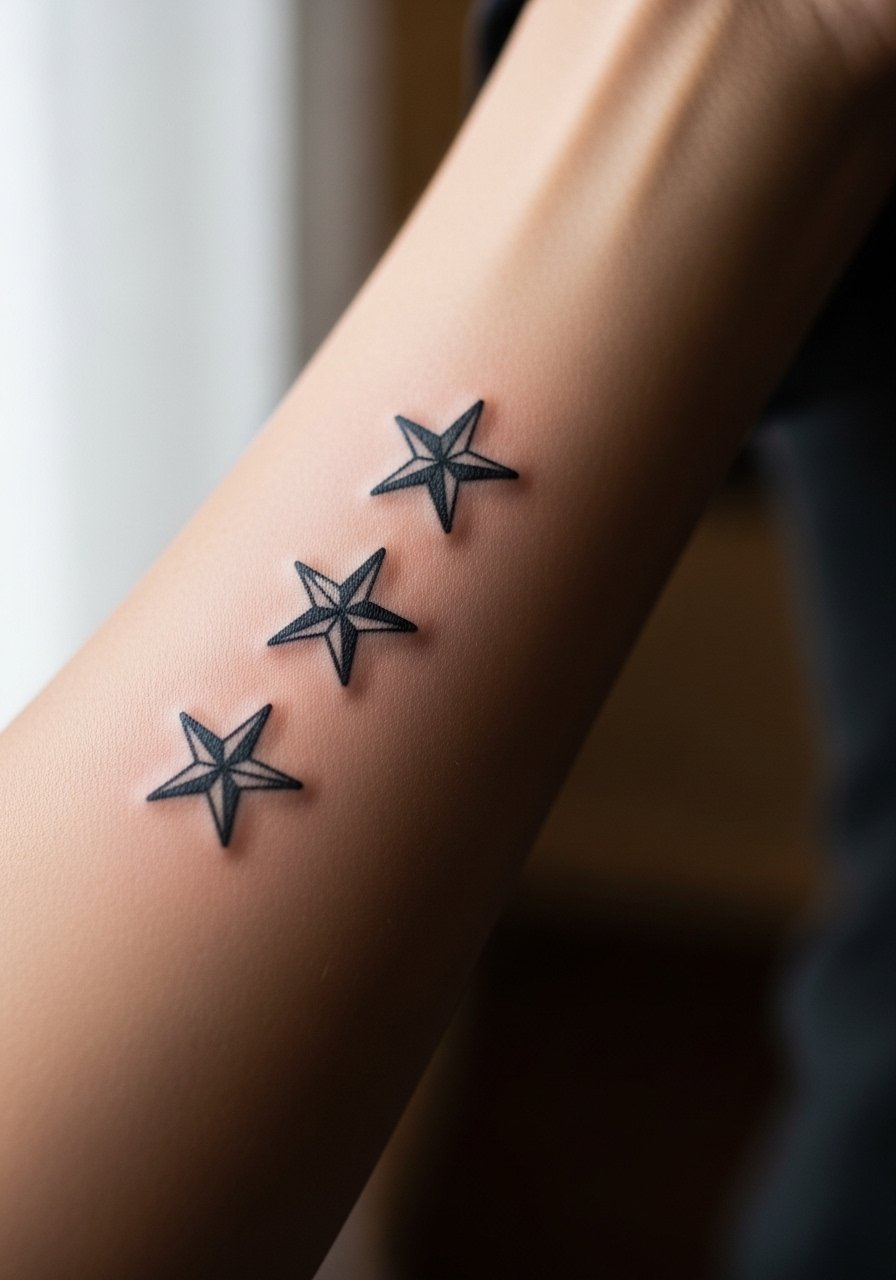
Mistake lead fits here because the biggest error is spacing stars too tightly. They need breathing room to keep their points crisp in the long run. For consultations, give exact diameter and spacing or have the artist stencil them with real gaps. A short session can cover three small stars but expect touch-ups at year two if you choose very thin outlines. For session wear, a short sleeve Henley that you can roll up makes access easy while keeping the rest of your arm warm.
11. Traditional Fox or Animal Motif on the Back Arm Panel
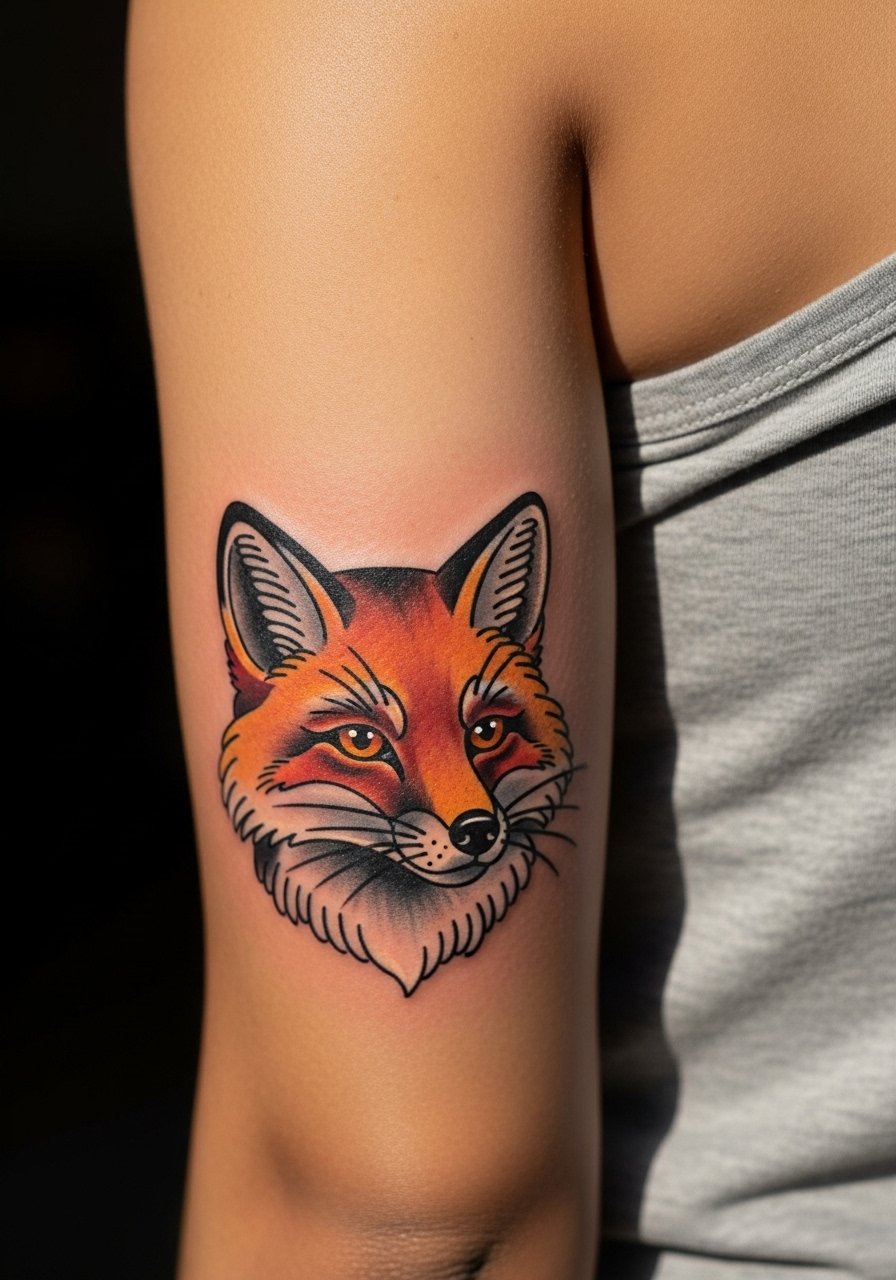
Personal observation, animal motifs aged well on the back of the arm when the silhouette is kept bold and facial detail minimal. Tell the artist to emphasize the jawline and shadow with solid black instead of micro hair strokes that fade. The common mistake is rendering too many whisker lines and tiny fur strokes. Pain is moderate and session time ranges from one to two hours depending on size. For showing it off, a rolled cuff denim jacket frames the animal while keeping shoulders covered.
12. Ship in Bottle, Narrow Panel Work
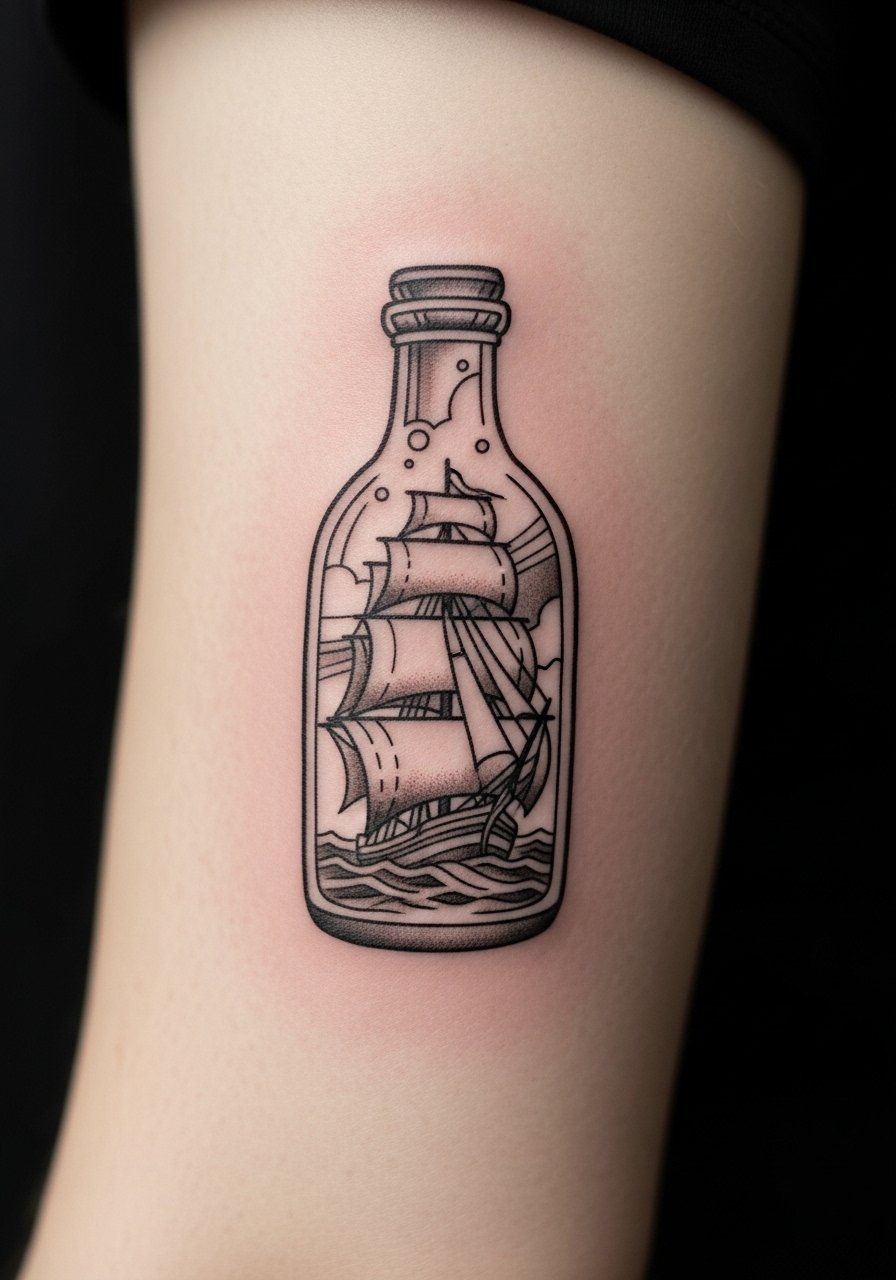
Consultation lead, tell the artist you want the bottle rim and mast lines bold so the small scene reads after healing. The error is packing tiny deck details that become visual noise with time. Expect a slightly longer session because of careful line placement. For session comfort, wear a zip-up hoodie you can unzip and slide one sleeve down to expose the back of the arm. This placement creates a charming vertical statement that pairs well with sleeved layering.
13. Traditional Pinup Silhouette Facing Inward
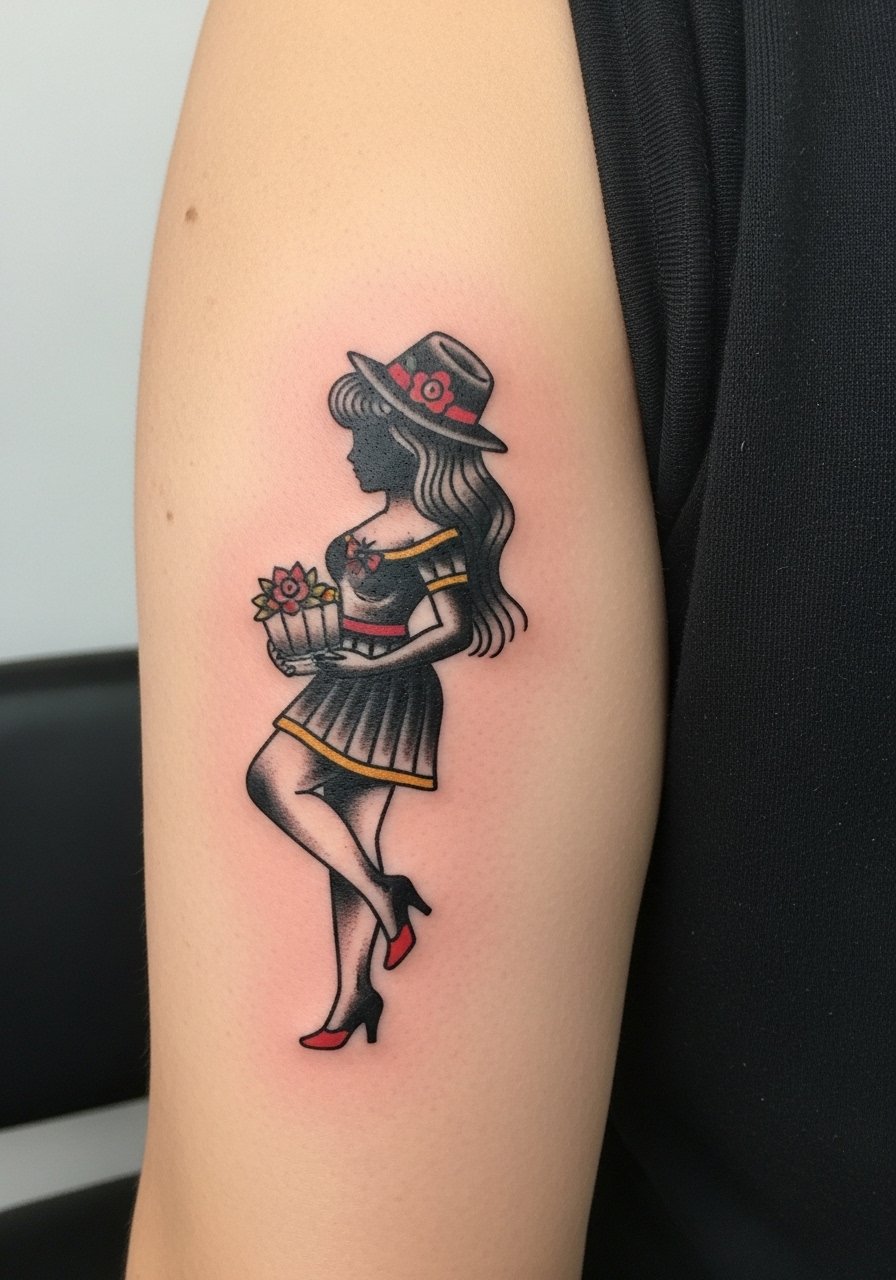
Aging lead fits because detailed faces tend to soften more quickly than silhouettes. Choose a silhouette or limited facial detail to keep the image readable at year five. In consult specify you want crisp negative space between the figure and surrounding elements. Pain is moderate and sitting still matters for clean linework. A common mistake is insisting on fine facial shading which becomes patchy over time. For evening wear try a cap sleeve dress that lets the silhouette show without revealing the shoulder.
14. Rope Knot emblem on Lower Back of Arm Near Elbow
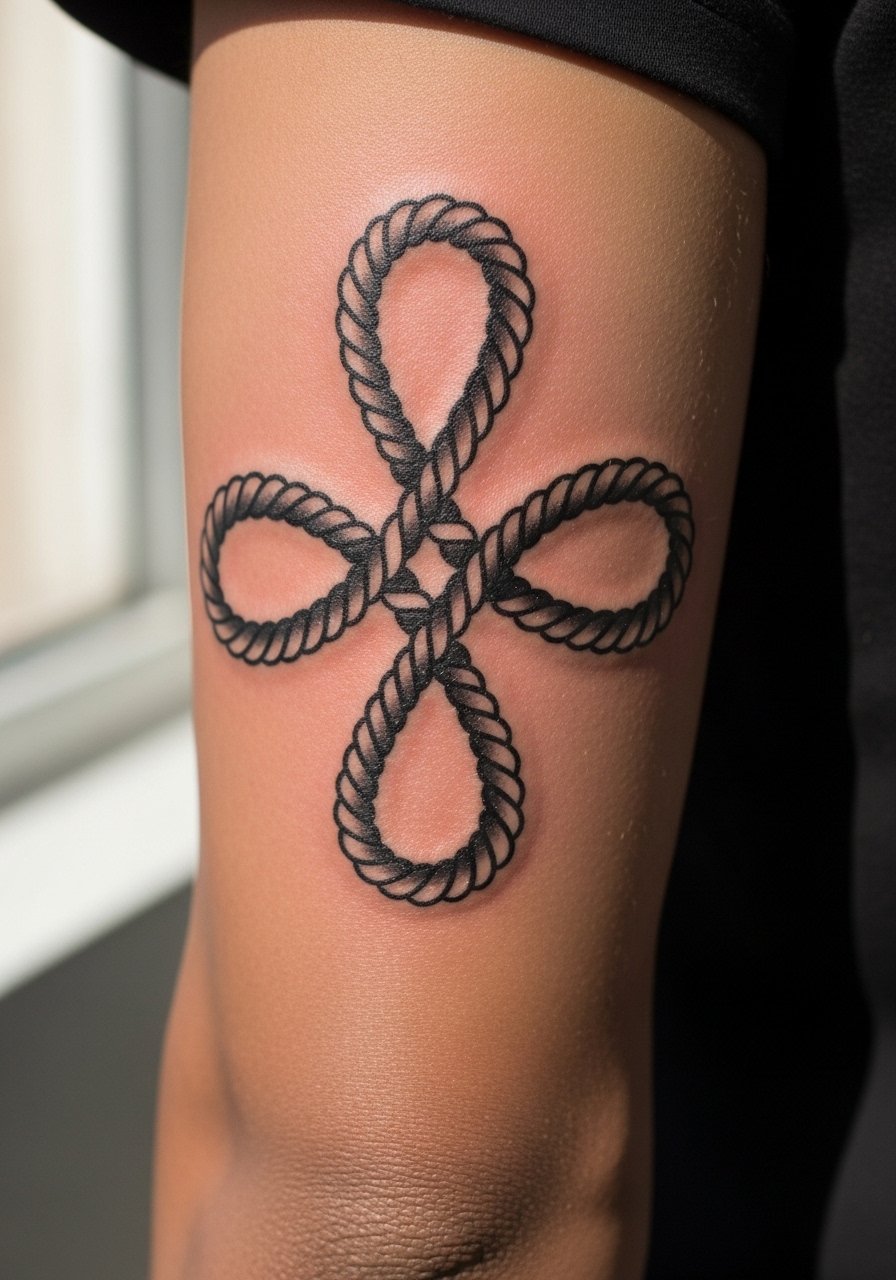
Mistake lead, the biggest misstep is detailing the rope too finely near the elbow crease. The skin folds accelerate line merging. Ask for chunkier twists and clear gaps at the crossing points. Expect the elbow-adjacent area to be the most sensitive part of the back arm work. Session time is short if you limit shading. For the session, wear a short-sleeve tee you can roll up to the elbow so the artist has unobstructed access and your shoulder remains covered.
15. Traditional Script Name Curving Along the Back Arm
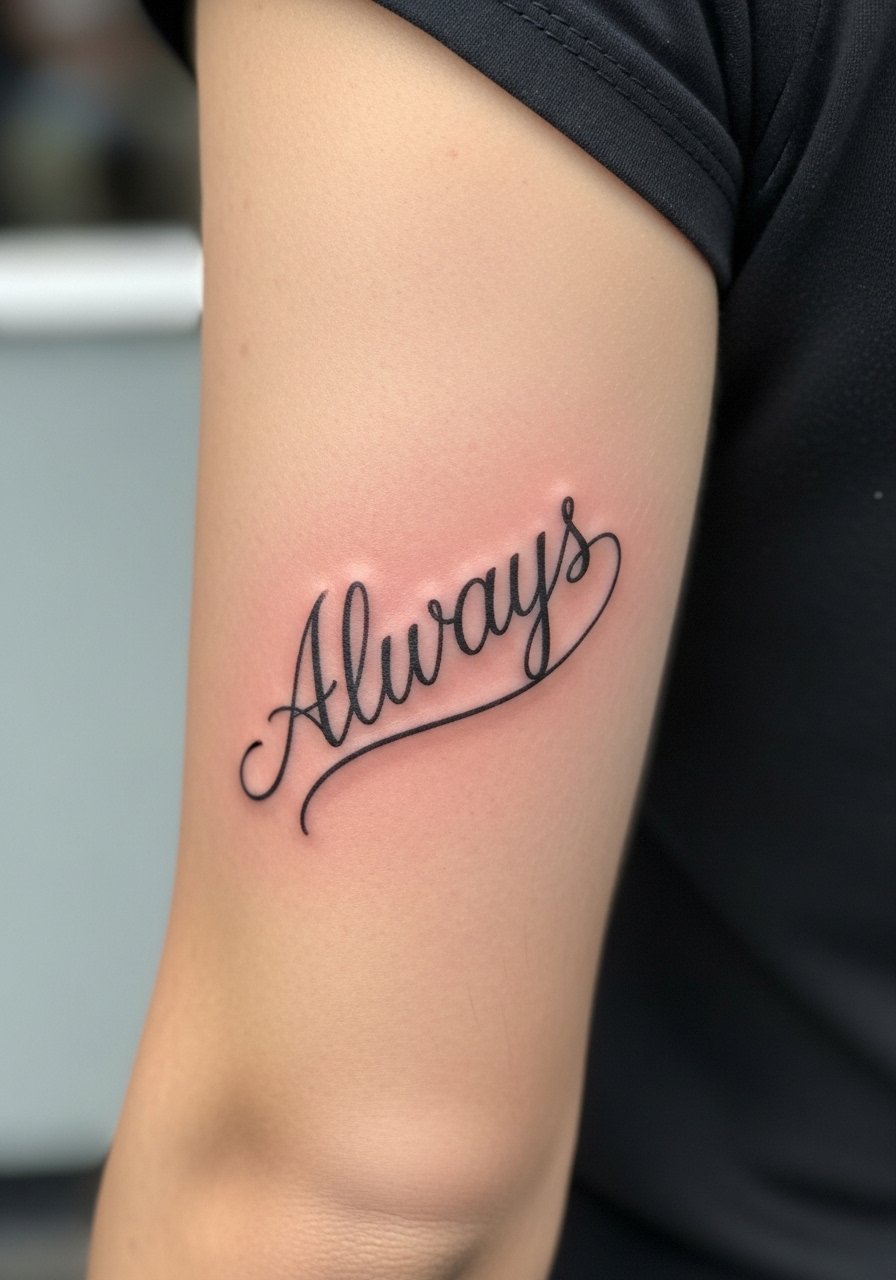
Consultation lead, give exact script and spelling and ask the artist to write the word on tracing paper so you can see curvature before tattooing. Hand-lettering with slight weight variation keeps the word legible as the arm moves. The common error is choosing too narrow a script which loses counters over time. Expect minimal pain and a quick session under an hour for one word. To highlight the script, a short-sleeve knit top with a rolled cuff puts the lettering in frame.
16. Compass and Waves Band Wrapping Slightly Toward the Shoulder
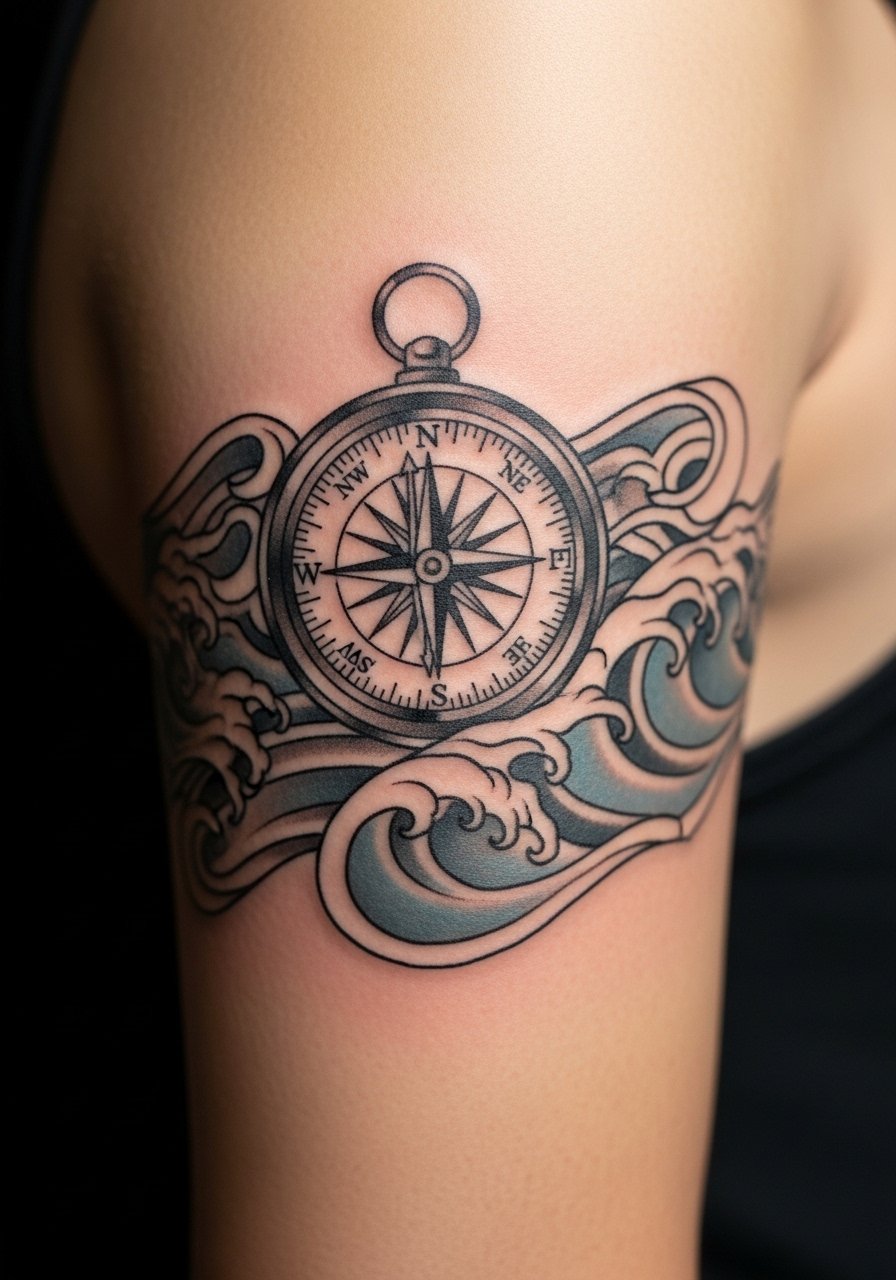
Visual impact lead, the band reads well when the compass center is bold and the wave lines are simplified. For the consult, ask that the band sits where muscle movement is minimal so the image does not distort when you lift the arm. A common mistake is trying to wrap too far into the shoulder where the skin changes angle. Pain is moderate and session time depends on wrap length. For showing it off, pair with a rolled sleeve linen shirt that frames the band without covering it.
17. Traditional Lighthouse Panel Ending Just Above the Tricep
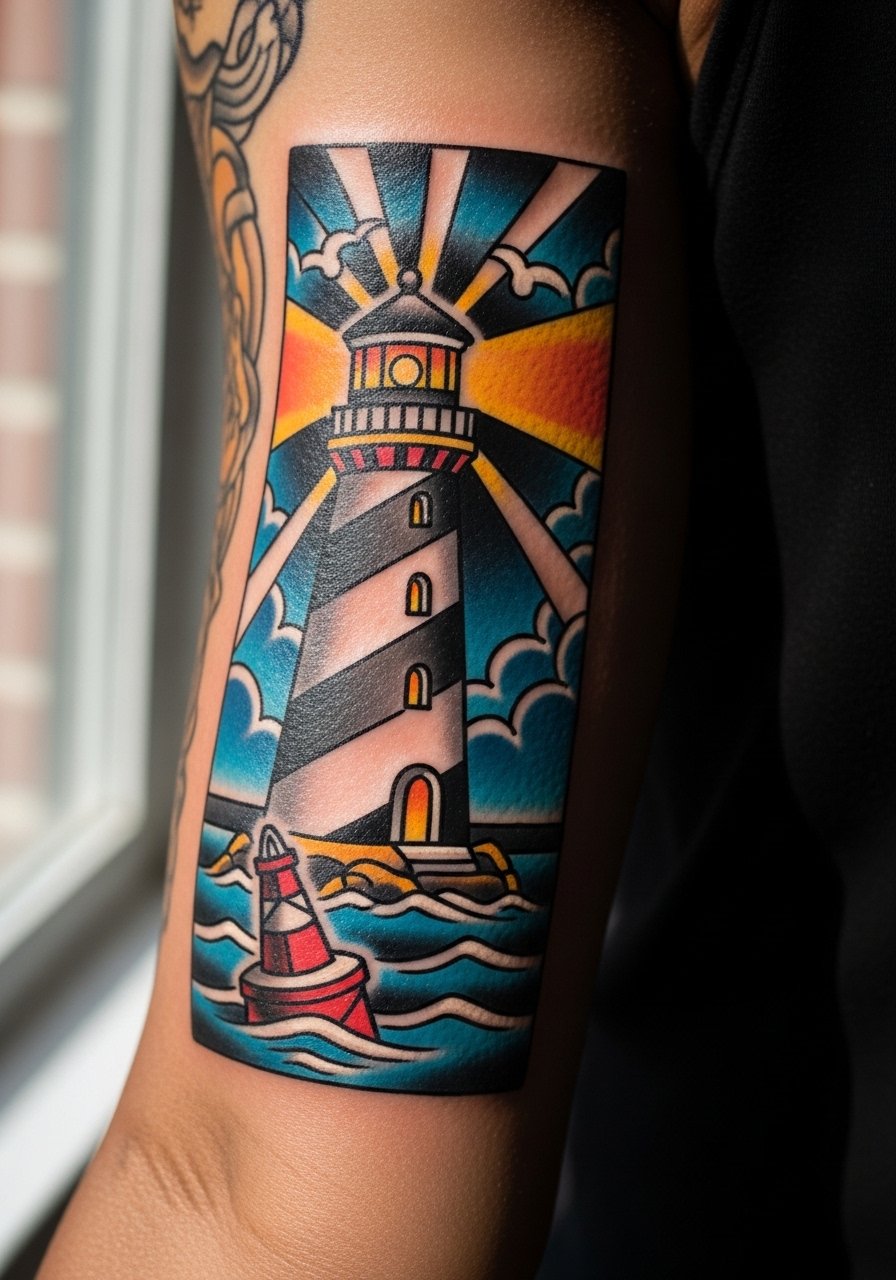
Consultation tip, ask the artist to keep the lighthouse windows and beam areas as negative space rather than tiny filled dots. Tiny highlights often fill in with time. The common mistake is over-detailing the rocks at the base which blur into a gray patch. Expect a one to two hour session depending on color. This placement is ideal for a vertical story piece that can later be extended into a half sleeve if you decide. For evening wear a cap sleeve tee shows the panel without exposing the shoulder.
Frequently Asked Questions
Q: How does linework age on the back of the arm compared with the forearm?
A: From what I have seen, the back of the arm moves more with shoulder and tricep activity. Thicker traditional linework tends to hold up better there than very fine hairlines. If you want fine detail, plan for touch-ups around year two to three and ask your artist to space lines slightly wider during the consultation.
Q: Are certain traditional color palettes better for back-of-arm placements?
A: Bold primary colors with solid black borders tend to last longer because they resist the softening effect of motion and friction. Muted tones can work if you choose heavier outlines. For session-day comfort when you plan color fills, a loose tank top makes access easier without compromising modesty.
Q: Will a wraparound rope or banner blur at the elbow crease faster than a single-panel design?
A: Yes, wrap elements that cross high-motion zones like the elbow crease are more likely to merge. Designers split on how much wrap is safe. One camp recommends avoiding tight crossings over the crease. The other camp says with bold spacing and heavier anchors it can be durable. Ask your artist which approach they prefer based on their portfolio.
Q: How painful is back-of-arm work compared to other placements?
A: Pain varies by exact spot. The fleshy mid-arm is usually mild to moderate. Areas close to the elbow or inner bicep will be more sensitive. Numbing creams are an option for people anxious about pain but discuss this with your artist because not all pros recommend or allow topical numbing.
Q: Can I add to a traditional back-of-arm piece later to form a sleeve?
A: Yes. Many of these panel pieces are designed to be expandable. When you consult, mention long-term plans so the artist can keep negative space and flow lines that will integrate with future work.
Q: What are quick signs a traditional back-of-arm tattoo needs a touch-up?
A: If outlines soften into gray blocks, counters in letters close up, or small decorative details lose their shape, those are signs to book a touch-up. Expect work near the elbow or high-friction zones to ask for touch-ups sooner than mid-arm panels.
