
Fine line trends look great in photos, but what holds up on skin and in daily life is a different question. Expect surprises in pain, fading, and touch-up rhythm when you pick a realistic Fourth Wing tattoo. Read these options with an eye for placement, what to tell your artist, and the wardrobe choices that keep the work visible while it heals.
1. Micro-Realism Feathered Wing on Inner Forearm
I've seen fans choose the inner forearm for a realistic wing because the canvas is long and flat. Ask your artist for a reference photo that shows individual feather barbs, and request stipple shading around the quill to keep depth without heavy saturation. Fair warning, the inner forearm is exposed to sun more than people expect, so plan touch-ups around UV exposure. Expect a low to moderate pain session that takes about two hours. For the appointment, wear a loose linen button-down that you can roll up without rubbing the fresh ink.

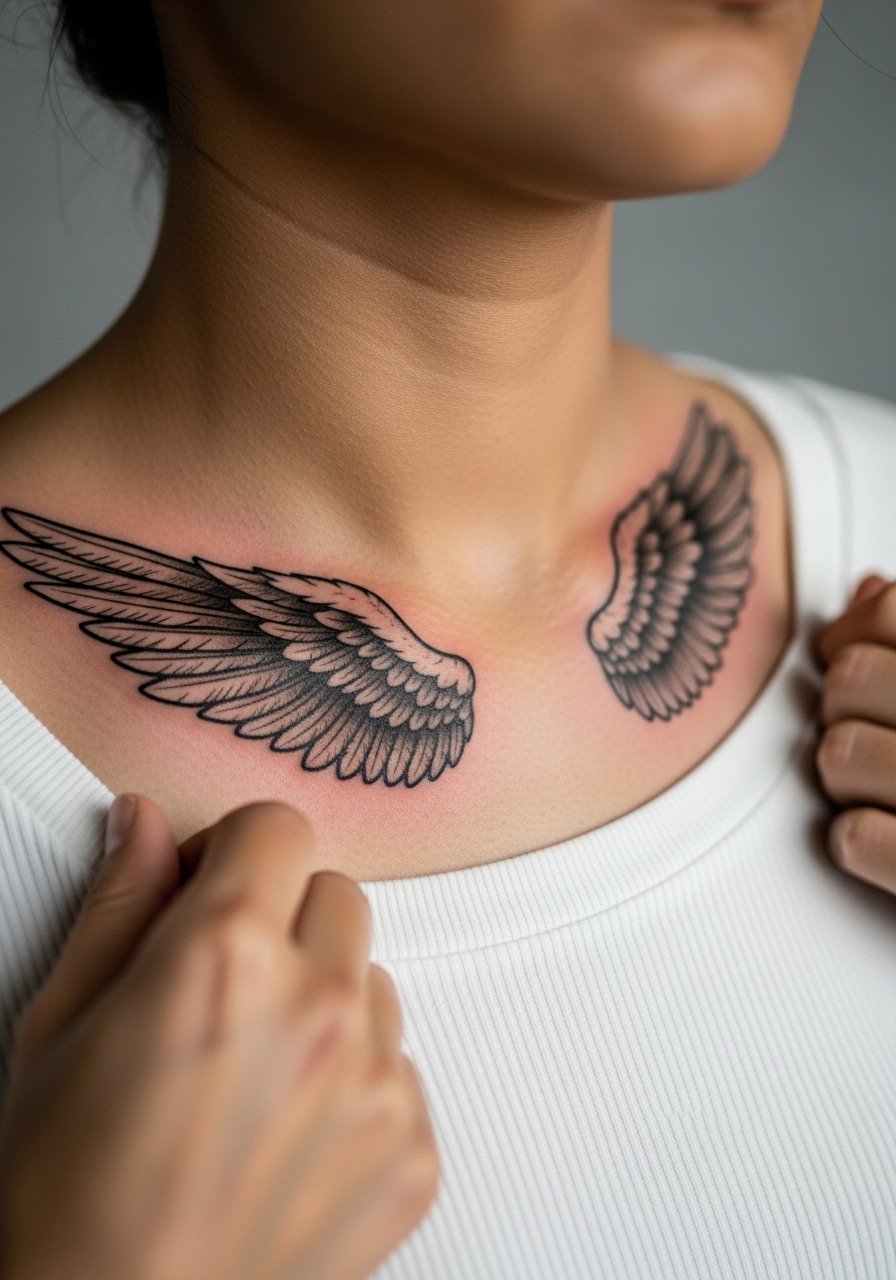
2. Realistic Half-Wing Across the Collarbone
When a wing arcs along the collarbone it looks striking in high-neck or low-neck tops. The collarbone moves with respiration so ask for slightly thicker linework near joints to reduce early blurring. The session feels fiddly since the area sits over bone, so pain is moderate. Most of the aging will occur from friction and clothing rubbing, not from the initial saturation. For public wear, pair with an open-collar shirt or a wide-neck blouse that frames the ink.
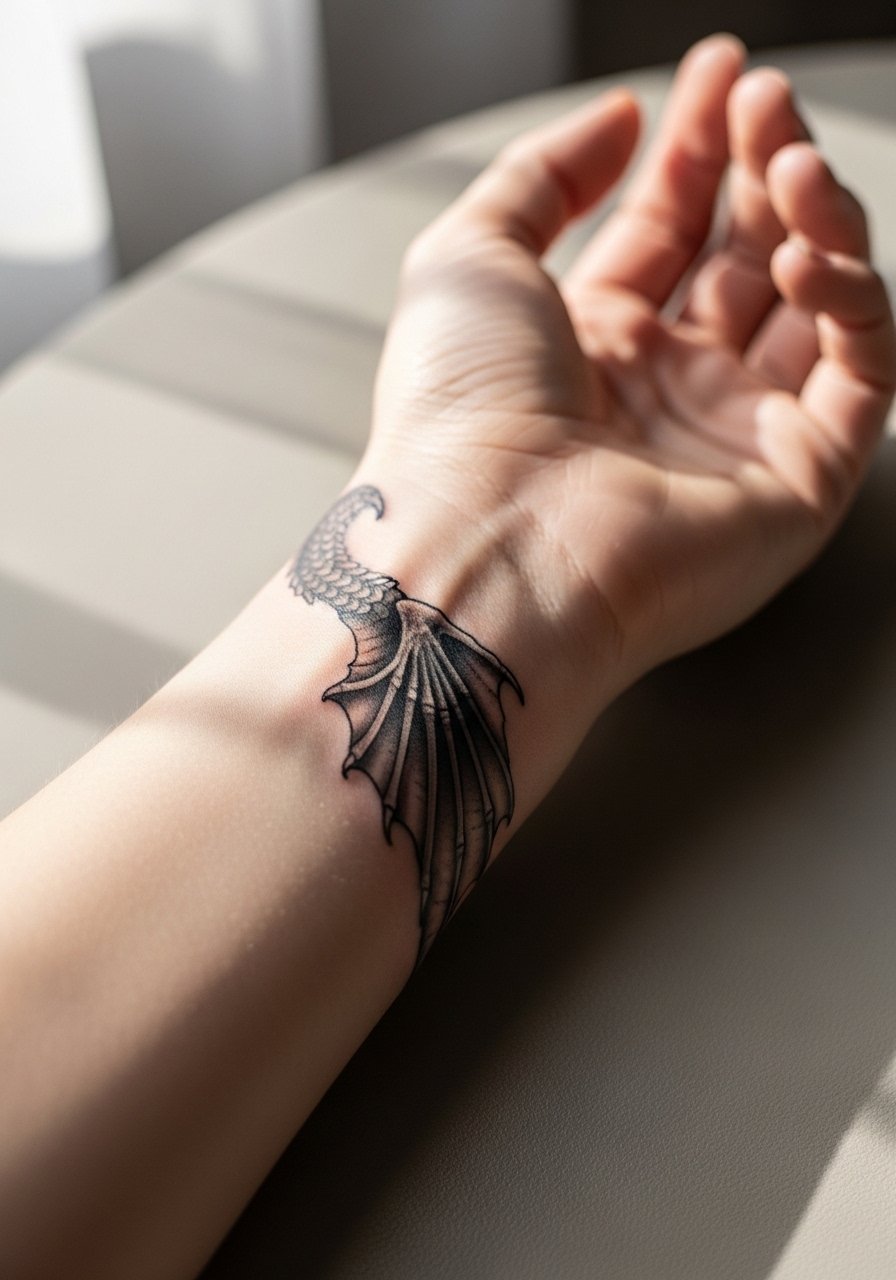
3. Small Dragon Wing Over the Wrist
Mistake to avoid: asking for ultra-fine detail in a tiny wrist piece. The skin on the wrist shifts and the linework can merge. I recommend a simplified feather structure with clear negative space between barbs. Expect sharp but brief sessions, under an hour for a compact design. Blowout risk is present if the artist goes too deep near the tendon. For showing it off, stack a thin chain bracelet that sits just beside the feather and draws the eye without covering the ink.
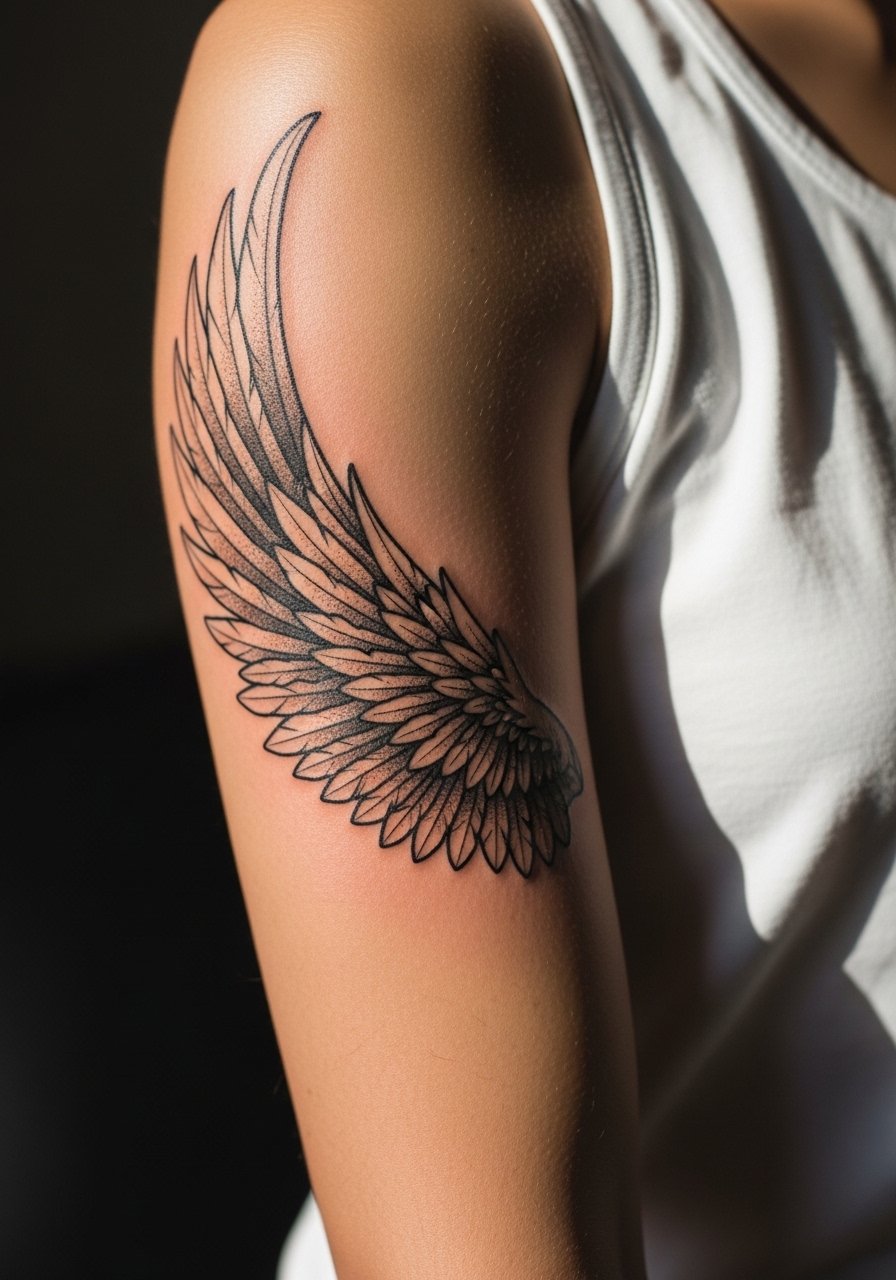
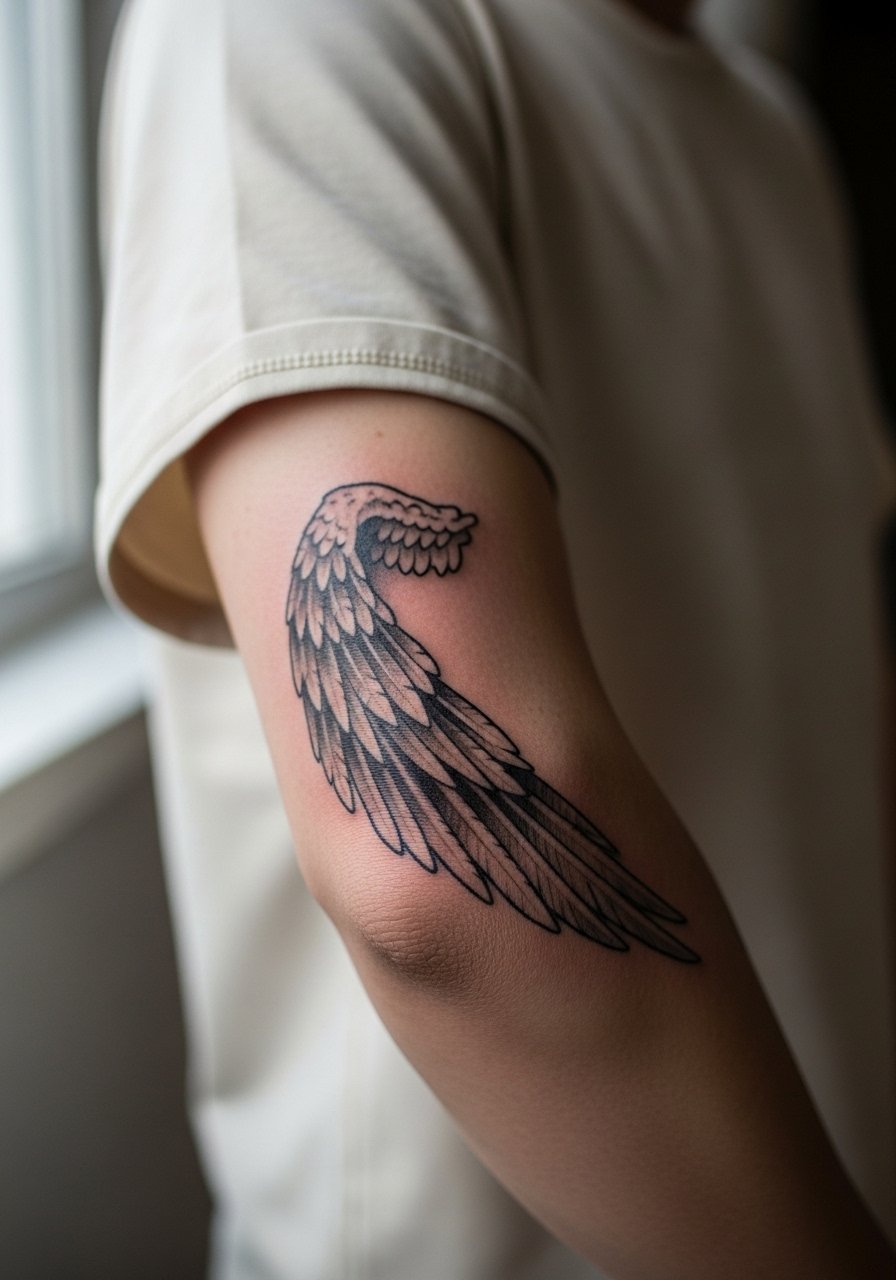
4. Detailed Wing Sleeve Accent on Outer Bicep
Personal observation lead. I've seen this placement work well when the wing extends into a sleeve but keeps negative space near the elbow. Tell your artist to break the feather blocks into panels so motion and muscle changes do not smear the texture. Outer bicep sessions are moderate on the pain scale and can be split into two appointments. Expect rich detail to soften at year three, so plan a touch-up then. For a session, wear a loose tank top so the artist can access the full upper arm.
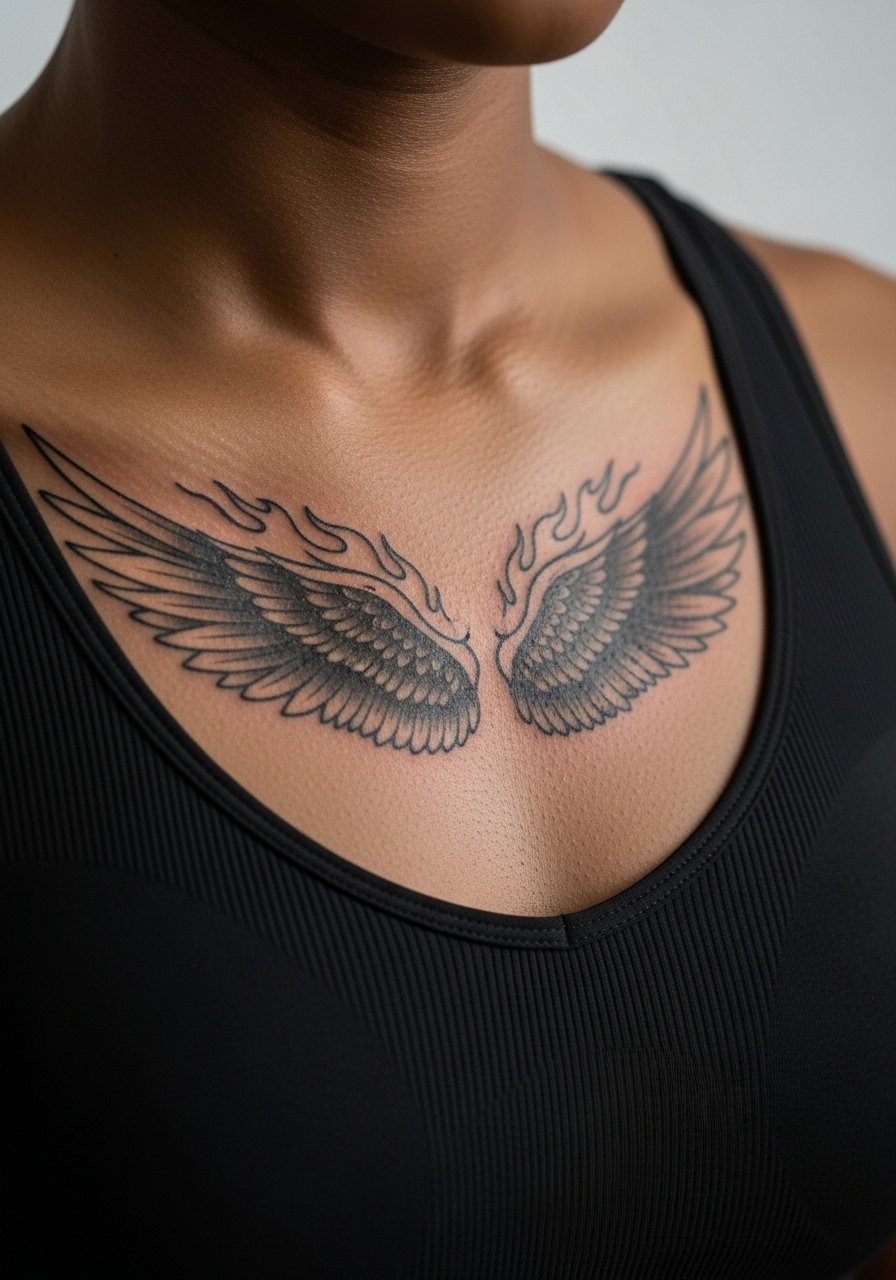
5. Wing with Flame Accents on the Sternum
Fair warning about sensitive skin and specialist experience. Sternum work splits artists into two camps. One camp says dense fine line here blurs quickly because the skin flexes and sweats. The other camp argues that with slightly heavier linework and careful depth it settles well. Ask your artist where they stand before booking. For the session wear a fitted sports bra you can pull slightly aside so only the sternum area is exposed. Expect higher pain and a two to three hour session.
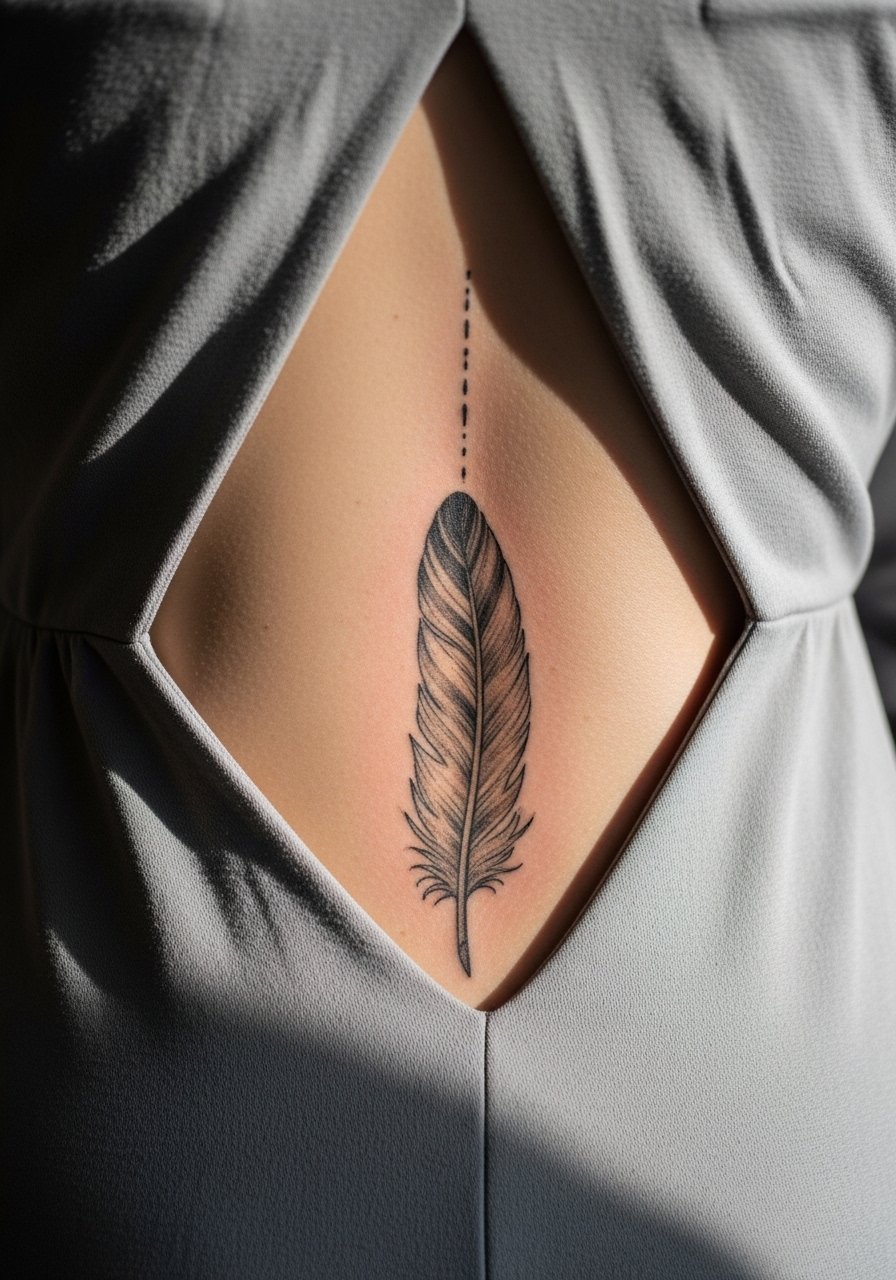
6. Single Feather Trail Down the Spine
Visual impact lead. A single feather down the spine reads longer and more elegant than a broad wing. The spine is a high-sensitivity area, so pain is higher and sessions are broken into short runs. Tell your artist to space the central quill and use whip shading for the softer edges so it ages into texture rather than a solid smear. For nighttime outfits, an open-back dress or halter top makes the linework a focal point.
Pre-Session Essentials
Those first six ideas include a mix of exposed arm work and sensitive torso placements, so a small kit with targeted items smooths the prep and immediate healing.
-
Stencil transfer paper kit. Lets you preview exact placement and line density on skin before the needle touches the surface, which matters for collarbone and wrist pieces.
-
Topical numbing cream. Applied under the artist's guidance before sternum or spine work to reduce the initial sting without affecting line clarity.
-
Thin protective film roll. Helps protect wrist and finger pieces from constant hand washing and friction in the first week.
-
Fragrance-free gentle body wash. Cleans the healing area without stripping the light shading that realistic pieces rely on.
-
Aquaphor healing ointment. A thin layer in the first two days keeps delicate realistic lines supple while avoiding clogged needle channels.
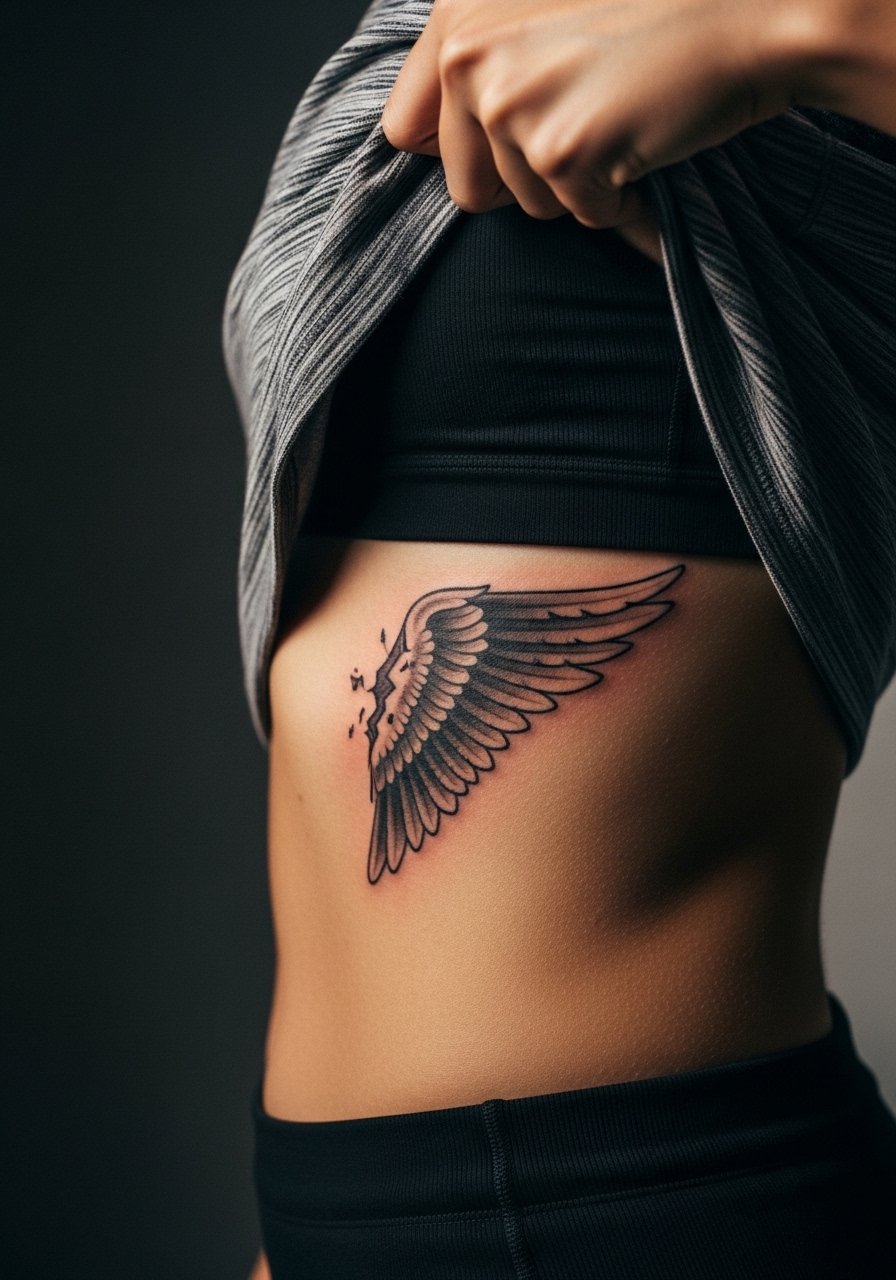
7. Broken Wing Scar-Cover Style on the Ribcage
Controversy lead. Fine line on ribs divides opinion. One group warns that the area stretches and blurs lines within two years. The other group says proper needle depth and spacing avoids that outcome. If you want a realistic broken wing that reads like scar tissue, ask for slightly heavier contouring and more open negative spaces. Rib sessions are painful and often need two sittings for larger pieces. For the appointment wear a cropped top you can lift, like a cropped athletic tank.
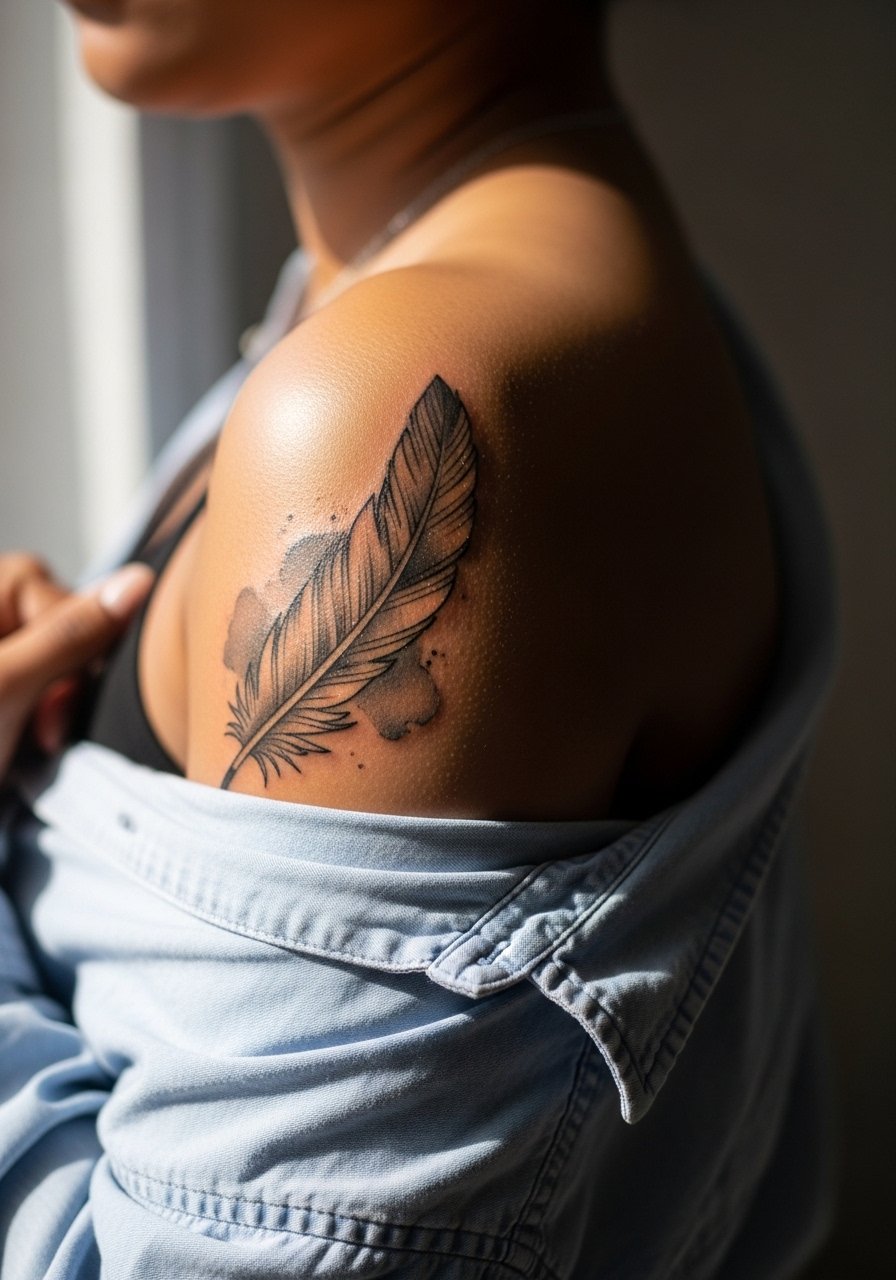
8. Watercolor Wash Behind a Feather on the Shoulder Blade
Aging and technique lead. Watercolor washes look lively fresh but fade in the mid-term when used with thin washes over textured feathers. For a long-lasting look, pair muted watercolor tones behind solid black or grey feather outlines to preserve contrast as color recedes. Shoulder blade placements are moderate in pain and easy to keep covered while healing. For sessions, wear a button-down that you can pull aside. The long-term show piece pairs well with open-back tops.
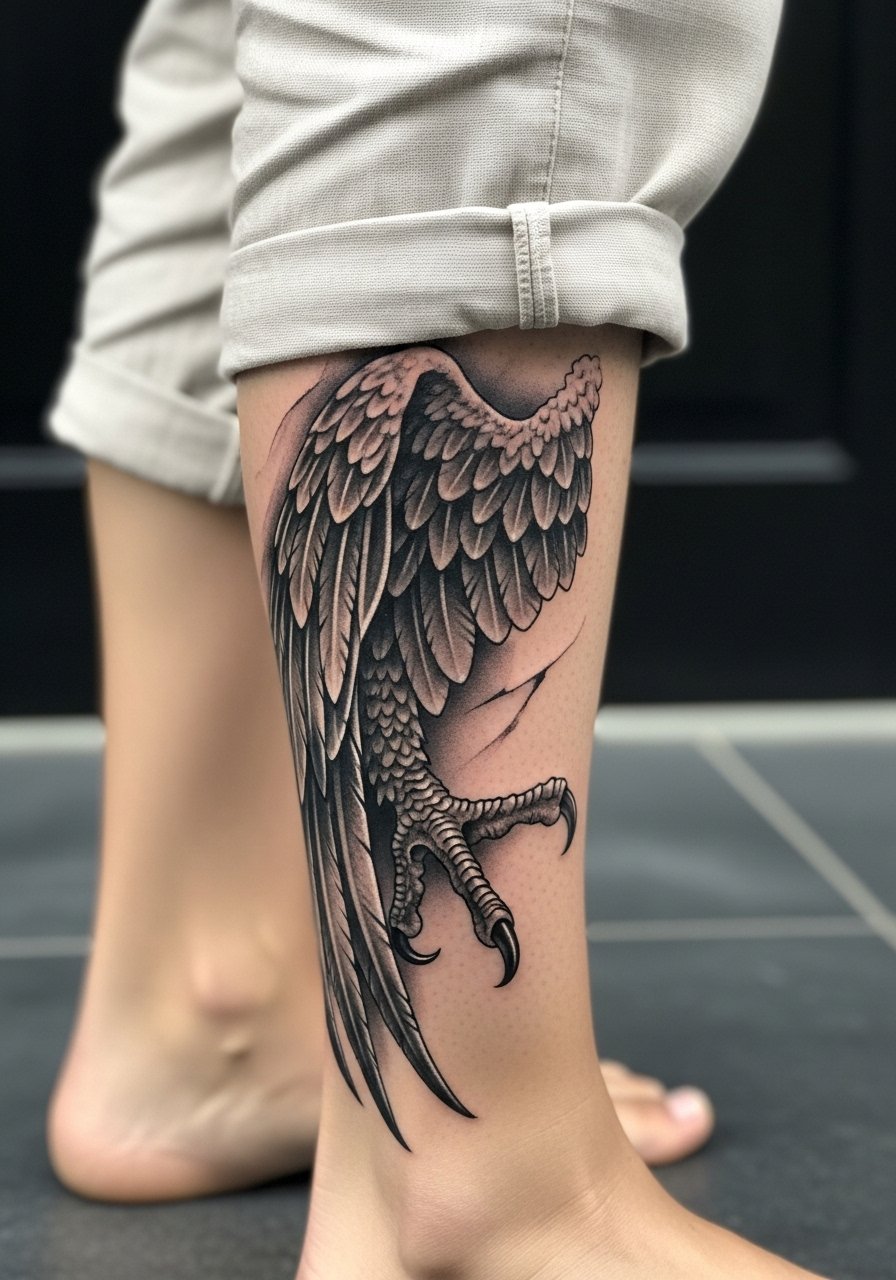
9. Hyper-Realistic Talon and Wing on the Calf
Mistake lead. Fans often ask for extreme micro-detail on small calves, which turns into a muddy mass over time. Recommend a focused talon with clear shadow planes and a wing tip that breathes with negative space. Calf sessions are tolerable on pain and allow the artist to sit for longer continuous work. For show-off style, wear a midi skirt with side slit or roll up linen trousers so the calf is visible without rubbing the healing skin.
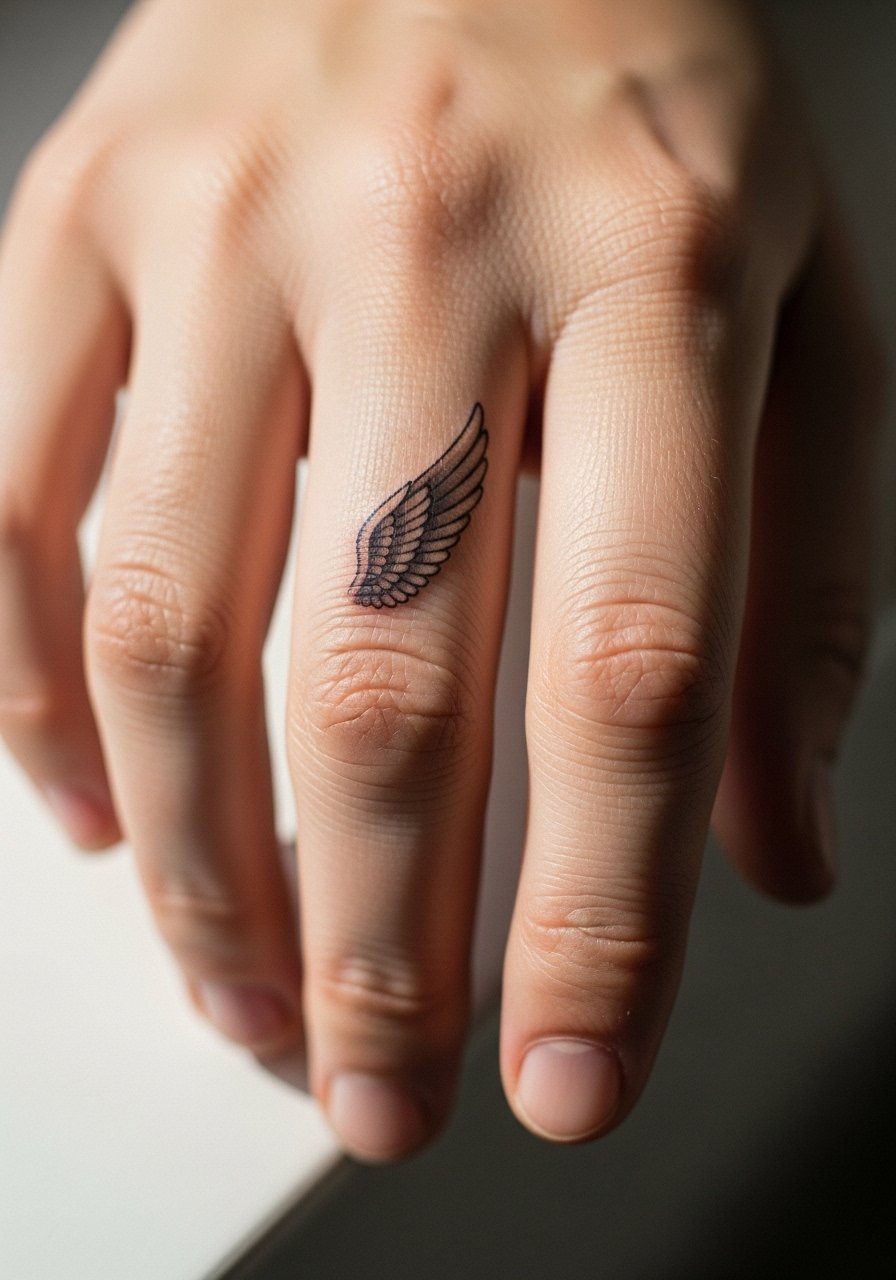
10. Tiny Wing on the Finger Knuckle
Visual impact lead. Tiny realistic wings on knuckles are vulnerable to blowout and very frequent wear. I advise simplifying the feather silhouette and placing the visual weight on one or two strong barbs. Healing is fussy because of washing and friction. Expect touch-ups at year one. For the session wear minimal jewelry and keep both hands free so the artist can position steady. Hand tattoos can affect visible workplace policies, so consider career fit before committing.
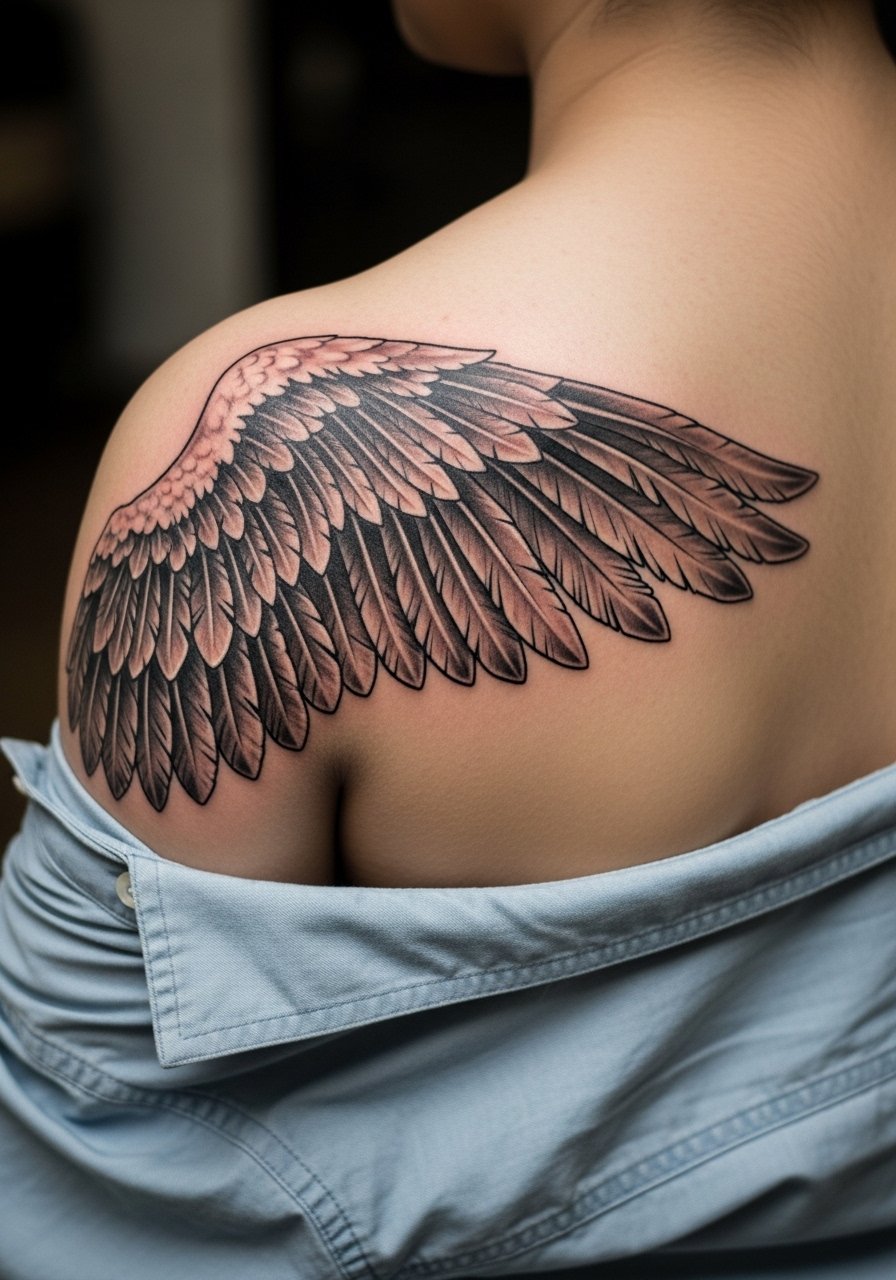
11. Oversized Wing Across the Back Shoulder
Consultation lead. For large back shoulder wings, bring multiple references and mark where clothing seams sit so the wings do not disappear under straps. The skin here tolerates heavy saturation, so you can ask for darker contrasts that last. Sessions run longer and often split across days. For travel to the studio, wear a button-up shirt you can remove without pulling over your head, and bring loose pants for the ride home.
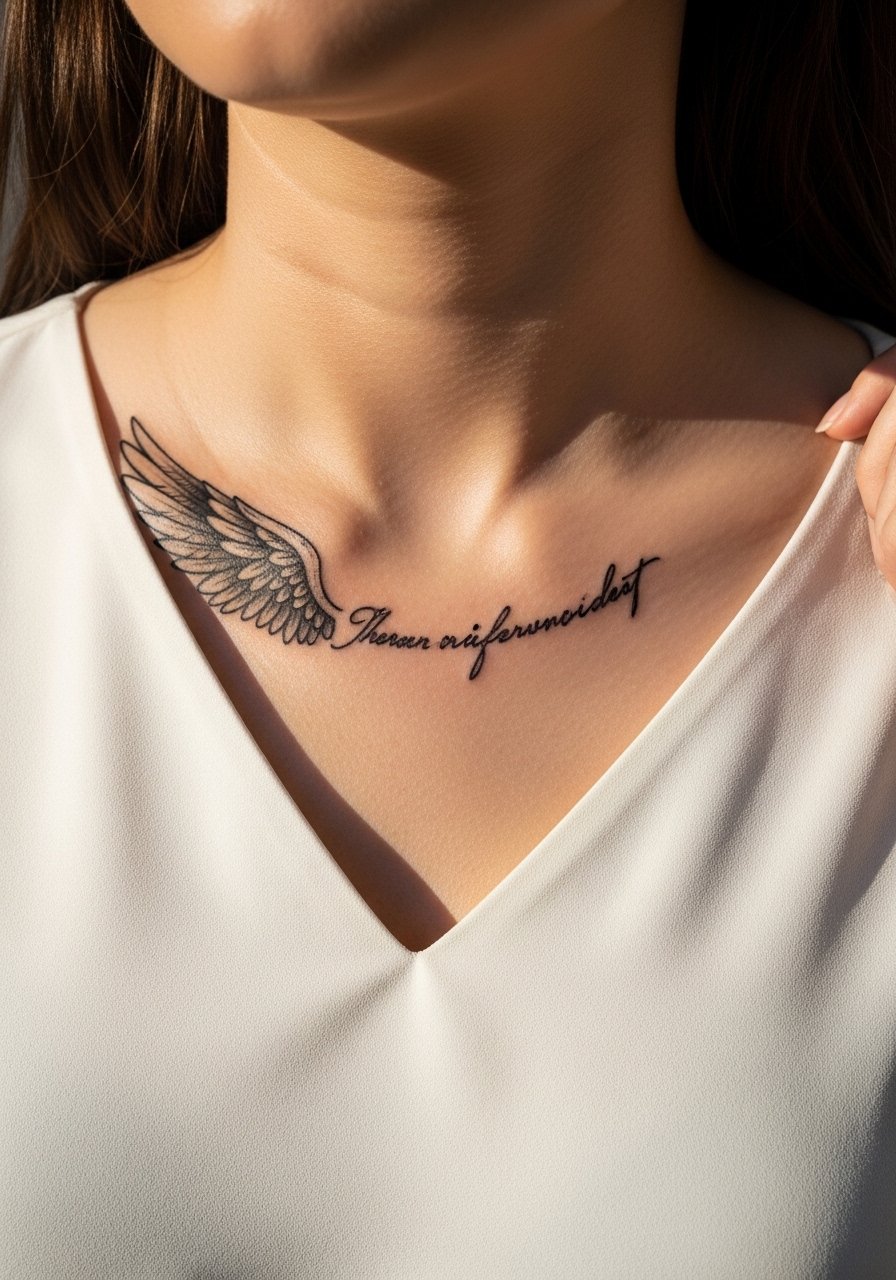
12. Wing Fragment with Script Near the Collarbone
Mistake lead. Tiny script close to realistic feathers can compete and make both elements illegible. If you want lettering, ask for slightly larger type with generous spacing, and set it just below the feather's tip. Collarbone skin shifts with movement so thicker lettering holds better. Pain is moderate and sessions are relatively brief. Pair with a wide-neck top for evenings.
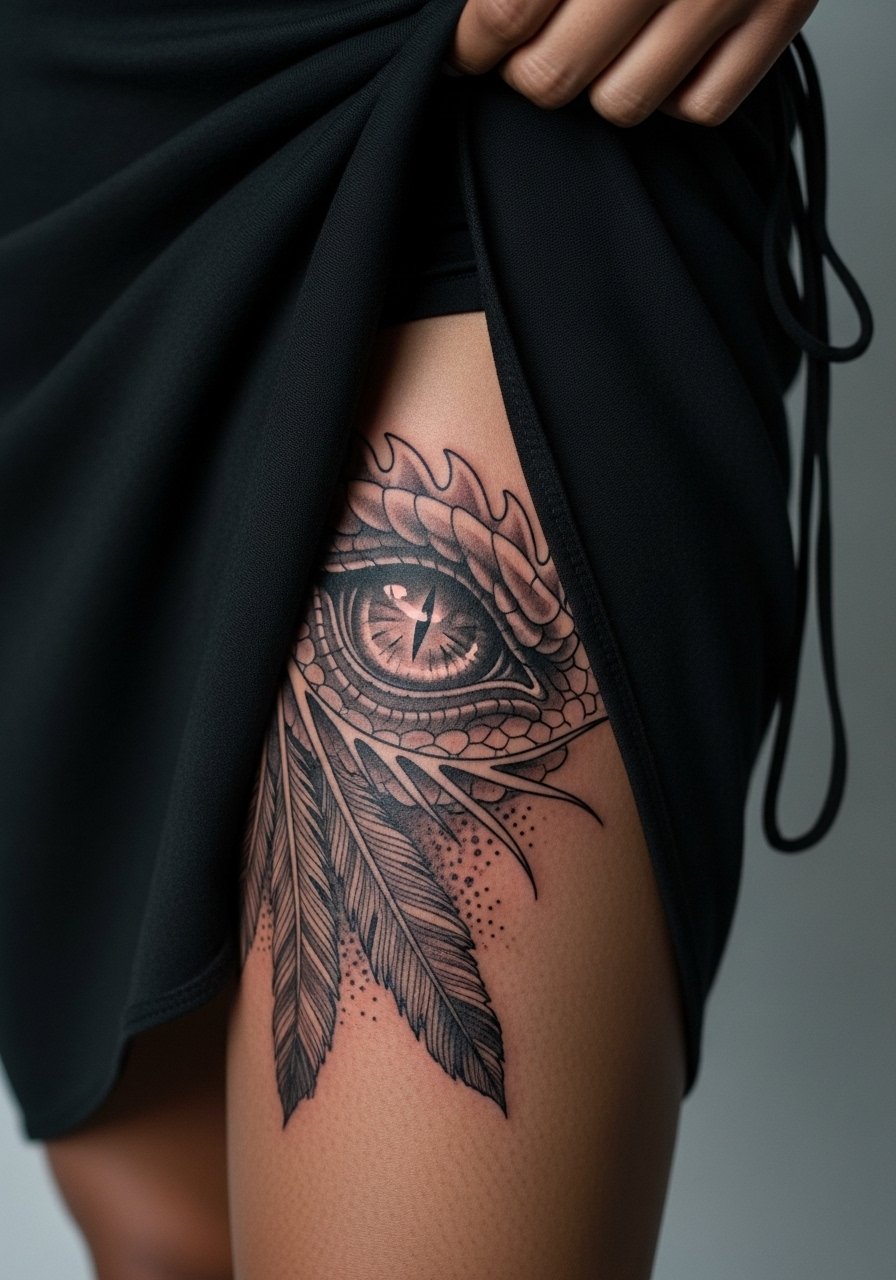
13. Hyper-Realistic Dragon Eye Framed by Feathers on the Thigh
Personal observation lead. Thigh canvas lets artists render depth in the dragon eye and soft feathers around it. The inner thigh can be more sensitive and requires a sleeve that the client can access and shift during the session. For session wear choose loose shorts or a wrap skirt so the artist can expose only the target area. Expect a longer session and a touch-up at year two if you wear tight pants regularly.
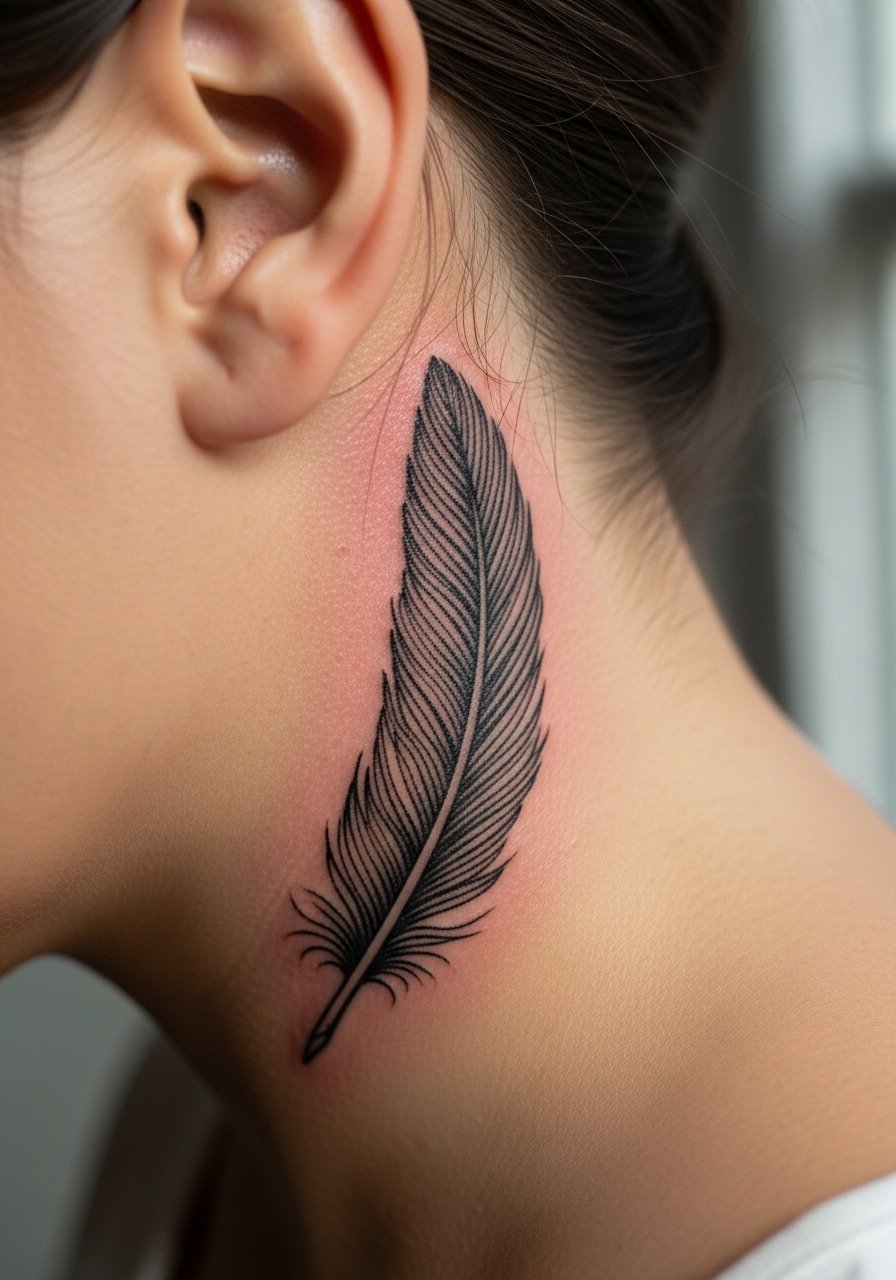
14. Subtle Feather Behind the Ear
Consultation lead. "Behind the ear" needs careful wording in the studio. Ask for placement described as on the skin just behind the ear, below the hairline on the neck. The area accepts fine detail but hides well under hair lines when needed. Pain is low but visibility is limited. If you work in conservative settings, this is a discreet option. For aftercare and cover, plan hair styling that loosely hides the spot.
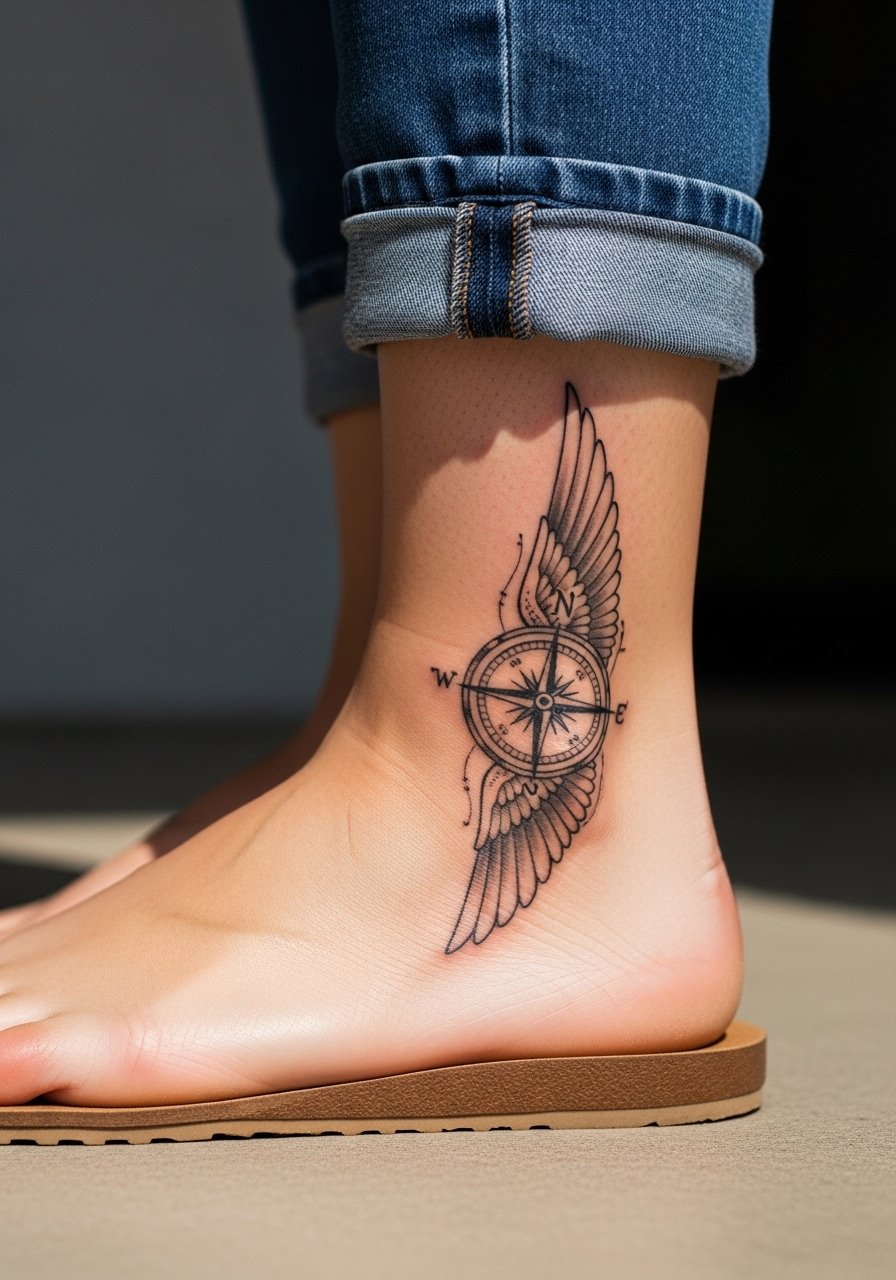
15. Winged Compass on the Ankle
Visual impact lead. Ankle work is exposed to rubbing from shoes and socks, so ask the artist for bold outlines that tolerate mechanical wear. Sessions are short but healing can be prolonged if your footwear rubs the area. For the session, wear shoes you can remove easily and roll up pants, or choose a pair of sandals so the tattoo avoids friction in the first week. Expect a light touch-up after heavy summer months.
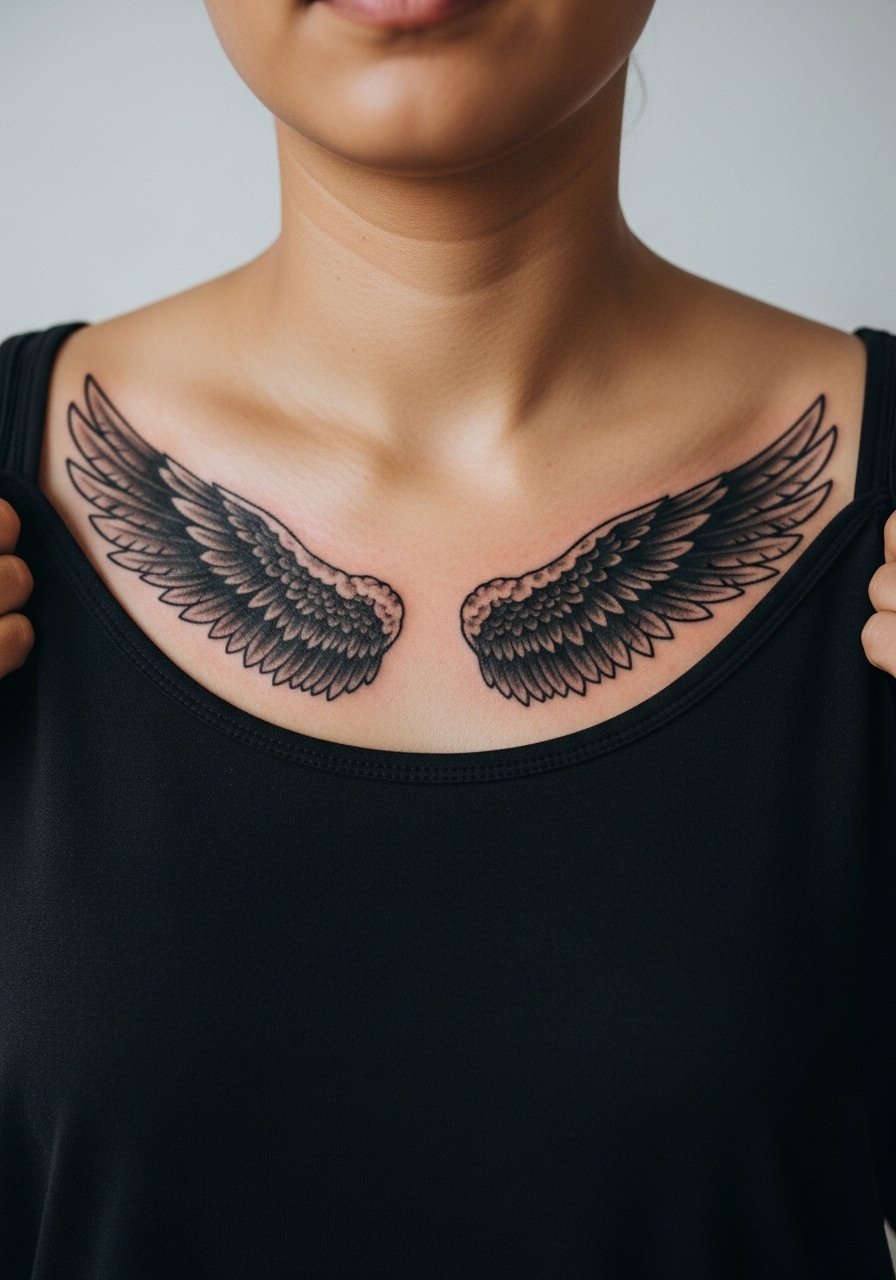
16. Dual Small Wings on Each Shoulder Blade
Aging lead. Symmetrical small wings on both shoulder blades age differently because sun exposure and muscle use vary between sides. Tell your artist to match ink density but plan for uneven touch-ups down the line. Shoulder blade sessions are medium pain and can be done in one sitting for smaller pieces. Open-back tops keep these visible.

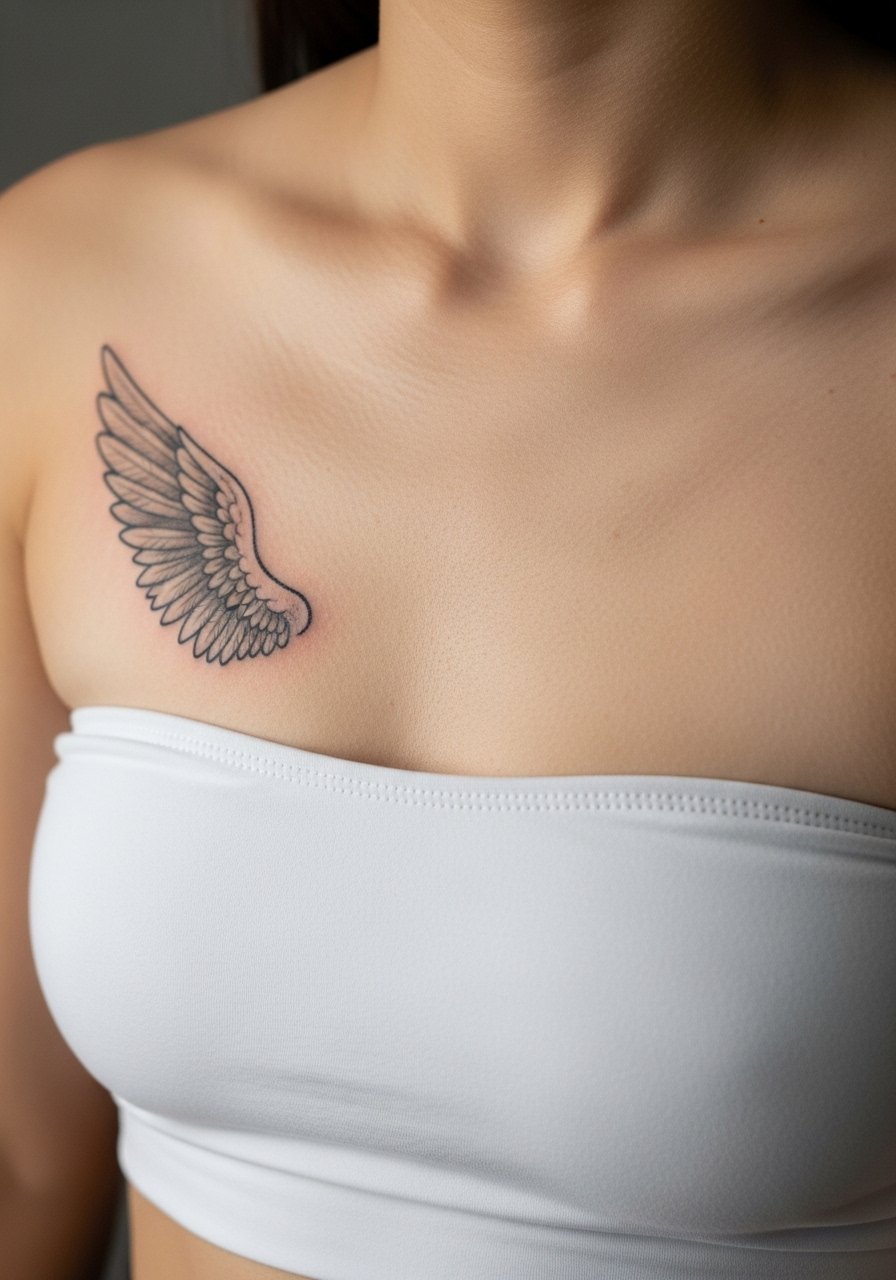
17. Minimalist Wing Tattoo Near the Heart
Consultation lead. For realism in a small heart-side wing, prioritize feather suggestion over full detail. The chest moves with breathing so slightly bolder anchors help the piece age. Sternum-adjacent work requires a fitted sports bra or bandeau for studio access. For outfits, a thin chain pendant necklace sits above the small wing without competing for attention.
18. Feather Mosaic Collar that Wraps to the Upper Arm
Visual impact lead. Mosaic layouts with overlapping feathers must include clear negative space so the pattern does not merge. Upper arm skin holds saturation well, so you can ask for varied shading techniques like stipple and whip shading for texture. Sessions are moderate length. For the appointment wear a sleeveless top to give the artist easy access without tugging over the head.

19. Black-and-Grey Wing with Light Chest Shading
Aging lead. Heavier black-and-grey work on the chest tends to hold better than pure fine line in the long term. If you want realistic texture, request layered saturation rather than only hair-fine strokes. Chest skin can bruise more during sessions so plan for a couple of days of rest. For showing this off pair with a wide-neck shirt or a simple tank that frames the piece.
20. Wing Fragment Curving Around the Elbow
Pain warning lead. The area around the elbow flexes and creases so the piece needs space where lines cross the joint. Ask your artist to avoid tiny cross-hatching over the crease and instead use clear, broader strokes there. Expect sharp moments during the session when the needle approaches bone. For mobility after the session wear loose sleeves and avoid tight elbow compression for a week.
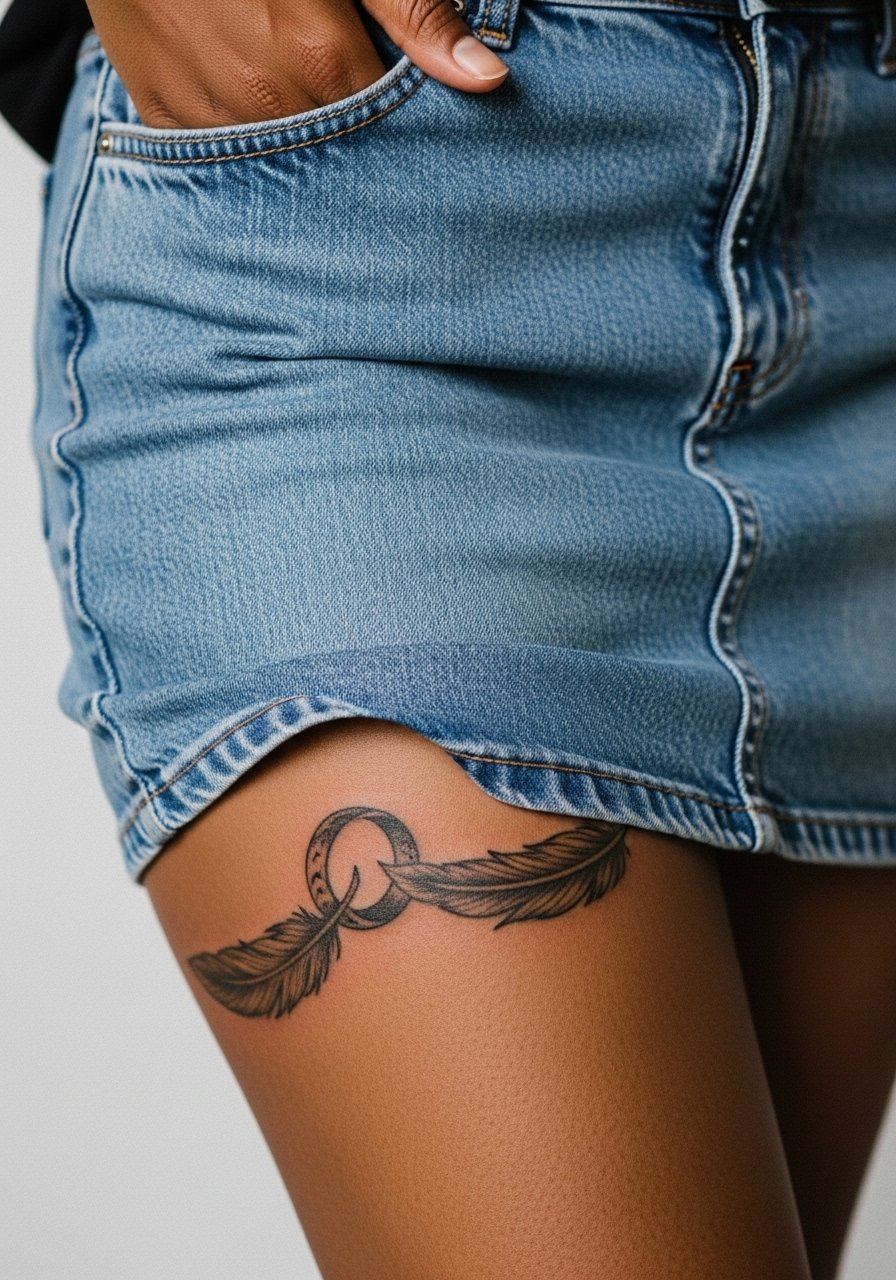
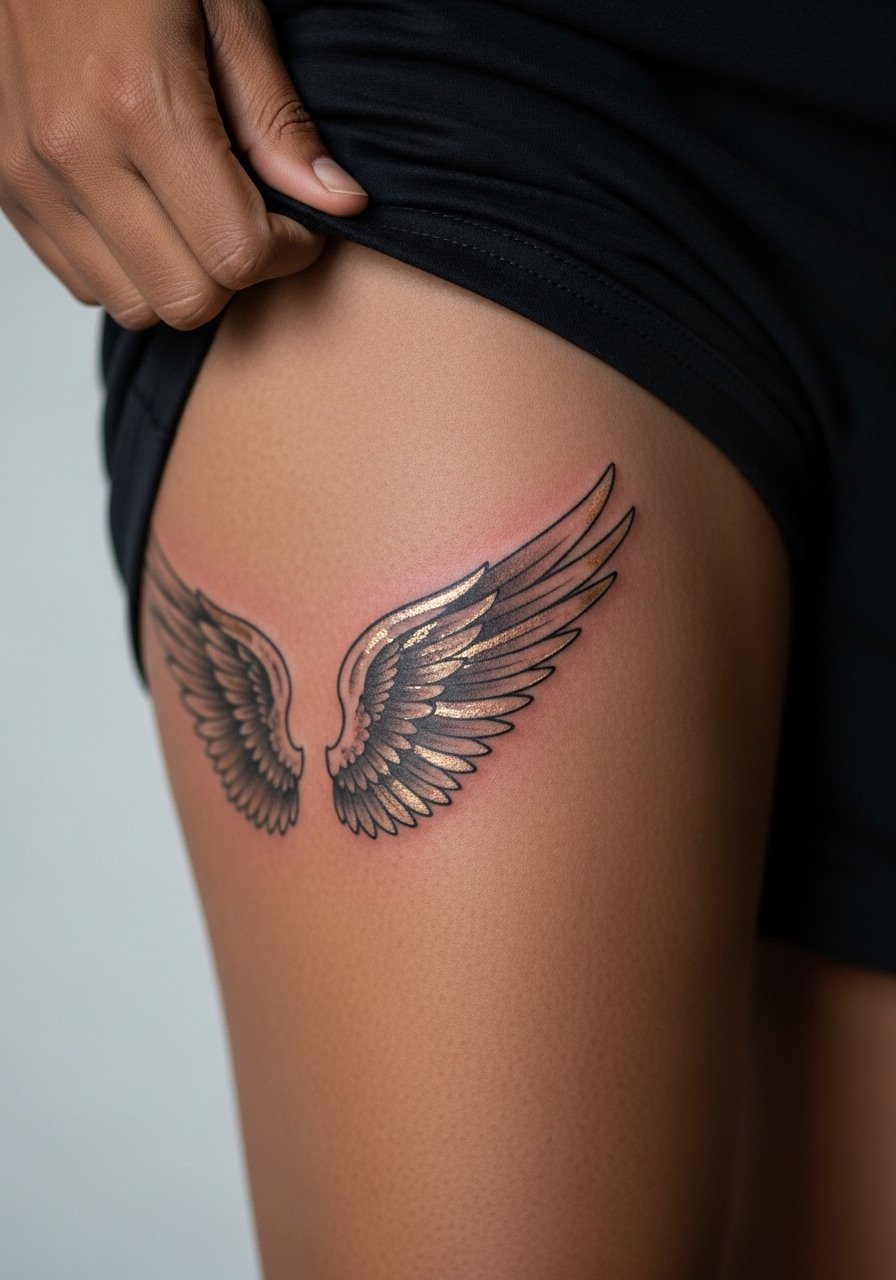
21. Feather Ring Around the Thigh Pocket
Mistake lead. Placing a detailed ring of feathers too tight around the thigh pocket leads to early blurring if clothing constantly rubs the area. Leave a small gap between the lower feathers and waistband. Thigh pieces are forgiving for touch-ups and tolerate saturation well. For the session, wear loose shorts or a skirt you can shift, like a denim skirt with adjustable waist.
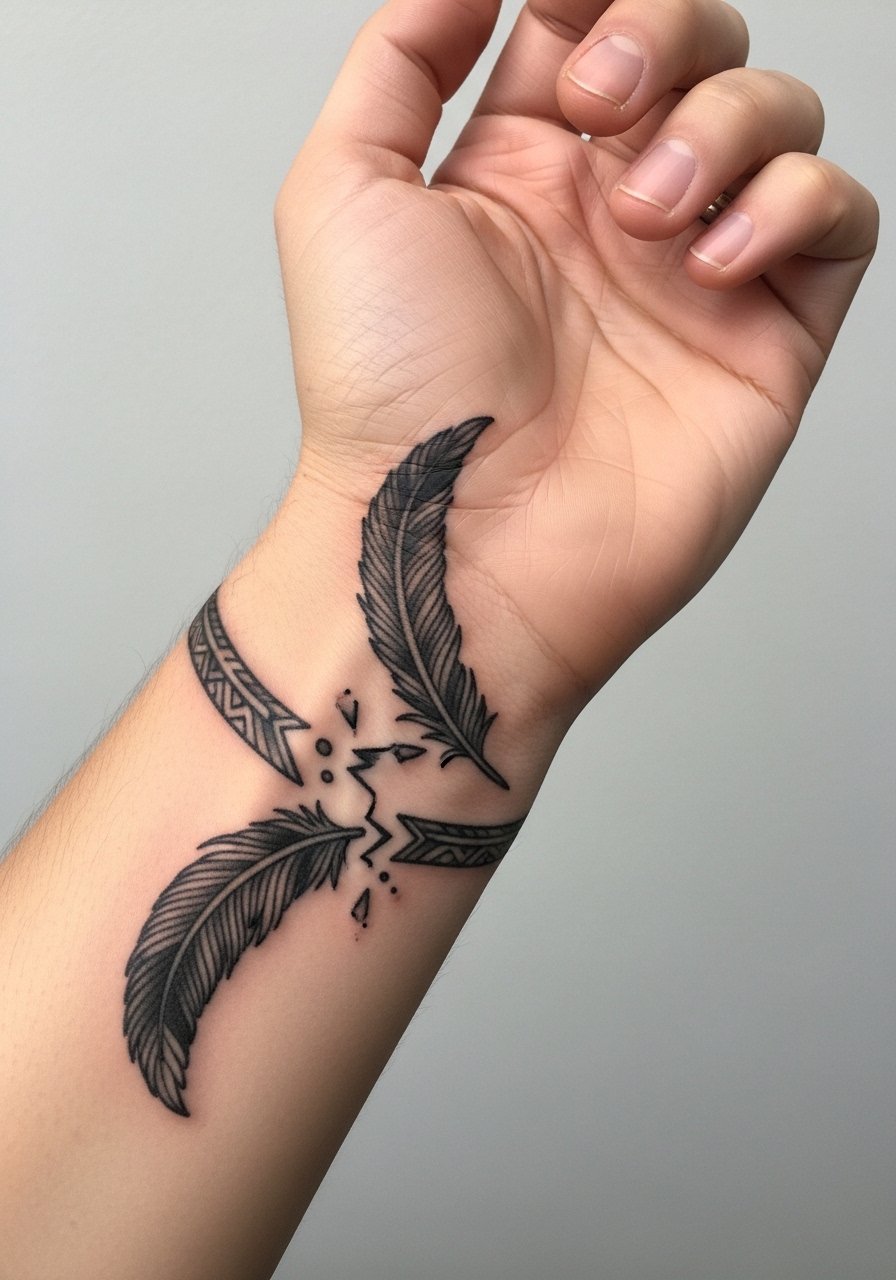
22. Broken Feather Band on the Wrist Side
Visual impact lead. A band of broken feathers along the side of the wrist acts like a bracelet and shows well with sleeves pushed up. The side of the wrist sees a lot of hand movement, so use bolder anchors and leave negative space in between feathers. Healing is quick but expect more frequent contact during daily tasks. For the session, remove watches and wear a loose long-sleeve shirt you can roll, and avoid jewelry while the ink sets.
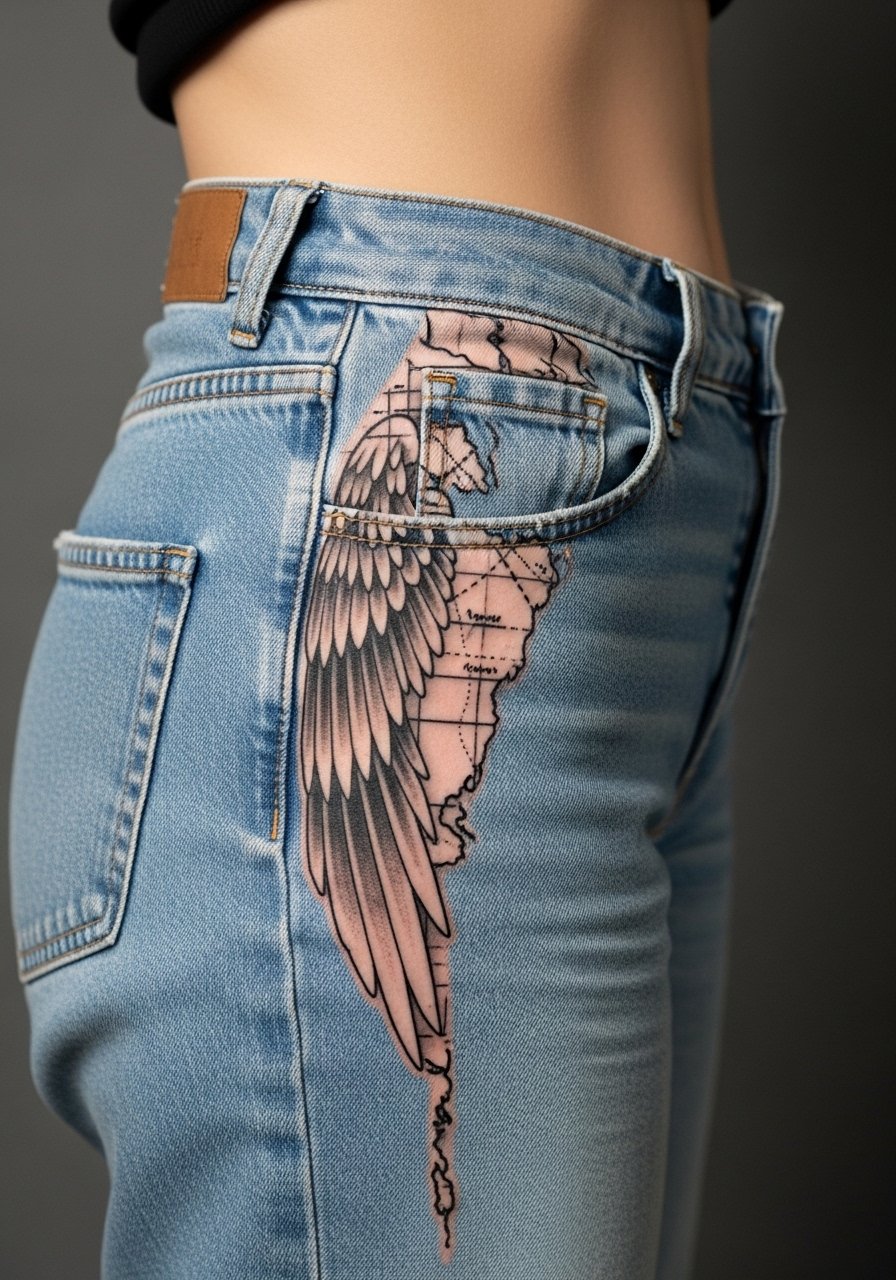
23. Winged Map Motif Across the Rib to Hip Line
Consultation lead. When pairing a map element with a wing that travels from the rib to the hip, ask the artist to mark the seams where clothes hit so the motif reads intact when you wear jeans or skirts. Rib-to-hip work is painful and usually done in several sittings. For studio comfort choose high-waisted bottoms you can lower slightly, such as high-waisted jeans with stretch. Expect a touch-up at year two if waistlines rub often.
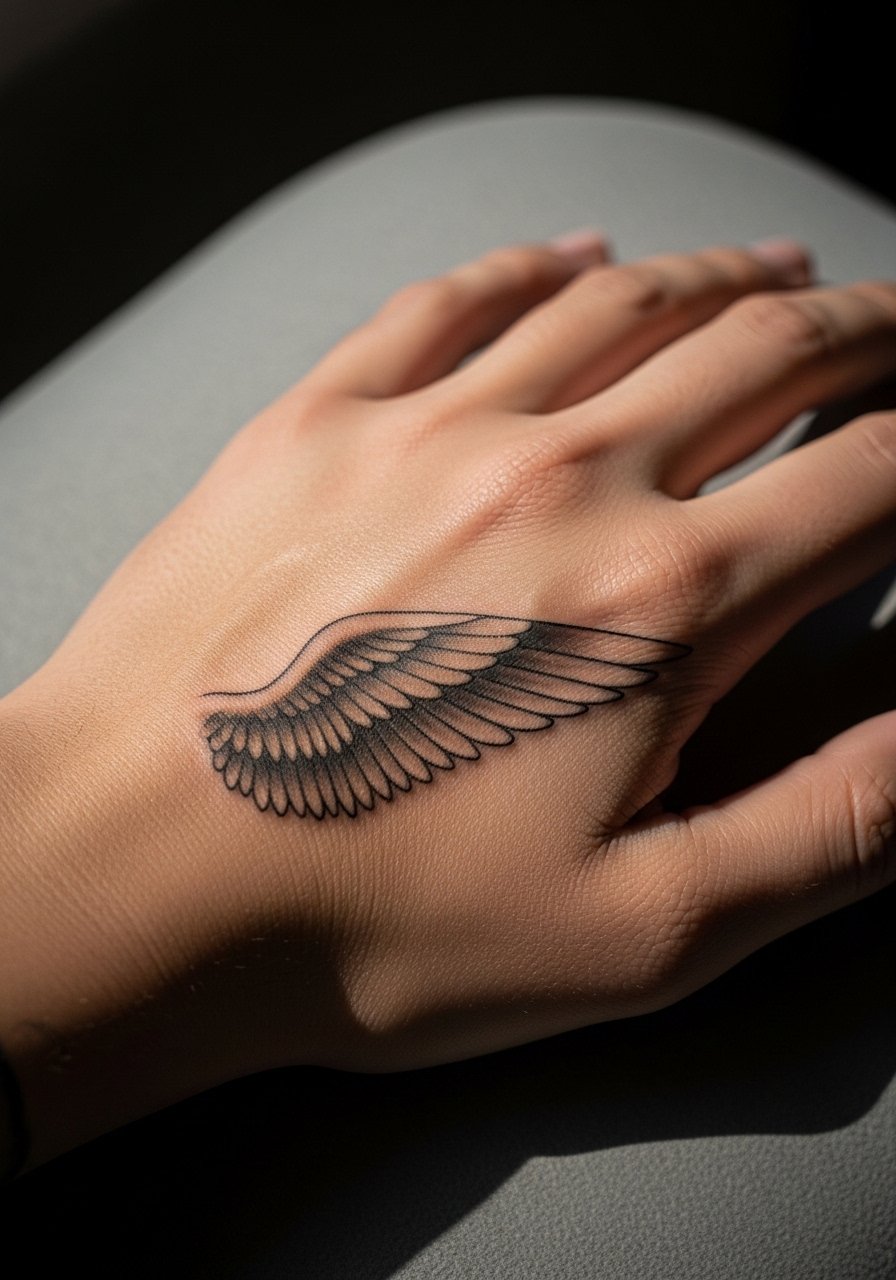
24. Negative Space Wing on the Back of the Hand
Mistake lead. Negative space work on the back of the hand risks being eaten by frequent washing and sun. If you want a bold silhouette, request strong surrounding shading that preserves the negative wing shape. Hand tattoos show wear fastest so budget for touch-ups. The session is sharp but short. For public settings consider how visible this will be day to day.
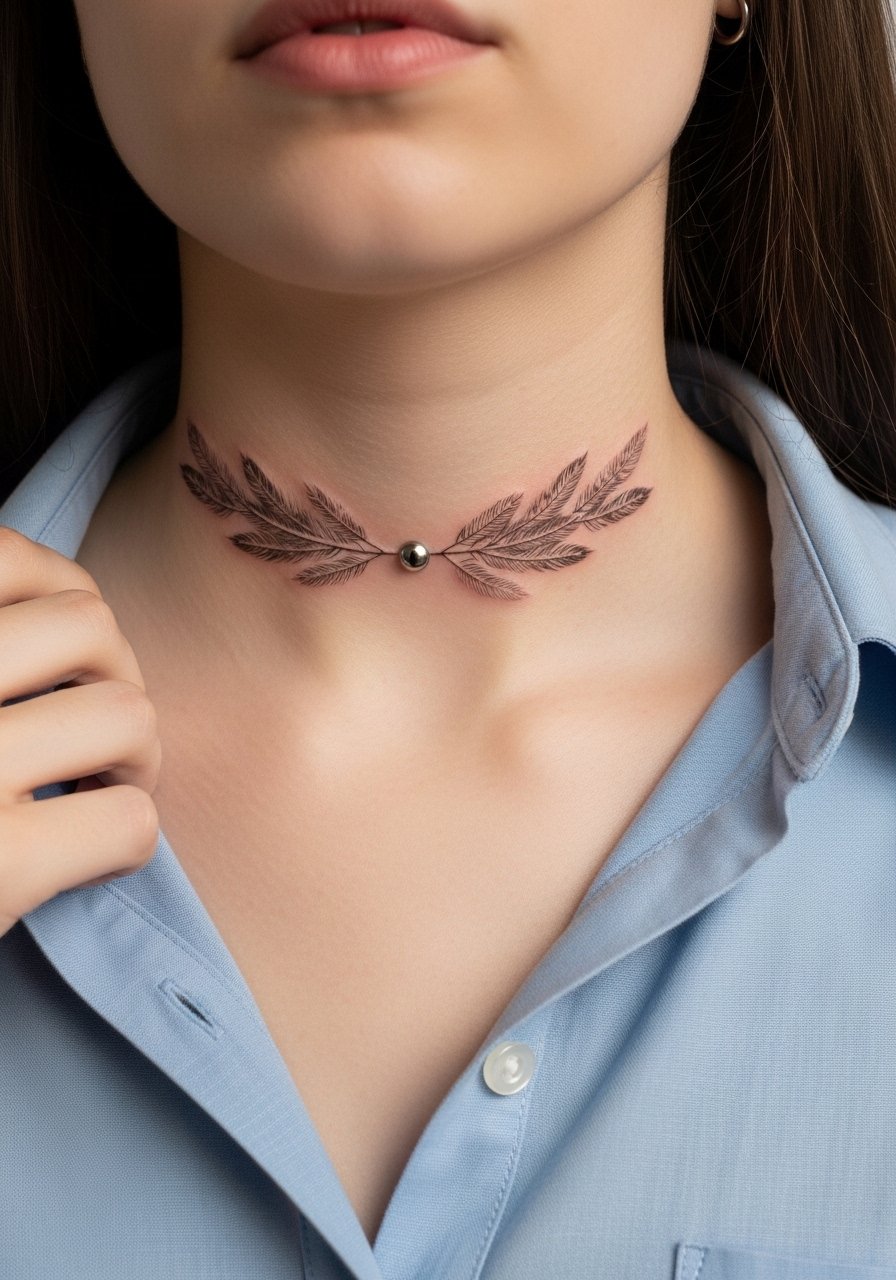
25. Feather Cluster Around a Collar Piercing
Styling lead. A cluster that frames a collar piercing looks intentional when the feathers sit slightly below the jewelry line. The artist should map how the pierce site and feather tips interact, and avoid placing heavy saturation directly adjacent to the piercing. For the session, a loose button-down works well so you can expose only the area needed. Add a short pendant necklace that sits above the cluster when healed for a layered look.
26. Stylized Wing with Metallic Ink Highlights on the Thigh
Aging lead. Metallic or shimmer inks read differently over time and may fade unevenly compared with black and grey. For longevity, have the artist use metallic highlights sparingly as accents over a strong black base. Thigh placements hide well under clothing and tolerate richer saturation. For the session wear shorts you can shift easily. Expect periodic refreshes if you rely on the metallic sheen to do the heavy lifting.
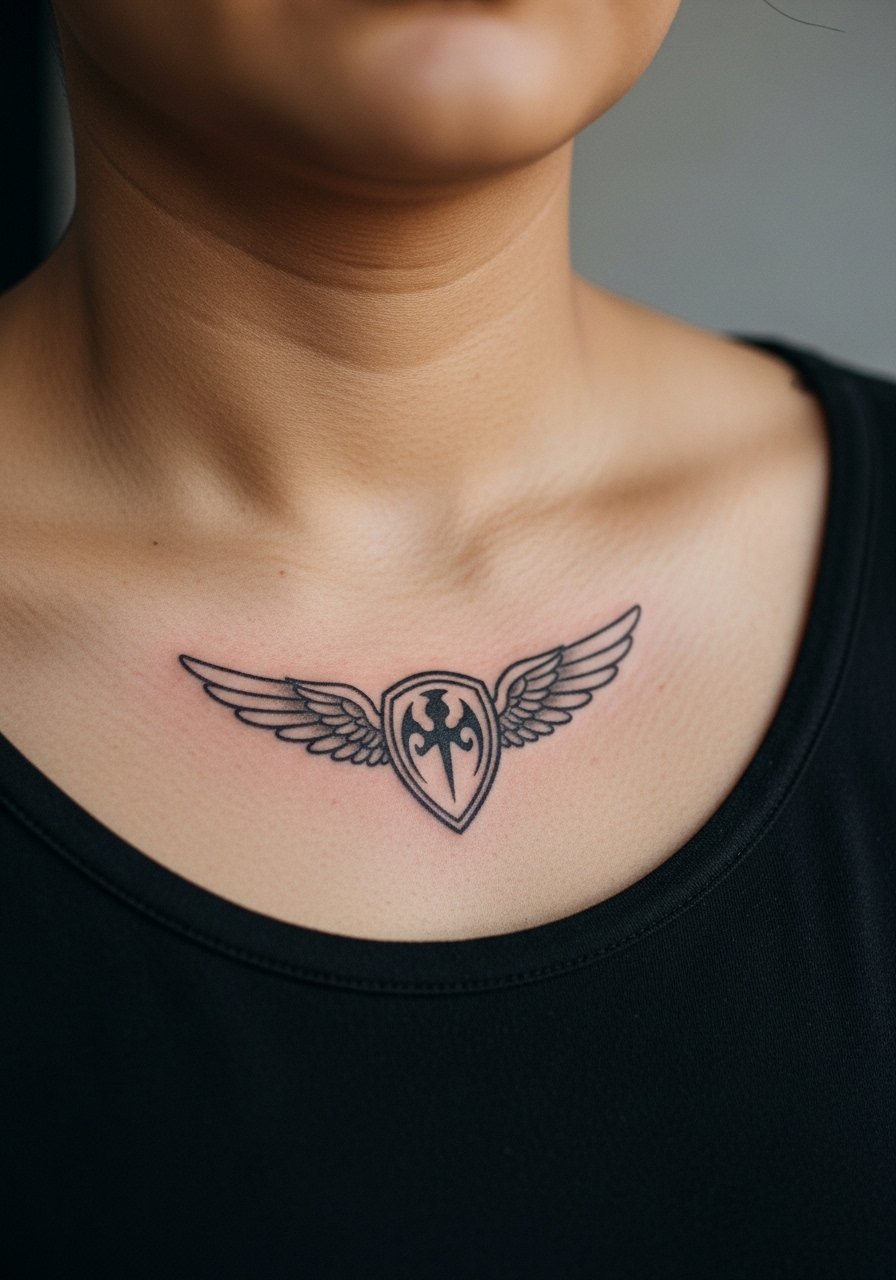
27. Companion Mark Wing Patch on the Upper Chest
Decision-pressure lead. Companion mark patches that reference a shared symbol in a fandom work best sized to read from a short distance and placed on the upper chest where it can be shown or covered easily. Discuss exact scale in consultation and ask for a mock stencil photo so you see how it sits under clothing. For the appointment wear a wide-neck shirt you can shift, and later pair the healed piece with a racerback tank to show the art without competing necklines.
Frequently Asked Questions
Q: How much pain should I expect for realistic wings on ribs, sternum, and spine?
A: Those placements rank higher on most pain scales because they sit near bone and thin skin. Rib and sternum sessions usually feel sharp and may require breaks. Spine spots are sensitive in short bursts. Break a large piece into multiple sittings to manage the experience.
Q: Will realistic feather detail blur faster than solid blackwork on the forearm or hand?
A: In my experience micro detail and thin barbs blur sooner than bold black shapes, especially on hands and wrists where friction and washing are constant. Forearms hold detail better than hands, but expect some softening after two to five years and plan for a touch-up.
Q: Are metallic inks safe and long lasting for highlights on realistic work?
A: Metallic tones can be safe but they tend to fade or shift in tone faster than black and grey. Ask for them as accents over solid bases rather than the main fill. This way the design still reads even after the metallic sheen diminishes.
Q: Should I choose heavier linework if I want this to look the same in five years?
A: It depends on placement and your daily exposure to sun and friction. Heavier anchors help in high-wear zones like ankles and hands. For visible chest and back pieces you can keep more delicate detail with the understanding that some softening is normal and a touch-up might be needed.
Q: How do I find an artist who understands realistic Fourth Wing motifs without naming artists directly?
A: Use discovery pathways like local shop directories, convention guest lists, and fandom hashtag searches on social platforms. Look for portfolios that show healed photos rather than only fresh work. Ask shops for healed examples in similar placements before booking.
