
Fine line wrist tattoos look effortless on a feed, but the real decision is about how they wear over time and with daily movement. The wrist takes a lot of sunlight, rubbing from sleeves, and frequent washing, so tiny details can blur unless you plan spacing and needle depth from the first consult. The ideas below focus on placements, what to ask your artist, and how to style or protect the work so it reads well months from now.
1. Tiny Crescent Moon on Inner Wrist

Start this with a slightly open crescent so the linework has breathing room. Tell your artist you want hairline linework with a faint negative space gap at the tip so the curve does not merge as it softens. Pain here is low to medium and most sessions are under thirty minutes. Common mistakes are making the moon too small or packed, which speeds up blurring. At six months the ink should look crisp, at two years expect slight softening, and at five years a touch-up is common if you want the original thinness preserved. For showing it off, pair with a dainty bracelet that sits above the tattoo so the moon reads as a tiny accent.
2. Single-Word Script Along the Wrist
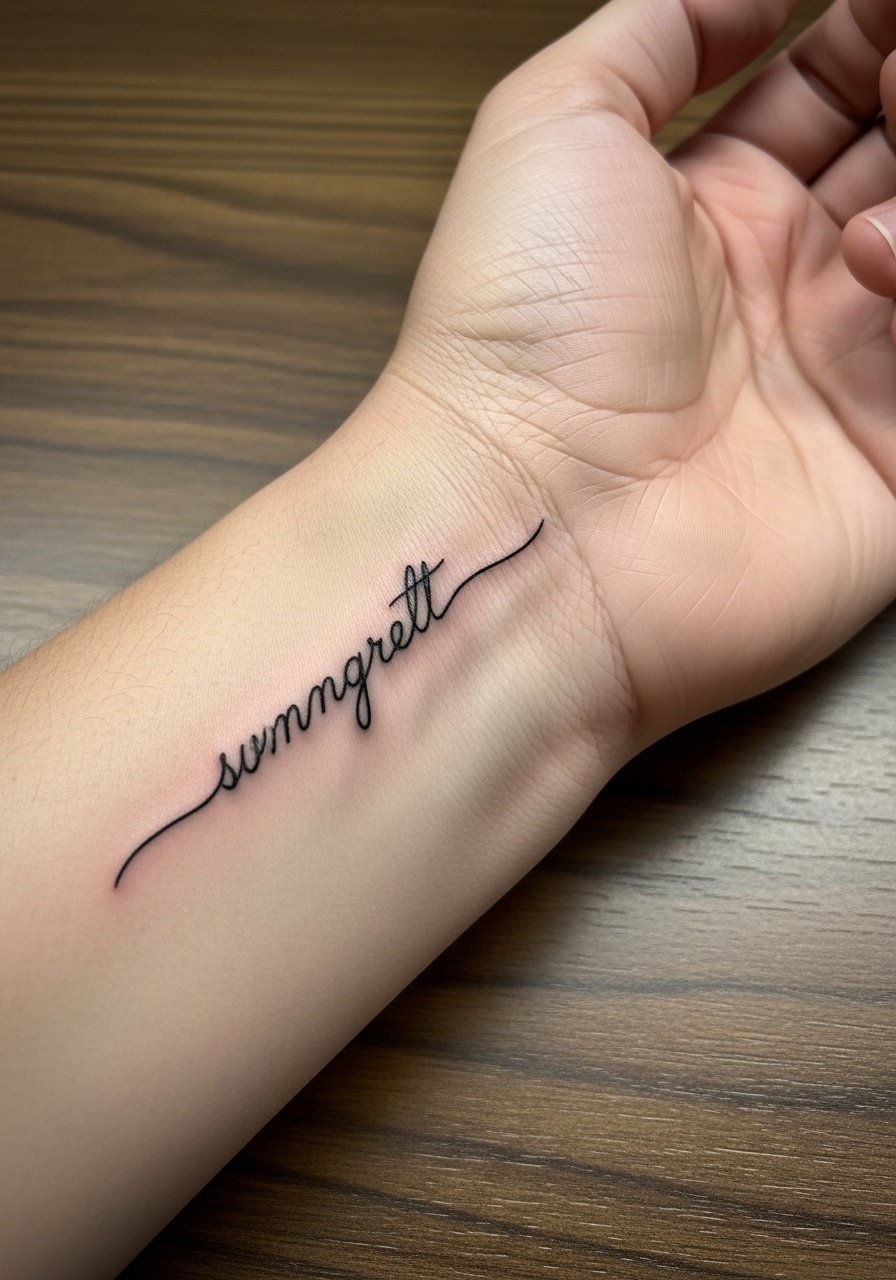
Pick a font with distinct open counters and avoid extremely tight cursive loops. In consultation, point out letter spacing and ask for a slightly heavier line where letters cross so the word stays legible as it ages. This placement is more sensitive than the outer wrist and takes twenty to forty minutes. A common error is requesting ultra-thin lettering without testing a stencil size on the skin. After one year, small letters can lose definition, and a planned touch-up at year two or three is normal for maintaining crispness. If your job requires conservative presentation, position the script on the inner wrist and ask for a length that can be rotated under a watchband during interviews.
3. Minimal Constellation Cluster

This works well for anyone who wants a small motif that can expand into a forearm piece later. Tell your artist you want single-needle dot work for the stars and spaced connector lines so the dots stay distinct. Sessions run about twenty to forty minutes and pain is low. Common mistakes are crowding several micro stars into a small square and expecting them to stay separate forever. At six months the dots should still pop, but by year three tight clusters can look like a single blur. Pair the cluster with a thin chain bracelet when showing it off, the delicate metal complements the dot work without covering it.
4. Tiny Anchor on Radial Wrist

Anchors read classic but the radial wrist moves a lot. Ask for a slightly boldened keel line and open negative space around the stock to prevent early merging. The session is short but the area can sting more than the inner wrist. A frequent mistake is making the anchor too compact. At two years expect the thinnest strokes to soften. If you plan heavy sun exposure, mention sunscreen and future touch-ups during the consult. For the session wear, roll up sleeves or wear a loose button-down shirt so the artist has clear access without you feeling constrained.
5. Micro Botanical Wrist Band
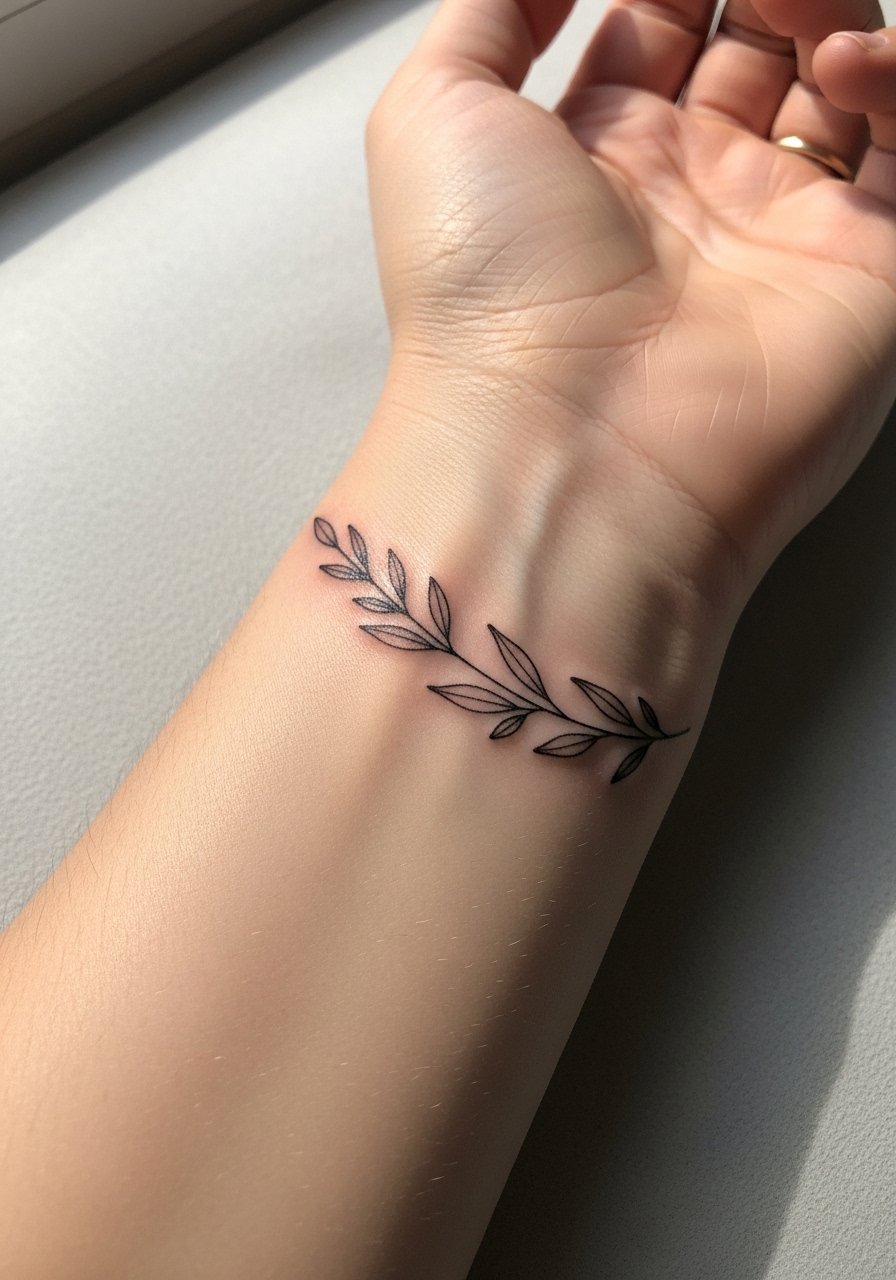
A band of tiny leaves or stems looks organic but needs spacing between elements. Say you want more negative space than on the reference flash so each leaf retains its outline as lines soften. Expect a forty to sixty minute session depending on the wrap. The aging problem is cluster compression if leaves are too close. At six months the band will read continuous, at three to five years small leaves may lose interior detail. This style pairs well with rolled-up long sleeves and stacked bangles, try a stacked bracelet set to echo the band without overcrowding the wrist.
6. Tiny Geometric Compass
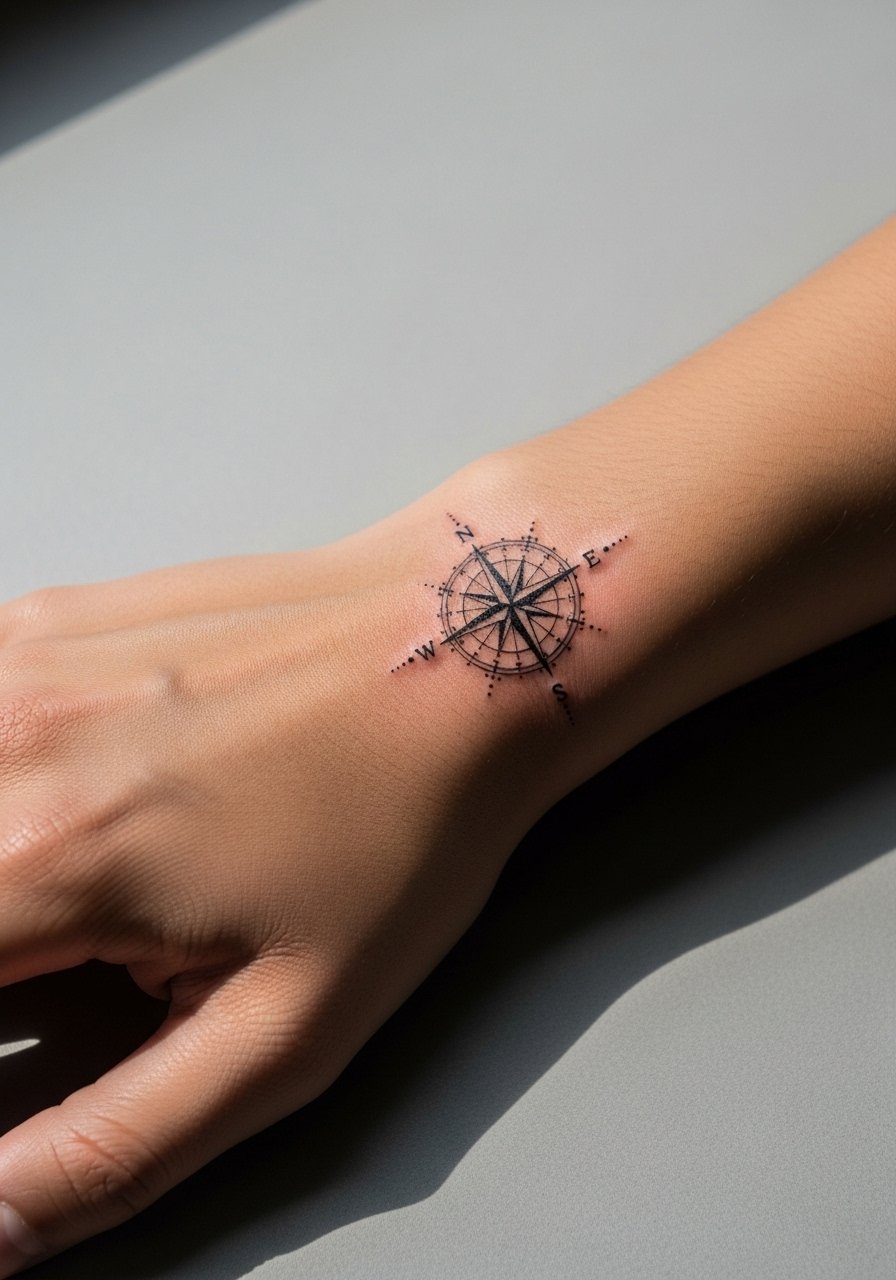
Geometric wrist pieces need exact spacing for symmetry. In your consult request a slightly thicker main axis and lighter secondary lines so the compass reads clearly as it ages. The area can be jumpy for some, but most sessions finish under an hour. The common error is insisting on perfect micro symmetry when the skin surface bends, which leads to disappointment when the design looks off at certain angles. Artists split on whether ultra-fine geometry holds on the wrist. One camp says tight geometry blurs fast, the other says carefully placed heavier anchors keep shape. Ask where your artist stands before booking. When you want to show it off, a minimalist watch that sits just beside the compass frames it without covering.
Session Day Picks
The tiny wrist and radial-side pieces above need different prep than an upper-arm consult, and a few small items smooth the session and the first week.
-
Stencil transfer paper kit. Lets you preview exact placement on the wrist so tiny scripts and micro stars sit where you expect them.
-
Topical numbing cream. Apply as directed before arrival to ease sensitivity for the radial and inner wrist areas without slowing the artist down.
-
Thin protective film roll. Useful for wrist pieces that rub against clothes or watches during the first days of healing.
-
Fragrance-free body wash. Cleans the area gently during showers without stripping the tiny channels that hold fine line work.
-
Aquaphor healing ointment. A thin initial layer helps lock moisture while the skin forms a protective surface over delicate lines.
7. Tiny Heart on the Outer Wrist

A tiny heart is deceptively tricky. Ask for an open interior with a hairline outline that reads at arm's length. Sessions are quick, under thirty minutes, and the outer wrist tolerates the needle well. The common mistake is filling or shading the heart too soon, which can age into a smudge on small scales. Expect visible crispness at six months and gradual softening by year three. This placement shows well with short sleeve shirts or a simple racerback tank when you want to display it without wrist jewelry.
8. Tiny Wave Crest Near the Wrist Bone

This works if you want movement without complexity. Tell the artist you want the crest to follow the wrist's natural curve, not a straight reference from a photo. Pain is low and a session is brief. Many people ask for a perfectly sharp tip, but that tip blurs first if it is too fine. At two years the tip will soften, leaving a gentle swoop. During the session wear a loose short sleeve shirt you can roll to expose the area easily.
9. Fine Line Dotwork Wrist Mandala

A wrist mandala needs space for each ring of dots. Ask for larger spacing and fewer concentric rings than the reference so the negative areas remain visible as it ages. Sessions can run forty-five to sixty minutes depending on detail and patience. The common error is packing too many rings into the wrist's small circle. At six months the dots should still read, but by year three the inner rings often need touch-up. This design wears best when you avoid constant friction, so be mindful of watch straps that sit over the tattoo.
10. Tiny Arrow Along the Wrist Edge

Edge placements follow the bone so the arrow reads like a continuation of the arm. Tell your artist you want the shaft slightly bolder than the fletching so the direction remains clear as lines soften. Pain is moderate given proximity to bone, and sessions are under thirty minutes. A common mistake is choosing a narrow arrowhead that fills in early. Expect the shaft to hold longer than tiny cross-hatching. For show-off looks, a minimalist cuff bracelet worn above the arrow draws the eye without overlapping the tip.
11. Tiny Palm-Side Wrist Script

Text on the palm-side faces more friction from daily hand use and so it needs bolder anchors in key letters. Ask the artist to thicken vertical strokes slightly so the word stays legible. This spot is more sensitive and may sting more than the outer wrist. People often request hairline script here and then regret frequent fading. At one to two years a touch-up is likely. For the appointment, wear a short sleeve cotton tee so the artist can work without you tugging sleeves.
12. Tiny Lock and Key Duo Across Wrists
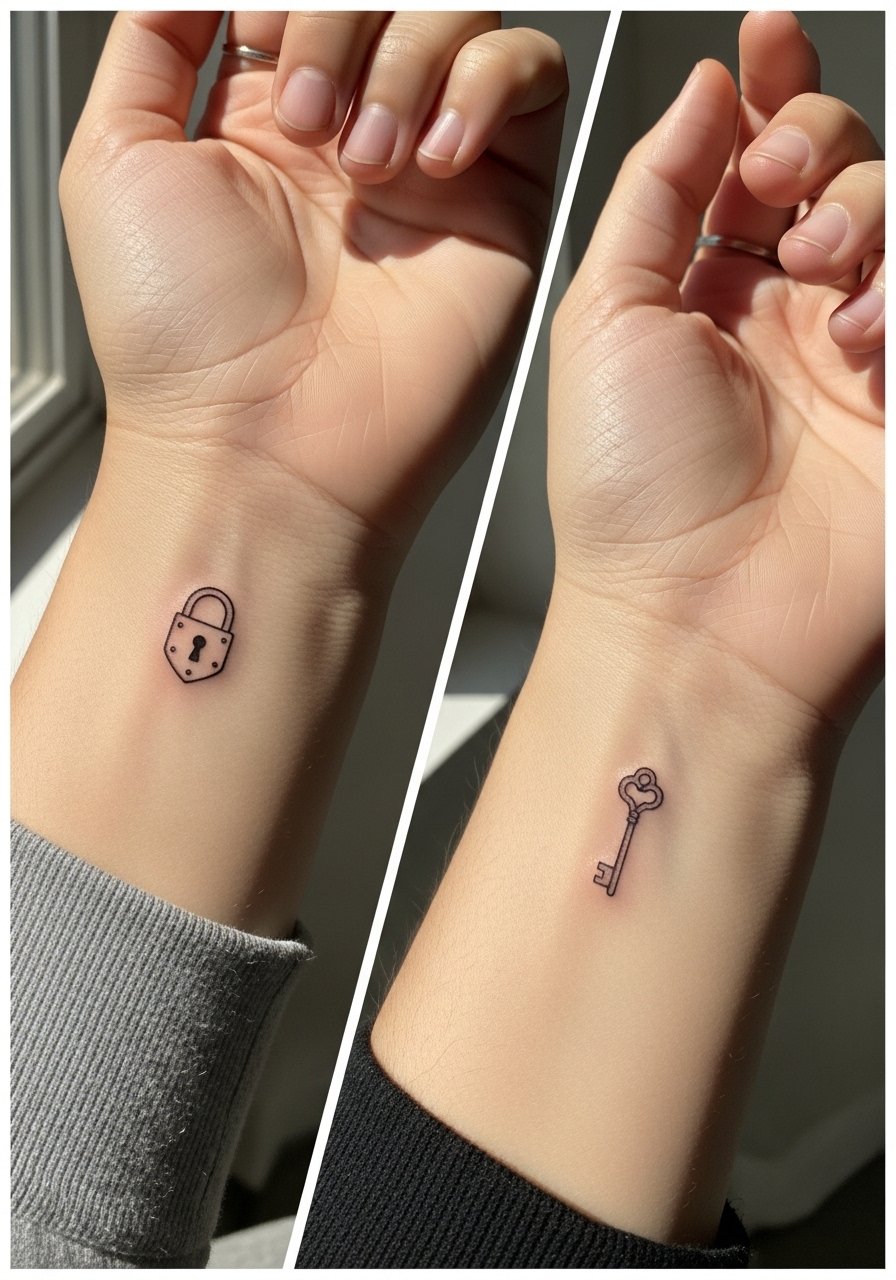
Matching pieces require scale coordination. Bring both stencils so the artist balances size and spacing across both wrists. Each side is a short session and pain is low to medium. A frequent misstep is asking for a highly detailed key that reads as a blob across time. At three to five years the smaller teeth and notches will likely need retouching to retain shape. This pairing is discreet and easy to hide under a long-sleeve cuff if needed.
13. Tiny Floral Sprig Near the Wrist Crease

A sprig placed at the crease must avoid the fold itself. Tell your artist you want the stem offset so the design does not sit directly on the crease where movement causes early distortion. Sessions are typically forty minutes. The common mistake is placing the main motif right on a high-motion fold. At six months the sprig should look natural, but by three years small leaf veins will soften. Pair this with a thin chain pendant necklace that sits above the wrist to create a subtle vertical line for photos.
14. Minimal Bar Code or Date Line
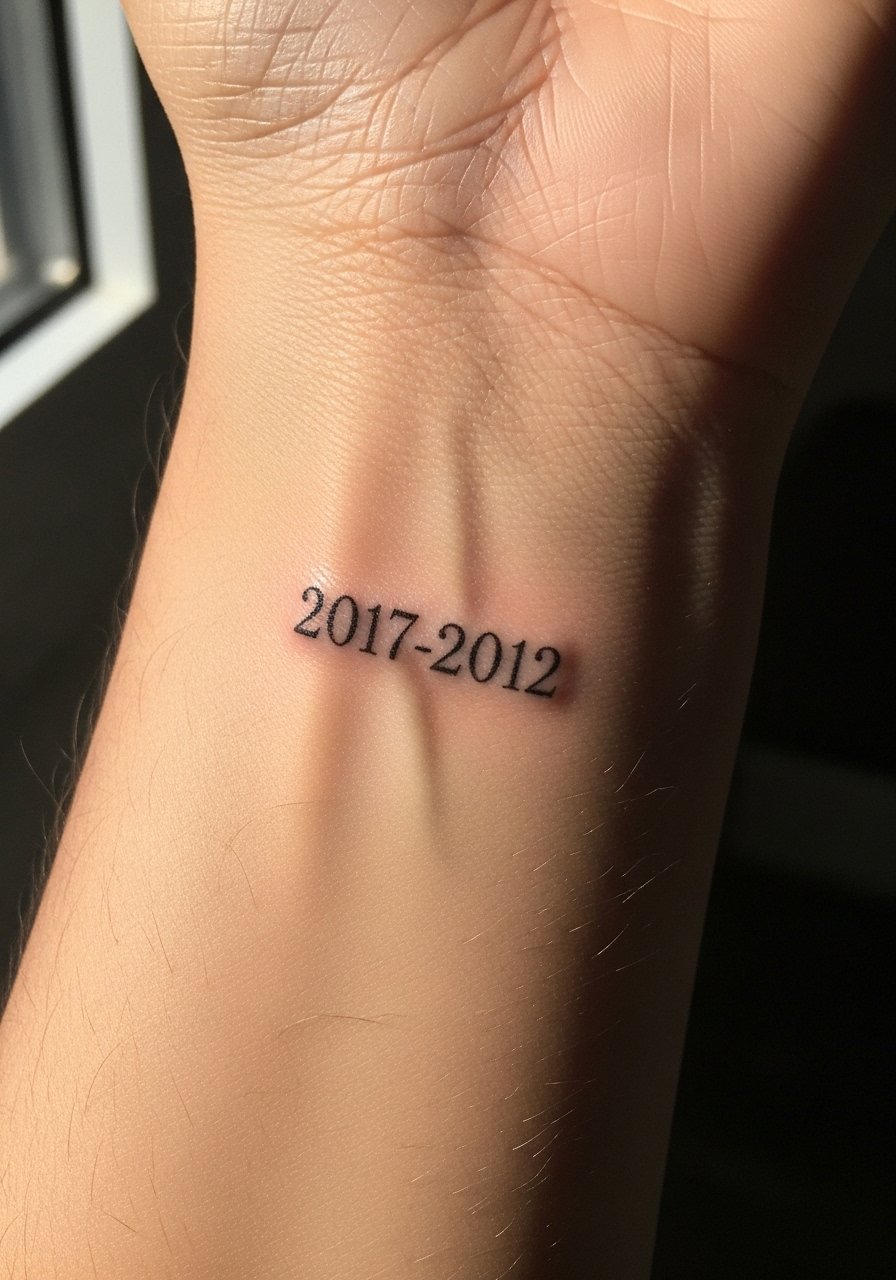
Numbers and barcode-like lines need readable width. Request slightly thicker vertical bars and ask to see a test print on paper taped to skin so you can judge scale. Sessions are short and pain is low. A common disappointment is choosing bars so thin they merge after the first year. Plan for a touch-up if keeping numeric precision matters to you. This design can be rotated hidden by a watch in formal settings.
15. Tiny Bird Silhouette in Flight

A small bird reads best with small negative space inside the wings. Tell the artist you want the wings to have tiny gaps so they keep shape rather than a filled silhouette that can look heavy. Sessions are brief and pain is low. The typical error is asking for a filled black bird at a micro scale. At two years the edges of tiny wings may need sharpening. For outings, cuff a rolled linen shirt sleeve to show the bird without a bracelet covering it.
16. Tiny Paw Print on the Side Wrist

Paw prints are sentimental but require open spacing between pads so they do not blend. Ask for a slightly larger central pad and light dot work for tiny pads so everything reads over time. Sessions are quick. Mistakes happen when people insist on stamping an exact tiny print from a photo that is too small. Expect subtle softening by year three and plan touch-ups if you want the original sharpness.
17. Tiny Infinity Loop Near Wrist Tendon

Placement near tendons moves with every gesture. Ask for a slightly heavier midpoint so the loop keeps its shape and does not thin into a ghost line. This area can be more sensitive and the session is short. A common error is making the loop too small which leads to loss of form within two years. When showing it off, a thin bangle bracelet worn above the mark draws the eye cleanly without friction on the loop.
18. Tiny Floral Single Petal Accent

A single petal is a good option when you want micro detail with low commitment. Tell the artist to keep internal veins simple and open to avoid early merging. The session is fast and sensitivity is moderate. People sometimes cram veins and dots inside such a small shape and then ask for touch-ups prematurely. At one to two years it will look softer but still recognizable.
19. Tiny Zodiac Glyph on the Inner Wrist
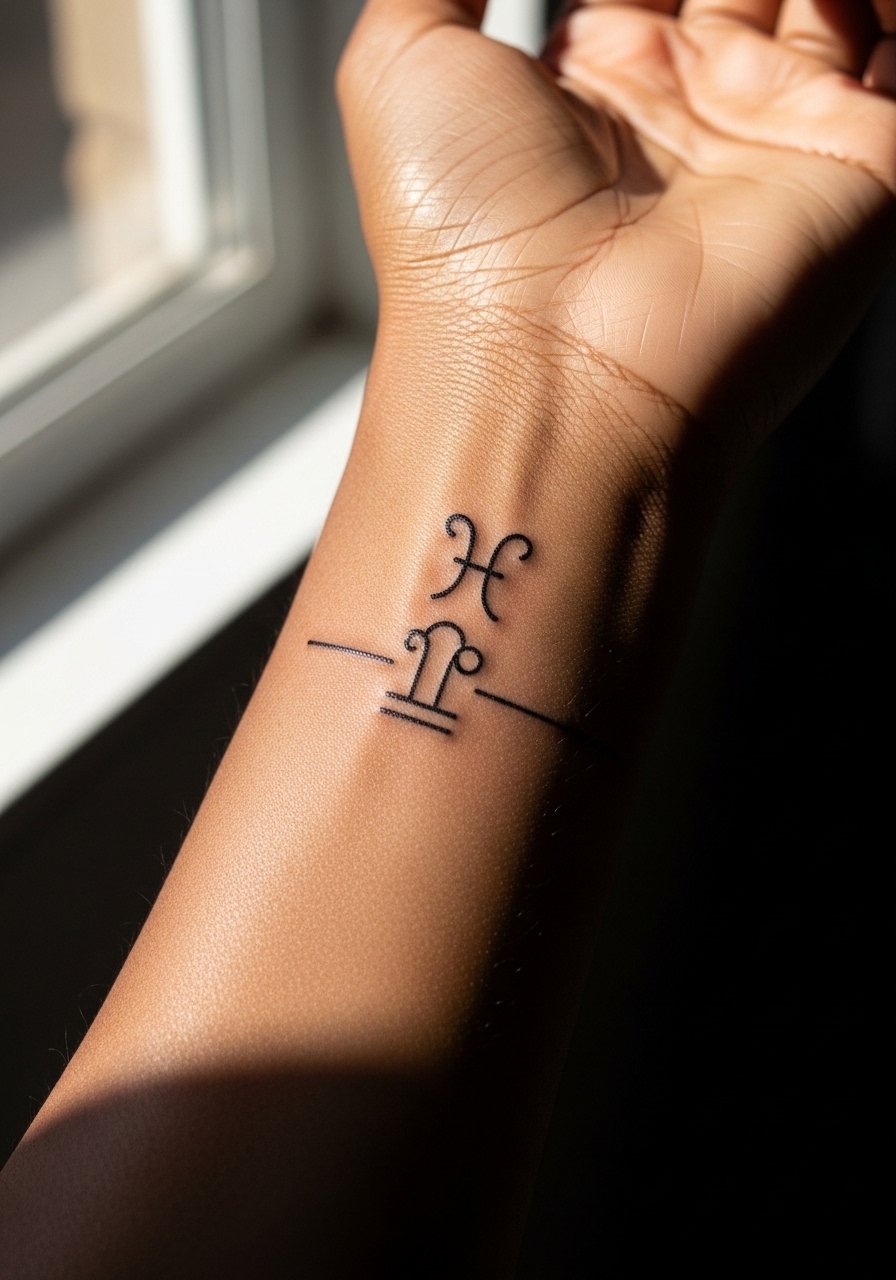
Glyphs need crisp negative space to remain legible. Ask for a slightly larger glyph than you think you need and request a stencil check in varying sizes. Session time is short and pain is low. The usual mistake is copying online tiny glyphs that lack scale testing. Expect a touch-up at two to three years if you want perfect read at a glance.
20. Tiny Chain-Link Wrist Tattoo

A chain link is visually strong but each link must be open enough to prevent merging. Tell the artist you want visible gaps in each link and ask for fewer links so each one has space. Sessions can take up to an hour depending on length. The common mistake is crowding too many micro links. At three years tight links can look like a band. This design pairs well with a simple leather wrap bracelet worn adjacent to the tattoo to maintain the illusion of layered metal.
21. Tiny Semi-Colon or Minimal Symbol

Symbols need clean negative space to remain meaningful over time. Ask the artist to slightly thicken the dot portion relative to the comma stroke so the mark reads even as the comma softens. Sessions are very short and sensitivity is low. A regular mistake is choosing a minuscule size that fades into a blurred spot. Plan for a touch-up in the first two years if you want lasting sharpness.
Frequently Asked Questions
Q: How long should I wait before getting a touch-up on a fine line wrist tattoo?
A: It depends on sun exposure and friction. For most thin wrist pieces I tell people to expect a visible touch-up window between year two and year four. If you work outdoors or wear a watch that rubs the spot daily, plan sooner rather than later.
Q: Will a wrist fine line fade faster than the same design on the forearm?
A: Generally yes because wrists get more washing and friction from clothing and accessories. The forearm has more forgiving skin and less constant abrasion, so fine details usually last longer there.
Q: Are there any wrist placements I should avoid if I want longevity?
A: Avoid placing tiny motifs directly on creases or where watch bands sit. Edge placements over bone can also soften quicker. Ask your artist to mark several stencil options on the wrist so you can see how the piece moves with your hand.
Q: How should I dress for a wrist tattoo session to make the artist's job easier?
A: Wear short sleeves or something with sleeves you can roll easily. A loose button-down or a soft tee works well. If the piece is on the inner wrist, a short sleeve cotton t-shirt is comfortable for both you and the artist.
Q: Do hand and wrist tattoos affect professional opportunities more than forearm tattoos?
A: Some workplaces still view hand and wrist tattoos as visible in ways employers notice. If career flexibility matters, place the tattoo where it can be covered by sleeves or watches when needed. Many people choose inner wrist locations that can be hidden by a watch during interviews.
