
Fine line Ellie Williams portraits look amazing on feed, but what holds up years later is a mix of placement, spacing, and realistic technique. Fans who want an Ellie piece need designs that respect facial proportions and clothing details while giving linework room to age. Below are 27 realistic Ellie Williams tattoo ideas, each with consultation notes, aging expectations, styling tips when it fits, and a practical image prompt to guide reference selection.
1. Micro-Realism Ellie Portrait on Inner Forearm
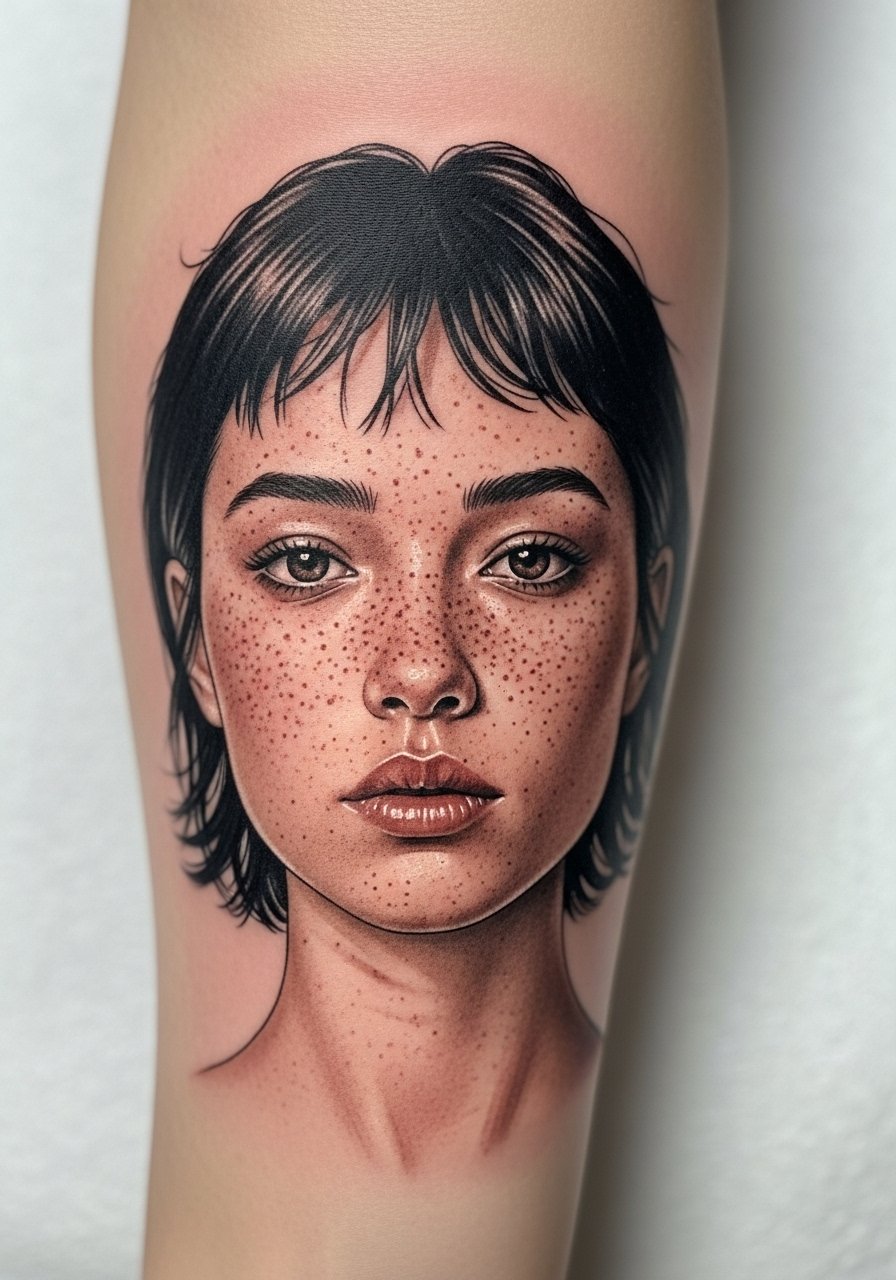
I recommend the inner forearm when you want a portrait that reads clearly from a short distance. Fair warning, the stencil placement matters more than most clients expect. Tell your artist you want slightly softer lineweight around the hair and more contrast in the eyes so the face keeps shape as it settles. Expect a two to three hour session for a small portrait and a touch-up at year two is common for fine details. A common mistake is asking for every freckle reproduced exactly. That makes the face busy and speeds blurring. For showing it off wear a rolled sleeve linen shirt that keeps the forearm visible without tight cuffs.
2. Three-Quarter Bust on Upper Arm, Black and Grey
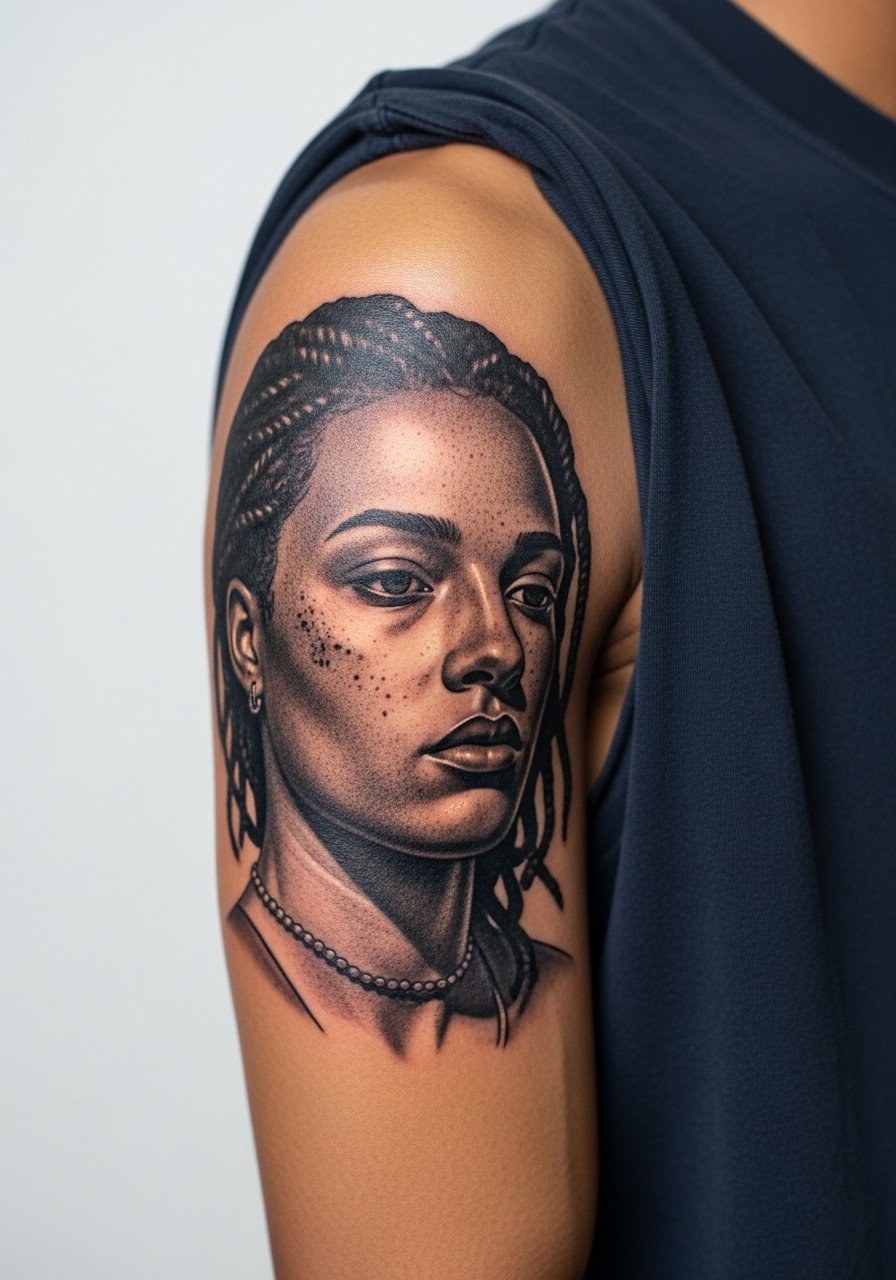
This placement gives the portrait breathing room and reduces blowout risk compared with the wrist or hand. In the consultation say you want mid-range saturation and stipple shading for skin tones rather than heavy grey washes. That approach keeps texture clear at six months and still legible after five years. Pain is moderate and sessions run three to four hours. A typical mistake is compressing the face into a small circle. Let the artist expand vertically so features do not merge. For session comfort bring a soft cotton tank top that you can pull aside without pulling at the shoulder.
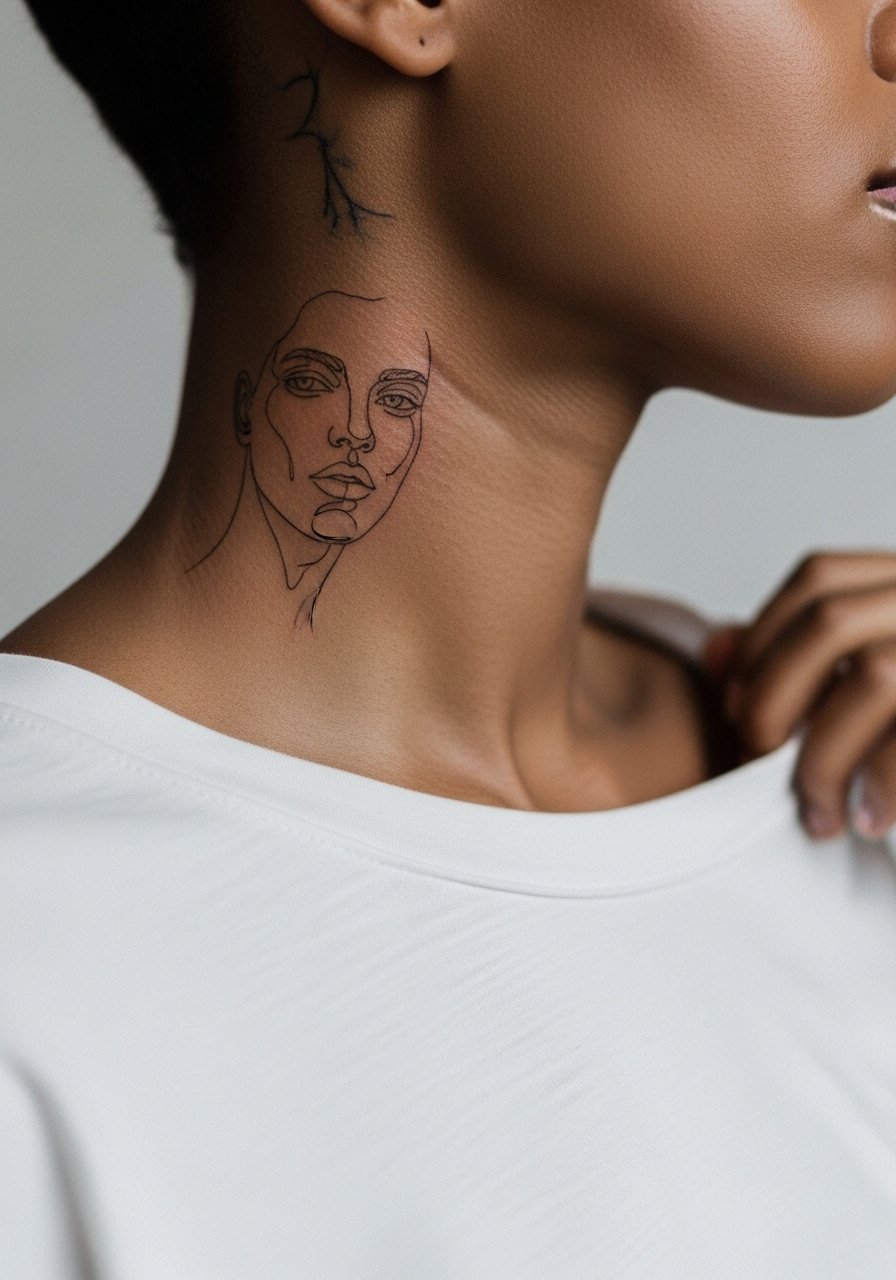
3. Collarbone Linework Portrait Accent
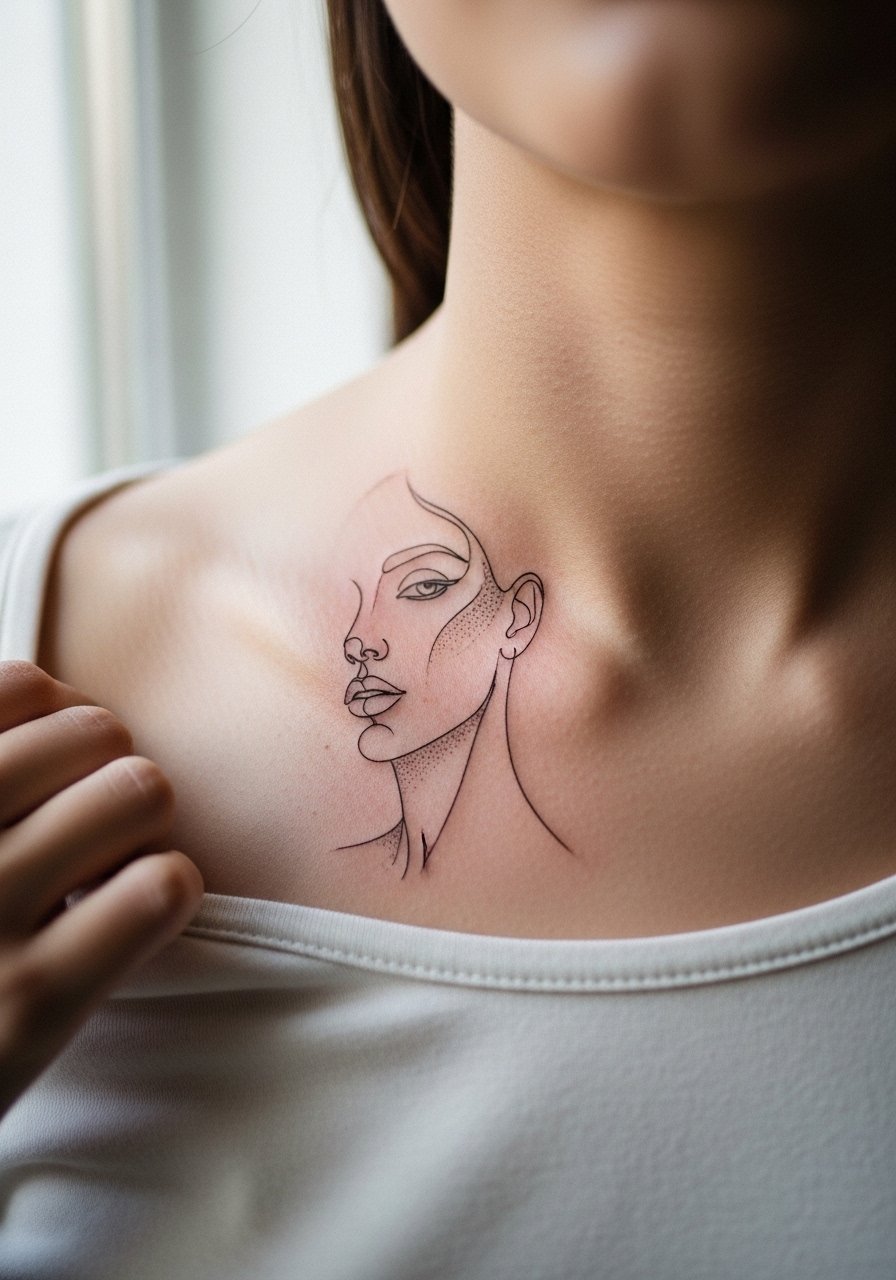
Small portraits near the collarbone read as subtle statements. The area moves with breathing and clothing, so tell your artist you want slightly bolder primary contours and lighter internal detail. The pain is low to moderate. Most sessions are short, under two hours, but the trade-off is that lines on the clavicle can migrate if they are too fine. One controversy here is whether tiny facial details belong in such a thin canvas. Some artists say keep portraits larger than this zone. Others find success with careful spacing and touch-ups. If you plan to show it off, a thin chain pendant necklace sits above the script without competing.
4. Ribcage Full-Body Ellie Scene, High Detail
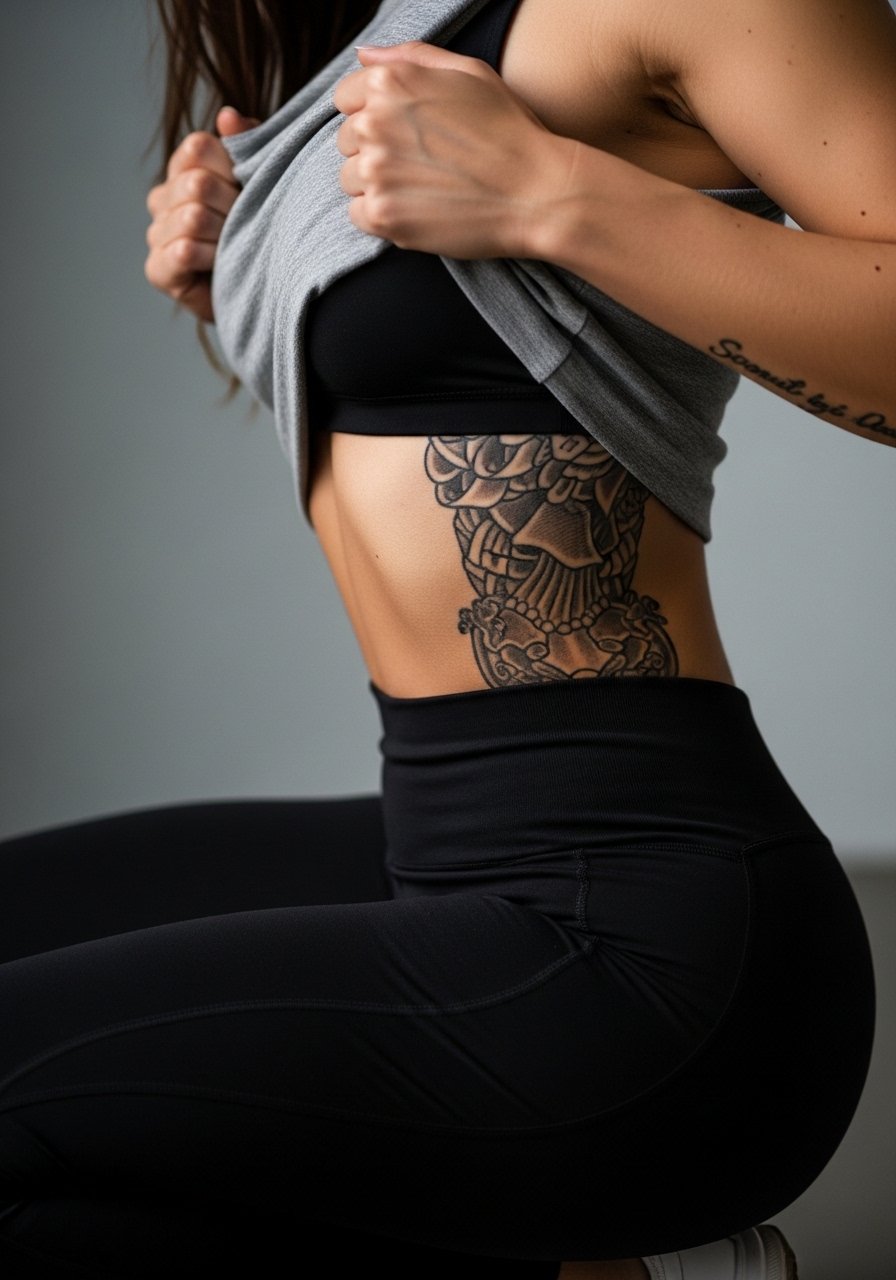
Ribcage realism gives dramatic scale for storytelling but carries a known debate. Artists split into two camps on fine detail here. One camp says the skin stretch and constant movement blur tiny lines within two to three years. The other camp argues that with proper needle depth and spacing, fine detail can settle intact. I suggest planning for a larger composition with negative space so the face and clothing maintain contrast as the piece ages. Expect a longer session and a higher pain rating. For the appointment wear a cropped sports bra you can lift slightly so the artist has clear access without you being uncomfortable.
5. Sternum Minimalist Portrait Accent
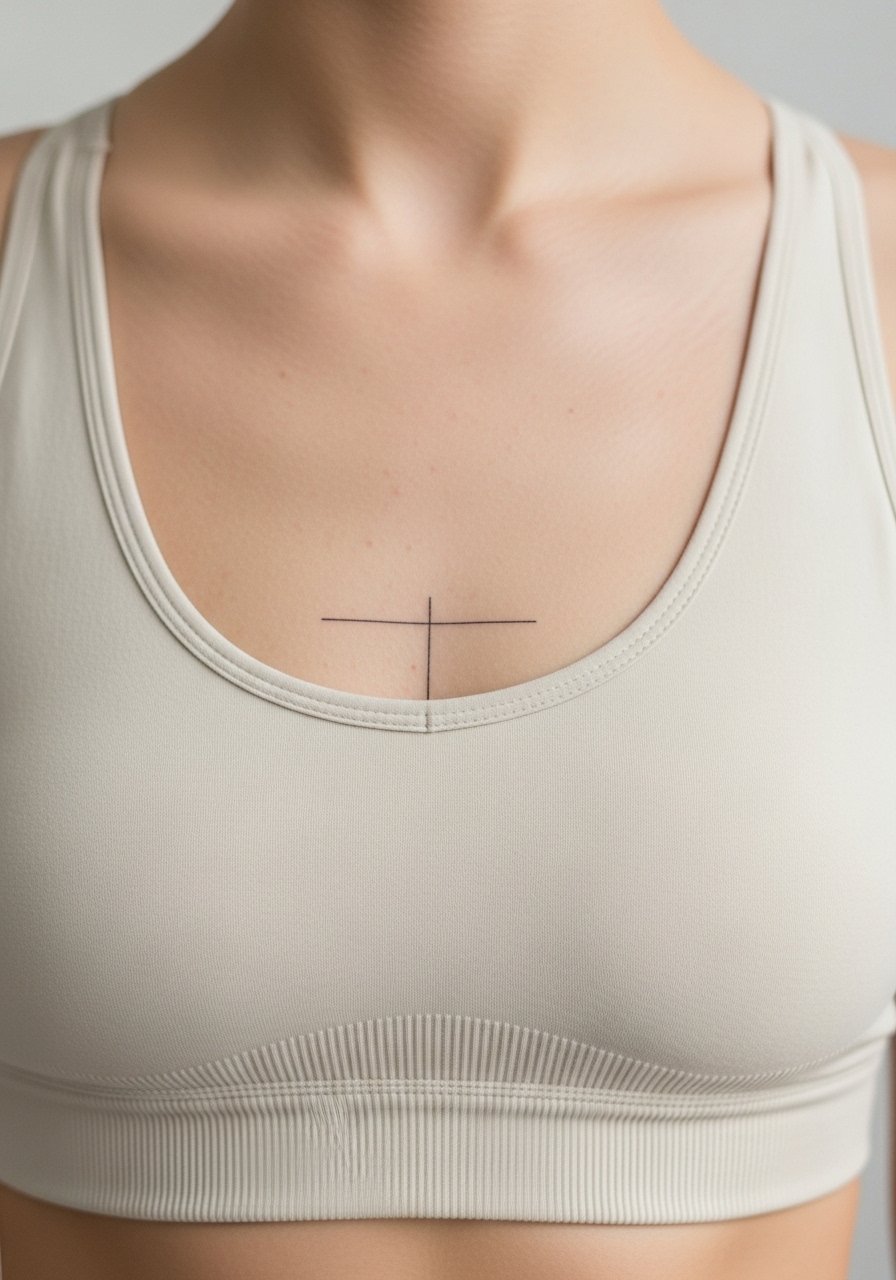
Sternum pieces are intimate and they read best as accents rather than dense portraits. Pain is higher and sessions are shorter but intense. Ask for simplified contours and avoid heavy stippling across the midline. A common mistake is requesting dense shading that turns into uneven splotches as the skin moves. If you want a portrait here, keep the face reduced to key features and expect touch-ups at year two. Session wear should be a fitted sports bra that gives easy artist access without revealing beyond the intended area.
6. Back-of-Shoulder Realistic Ellie Looking Over Shoulder

The back of the shoulder allows for soft transitions between portrait and environmental detail. Tell the artist you want whip shading for hair and stipple in shadowed areas. The area is forgiving for fine line because the skin is thicker than ribs. Session time is two to three hours. A mistake is packing heavy black into shadow fields that age into flat blocks. For the session wear a loose button-down shirt you can slide off or pull aside without twisting.
Studio Day Picks
The chest, ribs, and shoulder pieces above need different prep from wrist and forearm work, so these items smooth the session and early healing.
-
Stencil transfer paper kit. Lets you preview exact line placement on skin before the needle touches down, which is handy for portrait proportions on forearm or chest.
-
Topical numbing cream. Apply as directed about 45 minutes before your appointment for extra comfort during collarbone and ribcage sessions.
-
Thin protective film roll. Helps protect wrist and finger pieces from friction during the first few days while the skin is most vulnerable.
-
Fragrance-free body wash. Cleans the area gently during showers without stripping the delicate oils that help fine line work settle.
-
Aquaphor healing ointment. A thin layer for the initial days keeps small linework moist and reduces cracking that can pull pigment out.
7. Inner Bicep Micro-Realism Portrait
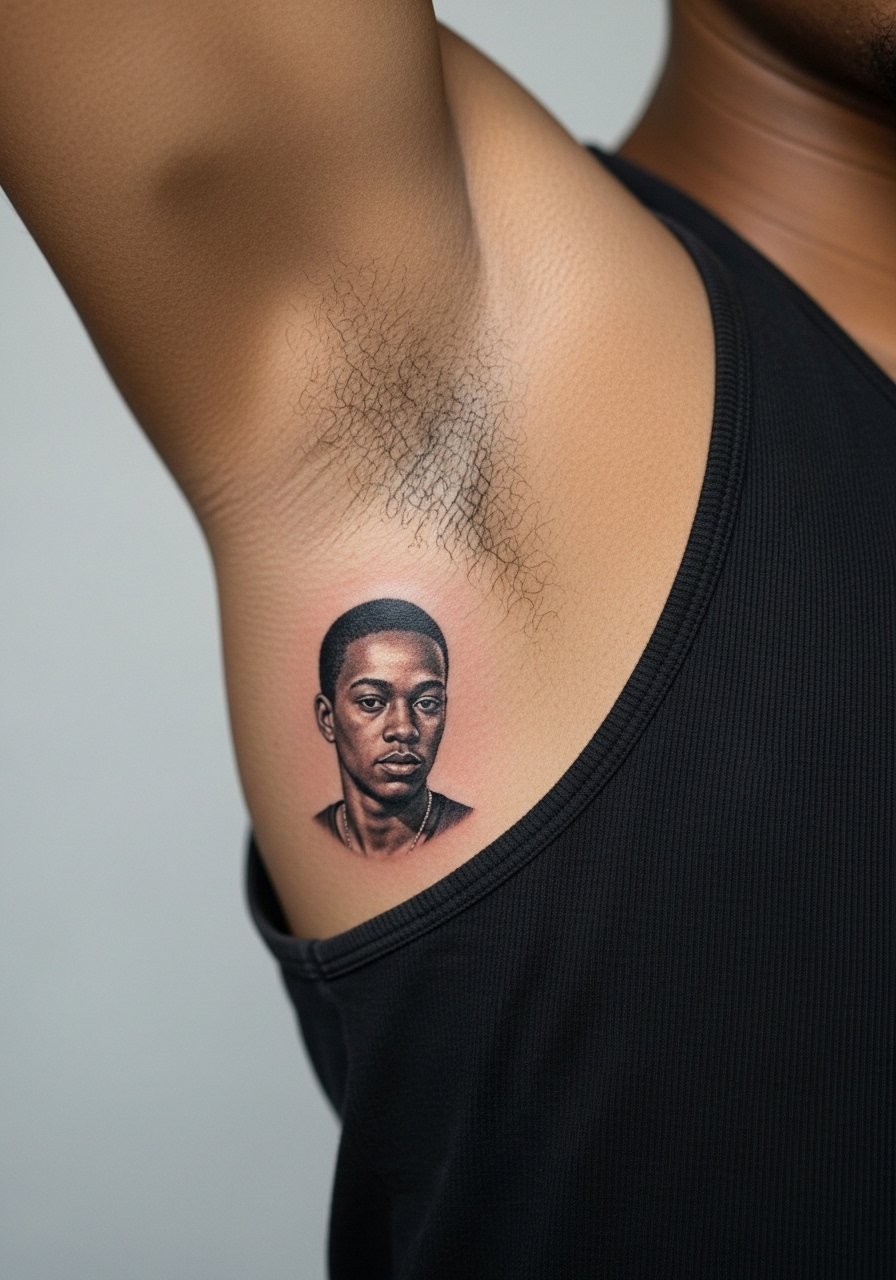
Inner bicep portraits have a soft, hidden quality that ages relatively well because the area is less exposed to sun. The trade-off is higher pain and less session visibility while it is being done. Tell the artist you want slightly heavier linework externally and lighter internal texture to preserve facial definition. Expect one long session for a small piece and a touch-up offers a big payoff. A common mistake is asking for extreme micro-detail here; the angle and skin movement make tiny lines vulnerable. For the appointment wear a loose tank top so you can raise the arm without rubbing against an elastic band.
8. Forearm Half-Sleeve with Ellie in Motion
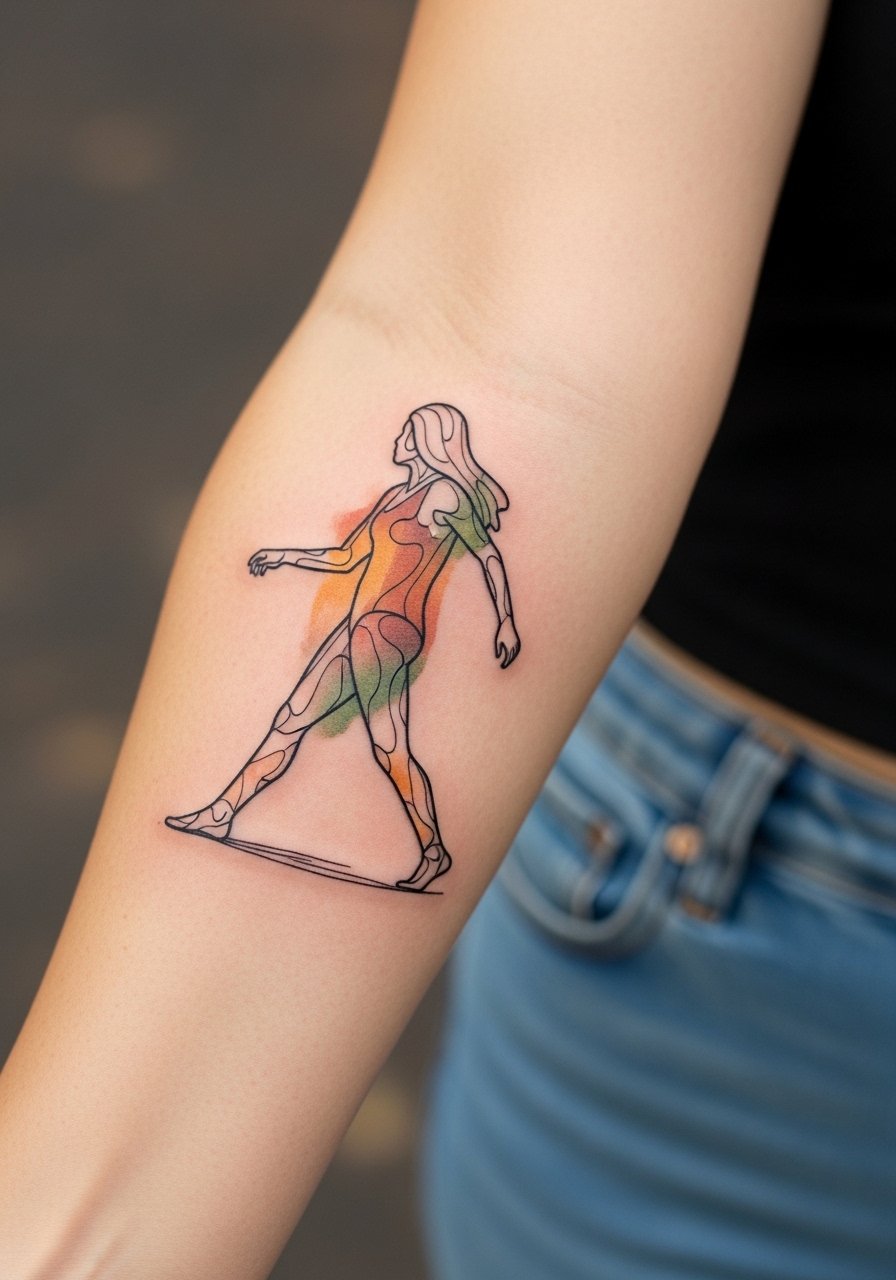
A forearm half-sleeve carries enough space for a narrative portrait and supporting elements like foliage or gear. In the consultation request clear primary lines for the face and lower saturation in background elements. That keeps the portrait focal point as the piece ages. Expect multiple sessions and moderate pain overall. A common mistake is overloading the sleeve with tiny background details that merge over time. For daily wear, rolled sleeves or a short-sleeve linen shirt show the work without tight cuffs cutting into the composition.
9. Wrist Micro-Portrait with Negative Space
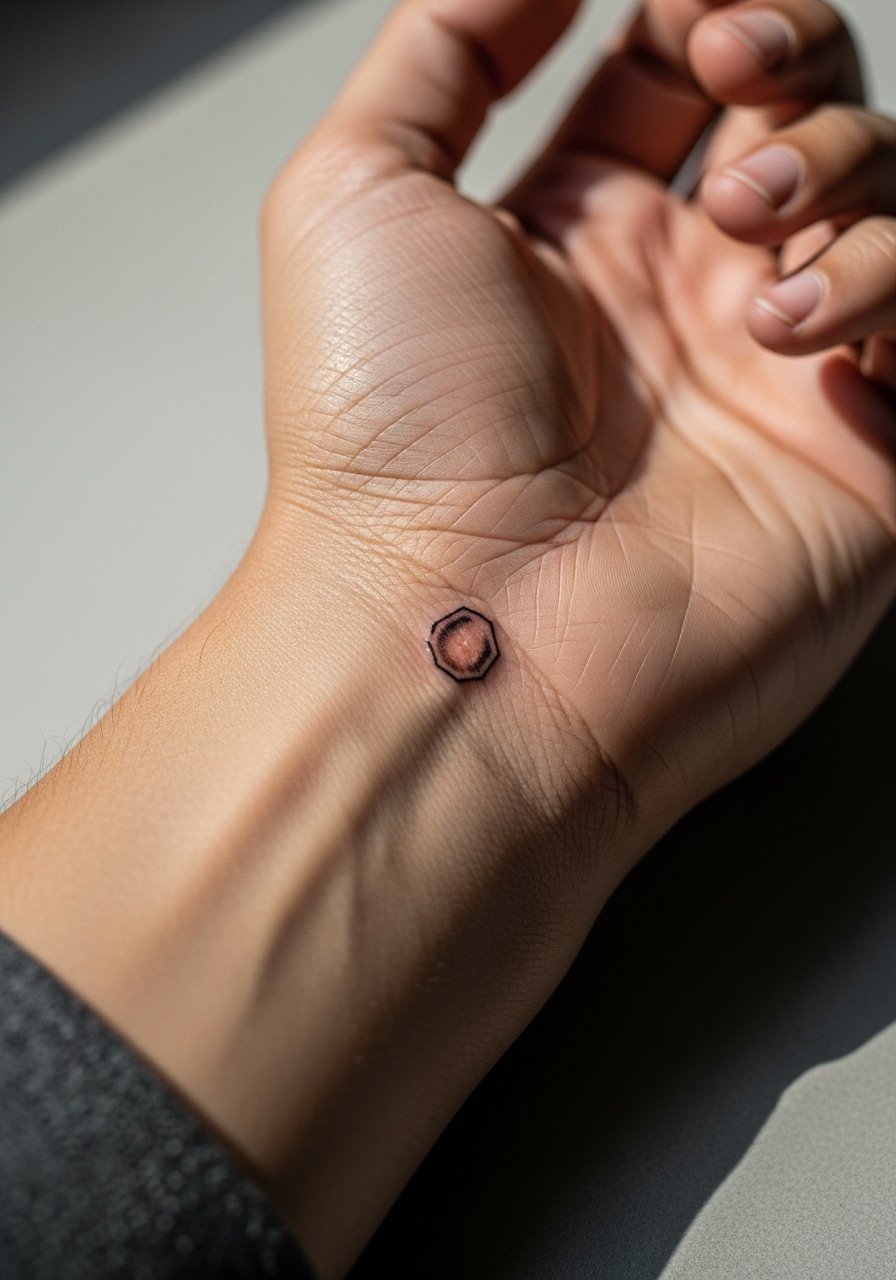
Tiny portraits on the wrist are visually intimate and highly visible. The trade-offs are friction from sleeves and frequent washing. Ask for a small portrait combined with deliberate negative space. That spacing reduces blowout risk and makes touch-ups easier. The pain is low to moderate. A typical session is under ninety minutes. Common mistakes include cramming facial detail into a coin-sized area. For showing off pair the piece with a minimalist watch or a few thin bracelets that sit away from the portrait.
10. Hand Portrait Accent, Small and Bold
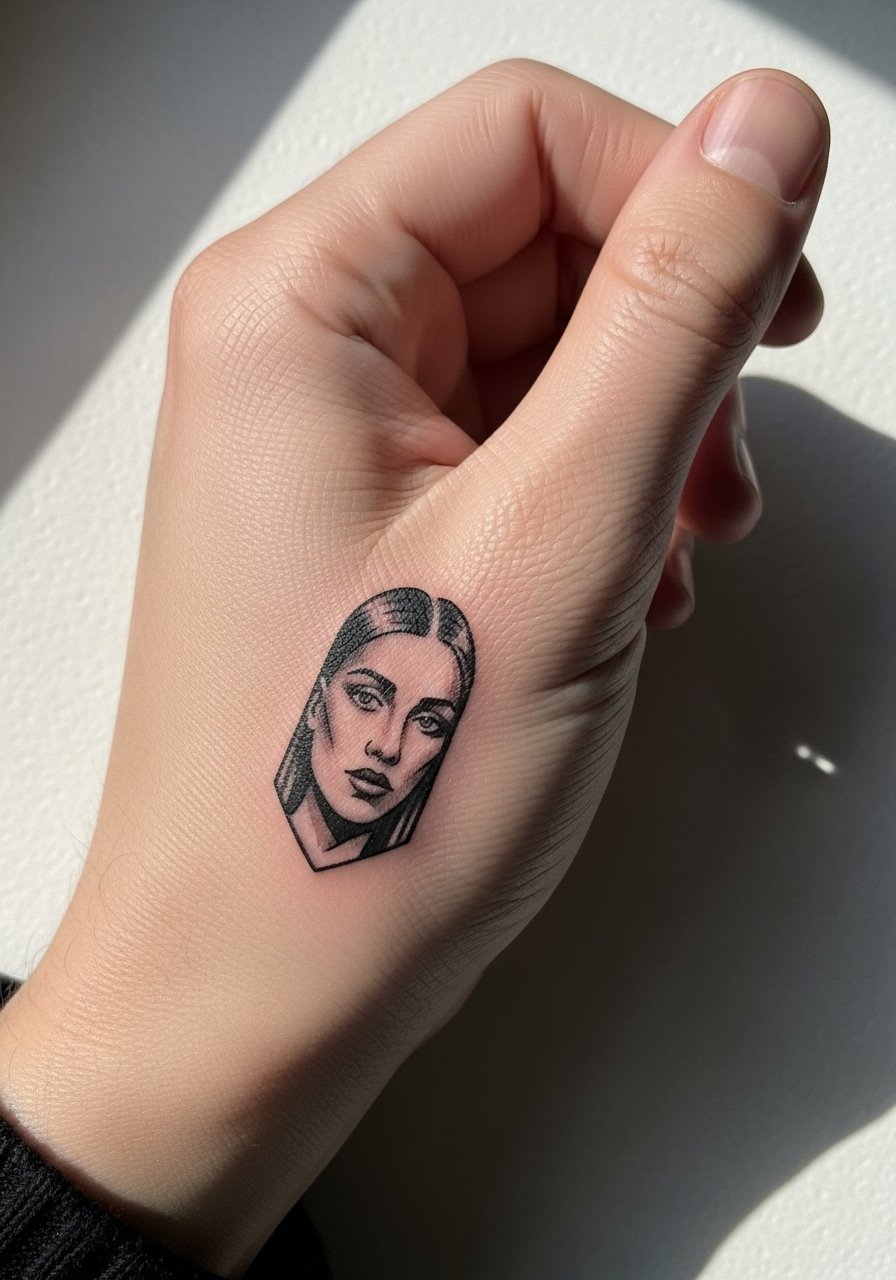
Hand tattoos age differently than arm work because of constant use and washing. For a realistic hand accent pick bolder contours and minimal internal detail. Artists often recommend stronger lineweight and denser blacks for the highest-contrast elements. Expect faster fading and touch-ups sooner than you would on the forearm. A common mistake is treating the hand like a canvas for micro-detail. Career implications should also be considered because hands remain visible in many workplaces.
11. Ankle Portrait Tag with Subtle Shading
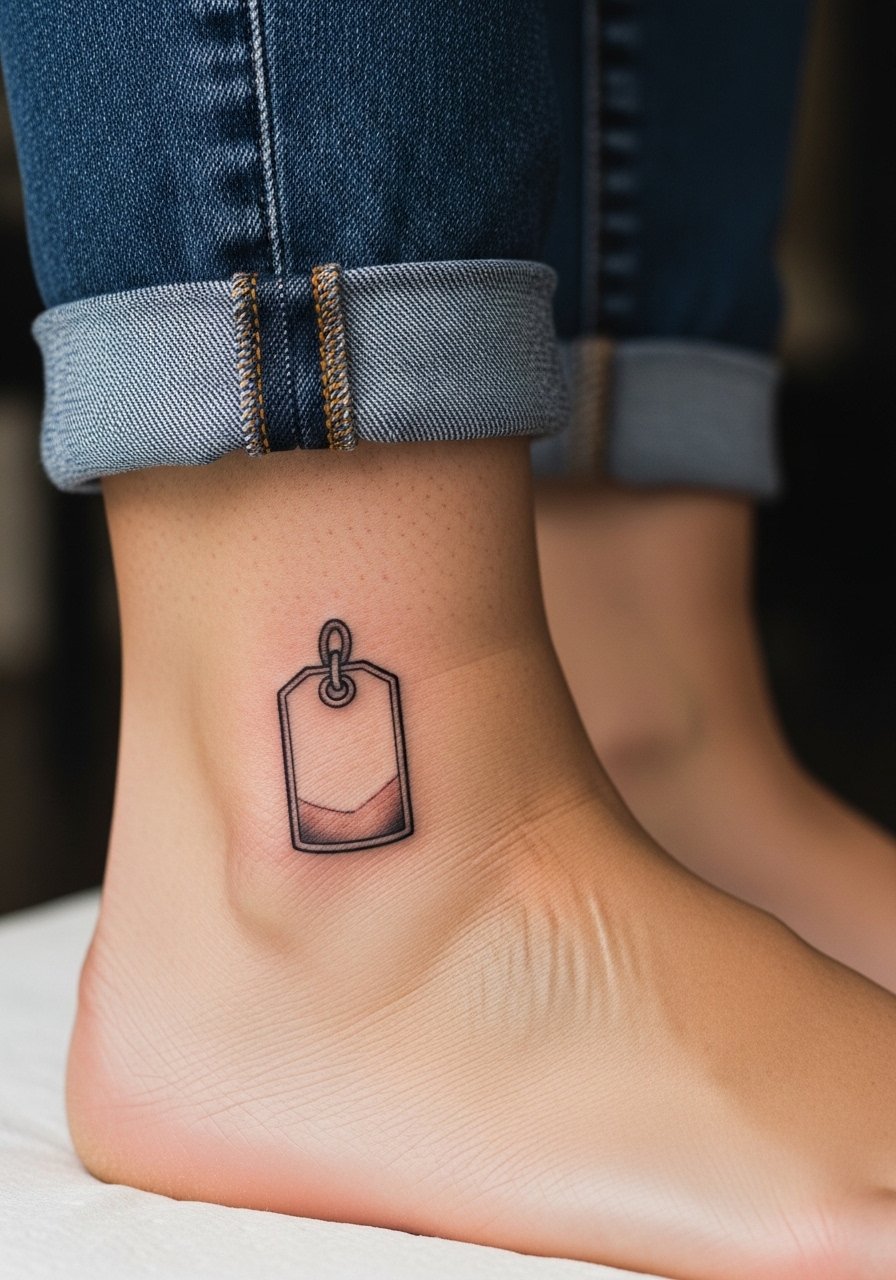
Ankle portraits are small and discrete with moderate pain during inking. The skin here is thin and moves with footwear. Tell your artist you want simple shading and avoid heavy dot work near bone. A common mistake is placing a portrait too close to the ankle bone where it puckers. Sessions are short and touch-ups are common after a year if footwear rubs the area. For the appointment wear shoes you can remove easily and consider bringing a pair of sandals so you do not compress the ankle after inking.
12. Calf Realistic Scene with Ellie and Landscape
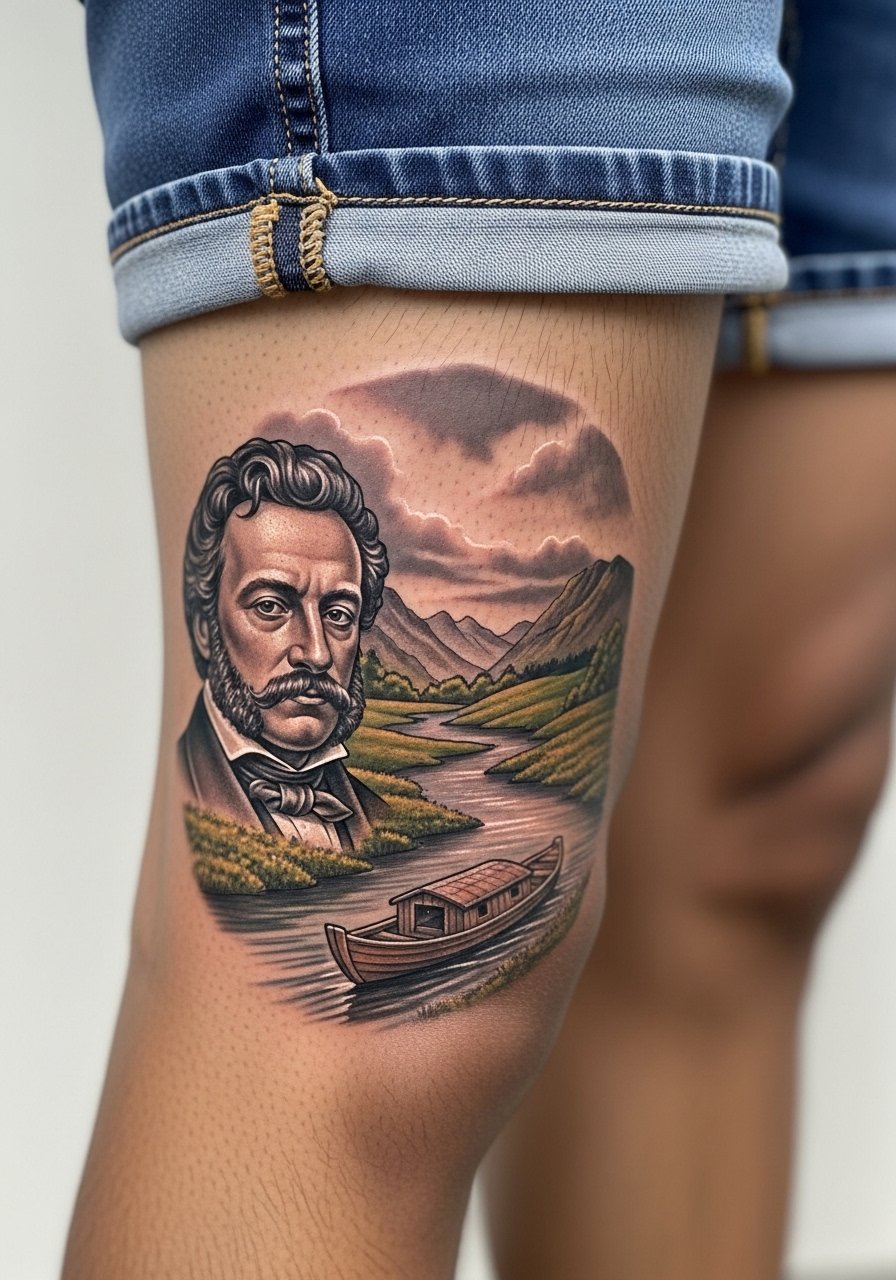
The calf provides a forgiving canvas for combined character and background. Ask for stronger contrast on the portrait and softer saturation in the landscape. That balance helps the figure stay readable over time. Pain is low to moderate and sessions can be split across two visits. A mistake is heavy high-frequency texture in background foliage that merges after healing. For after-session comfort wear loose drawstring shorts so the band does not rub the area.
13. Thigh Portrait Panel in Color Wash
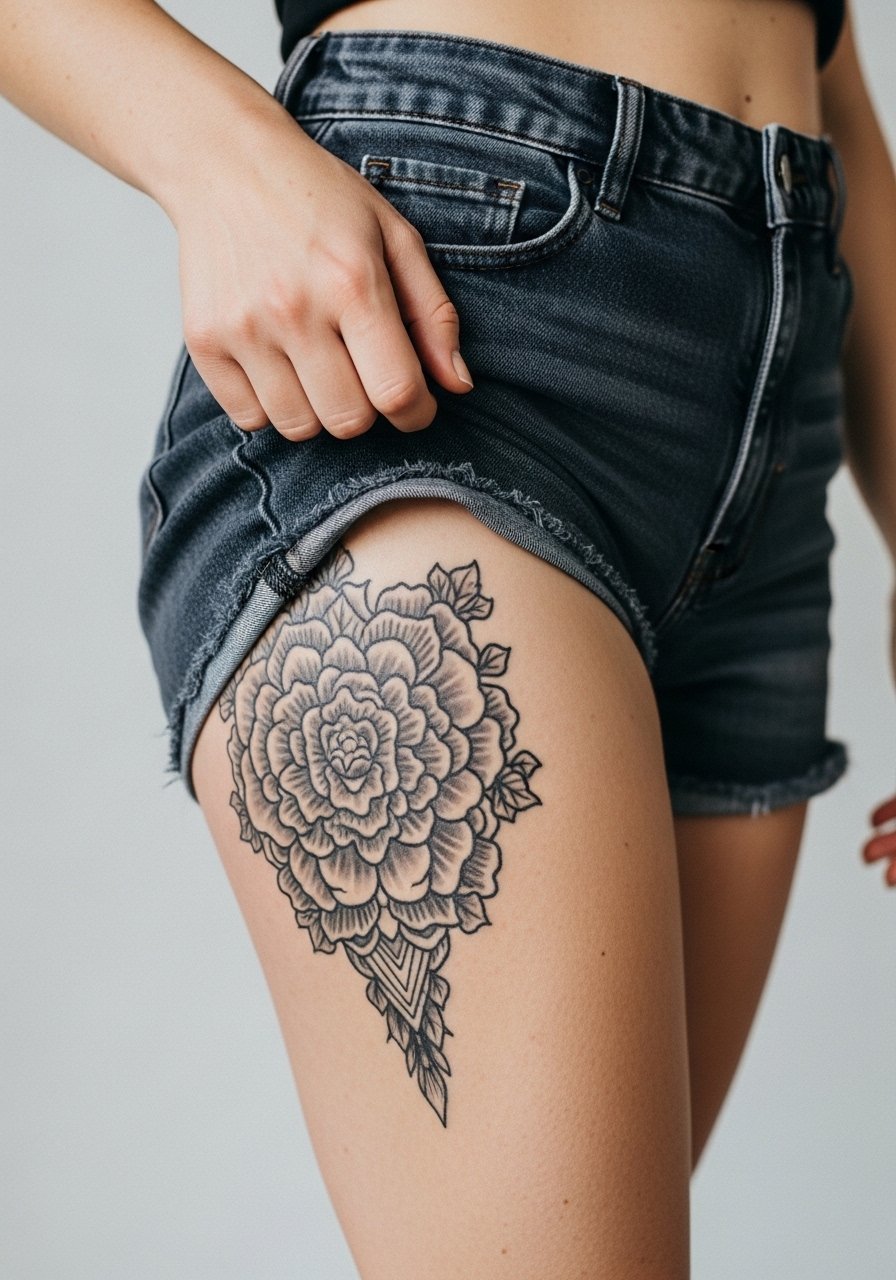
Thighs are great for larger, more detailed portraits with color. The thicker skin tolerates saturation and shading. In the consult ask for a muted color palette rather than bright inks. Muted washes fade more gracefully and avoid the patchy look that bright colors sometimes show as they age. Sessions are long and pain is moderate. A common error is wanting glossy saturated color without planning for a touch-up. For the day wear high-waisted shorts you can adjust easily like a pair of high-waisted denim shorts.
14. Back Portrait Panel Between Shoulder Blades
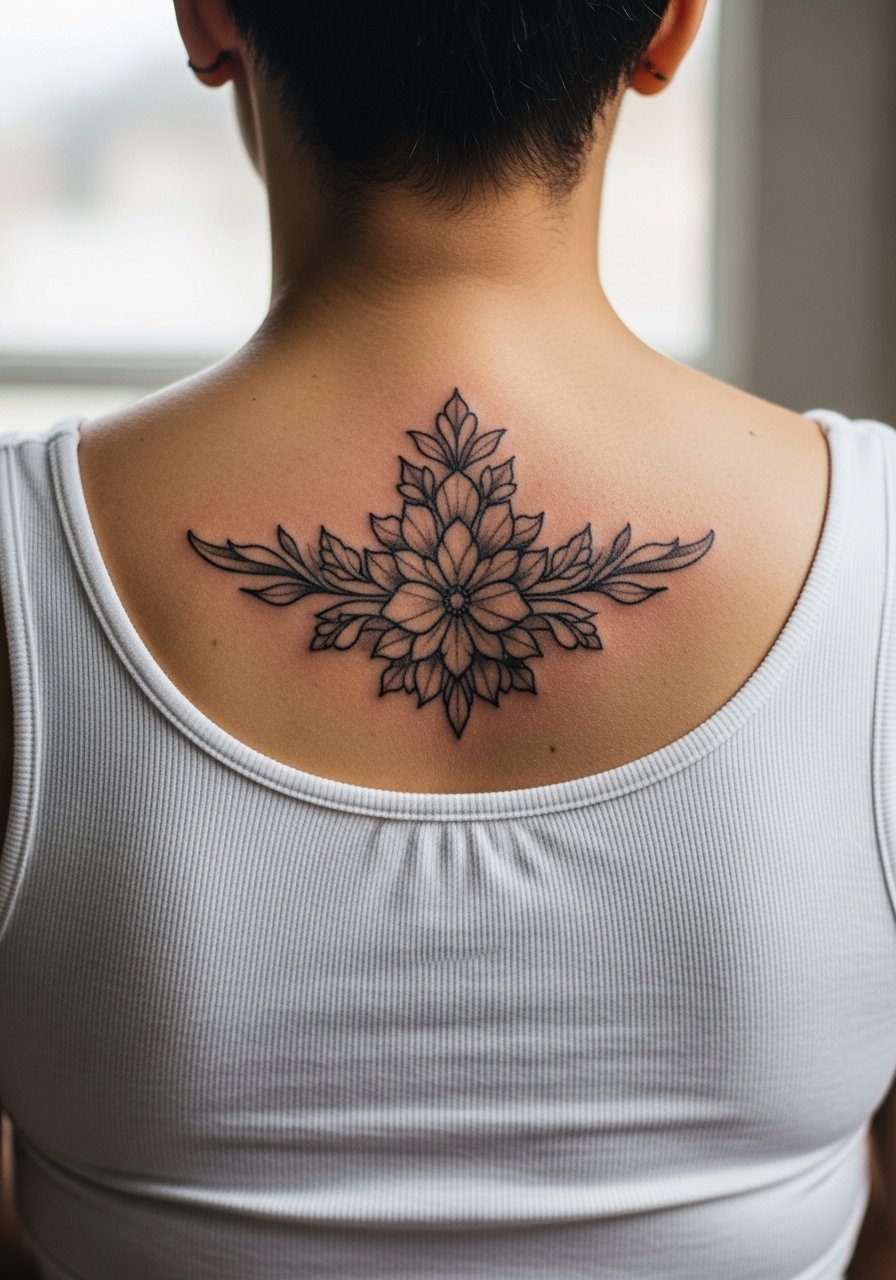
The center back allows for larger scale without direct sun exposure. Tell the artist you want the face to be the highest contrast area and softer environmental detail around it. Sessions are medium to long and pain is tolerable for most people. A common mistake is asking for very fine hair detail that later softens into indistinct texture. For the session a backless or liftable tank top that you can adjust makes access easy.
15. Shoulder Cap Portrait with Environmental Elements
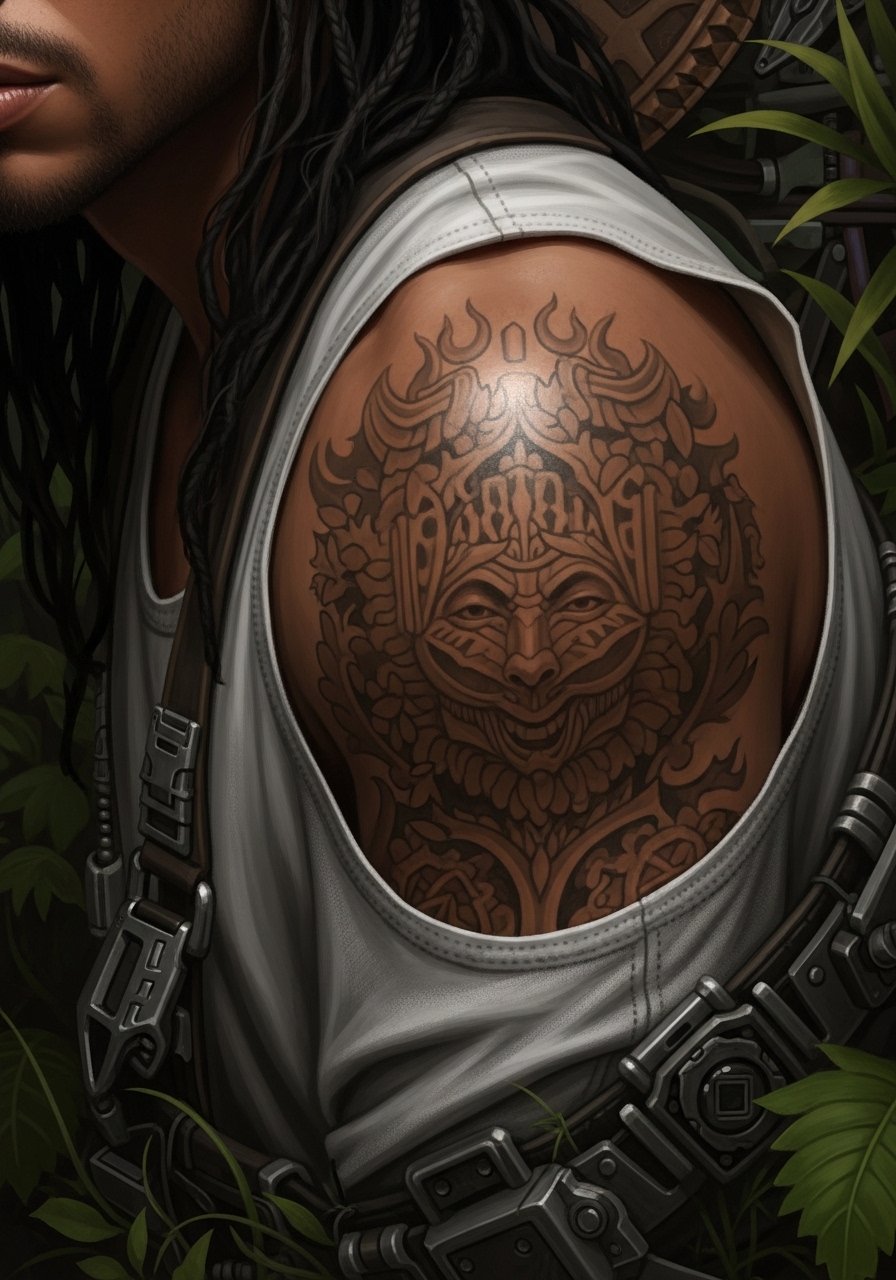
Shoulder cap portraits sit well under clothing and are easy to show when wanted. Ask for stipple shading in the shadow fields and solid contours for facial landmarks. That technique maintains structure over time. Sessions are short to medium and pain is low. Avoid packing small complementary icons too close to the face. For the appointment wear a loose tank top so the artist can access the cap without tugging.
16. Chest Portrait Above Heart, Subtle and Timed
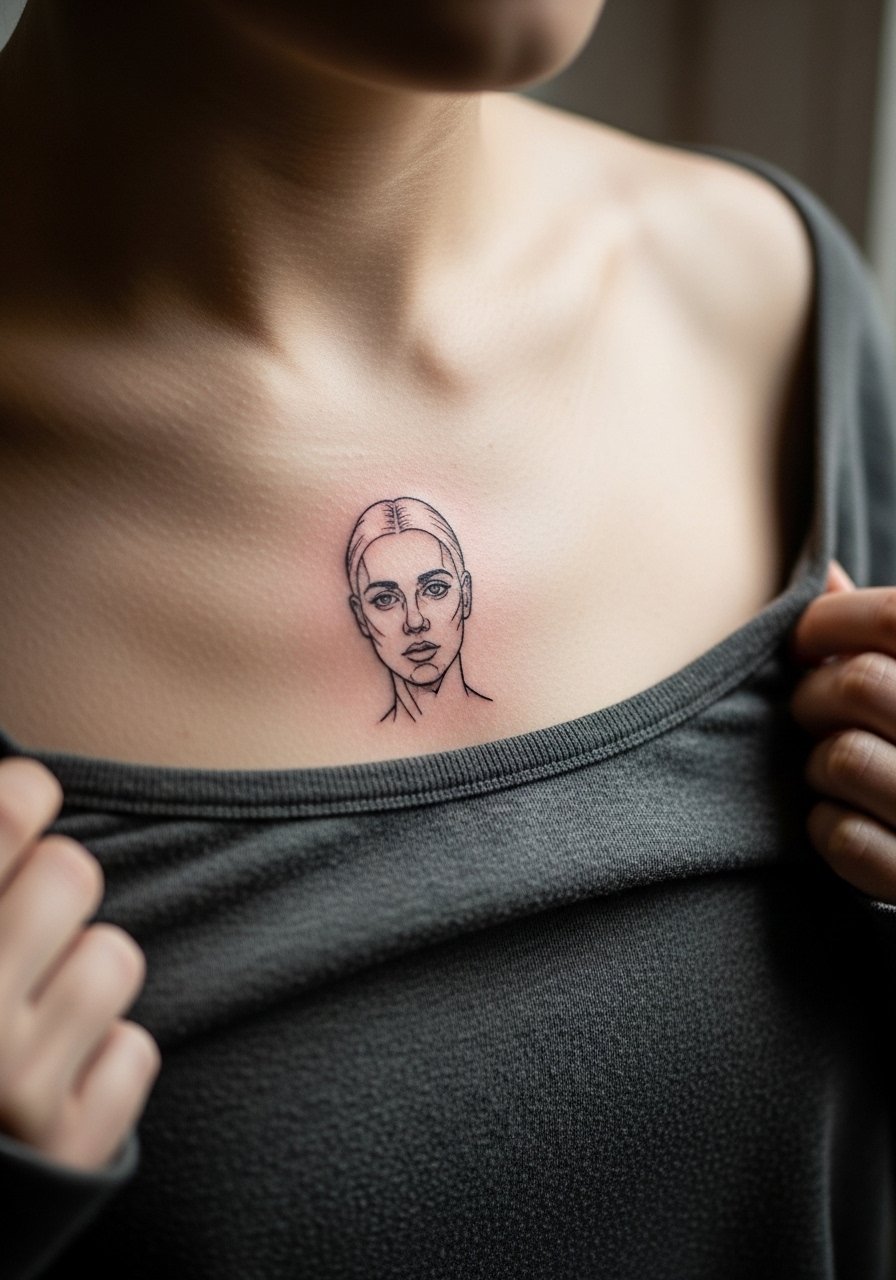
A chest portrait near the heart reads as personal and intimate. The area can move with breathing so ask for slightly bolder outlines and restrained internal detail. Pain is moderate to high depending on depth. Sessions are typically under two hours for small pieces. One important consideration is infection risk from clothing friction in the first week. For the session wear a wide-neck shirt that you can pull aside without overexposing other areas.
17. Hip Portrait with Minimal Background
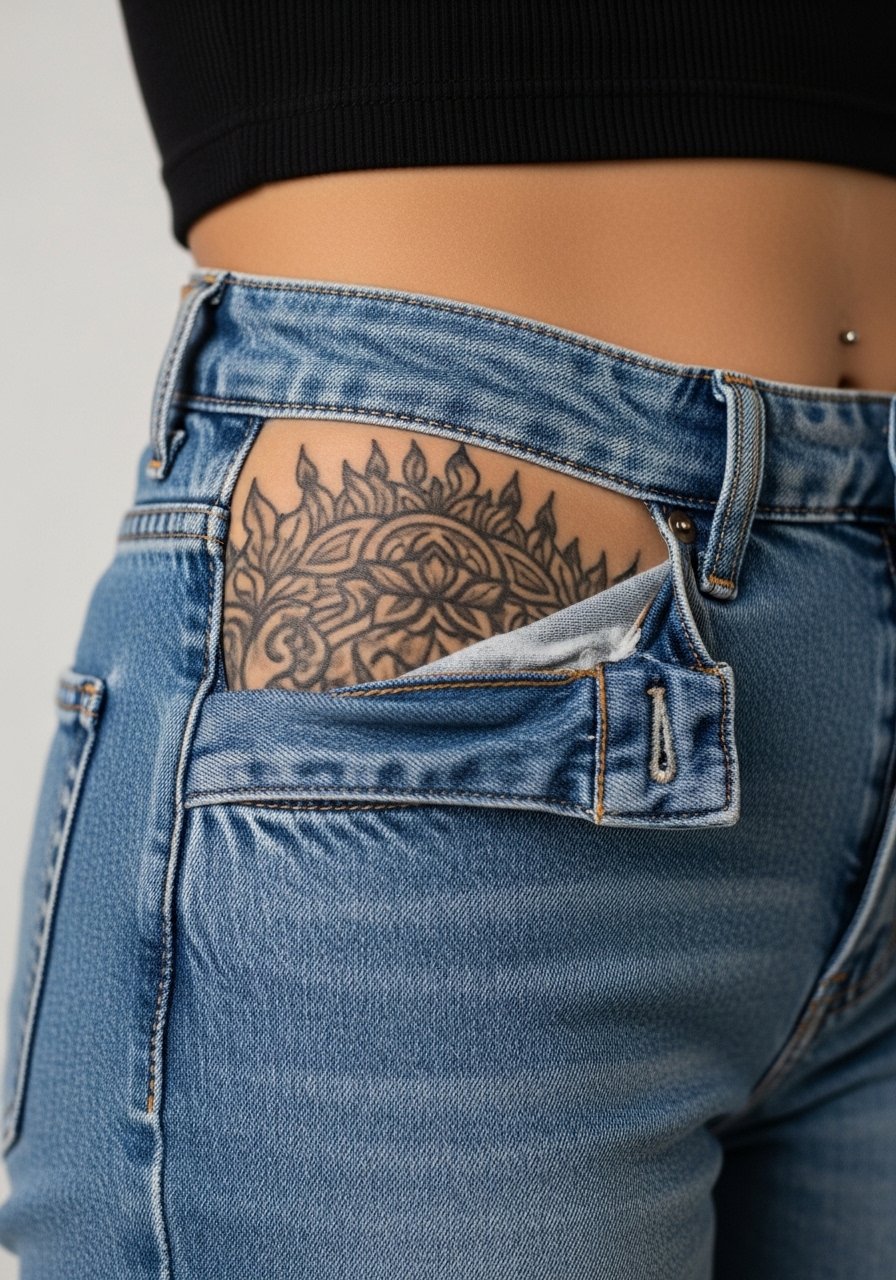
Hip portraits are discreet and age well due to lower sun exposure. The area is sensitive during the session, so expect higher pain. Ask for a minimalist background and clear facial contours. A common mistake is placing the portrait too close to the hip bone where compression from clothing causes odd healing. Session wear like high-waisted jeans you can lower slightly keeps the area reachable without full exposure.
18. Side Neck Realistic Fragment
Neck pieces are visible and carry social considerations. The skin quality and movement make fine detail challenging. Artists split into two camps on neck realism. Some prefer bold simplified graphic portraits that hold, while others use careful spacing and shading to keep a realistic look. If you choose this zone, ask for stronger outer contours and minimal tiny interior detail. Pain is moderate. For showing it off choose a wide-neck top that frames the area without covering it.
19. Ear-Adjacent Portrait Detail
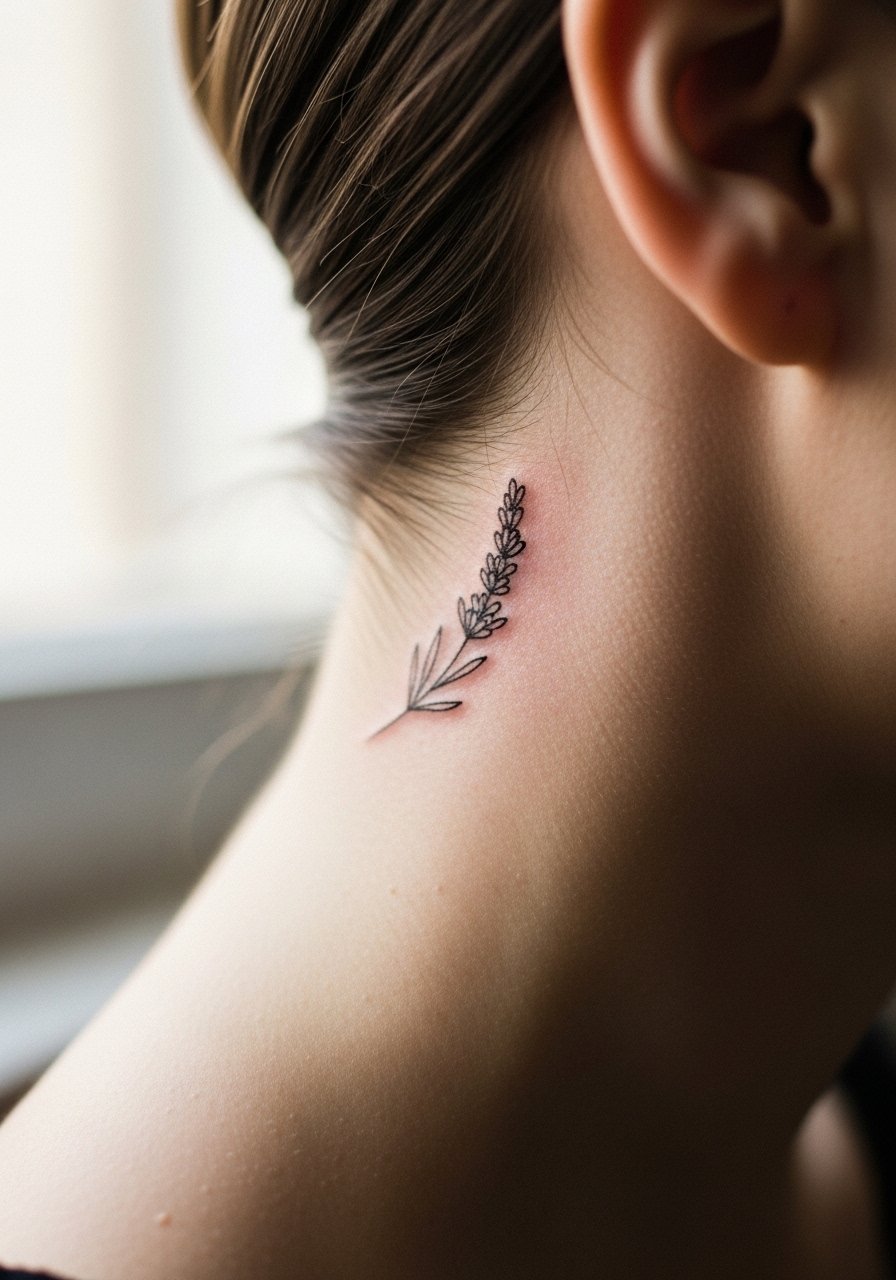
Behind-the-ear fragments are discreet and read as accents. The skin there is thin and the canvas is small. Tell your artist you want the portrait reduced to a single distinguishing feature instead of a full face. That preserves clarity. Pain is mild. Sessions are very short and touch-ups are common. For session wear hair clipped up so the artist can work without interference.
20. Finger Side Micro-Fragment
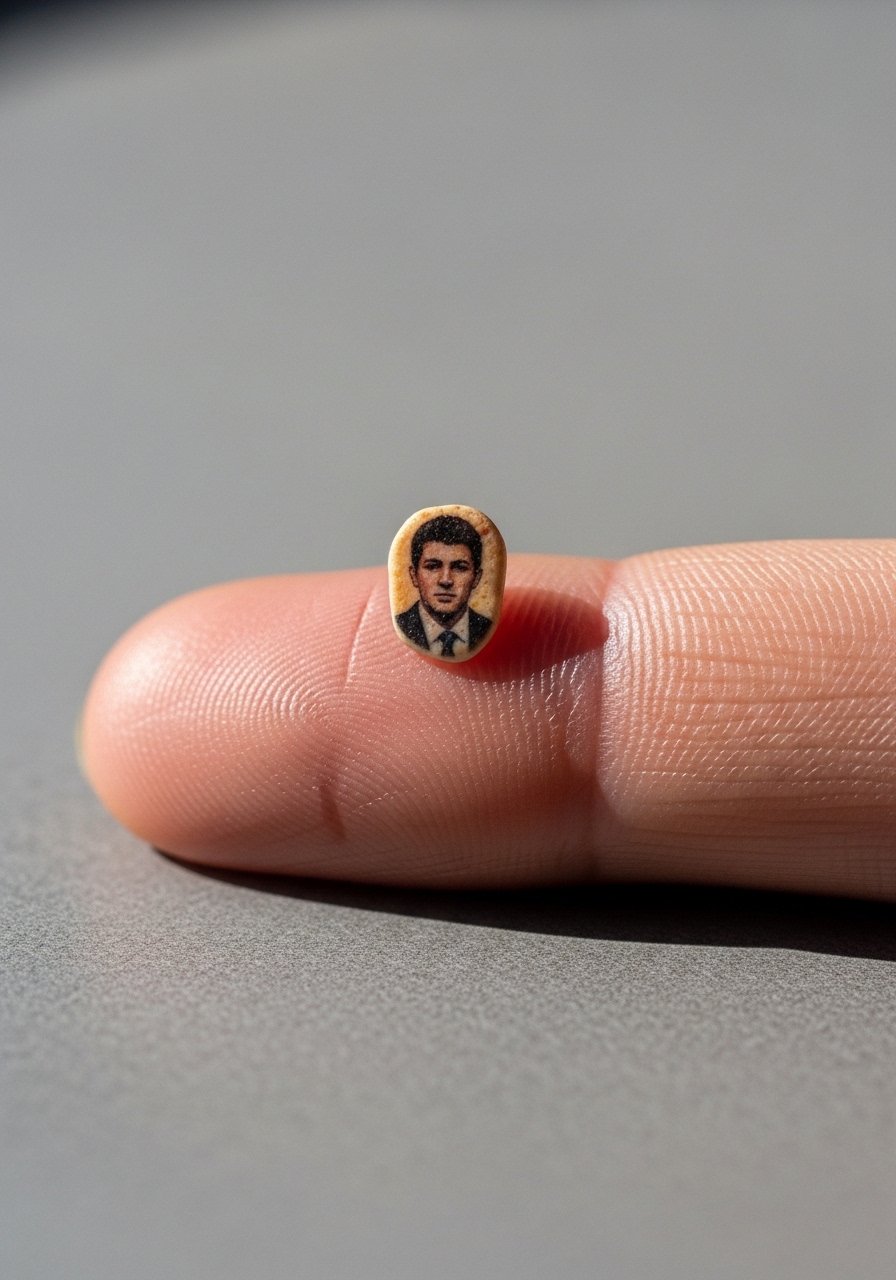
Finger tattoos are high wear and fade quickly because of constant washing and friction. For any realistic element use bold simplified geometry and avoid hair-level detail. Expect quicker touch-ups than for arm work. A common mistake is requesting a full portrait on a fingertip. If you want the piece to last, reduce scale and accept periodic refreshes.
21. Throat Lower-Profile Portrait Accent
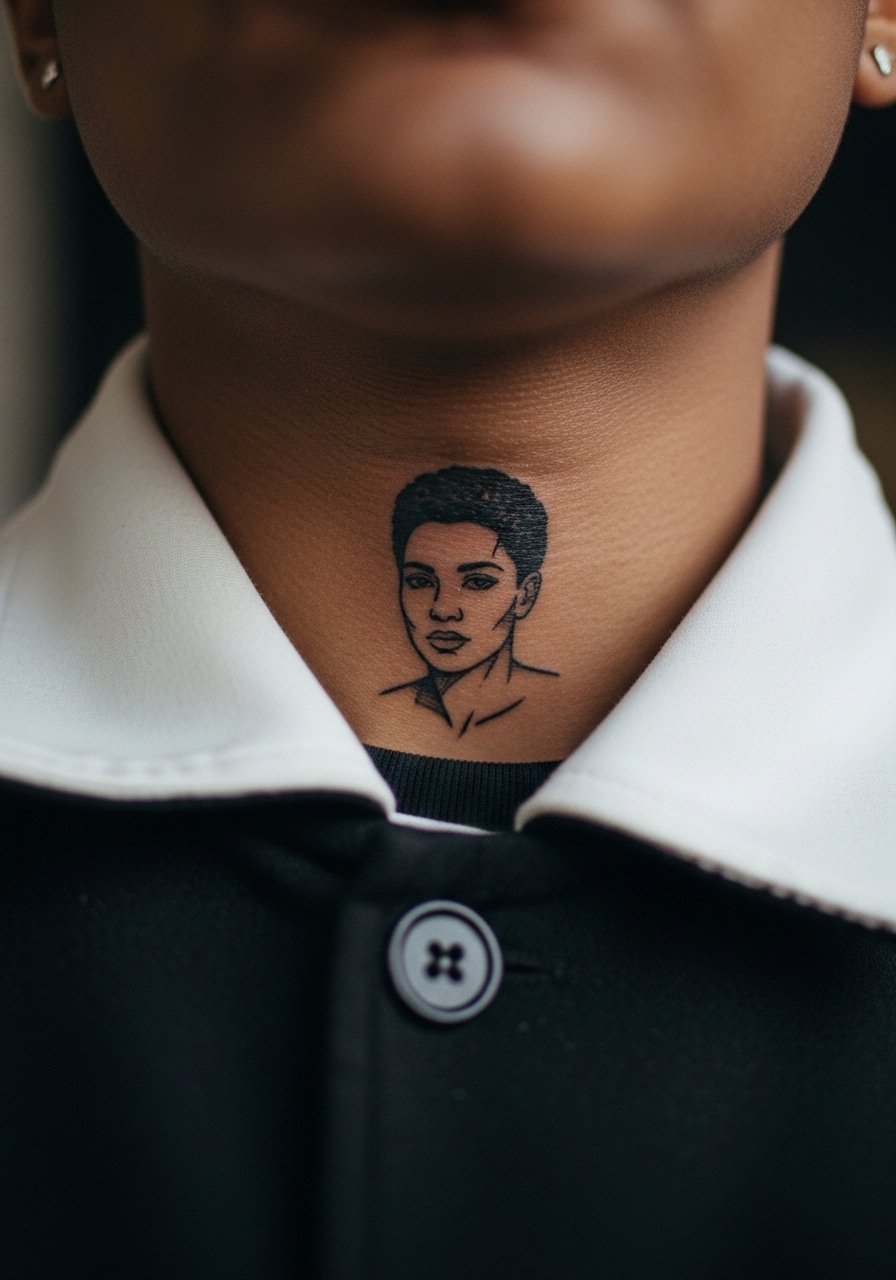
Throat work is visible and sensitive. The area tolerates bold shapes better than micro-detail. Ask your artist for a simplified realism approach with heavier outer lineweight. Sessions are short and pain can be high. A mistake is expecting delicate detail to remain crisp for many years. Show-off styling includes high-neck dresses or open-collar shirts that frame the piece.
22. Lower Back Portrait with Frame
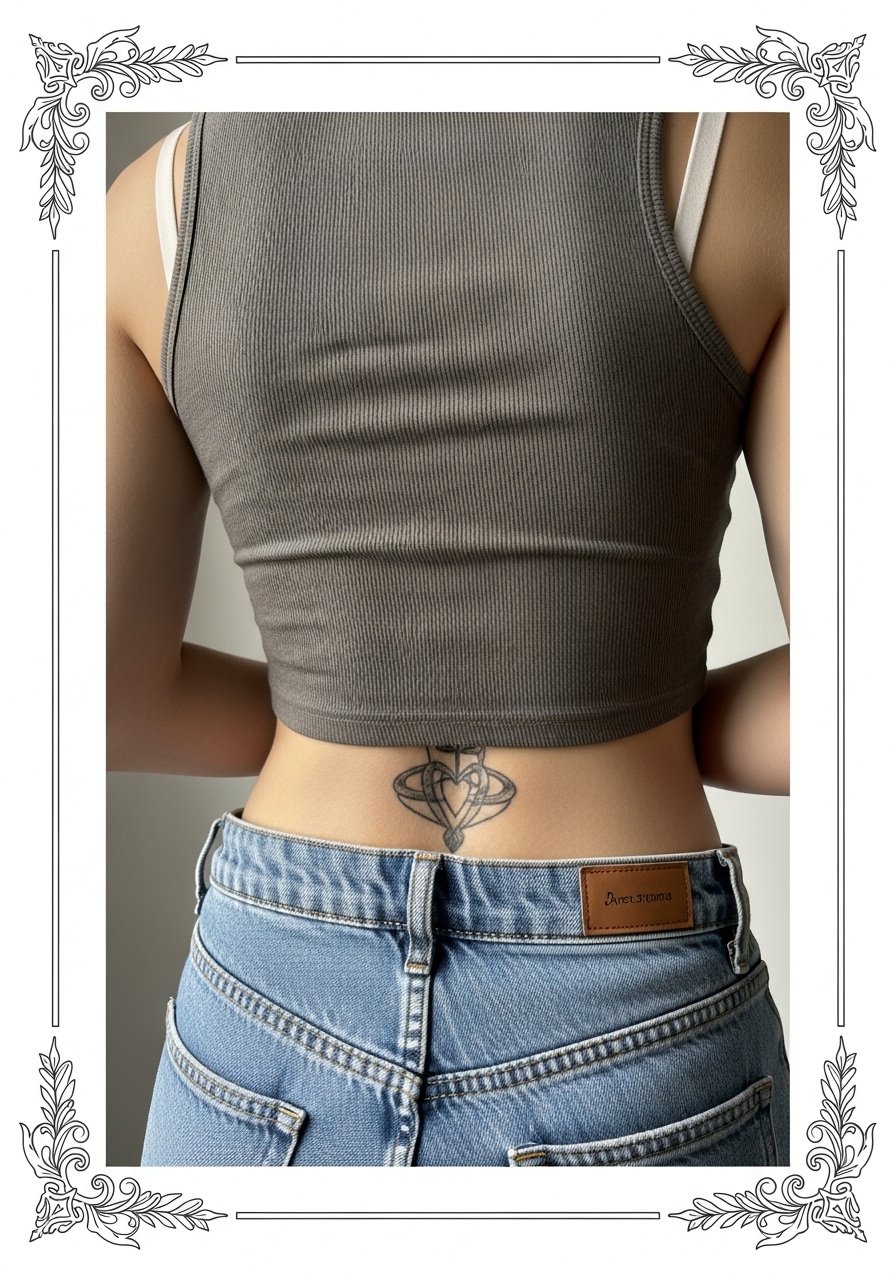
Lower back portraits have room for framing elements that protect the face from edge wear. Tell your artist you want a simple ornamental border to keep edges defined as the skin shifts. Pain is moderate and sessions are medium length. A common mistake is letting the frame compete with the portrait. For the appointment wear a tank top you can pull up slightly so the artist has direct access.
23. Realistic Ellie with Weapon Detail on Forearm
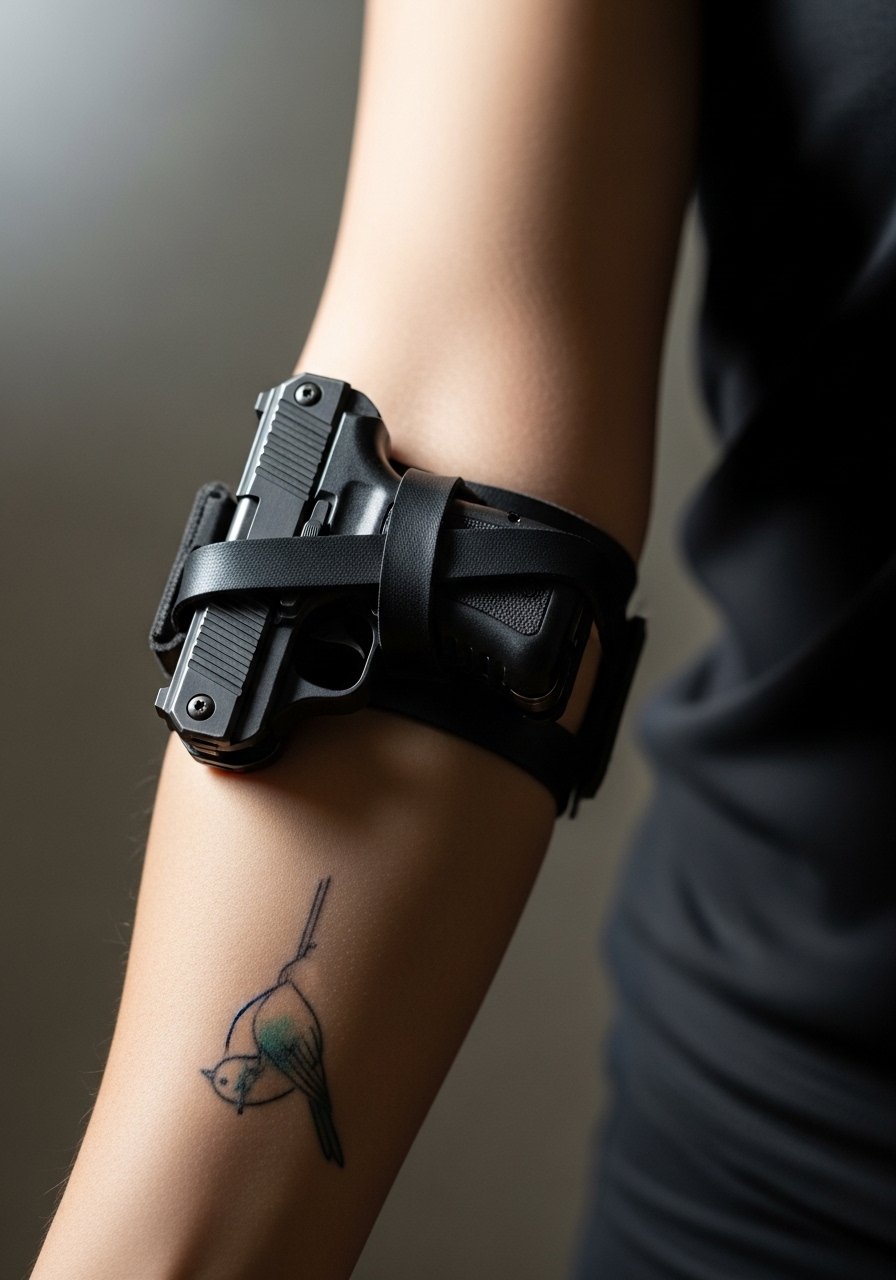
Adding small gear or weapon detail anchors a character portrait and tells a story. For these, request slightly stronger linework around the object so it does not soften and compete with the face. Sessions are medium and expect higher contrast in the weapon area. A frequent mistake is overcrowding the forearm with too many tiny props. To display this look, roll sleeves or wear a short-sleeve button shirt that keeps the arm visible without tight cuffs.
24. Realistic Half-Face on Jawline

Half-face portraits on the jawline are bold and graphic in close-up. The skin there moves with chewing so ask for robust outer contours and soft internal shading. Expect moderate pain and a short session. The main mistake is demanding tiny facial textures that do not hold against jaw movement. For showing off choose shirts with open collars or a button-down you can leave slightly open.
25. Shoulder-to-Chest Flowing Realism Panel
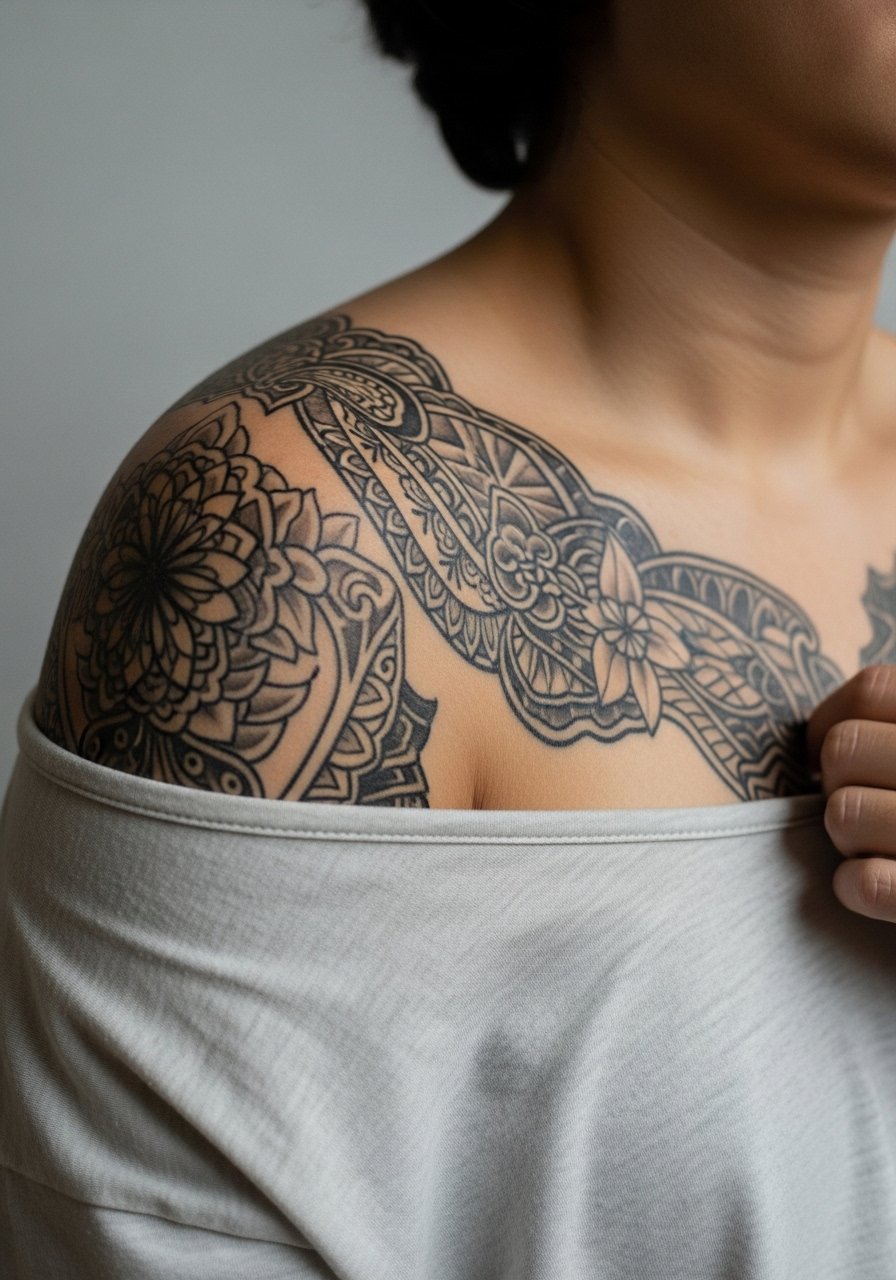
This panel uses the shoulder and chest to create movement around the portrait. Ask for clear face contrast and lighter washes where the piece wraps the collarbone. Sessions are longer and pain varies by area. A common mistake is filling wrap zones with equal detail. Let the face remain the focal point and allow background fields to be sparser. For the session choose a wide-neck shirt that you can adjust without full undressing.
26. Tattoo Sleeve Insert: Ellie Cameo within Sleeve
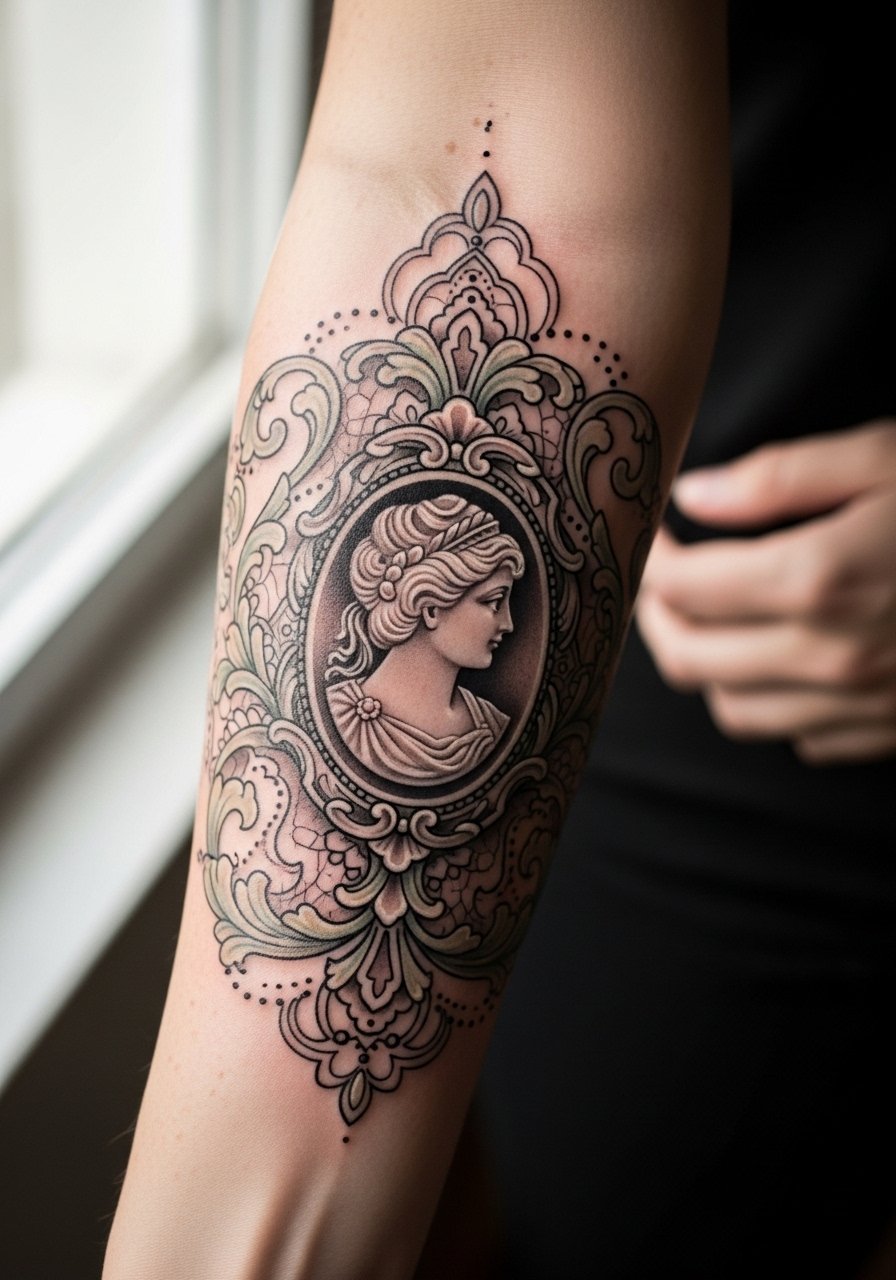
If you already have a sleeve, a small cameo portrait offers a nod without taking over the composition. Ask your artist to match lineweight and saturation to the surrounding work so the cameo looks intentional. Sessions are short for the insert but coordination across sessions matters. A mistake is inserting a portrait in a mismatched style that reads like a patch. For showing it off roll sleeves or wear a short-sleeve tee that keeps the sleeve visible.
27. Realistic Ellie Headshot Behind the Ear and Neck Transition

A behind-the-ear piece plus neck transition reads as a clever placement for fans who want an easter egg. This zone is small and requires simplification. Tell your artist you want the headshot reduced to primary facial landmarks and avoid hairline fussing. Pain is mild. A common mistake is requesting dense shading in such a tight space. Clip hair up for the session and expect touch-ups sooner than for larger pieces.
Frequently Asked Questions
Q: Can I get a realistic Ellie portrait as an exact replica of in-game artwork?
A: Some fans want pixel-perfect copies while others prefer an interpretation. There is a debate. One camp treats game art as fair fan reference. The other camp prefers altered likenesses to avoid direct replication. I recommend discussing originality with your artist and planning a custom reference that captures the character without copying every detail.
Q: How soon should I plan a touch-up for fine line portrait tattoos?
A: From what I have seen, fine line portraits often benefit from a touch-up around year two or three. Visible placements and high-motion zones like hands need sooner attention. Expect a small session to restore contrast rather than a full redo.
Q: Will a portrait on the ribcage blur faster than on the forearm?
A: The ribcage can be trickier because of skin stretch and movement. Some artists succeed with fine detail there, but others avoid it for portraits. If you choose ribs, plan for slightly larger features and discuss touch-up timelines with your artist.
Q: What should I wear to a chest or sternum portrait session?
A: Wear a fitted sports bra or a wide-neck shirt you can pull aside. That keeps the area accessible while maintaining modesty. A fitted sports bra is a practical option that many clients prefer.
Q: Are tattoos of video game characters risky legally or ethically?
A: Legally this is a gray area. Ethically some fans and creators prefer that fan art be transformative and credited. If you are concerned, plan a custom portrait that draws inspiration from the character rather than copying official art exactly.
Q: How do I find an artist who does realistic portrait work for Ellie pieces?
A: Use discovery pathways like tattoo shop directories, convention guest lists, Reddit threads in fan tattoo communities, and portfolio pages on artist websites. Look for healed photos rather than fresh pictures so you can judge how their realism holds up over time.
