
Fine line trends flood feeds, but bold blackwork on the neck has quietly become the better long game for people who want a graphic statement that ages clean. Blackwork holds contrast under UV and through minor stretch more predictably than featherweight detail, especially on mobile skin. Read through these ideas to find a butterfly layout that balances boldness, placement, and long-term clarity before you book a stencil.
1. Nape-Centered Bold Monarch
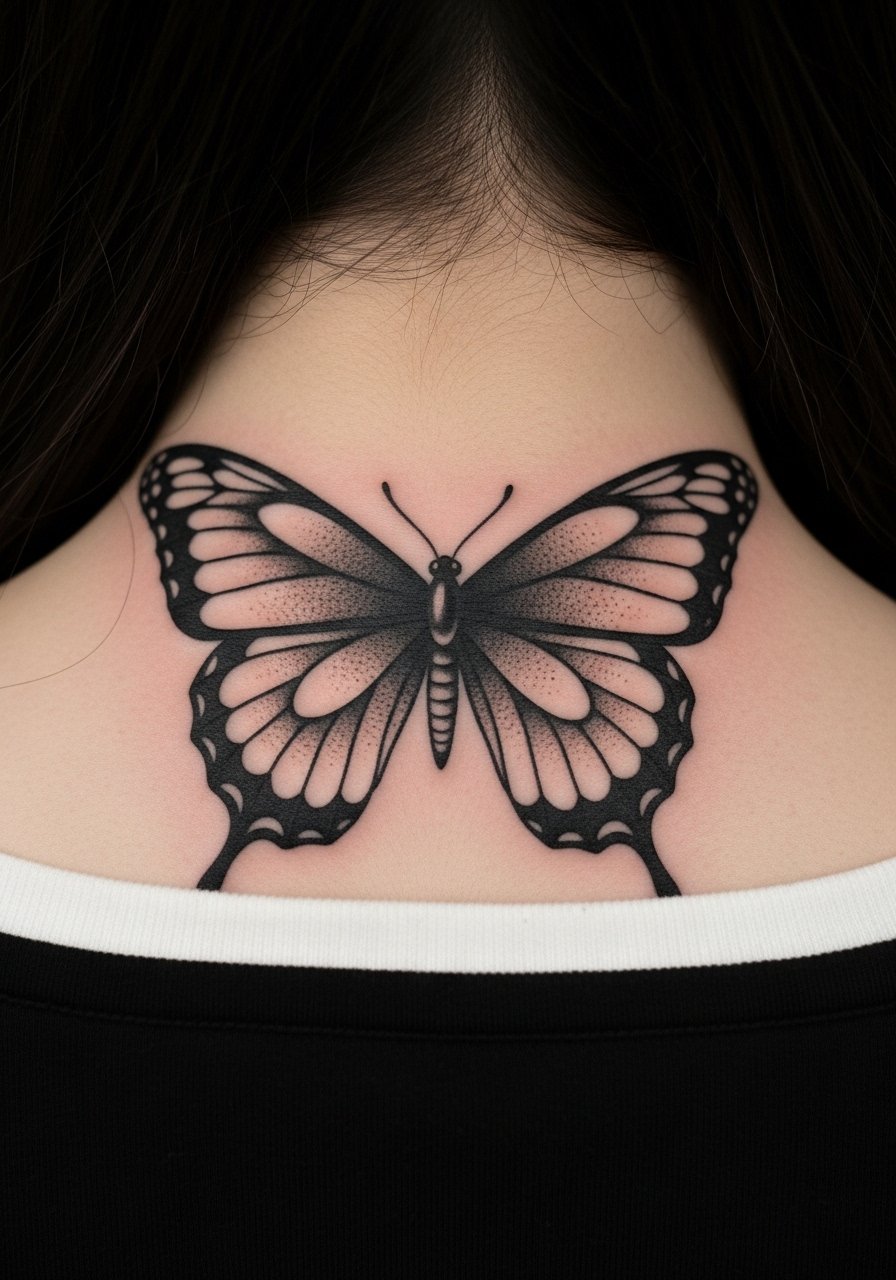
I've seen nape pieces read like jewelry from a distance, and the monarch silhouette does that without tiny detail that blurs. Tell your artist you want strong silhouette linework and saturated wing fills rather than micro veins. Pain on the nape is usually moderate, and a single session under two hours will cover a compact bold piece. Common mistake is asking for filigree too small; those lines spread into a muddle by year three. Expect the first six months to look crisp, at two years the saturation softens slightly, and at five years touch-ups typically refresh the filled wings. For session wear, pull on a wide-neck shirt so the artist can access the area without you being cold.
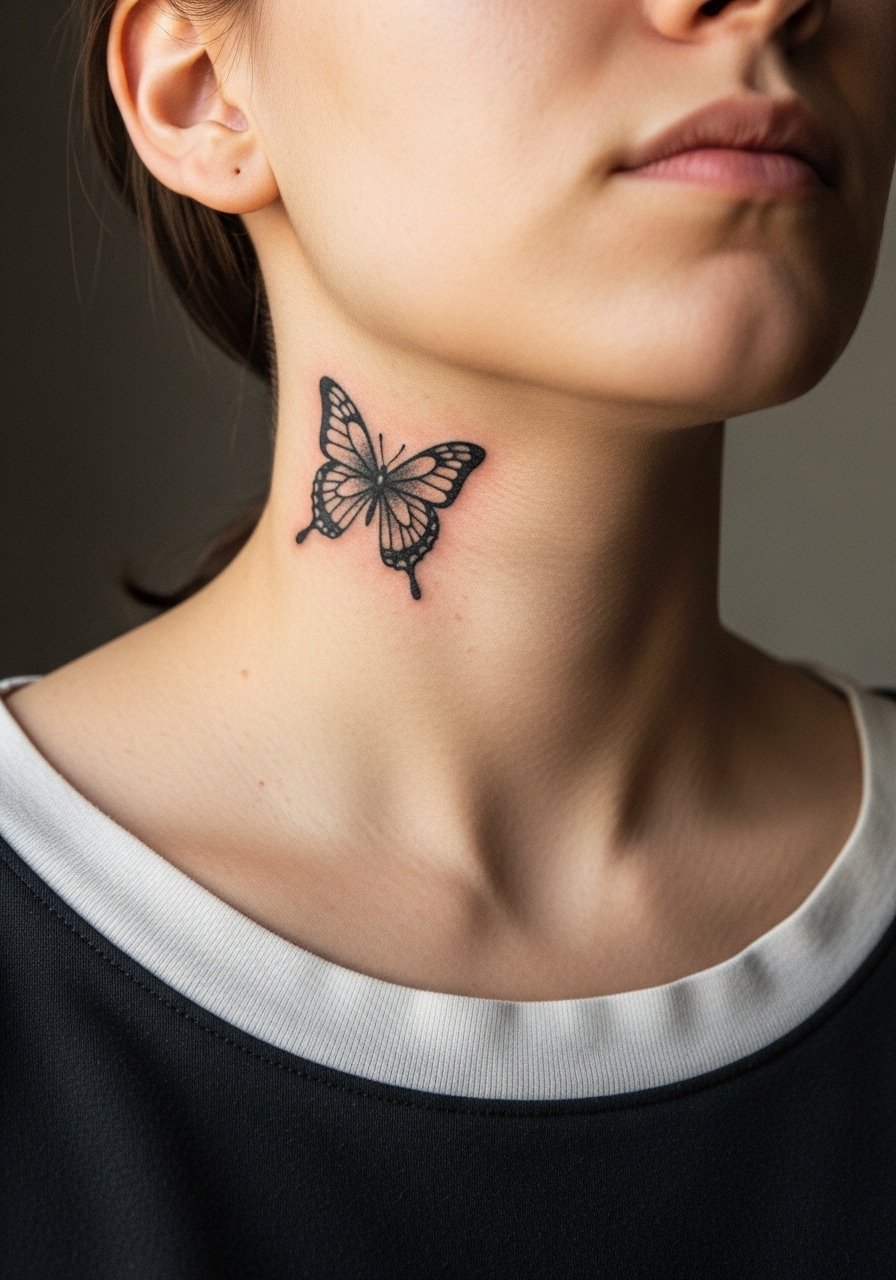
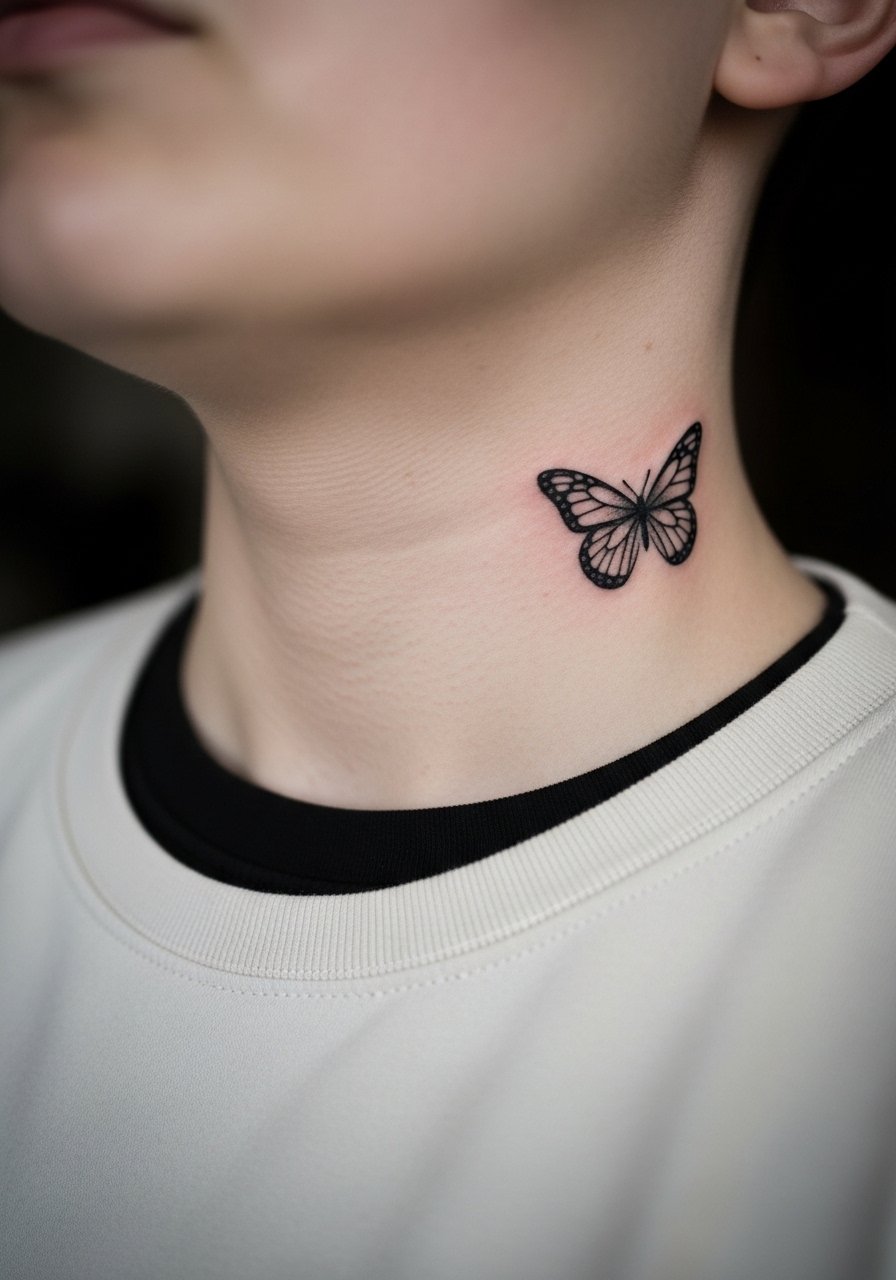
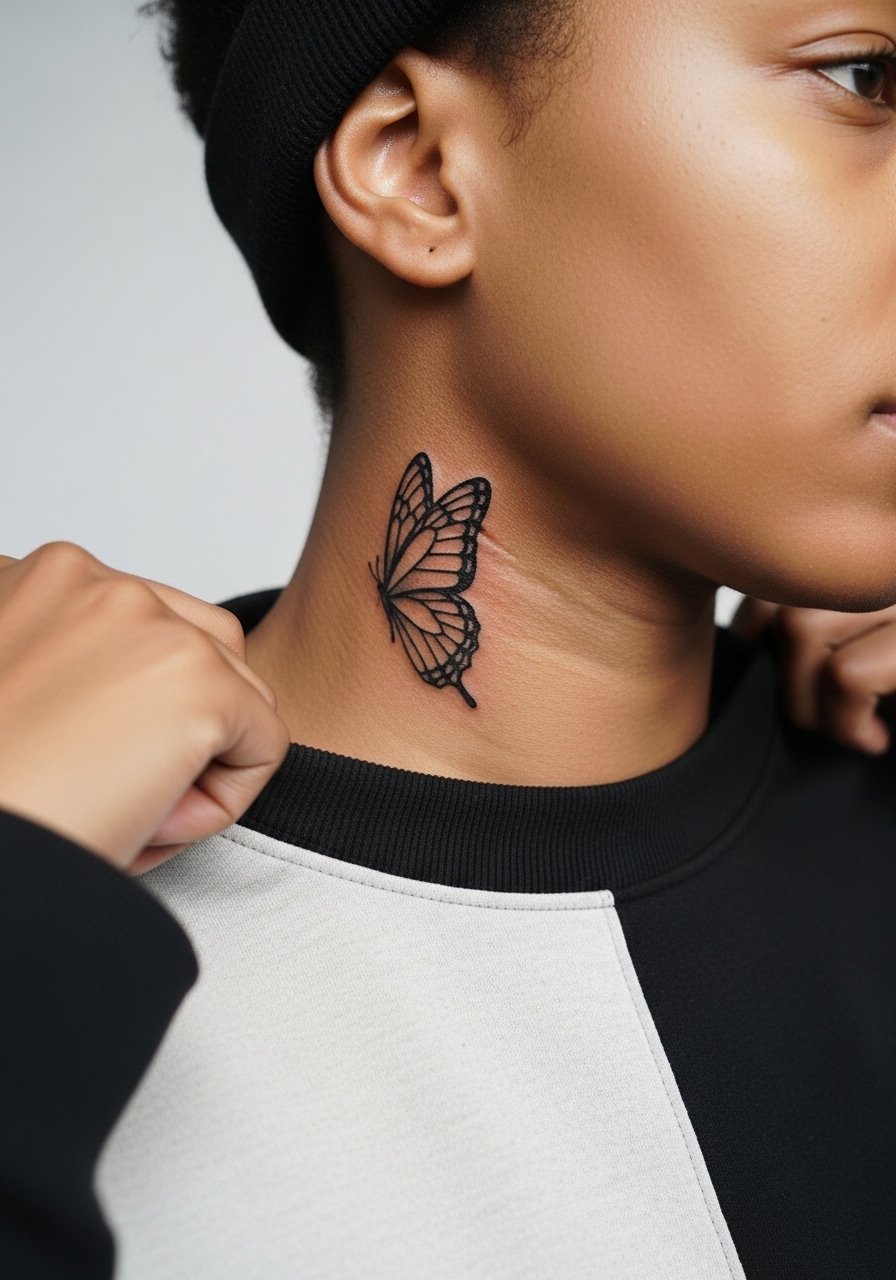
2. Side-Neck Asymmetrical Top-Wing
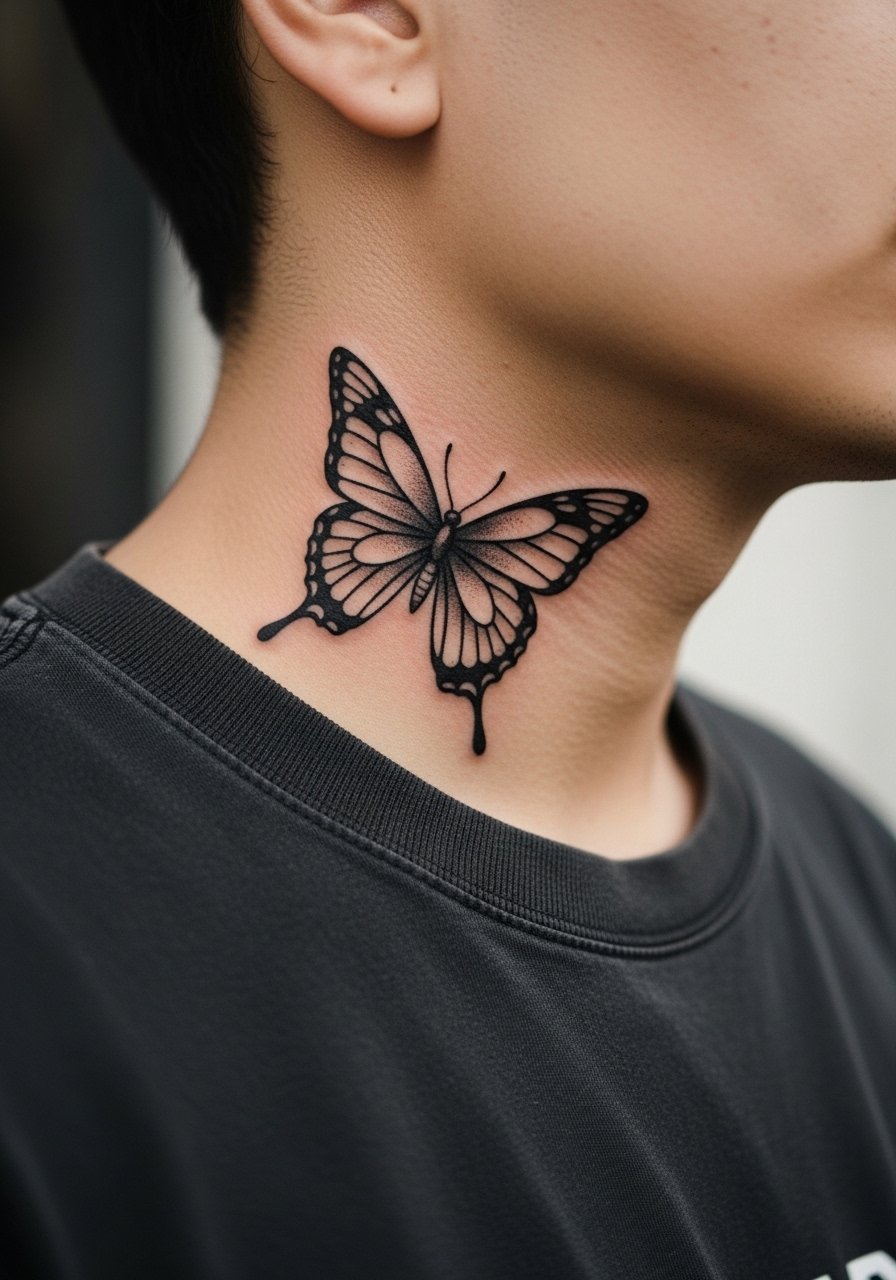
Fair warning: side-neck placements move a lot when you talk or tilt, which can change how a design settles. I recommend an off-center top-wing layout that follows the jawline so the silhouette reads while the wearer moves. Tell your artist to emphasize tapered outer wings with slightly thicker outline toward the contour. The session feels short but intense because the skin is thin. A common version that ages poorly is overly detailed vein work; keep veins minimal and let the wing shape do the work. Expect touch-up talk by year three if you want razor-sharp contrast.
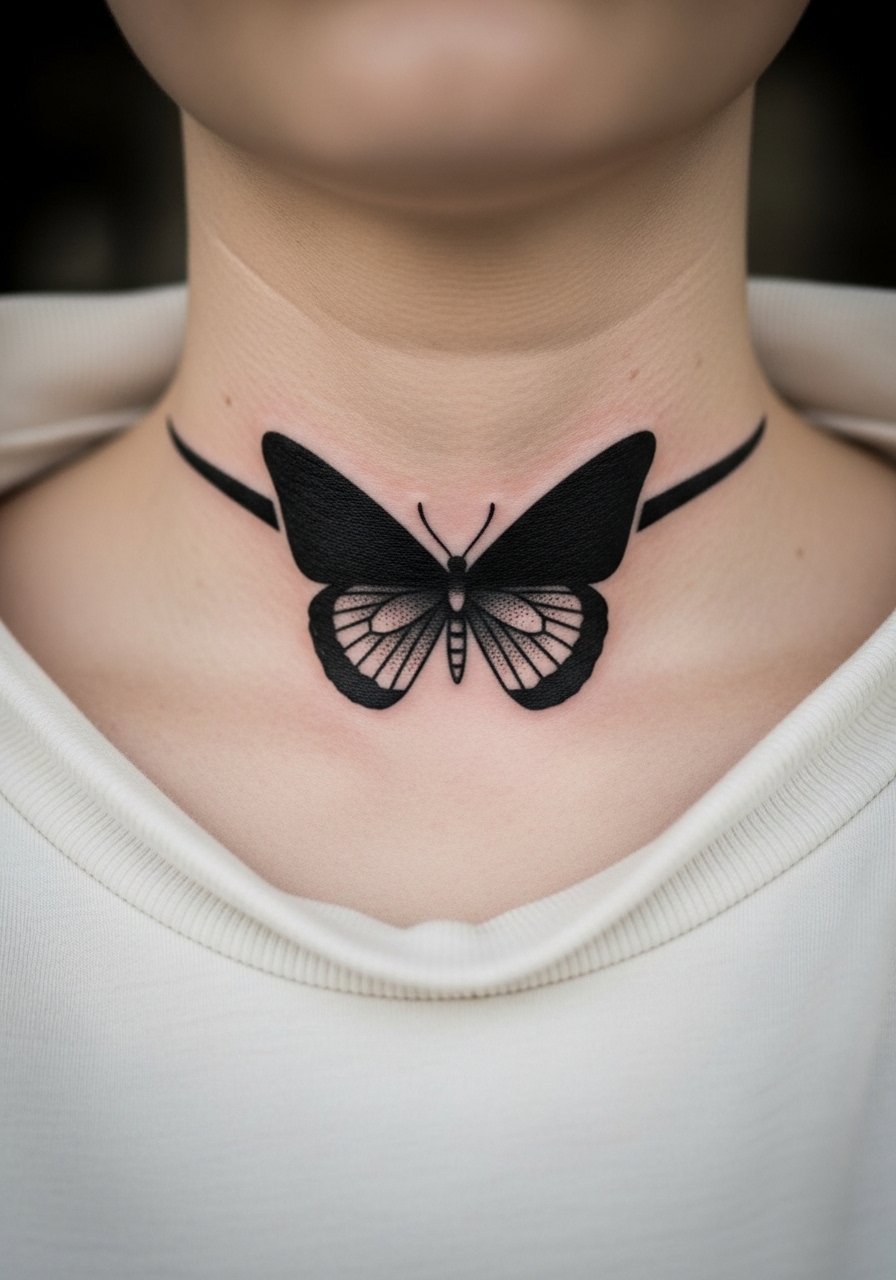
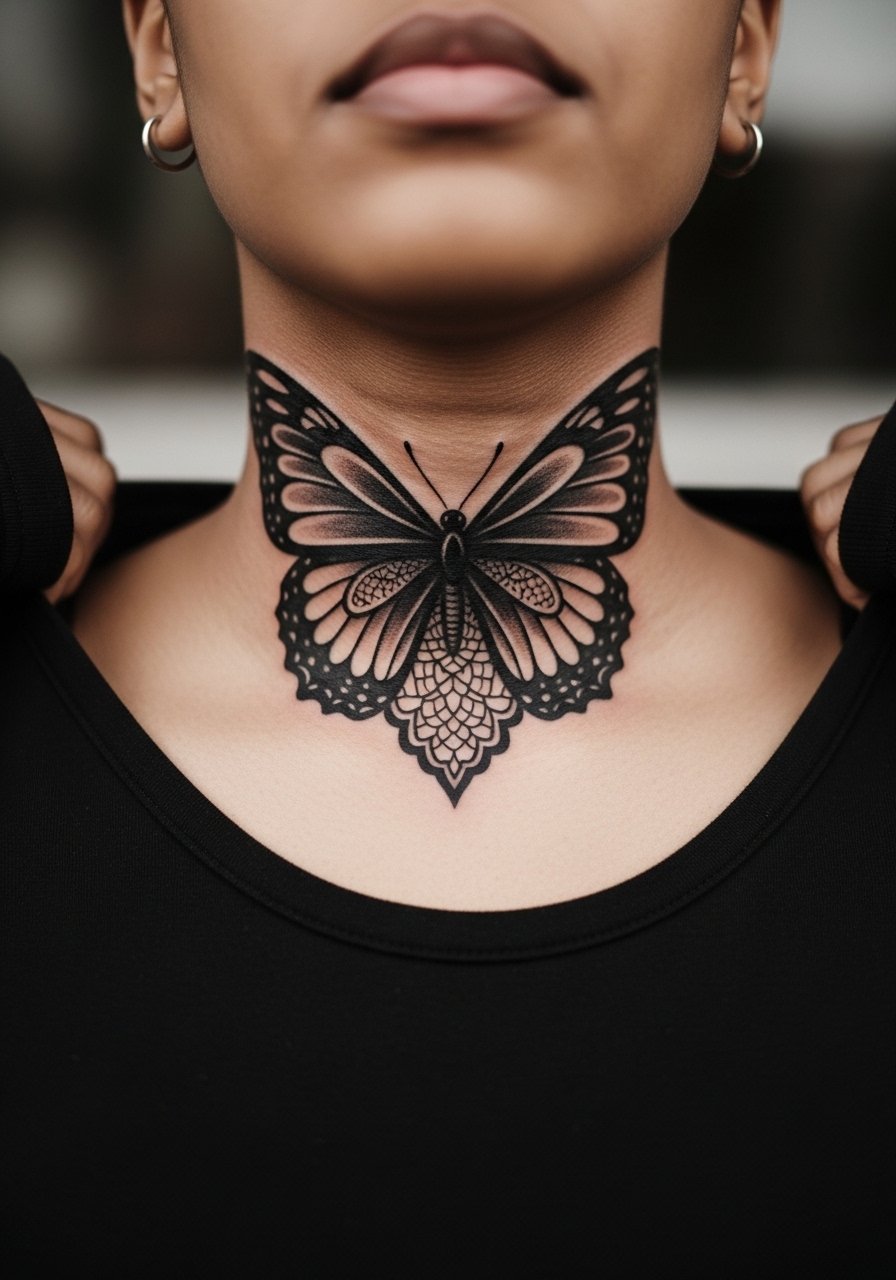
3. Sternocleidomastoid Strap Butterfly
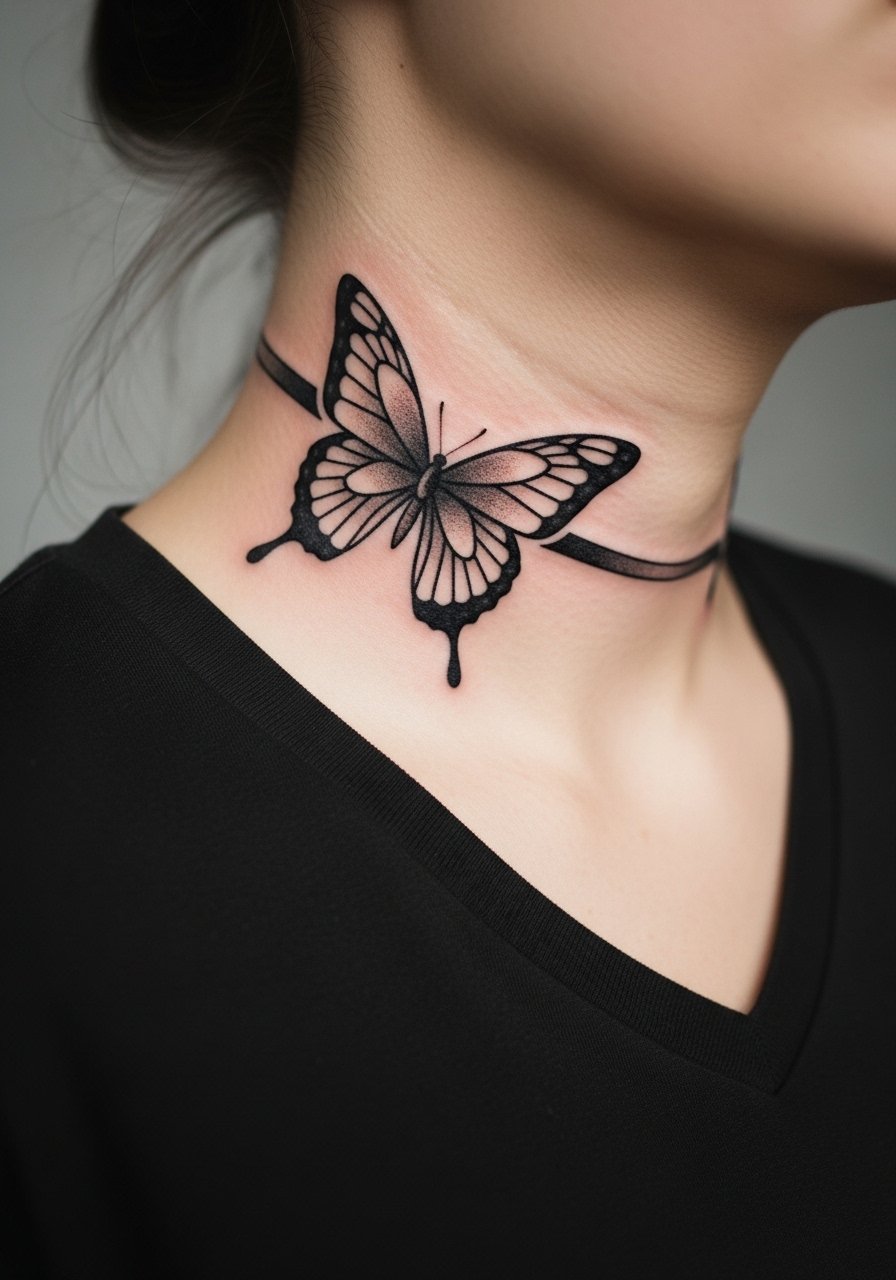
When the design runs along the neck strap it reads like a deliberate accent rather than a pendant. During consultation, mention the exact length you want measured in centimeters so the artist can map wing spread against the muscle. The biggest mistake is compressing the wings too small which makes them merge after healing. Expect a two-hour session and moderate pain that peaks on the medial side. At six months the contour will look crisp, at two years contrast drops if you get frequent sun exposure. Pair this placement with a thin chain that sits above the top wing to frame the piece, like a thin chain pendant necklace.
4. Central Throat Shield
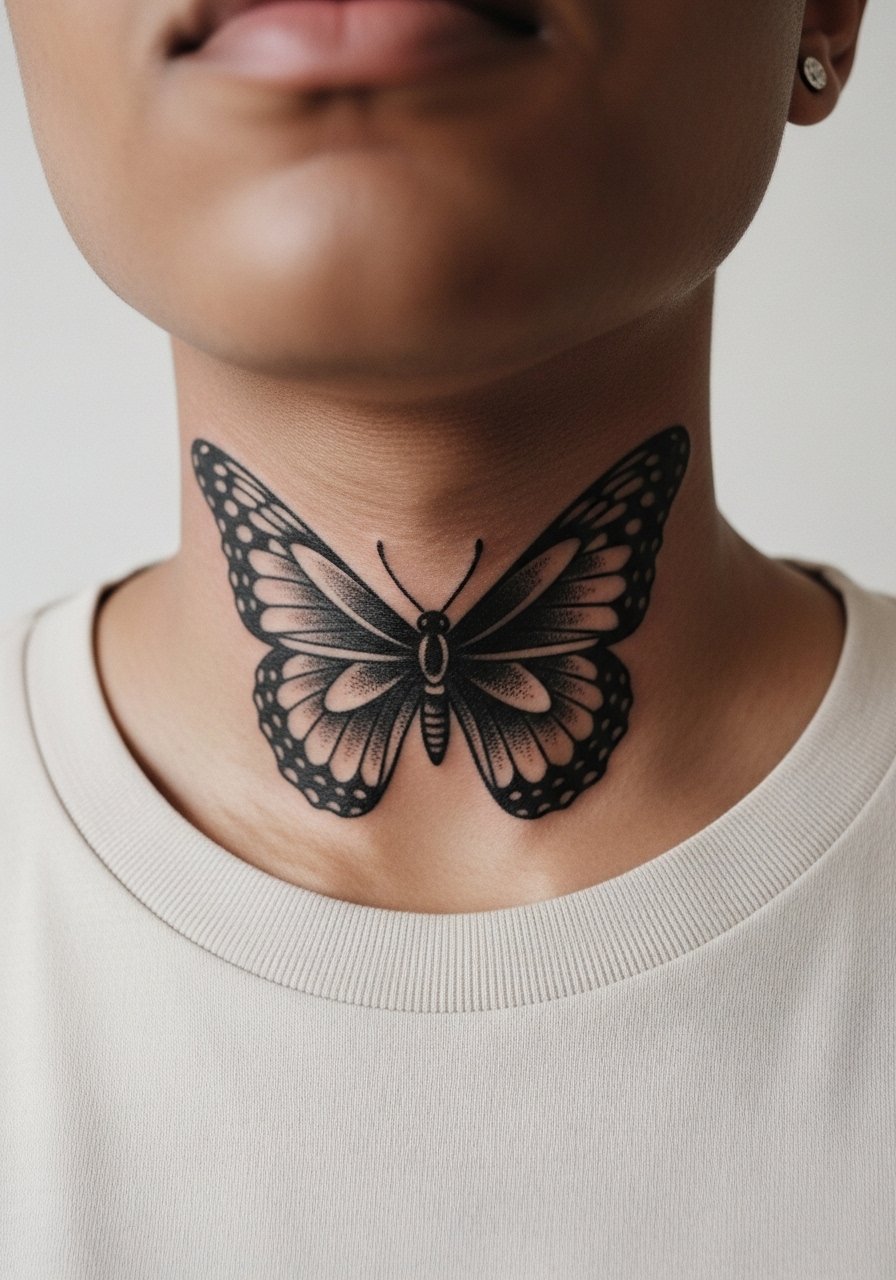
Artists split on throat placements into two camps. One camp argues the front throat is too exposed and the skin there leads to early softening of fine detail. The other camp says heavy blackwork with clear spacing settles well if the needle depth is consistent. Say which camp your artist aligns with before booking. I recommend a shield-like design with negative space rather than tiny filigree. This area hurts more than the nape and often needs short breaks during the session. Expect touch-ups sooner than on the back of the neck if you wear high collars or necklaces that rub the area.
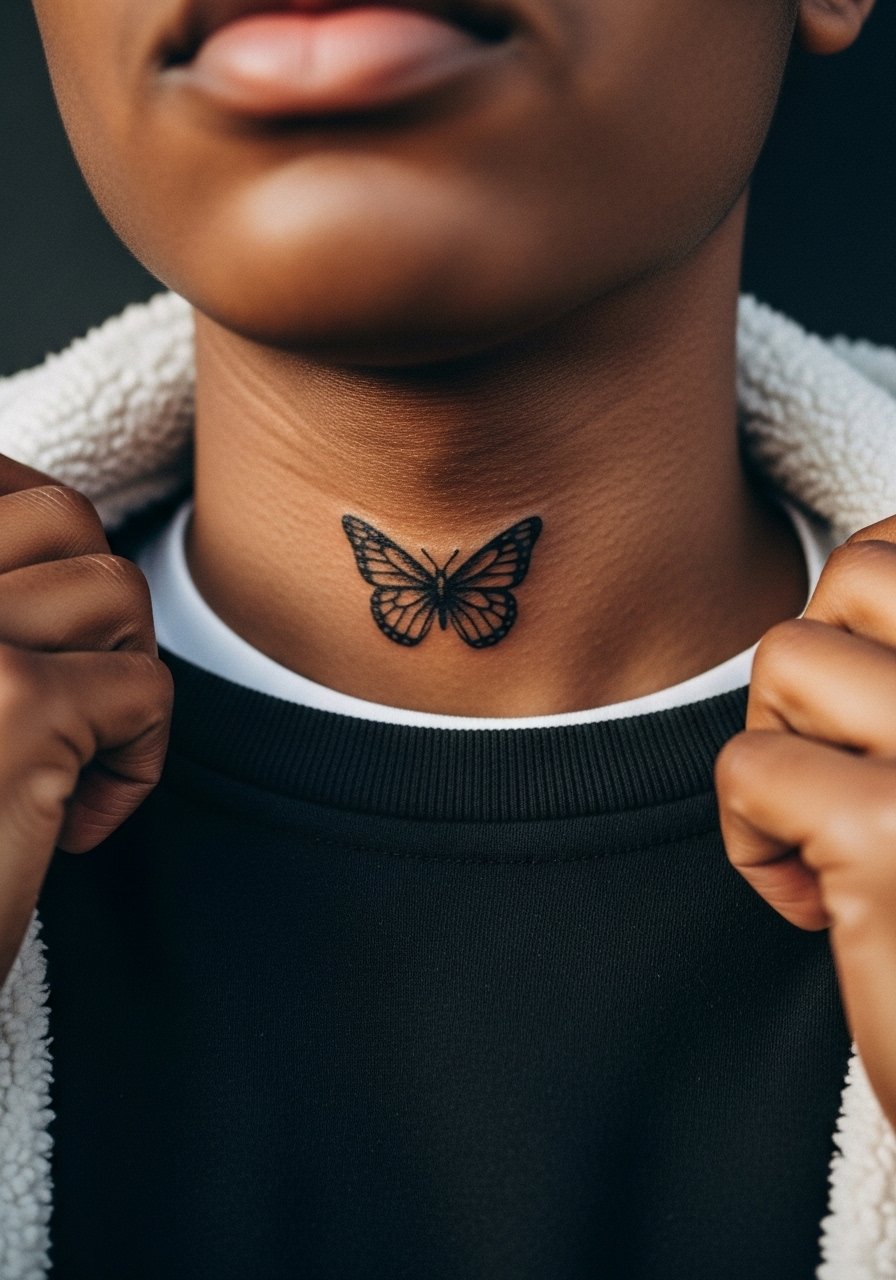
5. Under-Jaw Micro Silhouette
There's a charm to tiny silhouettes that tuck under the jaw but they can go wrong fast if the linework is too thin. When you ask for this, specify a minimum outer line width and request proof stenciling in position while you move your head. The common mistake is choosing micro veins that look delicate at first and then spread. Expect a short session under an hour and a sharper pain point when the needle nears the jawbone. For showing it off, soft scoop necks or v-neck blouses give the area breathing room and a clean frame.
6. Behind-the-Ear Wing Accent
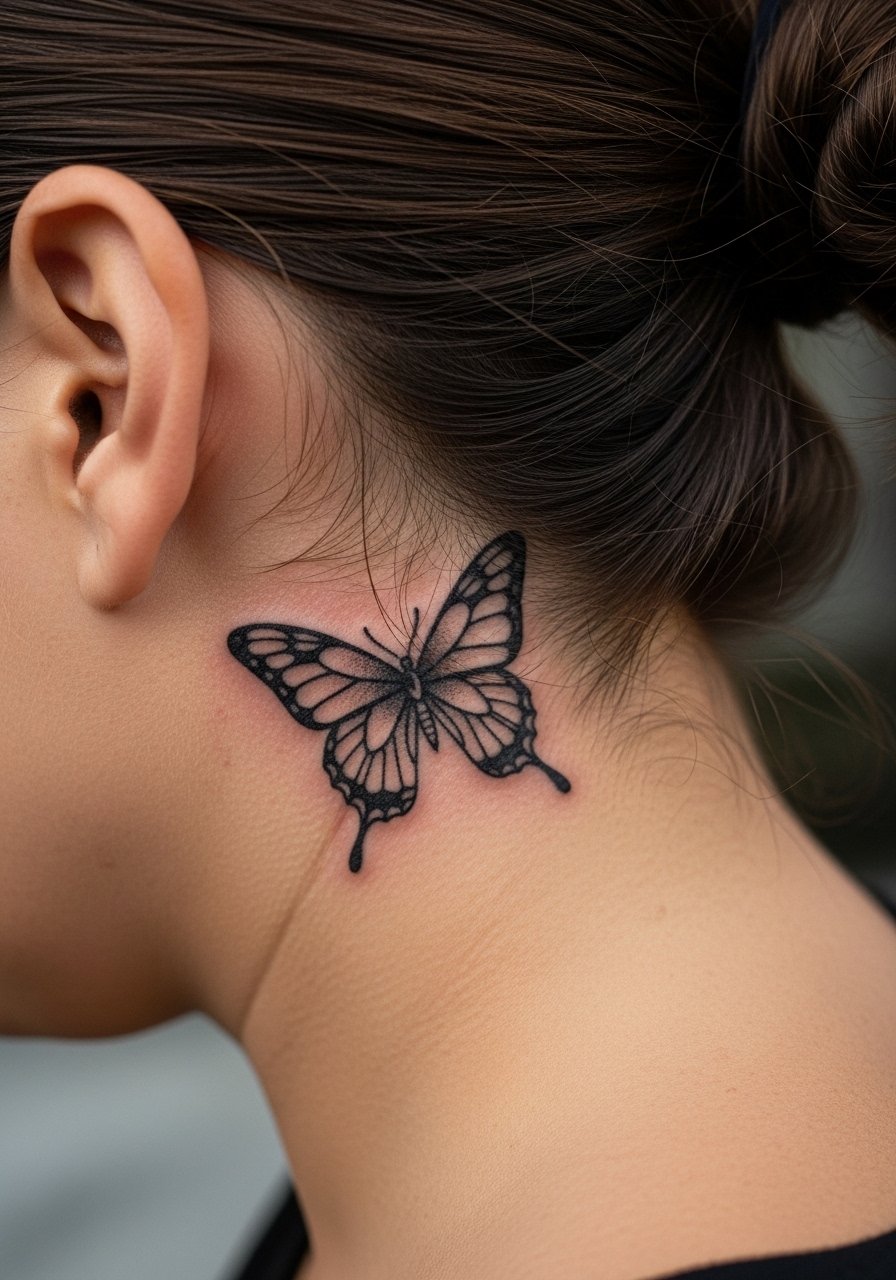
This placement is delicate and the image prompt rules matter for photos and for your consultation. The behind-the-ear spot reads best when the artist keeps the wings compact and the head of the butterfly minimal. Tell them to avoid high-detail shading that can look muddy on that small canvas. Pain is brief but sharp. Many people forget ear hair and earrings during the session which creates noise in the stencil. For the first week wear hair clipped back to reduce friction. This area can need a touch-up by year two if you expose it to a lot of friction from collars or scarves.
Studio Day Picks
The side and throat placements above ask for different prep than the nape and under-jaw pieces, so these specific items smooth the session and the first week.
-
Stencil transfer paper kit. Lets you preview exact placement across the jawline and neck straps so there are fewer surprises once the artist starts.
-
Topical numbing cream. Applied as directed before the session takes the edge off sensitive throat work without changing the linework when used properly.
-
Thin protective film roll. Ideal for the first 24 hours on side-neck pieces that might rub against collars.
-
Fragrance-free gentle body wash. Cleans the area in the first week without irritating the ink, useful for throat and nape care.
-
Aquaphor healing ointment. Thin layers for the initial days lock in moisture on delicate neck skin without heavy residue.
7. Collarbone-Edge Butterfly Cluster
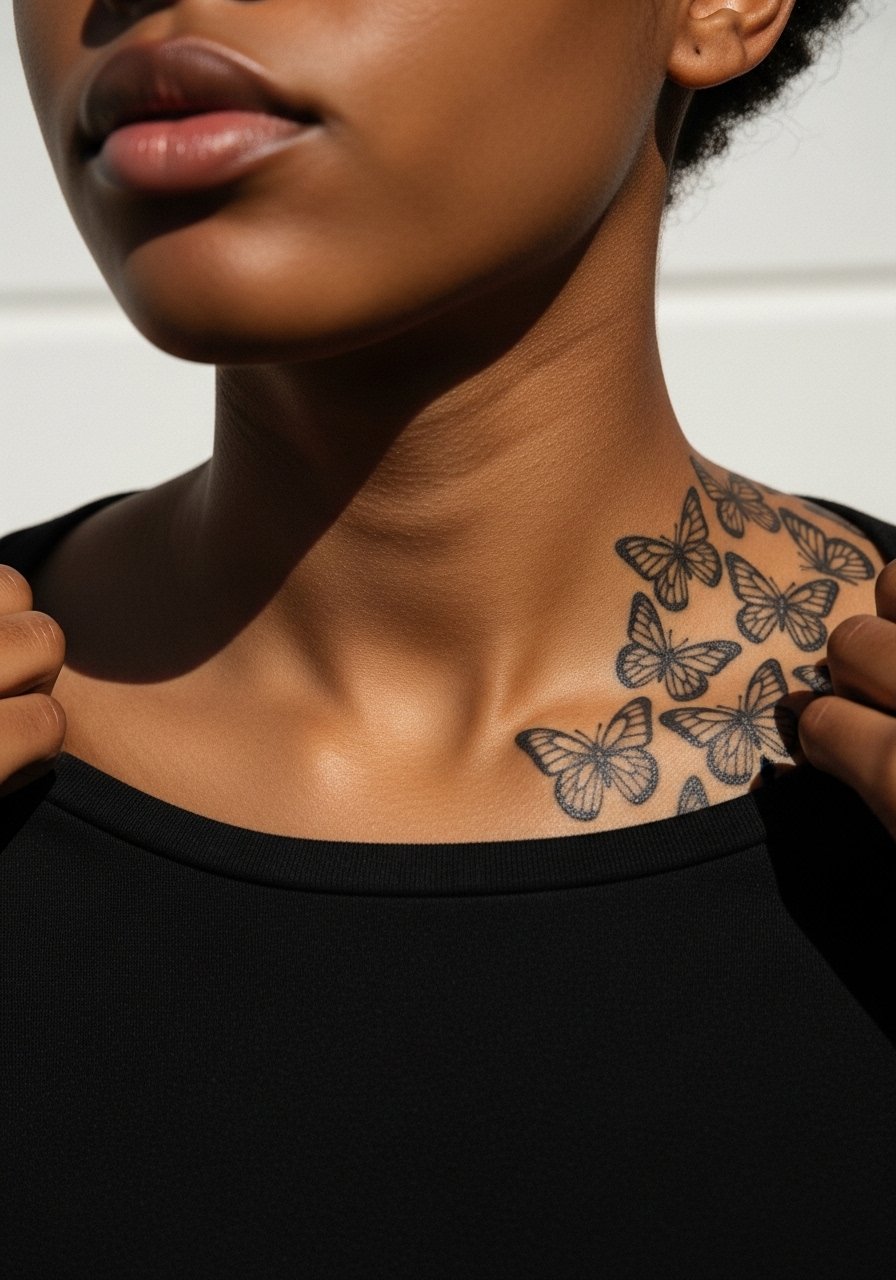
This design sits where neck meets shoulder and it benefits from winglets that tuck toward the collarbone. In consultation, bring photos of shirts you wear so the artist can size the cluster to peek above most necklines. Mistakes include making the cluster too dense which ages into a dark patch. Session time is moderate, often under two hours. Expect soreness when wearing strap bags or tight collars for the first week. For evening looks, an open-neck blouse or an open-back midi dress can show the piece without crowded jewelry.
8. Vertical Spine-Line Nape
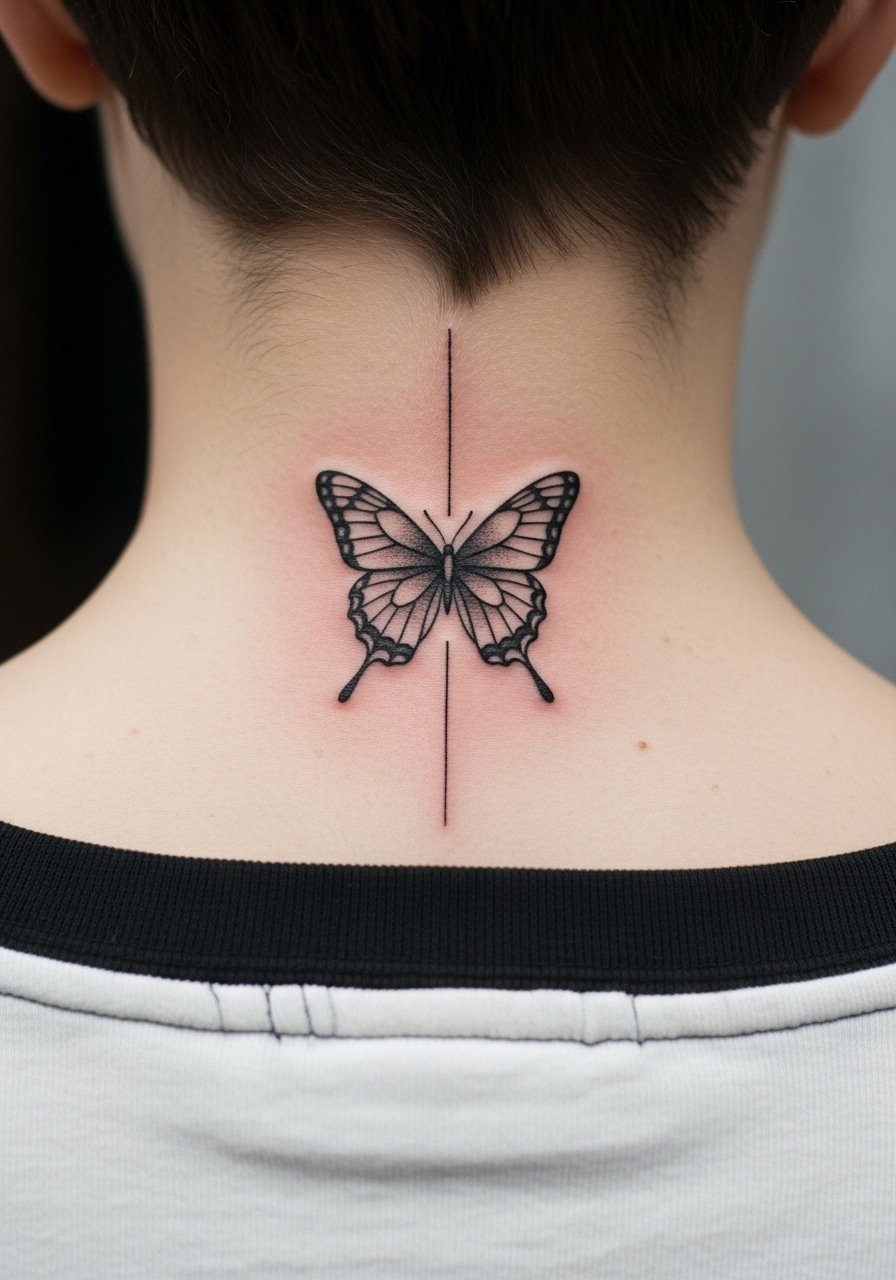
There is a visual discipline to a vertical alignment that follows the spine at the nape. Ask your artist to center the thorax on the spine and keep wing spacing open so it will not merge with other nearby work. The session feels steady and the pain is a dull vibration rather than sharp. A frequent error is stacking additional small symbols too close which destroys the negative space the design needs to breathe. At two years the center line will remain the strongest element while edges soften. If you wear high-collar shirts often, discuss that with your artist to avoid constant rubbing.
9. Wrapped Halves Over the Trapezius
This split approach frames the neck laterally and works if you like mirrored form without a heavy center. Tell the artist you want the halves to read individually so each wing has its own negative space. Pain is lower on the trapezius but increases as ink nears the neck. A common mistake is making the halves too small which makes them lose identity at a distance. Session time usually runs one to two hours depending on fill. For showing it off, a loose button-down shirt you can slide aside highlights the wrap without heavy jewelry.
10. Low-Throat Minimalist Glyph
Minimal glyph-style butterflies on the low throat look crisp if the linework has modest weight. The danger is choosing ultra-fine strokes which blur on the moving skin. Ask for clearly defined outer lines and a suggestion for a small negative-space body. The session is short and the pain is notable due to proximity to cartilage. At six months the piece usually looks exactly like fresh photo references. By year three you may consider a touch-up if you want edges tight. Avoid necklaces that sit directly on the piece while it heals.
11. Lateral Collar Accent With Stipple Wings
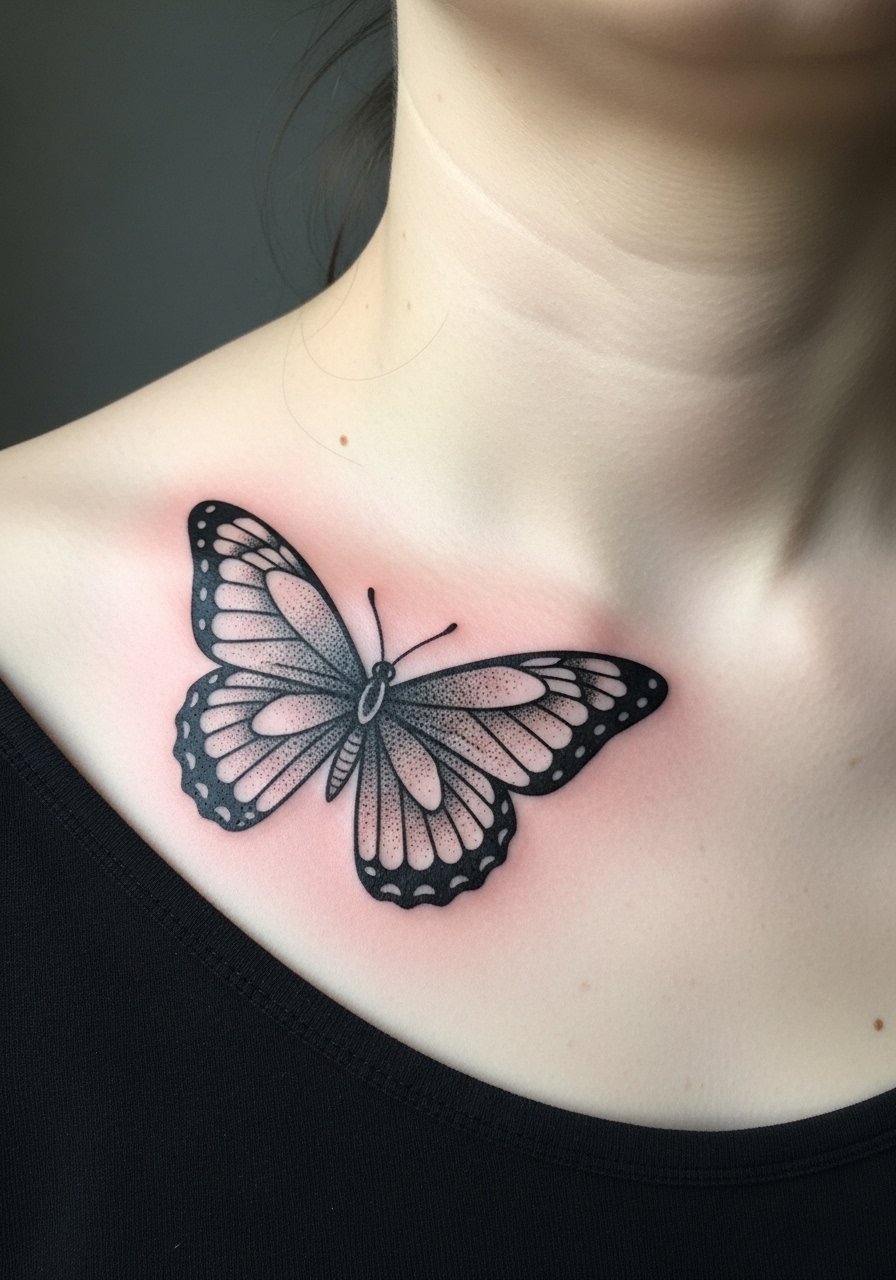
Stipple or dot shading in blackwork can add texture without relying on color. Tell your artist to use stipple only in the wing interiors and to keep outer linework solid. The mistake is overdoing stipple density which collapses into a grey patch after healing. The session will take longer than a silhouette piece because stippling is time consuming. Expect moderate discomfort near the collarbone. For styling, a thin chain pendant necklace that sits just above the wing keeps the focus on the tattoo without rubbing.
12. Micro-Realism Thoracic Moth

Micro-realism in blackwork divides artists into two camps. One camp warns that the small, detailed approach on the upper chest blurs as skin moves and ages. The other camp contends that careful spacing and slight boldening of key contours lets micro-realism last. I recommend asking your artist to slightly enlarge the defining contours while keeping internal texture delicate. This placement can be more painful because of the thin tissue and occasional bone proximity. Expect a longer appointment and plan clothing that gives the artist access, such as a fitted sports bra or a strapless top alternative like a bandeau.
13. Nape-to-Neck Ladder Composition

A ladder composition reads like punctuation down the spine and is great for people who want a small running motif. In consultation, ask the artist to keep even spacing between moths to avoid future merging. The error I see is placing them too closely so they become a single dark band after a couple of years. Sessions are broken into small passes and are easy on pain compared with direct throat work. At five years the topmost piece will often show the best contrast due to less sun exposure. For session ease, wear a racerback tank top that gives clear access to the nape.
14. Low-Side Jaw Hook
There is a sharpness to tattoos near the jaw that reads as an intentional accent rather than a pendant. Ask your artist to design the wing tip to follow the jaw curve so movement preserves its identity. A recurring mistake is placing too many small marks around the area which ages into a cluttered patch. This spot often stings more because of proximity to bone. Expect a short session but plan for tenderness when chewing and turning the head in the first 48 hours.
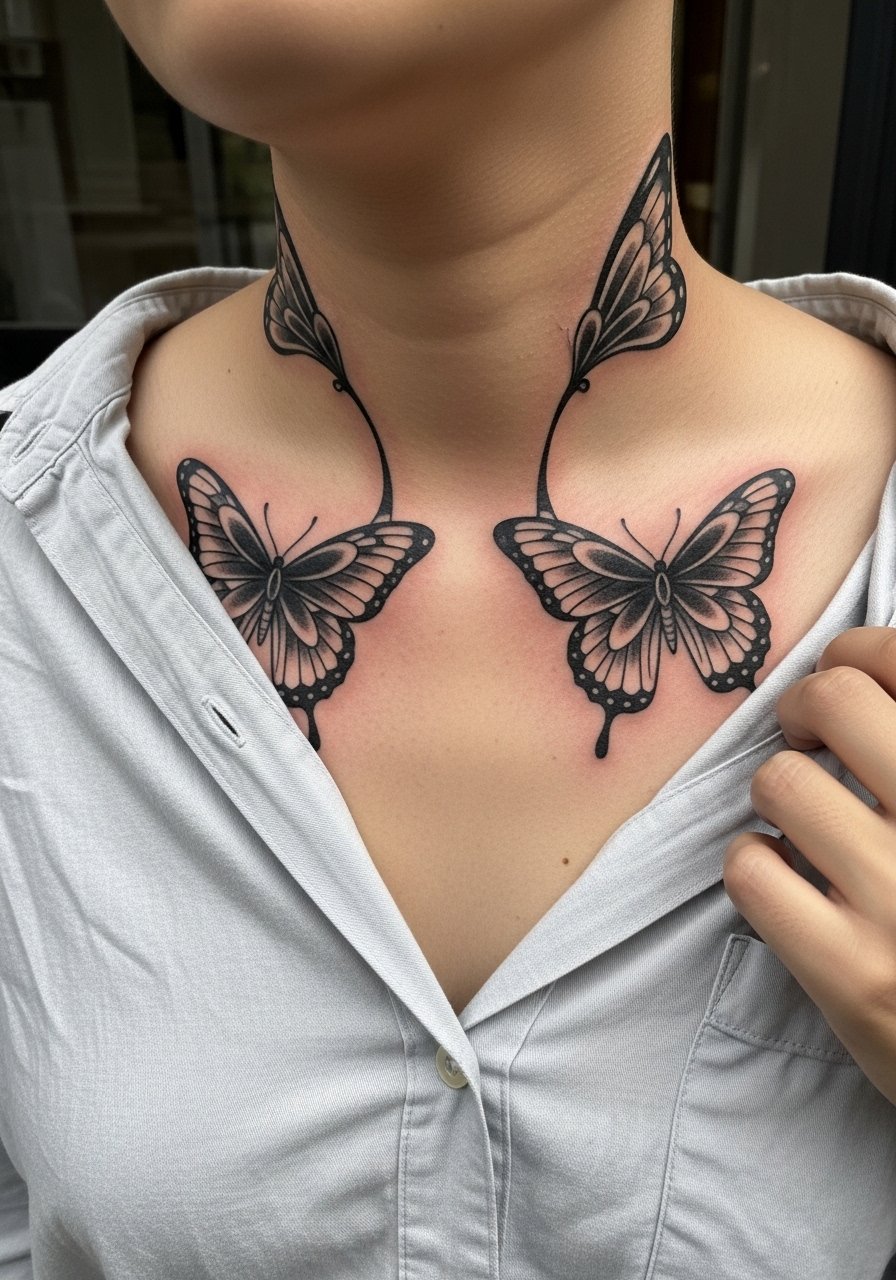
15. Mirror Nape Pairs
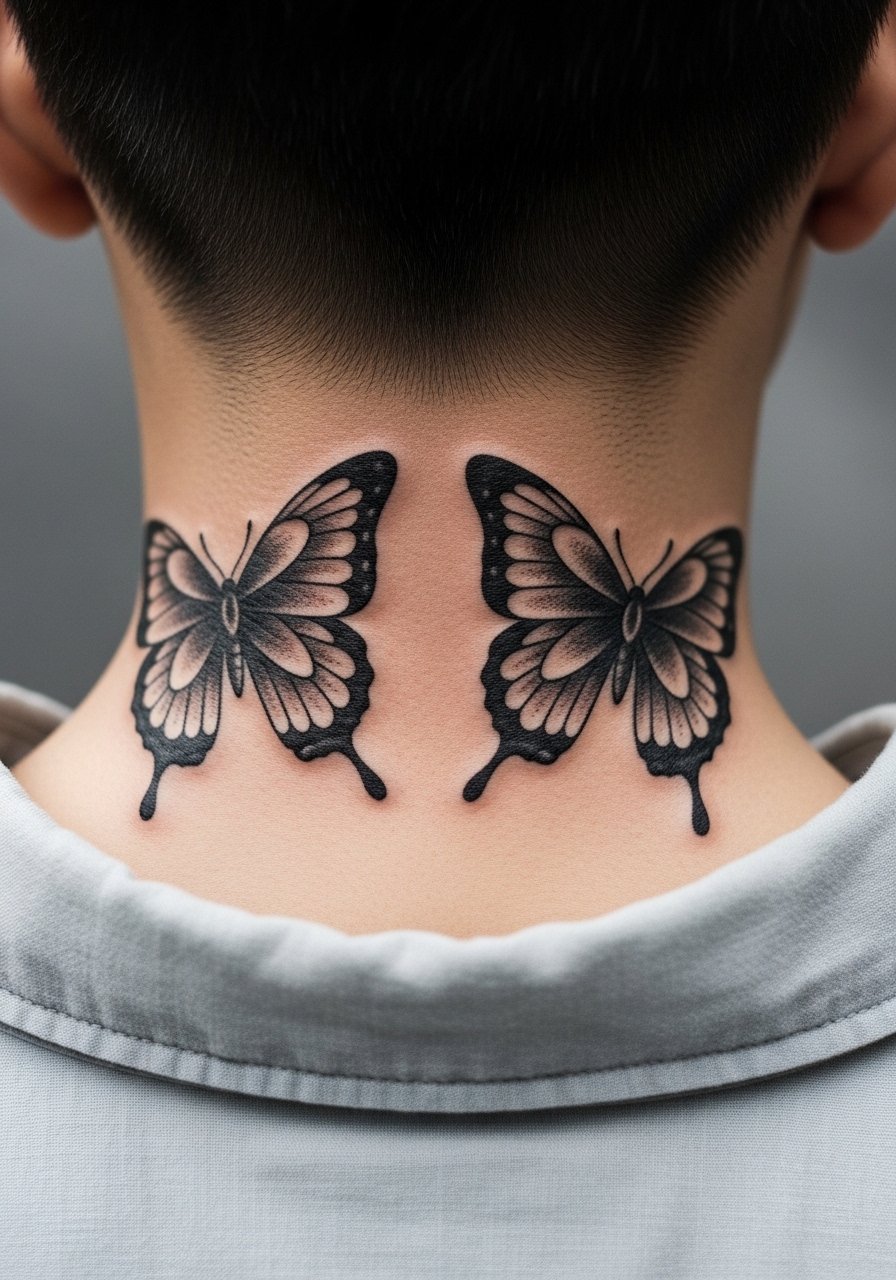
Mirrored pieces create symmetry and work well if you want balance with minimal fuss. Tell your artist you want precisely mirrored scale and negative space so both sides age similarly. The main mistake is asymmetric sizing which becomes obvious once healed. This layout usually fits into a single session under two hours with moderate pain. For outfits, an open collar or loose drawstring linen pants is more about comfort during the session if you need to remove lower layers, though the top half wardrobe matters most for showing the nape.
16. Subtle Side-Throat Mini Shield

This mini shield reads discreet and works if you want a less obvious statement. Tell the artist to avoid ultra-thin filigree. The common aging mistake is choosing strokes that are too close together which merge. The pain is noticeable but brief. Expect an honest conversation about touch-up timing if you want the shield to maintain crisp edges in five years. For the session, avoid high scarves and tight collars for at least a week.
17. Inset Negative-Space Body
Using negative space for the body creates a clean modern counterpoint in heavy black wings. During consultation, request the negative strip to be slightly wider than you expect so it stays visible as surrounding pigment softens. The mistake is making the negative area too fine which disappears over time. Pain is moderate and the session often lands under two hours. For display, a simple pendant over the collarbone keeps attention away from the neck while providing a layered look, such as a delicate pendant.
18. Thin-Strip Wing Along Adam’s Apple Flank
Placement hugging the Adam's apple flank reads bold and intimate. Tell your artist to avoid placing details directly over high-movement zones and to favor clear outlines. The session is more uncomfortable here and may require short breaks. A frequent error is attempting micro veins; they vanish into the motion of the area. Touch-ups at year two are common if you want the lines exact. Plan to avoid tight collars that compress the area while it heals.
19. Horizontal Winglet Across Supraclavicular
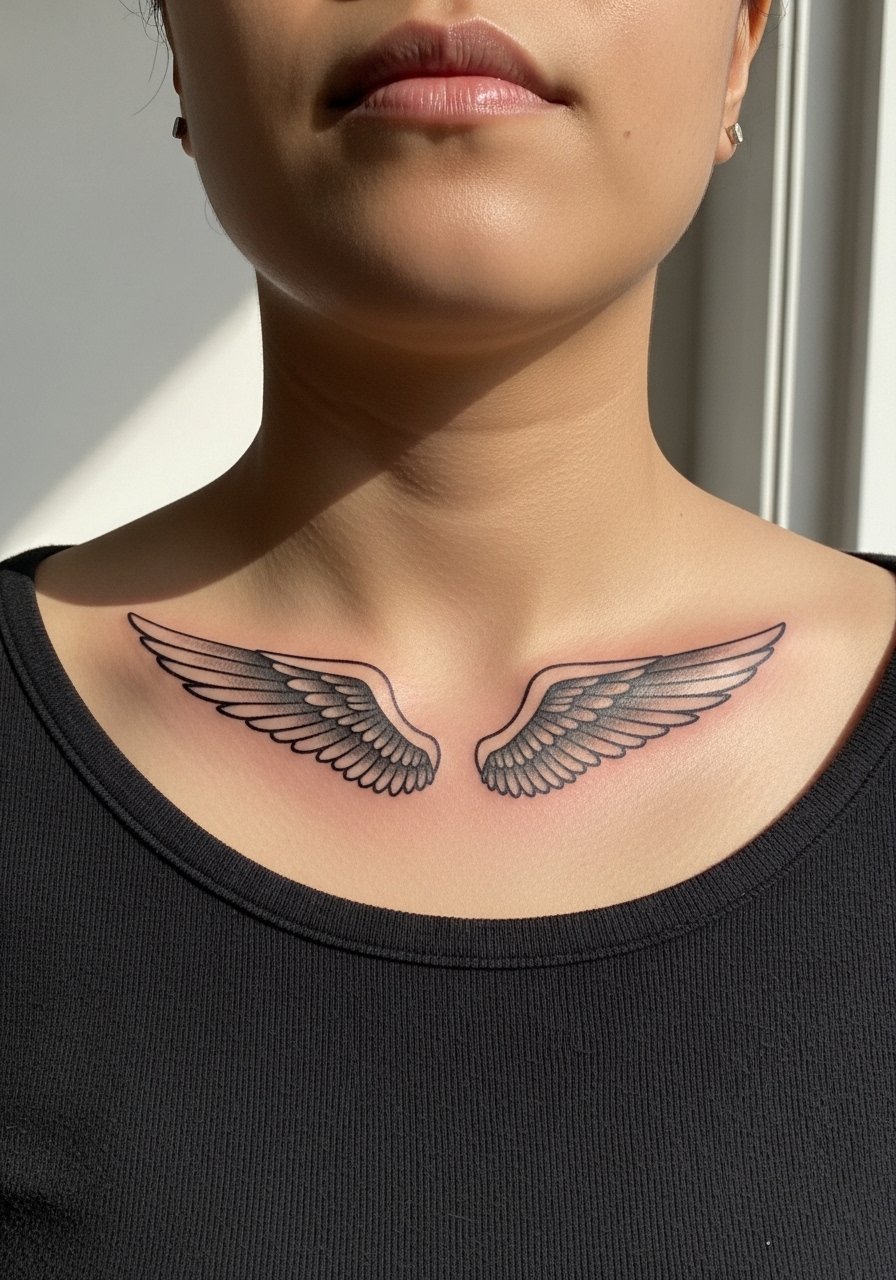
A horizontal winglet works as an accent above the clavicle and flatters open-neck clothing. Request a strong outer edge so the wing reads in profile. The common mistake is keeping the wing too narrow which causes it to look like a mark rather than a motif after a few years. Session time is short and pain is mild compared with central throat work. For evenings out, pair this with an open-back top to show the line without crowding it.
20. High-Neck Lace Silhouette
Lace silhouettes can feel ornate while remaining readable if the negative cutouts are generous. Tell your artist to exaggerate the cutouts slightly so they remain visible as edges soften. The mistake is packing too many small holes which fill in during healing. This area is sensitive and sessions demand steady hand technique. Expect a touch-up conversation for the lace edges within a few years if you prefer crisp negative form. Keep scarves off the area while it heals.
21. All-Black Solid Wing Pendant
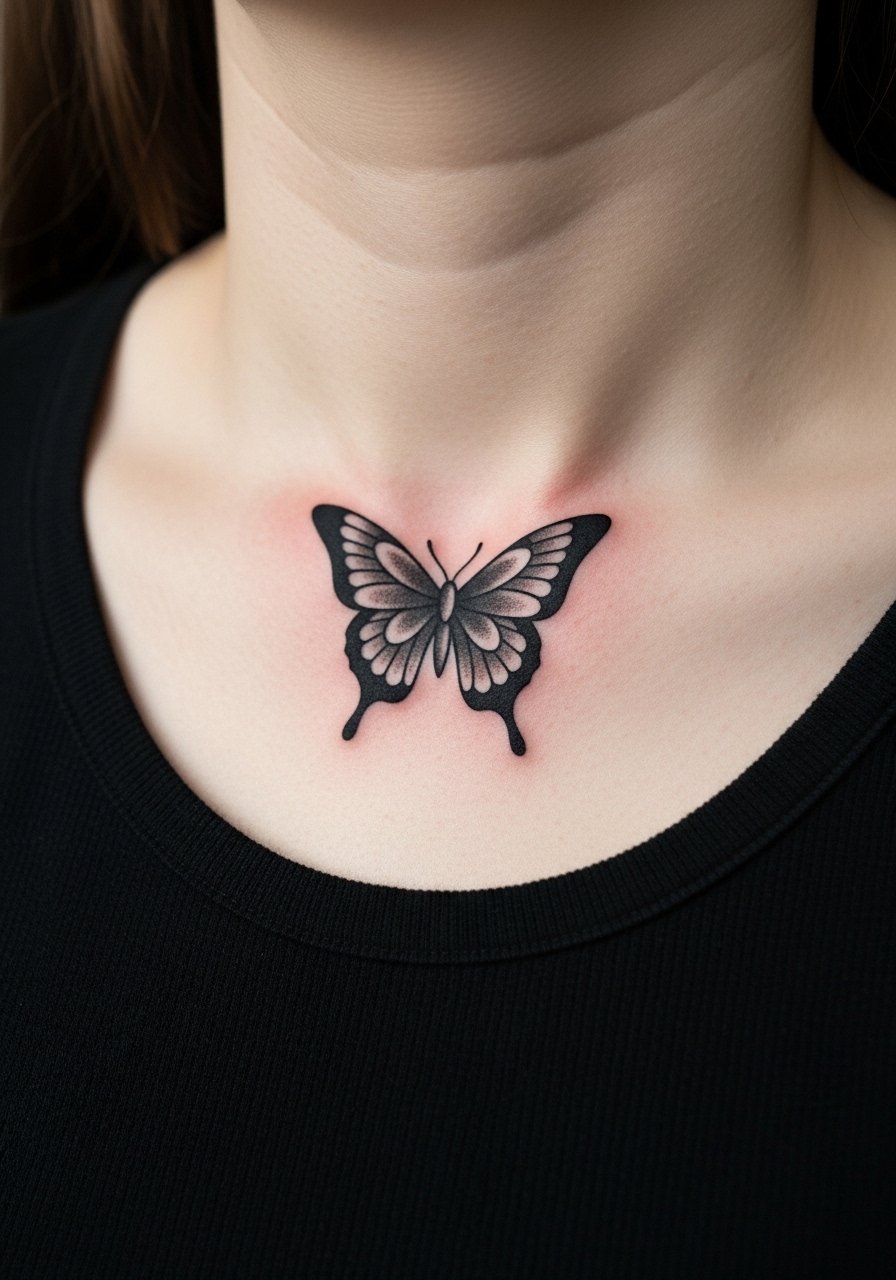
There is a timeless quality to an all-black solid wing that reads like a pendant without fragile detail. Mention to your artist that you want consistently saturated fill with a firm outer contour. The common mistake is patchy fill that looks uneven once healed. This piece can be done in one reliable session and usually hurts moderately. At two to five years the silhouette remains the strongest element and only needs occasional touch-ups for edge clarity. For showing it off with jewelry, a short minimal chain or no necklace keeps the neck clean and the tattoo readable.
Frequently Asked Questions
Q: Will blackwork butterflies on the neck blur faster than on the forearm?
A: In my experience neck skin moves and gets more sun exposure than the forearm which makes fine detail less stable. Heavy blackwork with deliberate spacing tends to hold contrast better on the neck. If you want finer lines, expect touch-ups sooner and ask your artist to slightly bolden key contours.
Q: How should I describe the size and line weight to my artist for a throat butterfly?
A: Bring a physical ruler or have the artist mock up the stencil directly on your throat while you move and talk. Say you want "bold outer lines and open wing spacing" and show reference photos that match the precise scale. That beats vague phrases like "small but detailed."
Q: Are there neck placements I should avoid for professional reasons?
A: Yes, visible front-throat placements and the lower side of the neck can affect some employers' impressions. If career flexibility matters, consider nape or trapezius placements that are easier to cover with collars and hair.
Q: How long does a touch-up usually last for blackwork neck pieces?
A: From what I've seen, many people get a touch-up around year two to three if they want razor-sharp edges. Solid fills often hold longer than thin veins, but sun and friction push timelines shorter.
Q: What should I wear to the session for a side-neck or nape placement?
A: Wear something that the artist can move aside easily like a loose button-down shirt or a wide-neck top. That keeps you comfortable and gives the artist clear access without you being exposed.
Q: Do certain neck placements increase blowout risk?
A: Yes, areas with very thin, loose skin near joints or over mobile muscles have higher blowout risk if the artist goes too deep or packs needles too close. Ask about the artist's experience with neck pieces and how they manage needle depth and spacing.
