
Fine line designs and saturated blackwork both trend on boards, but the real decision point is practical. You might be juggling budget anxiety, worry about how a piece will heal, and the fear of picking the wrong placement. Start here for 17 Tim Burton tattoo concepts that balance character accuracy with what actually holds up on skin, what to tell your artist, and how to show the work off once it is healed.
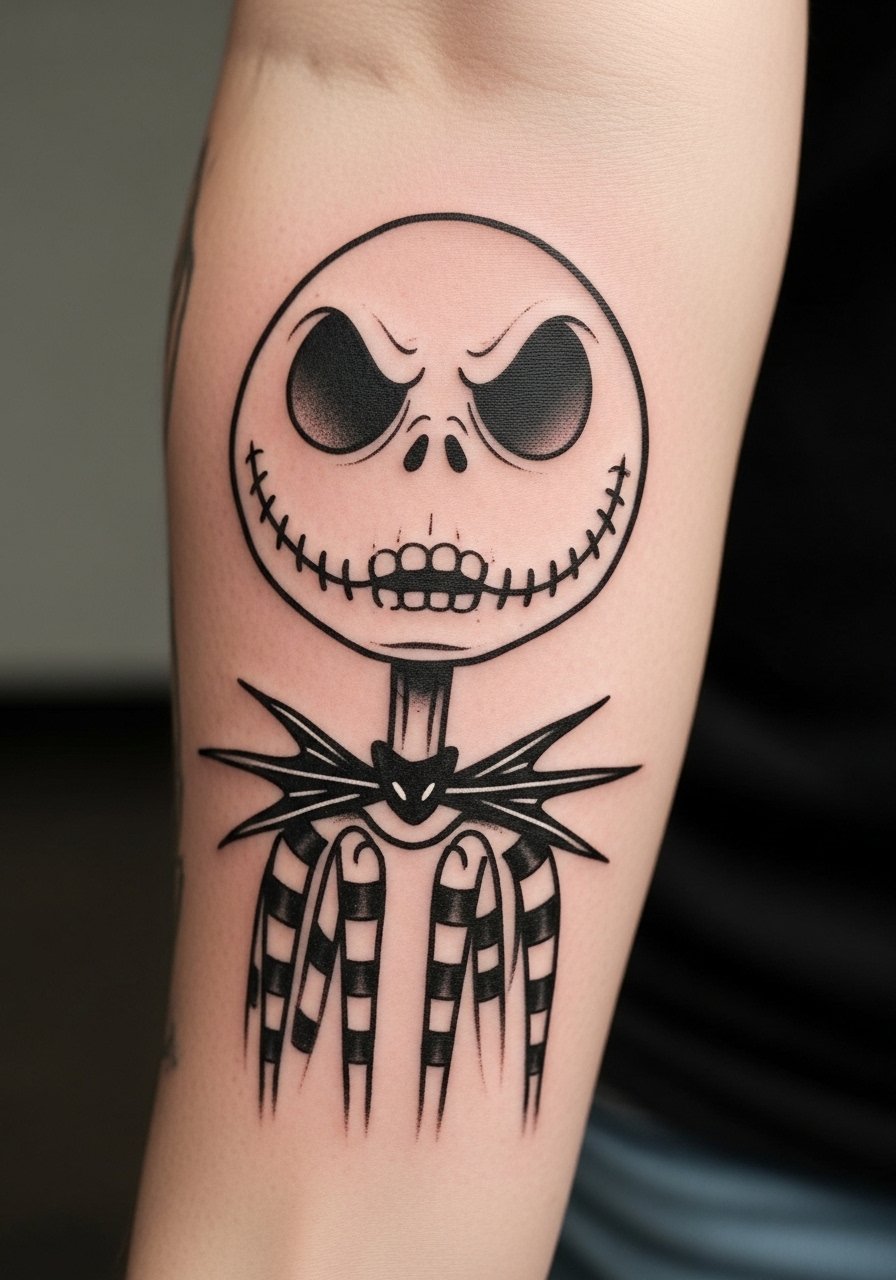
1. Neo-traditional Jack Skellington skull with striped legs on the forearm
I recommend this when you want a bold character piece that reads from a distance. Ask for heavier linework around Jack's skull and looser stipple shading in the striped legs so the saturation holds instead of softening into a muddy gray. Fair warning, the forearm is exposed to sun and friction, so plan for an annual touch-up for saturated color areas. For the session expect two shorter passes rather than one marathon session, and a moderate pain level as the muscle runs along the arm. A common mistake is requesting micro detail in the stripes without room for saturation, which leads to early blurring. To show it off pair the piece with a rolled sleeve black tee when you want the art visible, and wear a loose short-sleeve button-up to the appointment for easy access to the area.
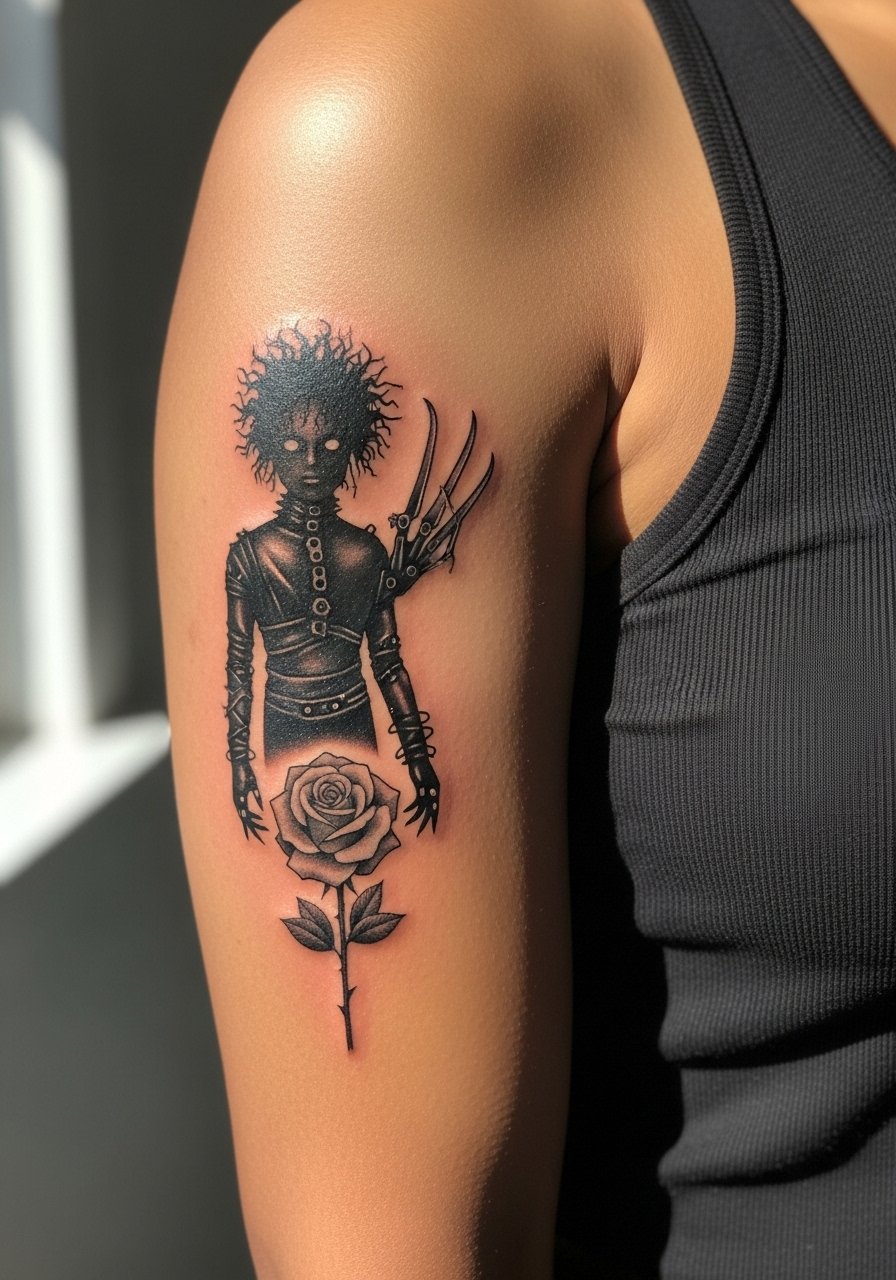
2. Surreal Edward Scissorhands silhouette with rose on the inner bicep
The inner bicep gives silhouette work an elegant curve that complements scissorhands shapes. Tell your artist to keep the silhouette primarily black and to add a single gray wash for the rose so the contrast stays readable as it heals. Pain here is higher than the forearm because the skin is thinner, so expect a sharper sensation during the first pass but a relatively quick one session for a 4-6 inch piece. Blowout risk rises when lines are placed too shallow. The standard mistake is asking for ultra-fine detail in the shaded rose and expecting it to hold without a touch-up. For appointment-day wear bring a sleeveless muscle tank men so the artist can rotate the arm freely, and consider a thin silver chain necklace to echo the scissor motif when you show it off.
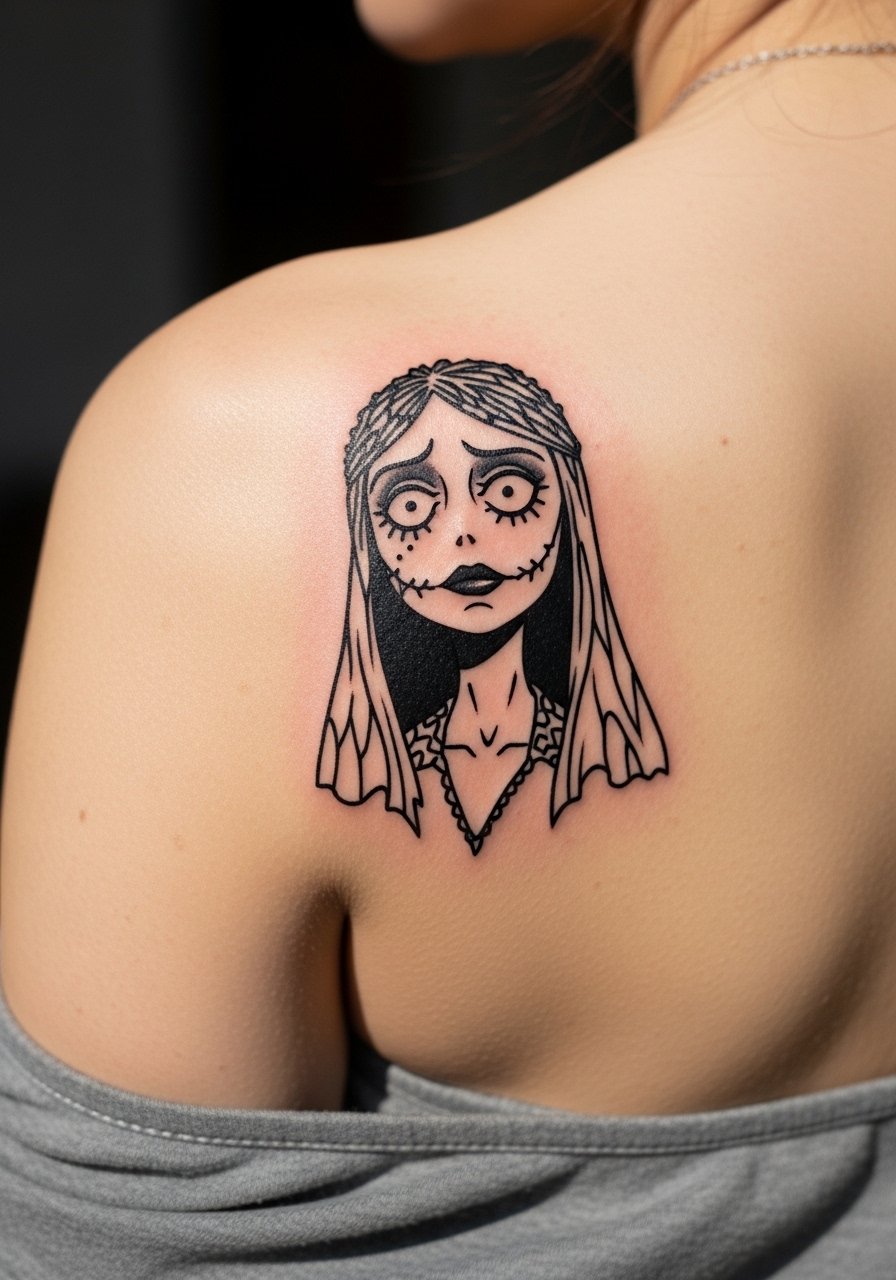
3. Blackwork Corpse Bride outline with veil details on the shoulder blade
Solid black fills and negative space make this design read like a silhouette from across a room and age very well if saturation is deep from the start. The shoulder blade is a forgiving canvas, with moderate pain and good stretch during sessions, so artists can layer solid fills without overworking the skin. Avoid asking for overly thin veil filigree that sits too close together. That causes merging after two years. During consultation, request bold negative-space separations between veil details and face contours so the piece keeps definition. This placement shows beautifully with an off shoulder blouse or a simple lace choker necklace for photos, and wear a strapless or loose tank to the session so the artist has clean access.
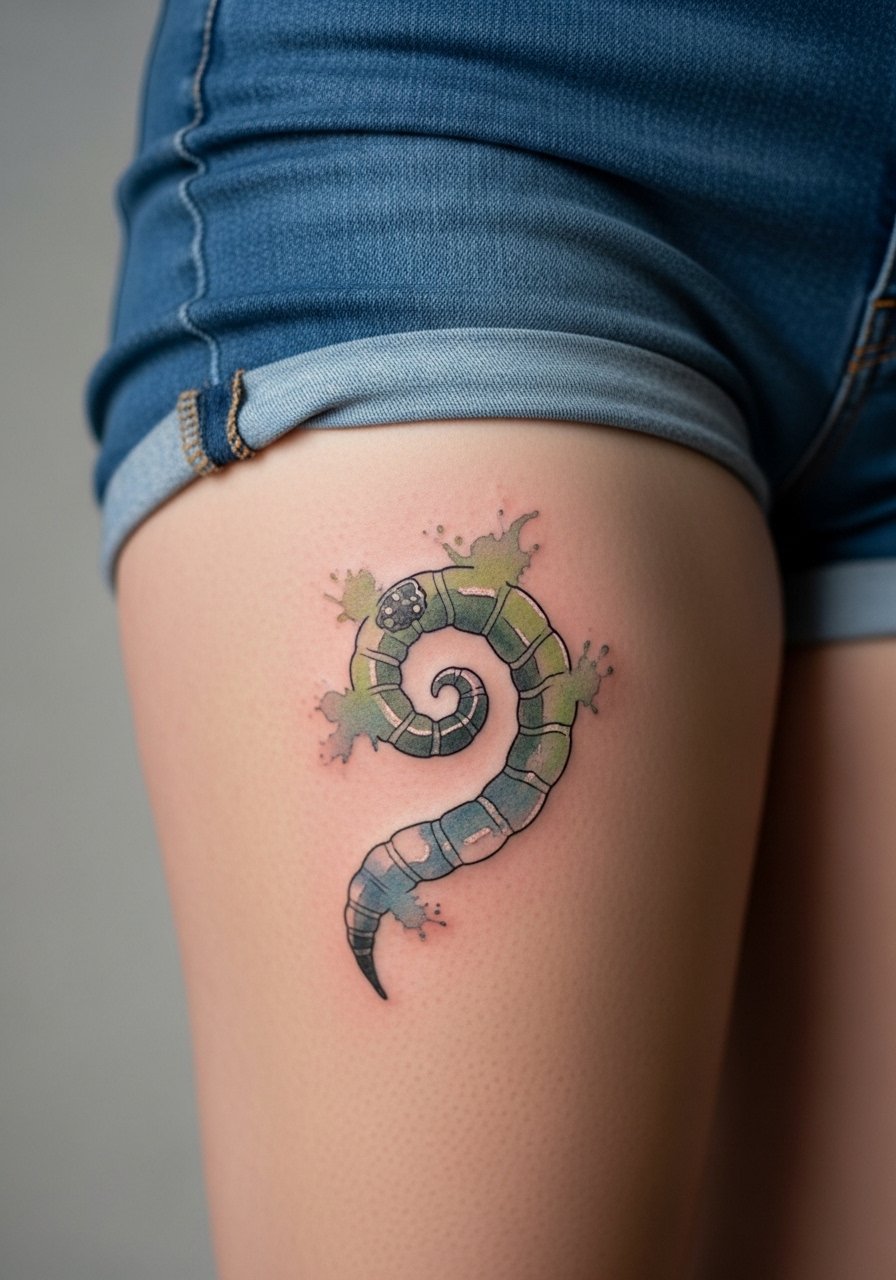
4. Watercolor Beetlejuice sandworm swirl on the outer thigh
Watercolor-style sandworm swirls favor the thigh because the area tolerates larger washes and the skin holds soft gradients better. Ask for muted greens and teals with a hard black outline for the worm mouth so the key contrast remains as color fades. Expect two sessions for a 6-9 inch piece and plan for slower touch-ups since watercolor fades faster on high-friction areas. The common mistake is placing intense, tiny watercolor patches where daily clothes rub. To show the swirl in summer, pair with high waisted black shorts or layer with fishnet stockings for an intentionally textured look. For the appointment wear loose gym shorts or a skirt so the artist can access the thigh without fabric pressure.
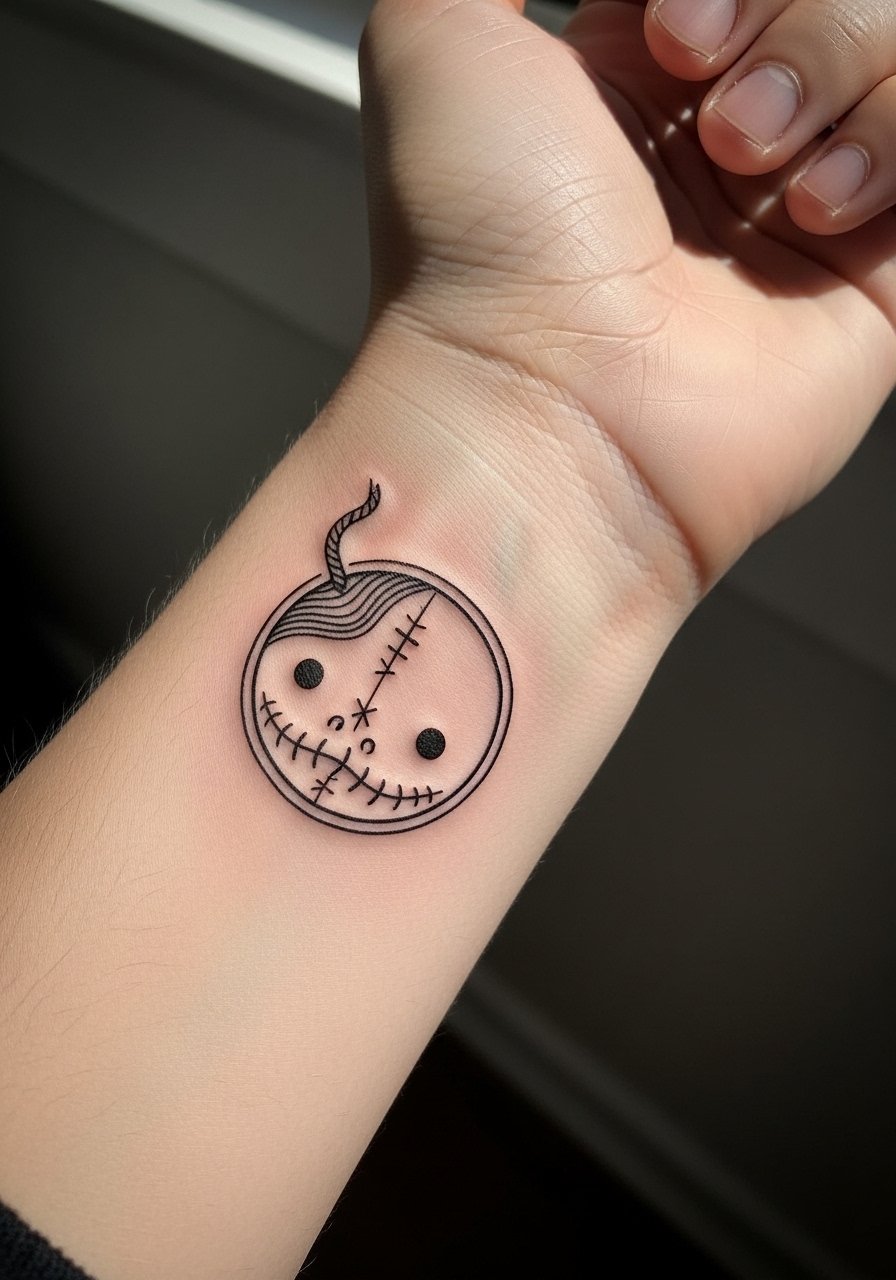
5. Fine line Sally stitched face on the wrist
The wrist is ideal for a small, intimate Sally face done in single-needle fine line, but the trade-off is longevity. Fine line on wrists reads delicate at first and can soften by year three. Here the controversy is explicit. One camp says fine line anywhere with lots of movement will blur quickly. The other camp argues precise depth and spacing allow fine line to hold on wrists. Ask your artist which camp they work with and request slightly increased spacing between stitch marks. Pain is low to moderate, session time is short, and touch-ups are common by year two. A typical mistake is asking for micro facial details that the wrist cannot support. Show it off with an oversized knit sweater with thumb holes or a thin black cuff bracelet that frames the stitches without crowding the linework.
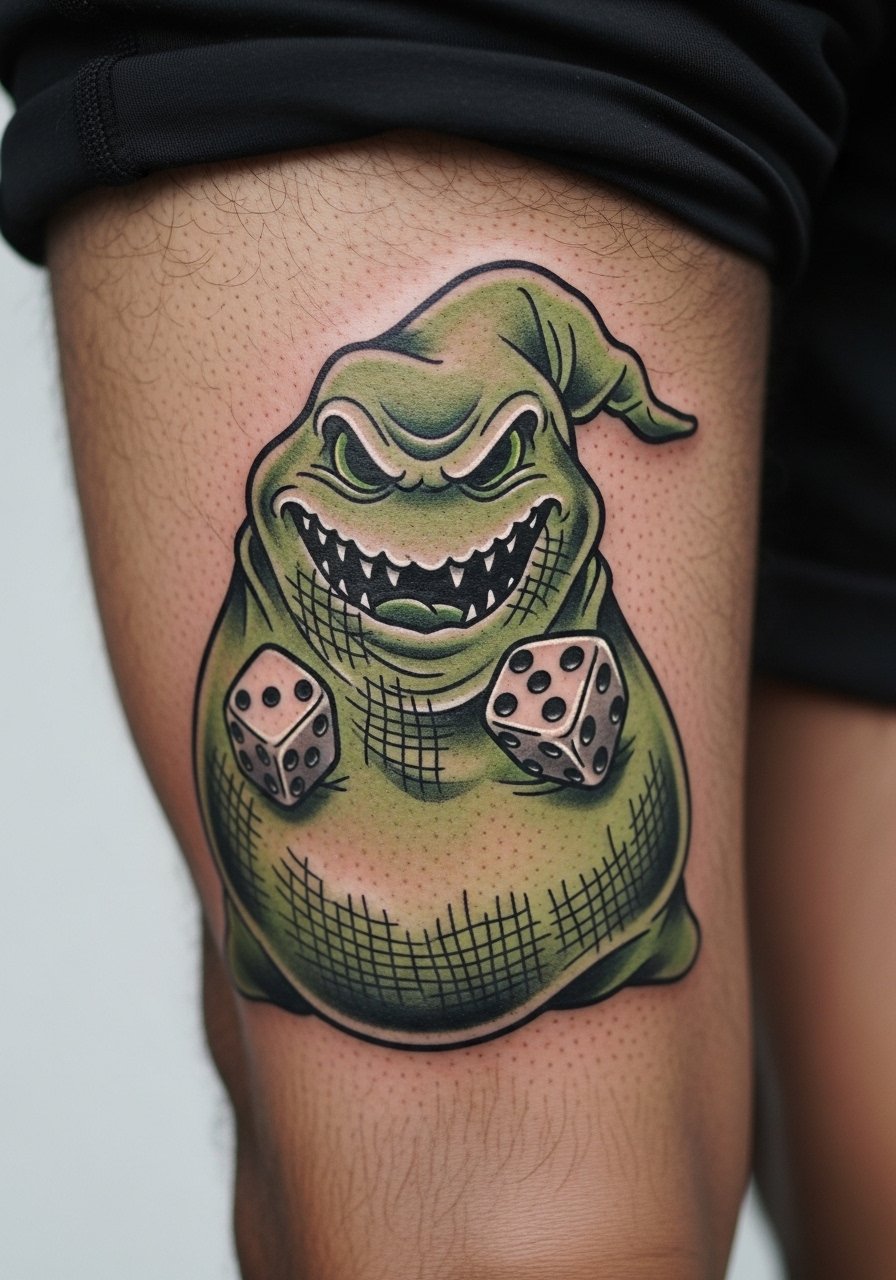
6. Neo-traditional Oogie Boogie burlap sack with dice eyes on the calf
Calf placement lets heavy neo-traditional saturation breathe and hold longer than high-friction zones. For a 6-7 inch Oogie Boogie ask for bold outlines and textured burlap shading with stipple work to suggest weave. The calf pain level is moderate and sessions are comfortable for most people. Mistakes include cramming too many tiny dice details into a small area. Instead, scale the dice to read at arm's length. This design pairs well with rolled pant hems and rolled ankle slim jeans or olive cargo pants when you want to show it off. For the session wear loose joggers or shorts so the artist can roll the leg up without pressure on the tattooed skin.
Chair Day Prep
The first six ideas above include exposed arms, wrists, and a calf, which need different prep than chest or rib work during a session.
-
Stencil transfer paper kit. Lets you test exact placement on the skin before any needles touch it, which is handy for forearm and calf designs where orientation matters.
-
Topical numbing cream. Applied per instructions before rib or inner bicep sessions it can ease the first 45 minutes for sensitive areas.
-
Thin protective film roll. Small strips are useful for ankle and wrist pieces that face constant friction while healing.
-
Fragrance free gentle body wash. Cleanses healing areas without irritating fine line work on wrists and ankles.
-
Aquaphor healing ointment. Thin layers in the initial days help keep fine line channels from drying out and cracking while the skin repairs.
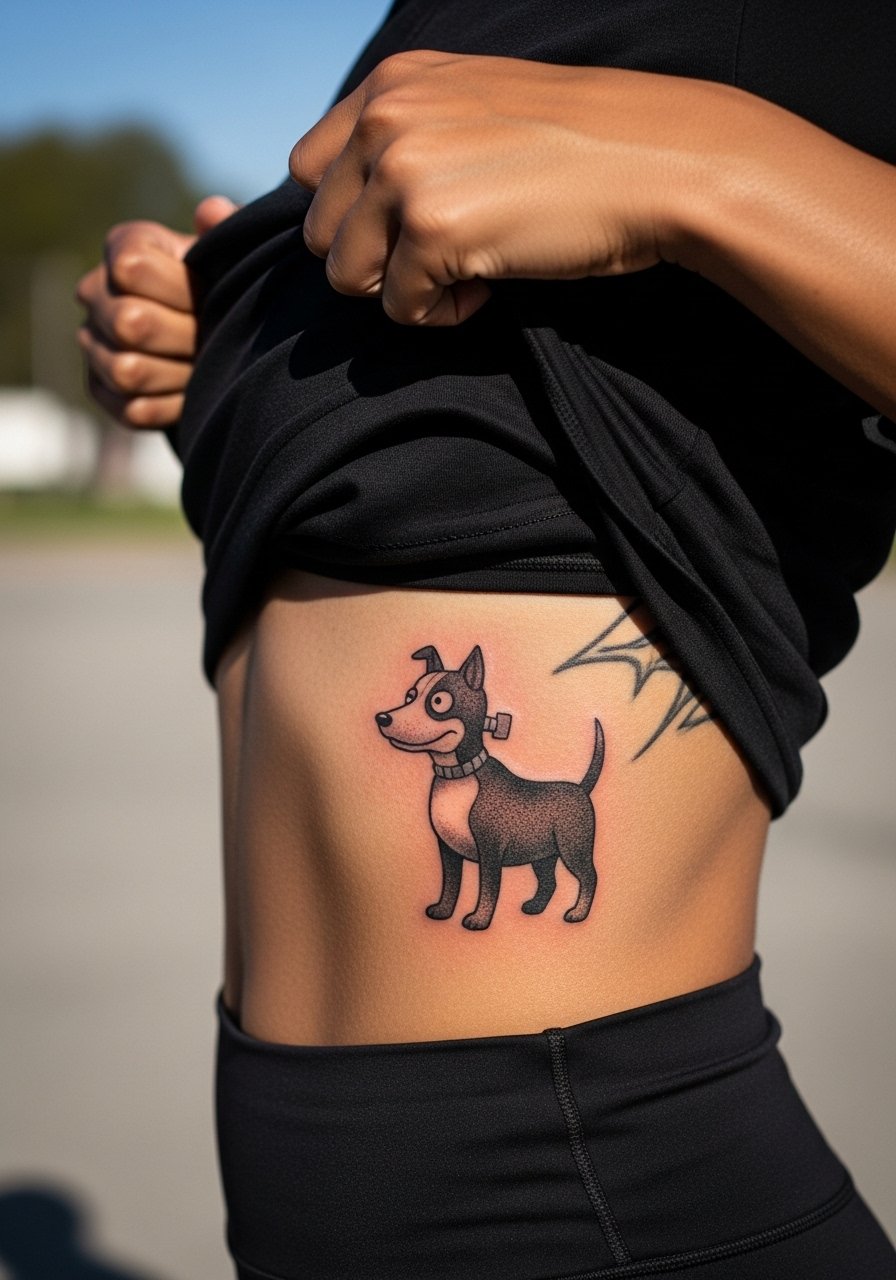
7. Black and gray Frankenweenie dog silhouette on the ribcage
Ribcage pieces carry a reputation for sharp pain and slow sessions, and Frankenweenie as a black and gray portrait plays to that canvas. Expect soft gradients with stipple shading and two sessions for a clean 5 inch silhouette. The main contest among artists happens here. One camp says ribs are too mobile for dense fine line portraiture. The other camp insists with correct needle depth and spacing it can hold. Ask the artist about their rib portfolio and touch-up history before booking. Common mistakes include asking for ultra-fine facial detail on a small rib piece. For session wear bring a cropped athletic top you can lift slightly so the artist can keep the work area compact. Remember ribs need careful aftercare and longer rest during the first week.
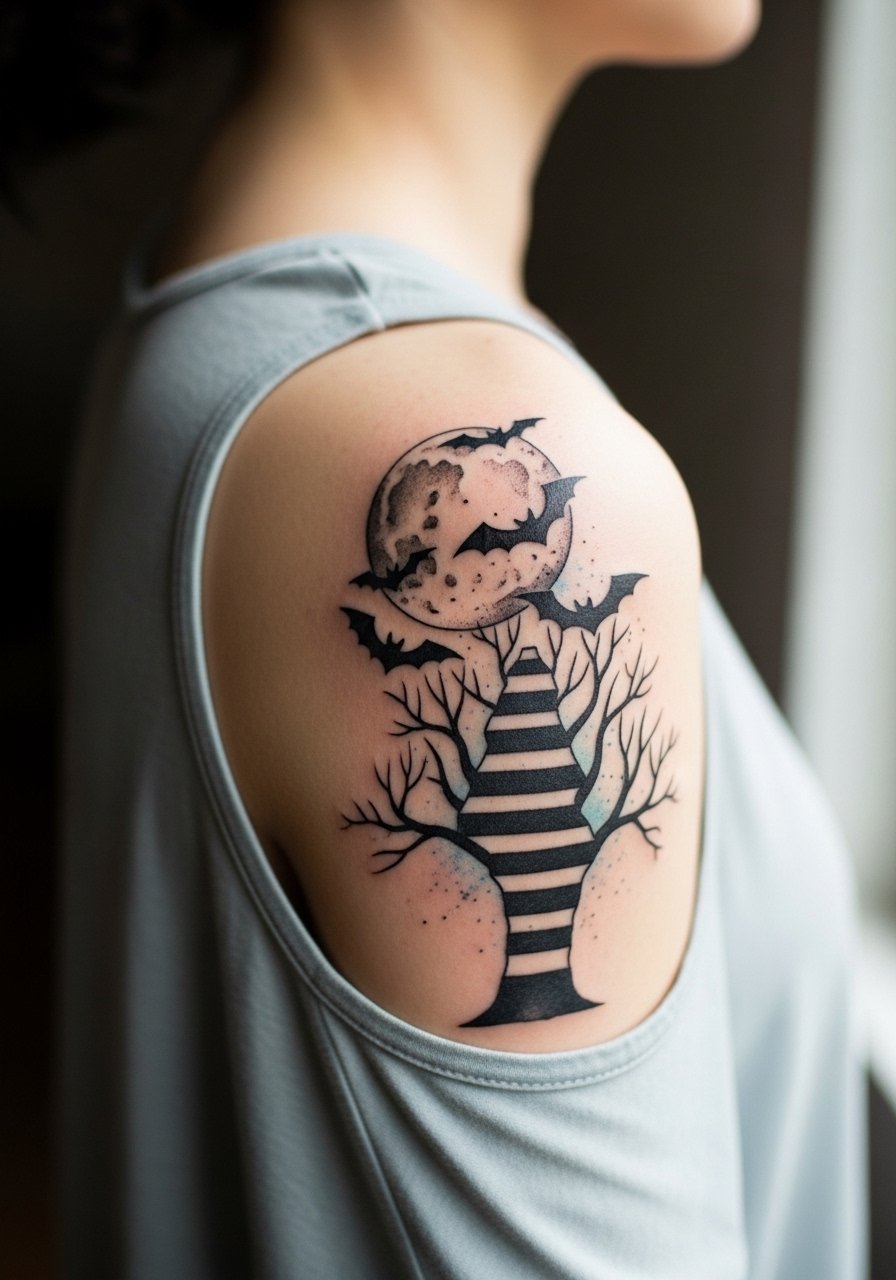
8. Surrealism moon with bats and striped tree on the back shoulder
A back shoulder canvas is forgiving for surreal scenes with layered blacks and subtle blue washes. For an 8 inch moon and tree composition, request bold negative space between the moon and bats so the design reads at distance. Pain is moderate and sessions usually split across two appointments to let heavier blacks settle. Watch out for the common error of overcomplicating negative space with tiny stars that clutter the silhouette. This piece looks great framed by a cropped hoodie black or an off-shoulder top when you want it visible. For the appointment wear a loose tank or a button-down you can pull aside to expose only the upper back.
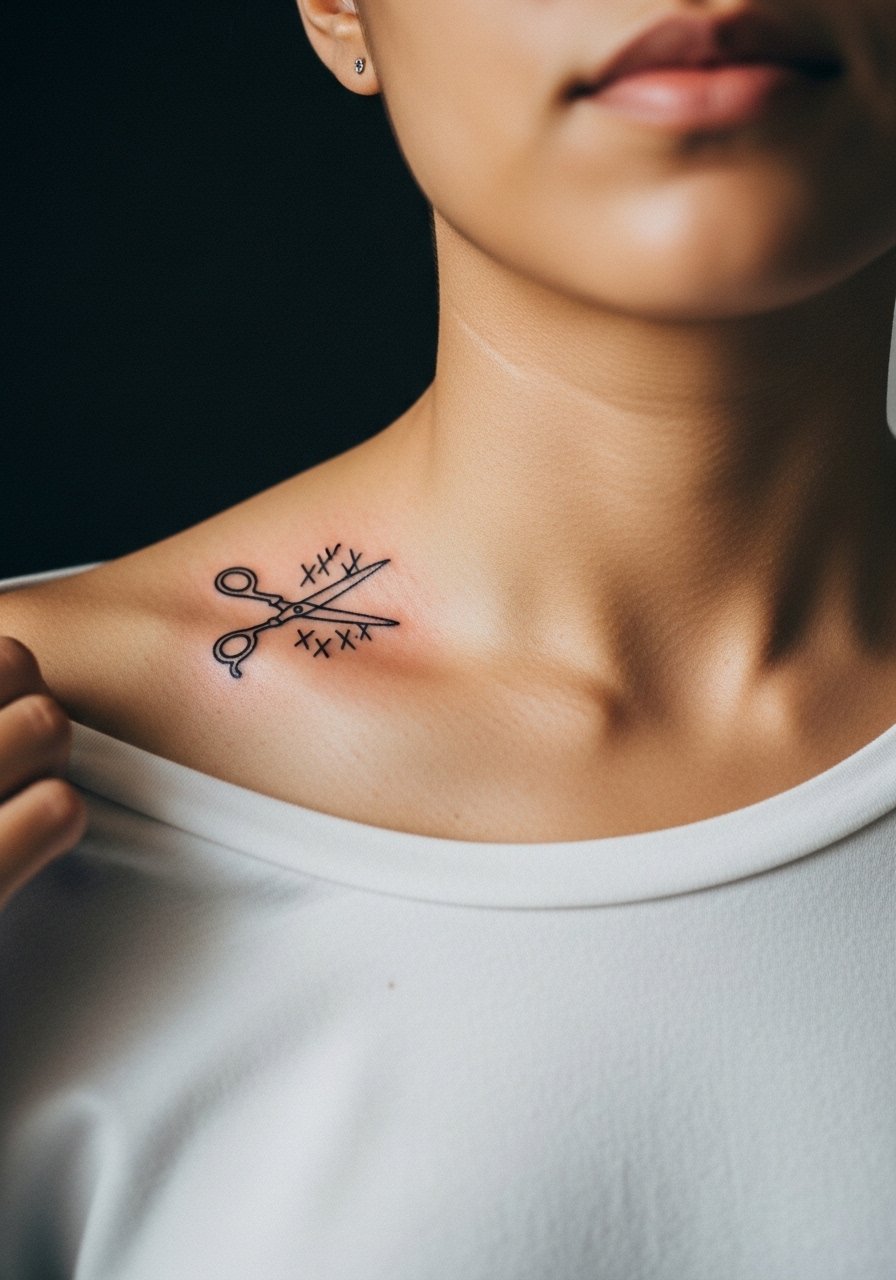
9. Minimalist scissorhands icon for collarbone
A tiny minimalist scissorhands icon near the collarbone reads like a private nod for first-timers who want a clean symbol. Keep the icon under two inches, use single-needle linework, and ask for slightly bolder anchor points where blades meet to prevent early fading. The collarbone area has lower blowout risk than fingers, but constant movement and clothing straps can rub the piece during the first week. Session time is short and most people tolerate this one well. A mistake is asking for micro shading inside the blades instead of clean contour lines. For show-off styling this piece pairs with wide-neck shirts or a thin chain, and for the session a wide-neck top that can be pulled slightly aside works best.
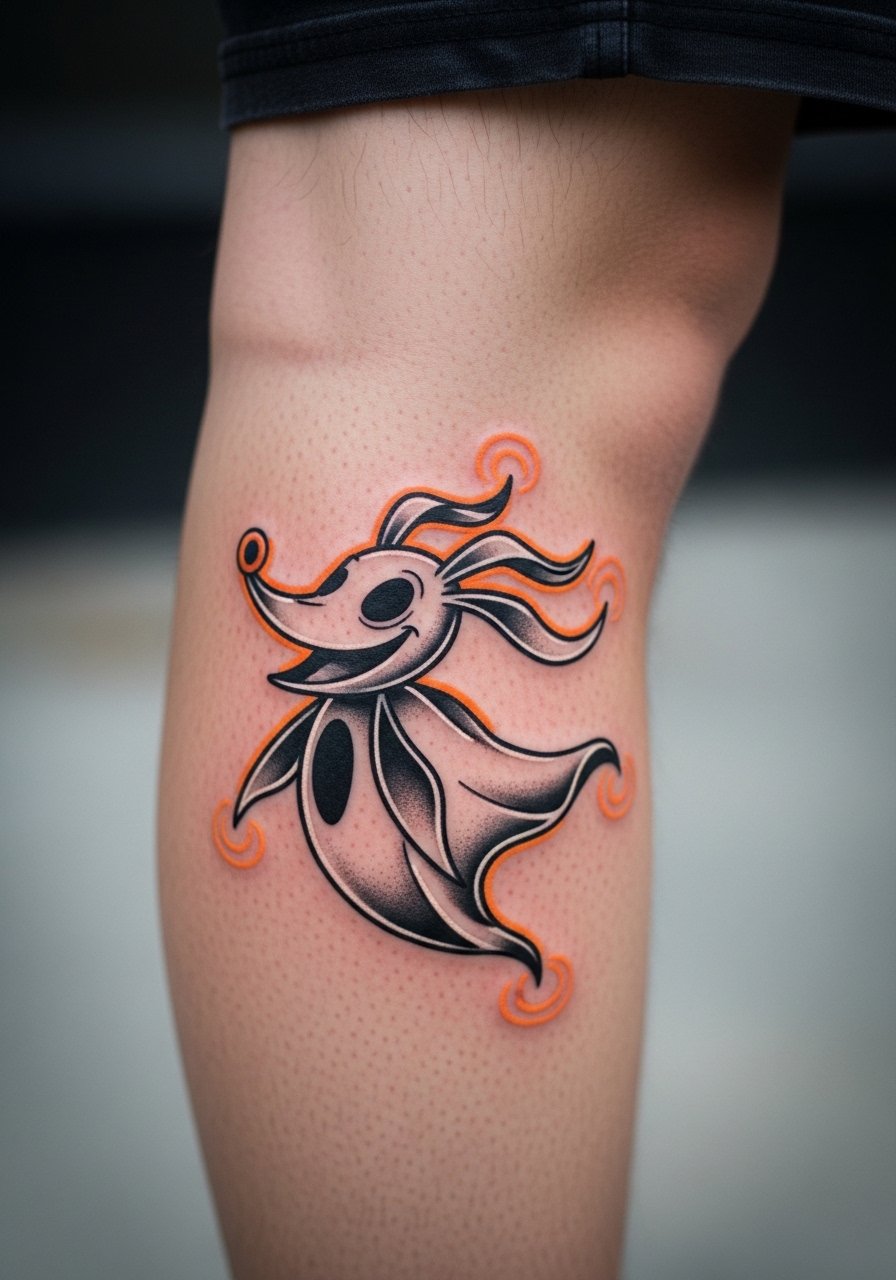
10. Neo-traditional Zero the ghost dog floating on the calf
Zero's playful silhouette benefits from orange glow accents against a deep black outline, and the calf lets that glow sit without rapid fading. The session is comfortable and usually completed in two passes for color layering. Common mistakes include asking for tiny glow freckles that lose saturation faster than the outline. For footwear and framing, leather ankle boots or rolled ankle slim jeans hide or reveal the dog depending on season. During the session wear shorts so the artist can roll the leg up without fabric pressing on the worked skin.
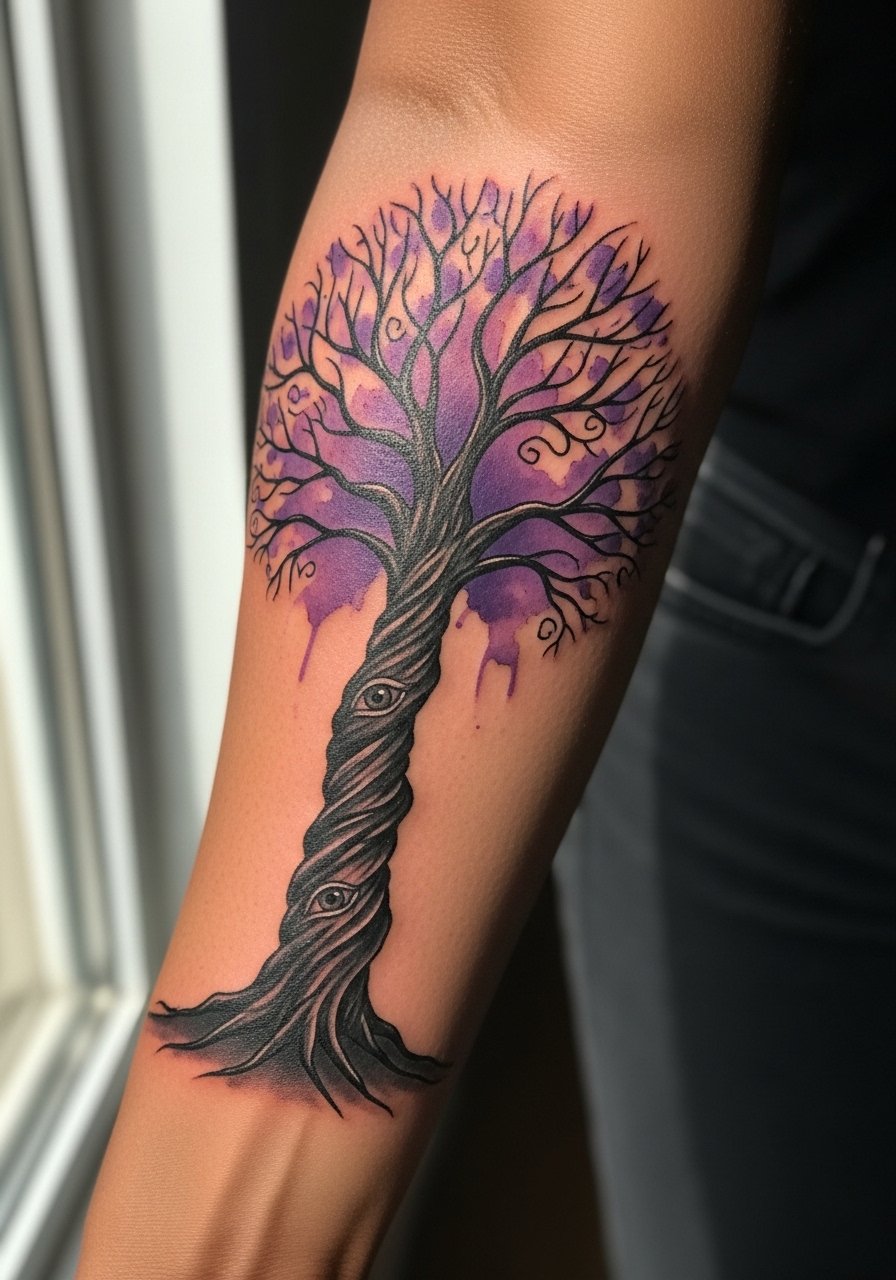
11. Watercolor twisted Burton tree with eyes as a forearm half-sleeve
A half-sleeve watercolor tree with purple-black fades benefits from the forearm length and reads like motion when the arm moves. This style needs careful layering so the watercolor bleeds do not overrun linework. Expect multiple sessions to build muted gradients and to let initial saturation settle. Most mistakes come from asking for too many small color patches close to thin lines. For daily wear a vintage band t-shirt with rolled sleeves shows off the piece without competing visually. For the appointment a loose short-sleeve button-up is ideal because it can be pulled aside for the entire forearm.
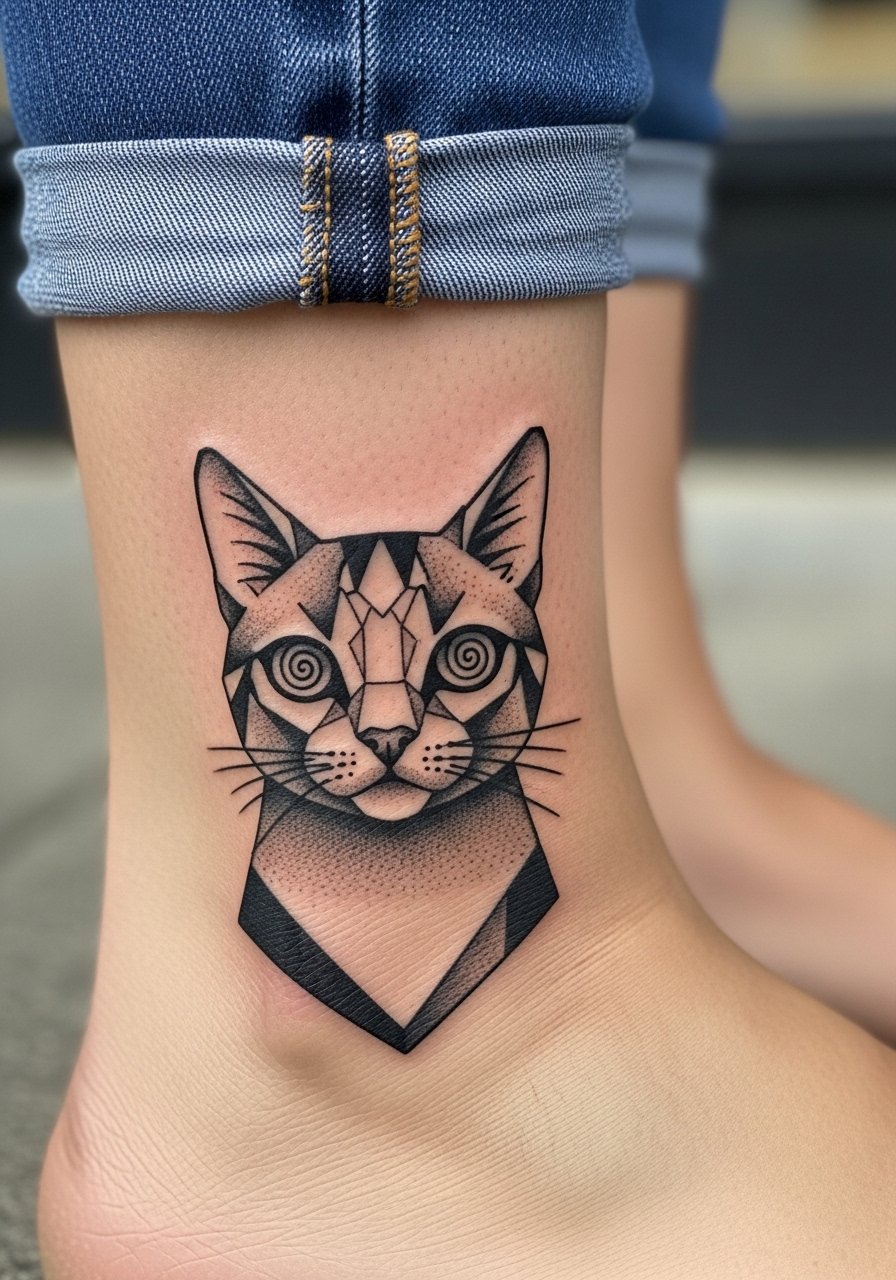
12. Blackwork cat with spiral eyes for the ankle
Ankle placement keeps small blackwork designs in sight while limiting daily abrasion if you choose low-friction shoe choices. For a 3-4 inch cat silhouette with spiral eyes ask for bold geometric shading and a dense black fill so the spiral contrast reads as it ages. The ankle faces friction from shoes and socks, so thin lines can fail early. A common misstep is cramming too many dot-work layers without a strategic outline. Pair it with strappy black sandals or ankle-grazer pants when you want it visible. For the session go barefoot or wear pants you can roll up easily.
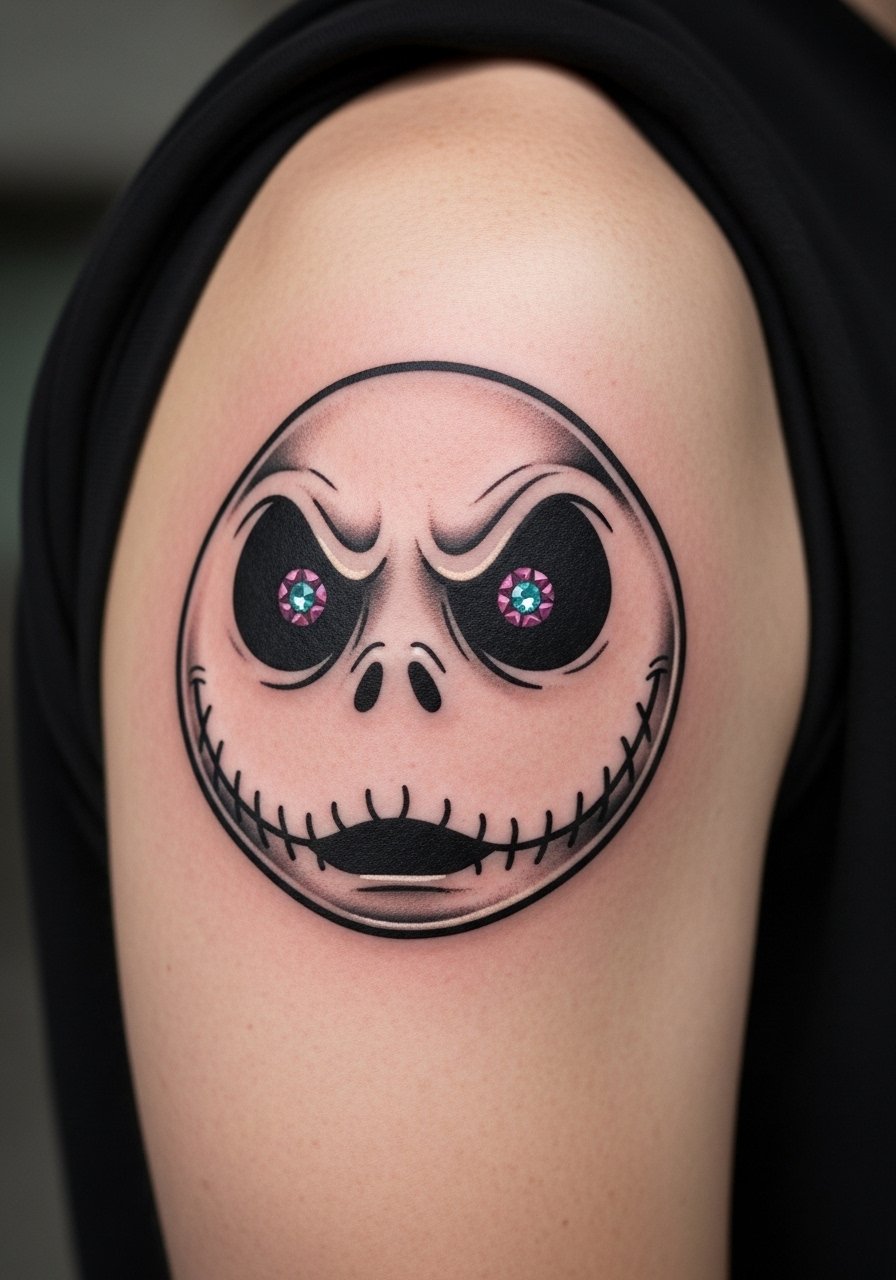
13. Jack Skellington with jeweled eyes, a gemstone integration on the upper arm
This is one of the rarer personalizations. Instead of literal gems, ask your artist for colored micro-saturation in the eye sockets and white highlights that catch the light like a jewel. The result is a luxury twist that still reads neo-traditional when viewed at arm's length. Upper arm placement is forgiving and helps gemstone color keep some saturation longer than exposed forearm spots. A common error is asking for real embedded stones in healed skin, which is not standard practice. Discuss color longevity and touch-up expectations with your artist. This variation works well on an upper arm that can be shown with rolled sleeves or hidden under a tee when needed.
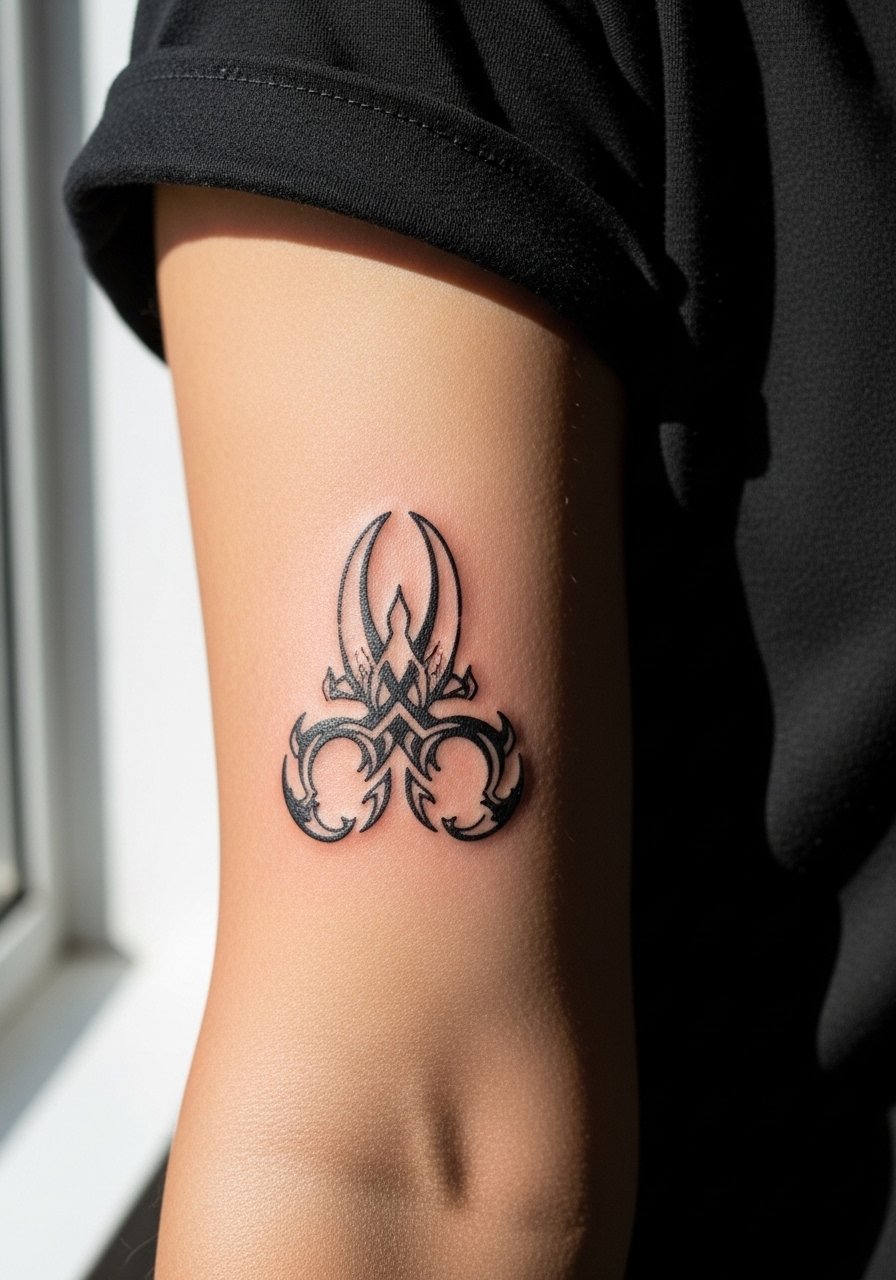
14. Stencil adaptation of a Burton motif for pre-visual mockups on the forearm
If you want to test scale and rotation before committing, a stencil-adapted patch on the forearm is invaluable. Use transfer stencil paper to try several orientations and keep notes about which line weights feel right under natural movement. The common mistake is skipping the stencil step and discovering the design sits awkwardly when the arm bends. A session with a clear transfer check takes only a few minutes and saves a lot of touch-ups later. Wear a rolled sleeve black tee to try how the piece looks when you expose different forearm angles, and bring reference photos that show exact line weight you prefer.
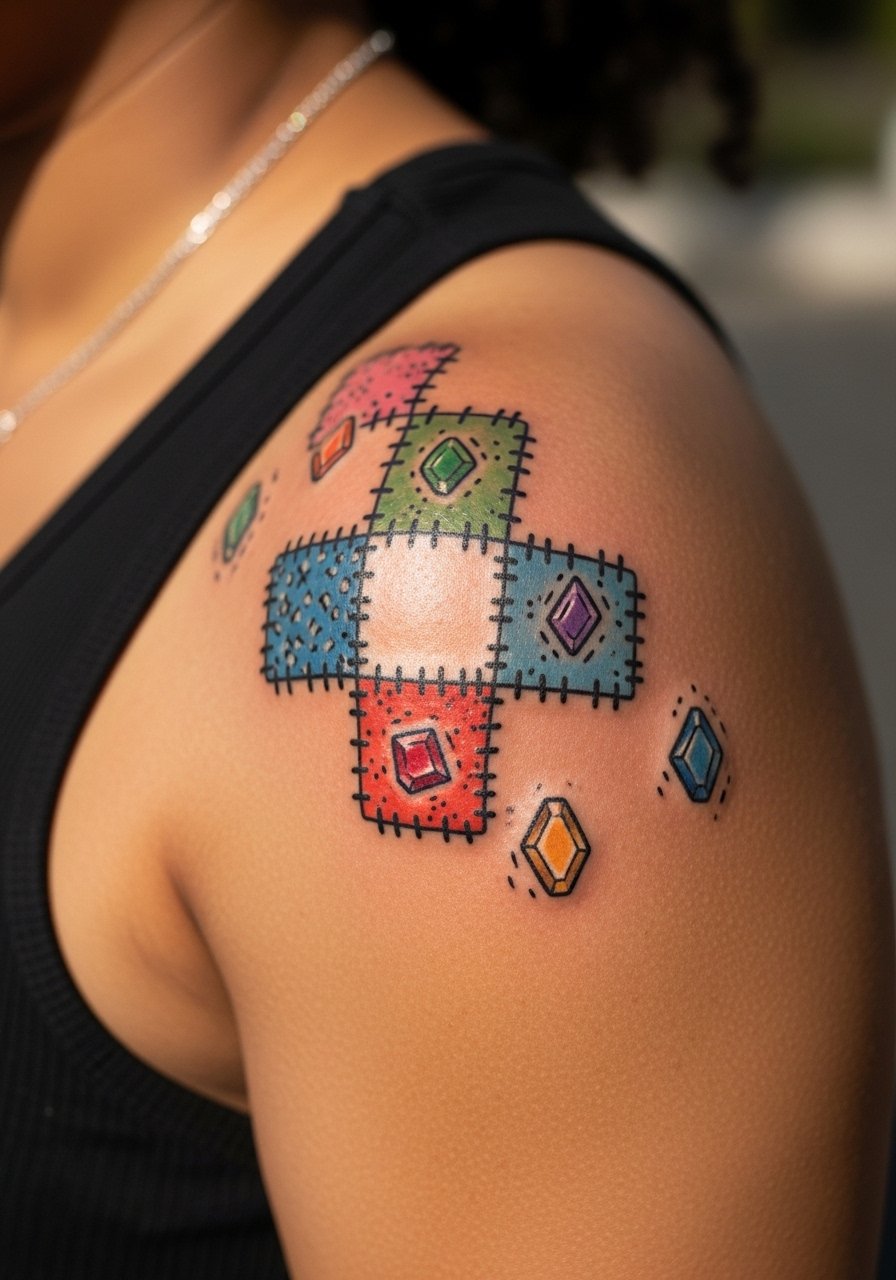
15. Birthstone-blended Sally patchwork accent on the upper shoulder
Personalize patchwork pieces by integrating birthstone hues into select fabric panels or button eyes. Small color pops positioned against black stitch lines preserve readability and give a personal code only you need to know. Upper shoulder placement keeps the piece visible and easy to cover when necessary. For longevity, limit the number of tiny color spots because small saturated dots fade faster than established fills. A typical mistake is packing every patch with color, which makes the design noisy. Keep one or two colored accents and ask for touch-up plans at year two if you want the chroma to remain vivid.
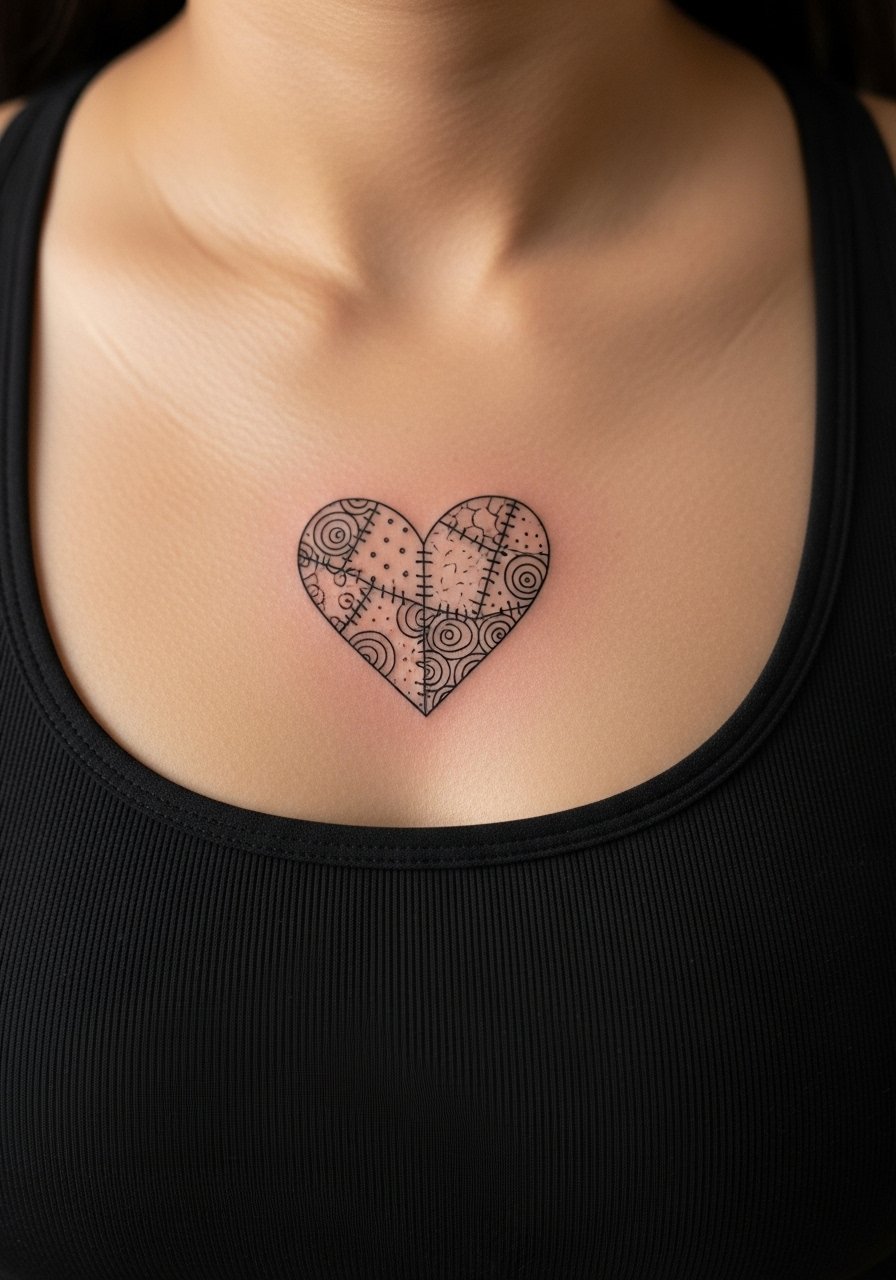
16. Sternum Sally heart with patchwork details
Sternum placements require a fitted sports bra or bandeau during sessions so the artist can work a narrow area safely. This location carries higher pain and slower session pacing, and the skin there can be sensitive to dense fine lines. Request larger patch sections rather than pinprick details so color and linework have room to settle. One common mistake is asking for ultra-fine stipple in the center of the sternum, which tends to compact over time. For appointment prep wear a fitted sports bra you can leave on, and discuss whether the artist prefers multiple short passes to limit swelling.
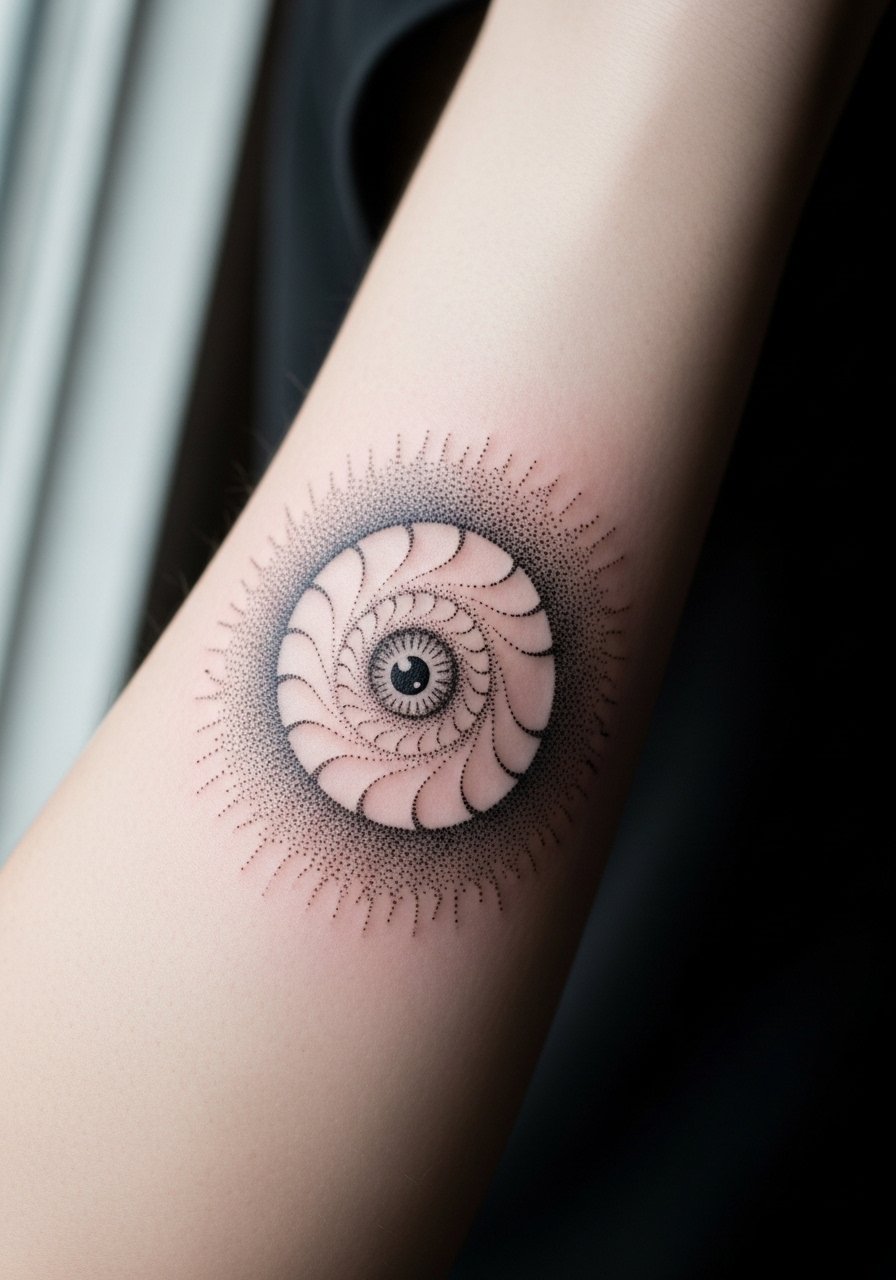
17. Surreal negative-space spiral eye with stipple shading on the forearm
A negative-space spiral eye uses the skin as part of the design, with stipple shading around the void. This approach ages well if the stipple density is balanced and the negative space is protected from friction. Most people see the best results when the artist uses dot work and whip shading to build tone instead of tiny, cramped lines. Expect a medium pain level and one to two sessions for a detailed 6 inch composition. A mistake I see often is requesting too tight a dot density which compacts into a darker block. Ask your artist to show healed dot work samples with at least two-year age to understand how the stipple settles.
Frequently Asked Questions
Q: How do I decide between neo-traditional color and blackwork silhouettes for a Burton piece on my forearm?
A: Think about how visible you want the piece to be over time. Neo-traditional color offers saturation and presence when fresh, but it needs occasional touch-ups and sun protection. Blackwork silhouettes tend to hold shape longer with less maintenance. Consider your daily sun exposure and whether you want bold presence or simple contrast. If unsure, ask to see healed photos in each style from at least one artist.
Q: Will a fine line Sally on my wrist need touch-ups sooner than a blackwork Jack on my forearm?
A: Yes, fine line pieces typically require touch-ups sooner because single-needle work softens with movement and sun exposure. Expect a likely touch-up by year two to three for wrist placement, whereas bold blackwork on a forearm can often go longer between visits. Plan your budget and a brief consult about spacing and depth to improve longevity.
Q: Are thigh watercolor Beetlejuice pieces harder to heal in summer sweat?
A: Thigh watercolor needs extra attention in warm months because friction and sweat can accelerate fading in soft washes. Choose breathable session wear and avoid tight fabrics during the first two weeks. If your lifestyle includes lots of summer activity, consider slightly more saturated base colors or schedule touch-ups after the first season.
Q: How should I talk to an artist about integrating a birthstone into a Burton character without making it look literal?
A: Be specific about placement and scale. Ask for one or two small color accents rather than full panels of color. Show examples of healed work with similar color placement so you can see the aging. Use language like "subtle chroma accents" and ask about saturation levels the artist prefers for small spots.
Q: Are there visual cues in an artist portfolio that signal they can handle delicate Burton-style stipple and linework?
A: Look for healed photos of dot work and fine line pieces at least a year old. Ask whether they do stipple or whip shading and how they space dots to avoid compacting. If an artist has a track record of consistent healed linework in similar placements, that is a strong signal they understand depth and spacing.
Q: Can I preview a design on my skin before the needle to check placement and size?
A: Yes, request a stencil transfer and try several orientations. A trial transfer is a quick step and prevents many placement regrets. Bring your preferred shirt choices so you can see how the tattoo looks with the clothes you wear most.
Q: Will an ankle blackwork cat affect my shoe choices during the healing window?
A: Yes, open sandals or rolled pants reduce friction while the ankle heals. If you must wear closed shoes, choose low-friction, soft liners for the first week and keep the area clean and dry as directed during the healing process.
