
Fine line neck tattoos are everywhere on inspiration boards, but the reality is different once you factor in visibility, healing friction, and long-term fading. Job interviews, collars that rub fresh ink, and fine-line scripts that blur inside a year are common complaints I hear from people who got neck work without planning for those tradeoffs. Read the ideas below and you will get practical options that balance look, longevity, and concealability.
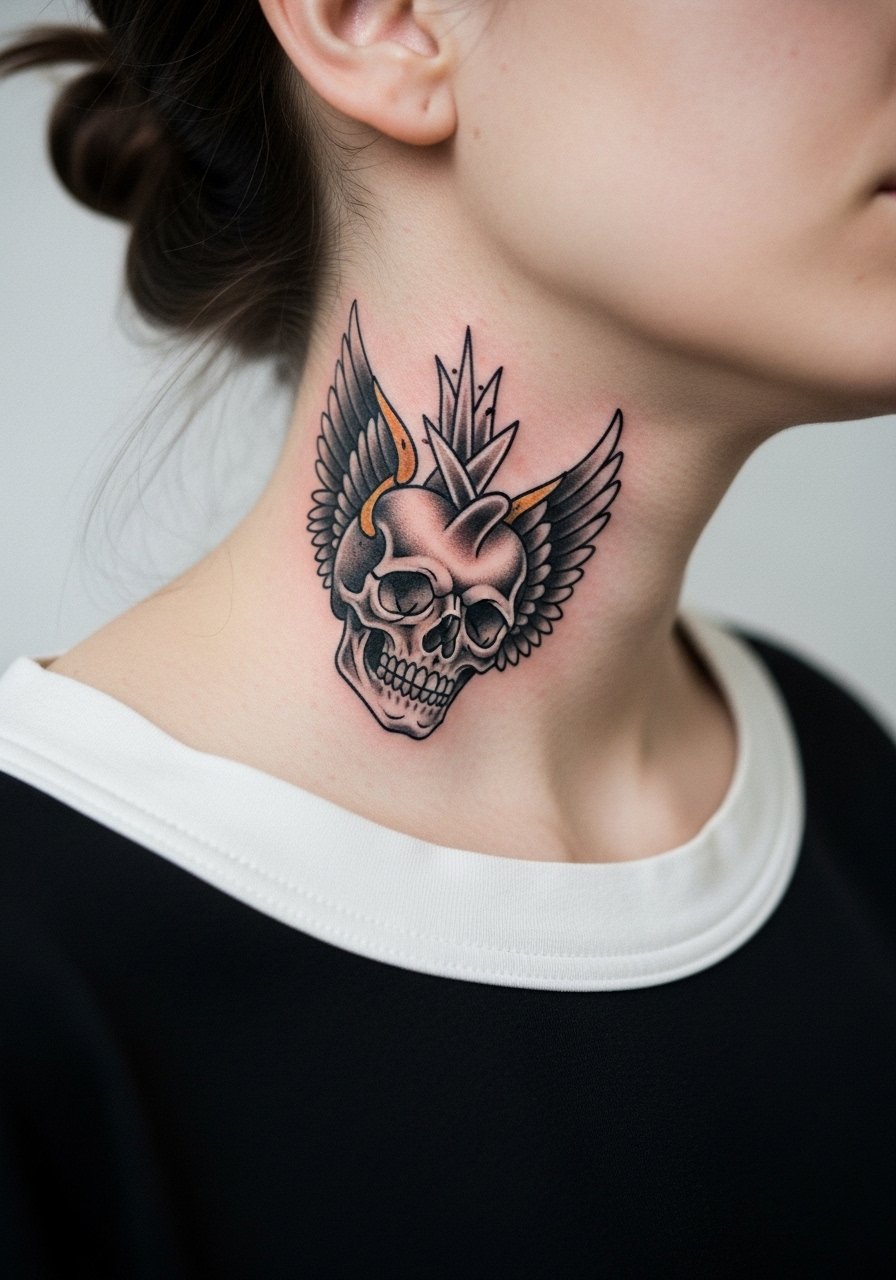
1. Skulls, Hearts, and Wings Neck Piece
I've seen this neo-traditional combo hug the side of the neck and age better than many detailed throat pieces because artists use heavy linework and saturation. If you want masculine contouring, ask your artist to align the wings with the jawline so the shape flows when you turn your head. Common mistake is requesting tiny decorative details in the throat, which blur under constant rubbing. Expect 1 to 2 sessions and a higher pain score around the throat bone. For the session wear, pull on a loose button-down shirt you can open so the artist has clear access while keeping fabric off fresh ink. Touch-up at year one is normal for high-visibility pieces.
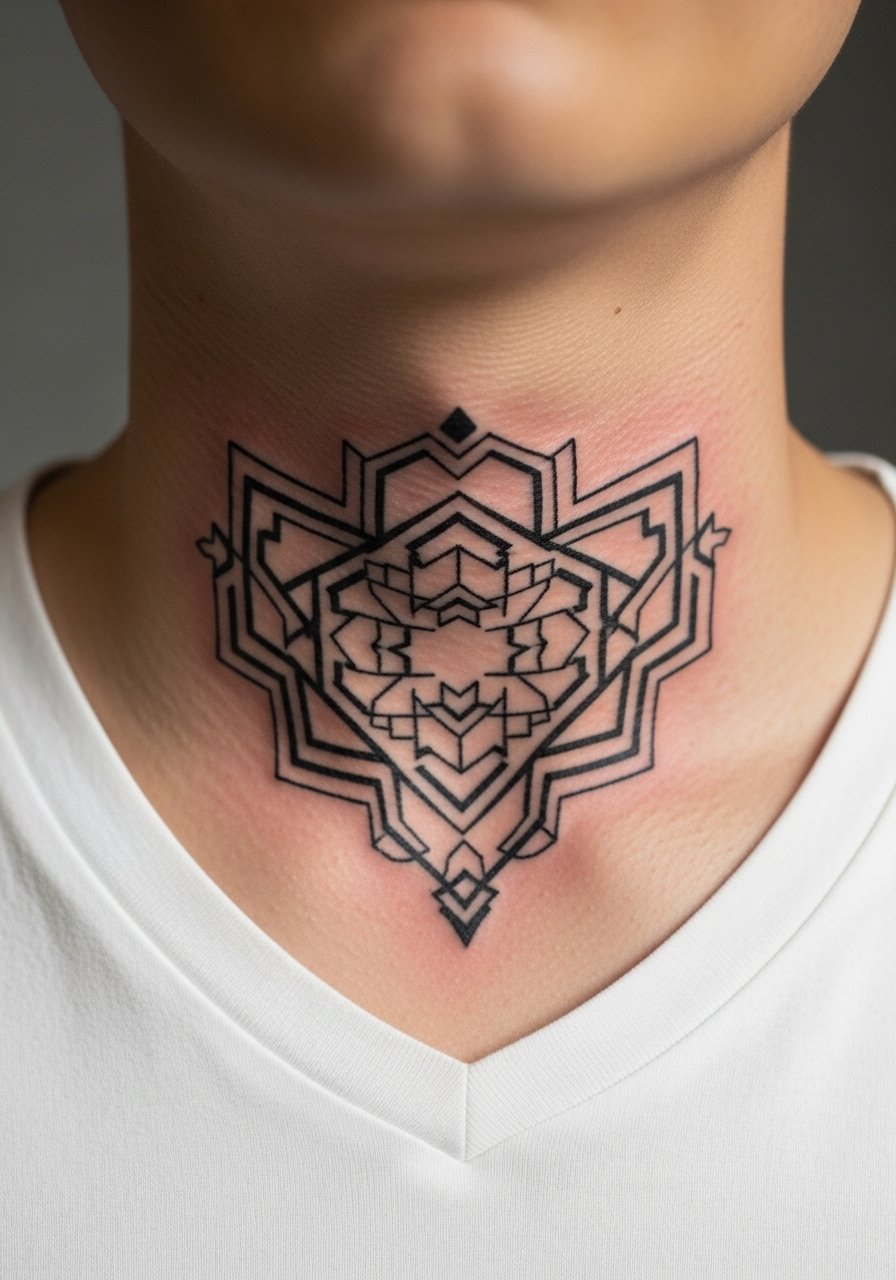
2. Geometric Negative Space Throat Pattern
Fair warning, the throat is a high-friction zone, so geometric work here needs breathing room to age well. I recommend negative space between bold black bands rather than ultra-fine lines. Tell your artist you want at least 2 mm of open skin between lines and clear symmetry across the Adam's apple. A common aging problem is packing too many parallel lines into a small 3-inch layout. Session time is usually under 90 minutes and pain is sharp near the bone. For showing it off, a men's v neck tee frames throat work cleanly without fabric overlap. Expect touch-up discussion at the consult.
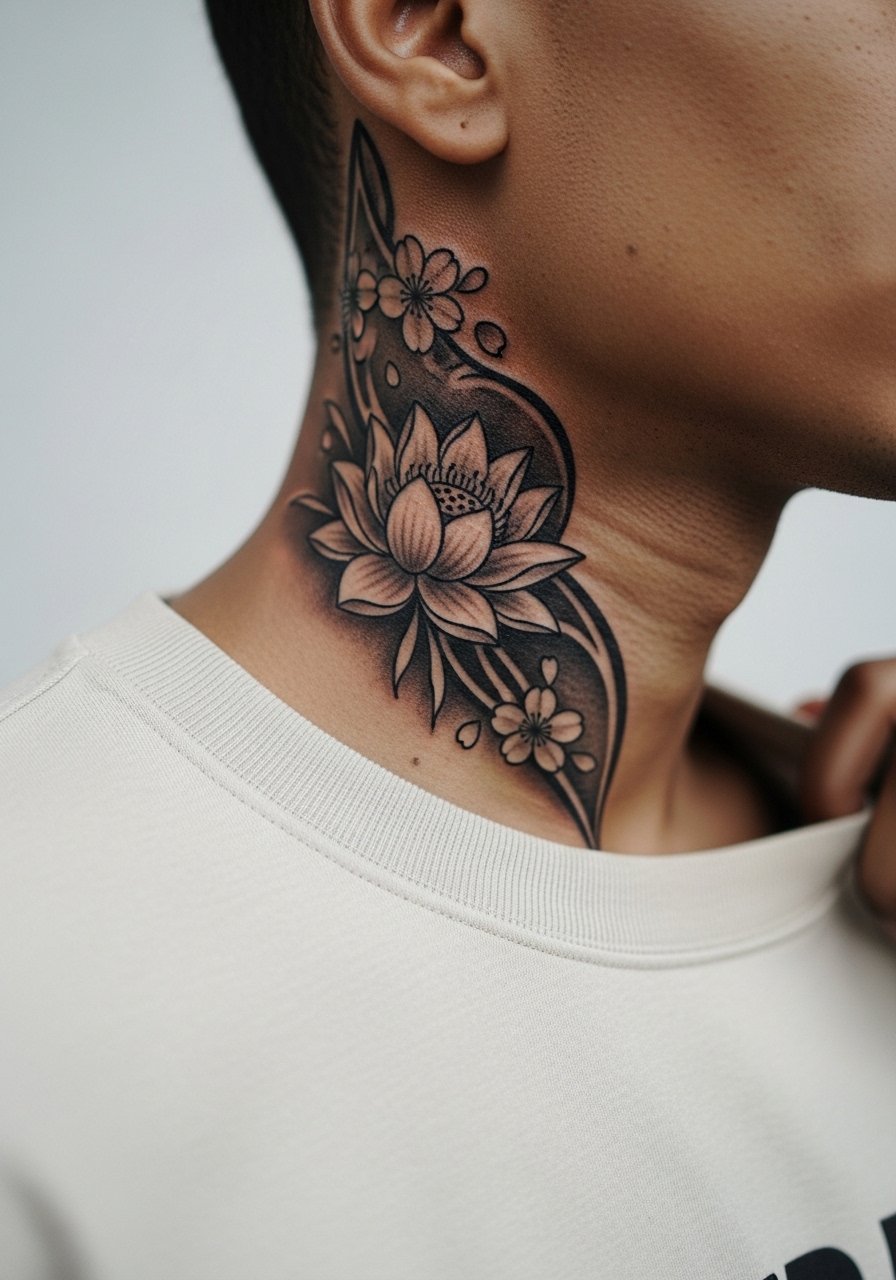
3. Ornate Lotus or Cherry Blossom Curving to Skull Base
Visual impact matters when a design wraps from the side neck up to the skull base. The advantage here is contour-following negative space that makes the ink read like it belongs to the body rather than pasted on. During consultation, request the petals to follow the sternocleidomastoid muscle so the piece sits naturally under short hair or fades into a fade haircut. The rib of the skull base is a tender spot while shading is added, so plan micro-sessions under two hours if you have low pain tolerance. Pair this with an olive crewneck sweatshirt for evenings when you want the neck to peek without full exposure. Expect graywash shading that softens but keeps shape at year two.
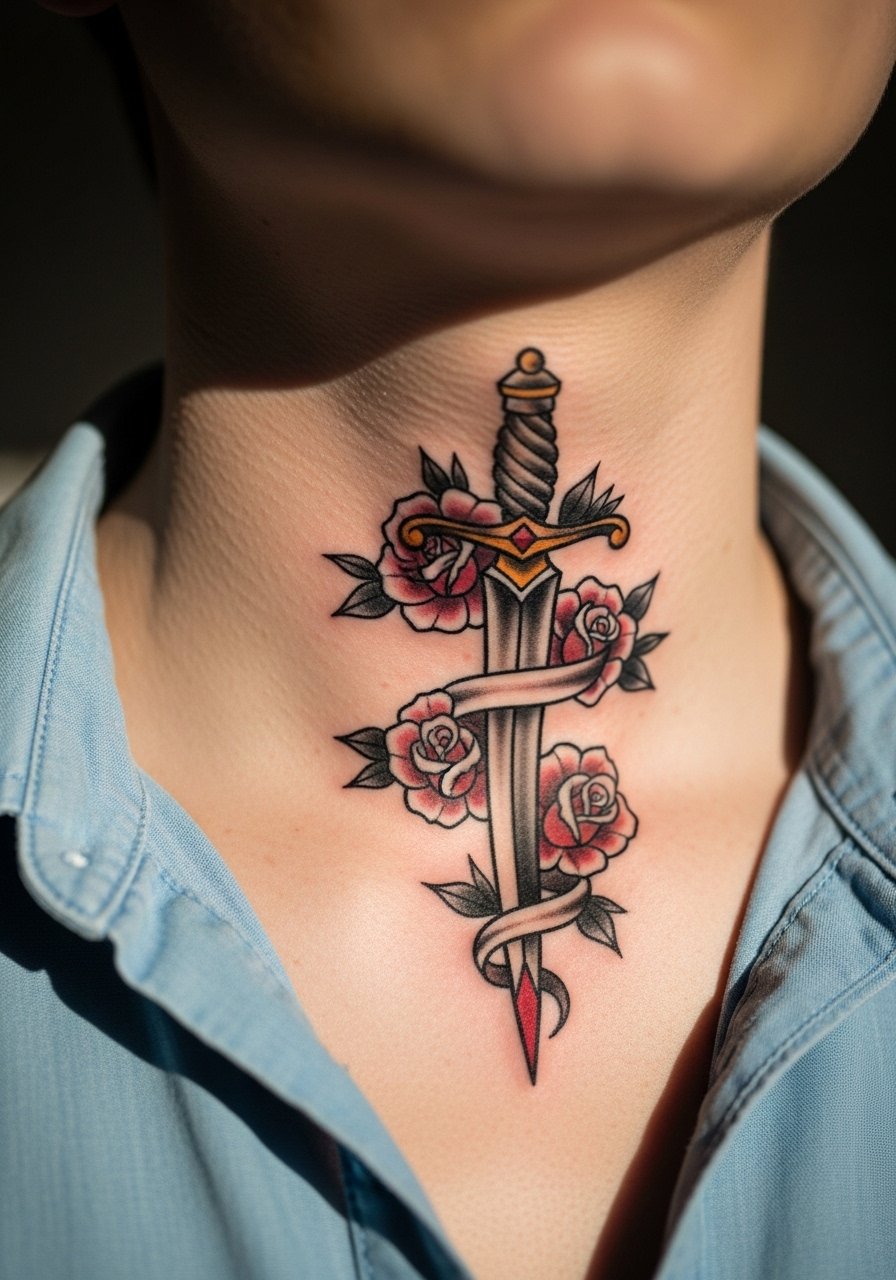
4. Sword Wrapped in Flowers on the Throat
Personal observation lead, this combo blends resilience and grace in a compact vertical format that reads well on narrow neck real estate. Ask for a vertical composition that sits on the midline so the sword aligns with the Adam's apple and the flowers overlap asymmetrically to avoid mirror blur. A common mistake is over-detailing petals that lose form on the throat. Expect moderate pain and one to two sessions depending on color. For the appointment, a minimal silver chain necklace can be left off or worn loosely to preview how jewelry sits with the finished piece. Plan a touch-up conversation during the sit if you want subtle color accents.
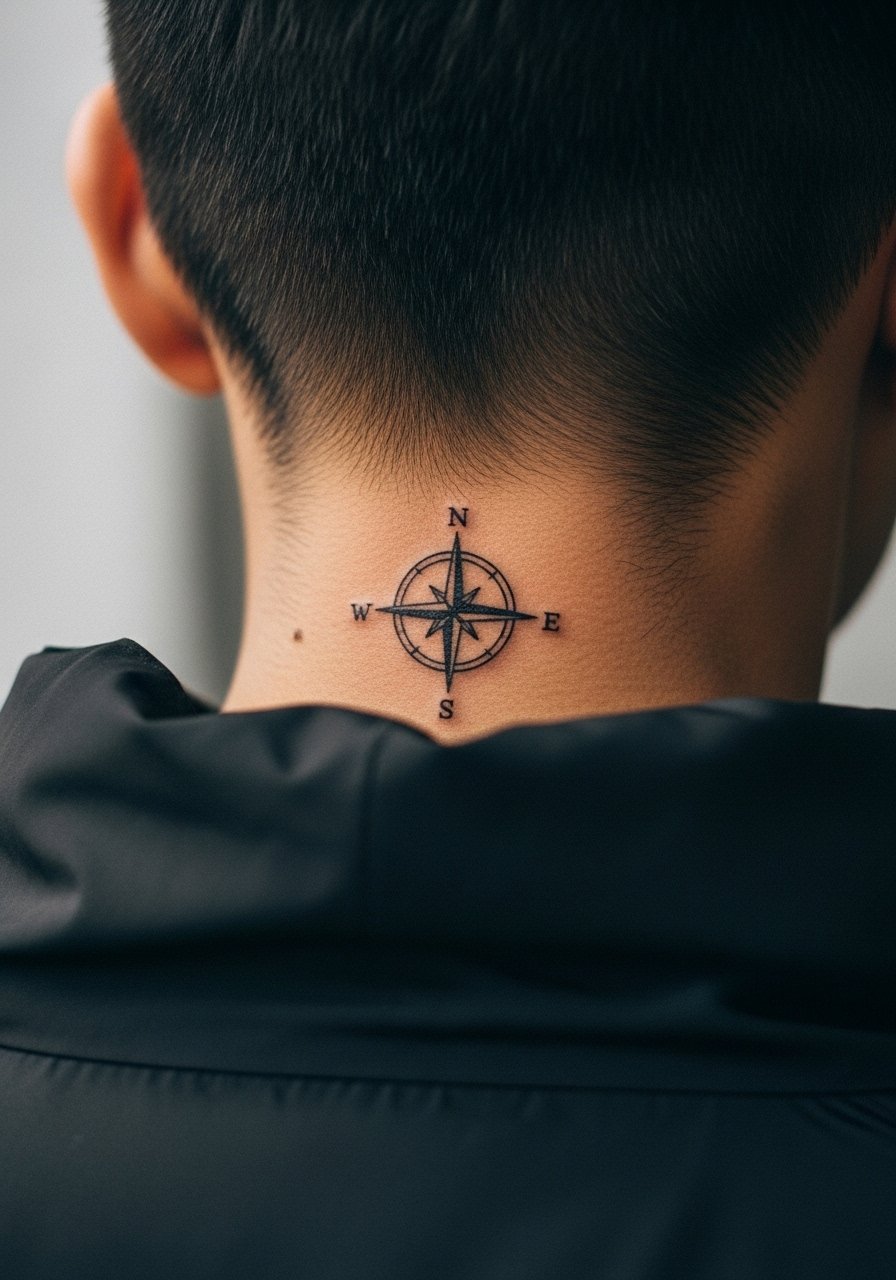
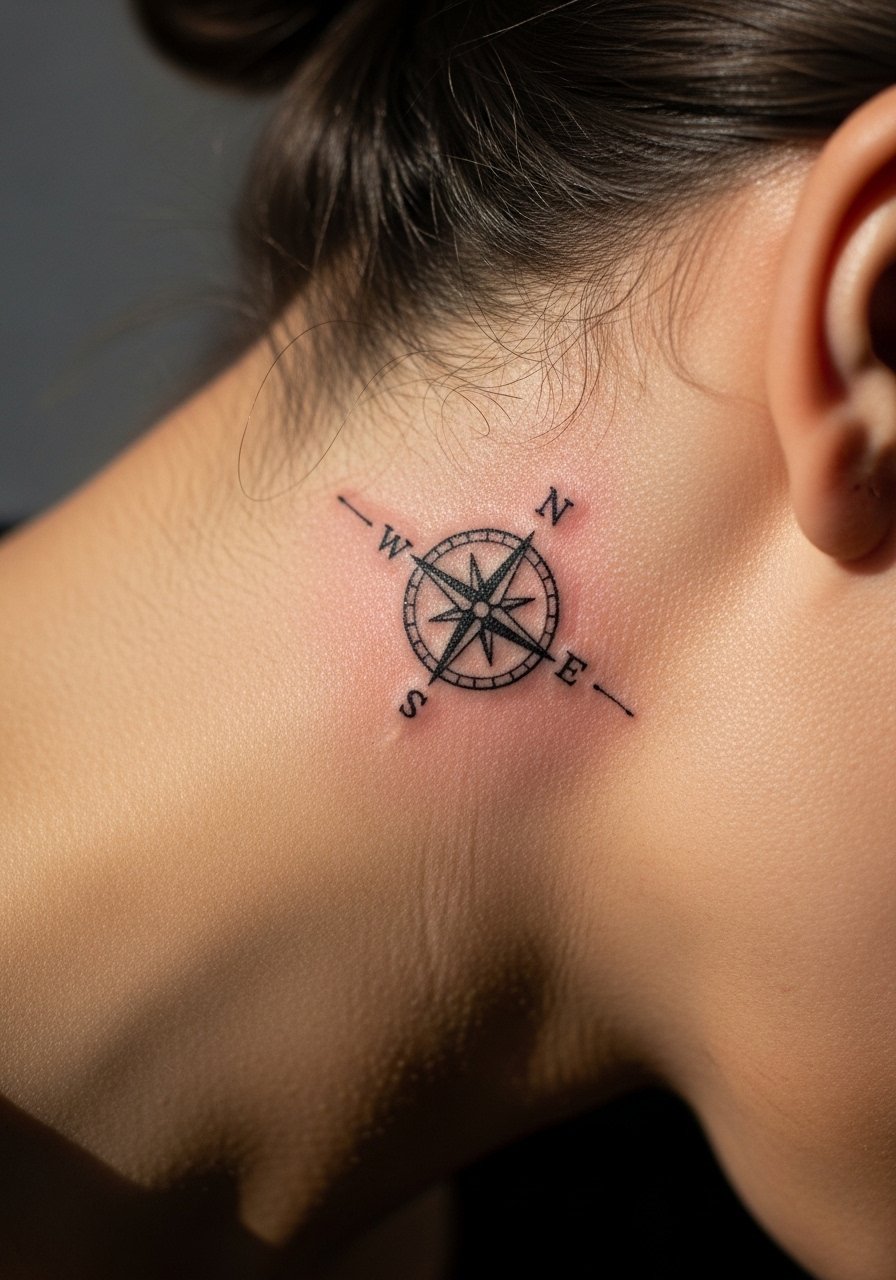
5. Compass with Negative Space at the Nape
Most of the people I know who want a neck compass choose the nape because it hides under collars and hair. Tell your artist you want a compact 2-3 inch compass with negative space between the cardinal points so it reads clearly when you wear a collared jacket. Pain is low at the nape relative to the throat and a single session usually does it. The risk is going too small and ending up with detail loss after a year. A low bun or a men's wool blazer with the collar up helps keep the piece private when needed. Touch-up timelines are typically at year one for thin linework.
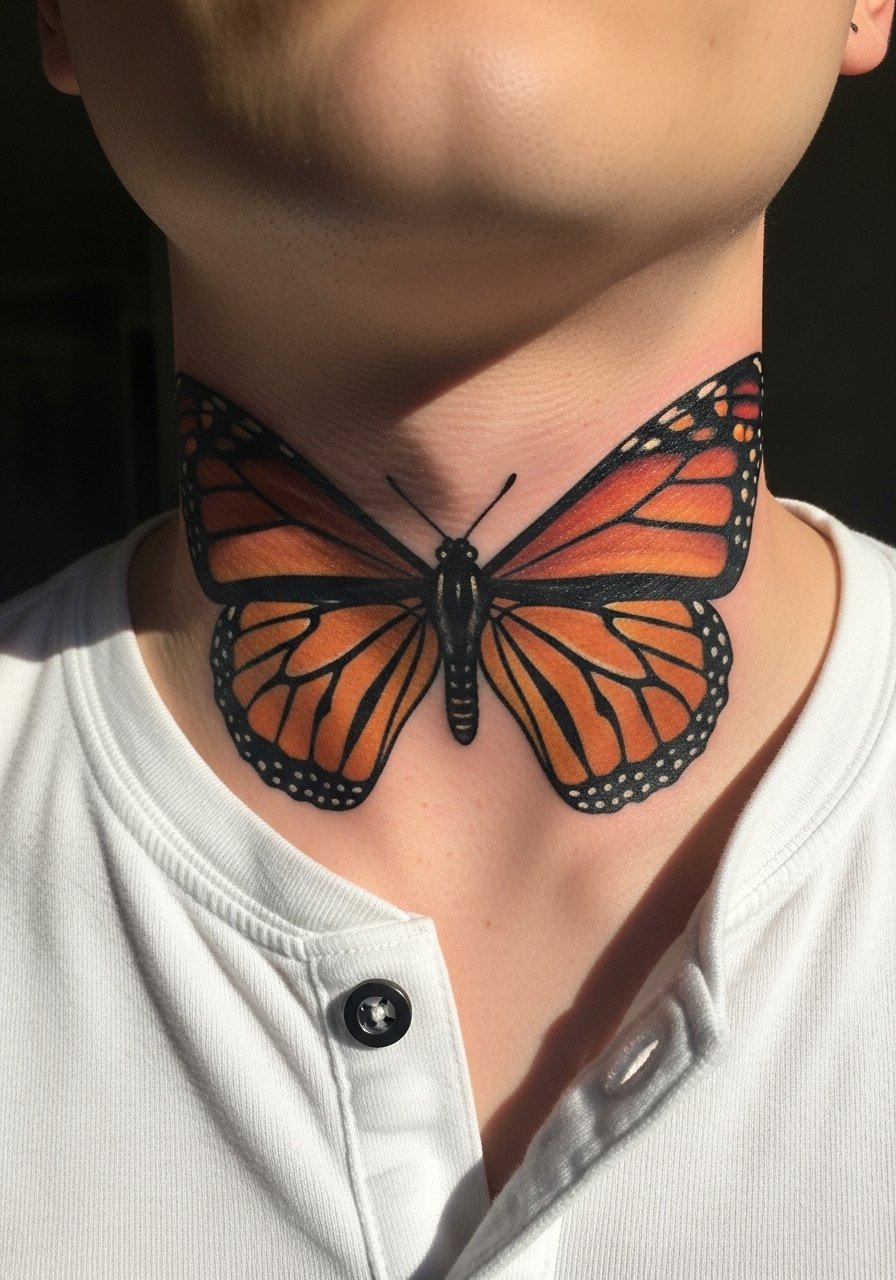
6. Monarch Butterfly Wings Across the Throat
Styling lead, butterfly wings can be surprisingly masculine if executed with crisp outlines and contrast around the wing tips. In consultation, say whether you want full color or a black-and-gray treatment for longevity. This placement hurts more than a side neck because you are seated and the needle rides over the cartilage of the throat. Expect multiple short sessions for color saturation. For show-off looks, an open collar henley or a men's black polo shirt frames the wings without competing patterns. If you pick color, ask your artist about how pigments hold on your skin tone and plan a touch-up at year one if needed.
Studio Day Picks
Those first six neck pieces include front-throat and side-neck work that rubs against collars and often needs extra prep for the studio visit.
- Stencil transfer paper kit. Lets you preview placement and symmetry on the curved neck before needle touches skin, which is especially useful for throat-centered pieces above.
- Topical numbing cream. Applied per instructions 30 to 45 minutes before can ease the sharp throat sensitivity during short color passes.
- Thin protective film roll. Useful for the first 24 hours on high-rub areas like the side neck to keep shirts from sticking to new ink.
- Fragrance-free body wash. Gentle cleansing helps preserve linework while you shower and reduces irritation around fresh neck work.
- Aquaphor healing ointment. A thin layer in the first 48 hours locks in moisture without clogging needle channels, which matters for fine elements on the throat.
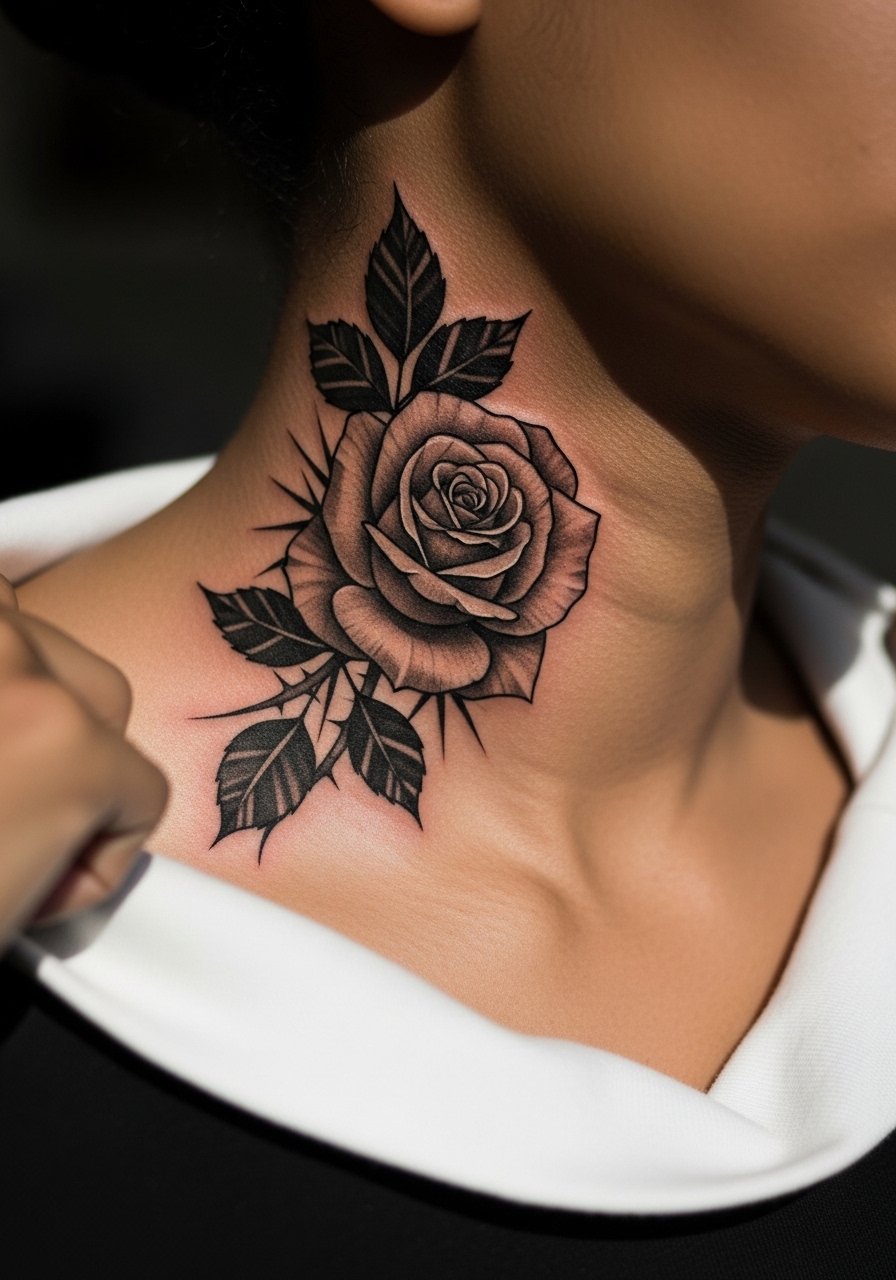
7. Realistic Rose with Thorns and Leaves on the Side Neck
Mistake lead, a lot of clients ask for an ultra-detailed micro-realism rose that ends up losing petal edges on the side neck. To avoid that, request a slightly larger scale and stronger contrast in the shadow areas so petals keep definition as the skin moves. This placement sees clothing friction, so thick blackout leaves or graywash shadows help the bloom remain readable at two years. The session is medium pain and usually two appointments if you want dense shading. For casual show-off, roll sleeves and wear a navy chambray shirt that lets the neck peek without pressing the fresh ink. Expect a one-year touch-up conversation for saturation.
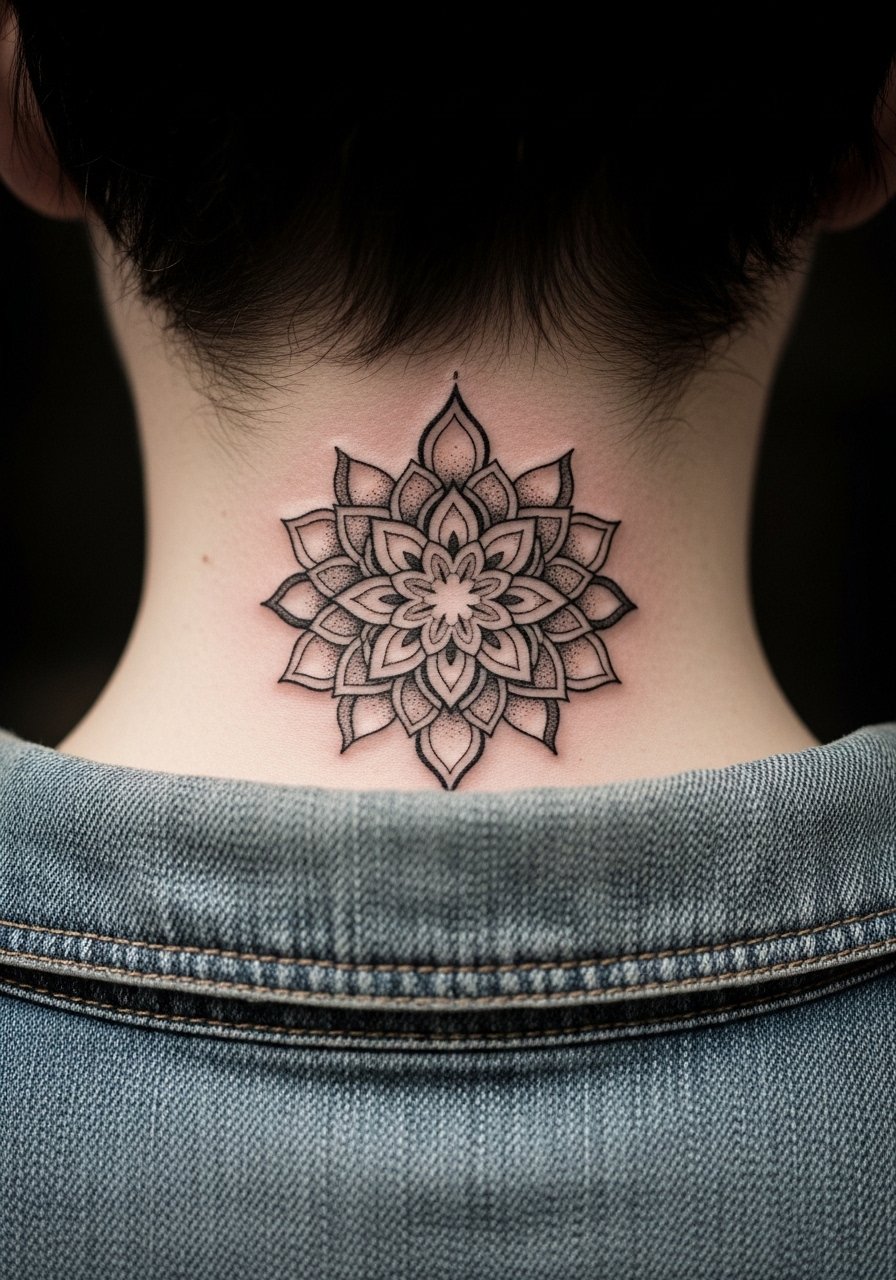
8. Symmetrical Mandala Nape Design
Aging/healing lead, mandalas at the nape succeed when artists leave breathing space between concentric patterns. Too dense an inner ring equals merged dots after one to two years. Ask for stipple shading and clear negative space in the center so the mandala reads clean under shorter hair. Pain is low at the nape and one session is common for a 3-4 inch circular piece. When you want it to peek, a denim trucker jacket or a collared blazer frames the pattern without exposing it fully. If the design draws from Buddhist motifs, consider small variations to acknowledge cultural origin respectfully.
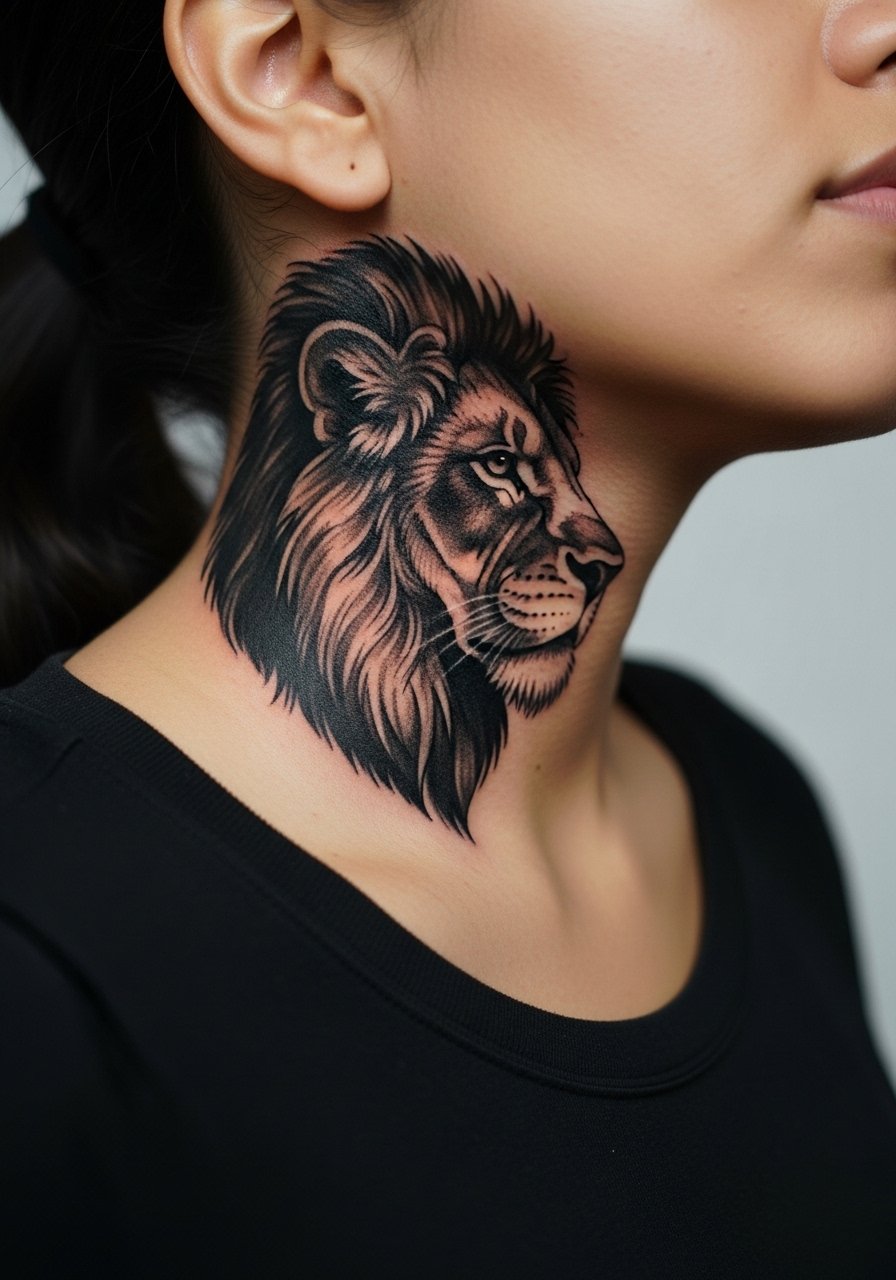
9. Lion Head Side Profile Along the Jawline
Visual impact lead, a lion profile on the side neck uses jaw alignment to sell strength and motion. Tell your artist to place the snout so the mane follows the jawline then tapers toward the collarbone for a natural flow. The jawline area can be tender, and heavy blackwork requires more saturation than a sketchy outline. For wardrobe, short hair or a tight fade highlights the profile, and a simple leather cord necklace can sit below the mane without crowding the image. Expect two sessions if you want deep black saturation that resists fading.
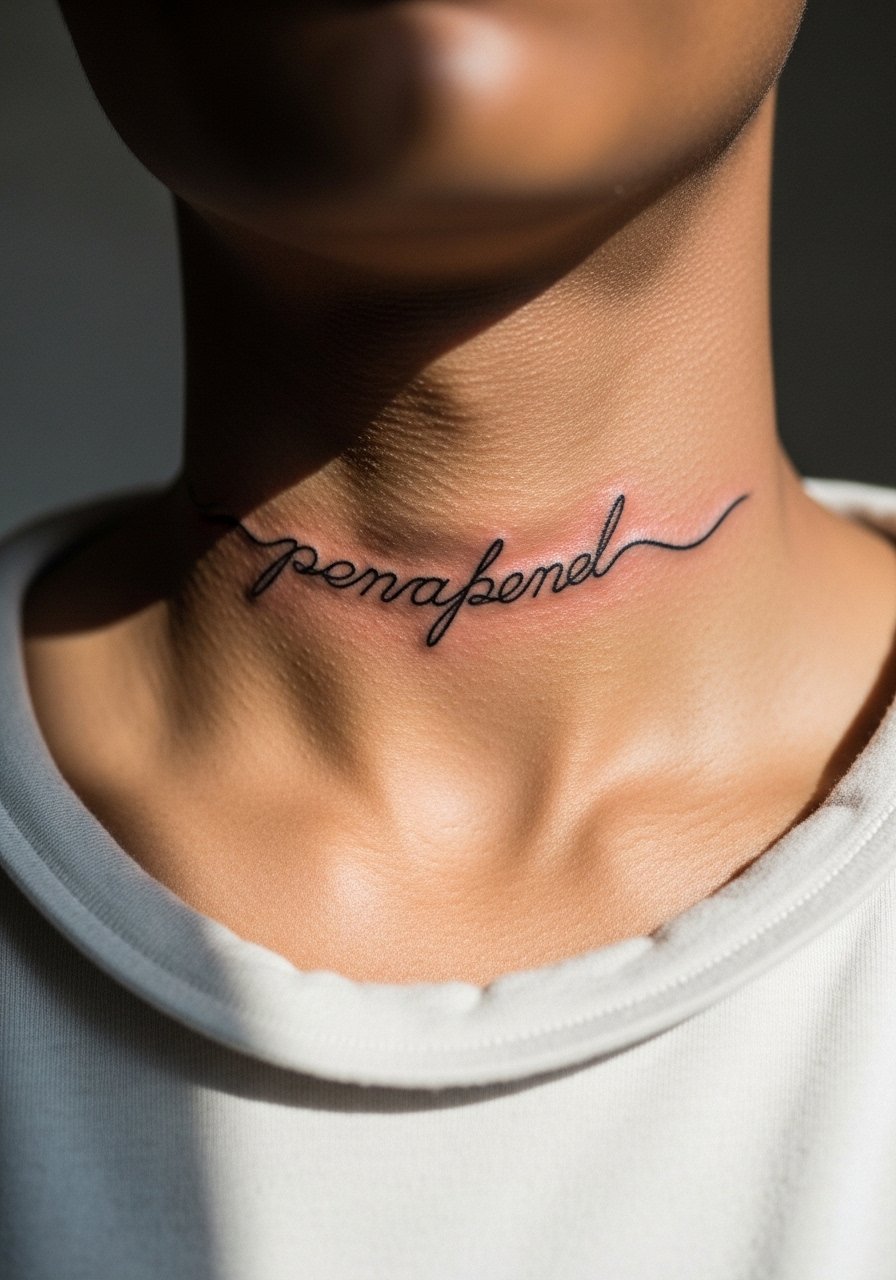
10. Script Quote Curving Along the Adam's Apple
Consultation lead, script on the throat follows natural curves, so bring specific references that show line weight and letter spacing you want. There is a controversy about fine line on throats. One camp argues fine script blurs fast in high-movement areas. The other camp says proper needle depth and slightly increased letter spacing can keep script readable for years. During the consult, ask which approach the artist uses and view healed examples. Pain is high and sessions are short. For the session, wear a crewneck tank top or open button shirt so the throat area is free. Expect to discuss a touch-up at year one for thin lettering.
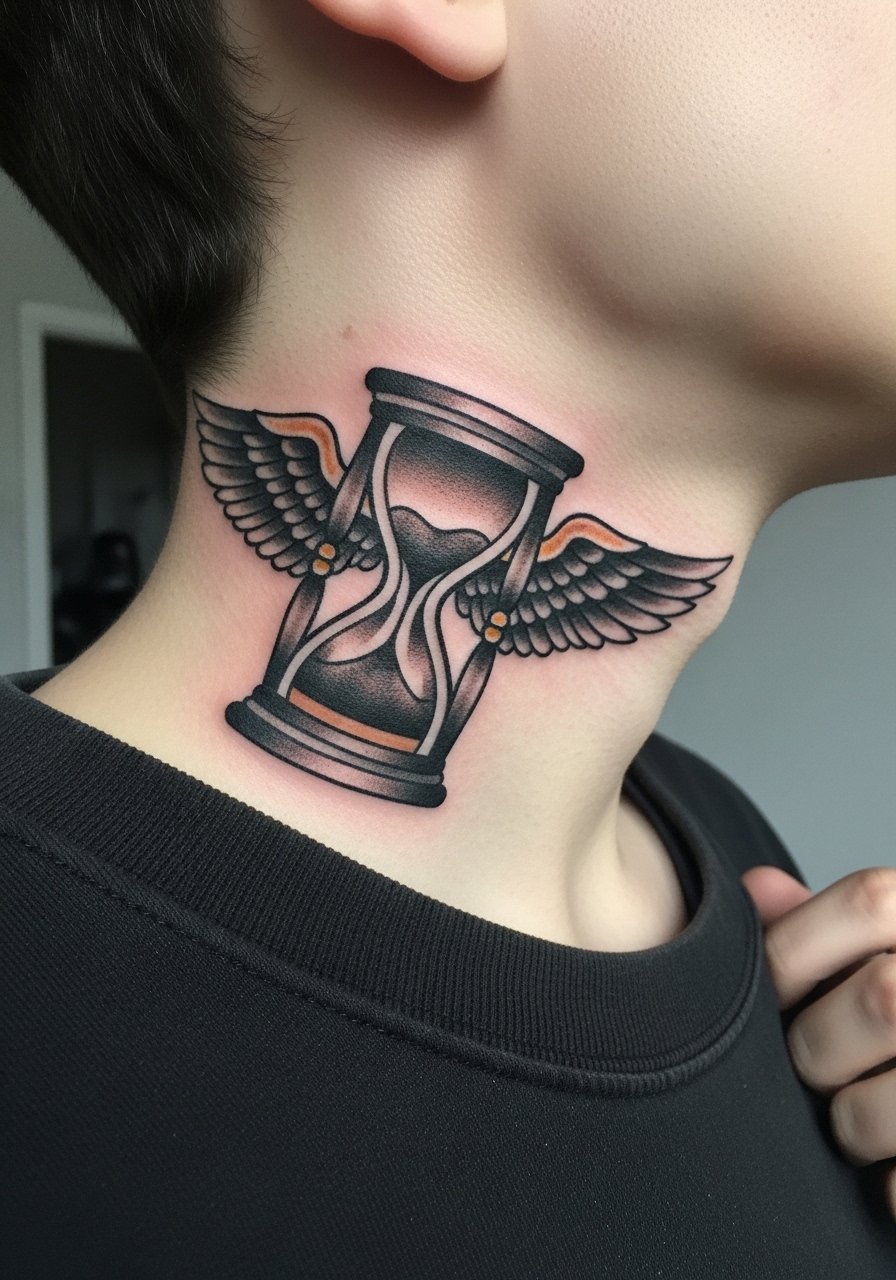
11. Hourglass with Sand and Wings on the Side Neck
Mistake lead, small decorative hourglasses often lose sand detail after a year because the glass lines are too thin. Ask for bolder outlines and graywash inside to keep contrast. This is a compact choice for side neck symbolism about time and change. Pain is moderate and most artists can finish a 3-inch piece in one session if shading is economical. For showing the piece, an olive crewneck sweatshirt or a simple open collar keeps attention on the design without overcrowding the neckline. Expect a light touch-up at year two if you want crisp sand detail.
12. Abstract Linework Web from Ear to Shoulder
Personal observation lead, abstract webbing that runs from behind the ear down to the shoulder trap reads expansive and modern when executed with clean single strokes. The advantage is the design can expand into a half-sleeve later. Tell the artist you want deliberate spacing between anchor lines so the negative space remains readable over time. Expect multiple sessions for a 4-6 inch transition piece and moderate pain behind the ear and along the trap. For the studio, wear a loose crewneck tee you can pull aside for shoulder access. Blowout risk increases near thin skin behind the ear, so discuss needle depth with your artist.

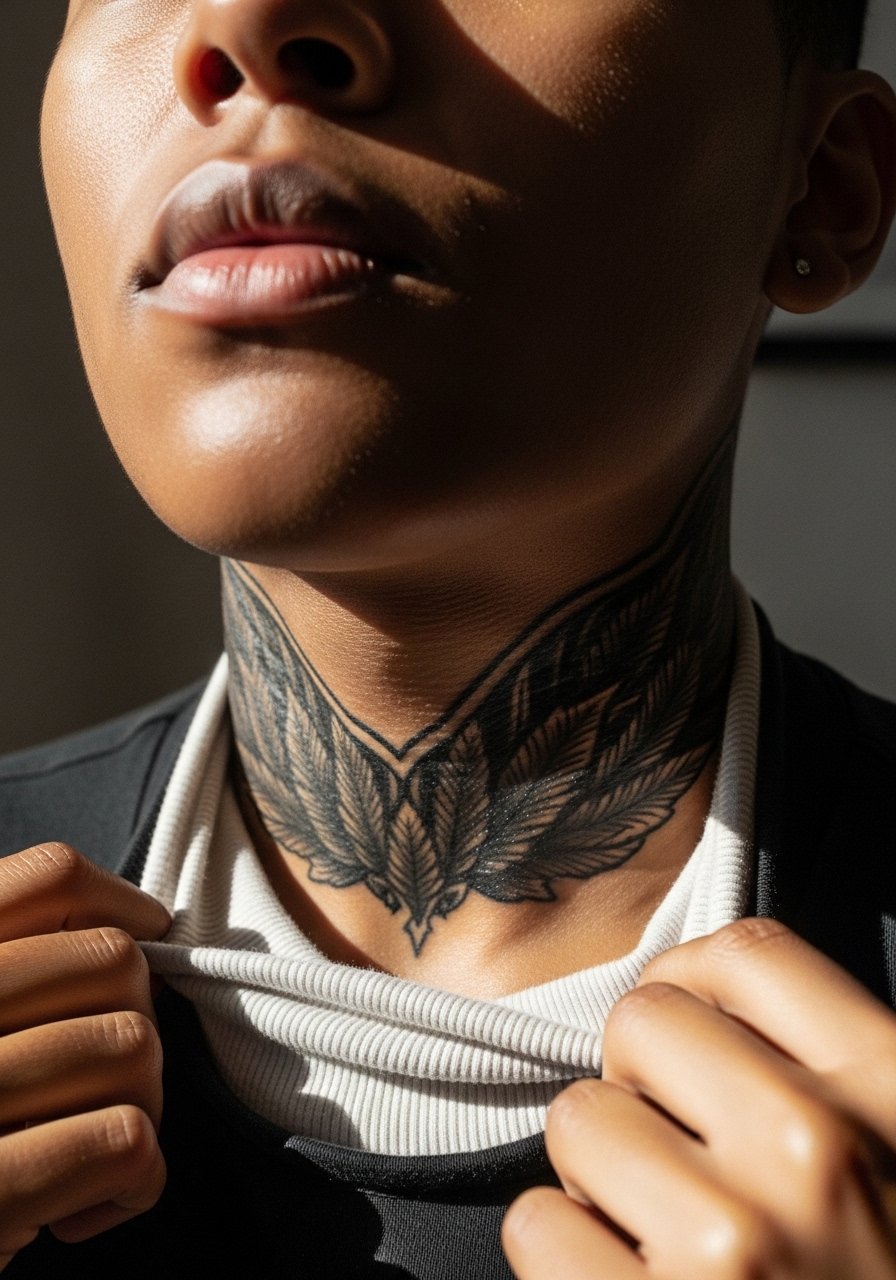
13. Blackout Collar Partial
Controversy lead, blackout work on the collar divides opinion. Advocates say it hides older faded ink and reads bold for years. Critics worry about long-term removal and the sheer coverage on visible skin. If you choose a partial blackout ring around the neck, ask for feathered edges that blend with adjacent pieces to avoid a harsh band. Pain is high and sessions depend on how much saturation you want. For staged coverage when you want to hide it, high collars like a high collar shirt help conceal fresh work. Discuss removal and future options with the artist during the first consult.
14. Minimalist Compass Behind the Ear Toward the Neck
Personal observation lead, a tiny compass tucked behind the ear and onto the side neck reads discreet while still meaningful. Use the phrasing "behind the ear on the skin below the hairline" with your artist so placement is precise. The area is sensitive but quick. A common error is overcomplicating a 1.5 inch compass with tiny pointers that fade. For showing the piece, a subtle leather cord necklace or short hair will let it peek naturally. One quick session usually suffices and touch-ups depend on how much UV exposure it sees.
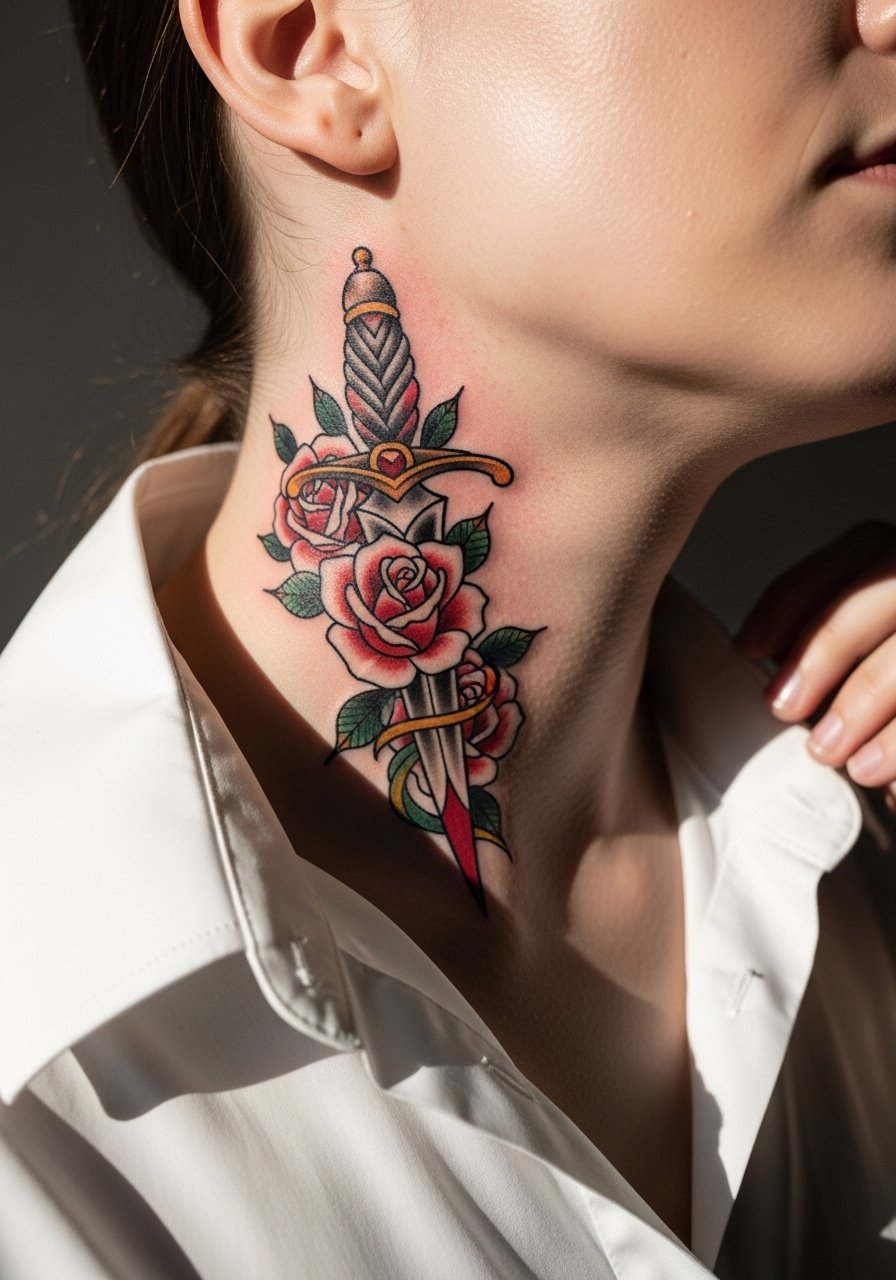
15. Flower-Wrapped Dagger on Side Neck
Styling lead, a dagger wrapped in lilies or roses gives a balance of edge and softness that photographs well. During the consult, specify flower types and whether you prefer grayscale or a hint of color on the petals. Side neck placement curves with the muscle, which helps the dagger sit naturally. Expect moderate pain and one to two sessions. For the session, wear a loose button-down shirt you can move aside and later wear rolled sleeves to frame the piece for casual looks. Plan a touch-up conversation if you pick subtle color.
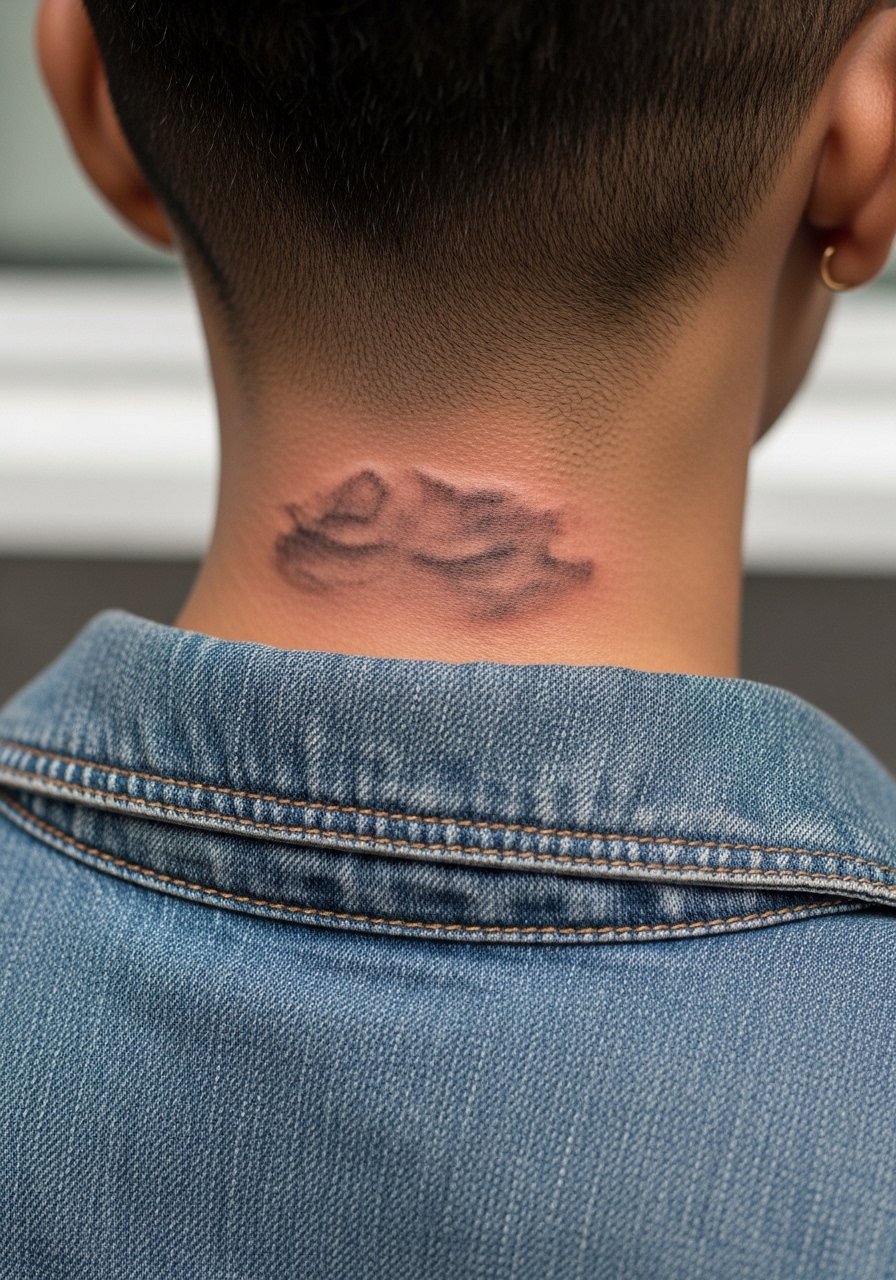
16. Micro-Realism Portrait Accent at the Nape
Mistake lead, tiny portrait accents at the nape often lose facial detail when scaled too small. If you want a small portrait near the hairline, ask for simplified features and stronger shadow blocks to keep the face readable over time. Nape placement hides under hair and has low day-to-day friction. Pain and session time are modest for a small piece. A denim trucker jacket with the collar flipped down gives occasional visibility without exposing the portrait constantly. Discuss healed examples with your artist and set expectations for a possible future touch-up.
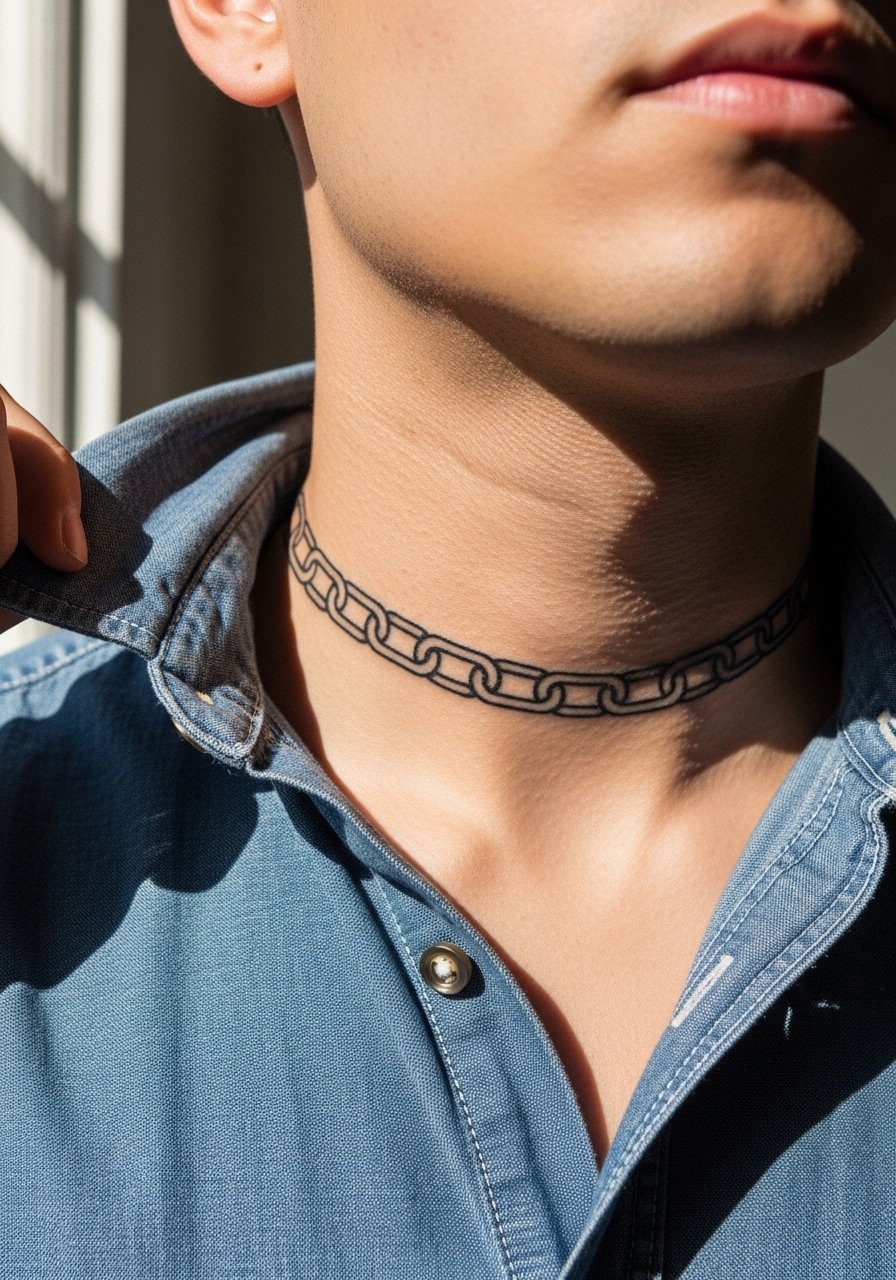
17. Chain-Link Collar Band with Negative Space
Consultation lead, a chain-link collar band uses repeating motifs that need consistent spacing to stay sharp. Tell your artist you want alternating negative space so the chain does not merge after a year. The design is modern and can be scaled to wrap fully or partially. Expect a medium pain level and one session for a thin band. For showing it off, a navy chambray shirt with the top buttons open keeps attention near the neckline. If you are concerned about workplace visibility, a high collar conceals it easily.
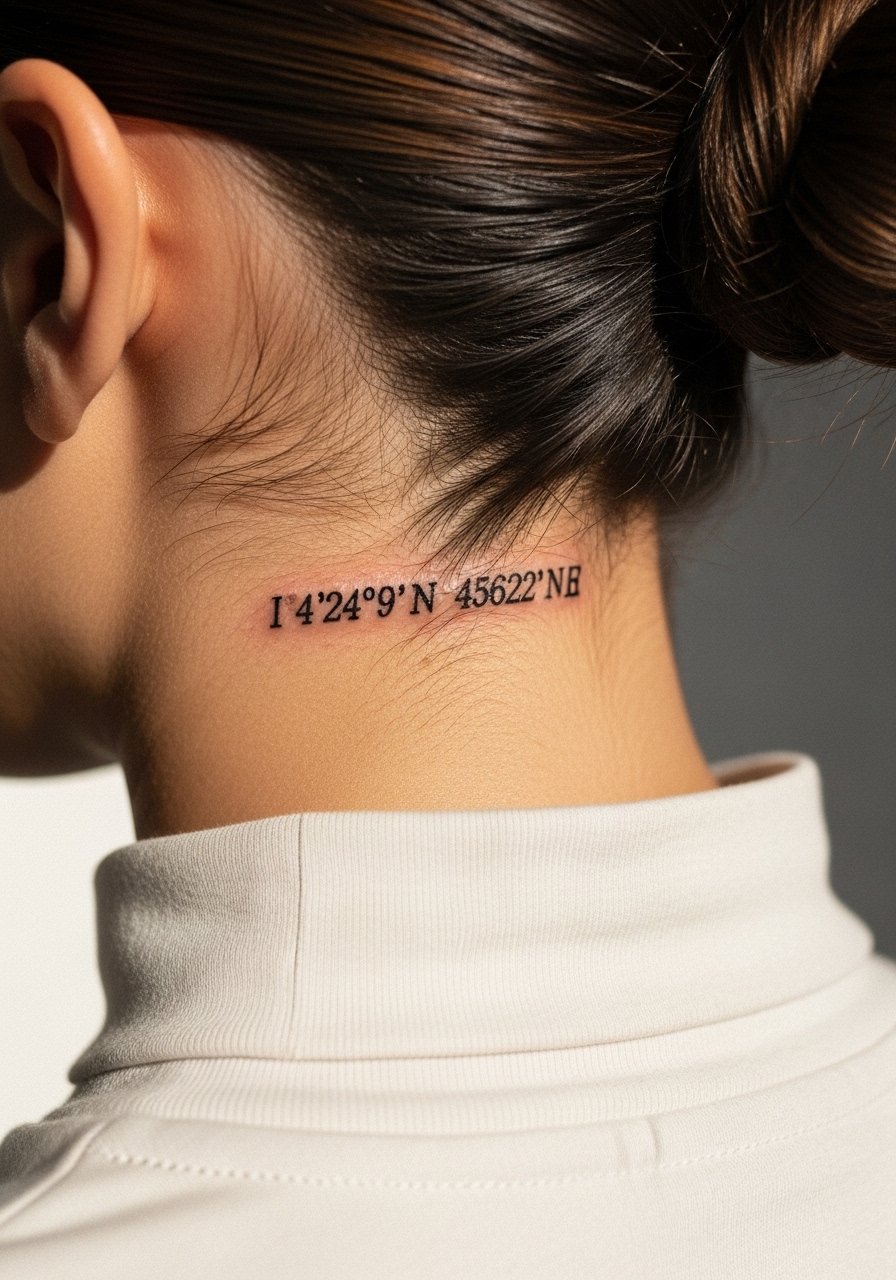
18. Coordinates or Small Text Row Along the Hairline
Aging/healing lead, coordinate tattoos and tiny text rows near the hairline read subtle but require slightly larger type than you might assume. Tiny monospaced letters less than two millimeters often blur into a line. Ask for clear spacing and view healed samples for the same font on the same skin tone. The area is low friction and hides under hair, so it is a good choice for those who need discretion. For the session, pull hair up into a low bun and wear a high collar shirt that you can pull aside briefly. Touch-ups are uncommon unless you choose very small sans-serif letters.
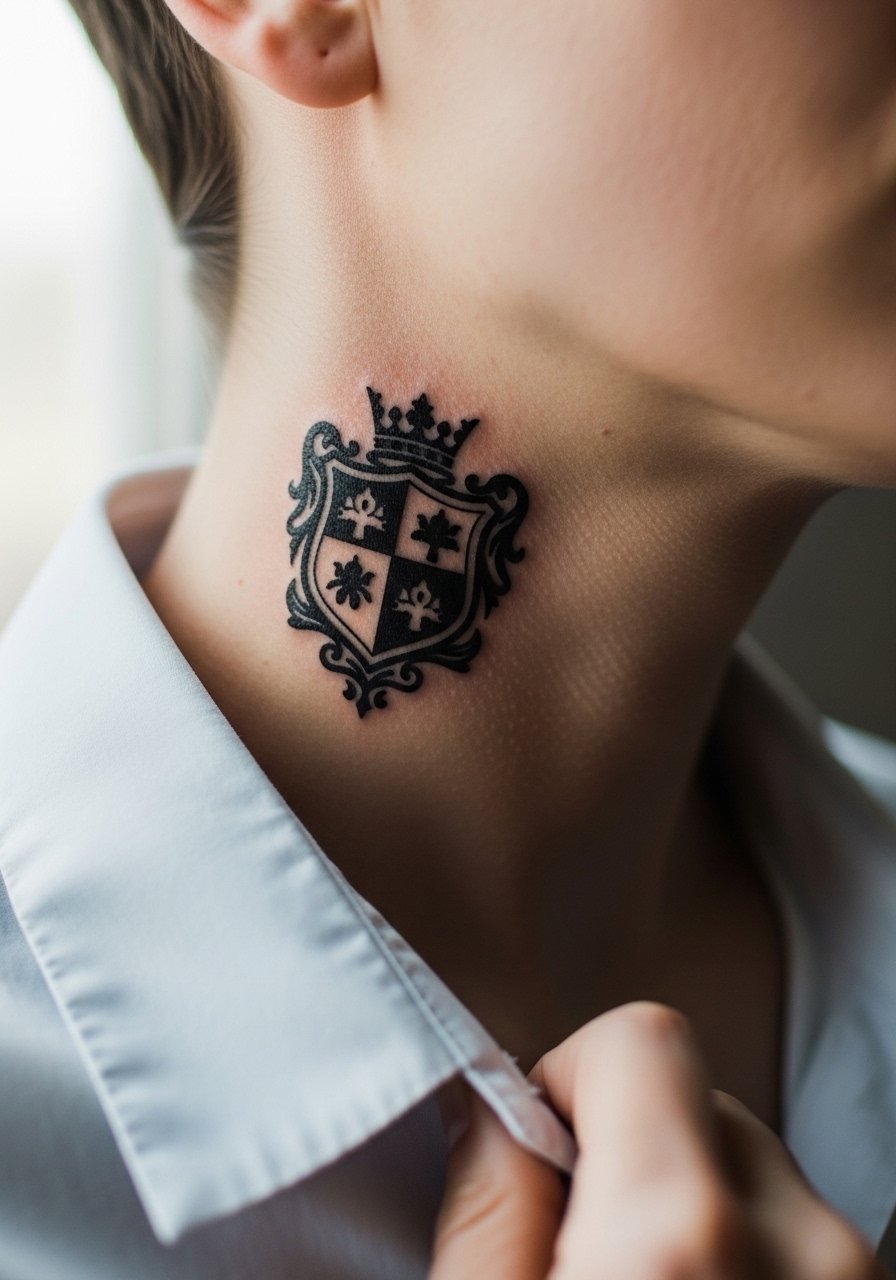
19. Heraldic Crest or Family Symbol on the Side Neck
Personal observation lead, family crests and heraldic motifs can look refined on the side neck when simplified into clean silhouettes rather than ornate frescoes. Ask the artist to flatten the detail into solid shapes and negative space so linework maintains clarity. This placement is visible with open collars and short hair. Expect moderate pain and a single longer session. For presentation, a men's black polo shirt or an open button shirt frames the crest without busy patterns. Discuss cultural sensitivity if your symbol has specific communal meaning.
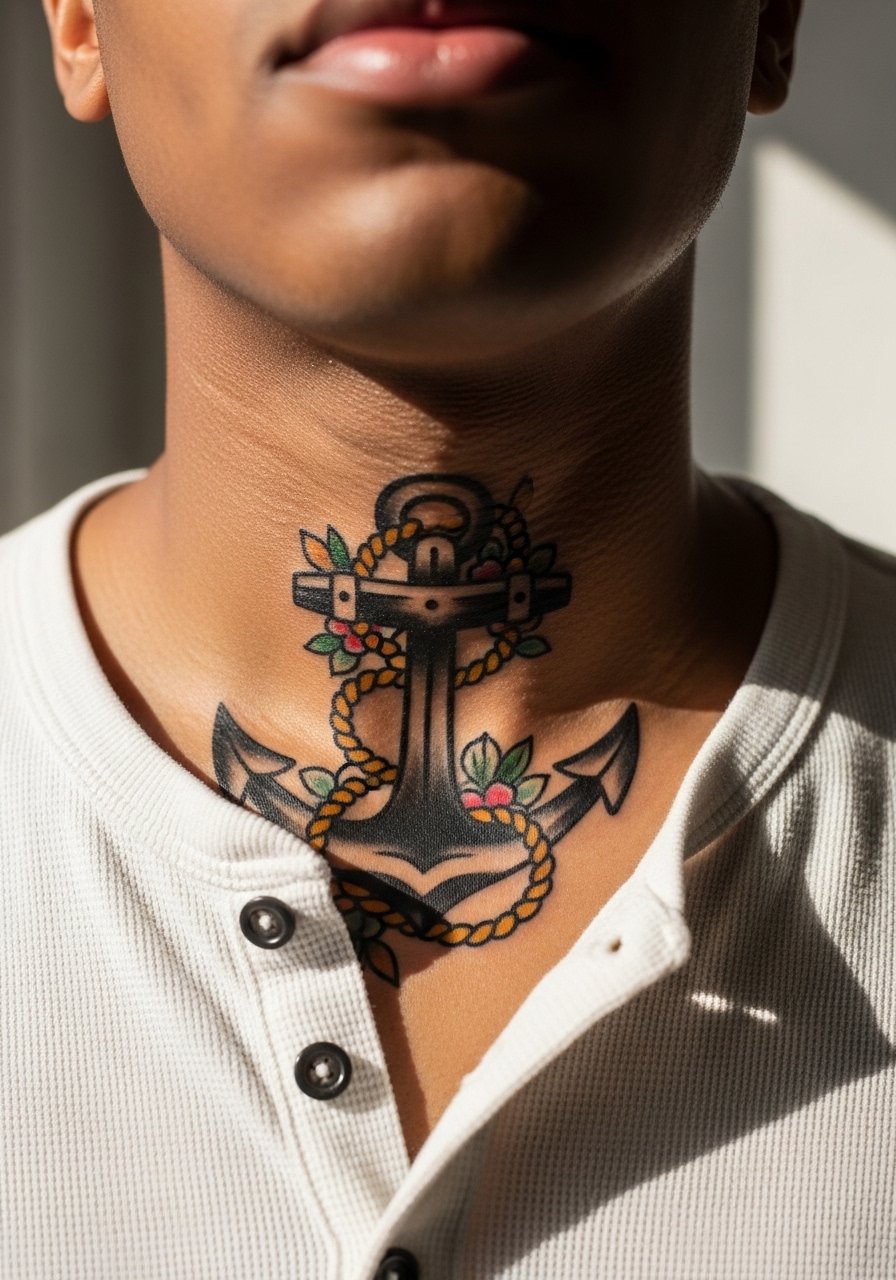
20. Retro Anchor with Rope and Small Florals on Lower Neck
Visual impact lead, anchors translate well to the lower neck when the rope weaves into small florals that soften the nautical theme. Ask for bold outlines and open shading so the anchor keeps form after a few years. Pain is moderate and a single session usually finishes a compact anchor. For casual wear, an open collar henley keeps the neck visible without pressure on fresh ink. Touch-ups after year one help with saturation if you choose color in the floral elements.
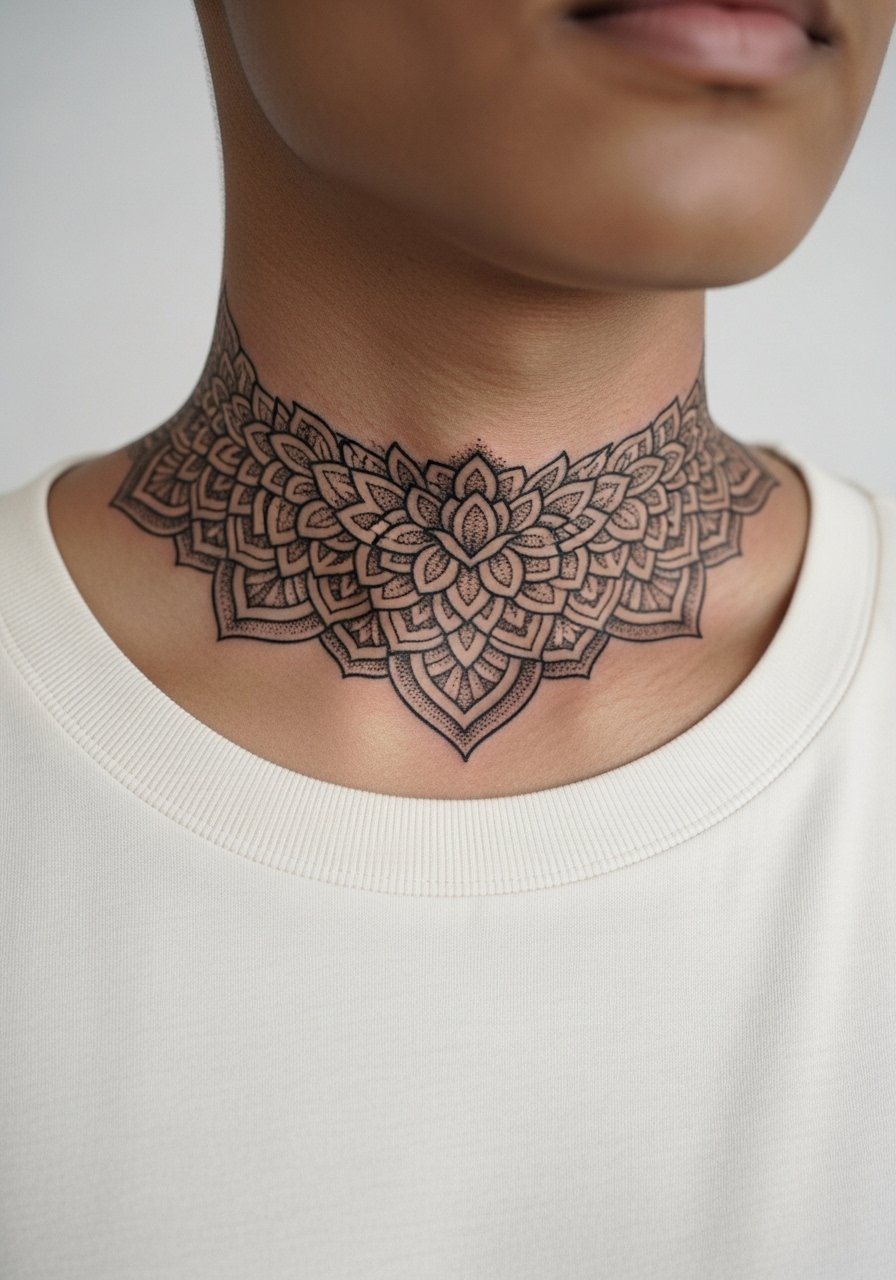
21. Stippled Mandala Collar That Tapers to Shoulders
Consultation lead, a stippled mandala collar uses dot work to create texture that breathes as it tapers toward the shoulders. Tell the artist you want heavier dots near the center and softer fade toward the traps to avoid dense patching that can merge. This type of ornamental collar is time intensive and usually done in progressive sessions. Pain varies across the neck and shoulders. For the session, wear a loose crewneck tee you can shift for access. If the motif draws from sacred geometry, mention respectful adaptation rather than direct replication.
Frequently Asked Questions
Q: Will a fine line script on the throat blur faster than a bolder script?
A: It depends on spacing and placement. Fine line script on the throat often needs slightly larger letter spacing and a tiny increase in line weight to avoid merging. Ask your artist for healed portfolio images of throat scripts and plan for a touch-up around year one if you want the thin look to persist.
Q: How should I dress to avoid rubbing a fresh throat or side-neck tattoo during healing?
A: Loose, open-collar shirts or low-stretch wide-neck tops are best the first two weeks. For throat work, wear shirts you can open or a men's v neck tee so fabric does not press on the area while it scabs and re-epithelializes.
Q: Is Saniderm better than dry healing for neck tattoos?
A: The community is split. One group says protective film shields fresh neck ink from shirt friction and speeds early healing. The other group worries about trapping sweat and bacteria on a high-exposure area. If you plan to use a protective film, talk with your artist about timing and when to switch to open-air care so you get the benefits without increased infection risk.
Q: Will neck tattoos show up differently on darker skin tones, and how should I adjust design choices?
A: From what I've seen, strong saturation and contrast help more than tiny white highlights. Ask an artist who works with darker skin tones to adapt the palette and prefer higher contrast linework so the design keeps shape in photos and at a distance.
Q: What is a realistic touch-up timeline for neck pieces like mandalas or blackwork collars?
A: For dense blackwork and mandalas, expect the first touch-up discussion around year one to address any softening, and then every few years as needed. Lighter or fine-line neck pieces often require earlier touch-ups, sometimes at the one-year mark.
Q: How can I find the right artist for neck work if I do not want a name recommendation?
A: Use discovery paths like searching #NeckTattooMen or #SideNeckTattoo on social platforms, filter portfolios in tattoo apps, and check guest spots or conventions where neck-specialist artists often work. Look for healed photos, not only fresh shots, to judge longevity.
