
Fine line Monster High motifs are everywhere online right now, and the trend-versus-reality gap is real. What looks crisp on a phone screen can blur on skin if the design is too dense or the placement is exposed to friction. These 27 drawings focus on designs that read cute on day one and still look intentional after a few years, with quick consultation notes, aging expectations, and styling tips to help you show them off.
1. Tiny Skull Logo on the Inner Forearm
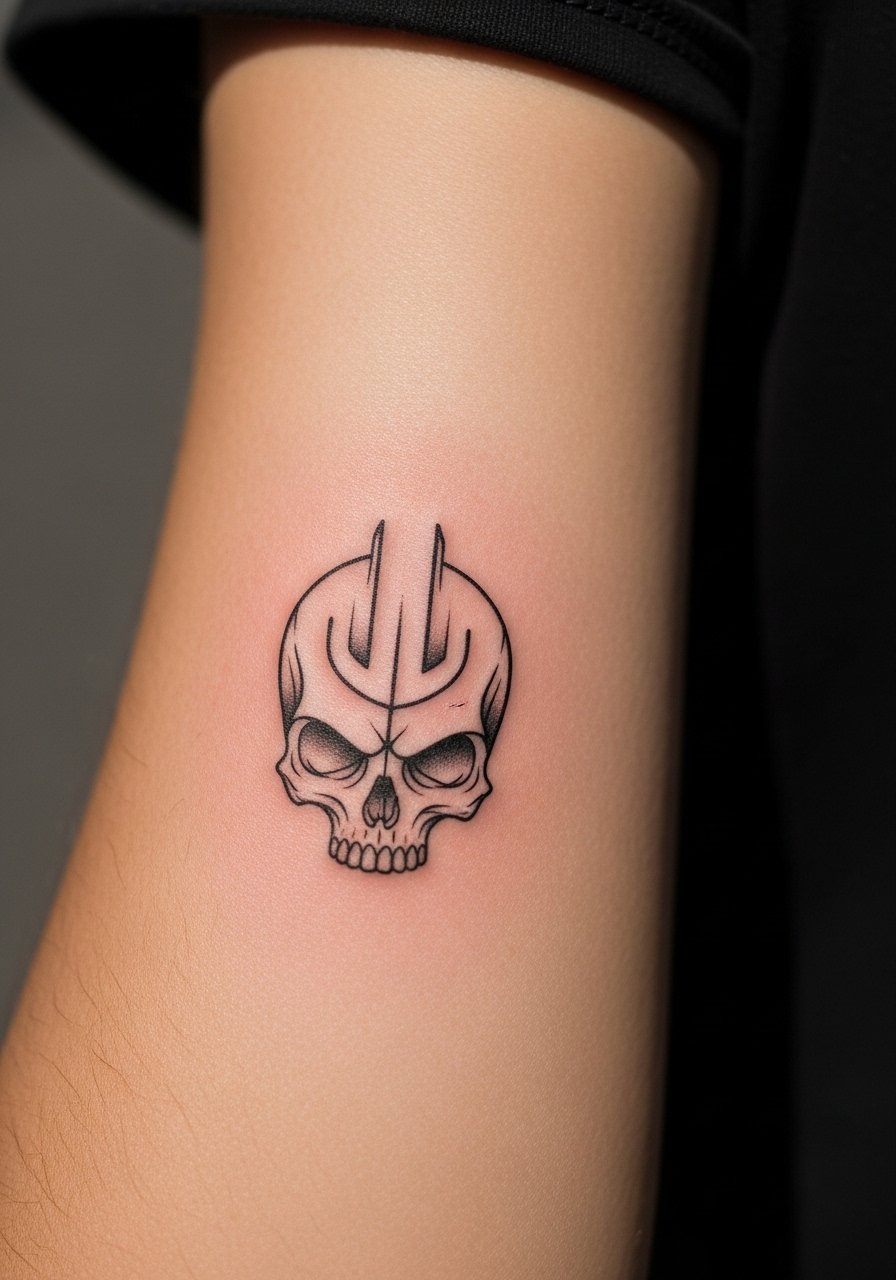
I recommend this tiny crest when you want a clear nod to the franchise without full character portraits. Tell your artist you want slightly thicker outer linework with thin inner details so the symbol keeps its shape as the years pass. The common mistake is asking for ultra-fine exterior lines that merge after sun exposure. On the inner forearm pain is low and sessions run short, about 30 to 45 minutes. Expect a touch-up around year three if you spend a lot of time in the sun. Pair it with a rolled-sleeve linen shirt to reveal the design casually.
2. Draculaura Pinup Bust on the Upper Arm
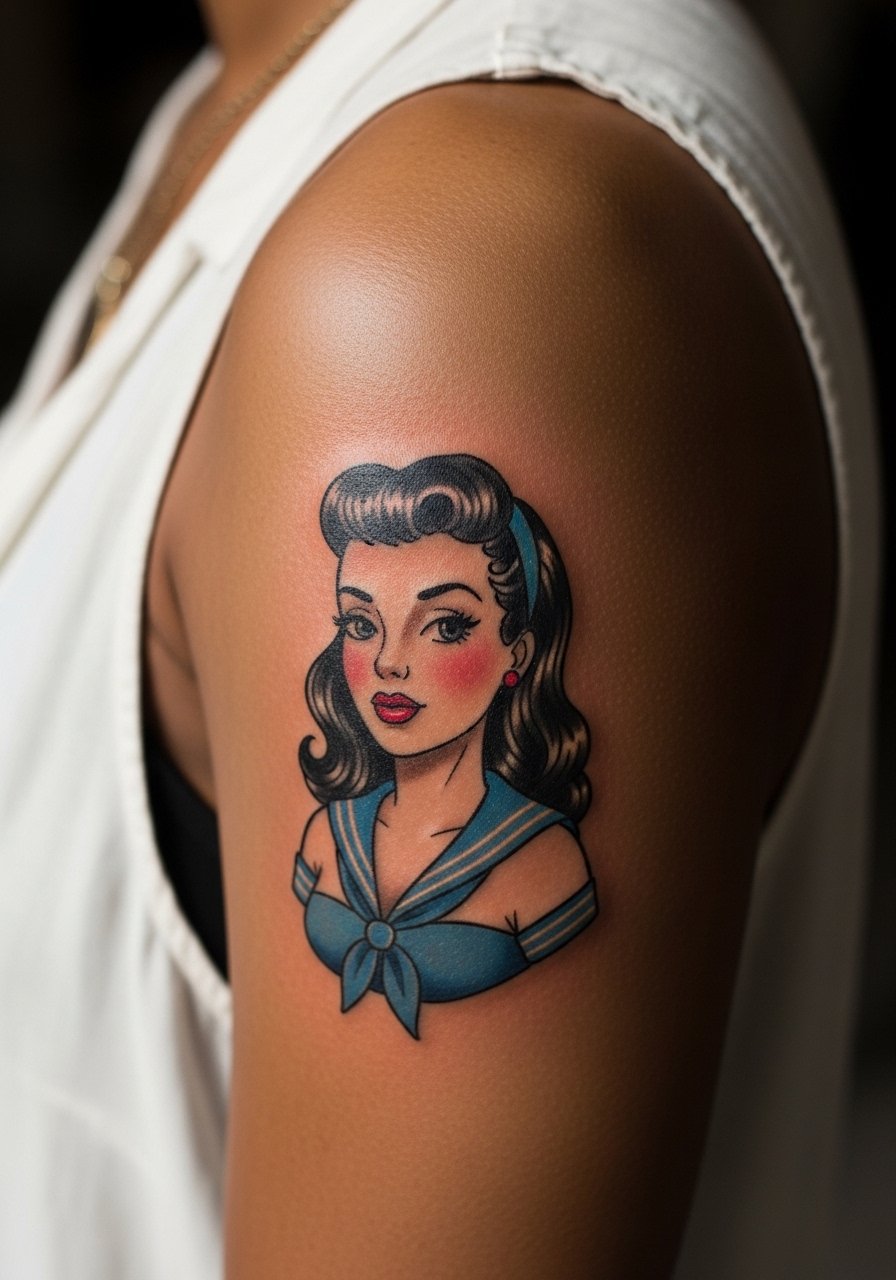
This small pinup works when you want character detail but not a sleeve. Ask for a mix of stipple shading and soft color saturation to keep depth without overworking the skin. Artists sometimes go too saturated with color, which can feather on softer skin types. Upper arm sessions are comfortable and often finish in a single two-hour sitting. Expect how the color settles at six months to be slightly softer, and plan for a touch-up around year four if needed. For showing it off, a sleeveless cotton top frames the piece without overwhelming the silhouette.
3. Frankie Stein Stitch Patch on the Thigh
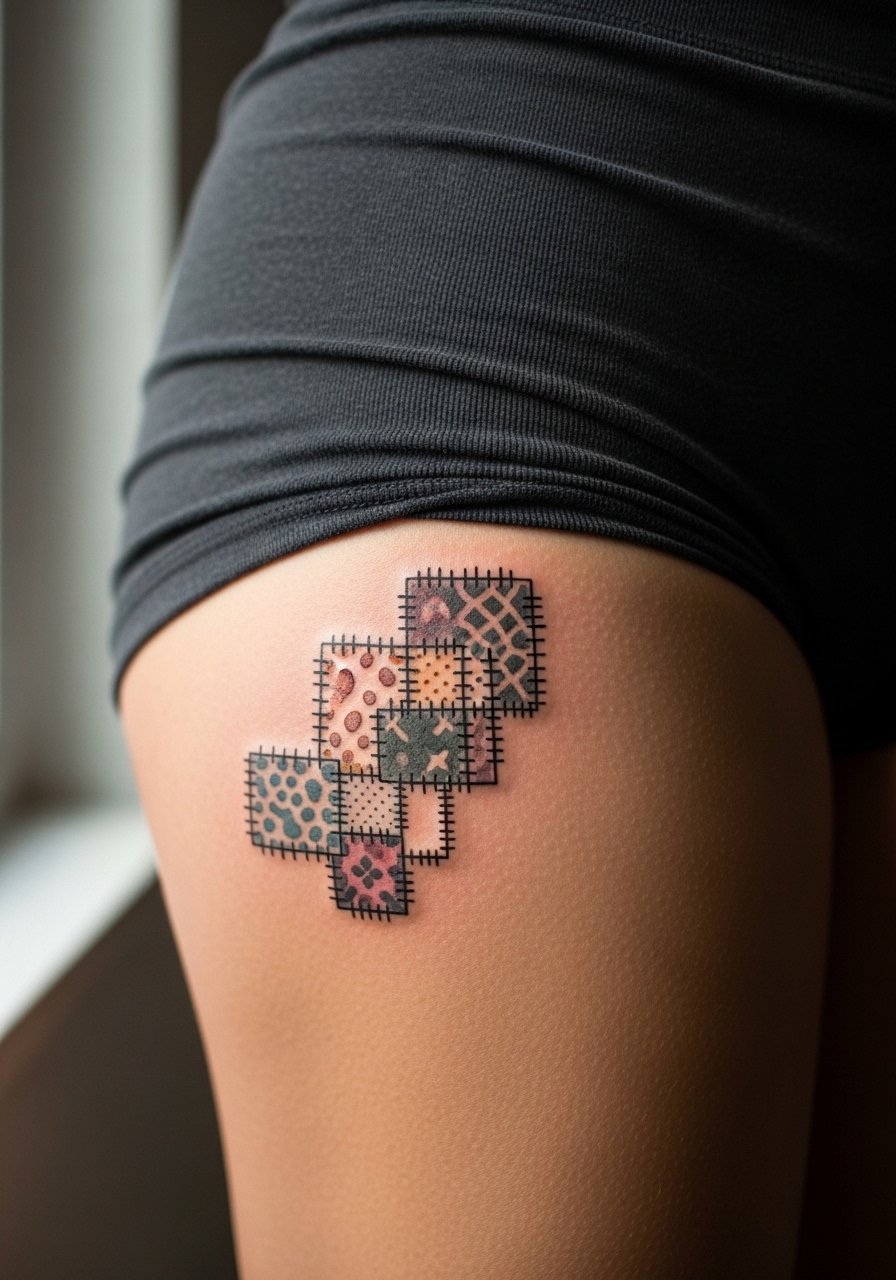
The patch motif reads playful on thigh placements where there is room to expand later. Tell the artist you want a mix of whip shading for texture and bold stitch outlines so the patch reads clean in photographs. A frequent mistake is making the patch too small, which causes the stitch detail to blur. Thigh sessions are moderate on pain and often feel like long stretches of pressure. For the session, wear high-waisted shorts that can be shifted slightly to give the artist access while keeping you covered.
4. Mini Clawdeen Wolf Silhouette on the Ankle
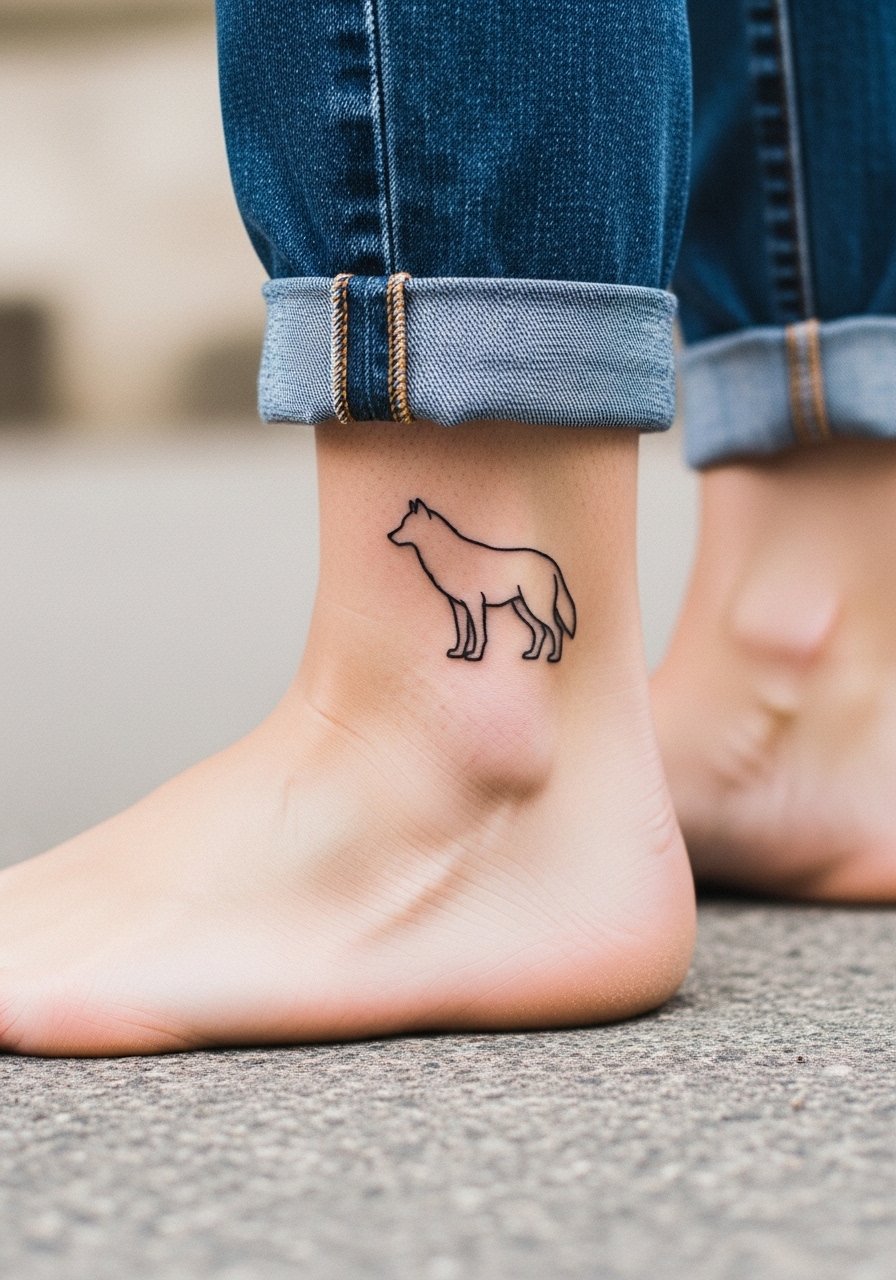
Ankle placements need a confident silhouette rather than tiny interior detail. Ask for a slightly thicker profile and avoid micro textures that the ankle skin will not hold well. The usual error is requesting a lot of fine interior fur lines that fade into a blur. Sessions are short but the ankle sees lots of rubbing from socks and shoes, so the first year matters most. You'll likely need a touch-up sooner than on an arm. Show it off with jeans rolled to the ankle or slip-on sandals.
5. Tiny Bat Cluster Behind the Ear
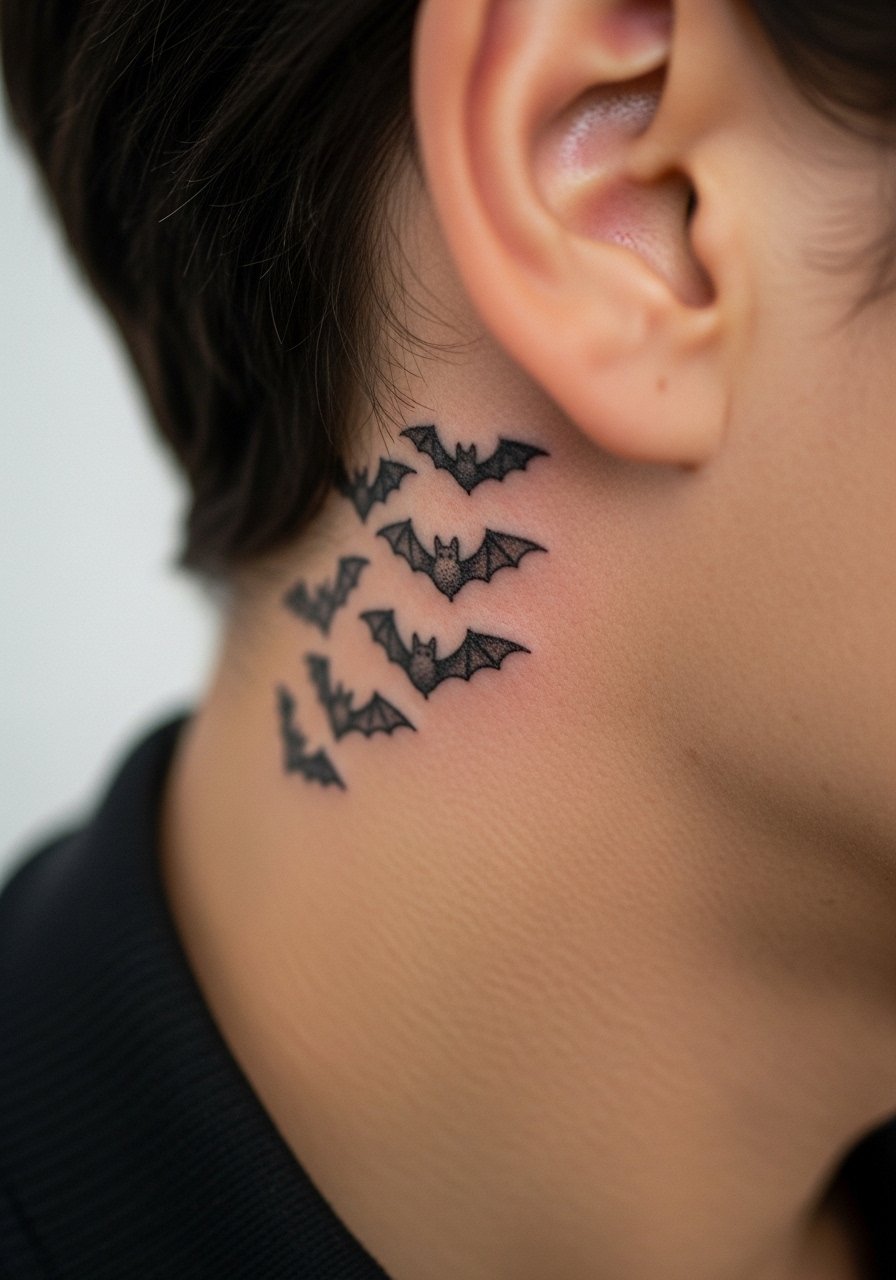
Behind-the-ear motifs read delicate when spaced. Tell your artist you want small separate silhouettes instead of a single dense cluster so each bat keeps form as it settles. A common mistake is packing too many elements into the tiny patch behind the ear. Pain is low but the area is sensitive to touch after a session, and touch-ups are tricky because of hair growth. Wear your hair up during the appointment so the artist can work cleanly. This placement also raises copyright questions for some people, which I cover below in more detail.
6. Ghoulia Glasses Micro-Realism on the Wrist
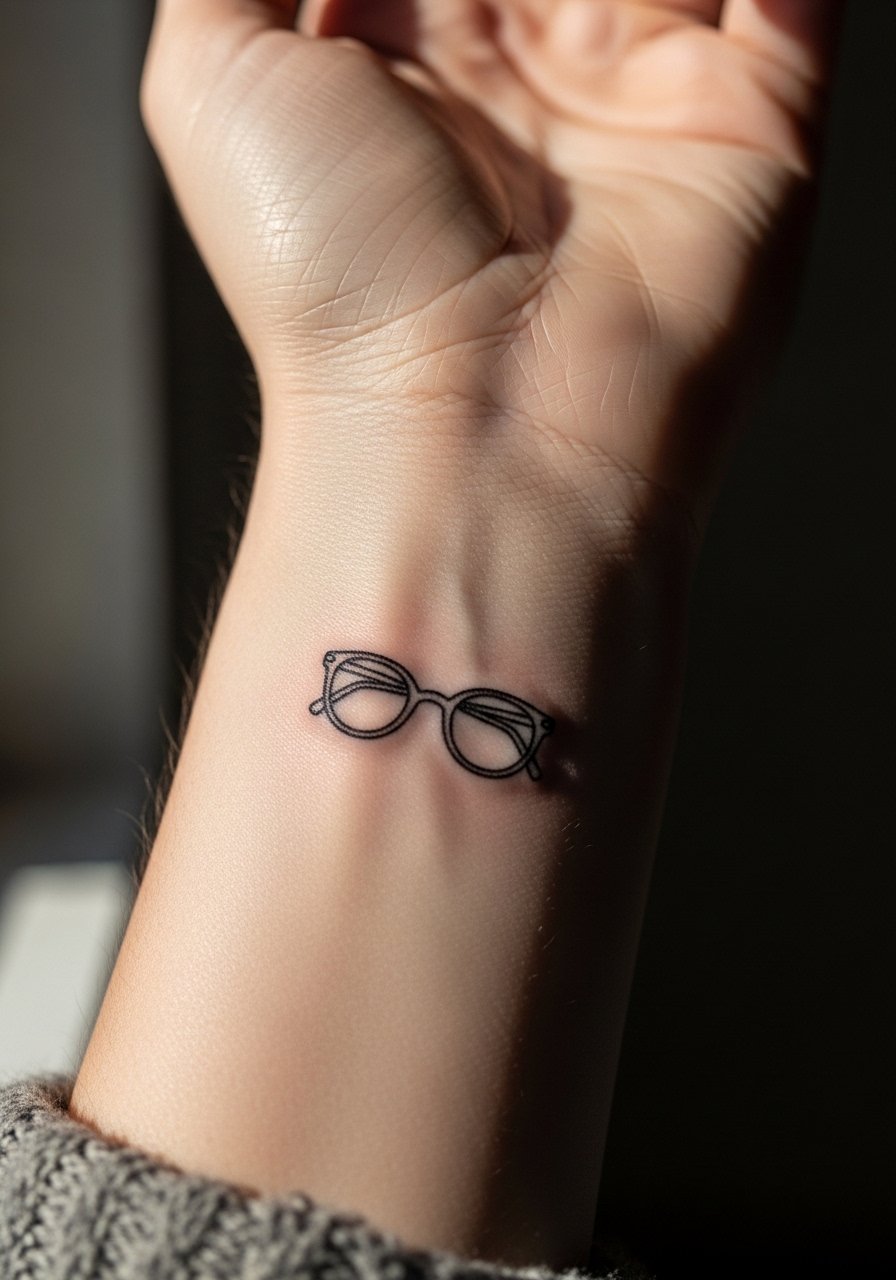
A pair of small glasses is a subtle reference that fits the wrist well. Ask for contrast between the rim and the lenses so the shape stays legible. The mistake is too many tiny highlights that eventually disappear. Wrists are higher friction and show wear from washing, so expect a touch-up around year two to three. For the session, wear a short-sleeve button-down shirt you can pull aside without fumbling. A thin bracelet can frame the piece but avoid anything that sits directly over the ink.
Studio Day Picks
The pieces above include several small wrist, ankle, and behind-the-ear places that need different prep than larger arm or thigh work.
-
Stencil transfer paper kit. Lets you preview tiny logo placement on curved areas like the ankle and behind the ear before the needle hits skin.
-
Topical numbing cream. Useful for sensitive zones such as the ankle or behind the ear when sessions are short but intense.
-
Thin protective film roll. Keeps finger and wrist tattoos cleaner during the first week when friction is highest.
-
Fragrance-free gentle body wash. Gentle cleansing on small healed pieces reduces irritation and supports color retention.
-
Aquaphor healing ointment. Thin layer application for the initial days helps keep fine line work moisturized without clogging.
7. Tiny Draculaura Heart on the Collarbone
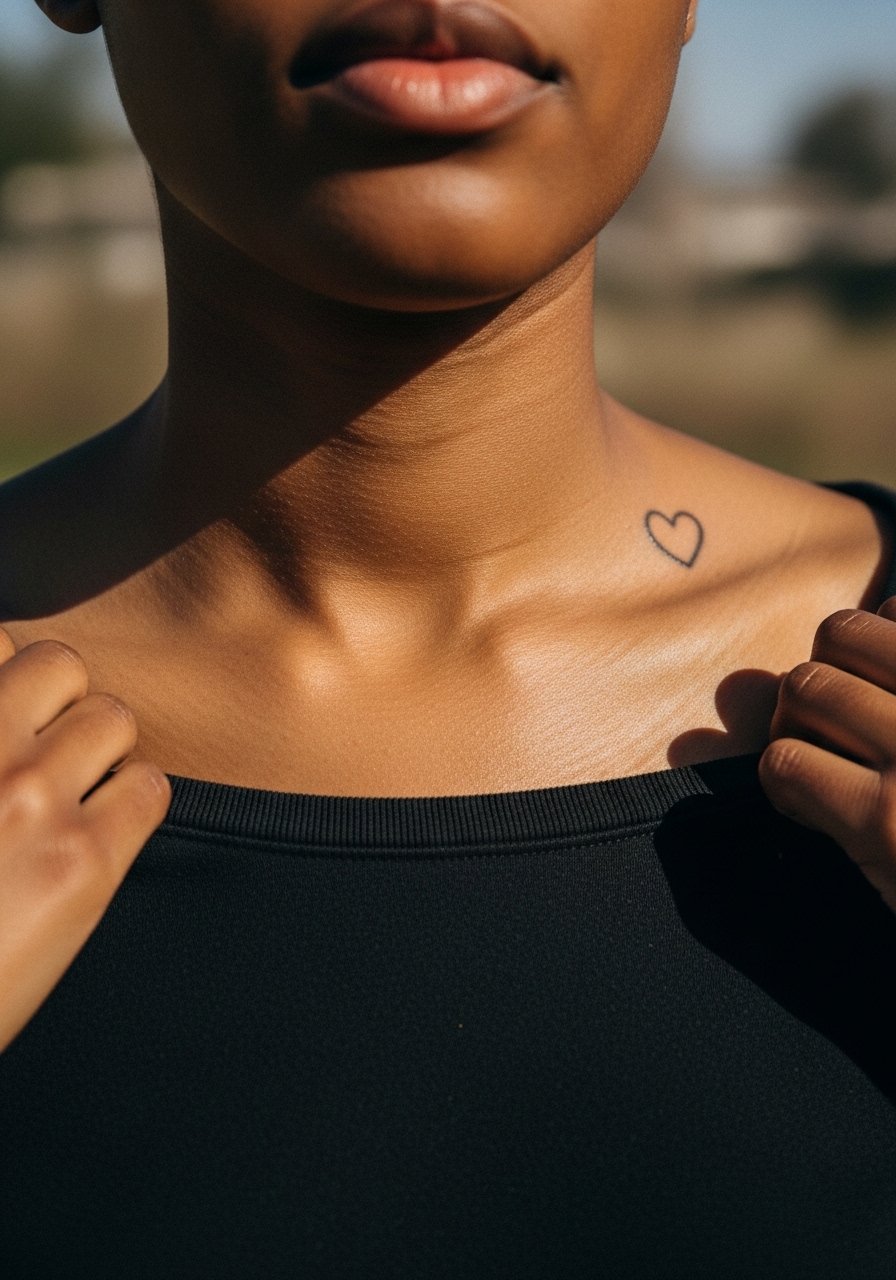
Collarbone pieces look intentional when placed just above the bone. Ask for a shallow but steady needle depth so the linework does not sink too deep near the ridge. The common error is placing the design directly on the bone where movement and stretching cause early softening. Sessions are brief but expect soreness when sleeping on your side. For nights out, an open-neck blouse shows the tattoo while keeping the rest of your chest covered.
8. Mini Lagoona Wave on the Inner Bicep
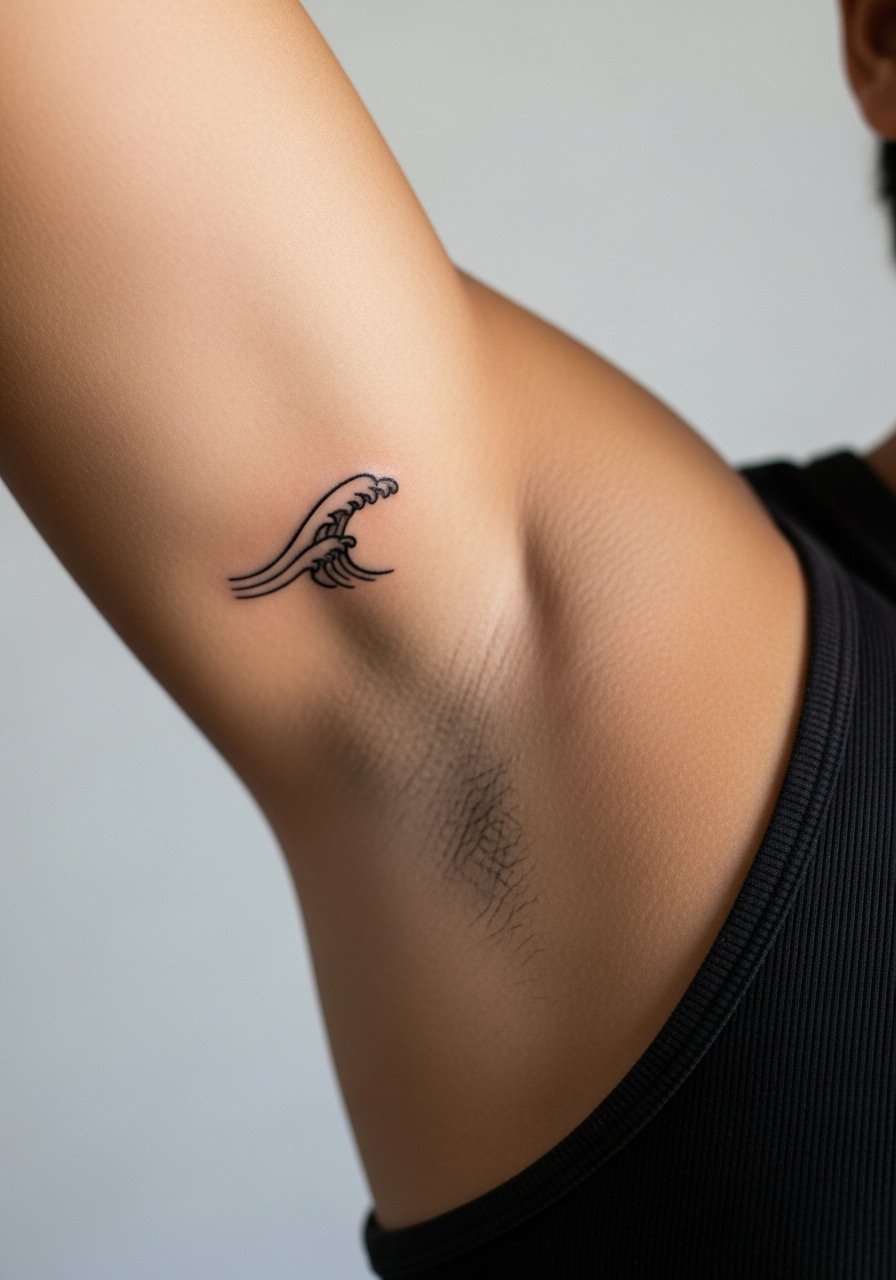
Inner bicep skin is softer and holds color differently than the outer arm. Request stipple shading for texture instead of heavy color blocks. A mistake is packing dense color that heals patchy in that spot. The area is moderate on pain and the session may feel like long pressure. Inner bicep work can blur faster and often needs a touch-up at year three. Wear a tank top for the appointment so the artist has clear access.
9. Tiny Cleo Jewel Motif on the Finger
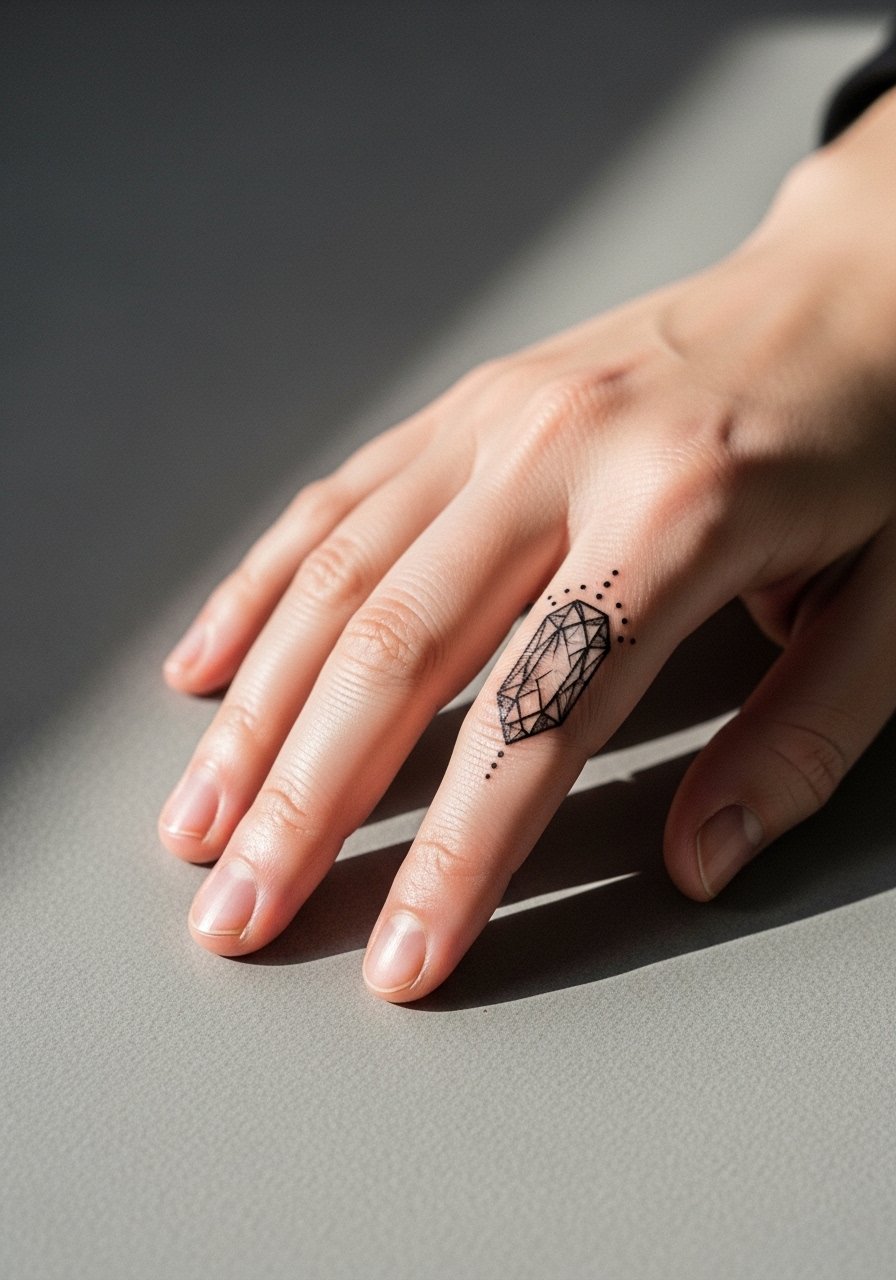
Finger tattoos need bold simple shapes because the skin there shifts and thinks differently. Tell your artist you want solid negative space rather than tiny ornamental lines. The typical mistake is requesting intricate filigree on a fingertip. Expect fading and heavier touch-up needs because of constant washing and UV exposure. Sessions are short but you should prepare for annual touch-ups. For showing it off, a thin stacking ring can complement the jewel without covering it.
10. Mini Frankie Bolt on the Calf
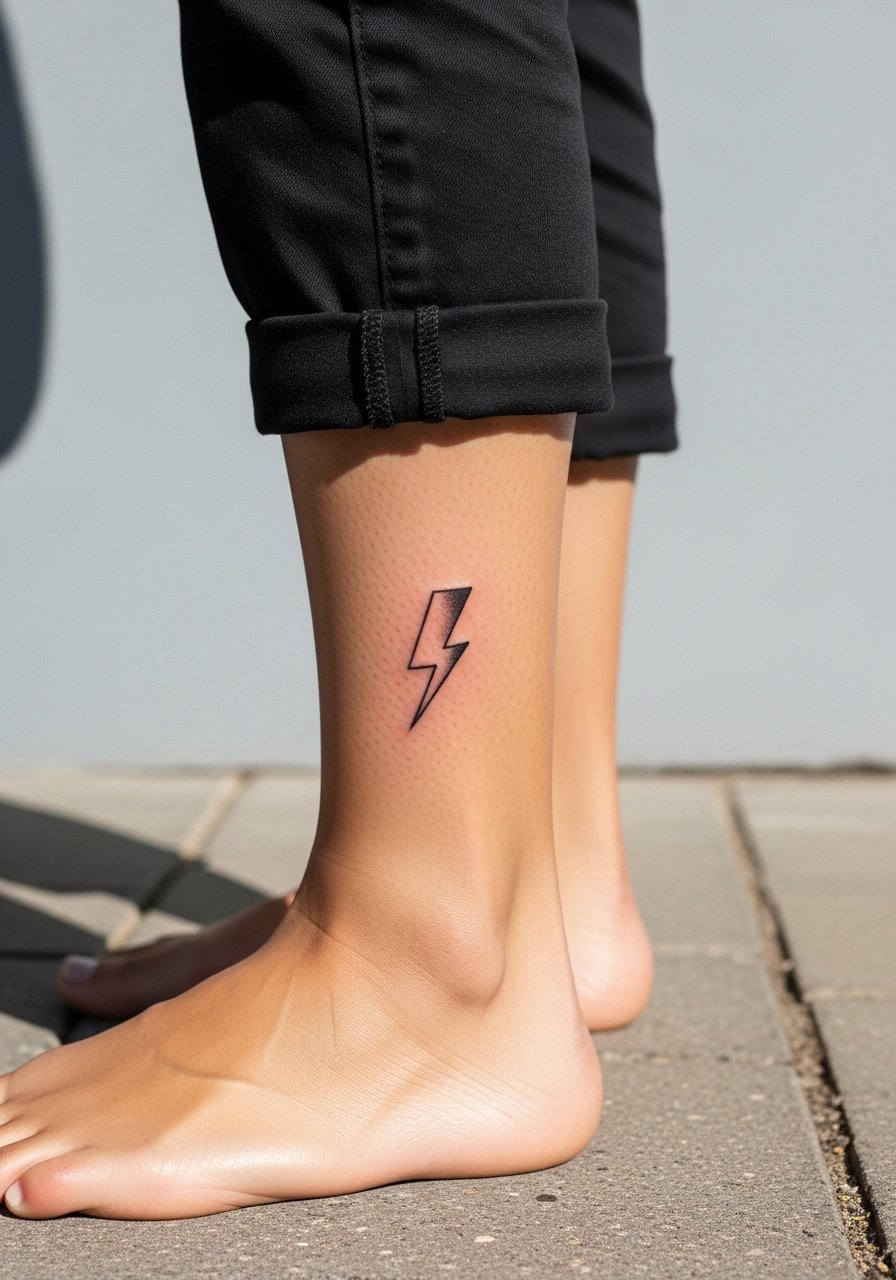
Calf placements are forgiving for small graphic motifs because the skin is thicker there. Ask for a slightly bolder outline and a touch of saturation in the interior so the bolt keeps contrast. Avoid the mistake of making the bolt too narrow, which can disappear over time. Pain is low and sessions are comfortable. For casual show-off, roll up pant cuffs or wear mid-calf boots to flash the design.
11. Tiny Skull Bow on the Ribcage
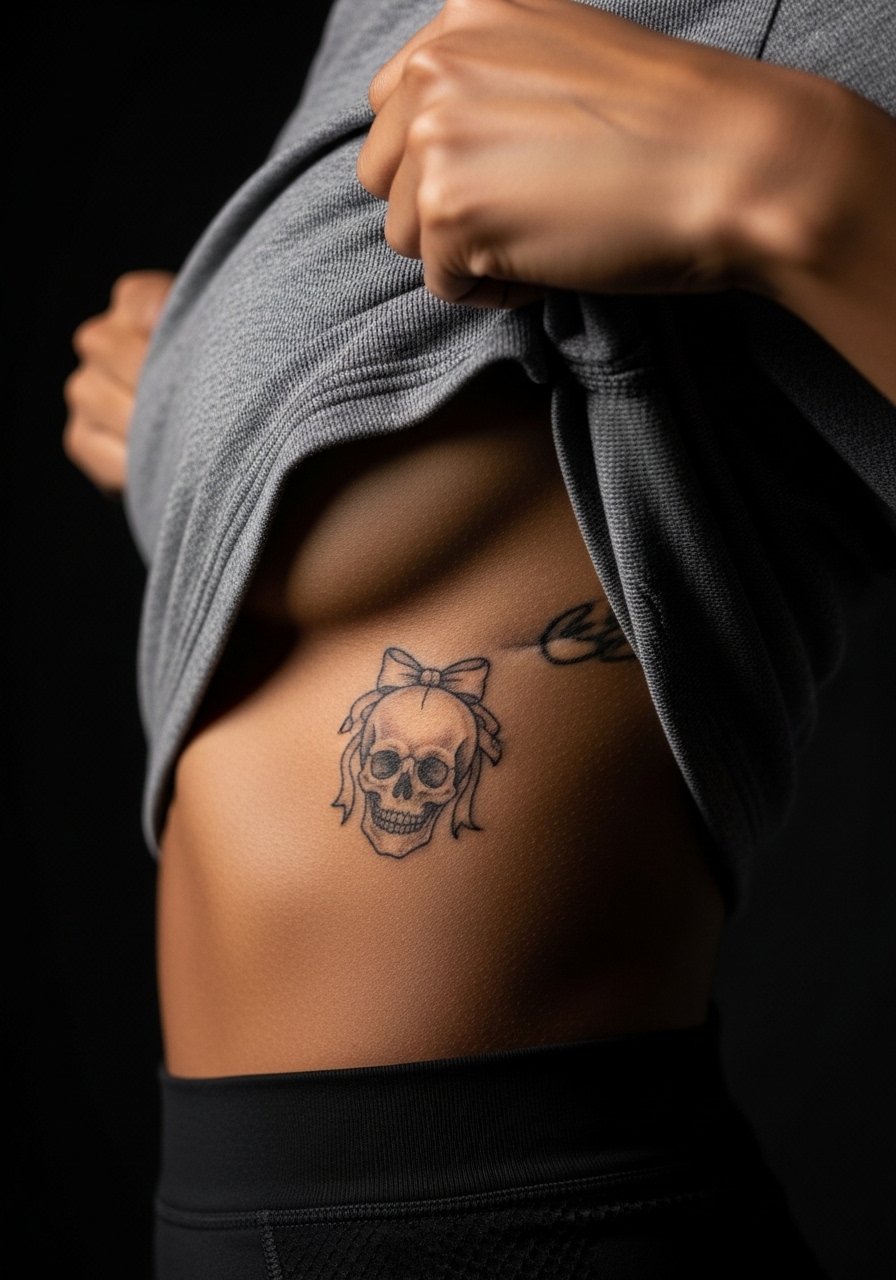
Ribcage ink is notorious for movement and breath-induced distortion, so keep shapes simple. Tell your artist you want negative space around the bow to allow breathing. Artists differ on fine line here. One camp says ribs blur fast because of skin stretch. The other camp believes correct depth and spacing hold up fine. Ask where your artist stands before booking. Pain is high and sessions can feel intense in waves. Expect to schedule a touch-up at year two or three, and for the appointment wear a cropped sports top you can lift slightly.
12. Tiny Ghoulia Glasses on the Ankle Bone
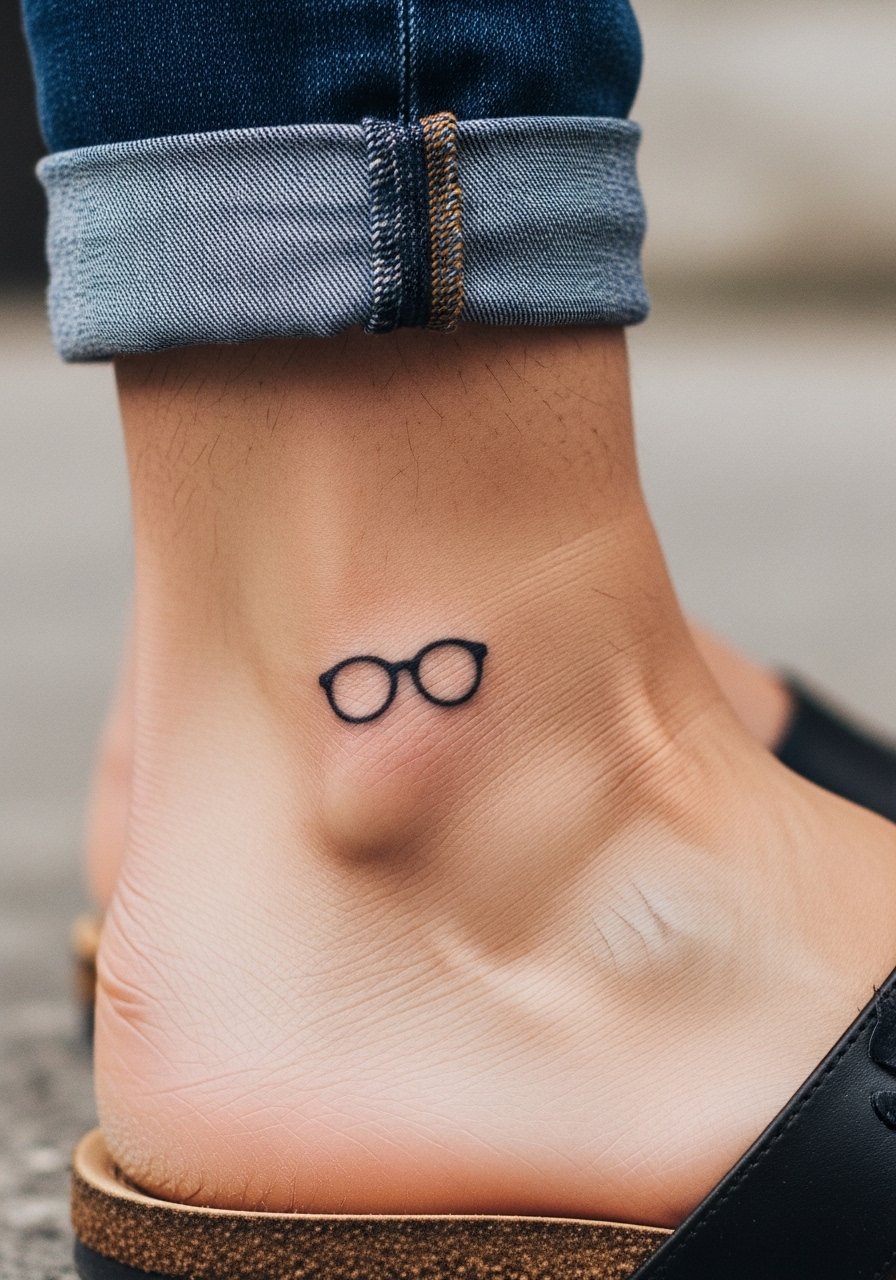
A design on the ankle bone needs contrast because bone proximity and thin skin cause detail to spread. Ask for solid rims and minimal interior highlights. A mistake is requesting dainty inner lens shading that turns patchy. The area feels sharp during the session and heals with scabbing risk if you are active. Expect maintenance sooner than for arm pieces. Keep shoes that do not rub the area for the first two weeks.
13. Mini Spiderweb with Bat on the Shoulder Blade
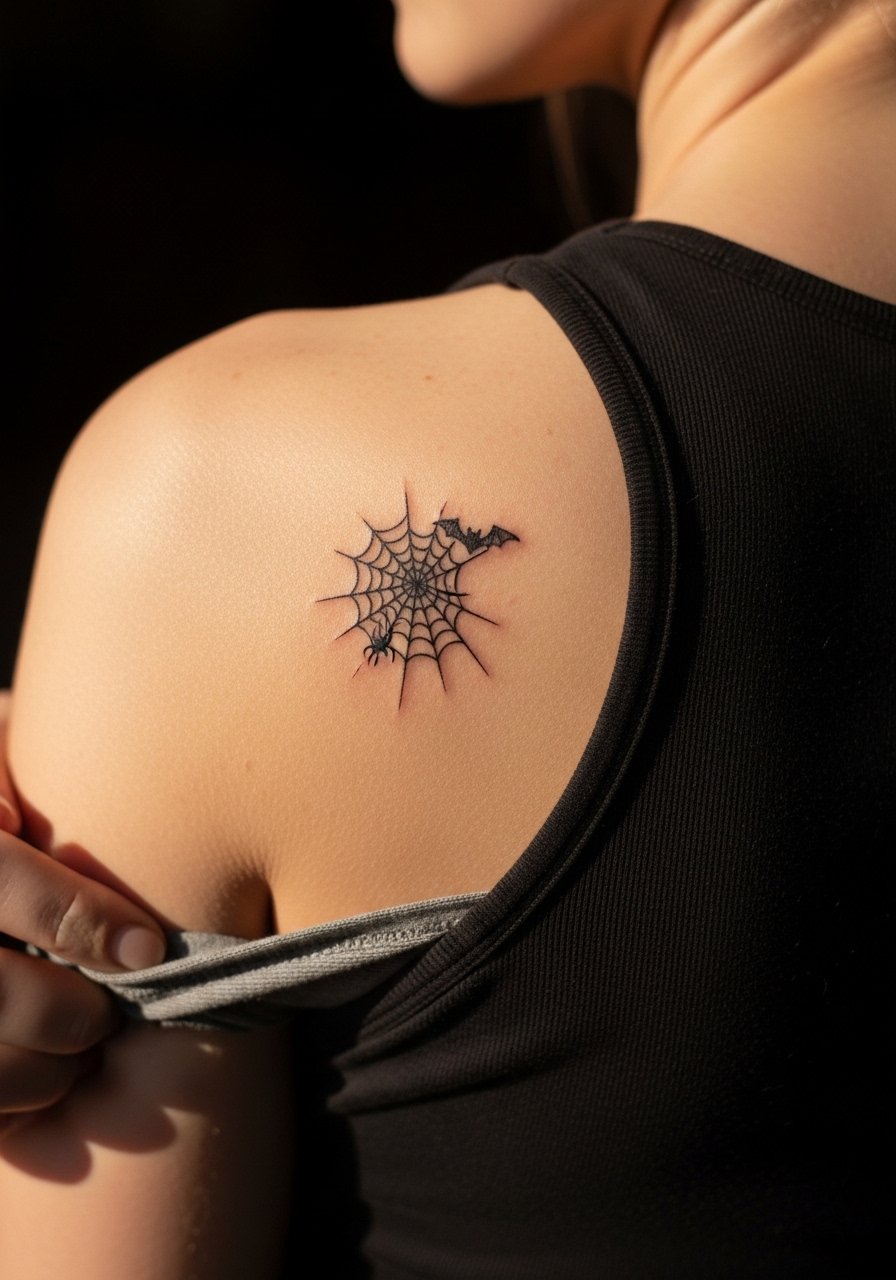
Shoulder blade placements offer a flat canvas that helps keep web lines clean. Ask for spaced-out strands in the web and a bold bat silhouette. The error is cramming web details into a small area, which creates soft blobs as it heals. Sessions are comfortable and usually finish quickly. For evening looks, an open-back dress pairs well to reveal the design without too much skin exposure.
14. Tiny Stitch Heart on the Sternum
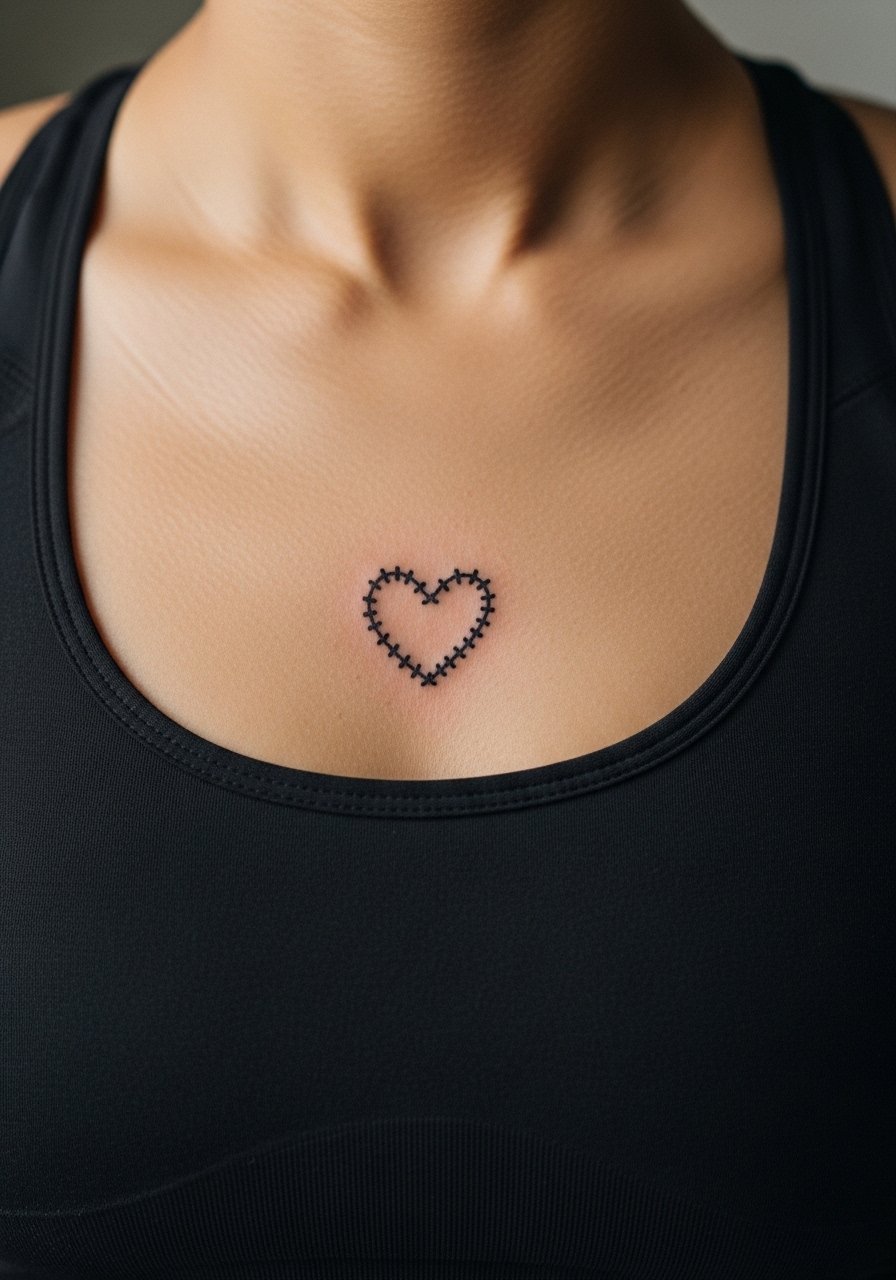
Sternum placements require careful depth because the skin moves with breathing. Ask your artist for modest line weight and a small negative buffer around the heart. The common mistake is over-detailing where motion will blur fine features. Expect a high pain score here and short repeated breaks can help. Sternum work often needs a touch-up once healed because of movement. Wear a fitted sports bra to the session so the artist can work with less shifting.
15. Mini Lagoona Shell on the Side Ankle
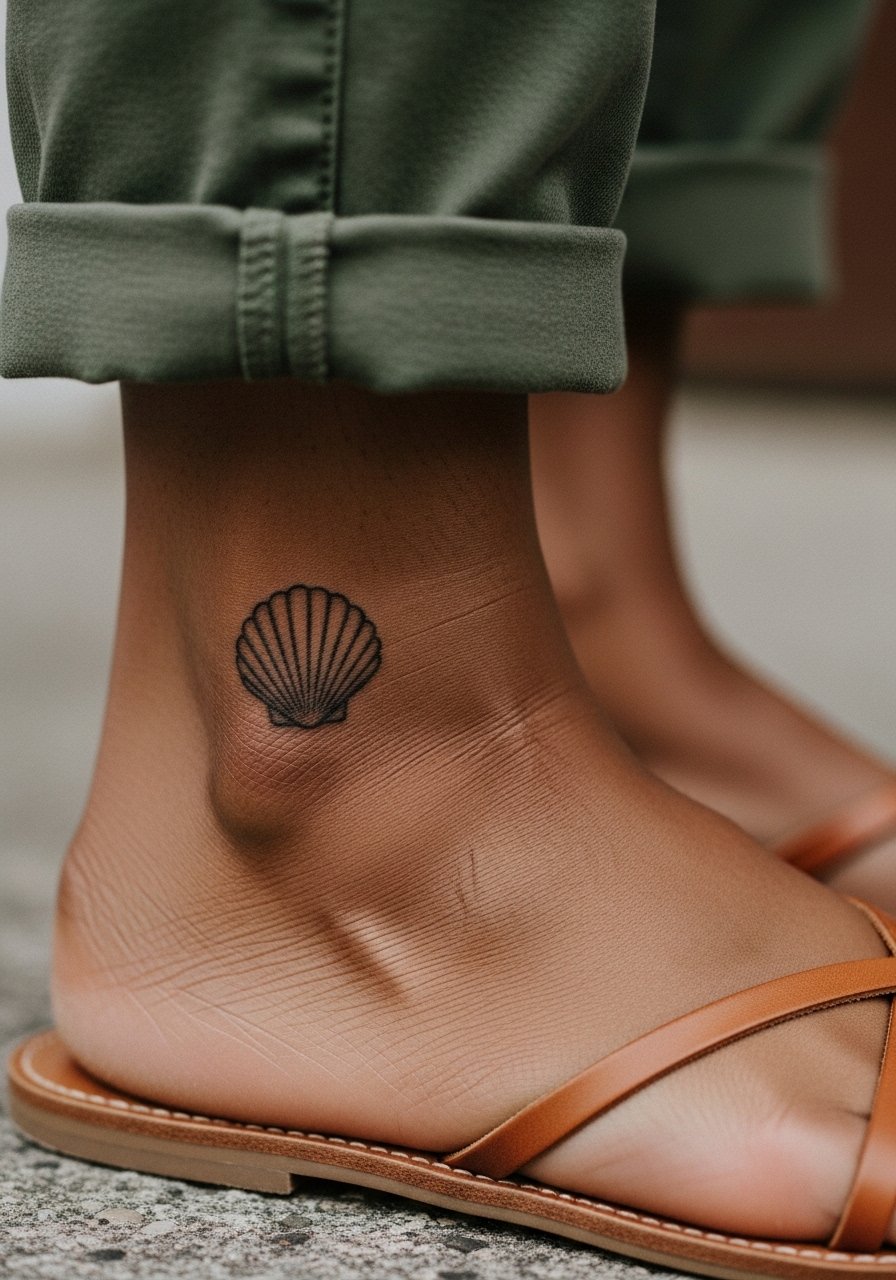
Ankle shell designs are charming when kept graphic and simple. Tell the artist to use negative space and avoid tiny inner scales. The usual error is adding fine texture that fades quickly. The session is brief but the ankle sees a lot of friction, so first-week care matters. Touch-ups are common after a year. For beach days, wear strappy sandals that reveal the shell.
16. Monster High Skull Logo as a Tiny Behind-the-Knee Accent
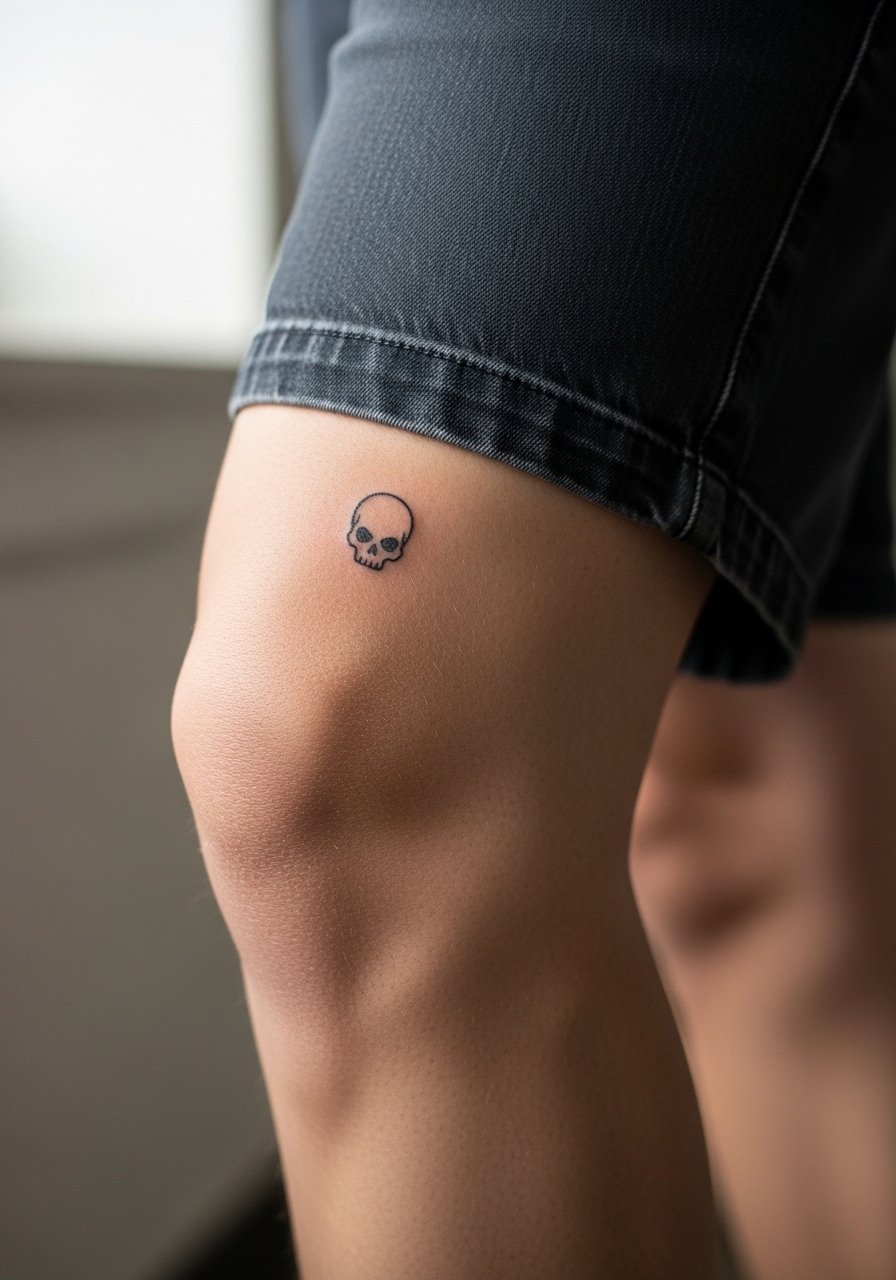
Behind-the-knee placements are tricky because the area folds and stretches. Ask for a compact, bolder silhouette rather than open filigree. The mistake is expecting a tiny ornate version to hold. Sessions are moderate and can feel like a series of pinches. Expect that this spot will soften faster than flat areas. For the session, wear shorts that can be adjusted without rubbing the ink afterwards.
17. Tiny Bat with Bow on the Finger Side
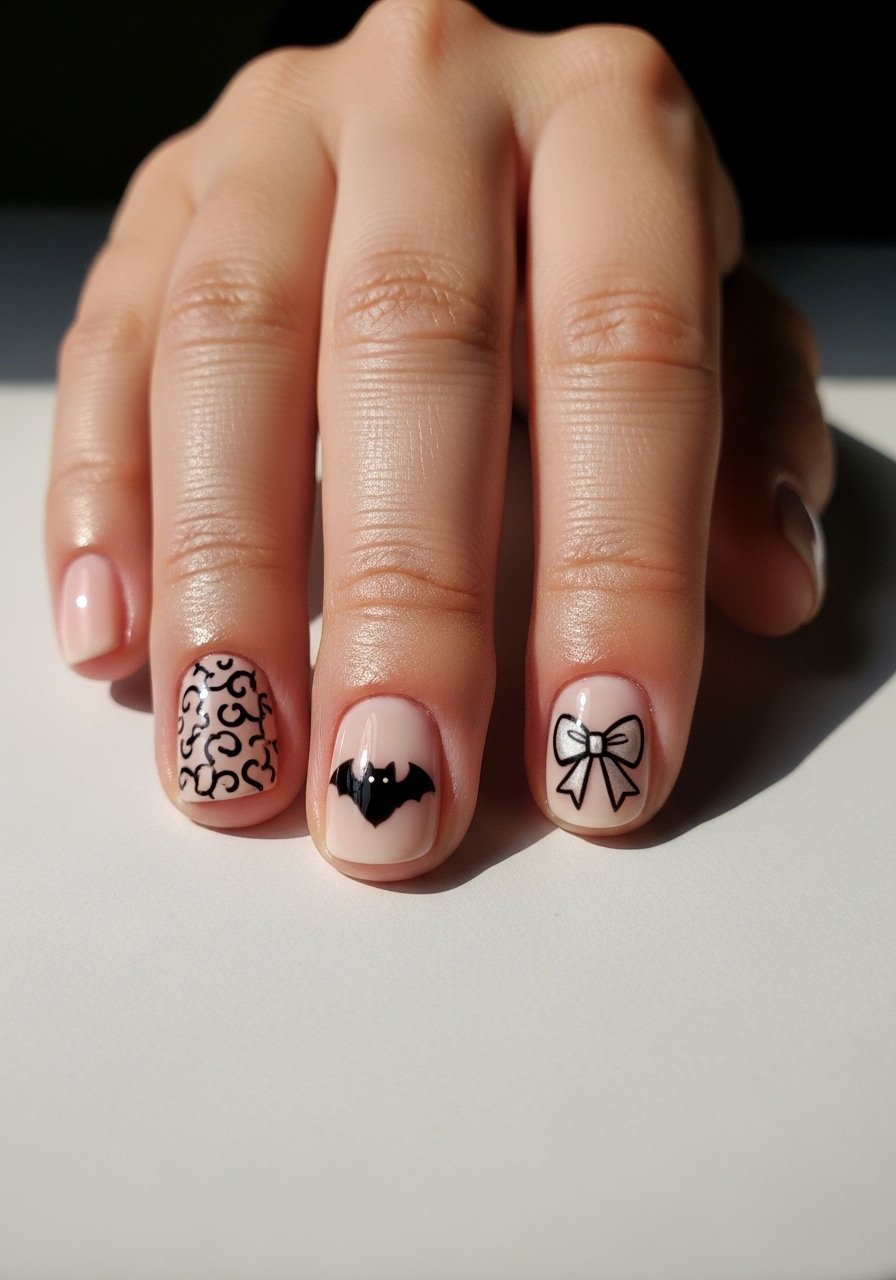
Side-of-finger tattoos must be extremely simple. Ask your artist to focus on silhouette and solid negative space for the bow. The common error is excessive interior lines. The area heals with heavy fade and often requires yearly touch-ups. Sessions are short but expect sensitivity. A thin dainty ring sits well opposite the design when you want to accessorize.
18. Mini Patchwork Frankie Bolt on the Calf Inner Side
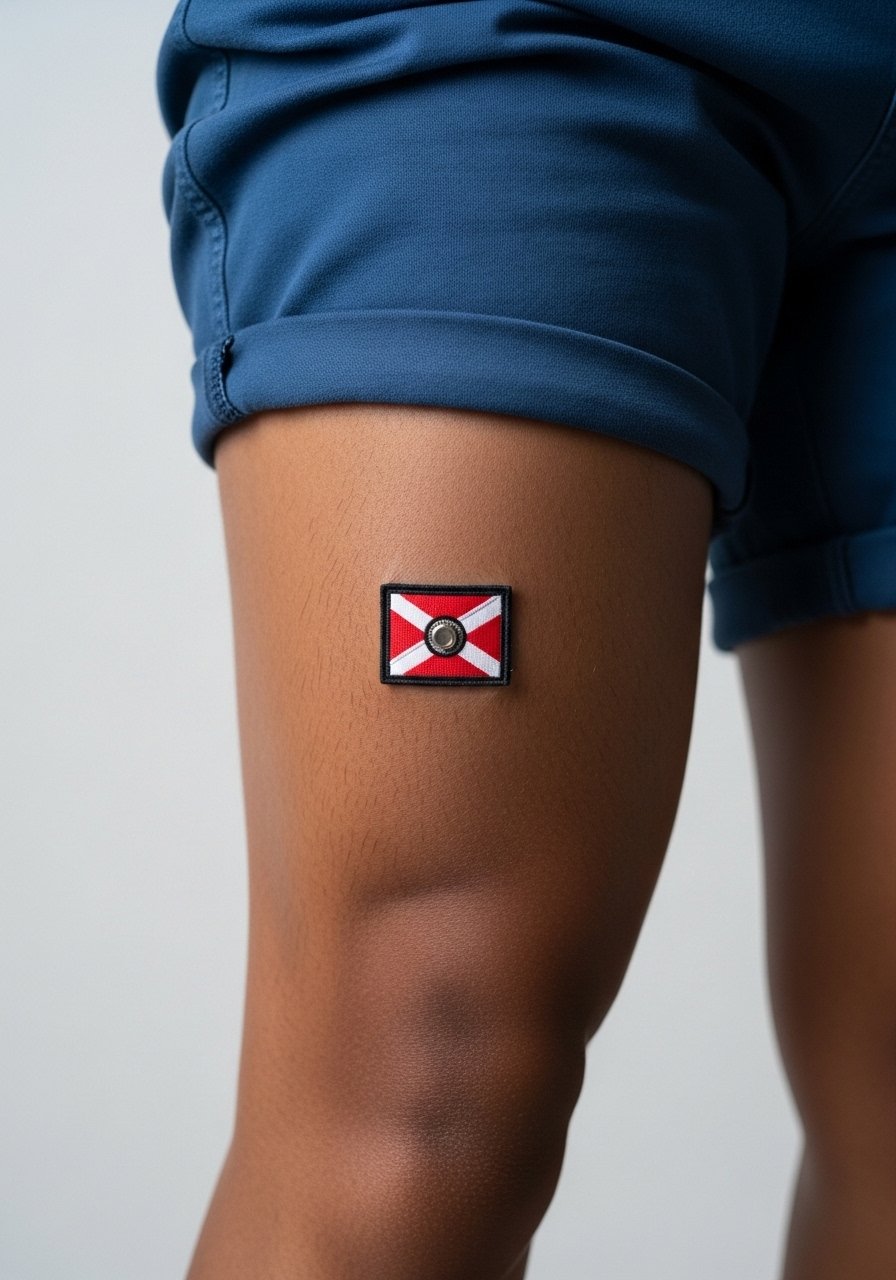
Inner calf allows slightly more detail than the ankle but still prefers bold shapes. Tell your artist to separate the patches with negative space. The mistake is compressing pattern into too small a footprint. Sessions are comfortable and touch-ups are less frequent than on hands. For casual outfits, roll pants or wear crew socks that sit below the calf so the piece shows.
19. Tiny Scripted Name with Skull Accent on the Side Neck
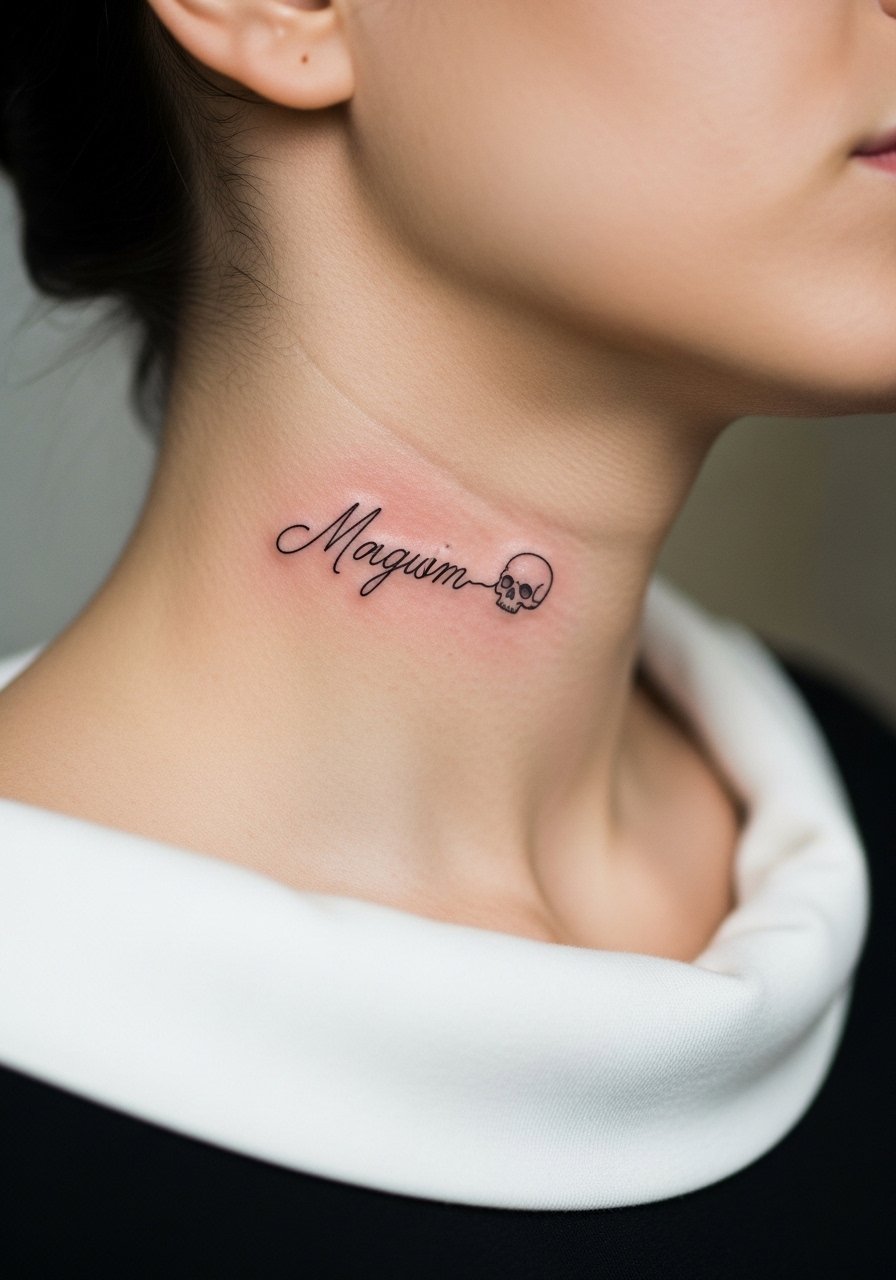
Side neck script is visible and ages differently because of sun and movement. Ask for slightly thicker lowercase letters so the type remains legible. A frequent mistake is picking ultra-tiny script that breaks into illegibility. Pain is moderate and social considerations matter, since neck ink is noticeable. Expect touch-ups sooner than on concealed placements. For appointments, pick a wide-neck top that avoids rubbing the site.
20. Tiny Spider and Weblet on the Back of the Hand
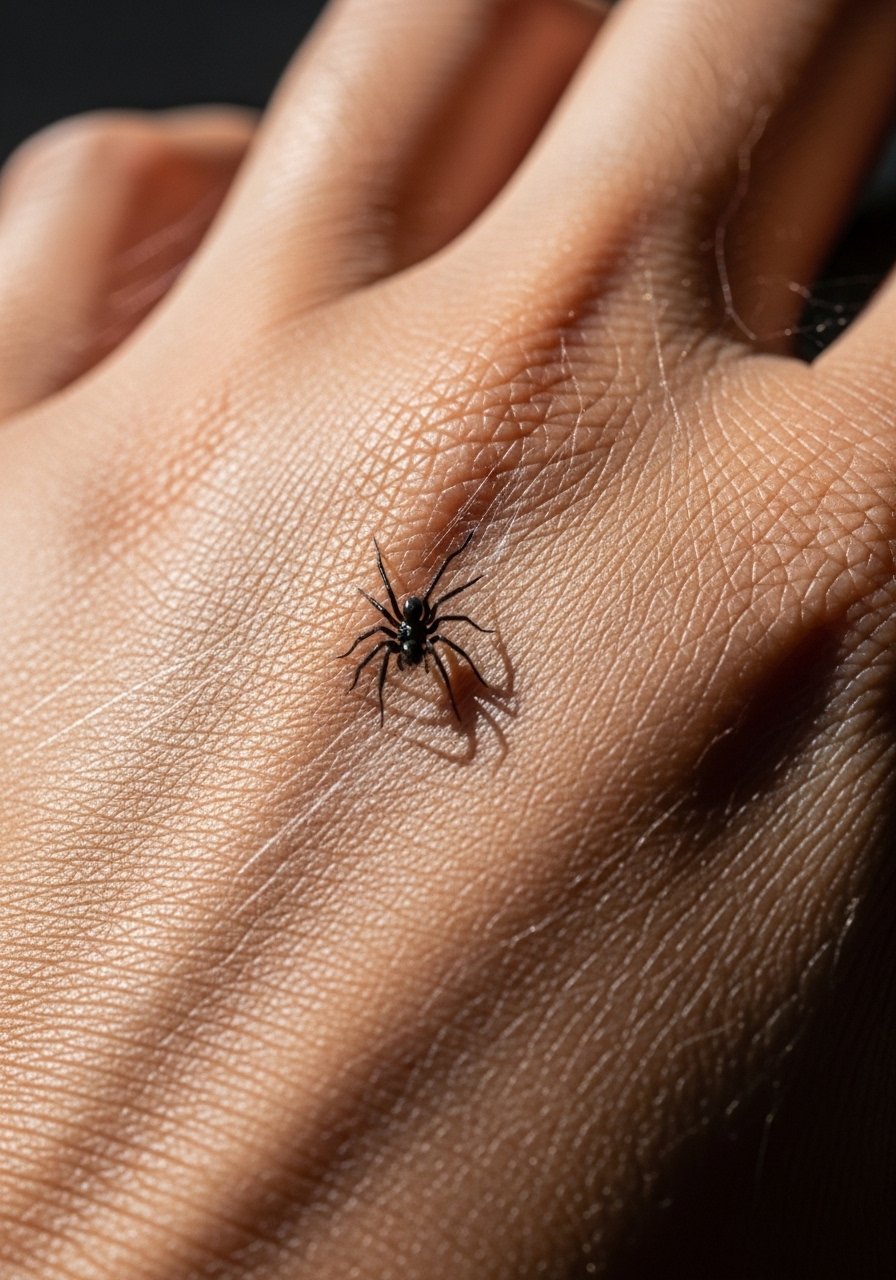
Hand tattoos have a high fade rate because of constant use and washing. Ask for bold silhouettes and accept the likelihood of periodic touch-ups. The mistake is asking for intricate necklines or tiny legs that will disappear. Sessions feel sharp and heal with scabbing that needs careful attention. This placement still affects workplace considerations for some people, so think ahead before booking.
21. Tiny Bat Ear Outline on the Upper Ear Area
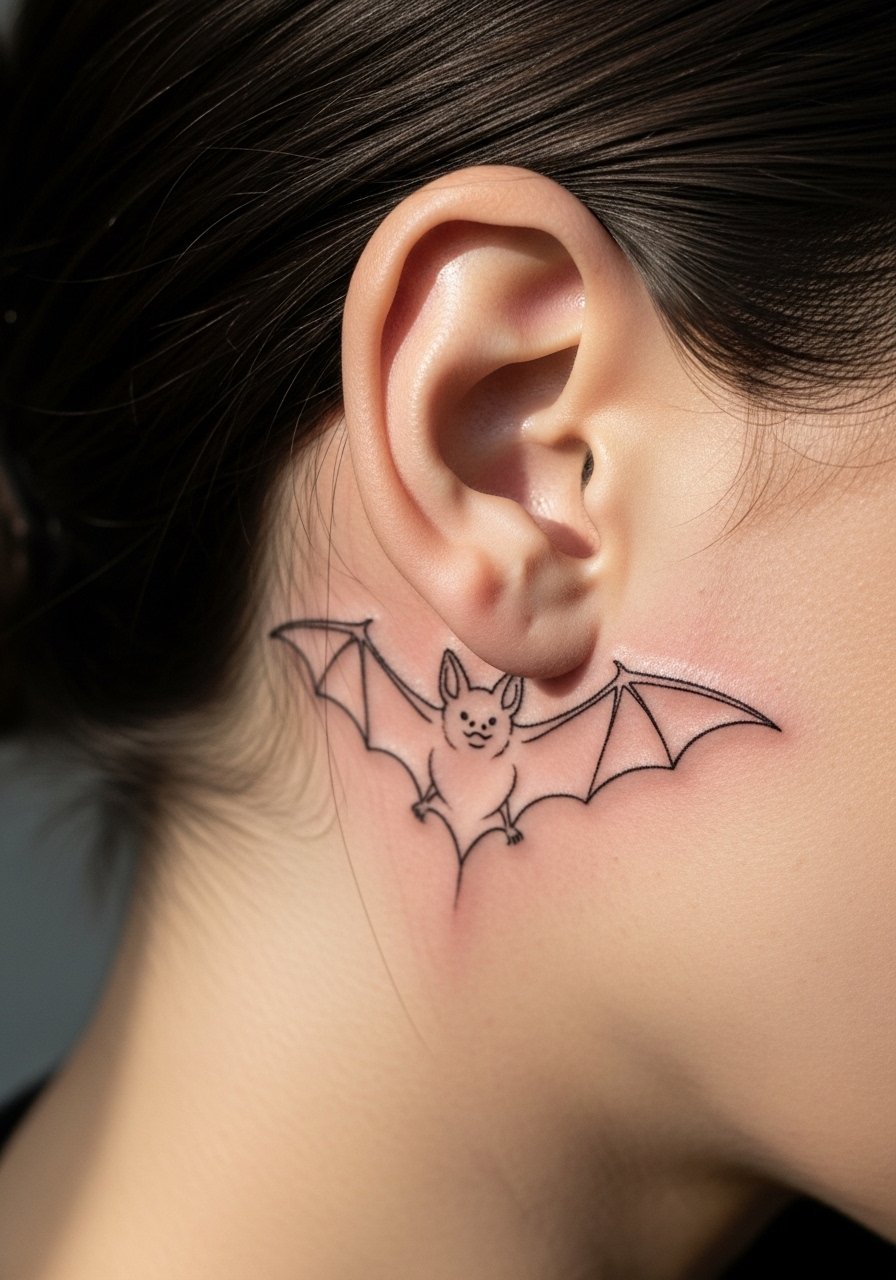
Upper ear and surrounding skin require small, confident lines. Tell the artist to keep the bat outline open rather than filled with micro-detail. The error is packing color where skin texture will not hold it. Sessions are short and sensitive. Hair will cover the area often, so plan styling that shows it off when you want. For session access, wear hair up and bring a simple hair clip to keep the area clear.
22. Mini Monster High Bow on the Lower Back
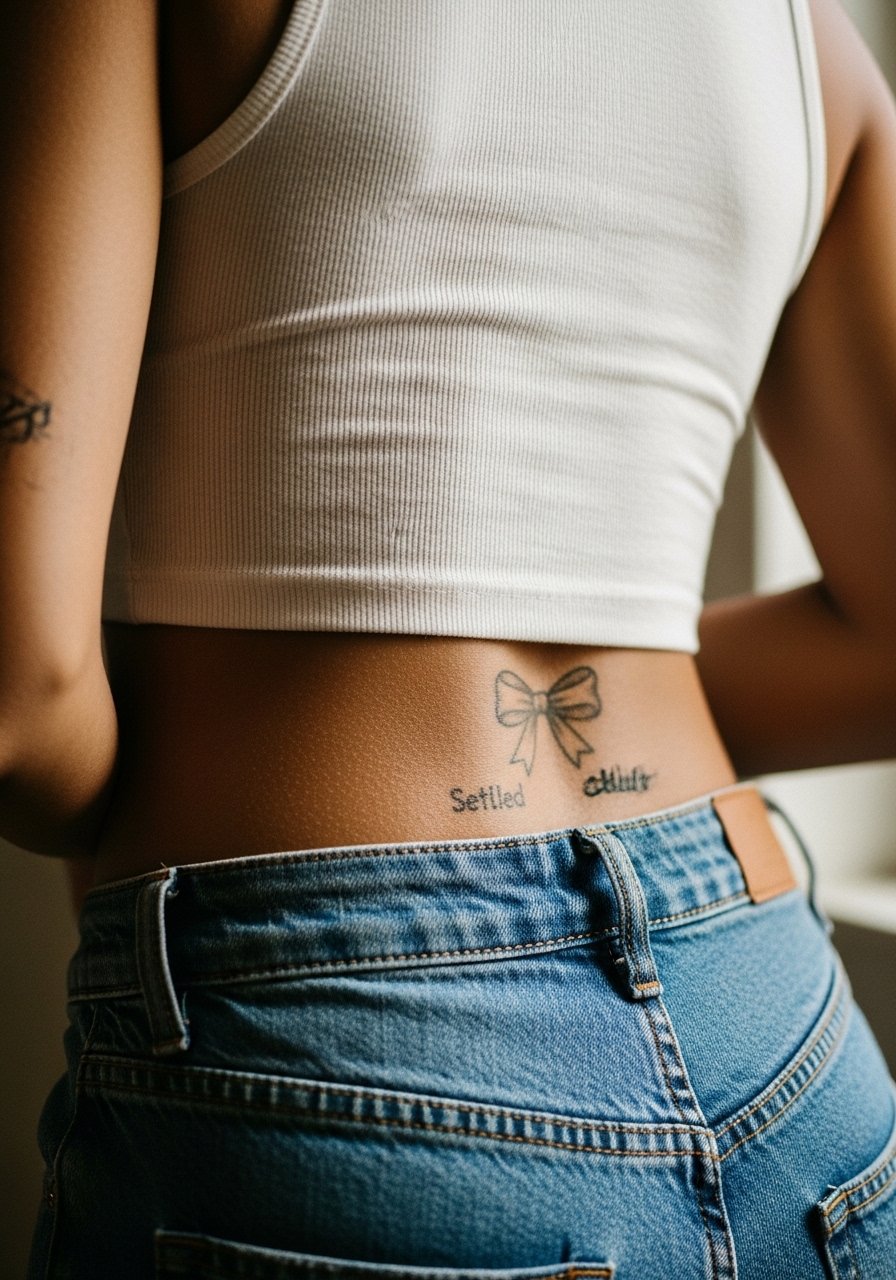
Lower back skin is forgiving for simple motifs. Ask for even line weight and avoid tiny filigree. The typical mistake is too much small ornamental texturing that blurs with movement. Sessions are comfortable and touch-ups are occasional. For outfits, low-rise or cutout backs in eveningwear show the piece without overexposure.
23. Mini Skull Charm on the Hip
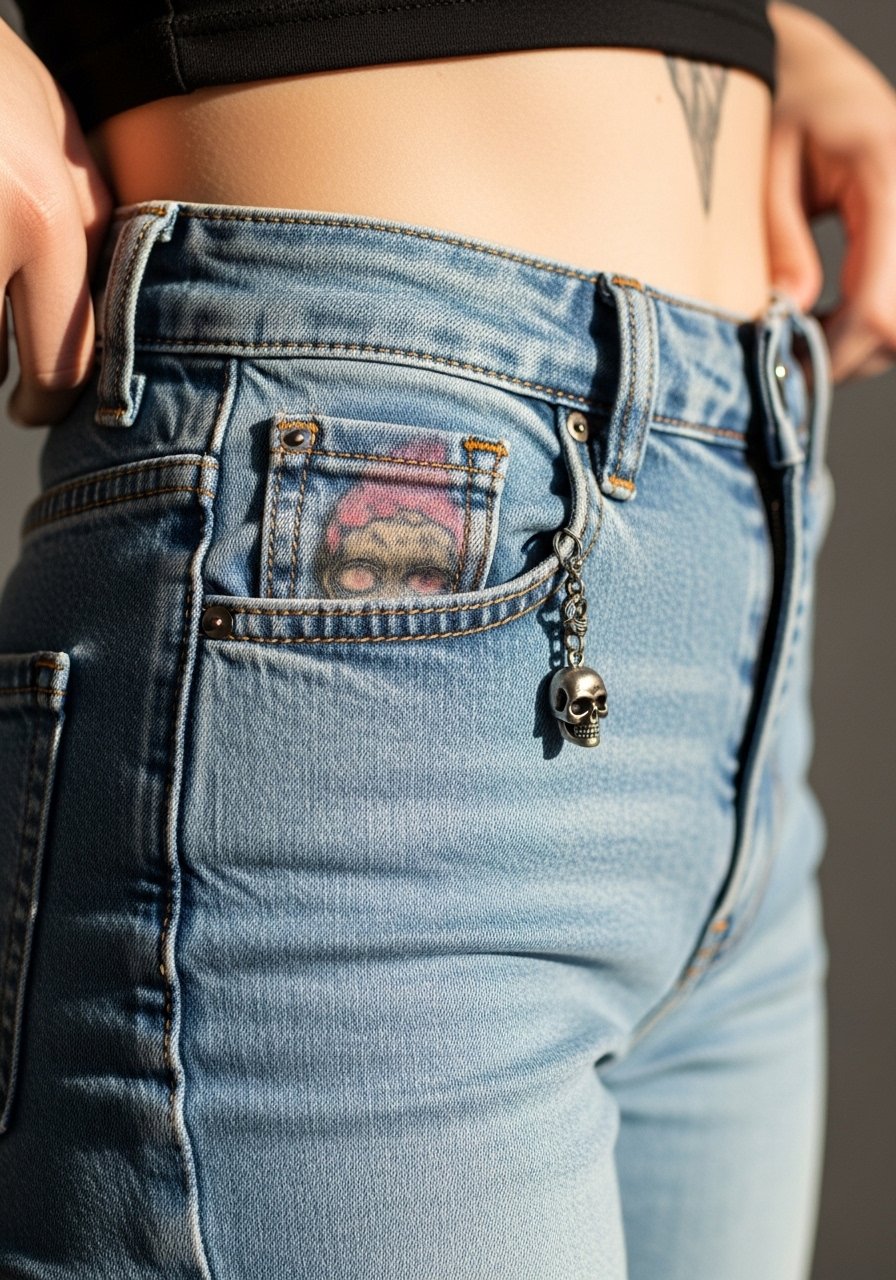
Hip placements are intimate and heal under clothing more than other spots. Tell the artist you want a compact charm with bold outer lines so it holds during the rubbing from waistbands. The common mistake is making the charm too detailed for the small space. Sessions are moderate in discomfort and sensitive while healing. Wear loose waistbands for the first week. For showing it, a high-waisted skirt with a slight dip at the waist can reveal the charm artistically.
24. Tiny Monster High Logo with Bats on the Side Torso
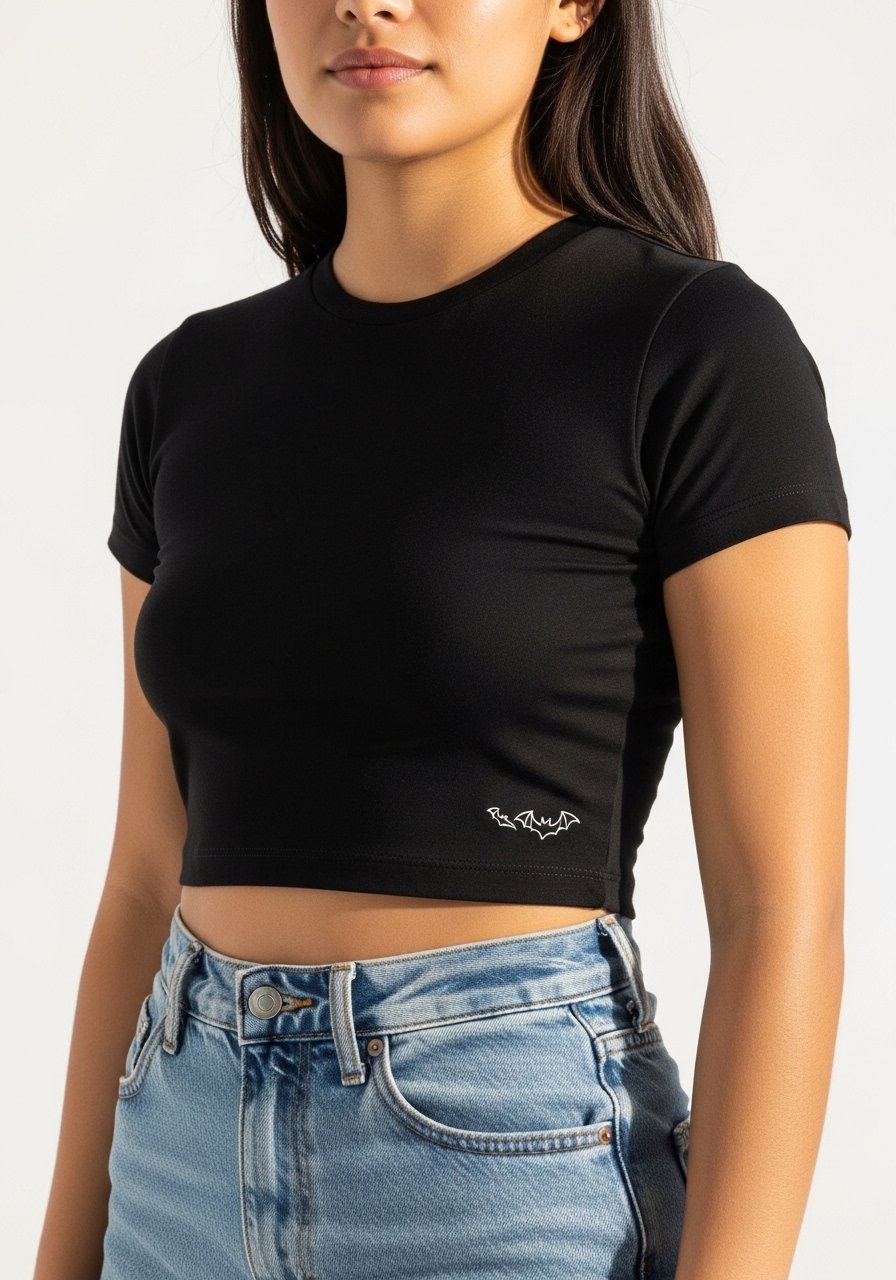
Side torso pieces must respect curves and movement. Request that the bats be separate elements so they do not merge when you bend. A mistake is trying to cram a large brand logo into a narrow strip. Sessions are moderate and often feel like long stretches. For the appointment, wear a cropped tee and high-waisted bottoms you can adjust easily.
25. Tiny Frankie Stitch on the Inner Wrist
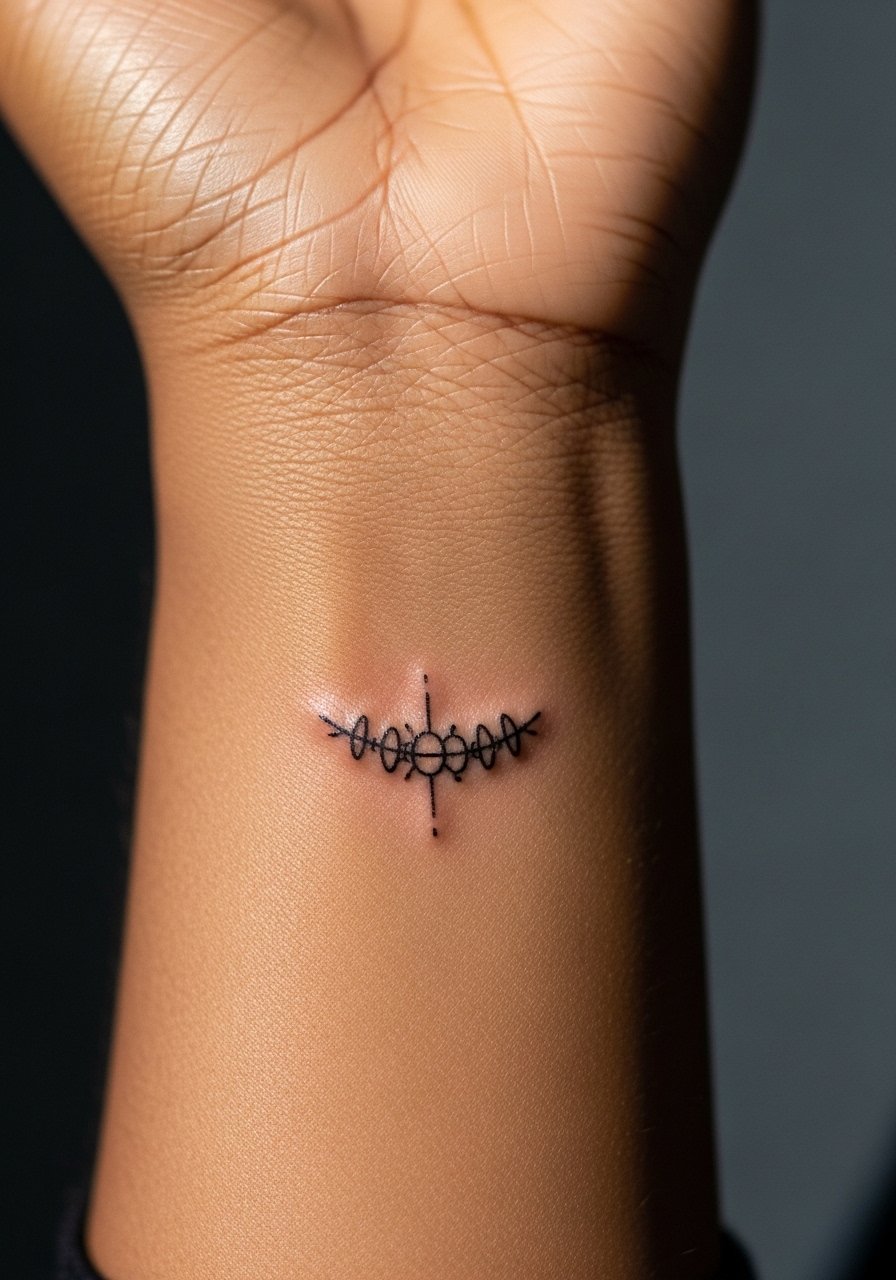
Inner wrist details show up well but are susceptible to sun and washing. Ask for a clear contrast between stitch and surrounding skin so the pattern has definition. The mistake is requesting delicate interior shading that disappears. Sessions are short and manageable, but plan for touch-ups around year two. For the session, wear a loose cuffed sleeve so the artist can roll it back without tugging.
26. Mini Monster High Skull Locket on a Collarbone Chain
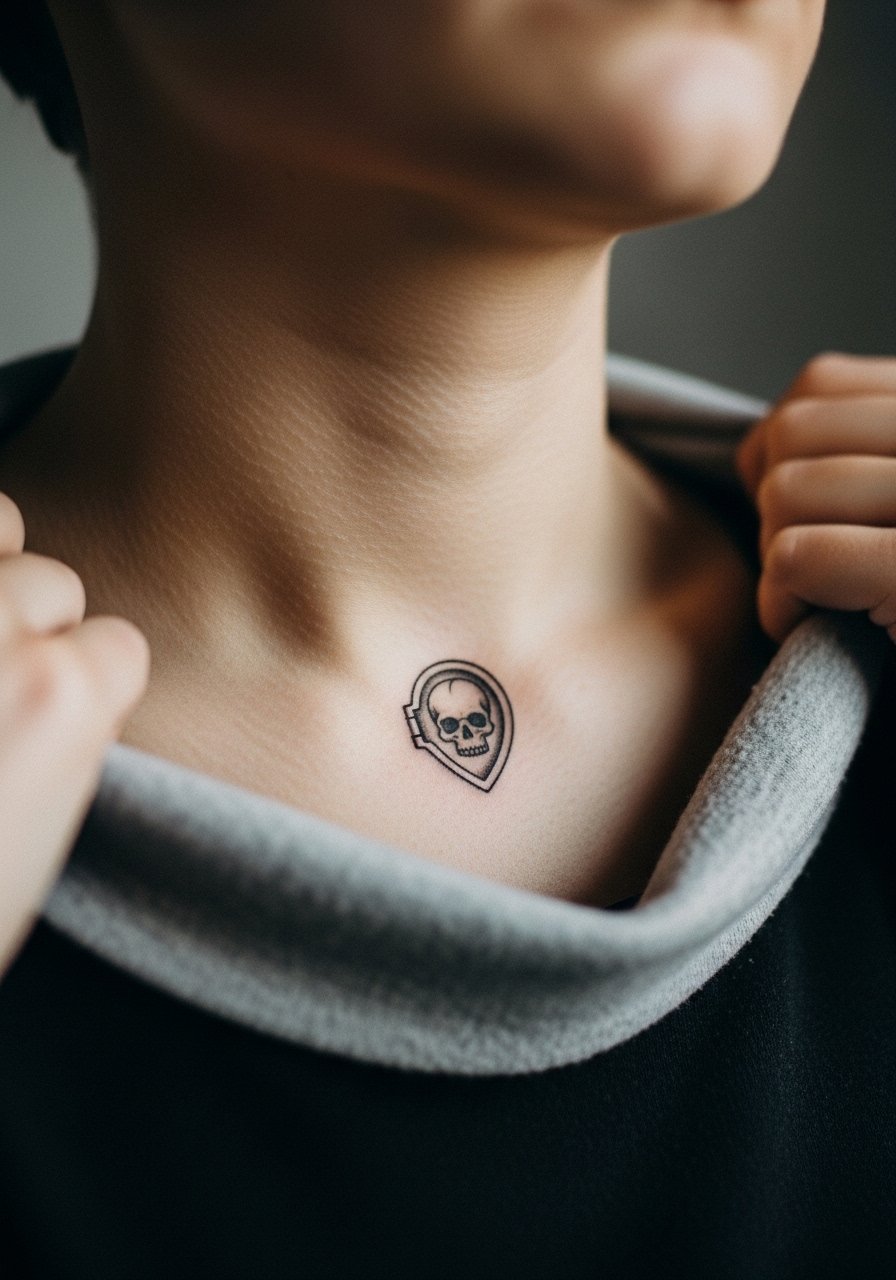
A locket motif sits naturally near the collarbone where jewelry often rests. Ask for a simple chain line with slightly bolder pendant edges to hold up through time. The error is adding too many tiny chain links that will blur. Sessions are brief and healing is straightforward if you avoid necklaces in the first week. Pair with a thin chain pendant necklace when you want the tattoo to read like an accessory.
27. Tiny Monster High Eye Logo on the Back of the Neck
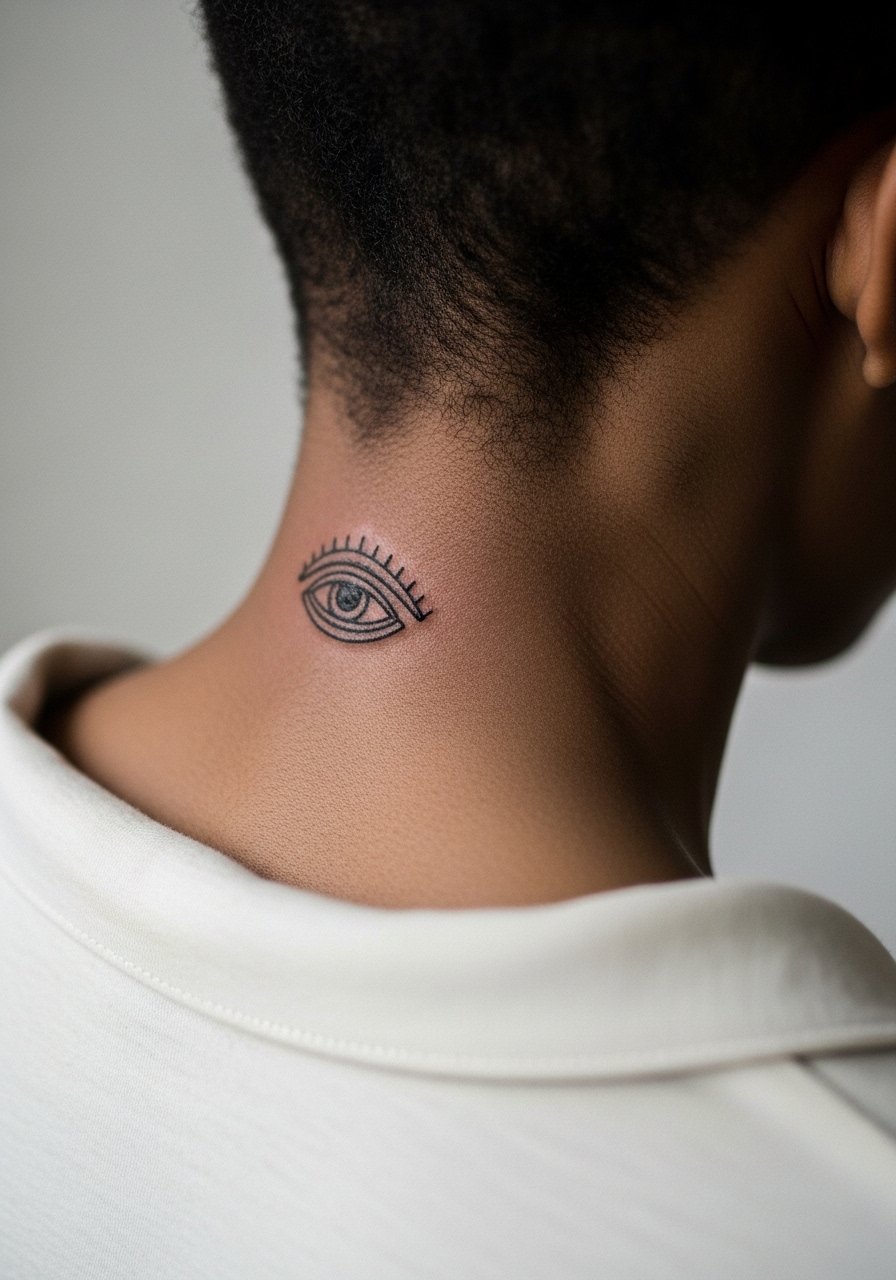
Back of neck placements are visible with certain hairstyles and can fade faster with sun exposure. Ask for compact geometry in the eye so edges maintain definition. The common mistake is using ultra-fine rays or lashes that soften into a smudge. Sessions are moderate and often require you to keep hair up for the first few days to avoid rubbing. For showing it off, a wide-neck top that reveals the nape will do the trick.
Frequently Asked Questions
Q: Will small Monster High logos hold up better than character portraits on the same placement?
A: Small logos usually hold up better because they rely on bold silhouette and negative space instead of tiny interior detail. Portraits demand more saturation and finer linework, which increases the chance of blur over time. For long-term clarity, prefer slightly bolder outlines and schedule touch-ups earlier.
Q: Are there copyright or fan art concerns if I get a franchise-inspired tattoo?
A: There are two ways people frame this. One camp treats fan tattoos as personal homage and sees no issue when done small and non-commercial. The other camp cautions that distinct copyrighted imagery can be sensitive and that large, direct replicas may cross legal or ethical lines. If it matters to you, choose stylized elements or combine motifs so the design reads personal rather than a straight copy.
Q: How much does placement affect touch-up frequency for fine line Monster High motifs?
A: Very much. High-friction spots like fingers and wrists need touch-ups more often. Areas with thicker skin like the calf or outer arm tend to need fewer mid-term touch-ups. Plan touch-up timing based on placement rather than only the style.
Q: What should I wear to a ribcage or sternum session to make the artist's life easier?
A: Wear something easy to shift that still covers you. For ribs, a cropped top or a shirt you can lift slightly works best. For sternum work, a fitted sports bra or bandeau lets the artist work cleanly without you feeling exposed. Comfortable, adjustable clothing makes breaks simpler.
Q: Can I get a tiny Monster High tattoo if my job has strict appearance rules?
A: It depends on where it sits and how visible it is with professional clothing. Concealable spots like the thigh, hip, or upper thigh are easier to hide than neck, hands, or low-cut collarbones. Think about typical work attire and test visibility by wearing similar clothes before booking.
Q: Do small designs require different aftercare than larger pieces?
A: The basics are the same but small pieces can scab more noticeably because they heal in a concentrated spot. Keep them clean, avoid direct friction, and follow your artist's timing for removing protective film. If you want a product suggestion for session-day comfort, a simple loose button-down helps you move freely without rubbing the area.
