
Fine line trends are everywhere online, and they look incredible in saved boards. The reality is that what trends and what keeps its shape are often two different things. Fine line silhouettes and micro-realism nose prints are gorgeous fresh, but placement and skin type decide whether they read clean after a year. Read the first idea next for a small, sensible wrist option you can wear every day.
1. Paw Print with Heartbeat Line on the Wrist
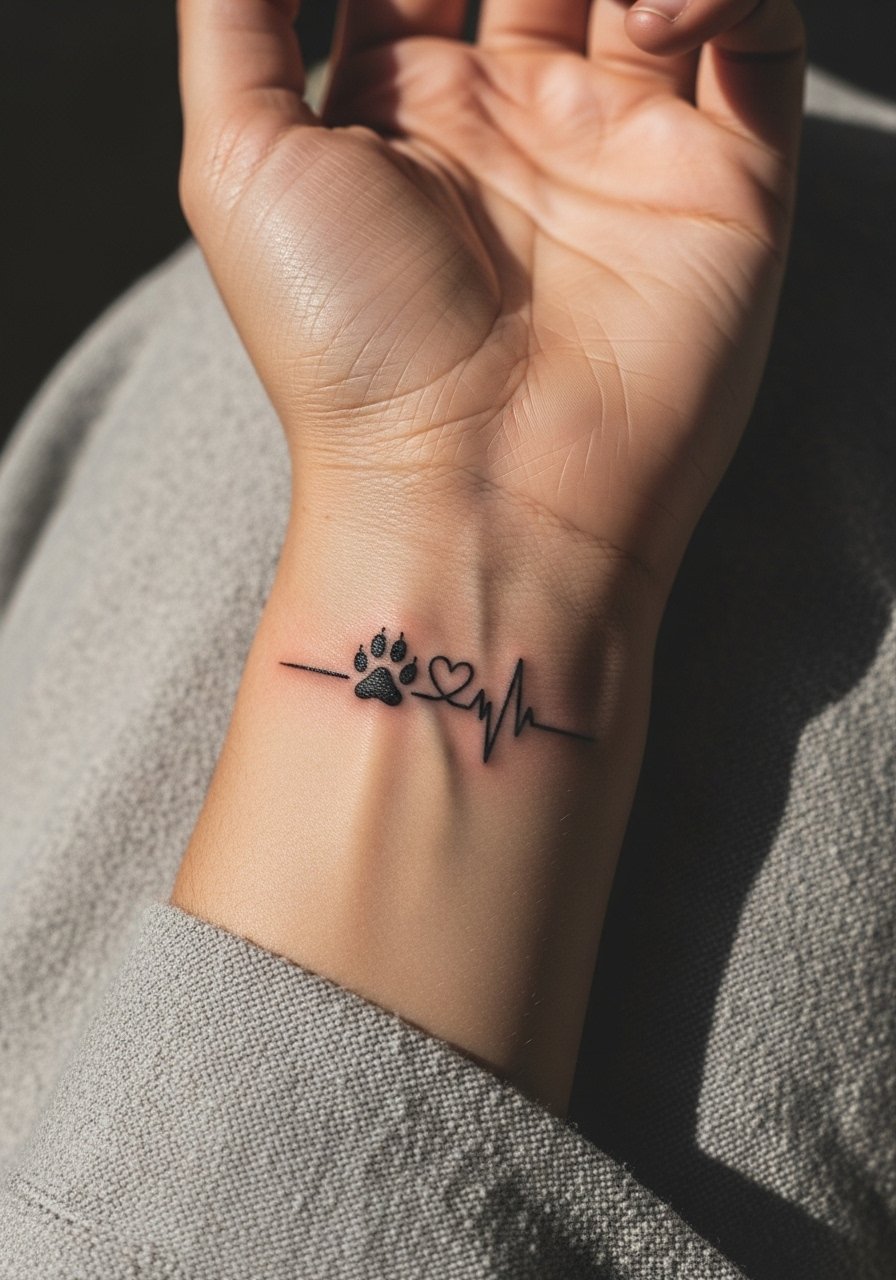
The wrist is forgiving for a small symbolic piece but it is also a high-friction zone. I recommend a bold single-line paw merged into a simple heartbeat line so the linework has room to hold. Tell your artist you want slightly heavier line weight than a micro single-needle so touch-ups are less likely. Expect mild wrist sensitivity for 20 to 40 minutes depending on your tolerance. For showing it off, a thin silver chain bracelet works well without covering the ink and keeps the eye on the linework. Wear a sleeveless tank top to the session for easy access to the wrist.
2. Dog Silhouette in Profile on the Forearm
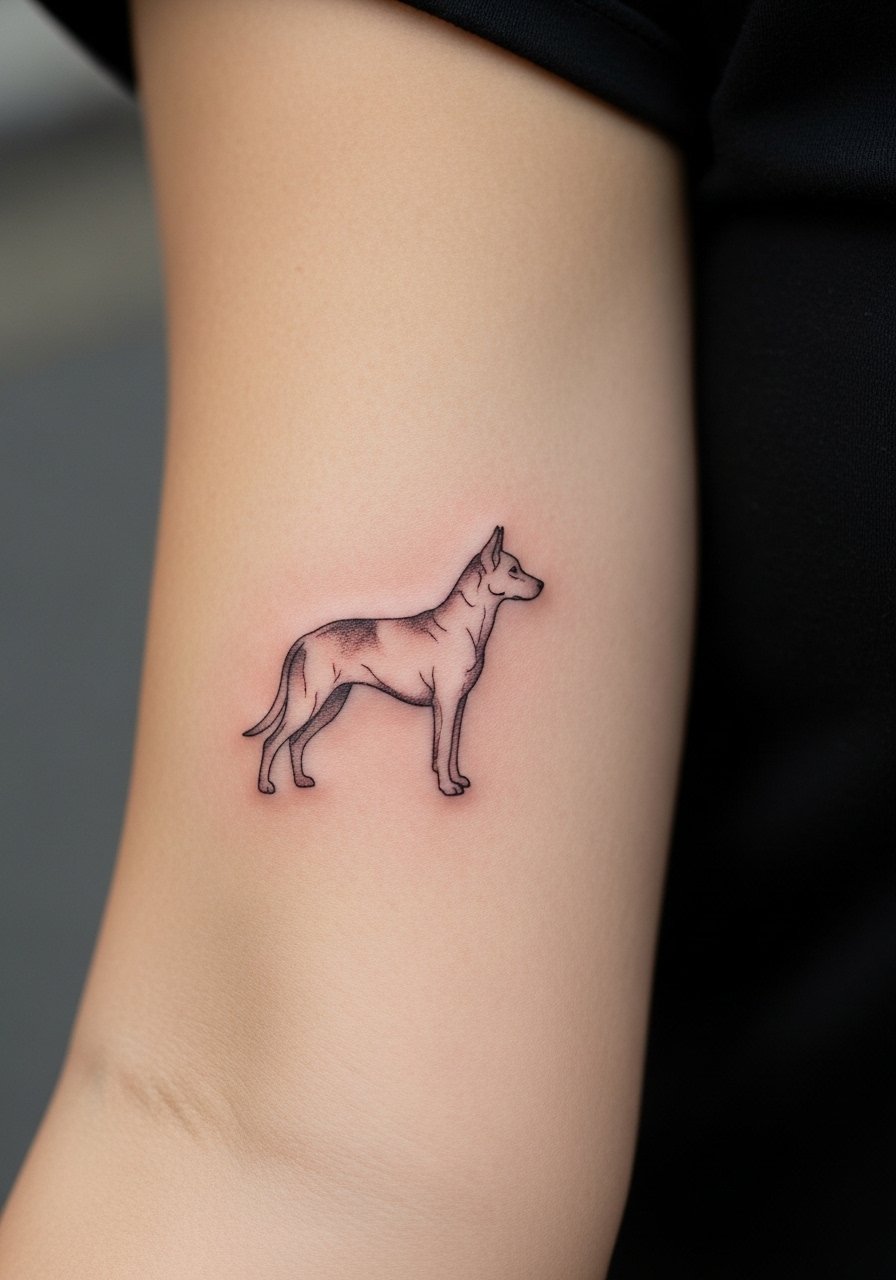
I've seen silhouettes age better when kept at 4 to 6 inches with a little spacing inside the shape. Ask your artist for clean, confident linework and minimal internal shading so the silhouette reads from a distance and keeps contrast on darker skin. Forearm sessions are typically one to two hours and the area tolerates longer work. A common mistake is squeezing a silhouette too small, which causes loss of shape after a year. Pair the forearm piece with rolled linen shirts for photos and bring a linen short sleeve shirt to the appointment so you can easily roll the sleeve during the session.
3. Micro-Realism Nose Close-Up on the Inner Bicep
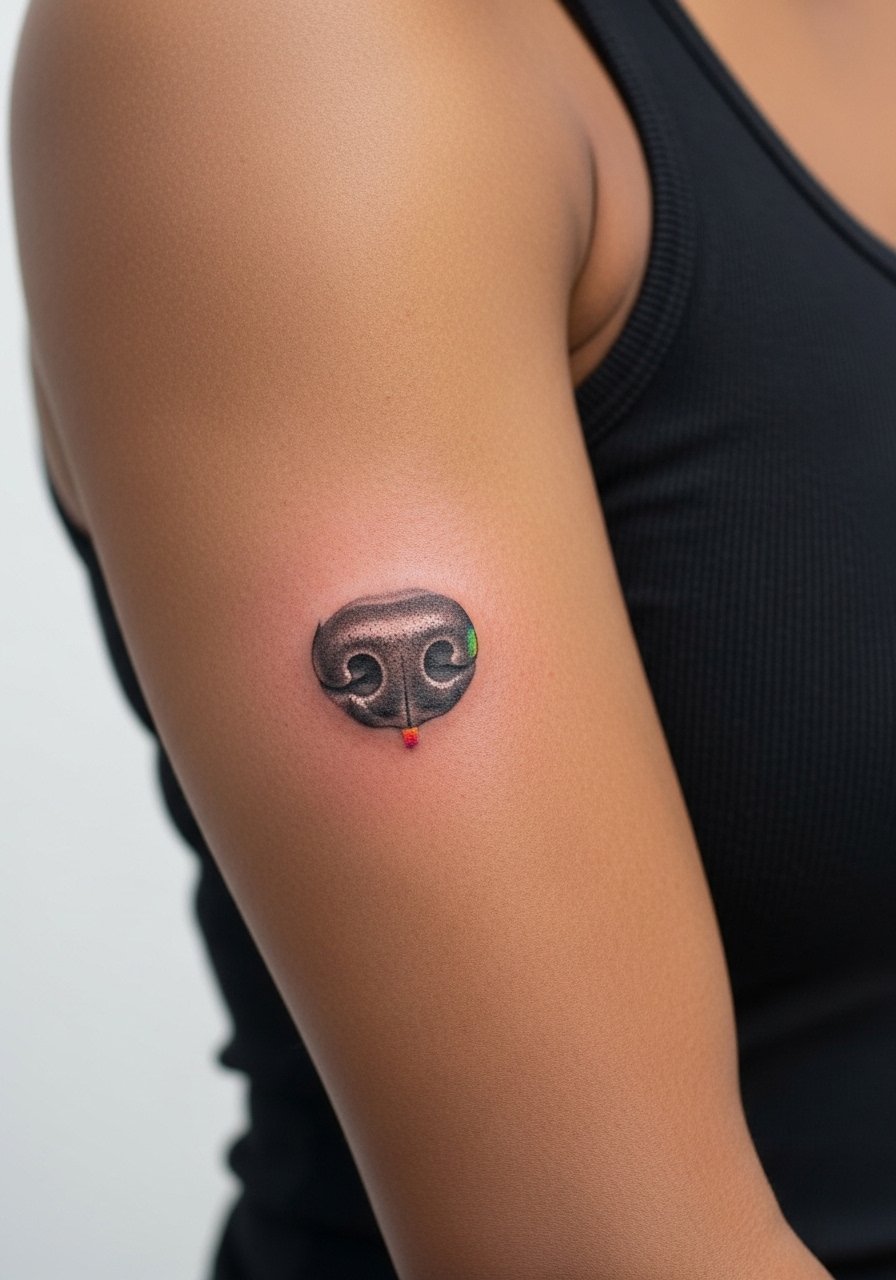
Inner bicep micro-realism gives an intimate, identifiable piece but it needs an artist experienced in tiny portraiture. I suggest a small three-inch nose close-up with subtle color on the nose tip to keep focus and avoid over-saturating the surrounding skin. The inner bicep is tender and you should expect stinging during the session. Artists differ on whether micro-realism holds on this placement. One camp warns of skin stretch and fading, the other says depth and spacing fix that issue. Ask your artist which side they fall on, then book a two-session plan so you have a touch-up built in.
4. Paw Print Cluster with Name Banner on the Collarbone
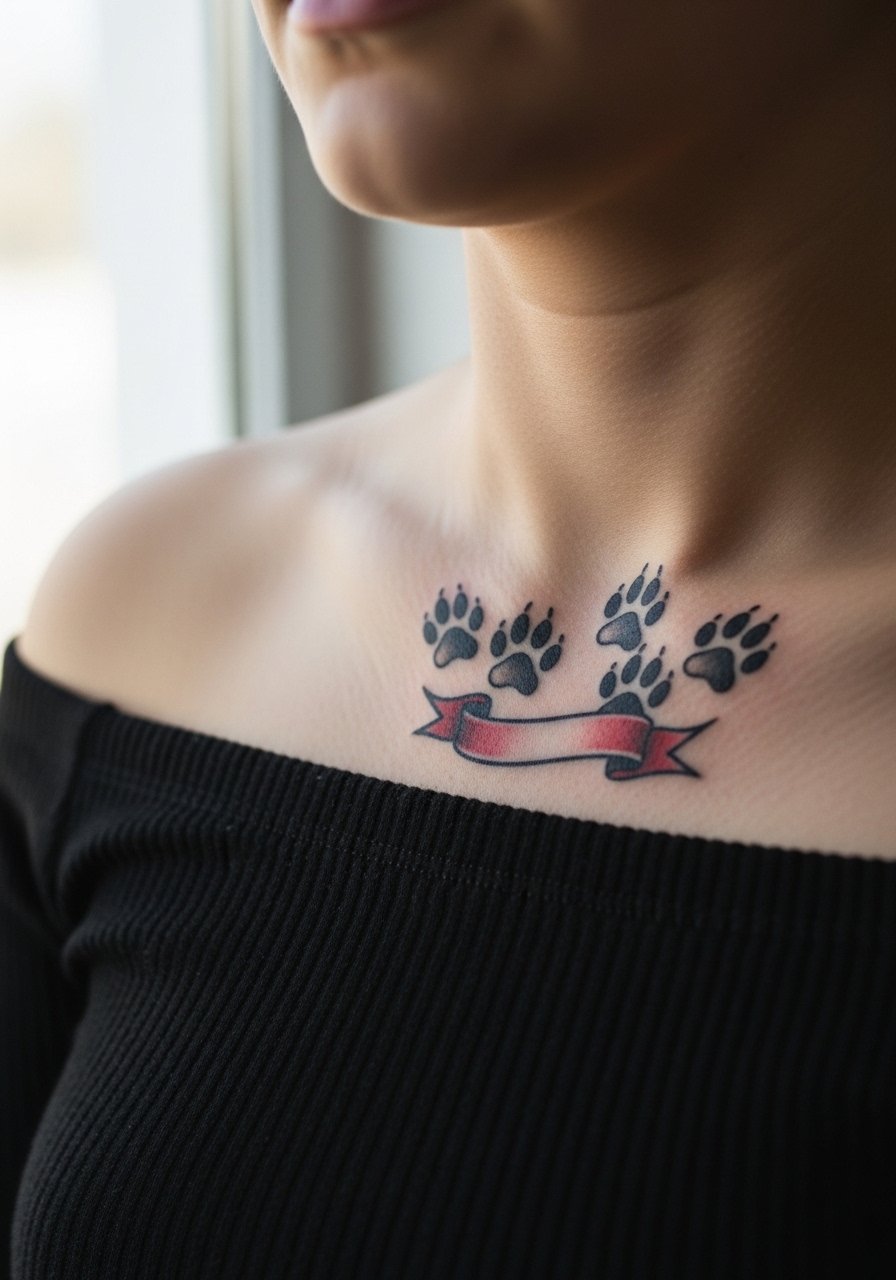
Collarbone pieces age well when they sit on clean planes of skin and avoid crossing joints. For a cluster that represents multiple pets, keep paw sizes slightly varied and place a tight name banner beneath, but avoid tiny script. Tiny letters often blur into a line. A quick consultation note to your artist should say "moderate line weight and readable uppercase or short name initials." Collarbone sessions have moderate pain but heal clean with limited friction. Show it off with an off shoulder top that frames the area and keeps attention on the bold lines.
5. Watercolor Paw Splash on the Shoulder Blade
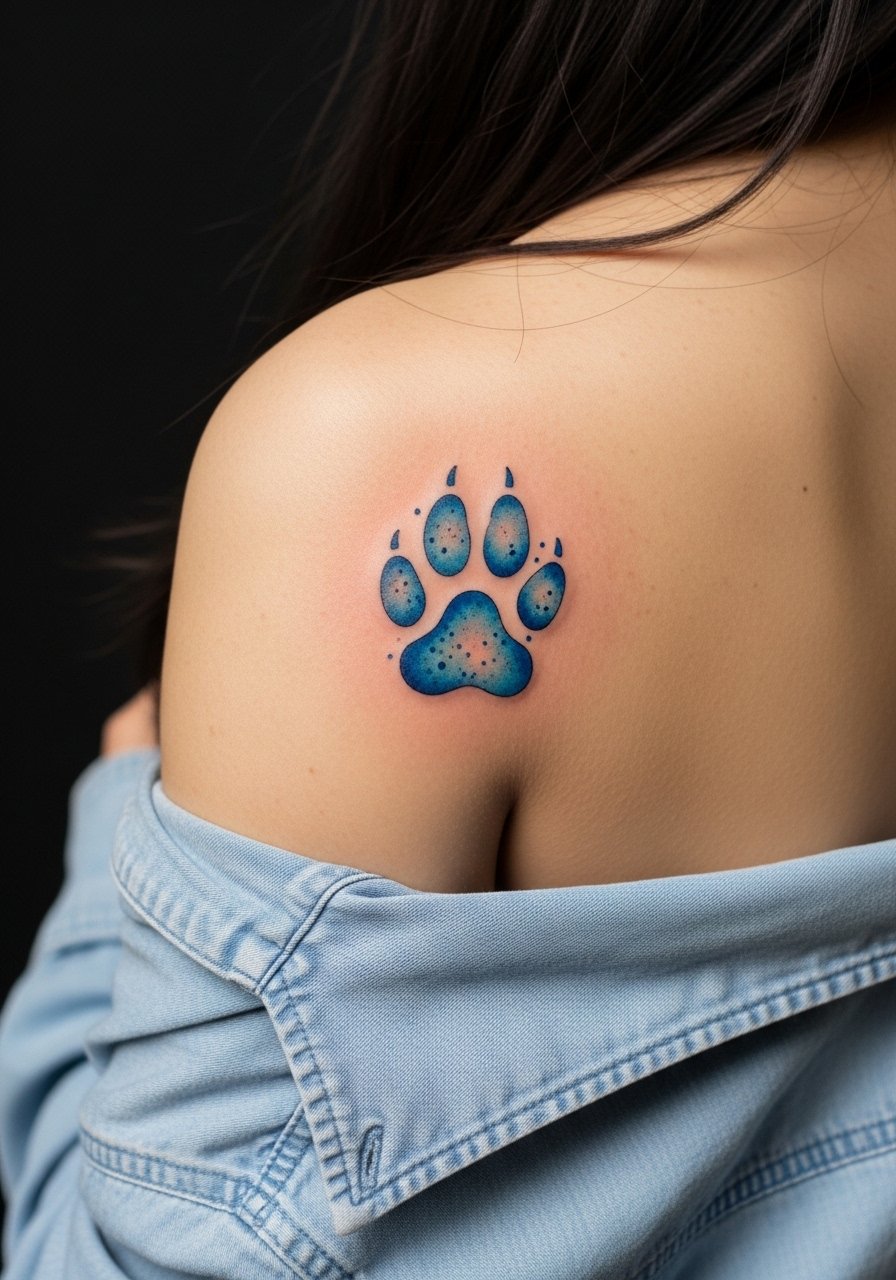
Watercolor pieces read wonderfully on the shoulder because the area moves less and the colors have room to breathe. Expect two sessions for saturation and gentle whip shading. The common failure is over-saturating with multiple conflicting colors, which turns into muddy patches as it heals. Ask for restrained color choices and a strong black anchor point so the paw remains readable. For the appointment, wear a loose button-down shirt you can pull aside so the artist has easy access to the shoulder.
6. Fine Line Pet Face Outline on the Ankle
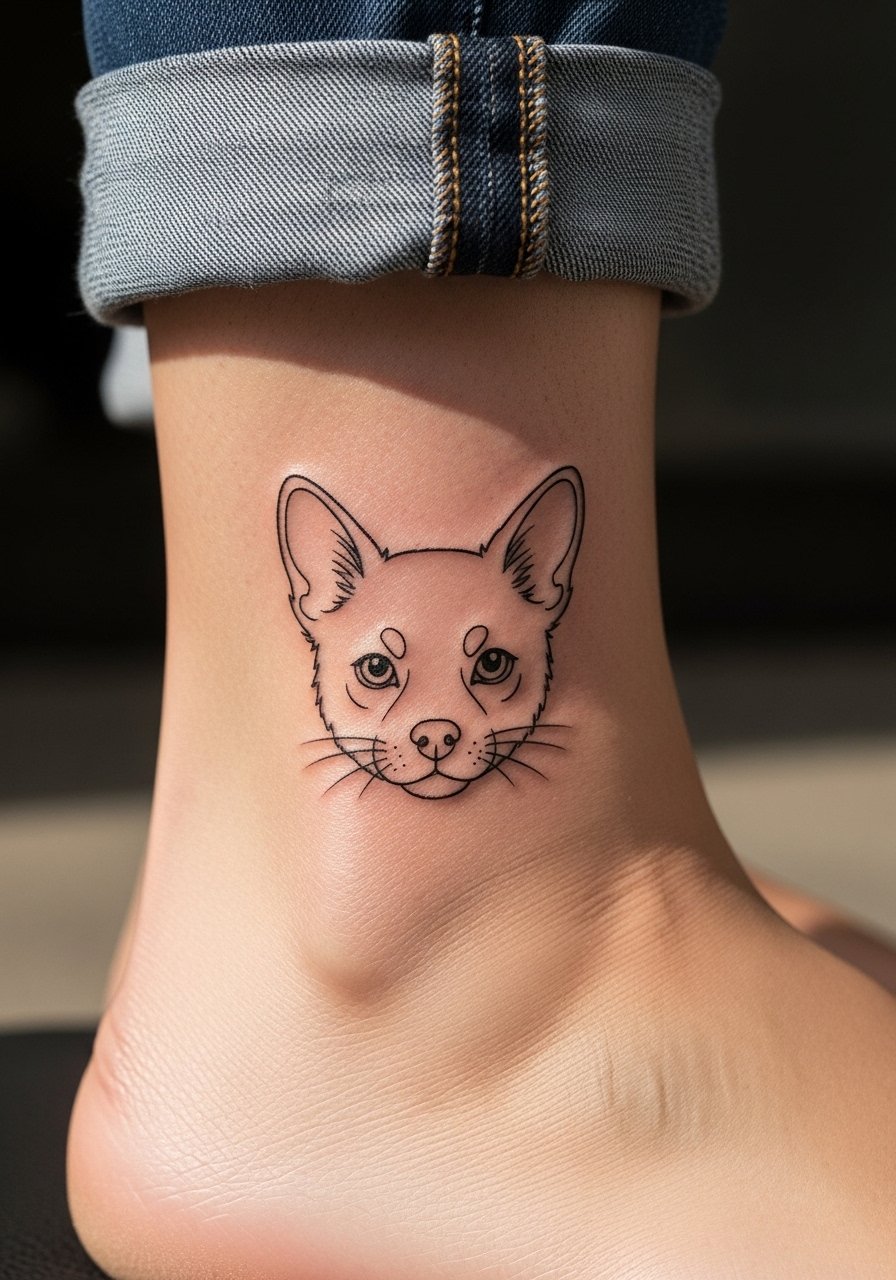
Ankle placements are popular for small, delicate outlines but sweat and shoe friction are real risks. I recommend a slightly bolder single-needle approach that still reads delicate, rather than the ultra-thin that often fades. The session is short, usually under an hour, but healing requires keeping the ankle elevated and dry. A mistake I see is placing a detailed face too small for the ankle, which smudges into an unrecognizable shape. Style it with cuffed straight-leg jeans and slip-on espadrilles for photos. Bring a pair of cuffed ankle jeans to coordinate photos after healing.
Pre-Session Essentials
Those wrist, forearm, inner bicep, collarbone, shoulder, and ankle pieces above each ask for different prep. A few targeted items smooth the session and the first week of healing.
-
Tea tree salve tattoo balm. Gentle antiseptic qualities can calm itching on color-work shoulders and prevent irritation on ankle pieces that see more sweat and dirt.
-
Rice bran tattoo balm. Lightweight, non-greasy formulas help micro-realism on inner biceps retain crisp detail without a shiny film.
-
Unscented lotion for sensitive skin. A fragrance-free option helps collarbone and wrist pieces avoid irritation from scented products while still moisturizing the skin.
-
Natural balm for sensitive areas. For those who prefer indie blends or custom mixes, a gentle unscented balm reduces scab pulling on fine line work.
-
Hustle Butter Deluxe. A thin, easy-absorbing option that many people find useful during warm weather sessions, especially for shoulder and thigh pieces.
7. Blackwork Geometric Paw on the Thigh
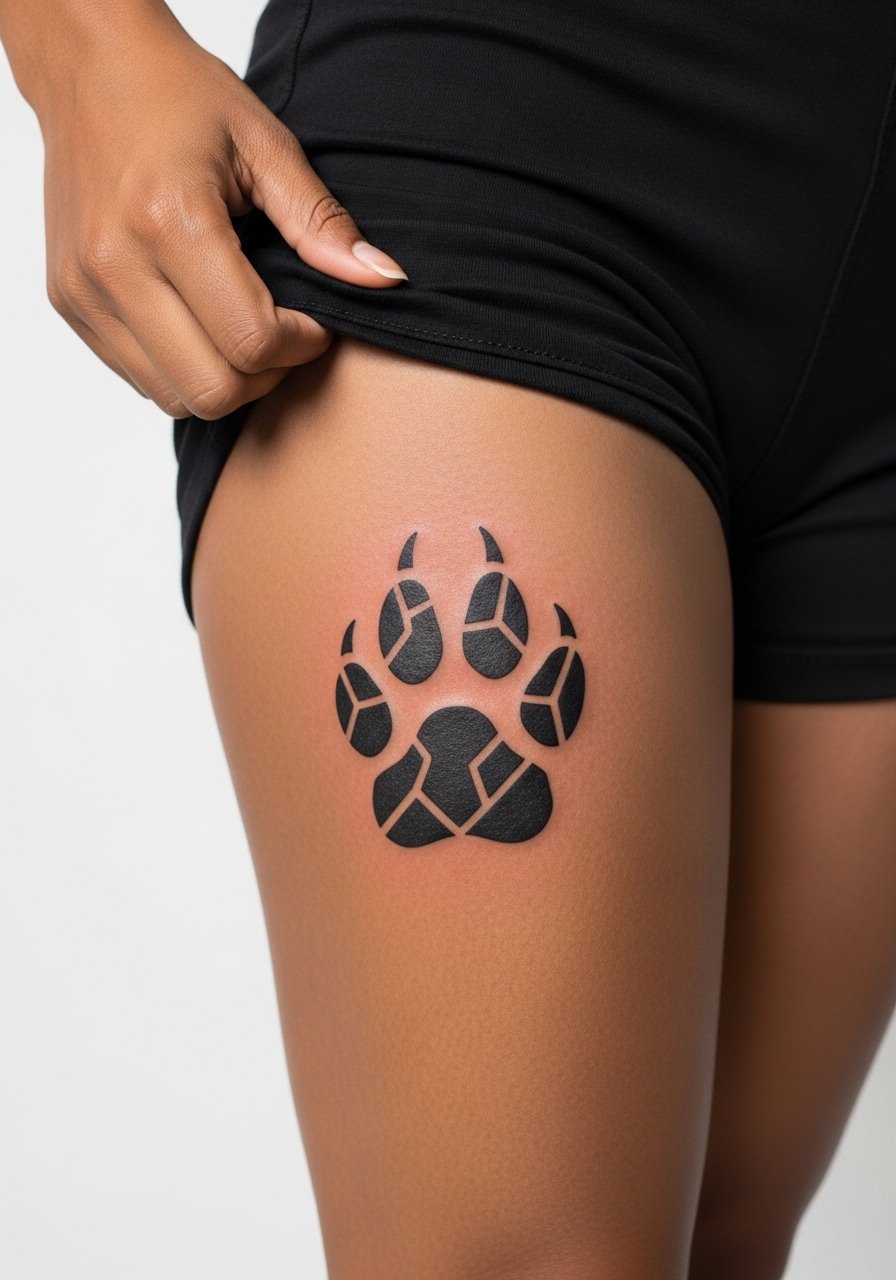
Thigh placements can carry larger blackwork pieces that age well because they are low-friction and protected from sun. The biggest error is shrinking geometric elements too small. Give lines room and maintain bold saturation for longevity. Expect two to three sessions for larger solid fills and plan for touch-ups where heavy saturation meets skin texture. For show-off looks, high-waisted shorts or slit skirts let the geometric paw peek in a tasteful way. Bring loose shorts or a wrap skirt to the session so the artist can access the outer thigh comfortably.
8. Neo-Traditional Dog with Floral Crown on the Upper Arm
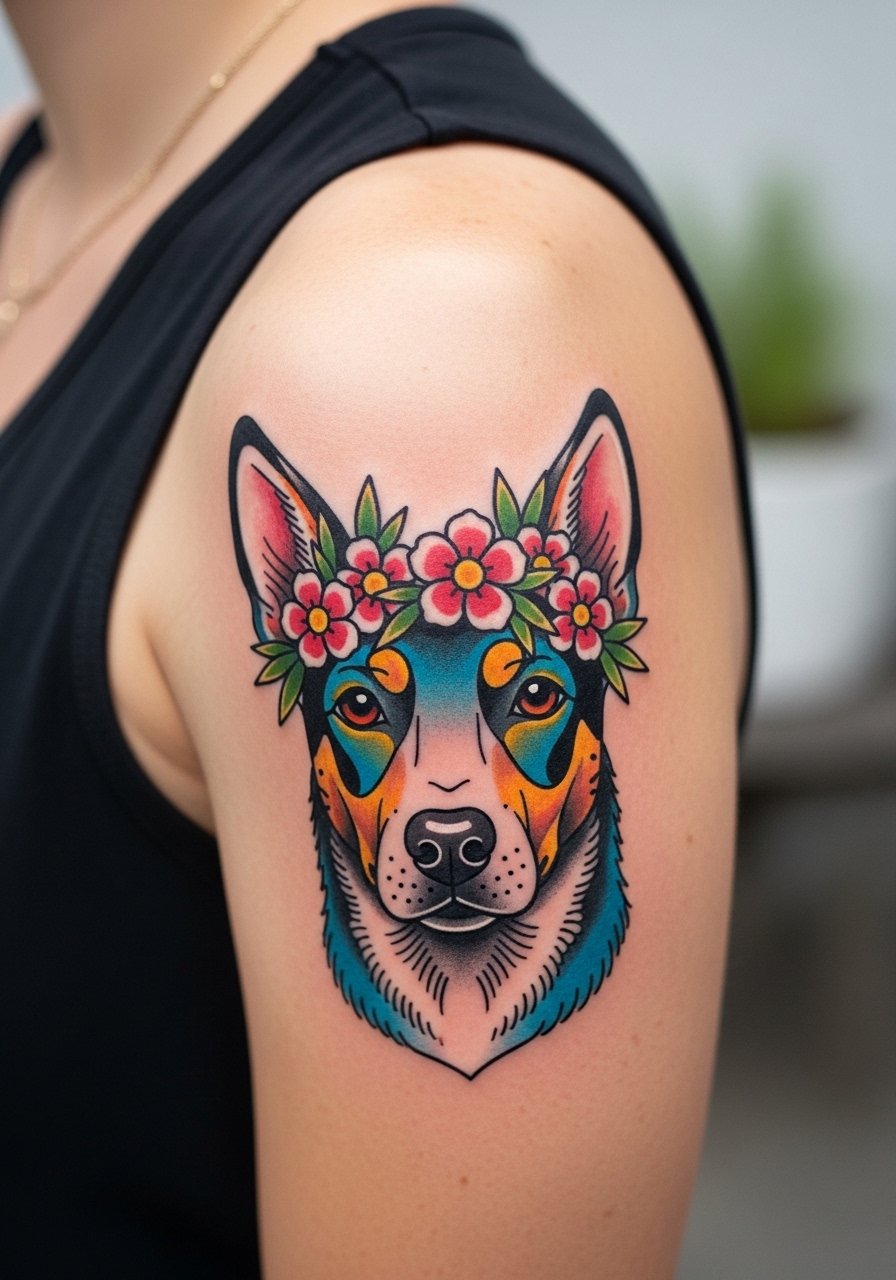
Neo-traditional pieces thrive on the upper arm because the canvas handles color saturation and strong outlines. Expect longer sessions and multiple visits for clean saturation and layered shading. A common misstep is asking for tiny floral details that will blur under dense color. Tell your artist you want bold outlines around color blocks and slightly larger floral elements to keep the composition readable. For the appointment, wear a sleeveless tank top to expose the upper arm without tugging at fabric.
9. Minimalist Whisker Lines Behind the Ear
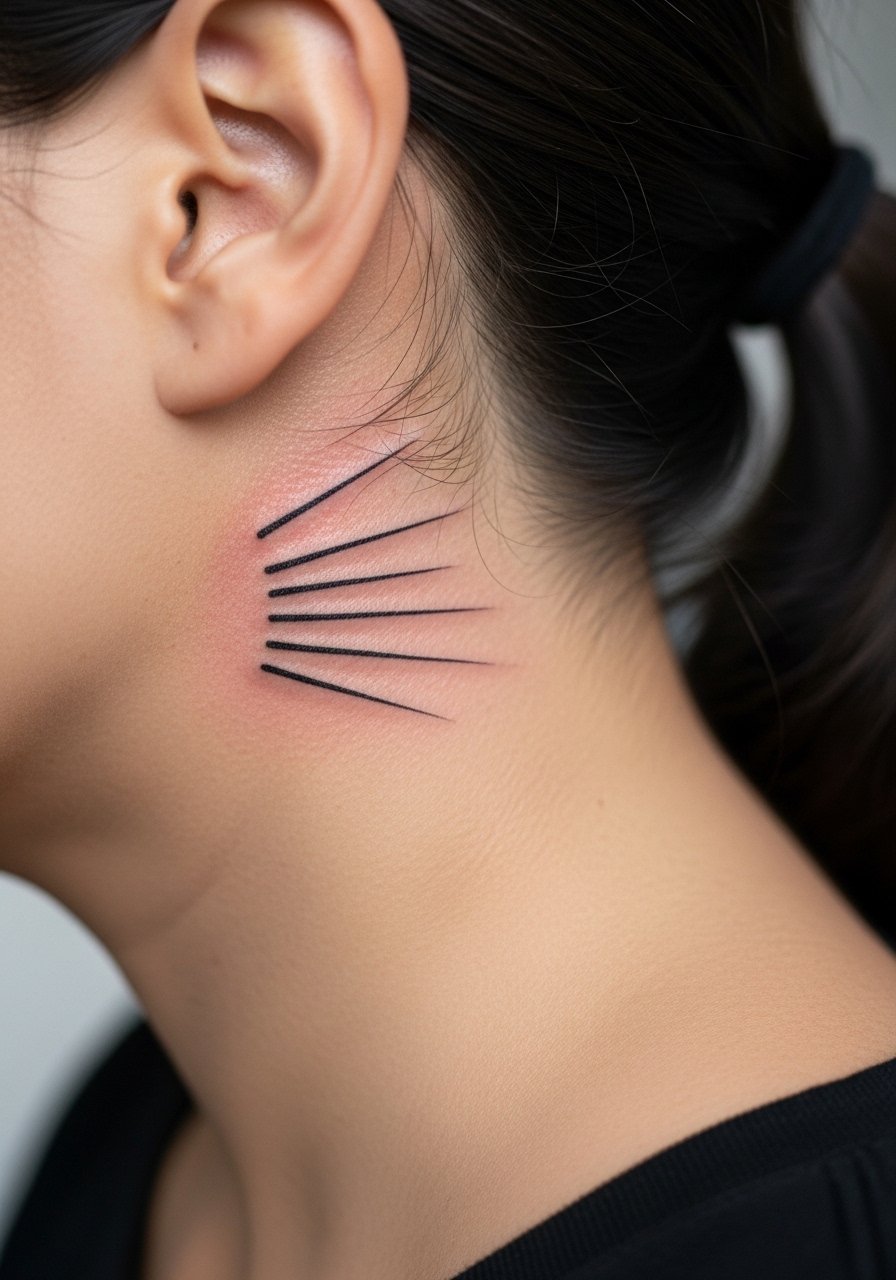
Behind-the-ear placements are subtle and private, perfect for micro gestures like whisker lines. The skin here is thin so the session is brief but sensitive. A lot of people ask for several whisker strokes and then find they blurred because lines were too close. Keep spacing and limit strokes to two or three. For session wear, pull your hair back or wear something that keeps the hairline clear so the artist can work without interference. This placement often appeals to people who want a low-visibility piece that still has personal meaning.
10. Ornamental Paw Mandala on the Upper Back
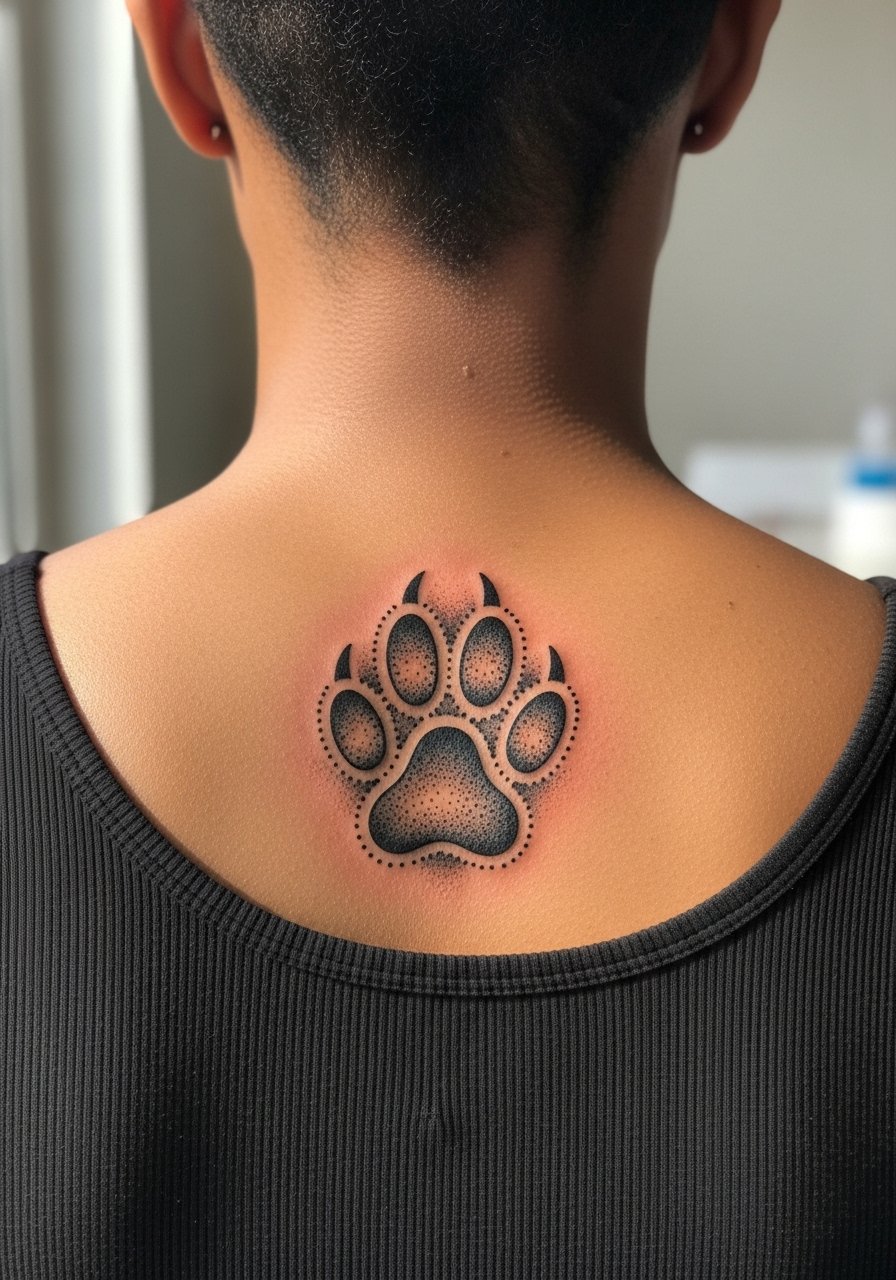
Back placements let ornamental work breathe, especially mandalas that need radial spacing to avoid future merging. Stipple shading and dot work hold up well when the mandala is sized correctly and placed on flatter skin between the shoulders. One mistake is packing too many tiny rings into a small area. Plan for two sessions to build crisp dotwork without overworking the skin. For discreet reveal looks, open-back tops showcase the pattern without exposing other areas. Consider how the piece might expand if you add pets later to create a balanced composition.
11. Ignorant Style Cartoon Dog Head on the Calf
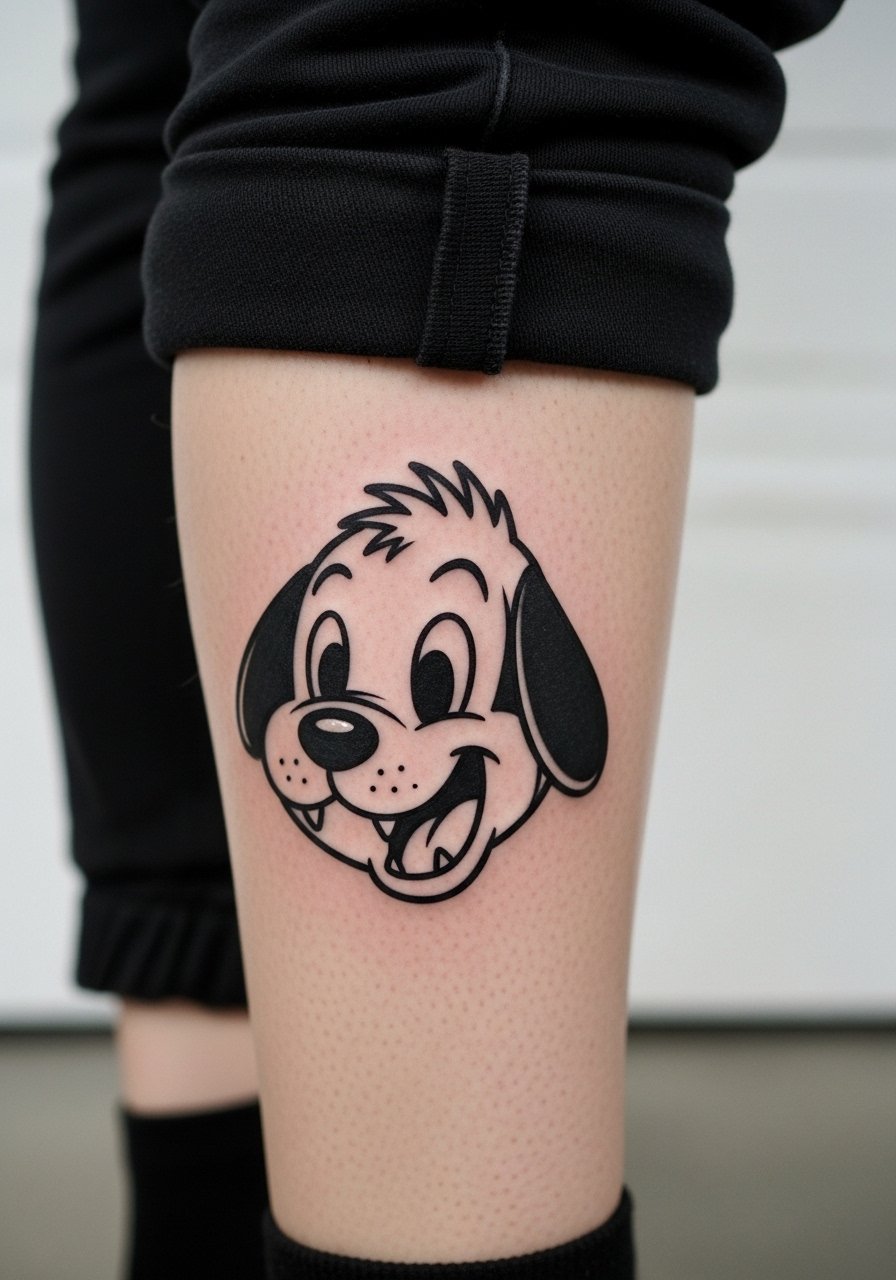
Ignorant style is playful and forgiving for a calf because the bold shapes do the work and the area handles saturation well. Sessions are usually short to moderate and the design reads from across the room. The main oversight is asking for too many small internal features that get lost under bold lines. Keep the concept simple and let the black outlines define the character. Pair the calf piece with rolled joggers or boots for a casual reveal. For the session, bring rolled cuff joggers so the artist can work with the leg comfortably.
12. Black and Gray Full Pet Portrait on the Ribcage
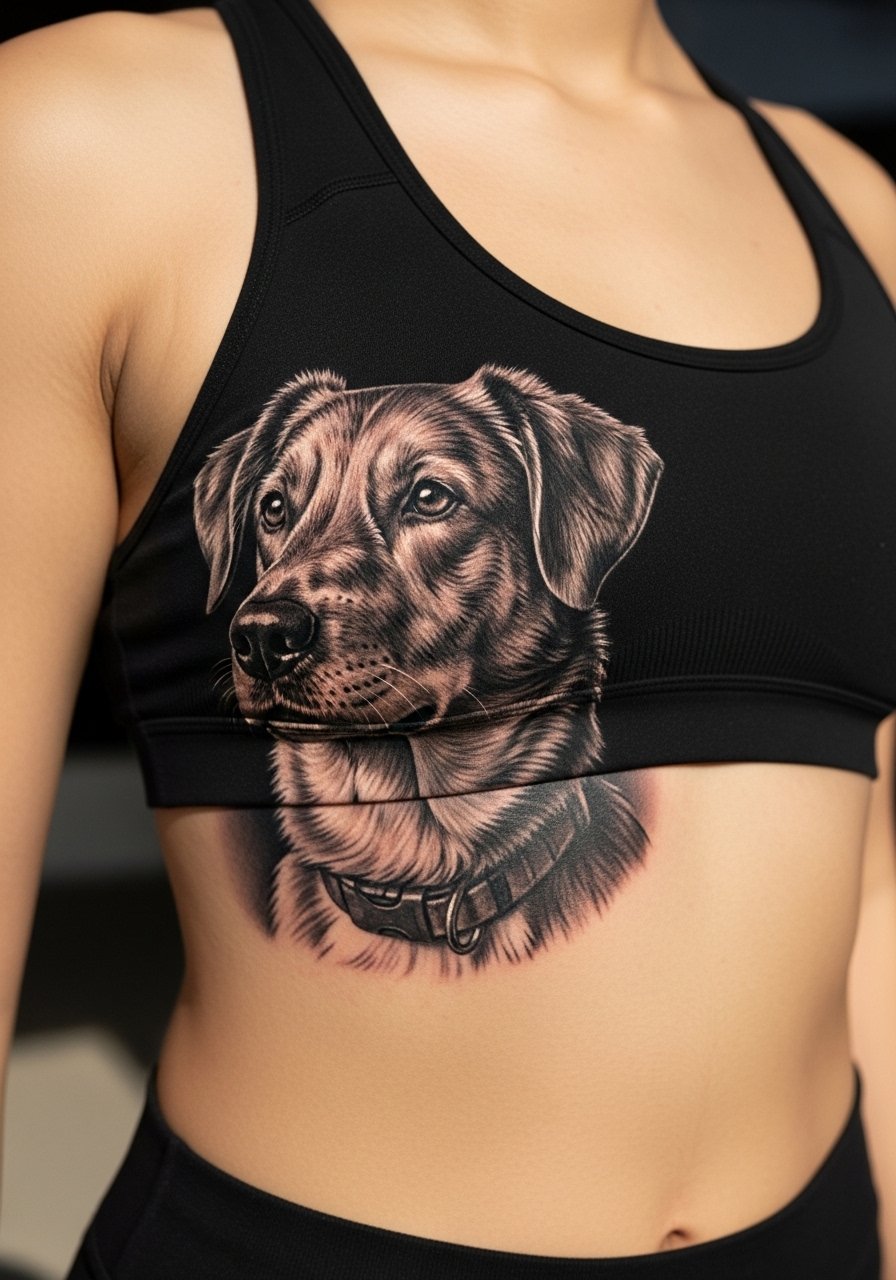
Ribcage portraits give photo-like results but they demand pain tolerance and multiple sessions for depth. Expect longer appointments and the need to stagger work for comfort. Breath and skin movement can affect reference placement so test the stencil on your body position before the first pass. Artists split on fine line detail for ribs. One camp warns of stretch and blurring, the other says proper depth and staging will preserve realism. If you go for a ribcage portrait, plan for a large, well-spaced composition and a scheduled touch-up six to twelve months out.
13. Paw Print with Embedded GPS Coordinates on the Wrist or Ankle
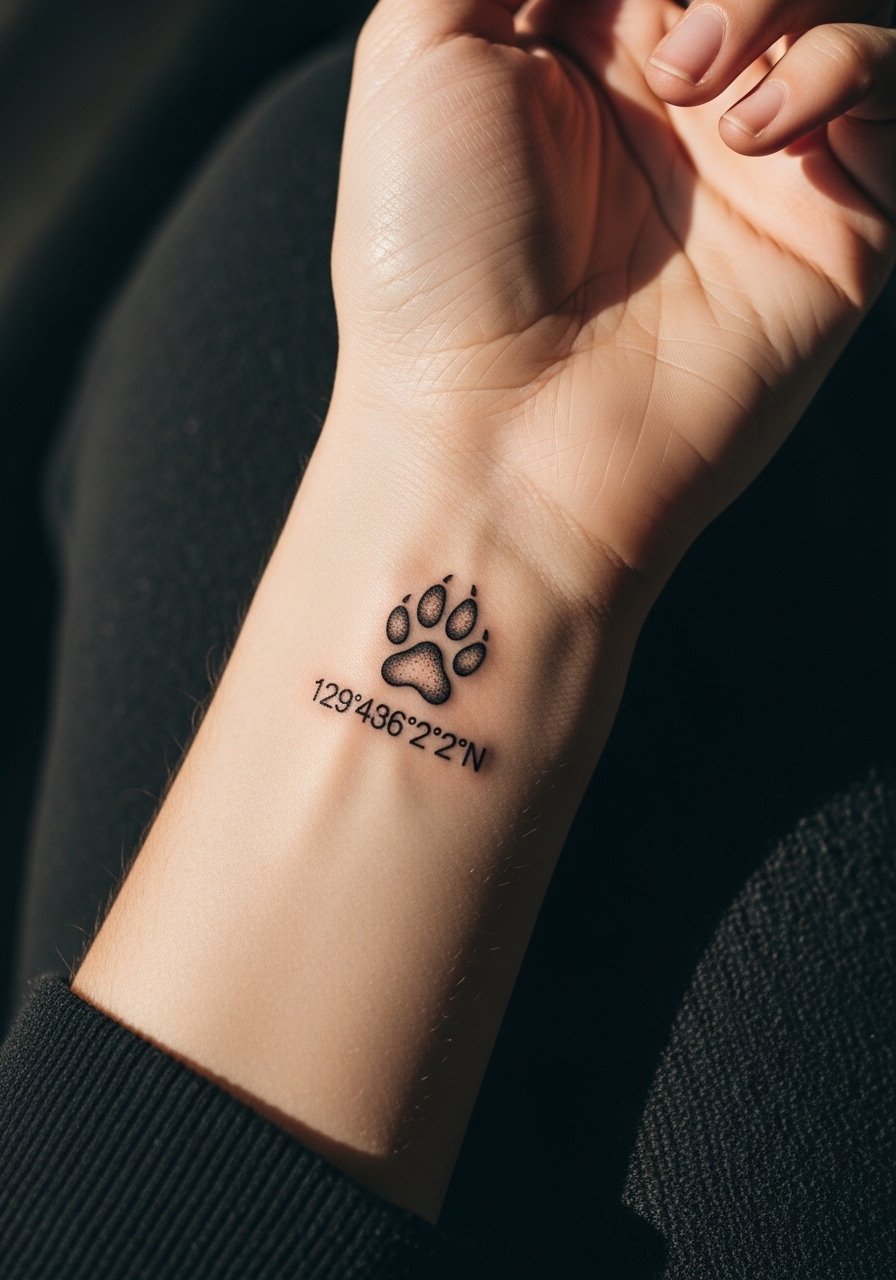
Personalization like micro GPS coordinates adds a subtle layer without changing the tattoo's visual language. Keep the numerals readable by choosing a slightly larger type and placing them under a bold paw anchor. Fine numerals on tiny areas are a common regret because the digits can blur. If you want a wrist or ankle placement, ask for monospaced tiny type and confirm the exact coordinates during consultation. For the session wear, a loose tank or shorts make ankle and wrist access easy and comfortable.
14. Color Accent on Pet Eyes in a Black and Gray Portrait
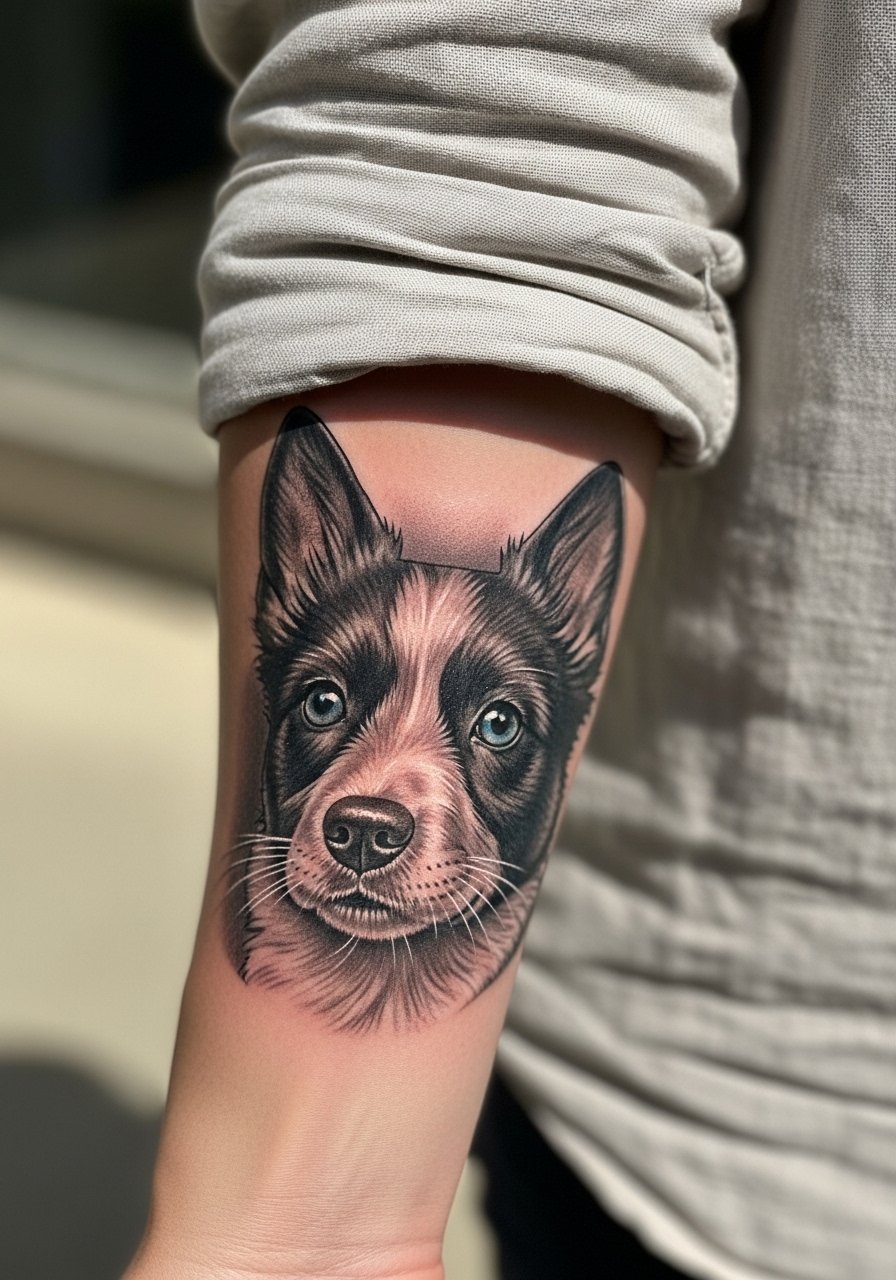
A single color accent on the eye gives emotional punch without exposing the entire portrait to color fade problems. I recommend letting the portrait read in black and gray while asking for one small saturated dot in the eye. That way the portrait keeps photographic depth and the accent remains a focal point. Forearm portraits sit well here and tolerate touch-ups if the color softens. Wear rolled linen shirts to session photos and bring a rolled linen shirt so the arm is visible and comfortable during the appointment.
15. Healed Fine Line on Mature Skin, Inner Forearm
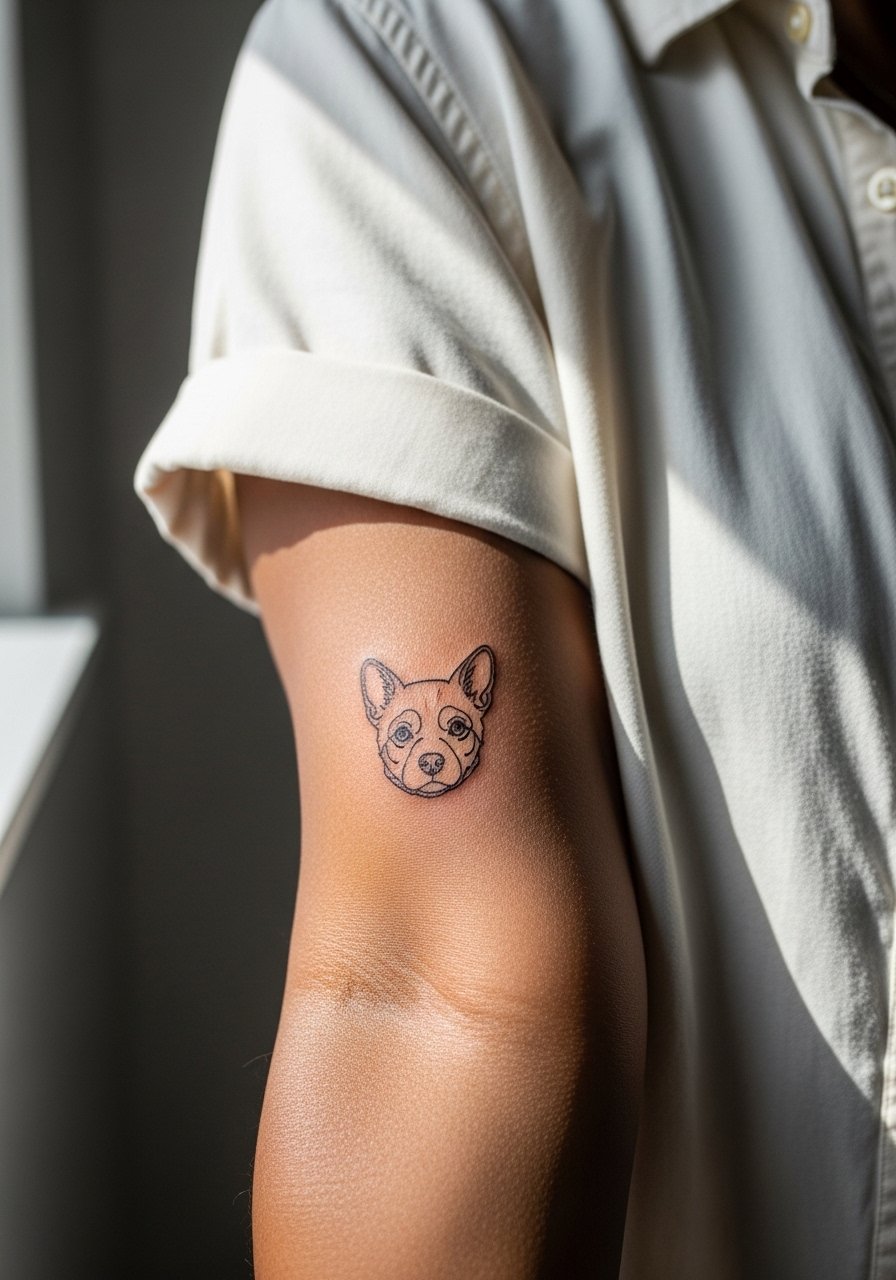
Fine line work can behave differently on mature skin. Some people over 50 report that oilier or naturally hydrated skin helps fine lines hold a little better. For inner forearm placement, ask for slightly more spacing between lines and a tiny increase in needle grouping so the line does not fade into a smudge. The inner forearm is a forgiving area for touch-ups and it tolerates longer sessions. Wear a loose short sleeve button-up to the appointment so the artist can work without discomfort.
16. Memorial Patchwork Sleeve That Adds Pets Over Time
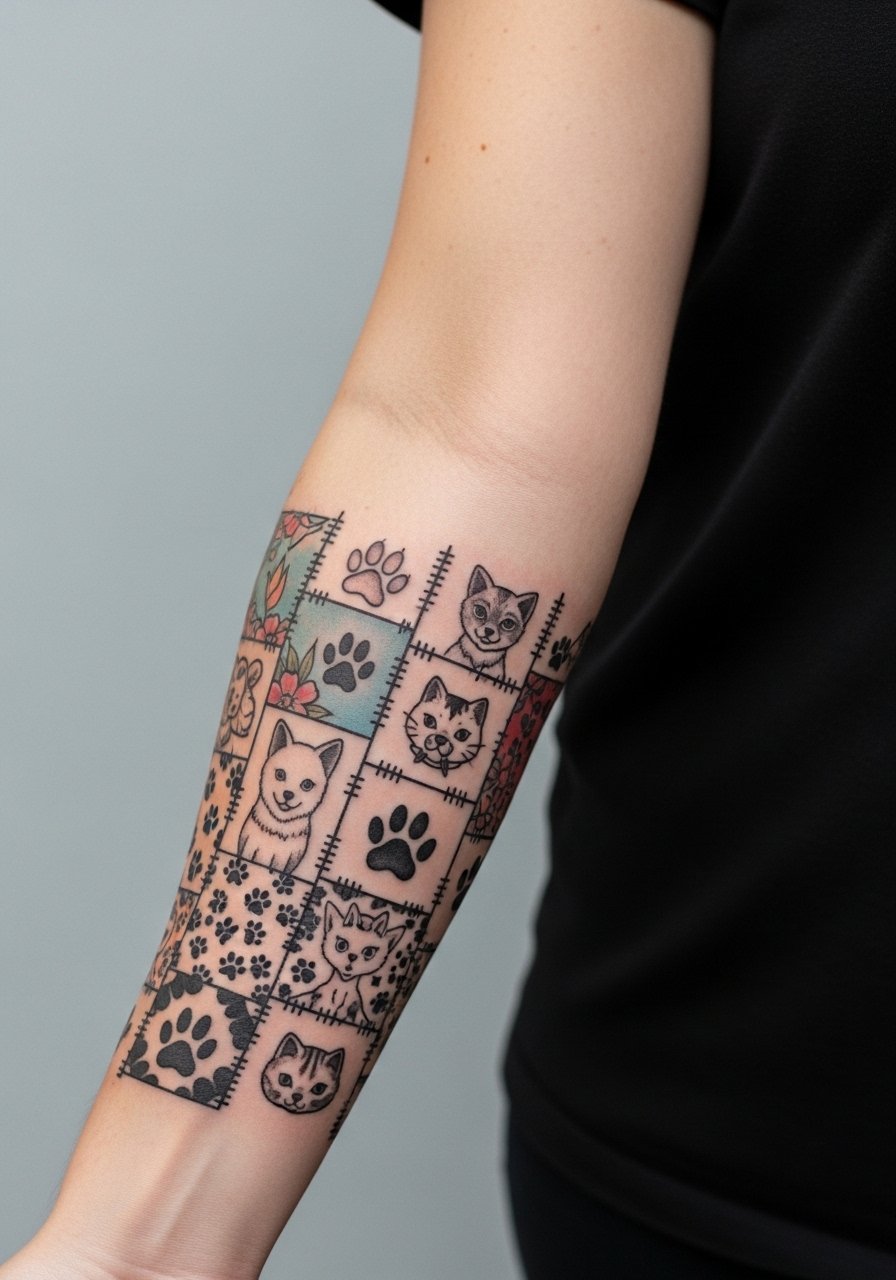
Building a patchwork sleeve lets you add pets over years and creates a cohesive archive on the arm. The trick is planning negative space and visual anchors so new pieces slot in without crowding. A common mistake is filling every gap early, which leaves no room for future additions. Start with a few bold anchors and leave pathways for micro additions like paws or portraits. Forearm sleeves are visible and prone to sun exposure, so plan for UV protection as the work grows. Roll sleeves or wear a loose button-down shirt when you want to show off a work-in-progress.
17. Micro Dog Face Behind the Ear for a Subtle Tribute
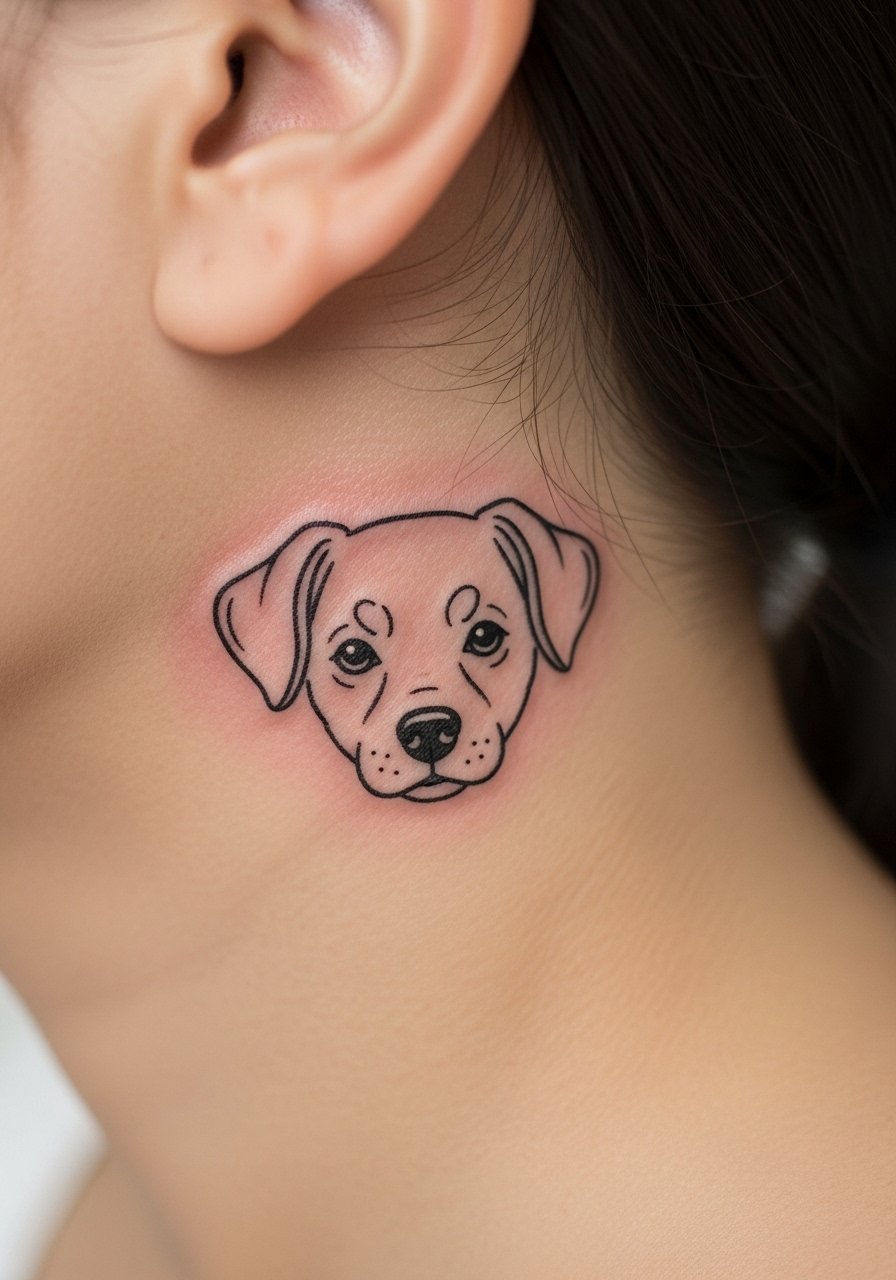
A behind-the-ear micro face is the ultimate low-visibility option that still reads as a private mark. The skin is thin so the session is very short but sensitive. Keep the design to simple contours and avoid small text or complex shading. Many people choose this when they want a piece that is intimate and easy to hide. For the appointment, wear your hair up or bring a clip so the artist can work without hair getting in the way.
Frequently Asked Questions
Q: Will fine line wrist and ankle pieces fade faster than blackwork options?
A: From what I've seen, ultra-fine single-needle lines on wrists and ankles can lose crispness faster than bolder blackwork. Placement, daily friction, and sun exposure are the main drivers. If longevity matters, ask for slightly heavier line weight and plan a touch-up at six to twelve months.
Q: How do I decide between a full ribcage portrait and a micro-realism nose on the inner bicep?
A: Choose ribcage portraits for scale and photo-like depth and expect longer sessions and more healing time. Go micro on the inner bicep for intimacy and subtler visibility. Also consider pain tolerance and whether you want a piece that is private or displayable when you wear crop tops or sports bras.
Q: Are watercolor paw splashes worth it if I want long-term color retention?
A: Watercolor looks beautiful but tends to lighten faster than saturated black and gray. If you love the painterly effect, ask for a strong black anchor or a single restrained accent that preserves the form as pigments soften. Plan for a color touch-up after a year if you want the pop to last.
Q: How should I dress for a shoulder or upper-arm session to make the artist's job easier?
A: Wear a loose button-down or a sleeveless tank that you can pull aside without tugging the shoulder. For appointments I recommend bringing a loose button-down shirt you can open to reveal the area while staying covered elsewhere.
Q: Is there a way to make coordinates or small numbers readable on a tiny wrist tattoo?
A: Yes. Use slightly larger monospaced numerals and place them under a bolder paw anchor. Confirm the exact text on the stencil and ask the artist to show you how the digits look scaled on your skin before starting.
