
Fine line work and punk-era motifs make a strange but effective pair when done with intention. The Vivienne Westwood tattoo aesthetic borrows regal icons, orbital forms, and tailored edge, and the trick is scaling and spacing so those details last. Below are 27 focused ideas that balance longevity, placement, and wardrobe, plus practical notes to bring into your consultation so the piece still looks deliberate five years from now.
1. Fine Line Orb with Miniature Crown on Inner Forearm
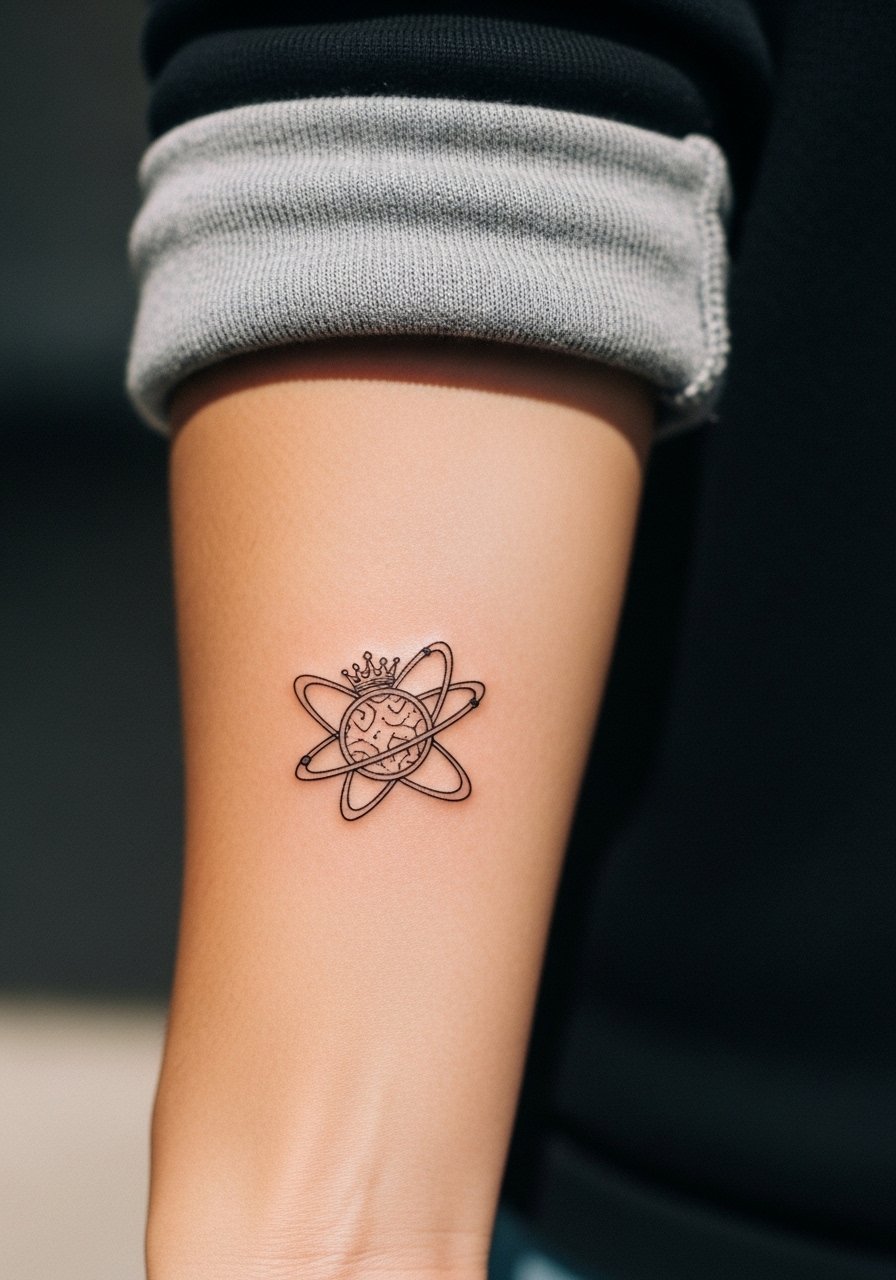
I've seen this motif translate best when kept small but not microscopic. Ask for slightly heavier linework than typical micro tattoos and a thin halo of dot work for depth, so the crown and orb retain separation as the skin softens over time. Fair warning, the inner forearm is a visible spot that gets sun exposure. Expect a touch-up at two to four years depending on how much sunscreen you use. For the session, wear a loose button-down shirt you can pull aside without shifting the sleeve too much.
2. Punk Safety Pin Cluster Behind the Ear, Subtle Placement
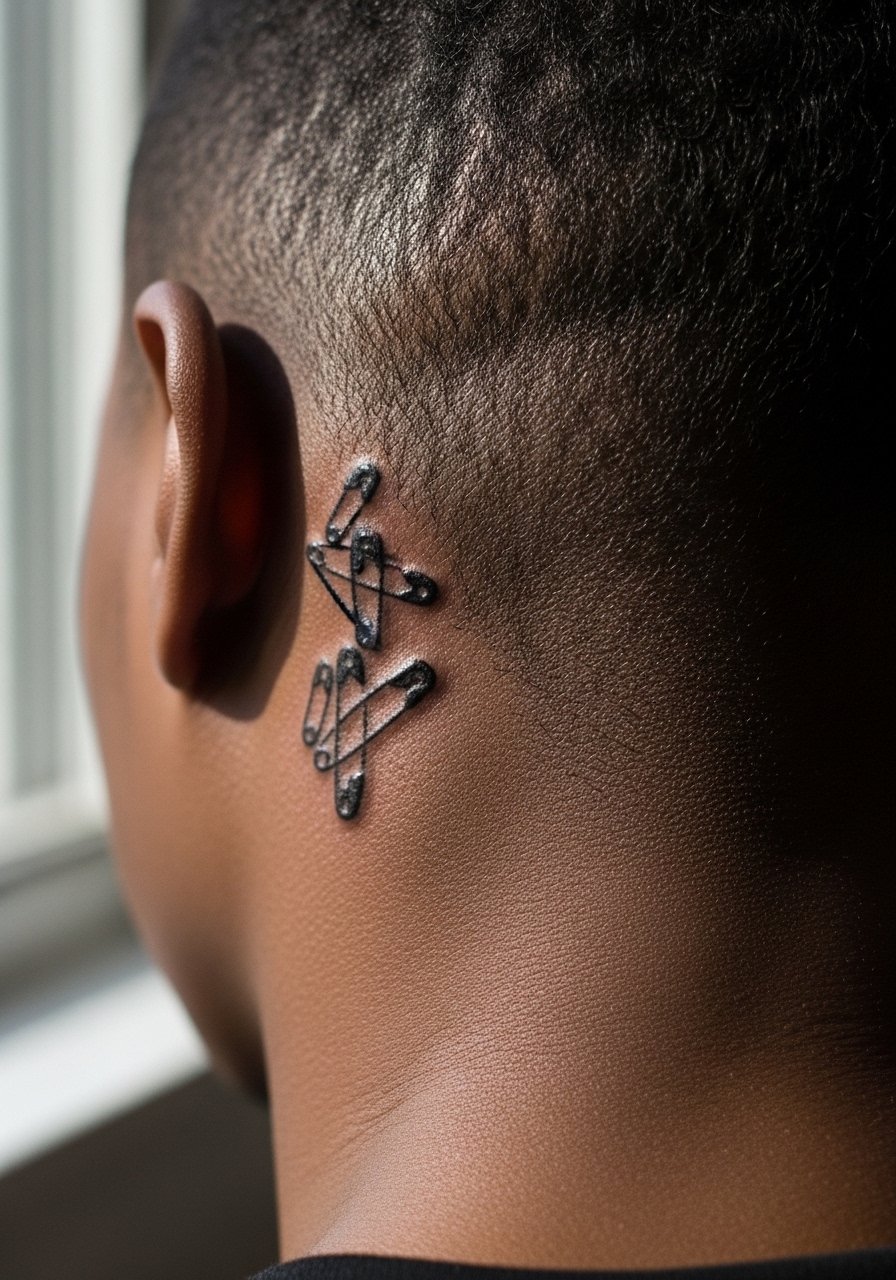
This one reads as a quiet nod to punk tailoring when placed just behind the ear. The area is small, so keep each pin simple to avoid overcrowding. Artists disagree about hairline proximity. One camp says micro work there risks feathering because of thin skin. The other camp says with careful depth it holds. Bring that up in consultation and ask to see healed photos from similar placements. Pain is low but the curve of the skull can make the session feel staccato. Wear hair up and clipped back so the artist can access the spot easily.
3. Baroque Orb Inside a Thin Oval on the Collarbone
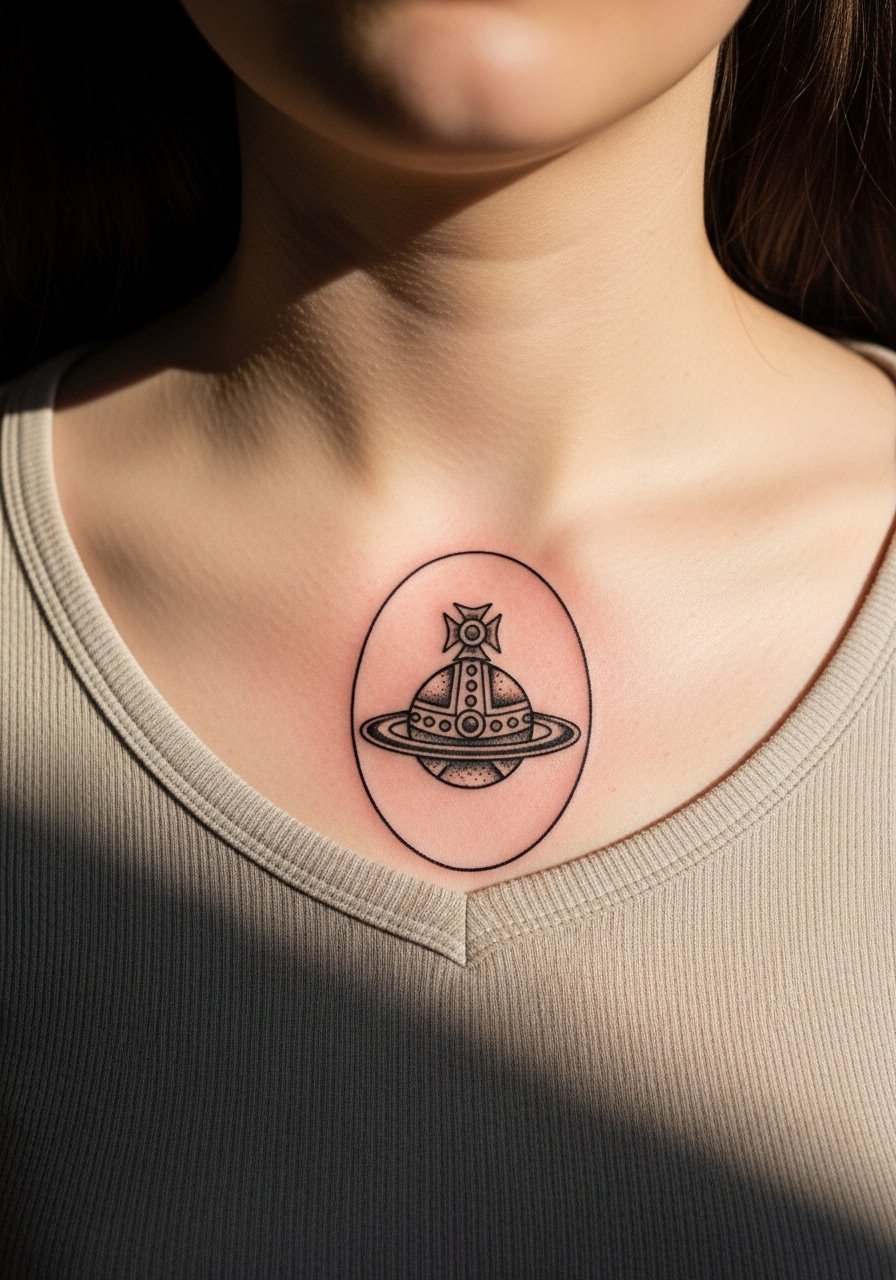
This placement is showy and pairs naturally with open-neck garments. The collarbone skin can be bony so expect sharper sensations during the session. Keep the oval slightly larger than you think to prevent crowding; tight ornamentation chews up over the years. For a wardrobe pairing, try an open-back midi dress or a thin chain pendant necklace that sits above the design. Ask your artist for subtle stipple shading rather than dense black fill to help the piece age with texture.
4. Tartan Ribbon Wound Around a Wrist Orb
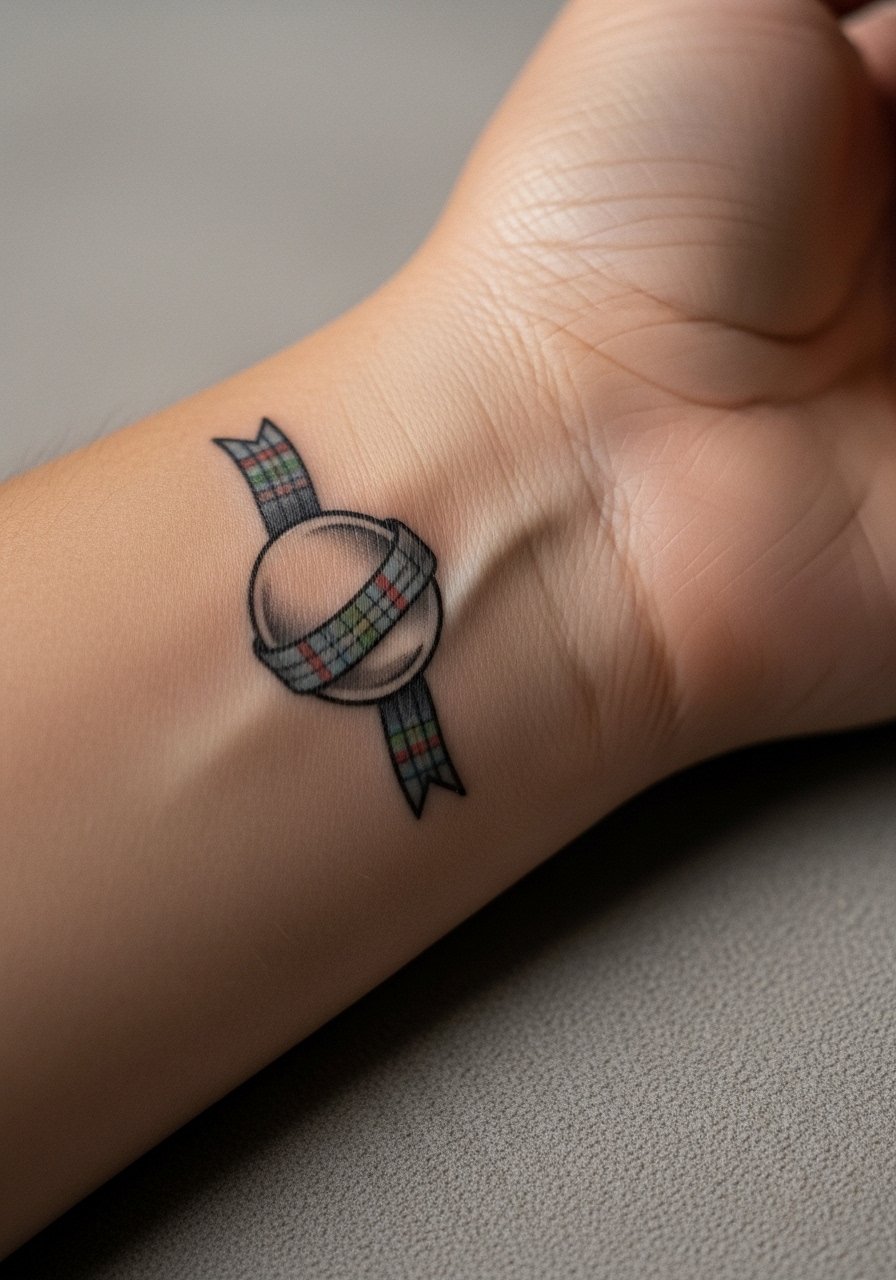
A tartan motif wrapped like a ribbon reads like tailoring at a glance. The wrist gets a lot of friction so keep the pattern simplified and avoid tiny checks that will blur. Expect the first six months to show crisp lines and the first two years to need the most attention. During your consult, request slightly bolder outlines and ask the artist about softer color saturation rather than dense solid blocks. For showing it off, stack with a minimalist watch band or a thin bracelet that sits below the ribbon.
5. Miniature Orb with Planetary Ring on the Side of the Hand
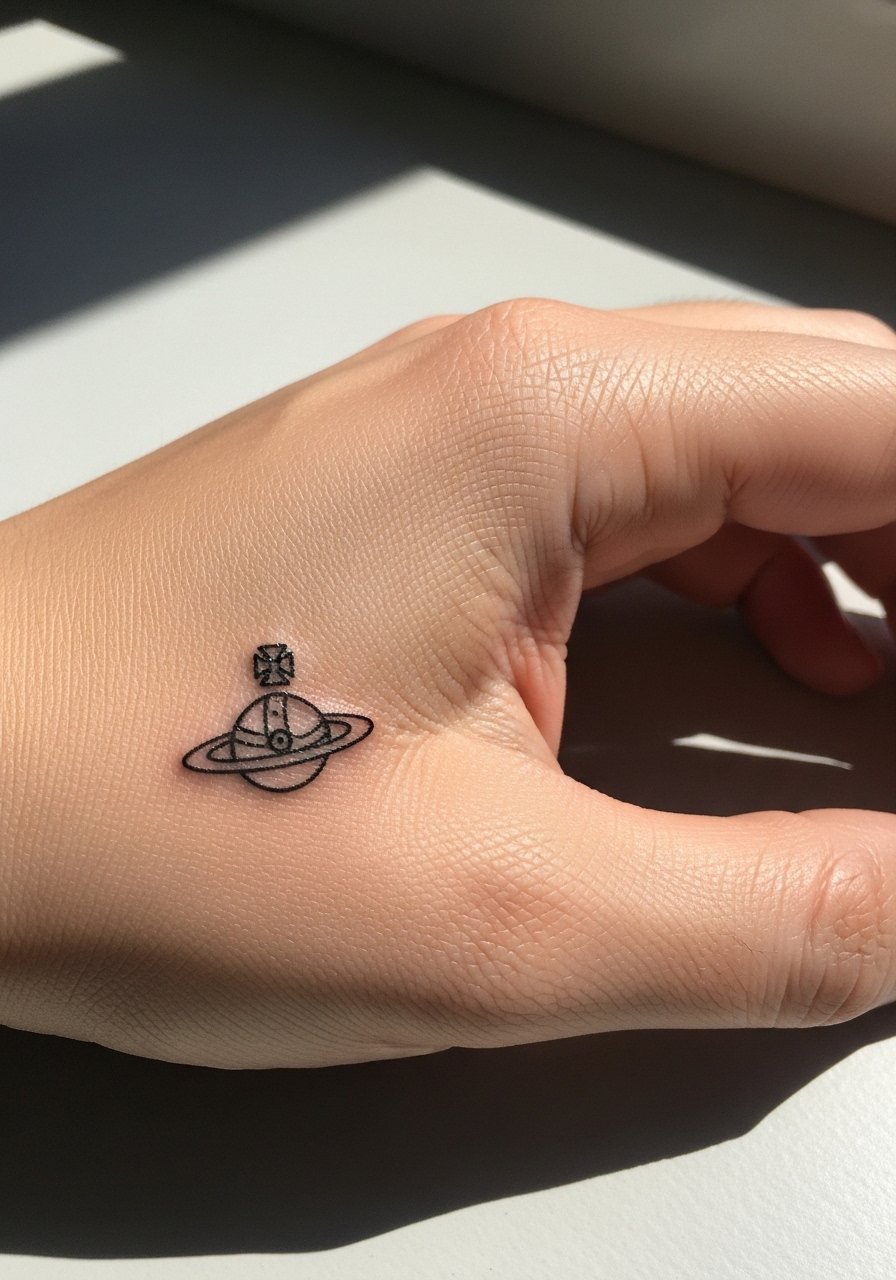
Hand placements have higher fade and touch-up rates because of washing and sun exposure. If you want this visible, keep the orb compact and the ring open rather than filled to avoid early smudging. The session feels more abrasive here because the skin is thin and mobile. Ask for light but confident linework and plan for a likely touch-up around year two. Hand tattoos can affect certain job prospects, so factor that into placement choice. Wear short sleeves for the appointment so the artist gets unobstructed access.
6. Micro-Realism Portrait Styled as a Victorian Cameo on the Upper Arm
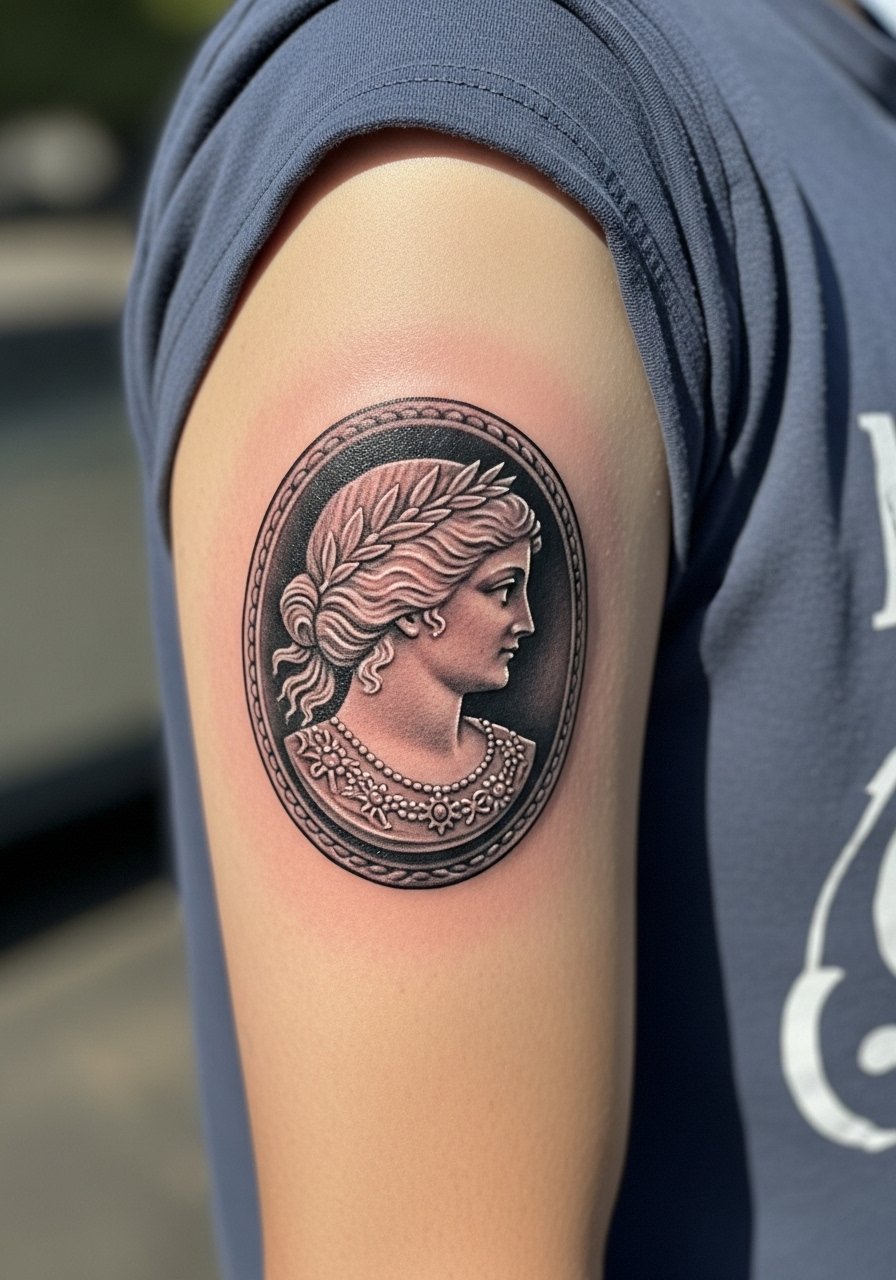
This piece looks like a small framed portrait and benefits from slightly larger scale than micro dots alone. The outer upper arm is forgiving for detail and ages well. The main mistake is asking for the tiniest version possible. Tell your artist you want negative space around the cameo so the face and frame do not merge over time. Sessions run moderate in length, likely a single longer session for tight shading. Pair this with rolled sleeves or a short-sleeve linen shirt to let the cameo peek through.
Pre-Session Essentials
The forearm, wrist, and hand pieces above need different prep than upper-arm work, and these items smooth the session and first week.
-
Stencil transfer paper kit. Lets you preview the placement on skin and adjust scale before the needle hits, especially useful for the wrist and hand designs above.
-
Topical numbing cream. Applied as directed before the session eases sharp bits on bony zones without affecting linework when used sparingly.
-
Thin protective film roll. Keeps high-friction areas like the wrist and side of the hand cleaner during the first week when washing and typing are frequent.
-
Fragrance-free body wash. Gentle cleansing helps avoid irritation around fine line work during daily showers.
-
Aquaphor healing ointment. A thin layer in the initial days keeps delicate line channels hydrated without clogging.
7. Asymmetric Safety Pin and Chain on the Ankle
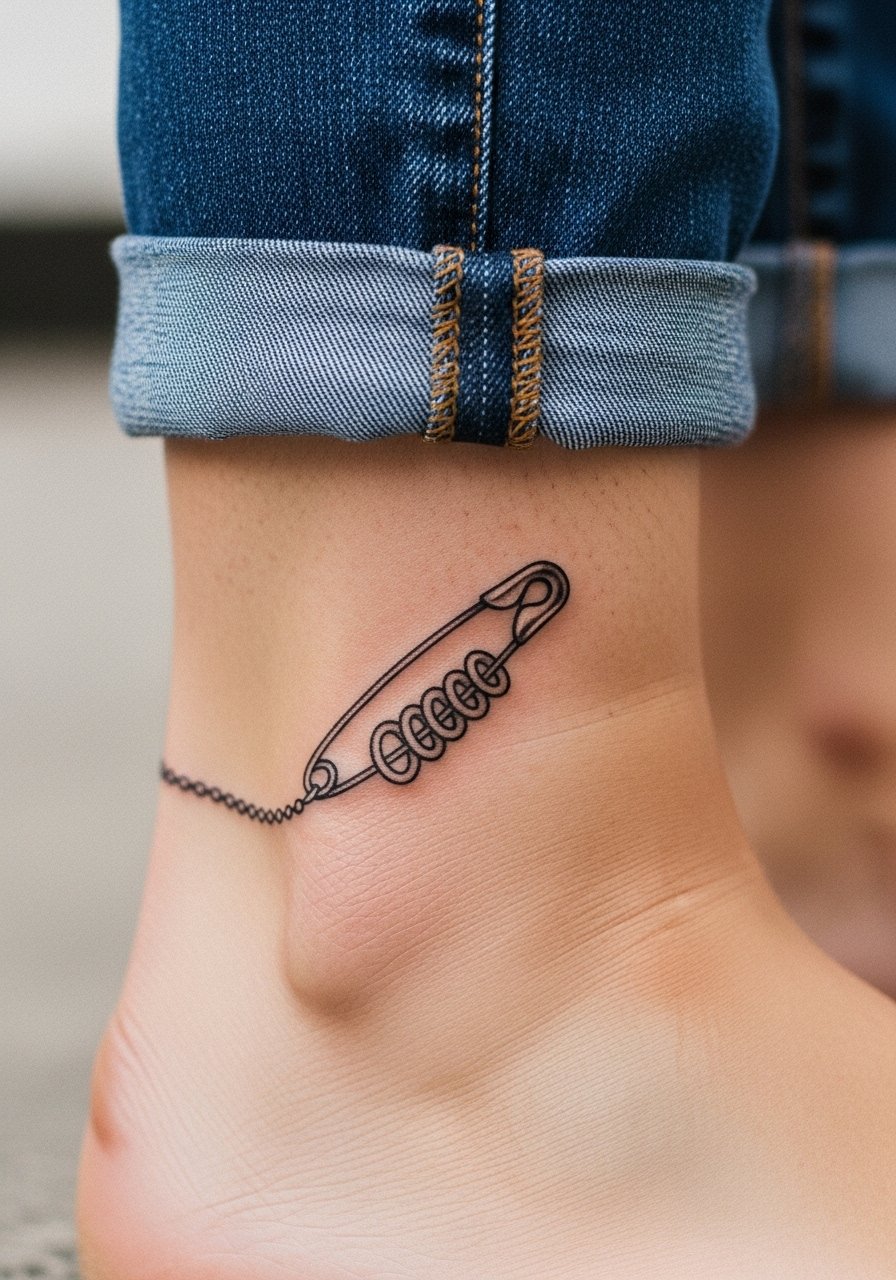
Ankle work reads well with asymmetry and benefits from slightly bolder links to survive shoe friction and socks. The mistake is compressing chain links too tightly. Tell your artist to give each link space and avoid tiny interior details. Pain is low to moderate here. For the session, wear pants you can roll up comfortably and a pair of slip-on shoes to avoid pressure. To show it off, pair with cropped jeans and an ankle bracelet, like a simple adjustable anklet.
8. Orb and Safety Pin Duo on the Ribcage with Negative Space
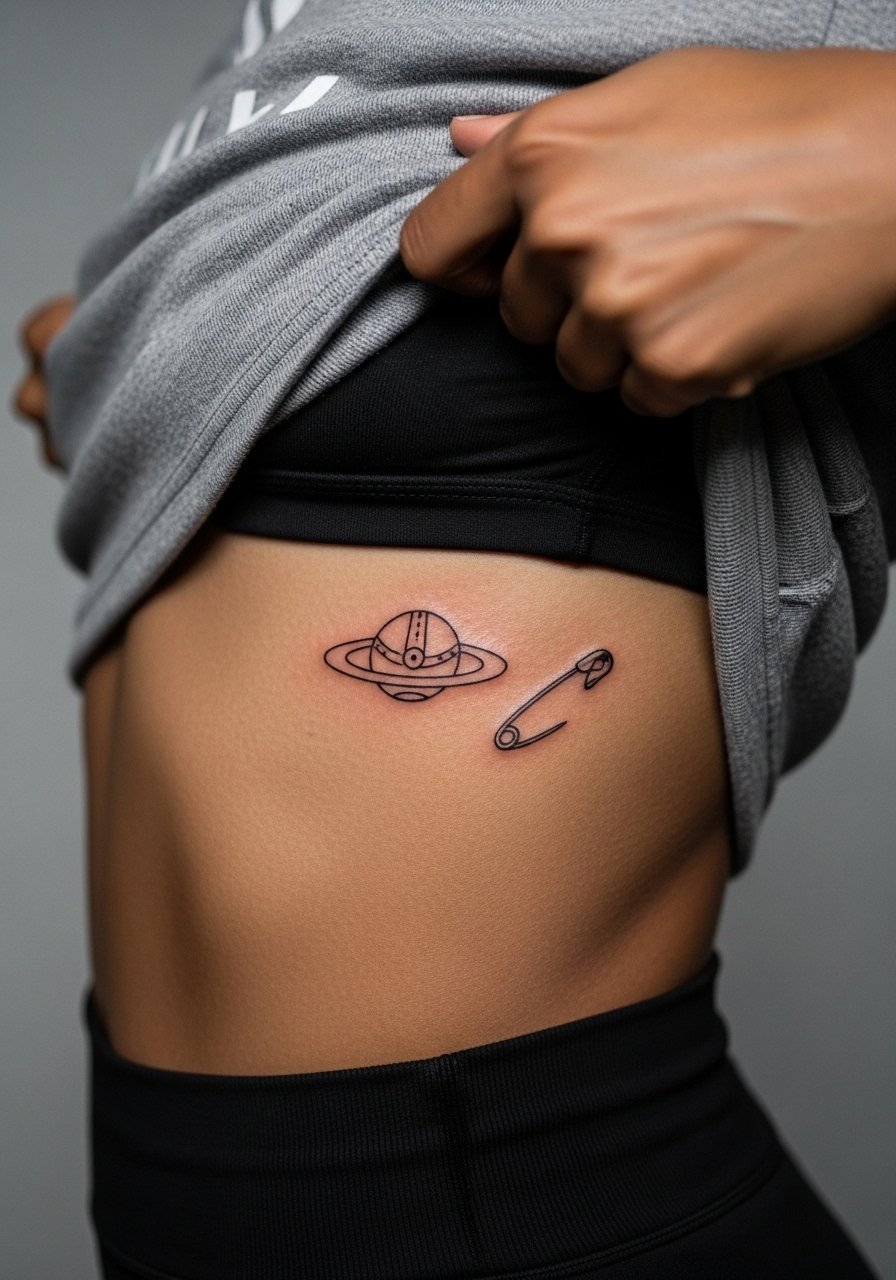
Fair warning, ribs are notorious for discomfort during the session. Artists split into two camps on fine line here. One group says rib movement and thin skin blur lines quickly. The other group says with proper depth, spacing, and healed photos to reference, fine line can last. Name this debate in the consult and ask for healed photos from similar ribs. Keep the design airy with deliberate negative space so the two motifs do not fuse as the skin ages. For the session, a strapless or fitted sports top makes access straightforward.
9. Tiny Orb Tattoo on the Side of the Finger
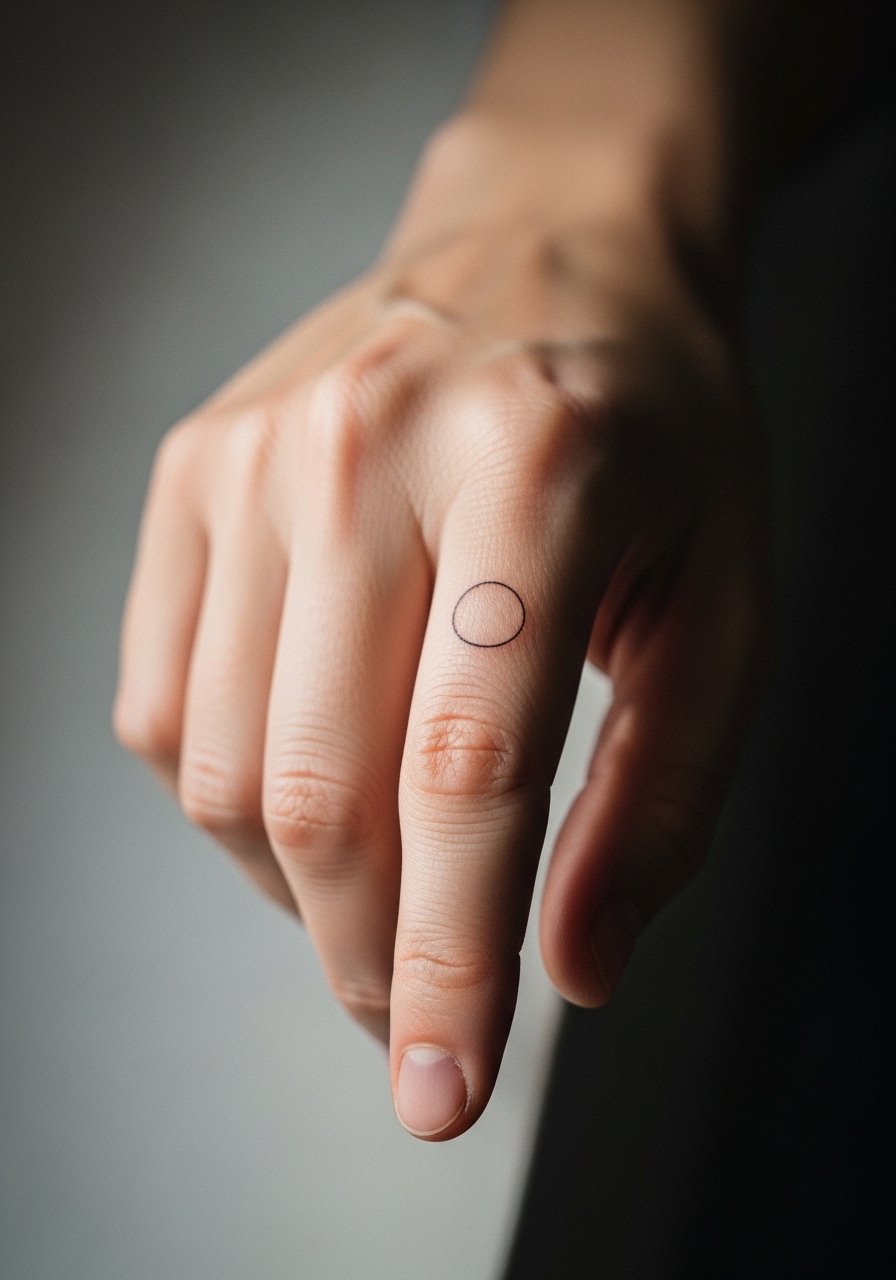
Finger tattoos are high maintenance because of constant hand use. If you want this, choose thicker linework and accept possible annual touch-ups. A common mistake is asking for intricate fill or color on such a small canvas. The session is quick but the healing window is more brittle. Keep the orb as a silhouette or simple ring for longevity. For showing it off, wear a thin stacking ring set that complements but does not rub the ink.
10. Corset-Lacing Linework Along the Side Torso
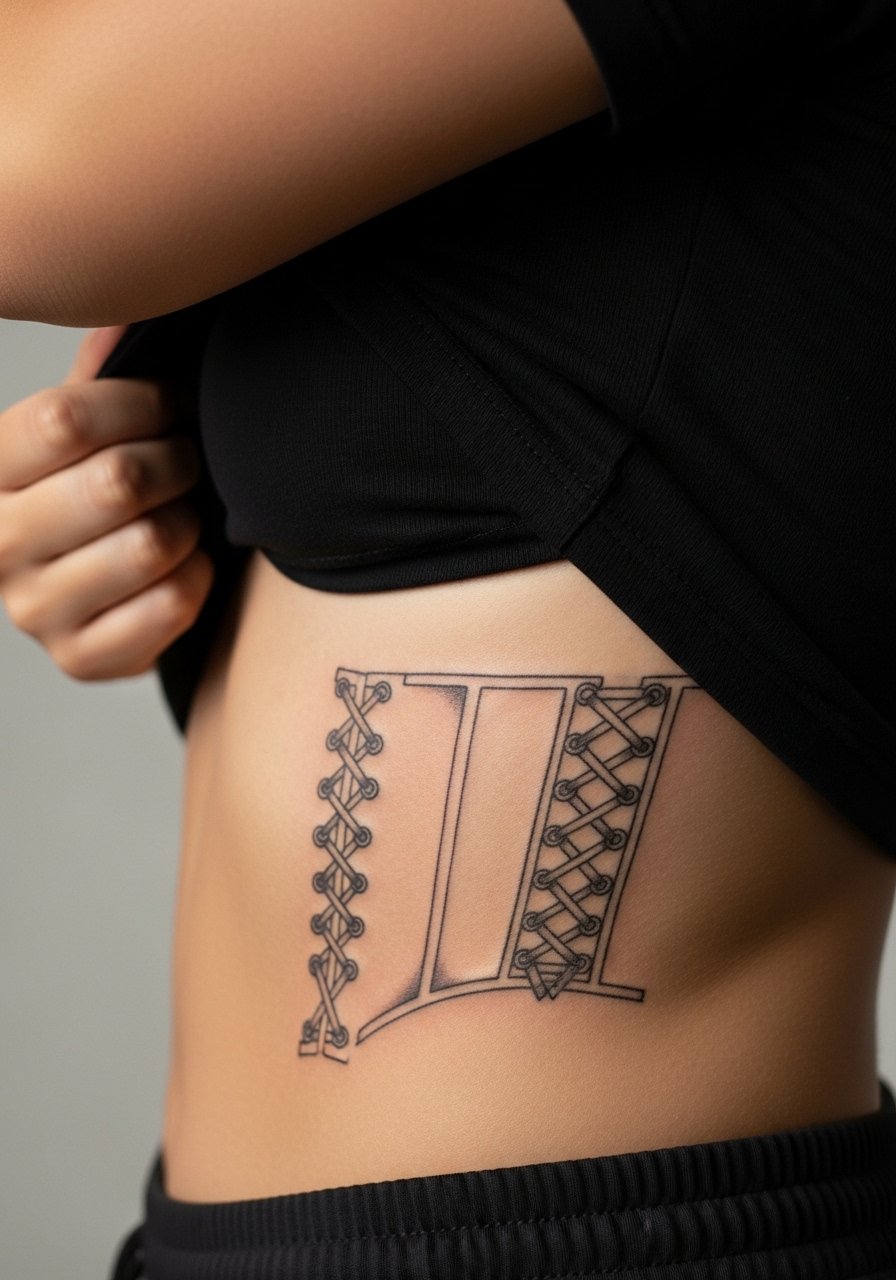
Side-torso pieces flex with movement and weight changes. Most people underestimate how much stretch that area sees. The design benefits from longer lacing gaps and simpler eyelets to preserve readability. Pain is higher and sessions may need to be broken into two shorter visits. Mention body changes you anticipate in the coming years during the consult so the artist spaces the design accordingly. The tattoo pairs with high-waisted bottoms that reveal the lacing when desired.
11. Minimal Orb with Crossed Needles on the Back of the Neck
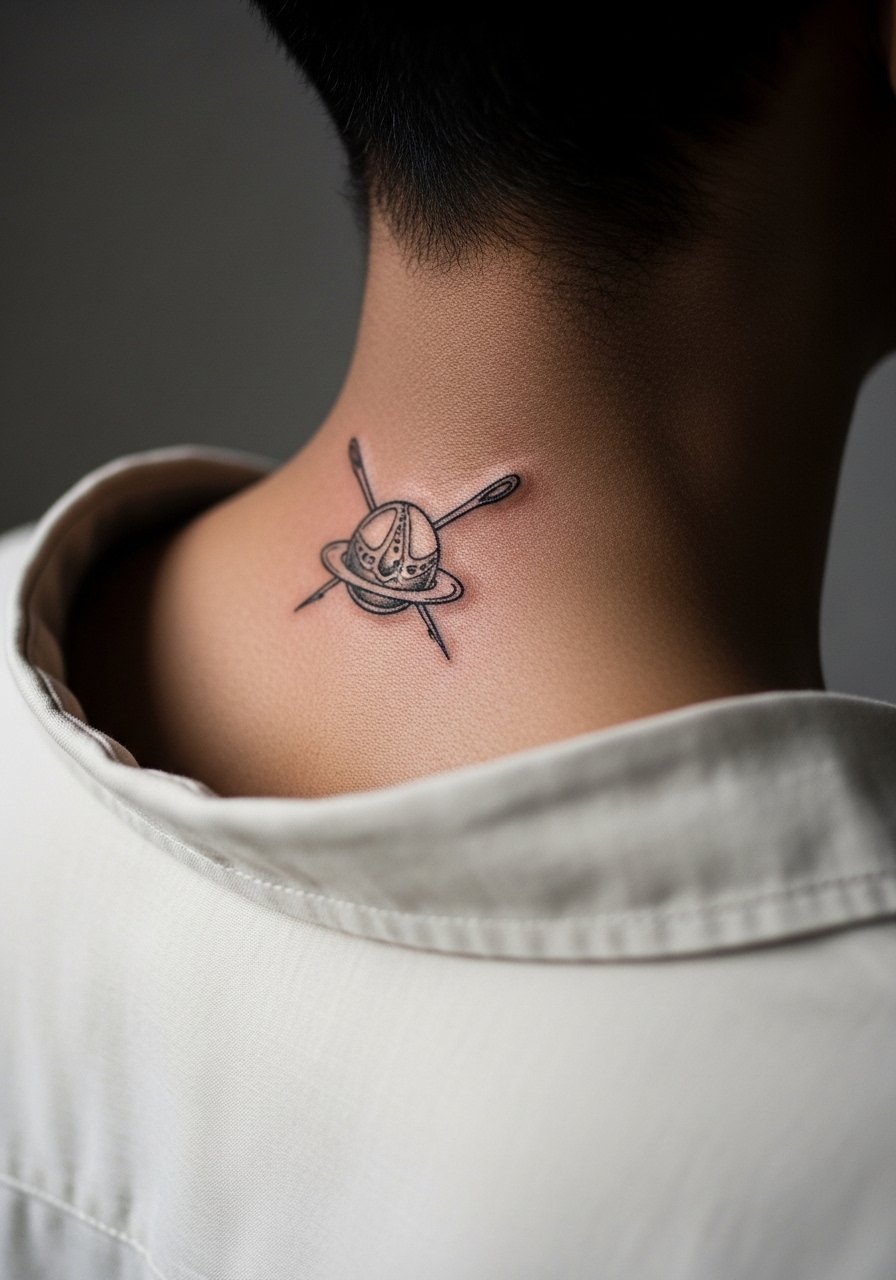
The back of the neck is surprisingly resilient for linework but can blur if hair constantly covers the area. Ask for slightly heavier lineweight and a clear margin between elements. A common mistake is asking for ultra-fine details that the hairline will hide and the skin will soften. Session discomfort is moderate. For styling, short hairstyles or updos show the piece, and a wide-neck tee helps reveal it without exposing too much.
12. Victorian Brooch Frame on the Outer Thigh
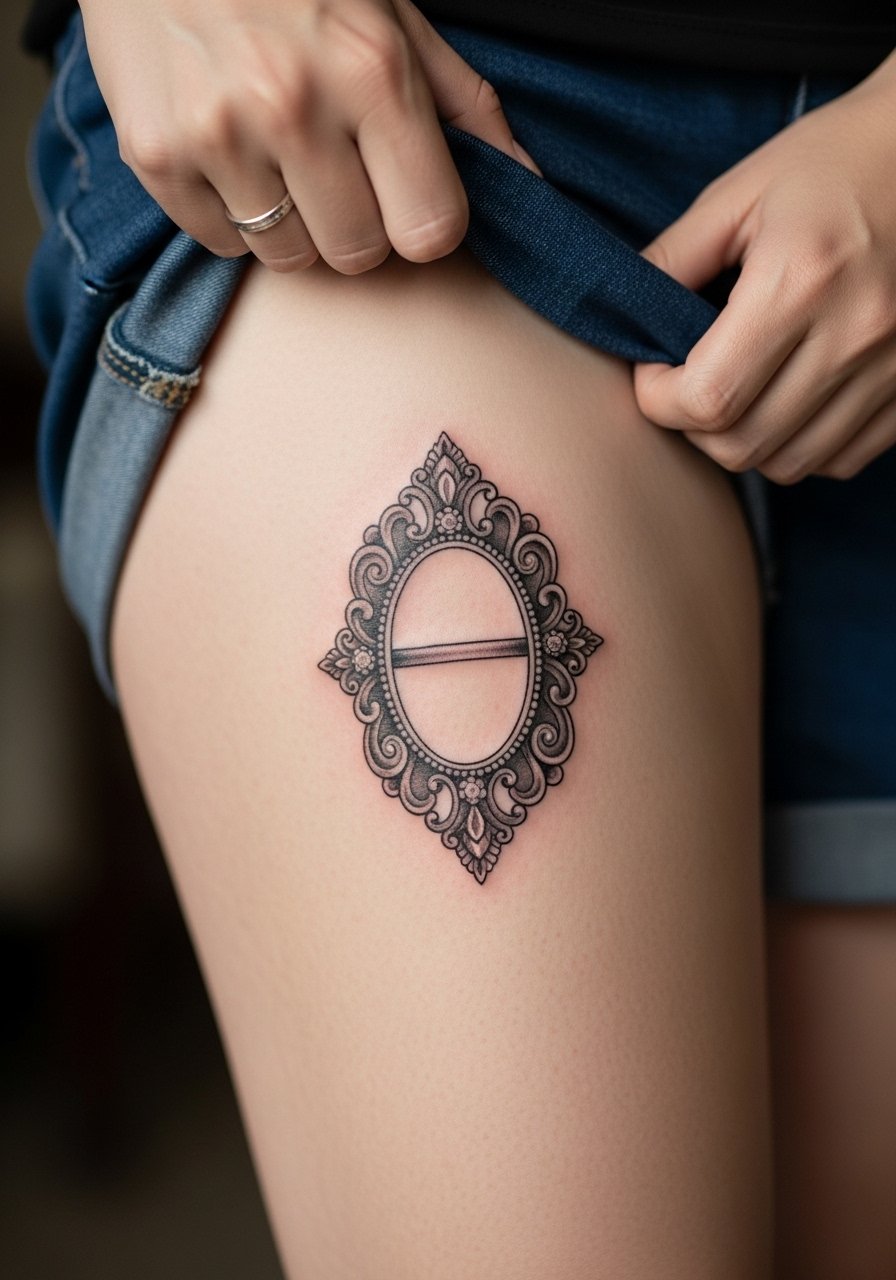
The outer thigh handles detail well and is forgiving for shading. Most people love this placement for private show-off looks. The common mistake is cramming tiny filigree; instead ask your artist for slightly larger decorative elements and airy dot shading. Sessions can be longer but tolerable. For the appointment, wear loose shorts or a skirt so the artist can work without pressure. Pair the finished piece with high-cut shorts on warmer days.
13. Small Orb within a Brooch on the Sternum
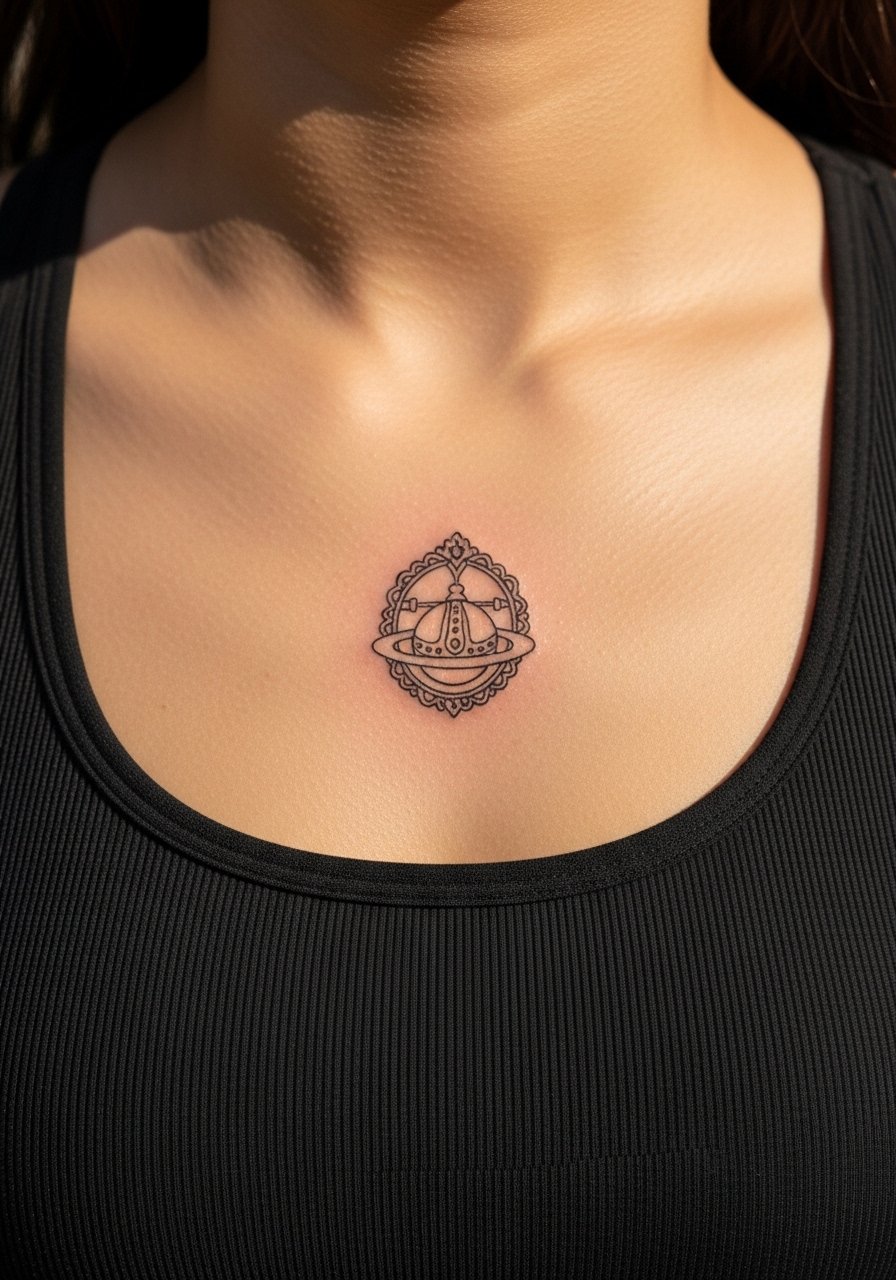
Sternum work sits on a curved plane and feels intense during the session. Keep the design centralized and avoid dense black fill across the sternum; heavy saturation on the bone risks uneven healing. Artists debate whether very fine details belong here due to movement and breathing. Name that in consult and opt for spacing that anticipates motion. This placement pairs with strapless tops and delicate necklaces, like a thin chain pendant that sits above the brooch.
14. Single Line Orb with Starburst on the Calf
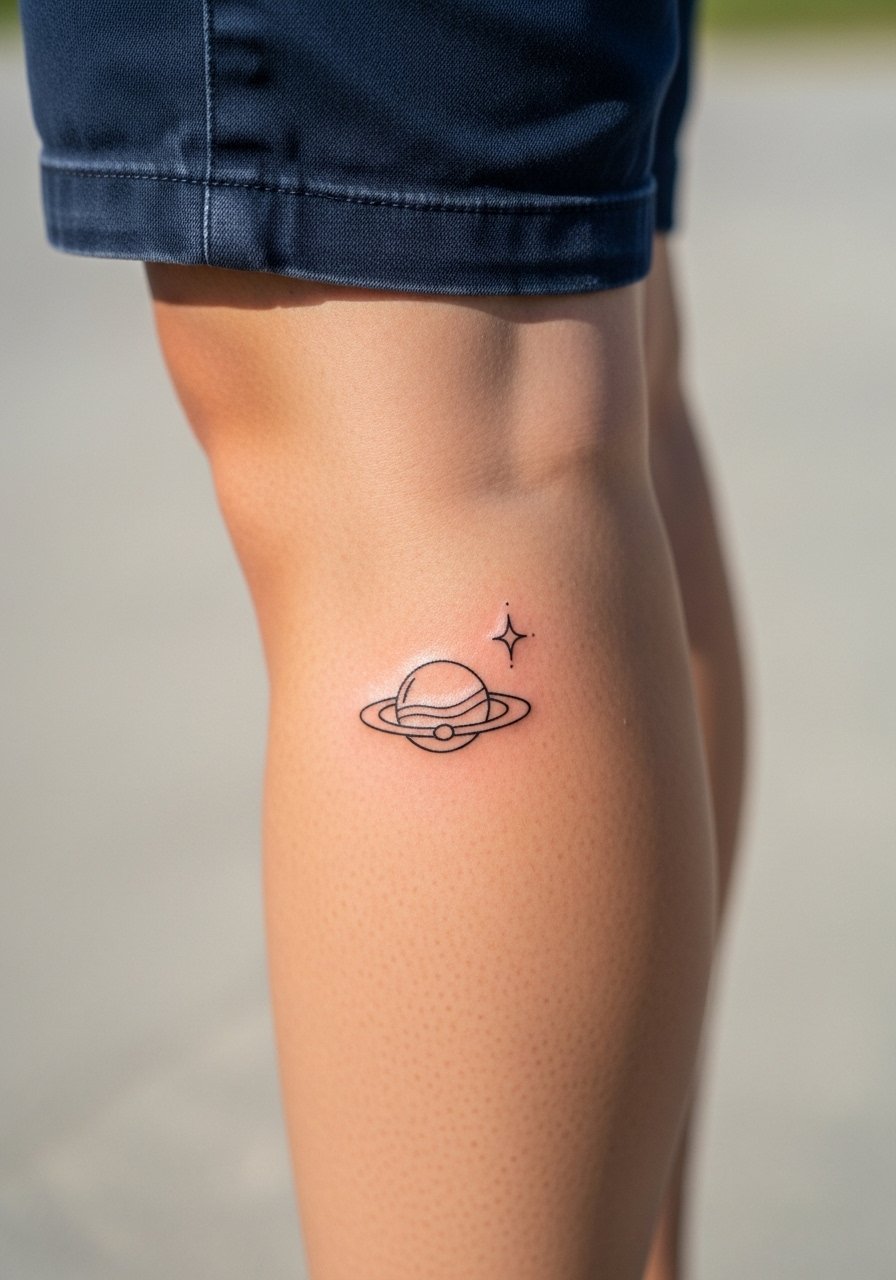
Calf pieces tolerate scale and tend to keep crisp linework longer than hands or feet. The main mistake is compressing intricate ornament into too-small dimensions. Ask for a slightly larger size so the orb and starburst keep separation. Sessions are comfortable and usually completed in one sitting. For showing off, pair with cropped trousers and a casual slip-on shoe to let the calf peek.
15. Tiny Orb Lock with Chain Across the Collarbone Edge
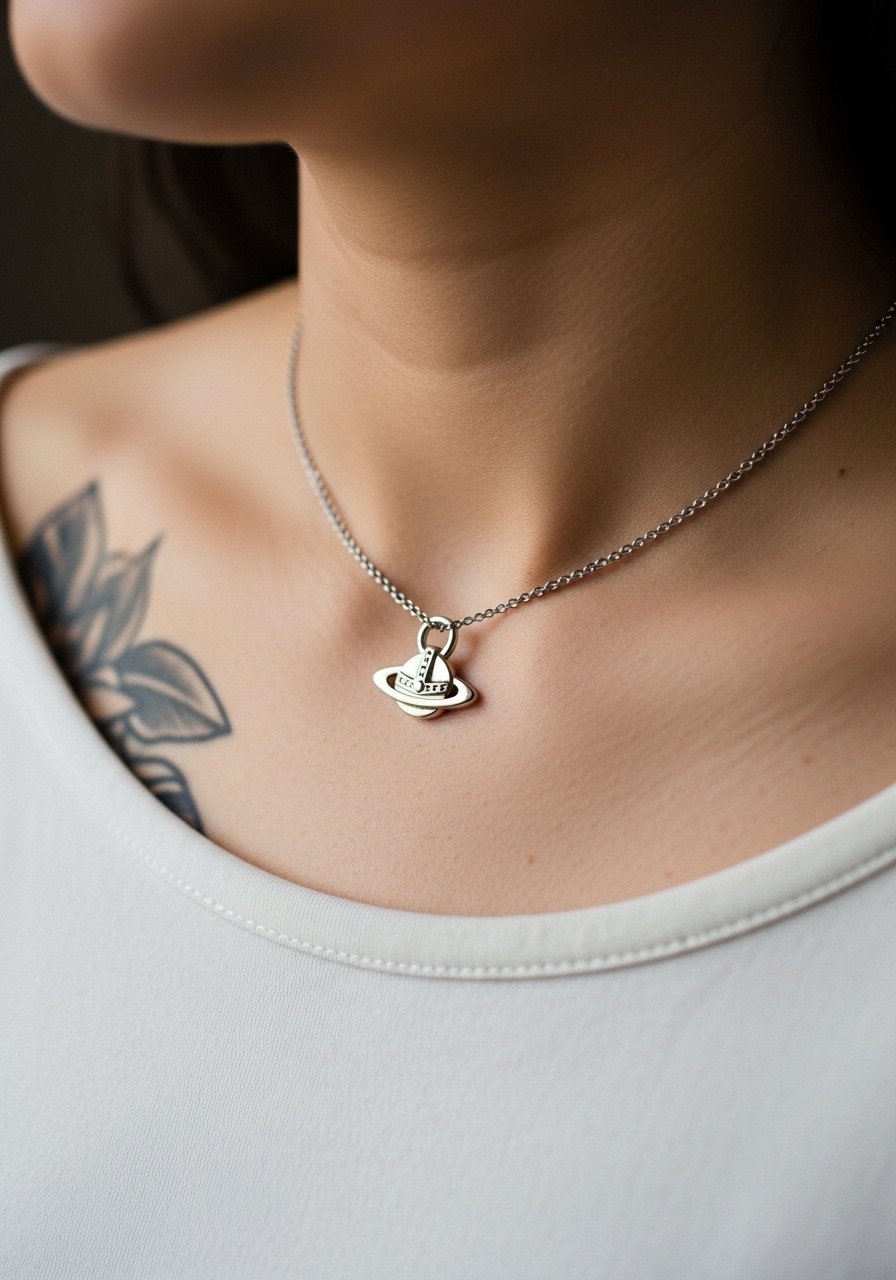
This edge placement benefits from single-stroke chains and negative space. The common error is over-detailing the lock face. Ask for a simplified silhouette and slight spacing between chain links to prevent merging. The collarbone can be bony so the session will be sharper but short. For style, a thin chain pendant necklace sits just above without competing.
16. An Orb Encased in a Safety Pin on the Upper Back
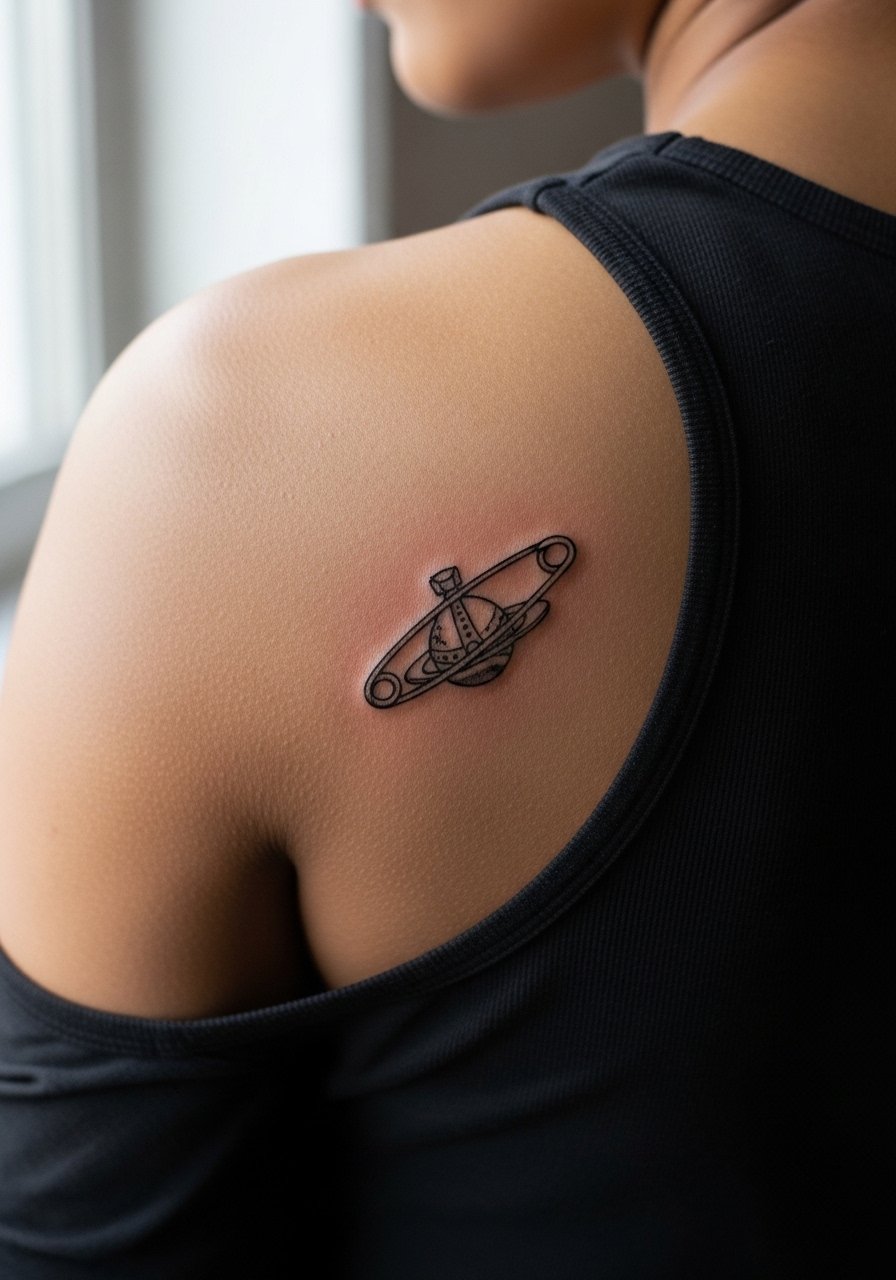
Upper back pieces are forgiving and a good choice if you want more scale later. The mistake is making the pin too narrow; widen the shaft so it keeps definition. Sessions are moderate and healing is straightforward. If you anticipate showing the piece at events, wear an open-back top or a tank top to reveal it without stretching the skin.
17. Crowned Orb on the Outer Bicep with Subtle Dot Shading
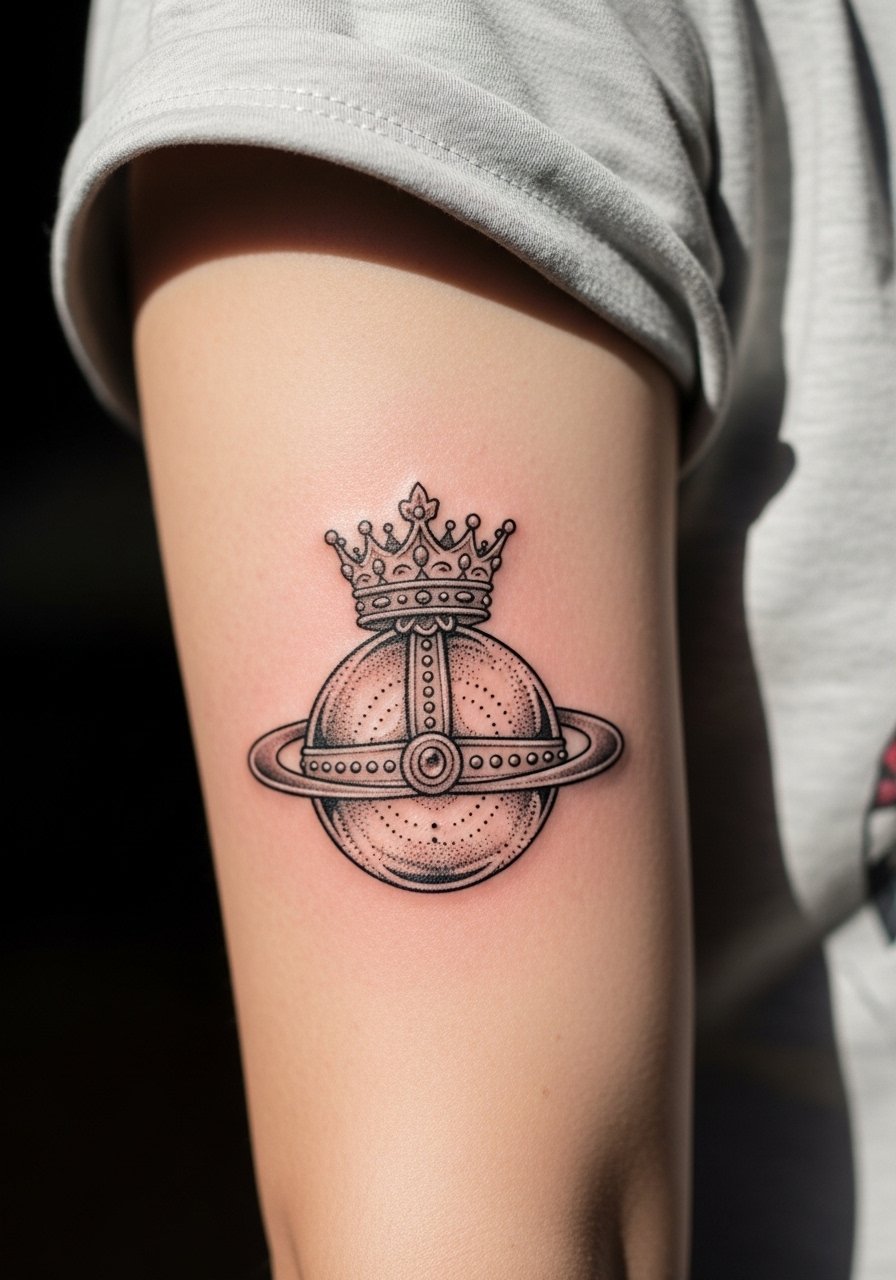
This reads like a badge and benefits from dot shading rather than heavy blacks. The outer bicep is one of the most reliable places for line retention. The common mistake is requesting saturated color that can look muddy over time. Ask for stipple shading and leave a thin ring of skin around the crown to prevent merge. During the session, a short-sleeve top that can be rolled up is ideal. Pair with rolled sleeves for casual show-off.
18. Mini Orb Cluster Along the Spine, Vertical Alignment
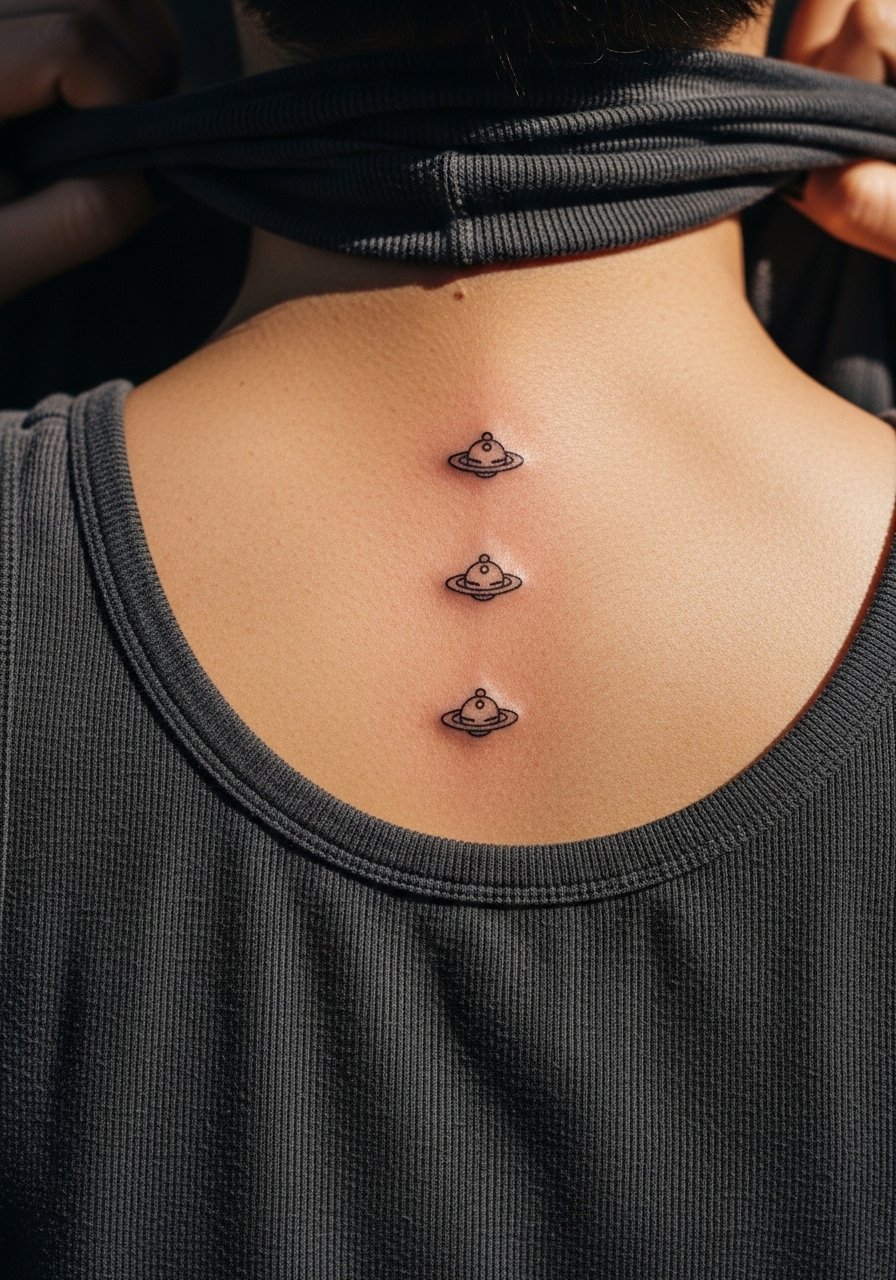
Spine pieces have a visual impact, but narrow vertical lines can blur if packed too tightly. Space each orb to keep breathing room. Pain varies depending on how close the needle gets to bone. Sessions may be split for comfort. Mention posture and clothing choices during consult so the artist places the cluster where it aligns when you stand naturally. Back-exposing garments show the line vertically in a flattering way.
19. Orb with Miniature Pearl Chain on the Wrist
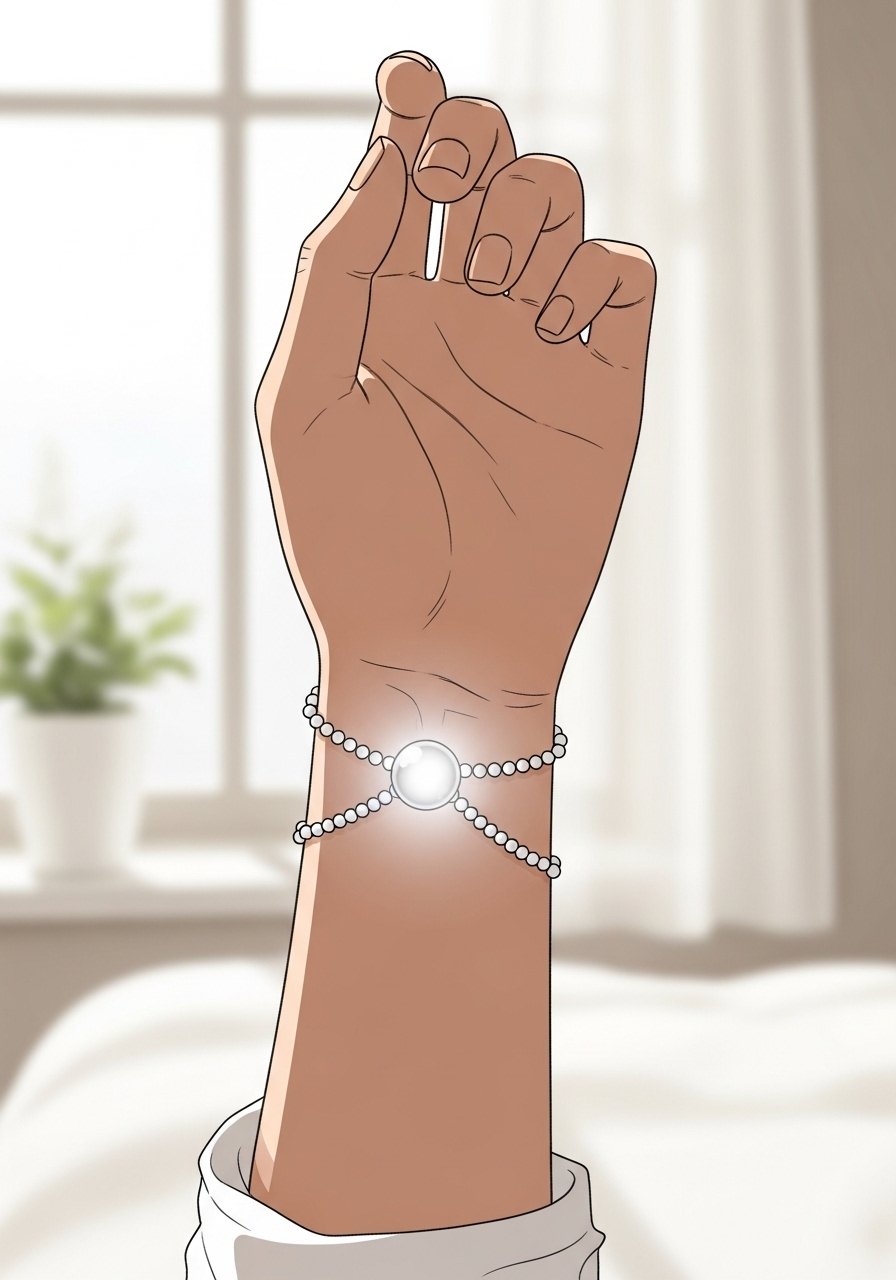
Wrist work suffers from constant movement and washing. The fix is slightly heavier dots for the chain and an open orb ring to avoid early merge. The main mistake is tiny bead details that blur. Expect touch-ups sooner than on the bicep. For the session, wear a sleeve you can roll without compressing the wrist. A minimalist watch band complements the look when healed.
20. Orb with Heraldic Ribbon on the Side of the Hip
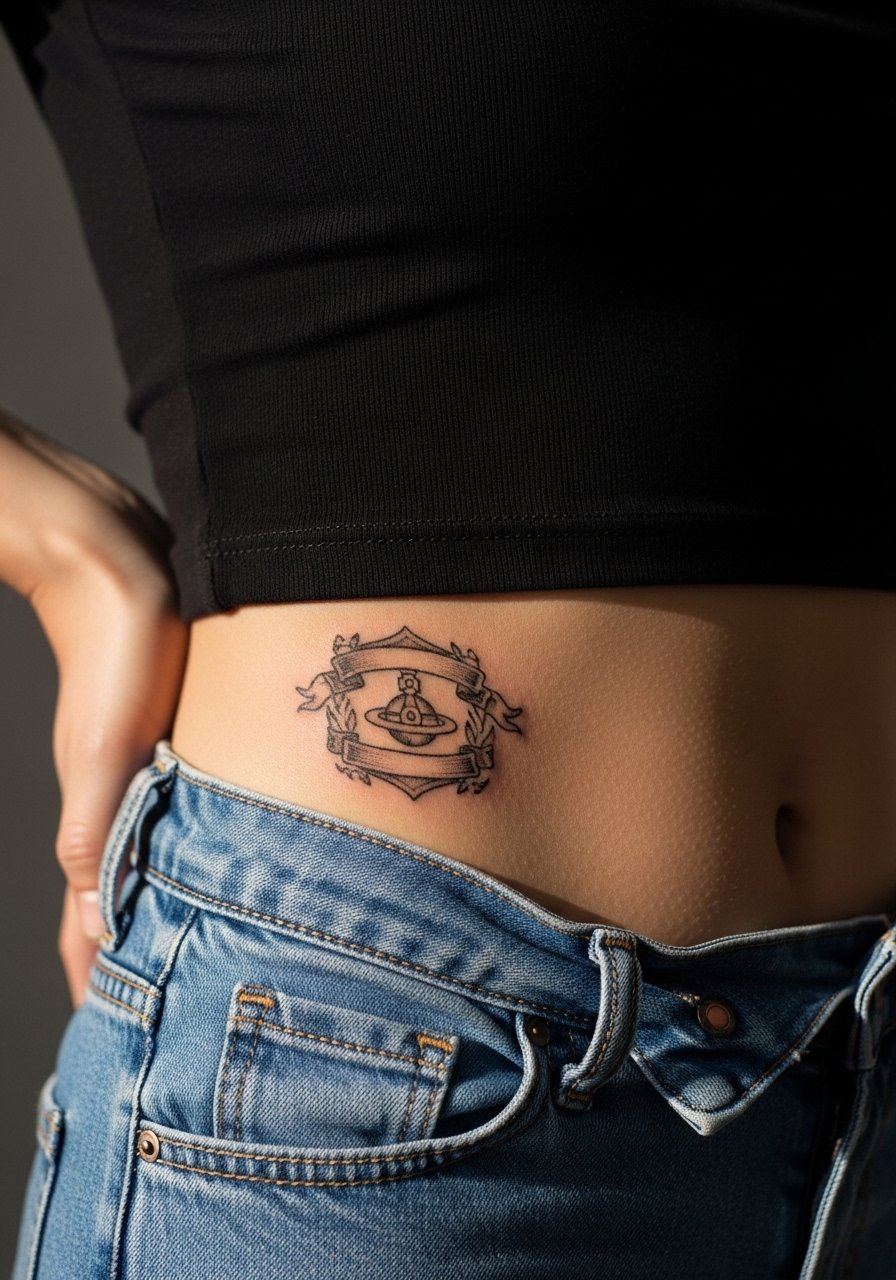
Hip work is intimate and moves with clothing. Keep ribbons simplified and avoid heavy fill where the waistband will rub. The common mistake is placing the design too close to the waistline, which causes irritation while healing. For the session, wear high-waisted bottoms you can briefly lower without discomfort. The piece pairs with swimwear and high-cut shorts.
21. Orb and Anchor Motif on the Inner Wrist
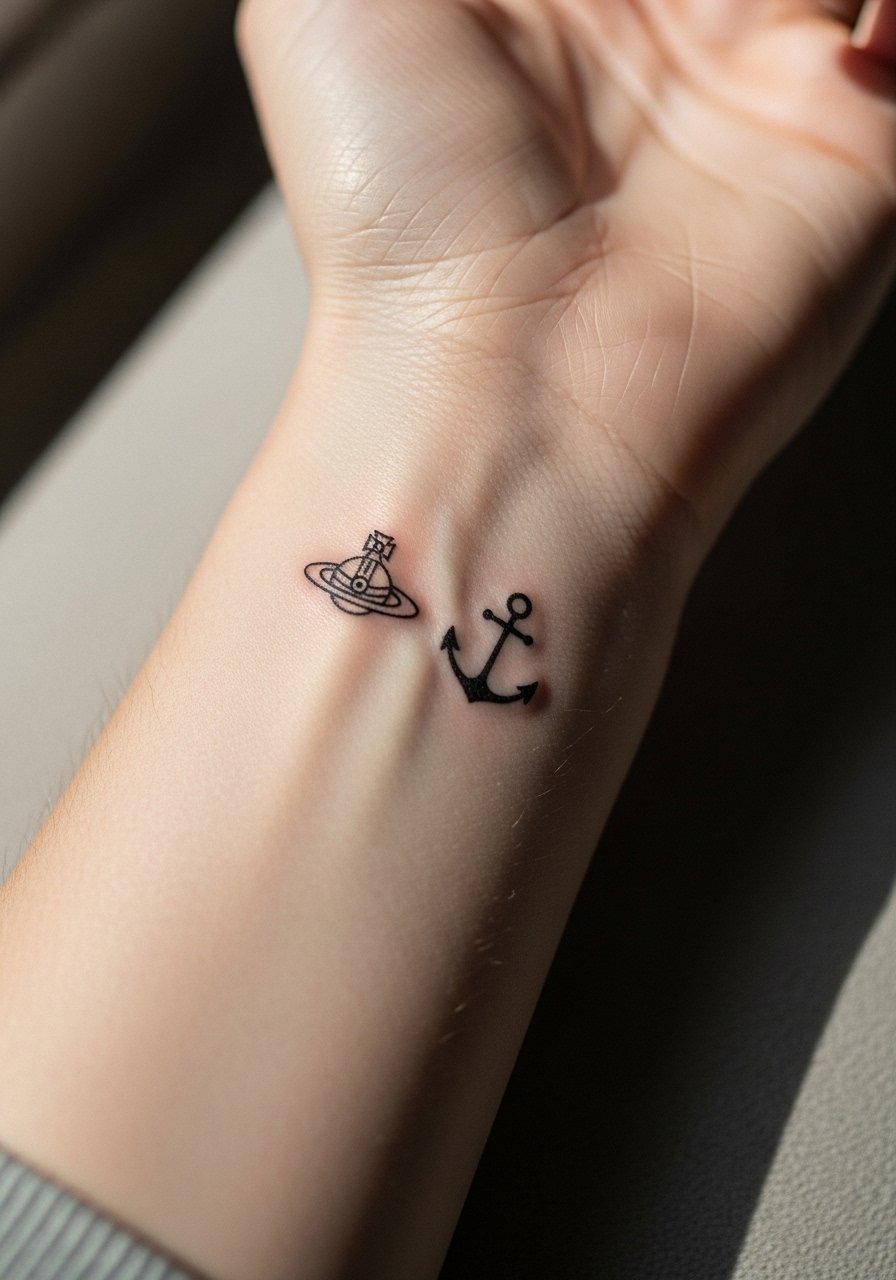
Inner wrist takes a lot of sun and soap exposure. Use bolder anchors with simpler lines to retain shape. The main mistake is asking for micro shading that disappears after frequent washing. Sessions are short but may sting more than the outer forearm. For showing off, stack a thin bracelet below the design to frame it without covering.
22. Orb with Heraldic Fleur-de-Lis on the Thigh
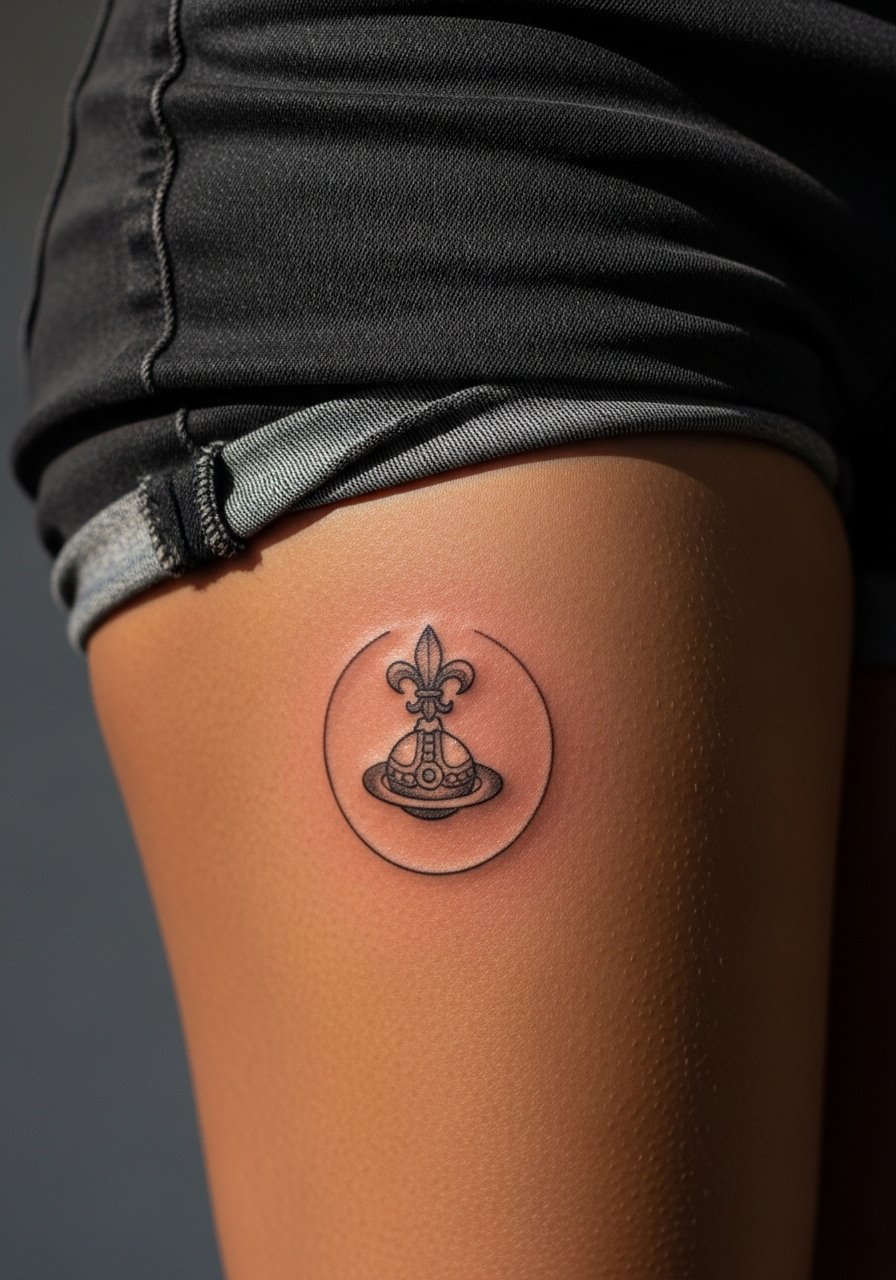
Outer thigh allows room for detail and ages well. The typical error is crowding the fleur-de-lis with ornate filigree. Keep the symbol bold and give it breathing room. Sessions are comfortable and healing tends to be smooth. Wear loose shorts for the appointment. For showing off, high-waisted skirts or shorts reveal the piece elegantly.
23. Tiny Orb with Chain That Wraps Partly Around the Finger
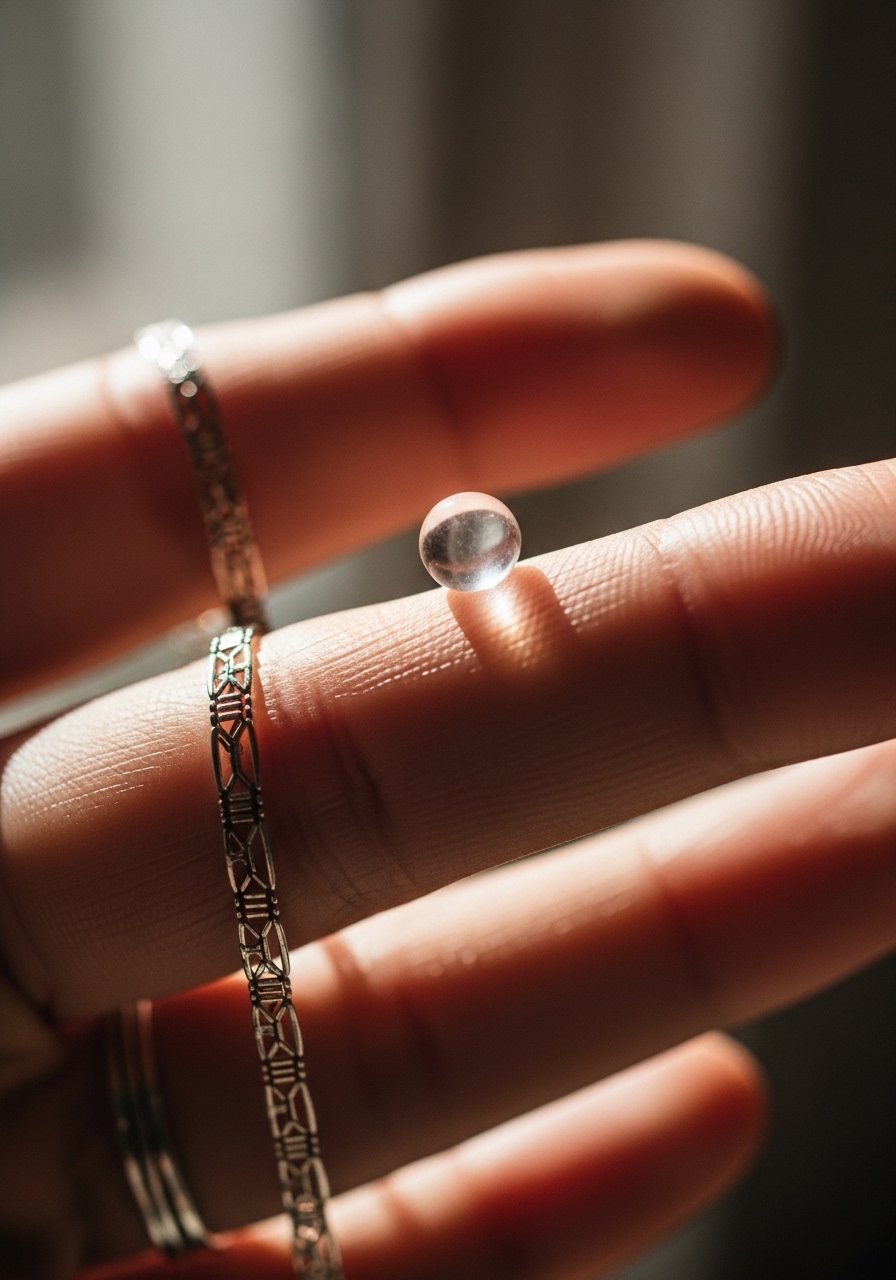
Finger wrap tattoos are high maintenance and often need yearly touch-ups. The chain should be simple and broken at least once so movement does not smear the lines. The session is quick but healing can be temperamental due to frequent contact. If you want lower upkeep, move the chain a quarter turn to the side of the finger where friction is less.
24. Orb inside a Small Cameo on the Upper Chest
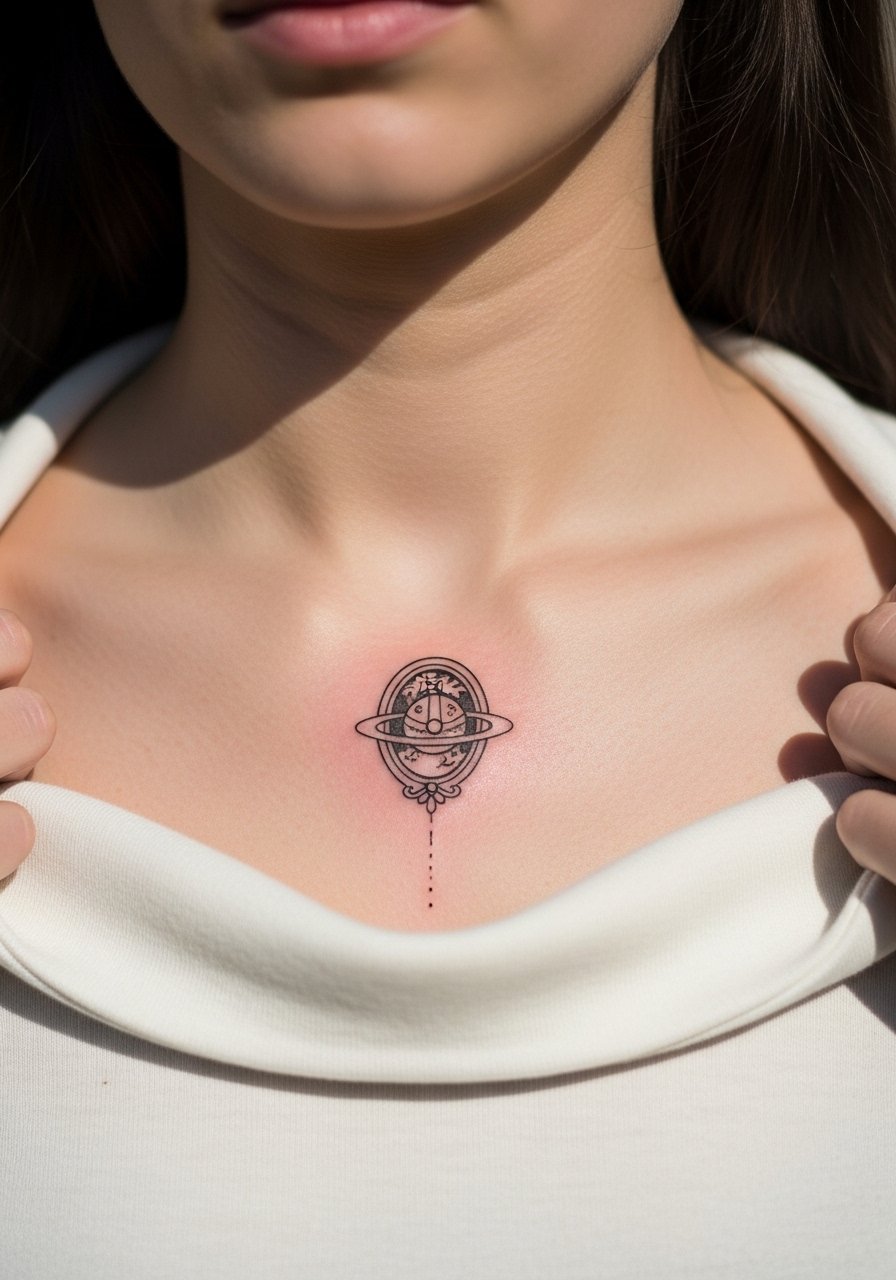
Upper chest offers a flattering plane for small cameso-style pieces, but the area sees sunscreen use and necklace friction. Keep the cameo rim slightly thicker than the inner detail to help maintain contrast. The session will sting more closer to the sternum. For styling, a thin chain pendant necklace can sit above the cameo without interfering.
25. Orb with Crossed Thorn Motif on the Inner Bicep
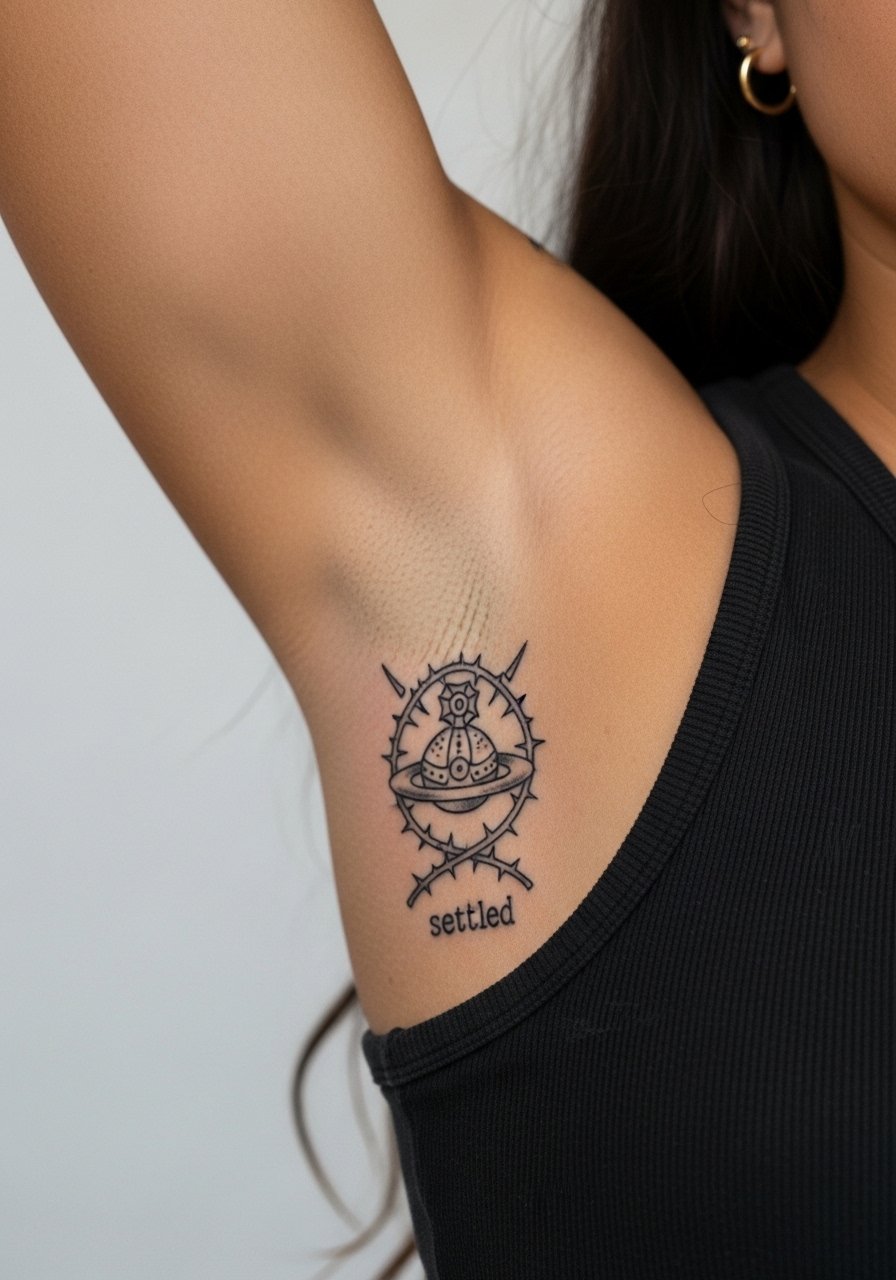
Inner bicep skin is soft and can cause fine details to blur if packed densely. Space the thorns and ask for moderate lineweight in the orbital ring. The session is higher on the discomfort scale because of arm sensitivity. A common mistake is too many tight elements. For the appointment, wear a sleeveless top that exposes the area cleanly.
26. Orb Flanked by Tailored Thread Lines Along a Sleeve Edge
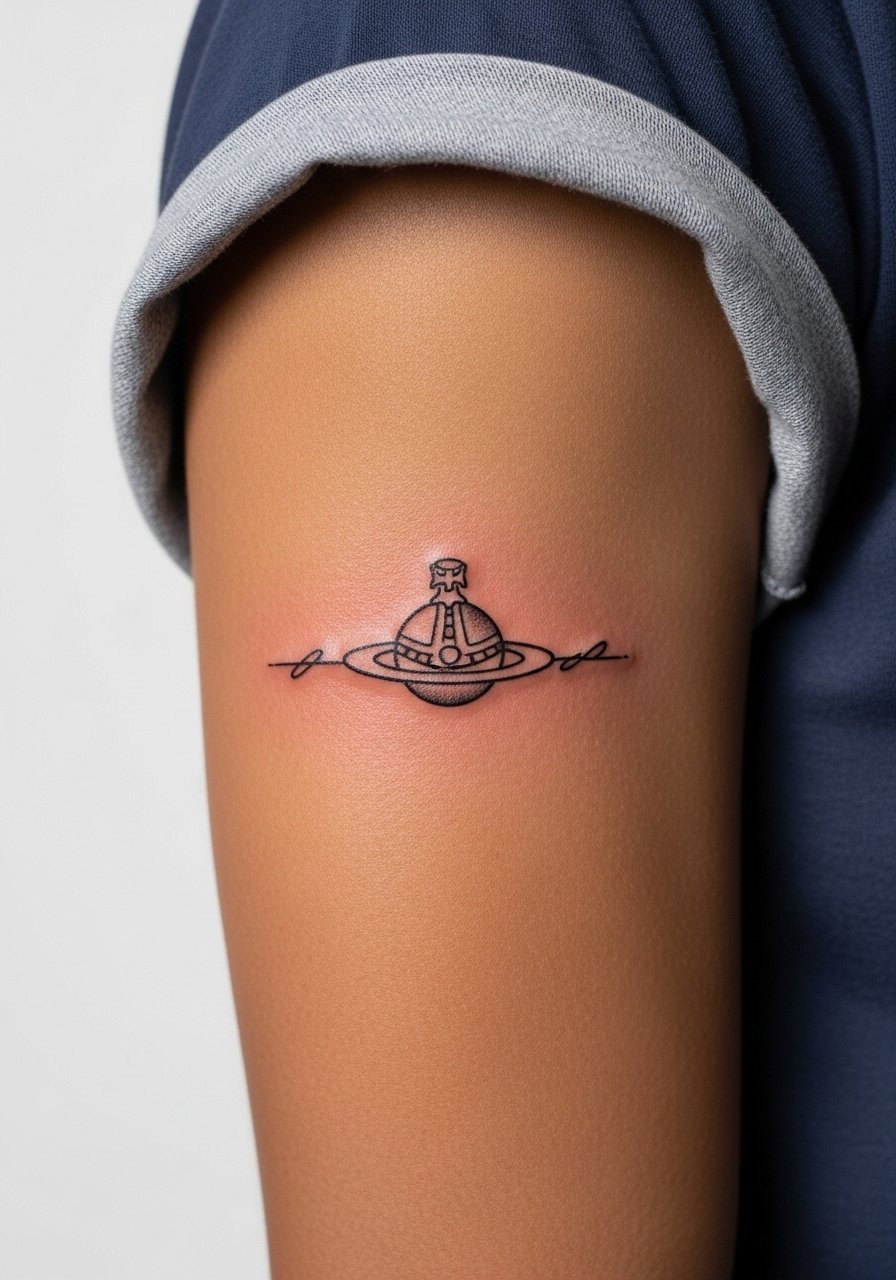
This reads like a tailoring detail and works well close to the sleeve hem for peekaboo moments. Keep the thread lines linear and avoid tiny cross-hatching that will blur. Outer upper arm placement means lower touch-up frequency. For wardrobe pairing, rolled sleeves and structured shirts accent the detail. Wear a rolled-sleeve linen shirt to show it off.
27. Orb with Tiny Regal Stars Behind the Ear Lobe Line
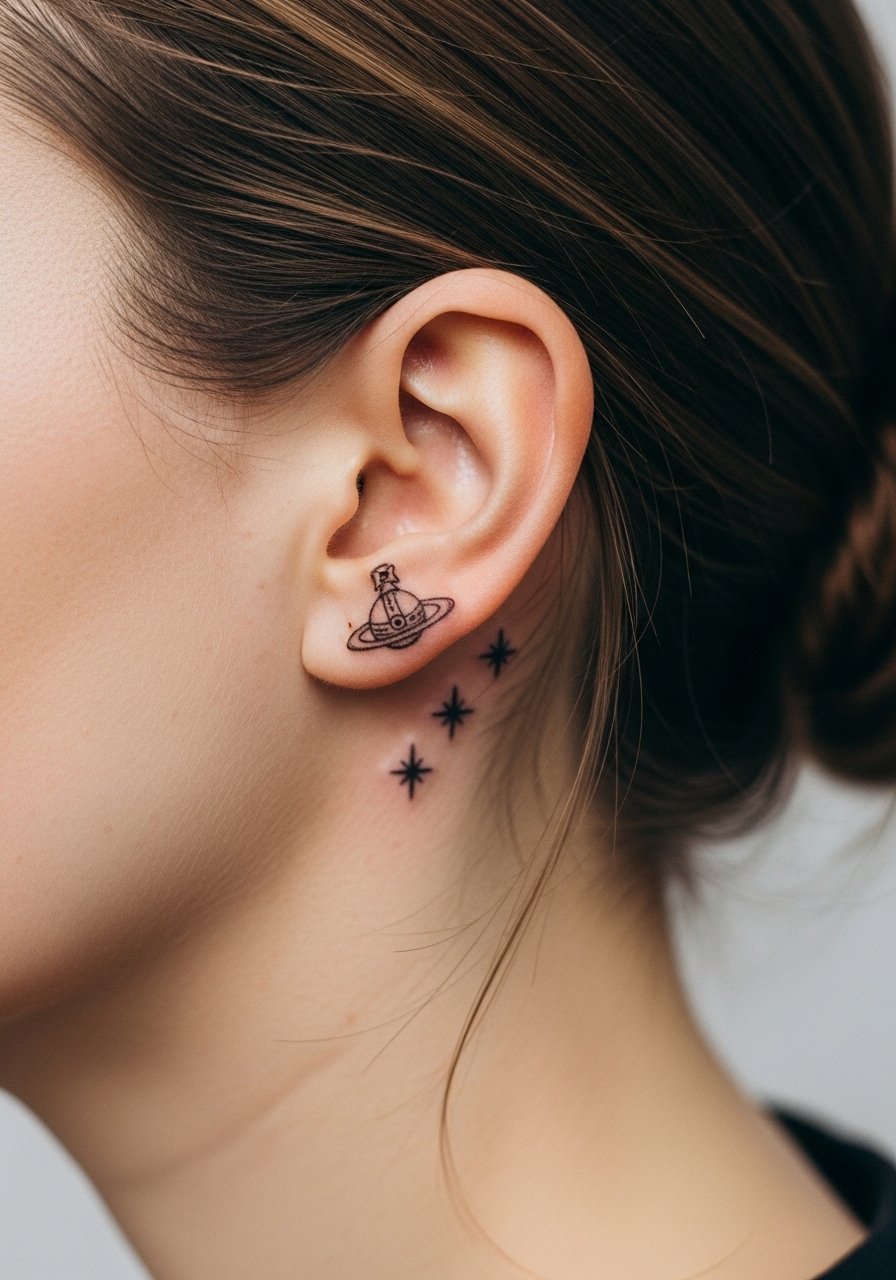
This is a subtle placement that reads like a personal signature. The behind-the-ear area is tiny and benefits from minimalist dots and small open rings. Be explicit in consult about hairline placement and ask for healed examples. Pain is low but the curve can make consistent line depth tricky. For showing it off, a short haircut or an updo will reveal the trio.
Frequently Asked Questions
Q: Will a Vivienne Westwood inspired orb tattoo infringe on trademarks or look like a copy?
A: Designs inspired by brand motifs can be legal gray areas and can read as homage or reproduction depending on execution. One camp prefers clear reinterpretation that borrows themes like orbital rings and crowns without duplicating a logo. The other camp thinks a faithful replica is fine if it reflects personal meaning. If you want to avoid confusion, ask your artist to tweak elements and add personal motifs.
Q: How much do fine line orbs fade compared with blackwork?
A: From what I have seen, fine line work on high-movement spots and hands fades faster than bold blackwork. Fine lines often need touch-ups around year two to four, while solid blackwork can hold longer before requiring attention. Placement and sun exposure usually matter more than the style itself.
Q: Are there specific wardrobe choices to protect wrist and hand tattoos while they heal?
A: Yes. During the first week, wearing loose sleeves or a loose button-down shirt that can be rolled without pressing on the area reduces friction. After that, avoid tight bracelets until the skin fully settles.
Q: Should I avoid getting a detailed cameo or filigree on the ribcage if I plan weight fluctuations?
A: It depends. Heavy filigree in areas that stretch will blur more if you expect significant weight changes. If you plan changes, choose larger-scale ornamentation and spaced elements so the design keeps its shapes as the skin shifts.
Q: How often should I expect touch-ups for finger, hand, and wrist orb pieces?
A: Those spots are the highest-maintenance. Plan for touch-ups every one to three years depending on how often the area is exposed to sun, water, and friction. Keeping sunscreen on healed ink and minimizing abrasive contact stretches that timeline.
