
The tattoos that still read clean at year five are often the ones people thought were too simple at the stencil stage. Bold black outlines, deliberate spacing, and placements that avoid constant rubbing tend to age into something honest. If you want a Get Rich Or Die Tryin' tattoo that keeps its edge rather than blur, these ideas focus on line weight, placement, and wardrobe pairings so the first two years look as good as year five.
1. Stacks of Cash Banner on Outer Forearm
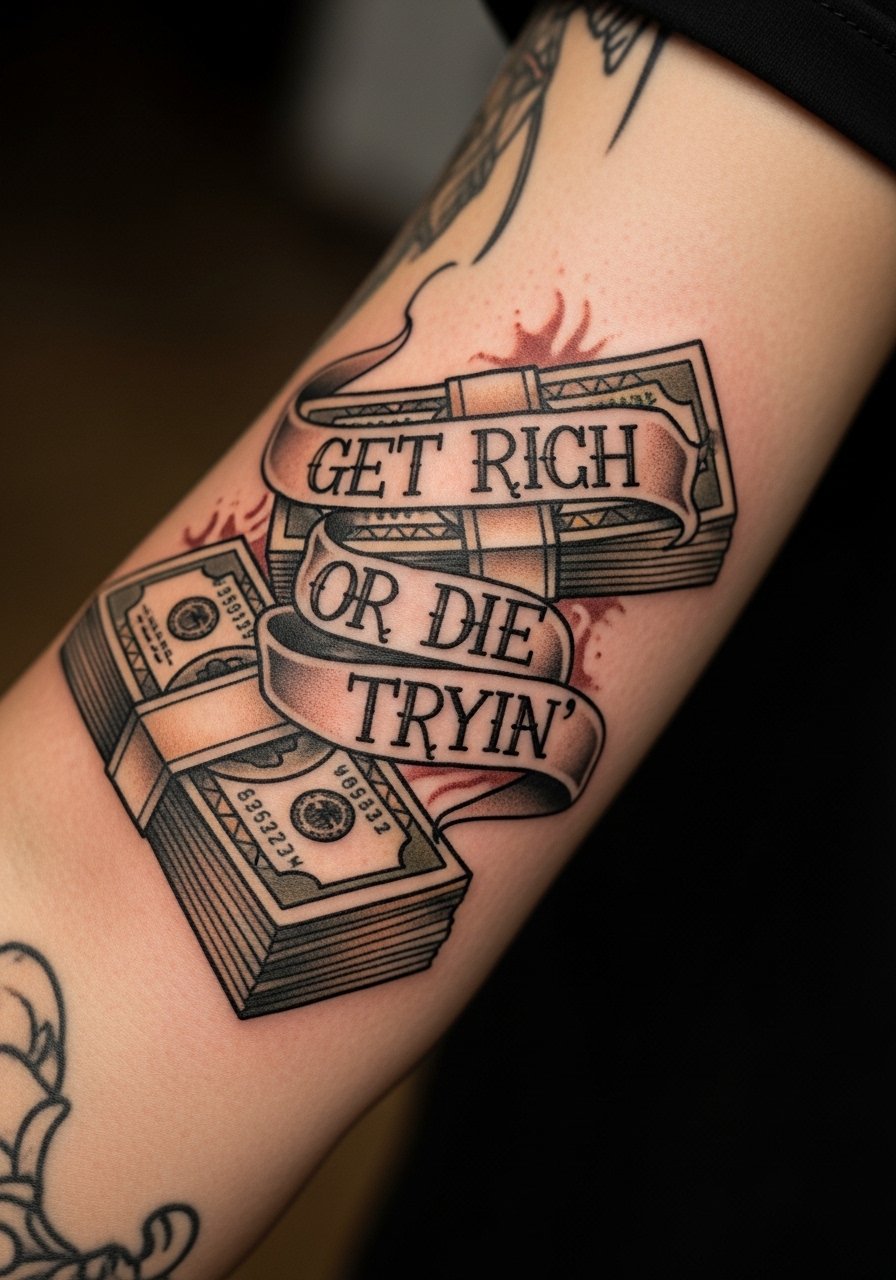
I've seen this forearm layout hold up best when artists use bold outlines and leave breathing space between the bills and banner. Tell your artist you want traditional saturation in the green fills and blackwork outlines rather than ultra-fine script. A common mistake is asking for tiny lettering under complex shading. That eats into legibility after a year. Expect moderate pain for the outer forearm and a single session for a 4-6 inch piece. For showing it off, roll the sleeves of a fitted black t-shirt so the design reads cleanly against solid fabric.
2. Dollar Sign Pierced by Bullet, Wrist or Inner Bicep
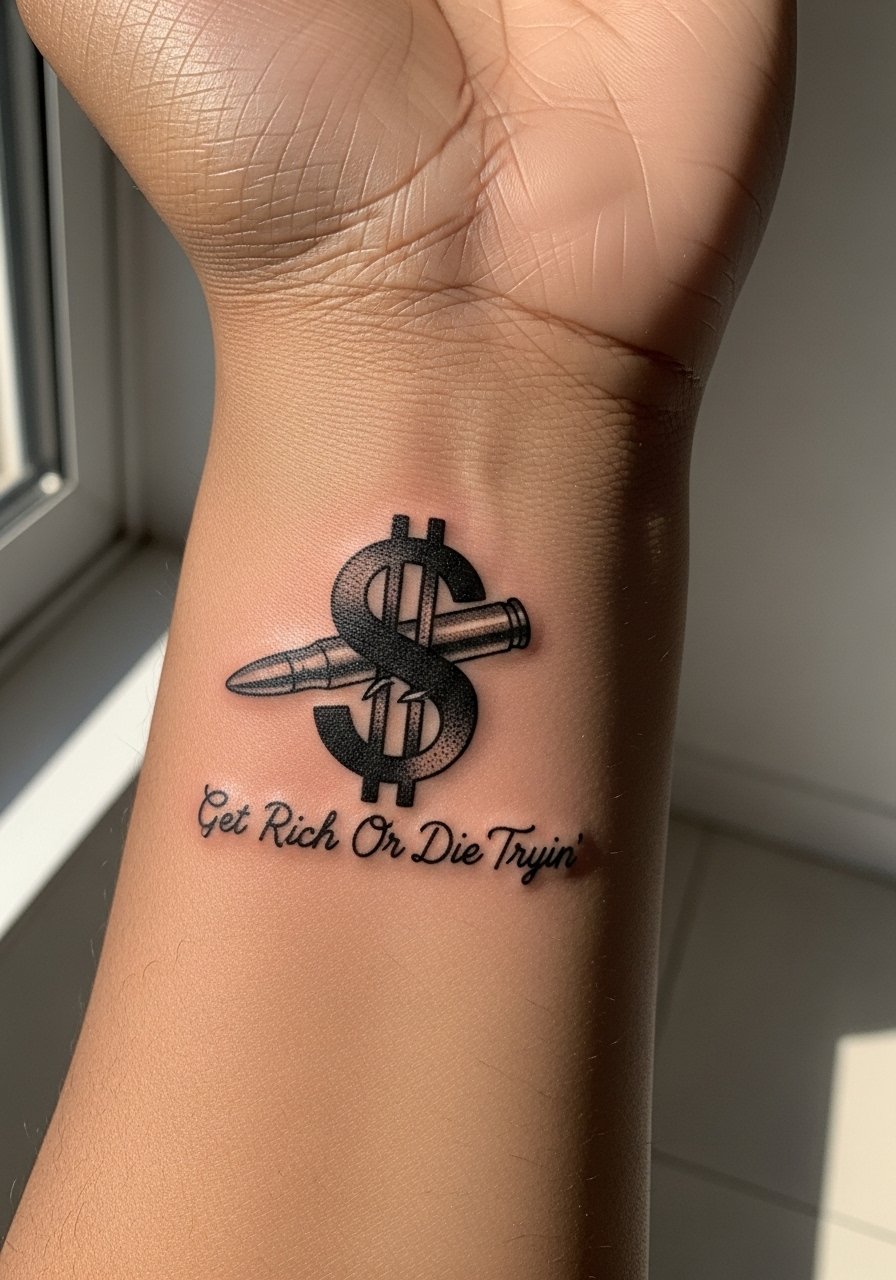
Fair warning: wrists and inner biceps move constantly and wash frequently. The bold blackwork version of this design is more likely to hold up than a delicate fine line script. Ask for thicker linework and solid fill where the bullet meets the symbol so the junction does not blur. A single three-inch piece usually takes under an hour. A common mistake is choosing too-small script on the wrist. For the session wear, skip watches and pull on a thin leather cuff bracelet afterward to frame the area when healed.
3. Phoenix Rising from Money Pile, Upper Chest
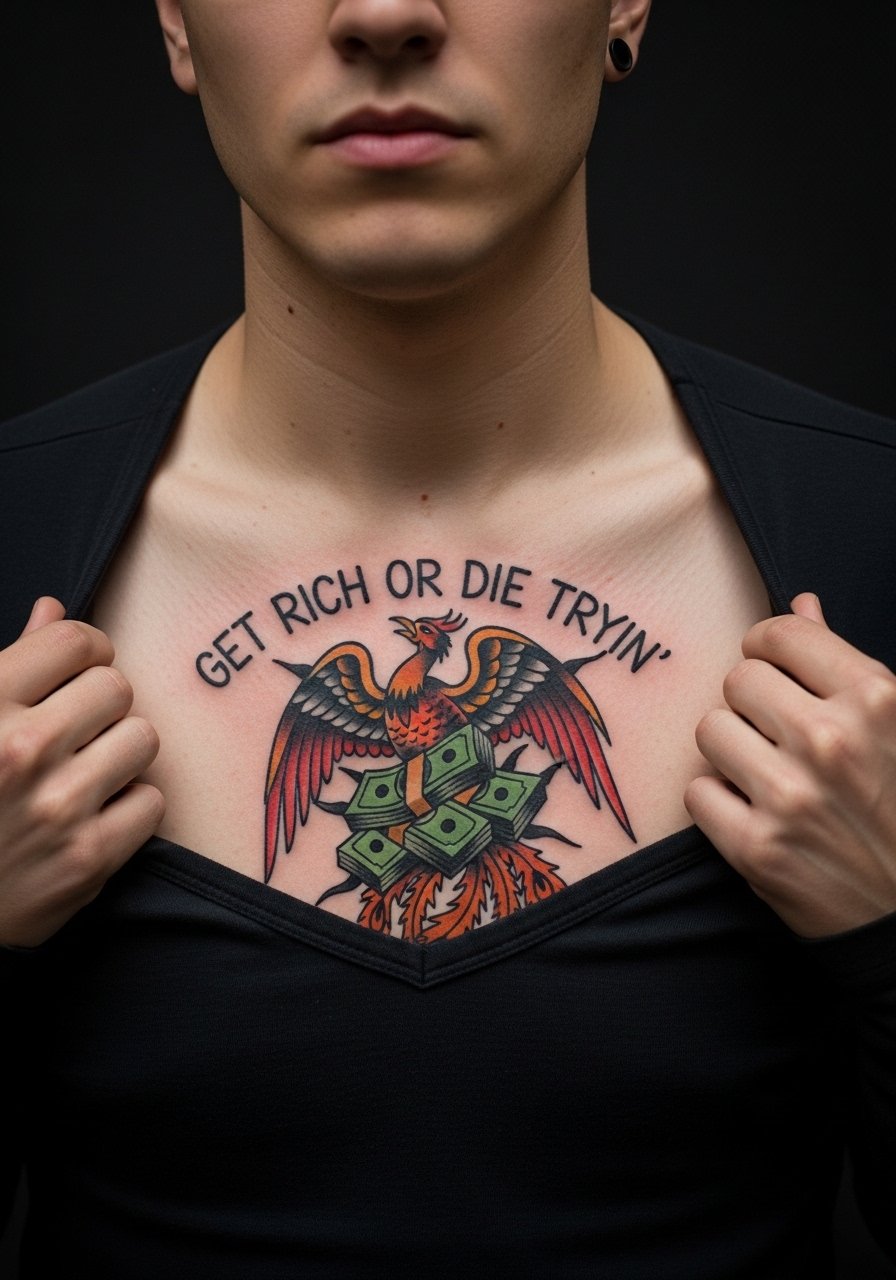
Most chest work ages well if you give the tattoo room and let color saturate fully. When I see phoenix-and-cash pieces last, the artist used solid red and orange flames and left negative space inside the wings. During consultation ask for clear separation between feathers and bills so healing scar tissue does not close the gaps. Chest sessions are more physical than forearms. Expect two sessions for a 6-8 inch piece and a higher pain rating. For showing it off, reach for a deep v neck tee that frames the top of the phoenix without covering the lower pile of cash.
4. Micro-Realism Portrait with GRDT Acronym, Shoulder Blade
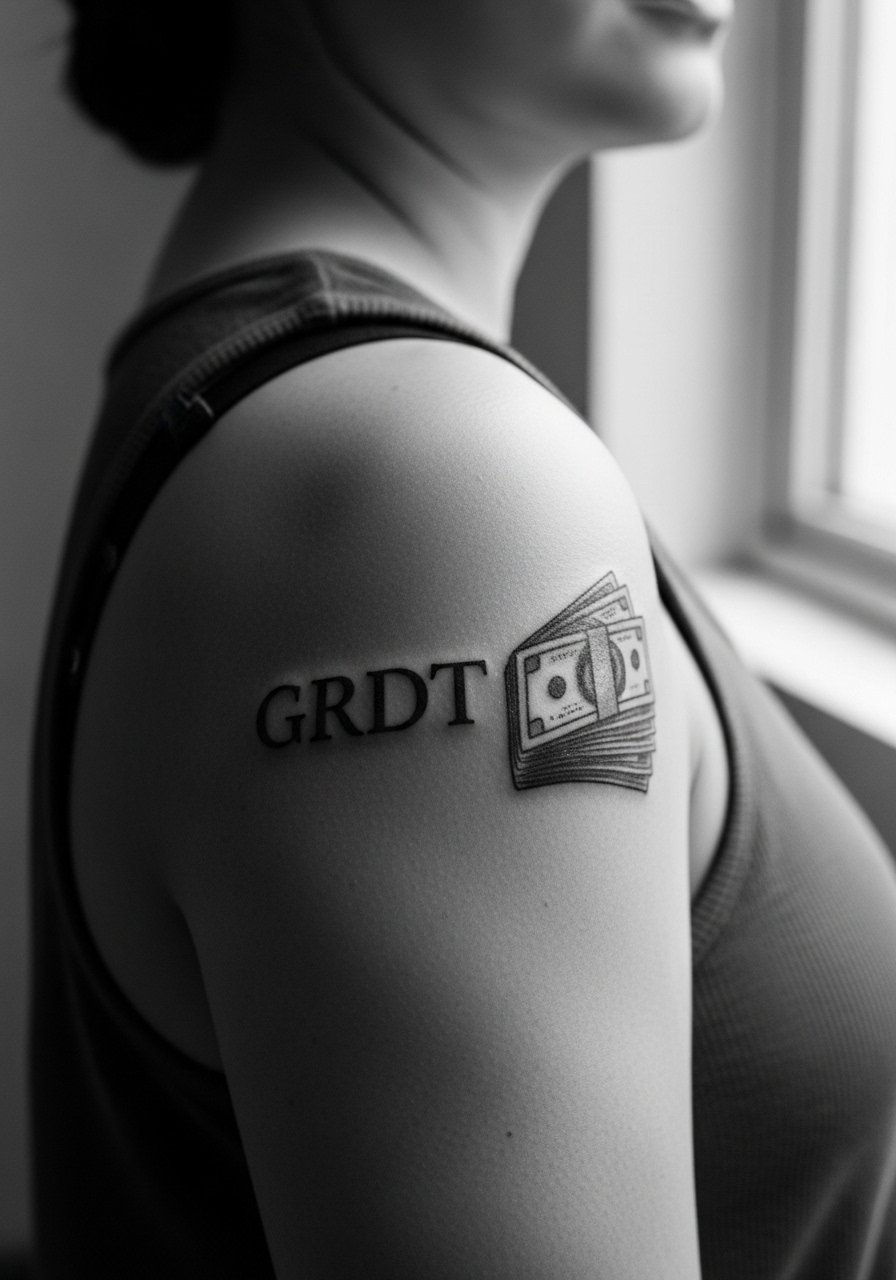
If you want a recognizable face or photo-real portrait, expect multiple sessions and a specialist in micro-realism. The biggest mistake is shopping by price for this style. Ask artists for healed portfolio shots on comparable skin tones and a realistic timeline for touch-ups. This placement carries medium to low daily friction so portraits last if the shading is dense. Expect three or more sessions for a 5-inch shoulder blade piece. Wear a loose tank top the day of the appointment so the artist can access the shoulder without stretching the skin.
5. Crown Atop a Money Bag Scripted on Calf or Thigh
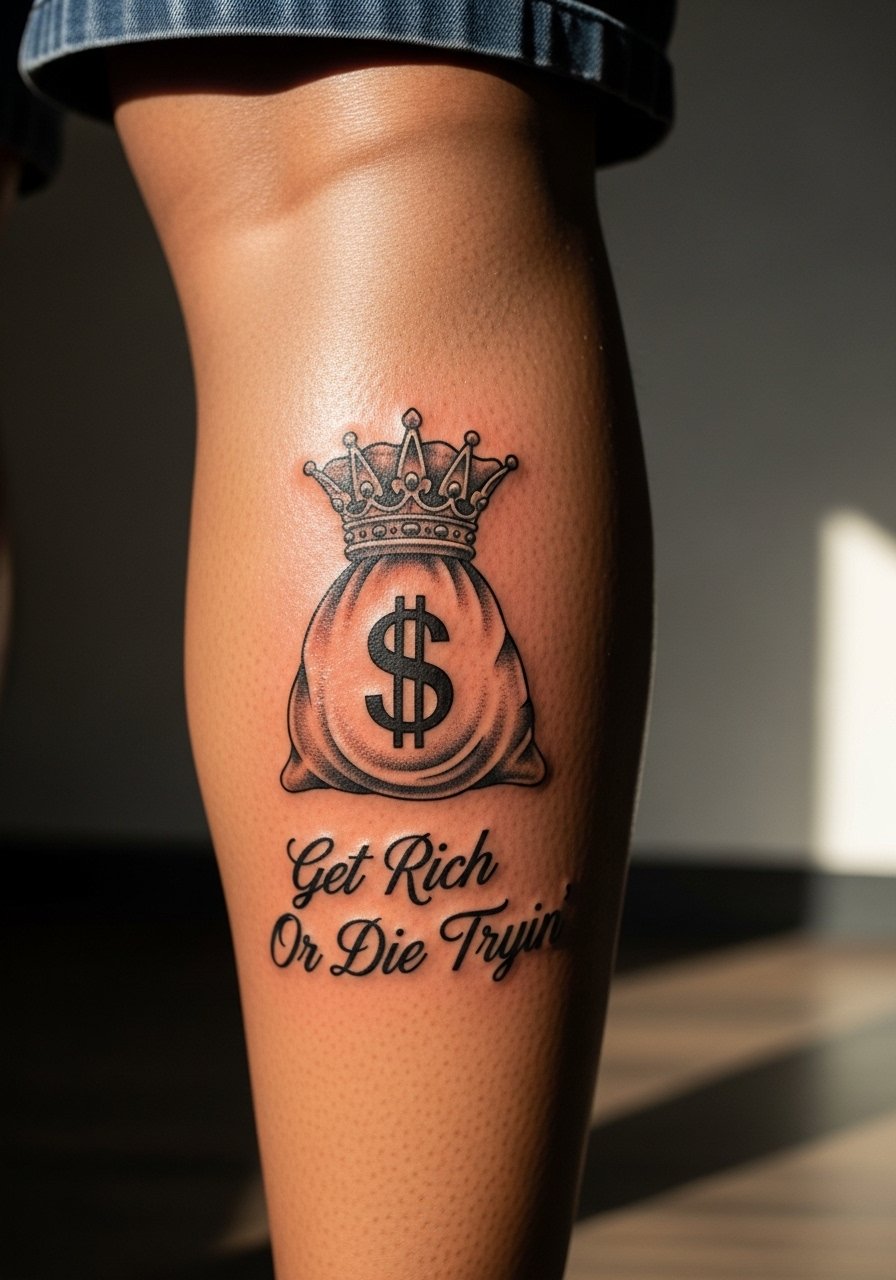
This ornamental take reads like a crest. The safe version uses bold black outlines and gold highlights over a dark base so the crown sits legible across skin tones. A common version that ages poorly uses thin gold linework only. That detail eats away on darker skin and under friction from pants. Calf sessions are comfortable and usually finish in one session for a 4-inch layout. For showing off the leg, pair the piece with tailored jogger shorts or rolled-up shorts that keep the focus on the shaded crown.
6. Bullet Chain Necklace Across the Collarbone
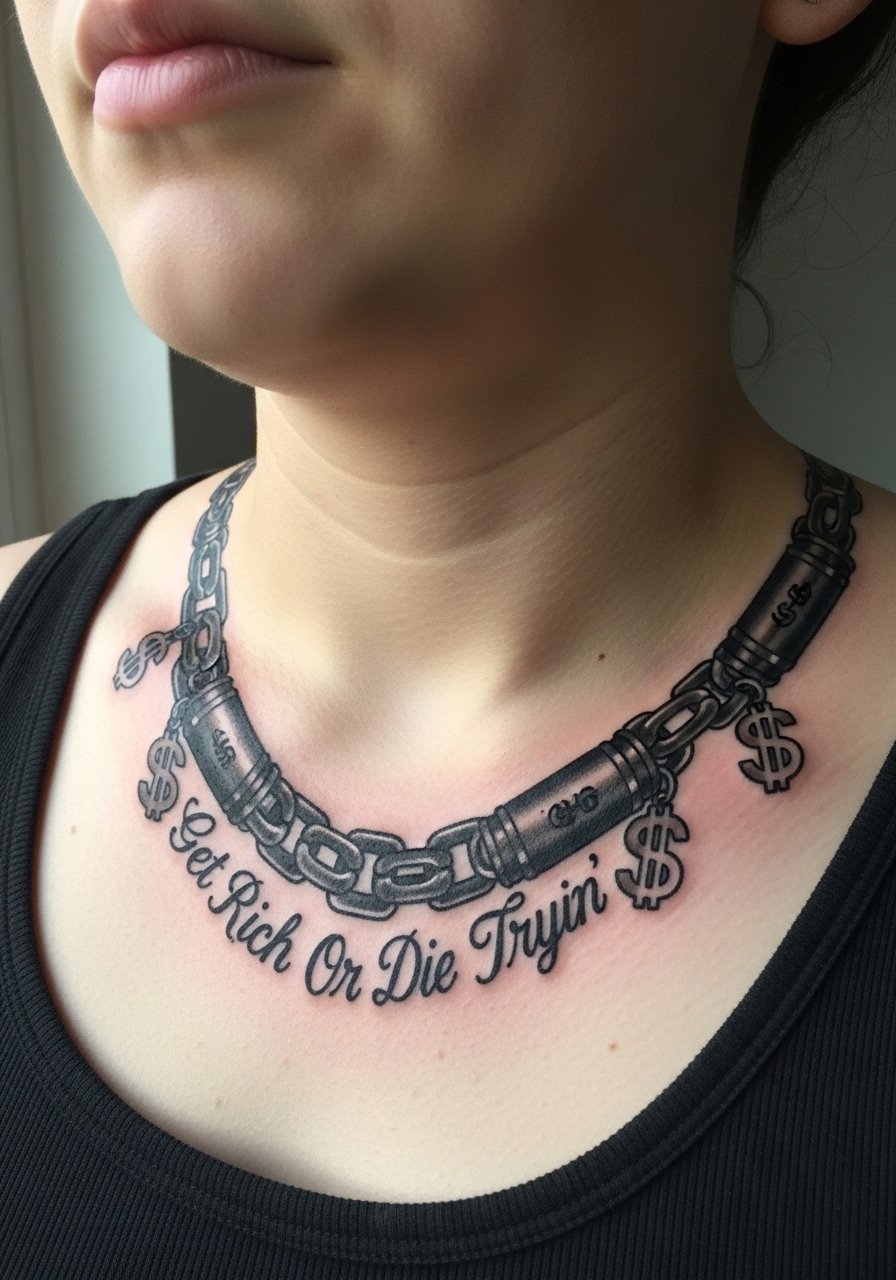
When clients ask for collarbone chains, I tell them collarbones move and catch clothes, so the artist should plan for bold anchors and simple links. The ignorant style reads best with thick black beads and sparse highlights rather than tiny delicate elements. One session usually does the job for a 5-inch collarbone piece. For the session wear, bring a loose button-down shirt you can pull aside so the artist has clear access without stretching the area.
Studio Day Picks
The forearm, wrist, chest, calf, and collarbone pieces above each present different session needs, so these items help with comfort and first-week handling.
-
Stencil transfer paper kit. Lets you see the exact line placement on skin before the needle hits, which matters for banners and script on limbs.
-
Topical numbing cream. Applied before the appointment it reduces wrist and collarbone sensitivity so the artist can work steadily.
-
Thin protective film roll. Useful for low-friction coverage on the first day for collarbone and wrist pieces that see a lot of movement.
-
Fragrance-free body wash. Cleanses healing skin without irritation, which helps fine detail hold in the days after sessions.
-
Aquaphor healing ointment. A thin layer in the first 48 hours locks in moisture for linework and prevents scabbing that distorts script.
7. Dice Rolling Into Cash Under a Banner, Inner Forearm
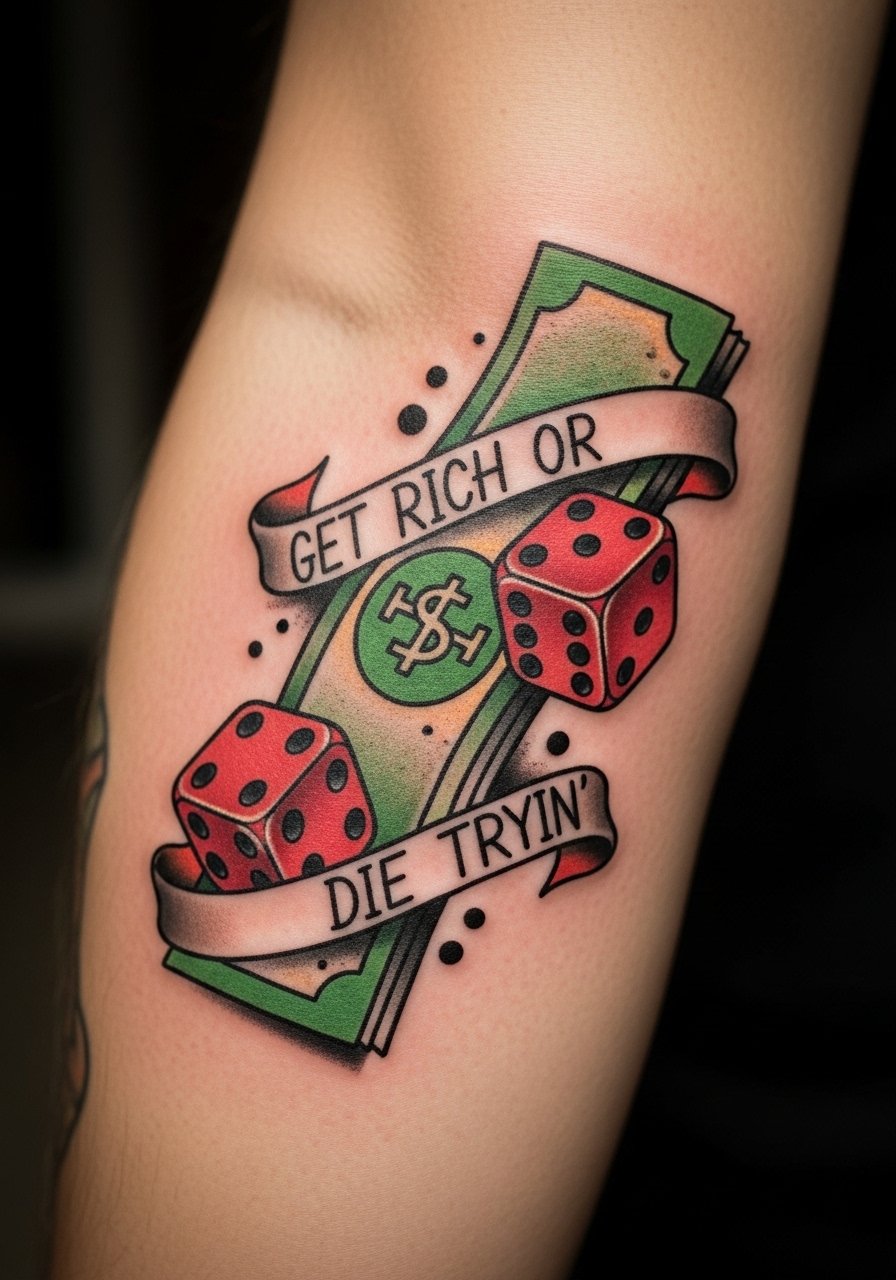
I've noticed inner forearm pieces last longest when the design balances flat color with negative space. For the dice-and-cash motif, ask for clear separations between the dice faces and the currency so numbers do not melt into shading. The frequent mistake is crowding the dice with too many small details. Expect two sessions for a 4×4 inch inner forearm piece. During the session wear a loose short-sleeve shirt so the artist can roll the sleeve without tugging.
8. Skull Wearing Dollar Crown on Back or Ribcage
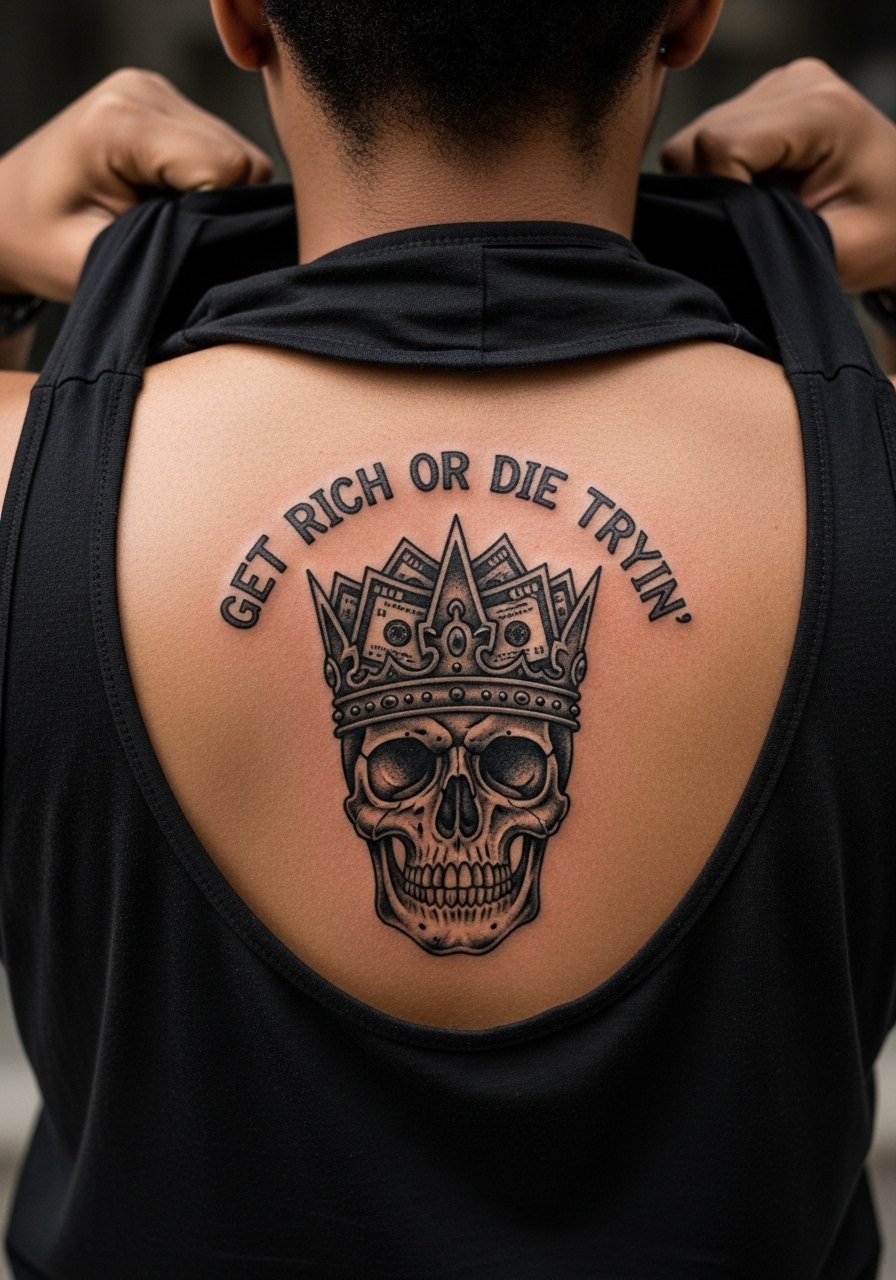
Artists and collectors split on heavy black saturation near the ribs and back because skin stretch varies. One camp favors bold blackwork for longevity. The other camp warns that dense black can scar more if the needle depth is inconsistent. The practical move is to ask the artist where they stand and request a test patch if possible. Back placements let you go larger and keep details crisp at year two. Ribcage variants hurt more, so the back is a safer long-term canvas for heavy black skulls.
9. Hourglass with Money Sand and "GRDT" Engraving, Ankle
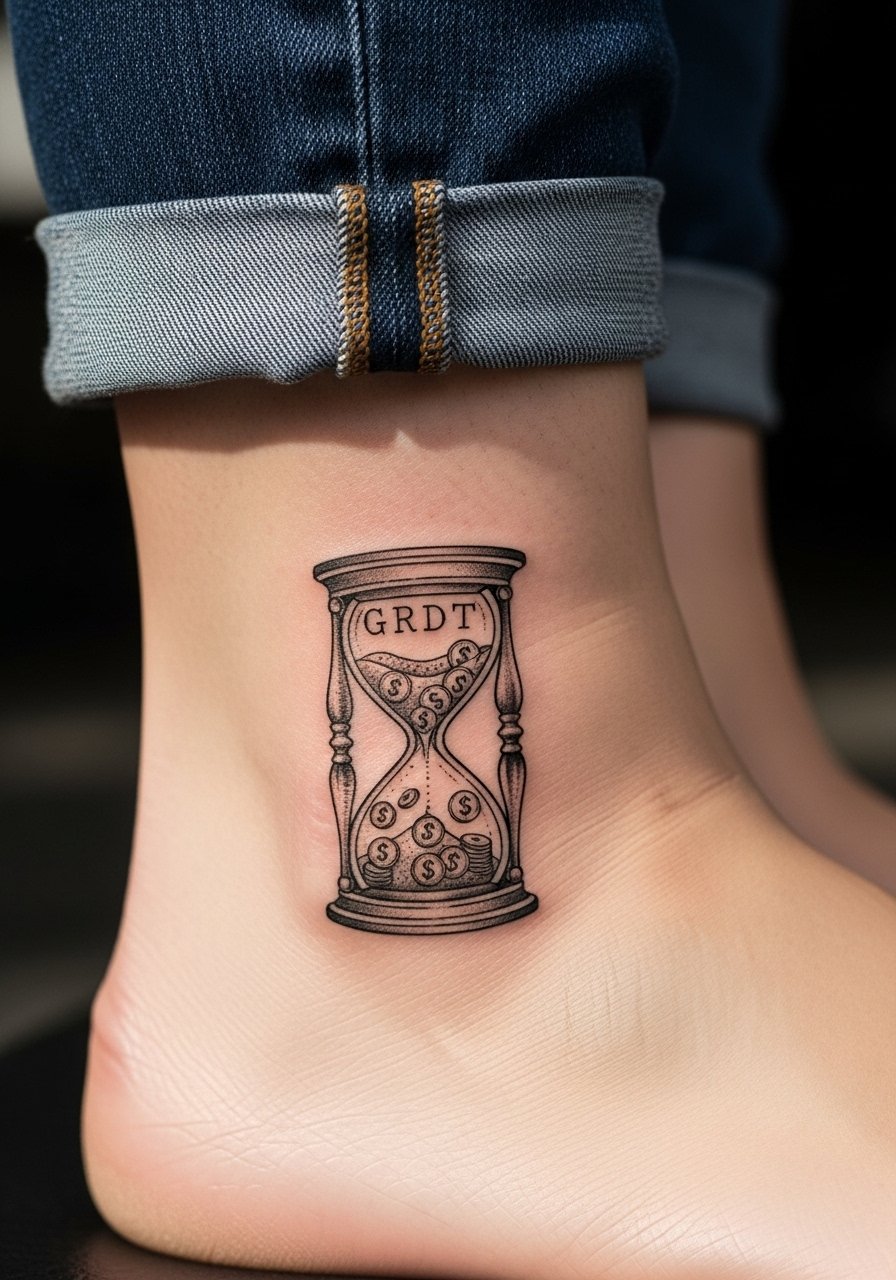
Fine line works beautifully for a small ankle hourglass but the controversy is real. Some artists say fine line on low-movement ankle skin holds up fine. Others argue constant shoe friction and ankle motion blur single-needle work quickly. If you prefer the delicate look, ask for slightly heavier single-needle outlines and a touch-up plan at year two. The ankle will need gentle aftercare immediately and lighter socks the first week to reduce rubbing. Session time is short for a three-inch ankle piece and pain is moderate.
10. Lamborghini Silhouette Filled with Cash, Thigh
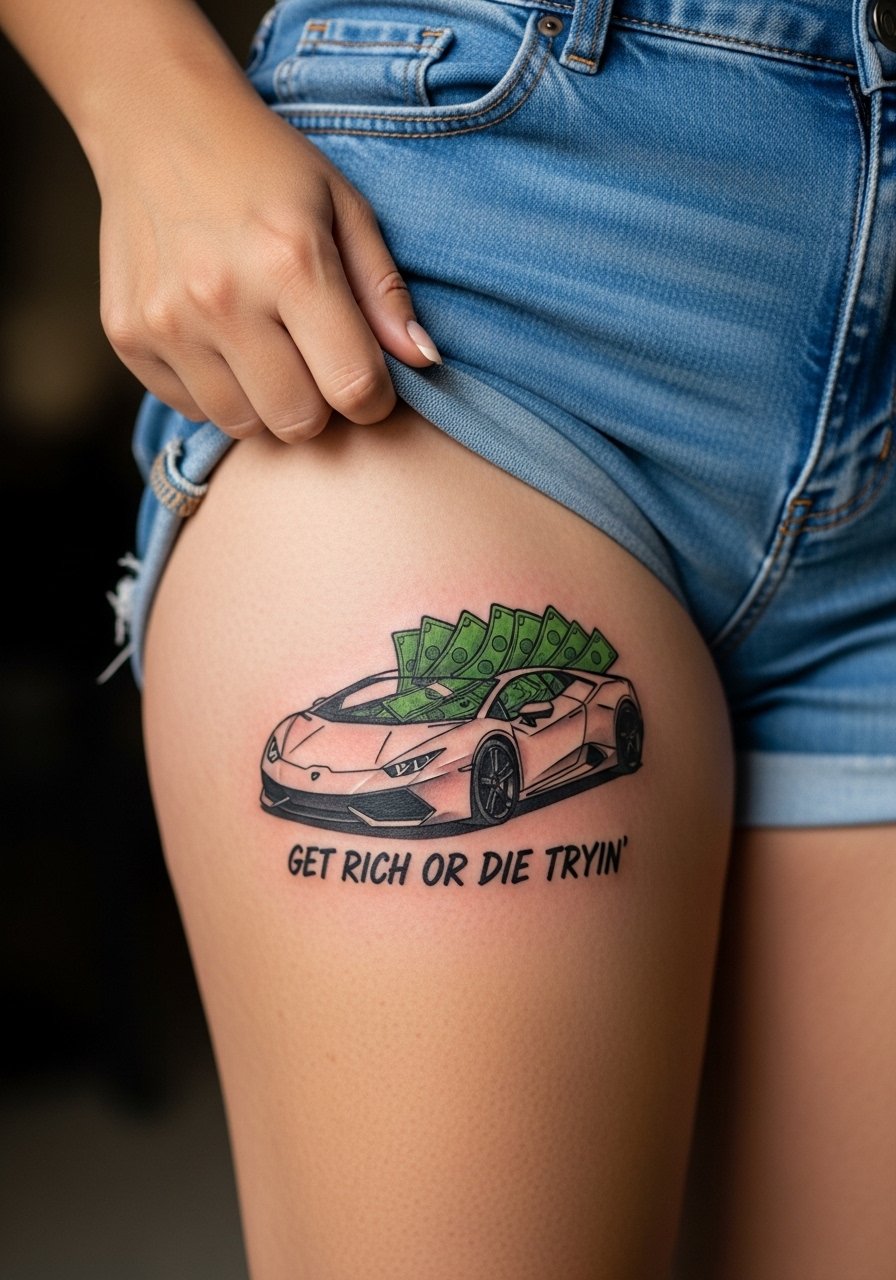
Thighs are forgiving for extensive color and illustration. For the Lambo filled with cash, ask the artist to map metallic silvers and green with clear highlights rather than tiny flecks. A common mistake is cramming reflective detail into a cramped layout. Expect multiple sessions for a 7-inch color piece and lighter pain compared with ribs. For showing it off, tailored shorts or slim jogger shorts keep attention on the leg art.
11. Small "GRDT" Monogram Behind the Ear or Side Neck
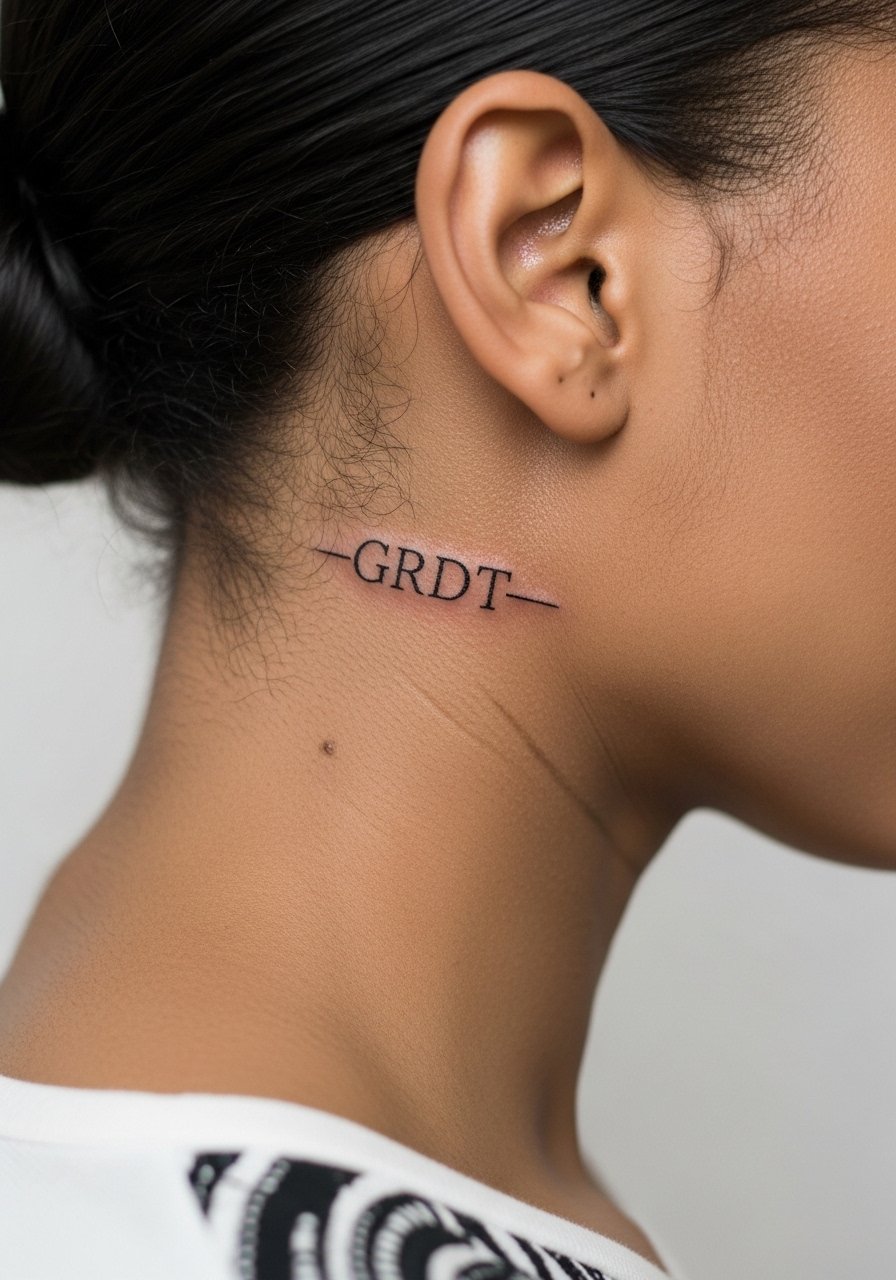
Behind the ear and side neck spots need careful framing. Keep the monogram small and bold enough to read after healing. The risk is that tiny thin letters become unreadable when hair rubs or when clothing collars catch them. Make sure the artist keeps letter spacing generous for such a small placement. If you choose behind the ear, note the sensitivity and the chance of touch-ups. Wearing hair up for the first week helps healing.
12. Stacked Coin Pile with Small Banner, Outer Forearm
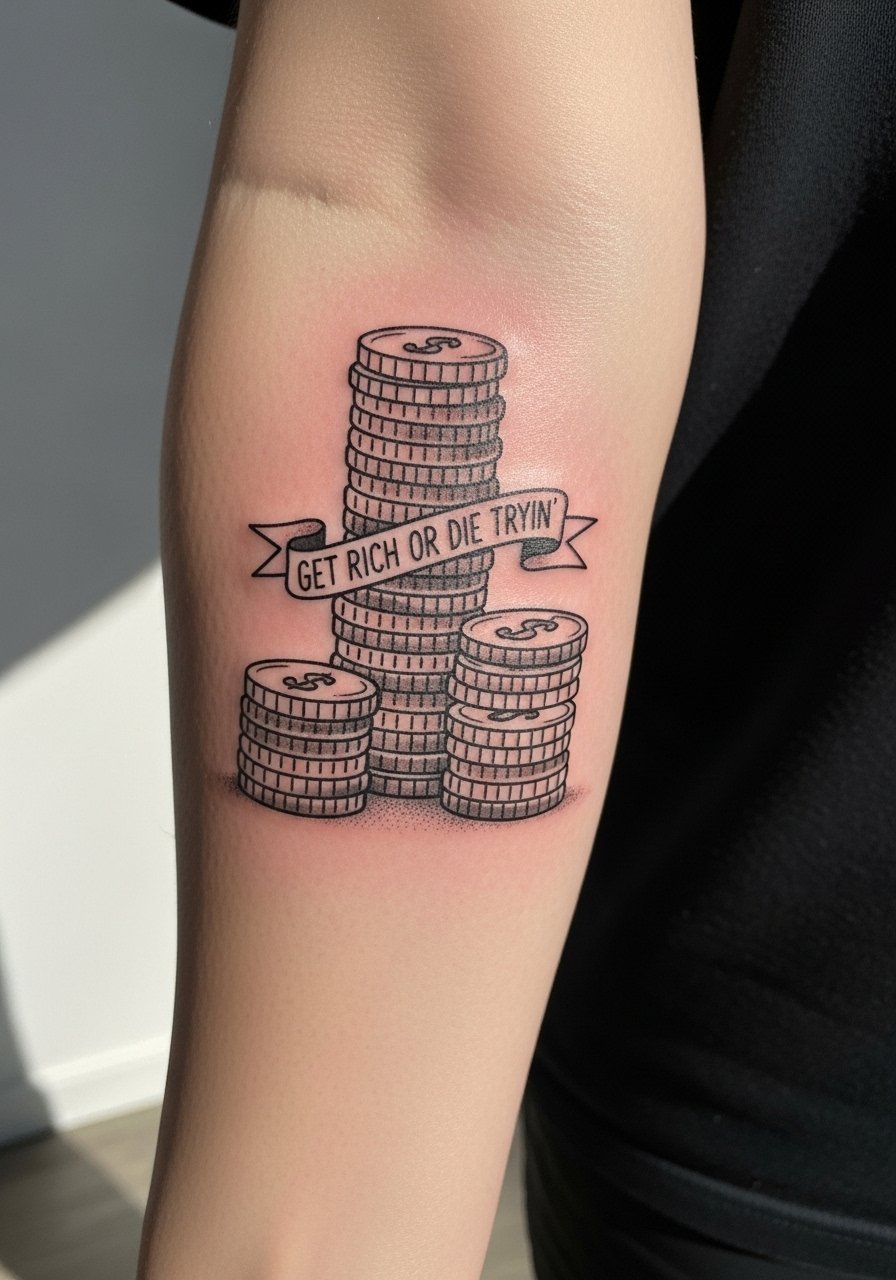
This motif looks best with stipple shading and negative space between coins so edges read over time. The frequent mistake is over-detailing coin faces with micro-textures. That detail blurs into a dark patch after a few years. Ask your artist for stipple shading and solid edges rather than engraved microdetail. For the session, a single 3-4 inch sitting usually suffices. Show it off with rolled sleeves or a fitted black t-shirt to keep the coins central to the look.
13. Skeletal Hand Passing Cash, Inner Bicep
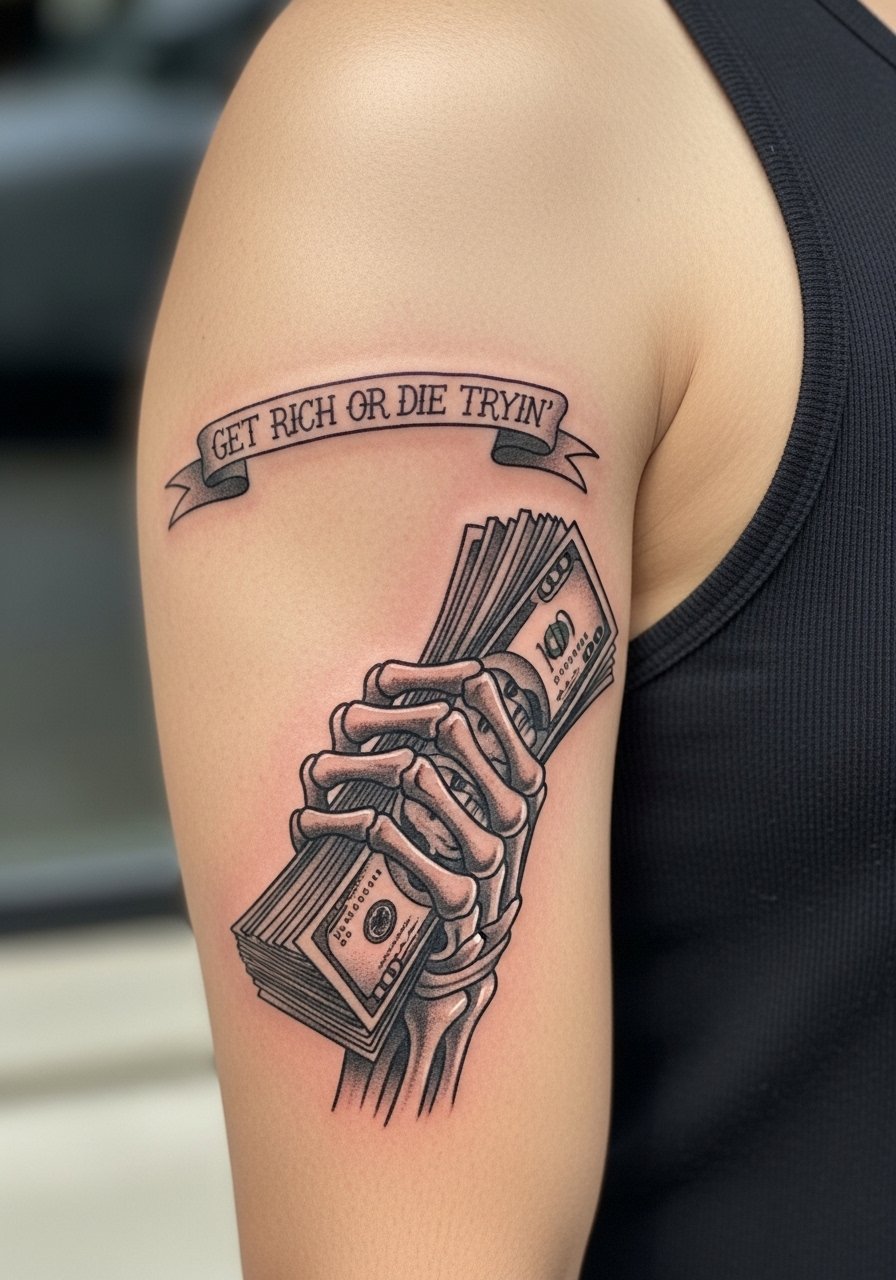
Inner bicep pieces need depth without too many tiny lines. A common error is requesting extreme micro-detail in the fingers. Ask for clear contrast between bone and bill edges and a shallow stipple for shadows. The inner bicep can be tender, but it hides well when you want discretion. Expect a single session for a 5-inch piece and a touch-up at year two if you want keeps the darkest blacks saturated.
14. Ornamental Coin Crown, Calf Detail
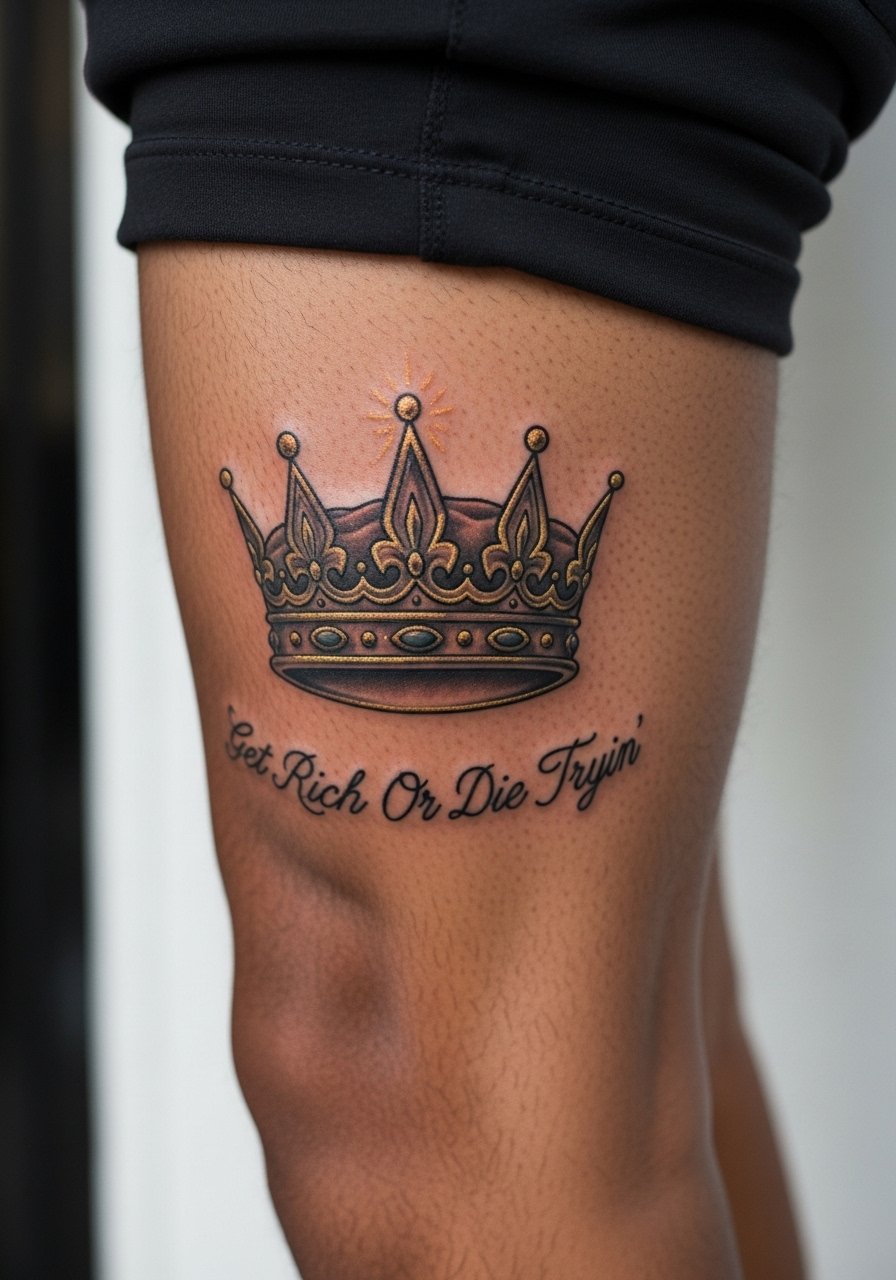
Calf placements let ornamental crowns maintain their composition without constant abrasion. The reliable approach is heavier outline weight and selective gold highlights under a dark base. Small metallic linework often fades on darker tones, so request thicker color blocks rather than thin gold hairlines. One session typically covers a 4-inch calf detail. For showing off, pair with tailored jogger shorts or shorts with a rolled hem.
15. Text-Only Script Wrapped Around the Wrist
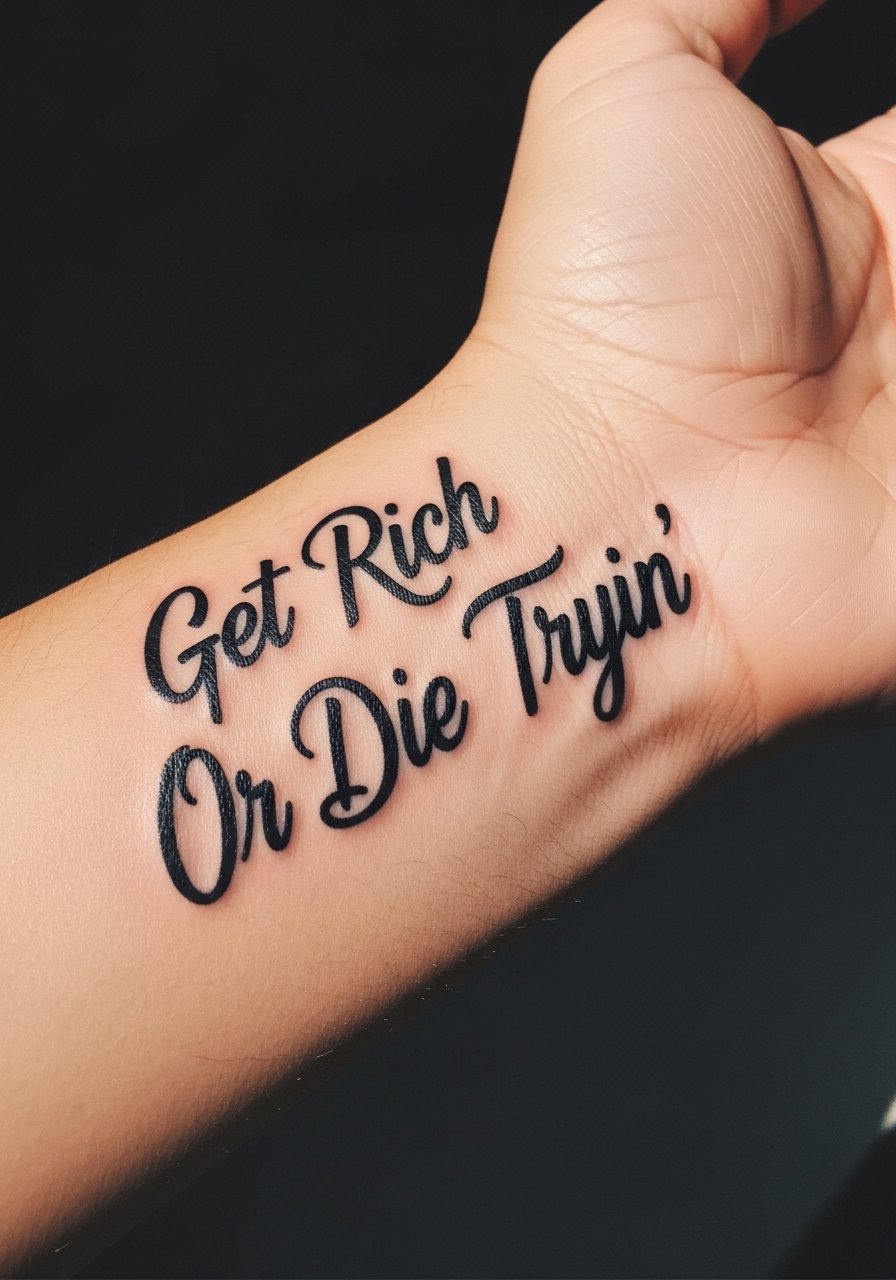
Wrist scripts face a blowout risk because of washing and constant movement. The durability trick is to choose thicker script and avoid micro-kerning. Artists split on whether thinner scripts can survive the daily wear. One camp insists on bold blackwork for wrists. The other will do single-needle scripts with an agreed touch-up plan. If you want a text-only wrist band, plan on a touch-up window and avoid tiny serifs. After the session, framing the wrist with a minimalist leather bracelet can complement the band without obscuring it.
16. Cash-Filled Crowned Skull on Upper Back
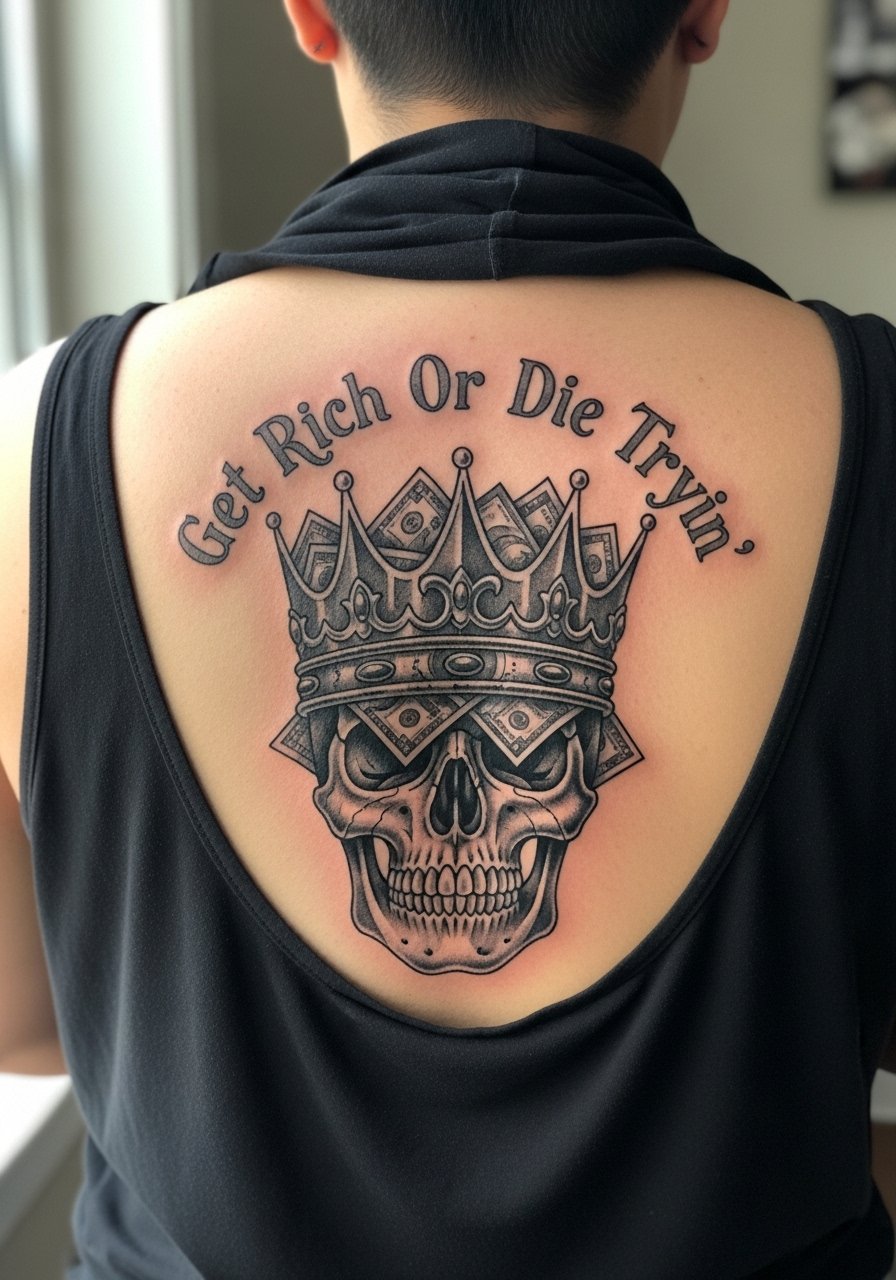
Upper back pieces let you push scale and detail without the daily abrasion other areas see. Healed blackwork skulls look authoritative when linework is spacious and the crown elements are bold. The common mistake is packing the crown with tiny bill details that flatten after healing. Expect two to three sessions for a 6-inch back piece and a moderate pain experience. Back placements also make larger portraits and ornate designs easier to maintain.
17. Minimalist "GRDT" Ankle Band or Side Foot
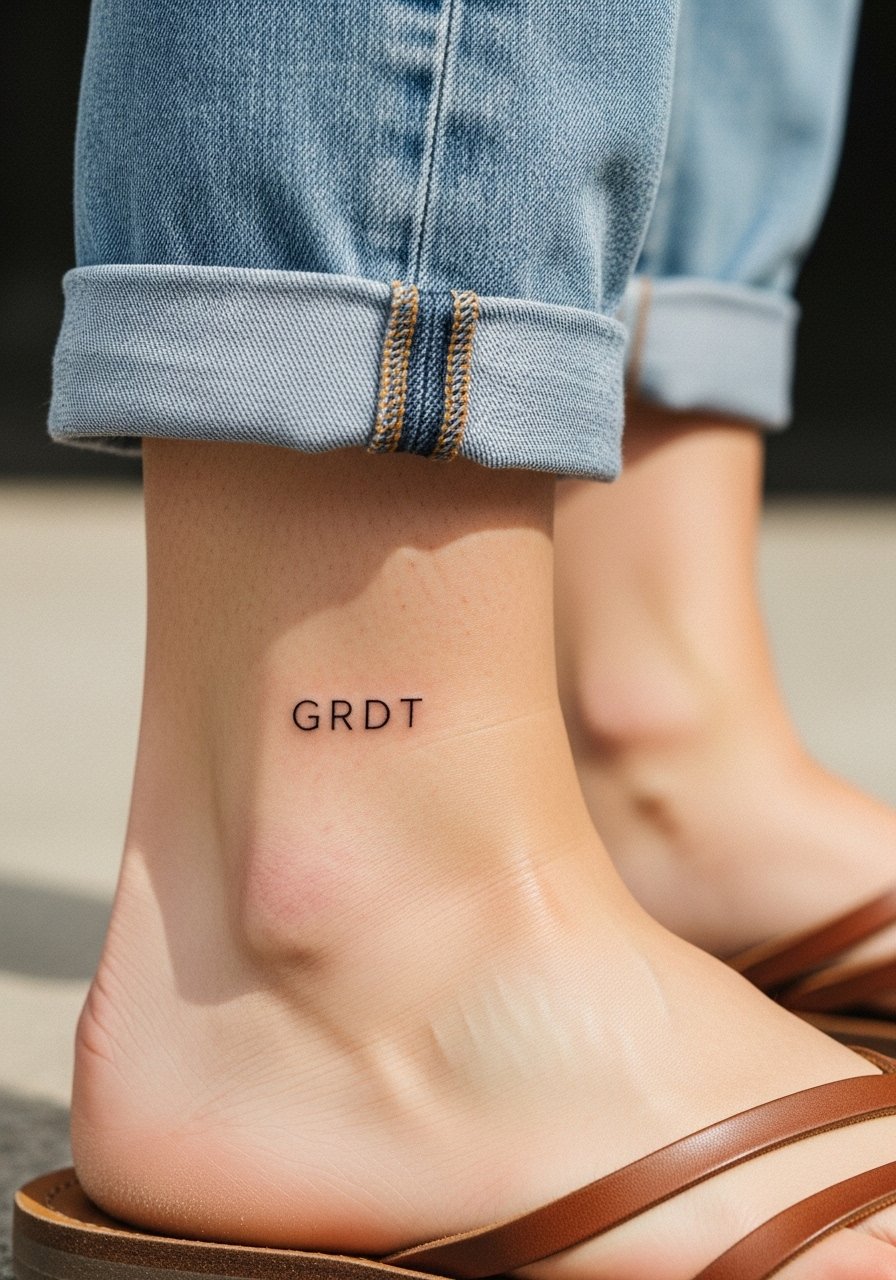
Minimalist ankle bands work if you accept a likely touch-up in a couple of years. Shoes and socks cause constant friction, so thicker characters help. A common mistake is choosing a super-thin font for ankle text. If you want minimalism without frequent retouches, request a compact bold type rather than ultra-fine script. Session time is short and pain is moderate. The ankle placement is ideal if you want subtler visibility.
Frequently Asked Questions
Q: Will green dollar colors show up well on medium and dark skin tones?
A: From what I've seen, pure green can lose contrast on darker tones. The safer route is to pair green accents with strong black outlines and gold or white highlights for separation. Ask your artist for healed examples on similar skin tones before committing.
Q: How does fine line work for motto scripts on the wrist compare with bold blackwork?
A: Artists split into two camps. One group says fine line offers the elegant look but softens into blur faster on wrists. The other group argues that with proper depth and spacing, fine line can hold up. If you lean fine, agree to a touch-up plan and accept the possibility of a refresh at year two.
Q: I want a portrait-style homage to a favorite album cover, where should I place it for longevity?
A: Shoulder blade and upper back offer stable skin and lower friction, so portraits heal and age better there than on ribs or hands. Micro-realism portraits usually need multiple sessions and a healed-portfolio check for the artist on comparable skin tones.
Q: What should I wear the day of a chest or rib tattoo session for comfort and access?
A: Wear a loose button-up or a henley shirt that you can pull aside without stretching the area. That keeps the artist's access simple and reduces the need to undress mid-session.
Q: How often will I probably need a touch-up for bold blackwork versus fine line details?
A: Bold blackwork often needs fewer touch-ups because of solid saturation. Fine line details typically demand touch-ups sooner, often within two to four years depending on placement and lifestyle. Your artist can give a realistic timetable after reviewing your skin type and the design density.
