
The artist dabbed a cool, spongy cloth behind the ear to clean the skin, then rolled the cone into a steady bead and traced a tiny crescent that fit the hollow like it was always meant to sit there. Henna behind the ear reads soft because it follows natural curves and hides under hair when you want it private. The next six ideas show how to get that tucked-in, low-key look ready for a night out or an everyday accent.
1. Tiny Crescent Curve Just Behind the Ear
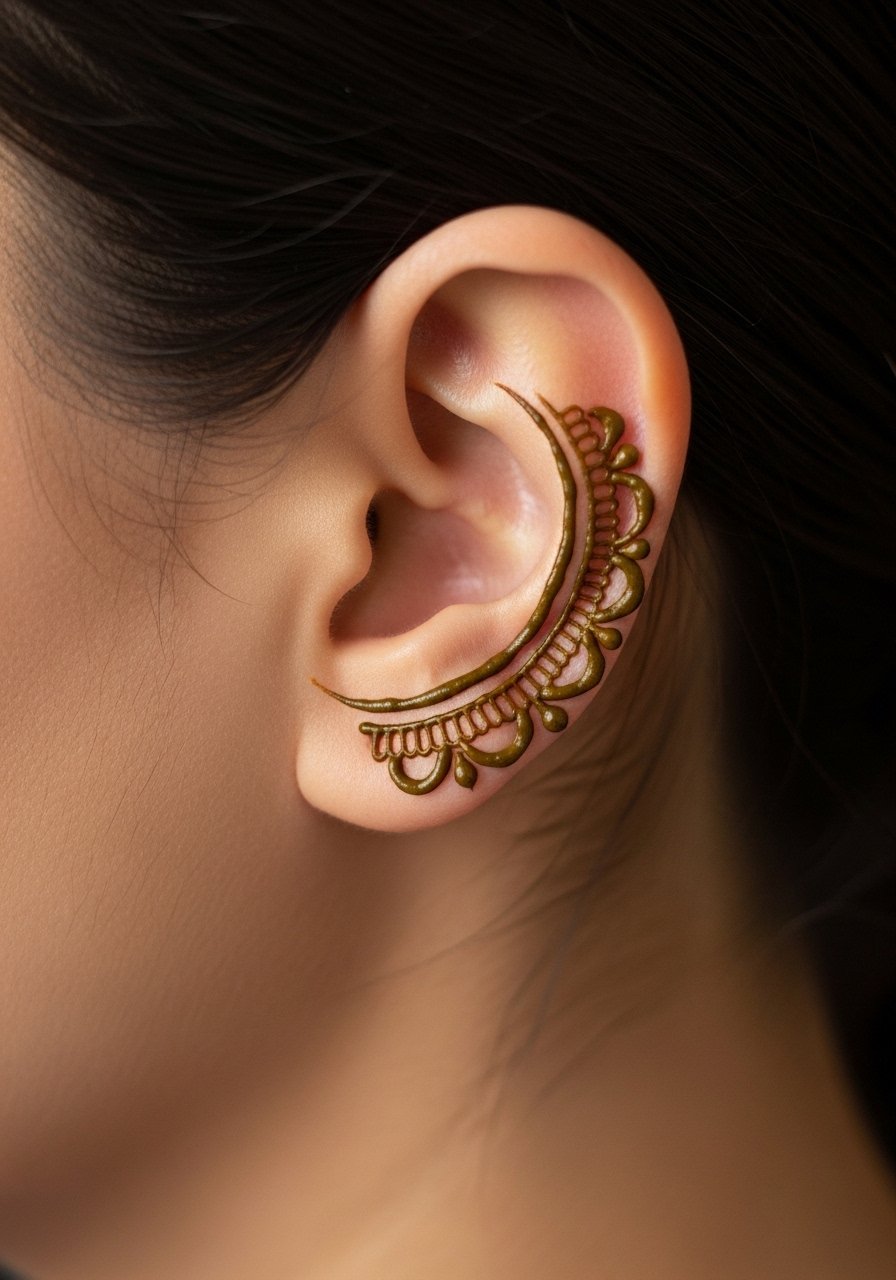
Start with a crescent if you want something whisper-soft and age-proof for a weekend festival or a discreet daily accent. Fair warning, the hairline and sweat affect henna more than placement, so ask your artist to paint a slightly thicker bead of paste where hair might brush it. The session feels quick and gentle, under ten minutes, and the biggest mistake people make is asking for ultra-fine lines that dry too fast and flake. Expect the stain to read darkest at 24 to 72 hours then soften by day five. For the appointment wear a wide-neck shirt so the artist can access the area without messing your hair.
2. Single Dot Chain That Follows the Hairline
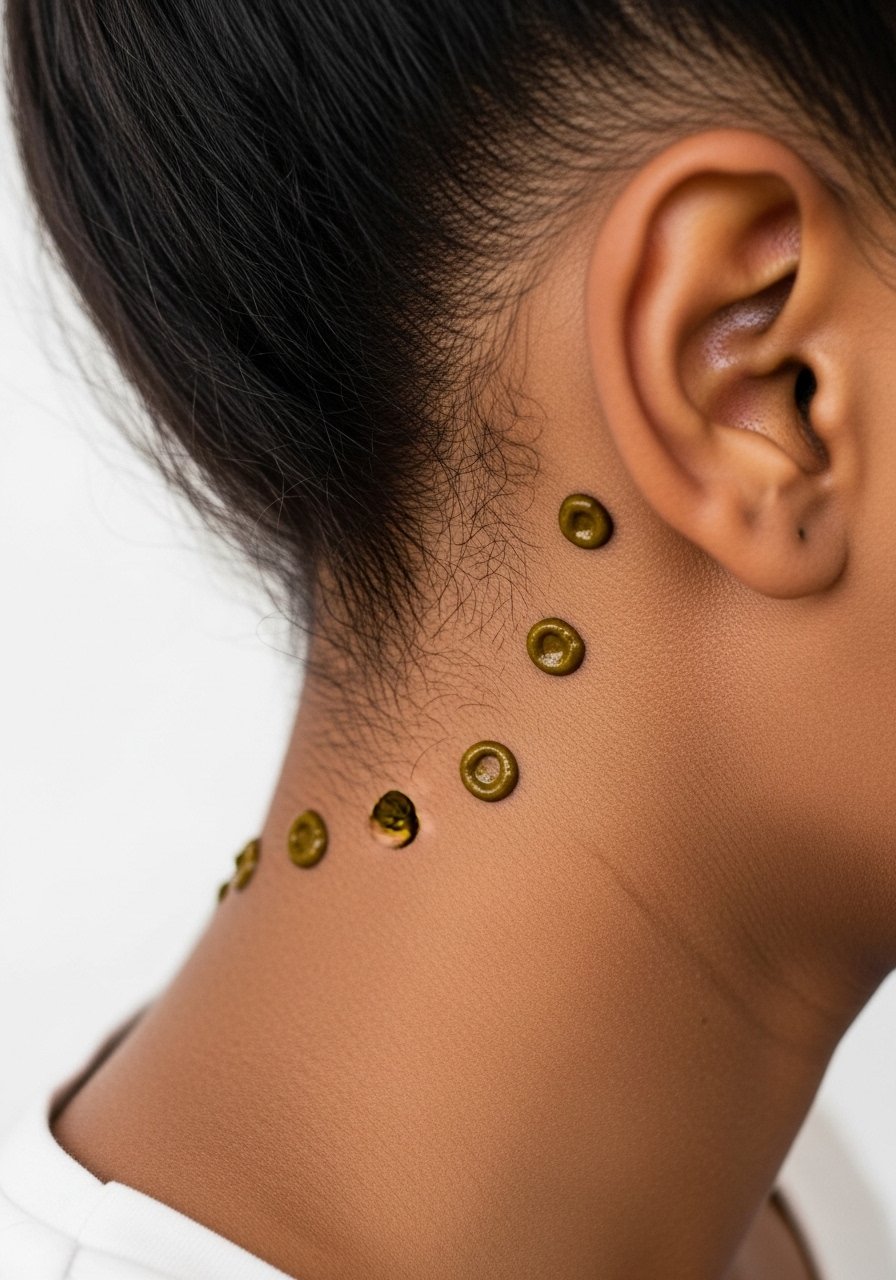
A string of tiny dots reads delicate and intentional when placed under the hairline. I recommend asking for moderate paste pressure so dots stain cleanly instead of feathering. The pain is negligible and the session is usually five minutes. A common error is spacing the dots too close; they can blur into one patch in humid conditions. At 48 hours the dots peak in contrast, and by the second week they fade into a soft freckle-like mark. If you want to show off, pin hair back with a messy bun clip for a night out. This placement pairs well with short earring hoops that frame the chain.
3. Tiny Floral Sprig Nestled Below the Lobe
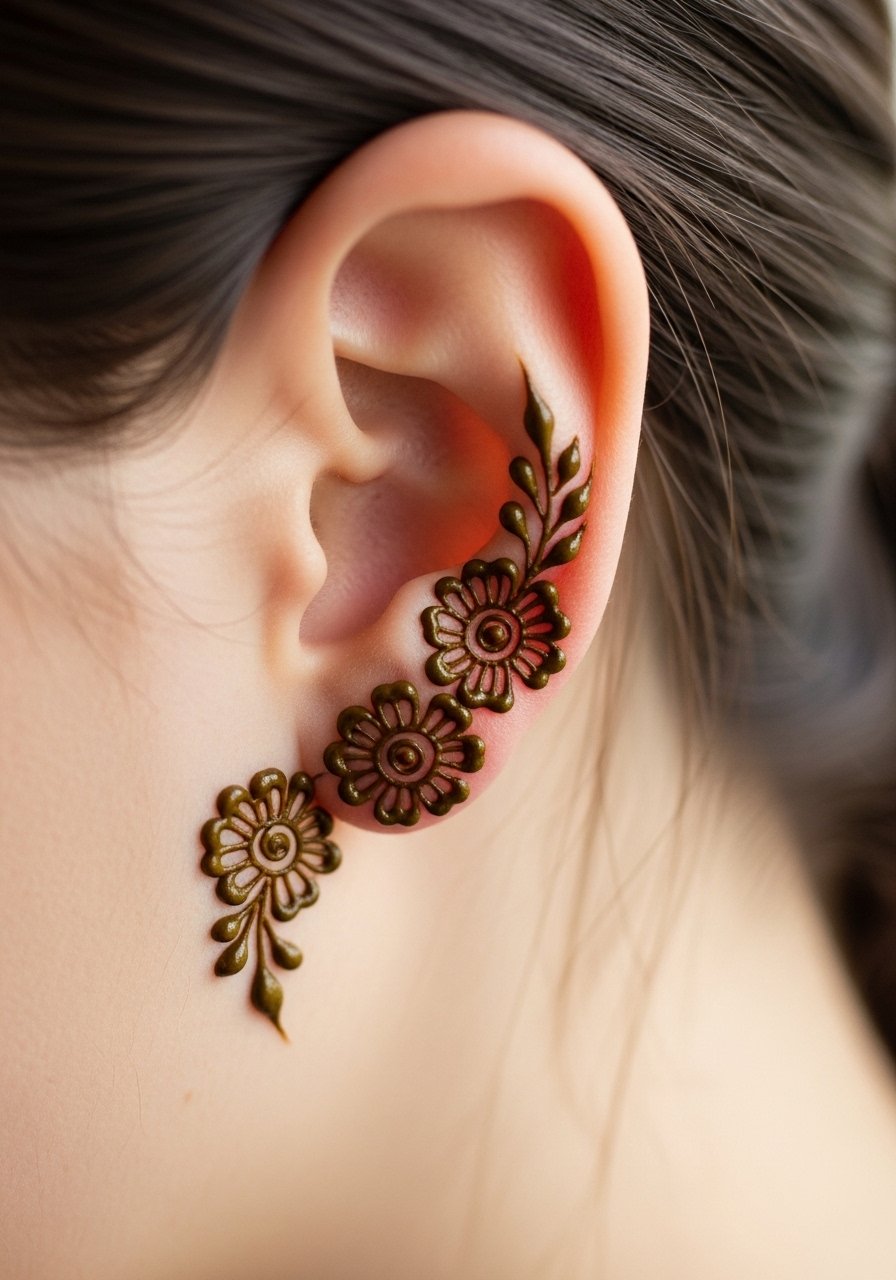
A miniature sprig of leaves and a single bud gives a soft botanical nod without shouting. When you book, show a photo that matches the scale you want and say "single sprig, no fill" so the artist avoids heavy saturation that looks darker than expected. The session feels gentle and relaxed, roughly ten minutes, and the biggest aging issue is rubbing from collars. Expect top contrast at day two, then subtle fading. For the session wear a button-down shirt you can pull aside instead of lifting over your head. This design looks lovely with delicate stud earrings that leave room for the sprig to read.
4. Petite Mandala Petal Cluster
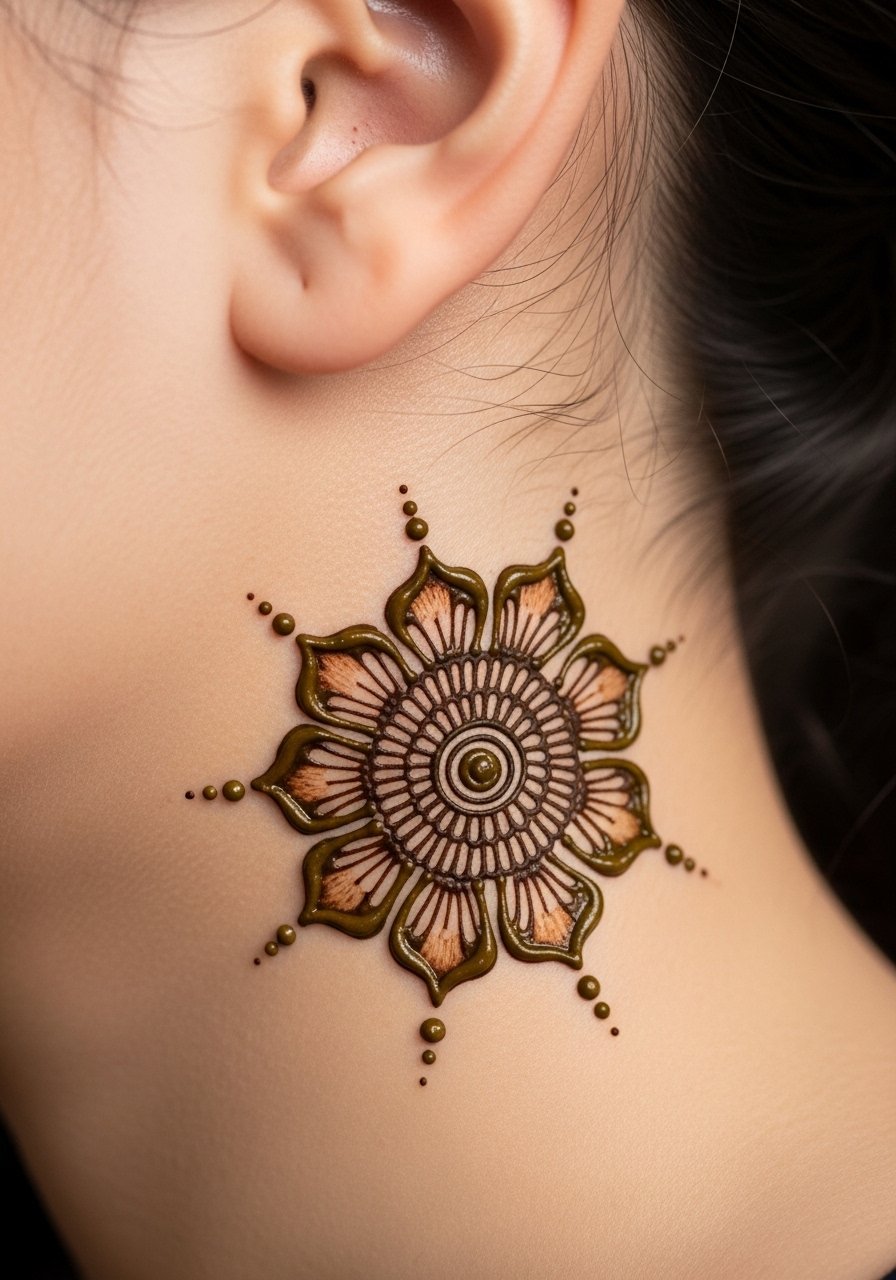
A tiny mandala cluster gives the symmetry of a larger piece in a tucked-away spot. Most people ask for too many tiny petals and then complain the pattern muddies after a week. Ask the artist for slightly wider petal spacing and fewer interior dots so the negative space survives as it fades. The session is calm and around 10 to 15 minutes. At three days the contrast is strongest, and by day ten the mandala reads like a faded sticker unless sealed against sweat and shampoo. For evenings out pair it with a thin chain pendant that sits above the design without overlapping.
5. Soft Script Word Hidden Near the Hairline
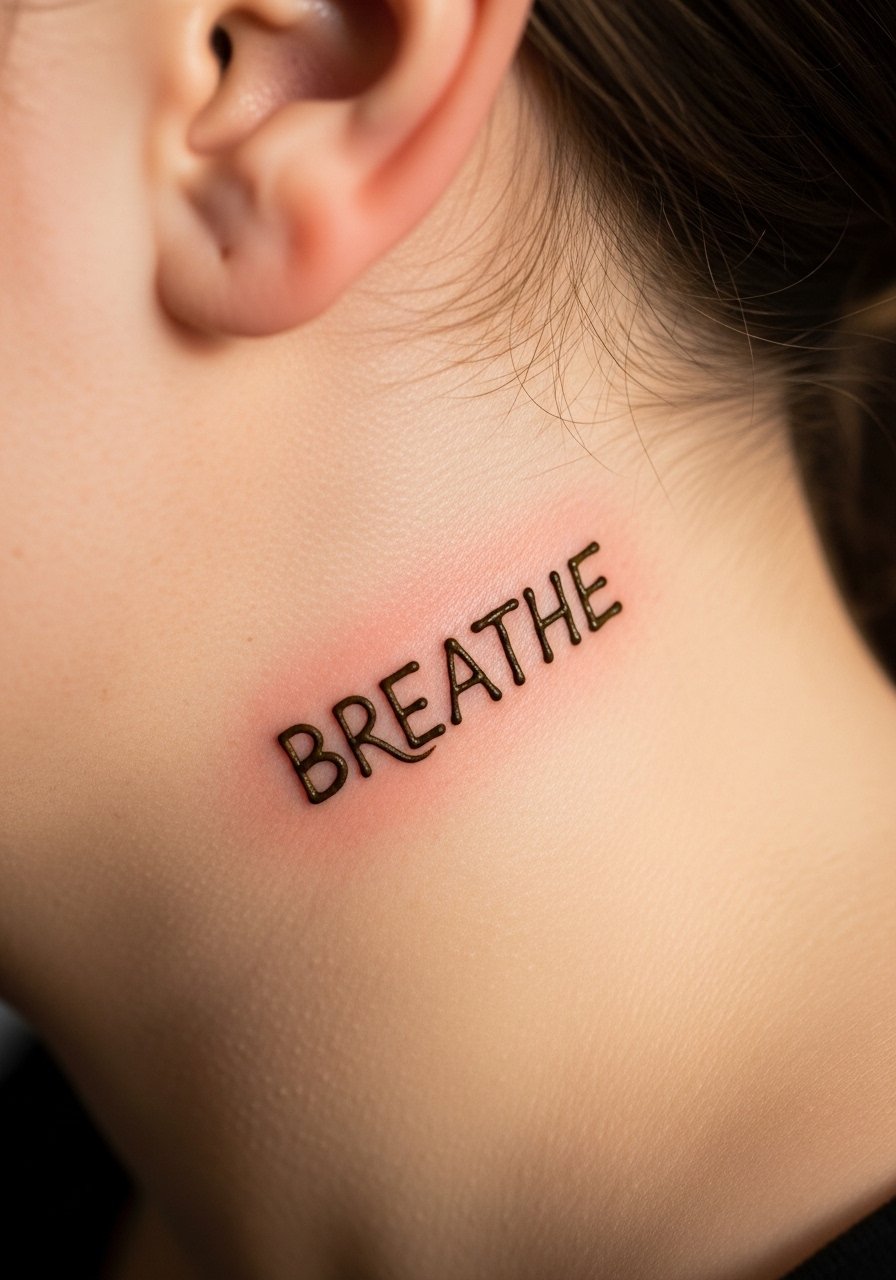
Script behind the ear feels intimate because it is partly hidden by hair. Text must be specified exactly, so pick short words and the capitalization you want. The trade-off is readability as it fades. One camp worries that fine script behind the ear blurs quickly in humid climates. The other camp says with slightly bolder strokes and proper sealing the letters hold through the first two weeks. Ask your artist which approach they prefer. Session time is under 10 minutes and pain is minimal. For the appointment try a racerback tank so you can pull hair up without tugging.
6. Tiny Geometric Triangle Stack
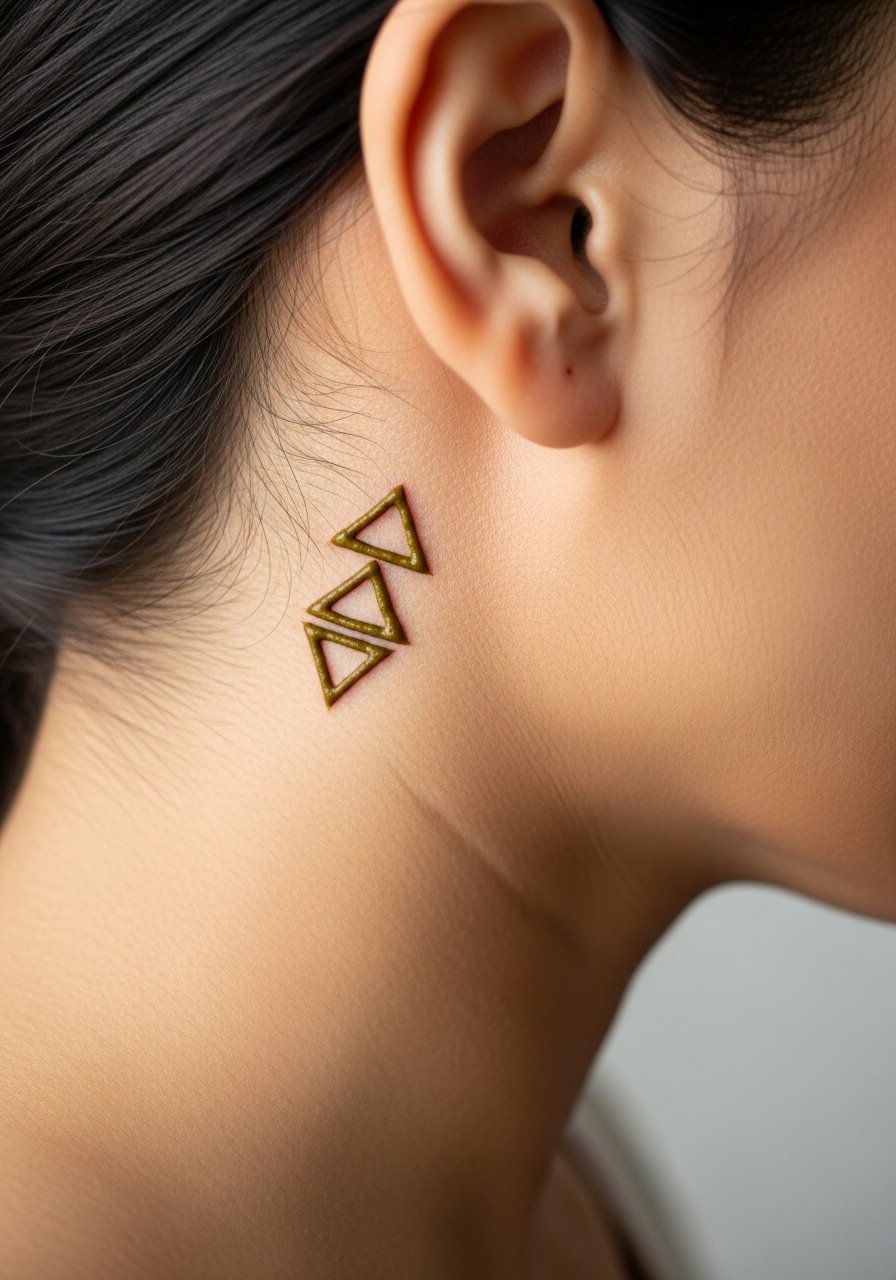
Geometric shapes read modern and soft when kept tiny and spaced. The common mistake is cramming too many lines into a small area, which causes the angles to blur into a smudge as the stain fades. Ask for simple, single-line triangles with brief drying time and avoid extra interior dots. The session feels brisk and precise, about five to eight minutes. For the session wear a loose drawstring linen pant if you want comfort while seated and your hair free. This placement ages into a faint, tidy outline by week two.
Studio Day Picks
Those small, behind-the-ear designs above need different prep than larger hands-on henna work, and a few session-day items make the experience smoother.
-
Stencil transfer paper kit. Lets you preview how a tiny script or crescent sits against the hairline before the paste goes on, which is especially useful for the script and mandala options above.
-
Natural sealing gloss sheets. Thin sheets help keep paste flat and undisturbed during the first hour of drying for delicate dot work and fine geometry.
-
Cotton swab set. Use small swabs to clean edges gently around tiny florals or dots without smearing the paste.
-
Fragrance-free gentle cloths. For removing excess paste later without abrading the fresh stain in the hairline zone.
-
Aquaphor healing ointment. A very thin layer over the area during the first night can help protect the stain from friction from collars and pillowcases.
7. Single Star Accent Row
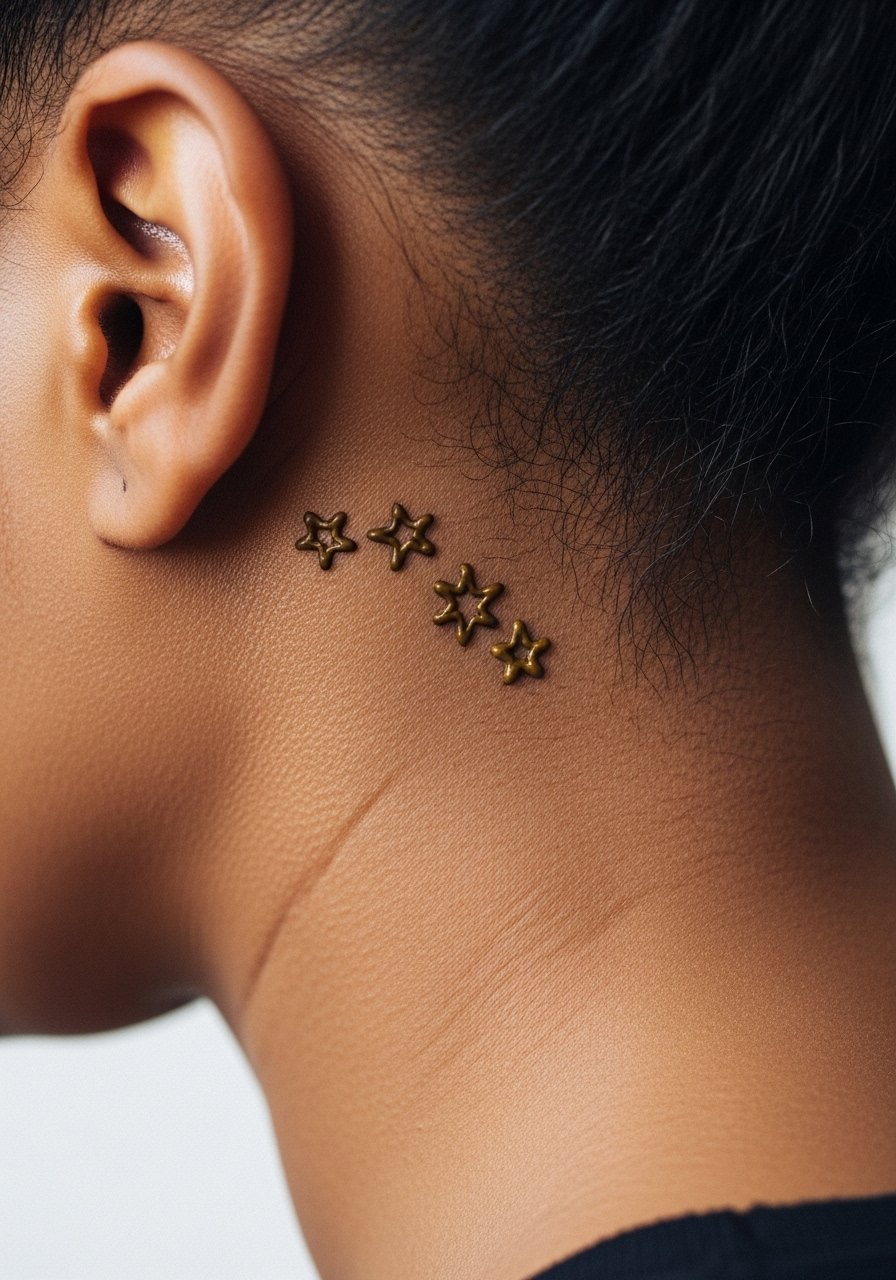
Star rows translate into a playful, soft accent that peeks from under hair. Artists often suggest spacing the stars so they do not touch, because night sweats and rubbing accelerate blending. The session is under ten minutes and has zero downtime. A common mistake is asking for filled stars in this spot; open star outlines look lighter and more delicate as they age. At peak the stars are bold on day two and by day seven they are soft freckles. For showing off, tuck hair into a low ponytail hair tie so the row reads across the jawline.
8. Minimal Vine That Curves with the Ear
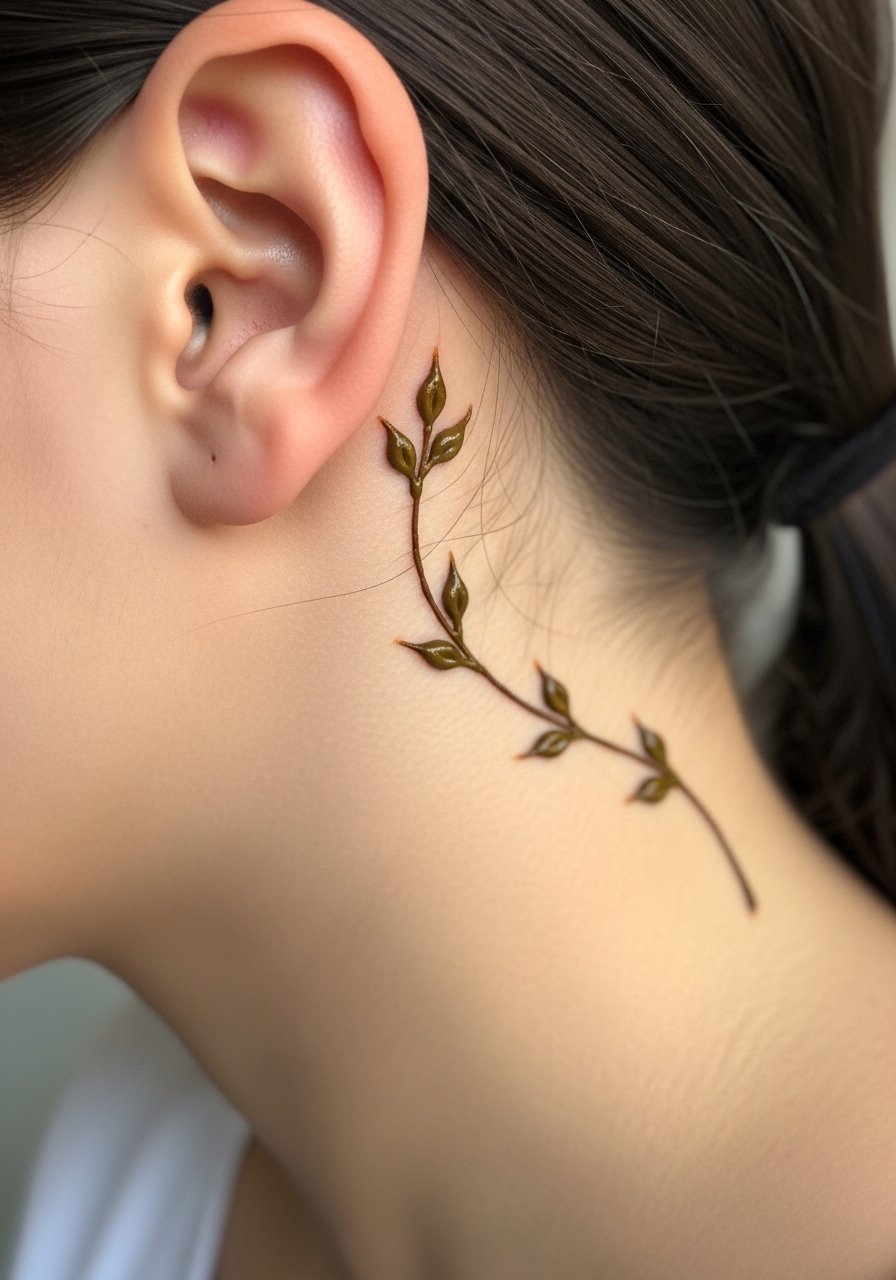
A vine that follows the ear’s curve looks like it belongs there. When you consult, specify "follow the natural curve, leaves not filled" so the design breathes and does not pool too much dye. The paste session feels meditative and takes about ten minutes. The wrong approach is asking for dense fill on the leaves. Dense areas on this spot can flake unevenly. Expect strongest contrast at day two, then a soft fade into a leafy hint by the second week. This pairs well with small hoop earrings that leave the vine visible when hair is tucked.
9. Micro Paisley Tear
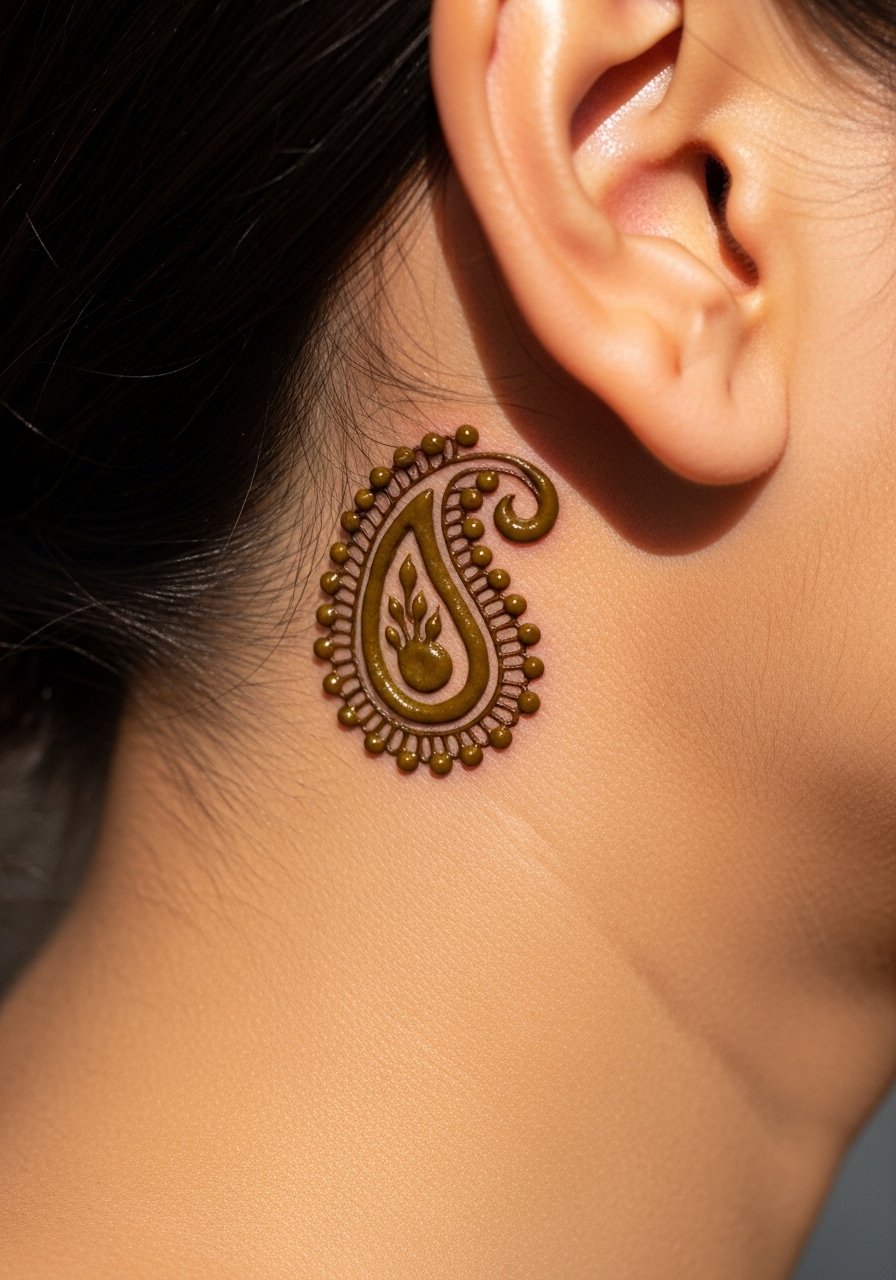
Paisley motifs behind the ear read like a vintage whisper. I often tell clients to avoid excessive internal dots in a micro paisley because they trap moisture and flake oddly. The session is quick, under ten minutes, and feels no different than a gentle eyebrow shaping. Expect the best darkness by 48 hours and a soft, warm fade by day ten. For the appointment wear hair in a ponytail clip to expose the area without tugging at roots.
10. Tiny Crescent with Dot Accent
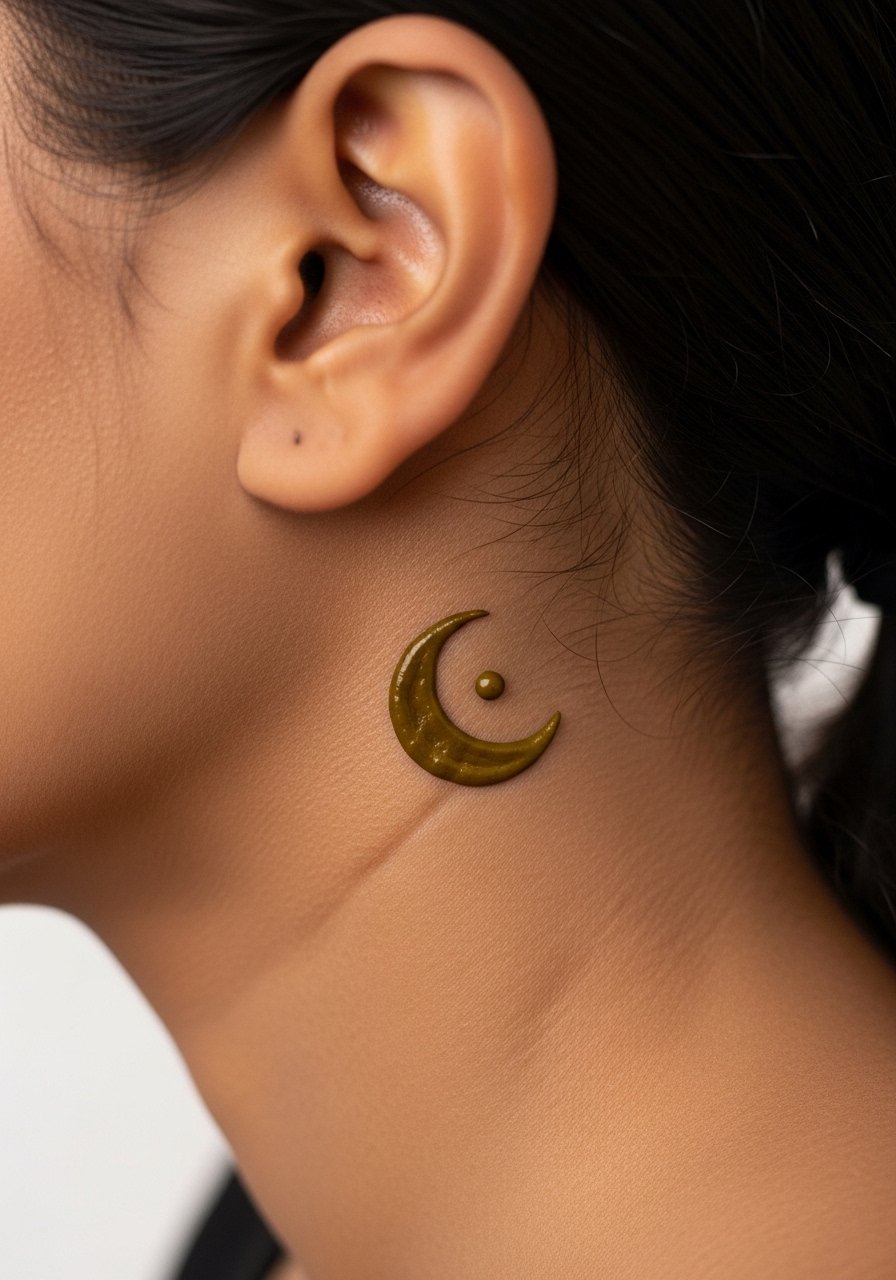
A crescent with a dot feels classic and soft. The trick is to request a slightly thicker crescent that still reads delicate when the dot fades. The session is two to five minutes. A common mistake is requesting a hairline crescent that sits too close to hair; that invites smudging from styling products. At three days the contrast is best, and by day eight it becomes a warm, gentle mark. For the session consider a silk scrunchie so hair stays up without pulling at the paste.
11. Tiny Sunburst Halo

A mini sunburst reads like a little glow tucked under hair. Ask for short, blunt rays rather than many thin lines because thin rays can merge into a blurred halo when the stain ages. The session takes about ten minutes and is comfortably easy. The main aging issue is excess oil from hair products, so plan to avoid heavy conditioners near the spot for a day. At peak it looks crisp and by day ten it settles into a faint radiance. Pair it with small ear climbers that echo the upward motion without covering the stain.
12. Tiny Arrow Tip Pointing Down
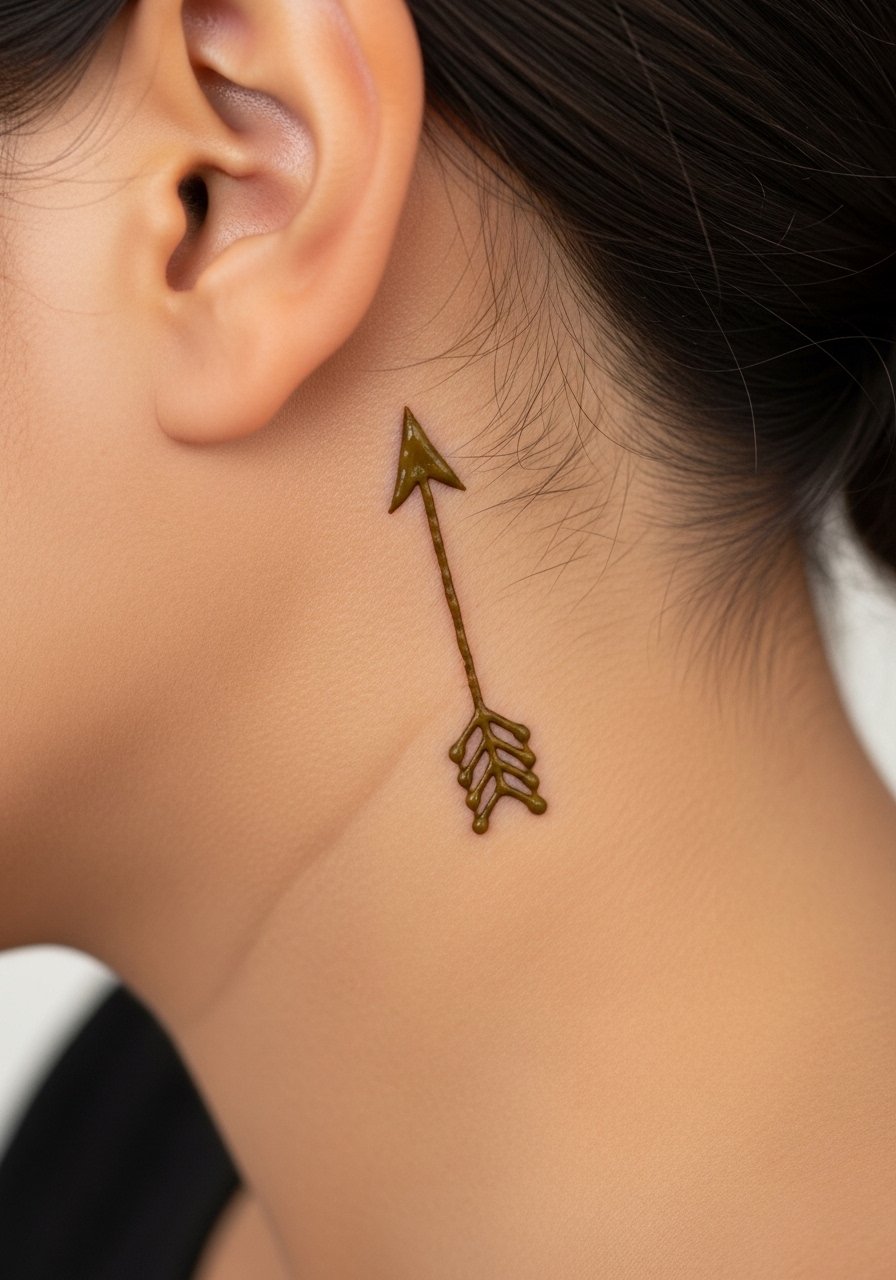
An arrow tip is a sharp, subtle detail. The wrong call is asking for a long shaft in this tight area. Instead ask for a short tip and a bold endpoint so the shape survives showers. The application is brief and painless. Expect the darkest color at two to three days, then a gradual fade. For the session pick a loose button-down shirt so you can put it on without brushing the freshly sealed paste. Small studs work especially well with this graphic accent.
13. Micro Lace Edge Peeking from Hair
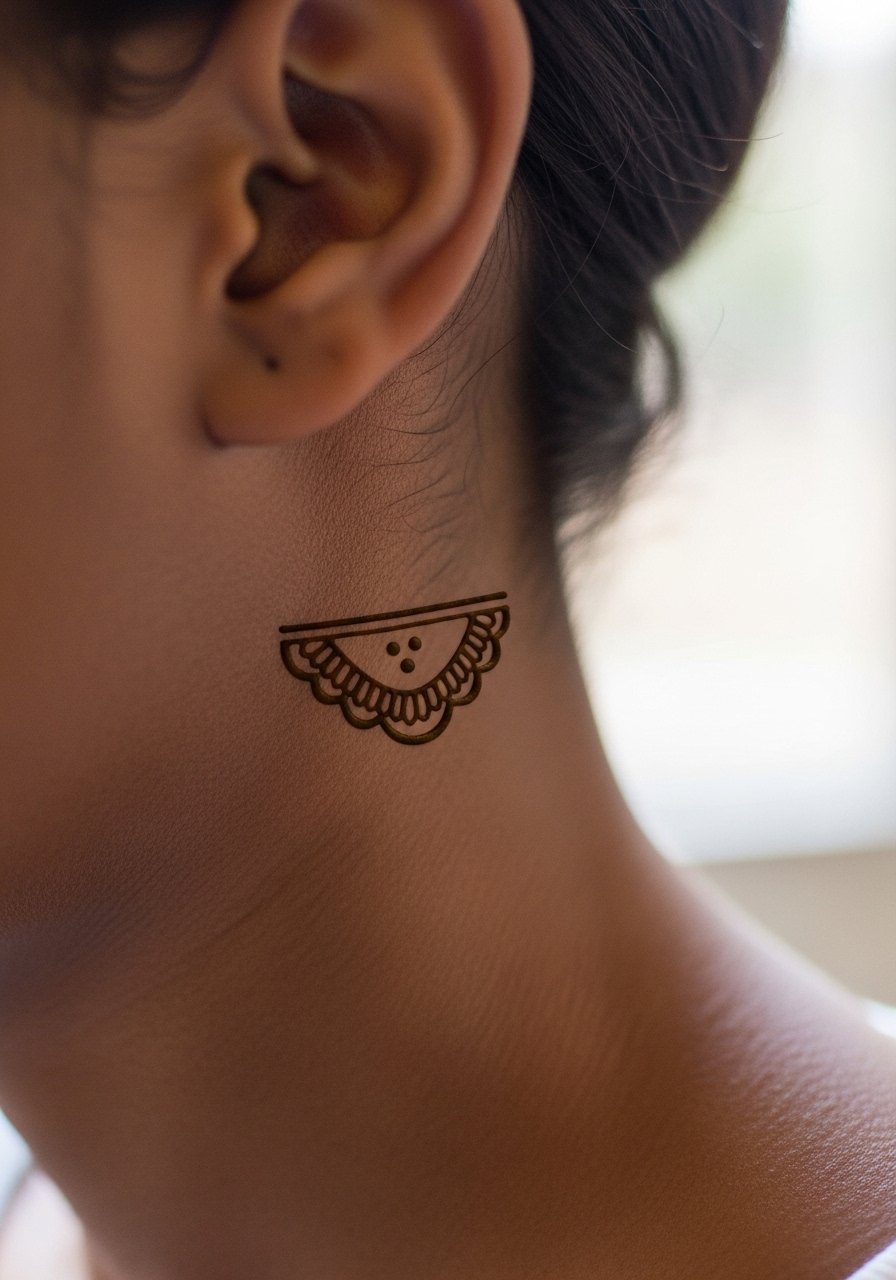
Lace-edge motifs mimic a clip-on look that peeks from hair. Artists split into two camps on lace detail behind the ear. One camp argues fine lace is too delicate for a high-friction spot and blurs quickly. The other camp says with slightly thicker scallops and careful sealing, the lace can last visibly for a week. Ask the artist which method they prefer for your lifestyle. The session runs about 10 to 12 minutes and the main mistake is packing too many tiny dots into the scallops.
14. Tiny Wave Line Echoing the Skull Curve

Wavy lines feel organic and soft when they mirror the skull’s natural curve. The consultation note should say "follow curvature, keep minimal" so the artist avoids heavy shading that will darken the area. Session time is five to eight minutes and pain is minimal. The common mistake is asking for filled waves. Filled shapes trap paste and flake unevenly. By day three the lines are strongest, and by day ten they fade into a gentle suggestion. For appointments, secure hair with a soft claw clip to keep the paste undisturbed.
15. Tiny Seed Pod with Two Dots
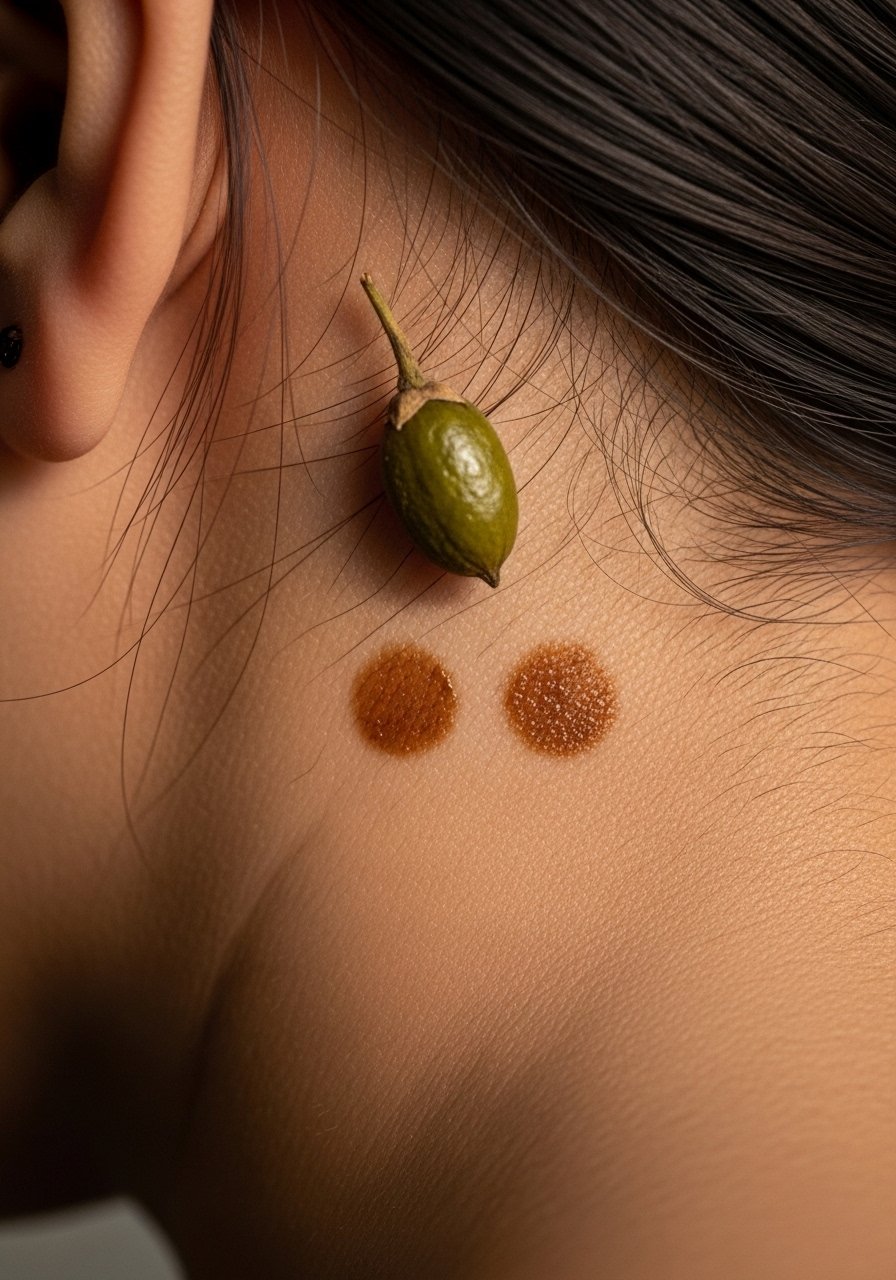
Seed pod shapes read organic and modern when tiny and isolated. Tell the artist "no interior fill, two accent dots" so the silhouette remains crisp as it fades. The session is pleasantly quick. A common error is over-detailing inside the pod which leads to patchy fading. Expect the darkest tone by 48 hours and a soft fade by week two. This design pairs nicely with delicate drop earrings that hang just under the hairline.
16. Micro Chevron Trio
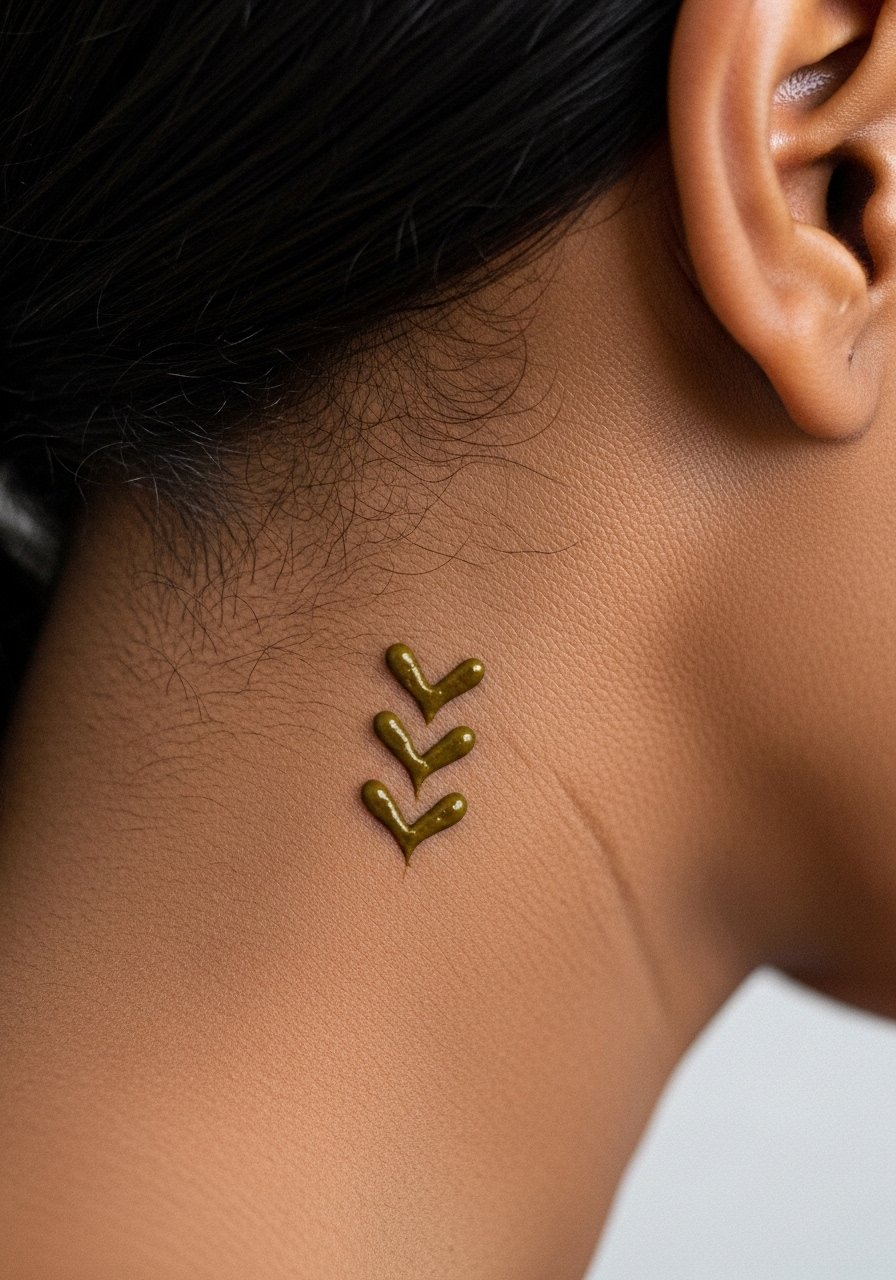
Chevron stacks make a tiny statement while staying soft. The artist should keep the spacing clear between chevrons to avoid them merging as the stain ages. The session is quick and the paste feels like gentle painting. The most common mistake is asking for too many stacked lines which confuses the eye when faded. Peak contrast appears on day two to three, then the chevrons mellow evenly. For showing off consider a hair pin set to sweep hair away without friction.
17. Tiny Leaf Outline with Negative Space
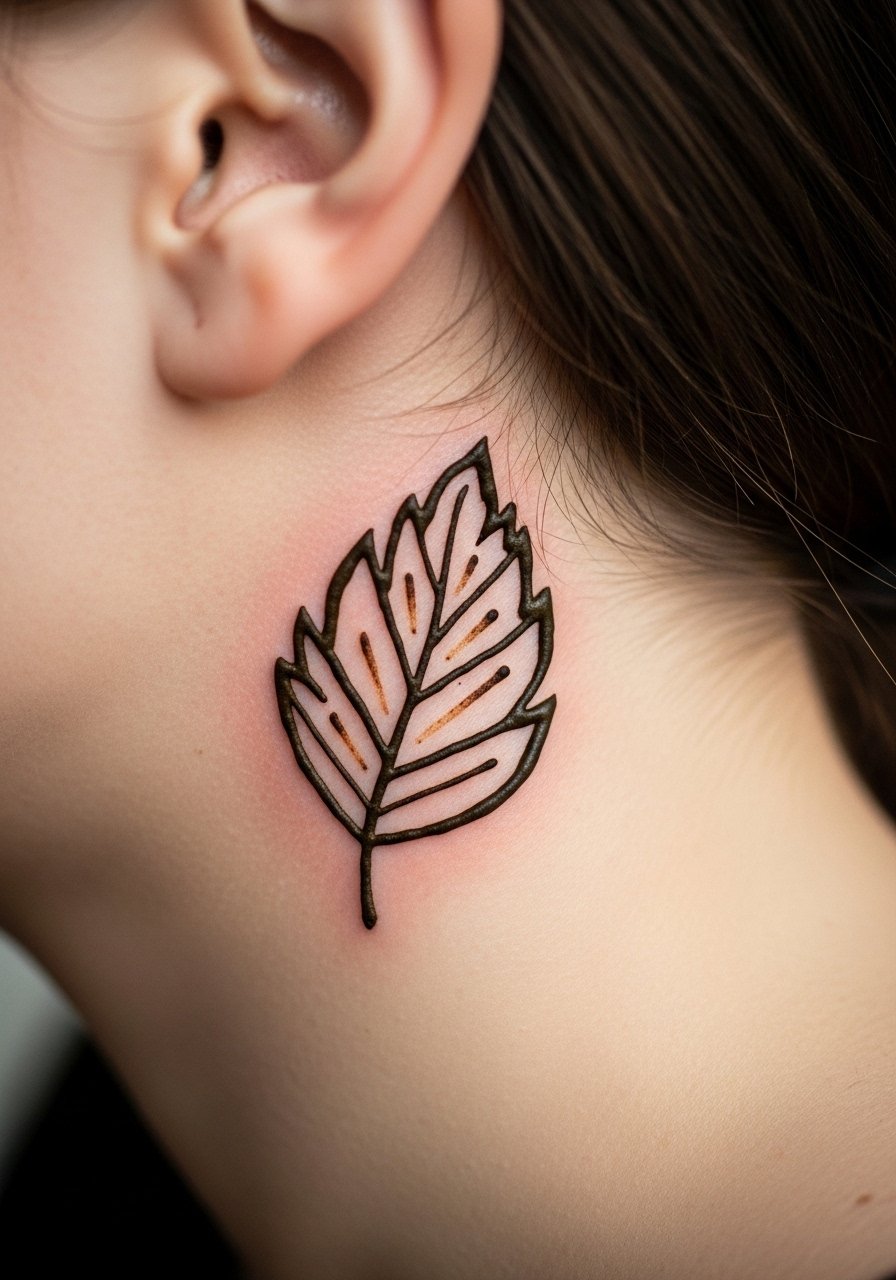
Negative-space leaves look delicate and soft because they rely on outline alone. Ask for a bold outline rather than thin, interior lines. That choice improves longevity by keeping the edges clear as the center fades. The session takes about ten minutes. A mistake is requesting interior stippling that flakes unevenly. Expect the strongest edge at 48 hours and a soft interior fade by day seven. Pair with small hoop studs to frame the leaf without covering it.
18. Tiny Knot Motif Inspired by Friendship Bands
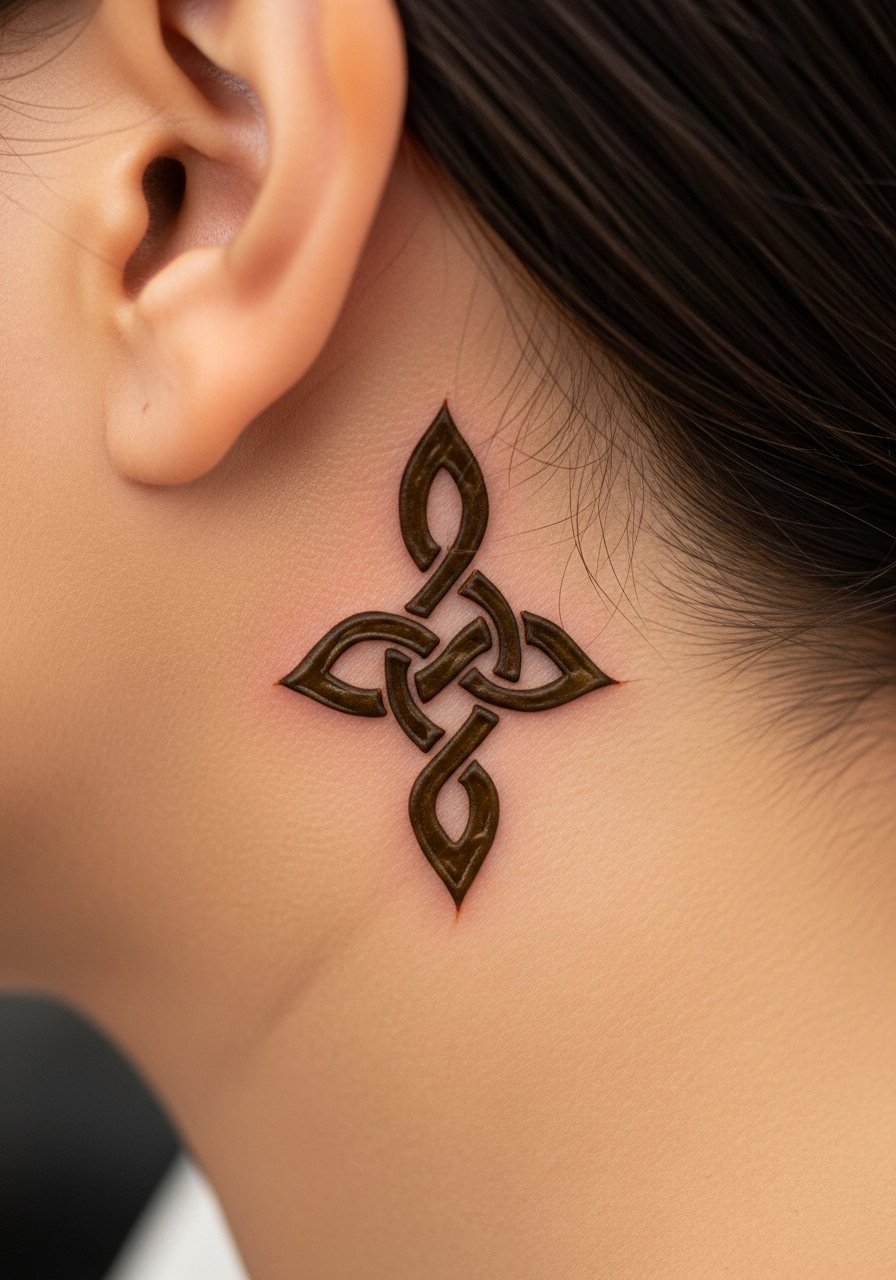
A knot motif feels personal and low-key. Tell your artist "single knot, bold outline" to preserve the shape through daily movement. The application is calm and under ten minutes. The common error is over-complicating the knot with many tiny loops that do not resolve well as the stain softens. At peak the knot is distinct, and by day ten it becomes a faint symbol. For the session wear a crew neck tee you can remove without touching the area.
19. Micro Floral Ring Sitting Behind the Ear
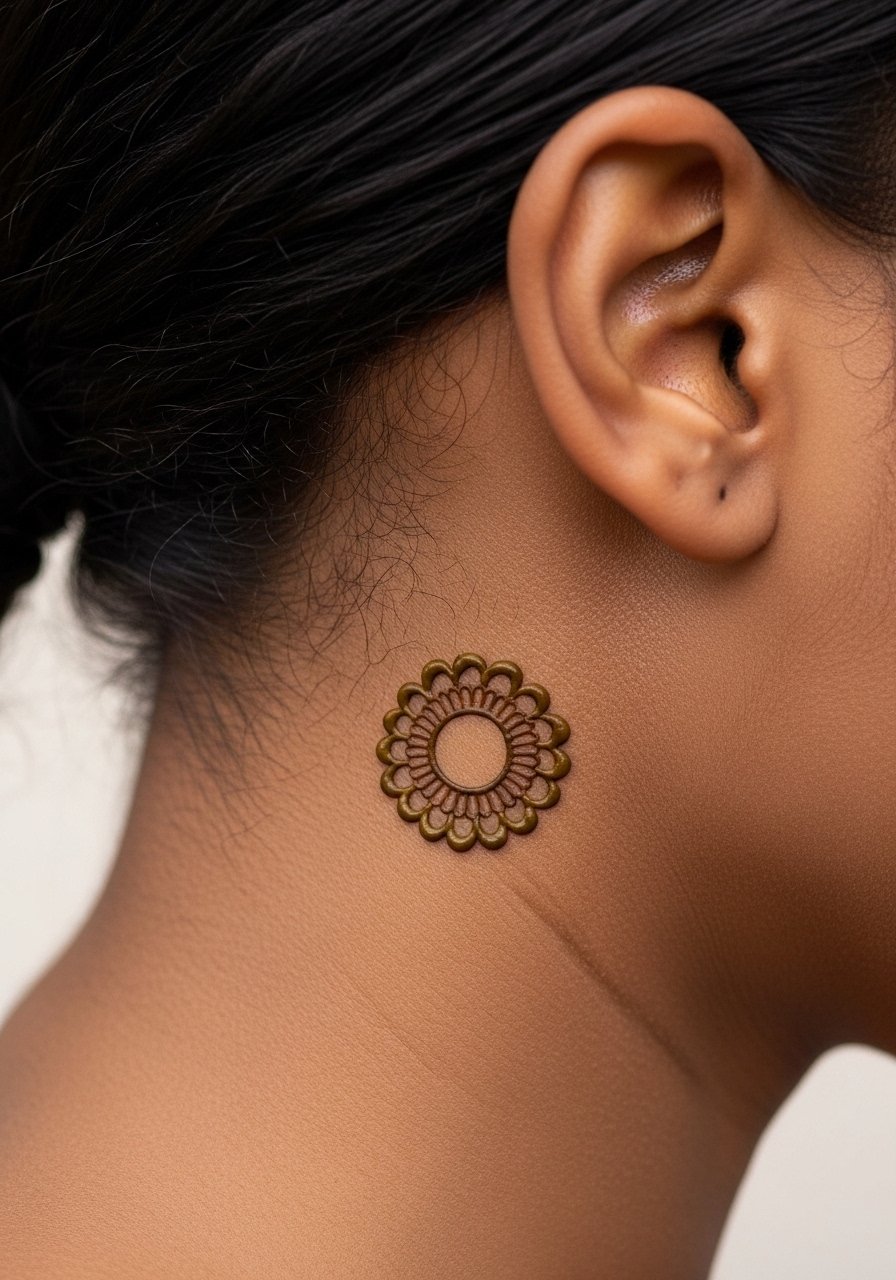
A floral ring sits like a little wreath behind the ear. During consultation request broader petal separation so the ring does not fuse into a solid circle. The session is relaxed and about 10 minutes. A frequent mistake is asking for intricate internal dots in each petal which can create uneven fading. Expect clear edges at day two then a soft wreath by day ten. Pair with small ear studs that let the ring read uninterrupted.
20. Tiny Crescent with Two Parallel Lines
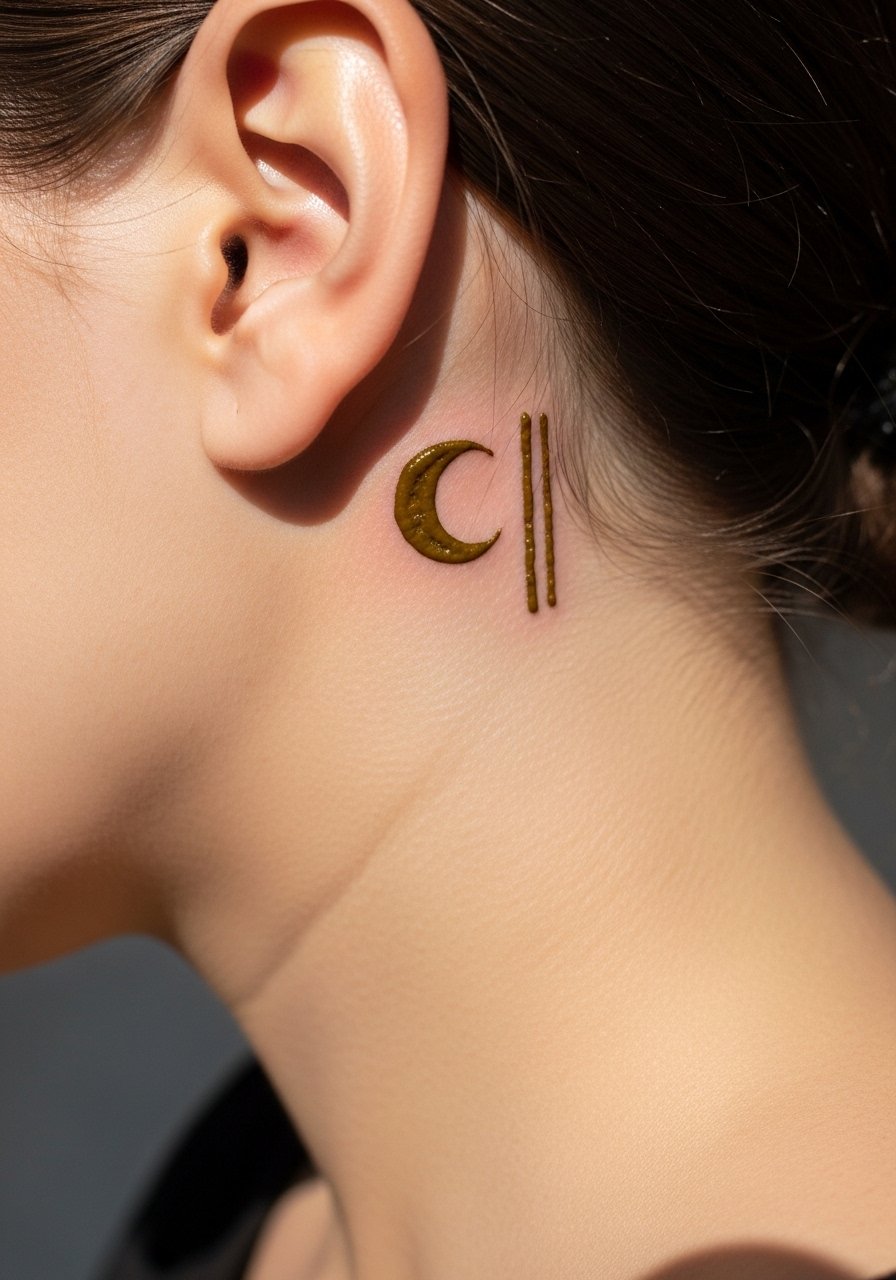
This little composition reads modern and composed. Ask the artist for the parallel lines to be slightly spaced to prevent merging into a block as it fades. The session is quick and the feel is gentle. The common mistake is packing the lines too close or asking for heavy fill nearby. Peak contrast is at 48 hours and the group will soften evenly across the first week. For showing off, tuck hair into a low bun clip so the trio reads as a deliberate trio.
21. Micro Constellation Map
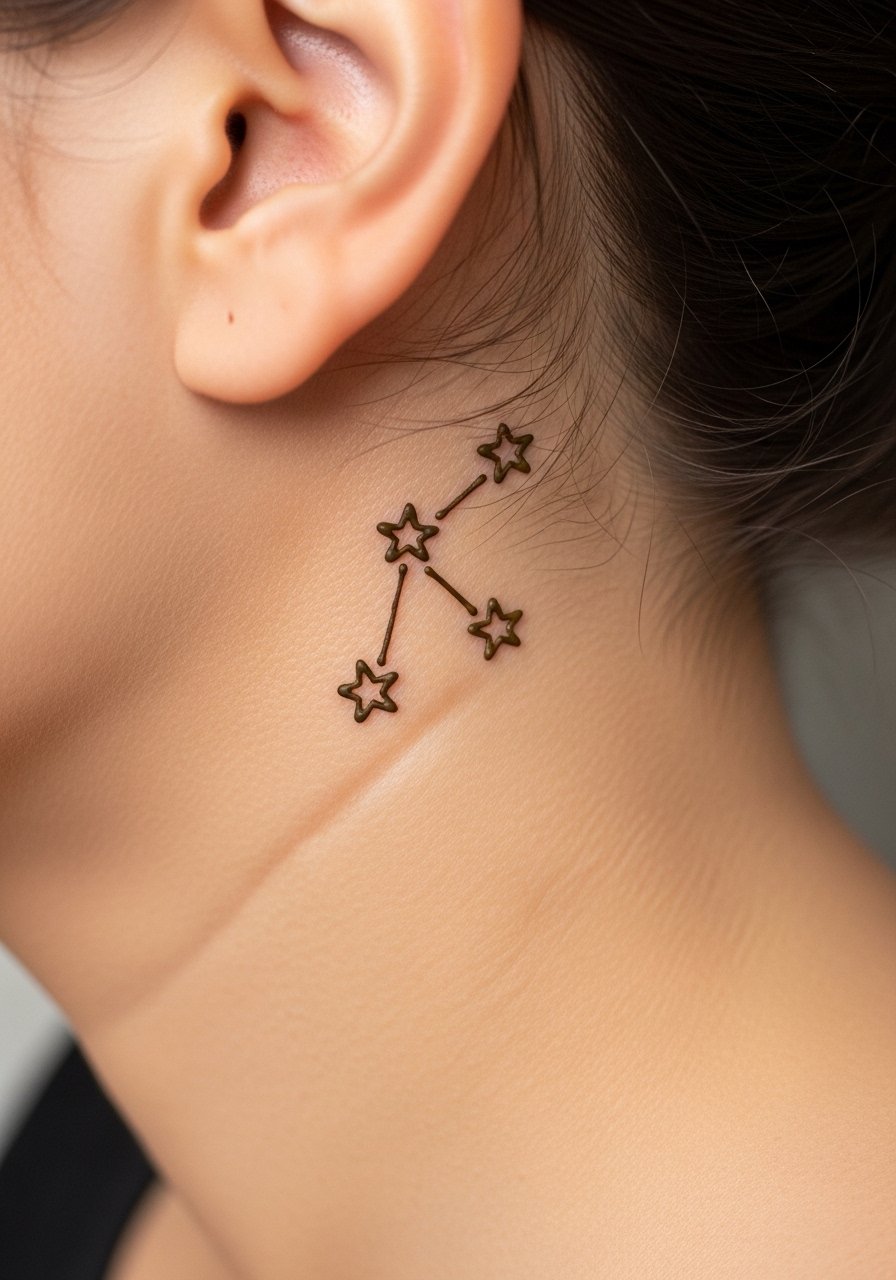
A mini constellation reads like a private charm when placed behind the ear. Tell the artist exactly how many stars and the line connections because scaled constellations can turn into a blob if you add too many points. The five-minute session is comfortable. A common mistake people make is asking for tiny connecting lines that fade first. Expect the stars to be sharp at two to three days then mellow by the end of week one. Pair this with tiny stud earrings that echo the constellation’s placements.
Frequently Asked Questions
Q: How long do henna designs behind the ear typically last, and what affects that?
A: From what I have seen, small henna stains behind the ear usually last about one to two weeks before they are noticeably faded. Sweat, hair oils, and frequent shampooing usually shorten the lifespan. Sealing the paste for several hours and avoiding heavy conditioners near the area for the first day will help the stain peak darker.
Q: Will fine details blur faster in that hairline spot compared with a forearm design?
A: Yes, fine details tend to soften faster behind the ear because hair and natural oils press against the stain more often than on an exposed forearm. If you want details to last longer ask the artist for slightly bolder linework and minimal interior dots so the shapes age into clear silhouettes.
Q: Are there any styling tips for showing a behind-the-ear henna without revealing it all the time?
A: Wear hair in a loose messy bun clip or tuck one side behind your ear for nights out. Small hoops or studs frame the spot without covering the stain and let it peek naturally.
Q: Is there any controversy about putting tiny script or fine geometry behind the ear?
A: There is a split in opinion. One group says very fine script and geometry in that spot will blur quickly because of friction and oils. The other group argues that with slightly thicker strokes and careful sealing those details hold well for the first week. Ask your artist which approach they prefer for your lifestyle.
Q: How should I prepare for my henna session behind the ear?
A: Clean, oil-free skin is the main prep. Skip heavy hair oils the day of and wear something that does not need to be pulled over your head, like a button-down or a wide-neck shirt, so you do not smudge paste when dressing.
Q: Can I get a henna design there if I wear hearing aids or glasses regularly?
A: You can, but mention those items during consultation since earpieces and frames can rub the area and reduce longevity. Your artist can position the design slightly to avoid constant contact so the stain lasts longer.
