
Fine line spider tattoos are everywhere on saved boards right now, but the ones that still read crisp after a few years are chosen for placement and spacing more than for novelty. If you want a spider that feels soft and wearable, think about how it sits next to clothing, how much daily friction the area gets, and what to ask for in the consult. Below are designs that balance delicate linework with practical aging tips you can use at booking.
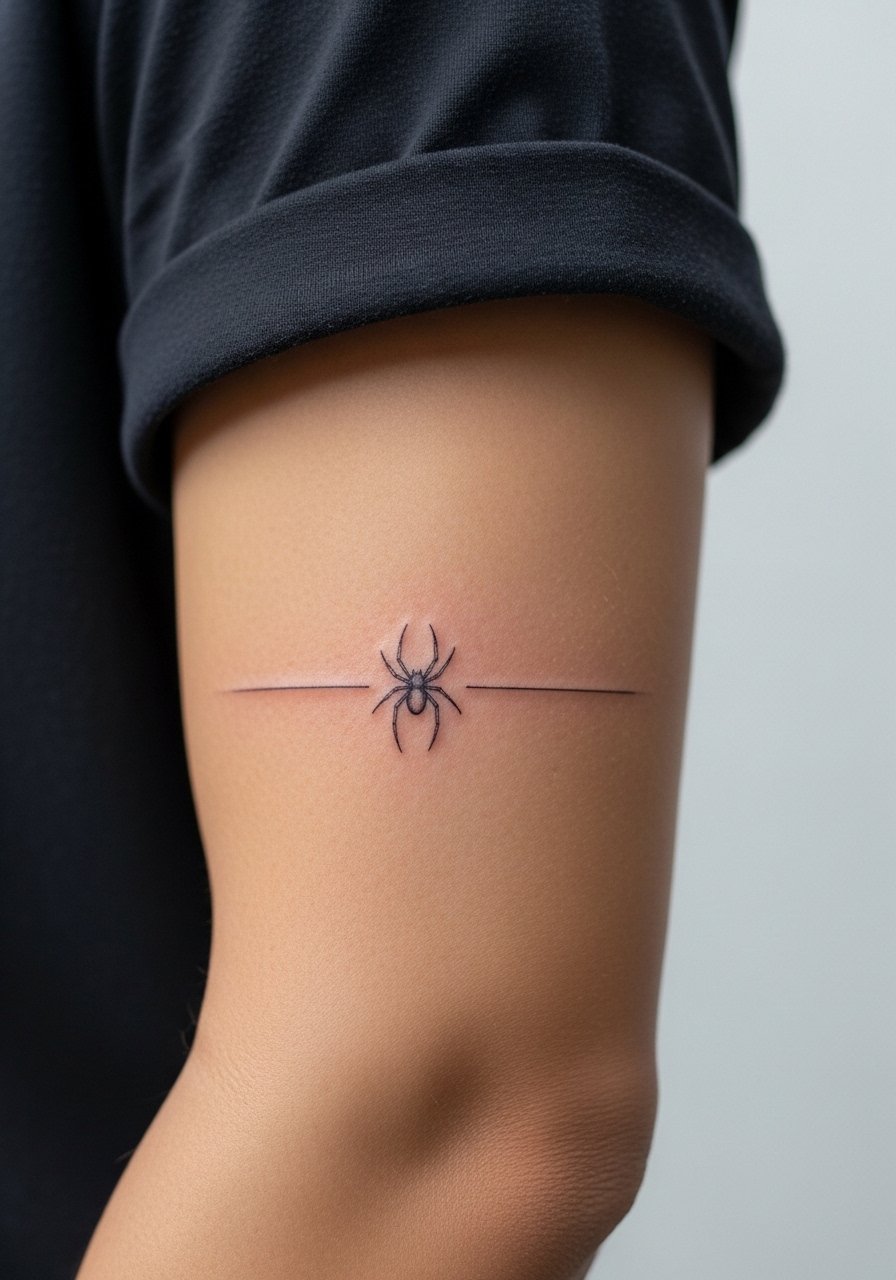
1. Tiny Spider on Inner Forearm
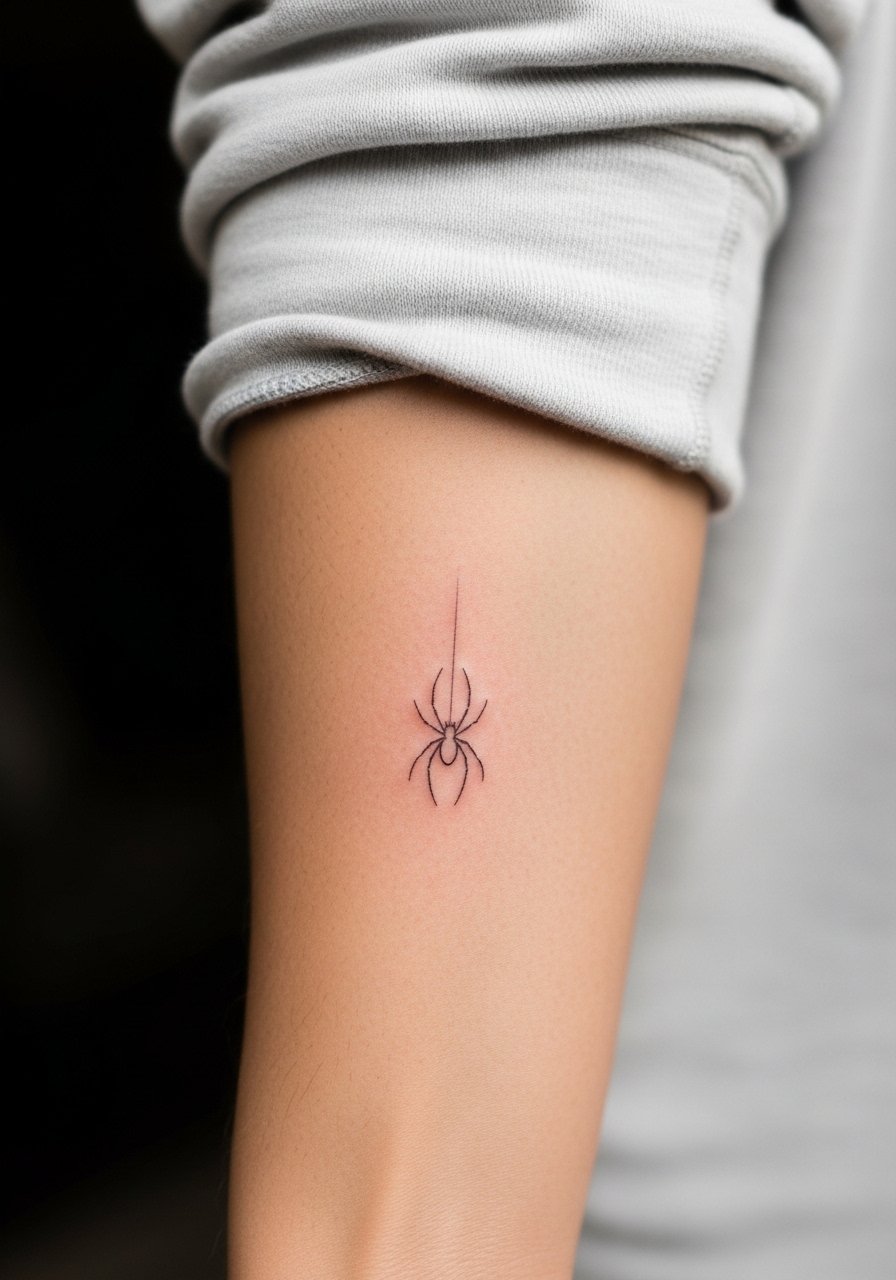
I recommend this when you want something visible but not crowded. Ask your artist for slightly increased spacing between the legs so the negative space survives two to five years. Most people make the mistake of requesting ultra-fine single-line legs with no breathing room, which blurs faster on thicker skin or with frequent sun exposure. A one-hour session on the inner forearm feels like steady vibration more than sharp stabs. Expect a touch-up window around year two if you wear short sleeves and get lots of sun. For the appointment, wear a loose button-down shirt you can pull aside so the artist has clean access and you stay comfortable.
2. Micro Spider Behind the Ear, Floral Accent
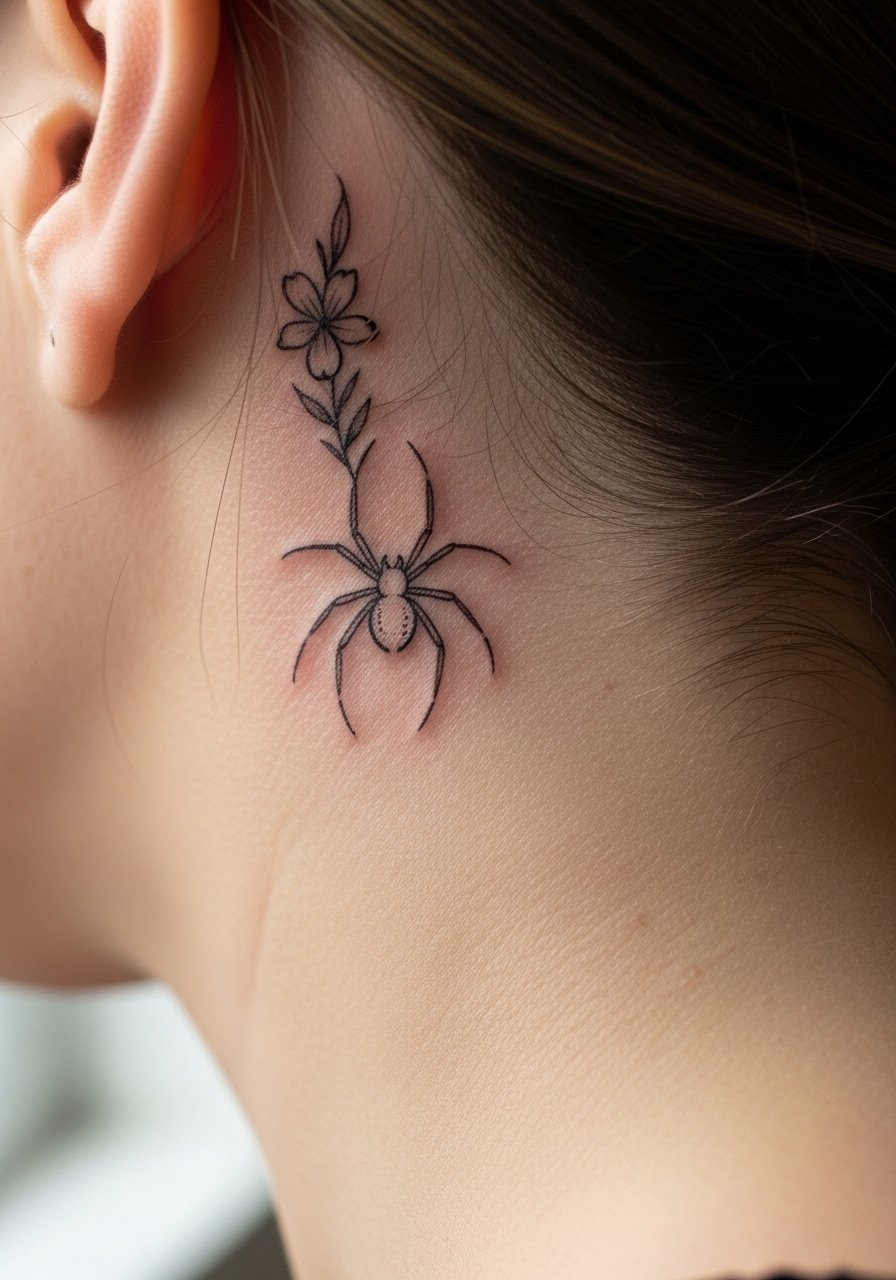
This is a low-visibility option that reads intimate rather than bold. Behind-the-ear ink tends to be shallow if rushed, so tell the artist you want consistent depth and a small anchor point where the floral element meets the spider. The session is quick but the skin there is thin, so it is tingly and sharp for a brief period. Over time the floral detail may feather faster than the spider body, so ask for slightly bolder dots in the flower centers to age better. For showing it off, a thin chain pendant necklace sits above the area without distracting from the tiny composition.
3. Web-Wrapped Wrist Cuff
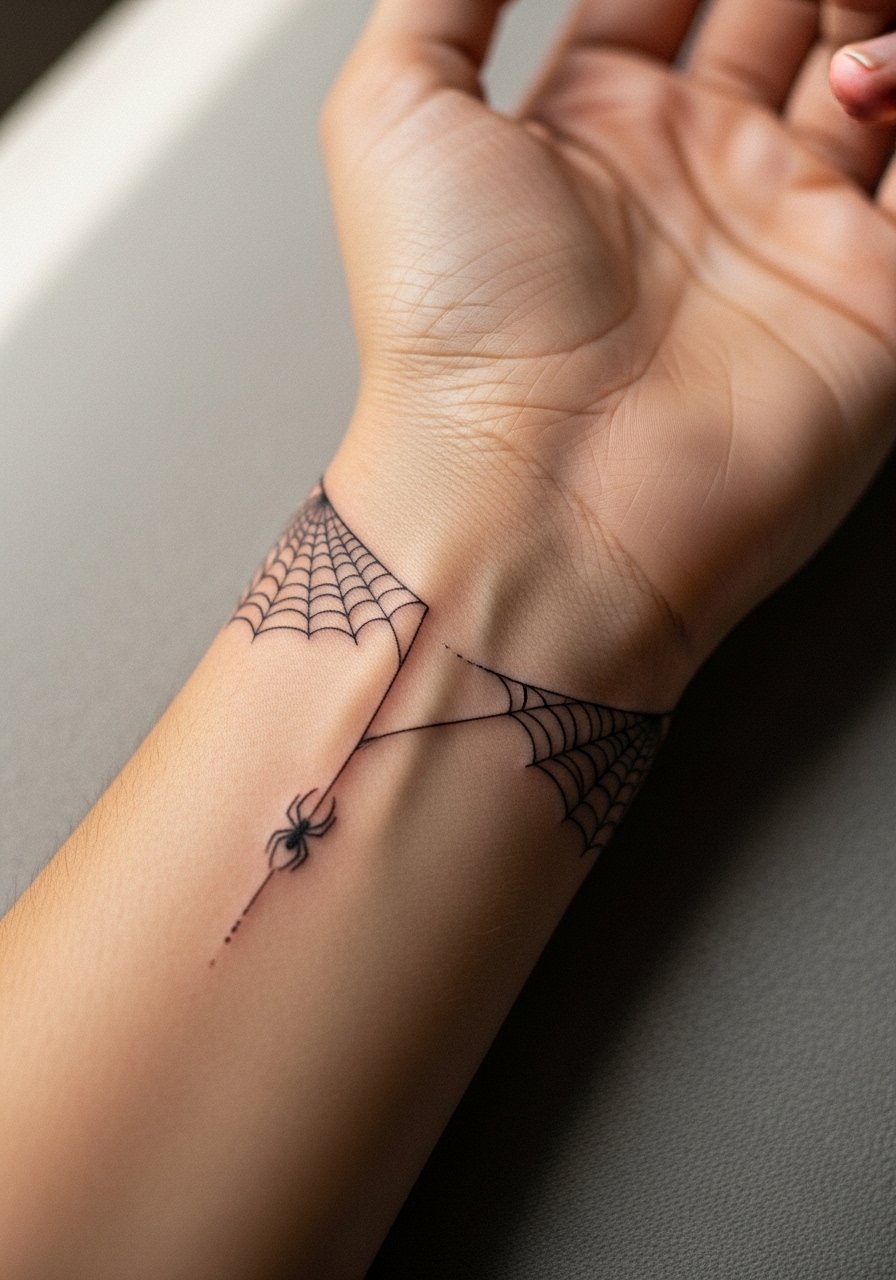
Wrist cuffs are great for repeat wear with bracelets, but friction from jewelry and constant washing stresses fine lines. I suggest a single, airy wrap rather than dense webbing to avoid merging threads at year two. During consults, ask for slightly variable line weight so the web reads as texture rather than a flat band. Expect the session to sting more near the bone and to take 45 to 75 minutes depending on wrap complexity. If you plan to wear a watch daily, consider positioning the clasp gap away from the densest lines to reduce rubbing. Pair this with a minimalist watch band that keeps attention on the open web.
4. Tiny Spider on the Side Rib with Stipple Shading
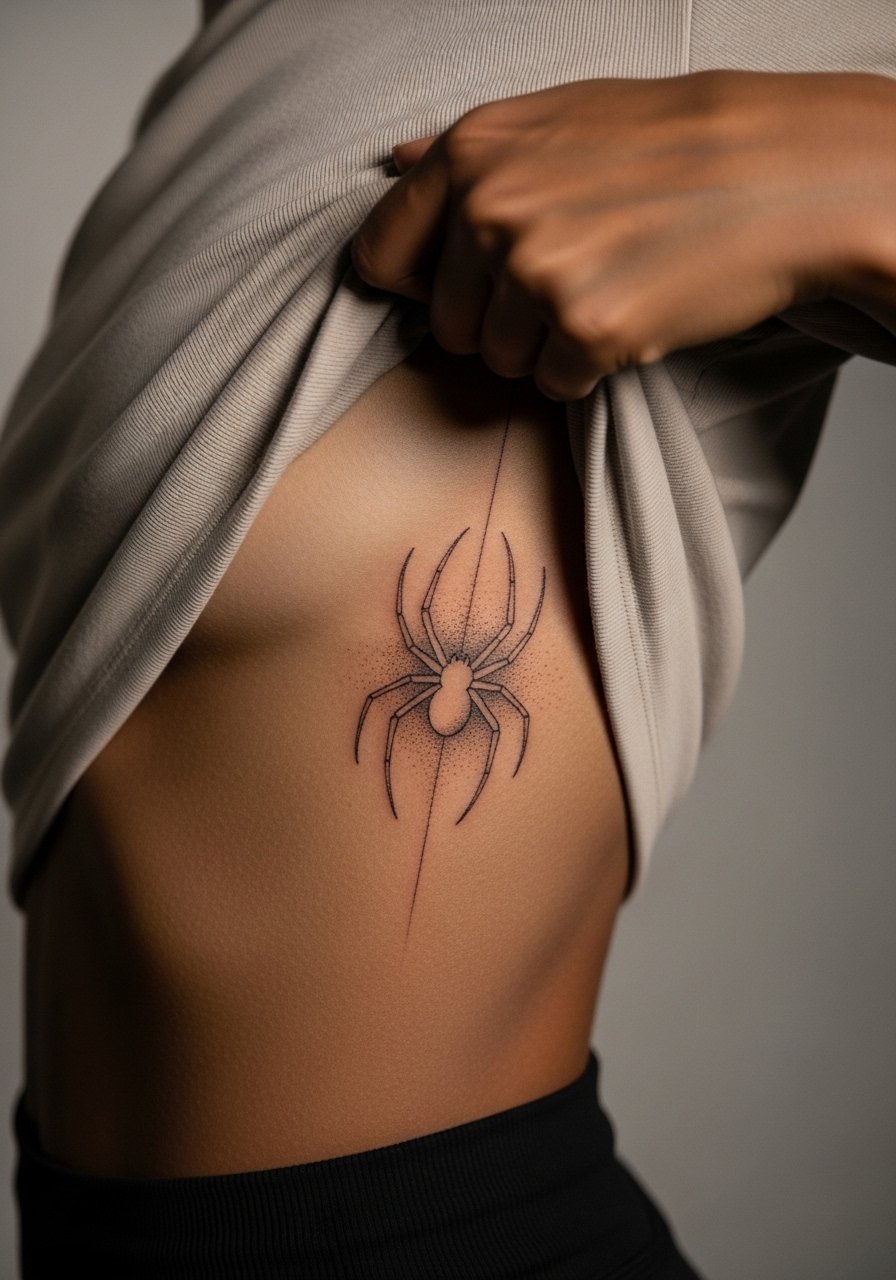
Fair warning: ribs are a placement artists split on. One camp says the stretch and breathing make fine line blur in a couple of years. The other camp says with controlled needle depth and measured spacing, fine line can settle cleanly. Ask your artist where they stand and to show healed rib photos from two or more clients. Sessions here are more painful because the needle travels over bone and thin tissue. The stipple fills help the spider feel soft and give the eye room, which ages better than solid tiny fills that can blob. For the appointment, bring a zip-up hoodie you can lift up comfortably and slip on afterward.
5. Collarbone Spider with Negative Space Web
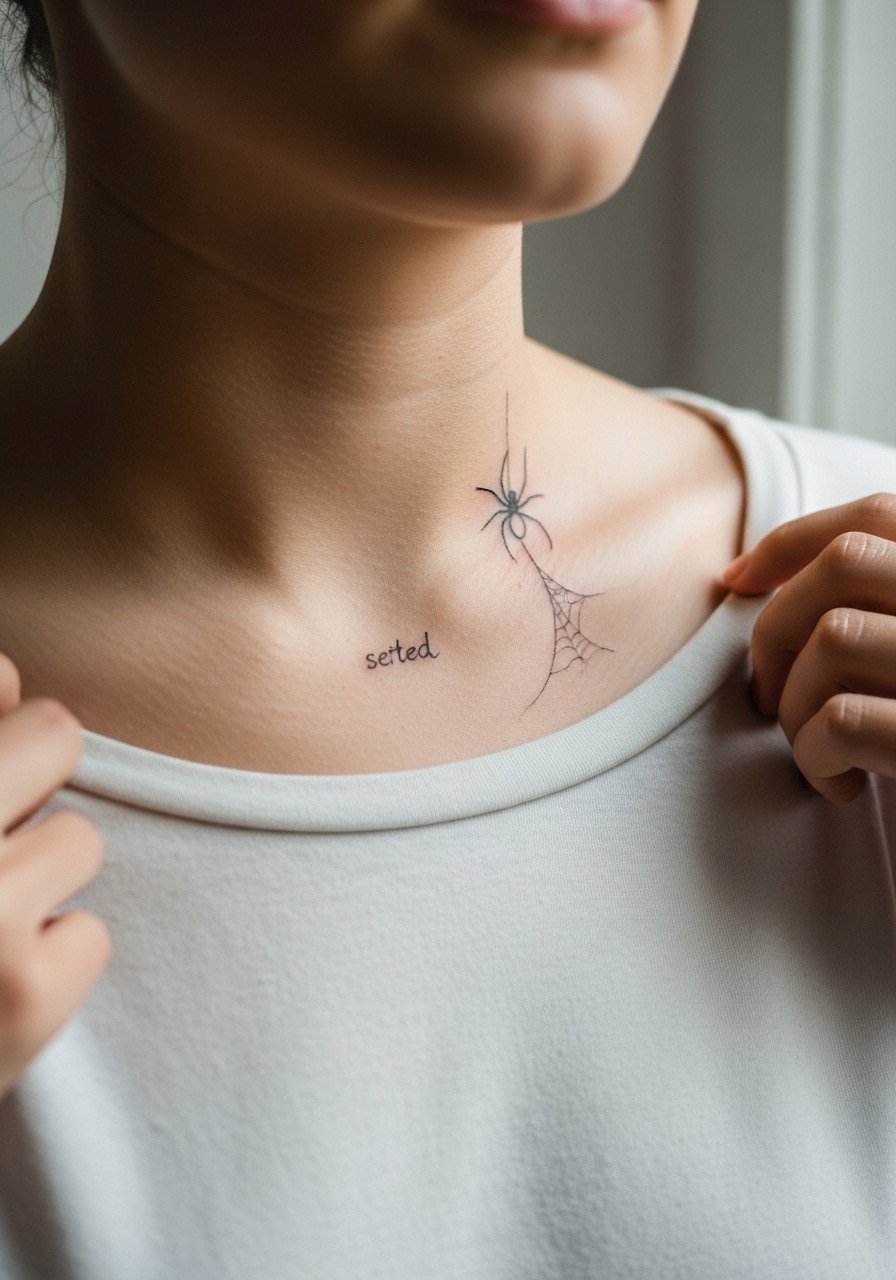
This placement reads feminine without shouting. The collarbone area has thin skin, so the biggest mistake is packing too many tiny lines into a small area. Tell your artist to use negative space inside the web so it breathes as the skin settles. At six months the lines look crisp, and by two to three years the collarbone area can show slight softening if exposed to sun. Sessions feel like sharp pinpricks near bone but are short enough to be manageable. For evening looks, pair the tattoo with open-back midi dresses or wide-neck tops that frame the linework.
6. Petite Spider on the Side of the Finger
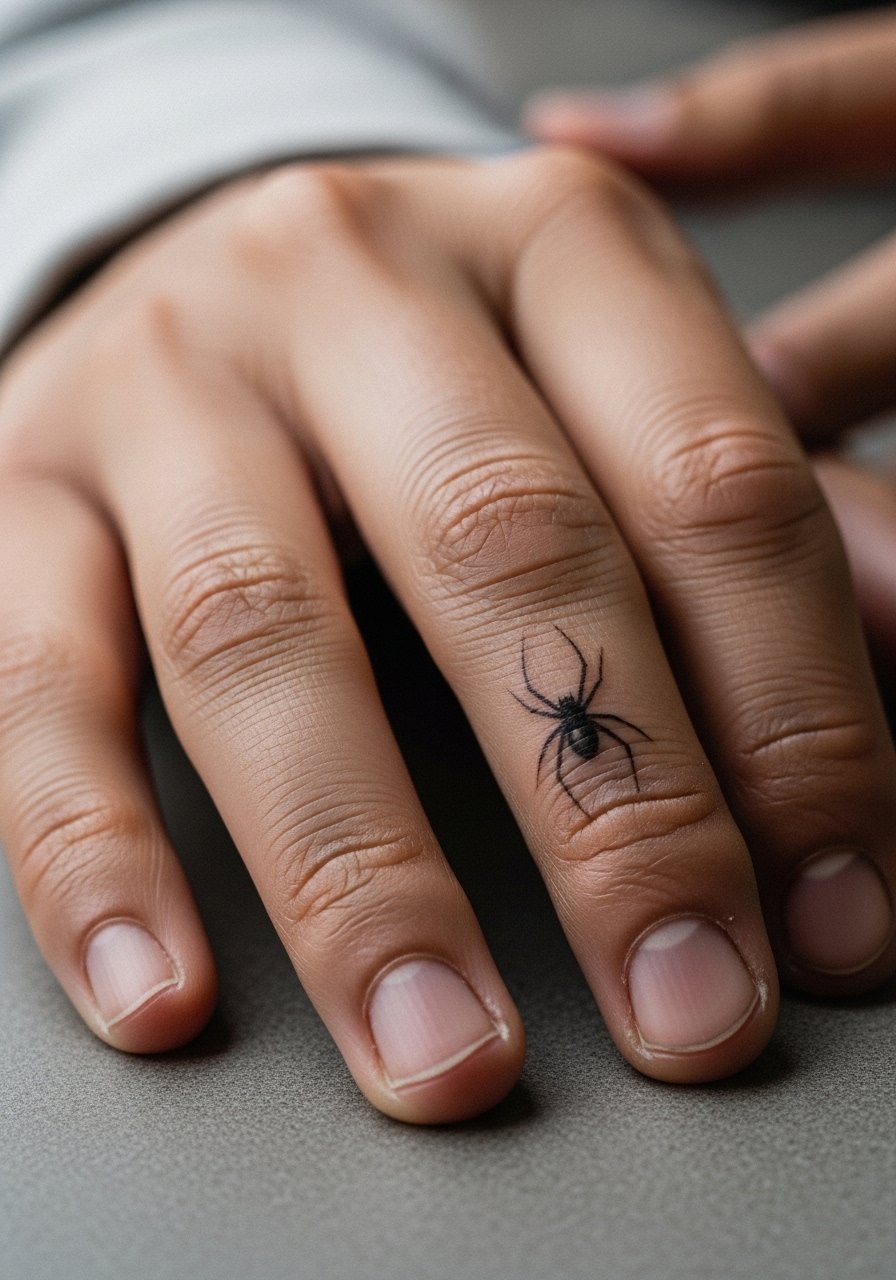
Finger and hand tattoos age differently than skin on the body. The common misstep is scaling a design too small and asking for hairline legs. Those lines often disperse into blur within a year. I tell clients the trade-off up front and recommend slightly bolder anchors at the spider's joints to hold up. Sessions are quick but painful, and touch-ups are almost always needed at year one or two. Because fingers are washed constantly, protective wrapping and careful hand care in the first week make a measurable difference. If you plan to stack rings, consider leaving a small gap between the tattoo and where rings sit so metal does not rub the new linework.
Session Day Picks
The wrist, collarbone, and finger pieces above ask for different prep than larger forearm work, so a short kit covers access and immediate care for ideas 1 through 6.
-
Stencil transfer paper kit. Lets you test placement on skin before the needle hits, which is helpful for tiny finger and collarbone placements.
-
Topical numbing cream. Applied about 45 minutes before can ease the sharper sensations on ribs and fingers without impeding the artist.
-
Thin protective film roll. Useful for wrist and finger tattoos that face constant friction during the first few days.
-
Fragrance-free gentle body wash. Cleanses healing tattoos without added irritants, especially handy for forearm and collarbone pieces.
-
Aquaphor healing ointment. A thin layer in the first 48 hours helps lock in moisture for fine line work without suffocating the tiny channels the ink sits in.
7. Single-Line Spider Climbing the Spine
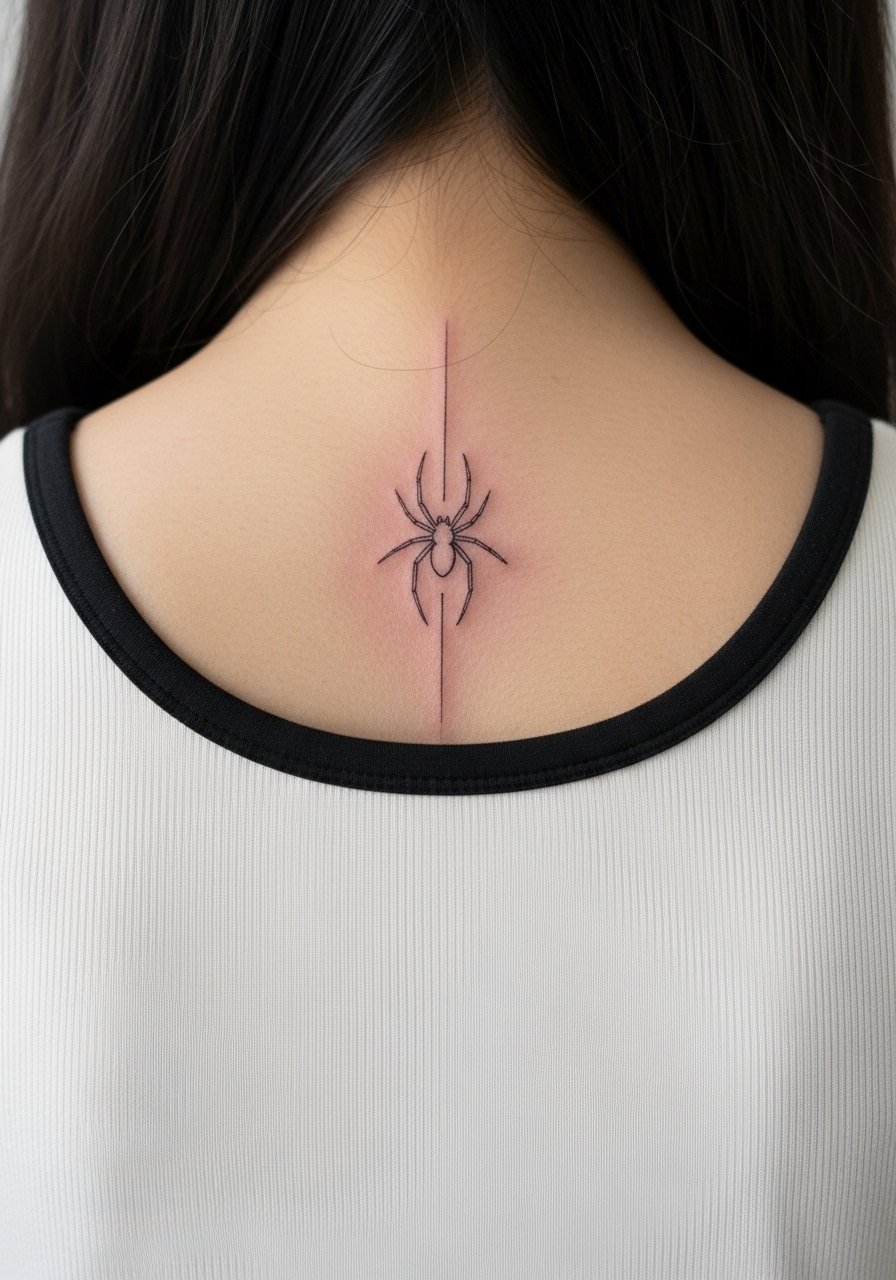
A vertical spider climb is elegant with careful spacing between body segments. For this placement, tell your artist you want incremental spacing between each leg so that as the spine moves the legs do not touch. The session can be longer because the artist moves up and down the spine, and it is moderately painful in spots near vertebrae. The most common aging issue is compression of stacked elements, so keep each spider leg and body slightly separated. This design shows beautifully with open-back dresses and halter tops that reveal the linework, so plan wardrobe choices for evenings out.
8. Tiny Geometric Spider on the Outer Thigh
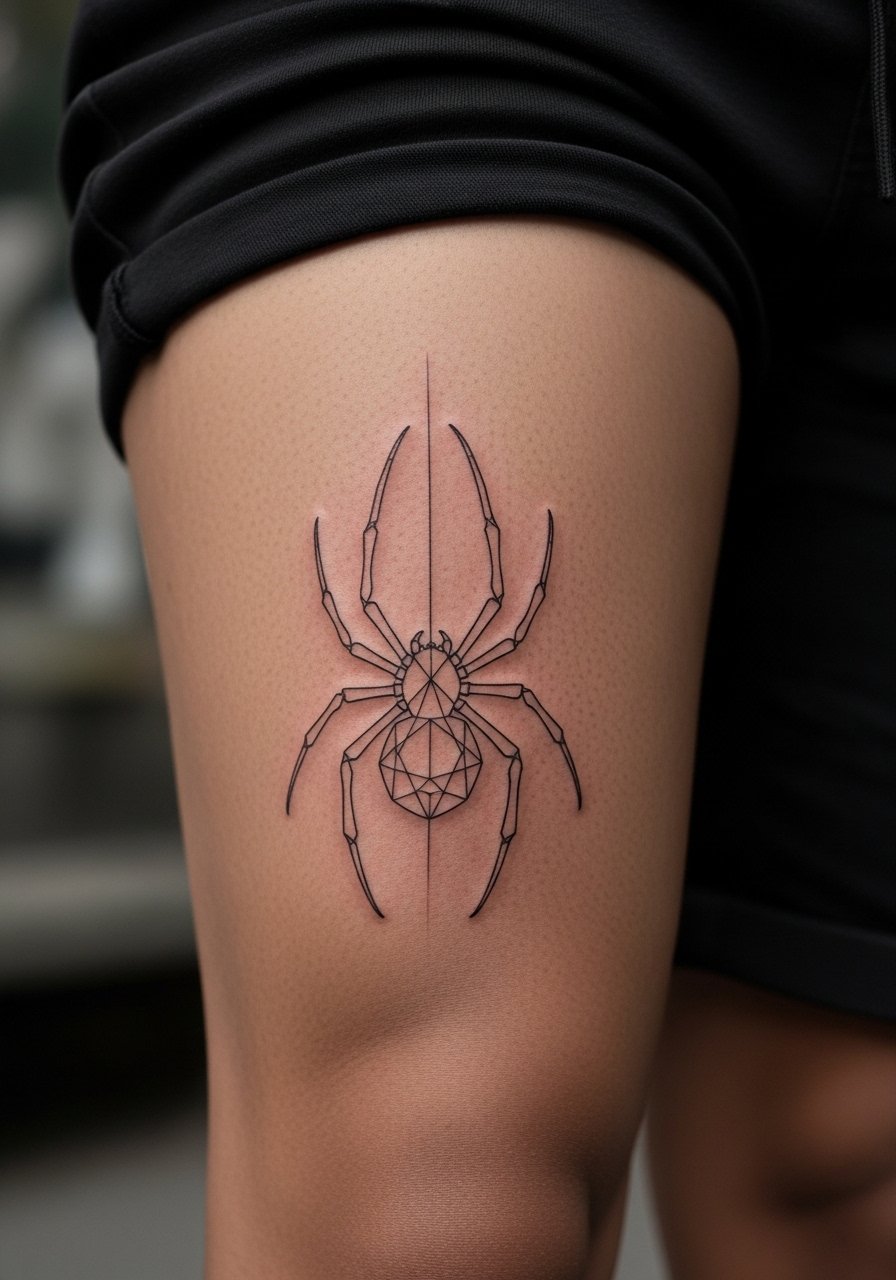
Outer-thigh skin is forgiving and holds fine line detail well if the needle depth is steady. I favor a small geometric version when someone wants a subtle edge that can be hidden easily. The session feels like long steady buzzing with brief sharp spots near tighter muscles. Avoid asking for extreme micro-detail crammed into a dime-sized space or the geometry will lose its crispness at year three. For the session, wear loose drawstring linen pants so you can roll the leg up without pressure and slip them back on comfortably afterward.
9. Spider and Botanical Half-Sleeve Accent
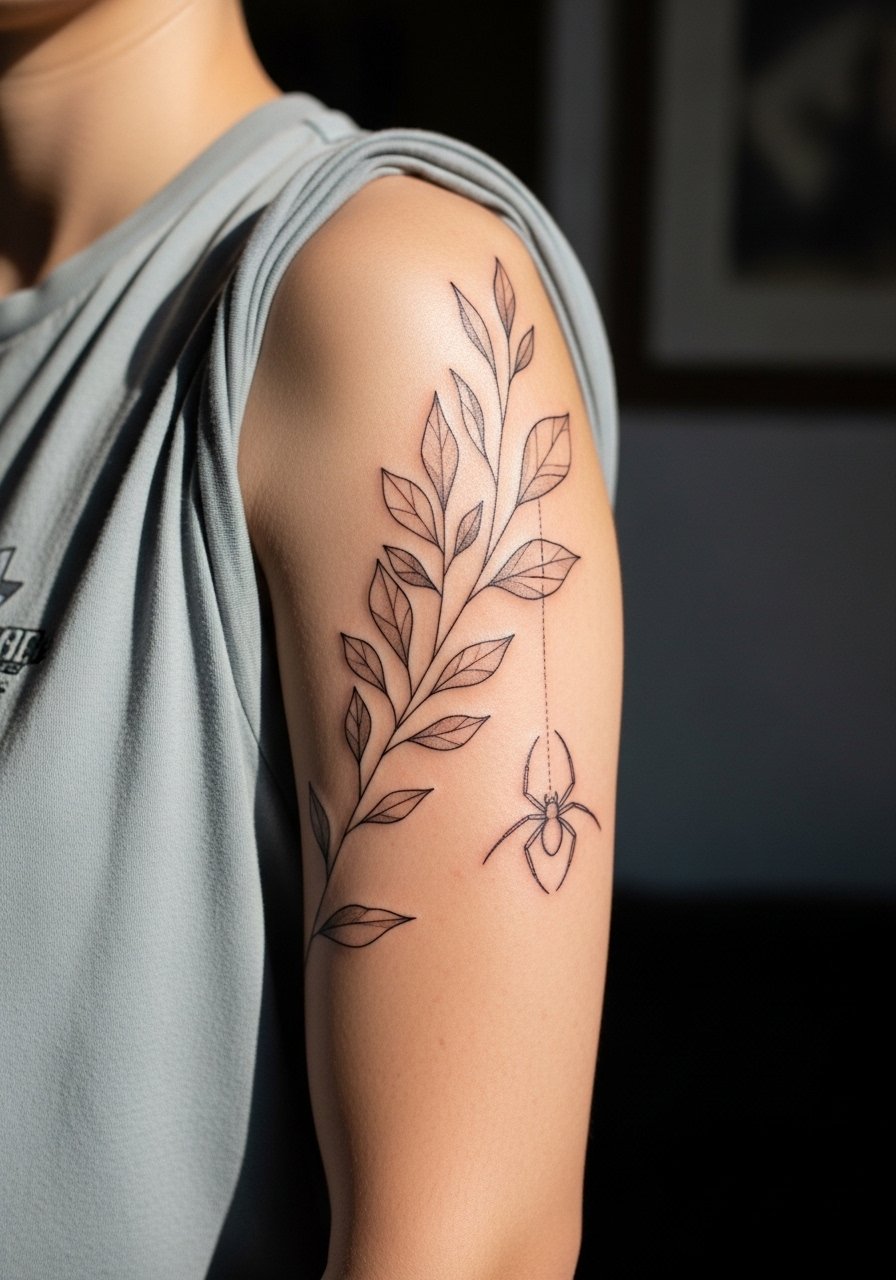
This is for people who want a soft stack rather than a standalone bug. Choose a spider as a focal point with wispy stems that give it room. In consults I ask clients to point to reference photos that show desired spacing and shading. The upper arm takes ink well, and a half-sleeve ages more predictably than dense forearm work because the skin there moves less. Mistakes occur when artists overfill the botanical around the spider, which creates a crowded look at year two. Sessions run longer but the pain is tolerable, and touch-ups are usually needed only at multi-year intervals.
10. Minimal Spider Over the Elbow Fold
Placement over the elbow crease is tricky because the skin stretches and folds with movement. The common error is putting too many delicate legs across a fold, where they merge quickly. I recommend a compact body with three sturdy legs on each side and intentional negative space. Expect sharper sensations during the session and a higher chance of needing a touch-up at year one. For ease during the appointment, wear a short-sleeve button shirt you can roll without stretching the area.
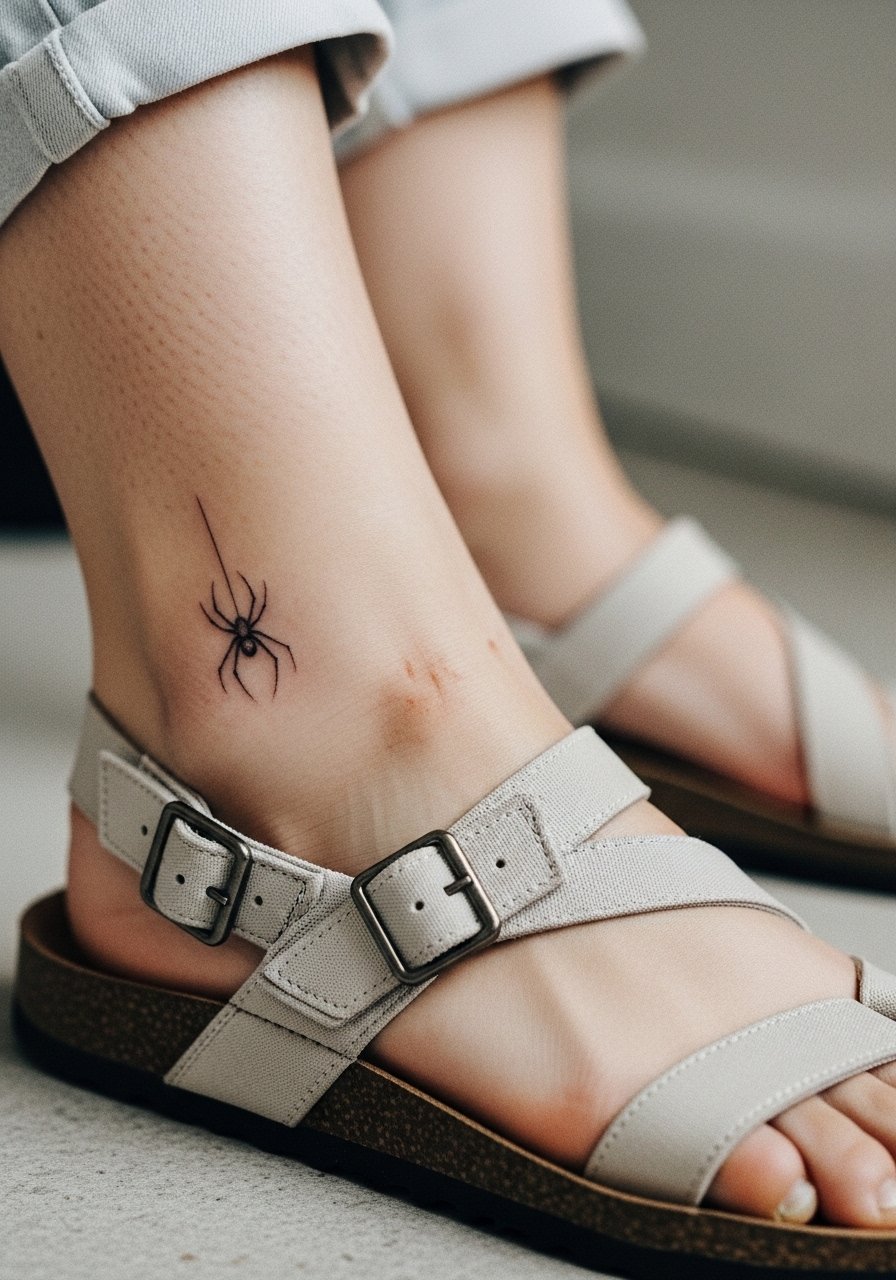
11. Delicate Spider Nesting Near the Ankle Bone
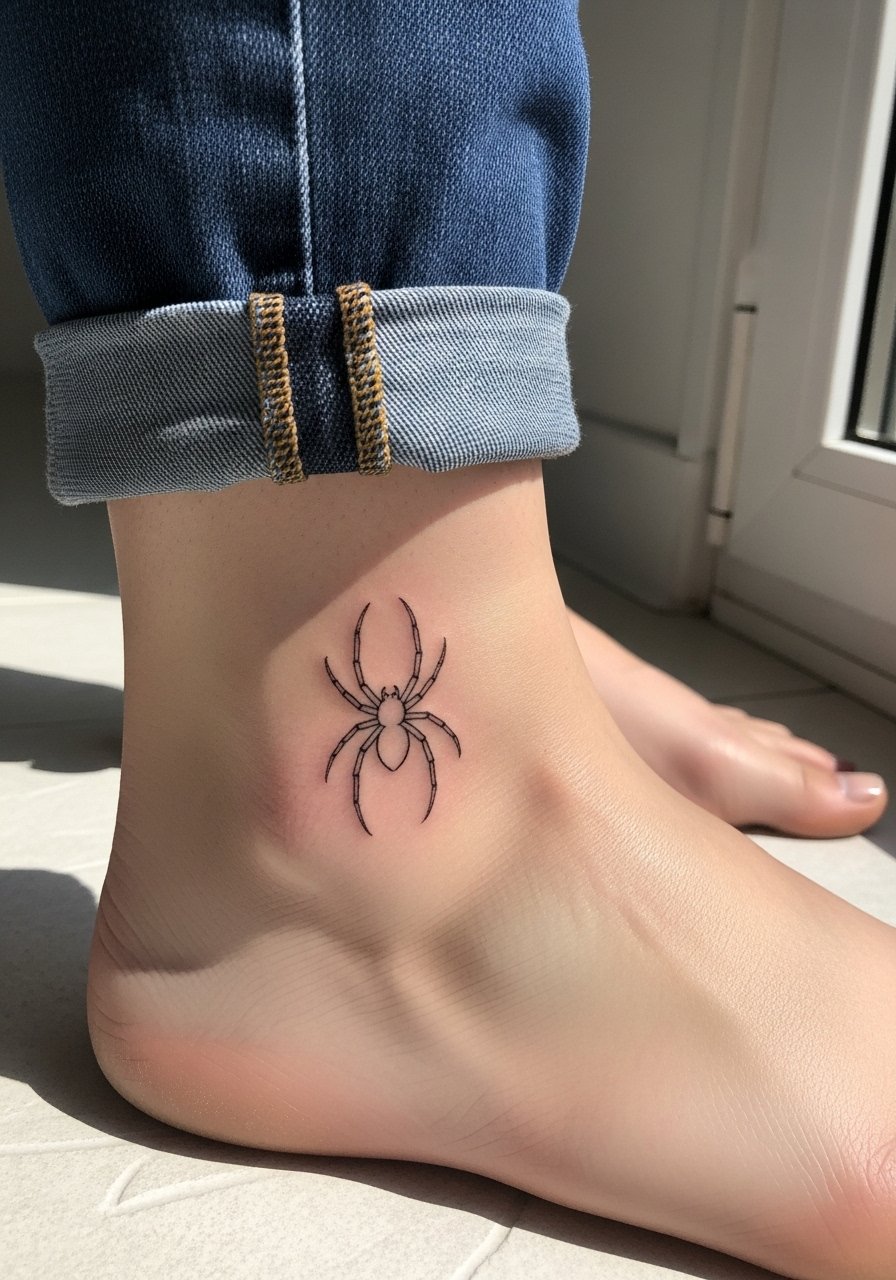
Ankle bones present a combination of thin skin and high friction from shoes. The mistake I see is asking for hairline legs that the shoe or sock rubs away. Ask for slightly bolder anchors on the joints of the spider and position it where the shoe collar will not hit. Sessions sting more where the needle passes over bone, but they are short. Plan for a touch-up window at year two if you wear low-cut shoes daily. For showing off this placement, ankle-revealing footwear and cropped denim do the work and let the tiny spider peek out.
12. Negative Space Spider on the Shoulder Blade

Shoulder blades are forgiving for fine work and present less abrasion than wrists and hands. The negative space approach around the spider body prevents dense fill that could merge over time. A frequent consultation detail is to mark movement lines—ask the artist to check how the skin folds when you reach overhead. Sessions are moderate in discomfort and often broken into shorter passes for client comfort. Open-back clothing and halter styles highlight this area, so consider pieces that frame rather than cover the spider when you want to show it off.
13. Script and Spider Combo Near the Sternum
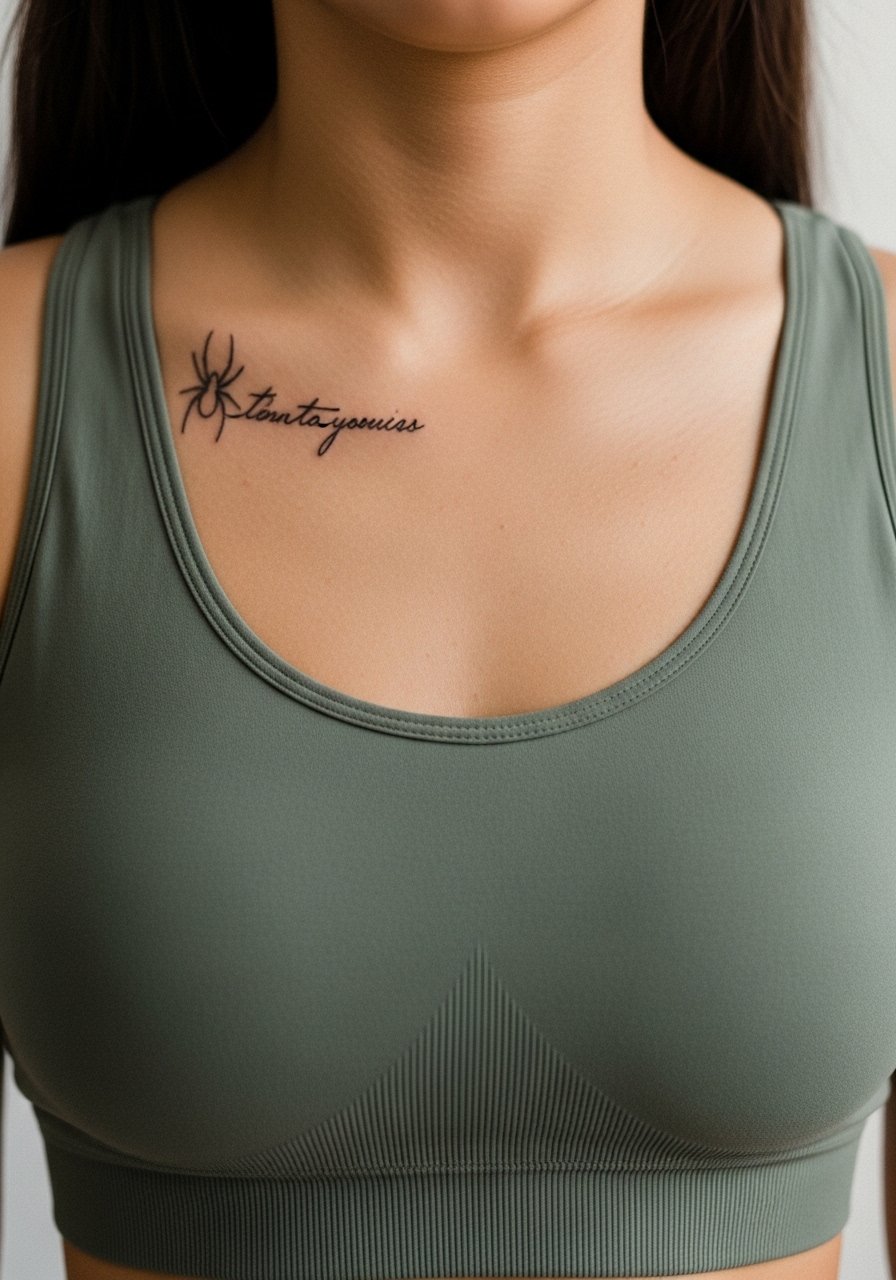
Sternum work is intimate and heals differently than arm or leg tattoos. The biggest mistake is pairing dense script with delicate spider legs in a tight block. Ask for spacing between the script and the spider so each element ages on its own. Pain levels are higher because the sternum sits over bone, and sessions can feel intense in short bursts. If the script is important, specify font weight and spacing so the letters do not swallow the spider as lines soften. For the appointment, a fitted sports bra makes access easy and keeps you covered without shifting the area.
14. Tiny Spider on the Side of the Foot
Feet see a lot of wear and pressure from shoes, so fine lines there are often the first to need touch-ups. The common error is demanding ultra-fine legs with no thicker anchor points. I tell clients that the trade-off for visibility is a higher chance of fading and a likely touch-up at year one or two. Sessions are painful because the foot has little cushioning, and aftercare needs extra diligence to avoid shoe friction. For the session, bring open-toe sandals you can slip on so nothing presses the new ink.
15. Spider with Stippled Halo on the Back of the Arm
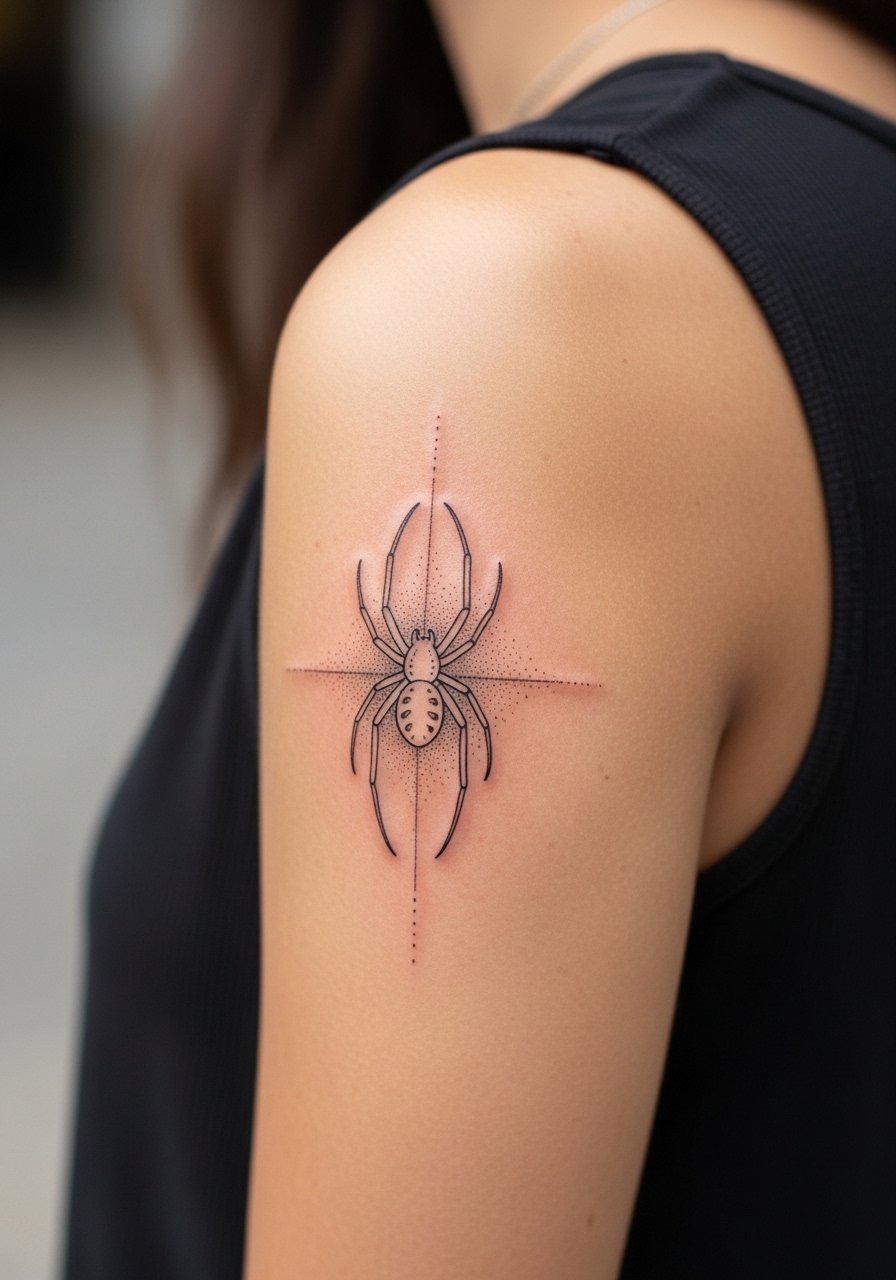
The back of the arm gives enough real estate for subtle stippling that supports the spider without crowding. Tell your artist you want a soft halo rather than dense shading so the spider stays the focal point as the piece ages. Sessions feel like steady pressure and are usually comfortable in short sittings. The main mistake is over-saturating the stipple which can flatten and hide the spider at year three. For casual outfits, rolled sleeves or sleeveless tops expose the back of the arm tastefully.
16. Micro-Realism Spider on the Calf
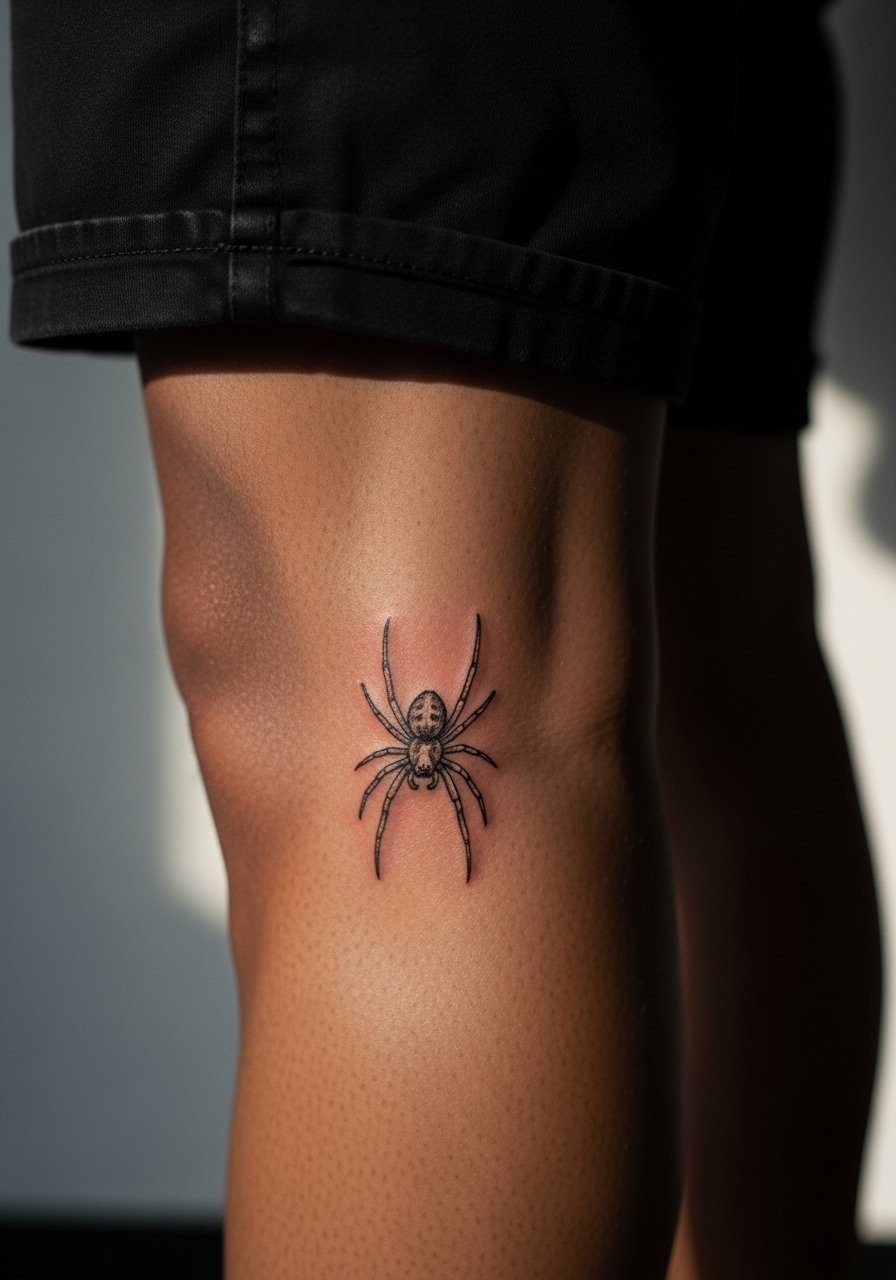
Calves are sturdy and hold line detail well, which makes them a good choice for a slightly more realistic tiny spider with shadow hints. The risk is asking for too much micro shading in a very small scale, which blends into a gray spot with time. Ask for controlled stipple and light whip shading to suggest depth without heavy saturation. Sessions here are comfortable for most people and can be longer, allowing for refined work. Calf pieces show cleanly with skirts and cropped trousers if you want a mid-season reveal.
17. Chain of Three Tiny Spiders Along the Collar Line
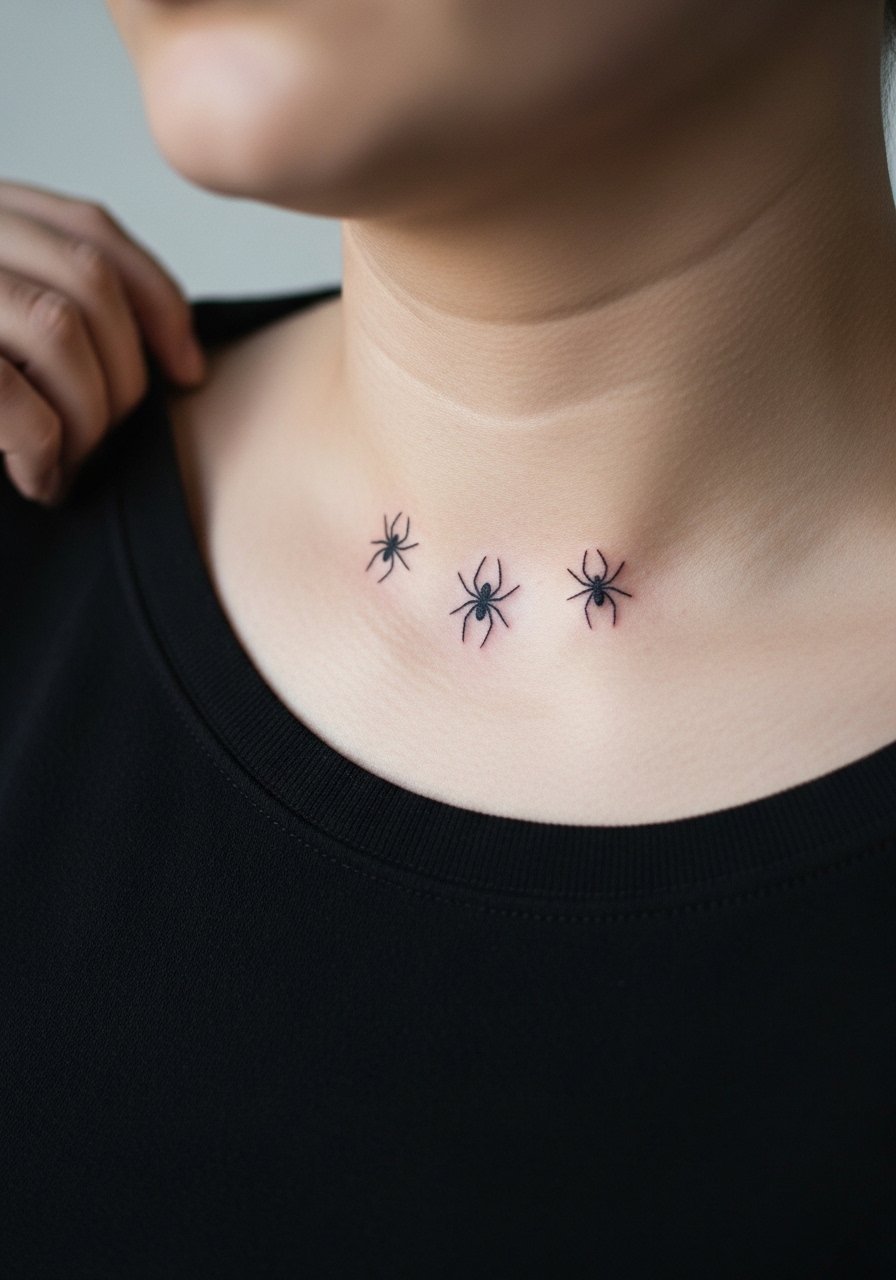
A linear chain of small spiders feels deliberate and soft when spaced for breathing room. The common mistake is clustering them too tightly which creates a single smudge at year three. During consults, talk about exact spacing and make the artist mark the points on your skin so you can check the rhythm before inking. Sessions are quick and mildly uncomfortable near bone, and a light touch-up is normal after the initial healing cycle. For evenings, open-necklines and thin chain necklaces complement the line without stealing focus.
Frequently Asked Questions
Q: How long do fine line spider tattoos typically stay crisp before needing a touch-up on common placements like wrist, collarbone, or ankle?
A: It depends on placement and daily wear. Finger and hand areas often show softening within a year, wrists and ankles commonly need touch-ups around year two, and collarbone or upper arm work can go longer before a refresh. Sun protection and minimizing friction slow the softening.
Q: Are there placements I should avoid if I want the lines to stay delicate for longer?
A: Avoid high-friction zones like the palms, sides of fingers, and areas rubbed daily by clothing or footwear. Ribs and sternum can hold fine lines well if your artist uses the right technique, but expect more pain and a possible touch-up. When in doubt, ask to see healed photos from the artist of the same placement.
Q: For spider designs that include tiny script or coordinates, what should I tell the artist about lettering so it ages alongside the linework?
A: Request slightly increased letter spacing and moderate weight rather than hairline strokes. Small script can blur faster than simple linework, so plan the text size with a bit of breathing room. If you want a subtle pairing, choose monospace or thin serif styles that have natural anchors.
Q: Do certain clothing choices make a difference during the healing week for placements like ribs, inner thigh, and sternum?
A: Yes. For ribs and sternum, fitted sports bras or wide-neck tops prevent constant fabric shifting. For inner thigh and hip work, wear high-waisted shorts or loose skirts that do not press against the area. These choices reduce friction in the first week and make showers easier.
Q: Should I expect a different healing timeline for a stippled spider versus a simple line spider?
A: Stippled shading can scab differently because it distributes pigment more diffusely. Expect a similar outer timeline for skin closure, but stipple often needs a more patient fade and sometimes a touch-up to restore contrast after the first six months. Be prepared for a longer visual maturation period than bare linework.
