
Fine line angel motifs have become a staple on saved boards, but what looks delicate in a photo can blur or read muddy if size, placement, or skin type are ignored. Pain, session length, and how the wings age are the three things people regret most after booking. Below are 21 abstract angel tattoo designs with specific advice on placement, session expectations, longevity, and what to say in consultation to get a piece that still reads clearly years from now.
1. Fine Line Angel Wing on Inner Forearm
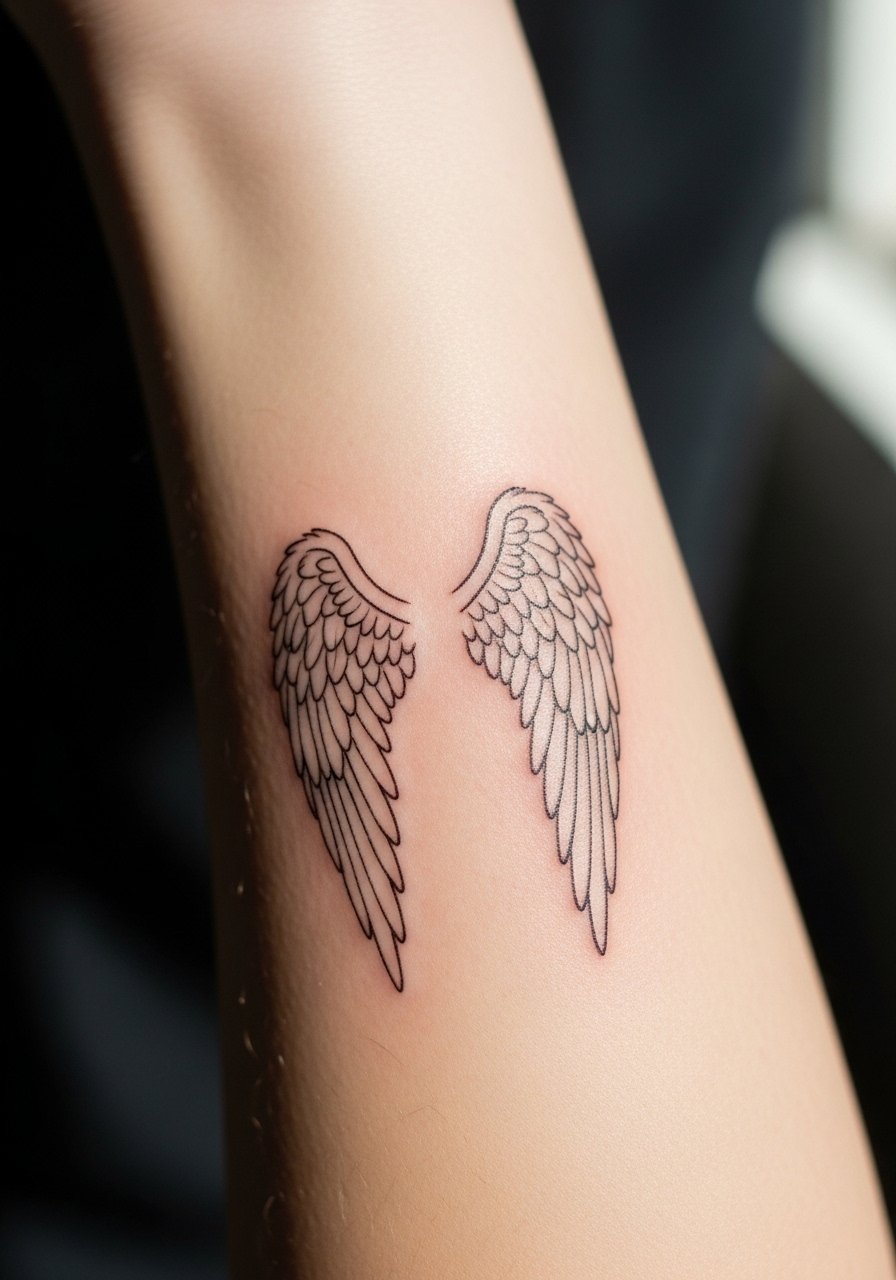
I recommend this when you want an elegant visible piece without committing to heavy saturation. Fair warning, the inner forearm takes a medium pain level and shows aging in the first few years if the linework is too tight. Tell your artist you want slightly heavier primary contour lines with thinner interior feathers so the wing keeps shape as the finer interior lines soften. Common mistake is asking for micro-detail across the whole wing. Expect touch-up around year three for very fine interior strokes. For showing it off, roll sleeves up and wear a linen button-down that frames the forearm without covering the piece.
2. Brushstroke Angel on Shoulder Blade
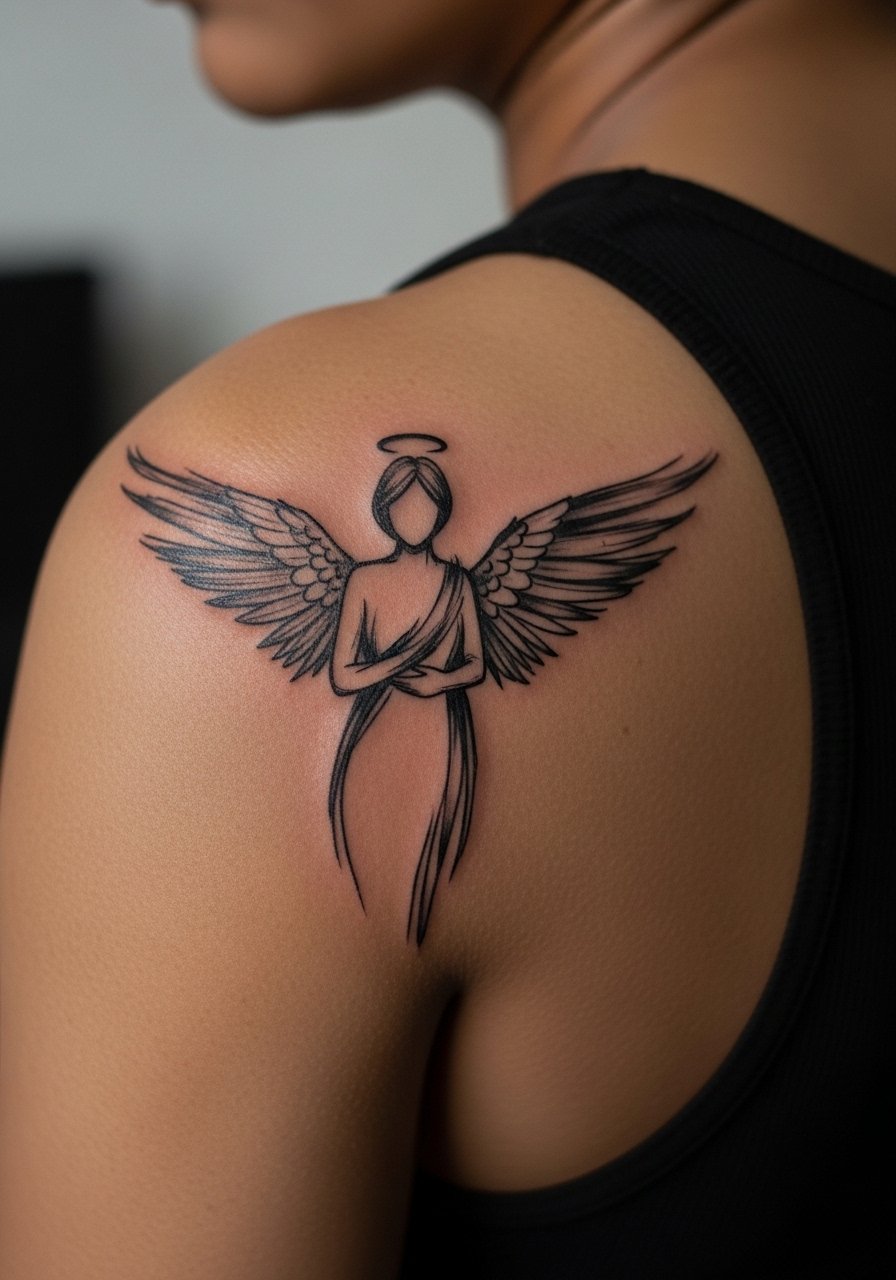
This reads like motion on the back and suits anyone who wants drama without a large commitment. Sessions run medium length and the shoulder blade handles saturation well. In consultation, ask for staggered stroke widths and a mix of whip shading and stipple to create the airy look while preserving primary lines. A common error is packing too many thin strokes into a small area. Shoulder placement ages nicely because the skin moves less, but heavy saturation can flatten over time so ask for contrast that favors negative space. For the session wear, bring a loose tank top so the artist can expose only the shoulder blade.
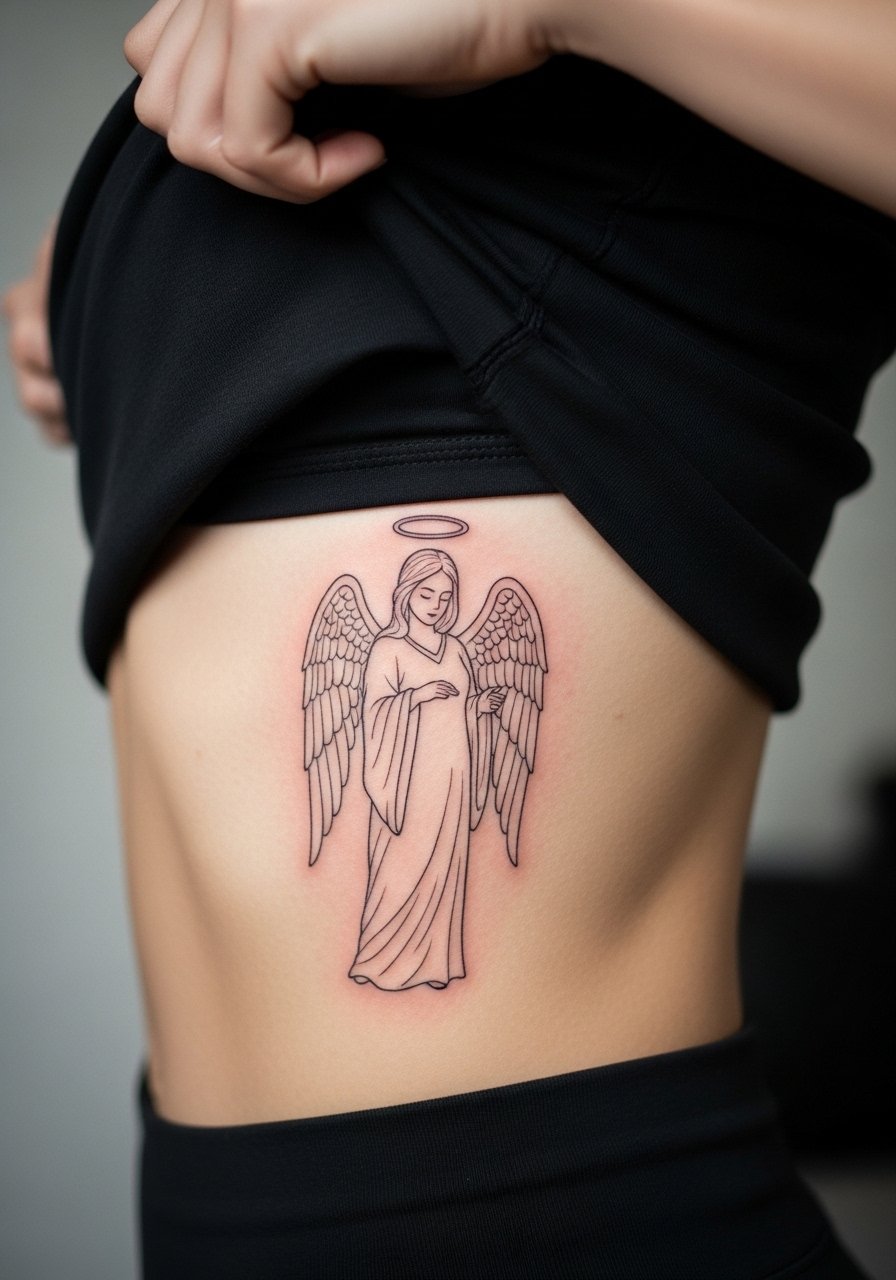
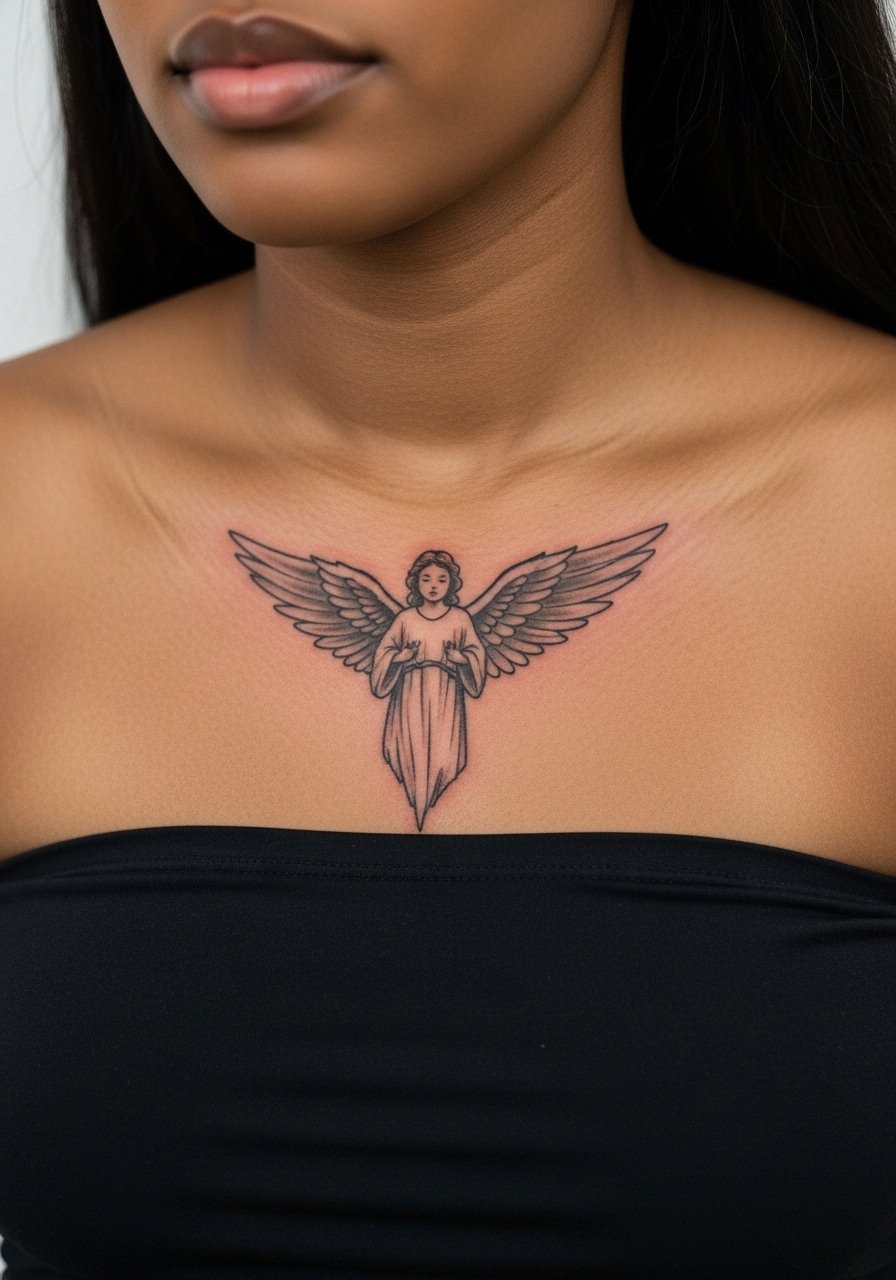
3. Sternum Abstract Angel with Minimal Whip Shading
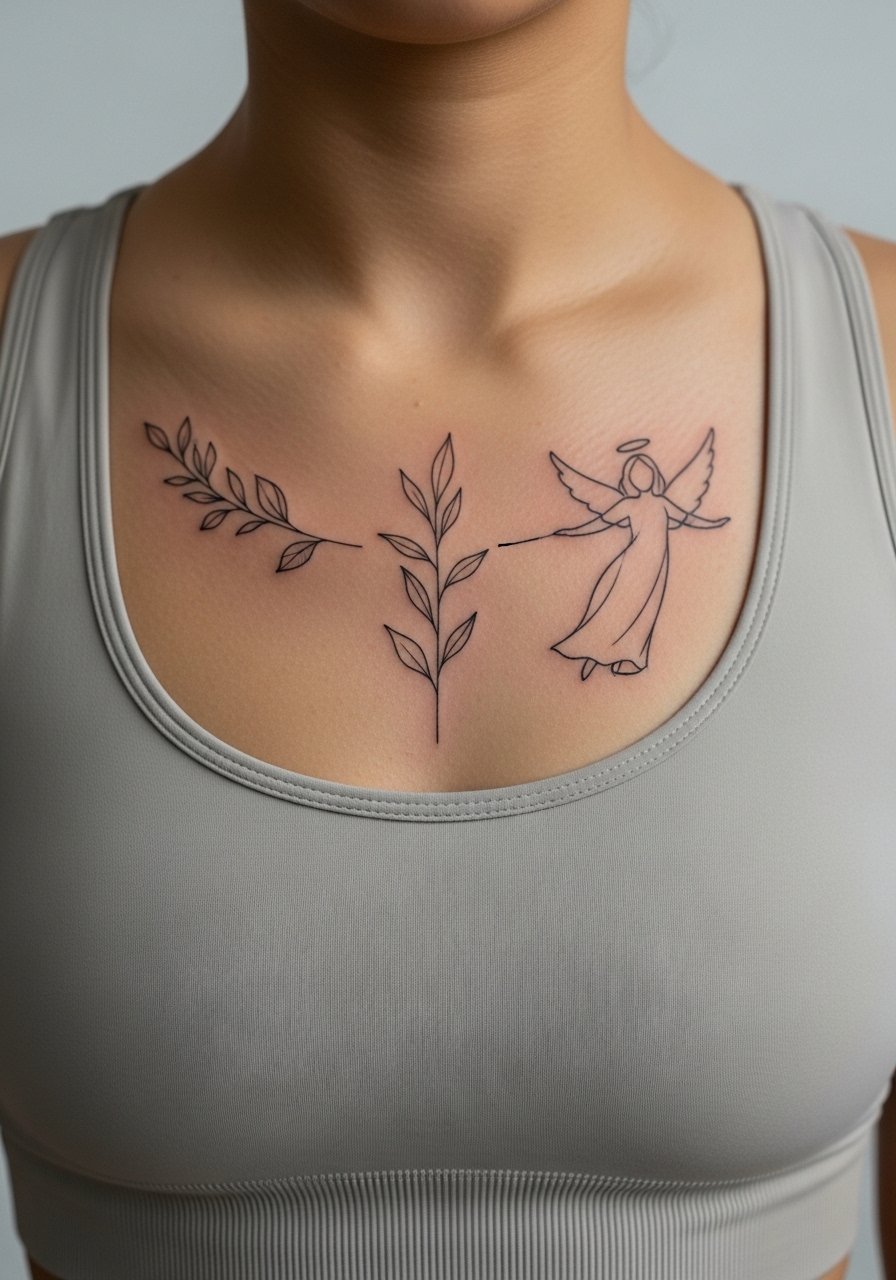
Sternum work is intimate and sensitive, so expect a higher pain score and shorter attention spans across long sessions. The piece works best when the angel is balanced across the midline with a little negative space to prevent lines merging as the skin stretches. The mistake I see most is compressing too much detail into the sternum where natural movement and friction will soften it. Ask for slightly heavier central lines and minimalist whip shading that reads at six months and still holds at two years. For session comfort, wear a strapless or zip-up top you can remove without unnecessary exposure.
4. Stipple-Shaded Angel on Calf
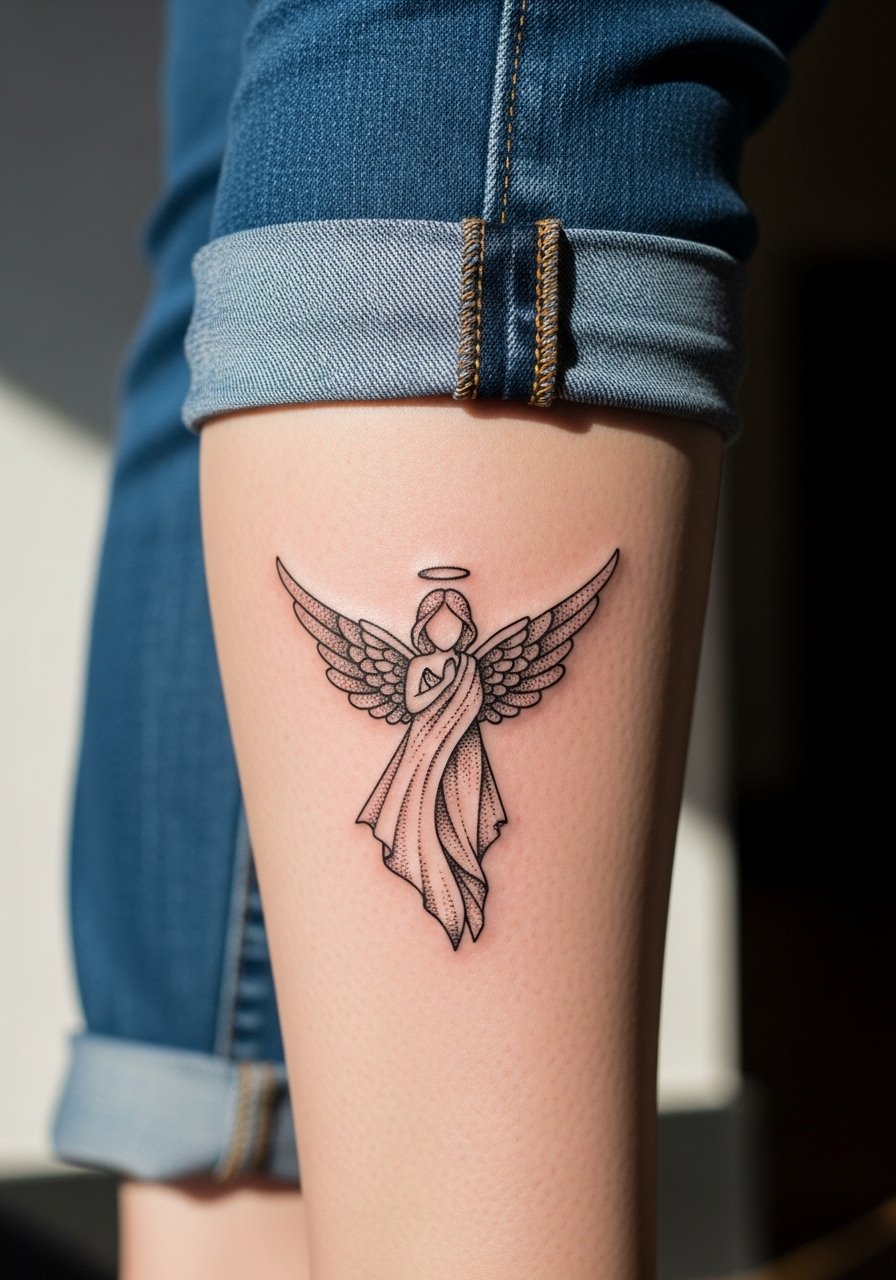
Calf placements tolerate longer sessions and detailed dot work. Stipple shading creates depth without heavy saturation, which helps the design age well. When you meet your artist, request stipple gradients that keep heavier dots near the core of the angel and airy stippling toward the edges. A common mistake is over-saturating the background, which competes with the stipple texture. Expect the piece to look crisp at six months and to soften subtly by year five, with touch-up usually only if you want to re-darken the core. Pair the leg piece with rolled jeans or midi skirts that let the calf show without competing with prints.
5. Tiny Abstract Angel on the Side of a Finger
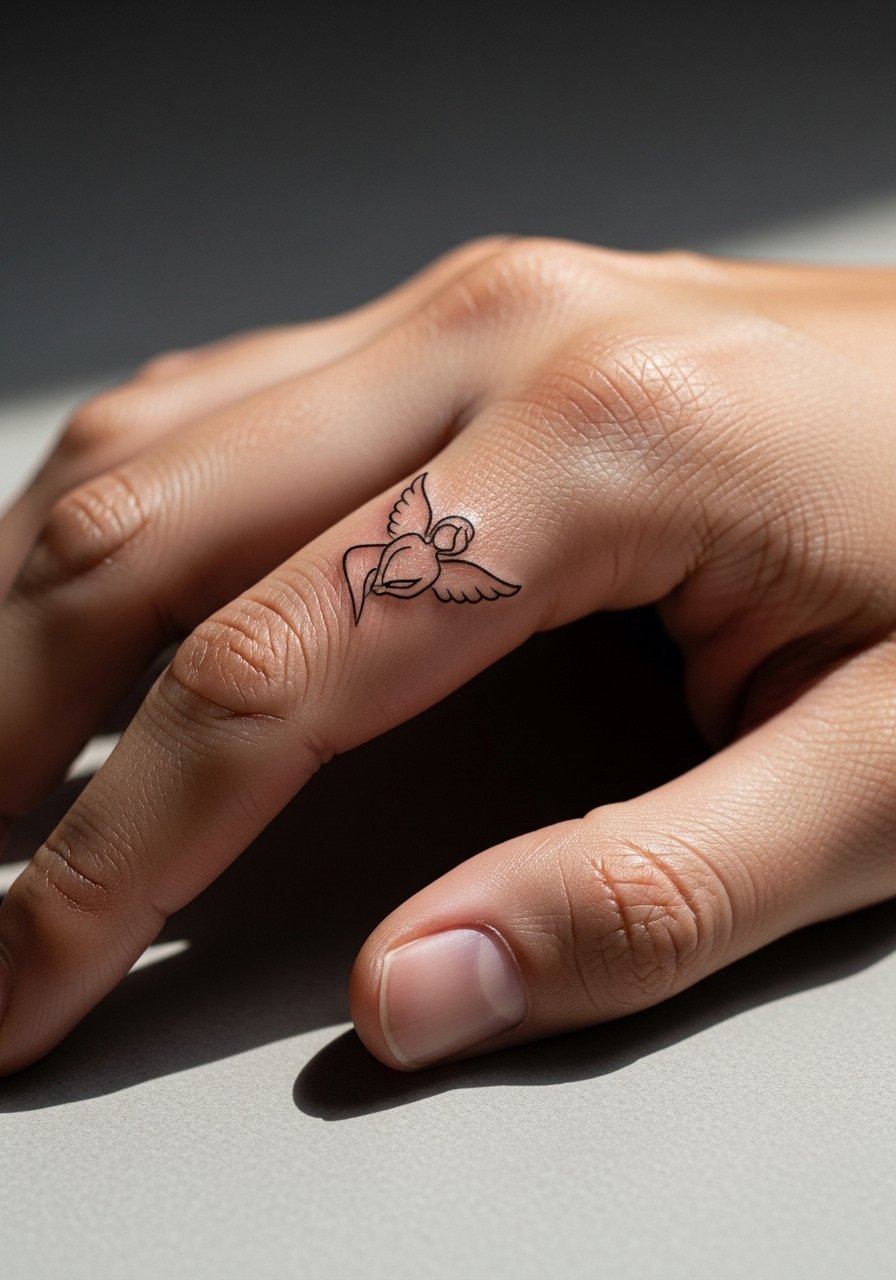
Finger tattoos are high-maintenance because skinwear and frequent washing speed fading. The biggest mistake is asking for intricate interior detail on such a small canvas. I recommend a bold outline with minimal interior strokes so the silhouette remains readable. Expect frequent touch-ups; some clients accept a patina instead of crisp lines over time. For session prep, wear short sleeves so the artist has clear access and plan for quick touch-up appointments. If you want to show it off without overexposure, pair with a dainty stackable ring set that frames the finger without crowding the artwork.
6. Negative Space Angel on the Ankle

Ankle pieces are visible and get frequent abrasion from socks and shoes. Negative space designs work well here since they rely less on saturated fills. Ask the artist for crisp outer lines and a slightly wider gap for the negative shapes so the silhouette keeps breathing as it ages. The common error is too delicate negative channels that fill in from friction. Expect first touch-up within 12 to 18 months depending on footwear habits. For showing this off, sandals or rolled jeans work best, and a pair of minimal leather sandals keeps the ankle visible without rubbing the tattoo.
Pre-Session Essentials
The forearm, ankle, and finger pieces above each have different prep needs, so a focused kit for the studio day smooths the session and the first week of healing.
-
Stencil transfer paper kit. Lets you preview placement and line weight on the skin before the needle ever starts, which is helpful for the small-scale finger and ankle designs above.
-
Cooling gel packs. Short breaks with a cold pack ease swelling after longer calf or shoulder blade sessions without numbing the skin.
-
Thin protective film roll. Useful for ankle and foot pieces to shield against friction in the first 48 hours.
-
Fragrance-free gentle body wash. Cleanses healing areas without irritating the linework on forearms and calves.
-
Aquaphor healing ointment. A thin layer in the initial window keeps fine line areas hydrated without clogging channels, especially for pieces that depend on clean linework.
7. Geometric Halo Angel on the Ribcage
Ribcage tattoos read dramatic but the skin there stretches and breathes, so placement is a big part of longevity. Artists split into two camps on fine line ribs. One camp says the skin movement blurs thin lines within two years. The other camp argues that with proper spacing and slightly heavier primary contours, fine line can hold up. Tell your artist which camp they align with and ask for a mock stencil at actual size. The usual mistake is compressing a dense geometric halo into a narrow rib band. Expect a higher pain level and two-part sessions if you want larger scale work.
8. Blackwork Abstract Angel on the Upper Back
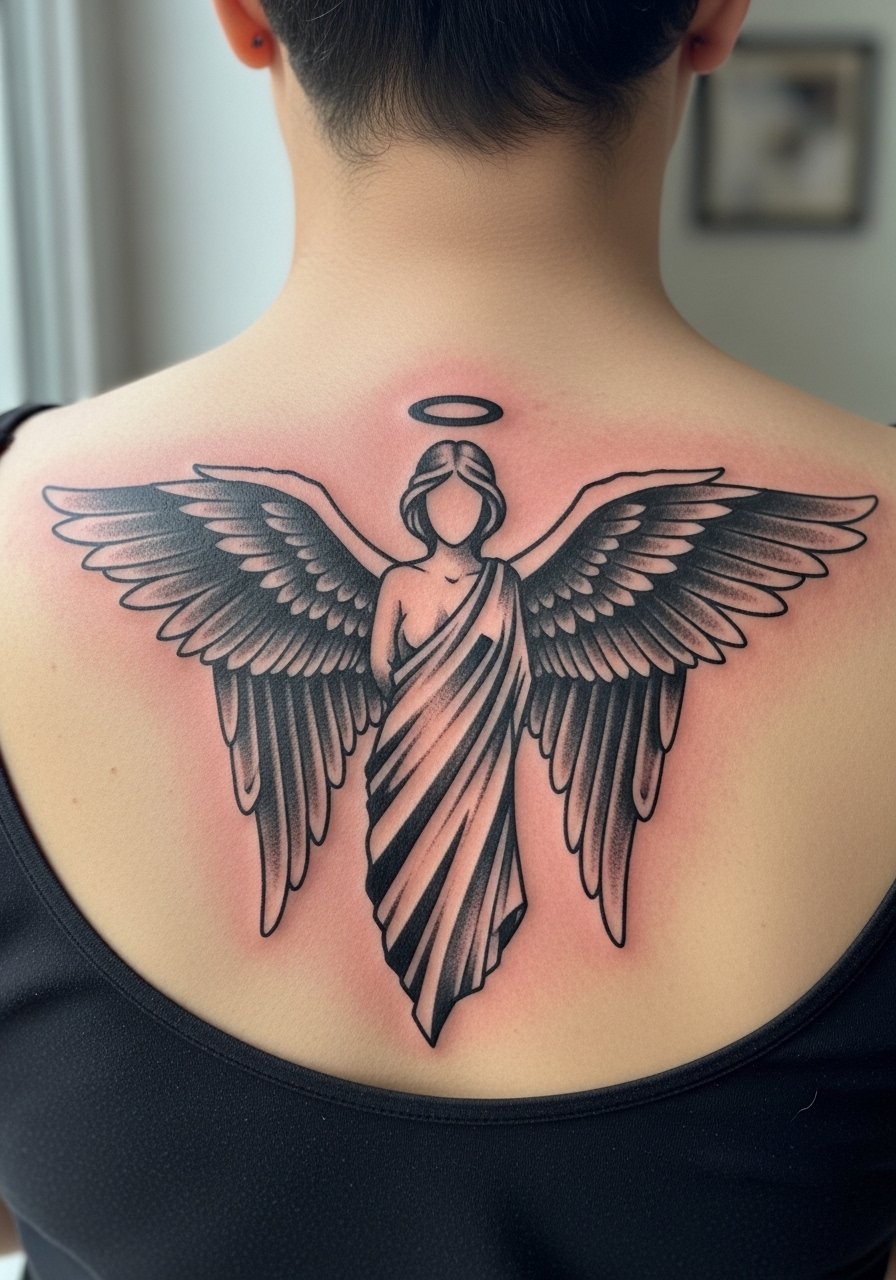
Upper back pieces tolerate heavy saturation and bold blackwork translates well as large abstract forms. If you want the artwork to read from a distance, ask for clear negative space veins that define the wings. A common error is over-filling the background which makes the angel silhouette lose its edge. Sessions can be longer but the area responds well to solid fills and ages gracefully. For showing it off, an open-back dress or a bikini top highlights the central placement without obstructing the lines.
9. Thigh Angel with Stained-Glass Geometry
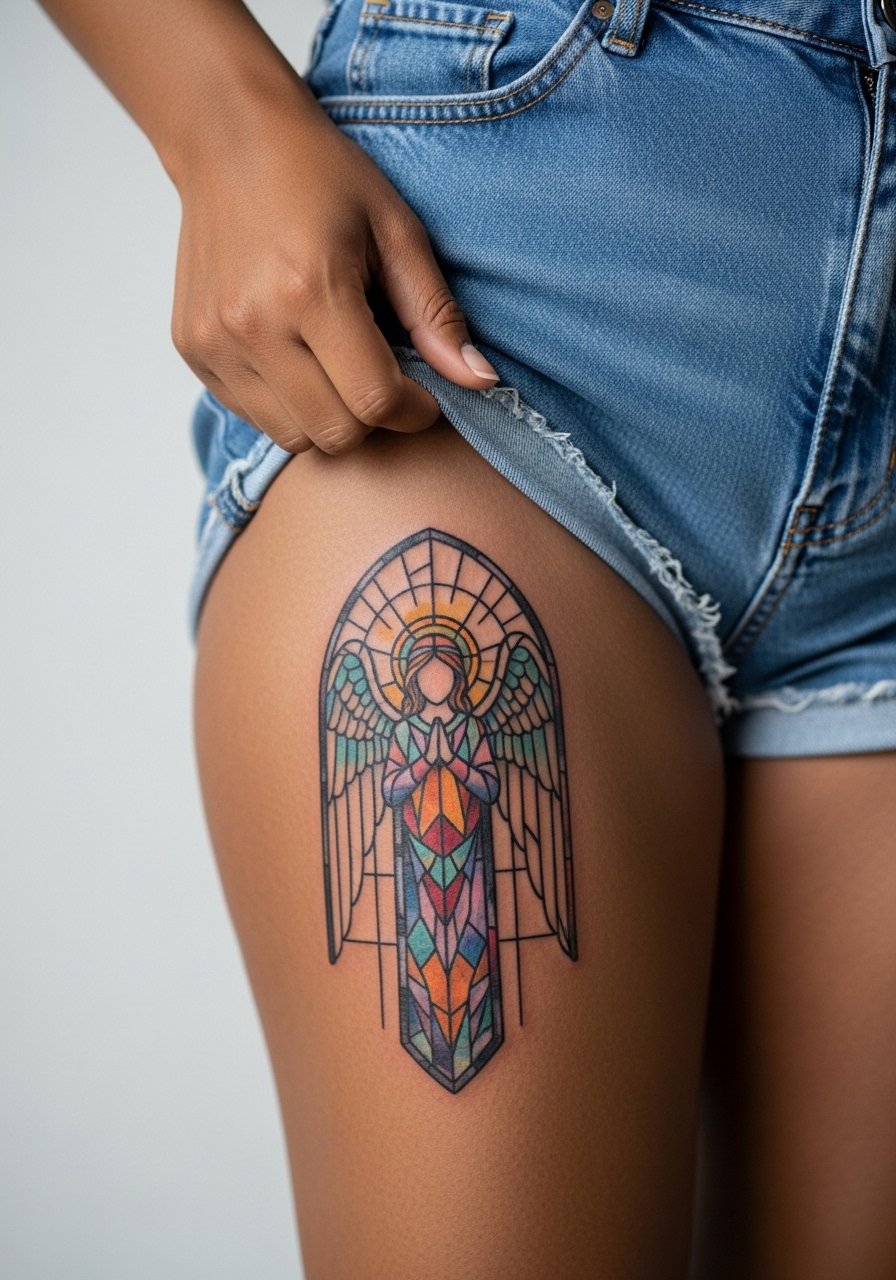
Outer thigh allows larger scale and color work with lower risk of blowout. A stained-glass approach uses bold leading lines with small color panels. Tell the artist to favor fewer, larger color blocks rather than many tiny fills which can age into a muddle. A common mistake is cramming micro-panels that lose definition when the skin stretches. Expect sessions to run long and sometimes split across two visits. For the appointment, wear loose shorts you can slide down slightly without exposing excess.
10. Fragmented Angel Face on Inner Bicep

Inner bicep skin is softer and can make micro-realism blur if the piece is too small. The smart move is to scale the facial fragments so key features are defined by stronger contour strokes and controlled stipple shading for softer areas. A frequent error is requesting photo-level detail in a 2-inch area. Sessions are moderately painful but manageable. Special consideration: inner bicep artists often recommend slightly heavier contrast to keep the face readable at six months. For mid-session comfort, wear a loose tank so the artist can access the inner arm cleanly.
11. Single-Line Angel Across the Collarbone
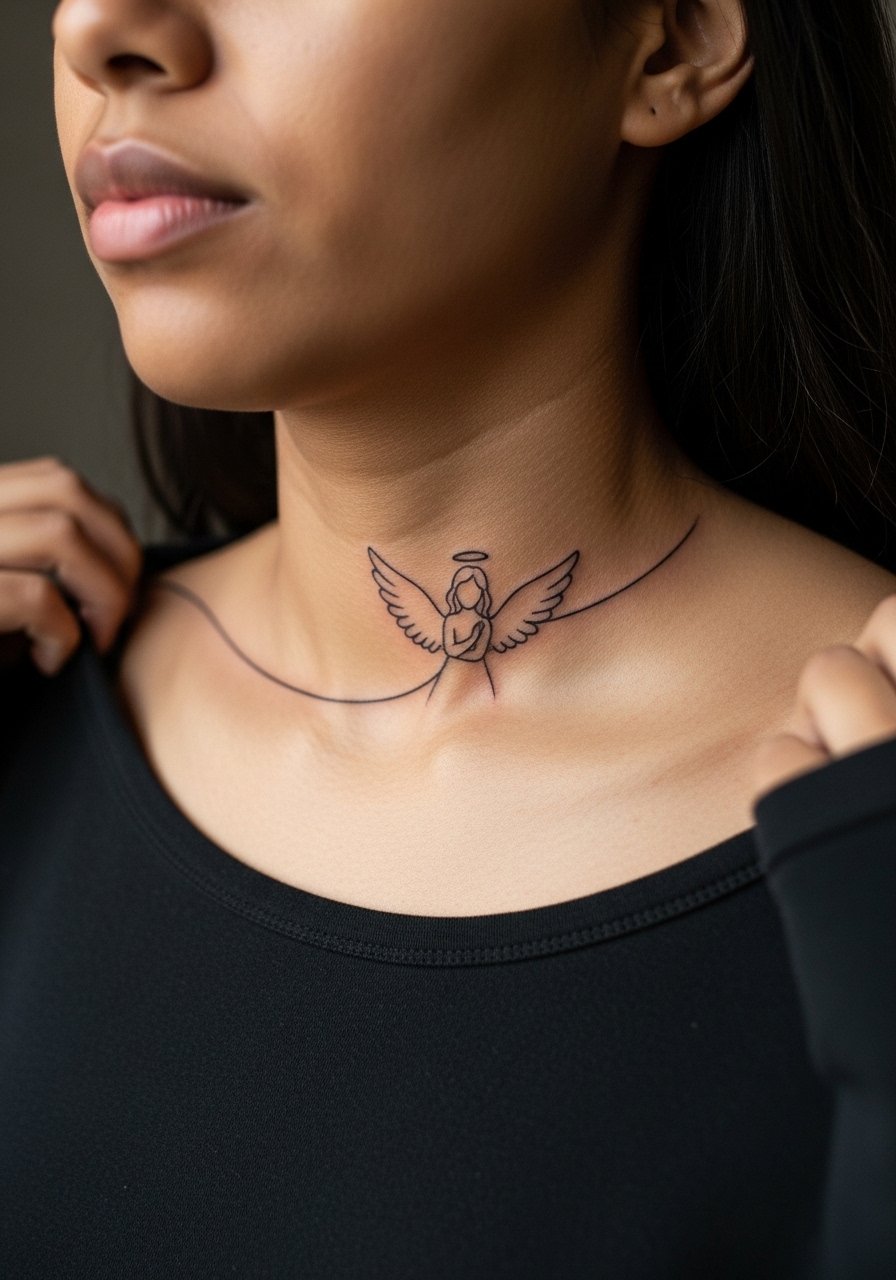
Collarbone tattoos are visible and delicate. A single-line approach reads modern, but the area is bony and the skin can cause patchy ink if the line is too shallow. Ask for a slightly thicker primary line with consistent spacing from the bone to prevent blowout. The common mistake is insisting on an ultra-fine stroke that looks perfect fresh but fades unevenly. Expect low to medium pain and a short session. To show it off, pair with a thin chain pendant necklace that sits just above the line without drawing attention away.
12. Brush-Blur Angel on the Sternum Line
Sternum pieces need balance between central lines and soft shading. The brush-blur effect relies on scattered whip shading, which can migrate if done too densely. A common issue is asking for painterly smudges that the skin cannot hold. Tell the artist you want airy blur that sits around defined central strokes so the form remains legible at six months and beyond. Sternum work is sensitive so plan a shorter session or multiple sittings. For session wear, a bandeau or zip-up hoodie keeps access simple and discreet.
13. Stained-Glass Angel Mosaic on Upper Back
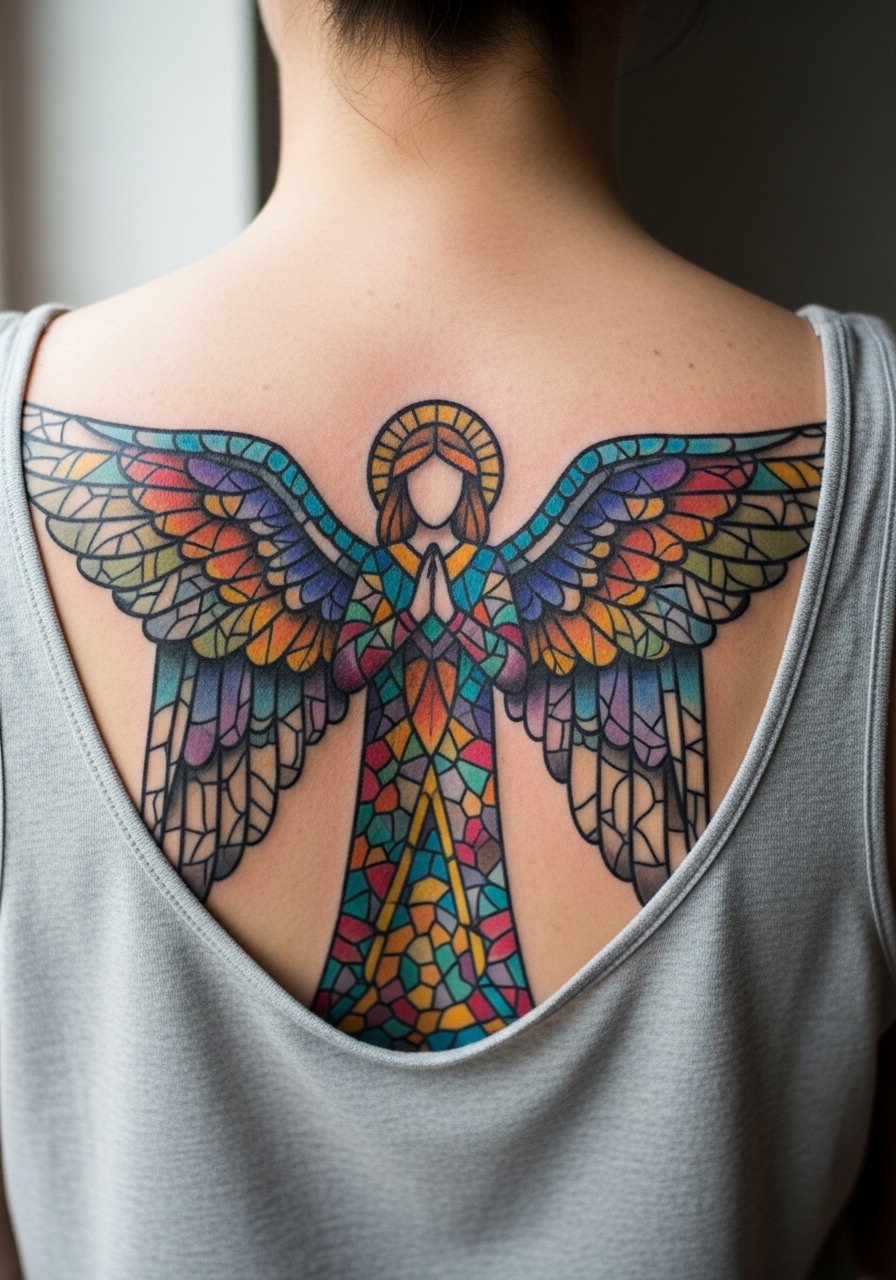
Large back canvases let you play with color transitions. For stained-glass, request bold leading lines and limited color palette so panels remain distinct as pigments fade. Overly complex palettes are a mistake because colors blend unevenly over time. Plan for longer sessions and a possible follow-up to re-saturate panels after initial healing. For show-off looks, a back-baring top or swimsuit works well and a halter top keeps the upper back visible without rubbing.
14. Halo Fragment Cluster on the Shoulder Cap
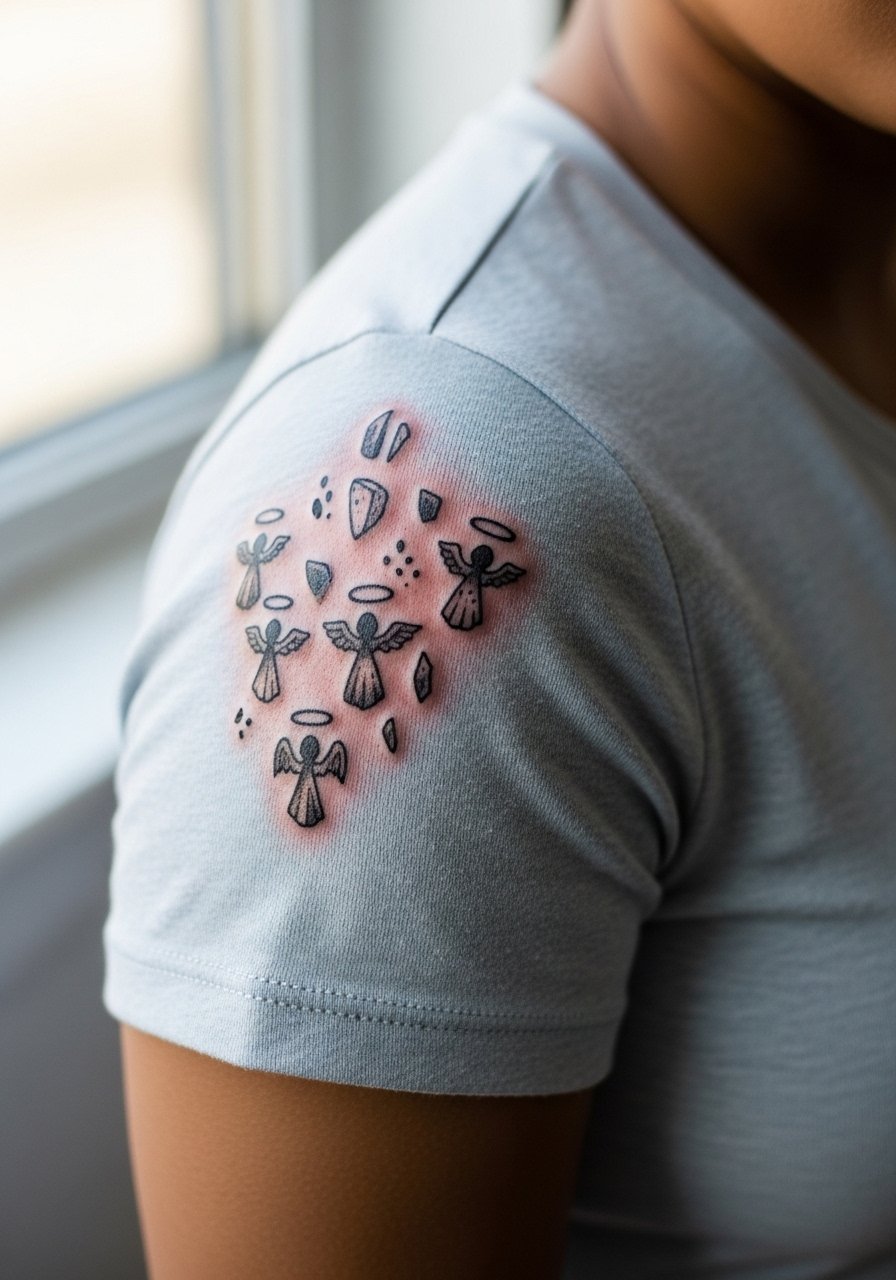
Shoulder cap clusters are great for modular expansion later into a sleeve. The advantage is the skin holds medium detail without much blowout risk. Tell the artist you want modular pieces spaced so future additions can tuck in naturally. A common error is cramming everything in now and leaving no breathing room for later. Sessions are comfortable and usually finish in one visit if the area is moderate. Dress for the session in a loose button-down so the artist can access the shoulder without you feeling exposed.
15. Nape Angel Glyph in Negative Space

Neck placements are high-visibility and can be contentious. Some artists advise against fine line on the nape because the skin and movement can soften the lines quickly. Others argue that modest linework with added spacing holds up fine. Name both camps during consultation and ask for a test stencil. The mistake is choosing the tiniest possible script or glyph without allowing breathing room. Pain is moderate and touch-up may be required sooner than on thicker-skin areas. Consider how visible you want the piece to be long term before committing.
16. Lower Back Angel Silhouette
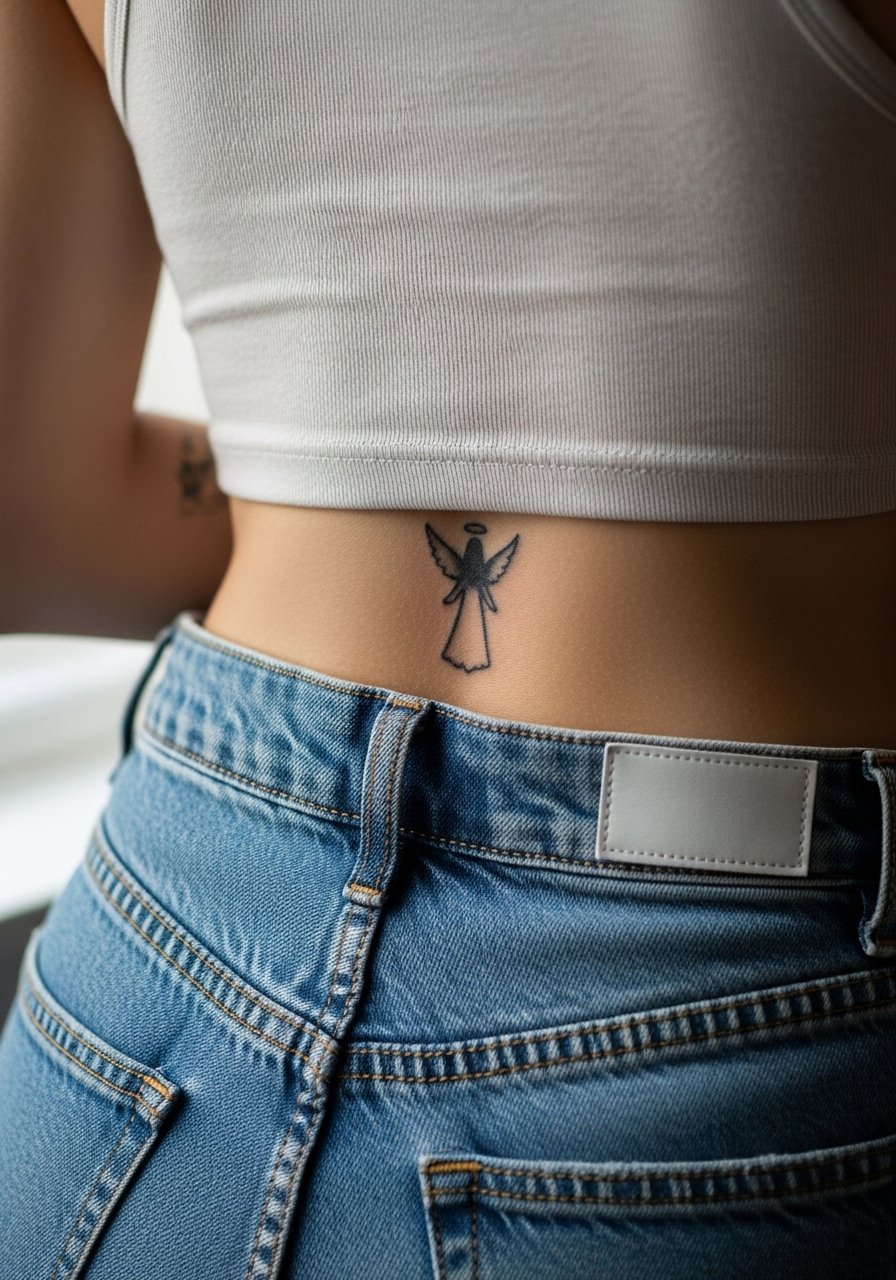
Lower back can hold simple silhouettes well because the skin is relatively consistent. The main issue is friction from clothing and stretching with certain movements. Ask for a design that uses negative space with a bold outer contour to maintain a readable form. Overly fine interior work is the common pitfall. Sessions are usually short and healing goes smoothly if you avoid tight waistbands for the first week. For showing this off, low-slung jeans and a cropped top reveal the artwork without rubbing it raw.
17. Mandala-Angel Fusion on the Outer Forearm
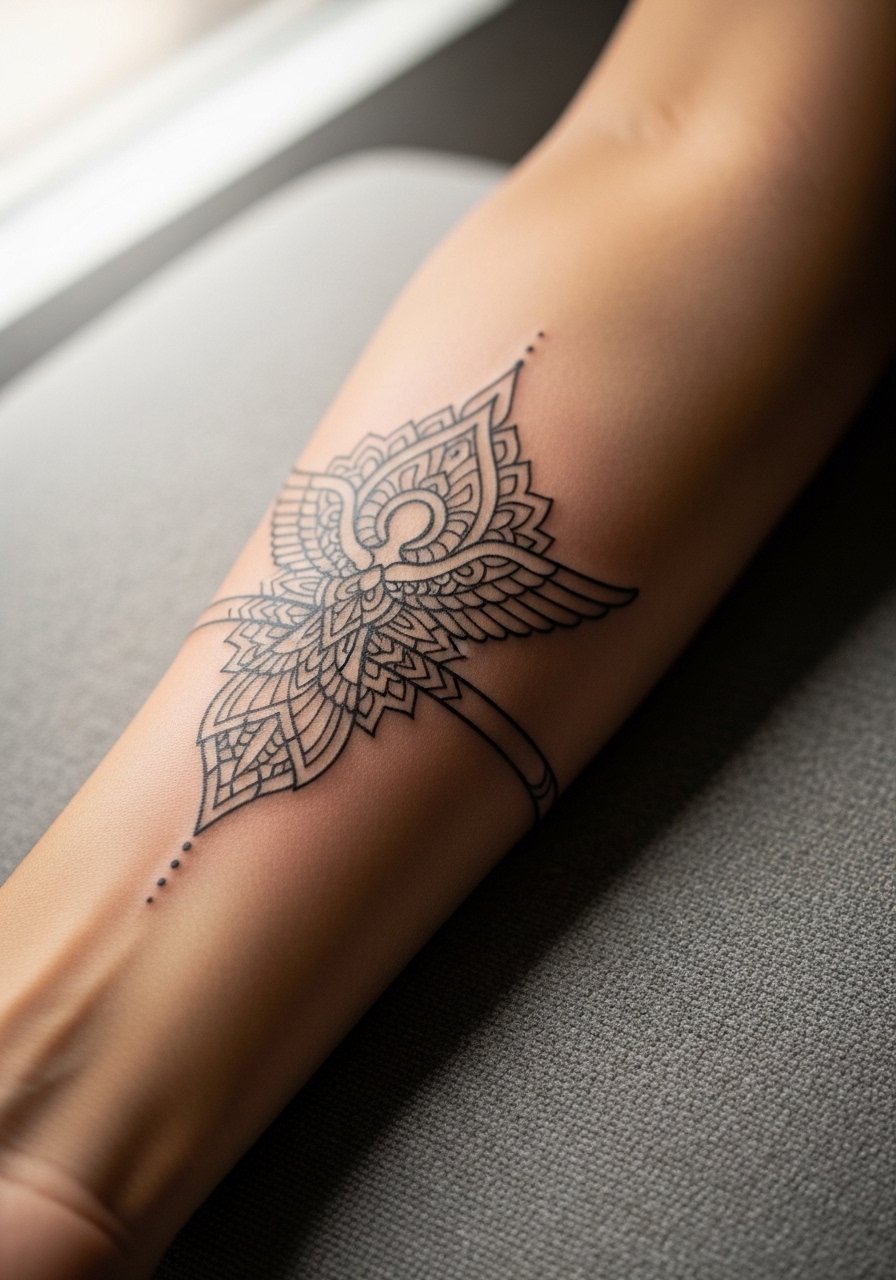
A mandala-angels mix uses radial linework and stipple shading to suggest wings in a decorative band. Forearm placement lends visibility and easy touch-up if lines thin. When you consult, ask for broader spacing in dense mandala segments so the pattern stays crisp after two years. The frequent mistake is compacting too many concentric rings into a narrow band. Expect a medium-length session and possible touch-up in the third year. Pair this design with rolled sleeves or a short-sleeve linen shirt that frames the band without covering it.
18. Geometric Angel Figure on the Outer Calf
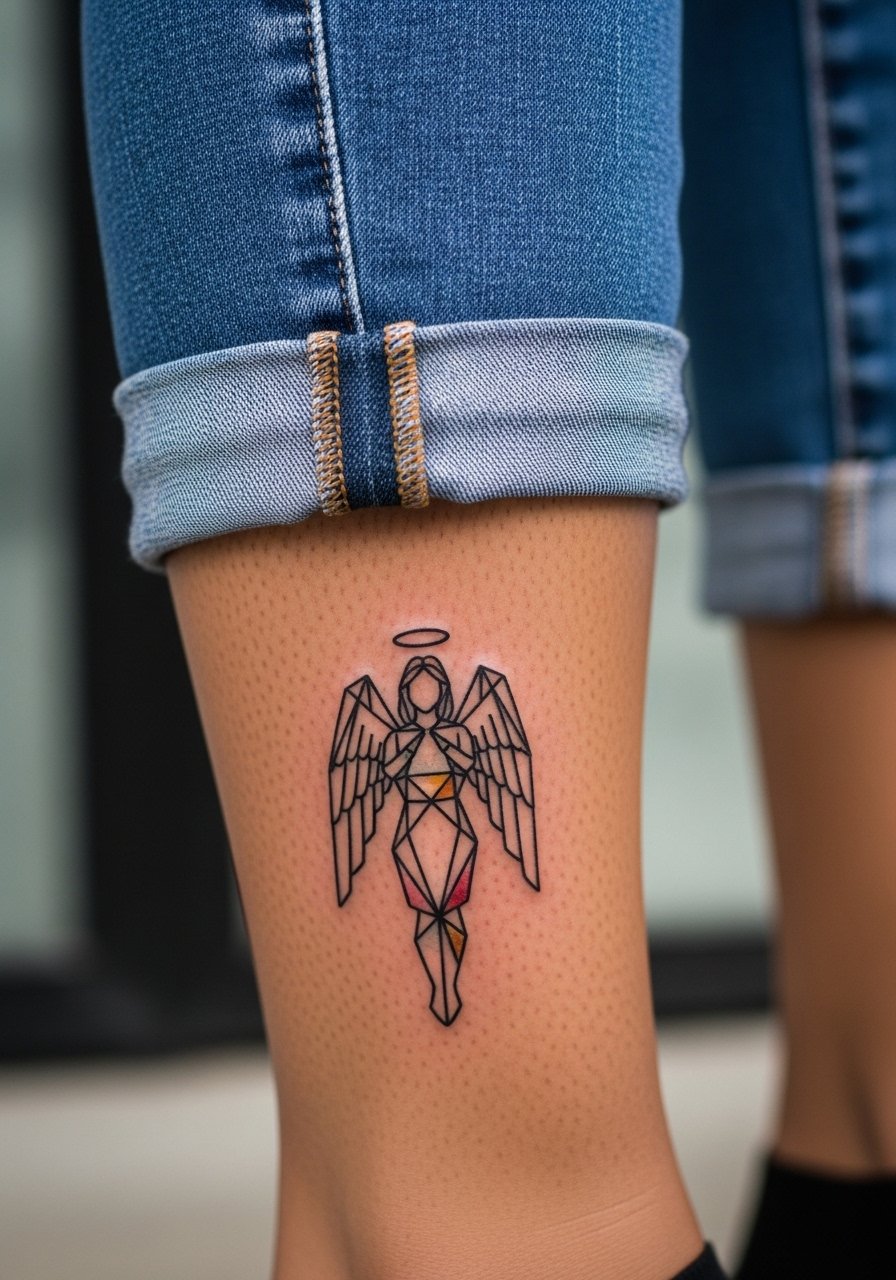
Outer calf is forgiving for geometric figures and small color fills. Ask for a palette of two to three hues that contrast with a bold line framework. A common mistake is asking for many colors that complicate blending as pigments fade. Sessions are medium to long depending on fill. The area tolerates saturation well and the figure will remain legible for years with minimal touch-up. For the appointment, wear pants you can roll up easily so the artist has unobstructed access.
19. Micro Angel Detail on the Back of the Hand
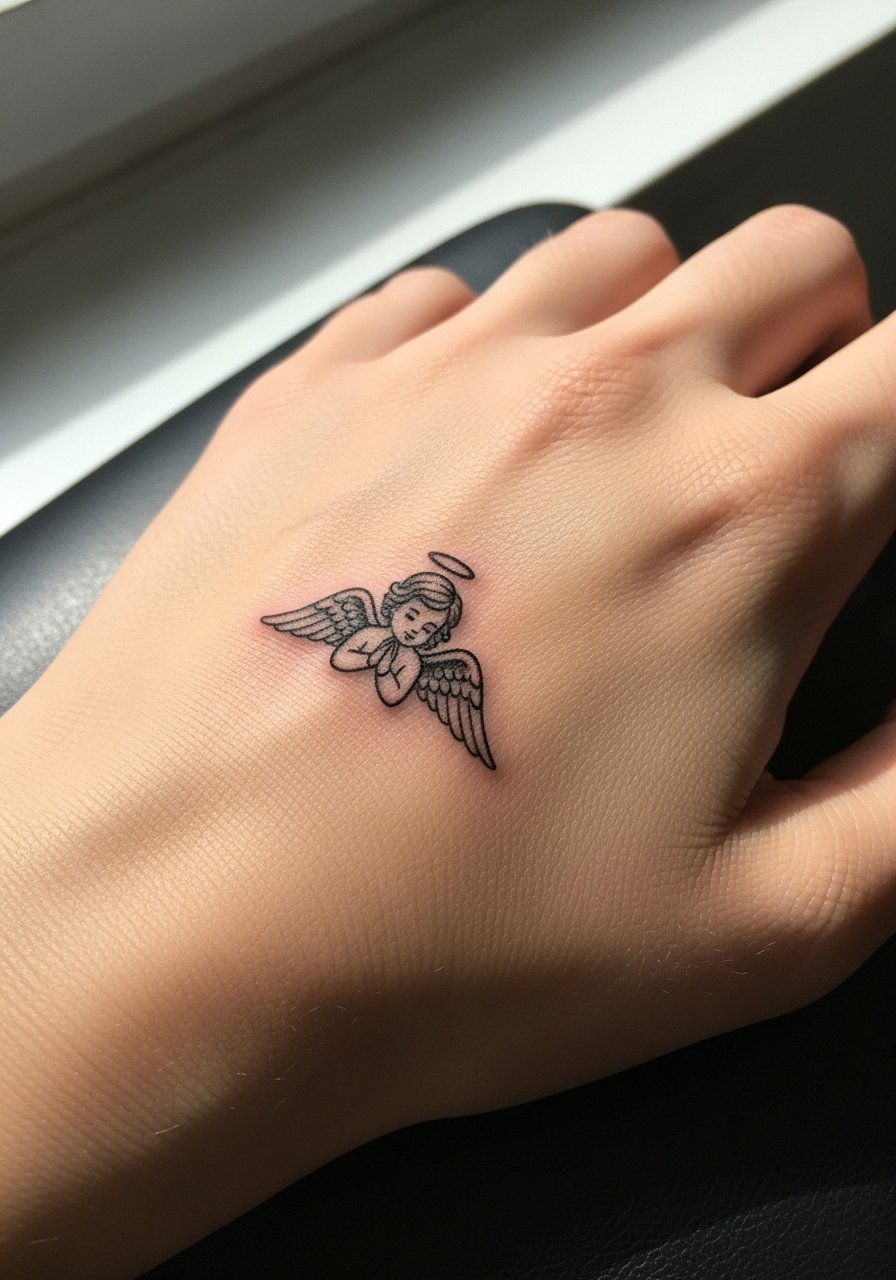
Hand tattoos carry higher friction and faster fading. Back-of-hand micro art should be bold and simple. The mistake I see is requesting wispy strokes that disappear under daily wear. Ask for confident linework and accept that touch-ups are likely. Expect higher visibility consequences in some workplaces. For showing it off, minimal jewelry like a thin bracelet can frame the area without rubbing the piece.
20. Ankle Crescent Angel in Negative Space
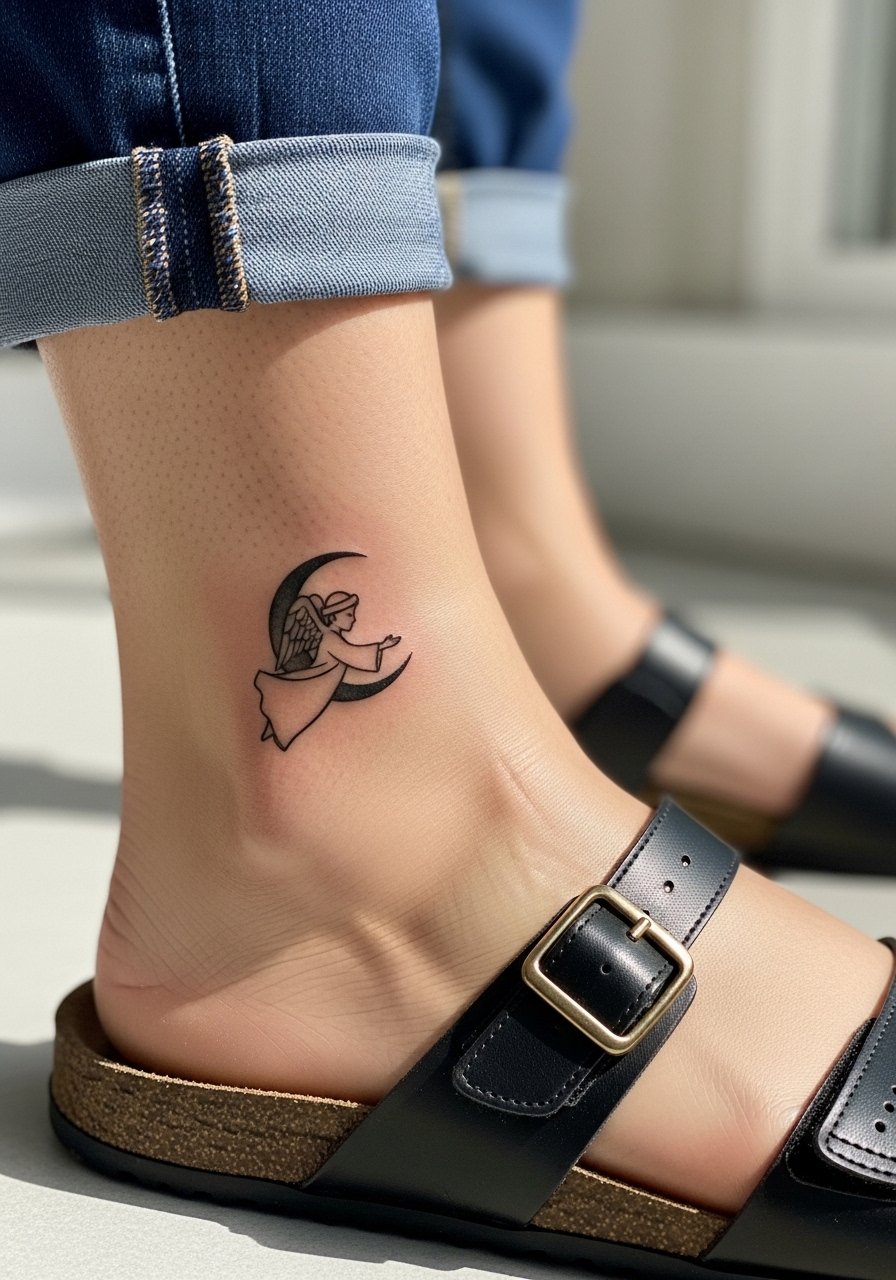
Crescent or half-moon negative space angels suit small ankle areas well. The key is maintaining a clear outer contour and slightly larger negative channels so the shape reads despite shoe friction. A common mistake is adding minute interior detail that the ankle cannot hold. Expect quick sessions and possible minor touch-up around the first year. Pair with low-cut sandals that reveal the area without rubbing.
21. Micro-Realism Angel Bust on the Upper Arm
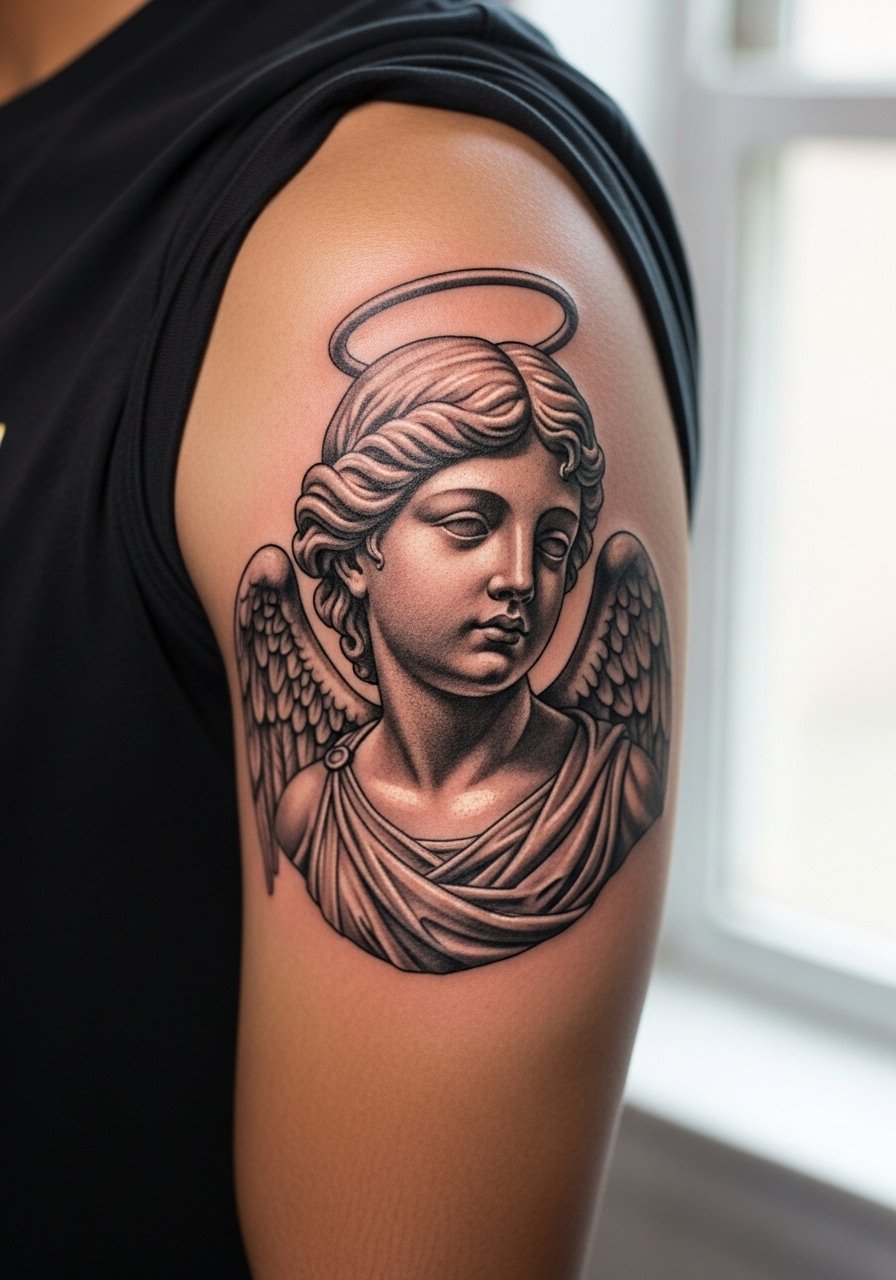
Upper arm micro-realism lets you keep detail and preserves it longer than extremities. Tell your artist you want defined shadow cores and gentle stipple transitions for soft features. The mistake is shrinking a complex portrait into too small a diameter. Expect longer sessions and a lower chance of blowout than hands or fingers. For session wear, a short-sleeve shirt gives easy access without excess exposure, and the piece ages well with occasional touch-ups if you want to maintain deep contrast.
Frequently Asked Questions
Q: Will a fine line angel on my ribs blur faster than one on my forearm?
A: It depends on skin movement and how dense the linework is. Ribs stretch and the skin moves a lot, so thin continuous lines there are more at risk. If your artist spaces primary contours and avoids packed interior detail, a rib piece can hold up better than many expect. Always ask to see healed rib work in real skin from the artist's portfolio.
Q: How often should I expect touch-ups for finger, hand, and ankle angel designs?
A: From what I've seen, finger and hand pieces often need touch-ups every 1 to 3 years depending on occupation and washing habits. Ankles vary but tend to last longer if footwear does not rub directly on the tattoo. Plan for at least one touch-up option in your initial consultation for extremity work.
Q: Are abstract angels with color harder to care for than blackwork?
A: Color can fade faster, especially reds and yellows. Blackwork generally keeps contrast longer. That said, limited palettes and strong leading lines in color designs reduce the need for frequent re-saturation. If you prefer less upkeep, choose a design where the color is secondary to the black structure.
Q: I want a sternum angel but worry about pain and visibility. Any apparel tips for the session and after?
A: Wear a fitted sports bra or bandeau so the artist can expose only the sternum band and you stay comfortable. After the session, loose tops avoid rubbing. For evenings out, a strapless dress or wide-neck top shows the area without crowding the artwork.
Q: How do I find an artist who specializes in the subtle spacing these abstract angels need?
A: Use discovery pathways like local shop directories, convention portfolios, hashtag searches for the specific technique you want, and tattoo community forums. Look for healed photos in portfolios and ask about how their work ages on different skin tones. Meeting in consultation and asking to see healed pieces is the best way to judge fit.
