
Fine line koi are everywhere on saved boards, and the trend pieces that look fragile in photos are the ones that most often need touch-ups. Black and grey koi done with intent keep contrast longer, and placement matters as much as needle work. Read the first six ideas to see practical swaps that keep scale detail crisp without chasing color, then scroll into sleeve and thigh options that photograph well on darker skin tones.
1. Upstream Koi With Wave Shading on the Forearm
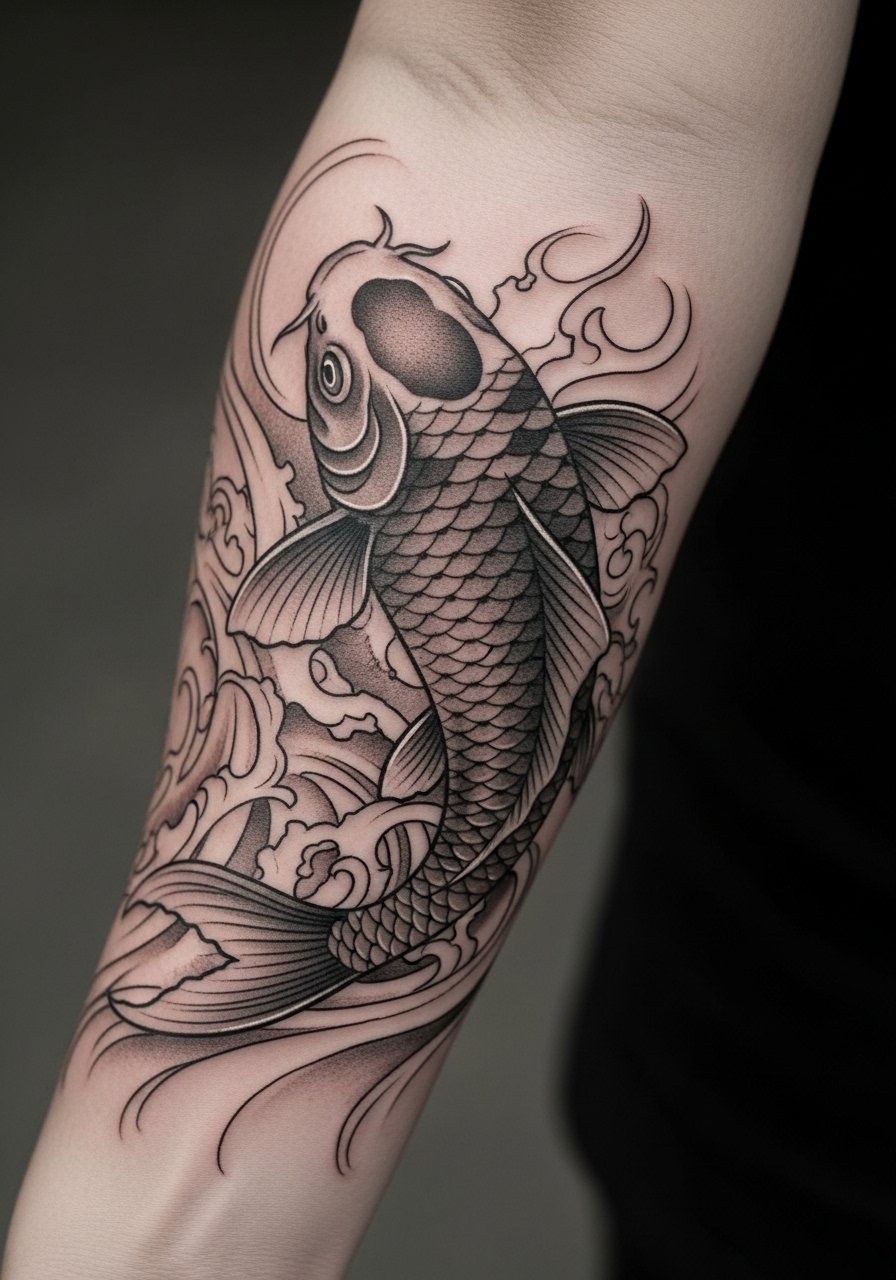
When you want a classic koi that reads well across seasons, pick the upstream composition with strong wave shading. In a consultation mention you want dense contrast in the waves and slightly heavier linework around the head so the fish keeps definition as the scales soften. Fair warning, the forearm is prone to stretching with weight changes, so I suggest placing the head closer to the elbow rather than the wrist to avoid distortion later. Expect two short sessions and a touch-up around six weeks if the mid-tone greys settle. For showing it off, roll up a rolled sleeve henley in dark navy, the solid fabric keeps attention on the shading without competing.
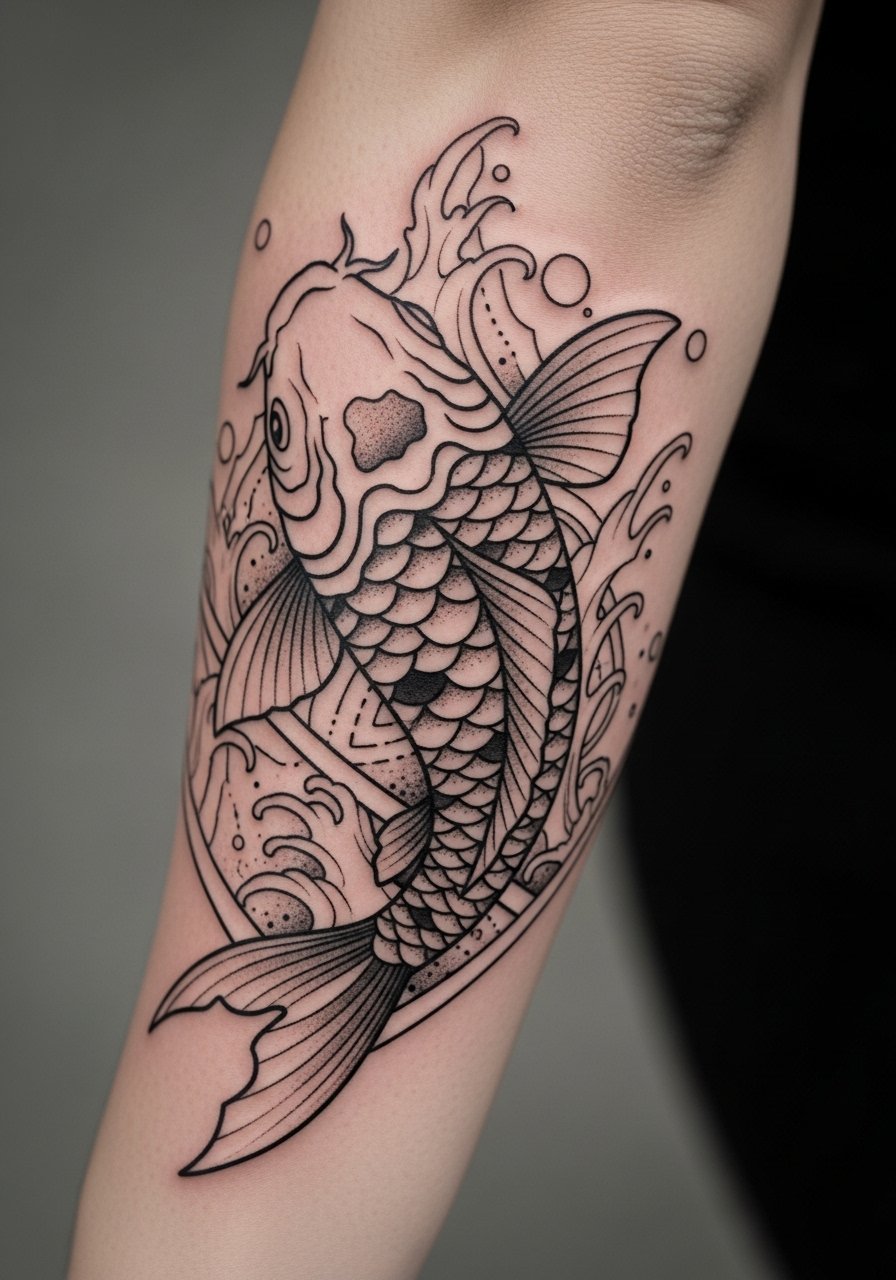
2. Micro-Realism Scale Detail on Upper Arm
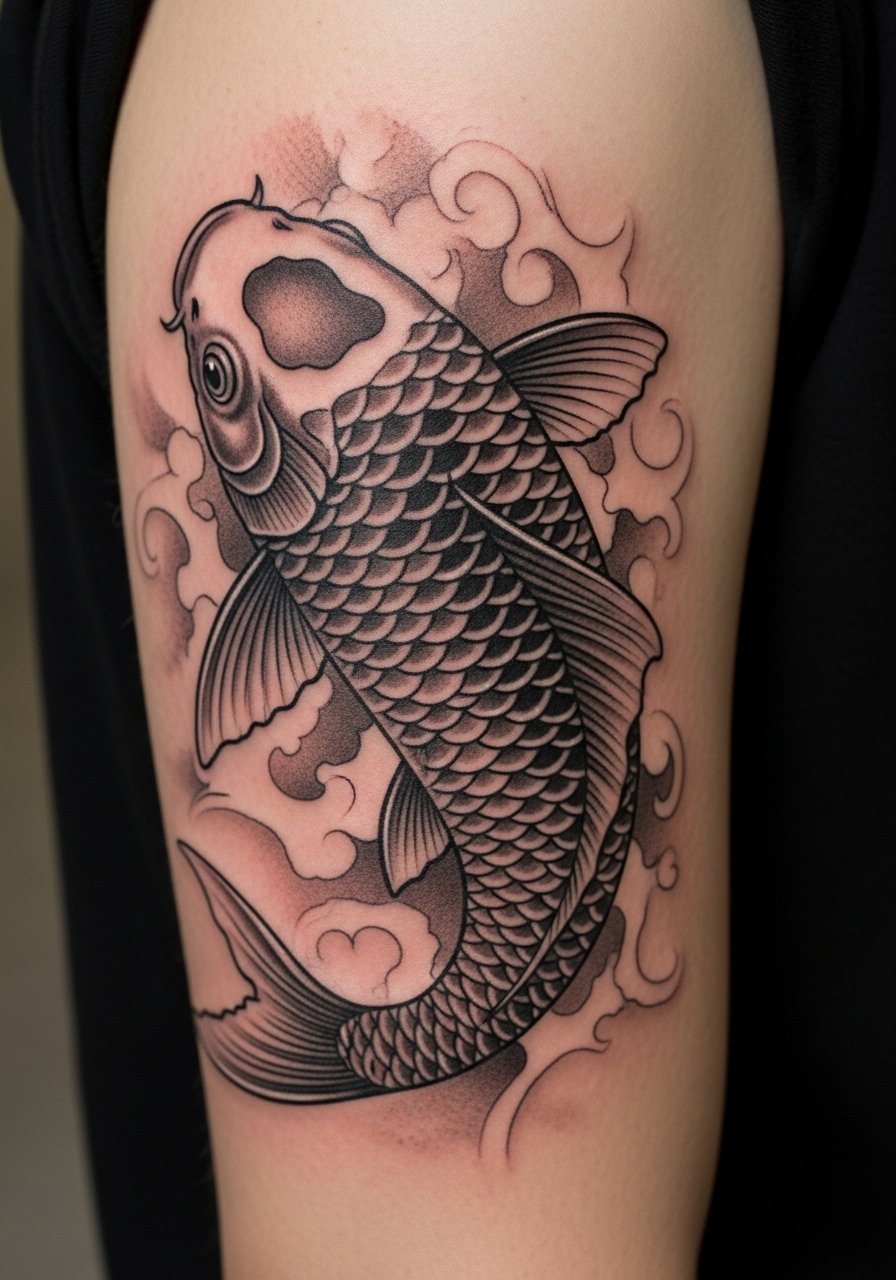
I tell clients the upper arm is a forgiving canvas for fine scales, especially if you plan future sleeve work. Ask your artist to leave slightly more spacing between each scale than a color version would need so stipple shading reads longer. Most artists do this in three sessions to layer misty background and scale saturation. Pain is low, session time moderate, and touch-ups are usually cosmetic at year two rather than structural. For the session wear, bring a 3/4 sleeve fitted tee or a sleeveless athletic shirt so the artist can access the shoulder without fabric drag.
3. Minimalist Wrist Outline With Subtle Fin Shading

Fair warning, tiny wrist pieces can blur faster than people expect. If you want a minimalist koi here, ask for slightly thicker primary linework and leave negative space in the fins. The common mistake is requesting ultra-fine lines that merge into a dark blur after sun exposure. Session time is short and pain is low, but expect a visible change at the six-month mark if you spend a lot of time outdoors. For showing it off, a thin leather wrap bracelet opposite the tattoo frames the wrist without crowding the linework. Try a thin leather bracelet on the other wrist for balance.
4. Neo-Traditional Calf Koi with Bold Outlines

There is a reason calf pieces still sell: they photograph during summer and age under less UV stress than wrists. Choose neo-traditional lineweight for a calf koi so the splash effects hold. The mistake is scaling the motif too small for the calf, which robs the waves of breathing room. Expect two sessions and moderate pain when the needle hits near the Achilles. Pair this design with cuffed joggers or cuffed joggers men and boat shoe shorts for summer, the silhouette keeps the tattoo visible without looking like a flash piece.
5. Ornamental Koi Ringed by Lotus on the Shoulder Blade
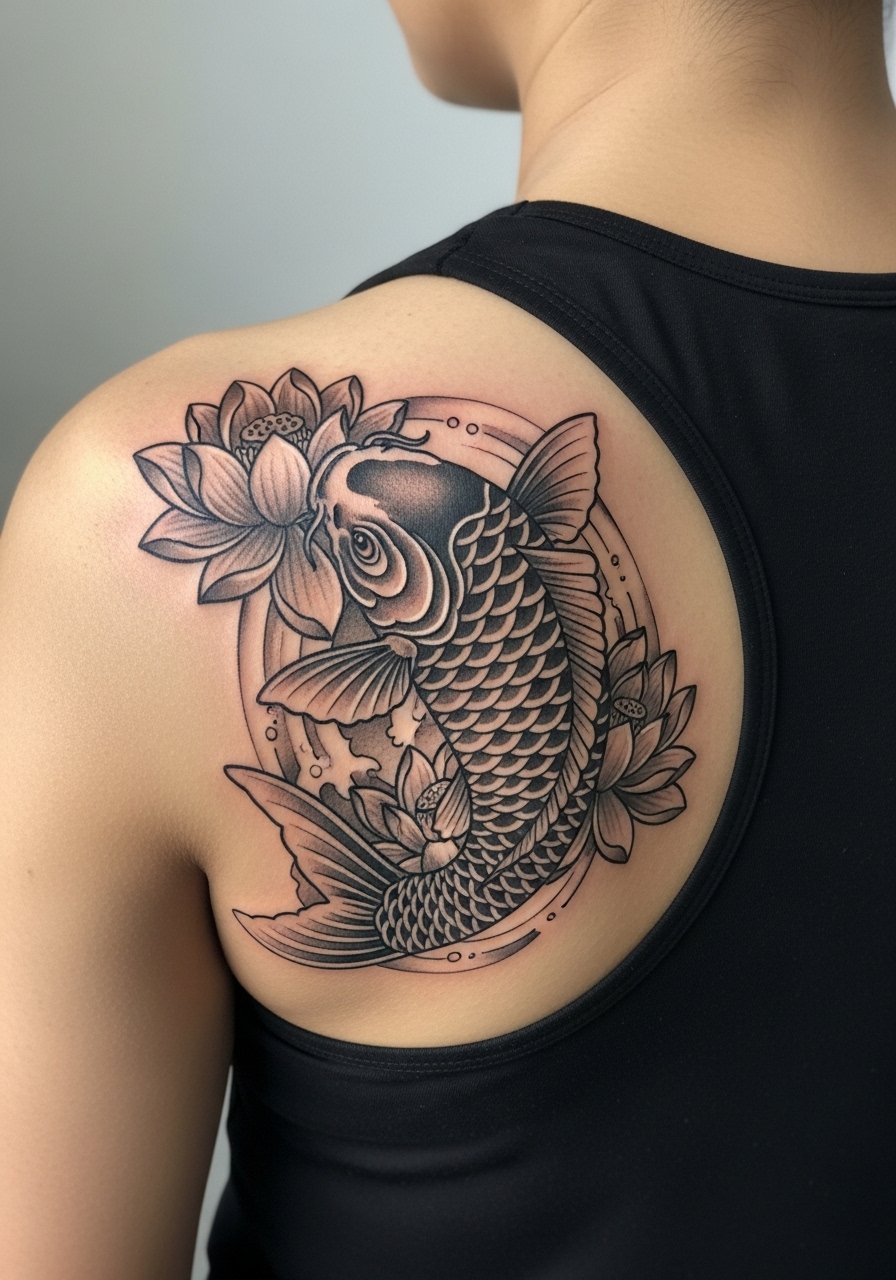
When you want symbolism built into composition, an ornamental koi with lotus elements on the shoulder blade gives layered motifs without overwhelming the shape. Bring references that show the lotus spacing you like and tell the artist you want the negative space preserved so the piece breathes under clothing. Shoulder blade heals well compared with ribs, but sleeping on your side can irritate the area during week one. For the session wear, choose a racerback tank or a button-down you can remove cleanly so the artist has clear access.
6. Patchwork Koi Half-Sleeve for Modular Build-Out
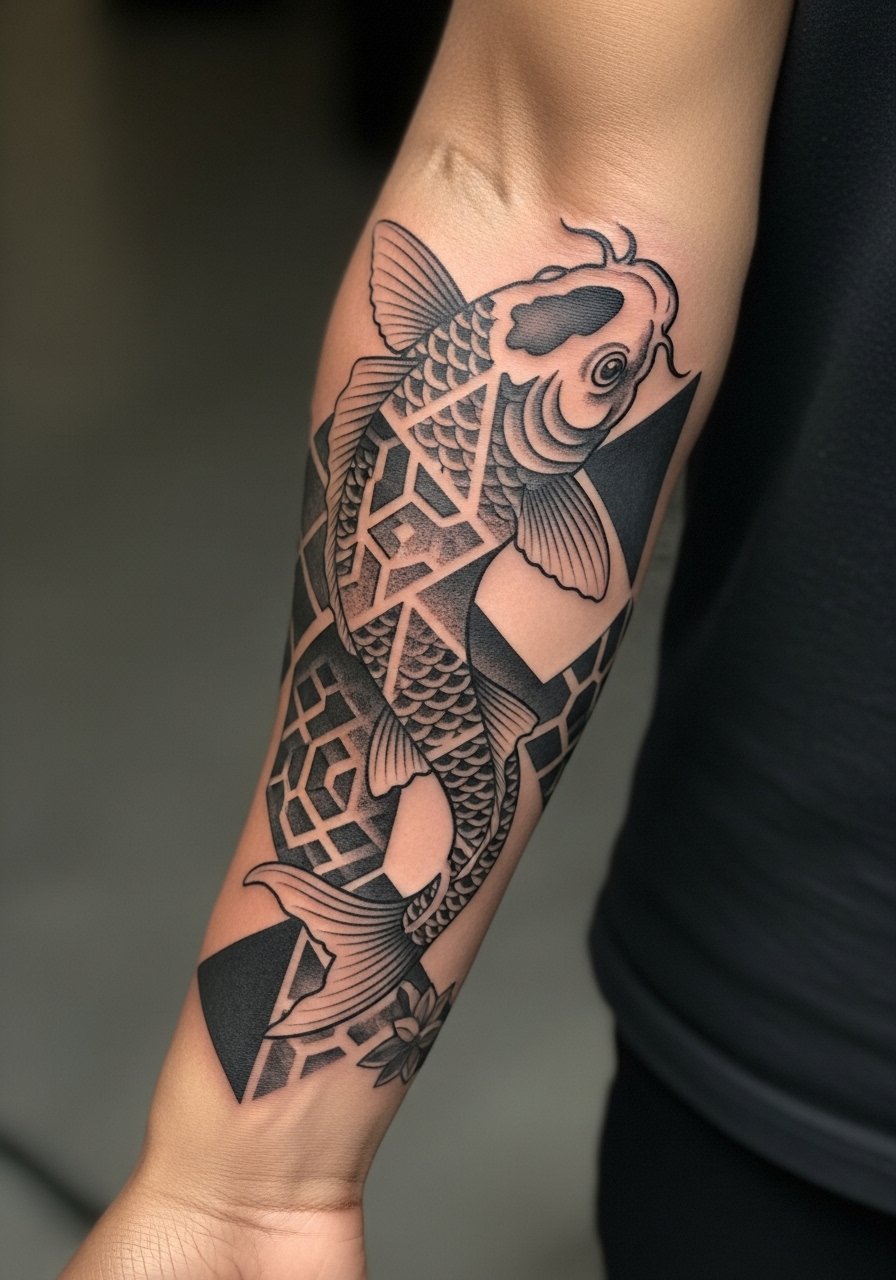
When collectors want to add to a sleeve over years, patchwork koi with geometric waves solves continuity problems. Tell your artist you want modular panels with clear anchor points so future artists can match contrast and flow. The common aging mistake is matching scale styles too tightly, which makes additions obvious. Plan for four or more sessions and expect longer touch-up windows as the pieces integrate. For session ease, wear a loose fit tank top so the arm can be moved without tugging on fabric.
Studio Day Picks
The forearm, upper arm, and calf pieces above all demand different prep. These compact items smooth the first week and help the fine scale work from ideas 1 through 6 keep its contrast.
-
Unscented cocoa butter stick. A matte balm that melts clean and avoids the glossy sheen that can mask subtle stipple shading on small koi pieces.
-
Australian tea tree aftercare spray. Lightweight antibacterial spray that reduces the risk of dry cracking for pieces in humid climates, useful for calf and shoulder blade sessions.
-
Indie hemp salve. Non-greasy salve that absorbs fast, handy for ribs or inner-arm areas where heavier ointments can cling to clothing.
-
Japanese rice bran balm. Keeps deep tebori-style shading looking saturated without shifting the grey tones, ideal for ornamental shoulder blade work.
-
Tattoo Goo healing ointment. Thin application for the first few days helps fine line wrist and forearm pieces stay pliable without smothering needle channels.
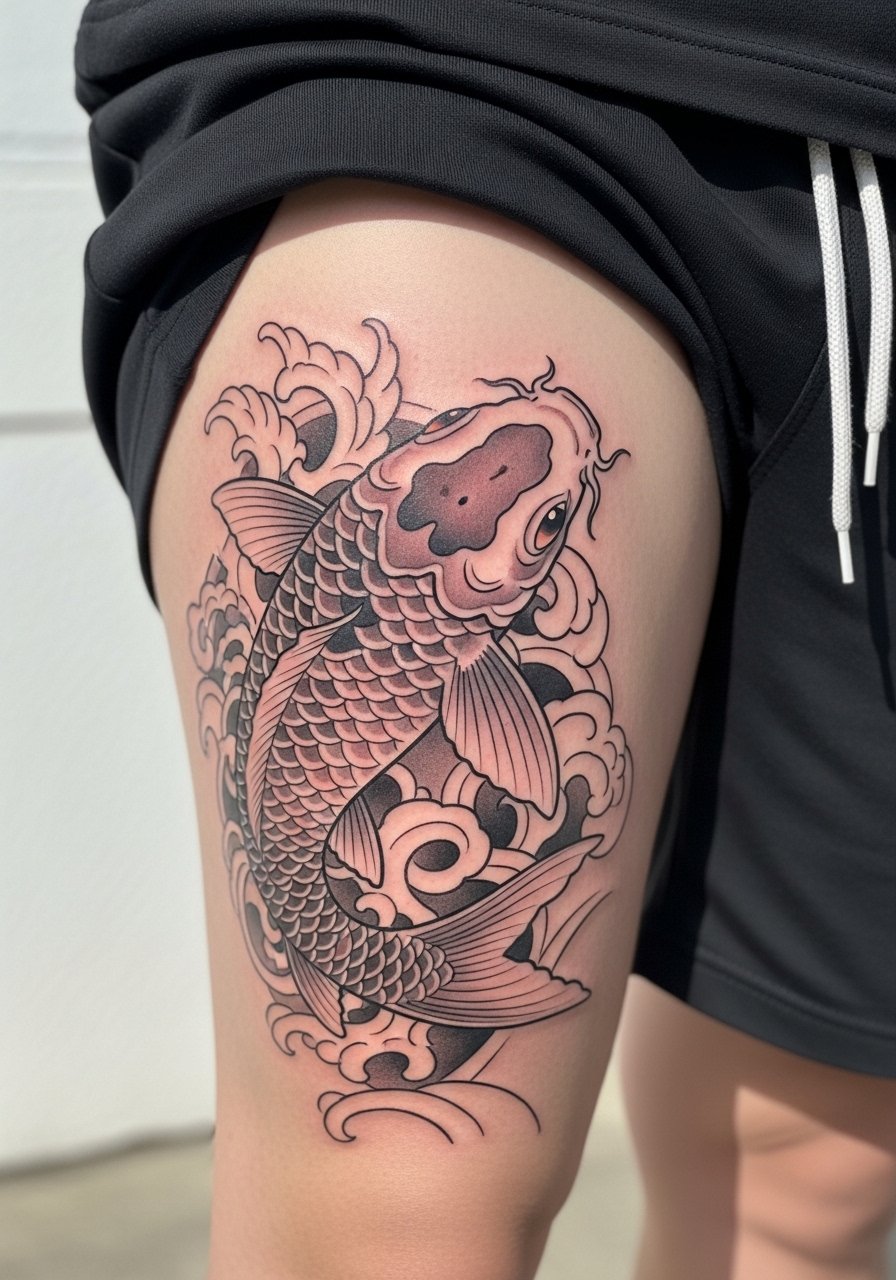
7. Hyper-Realistic Koi Breaking the Surface, Thigh Placement

There is a tactile quality to thigh realism that photos capture and gym talk notices. Hyper-real koi on the thigh needs smooth graduated greys and deep contrast at the edges so the fish reads from a distance. Sessions run long and can be broken into 3 to 4 sittings, with noticeable soreness afterward if you do leg day right after. For hiding or revealing, tailored shorts or a dress with a thigh-high slit frame the work. Try a tailored athletic shorts option for session comfort and easy access.
8. Ignorant-Style Chunky Koi on the Bicep
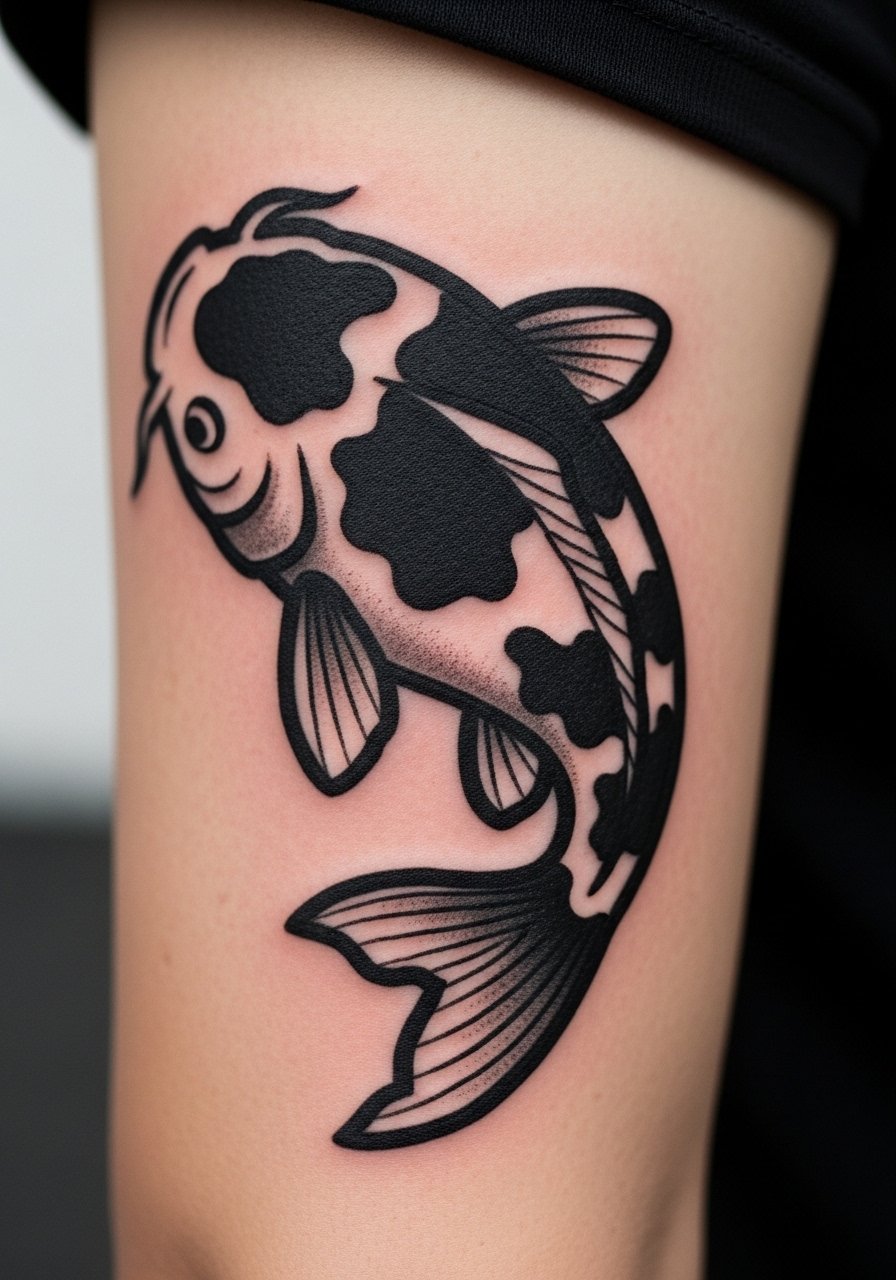
If you like anti-polish and bold aging, the ignorant style with chunky black fills is for you. Artists in underground scenes favor this because it ages into a distinct, story-telling texture rather than smoothing into indistinct blur. Be clear in consultation that you want intentional roughness and not sloppy linework. Expect two sessions and a heavier touch-up rhythm in year two as the large fills settle. This style pairs with fitted short sleeves that show off the bold silhouette without softening the edges.
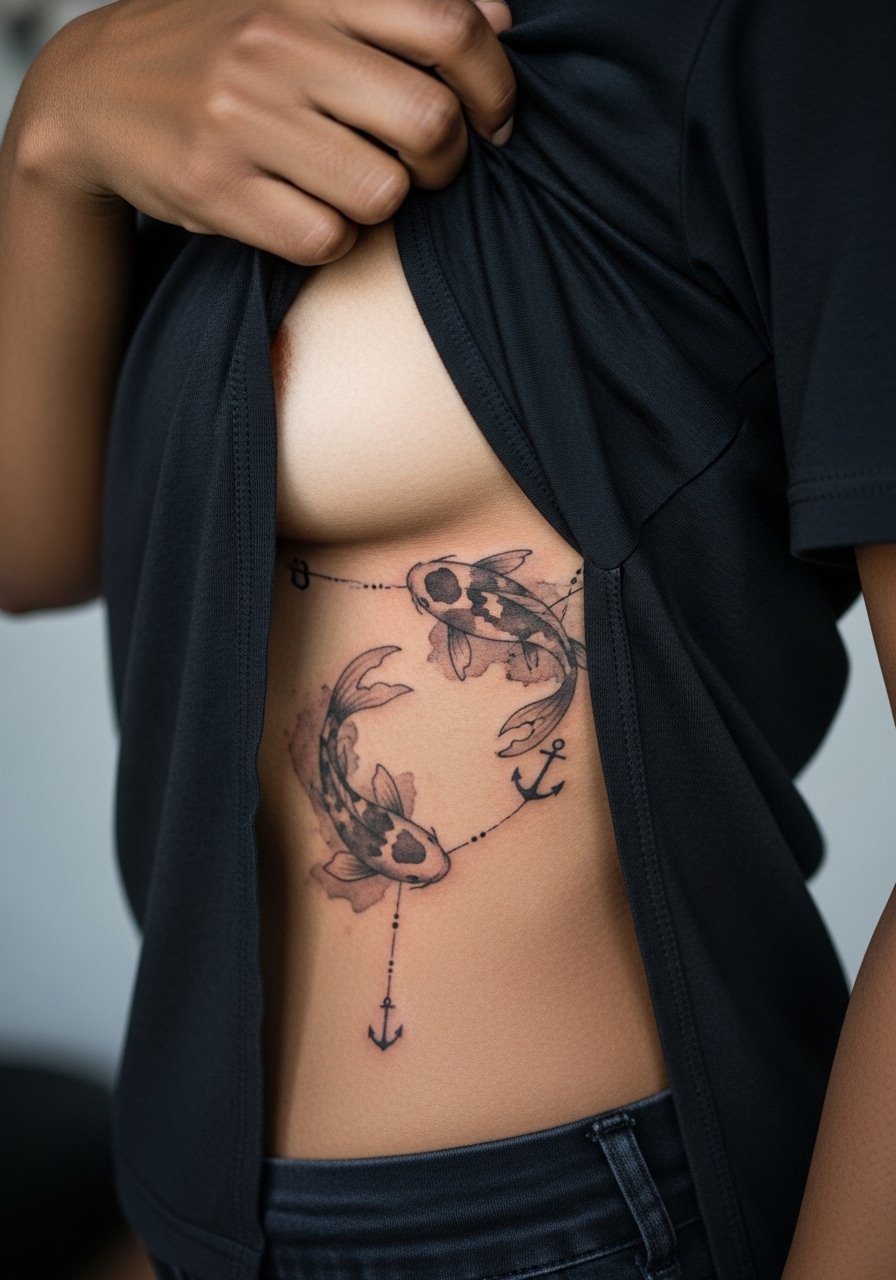
9. Black and Grey Watercolor Effect on the Ribcage

Fair warning, ribs are a pain hotspot but the canvas rewards you with a flowing composition. Watercolor-style grey washes need space to breathe or they can age into muddy patches. Artists split on whether to use protective films or dry healing for ribs, with one camp favoring breathable dry heals and another preferring barrier film for less scabbing. Ask where your artist stands and why, and plan short sessions. Wear a loose tank you can lift easily to reduce fabric friction during the session.
10. Tebori-Inspired Traditional Koi Across the Back
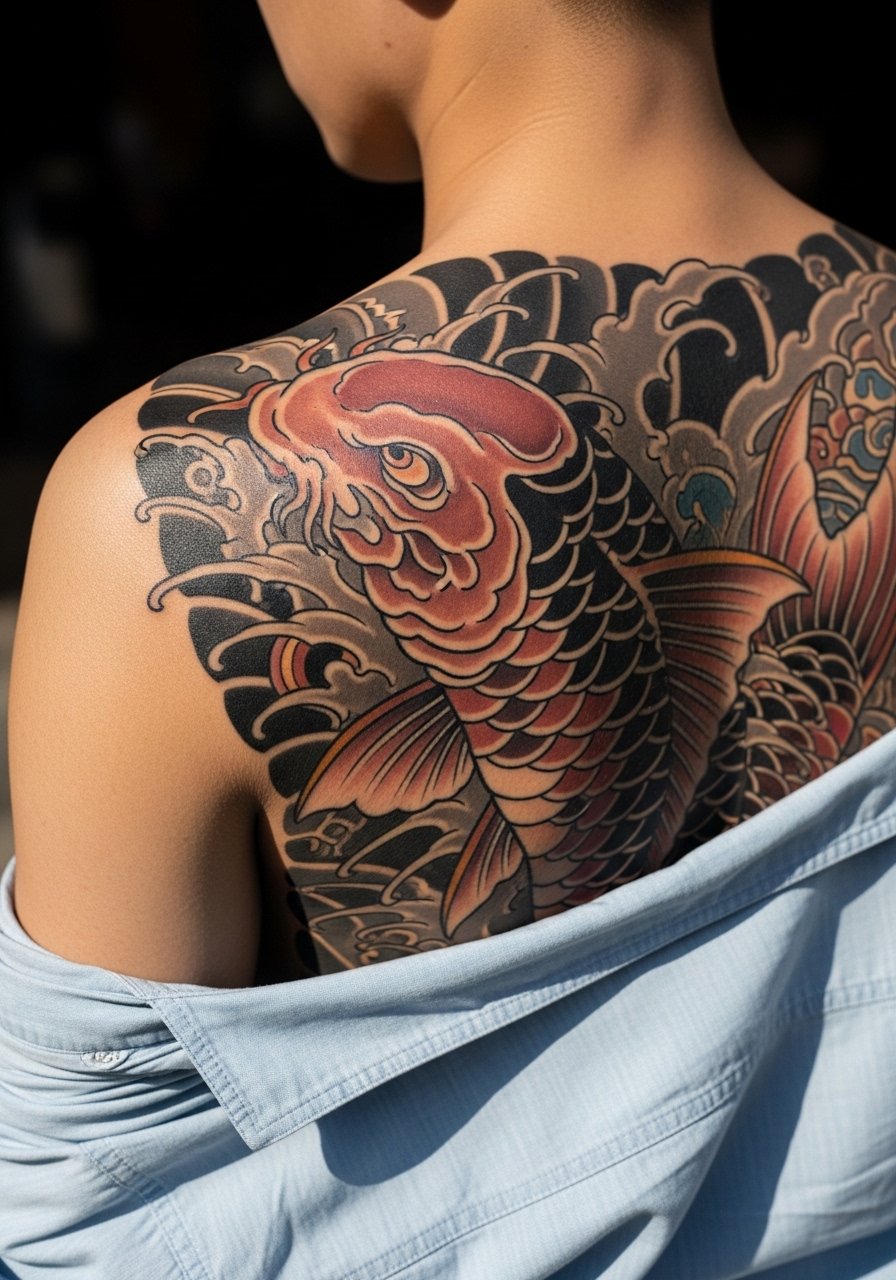
Traditional tebori-inspired shading transfers beautifully into monochrome for a back piece, especially if you want irezumi motifs without color. Tell your artist you want tebori contrast cues translated through punchy gradation and stipple work so the motif keeps its depth. Back pieces take multiple sessions and are best scheduled to avoid heavy lifting or weekend travel immediately afterward. For showing off, wide-neck shirts or an open button-down frame the top of the design without revealing the whole back.
11. Sleeve Flow With Continuous Waves and Cherry Blossoms

When building a sleeve start with an anchor koi and plan the negative space for later additions. The common mistake is crowding the first pieces so later artists cannot match contrast. I recommend mapping expansion panels and agreeing on a shared grey palette during the first consult. Expect six to ten sessions depending on density and touch-ups at the six-week mark. For session comfort wear a loose button-down shirt you can pull aside so the artist has clean arm access.
12. Tiny Tail Peek Ankle Piece

A two-inch tail or fin peeking above the ankle is a small commitment with big personal payoff. The ankle gets friction from socks and shoes so ask for slightly bolder outline and regular moisturization during week two. The session is quick and pain is sharp but short. For session wear roll your jeans and bring slip-on shoes so you can avoid laces after the appointment. Ankle tattoos look great with sandals and a simple pair of slim fit chinos rolled to show the area.
13. Calf Koi Flipped for Heels Visibility
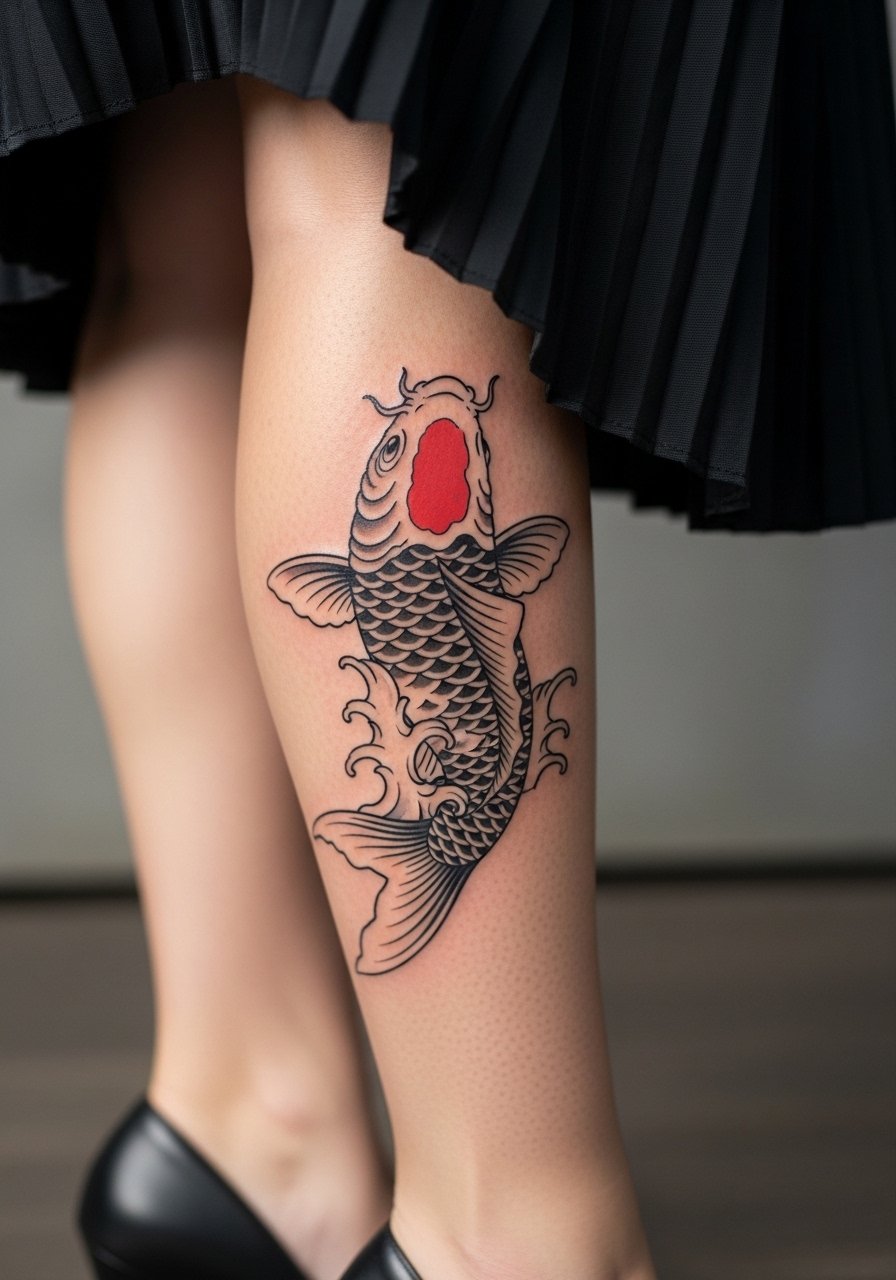
A small placement tweak can make your calf koi visible in dress shoes and heels. Flipping the koi so the head points upward toward the knee lets the motif show when you wear heels. The leg moves a lot, so ask for durable lineweight and crisp shadow anchors that will hold through skin stretch. Session wear is loose shorts or a skirt that can be moved aside. This angle is a playful detail for summer footwear.
14. Blackwork Geometric Koi for Sleeve Fillers
Visual impact lead here: geometric modules plug awkward gaps in patchwork sleeves without looking like retrofits. Tell your artist you want modular geometry that references koi curves rather than a literal fish repeat. Dot work and stipple shading anchor the pieces and reduce blowout risk if scaled properly. Expect longer sessions for dense dot fields and plan a touch-up window at three months to unify tones. For session comfort wear a loose fit tank top so the forearm can be positioned freely.
15. Inner Bicep Micro-Realism Koi for an Intimate Reveal

Consultation lead: inner bicep skin is thinner and can be unforgiving for ultra-fine scales. Ask for slightly more spacing and deeper contrast in the core scales to avoid blowout. Pain spikes when the arm is stretched, so plan for short sessions and a calm breathing rhythm. This is an intimate reveal piece so clothing choices like a tank top or sleeveless dress work best for showing. Mention career considerations if you keep this area covered at work.
16. Scar-Friendly Koi That Uses Texture to Your Advantage

Artists who work on scarred skin will adapt needle depth and shading to the scar texture so the koi feels integrated rather than pasted on. I have seen scar-friendly pieces that use stipple shading and wave texture to disguise uneven pigment. Expect a consult focused on healed-scar photos and possibly a test patch. Session time depends on how much textural blending is needed and touch-ups can be more frequent in scar tissue. For the appointment, wear a cropped top that gives precise access to the area.
17. UV-Accent Koi Hidden in Black and Grey
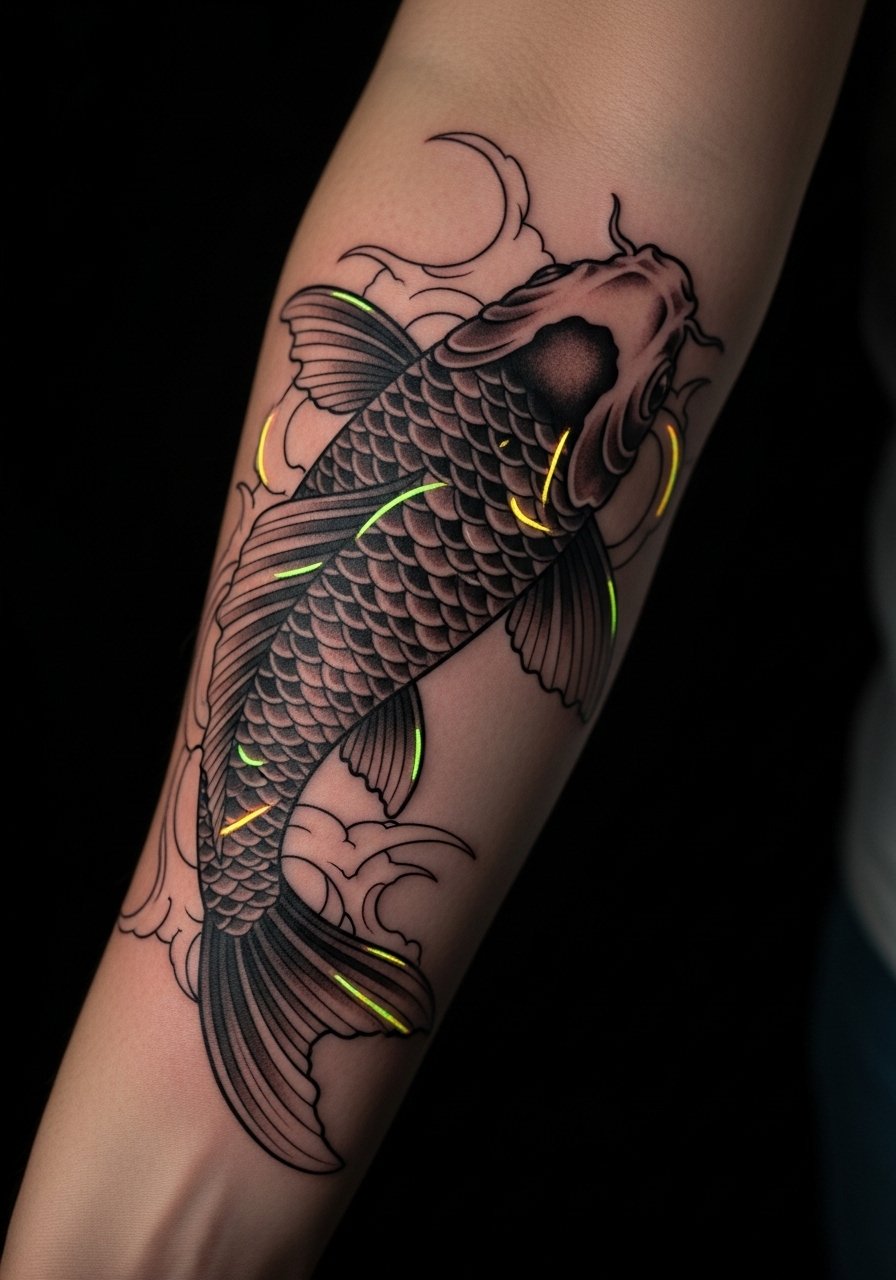
The novelty of UV accents is that they stay invisible in daily life and flash under blacklight. Ask your artist to keep the UV work limited to fin tips or tiny scale highlights so the grayscale reads normally at a glance. Not every studio offers quality UV pigments, so use the discovery pathways like tagged guest spots or filtered app searches to find someone who has healed examples. Session time adds only a little, but UV inks can require touch-ups that differ from standard blackwork.
18. Ribcage Watercolor Grey Wash With Subtle Line Anchors
Aging lead: watercolor washes on ribs look incredible when they are given breathing room and supportive line anchors. The controversy about dry healing versus protective film matters here because trapped moisture can shift the soft greys. Name both camps to your artist and ask their reasons for preferring one approach. Break the session into shorter windows for comfort. For the session wear a side-slit tee you can lift easily without bunching.
19. Thigh Panel Designed for Discreet Expansion
Mistake lead: many people pack a thigh panel too tightly and then cannot add a sleeve across the hip later. Leave margins and plan scaffolding lines that future artists can latch onto. Thigh work is comfortable for multi-hour sessions seated and heals well away from constant sun. For showing off or hiding, tailored shorts and dresses with high slits work well. Bring a pair of loose gym shorts for the session so you can sit comfortably.
20. Small Finger Micro Koi for Subtle Flex
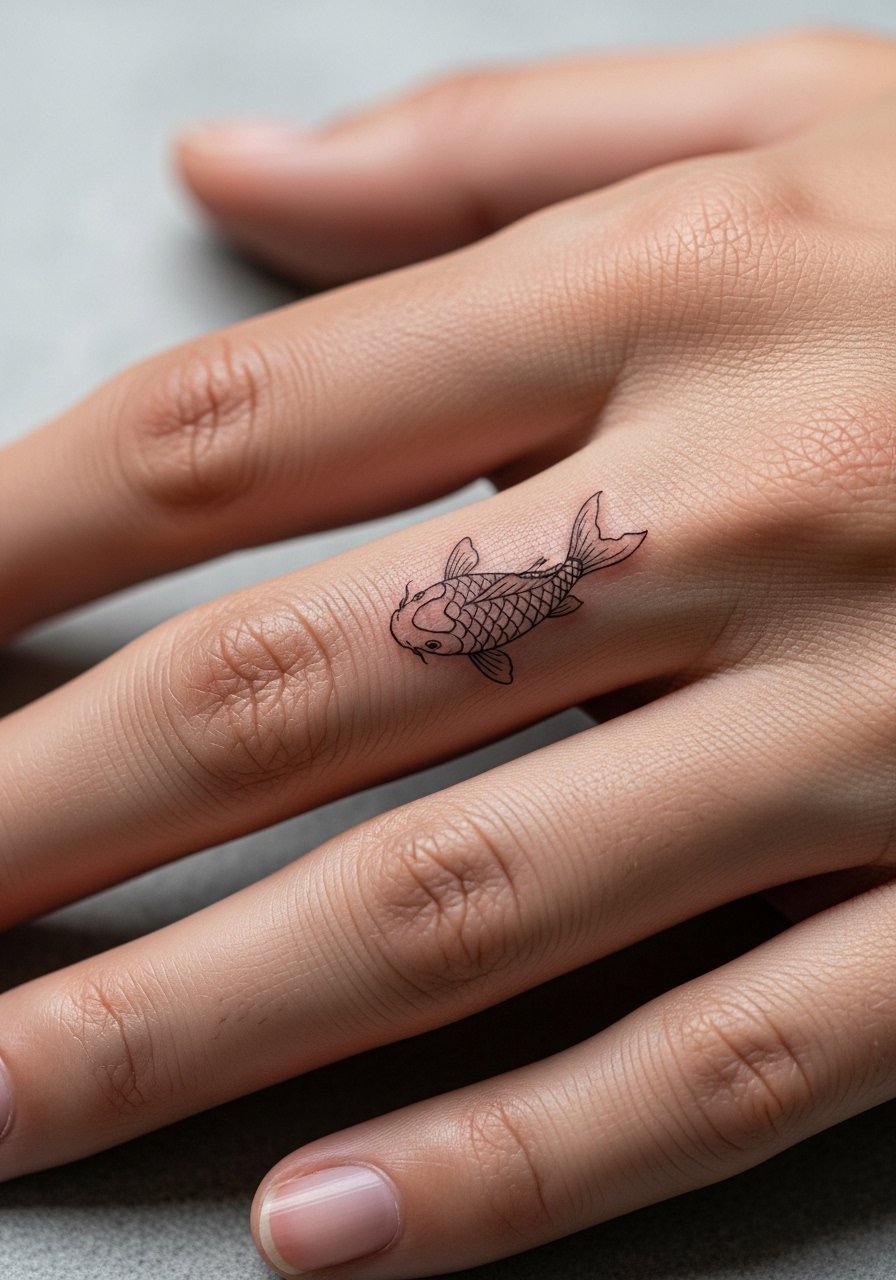
Pain warning lead: finger skin is thin and heals in a high-friction zone, so micro work here requires a different expectation of longevity. Many fine line finger pieces need refreshes every year or two. If you want this, ask the artist to anchor with slightly heavier outline and plan for an annual touch-up rather than assuming permanence. The session is quick and often paired with other small pieces to justify travel to a guest spot.
21. Lower Back Koi With Flowing Tail for Shirt-Gap Reveals
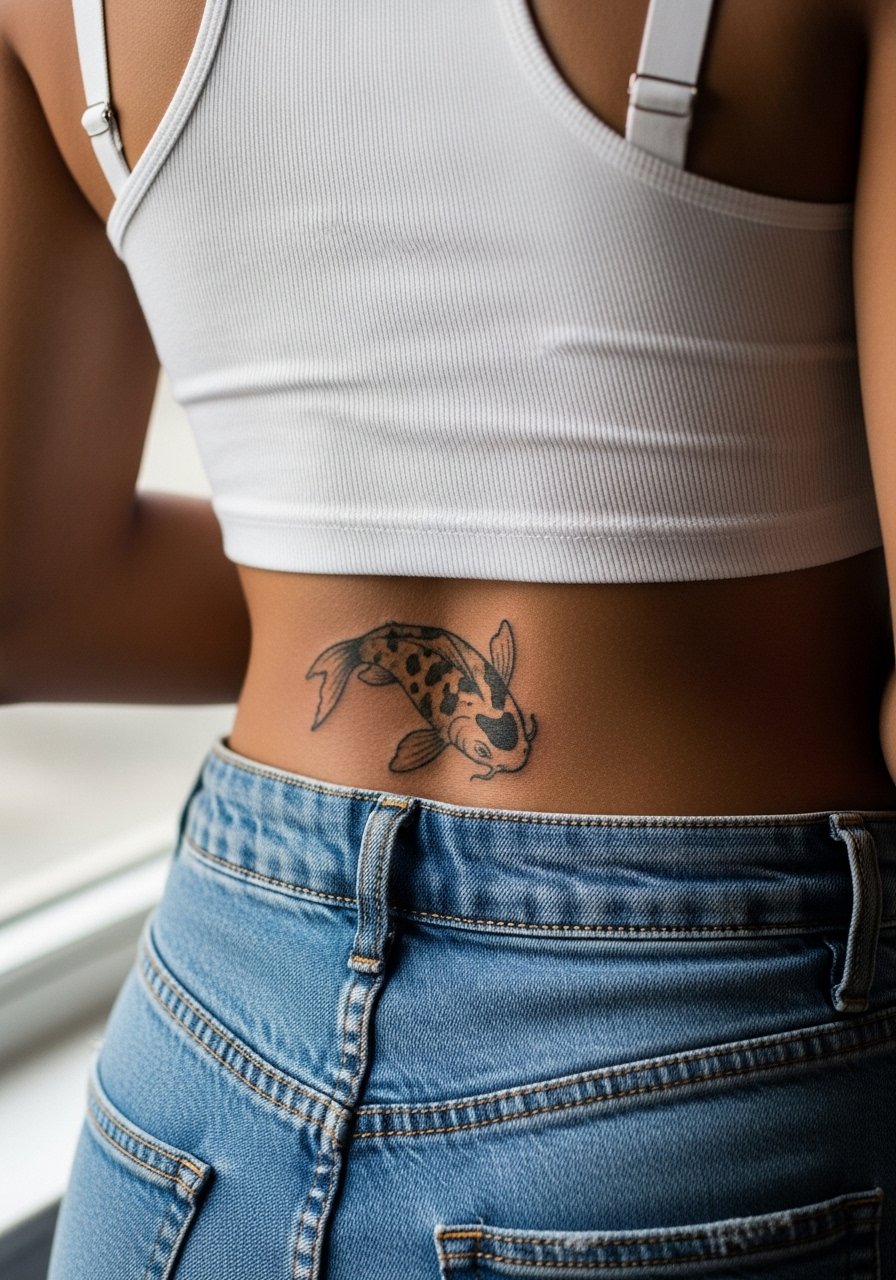
Visual impact lead: lower back tattoos can peek out under low-rise or crop ensembles in a way that feels curated rather than accidental. Keep the tail curve aligned with the waistline so movement reads naturally. The lower back heals cleanly but is prone to friction from waistbands in the first two weeks, so mention that to your artist and pick softer waistbands for recovery. For the session wear high-waisted pants you can lower without removing to keep privacy and easy access.
Frequently Asked Questions
Q: How do black and grey koi tattoos age on darker skin tones compared with lighter tones?
A: From what I have seen, high-contrast blackwork with slightly heavier line anchors tends to read longer on medium and dark skin tones than ultra-fine grey washes. Ask to see healed portfolios on similar skin tones during consultation and consider a small test patch or a micro piece before committing to a larger photoreal design.
Q: Will fine line koi on the ribcage blur faster than a bold blackwork piece?
A: Yes, fine line on ribs tends to soften sooner, though skilled artists can stretch the timeline by increasing spacing and depth. Artists are split on dry healing versus protective film for ribs, so ask which method they prefer and why during your consult.
Q: Can I add UV accents later if I start with a black and grey koi?
A: You can add UV highlights later, but the pigments require a specific approach and some studios do not stock them. Use guest-spot search tags or app filters to find artists who have healed images of UV on monochrome pieces before booking.
Q: What should I wear to a thigh session versus a forearm session?
A: For thigh work wear loose athletic or tailored shorts that can be shifted, and for forearm sessions wear a loose tank or a roll-up sleeve shirt. If you plan to show the piece off after healing, a tailored short or a rolled sleeve henley works well to frame the area.
Q: How soon should I plan a touch-up for micro-realism koi scales?
A: Expect a touch-up at six weeks for most micro-realism work and be ready for minor saturation tweaks at year two depending on sun exposure. The artist should factor in touch-up timing when quoting session plans.
