
Fine line clovers and heavy blackwork both fill saved boards, but they tell different stories once healed. Trends push tiny wrist leaves and sprawling sleeves at equal speed, and the reality is placement, lineweight, and skin type decide which one still looks crisp after a few years. Read on for 27 design-true options, what to ask in consultation, and how to show them off the right way.
1. Clover Kingdom Emblem on Forearm
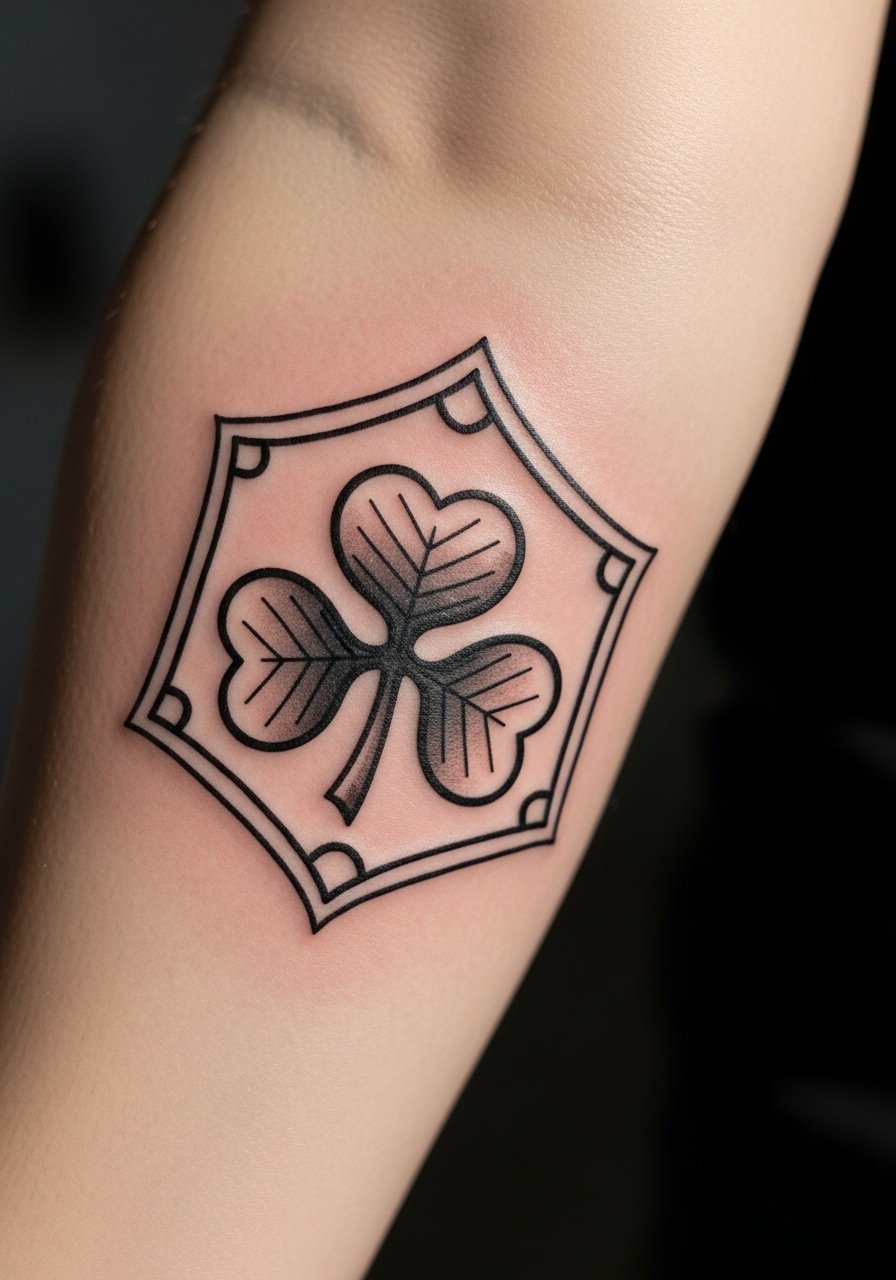
Personal observation: I see this emblem on forearms more than any other single placement, and the forearm gives the emblem room to breathe so the four-leaf motif reads clearly at distance. Tell your artist you want slightly heavier outer linework and soft internal shading to avoid early feathering. Common mistake: requesting ultra-fine inner details that merge within a year. Session feel: moderate discomfort for about 45 minutes to an hour depending on size. How it ages: at six months the gray holds its texture, by two years touch-ups keep the emblem crisp. Styling note: roll a sleeve, or pair with a rolled sleeve graphic tee to show the forearm without looking like you planned it.
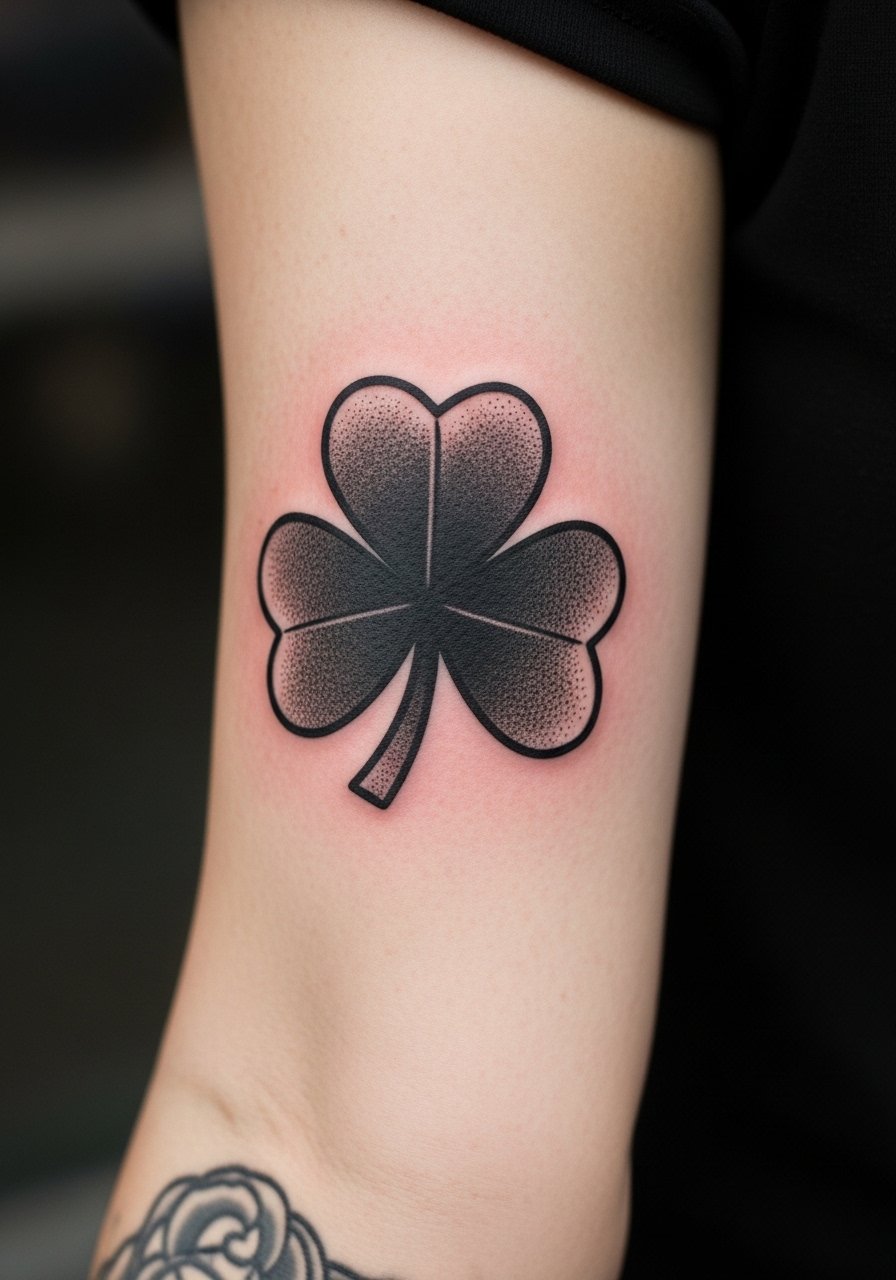
2. Iconic Bold Outline on the Wrist
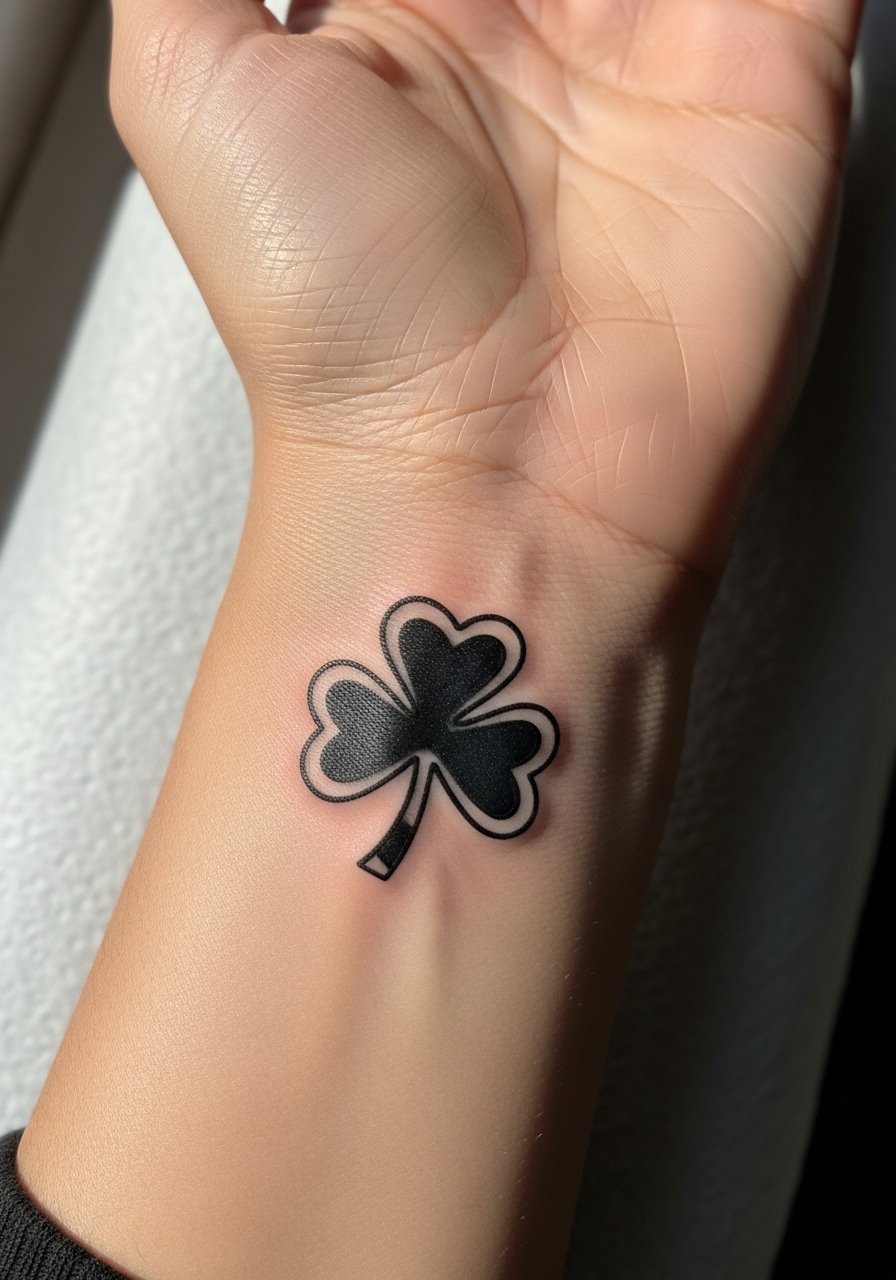
Pain warning lead: wrists are sensitive and come with frequent friction, but a bold outline lasts longer on this skin than a fine line version. Ask for solid saturation and a single session sizing preview so you know scale in real life. Blowout risk is moderate for thin wrists, so larger outer lines reduce ink spread over time. Expect short session time under 30 minutes, but plan for careful aftercare in the first week to avoid rubbing. Pair this with a thin silver chain bracelet when you want it visible, or keep it covered with a watch for work.
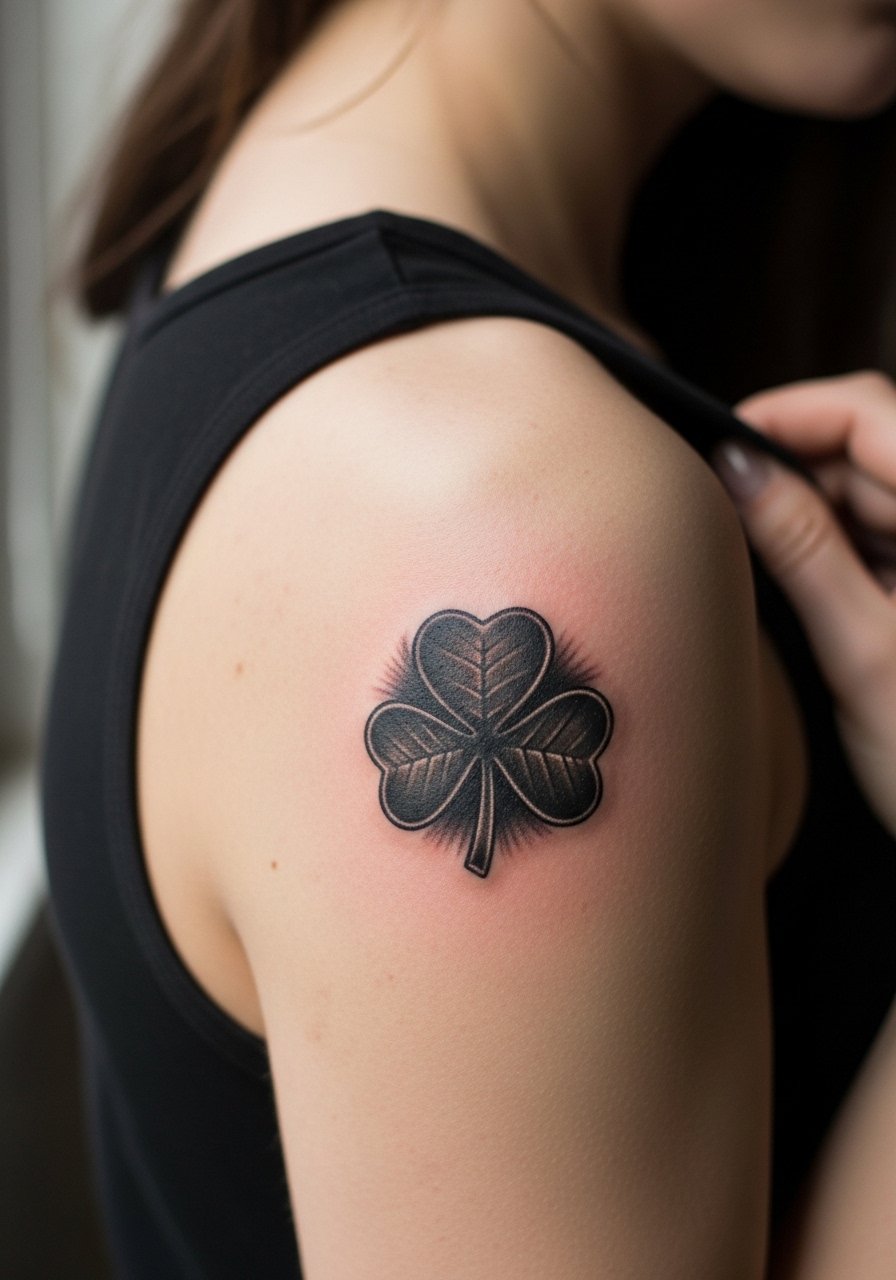
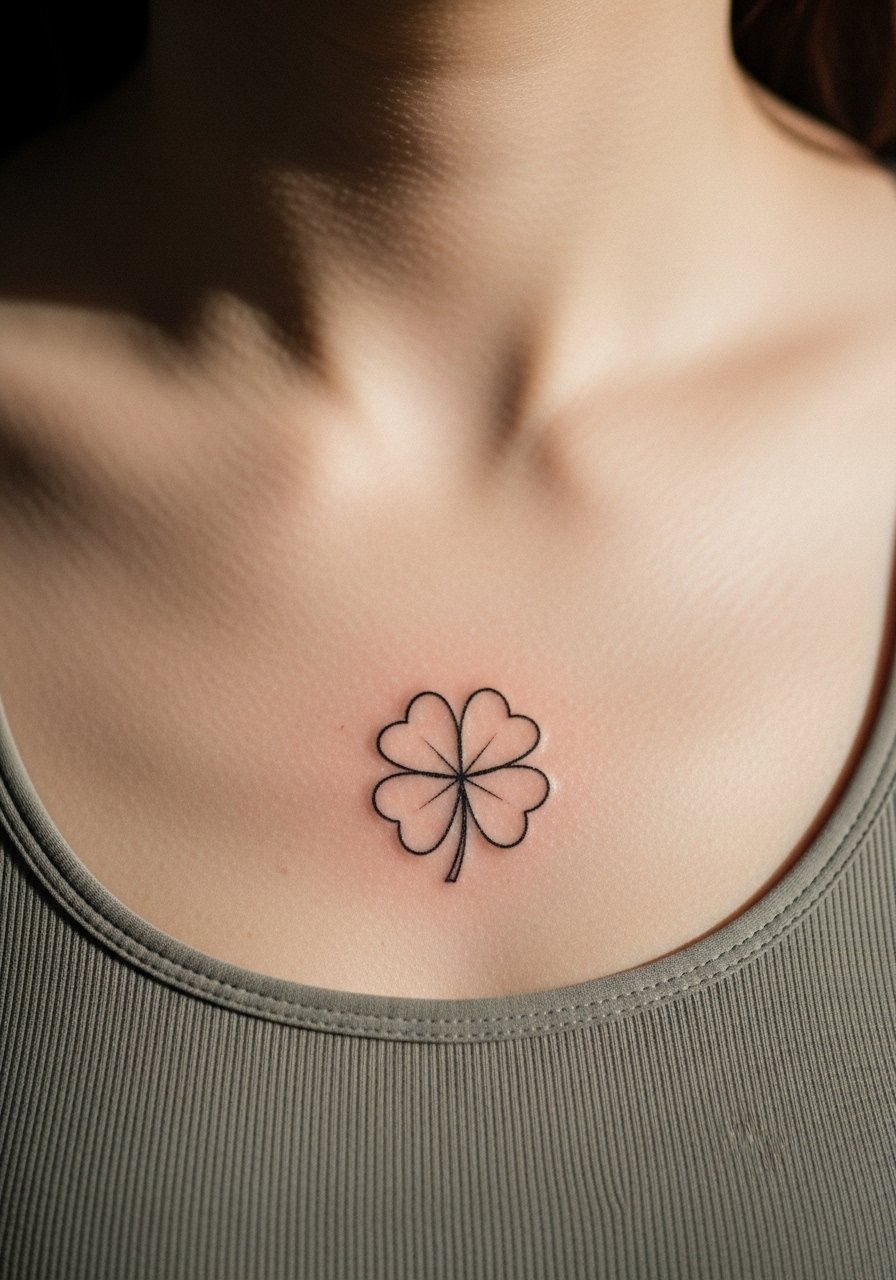
3. Minimalist Single Leaf on the Collarbone
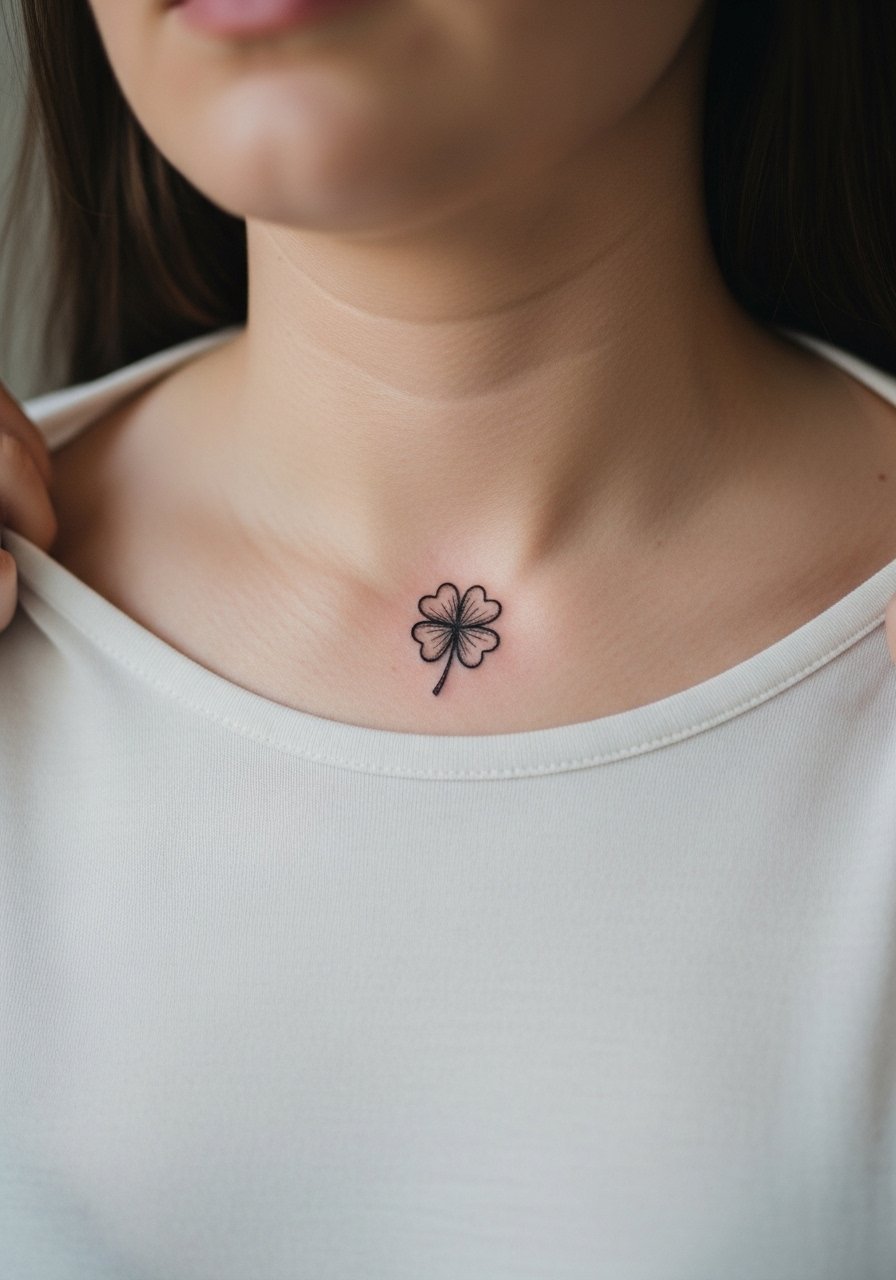
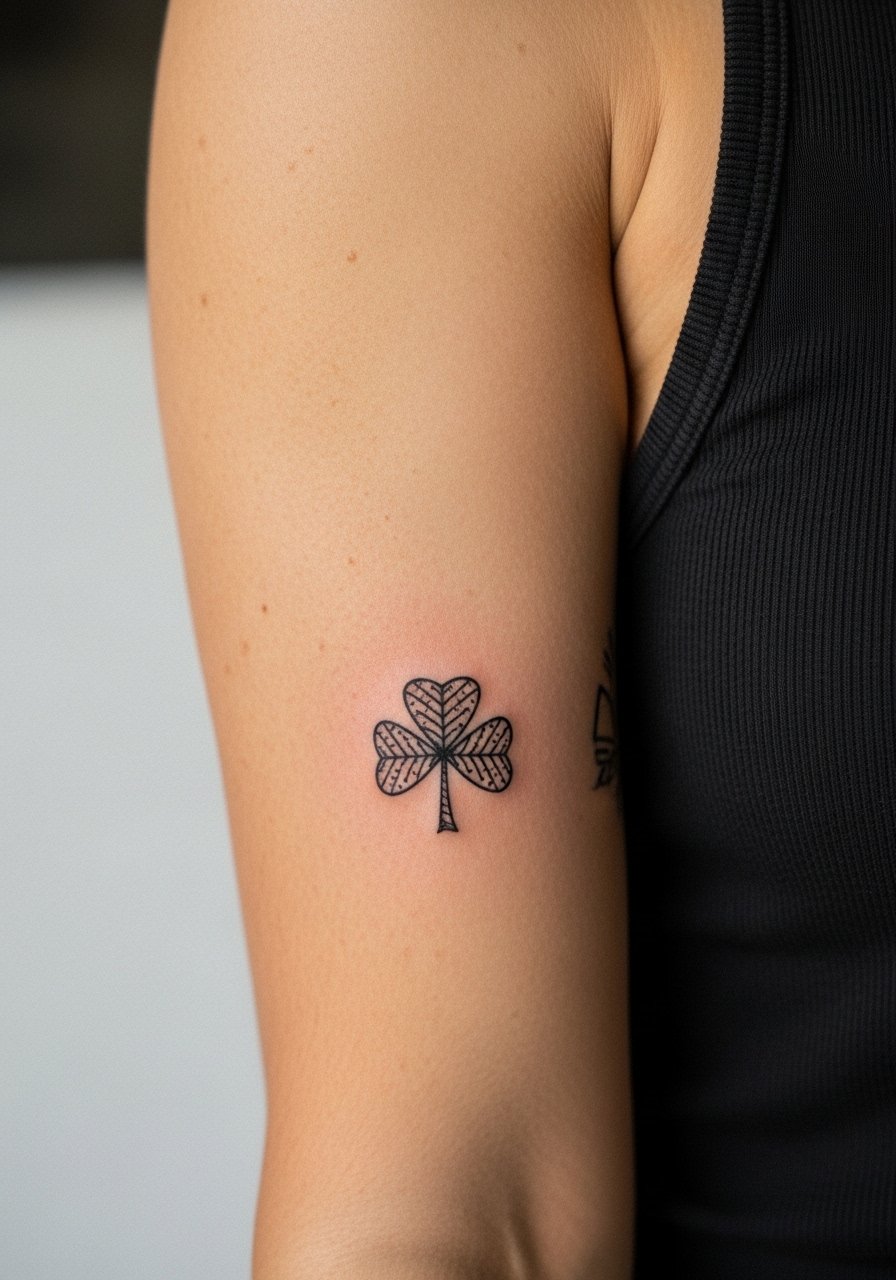
Aging and healing lead: collarbone linework holds well if the artist uses slightly deeper single-pass lines rather than whisper-thin strokes. The common mistake is sizing the leaf too small. At six months it looks crisp, but by year three very thin edges can soften. Session feel: collarbone is a 5 to 6 on most pain guides and can sting around the bone. For the appointment wear a wide-neck shirt you can pull aside so the artist has clear access without you getting cold. Best for someone who wants a subtle nod to the series without over-committing.
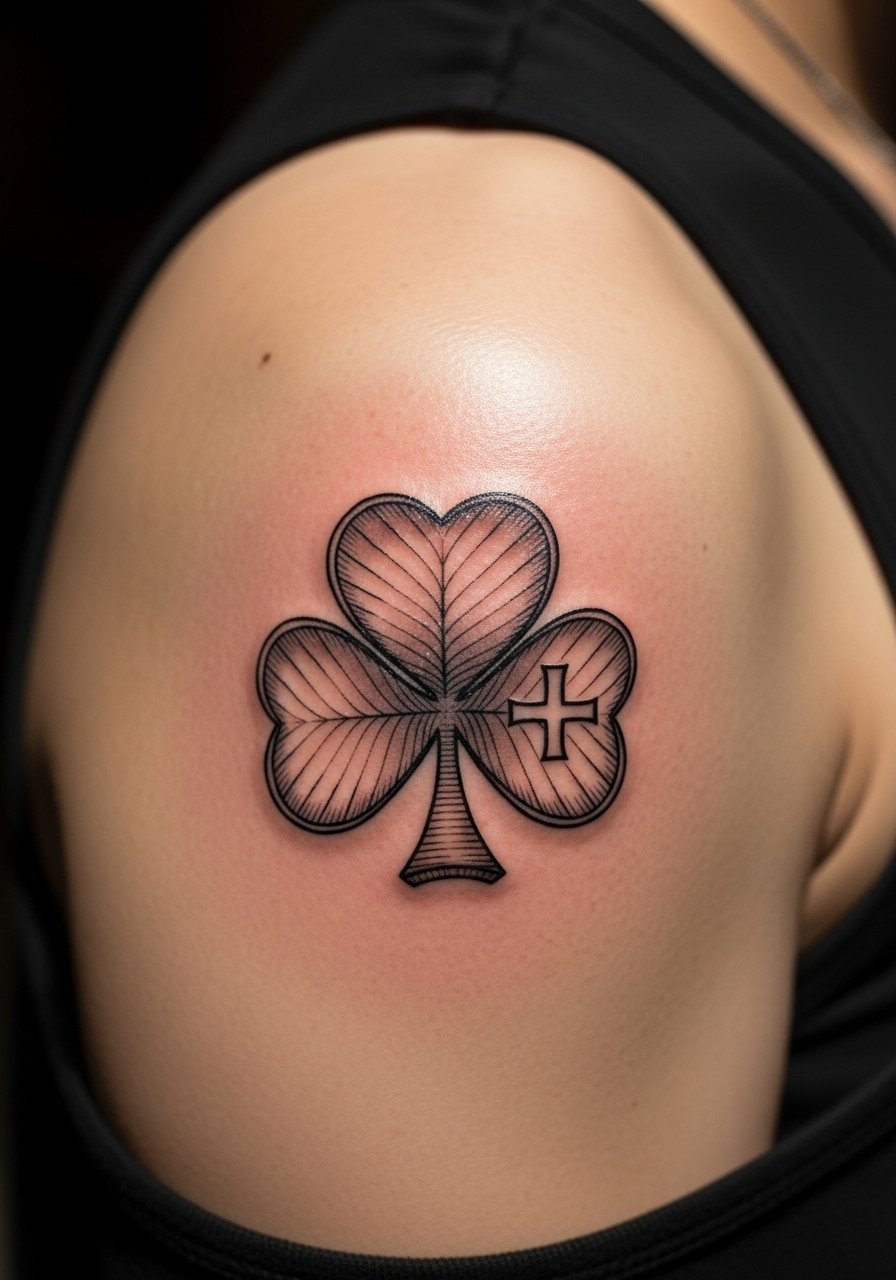
4. Blackwork Clover with Magic Swirls on the Upper Arm
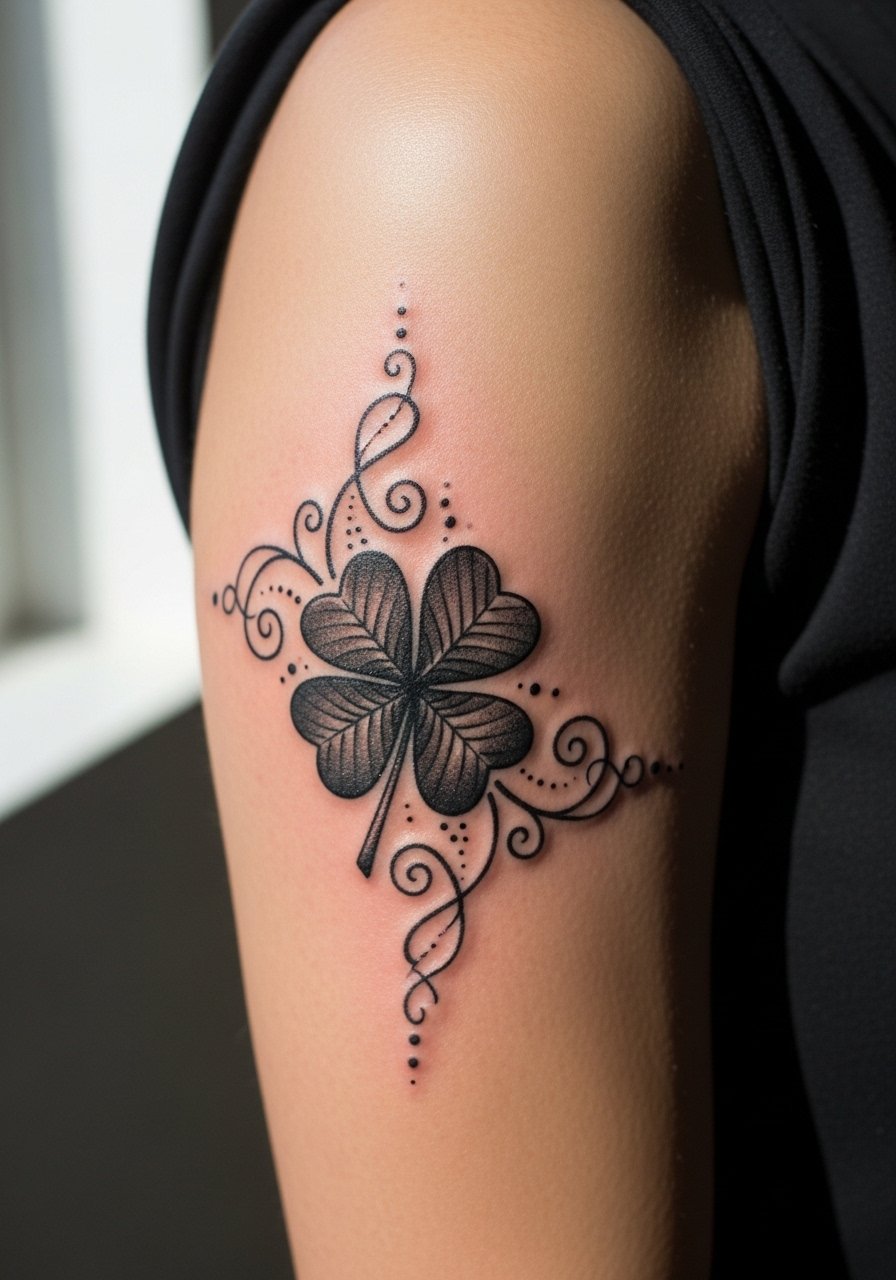
Visual impact lead: the upper arm gives room for swirls and small grimoire motifs that read like movement when you flex. In consultation, specify how much negative space you want around the emblem so the swirls do not collapse into a blob as the piece settles. Typical session time is 1 to 2 hours depending on shading. Blowout risk is low here if the artist spaces the shading with stipple or whip shading techniques. For showing it off, an off shoulder black top or rolled sleeve reveals the piece without distraction. This style ages well compared with tiny fine line swirls.
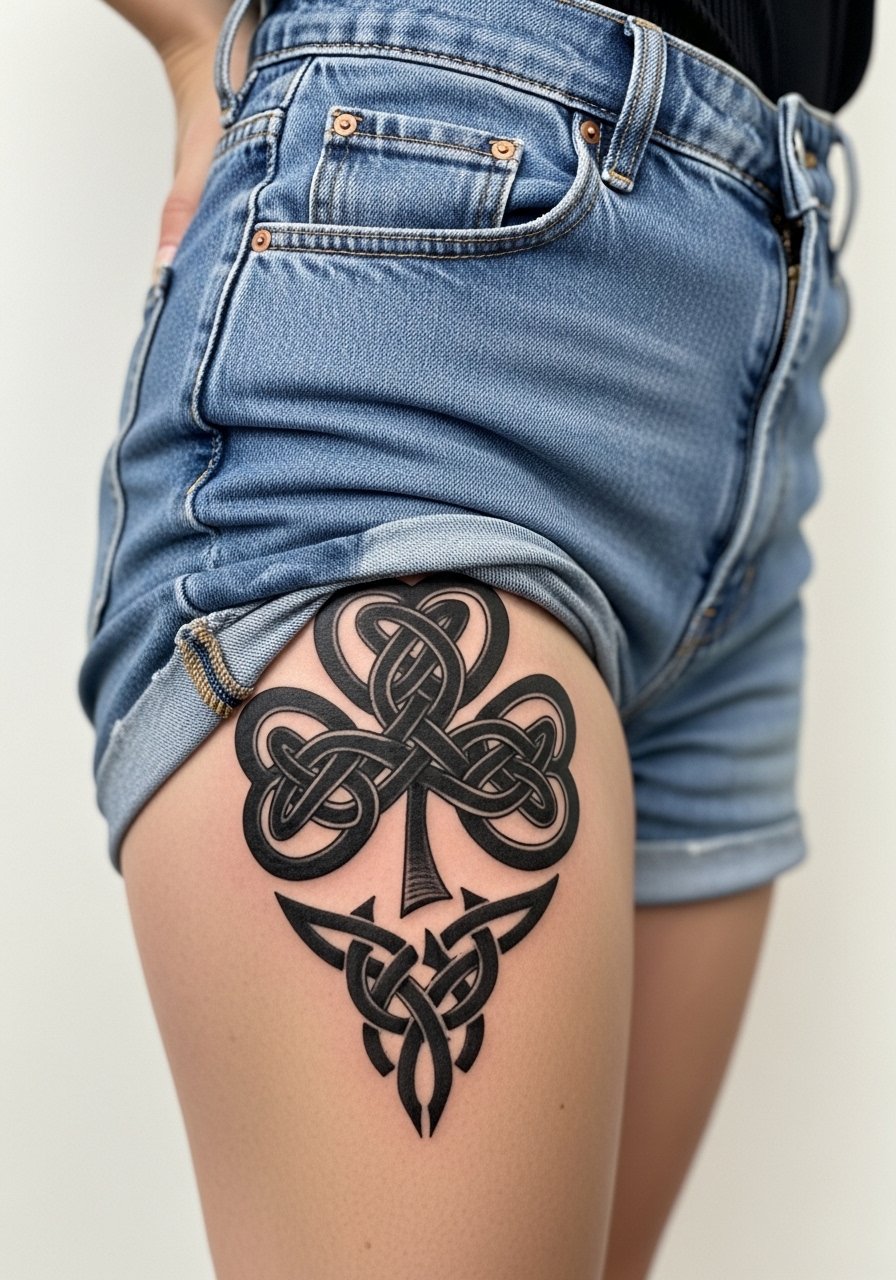
5. Tribal Knot Clover on the Thigh
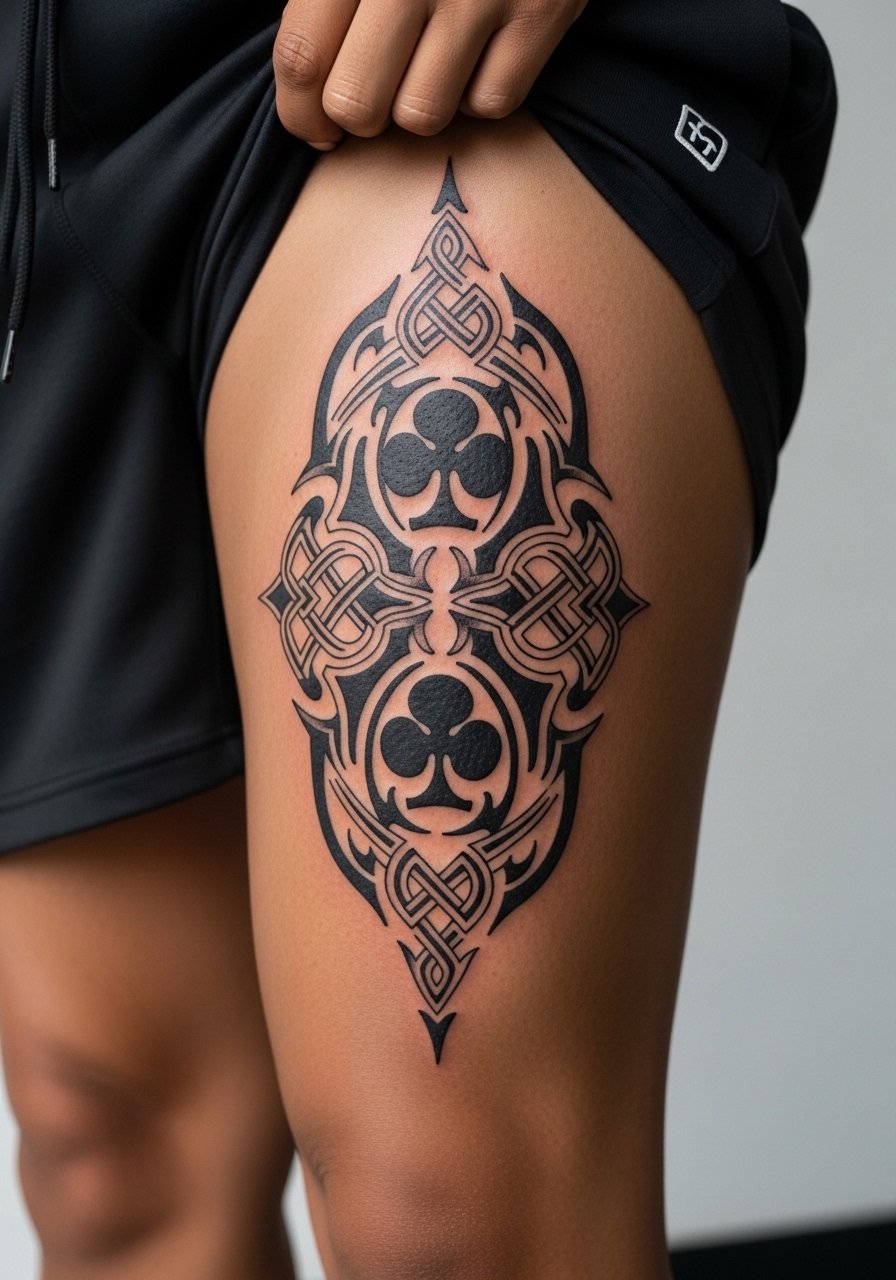
Mistake lead: people often ask for tribal knots without considering cultural origins or how dense blackwork behaves on soft tissue. For this thigh placement ask for clear knot intersections and slightly more spacing so the heavy black does not become a single mass after weight changes. Session feel: the thigh tolerates long sessions well, so plan on two shorter sittings for complex knots rather than one marathon. Wear high cut athletic shorts to the session so the artist can roll the shorts without cutting circulation. This approach makes the piece wearable for non-fans while keeping the clover readable up close.
6. Realistic Clover on a Dark Background, Shoulder Blade
Consultation lead: bring healed reference photos of micro-realism pieces on similar skin tone so the artist can match texture and saturation. A common version that ages poorly is an over-dark background that bleeds into the clover's edges. To avoid that, request crisp negative space around the leaf and layered shading for depth. Expect one to two sessions and moderate pain over the shoulder blade. For evenings out, a tank top that sits off the shoulder frames the work without competing. Note: shoulder blades can hide motifs for people who want a private homage.
Studio Day Picks
The forearm, wrist, and collarbone pieces above all ask for different session prep than large thigh or shoulder work, so a few targeted items make booking day smoother and the first week easier.
- Japanese aftercare oil. Lightweight oils praised in forums help blackwork stay glossy without clogging, which is useful for the dense emblem and shaded shoulder pieces above.
- Breathable tattoo balm. Great for humid climates and for thigh work where friction from shorts can irritate fresh blackwork.
- Thin salve stick. Handy for small wrist and collarbone spots when you need precise, breathable moisture during the first week.
- Tattoo protective film roll. Keeps wrist and forearm pieces clean during the busiest early days without constant rebandaging.
- Aquaphor healing ointment. A thin layer can protect fine line work in the first 48 hours, especially on the collarbone and wrist where scabbing risks smudging.
7. Fine Line Clover with Mana Sparks on the Inner Forearm
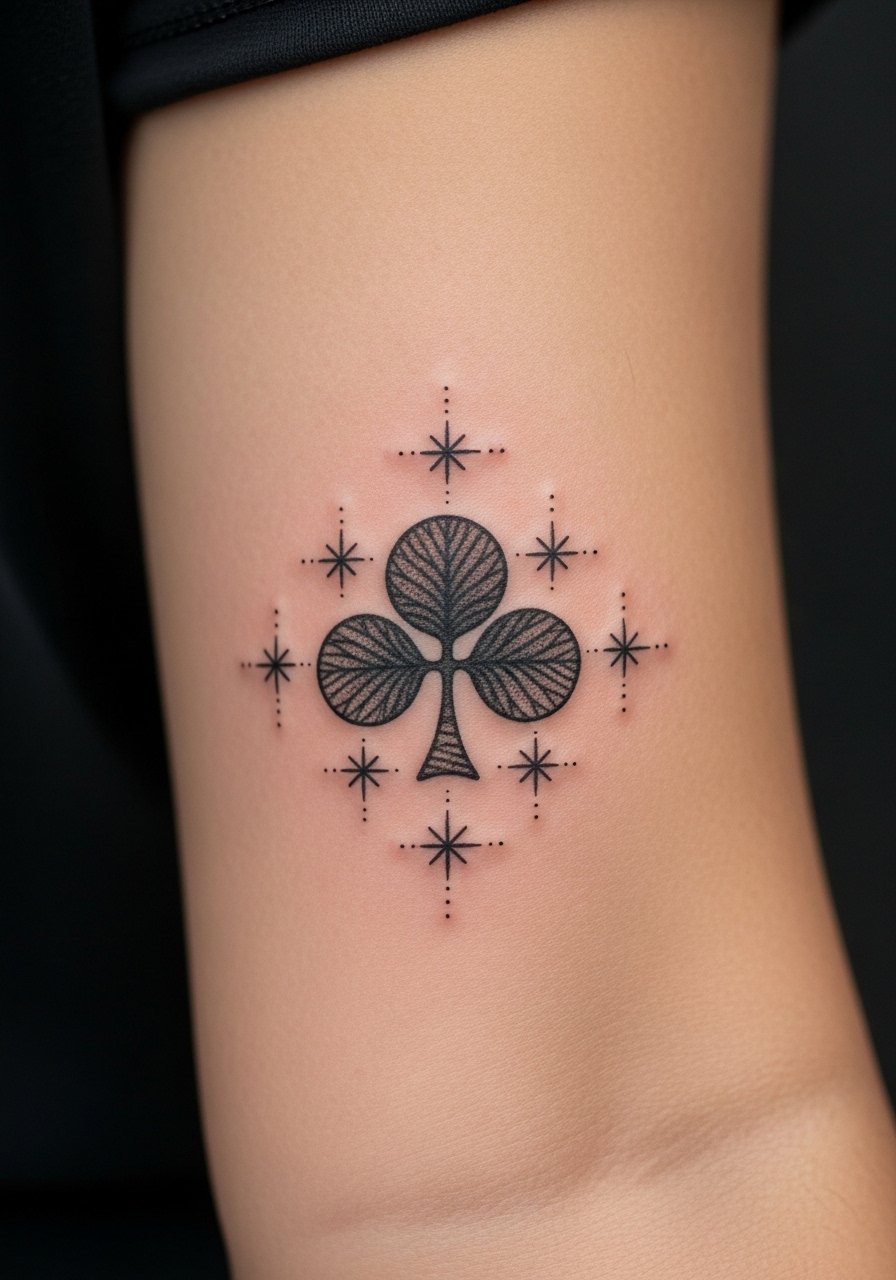
Styling lead: this is a favorite for first-timers who want a delicate series of homages. In consultation ask for slightly thicker dots for the mana sparks so they age as points rather than blurs. The biggest mistake is sizing the leaves too small relative to the sparks. Expect single-session work under 60 minutes and mild soreness. For showing it off, a fitted olive tank top or rolled sleeve tee keeps attention on the forearm without overshadowing the subtle dot work. Plan for a touch-up at year two depending on sun exposure.
8. Neo-Traditional Knight Insignia on the Calf
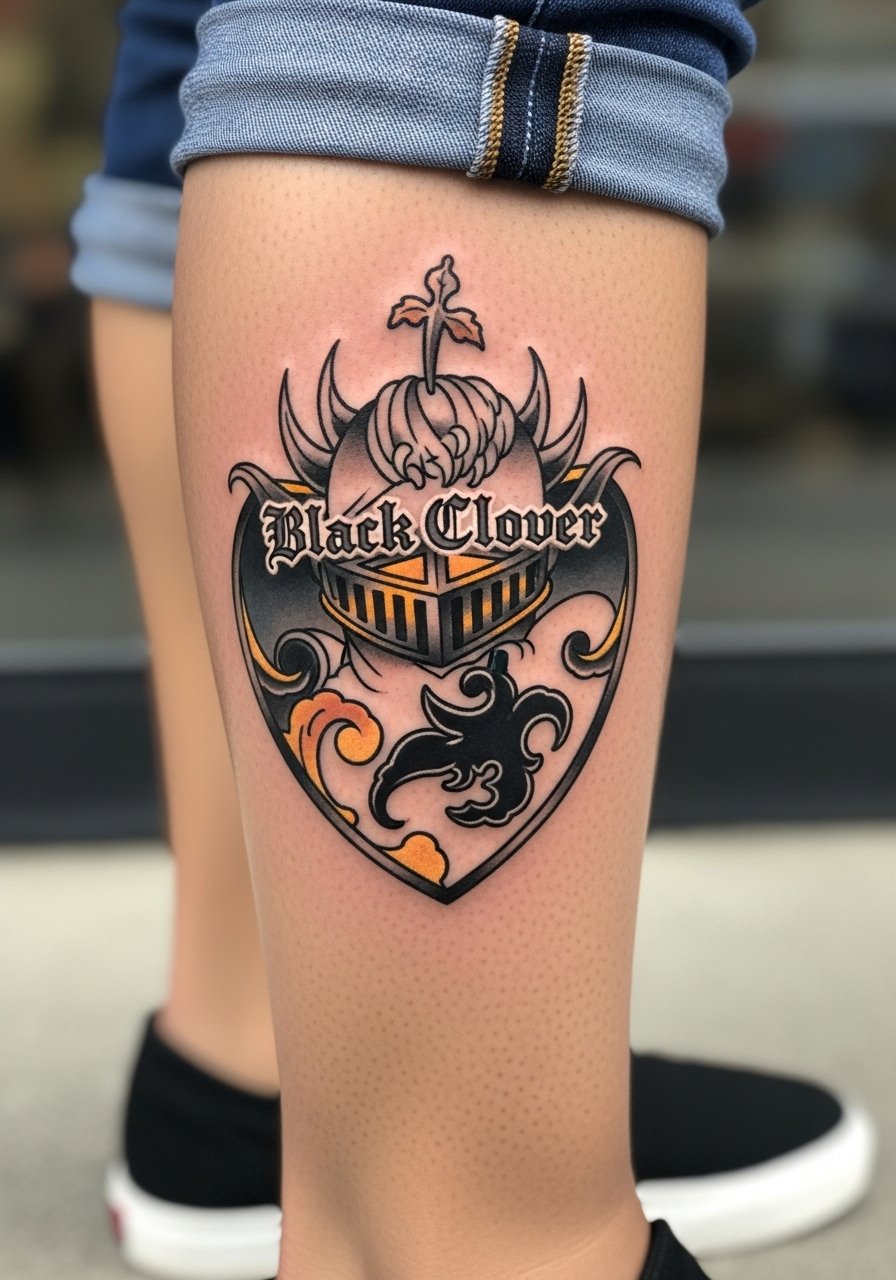
Pain warning lead: calf sessions are comfortable but can throb for a day after heavy color fills. For a knight insignia ask for strong outer lines to separate color pops and avoid mushy fills later. Session time is often two to three hours for a six-inch piece with color. The calf is forgiving for large neo-traditional shapes so blowout risk is low. Wear cuffed ankle jeans to the session so the area is easy to access and your clothes do not rub the fresh ink. This style ages well if saturation is even.
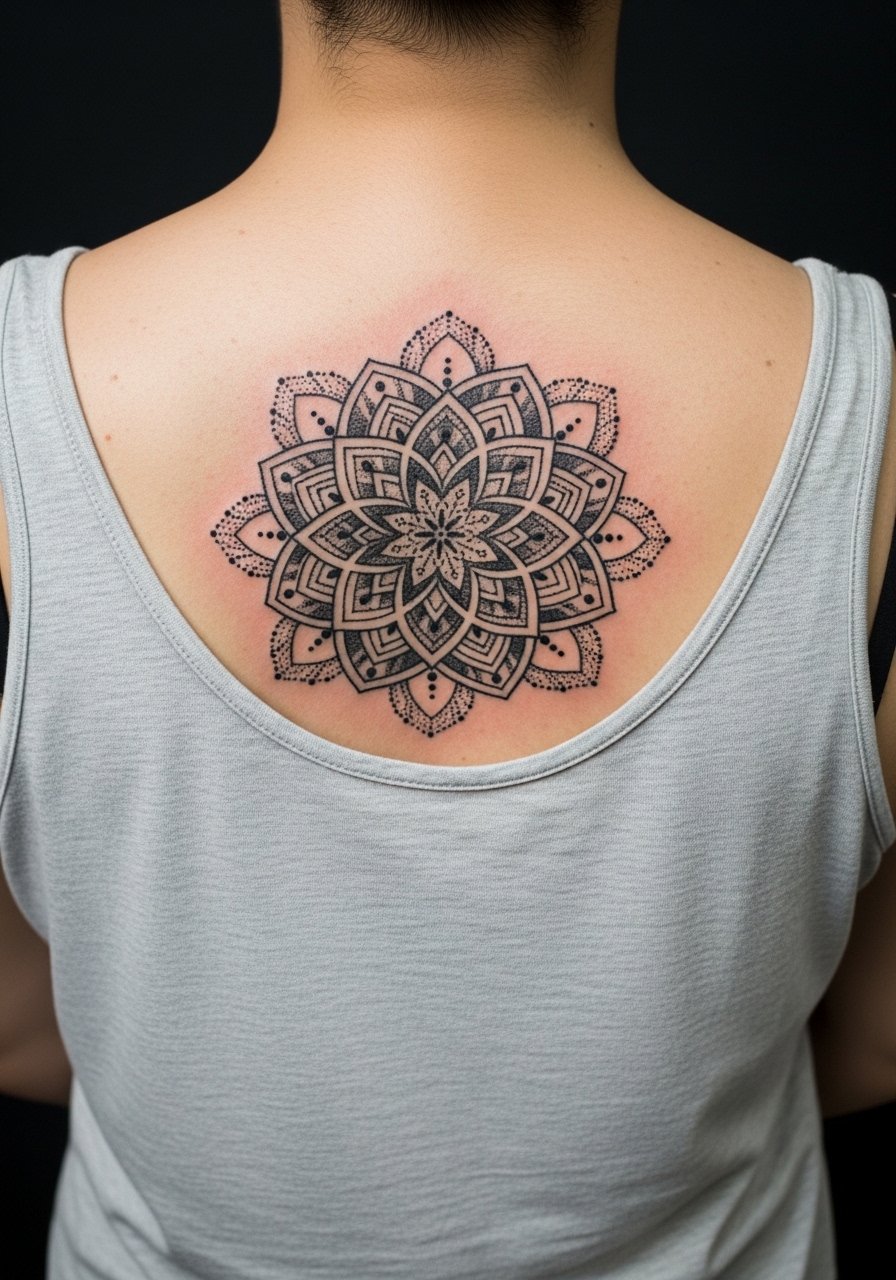
9. Ornamental Clover Mandala on the Spine
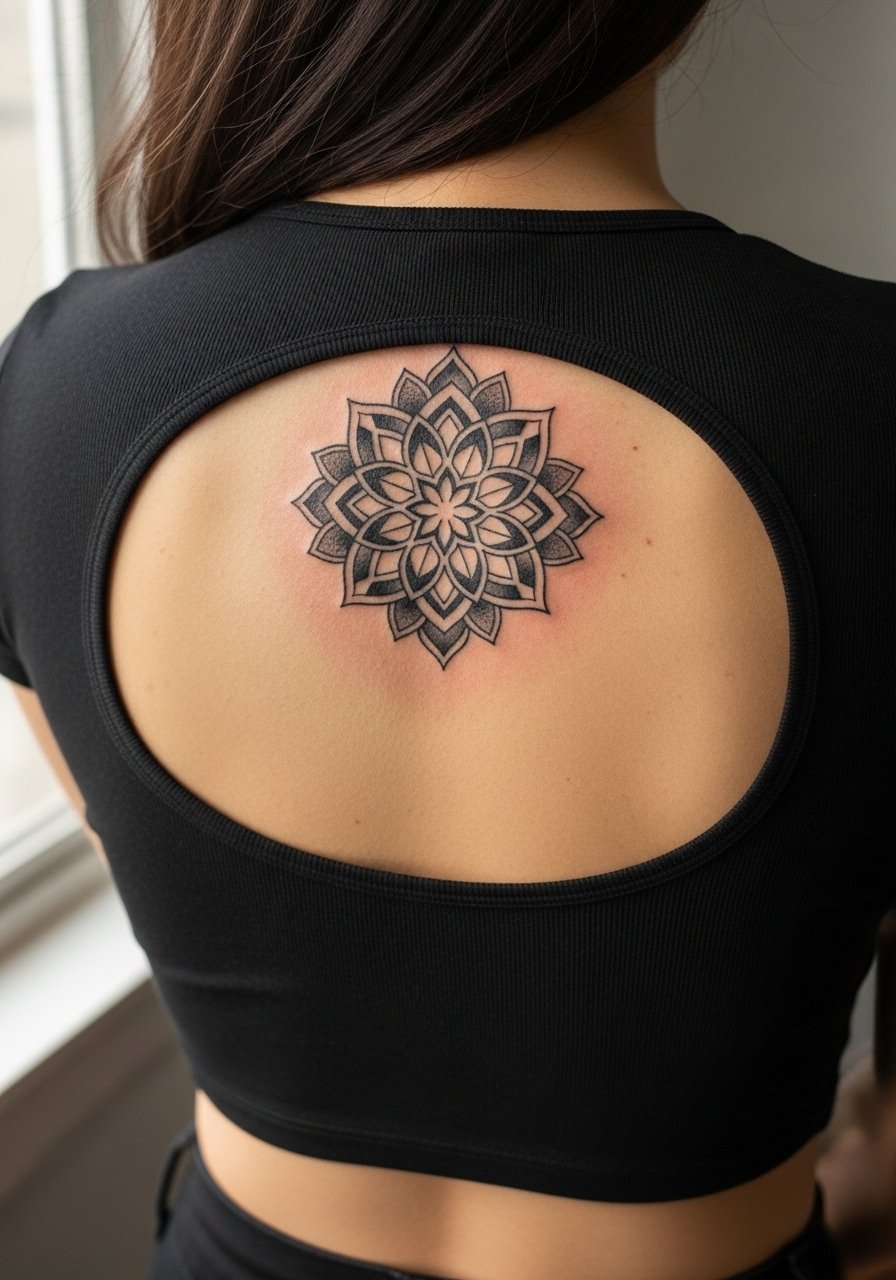
Aging lead: dense mandalas on the spine need breathing room between lines to avoid merging as the skin moves. The biggest mistake is compressing too many details into a small vertical strip. Ask for expanded negative space and stipple shading to keep contrast as the piece ages. Sessions are usually split into two to manage pain and swelling on the rib-adjacent spine area. For evenings pair with a backless crop top that frames the mandala without competing. Be aware this area moves with posture and that can subtly change the pattern over time.
10. Ignorant Style Chunky Clover on the Bicep
Mistake lead: the ignorant style thrives on confident, chunky marks, but some people ask for it in too small a size where the character is lost. Tell your artist to keep outlines unapologetically thick and avoid internal micro-detail. The bicep tolerates single-session work under 90 minutes and usually heals with minimal touch-up. For showing off, add a leather cuff bracelet on the opposite arm for balance and a casual look. This playful take fits collectors who like bold iconography that still reads at a glance.
11. Watercolor Black and Gray Clover on Upper Back
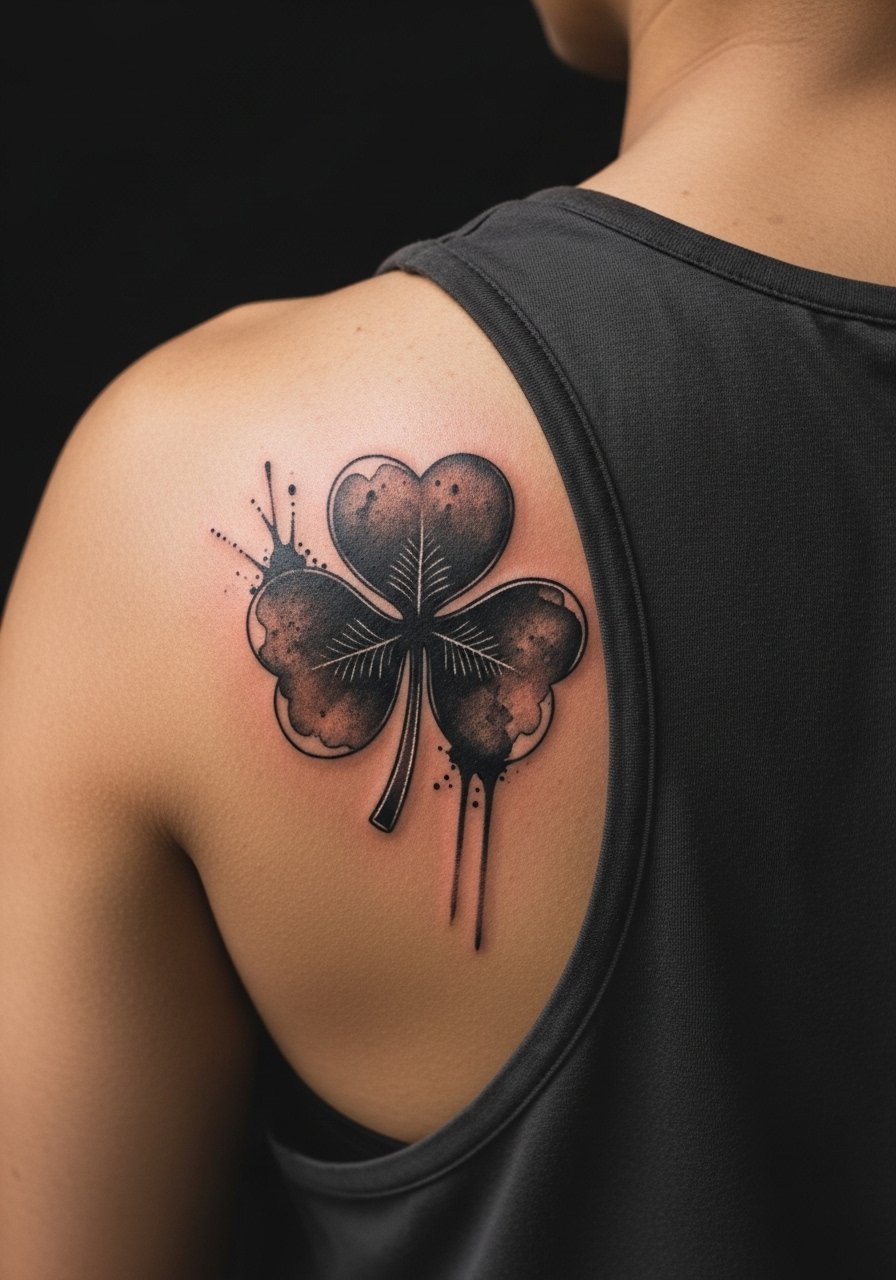
Aging lead: watercolor washes in black and gray fade differently than saturated blackwork, and the trick is deeper outer values with feathered interiors. The common pitfall is too much subtle blending without a darker anchor, which becomes patchy over time. This upper back piece usually takes two sessions to layer washes properly. For night looks wear a low halter top or slouchy shirt you can slide to show the upper back without revealing more than you want. Expect touch-ups at year three to keep gradients seamless.
12. Patchwork Clover with Quote on the Forearm Sleeve Start
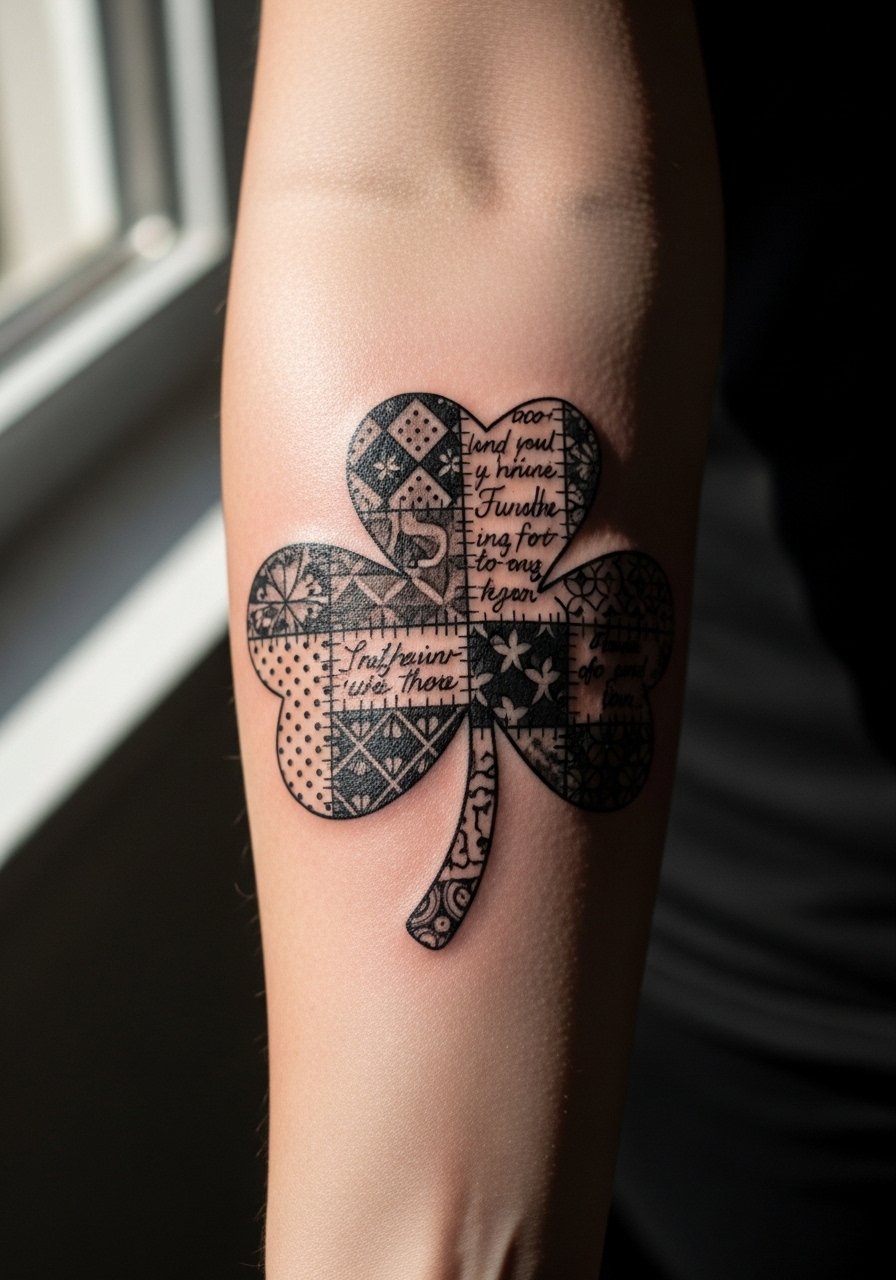
Consultation lead: collectors building sleeves should plan anchor pieces and leave negative space for future joins. For a patchwork clover include a short quote placement note during consultation so the artist can weave script into the composition rather than overlaying later. Sessions will be multi-stage and the initial outline usually takes one appointment. Watch for a common mistake of crowding the forearm too early. Wear a loose fit tank top for session access. This approach gives expansion potential without losing the emblem's readability.
13. Micro-Realism Clover with Dark Halo on the Shoulder
Personal observation lead: micro-realism reads as texture more than sharp edges, so expect the halo to soften over time in low light. Ask the artist to block in darker outer values and keep leaf contours crisp to retain contrast. Single to double session depending on size, with moderate pain over the shoulder area. For casual looks pick a loose button down shirt you can pull aside in studio without exposing too much. Realistic texture on darker skin needs slightly more contrast to translate in photos.
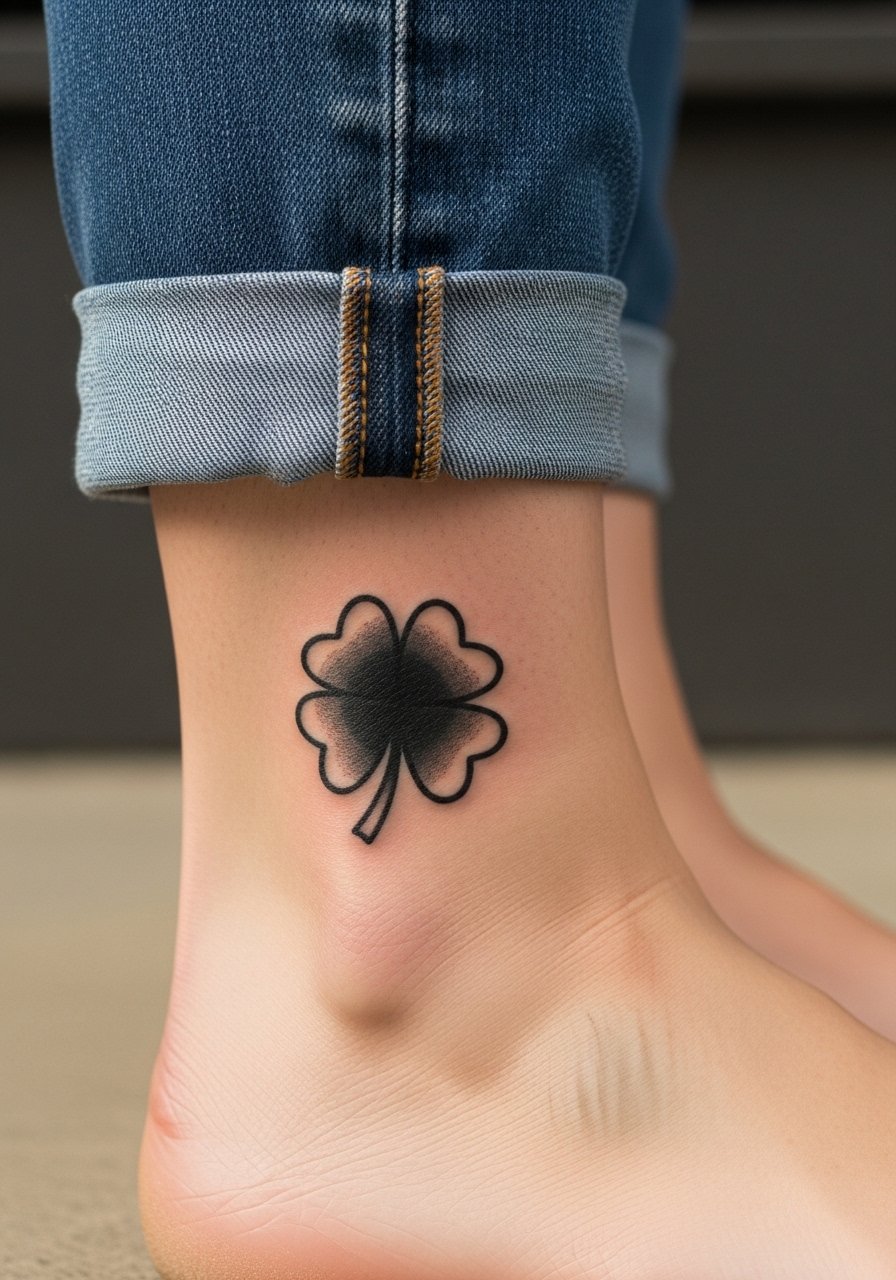
14. Geometric Clover Ring Around an Ankle
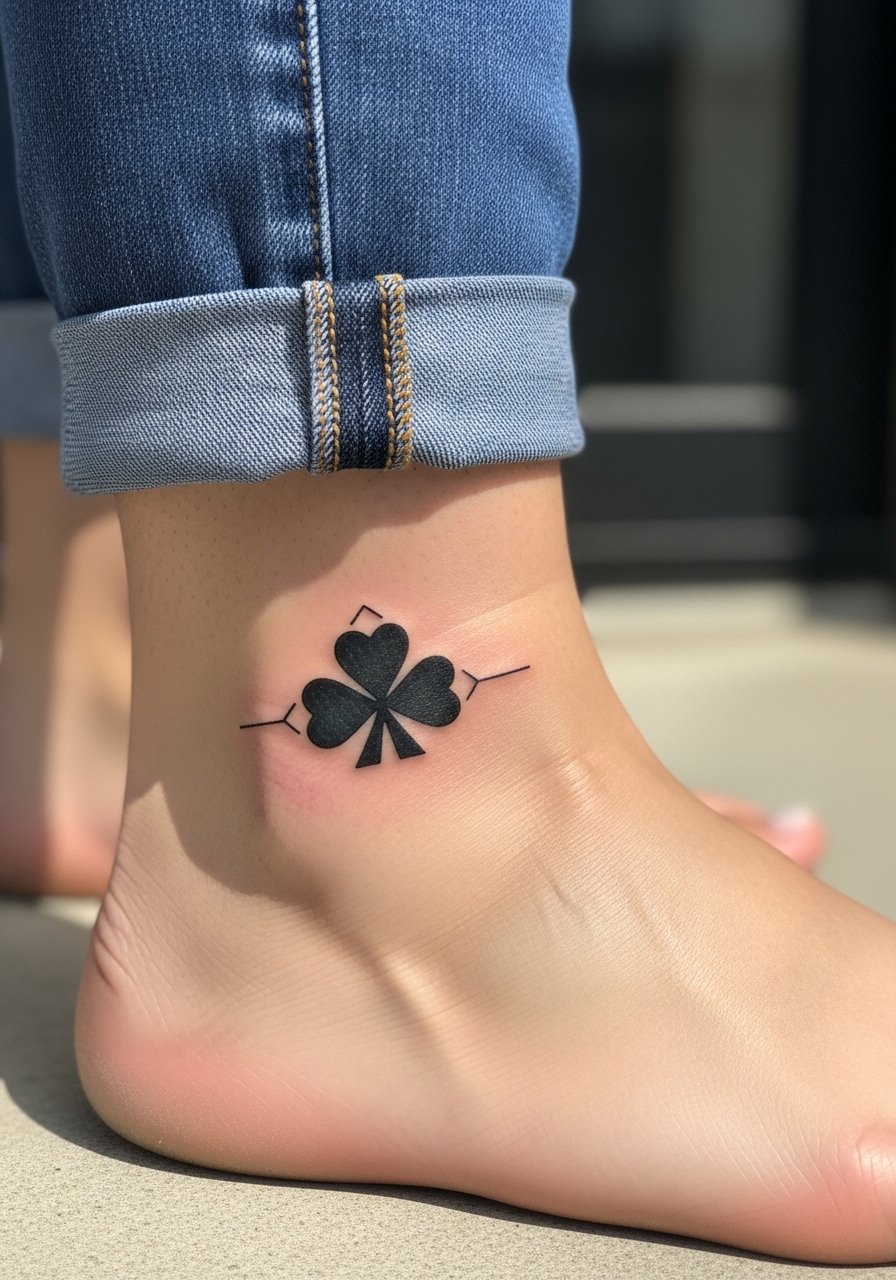
Visual impact lead: ankle rings read beautifully when the geometry is spaced for motion. The common mistake is over-detailing the ring which catches fabric and blurs under stress. This is a short session under 45 minutes but expect the ankle to be tender for a day. For showing it off, pair with low cut ankle socks or sandals in summer so the ring sits visible without rubbing. The ankle sees a lot of washing and shoes, so plan a small touch-up at year two.
15. Sternum Clover with Botanical Accents
Pain warning lead: sternum work hurts more than many places, but it produces a strong centerpiece when done with crisp spacing. Artists disagree about fine line here. One camp says the chest skin stretches too much and lines blur within two years. The other camp says that correct needle depth and generous spacing let fine line settle fine. Ask your artist which side they fall on and show healed examples on similar skin. Session time can be long so consider numbing options if approved. For outfits that reveal this area pick a fitted sports bra for studio access and a backless top to show later.
16. Collar Clover with Minimal Script Near the Neck
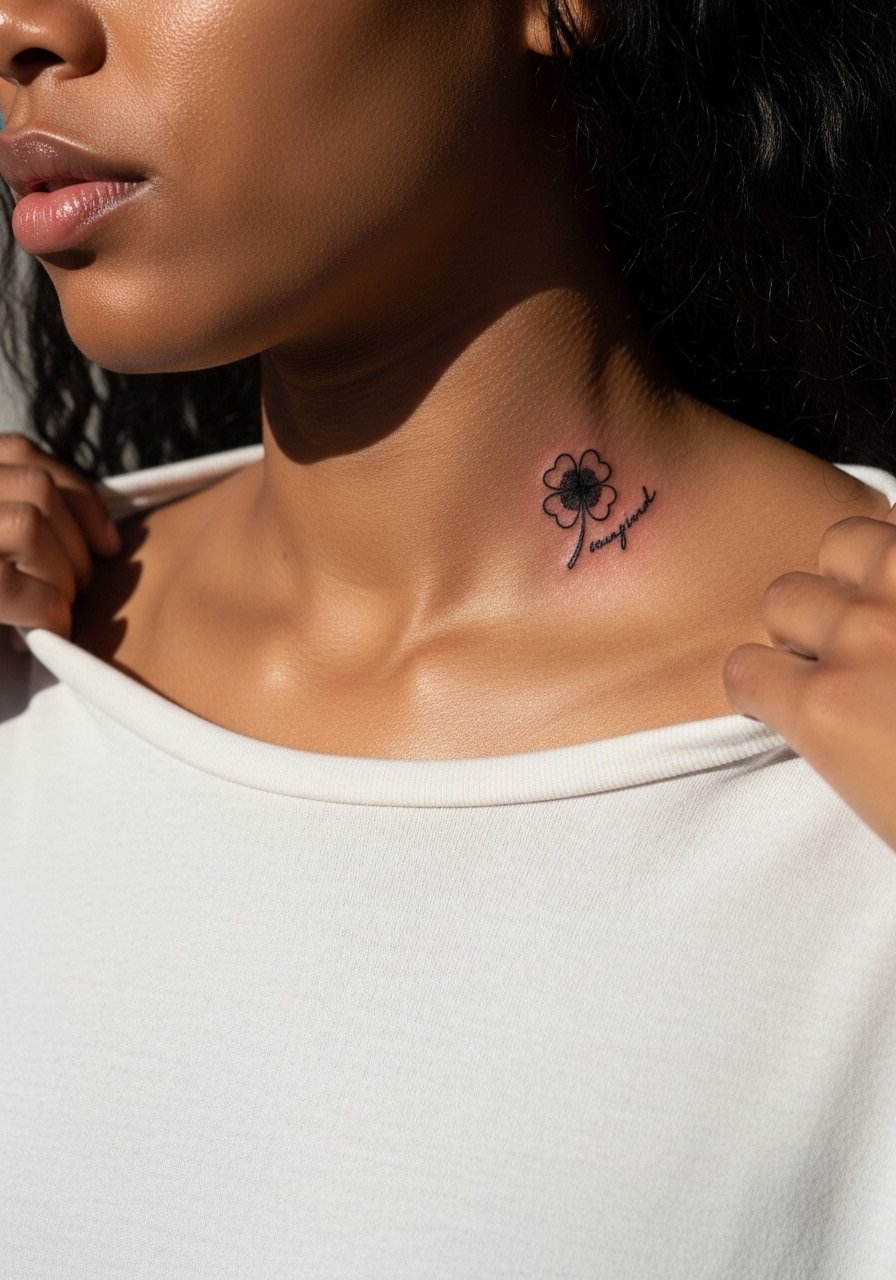
Mistake lead: placing tiny script too close to delicate leaf edges creates visual clutter as both age. Ask for spacing and slightly heavier script weight so letters read after healing. Session is quick but the neck area is sensitive for some. For showing the pair, a thin chain pendant necklace sits just above without competing. Be mindful of workplace visibility if that matters to you.
17. Backpiece Ornamental Clover Mandala
Consultation lead: full back ornaments require composition walks so the mandala balances with shoulder blades and the spine. A typical mistake is scaling the inner motifs too small for the canvas. Sessions are multi-appointment and can be long. For show-off outfits choose a backless dress or low halter that frames the center without revealing too much. Plan on touch-ups at multi-year intervals to maintain crisp geometry.
18. Small Black Clover on the Finger Edge
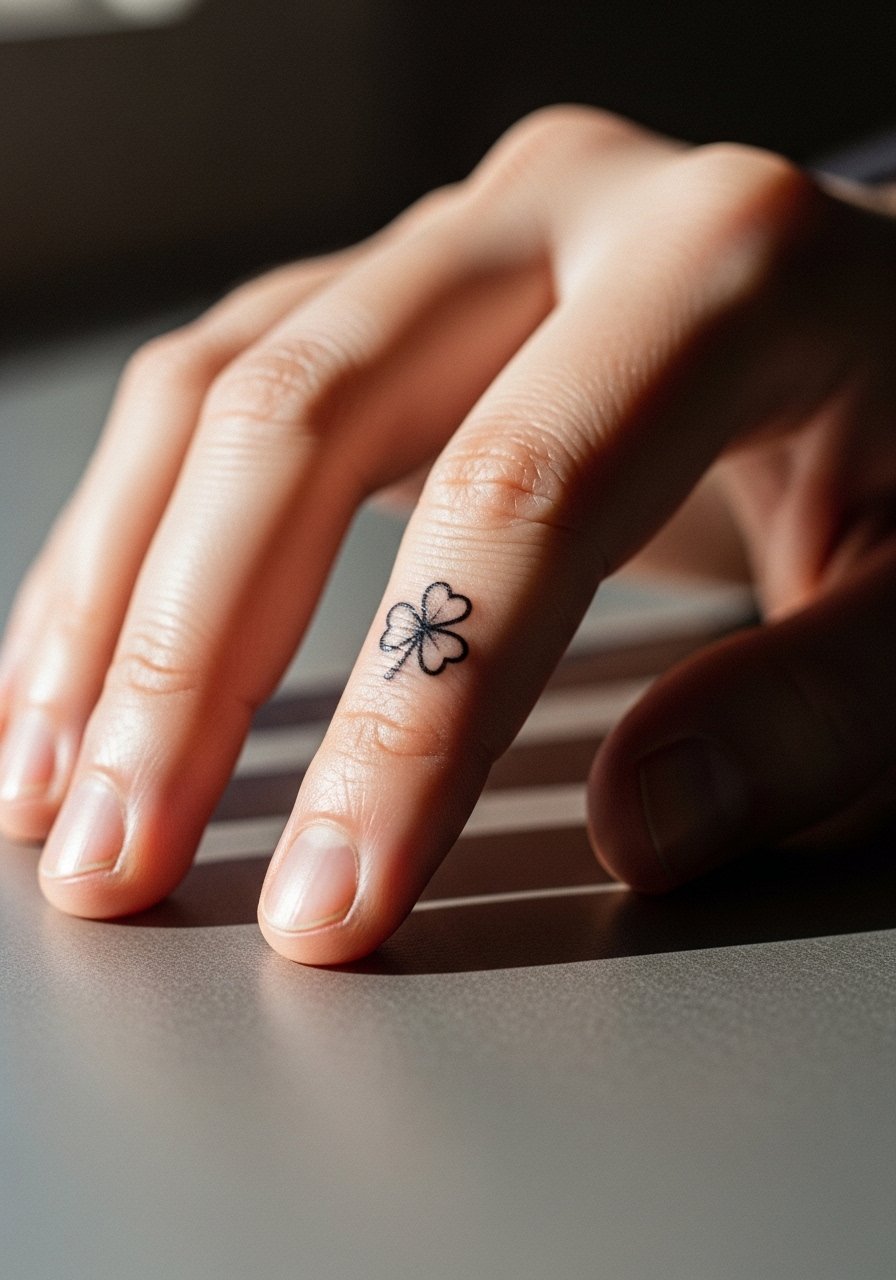
Aging lead: finger tattoos face rapid wear from washing and friction. The choice is between bold micro blackwork that holds and ultra-fine detail that blurs. The most common mistake is underestimating fading and skipping the idea of future touch-ups. Session is short but expect a quicker fade than other placements. If you want it visible, consider stacking with a minimalist cuff bracelet on the opposite hand for a balanced look. Finger placement often needs touch-ups sooner than arm work.
19. Calf Clover with Color Pop Accents
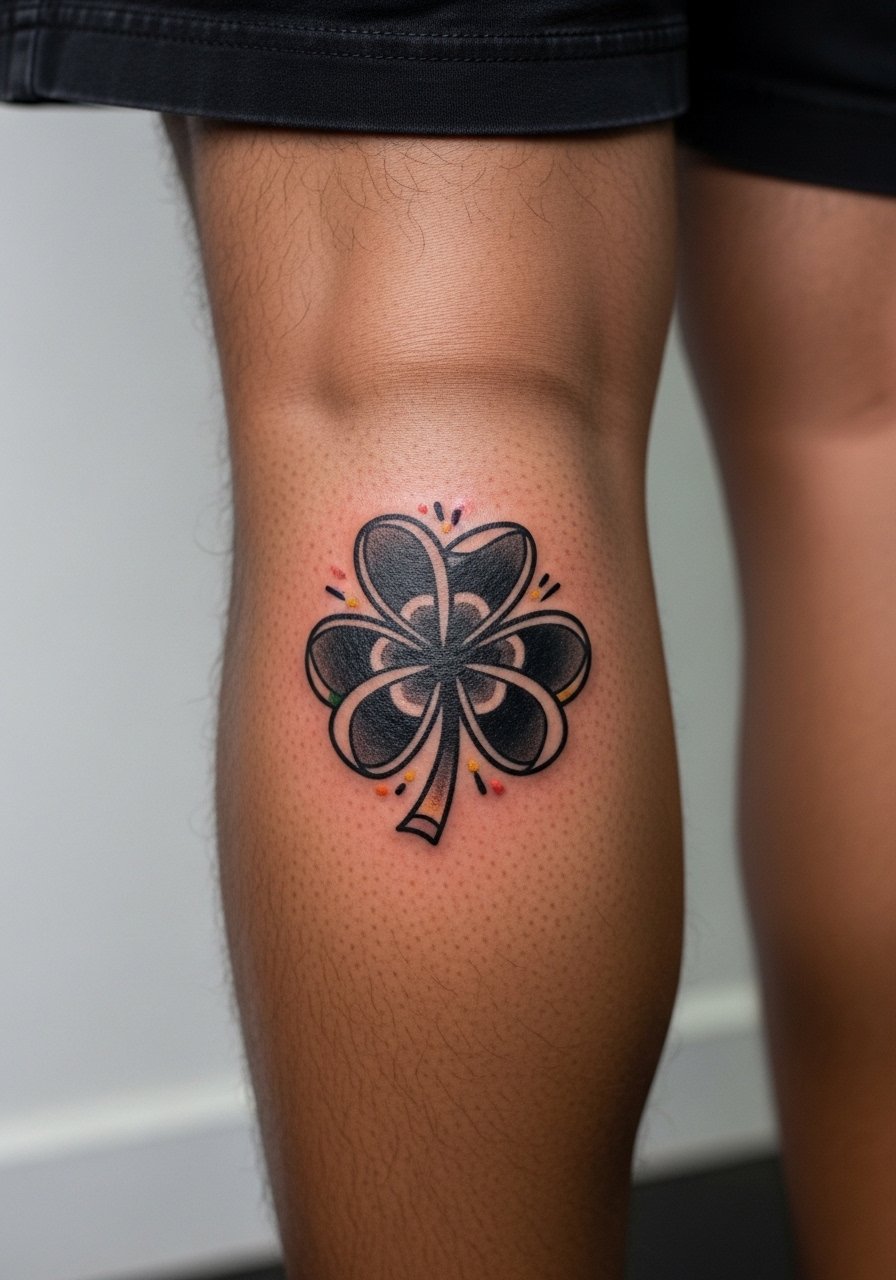
Personal observation lead: color on top of heavy black can hold surprisingly well on the calf if the artist layers properly and allows saturation time. Avoid thin color slashes that sit over heavily saturated black. Typical session time is 90 to 180 minutes depending on color layers. For showing it off, pick a pair of high cut shorts or slit dress that reveals the calf without tight seams rubbing fresh ink. Calf pieces age predictably if you keep them out of prolonged sun exposure.
20. Inner Bicep Clover with Grimoire Lines
Consultation lead: inner bicep is forgiving for detail but the skin there can stretch when you move. Ask the artist to test the design under tension to ensure letters and lines remain coherent. This placement is more painful for some and sessions are typically under 90 minutes for compact pieces. Wear a tank top you can move without displacing the design. Consider the fine line versus slightly thicker line debate with your artist so the grimoire lines keep meaning as they age.
21. Ankle Traditional Bold Clover
Visual impact lead: bold traditional clovers on the ankle read well if left slightly larger than initial instinct. The ankle faces shoe and sock friction so thicker outer lines prevent patchy loss. Session is short and recovery is swift but plan on a light pressure day after. For footwear pair with sandals or ankle socks that expose the piece without constant rubbing. This placement is good for those who want visible fandom with minimal upkeep.
22. Thigh Blackwork Clover with Knot Integration
Mistake lead: too many dense knots next to large black fills can merge into a single dark mass after weight changes. Specify knot separation and use negative space to keep the motif legible. Thigh sessions are comfortable and allow multi-hour sittings, which helps with saturation and texture. For show-off looks choose high waisted shorts that reveal the upper thigh line without chafing. This placement suits someone who wants bigger scale without obvious daily visibility.
23. Ribcage Clover with Stipple Shading
Controversy lead: ribcage fine line sparks debate among artists. One camp argues the skin stretch and breathing motion blur lines within two years. The opposing group says that with proper needle depth and spacing, stipple and fine line can settle fine. If you favor detail, prioritize an artist who shows healed ribcage examples. Pain is high here and sessions may be split. For studio ease wear a cropped athletic top you can adjust without full exposure. Expect a longer touch-up timeline if you choose delicate detail.
24. Back of Neck Tiny Clover with Clean Edges
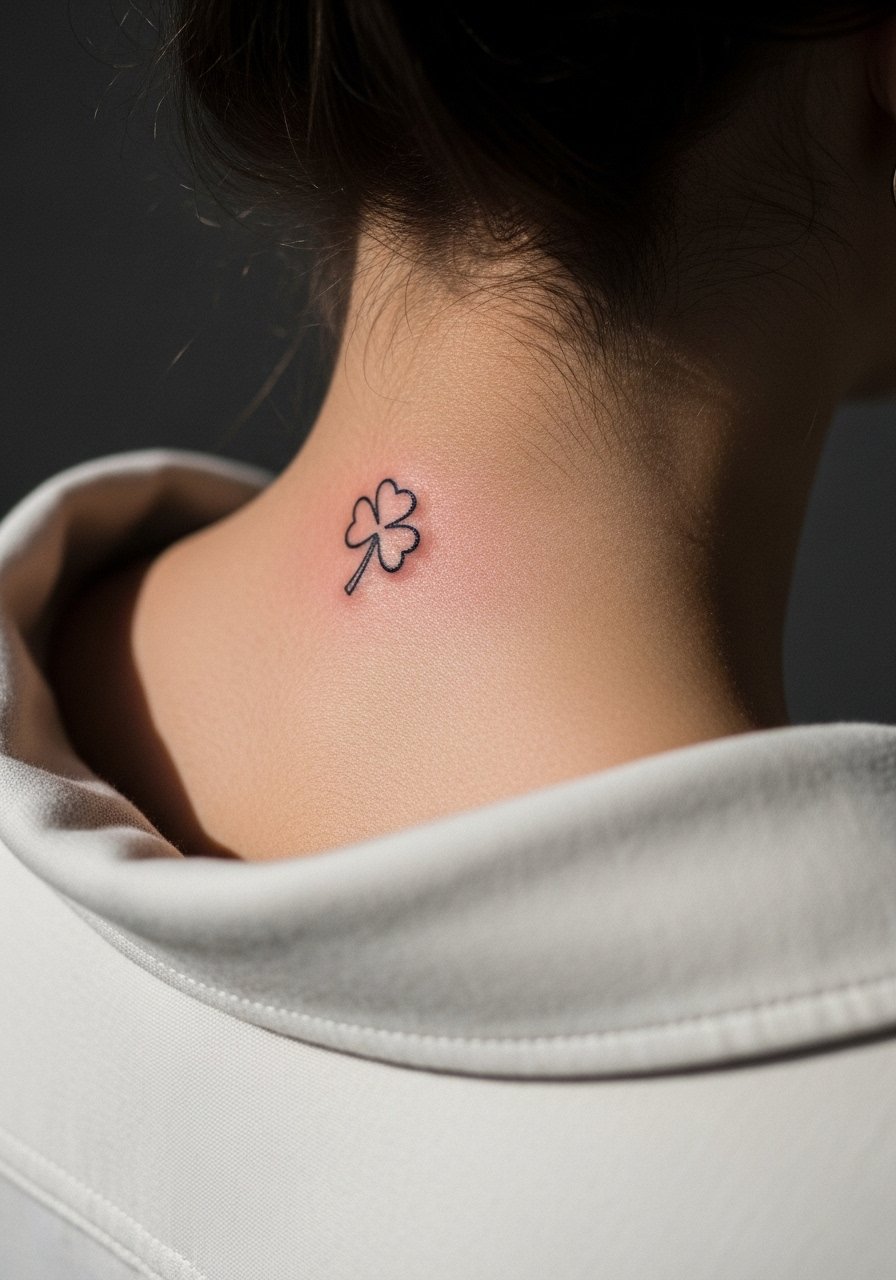
Personal observation lead: small back of neck pieces read best with slightly heavier small-scale lines so they do not blur with hair growth and friction from collars. Session time is brief but this area is exposed to sun and shirts often. If you want discreet visibility, maintain neck hair length and consider a thin halo of negative space. A wide-neck shirt frames the area without overexposing it. Hand this one to an artist comfortable with small head-and-neck placements.
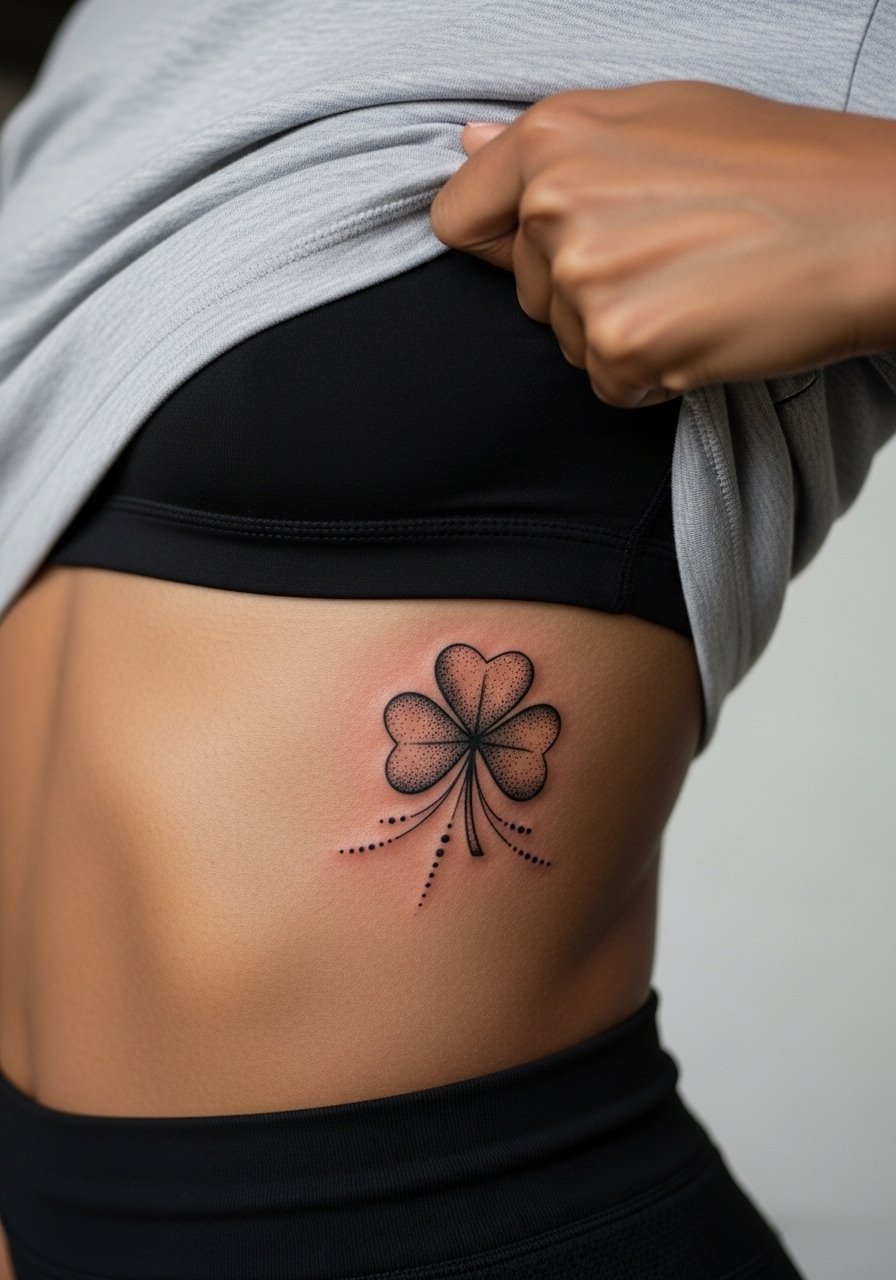
25. Hip Clover with Floral Extension
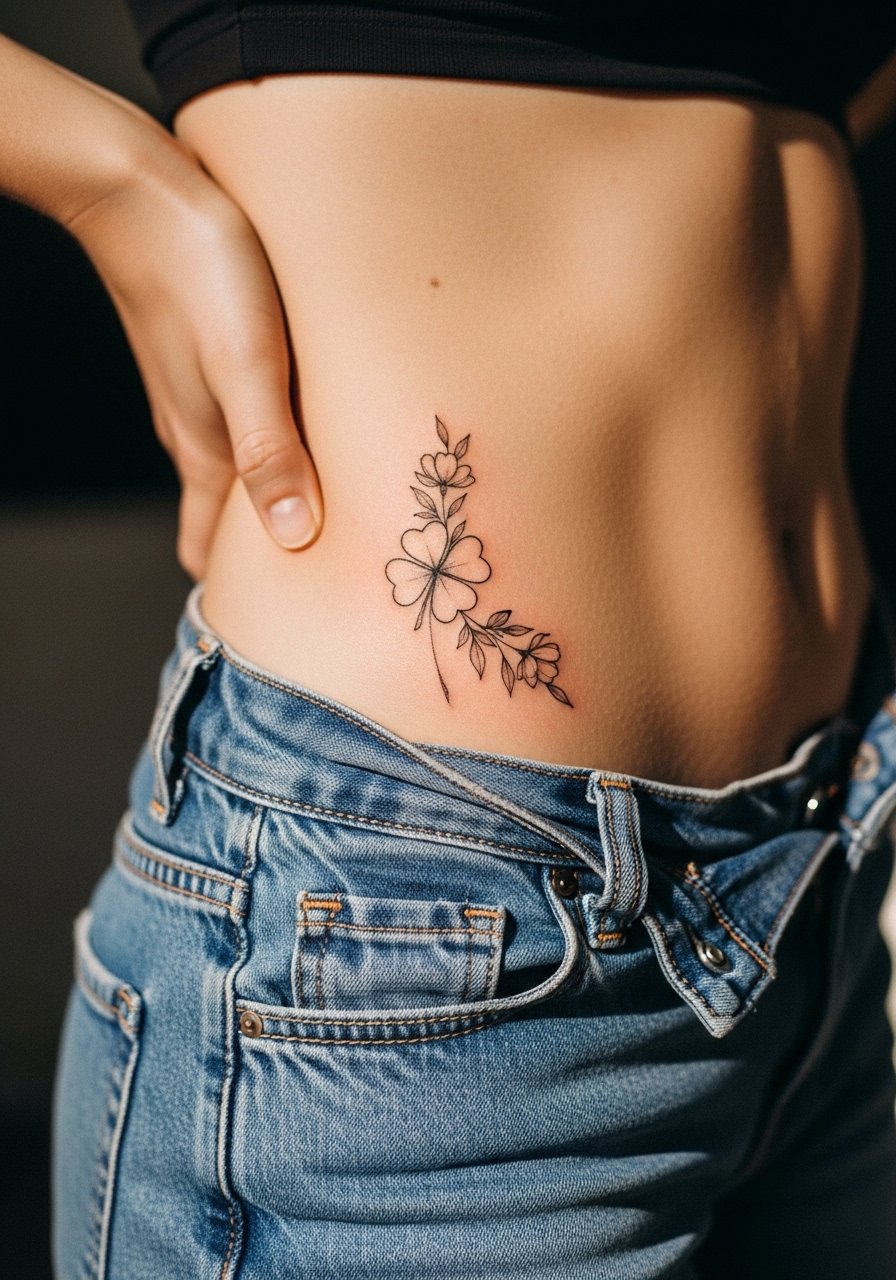
Styling lead: hip tattoos look great paired with high-waisted bottoms that reveal a whisper of the design. The common mistake is placing too many thin petals near the hip crease which leads to loss of detail with movement. Session lengths vary, but this area tolerates longer sittings. For the appointment pick high waisted denim that you can lower slightly for access without discomfort. The hip is private but flattering for swim and summer looks.
26. Lower Back Clover with Symmetry
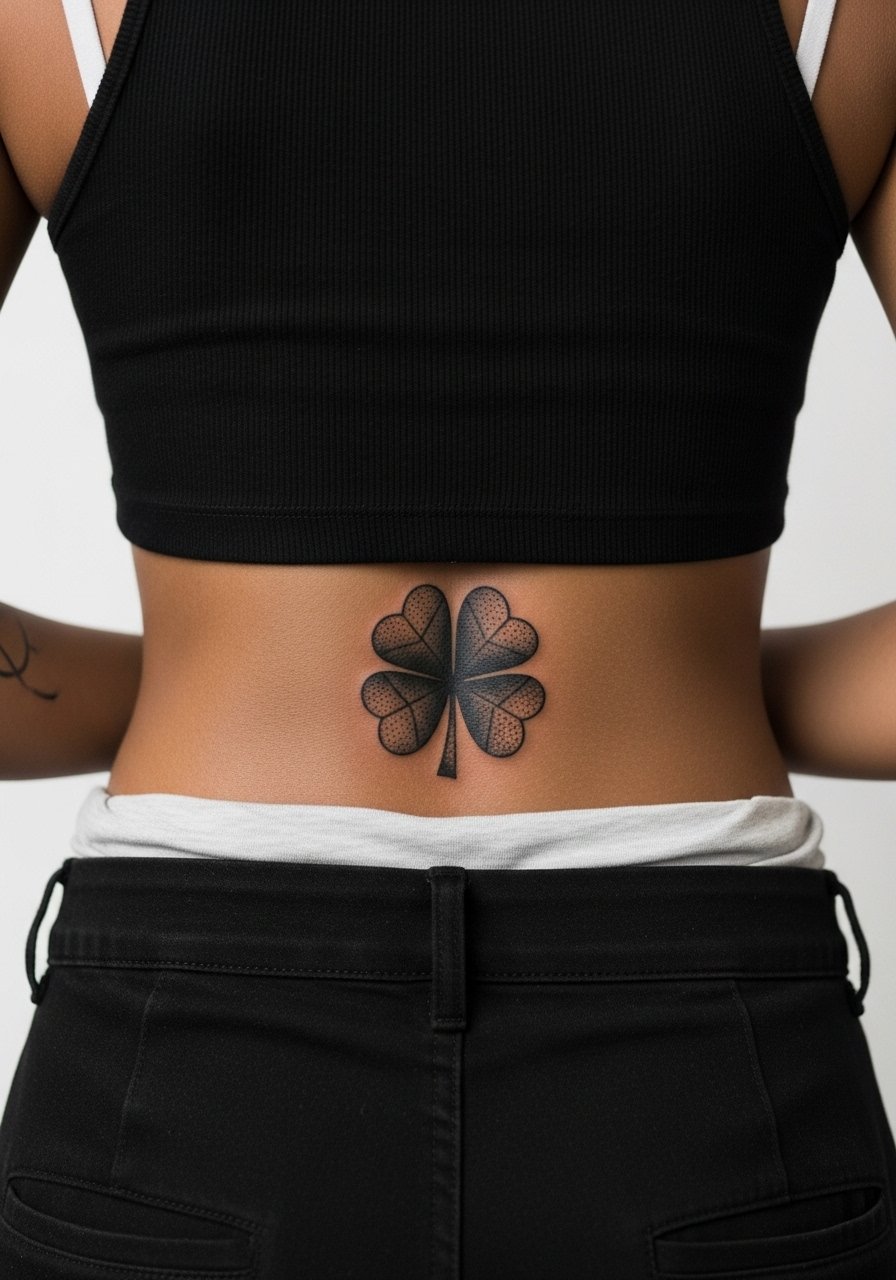
Consultation lead: lower back symmetry depends on pelvis tilt and how you sit, so have the artist check alignment while you stand and sit. Mistake to avoid is assuming a perfectly horizontal placement when bodies vary. Sessions are comfortable and usually handled in one visit for medium-sized pieces. Pair with a tank top and high waisted pants that allow quick access and protect the area during travel. Consider long-term clothing friction when placing heavy black fills here.
27. Spine Flow Clover, Vertical Mana Line
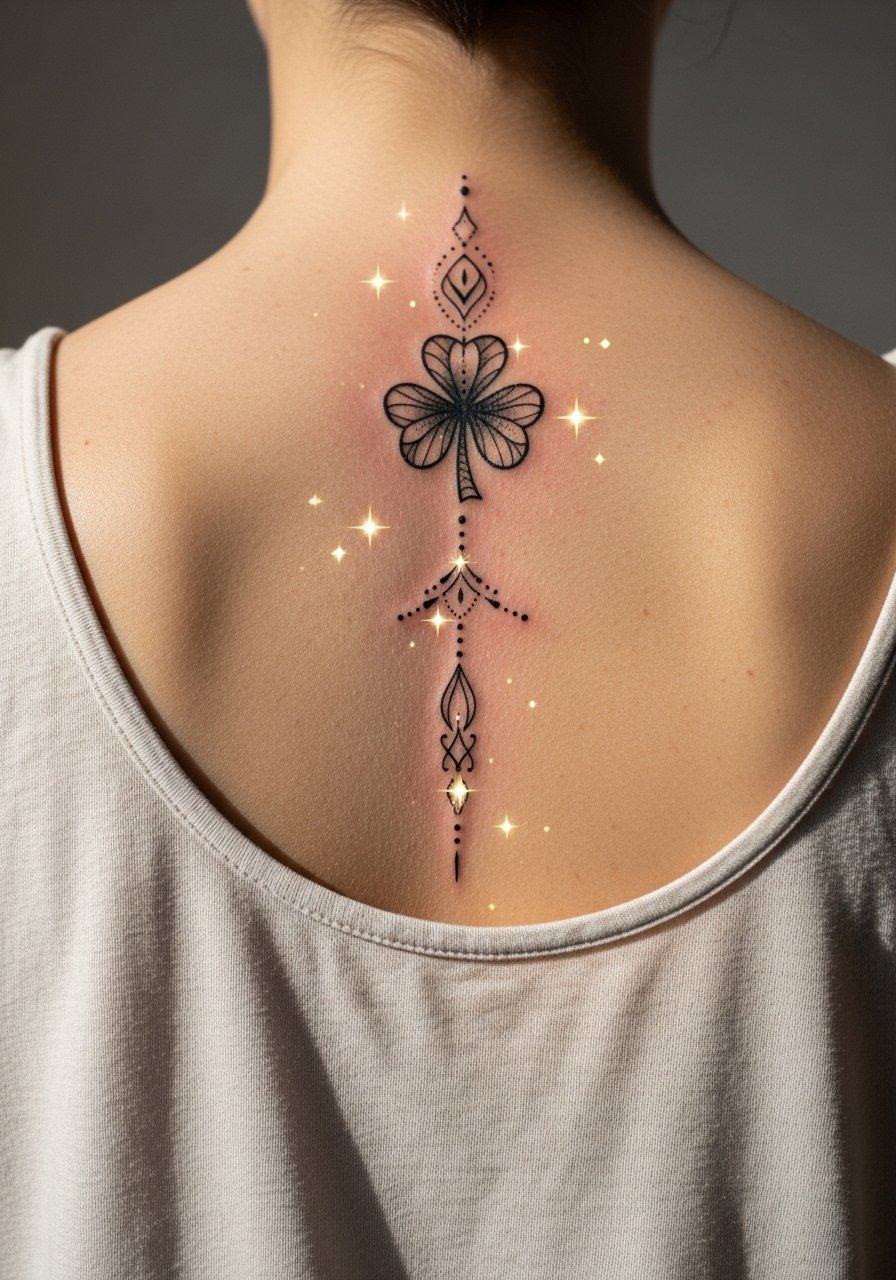
Decision-pressure lead: spine pieces show their composition as you move, so plan the vertical flow to complement your posture. The common error is centering on a reference photo without testing it on your body. Sessions are split for comfort and to manage swelling along the midline. For session wear a loose tank top or robe that can be shifted without exposing other areas. The vertical mana line concept offers a subtle tribute that also functions as an elegant back piece.
Frequently Asked Questions
Q: How do I choose between fine line and bold blackwork for a Black Clover design?
A: It depends on placement and how long you want crisp edges. Fine line looks delicate on collarbones and wrists but often needs a touch-up sooner. Bold blackwork holds up better on high-friction areas like ankles and wrists. Ask to see healed examples on similar skin tones and request slightly heavier lineweight if longevity is your priority.
Q: Will a Black Clover tattoo show well on darker skin tones?
A: Yes, but the approach changes. Solid black saturation and deliberate negative space translate better than whisper-thin lines. For realistic texture, ask the artist to increase contrast and bring in layers of stipple or whip shading so the motif reads clearly in photos and at arm's length.
Q: How often do people need touch-ups on fine line clover pieces?
A: From what I've seen, fine line pieces typically need a touch-up around year two to three, especially on wrists, ribs, and fingers. Larger or bolder clover work can go longer without touch-ups. Sun exposure and friction accelerate fading, so plan touch-ups based on lifestyle.
Q: What should I wear to a session for a forearm or shoulder clover?
A: For forearm work pick a loose fit tank top or a rolled sleeve tee so the artist has clean access. For shoulder pieces a button-down you can pull aside or an off-shoulder top works well. Comfort and access beat style on the day.
Q: Are there cultural considerations I should know about with tribal knot or mandala clover designs?
A: Yes. Some patterns trace to specific traditions, so if you want to avoid direct replication ask the artist to adapt motifs rather than copying sacred designs. A respectful adaptation keeps the aesthetic while acknowledging origins.
