
Fine line Sailor Moon tattoos look delicate online, but bold blackwork holds up far better over time if you plan for aging and placement. I have seen the same black crescent and silhouette pieces last five to ten years with minimal touch-ups after conversations at five shops across Brooklyn and a handful of conventions. This list focuses on bold blackwork takes that read clearly healed, with notes on pain, session time, and how to style each piece for real life.
1. Solid Crescent on Inner Forearm
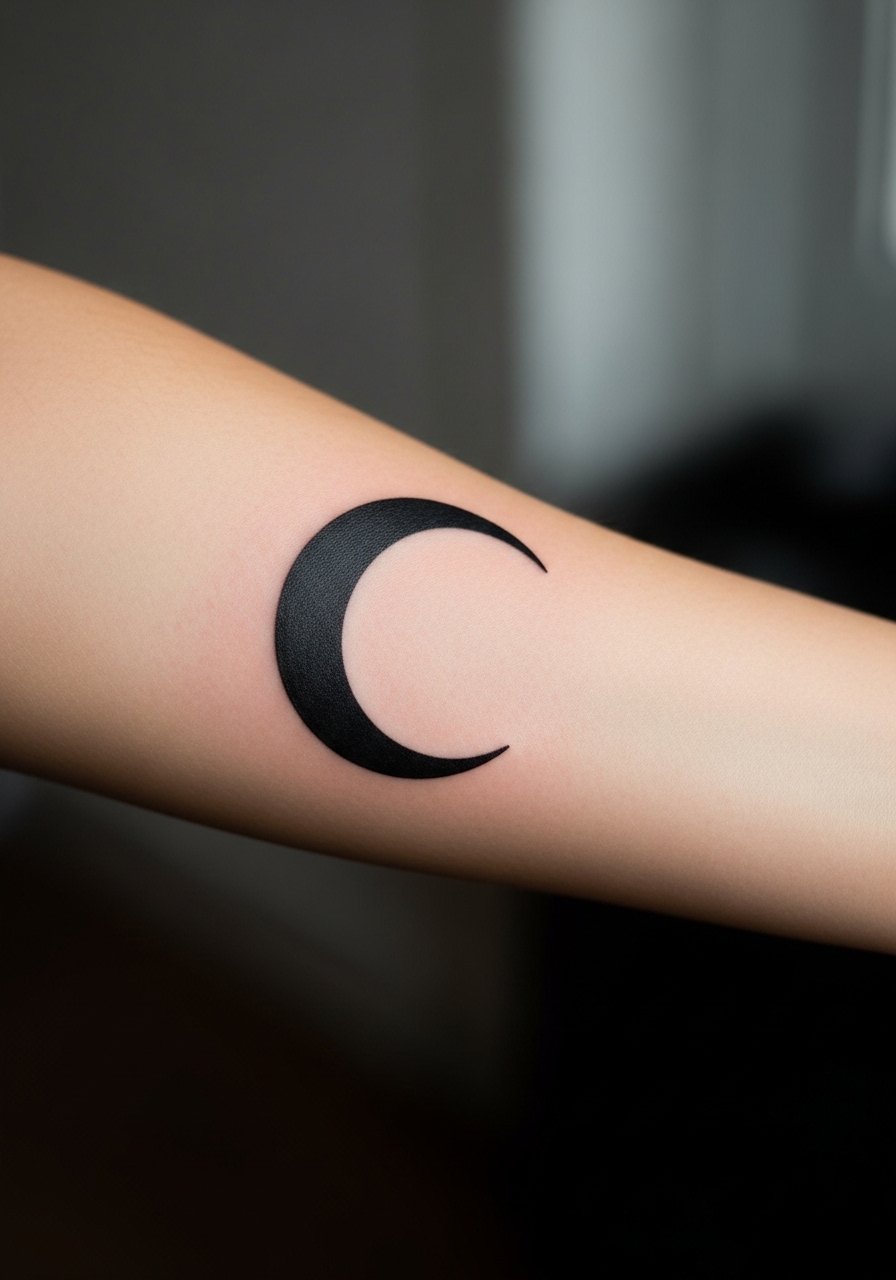
A solid crescent on the inner forearm reads like a symbol and holds its silhouette from a distance. I recommend this for first-timers who want iconic imagery without tiny details that blur. Pain is moderate for the inner forearm and a typical session runs 30 to 60 minutes. Ask your artist for clean, thick linework and saturated fill to avoid patchy healing. The common mistake is asking for overly fine tapering edges that look crisp fresh but feather into a gray wash by year three. For showing it off, rolled-up sleeves and a rolled+linen+shirt keep the forearm visible while staying casual.
2. Minimal Luna Cat on Ankle
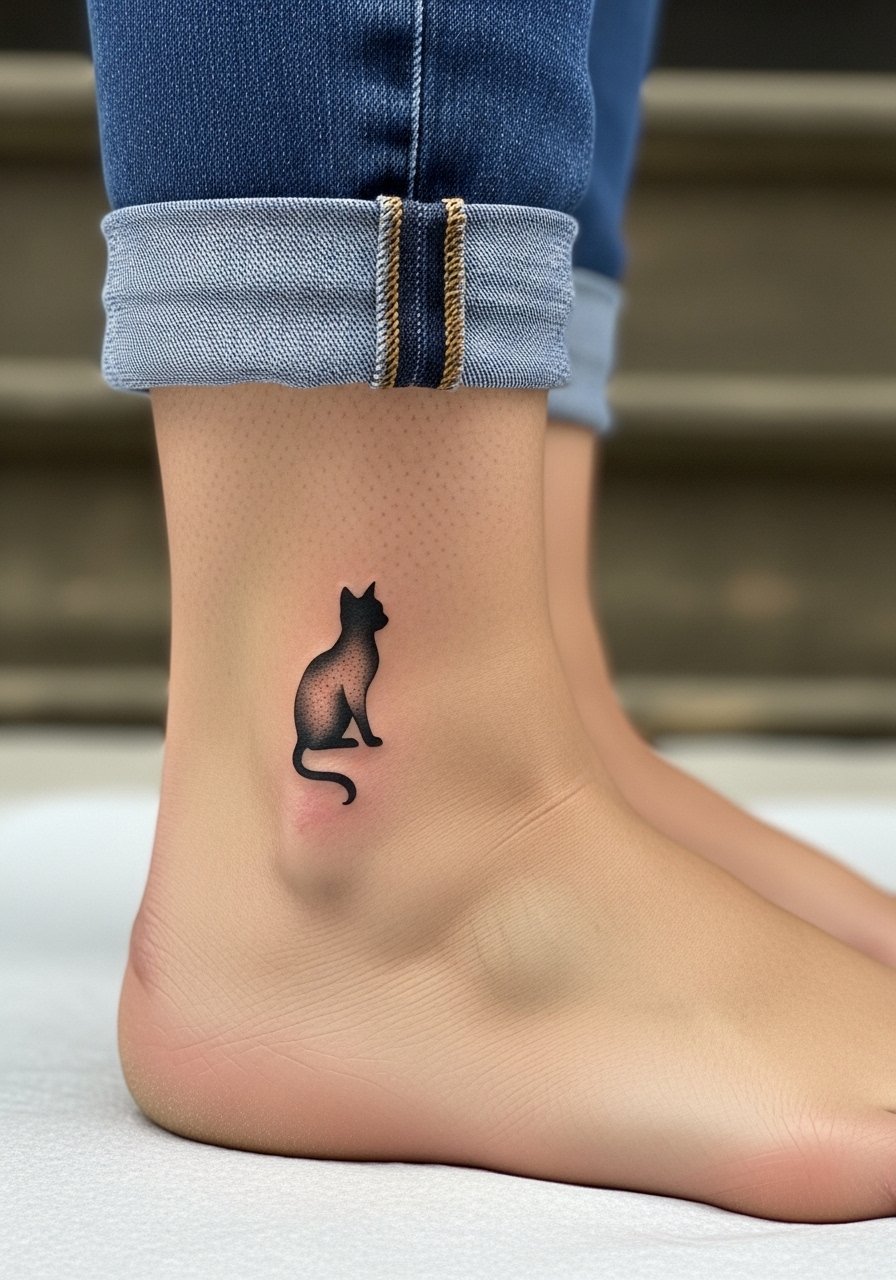
The ankle is ideal for a small Luna silhouette that doubles as a subtle nod to the series. Pain at the ankle is higher than the forearm because of thin tissue and bone proximity, but sessions are short, often 20 to 40 minutes. Tell your artist you want a bold fill with crisp edges rather than microlines inside the cat. A common error is trying to pack tiny facial details into a space that will blur. This piece pairs nicely with delicate anklets or a pair of strappy sandals to frame the motif when you wear summer shoes.
3. Stylized Transformation Brooch on Upper Arm
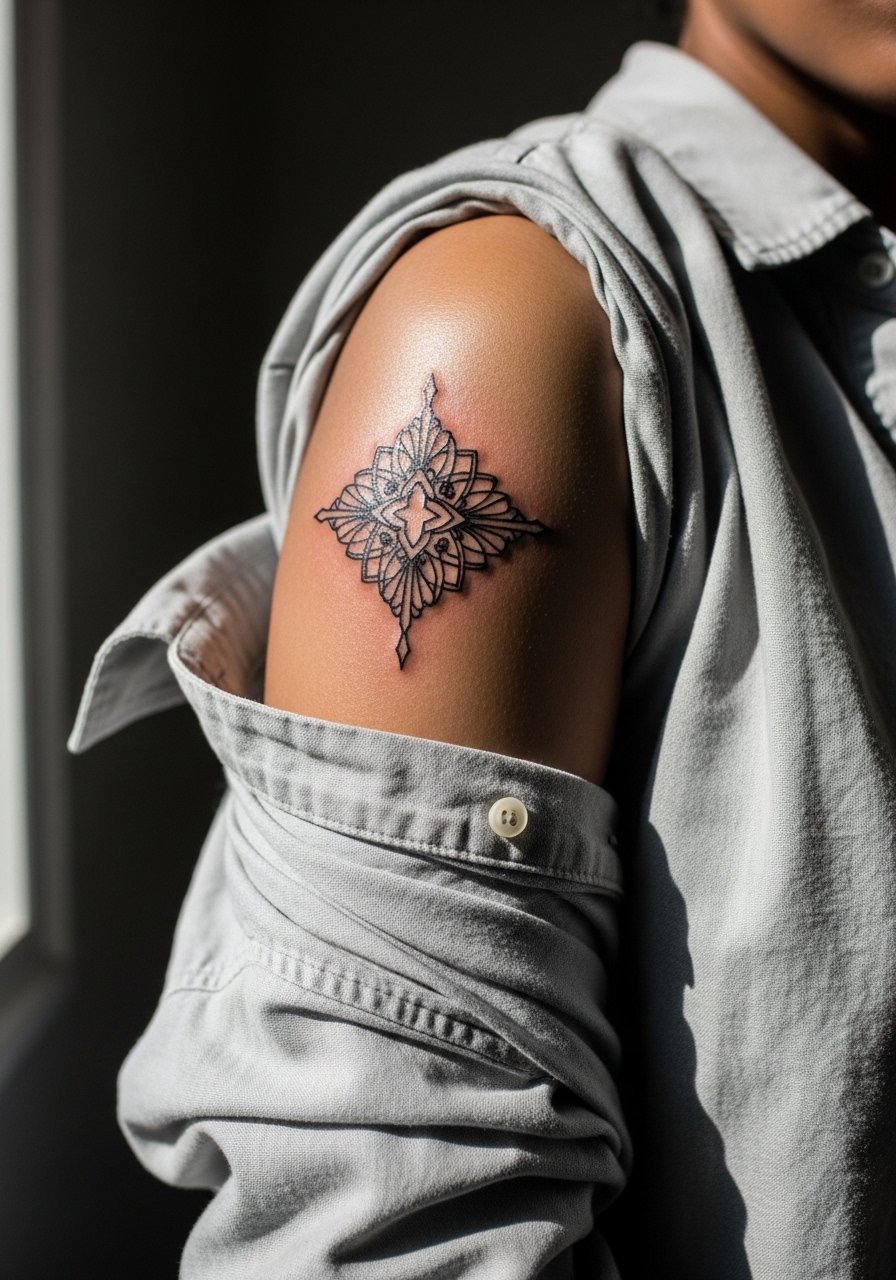
A bold brooch design on the upper arm balances detail with longevity. The outer arm has lower pain and handles saturation well, so artists can pack contrast into the piece. Plan for a one- to two-hour session for a medium-size brooch and ask for slightly thicker linework inside the ornament to future-proof small elements. The aging problem is tiny filigree that reads like texture when healed. A typical mistake is shrinking a design too much to fit a sleeve idea. For the session, wear a loose button-down shirt you can pull aside easily.
4. Sailor Scout Silhouettes Along the Ribs
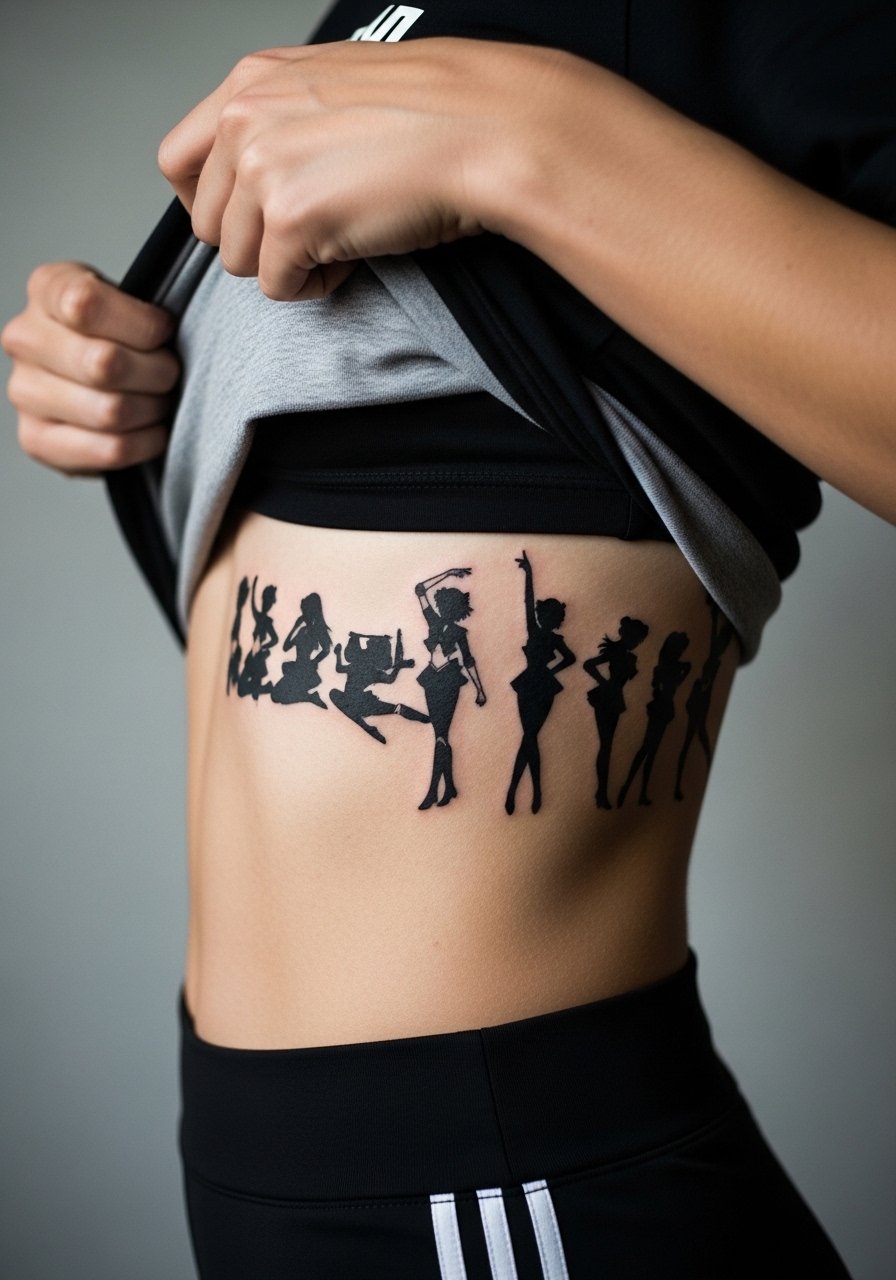
Ribcage placement is controversial for fine work. Some artists say the skin stretches and blurs lines within two years. Others argue that with correct needle depth and spacing, bold silhouettes hold up well. Pain is high on the ribs but the shapes read clean if scaled to the surface. Sessions vary from 45 minutes to two hours depending on size. Tell your artist you want negative space between figures rather than tight details. The common mistake is packing detailed faces into a rib silhouette. For post-session comfort, plan a loose crop top for travel after your appointment.
5. Blackwork Profile of Usagi on Shoulder Blade
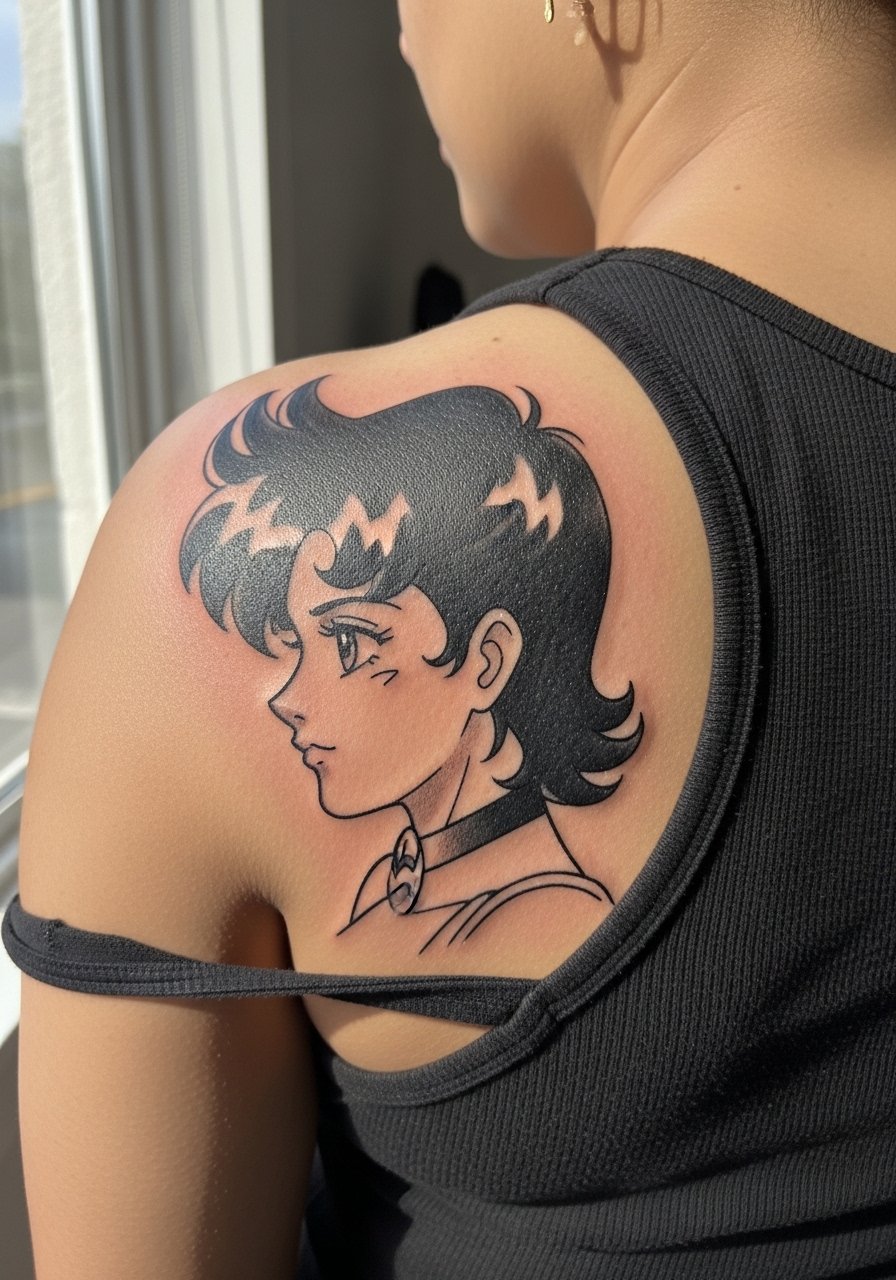
The shoulder blade is forgiving for larger blackwork portraits and allows for dramatic silhouette contrast. Pain is low to moderate and sessions for a portrait-size piece usually fall in the two- to three-hour range. Ask for bold contours and stipple shading for depth instead of tiny fine lines. A common mistake is insisting on hyper-real facial detail in a block of black that ends up muddy. Over time the profile will keep shape if the contrast is strong at the start. Pair daytime outfits with a racerback tank to reveal the piece without fuss.
6. Stippled Moon Phases Along the Collarbone
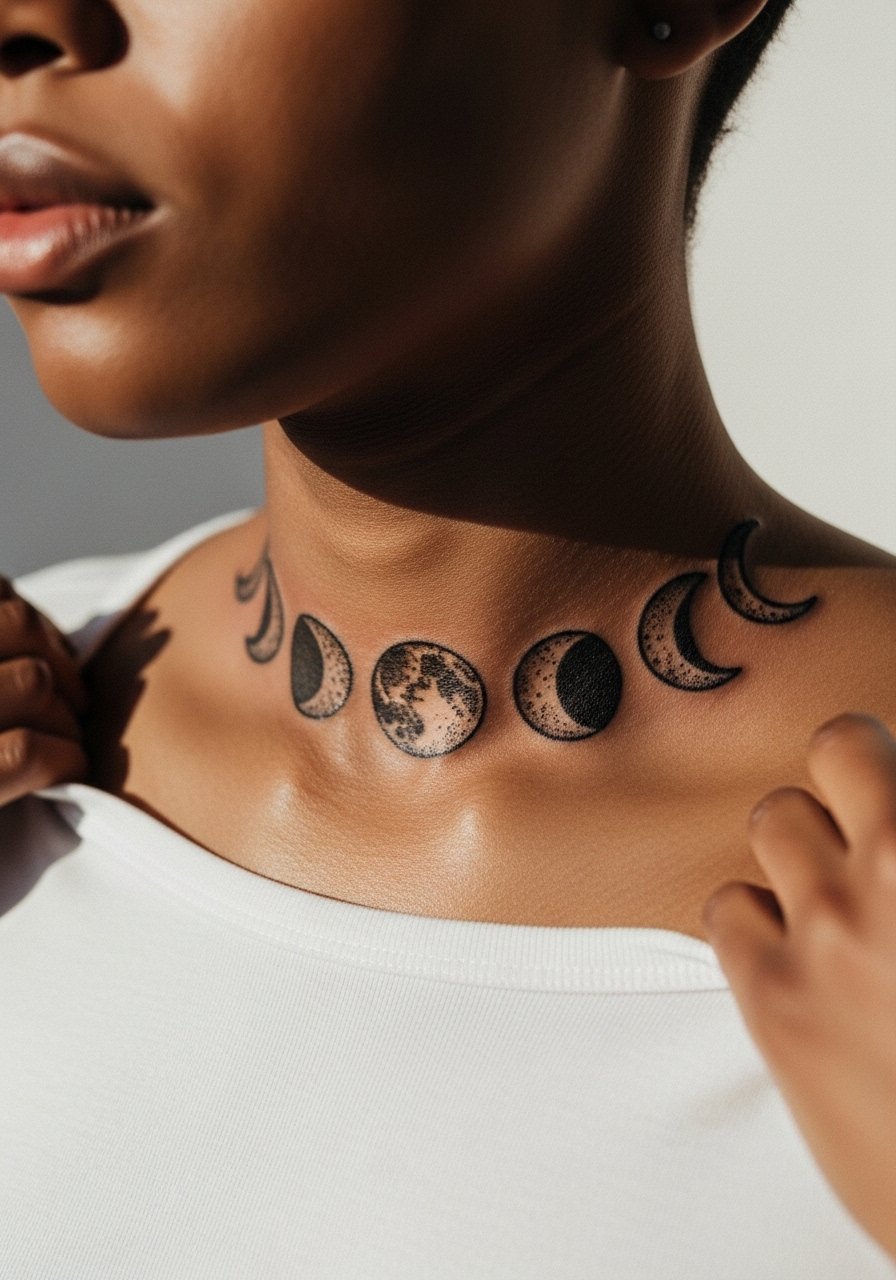
Moon-phase sequences across the collarbone read clean when done in bold black with stipple shading to imply texture. Collarbone pain is moderate and sessions are usually 30 to 75 minutes depending on length. The aging issue is tight dot work that becomes muddy in dense areas. Ask for spaced stippling and stronger anchors on the full moon to keep contrast. A common mistake is placing the sequence too close to the neck where motion creates smudging. This area shows well with open-neck shirts and a thin chain pendant necklace.
Studio Day Picks
These first six pieces include collarbone and shoulder work plus a rib series, so a few prep and healing items make the session and first week easier.
-
Stencil transfer paper kit. Lets you preview the line placement on skin before needle hits, which helps with collarbone sequences and small ankle placements.
-
Topical numbing cream. Applied per directions before rib or collarbone sessions reduces the sharp edge of pain for sensitive areas.
-
Thin protective film roll. Useful for keeping ankle and wrist pieces clean through the first days of friction from shoes and sleeves.
-
Fragrance-free gentle body wash. Cleans the healing area without stripping saturated blackwork, especially on forearm and shoulder pieces.
-
Aquaphor healing ointment. Thin application in the first few days locks in moisture for dense black fills without clogging.
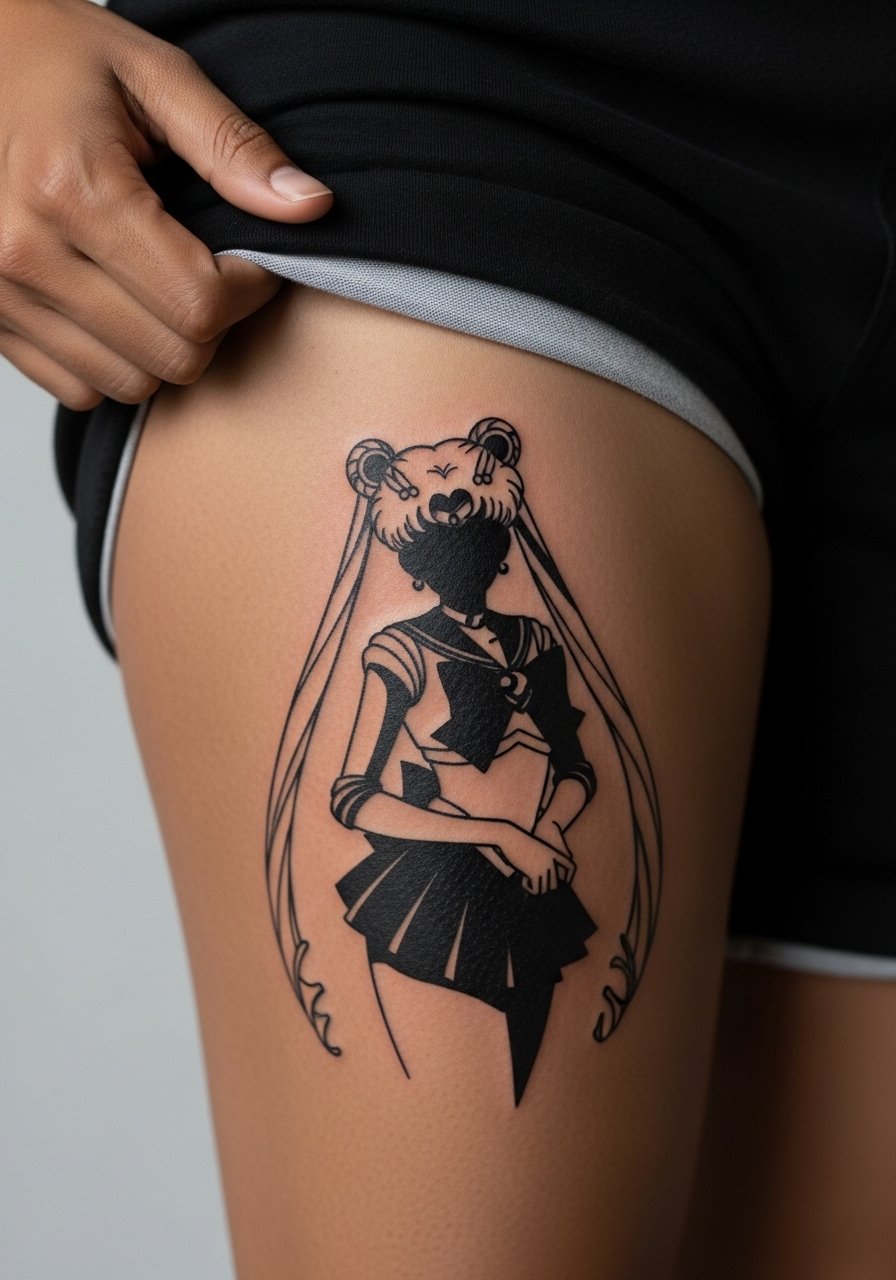
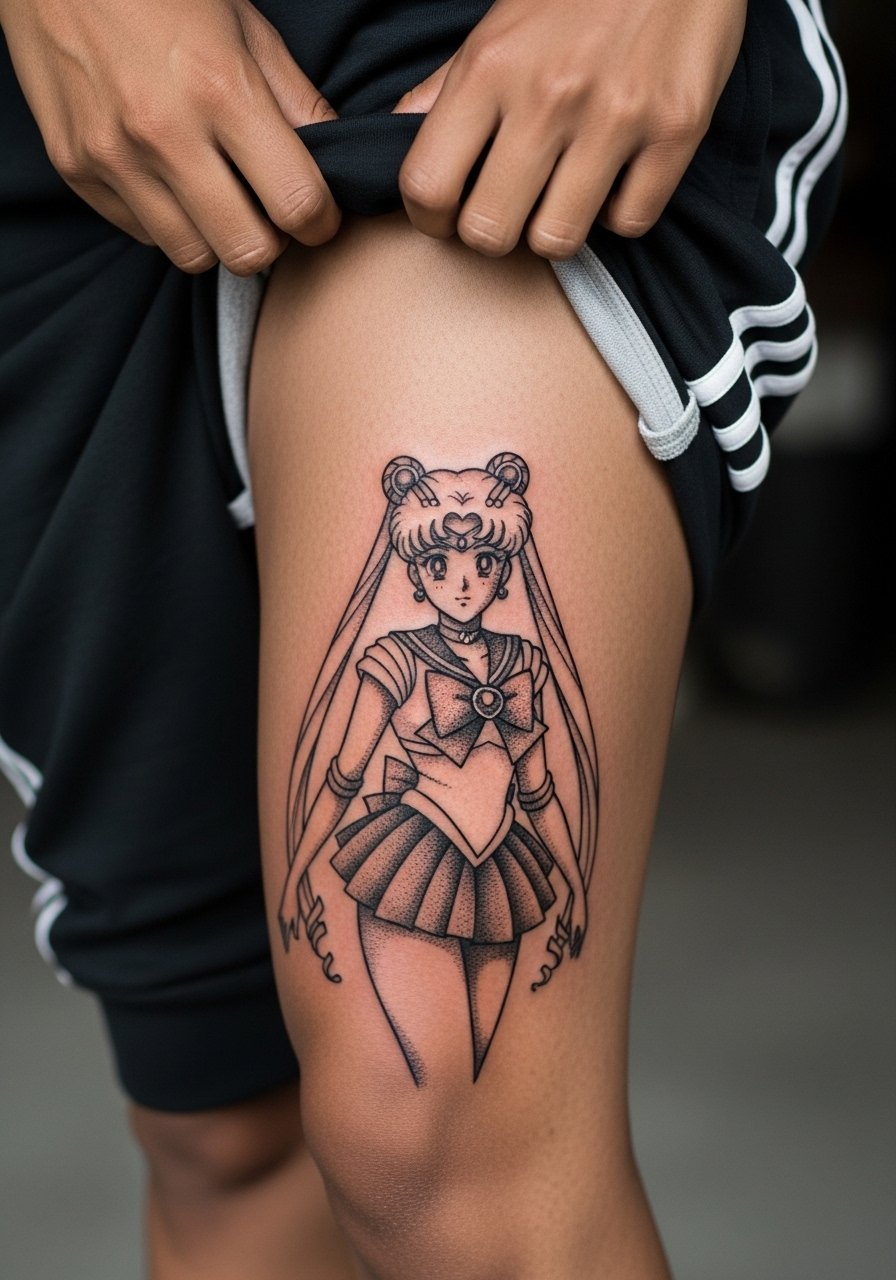
7. Negative Space Sailor Moon Silhouette on Thigh
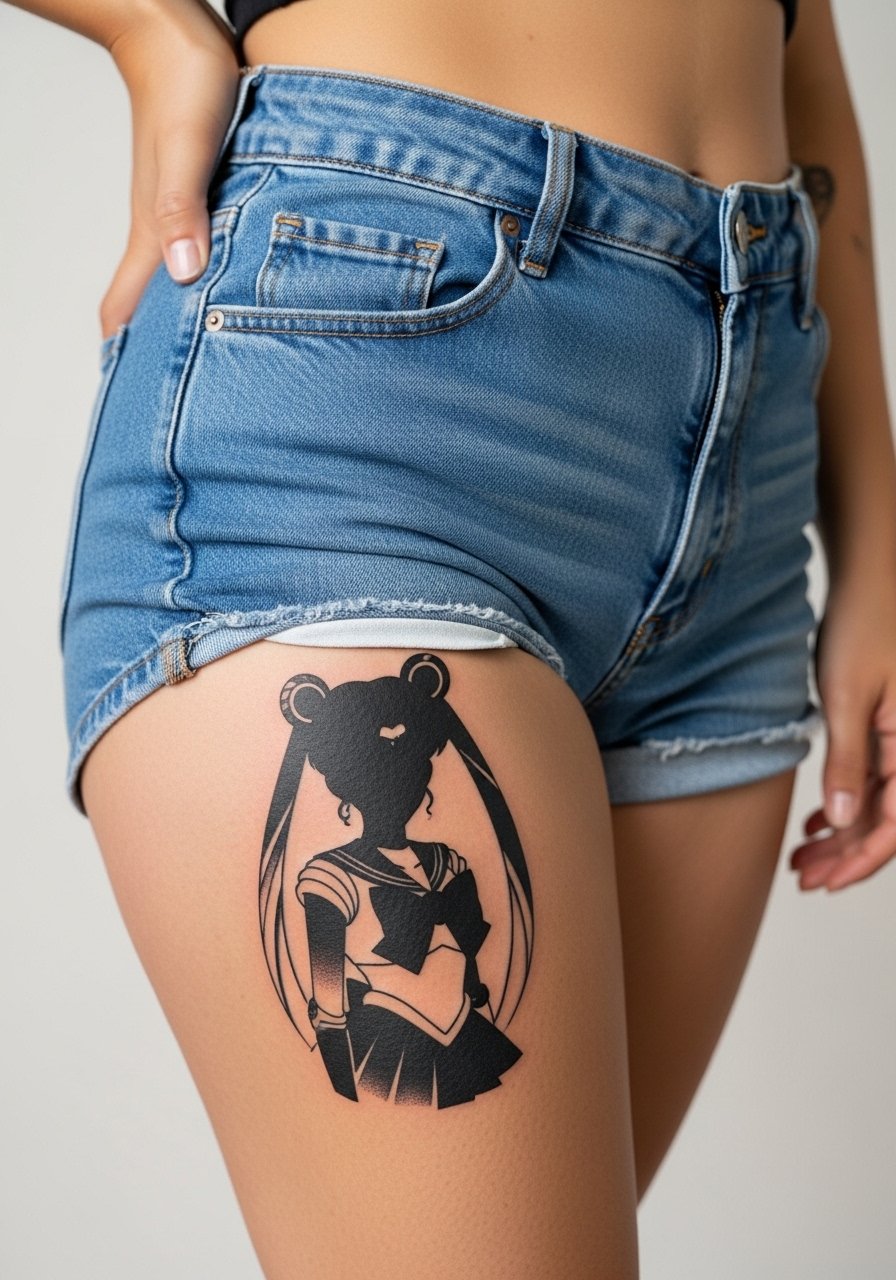
The upper thigh gives room for larger negative space shapes that stay readable over time. Pain here is lower than ribs and sessions can run one to two hours for a mid-thigh piece. Tell your artist you want bold fields of black with clean skin-cut negatives so the silhouette stays crisp. A frequent error is over-detailing edges which softens after healing. For the appointment, wear high-waisted shorts you can shift for access without discomfort. Consider that visibility is optional so think about how often you want to show it.
8. Full Back Panel with Sailor Moon Emblem
A bold back panel lets an emblem breathe and age gracefully thanks to broad areas of saturation. Pain is moderate across the back and sessions often split into two appointments, each two to three hours. Ask for consistent saturation and slightly larger separation between heavy black areas to avoid a muddy look after healing. The mistake I see is trying to compress a detailed brooch into a tiny back spot. For show-off outfits, open-back tops or sundresses frame a study piece like this well.
9. Finger Symbol Cluster
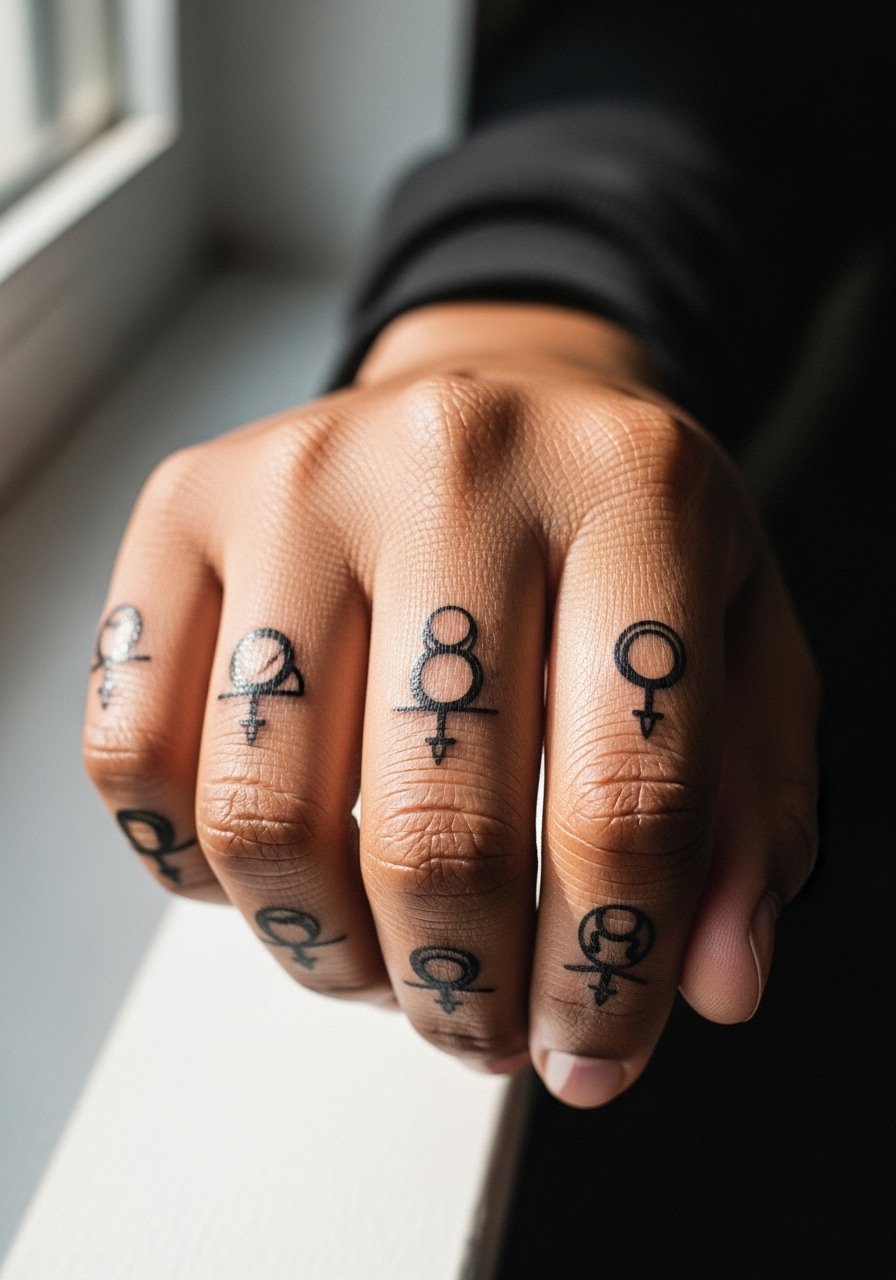
Finger tattoos are a commitment because of constant washing and friction. Pain is sharp and healing is prone to fade, so sessions are short but may need touch-ups at year one or two. For blackwork symbols, ask for bolder negative shapes rather than micro-detail that will wear away. The common mistake is overcrowding a finger with multiple tiny motifs. Consider placement on the sides of fingers or knuckles where a bold glyph reads longer. For jewelry pairings, simple bands or a thin stacked ring set keeps attention on the ink.
10. Geometric Sailor Moon Crest on Calf
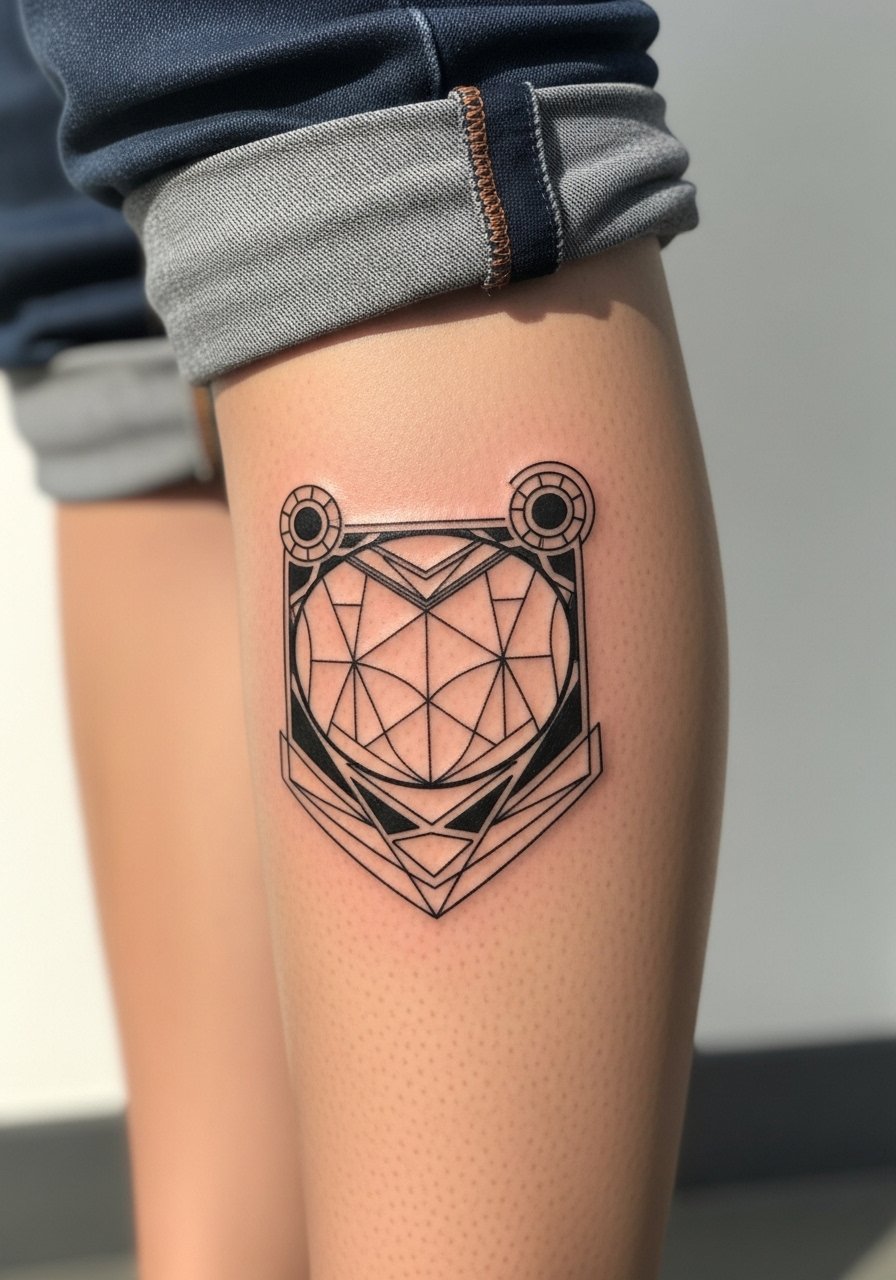
Calf pieces respond well to geometric blackwork because the skin is stable and sessions are moderate in length, usually one to two hours. I recommend slightly thicker line anchors in corners so edges stay crisp after a year of movement. A mistake is choosing extremely fine dot gradients that merge into gray with footwear friction. This placement shows in shorts or skirts, so pair with mid-length skirts to display the crest without competing patterns.
11. Bold Blackwork Tiara on Wrist
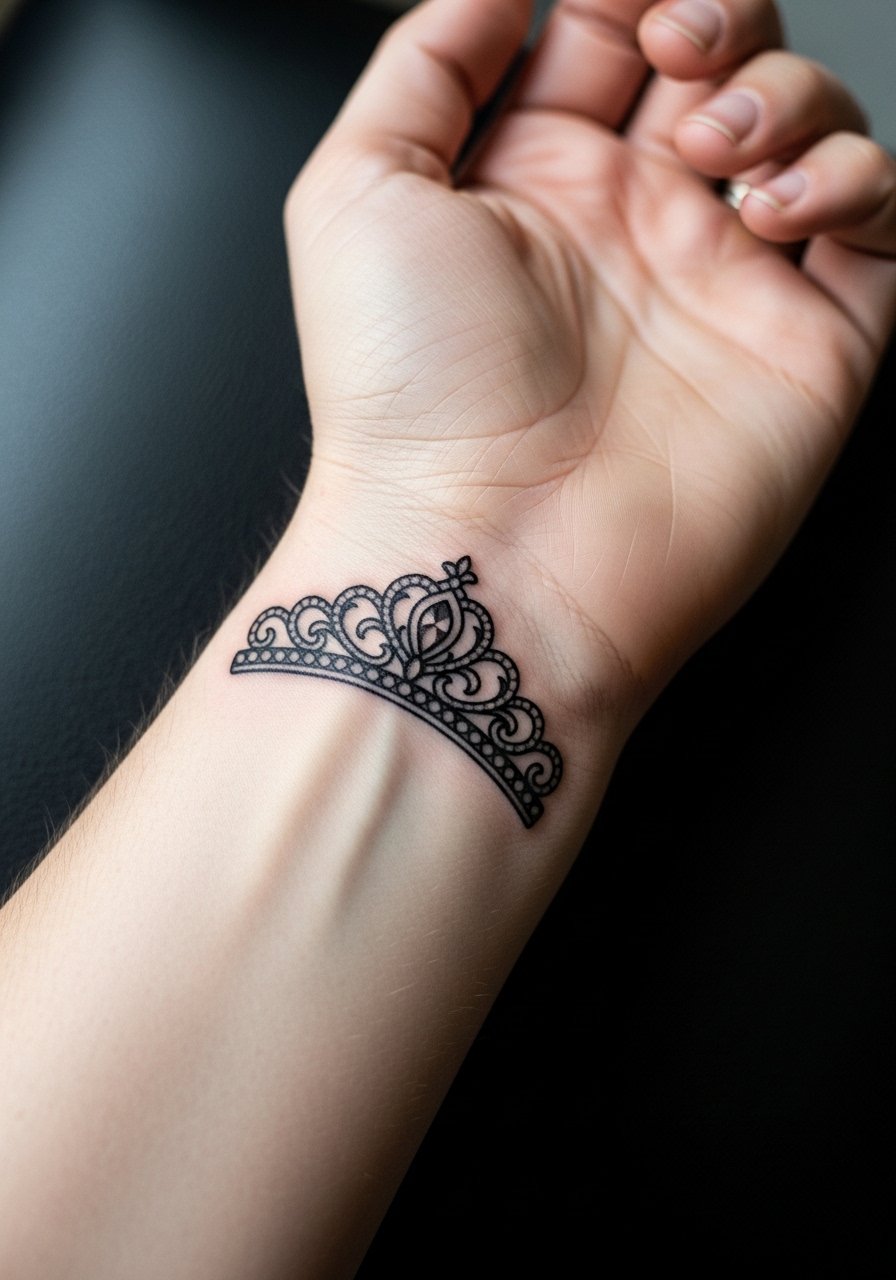
Wrist tattoos are visible and durable when executed in bold black. Pain is moderate and sessions are typically 30 to 60 minutes. Ask your artist for heavier outer linework and solid internal fills so the tiara reads well after the first year. A frequent error is requesting tiny jewels and filigree that soften into indistinct shapes. For outfits, a minimalist watch or stacked bracelets works, and a minimalist leather watch balances the wrist without crowding the tattoo.
12. Solid Sailor Moon Silhouette on Upper Thigh Inner Face
Inner thigh pieces are intimate and heal slower because of friction. Pain varies but can be moderate to high. Sessions commonly run one to two hours. For blackwork silhouettes, ask for saturated fills and avoid tiny textures that lose definition. The common mistake is choosing high-contrast elements that rub against clothing during the first weeks. This placement requires more careful aftercare and consideration for exposure. Think about what you wear to show it, such as high-cut swimwear or shorts during summer.
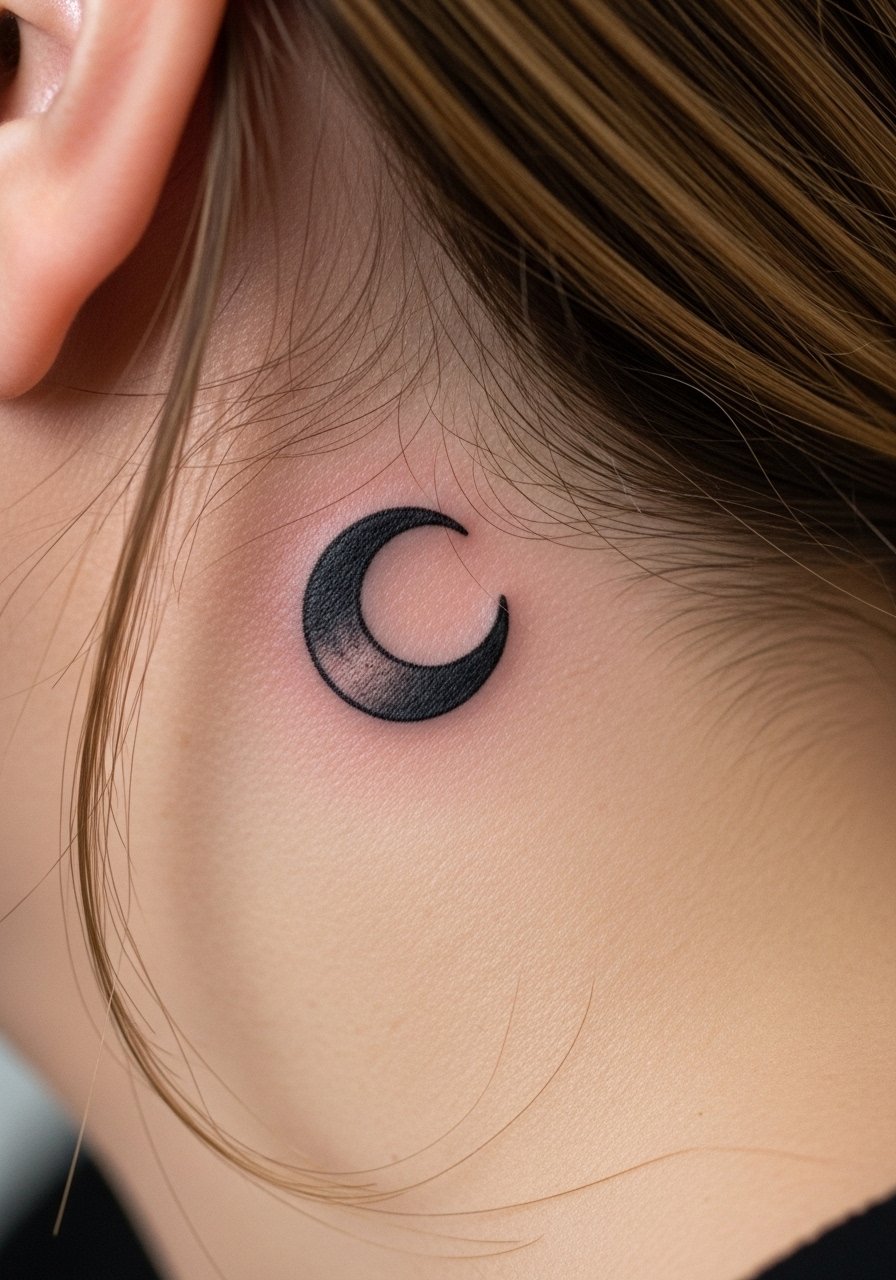
13. Neck-Grazing Crescent Behind the Ear
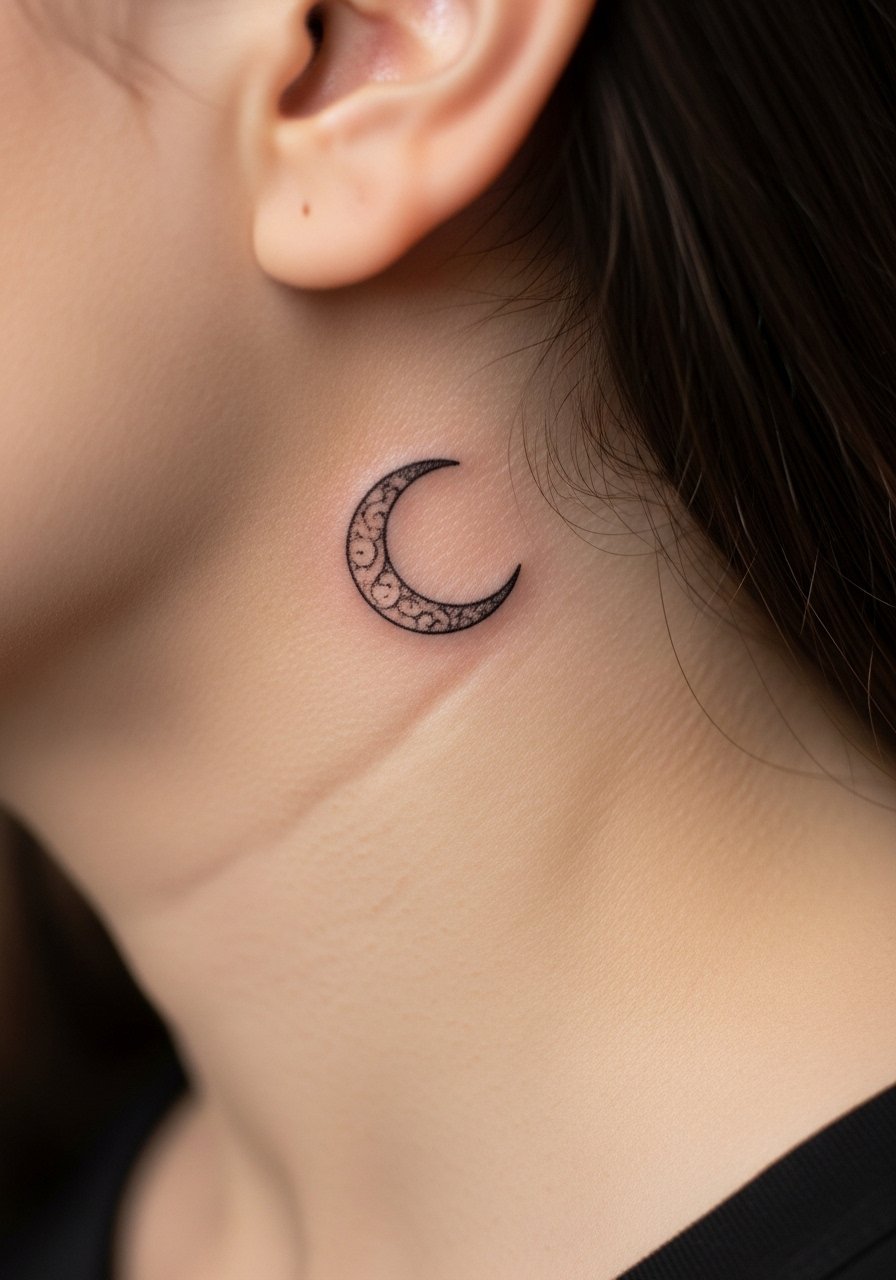
Behind-the-ear placements are subtle and need precise work. Pain is low to moderate because of thin skin. Sessions are short, often under 30 minutes. Artists differ on technique for this spot. One camp suggests bold tiny anchors to prevent feathering, while the other favors slightly softer linework that follows natural curvature. The real risk is over-detailing. Keep the motif simple and ask about their healed examples in that exact spot. Styling is hair-dependent and a short bob or tucked hair shows the piece best.
14. Bold Sailor Scouts Back-of-Arm Band
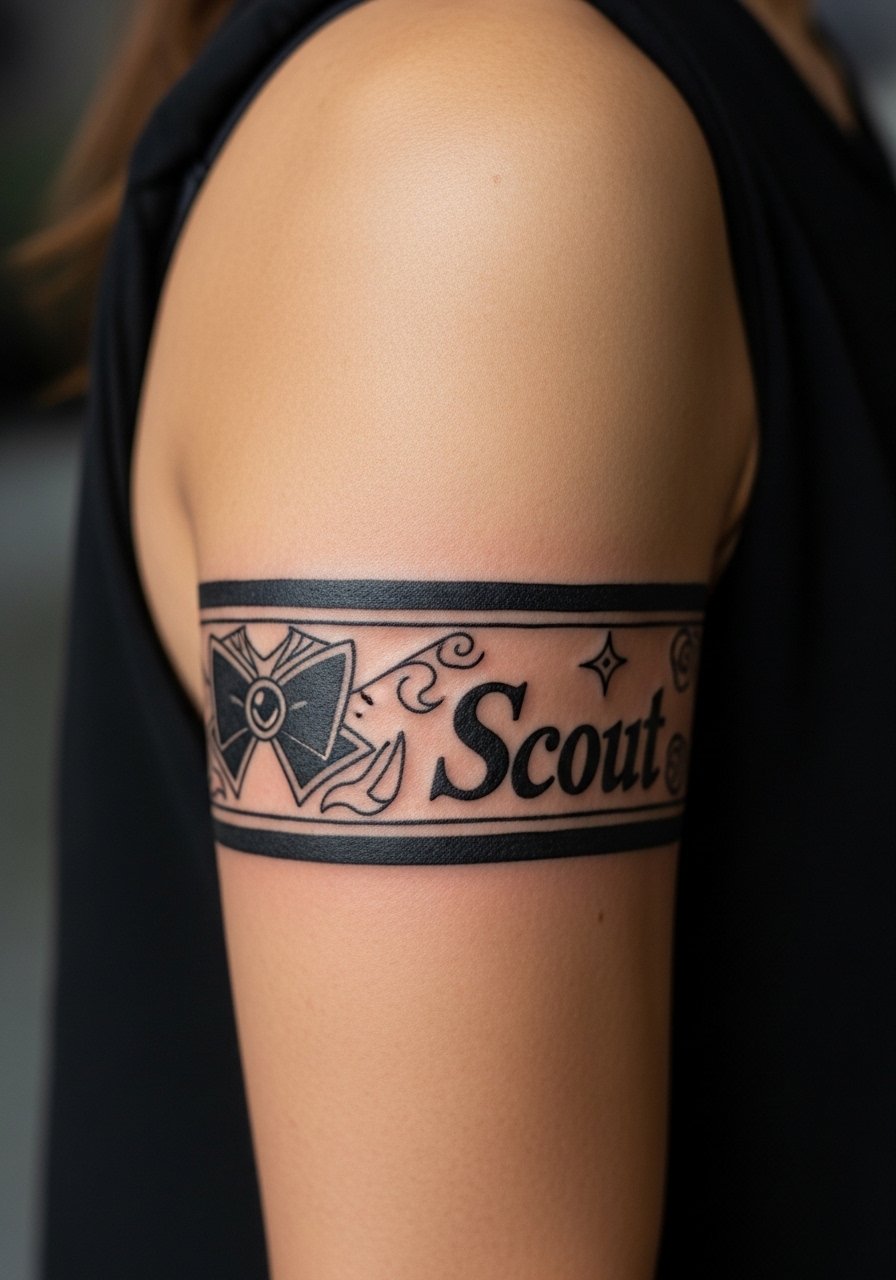
A back-of-arm band works as a sleeve-adjacent accent and maintains its silhouette because the skin there is stable. Pain is moderate and sessions are typically one hour. Ask for clear spacing between iconography so each element reads after healing. The common mistake is trying to compress too many little icons into a narrow band. For wardrobe, sleeveless shirts and cropped sleeves display the band, and a loose tank top makes the area easy to show.
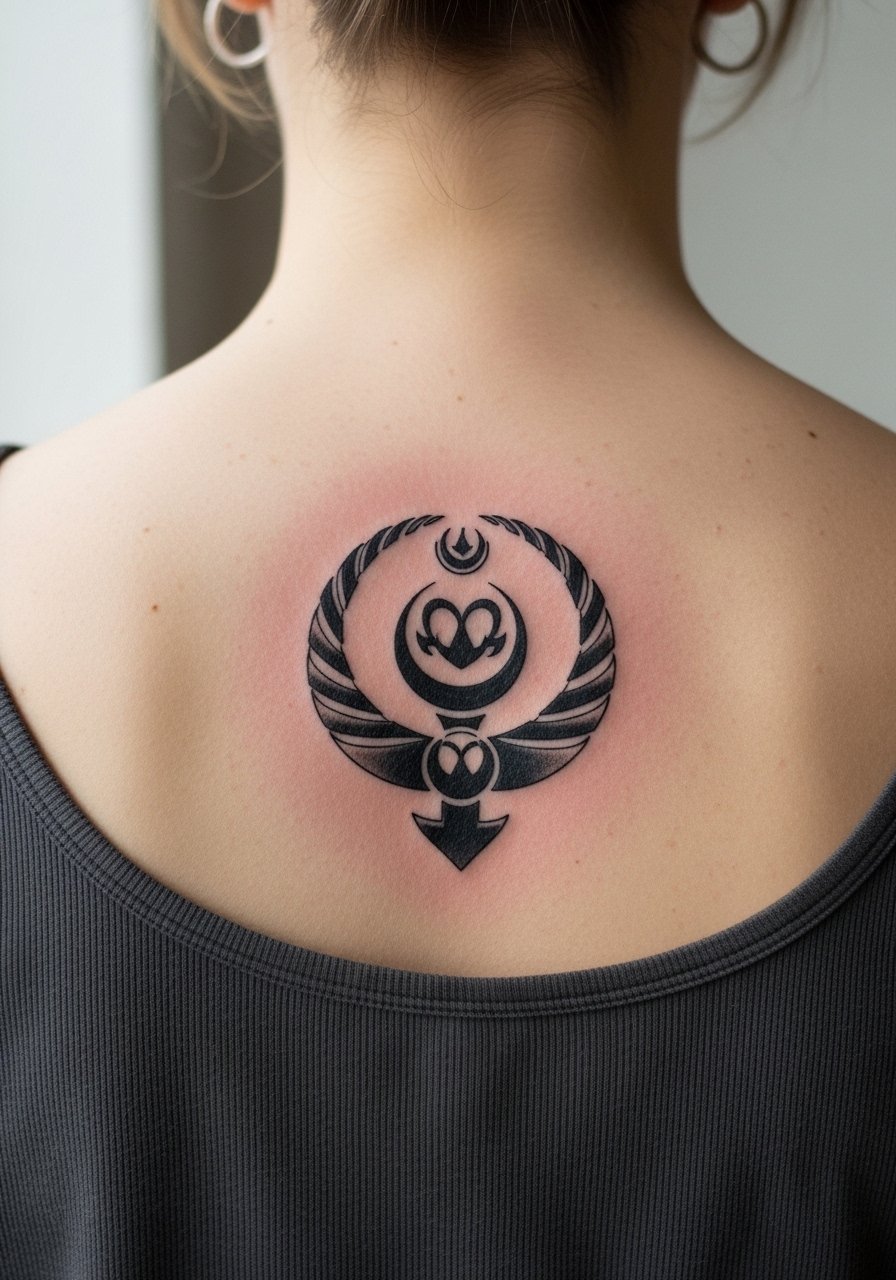
15. Bold Blackwork Mandala with Sailor Moon Center on Back of Neck
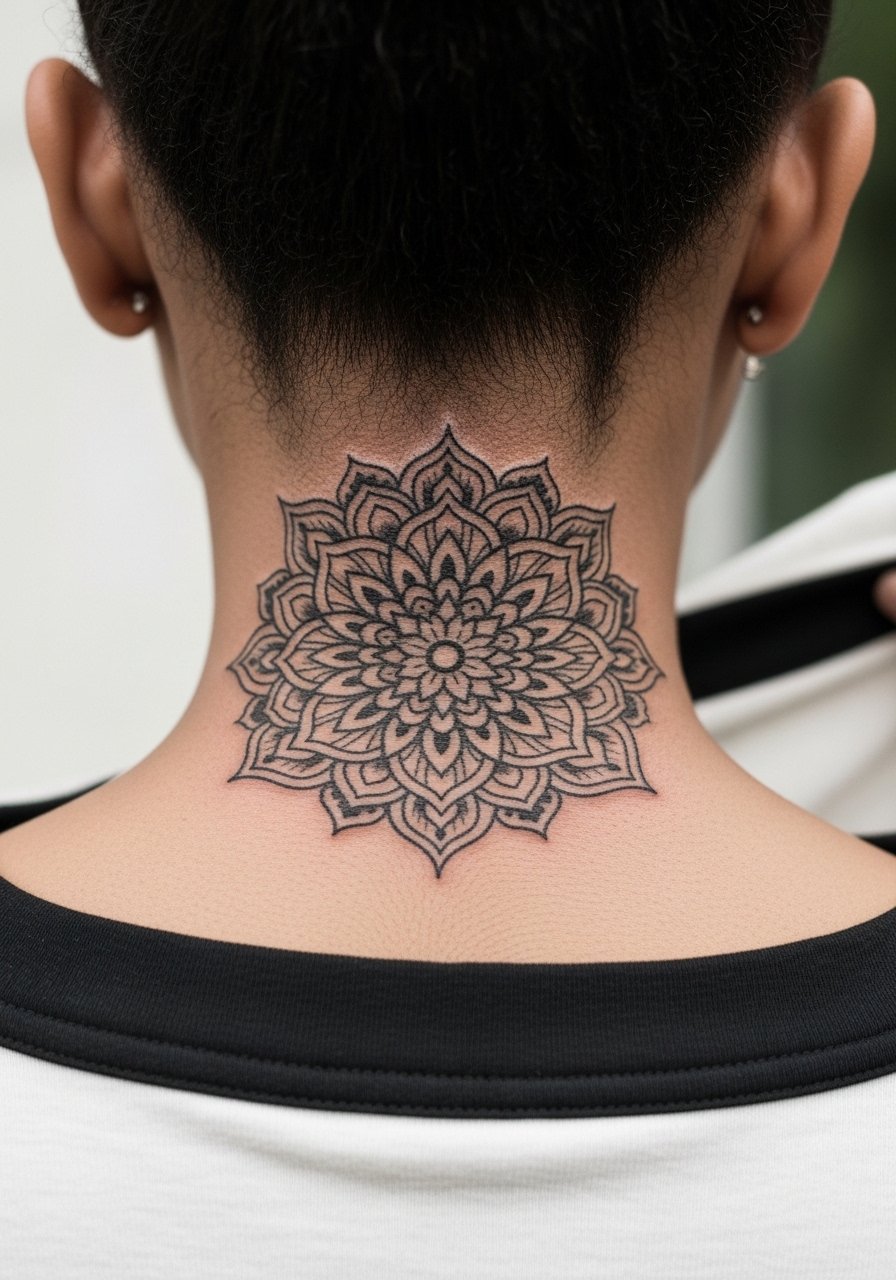
Neck placements are visible and require a confident decision because of workplace implications. Pain is moderate and sessions are often under an hour for a small mandala. The controversy is visible here. One camp warns that neck pieces can affect hiring in some fields. The other camp notes increased acceptance in creative industries and emphasizes scale choice. A common mistake is choosing overly intricate center detail instead of strong radial shapes. For styles, cropped hair or pulled-up hair highlights the mandala.
16. Heavy Black Sailor Moon Bust Portrait on Sternum
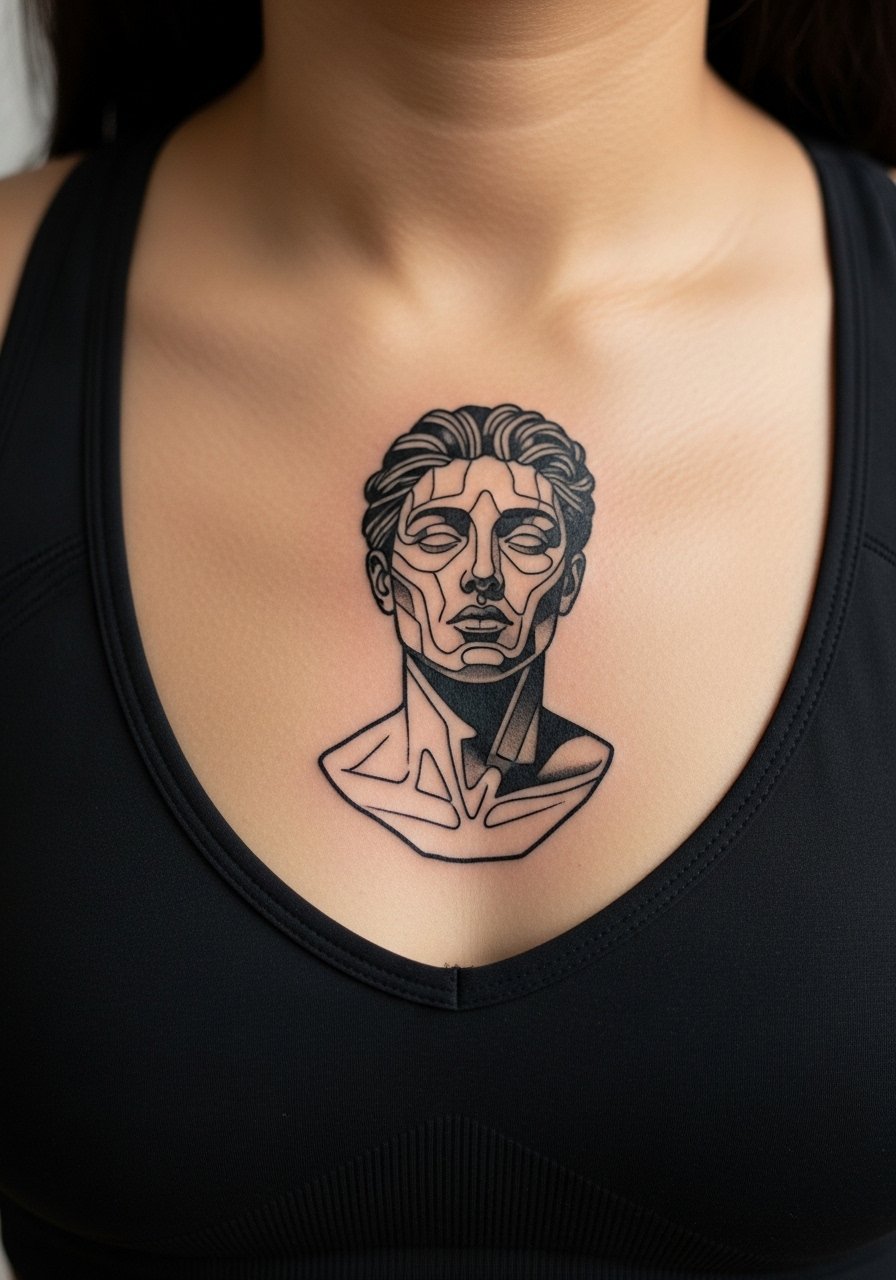
Sternum tattoos are sensitive and controversial for longevity of fine detail. Pain is high and sessions usually require breaks and multiple hours. Artists split into camps about fine detail here. One group says tight lines blur faster with chest movement. The other group says bold blackwork keeps definition longer. If you want a portrait on the sternum, ask for simpler silhouettes and stronger contrasts. A common mistake is asking for too much micro detail in the center. For the session, a fitted sports bra makes access practical and comfortable.
17. Bold Blackwork Choker Band Around Wrist
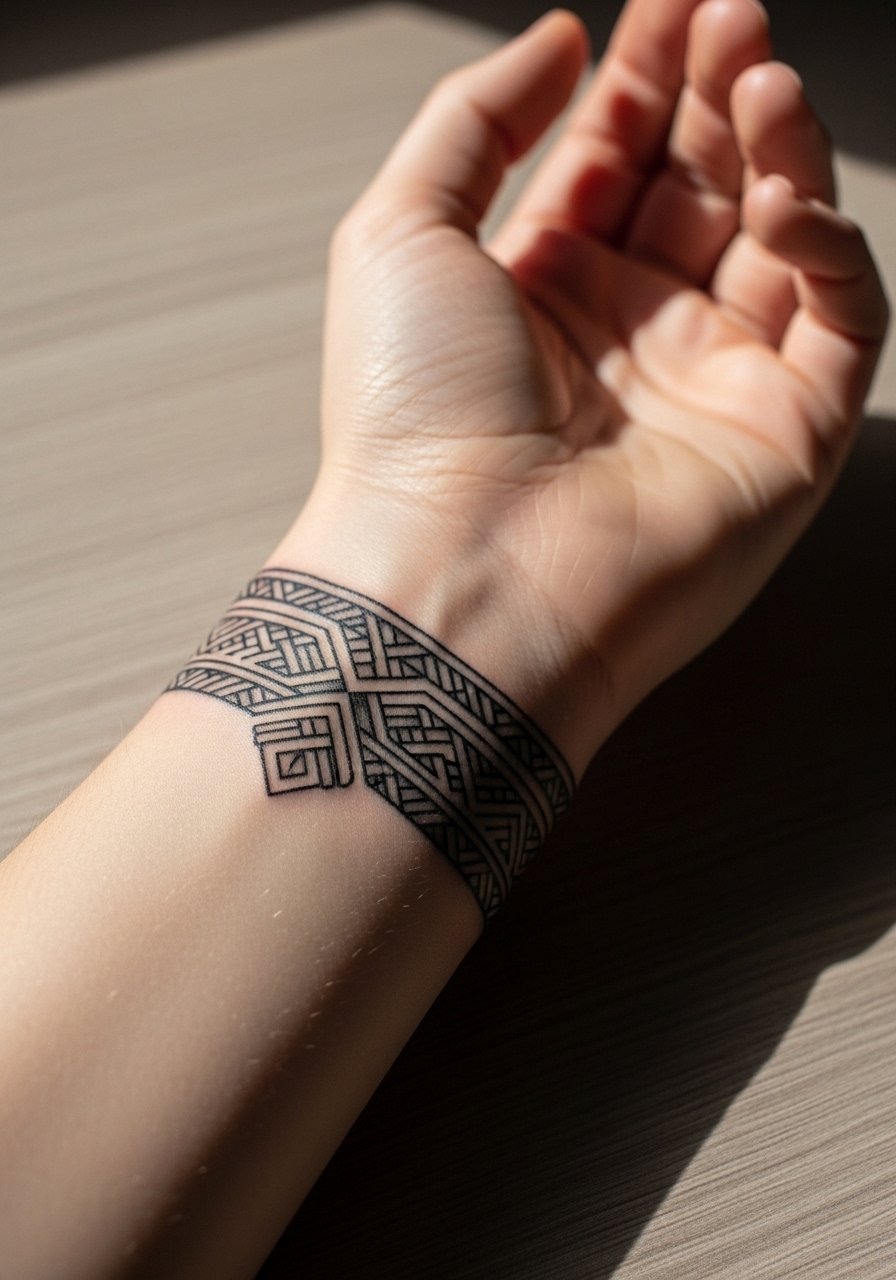
A cuff-style wrist band reads clean when executed in solid black. Pain is moderate and the session should be under an hour for a slim band. Ask for a few millimeters of tolerance in width so the band does not appear thinner after healing. A common mistake is demanding hairline edges that become uneven with time. This design pairs with a minimalist bracelet or slim cuff and a thin bangle set keeps the wrist curated without hiding the tattoo.
18. Sailor Moon Figure in Stipple Shading on Calf Inner Face
Inner calf work holds well for stipple techniques because the skin is stable and not prone to daily abrasion. Pain is low to moderate and sessions are often one to two hours. Use stipple shading with broader dot spacing to avoid dense areas merging into gray. A frequent error is overpacking stippling close to the edges. For showing it off, ankle boots with cropped trousers or a cropped athletic pant that rides above the calf work well.
19. Heavy Blackwork Sailor Moon Crest on Lower Back
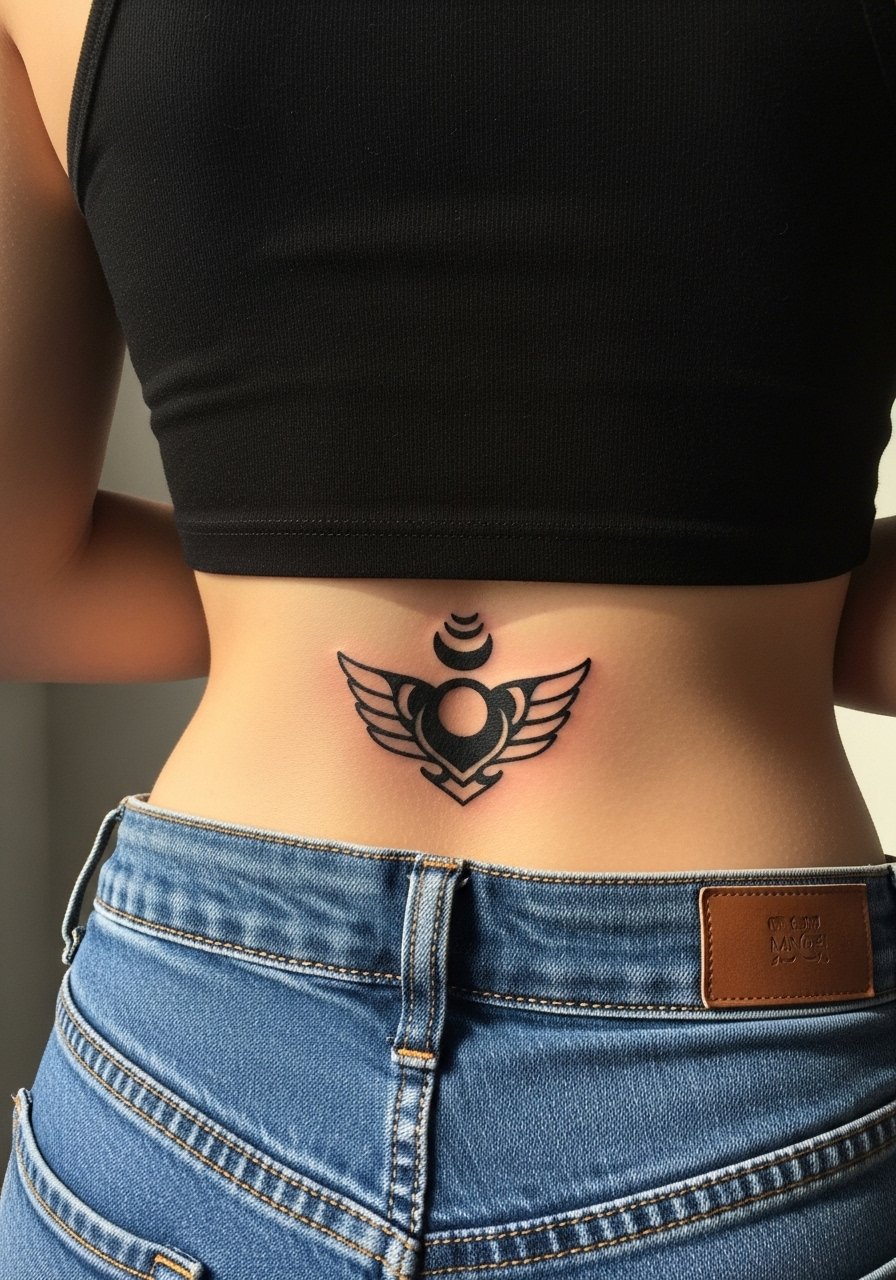
Lower back pieces can be bold and symmetrical and age well when the area is protected from constant sun. Pain is low to moderate and sessions vary by size from one to three hours. Ask for clean anchors and avoid tight internal textures that make the design look muddy after healing. The common mistake is selecting extremely fine ornamental details for an area that benefits from scale. Pair with high-rise jeans or open-back tops when you want to show the crest.
20. Petite Sailor Moon Symbol Behind the Ear with Hairline Frame
A behind-the-ear spot is discreet and feminine in a bold black variation. Pain is low and sessions are short. For longevity, choose a simple symbol rather than detailed script. The mistake I see is crowding this tiny zone with extras. Artists often recommend slightly stronger edges here so the motif does not feather. Hair framing or a tucked hairstyle showcases the piece without making it a dominant focal point.
21. Bold Back-of-Hand Mini Portrait
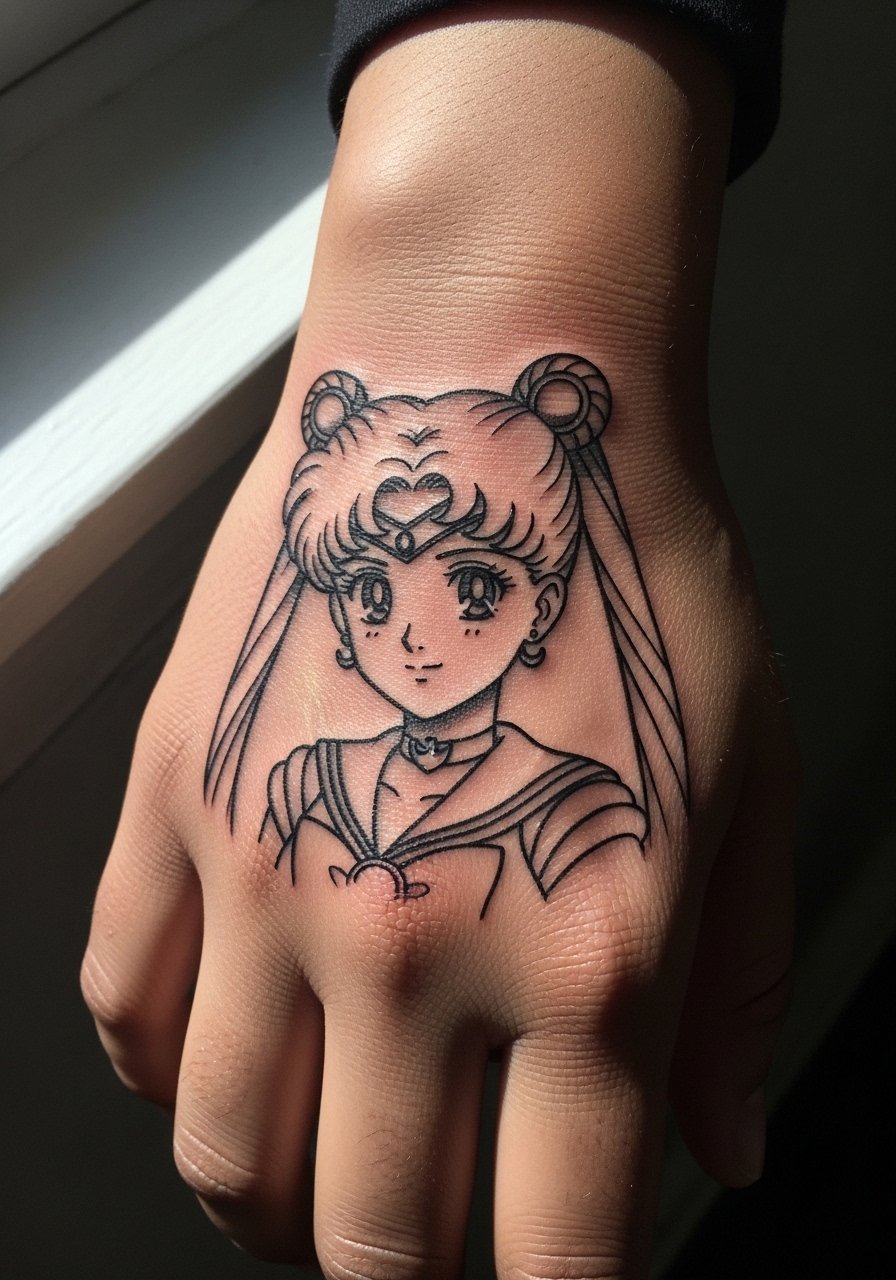
Hand tattoos age differently because hands see constant use and washing. Pain is high and sessions for a mini portrait are short but likely require touch-ups at year one. For a back-of-hand portrait, ask for a simplified silhouette and strong outer lines to keep form as details break down. The common mistake is expecting a tiny realistic face to remain sharp past year two. Consider your work environment before committing because hand ink is still more visible in professional settings.
Frequently Asked Questions
Q: Will a blackwork Sailor Moon tattoo need touch-ups sooner than a colored one on the forearm?
A: From what I have seen, bold blackwork often needs fewer color-specific touch-ups because black holds pigment well. The real factors are placement and sun exposure. Forearms can fade faster if frequently sun-exposed. Plan for a possible touch-up around year three depending on your lifestyle.
Q: Are ribcage silhouettes worth the pain compared to forearm placements?
A: Ribcage pieces are worth it if you prioritize concealability and large scale. Pain is higher, and healing can be trickier due to movement and clothing friction. If you want longevity of silhouette, choose bold shapes and allow spacing rather than fine detail.
Q: How should I dress for a collarbone or sternum session to make access easy?
A: Wear a wide-neck shirt or a fitted sports bra you can pull aside to expose only the tattoo area. A good option is a wide-neck top that keeps you comfortable while giving the artist clean access without full exposure.
Q: Do finger and hand blackwork pieces affect how they look at year two?
A: Yes, fingers and hands undergo more washing and abrasion. Expect lighter lines and potential softening. Bold, simple glyphs hold up better than tiny portraits or micro-detail. Budget for a touch-up within the first two years if you want sharpness to last.
Q: If I want a detailed Sailor Moon portrait on the shoulder blade, what should I request in consultation?
A: Ask for bold contour anchors and stipple or whip shading for depth. Explain you prefer contrast over micro-detail so the piece keeps identity when healed. Look at healed photos from the artist for similar-sized portraits to confirm their track record.
