
Bold blackwork holds up in ways most people do not expect. The tattoos that look like they will last are often the ones planned with spacing, thicker contour, and an eye toward how clothing will reveal the art. If you want bold angel wings that remain readable at year three and beyond, start with line weight and placement choices. The first idea dives into a back piece that makes those decisions obvious.
1. Bold Tribal Angel Wings on Back

I recommend this for anyone who wants a statement piece that reads across a room. Tell your artist you want strong, consistent linework and geometric negative space so each feather reads at a distance. The biggest mistake is shrinking tribal details to fit a small canvas. That version loses contrast after a year and needs touch-ups. Expect the session to be multiple sittings across two to four appointments and plan for soreness along the spine and shoulder blades. For showing this off, pair a backless crop top black or halter tank for evenings out, and wear a loose tank to the appointment so the artist can access the area.
2. Black-and-White Realistic Wings on the Forearm

I've seen forearm realism survive well when artists keep feather edges crisp and avoid overly tight detail. When you consult, ask for stipple shading to suggest texture without overcrowding the piece. Forearms are exposed to sun and friction, so thicker contour reduces early softening. Session time is generally one to two blocks depending on scale and saturation. For everyday wear, rolled sleeves show off the wing while protecting the inner arm from constant sun. Try a rolled sleeve button down for casual days that frame the work.
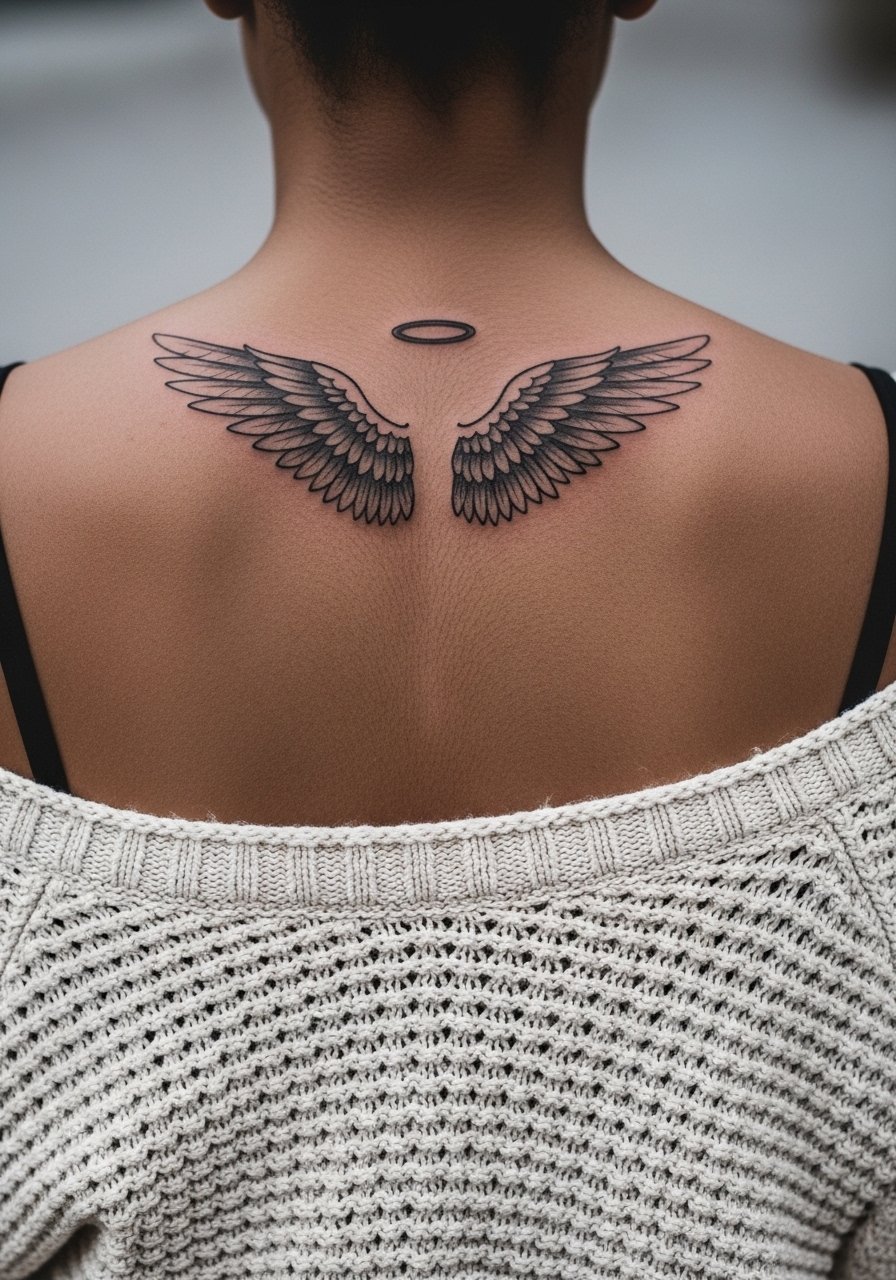
3. Minimal Outline Wings on the Back of the Neck
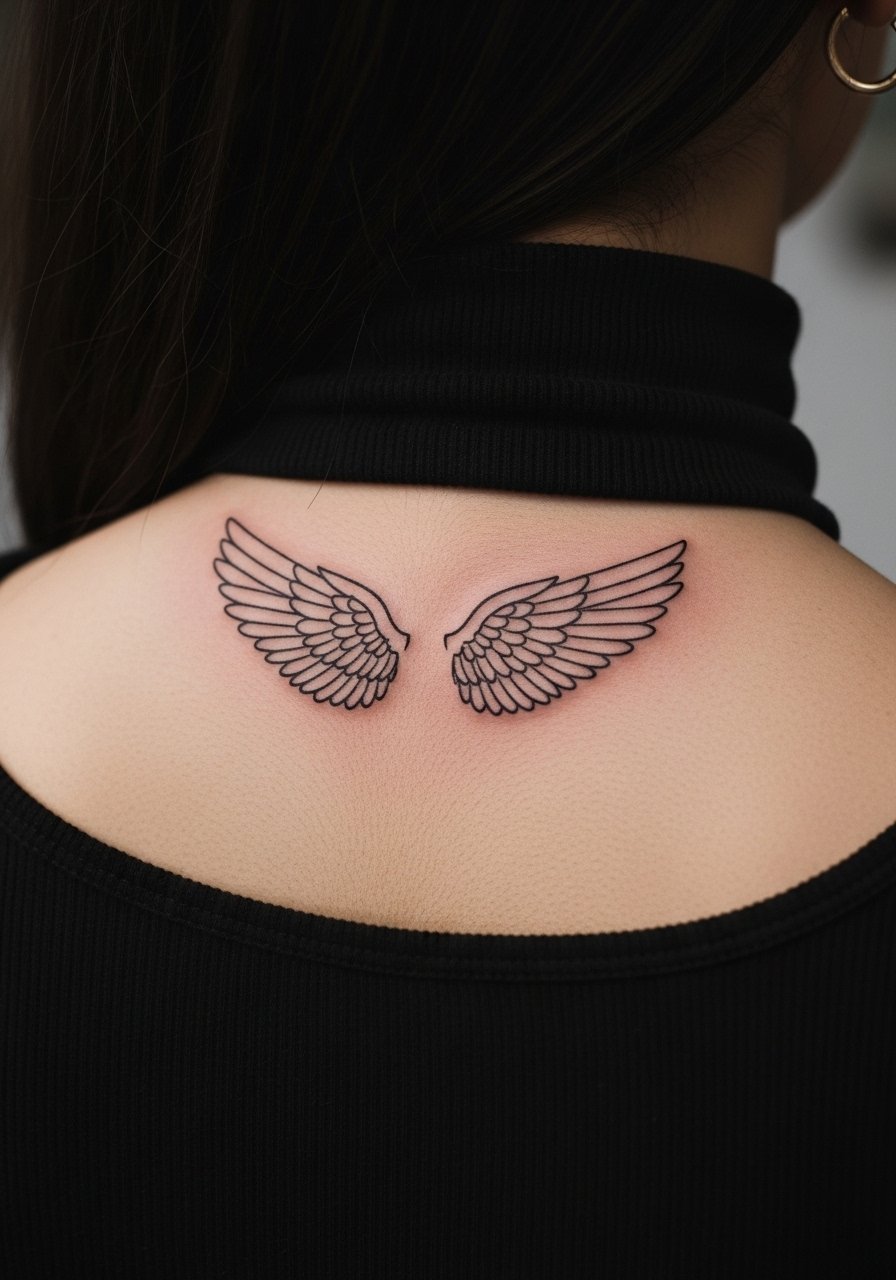
Fair warning: the back of the neck is small and movement exaggerates thin lines. This minimalist approach reads confident and discreet when sized for the anatomy. Tell the artist you want slightly bolder outlines than a pure micro line so the wings keep shape after a couple of years. The common mistake is asking for ultra-fine lines that blur under hairline friction. For showing the piece, a high neck crop top that can be adjusted or an updo works best for subtle reveals. During the session, bring a hair tie so the artist has a clear field.
4. Geometric Angel Wings on the Shoulder Blade
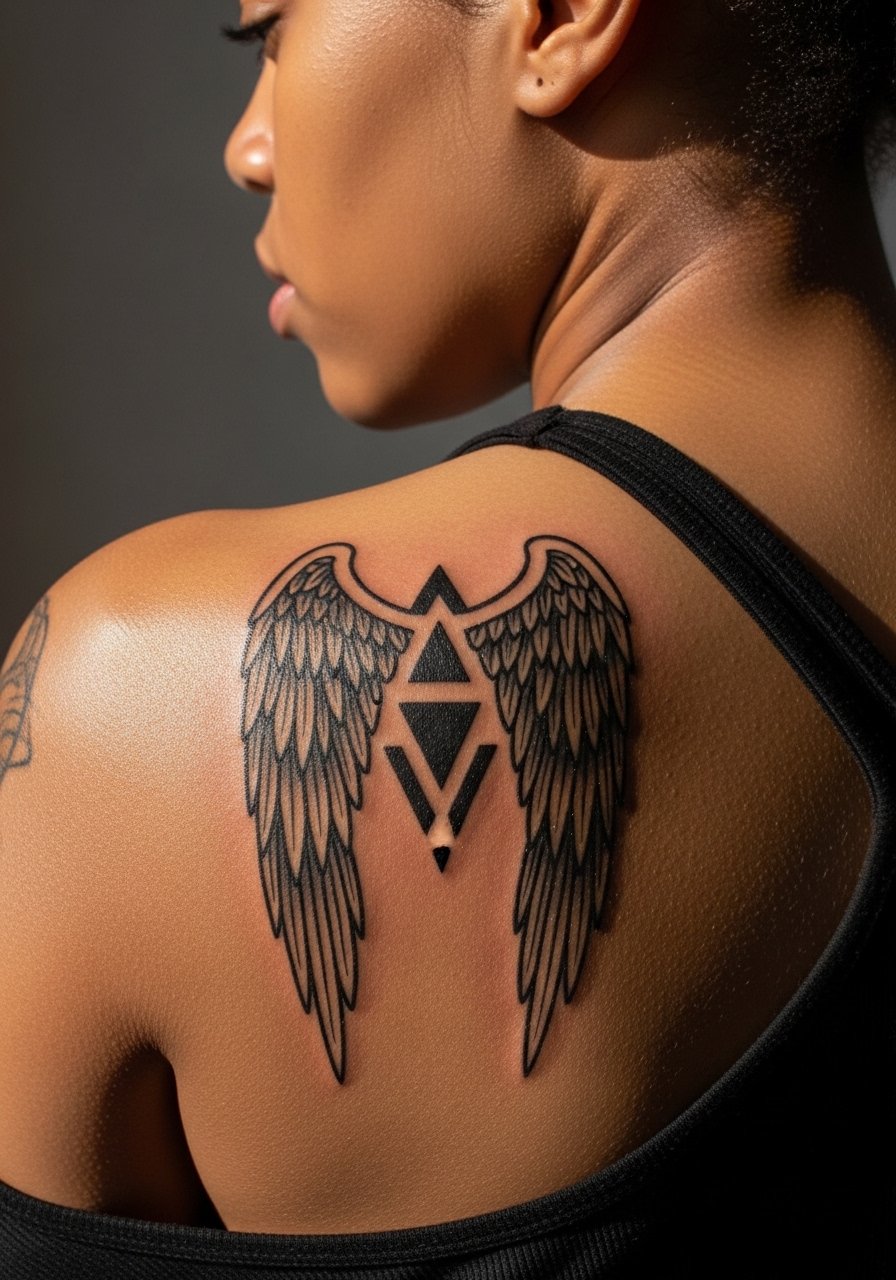
The shoulder blade is ideal for symmetry and geometry because it gives the artist space to balance shapes. Ask for clean spacing between linework and stipple fills so the pattern breathes as it heals. A common error is packing too many intersecting lines into a small shoulder design, which causes merging at eighteen months. Sessions are usually one to two hours for this scale and feel moderate on the pain chart. For wardrobe, off-shoulder blouses frame the area well. Try an off shoulder blouse when you want to highlight the wings, and bring a sleeveless tank to your appointment to give the artist full access.
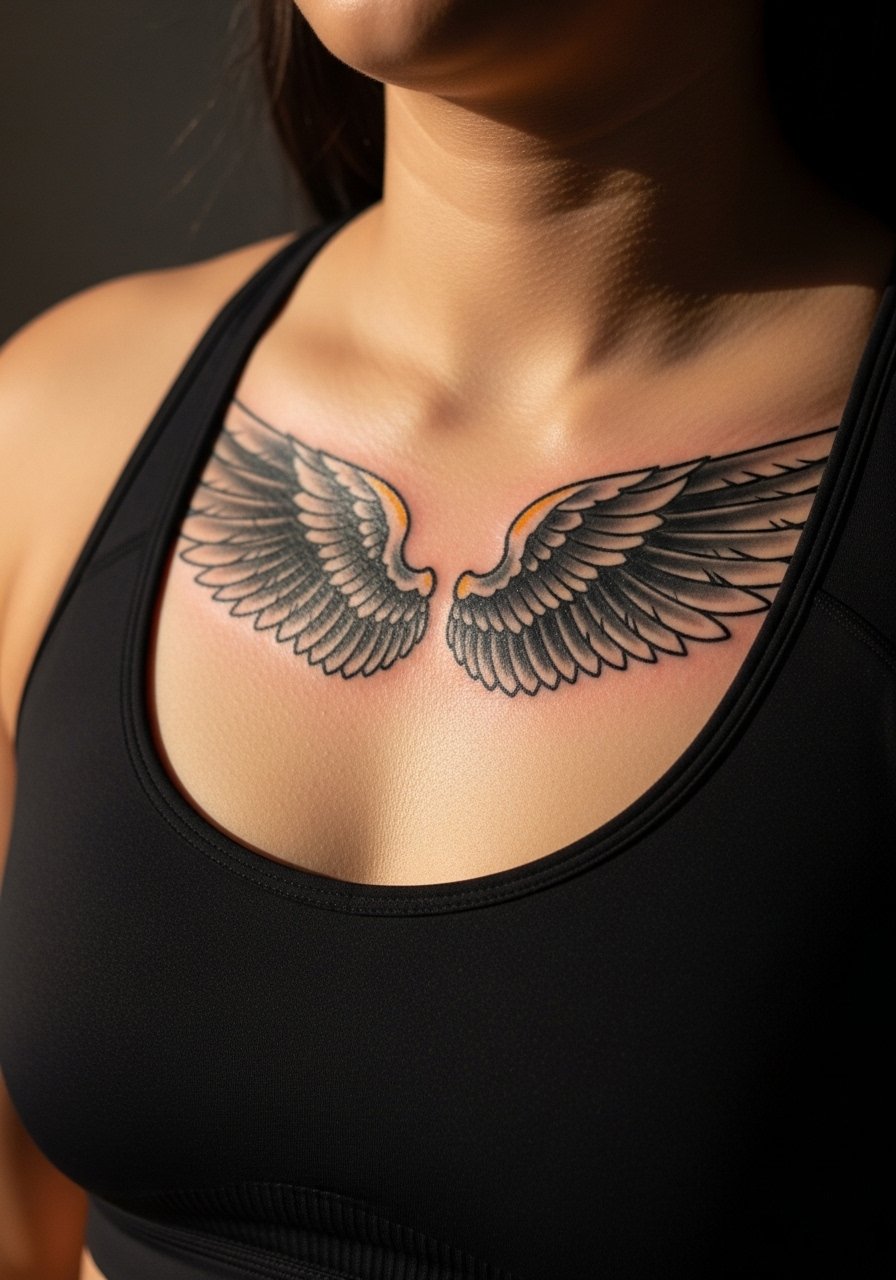
5. Broken Bold Wings on the Chest
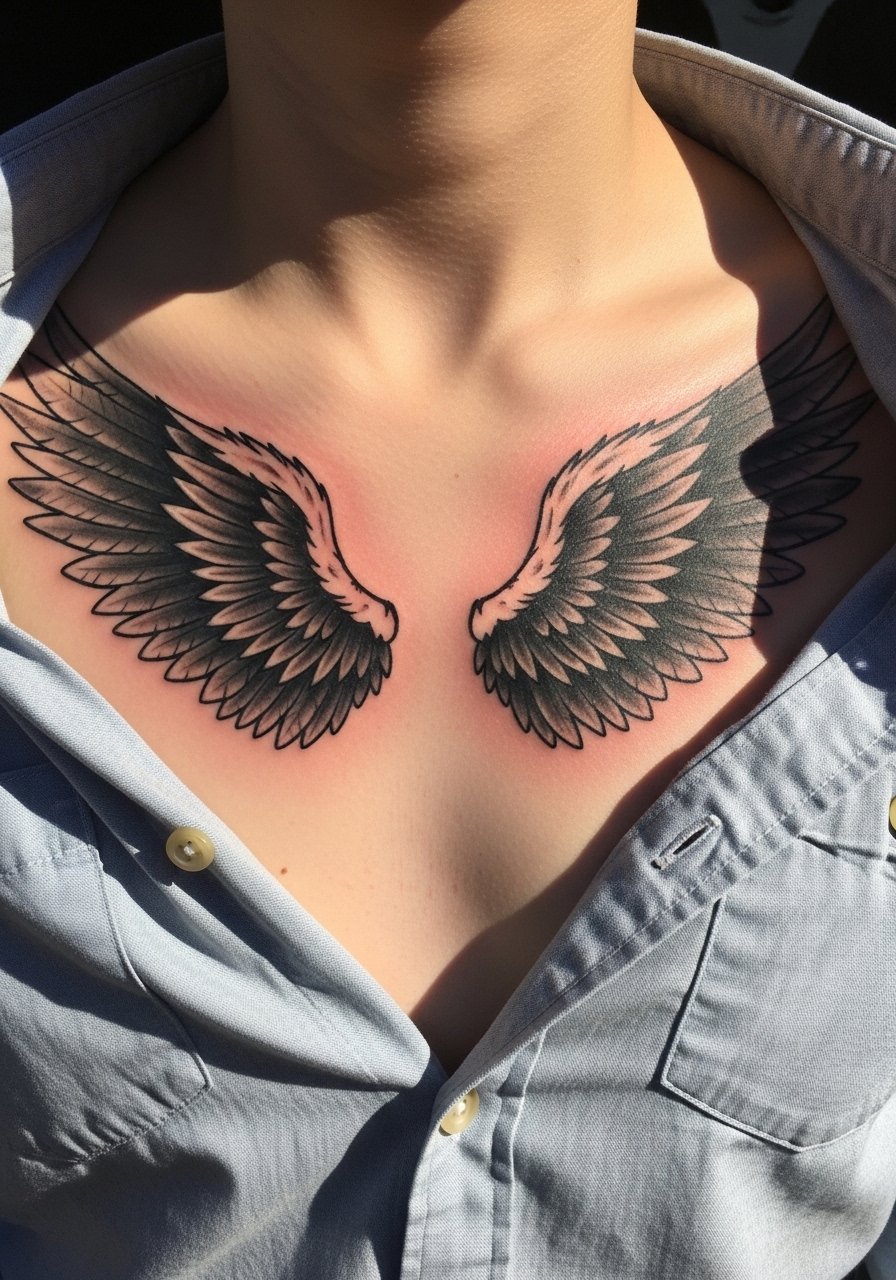
Most people choose broken wings on the chest for memorial or resilience themes. When you sit down with an artist, explain where you want asymmetry and whether any text will integrate with the feathers. The ribcage and sternum area change with breathing, so ask the artist how line weight will compensate for stretch. A common mistake is placing tiny internal details across the sternum; those details merge faster than bold contour. Sessions are often two shorter sittings because chest work can be painful and tender. For showing this placement, deep V-neck tees or an unbuttoned shirt draw the eye without crowding the design.
6. Full-Back Symmetrical Angel Wings
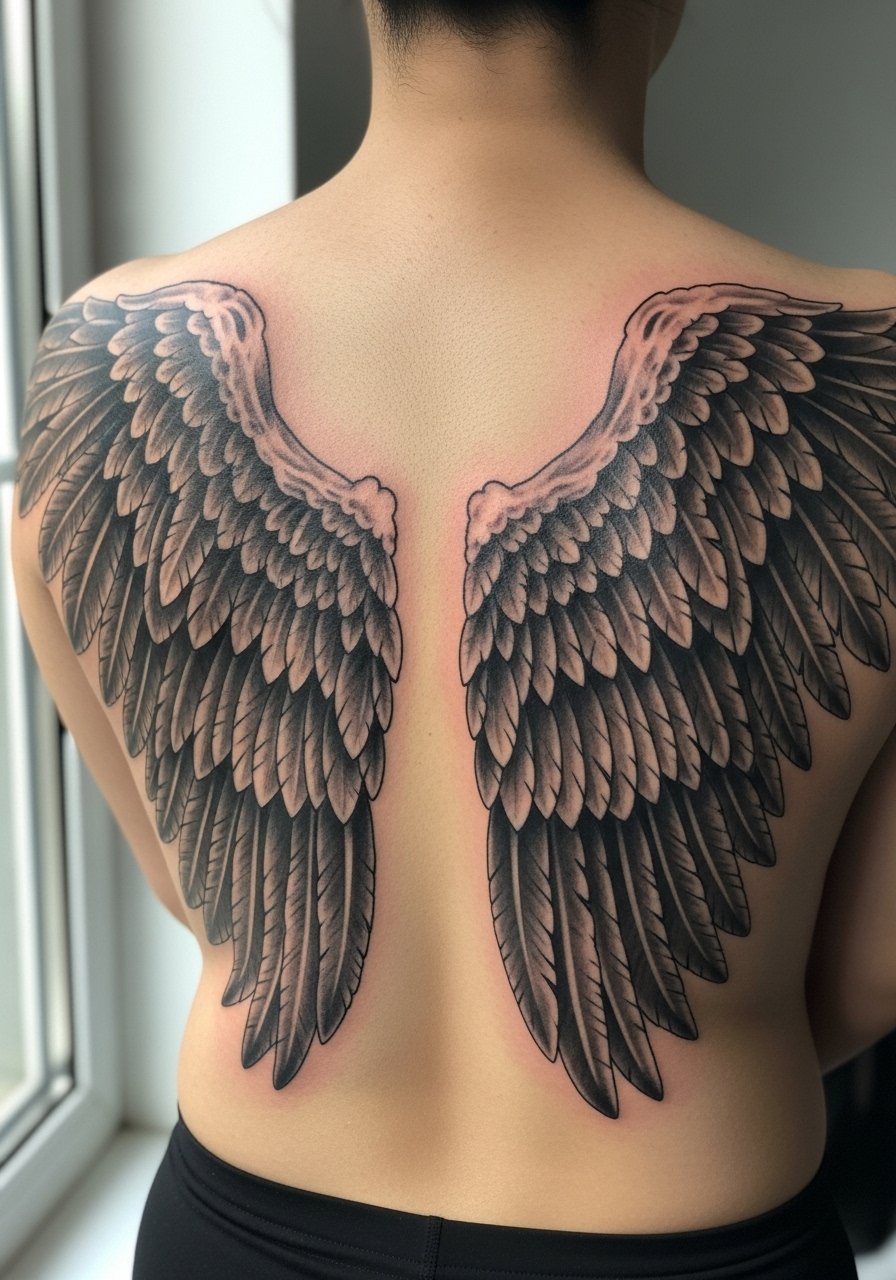
When you want maximum scale and depth, full-back wings deliver presence and allow feather studies that read at distance. Tell the artist you want a layered feather approach with heavier saturation near the spine and lighter outer edges so the wings age into depth rather than a flat patch. Expect multiple long sessions over several months. The large vs small debate matters here. One camp argues that large pieces are commitment-heavy but age better because of scale and spacing. The other camp prefers starting small for flexibility. Be explicit about commitment before you book. For evenings out try backless crop top black or an open knit cardigan to reveal or soften the back.
Studio Day Picks
The chest, shoulder blades, and back pieces above ask for longer sessions and different prep than wrist and ankle work, so a few items smooth the experience and the first healing week.
-
Stencil transfer paper kit. Lets you test placement on skin before committing, which is especially useful for asymmetrical chest pieces and off-shoulder layouts.
-
Topical numbing cream. Applied before longer back or chest sessions eases the first hour of work without impacting linework when used as directed.
-
Thin protective film roll. Protects newly inked areas on high-friction zones like the lower back and shoulder blade during sleep and travel.
-
Fragrance-free body wash. Gentle cleansing matters when you are washing large healed surfaces without irritating lines and stipple shading.
-
Aquaphor healing ointment. Thin layers in the first couple of days help lock in moisture on heavier blackwork without suffocating the area.
7. Angel Wings with Halo on the Forearm
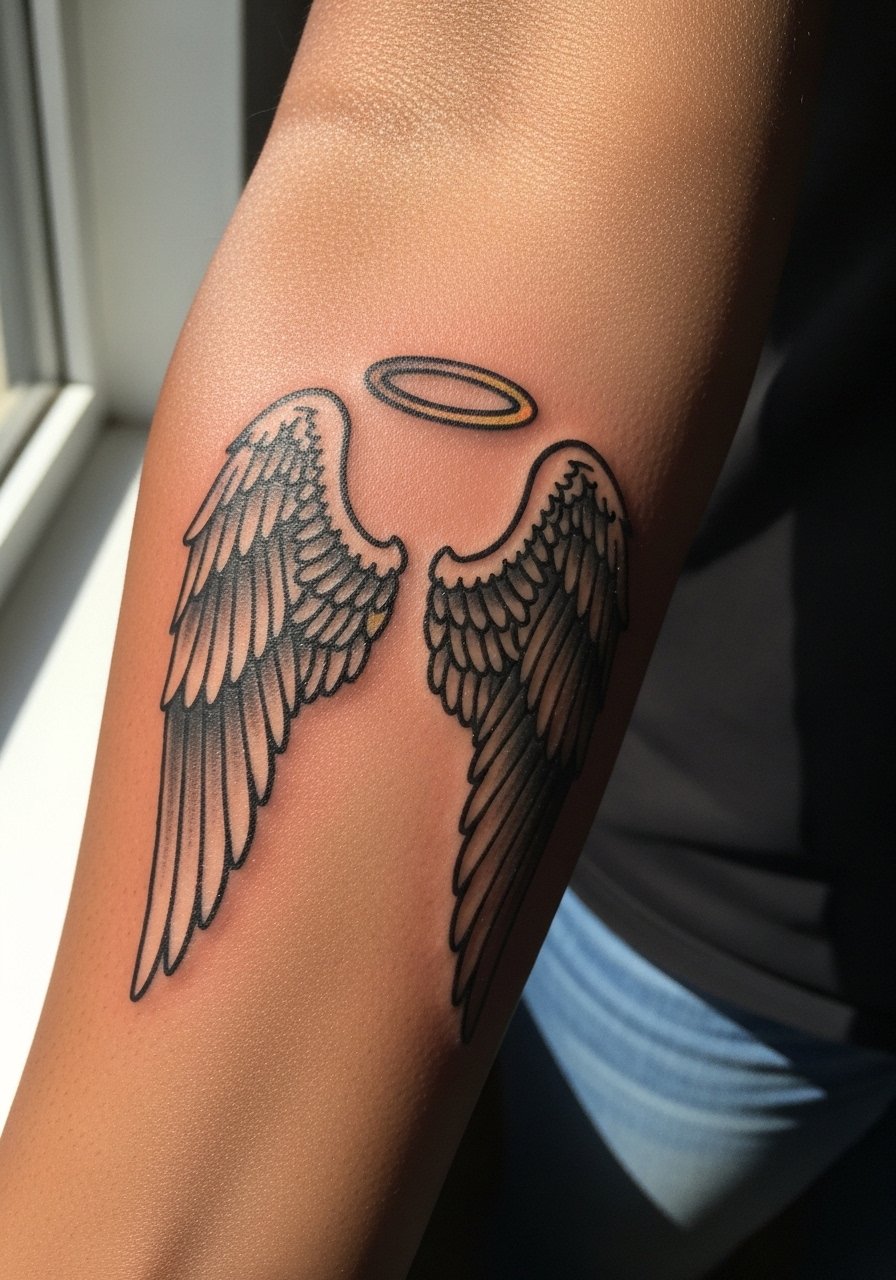
This compact forearm option keeps the halo as a focal point while the wings read from the wrist toward the elbow. Ask your artist for a halo that sits above the wing base and slightly overlaps so it reads as part of the composition. The common aging issue is adding tiny color dots that fade unevenly. If you want color, request saturated spots with an agreed touch-up timeline. Sessions are short and tolerable. For showing the piece, rolled sleeves or a short sleeve chambray shirt frame the forearm without hiding it. During the appointment wear a comfortable short-sleeve top you can move.
8. Large Feathered Wings Running Down the Arm

There is something about dense feather saturation that reads from across a room, and the arm gives a long canvas. Tell your artist you want tight feather edges close to the shoulder and looser, larger feathers as the design travels down the arm. A mistake is packing too many tiny strokes in a narrow band, which blurs faster than broad strokes. Sessions typically span two to three visits depending on saturation. For the session, wear a loose tank so the artist can rotate your arm freely. Avoid heavy watches or cuffs during healing.
9. Angel and Demon Wing Back Piece Exploring Duality
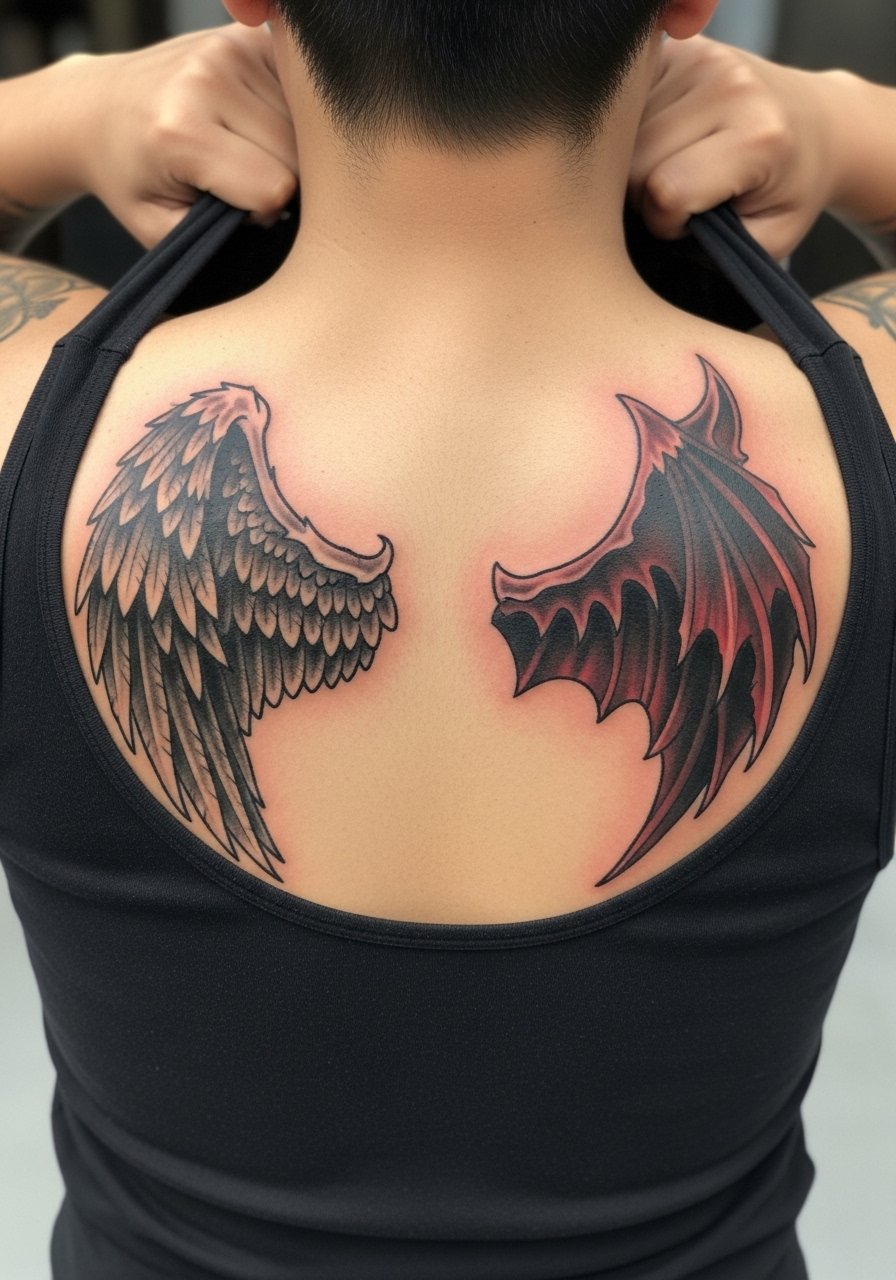
Artists and clients split on symbolism here. One camp frames the pair as a visual debate about inner life and balance. The other camp treats it as pure contrast play without meaning. Name both camps to yourself and tell the artist whether you want literal iconography or abstract contrast. Ask for bold contours on both sides so the high-contrast black does not dominate the angel wing over time. Expect three to five sessions and talk through touch-up plans. For showing, a halter tank or backless piece works best. Consider a halter tank top women for nights out.
10. Small Bold Wings with a Name on the Wrist
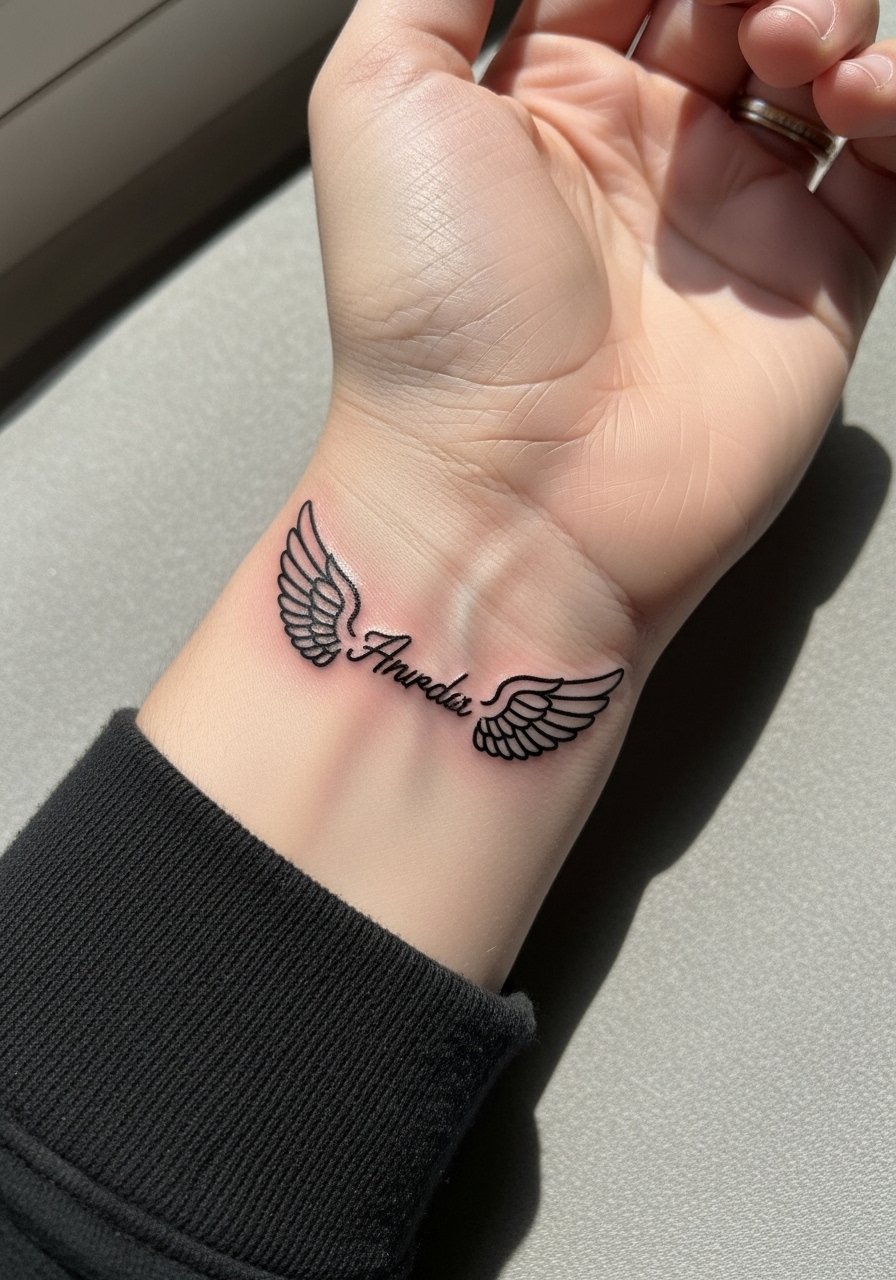
Wrist tattoos are great for a compact tribute. Tell the artist the exact text, font size, and spacing you want so letterforms do not crowd the wings. The typical mistake is micro-script too close to the contour, which blurs over a couple of years. Plan for a single short session and expect to avoid watches and bracelets on that wrist for a few weeks. Pair the piece with a wide cuff on the opposite wrist for balance. A wide cuff bracelet gold sits well opposite a bold wrist tattoo.
11. Feather-Density Play for Upper Arm Wings
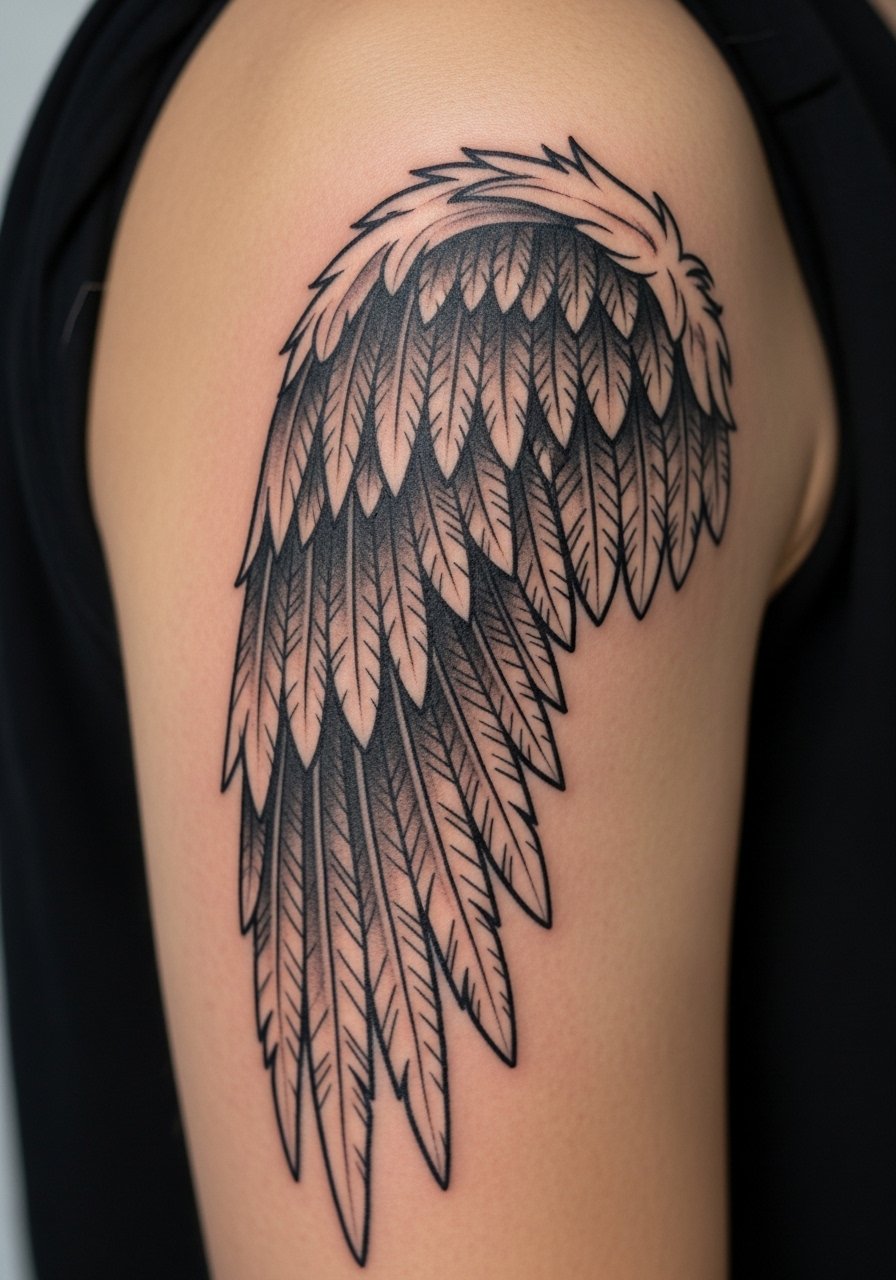
The trick with arm wings is how feather density reads at a distance. Ask for larger outer feathers and tighter inner detailing so the piece creates contrast without crowding. A common mistake is keeping the same feather scale across the whole wing. That makes distant viewing a uniform texture that ages into a flat patch. Sessions are moderate length and pain is low on the outer arm. Discuss a realistic touch-up timeline at year two for mid-range coverage and preservation. For the session, wear a loose short-sleeve shirt so the artist can rotate your arm easily.
12. Geometric Frame Wings with a Personal Date on the Shoulder

This idea layers a modern geometric frame around traditional feather forms and gives a natural place for a date or milestone. Specify exact numerals or numbers for the image so the layout reads cleanly. The common error is squeezing numerals into tight frames. That makes numbers illegible after healing. A single to two-hour session usually handles this scale. For showing off the shoulder, an off shoulder blouse highlights the geometry without competing patterns. During consultation ask how the artist balances negative space against the digits.
13. Tiny Wings Just Behind the Ear

Behind-the-ear placements are discreet and age fast if lines are too fine. Tell the artist you want slightly bolder contour than micro line, and confirm how the design sits below the hairline. The mistake is asking for hairline-thin strokes in a high-friction zone. This sits two out of ten on pain for most people and is a quick single-session piece. Because of visibility and social contexts, consider career impacts. If you want to reveal it occasionally, plan a hairstyle that lifts the hairline and keeps the area visible.
14. Neo-Traditional Chunky Wings on the Sternum
Sternum placements demand respect for breathing and body movement. Ask for chunky contour and bold fill in the central feathers so the work remains readable as the skin shifts. A common mistake is adding tight ornamentation across the sternum which blends into a gray mass as the area settles. Sessions are firm on the pain scale and usually split into shorter sittings. Wear a fitted sports bra to the appointment so the artist can access the area comfortably. Some artists require specialized experience for sternum work, so ask about that during booking.
15. Negative-Space Wings Along the Spine
Spine work benefits from planned negative space so the vertebral column separates feather masses and avoids a dark block. Tell the artist you want deliberate skin breaks between feather clusters. The mistake is packing closely shaded feathers along the spine which can look like a single bar as it heals. Pain is higher near the spine, so expect breaks and shorter sessions. For showing, open-back dresses or halter tops accent the column without crowding the wings. Consider asking for touch-up timing at the consult because the spine often needs light redefinition.
16. Dot-Work Haloed Mini Wings at the Ankle
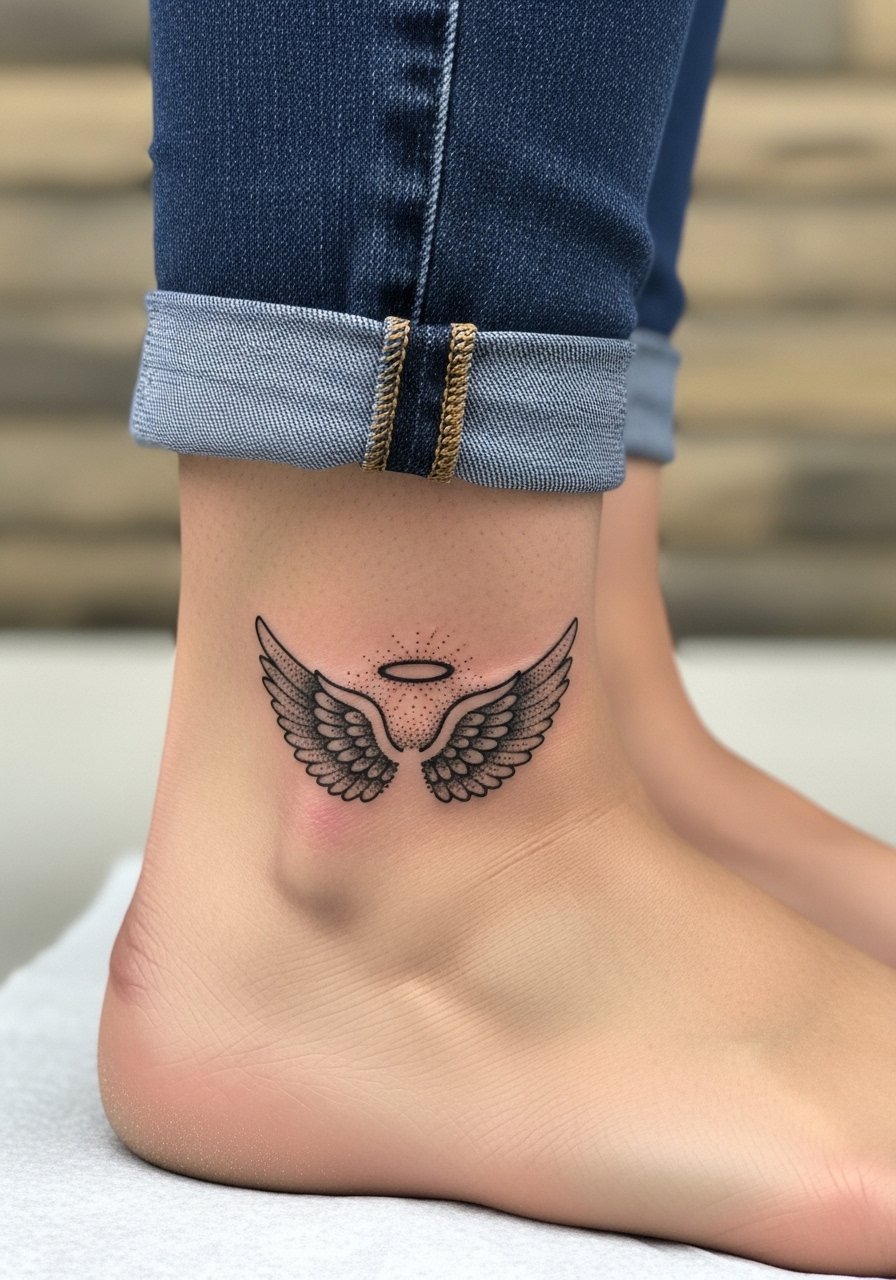
Ankle placements are exposed to shoe friction and moisture, so dot work needs spacing to breathe. Tell your artist you want stipple shading with wider gaps to preserve the dots. The common error is over-condensing dot clusters, which diffuse into gray early. Sessions are short but healing requires mindful footwear choices. For showing the ankle, roll jeans or wear sandals to let the design breathe. Rolling jeans up during the session helps the artist access the area while keeping the rest of the leg covered.
17. Bold Single Wing on the Shoulder Cap
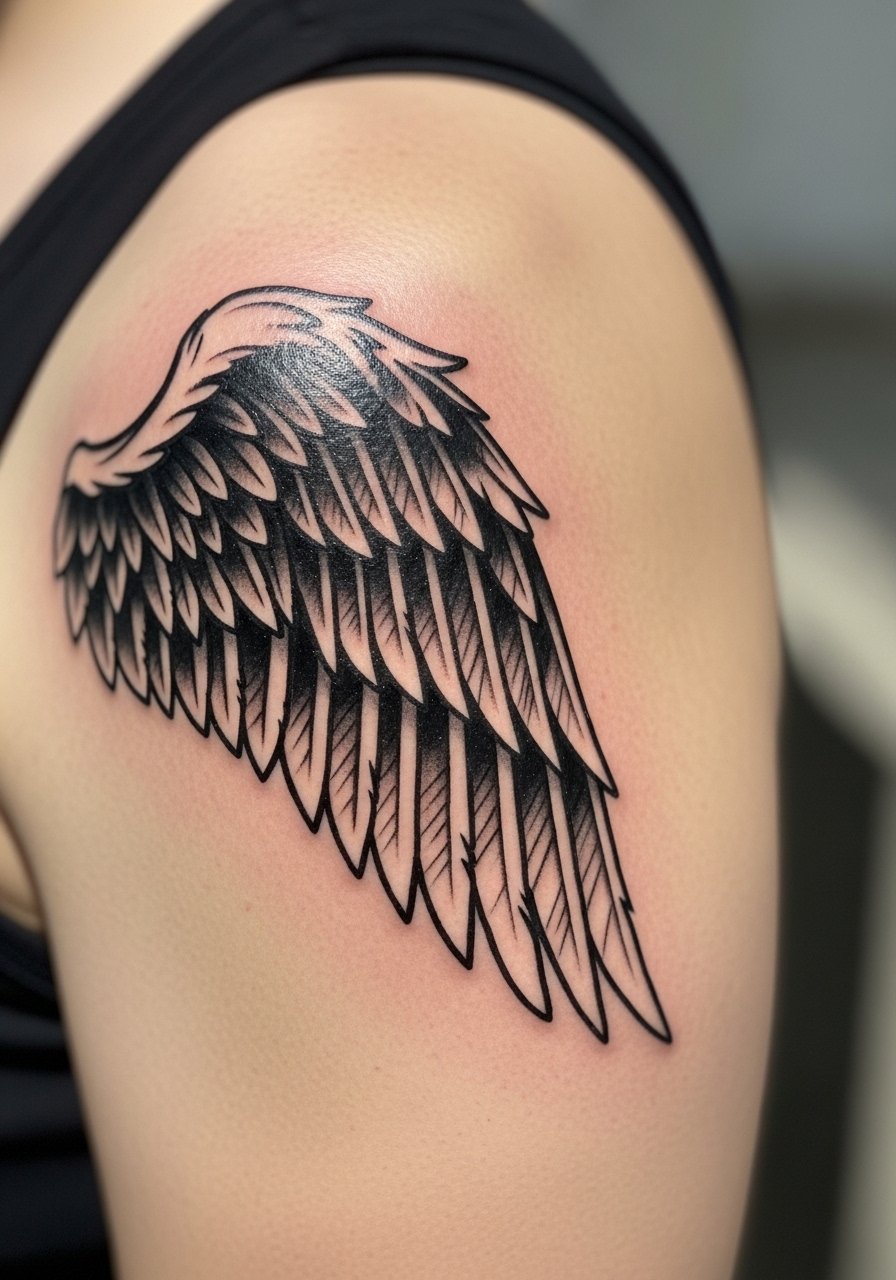
A single shoulder cap wing reads strong without being symmetrical. Ask the artist for heavier saturation at the base so the wing anchors visually and fades outward with feather texture. The usual mistake is trying to mimic a mirrored pair on one cap without adjusting composition, which throws balance. Session time is brief and pain is moderate. For outfit pairing choose sleeveless or muscle tees during the session. If you want to draw attention, wear a loose button-down shirt you can pull to one side while showing the piece.
18. Collarbone Mini Wings with a Thin Pendant

Collarbone pieces demand exact placement so the bones do not disrupt line flow. Tell the artist the wings should sit just below the clavicle with space for jewelry to sit above. The common mistake is placing the art too close to the bone where lines skip or blur. A quick single session handles this scale and pain is mild. Pair the work with a thin chain pendant necklace for an elegant frame that does not compete with the linework. During the appointment wear a wide-neck shirt you can adjust.
19. Blackwork Single Large Wing on the Side Rib
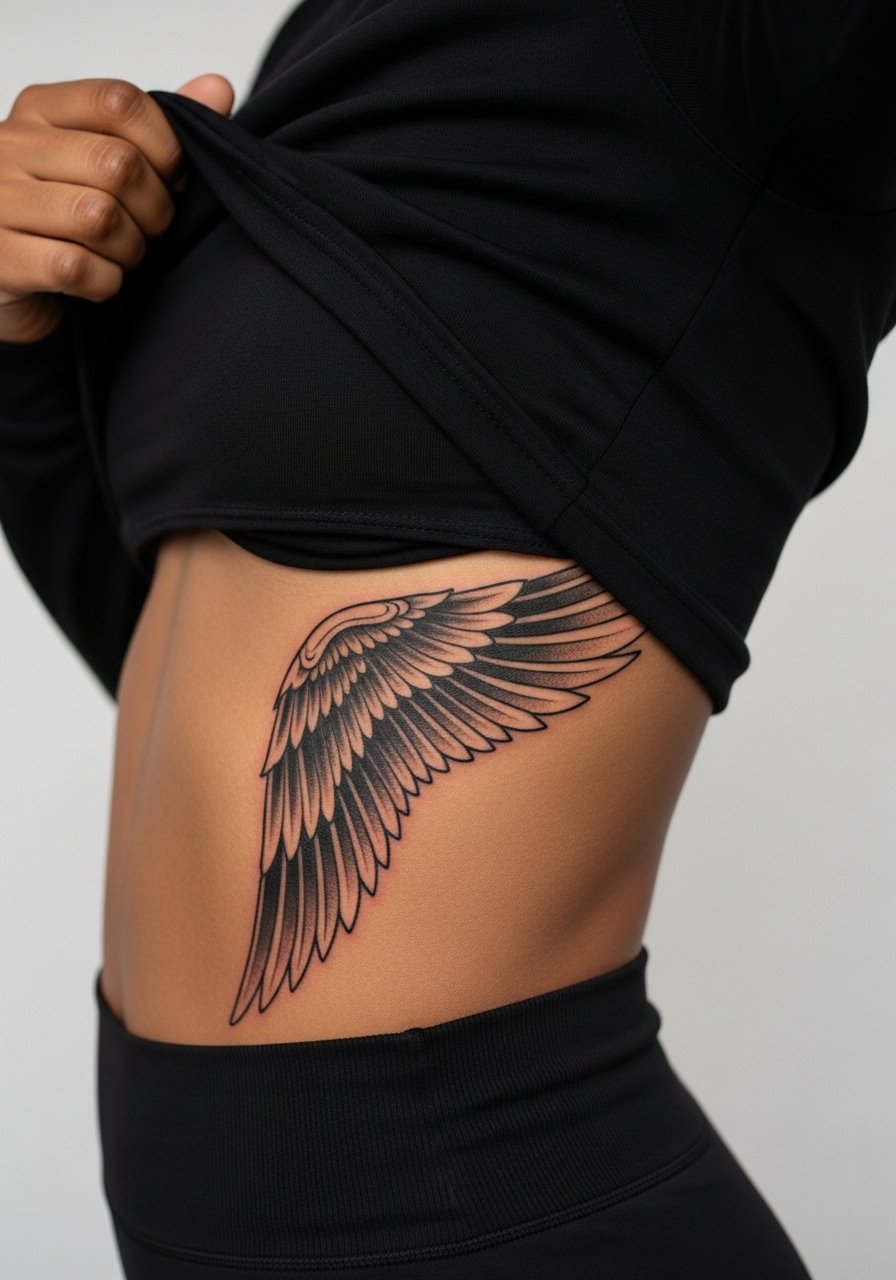
Fair warning: ribs are one of the higher pain placements. The benefit is a sweeping canvas for dramatic blackwork. Ask for gradient density with heavier black near the origin and softened tips so the wing reads as a shape rather than a textured patch. A common mistake is requesting ultra-detailed feathers across the ribs which the skin does not hold well. Expect two shorter sessions and plan clothing that allows easy access, such as a cropped top that can be lifted without full undressing. Discuss career and social considerations if the area will be visible in swimwear.
20. Feather Band That Wraps the Upper Arm
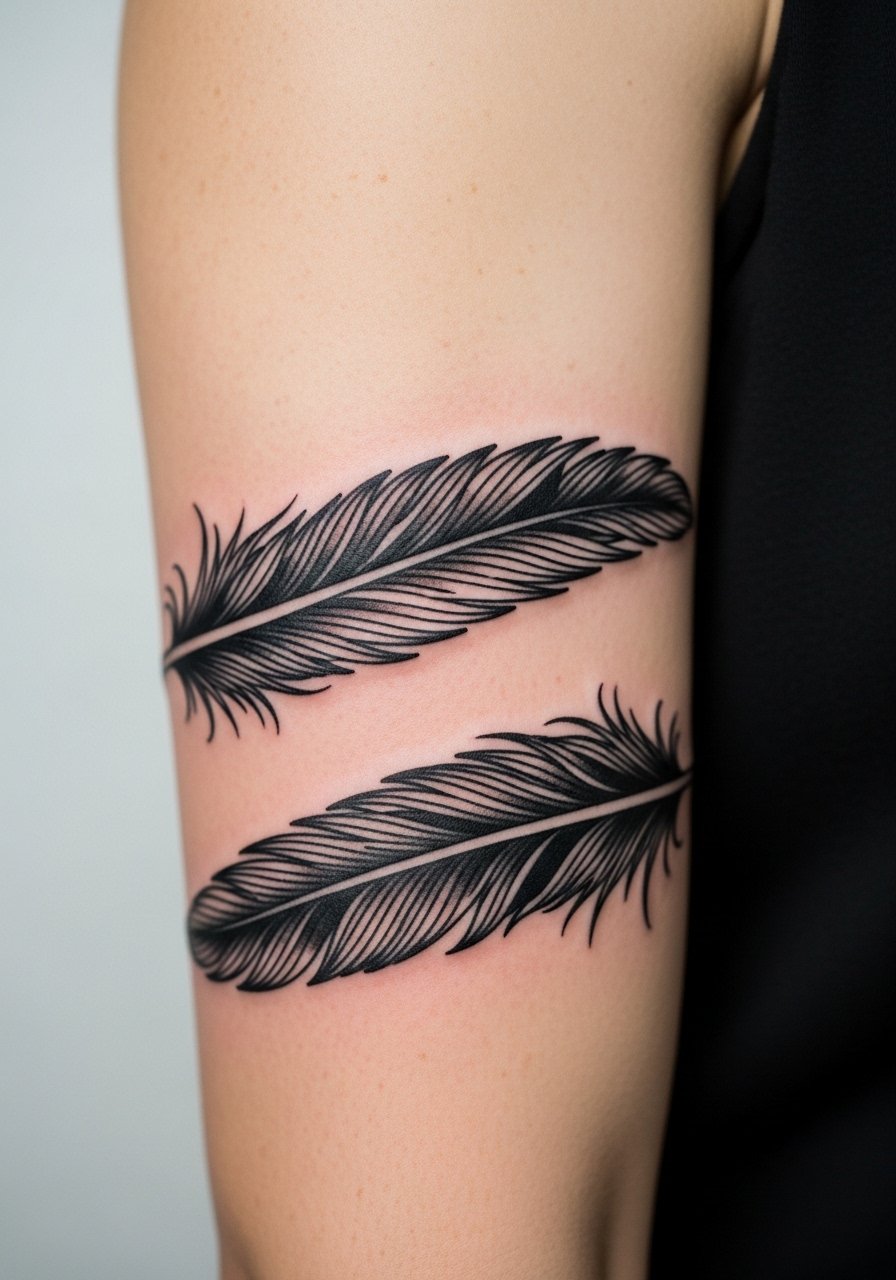
A feather cuff reads like armor and frames the biceps without going full sleeve. Tell the artist you want continuity in feather rhythm so the wrap looks seamless from any angle. The mistake is mismatched feather scales that interrupt flow when the arm moves. Single session for this scale is common and pain is moderate. For showing the cuff, sleeveless tanks or muscle tees work best. During the session wear a loose top that easily exposes the upper arm.
21. Geometric Wing Composite on the Calf
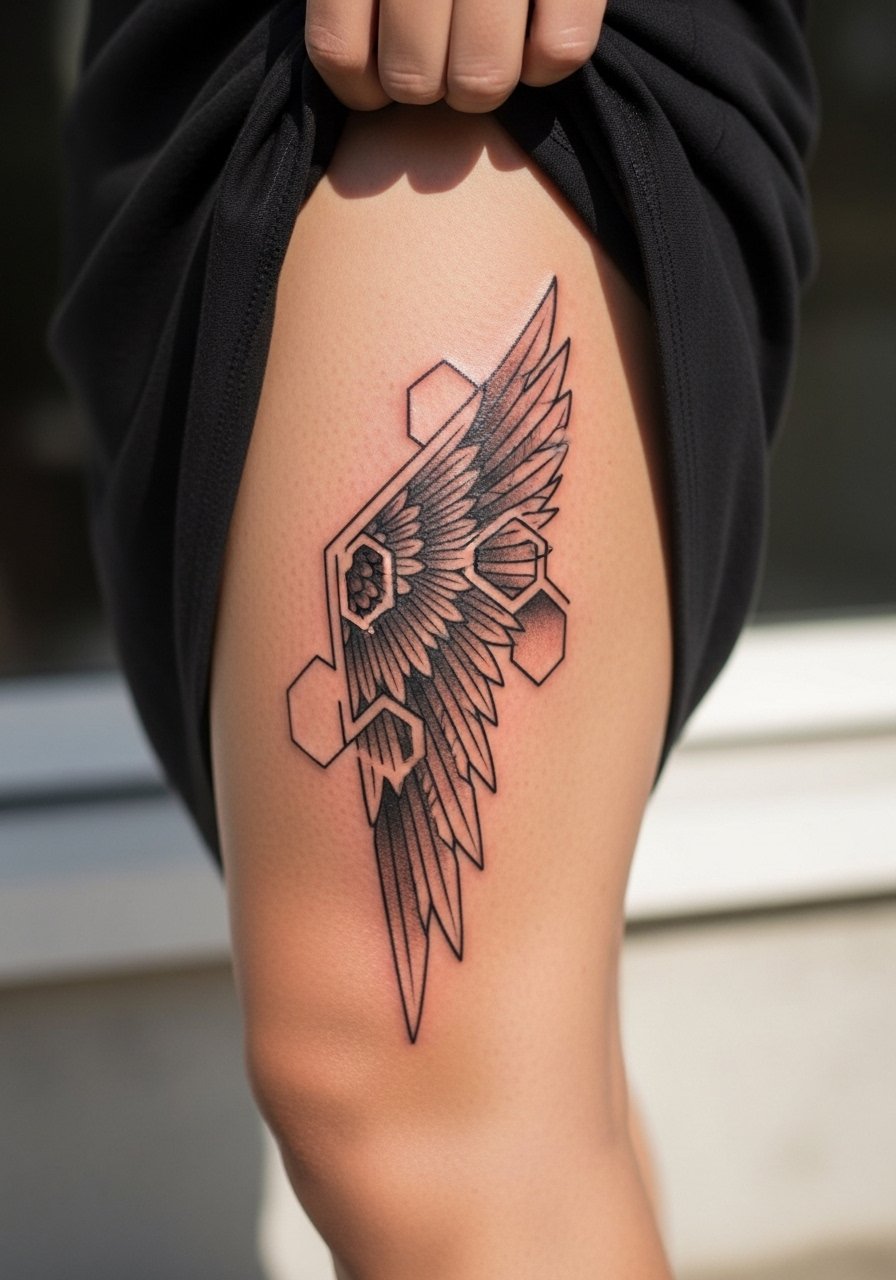
Calf placements tolerate bold geometry and age well because of thicker skin. Ask for clear spacing between intersecting angles so the pattern keeps its crispness as it heals. A common mistake is compressing geometry into too small an area, which leads to softened intersections over time. Sessions are comfortable and usually one or two sittings. For showing the calf, skirts or jeans rolled up highlight the piece. Wear loose bottoms to the appointment so the artist can access the area without restraint.
Frequently Asked Questions
Q: How much does a bold angel wings tattoo cost across typical placements like wrist, forearm, chest, and back?
A: Prices vary significantly by region and artist, and they depend on size and session count. Expect smaller wrist or forearm pieces to be a single session and larger chest or back wings to require multiple sessions. When budgeting, ask shops for session rates so you can plan total time rather than guessing a fixed price.
Q: Do fine-line neck or back-of-neck wings need touch-ups more often than bold blackwork?
A: Fine-line pieces in high-movement or high-friction zones tend to blur faster than bold blackwork. One camp argues fine line is a stylistic choice worth frequent touch-ups. The other camp prefers bolder contour for durability. The practical approach is to discuss touch-up intervals with your artist and consider slightly thicker contour for neck placements.
Q: Which placements have the highest blowout risk and how can I reduce it?
A: Areas where skin is thin or moves a lot, such as the ribcage and inner arm, have higher blowout risk. Ask your artist about needle depth and line spacing during the consult. Also choose slightly bolder lines for those placements to reduce softening.
Q: What should I wear to a session for chest, shoulder blade, or forearm pieces?
A: For chest and sternum bring a fitted sports bra or a front-open shirt so the artist can access the area. For shoulder blade choose a loose tank or a button-down you can pull aside. For forearms wear a short-sleeve or rolled sleeve button-down so the artist can rotate the arm comfortably. A loose button-down shirt is versatile for many upper-body sessions.
Q: Can I mix black-and-gray realism with geometric fills and have it age well?
A: Yes if you plan spacing and contrast from the start. Realism benefits from soft shading while geometry needs crisp edges. Tell your artist where you want the transitions and plan for touch-ups at year two to keep both styles readable.
Q: Are there career considerations for visible placements like the wrist, neck, and hands?
A: Hand and neck tattoos are still viewed differently in many industries. If your career path could be affected, consider placements that are easy to cover or pieces that can be subtly revealed. Think through wardrobe options before booking a visible placement.
