
Fine line palm tree trends look incredible on saved boards, but what shows up in the mirror two years later can be a wake-up call. Some folks complain about color that ghosts into a blur, others about studio cancellations or sticker shock at shop minimums, and a few say their ink vanished on darker skin tones in photos. Read on for 27 colorful palm tree options that balance daily wear, heal timelines, and wardrobe pairings so your next piece still looks intentional after the likes fade.
1. Neo-traditional Palm with Sunset on the Outer Forearm
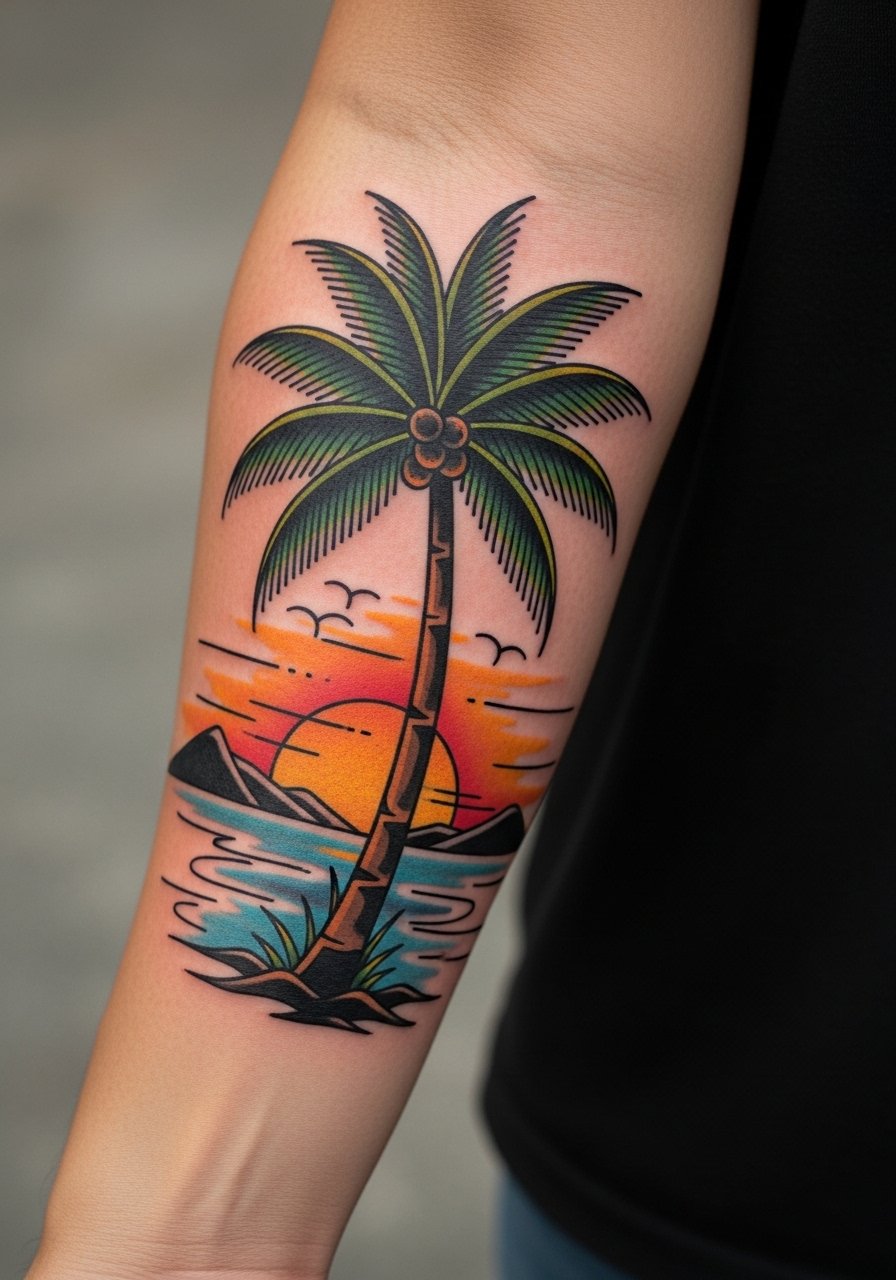
I’ve seen neo-traditional forearm palms hold up well for years when the artist uses confident linework and full saturation. Ask your artist for slightly heavier linework around the trunk and fronds to protect the color, and plan for a 1-2 session build if you want a layered sunset behind the tree. Expect moderate pain, and a session that averages ninety minutes to two hours depending on saturation. Common mistakes are asking for everything ultra-small or thin, which invites early blur. For showing this off, pair it with a rolled sleeve chambray shirt that frames the forearm and lets the color pop while you’re out.
2. Watercolor Palm Silhouette on the Shoulder
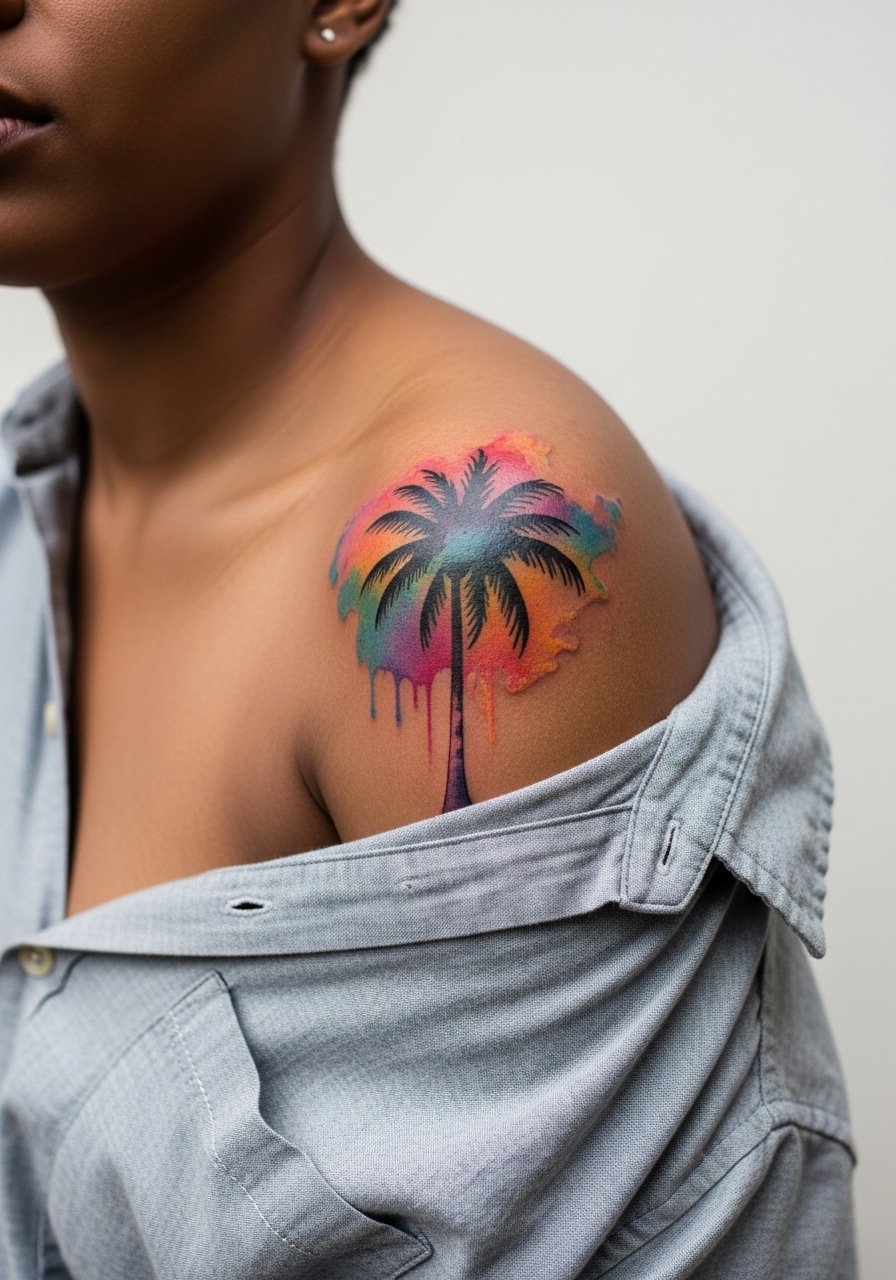
Watercolor works beautifully on the shoulder because the canvas is broad and moves with clothing. The key is not to ask for feathered washes too close to thin lines, which can smear into muddy patches in the first year. Tell your artist you want clear blocks of wash separated from the silhouette so touch-ups are straightforward. Session-wise, plan for a single longer pass or two short passes if the color needs glazing. For the appointment wear bring a loose button-down shirt you can pull aside without rubbing fresh ink. Expect lower friction as it heals compared with ankle or wrist pieces.
3. Fine Line Palm with Ocean Waves on the Wrist
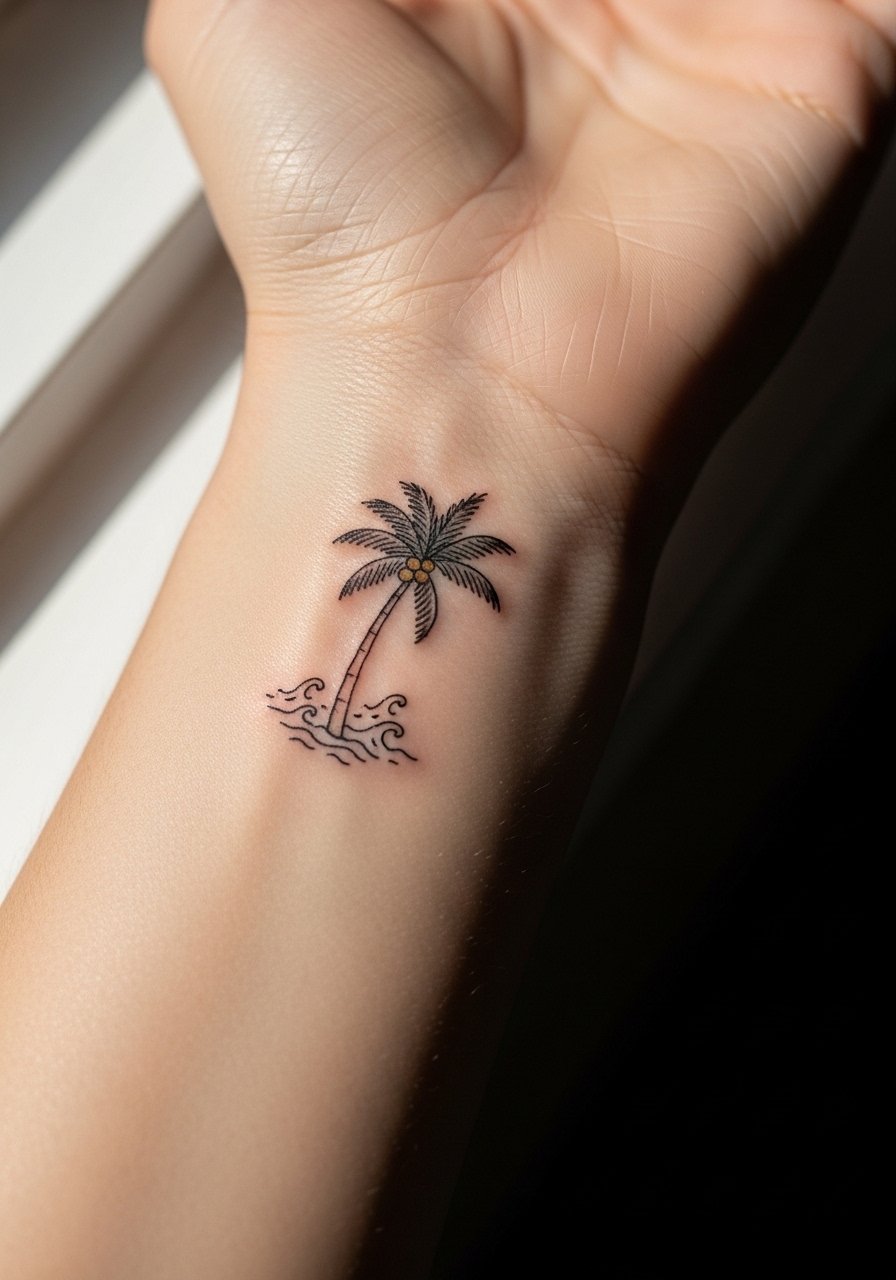
Wrist placements read intimate and delicate at first but fine line here ages faster than on less exposed areas. Artists split on this one. One camp says small fine lines blur on wrists within two years because of constant movement and thin skin. The other camp argues that with correct needle depth and spacing, the lines settle and stay readable. Expect sharp initial detail and a likely touch-up at year one or two if you wear sunscreen and avoid early sun exposure. For styling, pair the healed piece with a thin leather cord bracelet to frame the wrist without crowding the art.
4. Blackwork Palm with Geometric Fronds on the Calf
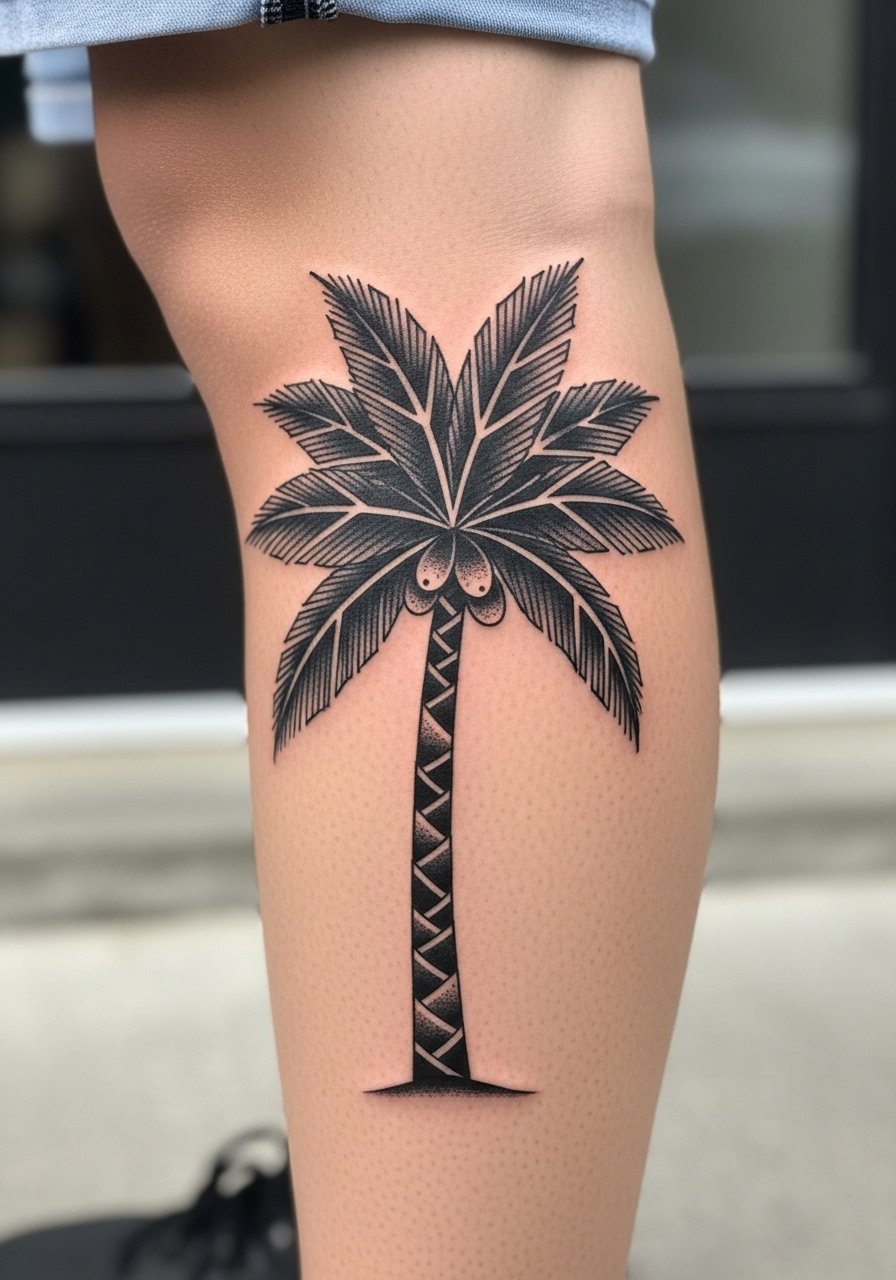
There is a reason blackwork on the calf is popular. The thicker ink and negative-space geometry stay graphic in photos and tolerate sun better than thin color washes. For this placement expect a medium pain level and two sessions if you want saturated fills. Tell your artist to leave breathing room between dense areas to avoid merge over time. A common mistake is going too tight with repeat geometric bands, which becomes a blur after a few years. Show it off with slim fit joggers or shorts that keep the calf visible without sun damage while you test longevity.
5. Traditional Palm with Hibiscus on the Outer Thigh
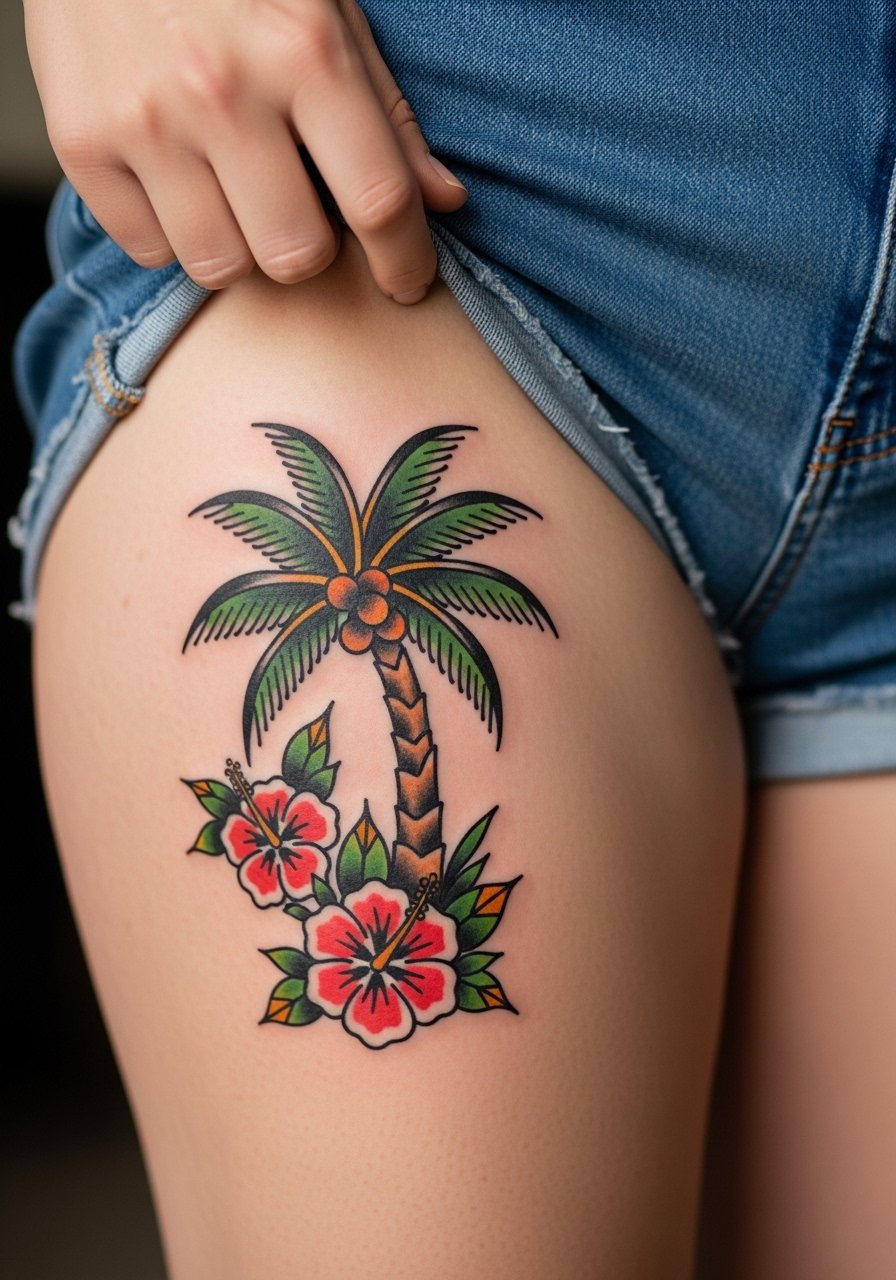
Thigh placements age differently because the skin stretches and recovers with weight changes. Traditional lines and saturated fills survive that stress better than fine line details. If you lift weights or expect body changes, ask for slightly larger proportions and bolder trunks. A typical mistake is treating thigh work like a micro piece; scale up for better longevity. Sessions are usually one to two passes and pain ranges low to medium. For showing it off in summer, pair this with high waist denim shorts that echo the classic sailor vibe.
6. Minimalist Palm Outline with Color Fronds at the Ankle
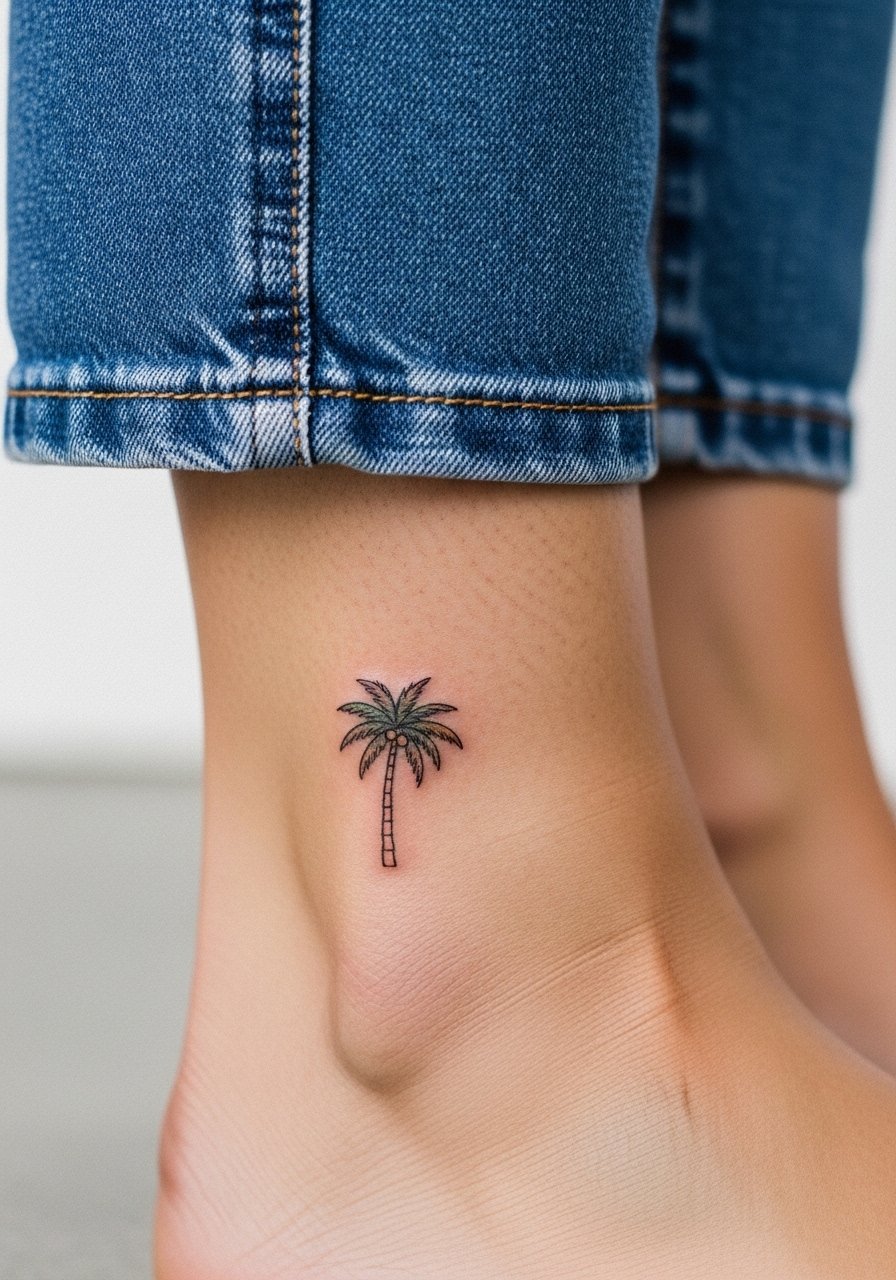
Ankle micro tattoos need careful placement because friction from shoes and socks accelerates fade. Keep the trunk and outline slightly bolder than you think you want, and ask for selective color in the fronds instead of full wash coverage. The session is short and pain is moderate because bone is close to skin. A mistake is insisting on ultra-micro size; give the design room. For outings pair the healed piece with strappy flat sandals or cropped jeans so the ankle reads cleanly.
Studio Day Picks
The forearm, shoulder, wrist, calf, thigh, and ankle looks above all ask for specific prep, so a few targeted items smooth the session and first week.
-
InkGuard Balm. A non-greasy balm some people report helps color lock without the heavy residue that clogs in humid climates, handy if you chose a colorful ankle or forearm piece.
-
Aussie Healing Salve. Lighter than some North American balms, which can help for shoulder and thigh tattoos that need breathable moisture in dry winter months.
-
Kuro Sumi Color Care. Favored by some color specialists for preserving saturated hues, useful if your neo-traditional sunset needs longer-lasting saturation.
-
Indie Butter Stick. Solid form balm that is spill proof and quick to apply, practical for ankle and wrist work that needs precise coverage.
-
Hustle Butter Deluxe. A thinner alternative to heavy ointments, recommended by people who say it avoids the pore-clogging feel while keeping color bright during humid heals.
7. Ignorant-Style Palm Cluster on the Ribcage
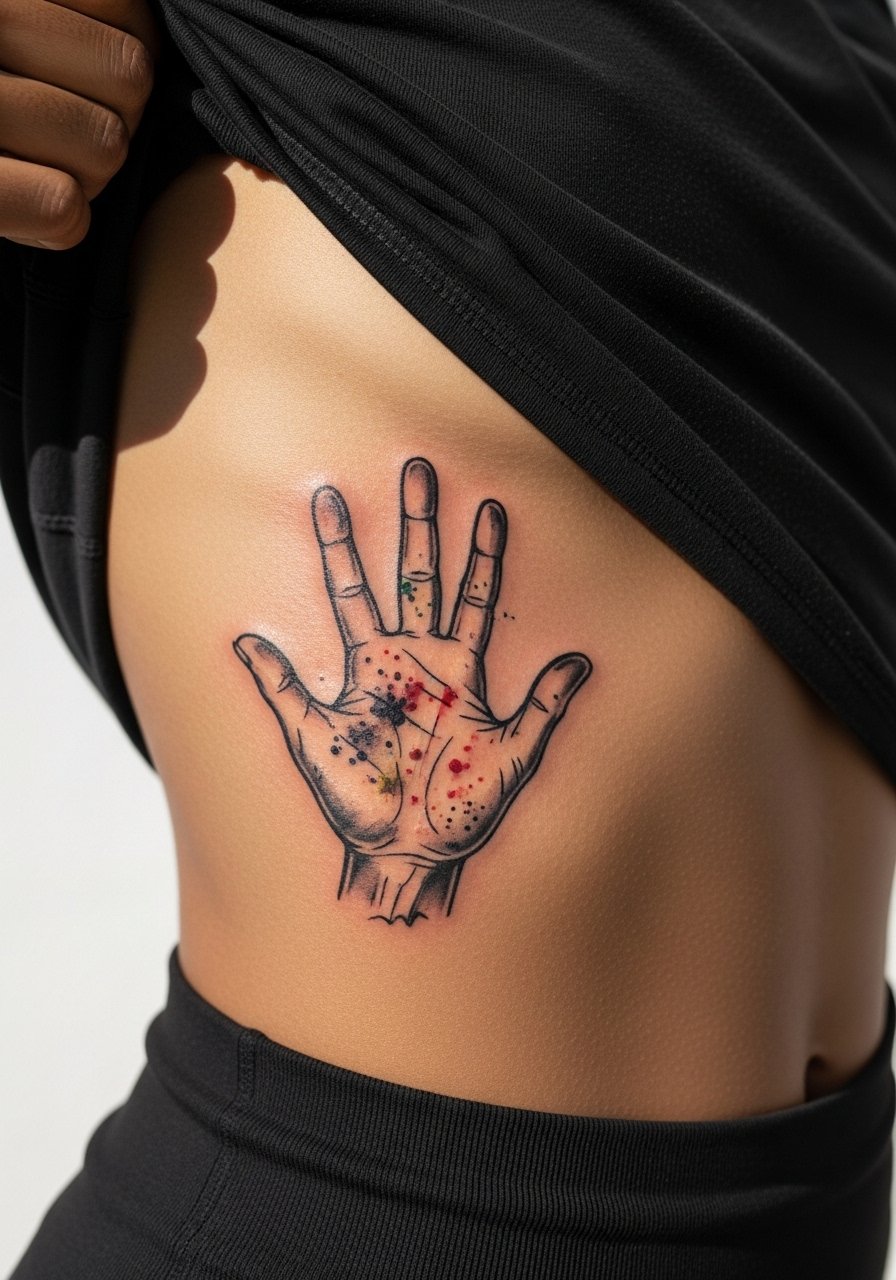
Ribcage ribs are sensitive and for color sessions they push pain to the high side. Ignorant style plays to spontaneity and looks great when done slightly larger than a micro so the hand-drawn charm survives skin movement. A frequent mistake is insisting on the sketch being tiny, which loses character as the skin stretches. Expect one session for a small cluster. If you want to memorialize a date in the fronds, tell the artist during consultation so they plan spacing. Professional considerations apply in this spot for longer sessions, and numbing cream is an option to discuss if you want the work in one go.
8. Micro-Realism Single Palm Trunk on the Inner Bicep
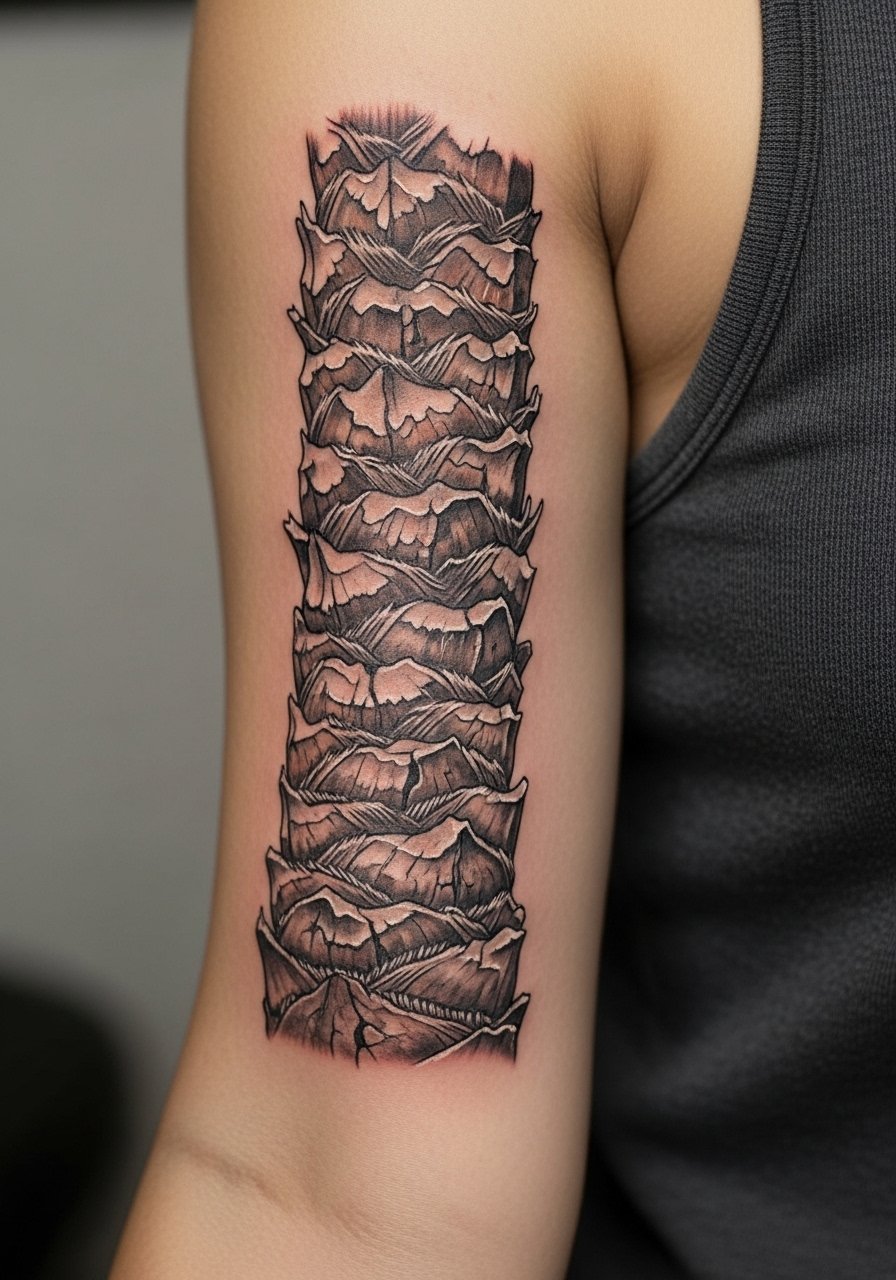
Inner bicep micro-realism gives you hyper-detailed bark texture that reads like a tiny photograph on close inspection. These pieces need depth and gradual saturation, which often requires two to three sessions. Pain is medium and sessions are longer because of meticulous shading. The common error is compressing too much texture into too small a space, which invites early softening. Plan touch-ups at the year two mark, and ask your artist for a healed photo in similar lighting if you are worried about visibility on medium skin tones.
9. Ornamental Palm with Mandala Roots on the Upper Back
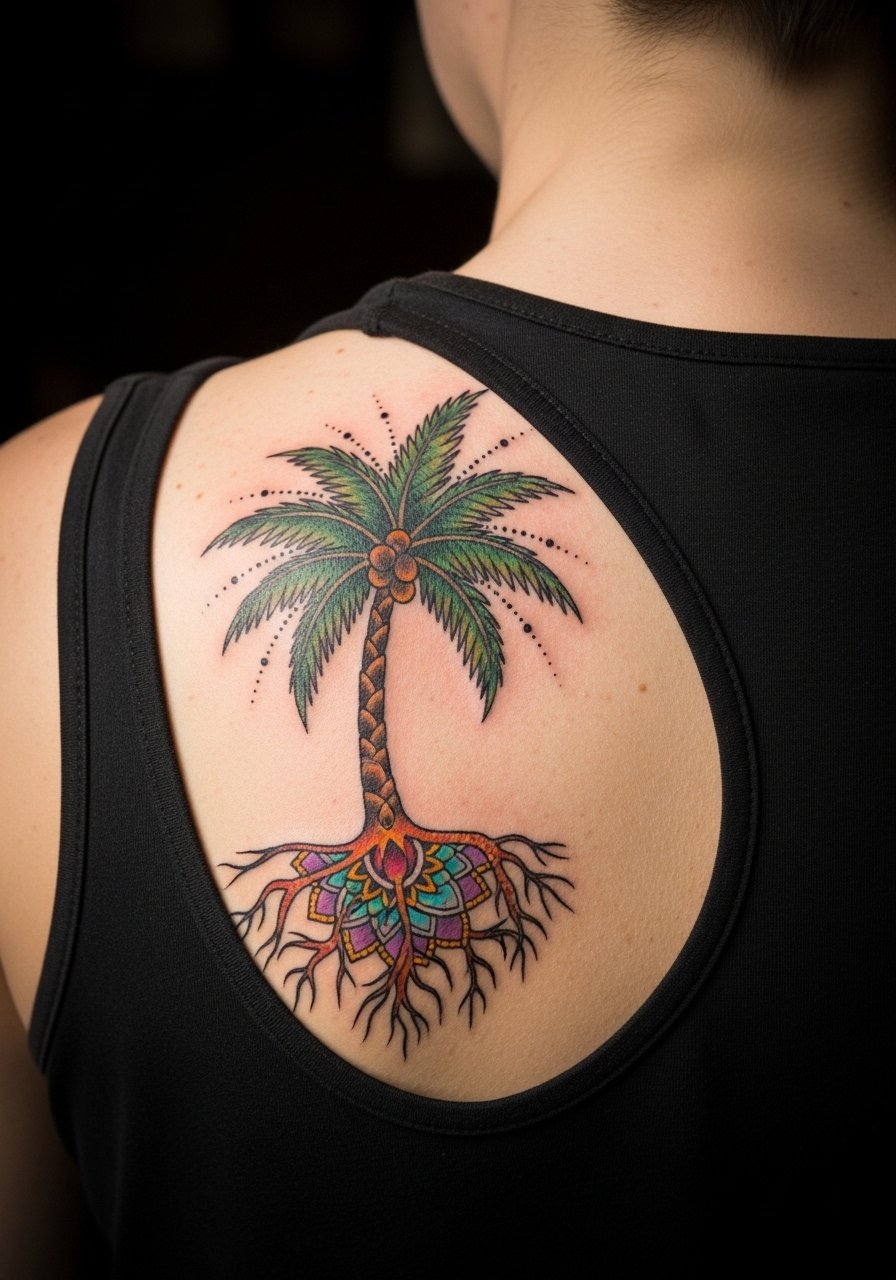
Large back pieces let ornament and mandala work breathe. This is a good choice if you want symbolism tied to resilience while keeping the piece mostly covered day to day. Plan multiple sessions and expect medium pain per session. The common mistake is packing too much small dot work into a tiny area, which blurs over time. When you consult, ask for clear negative space between mandala elements to maintain contrast. For the appointment wear a loose tank top you can shift without smearing fresh ink and that gives the artist clean access.
10. Neo-traditional Palm with a Beach Hammock on the Upper Arm
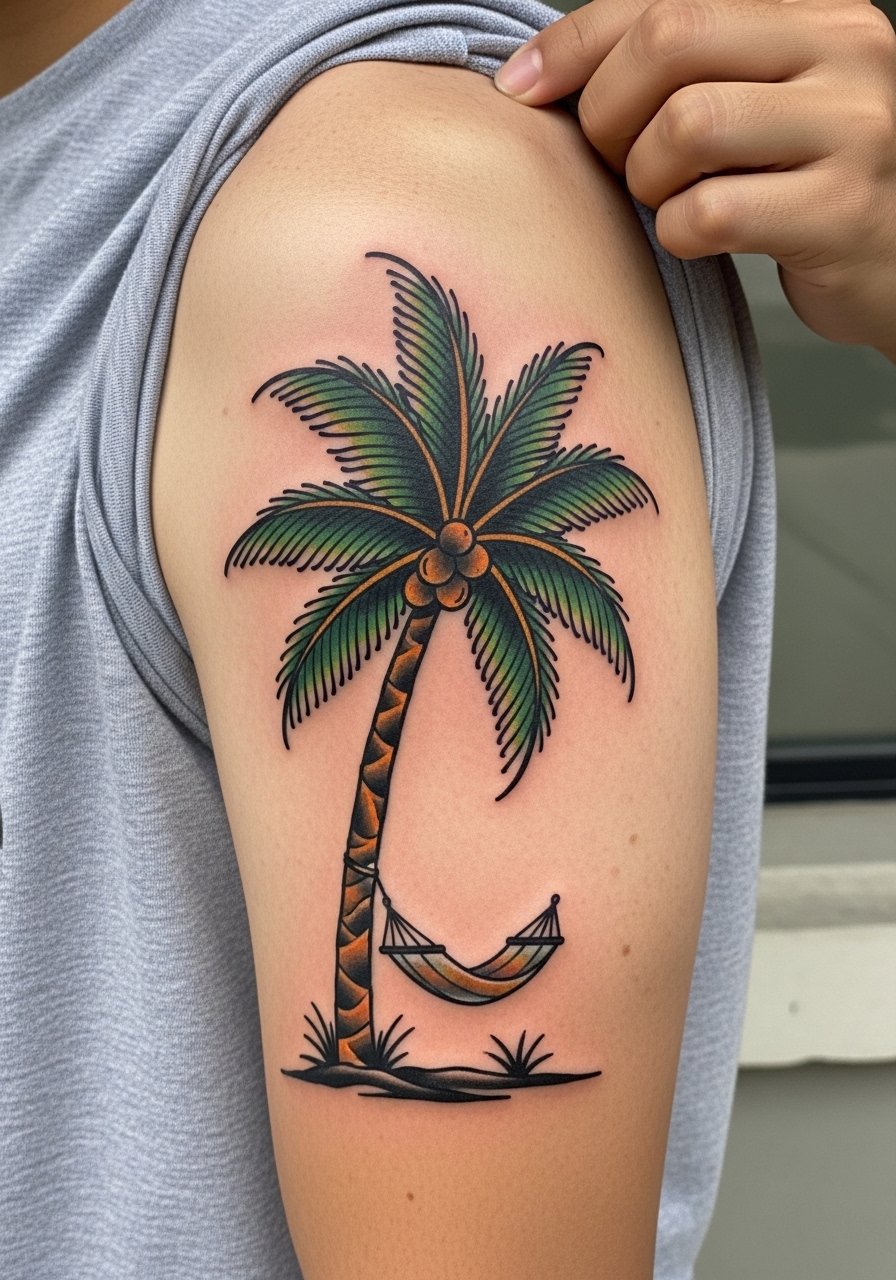
Upper arm neo-traditional pieces read bold and story-driven. The hammock detail makes the design feel like a tiny narrative without needing full sleeve commitment. Sessions are typically two passes for full color saturation and the pain level is low to medium. Avoid asking for micro-level realism in the hammock details, which can vanish over time. A common tip is to bring reference photos of the exact hammock placement so scale matches the arm curve. For showing it off pair the healed artwork with a loose fit tank or short sleeves that let the composition breathe.
11. Watercolor Palm Bending in the Wind on the Collarbone
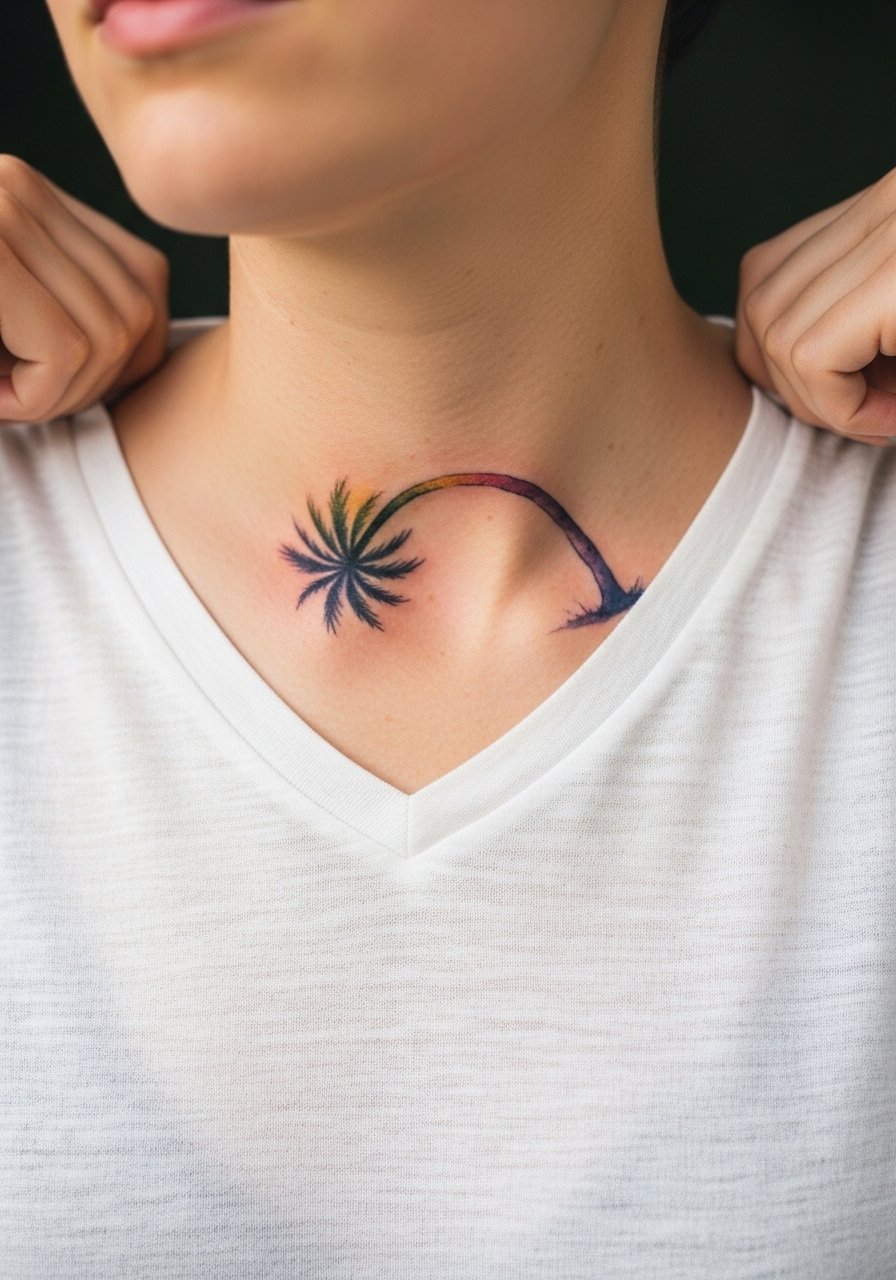
Collarbone watercolor reads delicate and moves with the body. The downside is that the shallow skin and constant sun exposure can speed color loss. If you want this look, request slightly deeper pigment placement near line junctions so color binding lasts. Sessions are usually a single pass with careful glazing. Mistakes include too many tiny gradients that meld into indistinct patches. For session wear bring a v neck linen tee that gives easy access without rubbing the area during healing. Expect touch-ups sooner than on forearm work.
12. Fine Line Palm with Starry Sky on the Inner Thigh
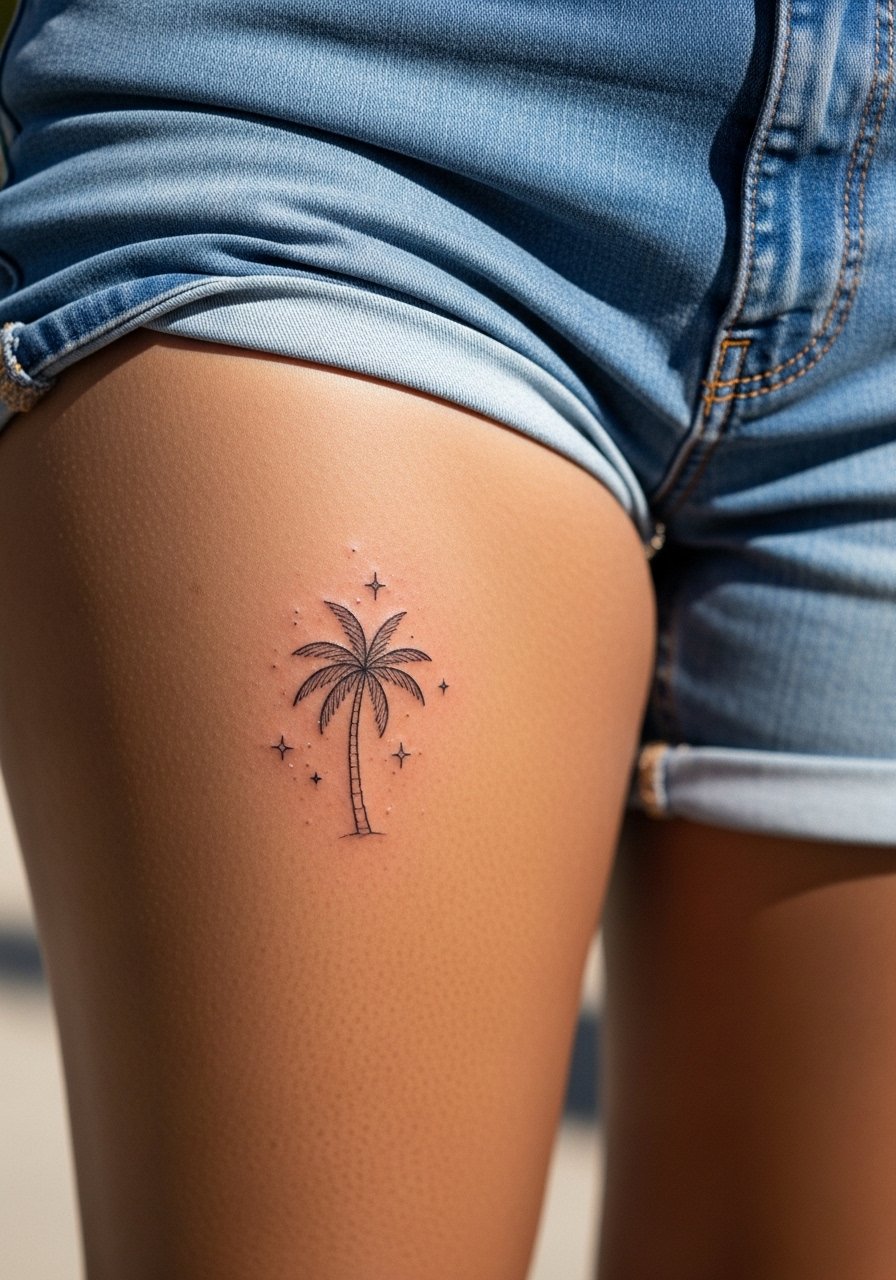
Inner thigh placements are private and often age well because they avoid sun, but friction from clothing matters. Fine line with star accents is beautiful here, yet the most common mistake is placing too much detail in a small area. Ask for spacing between star points and bolder trunk anchors to help the composition retain structure. Pain is medium to high depending on sensitivity, and sessions are usually short. Consider planning touch-ups at 18 months for color refresh if you want the stars to stay crisp.
13. Blackwork Palm with Wave Patterns on the Forearm
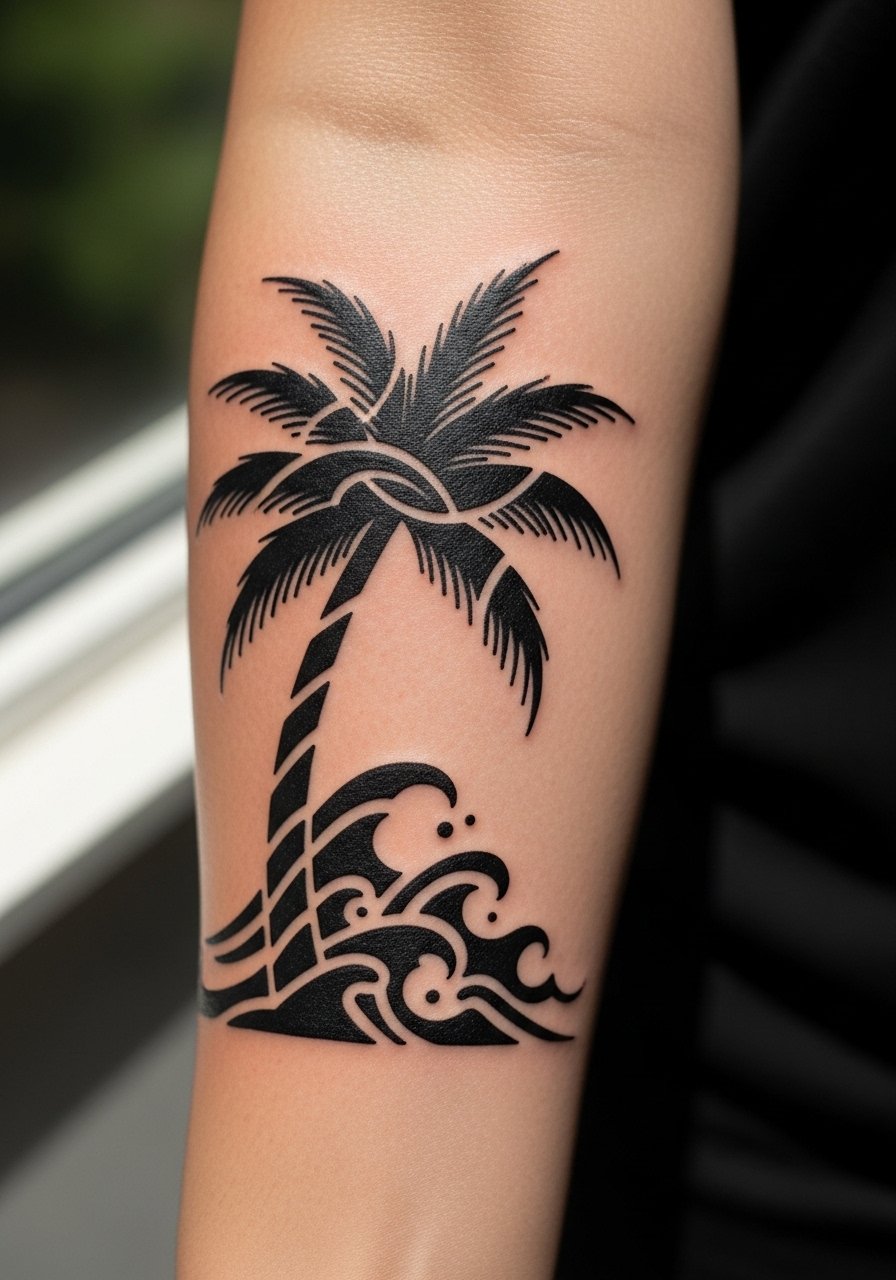
Bold blackwork on the forearm is practical for visibility and longevity. The high contrast makes photos read well across skin tones, and the wave patterns add movement without relying on color saturation. Tell your artist you want clear negative spaces between packed black areas to avoid heavy merge over time. Sessions are often two for dense fills. A mistake is compressing too many black bands in a narrow area which can soften into a blob. Show it off with rolled sleeves from a rolled sleeve chambray shirt that keeps the arm in frame.
14. Tiny Ankle Palm with Gold Chain Accent
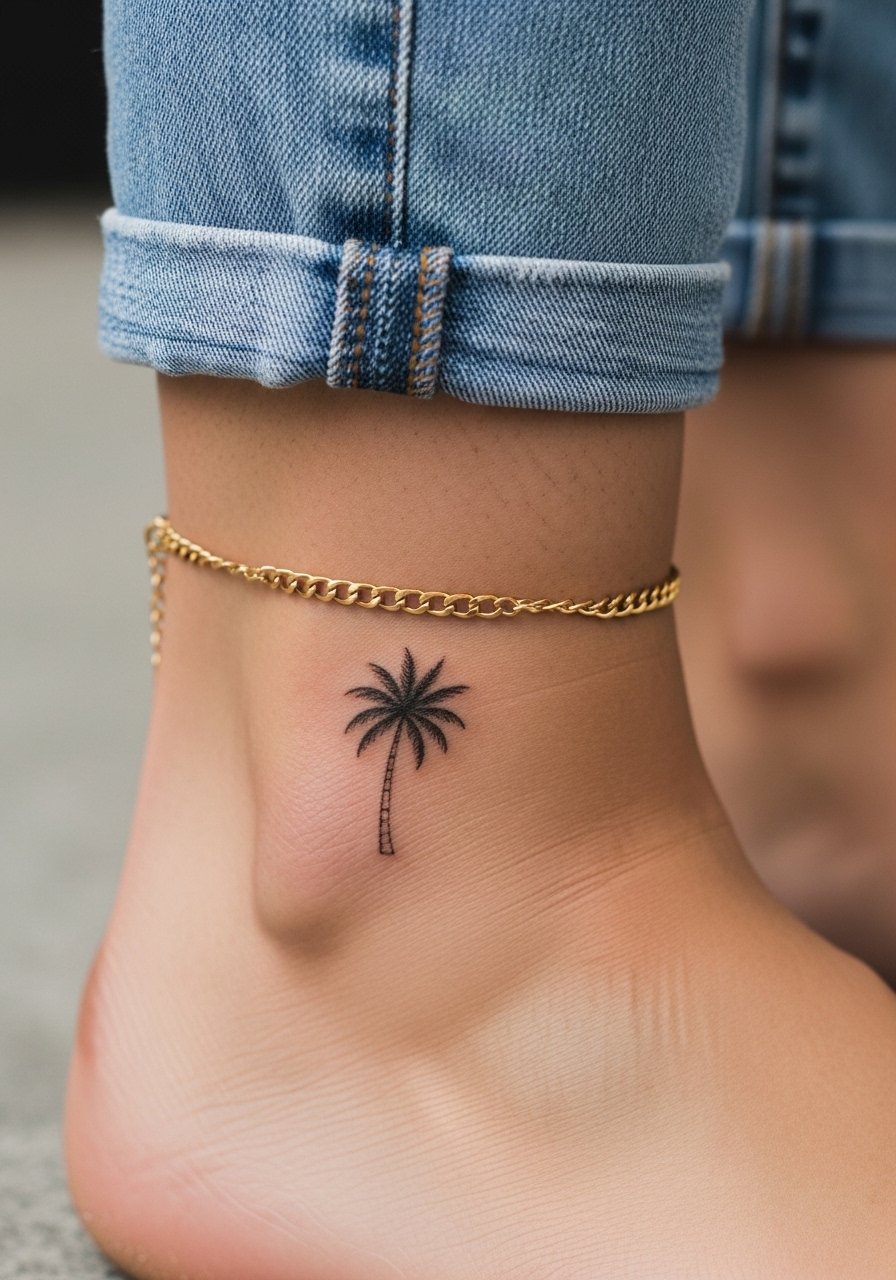
Small ankle tattoos are a summer favorite but face a lot of friction. Keep the trunk slightly bolder and the fronds minimal so the piece survives shoe rub and washers. The session is quick and pain moderate because of bone proximity. People often regret making these too tiny for how much movement the ankle sees. When showing the ankle, a gold ankle chain complements without covering the art. Plan on refreshing color in the 12 to 18 month window if you wear sandals and frequent the beach.
15. Palm Tattoo with Embedded GPS Coordinates on the Wrist
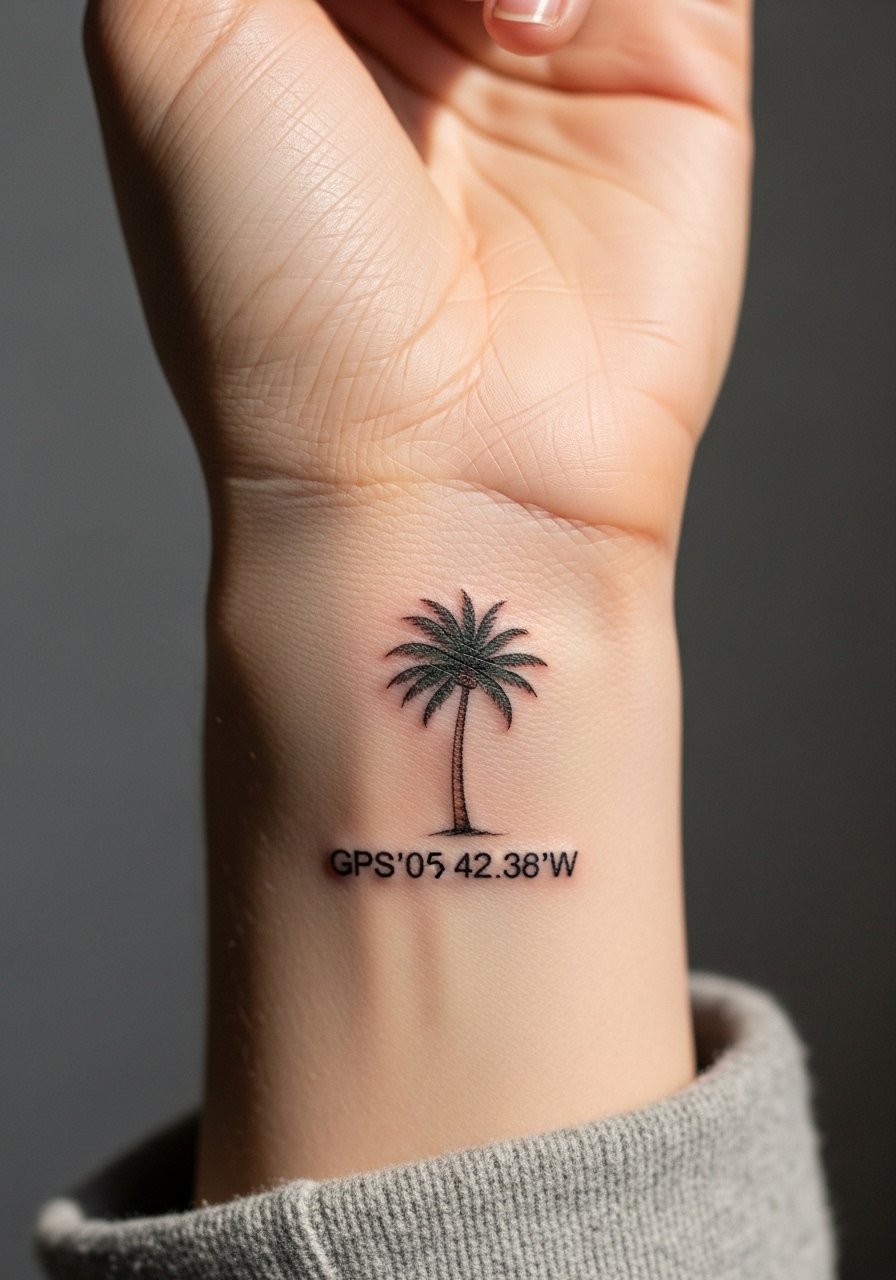
Personalized coordinates are a subtle way to anchor the palm to a real place without obvious script. Lettering demands exact spacing, so ask for the coordinates printed on a test stencil and wear them for a day to confirm placement. The wrist is high-visibility so ink loss shows quickly in photographs. Schedule a touch-up at the year mark as standard. For the session wear a sleeveless tee so the artist has clean access and you avoid jewelry during the procedure.
16. Curved Palm for Spine Alignment on the Side of the Ribcage
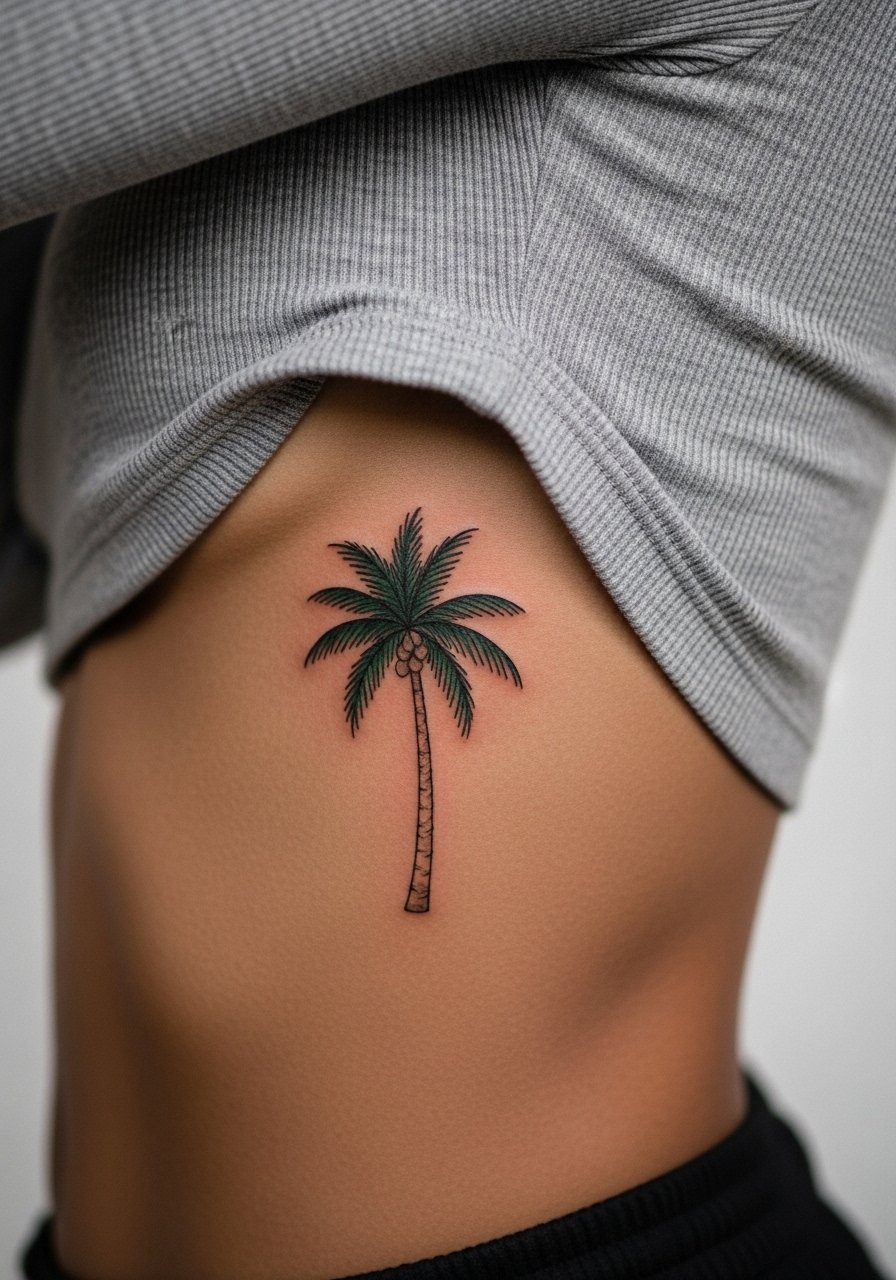
Designs that curve with your spine read as part of the body when composed correctly, and that makes them more resilient through bending and movement. The ribs are a high pain area for color sessions, and artists disagree on how fine line fares there. One camp says rib stretching and breathing blur thin lines fast. The other camp says proper spacing and depth keep them readable. If you choose curved composition, insist on a slightly bolder trunk and planned negative space near the breathing line. Numbing is an option to discuss if long color glazing is planned.
17. Color-Matched Palm to Skin Undertones on the Ankle
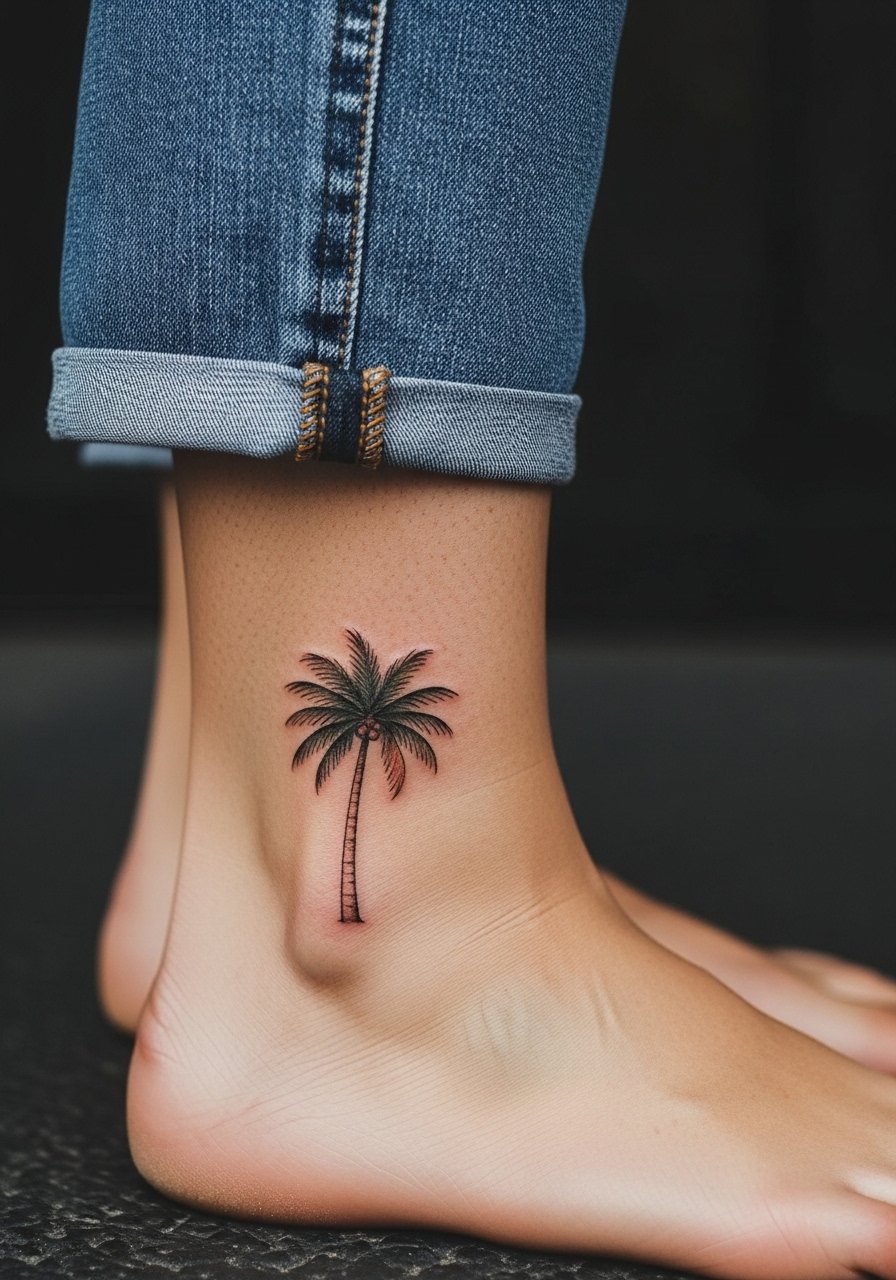
Matching pigments to undertones can make a small ankle palm appear to grow naturally out of the skin instead of sitting on top. Tell the artist your skin undertone and ask for a small test patch or healed reference on similar tones. The ankle still sees friction so keep trunk contrast. Sessions are short and touch-up timeline is flexible depending on exposure. For showing off, cropped jeans and strappy flat sandals keep the area visible without banging it in busy footwear.
18. Patchwork Palm Connecting to a Tropical Sleeve
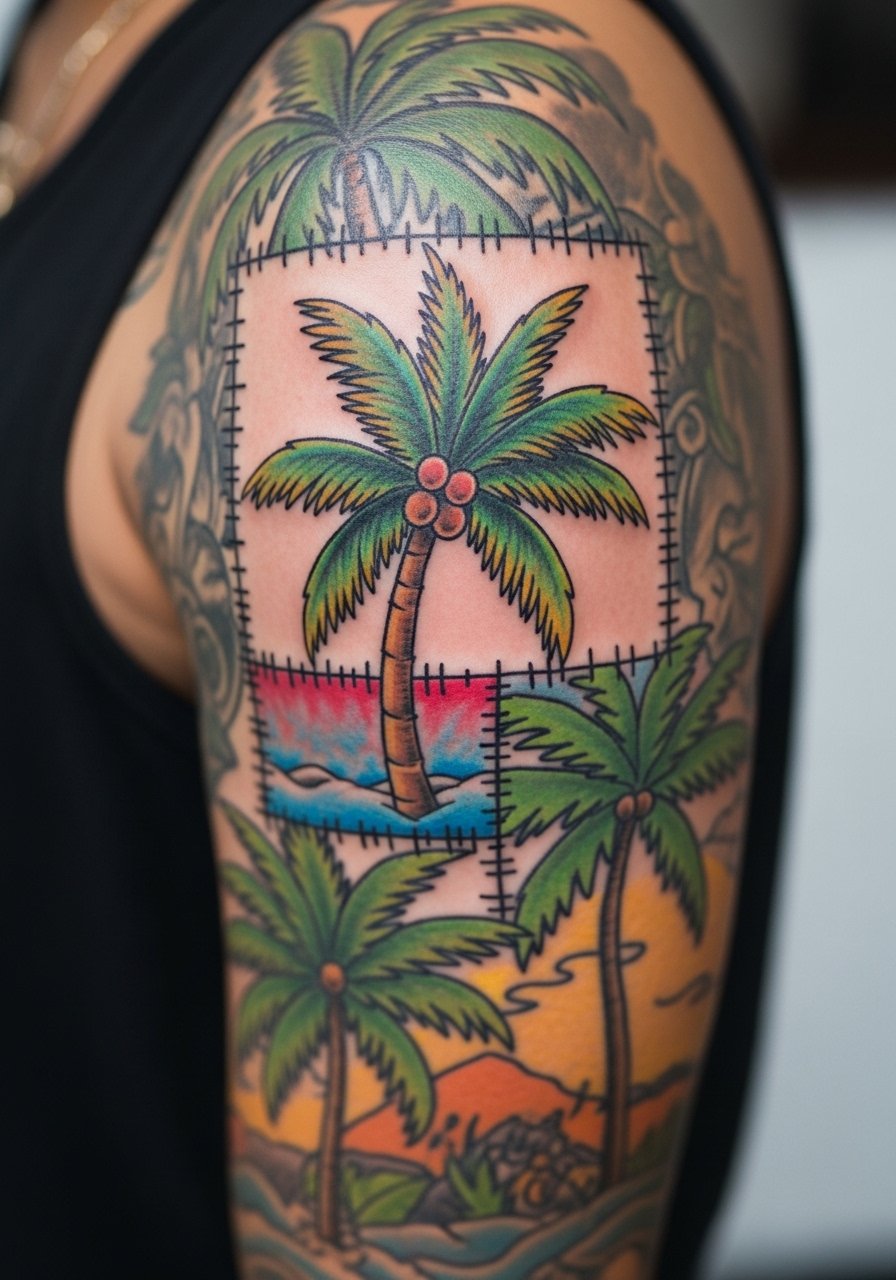
Patchwork requires planning so the new palm reads as intentional, not pasted on. Bring photos of the existing sleeve and request a mock stencil showing how frond edges will meet older pieces. The typical mistake is forcing too-tight joins without negative space, which looks cluttered as both pieces age. Sessions vary depending on overlap and color matching. Expect to work with the artist on palette blending so saturation levels match.
19. Palm Cluster Sleeve Starter on the Forearm
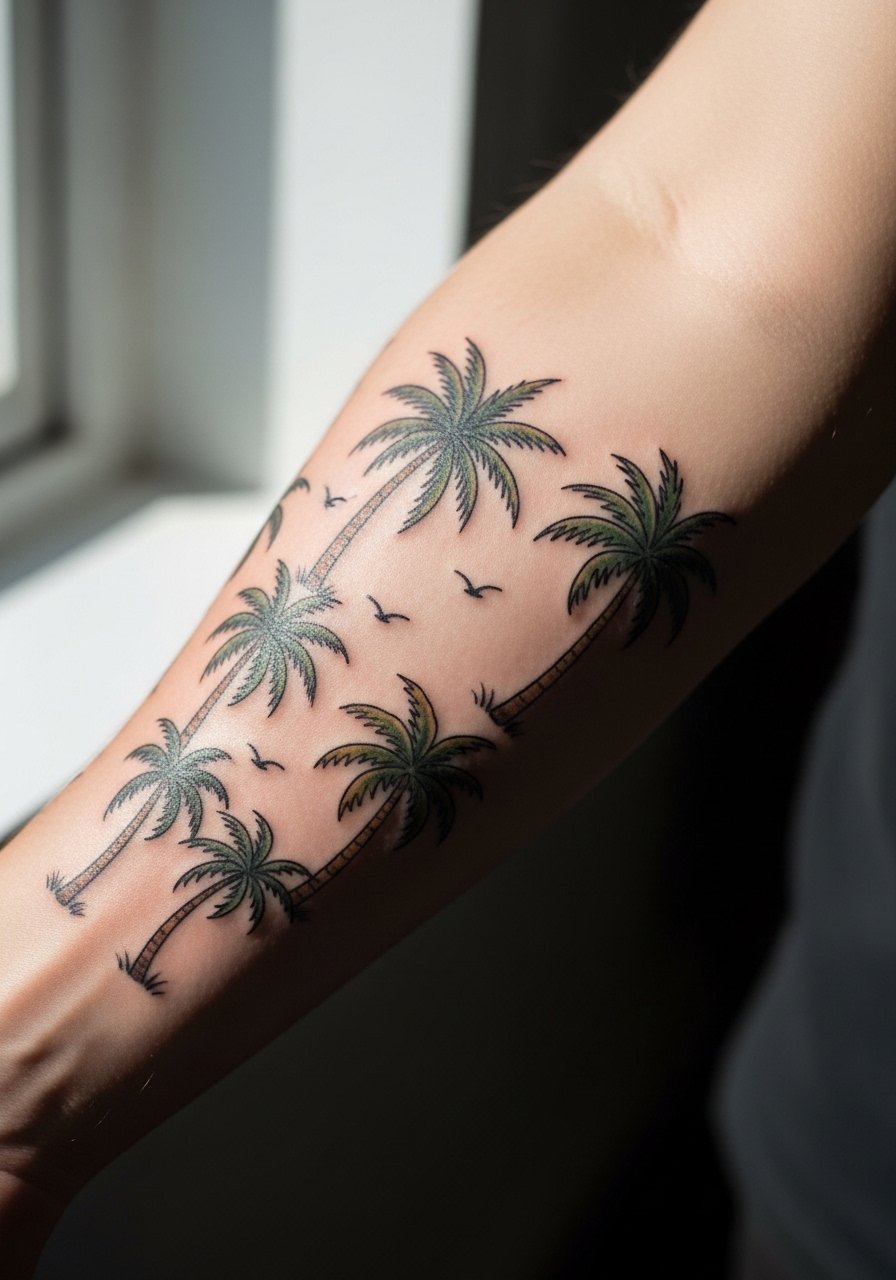
If you plan a sleeve, begin with anchor pieces like a bold palm trio that leave room for filler later. I’ve seen sleeves come together better when the first elements are bold and spaced rather than a hundred small micro pieces. Schedule the build over multiple sessions and plan which pieces will be front-facing. The common error is filling the forearm with tiny separate motifs that fight for attention. Pair early work with a casual rolled sleeve chambray shirt to preview how the sleeve will flow in social settings.
20. Memorial Palm with Date Hidden in the Fronds on the Ribcage
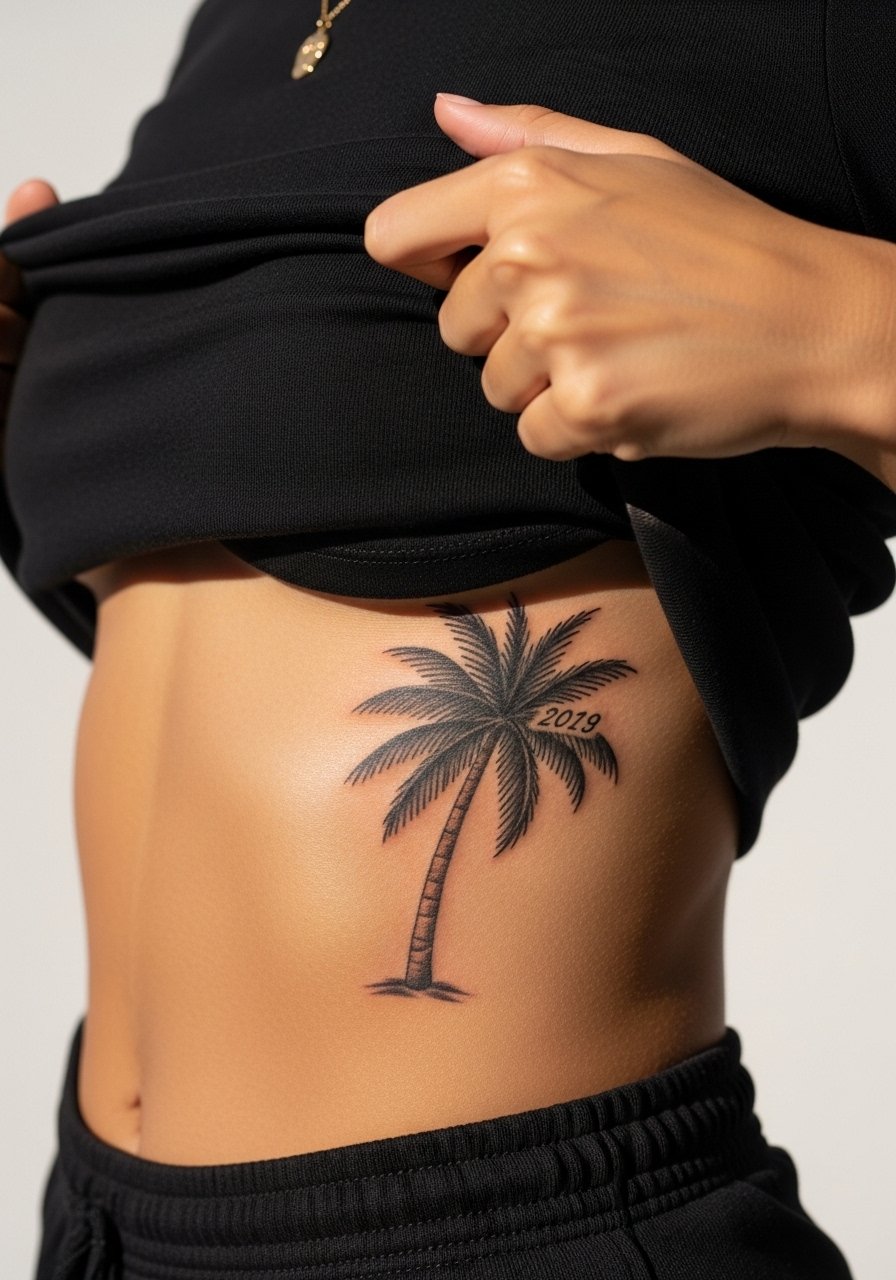
Hiding dates inside fronds makes memorial pieces private and delicate. On the ribs, the compromise is between detail and longevity. Tiny numerals can blur over time, so size them a hair larger than you imagine and test stencil placement across movement. Pain is high on ribs but many people say the result is worth a single-session commitment. Consider the Saniderm versus dry healing debate ahead of this one, and decide which camp aligns with your comfort level for scabbing and color retention.
21. Micro-Realism Palm Stump on the Forearm
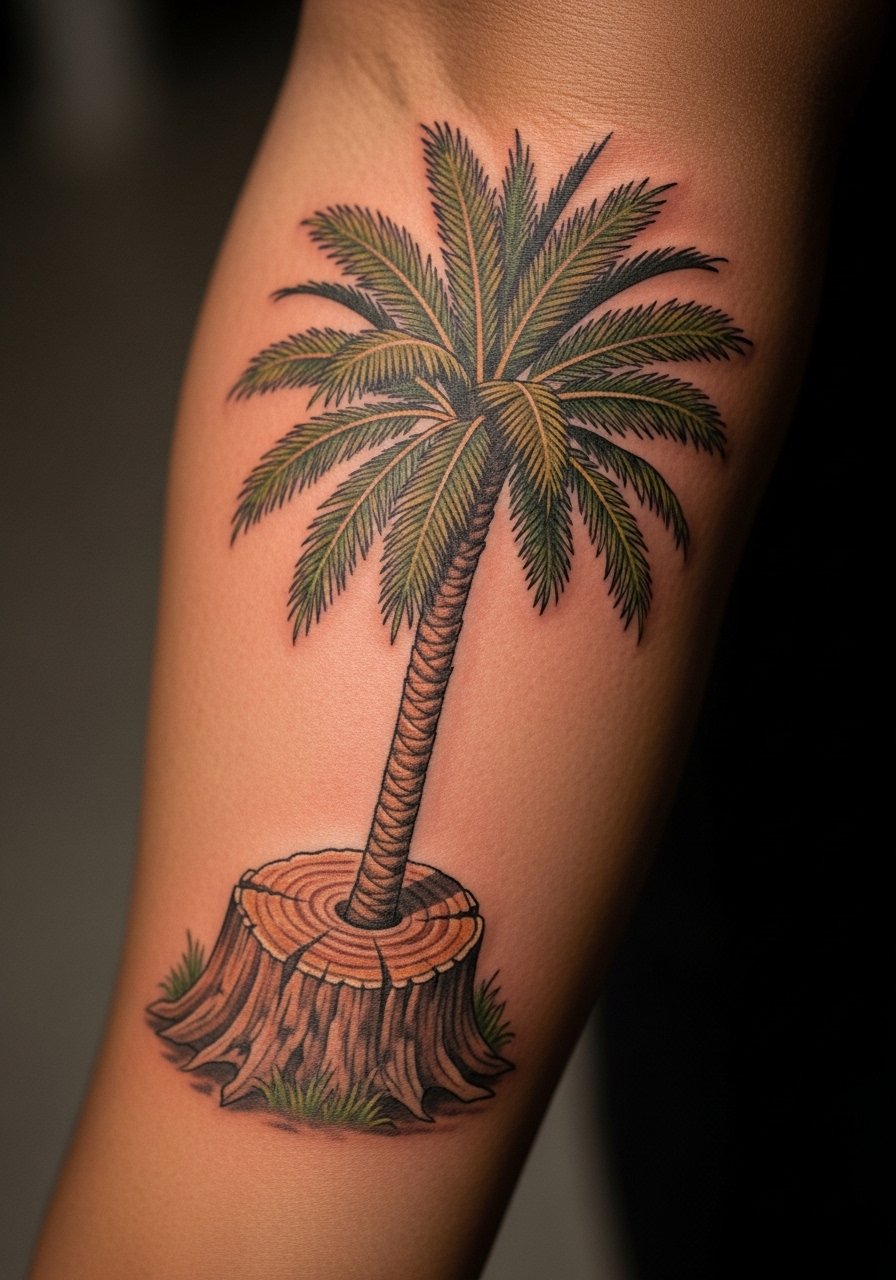
Micro-realism thrives on careful shading and subtle color transitions. The forearm gives a steady plane for texture work but avoid cramming too many tiny rings into one spot. These pieces can take two sessions and healing photos are a must to confirm how shading readjusts after swelling. A common failure is asking for photographic fidelity at micro scale without accepting a realistic touch-up schedule. For everyday wear, forearm pieces like this pair with rolled sleeves or a simple leather cuff to contrast texture.
22. Neo-traditional Palm with Moon and Hammock on the Upper Arm
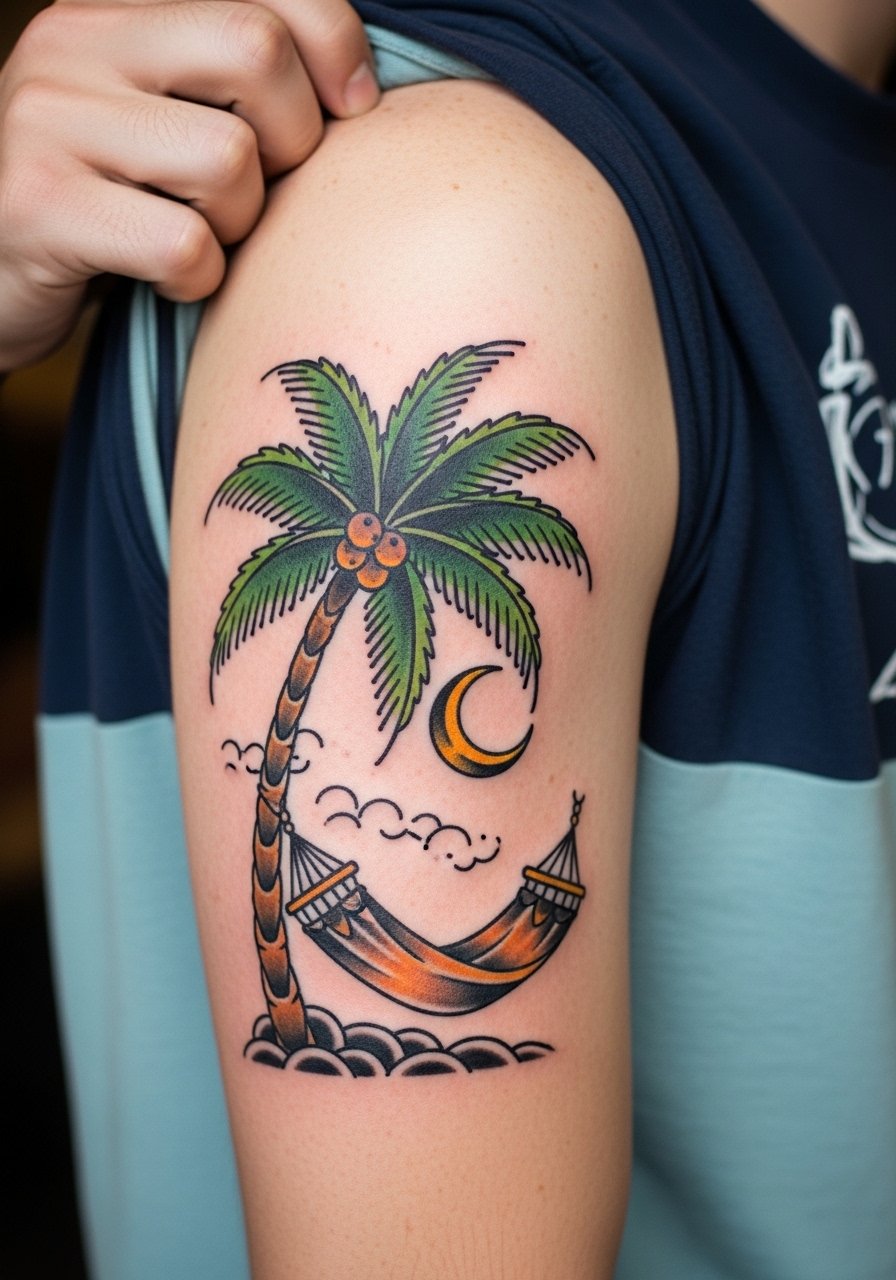
Adding a moon to a hammock scene gives the piece mood without sacrificing clarity. Upper arm is forgiving for color packing and typically heals cleanly. Avoid micro-detail in the hammock ropes or moon craters, which vanish on viral-day photos. Sessions often run two passes for layered saturation. Outfit-wise a short sleeve or a loose fit tank frames the piece and helps you imagine how it will sit when the sleeve drops.
23. Blackwork Palm with Wave Motif on the Calf
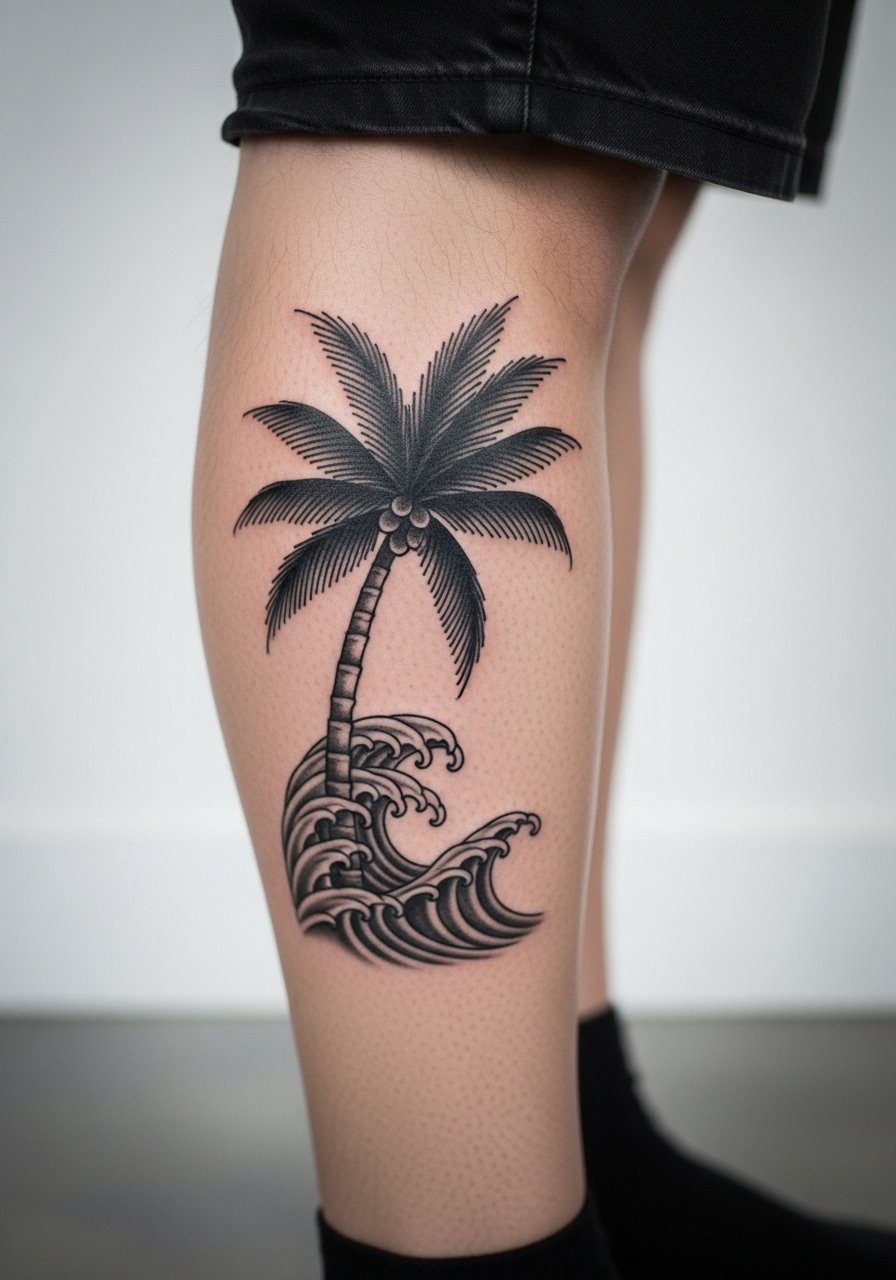
A second take on blackwork for the calf, this one emphasizes graphic waves that hold shape across photographs. Tell the artist you want crisp transitions from black fills to negative space so the waves read at a distance. Sessions are typically two for dense black. Avoid compacting too many elements in a narrow vertical strip. For a clean reveal wear athletic shorts or slim joggers when you want to show the art without risking sun exposure.
24. Ornamental Palm with Stipple Shading on the Thigh
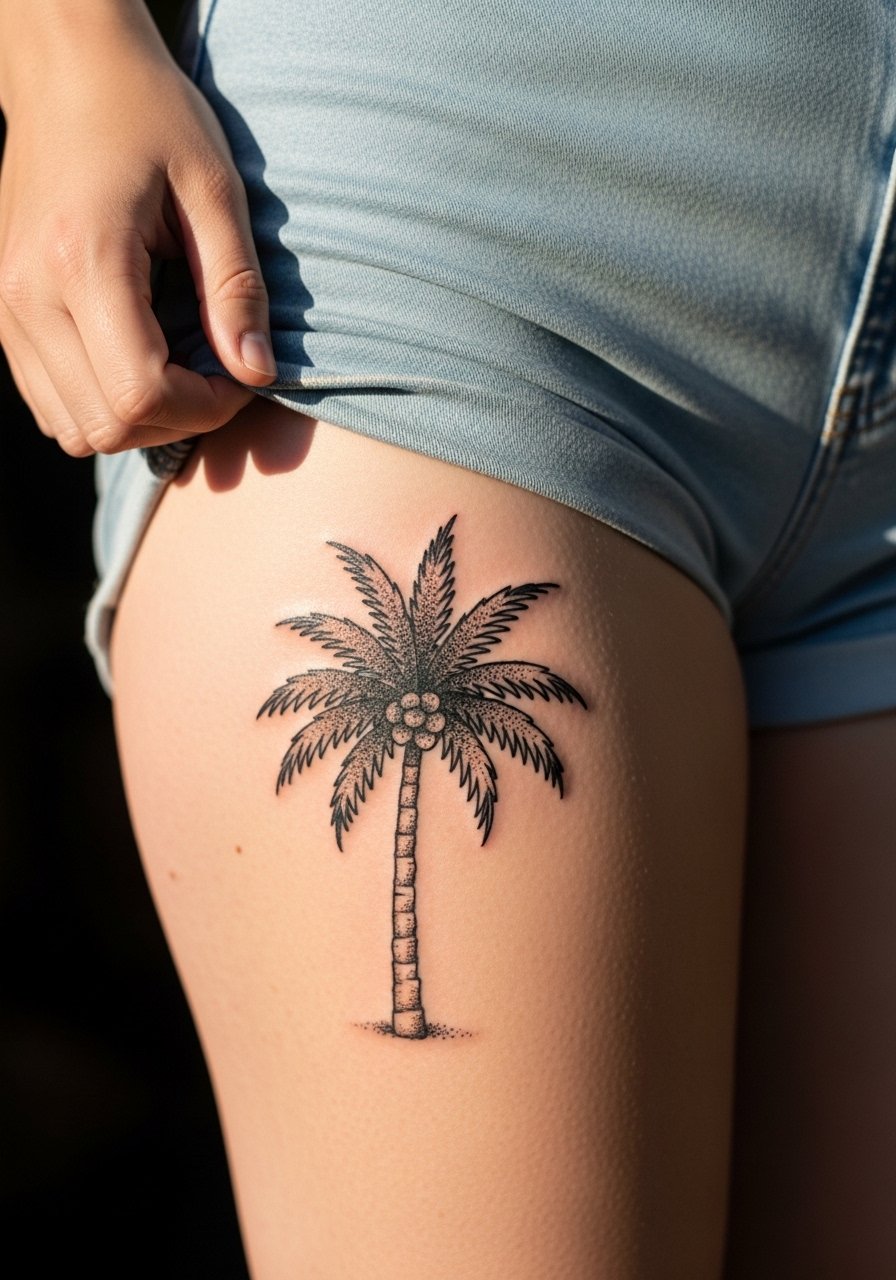
Stipple shading gives ornamental palms a tactile, old-school texture that reads beautifully on thicker skin like the thigh. The main risk is overdoing dots in one area which can unify into a patch over years. Ask for intentional spacing and a few solid anchor lines to preserve silhouette. Sessions can be longer for stippling work and pain is moderate. Pair the finished piece with high waist denim shorts for a classic, balanced look.
25. Minimalist Collarbone Palm with Dainty Chain Necklace
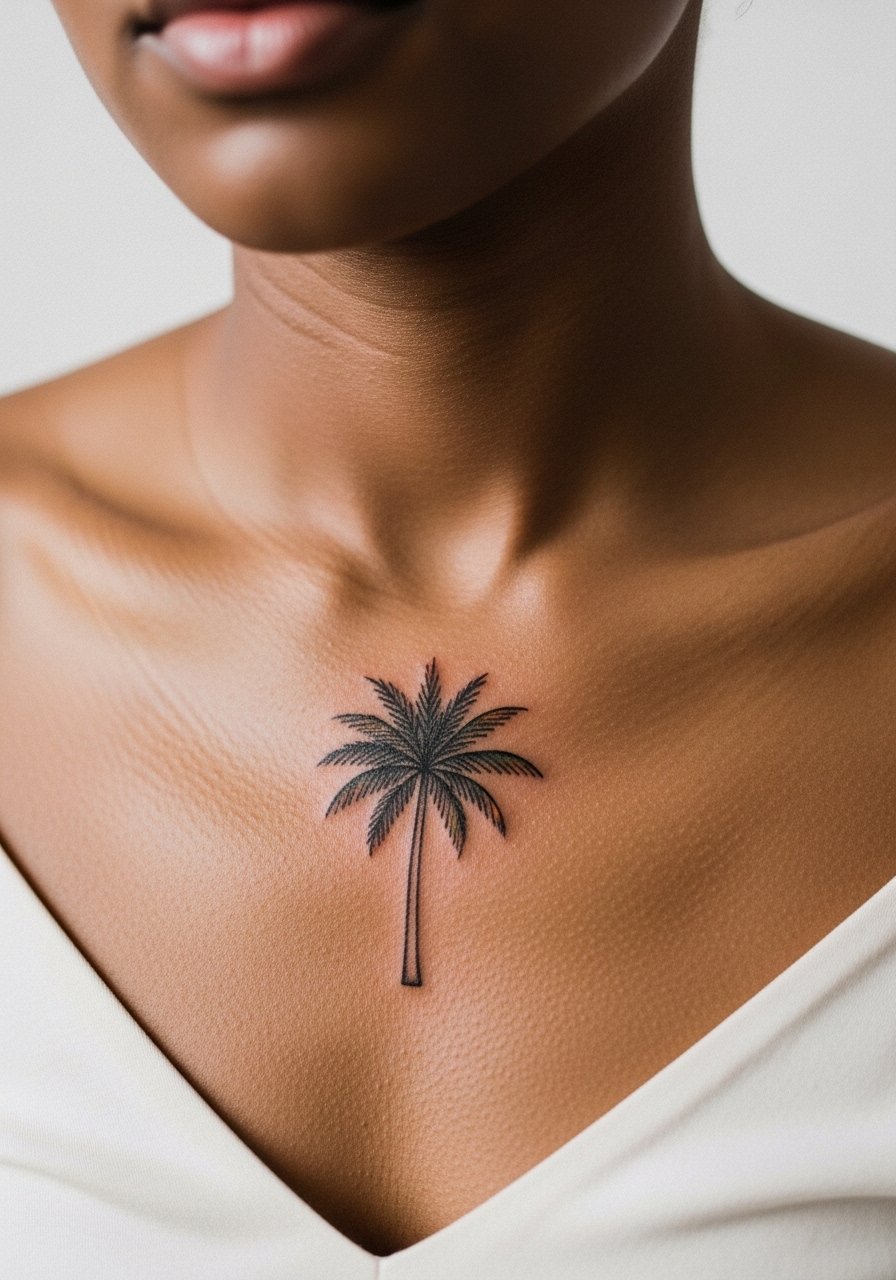
Collarbone placements need precision because clothing and jewelry live nearby. Keep trunk weight slightly stronger than fronds and leave room for a small dainty chain to sit above without touching the ink. A common session mistake is placing the design too close to clothing seams, which creates rubbing during healing. For showing the piece off use a dainty chain necklace that sits above the work without crowding it. Expect touch-ups sooner than on less exposed areas.
26. Palm Tree Inserted into a Wave and Sun Composition on the Upper Chest
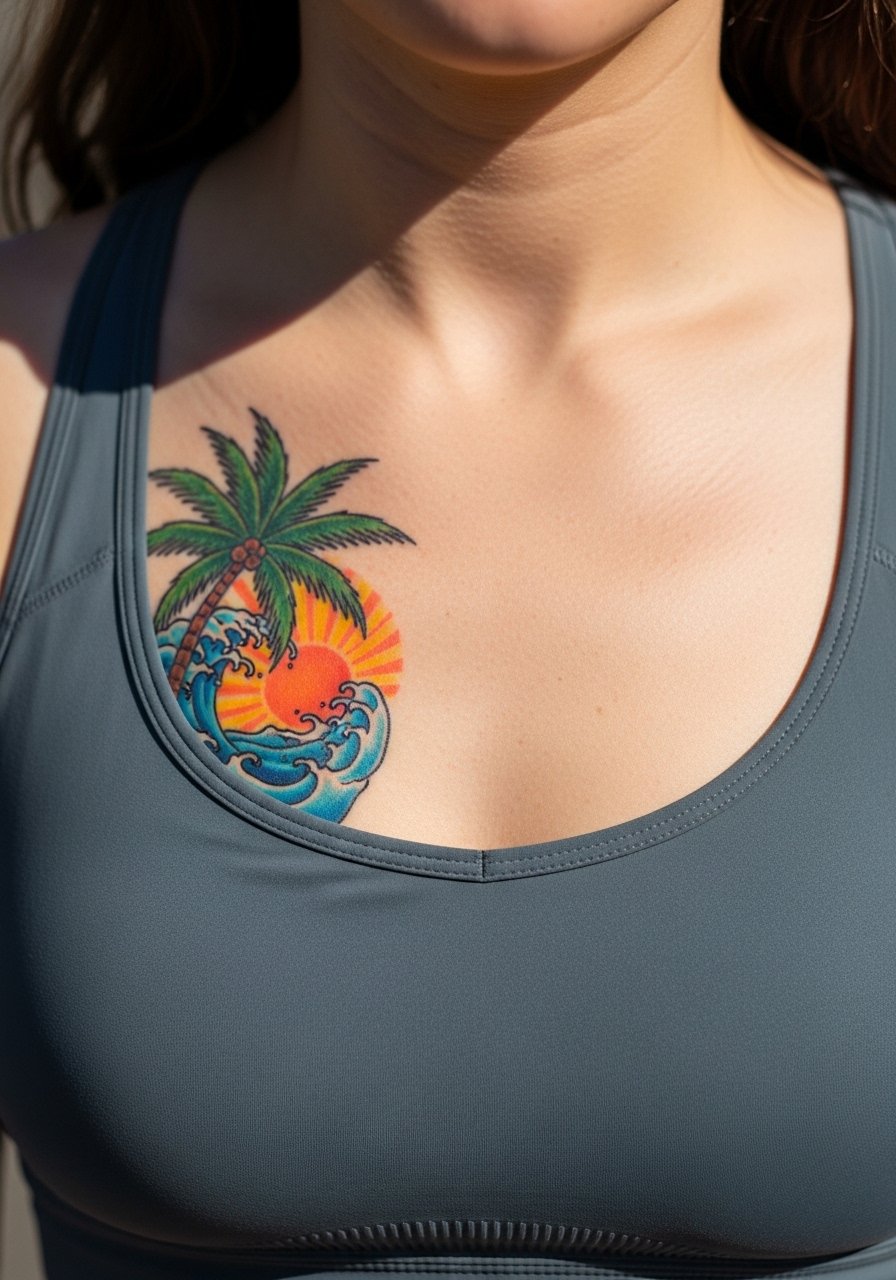
Chest compositions straddle visibility and personal meaning. Sternum and upper chest sessions require clothing that can be shifted without irritating the area during healing. Fine lines across the sternum can blur if packed too closely, so ask for clear separation and slightly bolder anchors. Pain can be medium to high on the sternum. Discuss Saniderm versus dry healing with your studio before booking because both camps defend different benefits for chest color retention.
27. Palm with Dot Work Fronds and Whip Shading Accent on the Inner Arm
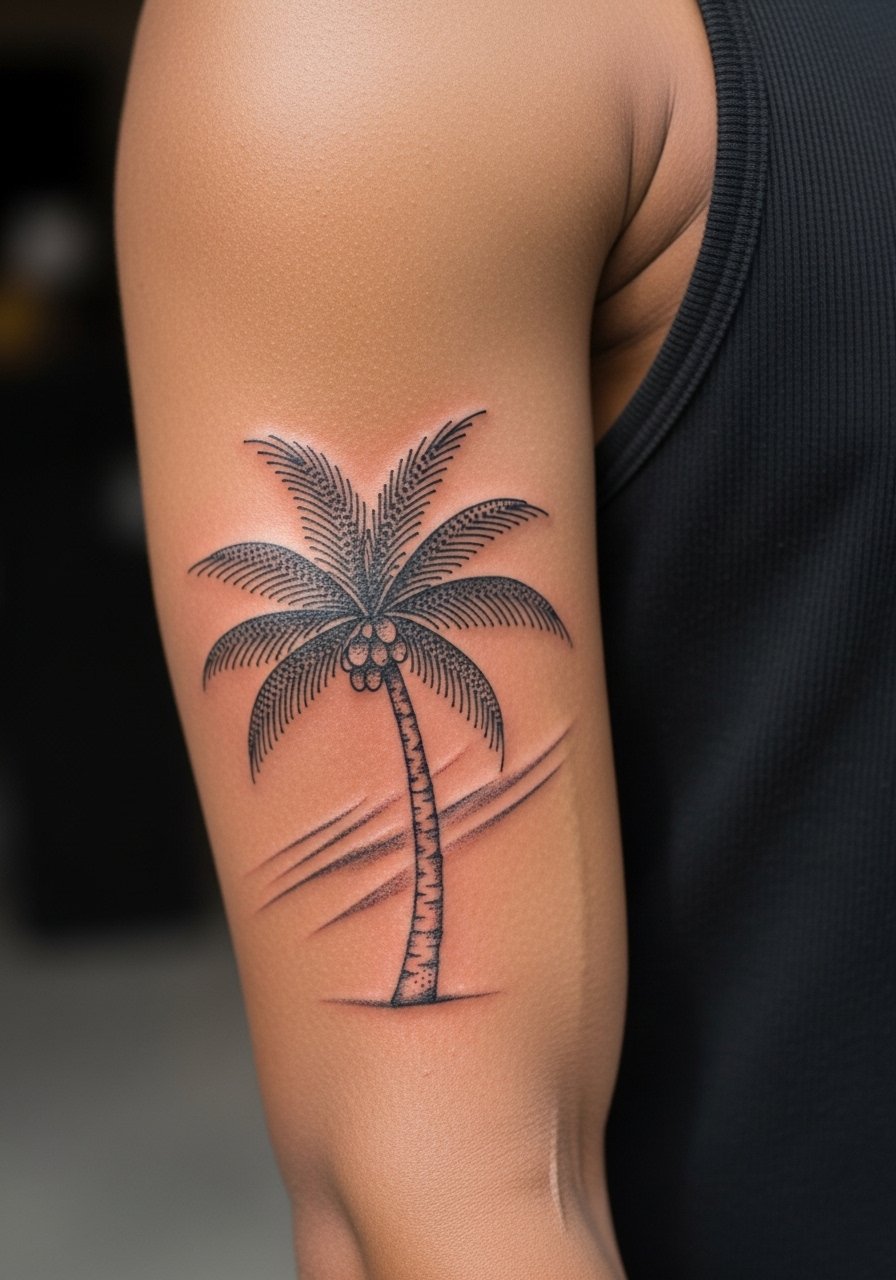
Dot work and whip shading together give a palm depth without heavy fills that age poorly. Inner arm placement sees regular motion, which means spacing matters. The usual error is packing stipple too densely near joint lines. Sessions are moderate length and a touch-up at 12 to 24 months is common. For the appointment wear a tank top so the artist has clean access and you avoid fabric pulling over fresh ink.
Frequently Asked Questions
Q: How much does a colorful palm tree tattoo cost for a small to medium piece?
A: Expect pricing to range widely based on style and session length. Small minimalist or fine line ankle pieces often fall in the $100-$300 range, while neo-traditional forearm or shoulder work with layered color can sit around $250-$800. Large back or ornamental pieces usually push into higher tiers and multiple sessions.
Q: Will watercolor-style palms fade faster than blackwork or neo-traditional pieces?
A: Watercolor washes can lose punch sooner than bold black outlines because they rely on thin layers of pigment. Blackwork holds contrast longer. If you love the watercolor look but worry about fade, ask for a subtle outline or deeper pigment placement during the consult to extend clarity.
Q: What should I ask my artist about healing methods like Saniderm versus dry healing?
A: Artists split into two camps. One side prefers Saniderm for less scabbing and perceived color retention. The other side argues dry healing avoids adhesive pull and leaves a more natural scab layer. Ask your artist which they use regularly and why, and pick the method you can follow strictly for the first week.
Q: How do I make a palm tattoo show up better on darker skin tones in photos?
A: High-contrast outlines and saturated pigment choices help. Ask the artist to test a small flash area in similar lighting if you’re concerned. Slightly bolder linework around fronds and trunk often translates better on camera without sacrificing the design’s delicacy.
Q: Are ribcage or sternum palm tattoos much more painful than forearms?
A: Yes, ribs and sternum usually score higher on most pain charts because the needle sits closer to bone and the skin is thinner. Many people choose numbing options for longer color sessions in those zones, but discuss topical use with your artist ahead of time.
