
The stencil settles on the shoulder, the client tips their chin and the artist asks for one small shift. That tiny adjustment changes how the eye reads from across a room and how the piece will age. Shoulder tattoos move with the deltoid and clothing, so planning the scale, line weight, and wardrobe before the needle touches skin makes a big difference in the years that follow.
1. Ornamental Eye with Filigree on Outer Shoulder
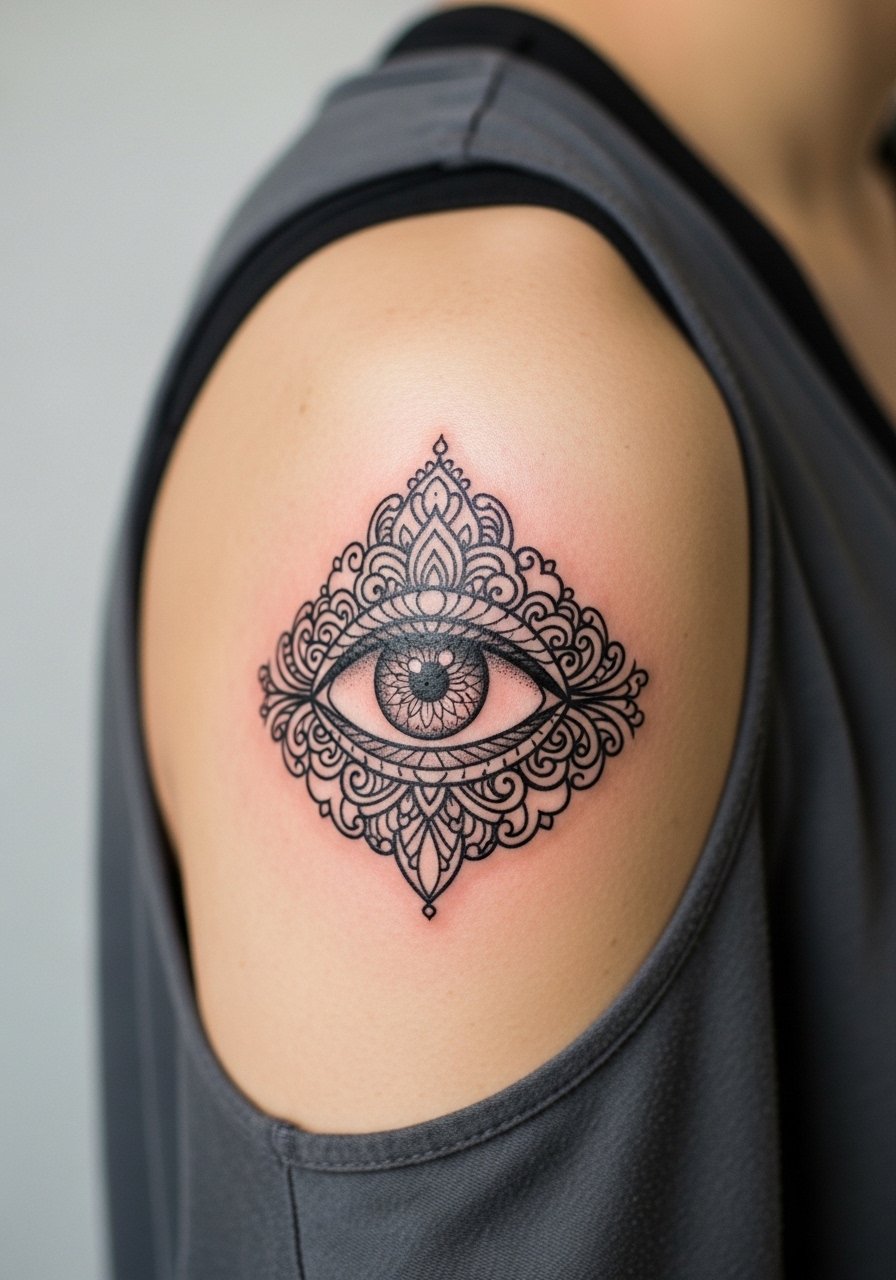
I've seen ornamental eyes work best when given breathing room on the shoulder. Ask your artist for slightly heavier outline around the iris and lighter stipple shading for the filigree, so the detail holds as the skin moves. Pain on the shoulder is usually moderate, a steady 4 out of 10, and a single session of 60 to 90 minutes often covers a mid-size piece. A common mistake is cramming filigree too small, which blurs at year two. For show-off wear, an off-shoulder top frames the ornament without covering it.
2. Micro-Realism Eye on Shoulder Blade

Micro-realism on the shoulder blade reads incredibly lifelike when the artist spaces the lashes and limits saturation in tiny areas. Tell your artist you want the pupil crisp but the surrounding texture soft, and expect a 90 to 150 minute session depending on size. The shoulder blade's flatter surface helps shading hold, but overworking tiny highlights is the fastest route to blowout. At six months the contrast softens, at two years small highlights may need a touch-up, and at five years expect modest softening. For casual reveal, a racerback tank top is an easy choice.
3. All-Seeing Eye with Geometric Halo on Cap of Shoulder
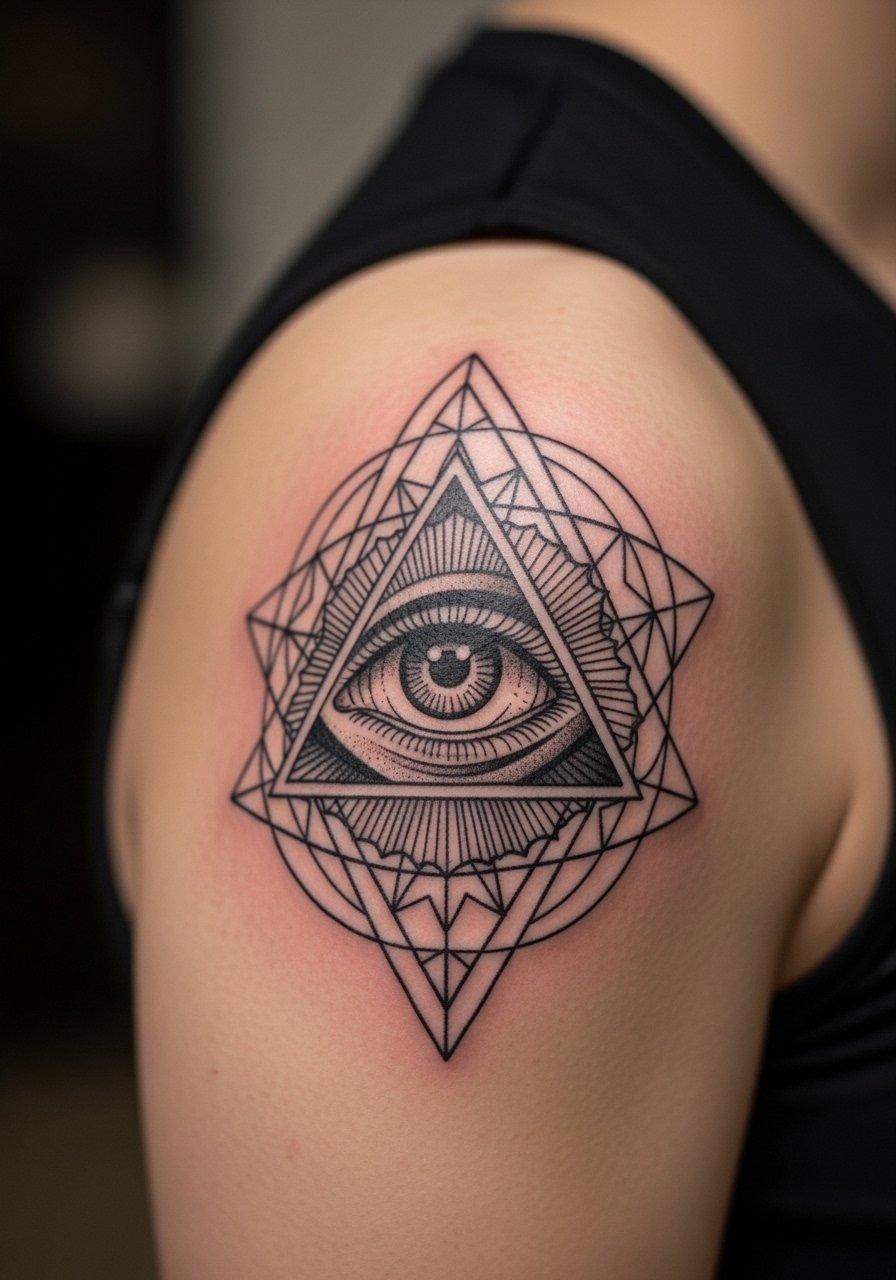
This composition reads well from multiple angles because the halo balances the central eye. For consultation, bring front and 45-degree reference photos so the artist can map how the curve follows the deltoid. Expect firm linework and a one to two hour session depending on halo complexity. Artists split on color here versus black-and-gray. One camp argues color adds pop and frames the eye. The other camp says black-and-gray ages more predictably. Name which camp you prefer, and ask about touch-up timelines. A mis-step is making the halo too dense; give the geometry negative space to stay crisp long term.
4. Minimalist Fine Line Eye Near Shoulder Joint
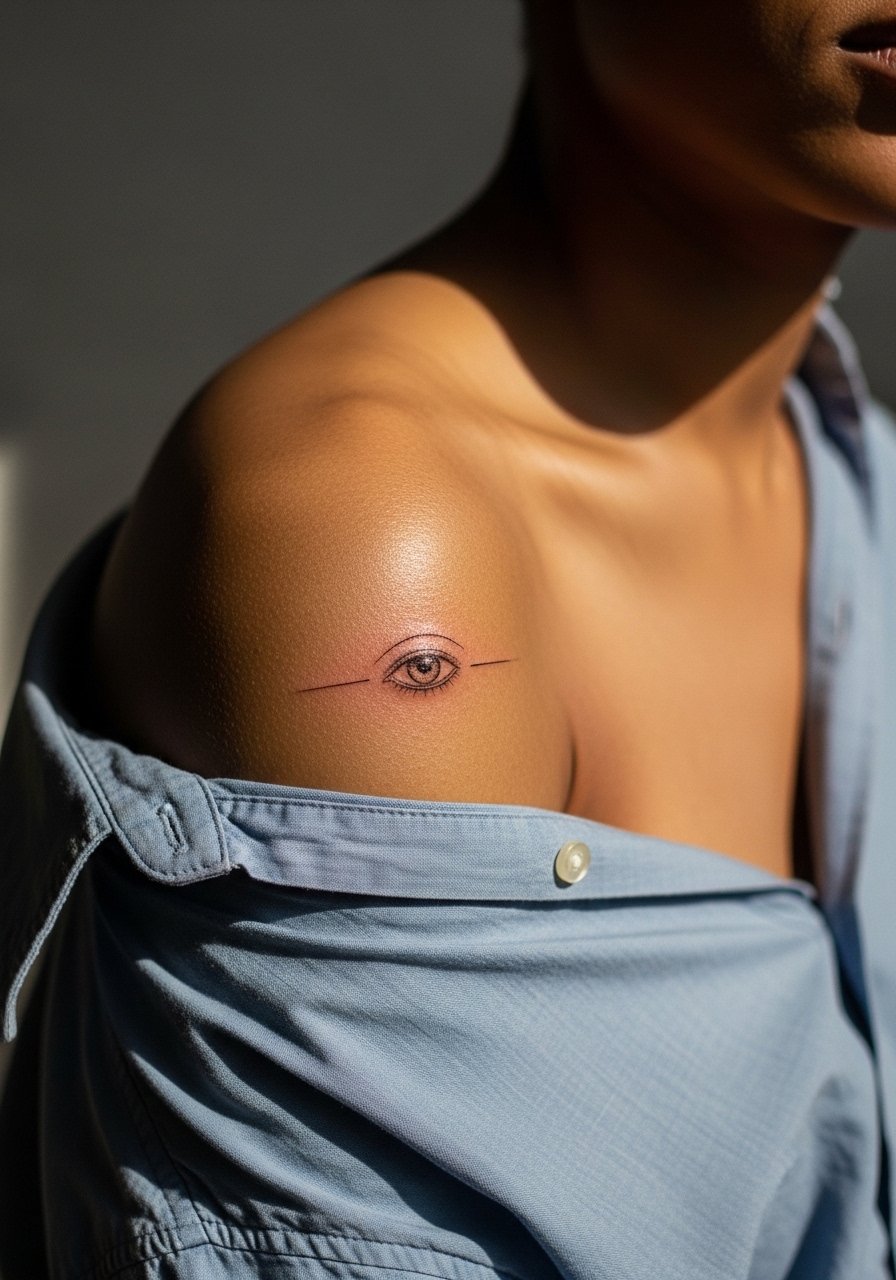
Fine line looks delicate on the shoulder joint, but ask for slightly thicker terminal strokes where the line curves. That small tweak prevents premature blending as the skin flexes. Pain is on the lower side for most people, and 45 to 75 minutes is common. The usual mistake is requesting ultra-tiny detail at high curvature points. At six months this style keeps its charm if spaced well, but by year three very thin strokes can soften. For the appointment wear a loose button-down shirt you can pull aside without tugging.
5. Surreal Eye with Dripping Tear and Floral Frame
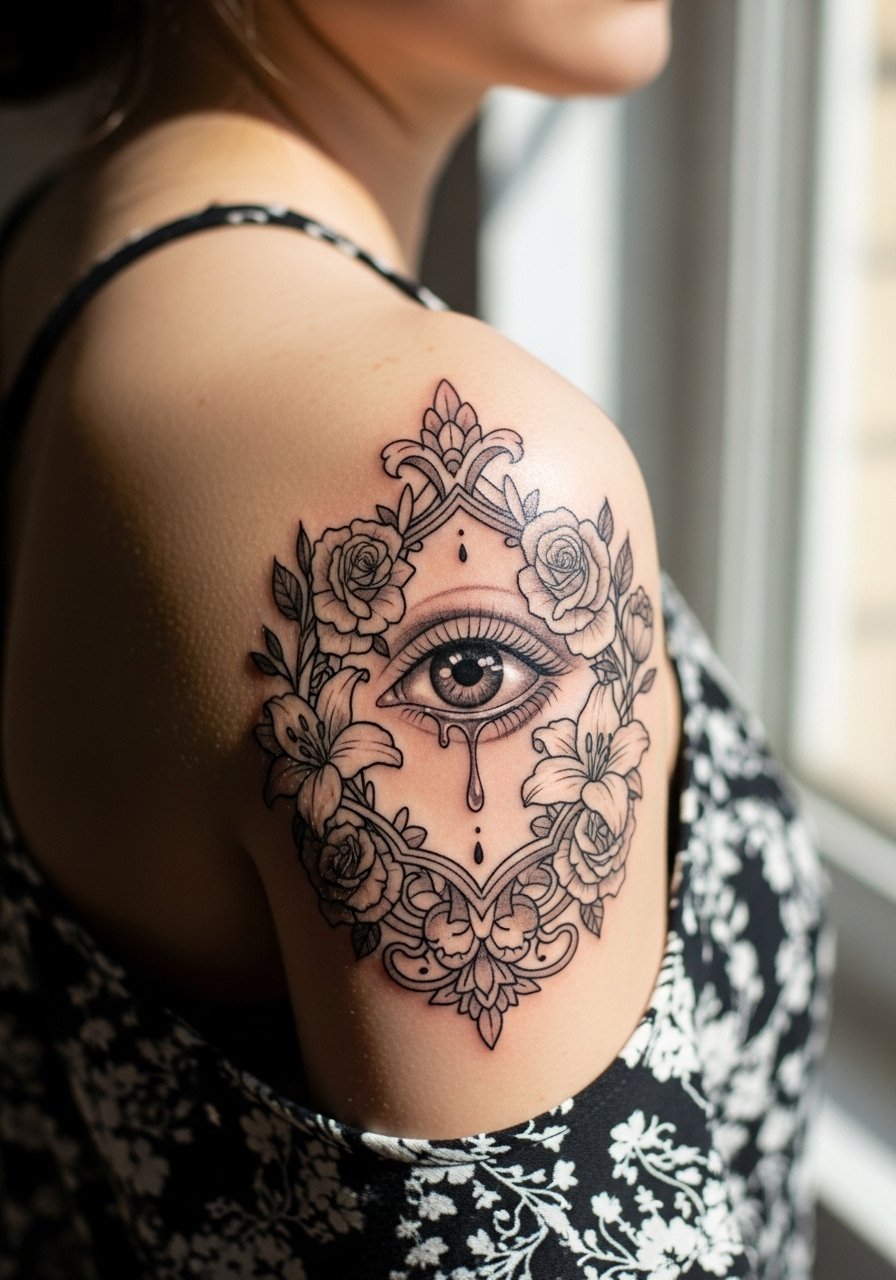
This design mixes micro-realism with illustrative florals, so tell the artist you want the tear rendered faintly to read like a highlight rather than a thick drop. Sessions run 90 to 180 minutes for medium sizes, especially with layered flowers. A common error is over-inking the tear, making it look heavy after healing. In my experience the floral frame helps disguise small touch-ups down the line. If you want to show it off at evening events try an open-back midi dress that keeps attention on the shoulder.
6. Sacred Geometry Eye with Dot Work on Outer Shoulder
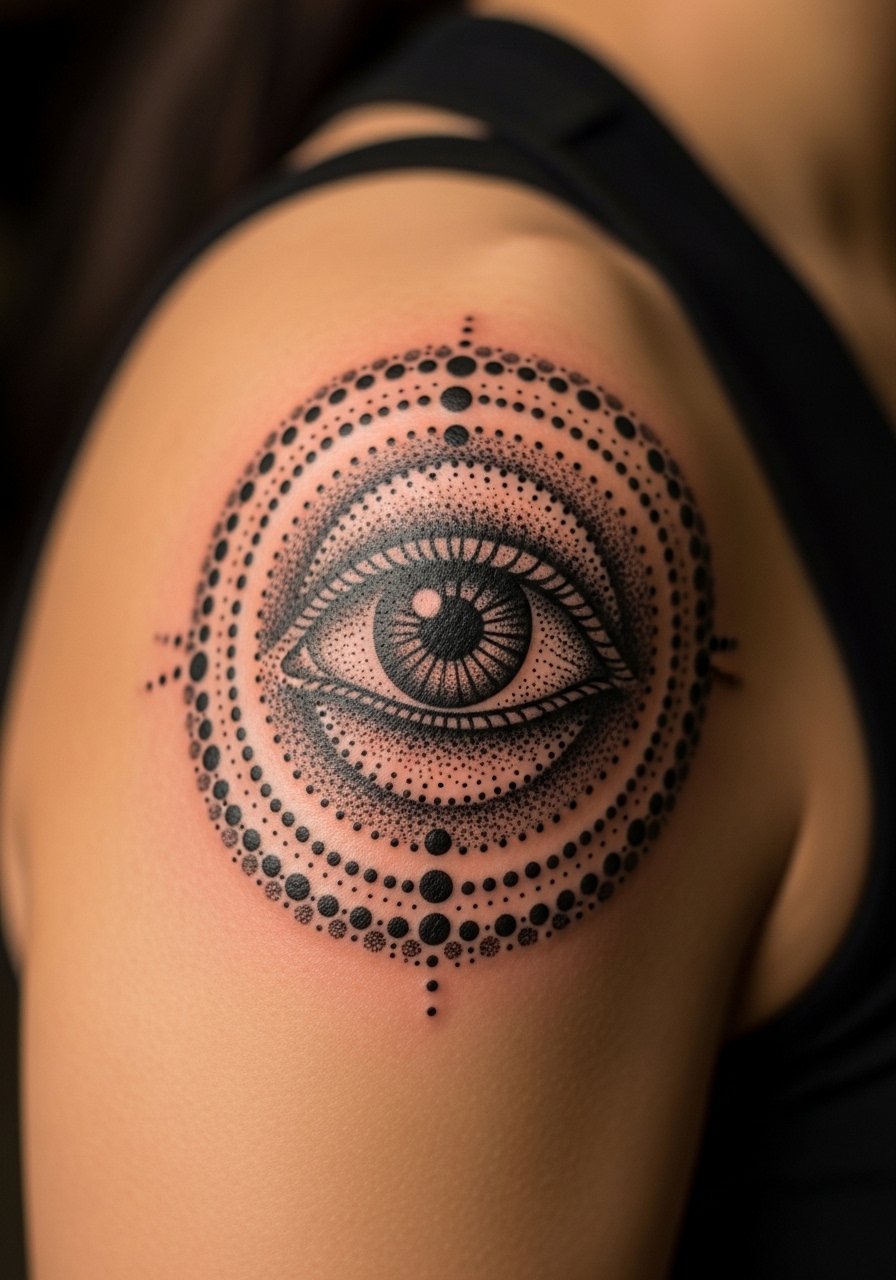
Stipple shading and dot work pair naturally with geometric eyes. When you consult, ask for spacing guidelines so the dots do not pack into a dense mass that blurs. The dot technique is forgiving on the shoulder's skin type and a session usually runs 90 to 150 minutes. One mistake is compressing concentric rings too tightly; that density ages into muddiness. Expect the dot work to hold well at six months and slowly soften by year five. Pair this with a fitted short-sleeve shirt for casual days, try a fitted short sleeve shirt that stops just below the shoulder.
Studio Day Picks
The first six ideas above lean on fine line, micro-realism, and dot work, and those approaches demand different prep than heavy blackwork. These picks smooth the studio visit and the first week of healing.
-
Stencil transfer paper kit. Lets you test placement shifts on the shoulder before the first pass so the eye sits where you expect it to in everyday clothes.
-
Topical numbing cream. Applied per directions it can reduce shoulder sensitivity during longer sessions without altering linework if your artist approves.
-
Thin protective film roll. A light cover protects shoulder pieces from rubbing under straps in the first 48 hours.
-
Fragrance-free gentle body wash. Keeps the healing area clean without stripping pigment or irritating delicate fine line sections.
-
Aquaphor healing ointment. A thin layer during the initial days helps the scab stage pass without becoming overly dry on the shoulder.
7. Bold Blackwork Eye Over Shoulder Muscle
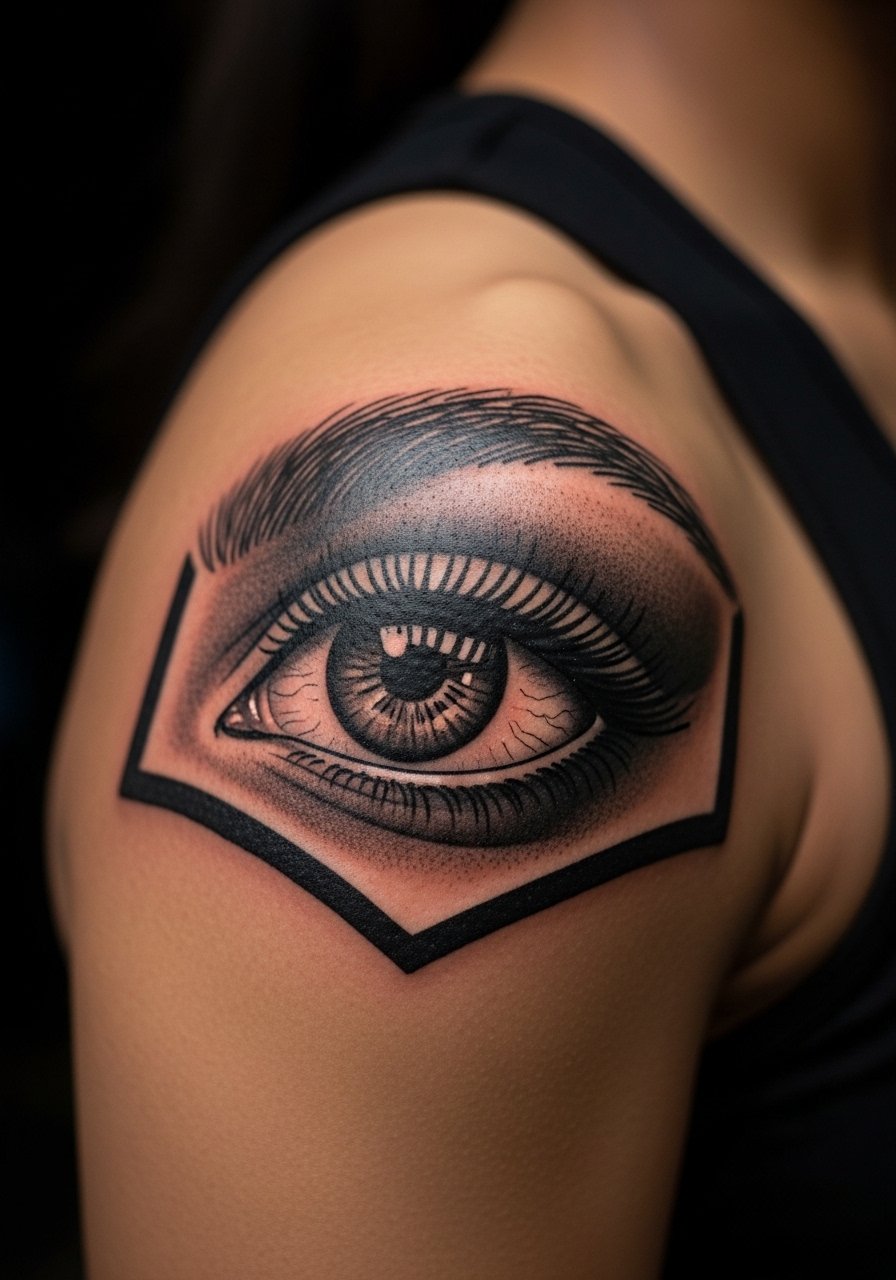
If you want an image that reads from a distance, bold blackwork is the go-to. Tell the artist you want saturated fills that follow the deltoid curve and expect longer sessions or multiple sittings for clean saturation. The shoulder tolerates heavy work well, but larger black fields take more aftercare attention to avoid scabbing. A common aging issue is patchy fill if the saturation is inconsistent, so ask about a planned second pass. This style suits anyone wanting a graphic statement and will still look strong at year five with proper sun protection.
8. Watercolor-Inspired Eye with Soft Wash on Upper Shoulder
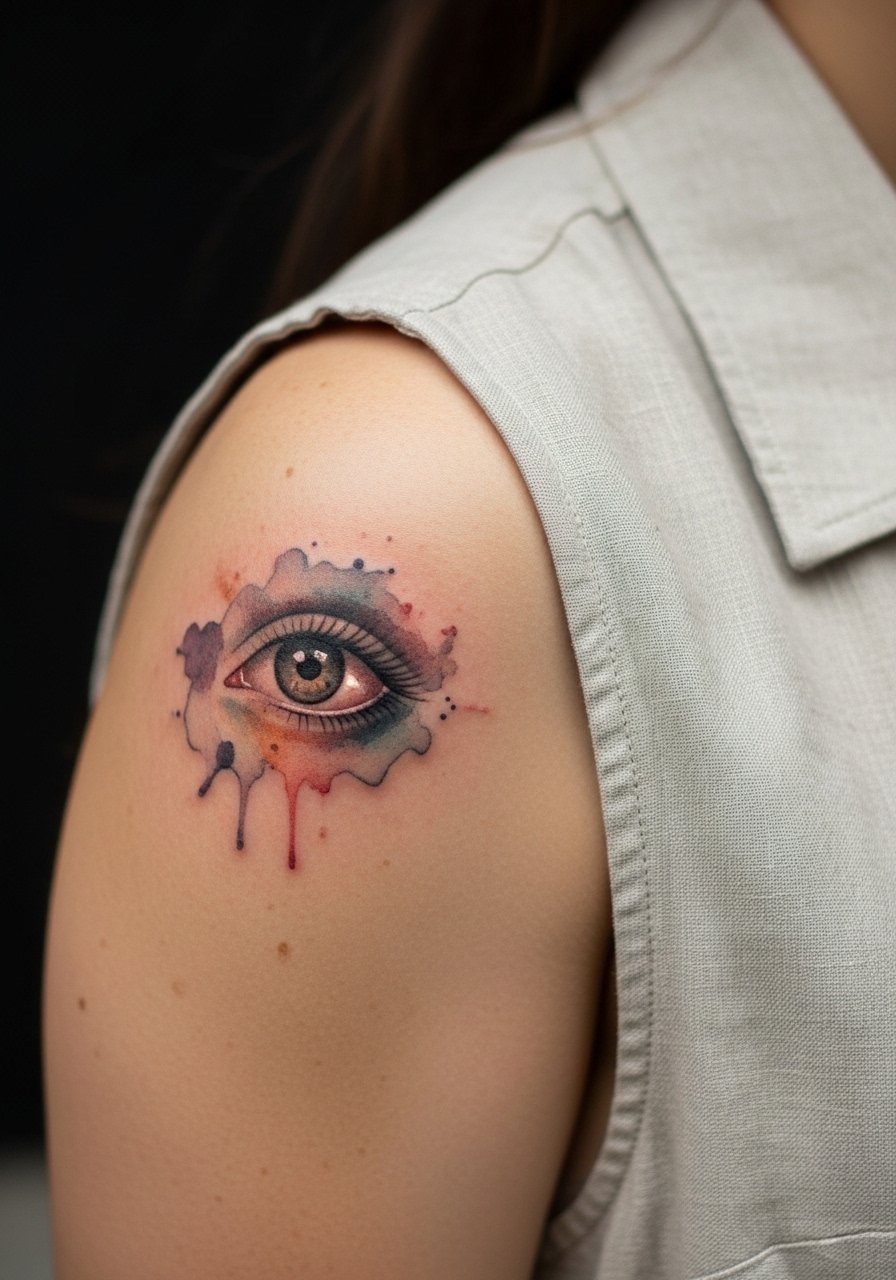
Watercolor effects can be beautiful on the shoulder, but they fade faster than saturated blackwork. Ask for color anchors or thin outlines to help the watercolor read over time. Sessions can be one long pass or two shorter ones to lock in pigments without overworking skin. The controversy here is visible: one camp accepts faster fading for softer aesthetics, the other avoids watercolor on shoulders because of touch-up frequency. If you choose watercolor plan for a refresh at year two or three. For summer wear a sleeveless linen shirt keeps the area airy while showing the wash.
9. Eye with Subtle Lash Line and Negative Space
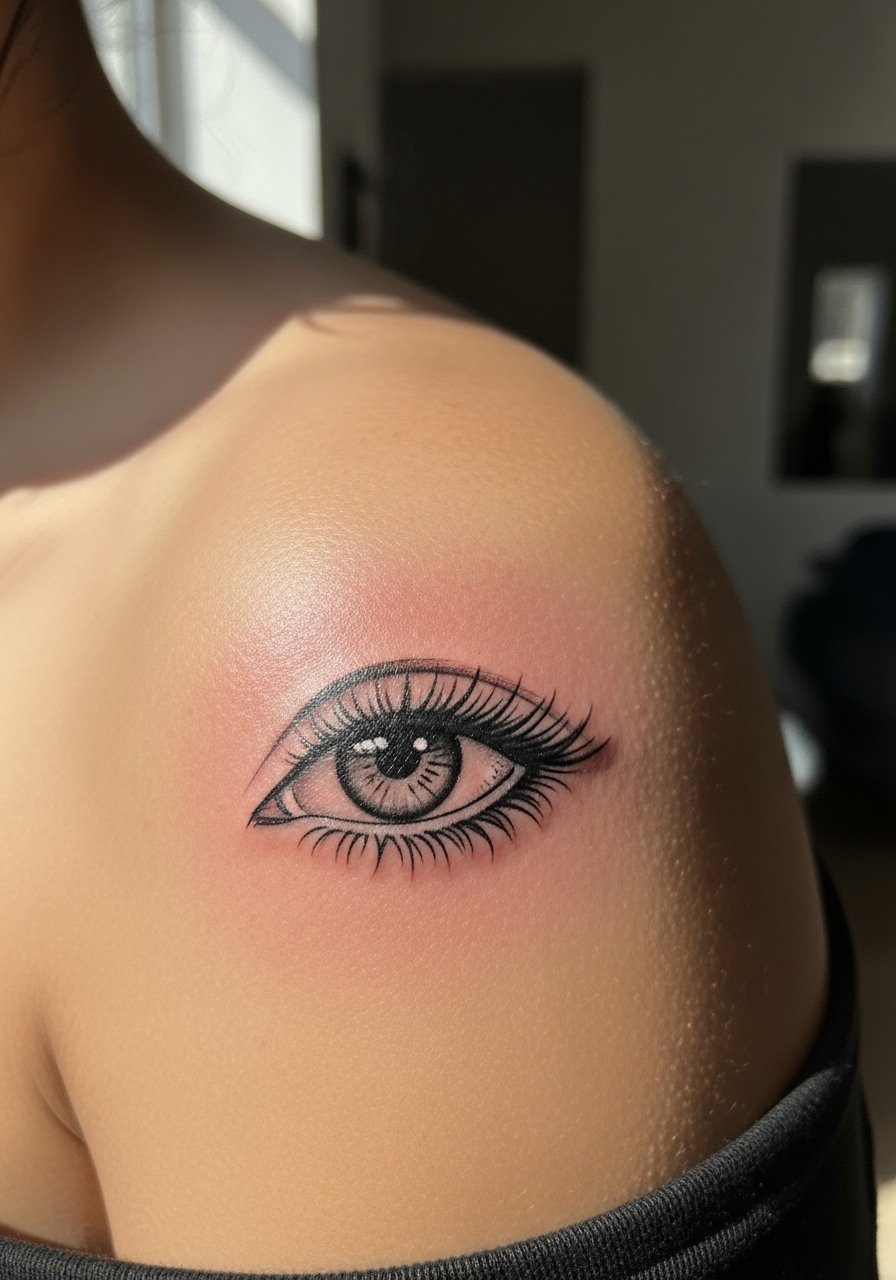
This pared-back approach relies on contrast and smart spacing. Tell your artist you want lashes suggested, not fully rendered, and that negative skin breaks should form part of the design. The session is short, typically 45 minutes, and pain is low. The frequent mistake is over-inking lashes or adding heavy shading under them. At six months the piece looks like a delicate sketch, at two years thin strokes will have softened slightly. For the session wear a loose tank top so the artist can access the cap of the shoulder without fabric pulling.
10. Surreal Double Eye Stacked Over Shoulder Curve
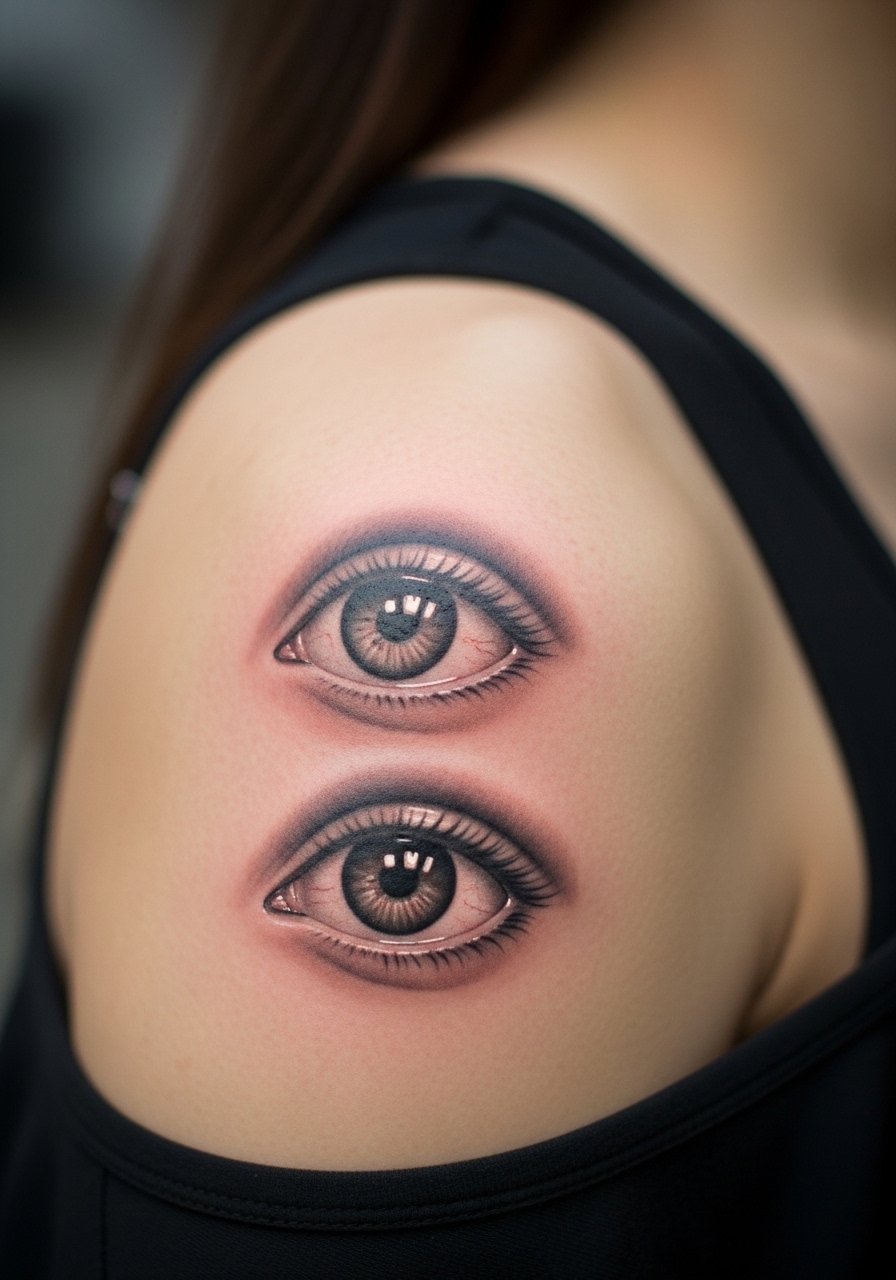
Stacking two eyes along the deltoid curve gives motion to the shoulder. Describe how you want the eyes to follow the muscle so the lower eye does not sit in a fold. Sessions are often split into two passes if both eyes are detailed. A typical error is placing the lower eye where shirt straps compress it. Expect touch-ups earlier if the piece sits under regular friction. This composition looks great with off-shoulder evening wear, though I recommend testing the strap placement on your favorite tops before finalizing the stencil.
11. Neo-Traditional Eye with Color Accents on Shoulder Top
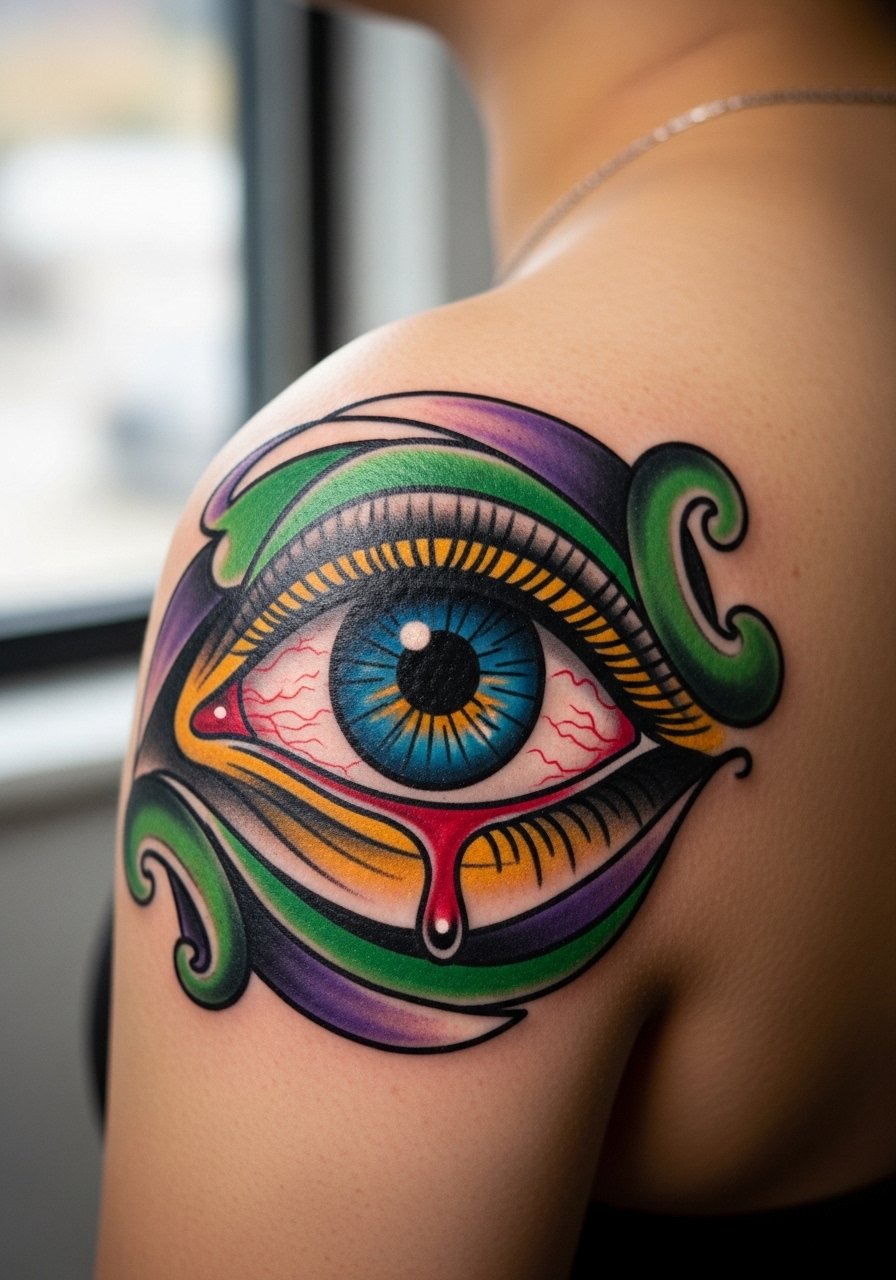
Neo-traditional details translate well to the shoulder because they age like classic work. Ask for solid outlines and moderate saturation levels; that balance keeps color readable and prevents early patchiness. Sessions usually take 90 minutes for a medium piece. A common mistake is overly diffuse color blending, which looks muddy after a year. This style pairs with structured sleeveless dresses that let the shape stand alone. For session day pick a shirt you can pull aside easily so the artist has clear access.
12. Tiny Eye Cluster on Rear Shoulder Blade
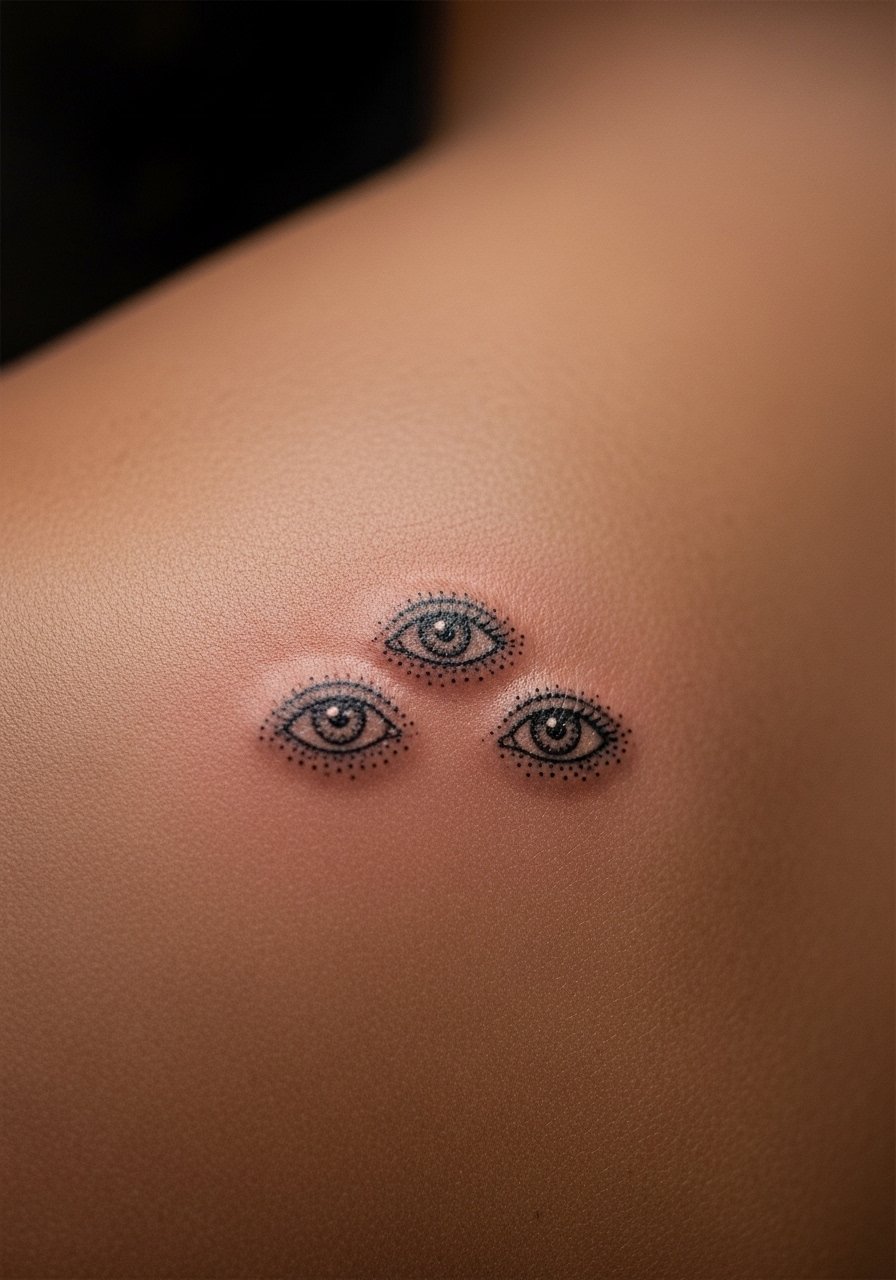
Small clusters let you spread motif across the shoulder blade and create asymmetry that reads well under straps. Tell the artist you want spacing consistent to avoid future merging. These are quick sessions, often 30 to 60 minutes each. The risk here is placing them too close which invites early blending. At two years tiny dots may merge if placed poorly. For the appointment wear a racerback tank so the artist can work on the rear blade without stretching fabric.
13. Color Portrait Eye with Floral Overlay on Shoulder Cap
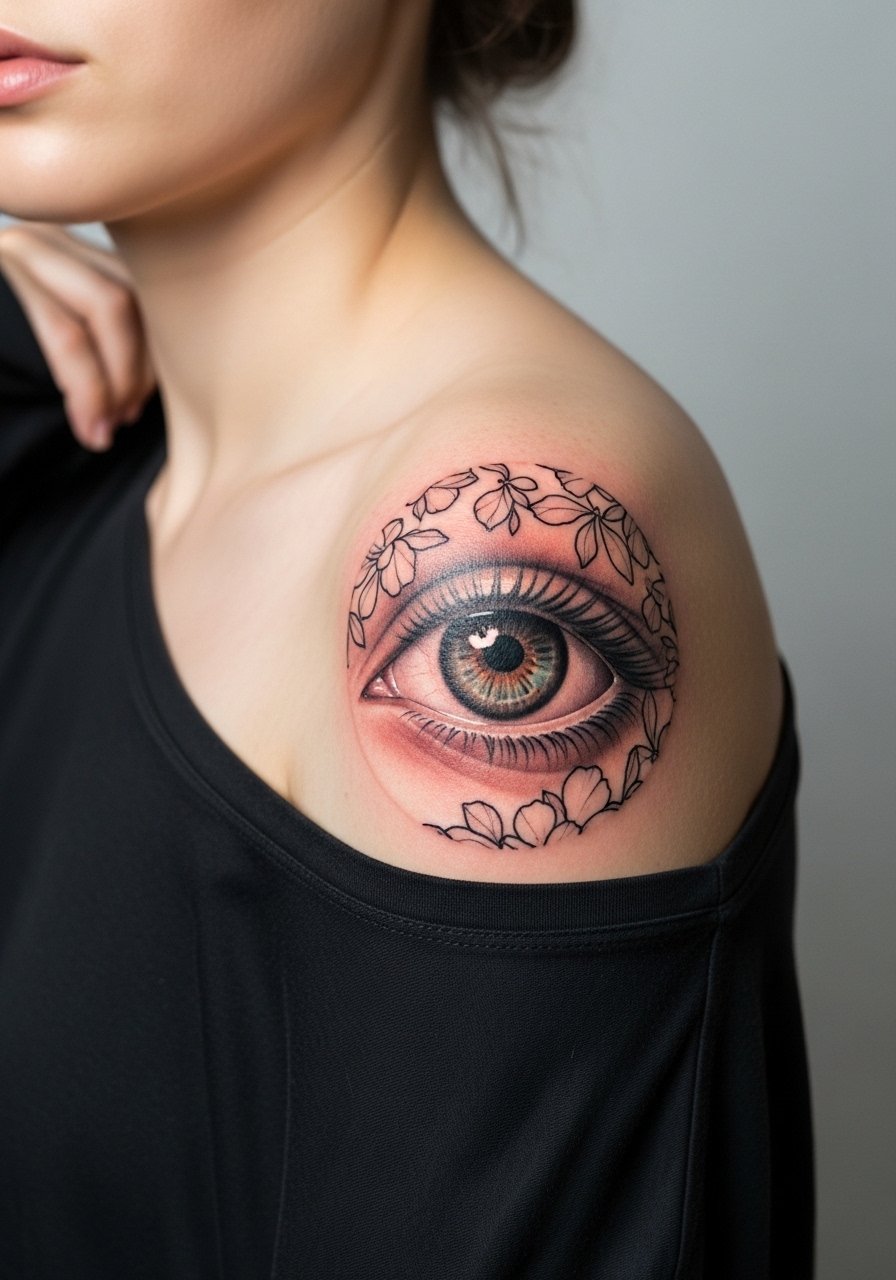
Portrait-style eyes need meticulous planning on the shoulder cap because the curvature will skew proportions if the stencil sits crooked. Discuss scale and where the pupil should face relative to your collarbone. Sessions can be long, often split into two sittings for color layering. There is a debate among clients about Saniderm versus dry healing. One camp favors protective film for the first 24 to 48 hours to reduce friction. The other group prefers minimal covering to let scabs form naturally. Talk to the artist about their protocol so you follow what they recommend for color retention.
14. Single-Line Continuous Eye Wrapping Shoulder
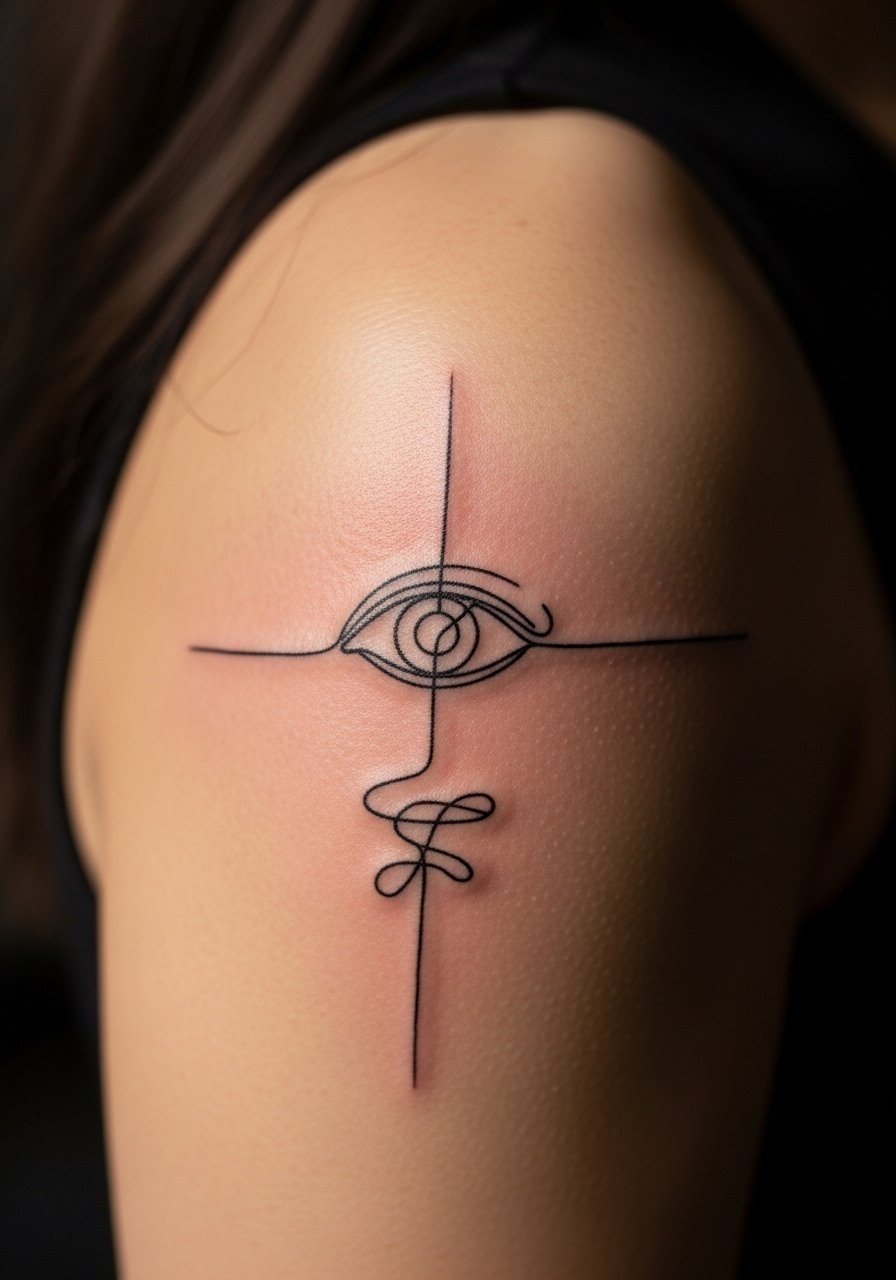
Continuous-line work needs confident strokes and a steady hand. Ask the artist to mark start and end points on the skin so the wrap feels intentional. Sessions are brief if the line is simple. The common mistake is overcomplicating the path mid-stencil which creates unintended kinks. Single-line pieces soften gently over years, but they depend on a well-planned flow. For low-effort shows try a minimal t-shirt dress you can pull slightly aside for a casual reveal.
15. Mandala Eye Centered on Shoulder Blade
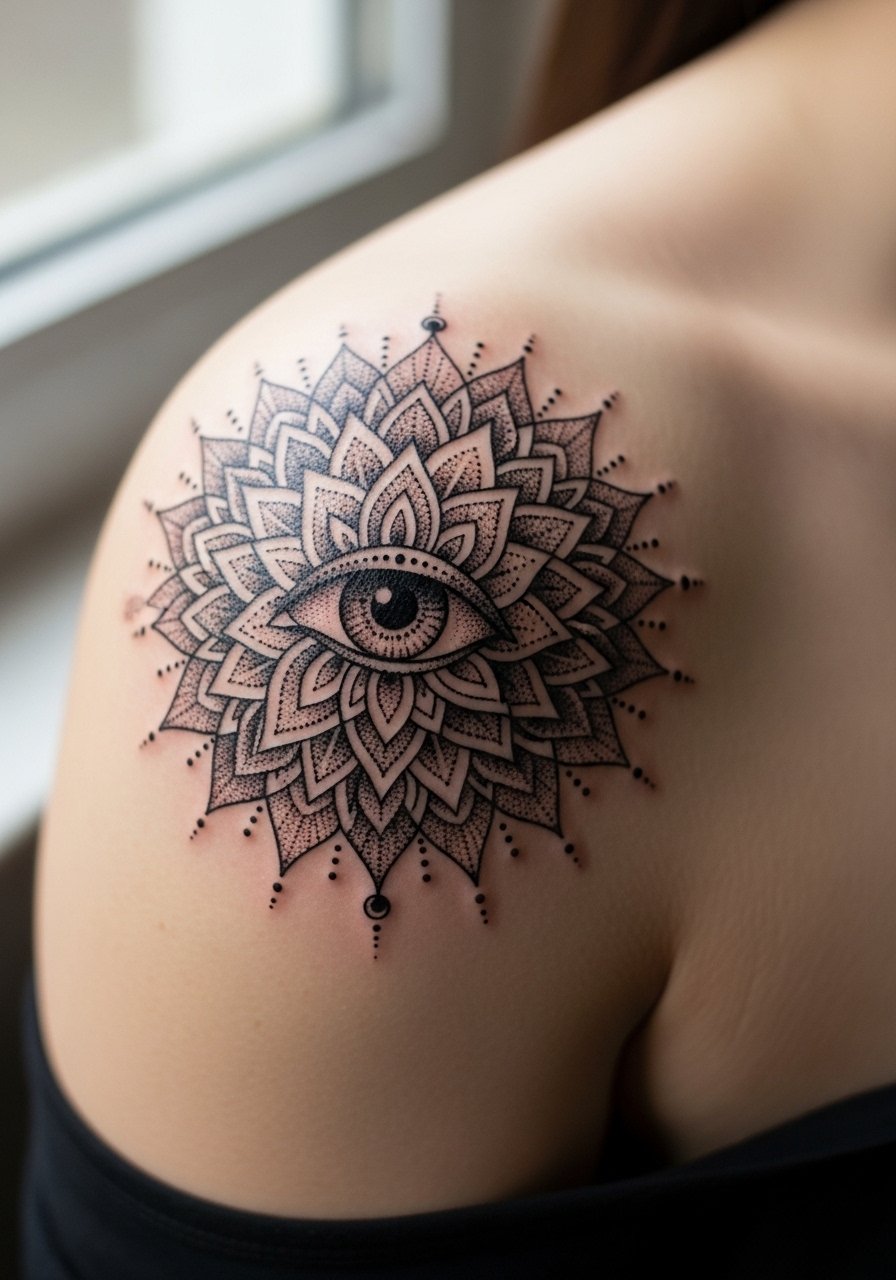
Mandala geometry benefits from the shoulder blade's flatter canvas. When consulting, have the artist map radial spacing to the bone and muscle so edges do not meet a fold. Sessions can be long because of the symmetry work, so plan 120 to 180 minutes or multiple sittings. The biggest mistake is starting the mandala too close to the scapula edge where lines warp. Over five years well-spaced mandala lines maintain structure with occasional touch-ups to keep crispness.
16. Eyeball with Script Ribbon Along Shoulder Edge
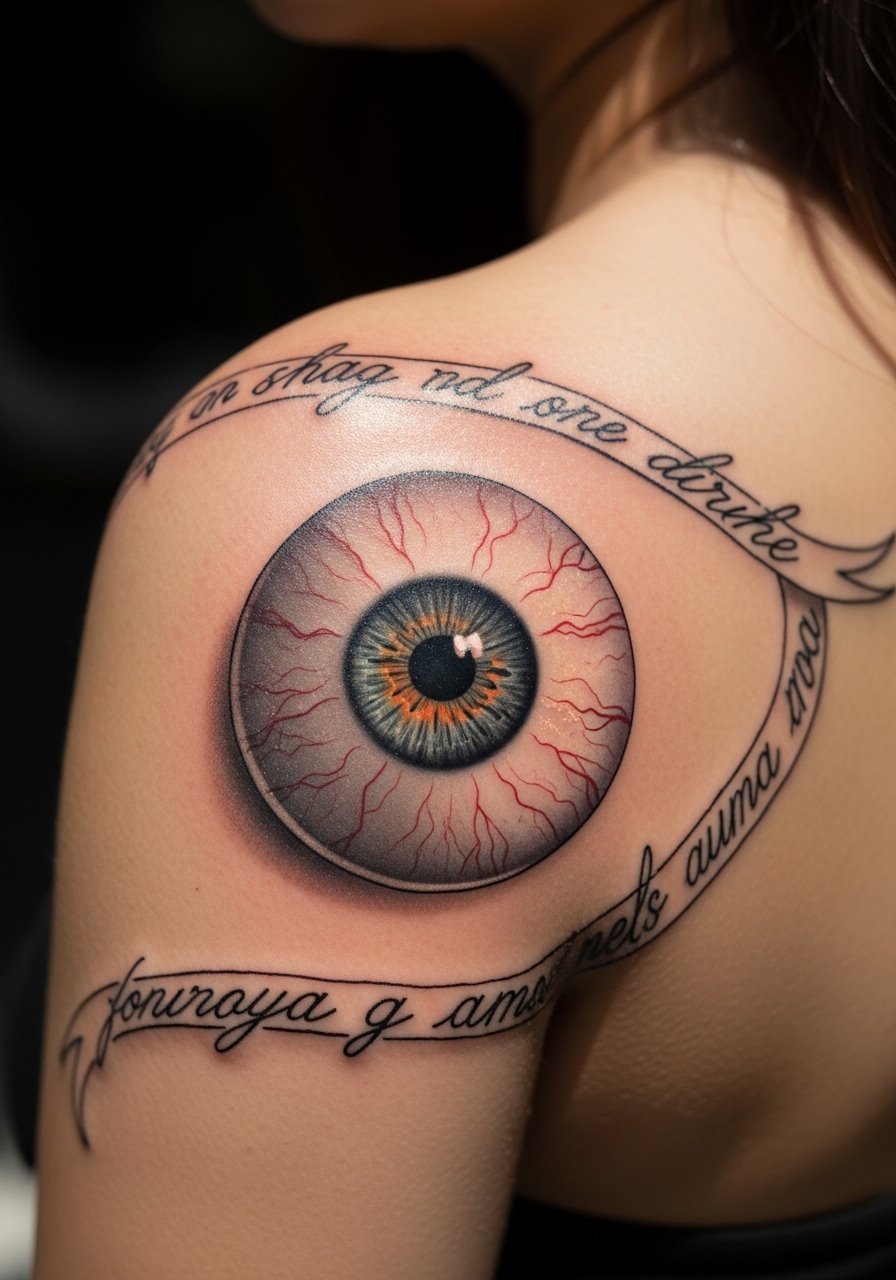
Combining text with an eye needs exact spacing. Provide the exact script wording and preferred font size at consultation so your artist can scale letters to the shoulder curve. Sessions vary depending on line complexity but often finish in 60 to 120 minutes. The usual error is tiny script that becomes illegible as the skin stretches. For showing this off pair with a loose button-down shirt you can slide to reveal the ribbon without tugging.
17. Simple Glyph Eye with Minimal Fill Near Shoulder Tendon
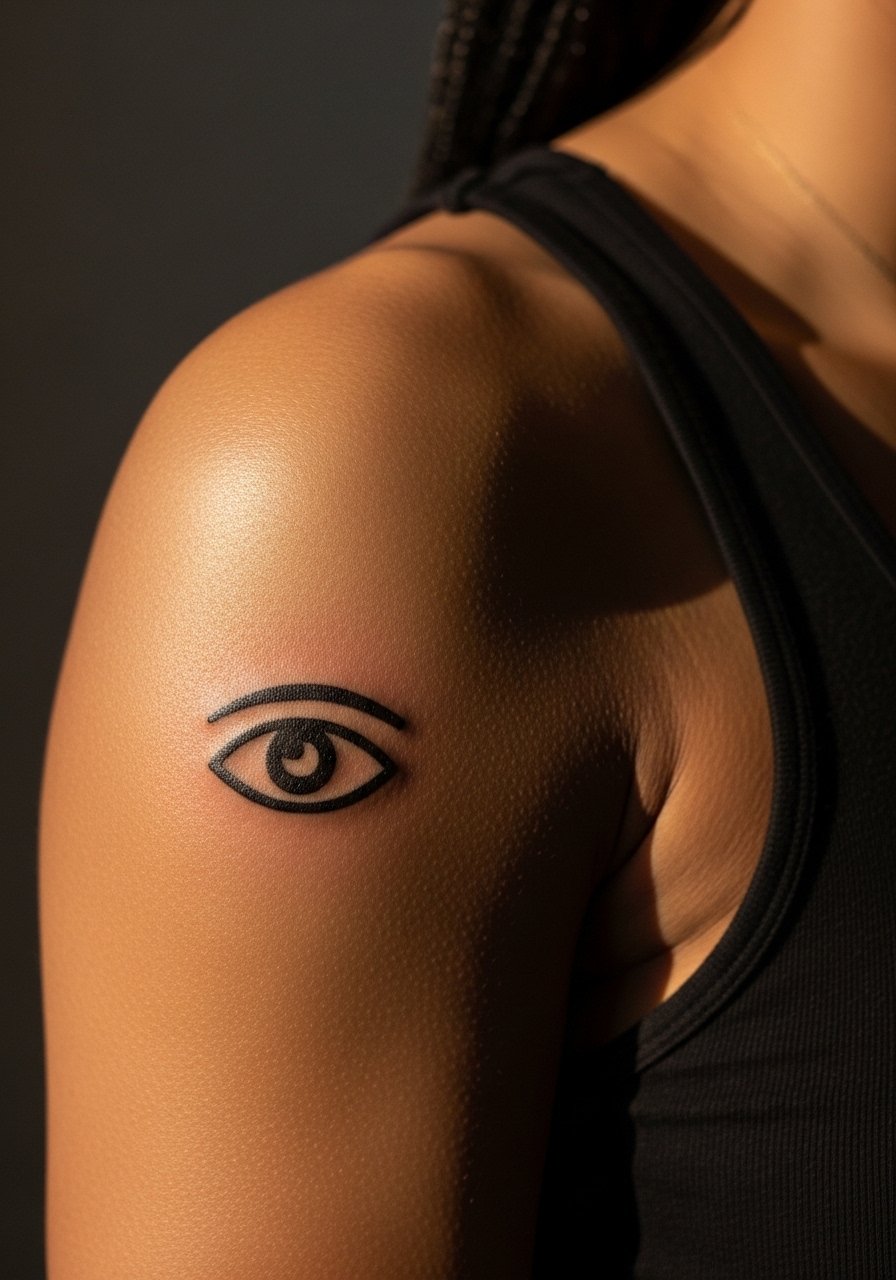
Glyph-style eyes work as subtle symbols when placed near the shoulder tendon. The area is slightly more sensitive but still manageable, and sessions are generally short. Tell the artist you want strong negative space to keep the glyph readable. Mistakes happen when glyphs are made too small for the tendon area and then distort as the skin moves. Expect this piece to age robustly if kept out of direct sun and if outline weight is planned for long-term clarity.
18. Haloed Eye with Soft Gradient Shading Along Shoulder
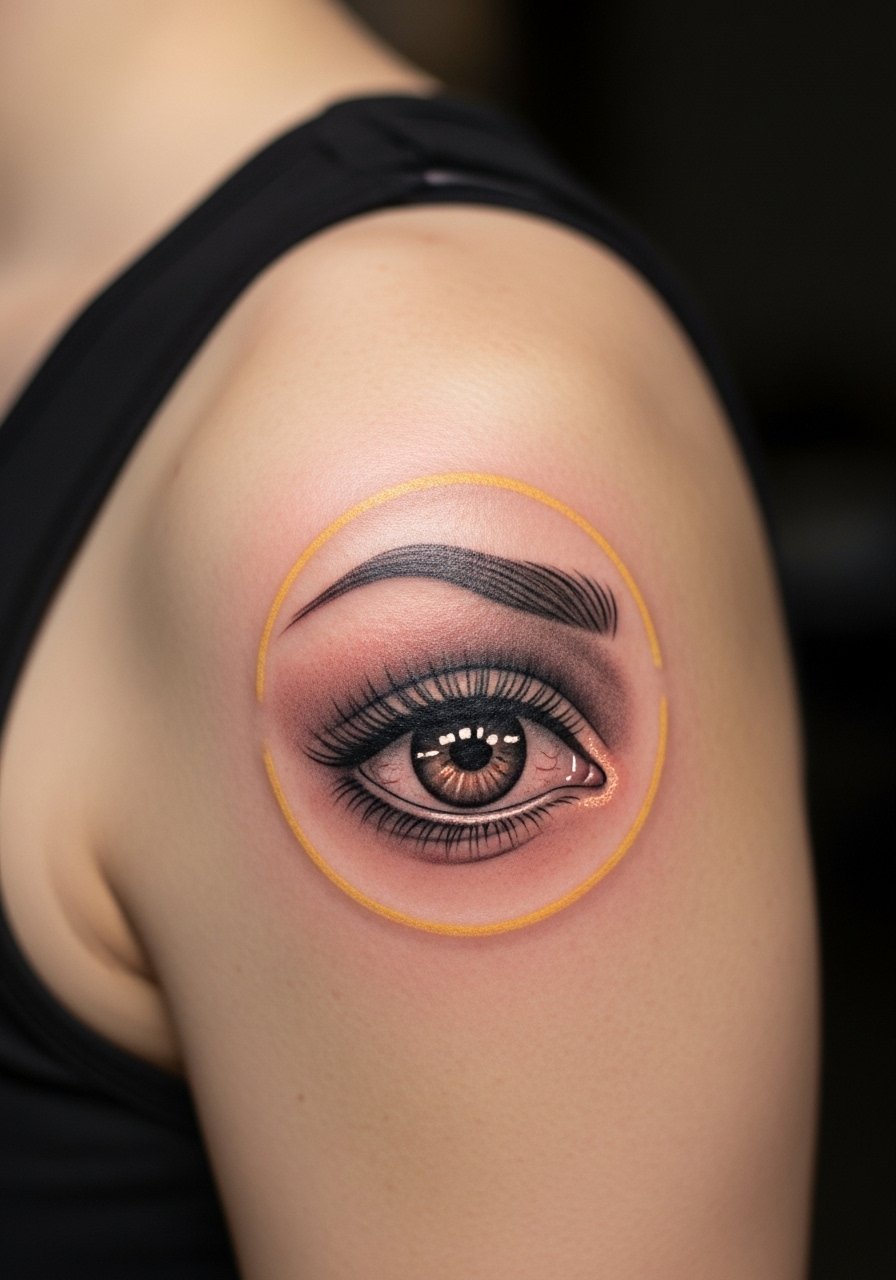
Gradient shading across the shoulder needs even needle pacing so color fades smoothly. During the consult ask about the artist's approach to layering and how much staging they plan. Sessions can be 90 minutes to two hours depending on size. A common issue is abrupt contrast that looks patchy after healing. Keep in mind wardrobe choices during the first week to avoid rubbing. For show-off looks a sleeveless overlay top creates negative space that focuses attention on the shaded halo.
19. Tiny Pupil Dot Eye Along Upper Shoulder Ridge
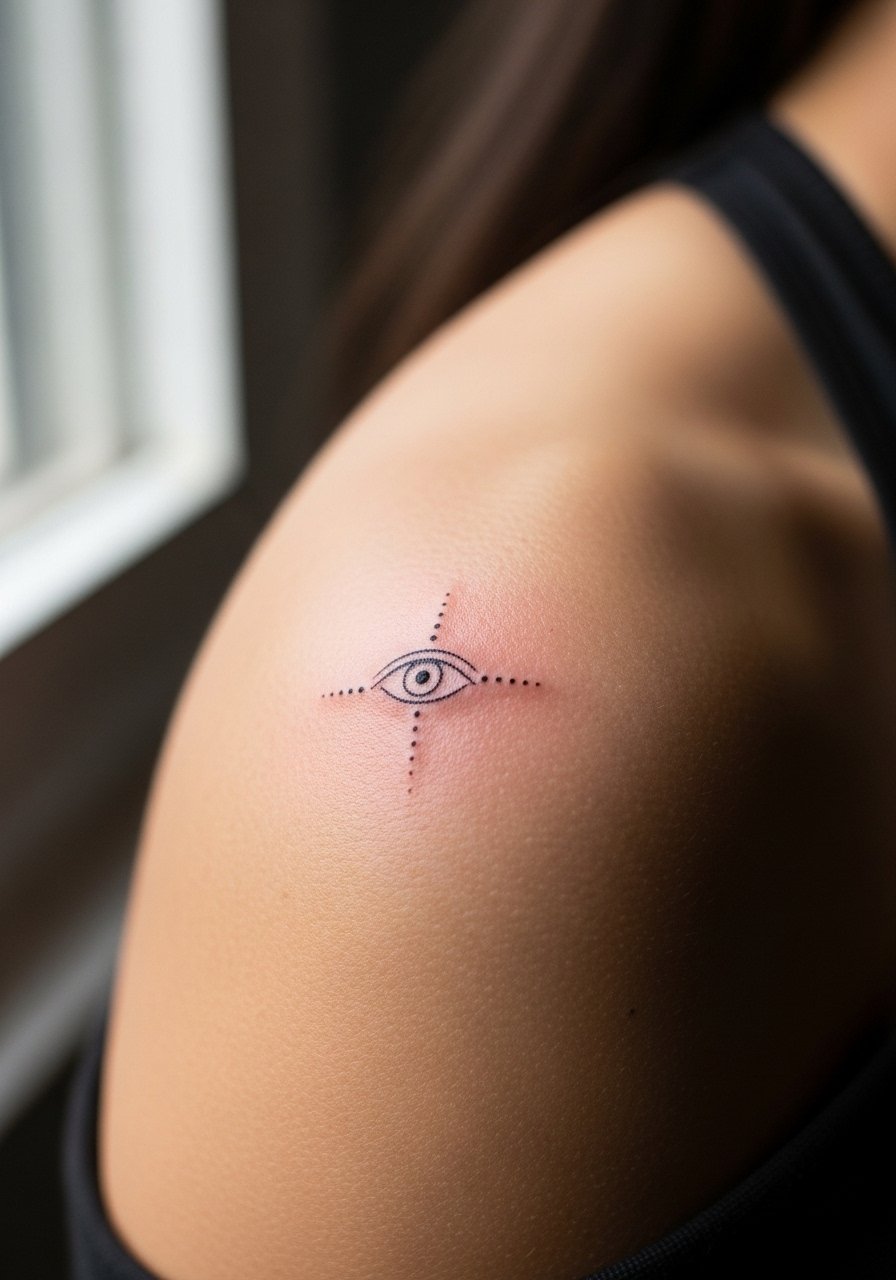
Micro dots placed on the shoulder ridge can be a discreet option. Ask for spacing and a test dot if you worry about density. Sessions are brief and low pain, often under 30 minutes. The risk is placing dots too close which invites early merging. At two years expect slight softening, and plan a touch-up if you need crispness restored. For the session wear a loose tank top you can adjust easily without disturbing the fresh ink.
20. Classic Single-Eye Flash Styled for Shoulder Cap
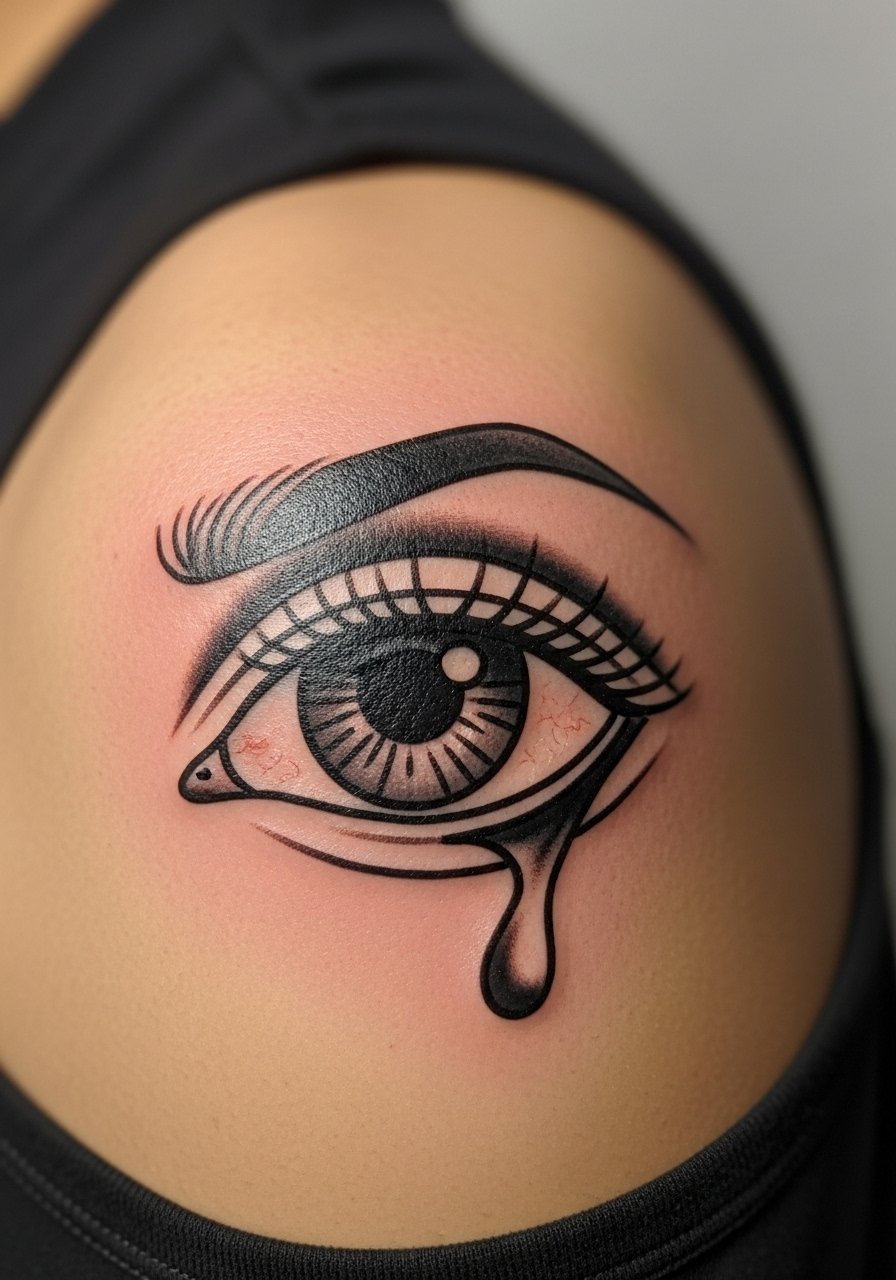
Flash-style eyes adapted for the shoulder tend to age predictably because they use traditional line and fill. Bring references of classic flash you like, and ask the artist to scale lines for the shoulder cap. Sessions are straightforward and often done in one sitting. A common slip is shrinking a flash design too much which drains its visual weight. Classic pieces tend to need fewer touch-ups than ultra-fine styles if they have solid outlines and even saturation.
21. Abstract Eye with Negative Space Bands on Shoulder
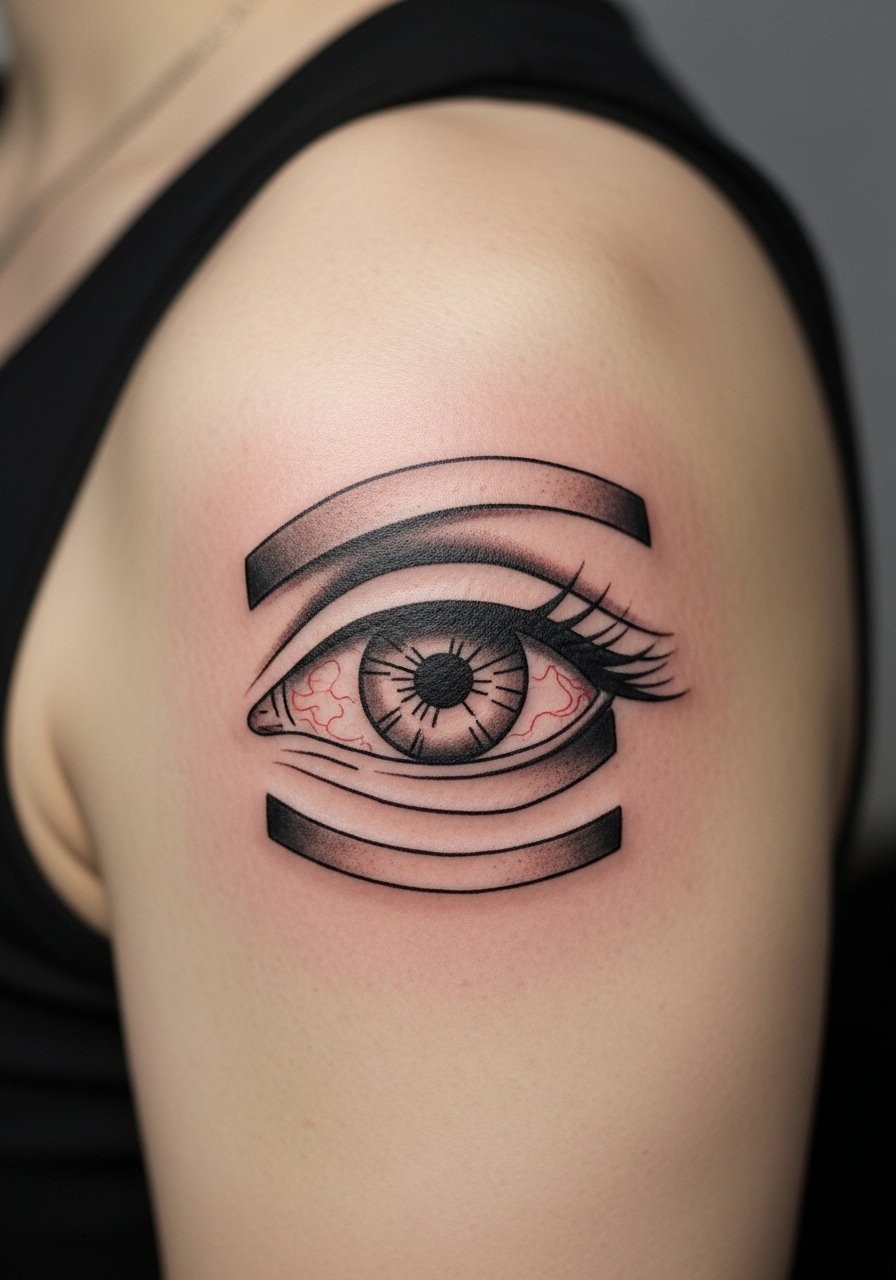
Abstract banding plays well with the shoulder's natural lines and clothing. Ask your artist to show a stencil with your favorite tops on so you can preview how bands interact with seams. Sessions vary but expect 60 to 120 minutes for a medium composition. The mistake to avoid is too many thin bands that merge with movement. Abstract pieces like this age into strong graphic statements when given space and deliberate negative gaps.
Frequently Asked Questions
Q: Will a detailed micro-realism eye on the shoulder need touch-ups sooner than a bolder design?
A: It depends on line weight and placement. Micro-realism uses tiny highlights that can soften faster, so expect possible touch-ups at year two to five depending on sun exposure and how often the area rubs against straps. Ask your artist about planned contrast and whether they recommend a second pass.
Q: Can I get color in a shoulder eye and still keep it from fading quickly?
A: Yes, with caveats. Color holds best with solid saturation and staged sessions for layering. Artists who prefer color on shoulders will plan a second pass for retention. Protecting the area from UV and following post-session film or ointment guidance helps pigments stay truer longer.
Q: Are there wardrobe rules for studio day when getting a shoulder eye?
A: Wear clothing that gives full access and does not press on the spot after healing. Recommended options include a racerback tank top or a loose button-down you can pull aside. Avoid tight straps that will rub the fresh ink in the first 48 to 72 hours.
Q: Do fine line shoulder eyes look "creepy" to most people?
A: Opinions vary. Some see a gaze as intense, others read it as a personal symbol. If you are worried about reactions, consider placement that you can reveal selectively and discuss softer expressions for the iris or eyelid with your artist.
Q: How does shoulder movement affect long-term linework for circular halo designs?
A: Movement changes how rings sit across the deltoid. Larger spacing and slightly heavier outer lines reduce the risk of rings merging. Ask for mockups in the exact arm positions you wear most so the artist can adapt line weight to motion.
