
Fine line geometry dominates feeds right now, but what looks perfect on camera does not always stay crisp on skin. Fans of Black Clover motifs pick detail and symmetry, and those choices determine how a piece heals and ages. Start with a forearm option that gives the clover room to breathe, then move into placements that balance sharp geometry with real-world wear.
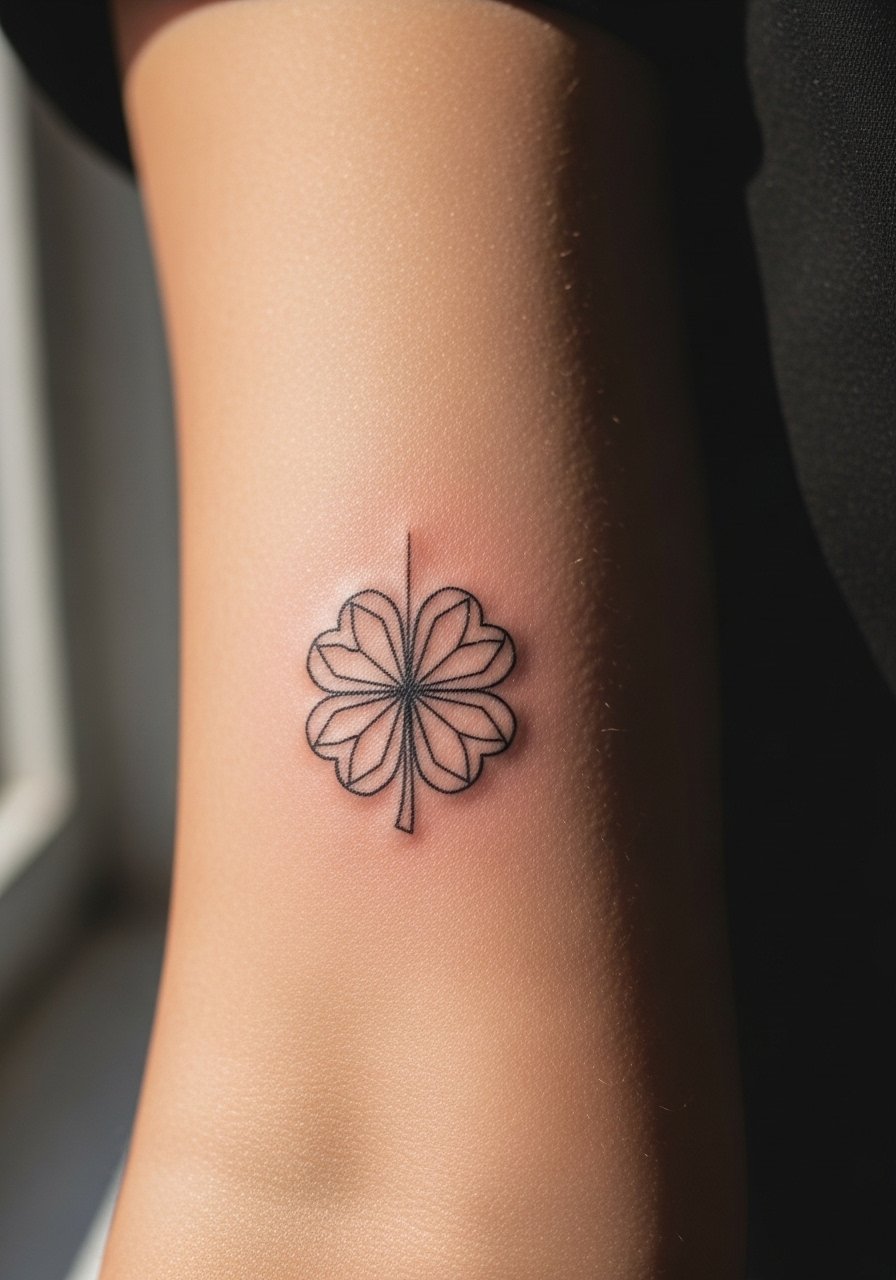
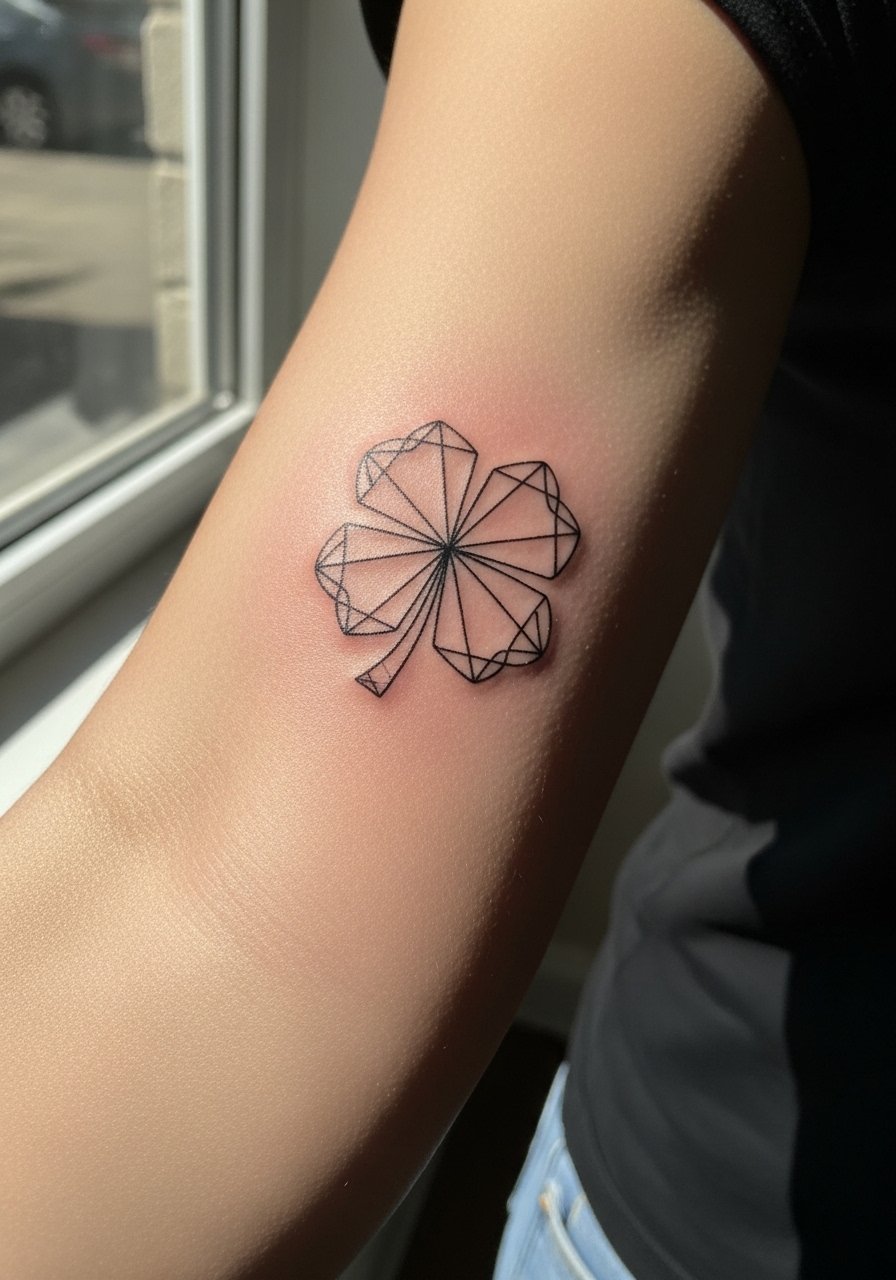
1. Micro-Geometric Clover on the Inner Forearm
I've seen this placement hold detail best when the clover sits slightly larger than expected. The inner forearm gives flat canvas and low friction, so ask your artist for clean linework and small negative-space buffers between petals, not ultra-tight lines. Pain is moderate and most sessions for a single small geometric clover take 30 to 60 minutes. The common mistake is shrinking the motif too small, which leads to line merging by year three. Expect a touch-up around year two for crisp edges. For showing it off, roll up sleeves and try a loose button-down shirt that frames the forearm without competing with the linework.
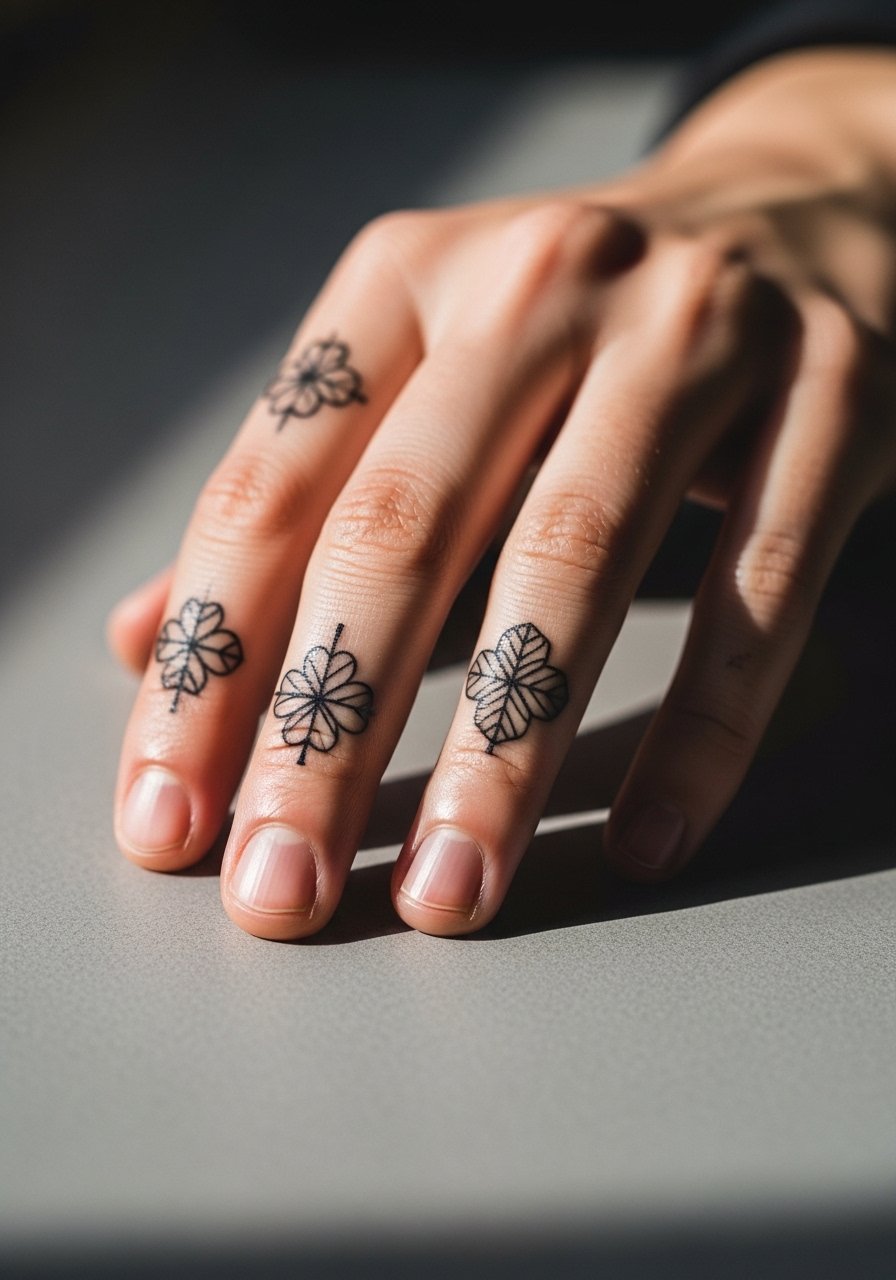
2. Tiny Finger Clover Cluster
Fair warning: fingers are high risk for early blur and touch-ups. The skin there regenerates fast and sees constant washing and friction. For a tiny geometric clover cluster, keep the design simple, with spaced dots or small negative gaps between elements to reduce blowout risk. Sessions are short but may feel sharp because fingers are bony. Many people regret going too intricate, since tiny petal detail often smudges by year two. Hand and finger tattoos can affect some workplaces, and opinions split between those who say visibility is no issue and others who advise caution. Ring stacks pair naturally, so consider stackable rings when planning a look.
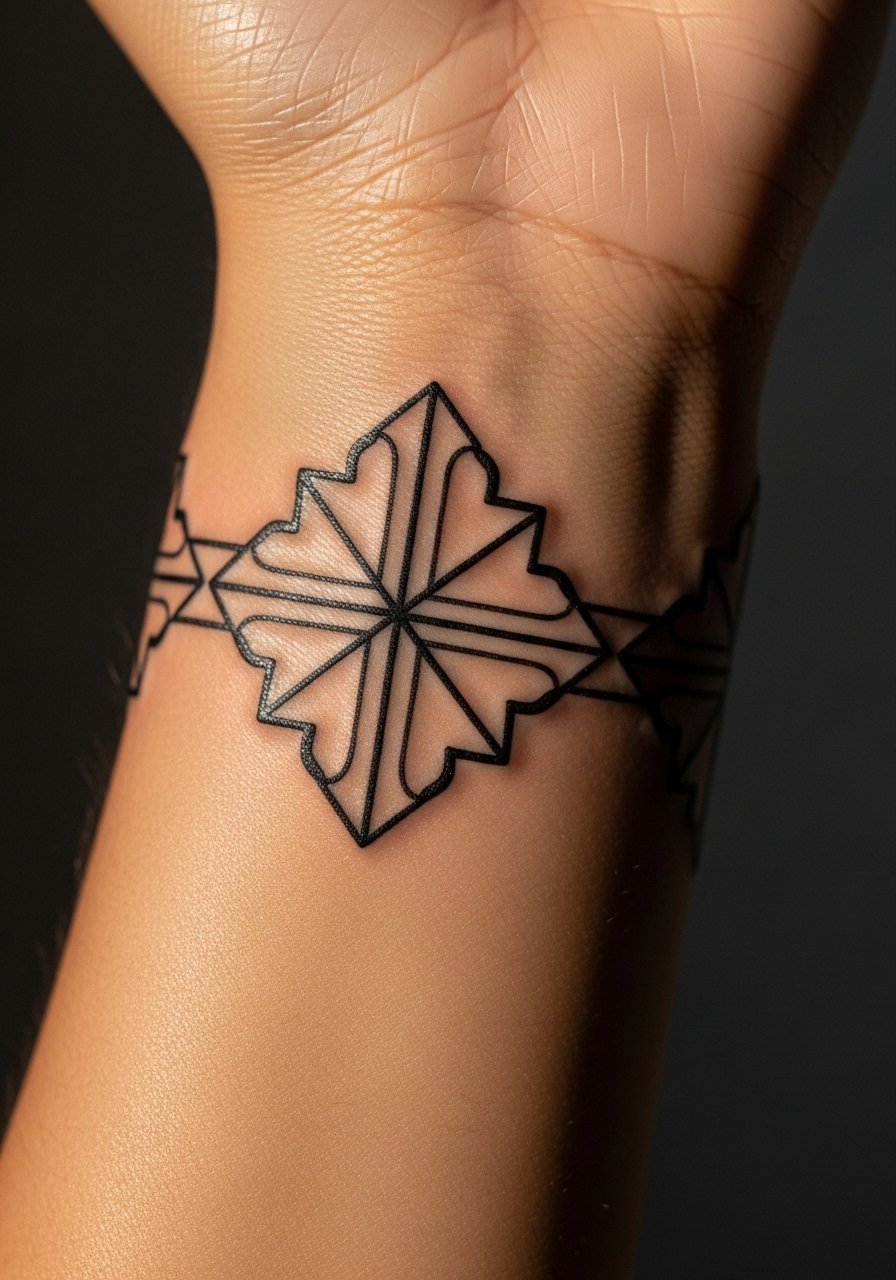
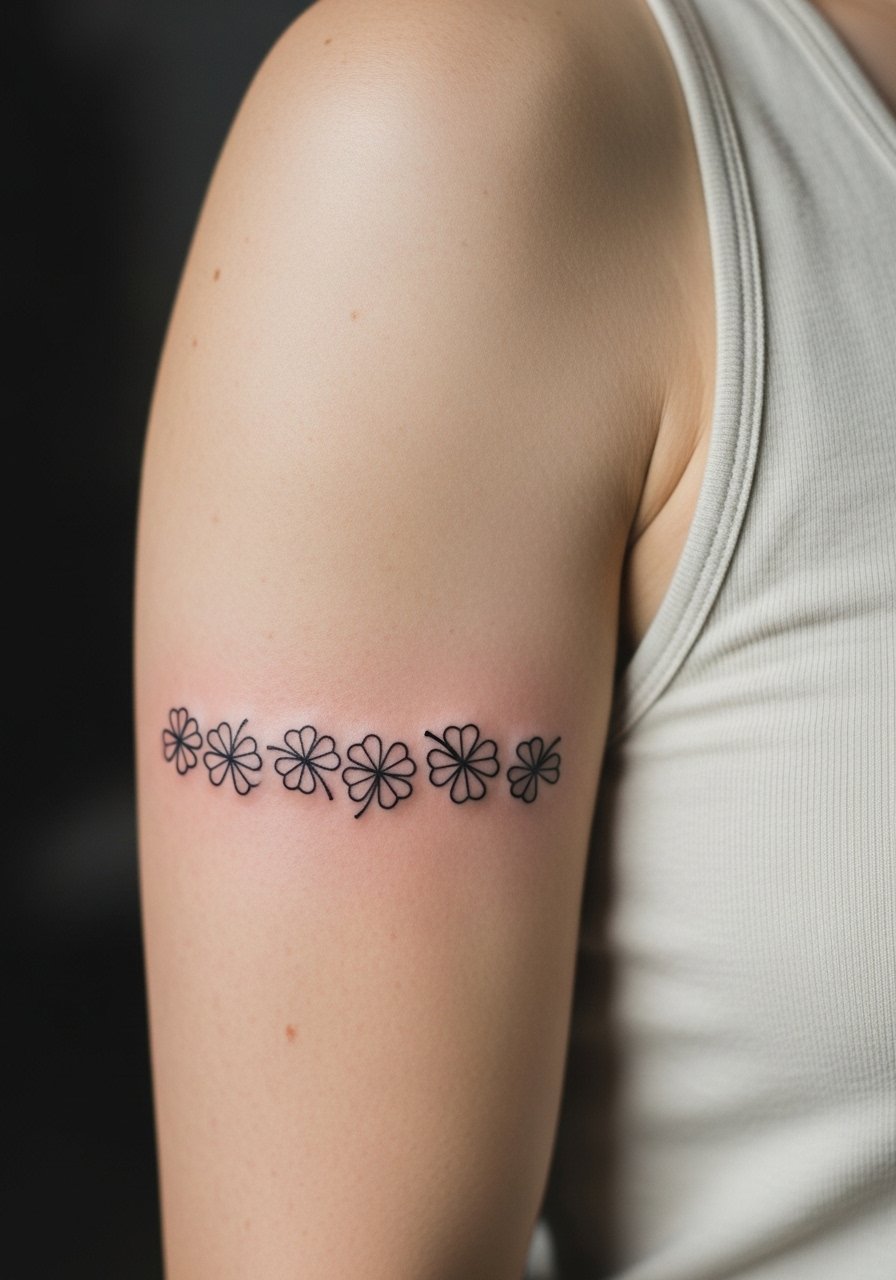
3. Wrist Band of Linked Clovers
There is a visual clarity to a repeating geometric clover band across the wrist. The pitfall is putting dense detail on the inner wrist where skin folds and washes cause faster fading. I recommend a slightly thicker lineweight than micro-line so the pattern keeps its silhouette. Sessions can be 45 to 90 minutes depending on wrap length. Expect some softening at six months, with a likely touch-up at year two. For everyday wear, a thin bracelet or a minimalist watch highlights the wrist without overcrowding the design.
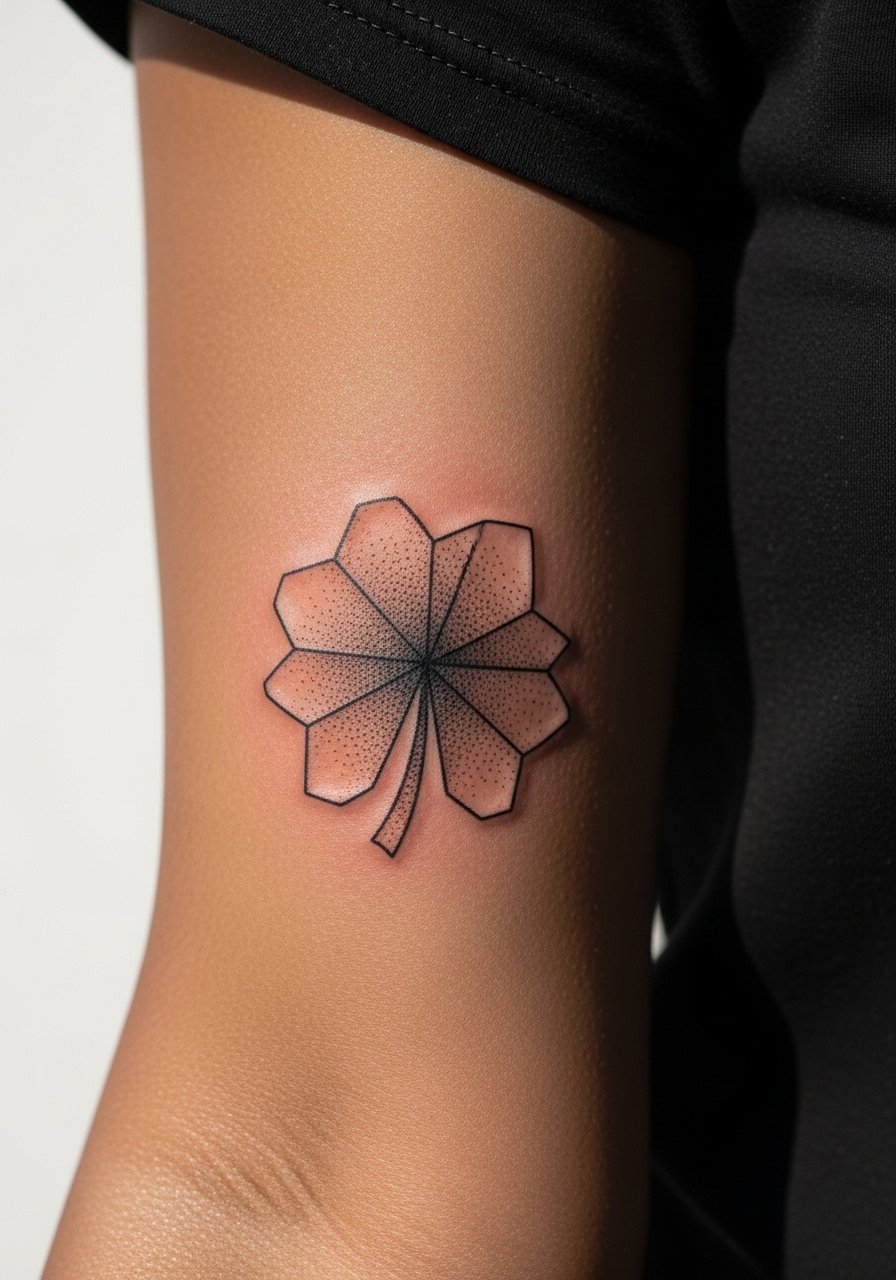
4. Outer Bicep Single Clover with Dot Work
There is something about a single geometric clover on the outer bicep that reads like a small badge when you move. The bicep tolerates denser stipple shading well, so a dot work fill can add texture without heavy saturation. Pain is lower here and sessions are brief to moderate. A common error is packing too many tiny dots near the edge, which can merge as skin stretches. Ask for a buffer of blank skin around the design in your consult. For the appointment, wear a loose tank top you can pull aside so the artist has clear access while staying covered.
5. Shoulder Blade Geometric Mandala Clover
Visual impact lead: a mandala-style clover on the shoulder blade reads intricate while still aging predictably when spaced properly. The shoulder blade is a forgiving canvas for radial symmetry and stipple shading. Sessions may run longer if you want layered dot work. A frequent mistake is compressing petals into the central point, which creates dense black that can soften into a blob over time. This placement pairs with open-back tops for evenings out, so consider an open-back midi dress when planning show-off outfits. For a consult, bring clear reference photos that show true line weight and negative space.

6. Ribcage Geometric Clover Panel
Pain warning lead: the ribcage rates high on pain scales, but it rewards you with a curved canvas that makes geometry feel three-dimensional. Artists split into two camps on fine line here. One camp says the rib skin stretches and breathes too much and fine work blurs within two years. The other camp argues that with correct needle depth and spacing, fine line settles fine on ribs. Ask your artist where they stand and for examples of healed rib work. Sessions will be longer and you should expect at least one touch-up in the first two to three years. For imaging and placement checks, use hashtags and shop directories to find healed ribs examples in portfolios.
Studio Day Picks
The mixed placements above, from wrist pieces to rib panels, each need different prep and protection. These five items smooth the session and the first week of healing for ideas 1 through 6.
-
Stencil transfer paper kit. Helps you preview exact line placement on skin before the needle touches down, which is useful for forearm and wrist geometry.
-
Topical numbing cream. Applied as directed 30 to 45 minutes before the session to reduce rib and inner forearm sensitivity without changing how the artist works.
-
Thin protective film roll. Keeps wrist and finger pieces cleaner during the first days of friction from washing and clothing.
-
Fragrance-free gentle body wash. Use during showers to cleanse healing areas like the rib and shoulder blade without irritating fresh linework.
-
Aquaphor healing ointment. Thin layers in the first few days lock in moisture for fine line work and help maintain crisp edges without clogging.
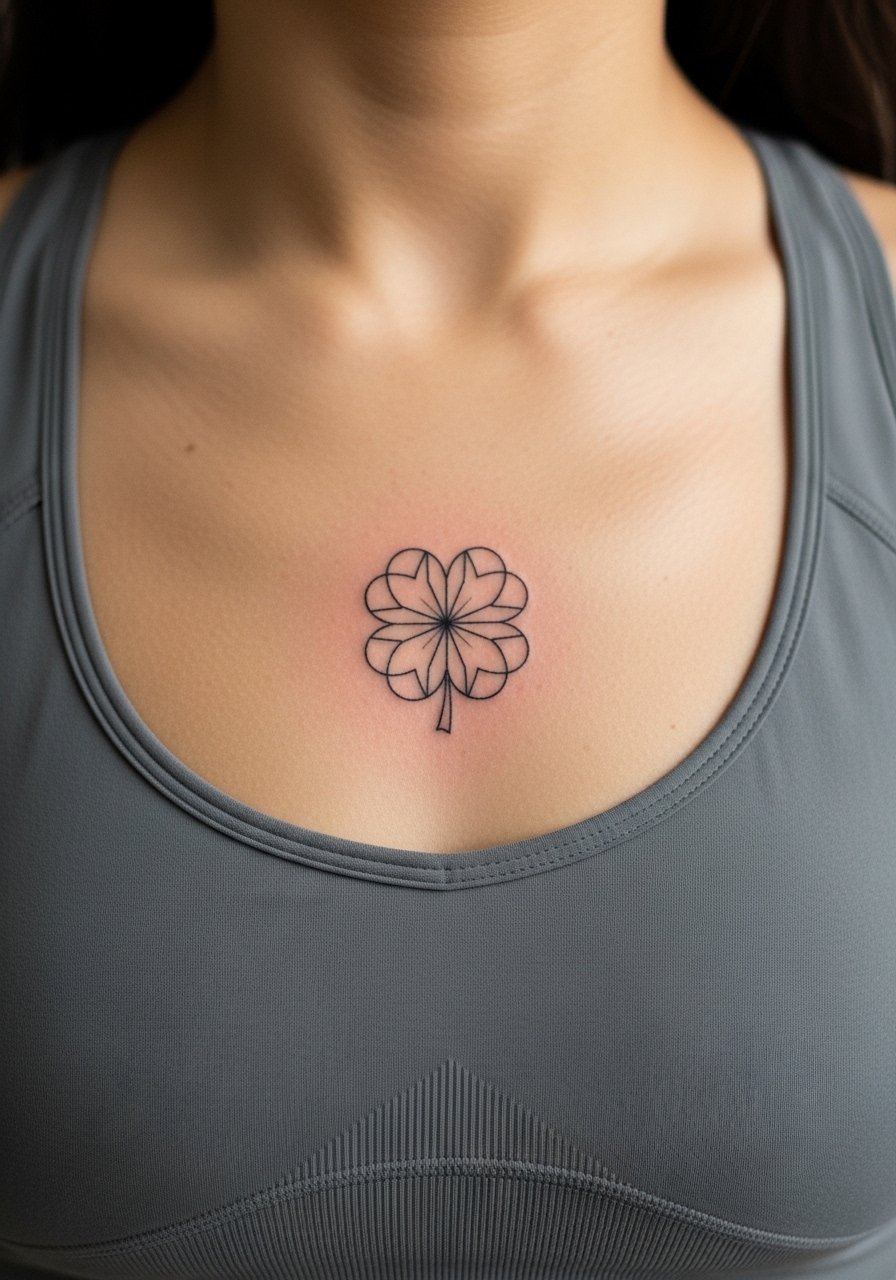
7. Sternum Mini Geometric Clover
Pain warning lead: sternum work sits near bone and can be sharp, but it also gives a centered, intimate placement for a small geometric clover. For sensitivity and modesty, wear a fitted sports bra or bandeau so the artist only exposes the working area. Keep the design modest in density because central chest skin moves with breathing and heavy saturation can blister during healing. Sessions are generally short for small pieces, but expect soreness for a few days. Some artists prefer slightly bolder linework here to avoid early softening. If you want to show it selectively, lightweight tops with a deep neckline will let it peek without full exposure.
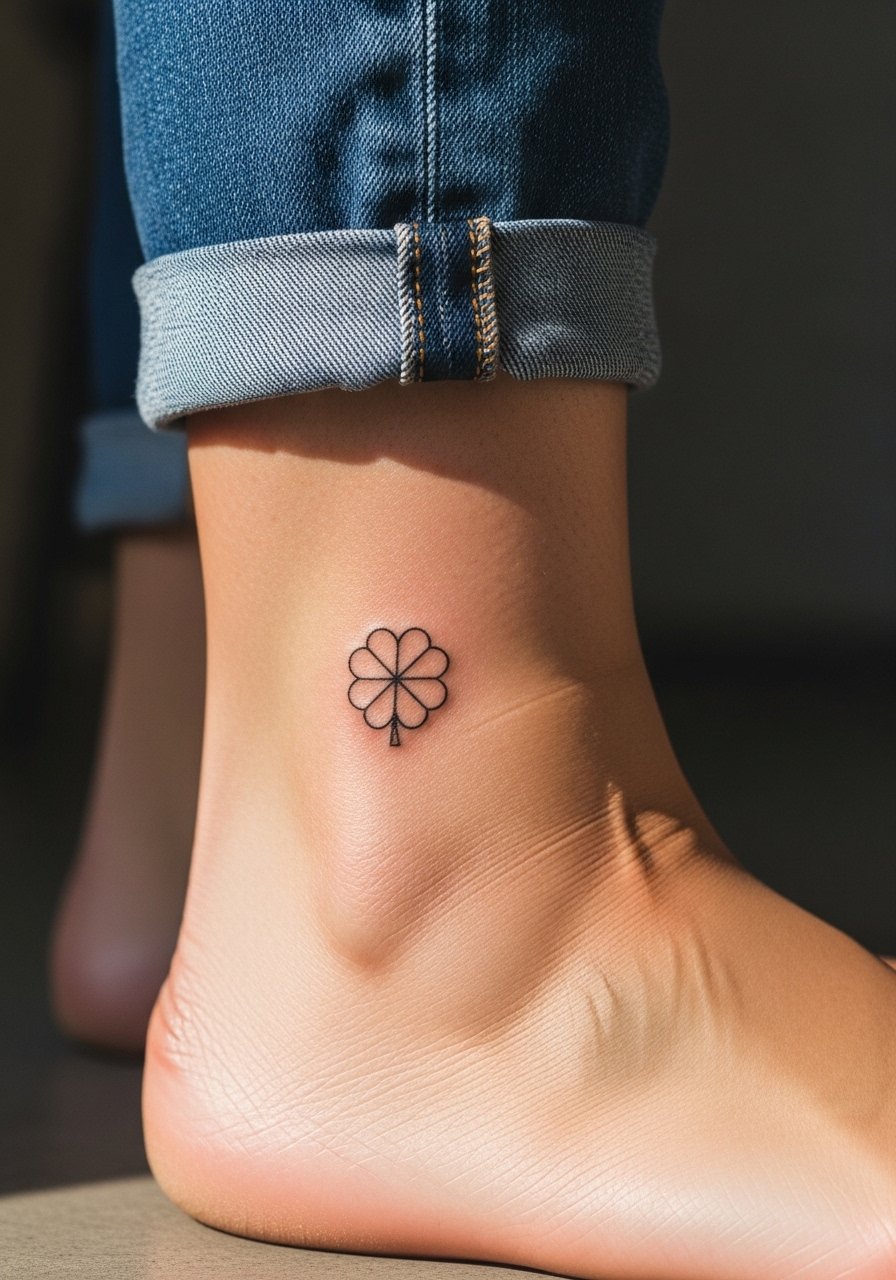
8. Ankle Single Clover Dot Work
Visual impact lead: an ankle clover sits well with delicate dot work and looks intentional when paired with low-profile footwear. The ankle sees a lot of rubbing from socks and shoes, so keep the design slightly raised in scale and avoid tiny interior dots packed close together. Sessions are quick and pain is moderate. Expect faster fading if you wear closed shoes often, and plan a touch-up at year two. For show-off pairing, roll jeans or pick sandals and try a thin anklet chain that frames the tattoo without covering it.
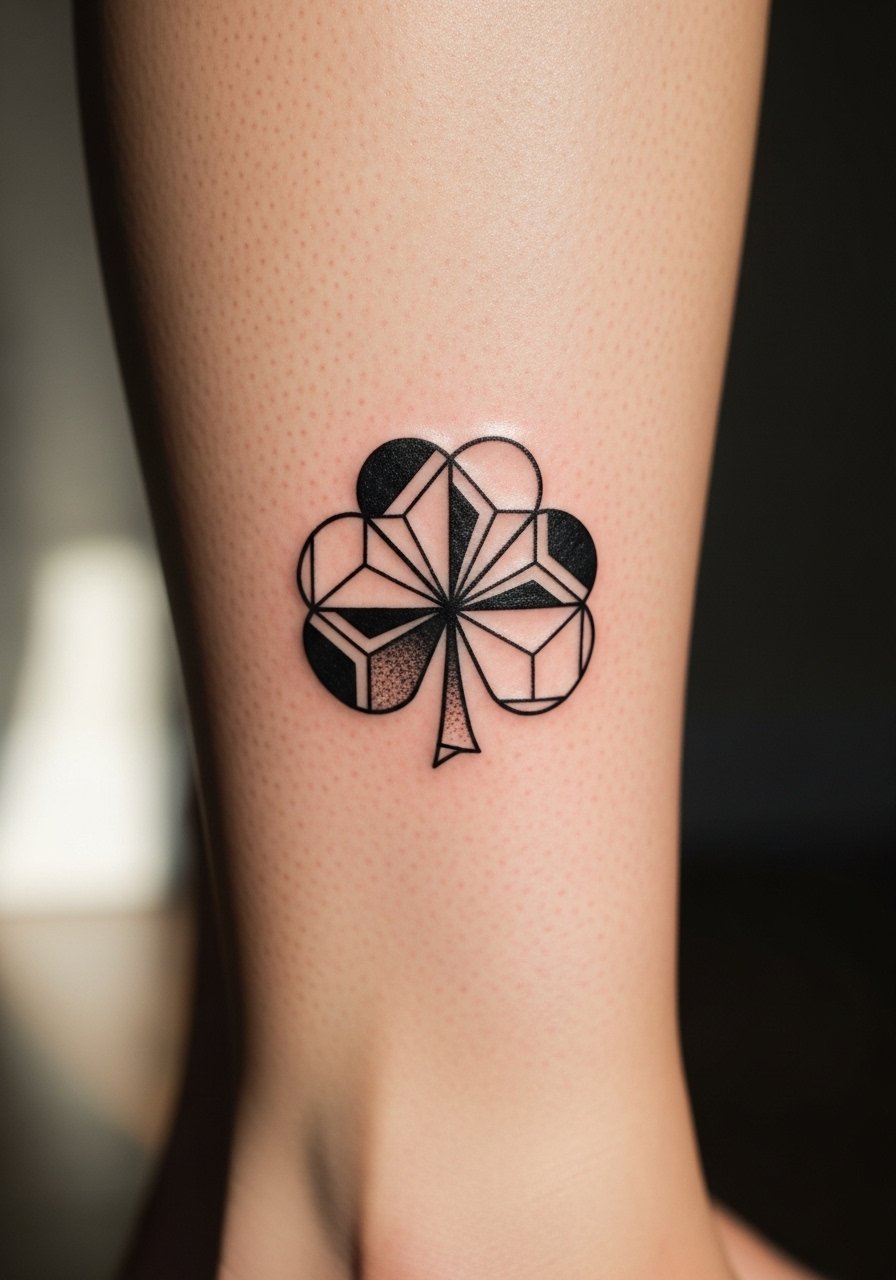
9. Calf Geometric Black Clover
Visual impact lead: the calf offers a vertical canvas that ages well and resists a lot of daily friction. A blackwork geometric clover with negative space and solid saturation in the core holds up, since calves rarely see the kind of rubbing wrists or feet do. Sessions vary from a single short visit to multiple fills if you want dense saturation. A mistake is over-detailing near the edges, which can go soft over time. Pair this with casual shorts or trainers and consider an athleisure short for easy showing and comfortable session wear.
10. Tiny Clover Behind the Ear
Personal observation lead: when tucked below the hairline behind the ear, a tiny geometric clover feels like a secret detail that only comes out when you tuck hair. The prompt for image generation should specify skin behind the ear and the hairline, not the ear itself. Pain is low and sessions are very short. The common misstep is putting too much interior detail into a tiny face, which can translate to blotchiness after healing. If you want it visible, pair a small stud or ear cuff that complements the motif, such as a minimal ear stud set.

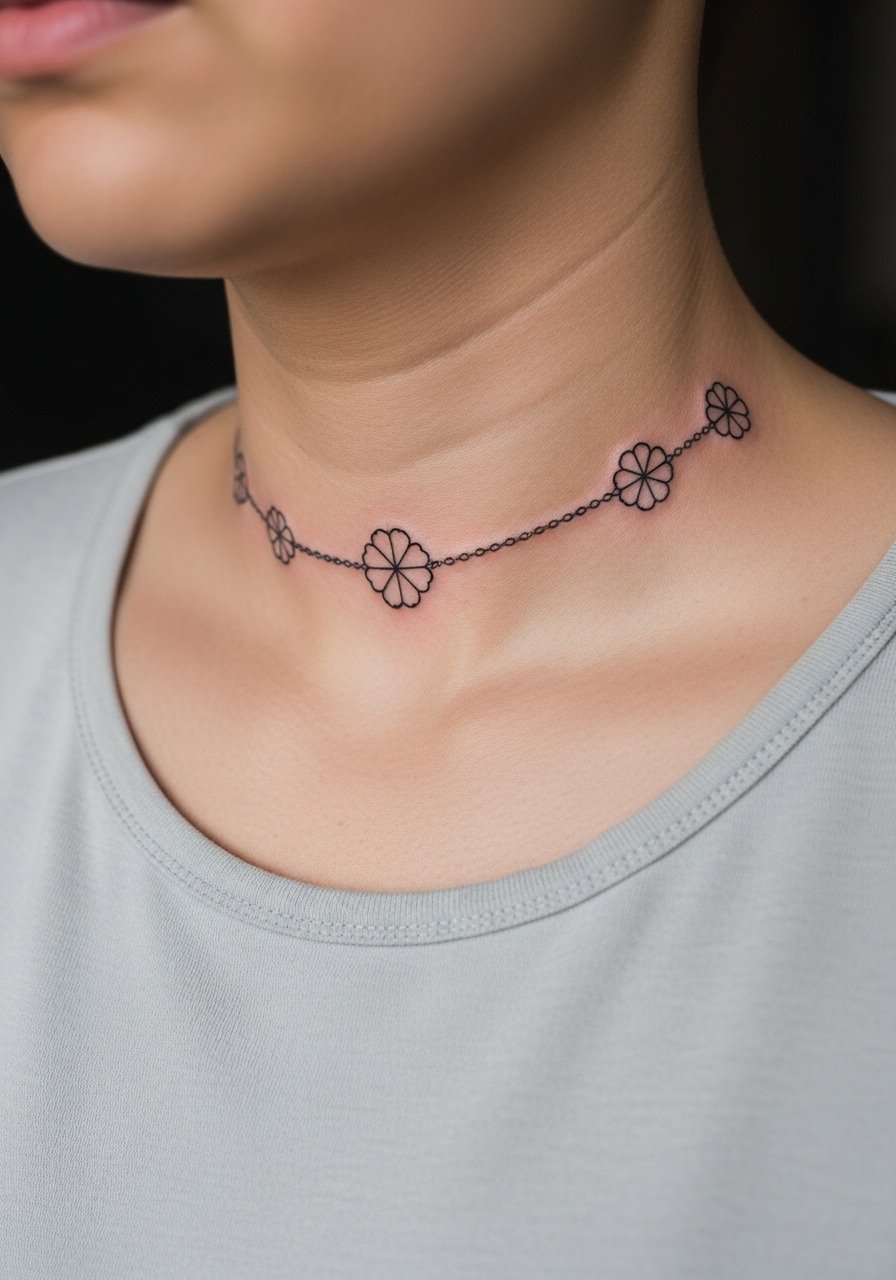
11. Collarbone Linework Clover Chain
Consultation lead: the collarbone is a shallow plane that highlights linear geometry but shows aging differently than the forearm. Ask for slightly heavier outer linework and more breathing room between elements to avoid softening across the collar area. Sessions can be 45 to 90 minutes depending on length. Clothing for the session should be a wide-neck shirt you can pull aside without exposing the chest. For showing off, a wide-neck blouse lets the collarbone sit visually central without full exposure.
12. Inner Bicep Linear Clover Row
Mistake lead: the inner bicep can be tempting for long skinny rows of motifs, but compressed geometry there can lose definition as the arm moves. I tell people to leave an inch or so of clear skin between repeat clovers so the negative space preserves each shape. Pain is moderate to significant depending on depth. Sessions are comfortable if broken into short passes. For the session, wear a tank top you can easily lift so the artist can work without you feeling exposed. Expect touch-ups at the two to three year mark for tight linework.
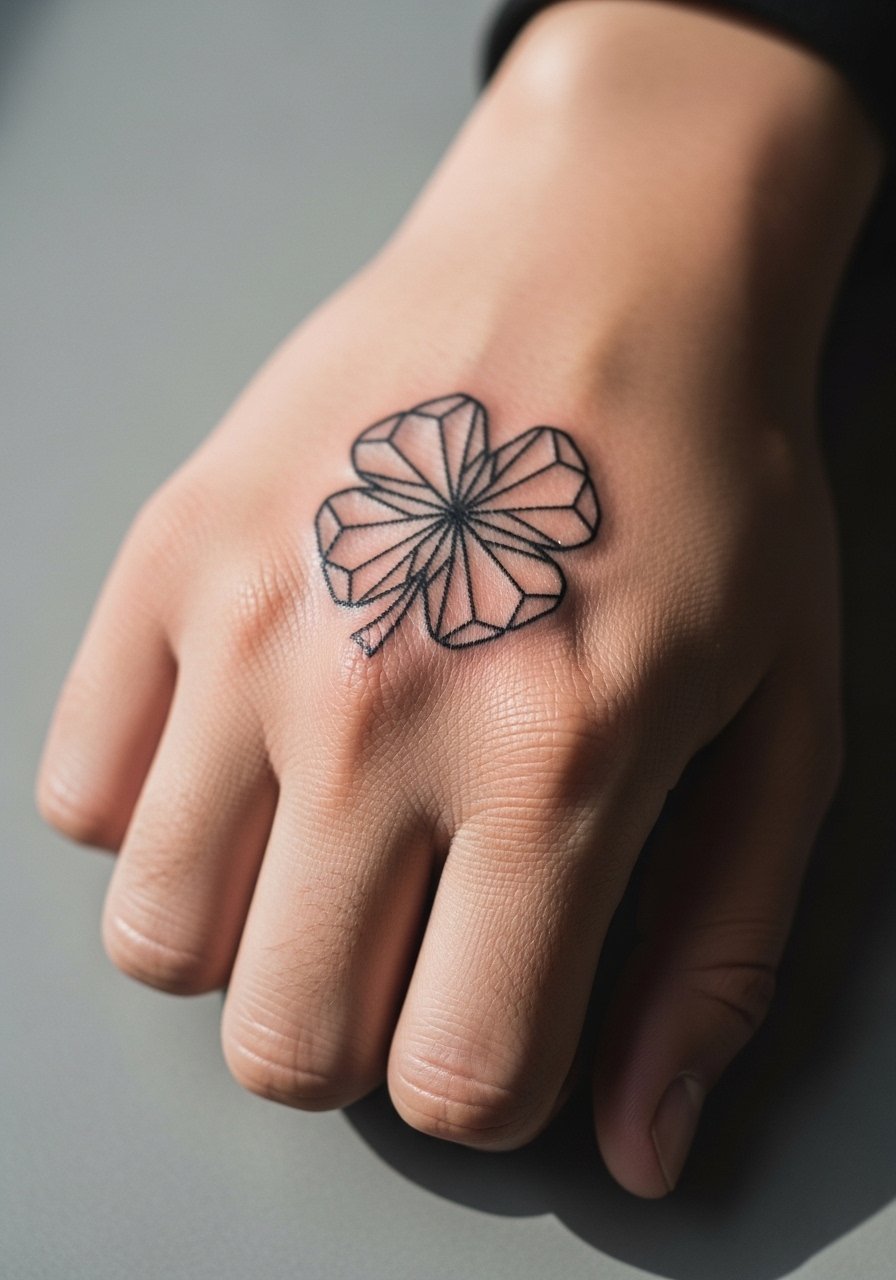
13. Full Hand Geometric Clover Palm Accent
Controversy lead: hand tattoos split opinion and they also split career outcomes. One camp argues hands are a meaningful canvas worth the trade-off since visibility suits certain subcultures. The other camp cautions that many employers still view hand tattoos as risky. Be explicit about your industry before committing. Technically, the palm and fingers face the most friction, but a palm-side accent that leans into bold geometry with negative space can last surprisingly well. Sessions are painful and often require touch-ups every year. For styling, pair with minimal rings rather than chunky bracelets so the hand remains the focal point.
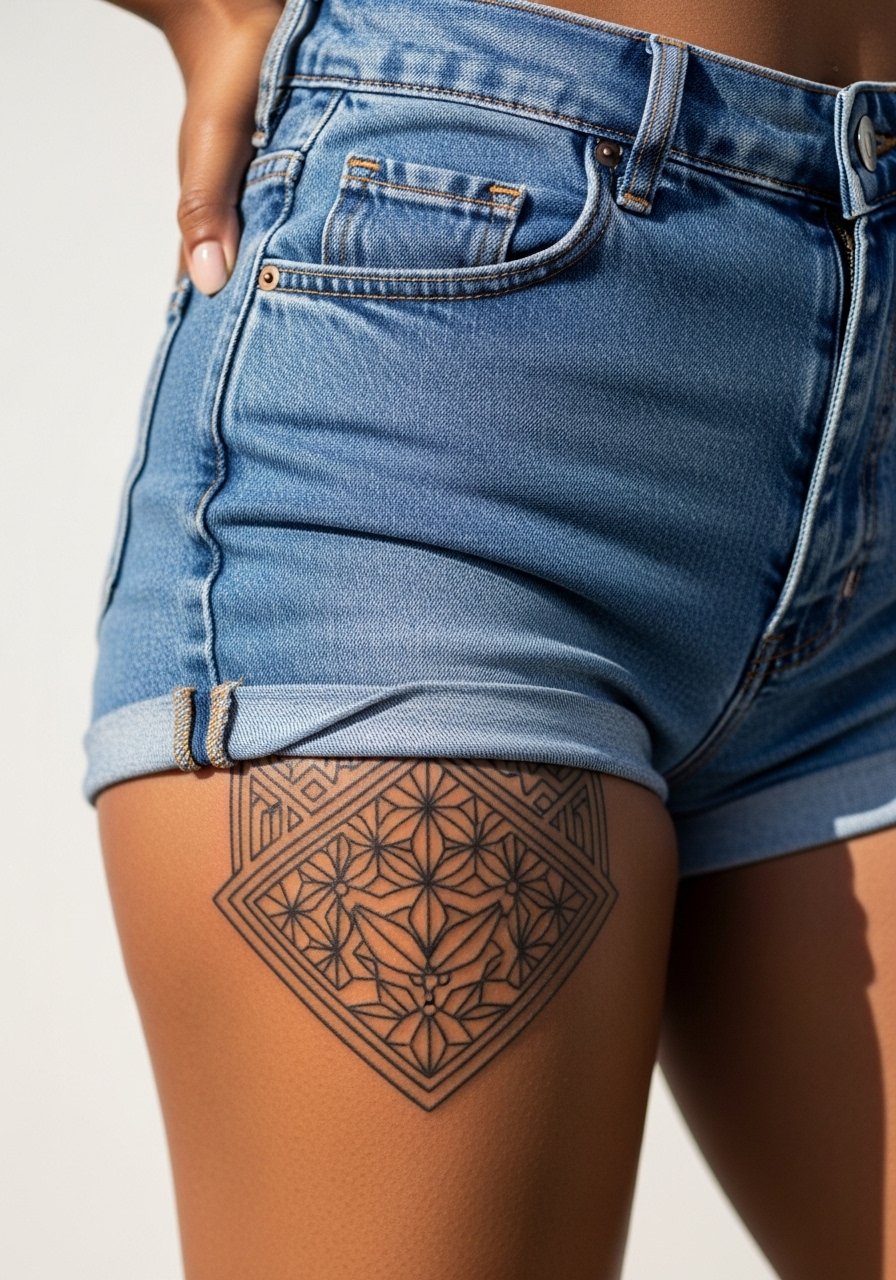
14. High Thigh Geometric Clover Panel
Aging lead: thigh placements can age gracefully since they see minimal sun and friction, so dense geometric fills and dot work tend to remain legible longer. The inner or upper thigh requires modest session wear, so plan for shorts or a skirt you can shift aside. Motion during healing matters, so avoid tight pant bands for a few weeks. If you want to show it in summer, pair with a high-waisted skirt that frames the area while protecting it from daily abrasion.
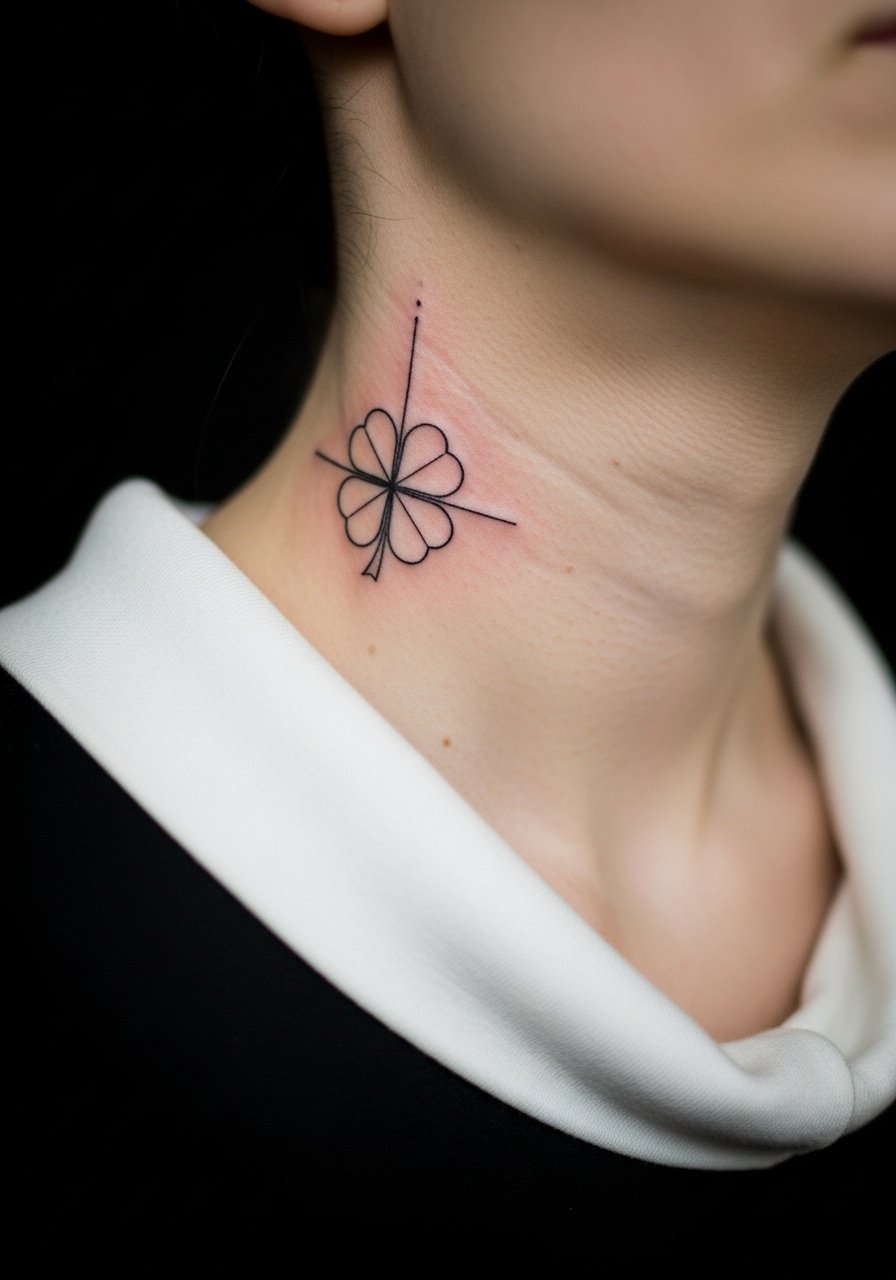
15. Side Neck Minimal Clover
Styling lead: the side neck is high-visibility, so keep geometry bold and simple if you want longevity. The area is prone to movement and sun exposure, so expect faster softening than on the forearm. For imaging, have the subject wear a wide-neck shirt with the collar pulled slightly aside so only the neck area shows. Small script or delicate dot work next to the clover can create a layered look. Finish the session with a thin chain pendant necklace that sits above the clover without cutting into it.
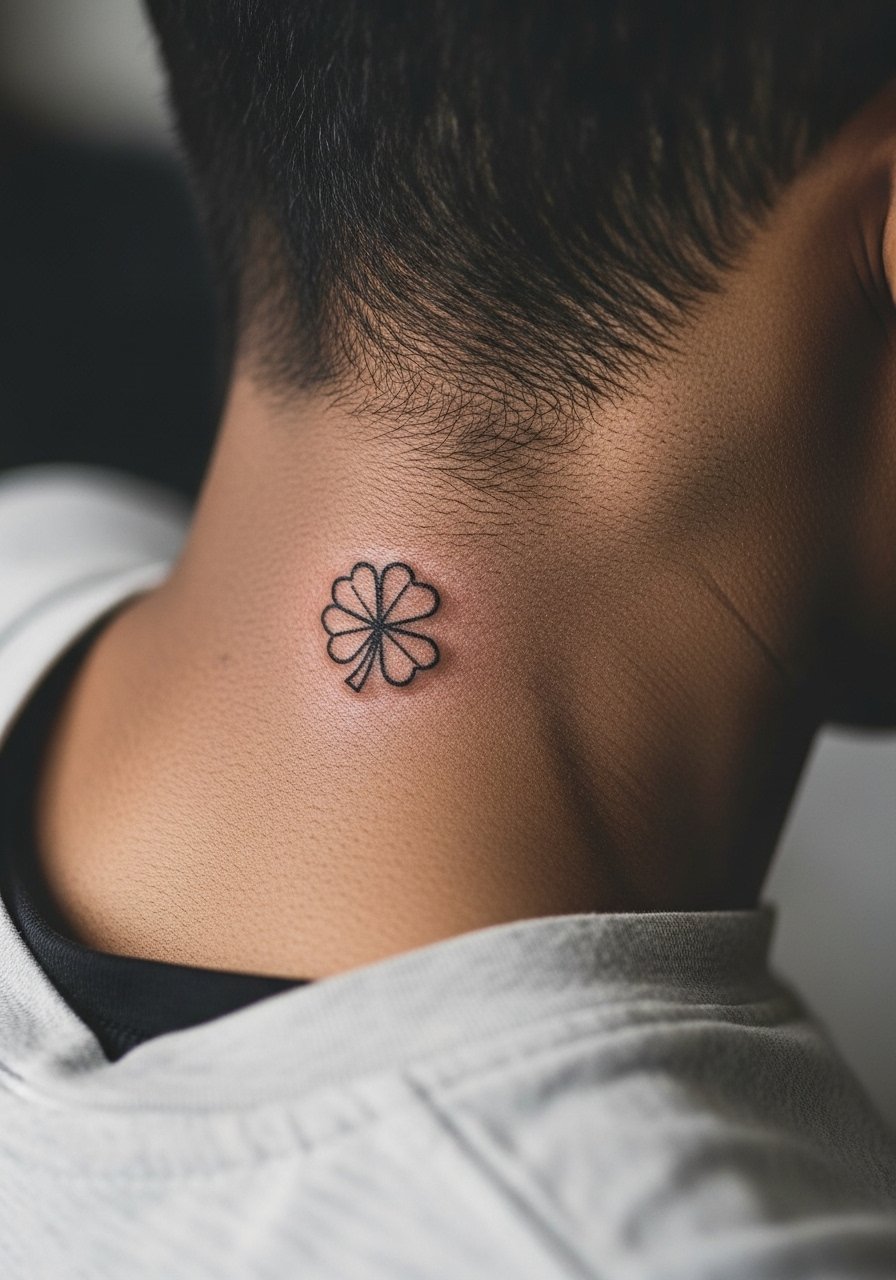
16. Nape of Neck Micro Clover
Personal observation lead: a tiny clover at the nape is discreet and works well for people who wear their hair up sometimes. The image must show the collar area with a t-shirt or collar pulled slightly down to reveal the spot. Pain is low to moderate and sessions are quick. A common error is crowding the motif near the hairline where hair pulls and oils can interfere during healing. Consider wearing an updo and using a soft scrunchie post-session to keep hair off the area while it seals.
17. Geometric Clover Forearm Sleeve Accent
Consultation lead: if you want a sleeve that includes a Black Clover motif, plan the negative space from the start. A sleeve that mixes solid black anchors with fine geometric clovers and stipple transitions reads clean when healed. Sessions will be multiple long visits and expect several touch-ups over the first two years. The biggest mistake is trying to pack detailed micro motifs next to saturated black without transitional shading. For showing it off, rolled linen sleeves work best, so bring a rolled sleeve linen shirt to the session and to wear when you want to highlight the forearm work.
Frequently Asked Questions
Q: Will a fine line geometric clover blur faster on ribs than on the forearm?
A: Yes, ribs move with breathing and have thinner skin, so fine line on the ribs tends to soften sooner than on the forearm. If you want the rib look, ask for spacing and slightly stronger outer lines, and accept a likely touch-up within two to three years.
Q: How visible do hand or finger clover tattoos stay over time and will they affect job prospects?
A: Hand and finger pieces face constant friction, so they often need annual touch-ups to stay crisp. On careers, opinions are split. Some industries are relaxed, others still hesitate. Think about your long-term professional environment before committing.
Q: What should I wear to a ribcage or sternum session for comfort and access?
A: Wear a cropped top, a fitted sports bra, or a button-down you can lift to expose only the working area. A fitted sports bra keeps modesty while giving the artist access to the sternum or ribs.
Q: Can geometric dot work be combined with Blackwork without losing detail?
A: Yes, when you plan negative space and gradient transitions. Use stipple shading between solid black anchors and fine geometry to create breathable separation that ages better than packing everything tightly.
Q: Where can I find healed portfolio examples and community feedback when vetting an artist?
A: Look through local shop directories, forum threads, and hashtags for healed shots. Spending time in tattoo communities and browsing portfolios that show healed work gives more realistic expectations than fresh photos alone.
