
The tattoos that still read clean at year ten are often the ones people skipped pinning to a trending feed. Geometric fractured angels that breathe with negative space and measured line weight survive daily wear far better than tiny, dense shapes that smudge. Pick placement and spacing before you pick the exact polygon, and the 27 designs below show stylistic choices that actually hold up on skin, not just on a phone screen.
1. Forearm Geometric Angel Wings with Sacred-Pattern Overlay
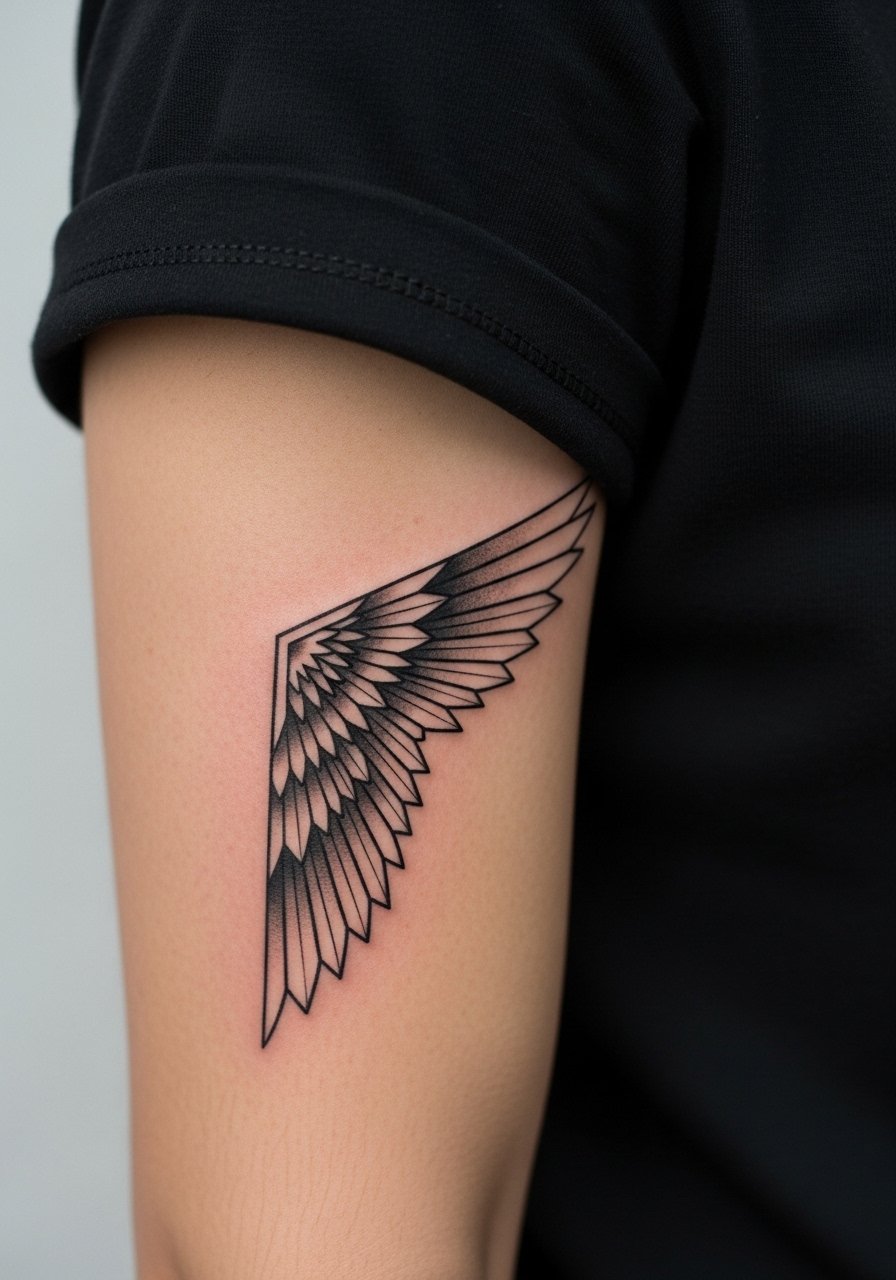
I've seen this pattern on forearms for years and the trick is spacing not complexity. Ask your artist to scale each polygon so the lines have breathing room. Common mistake is shrinking the tessellation too small, which leads to merging at month twelve. Pain on the outer forearm is low to moderate and a single session usually covers a 4-6 inch spread. For showing it off, roll the sleeve and pair with a rolled cuff black t-shirt that frames the wing without competing. Expect a touch-up at year two to restore crisp edges.
2. Inner Bicep Tessellated Silhouette
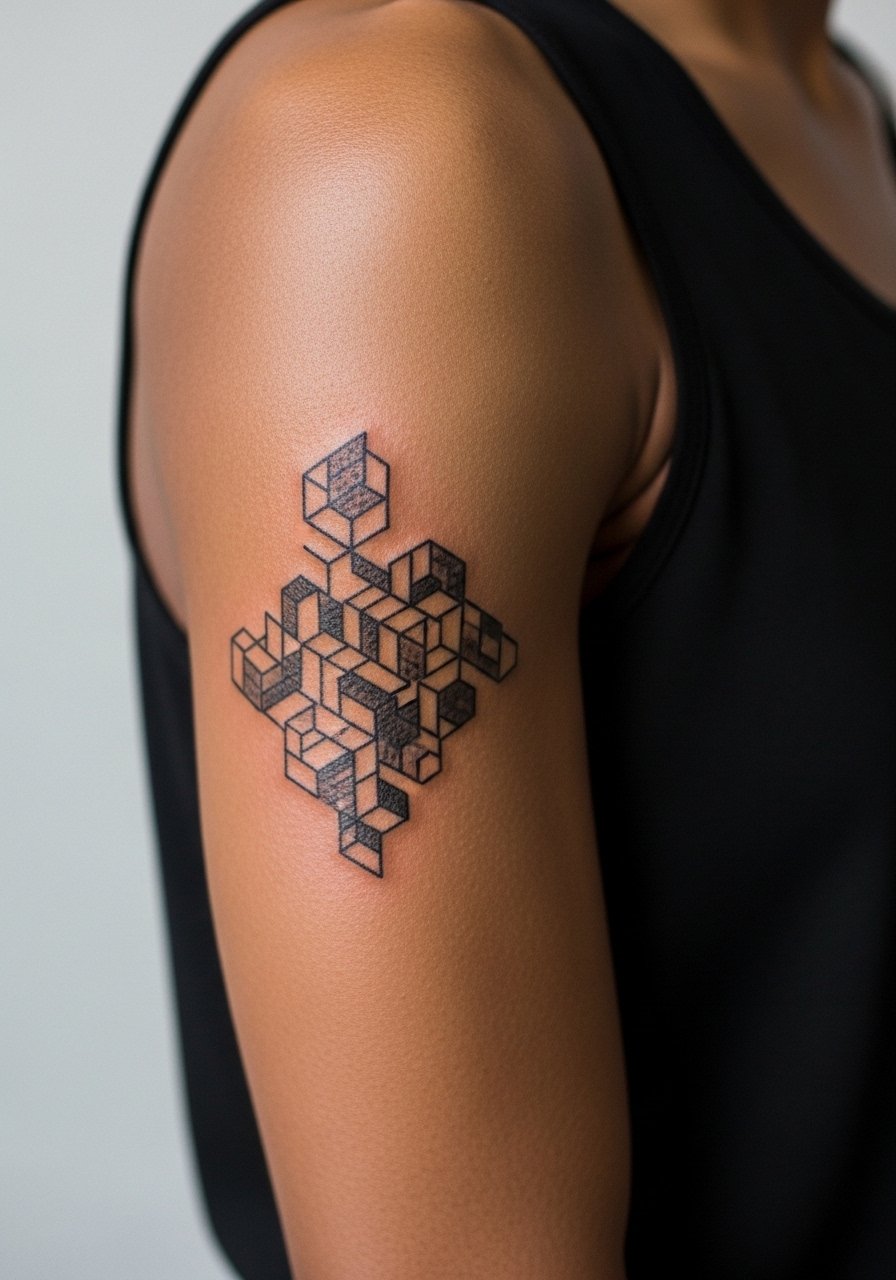
Fair warning, the inner bicep has more stretch and movement than people expect, which makes tessellation placement critical. Tell the artist you want slightly thicker guide lines and larger polygons so the optical effect survives a year of normal wear. Session pain is moderate and you can usually do a 3-5 inch piece in a single visit. For the appointment, wear a loose tank top so the artist can lift the arm without restriction. Plan a touch-up window around 18 months if you notice softening in dense areas.
3. Collarbone Fractured Halo, Dotwork Accent

Collarbone placements read large compared with their measured size, and the fractured halo looks intentional when the polygons are offset rather than perfectly mirrored. Expect sharp sting across bone but a short session for a 3-4 inch halo. The common mistake is placing too many micro dots over bone, which can fuzz. For showing the piece, an off shoulder sweater in cream or slate naturally frames the collarbone lines. If you have darker skin, ask for richer saturation and slightly heavier outlines to keep contrast years out.
4. Micro-Halo on the Wrist with Negative-Space Wings

The wrist is forgiving for small halos but unforgiving for too-tight geometry. My advice is scale up slightly from what you think you want so the negative space reads after a summer of sun and friction. Pain is low to moderate and a wrist piece under two inches heals quickly. Stack this with a thin silver cuff bracelet on the opposite wrist to balance the look. Expect a light touch-up around year two if you type a lot and the lines soften from constant washing.
5. Shoulder Tessellated Angel Form, Summer-Ready

There's a reason shoulders appear everywhere in summer reels. The curved canvas lets layered geometry sit without compressing like on a wrist. Tell the artist to follow muscle flow and avoid symmetric repetition that collapses with movement. Sessions run one to two hours for a 4-6 inch piece and healing is straightforward. For seasonal visibility pair it with a black strapless tank top or throw a slim leather jacket over for nights out. Shoulder work tends to need fewer touch-ups than inner-arm pieces.
6. Layered Geometric Angel Form with Kintsugi Cracks
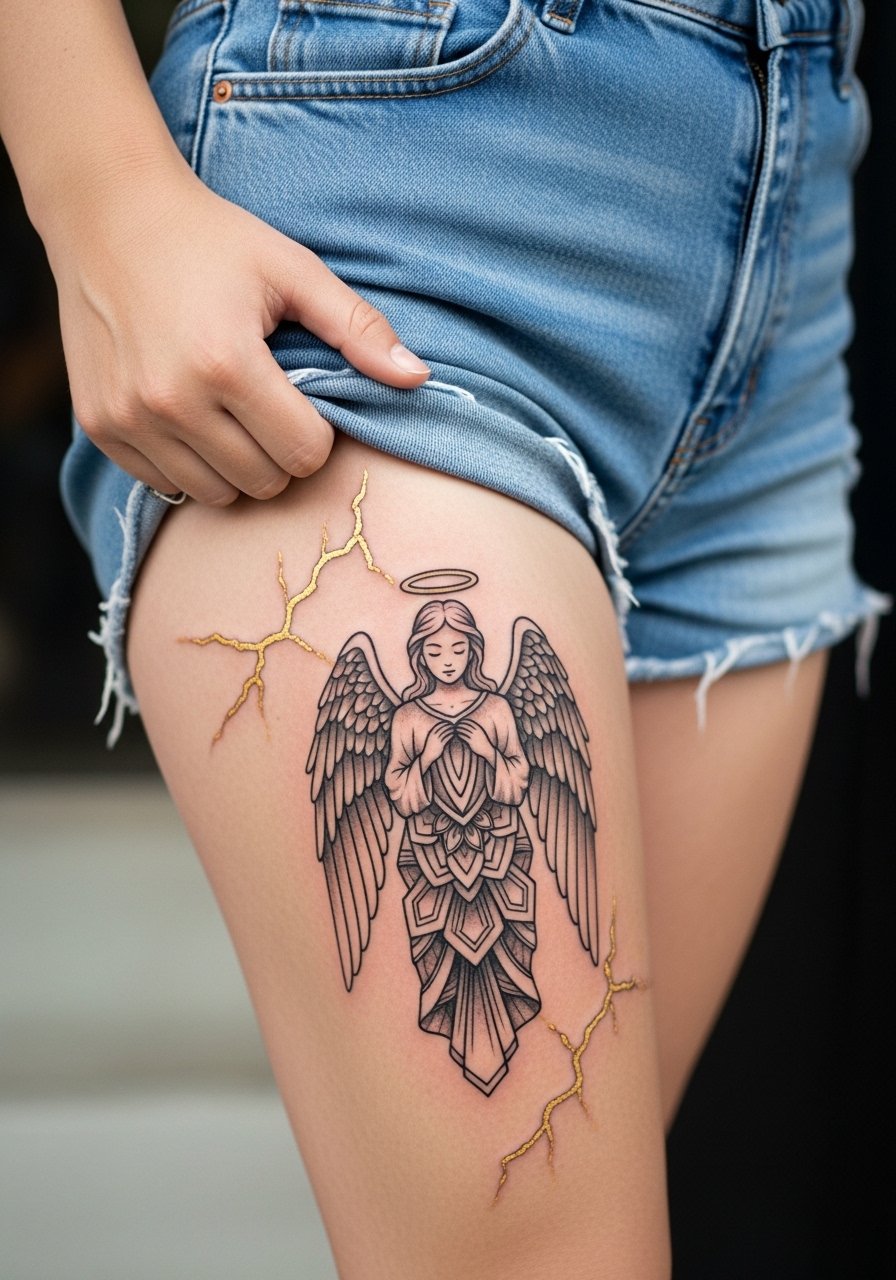
This version adapts the Kintsugi idea to tattoo by inserting fine "crack" lines into larger polygons for a beauty-in-ruins feel. Outer thigh is forgiving of scale changes so larger polygons let the cracks age visibly and gracefully. Sessions usually span two sittings for a 5-7 inch concept and pain is moderate. For summer showing, pair with high waisted denim shorts and thigh-high socks for contrast. Watch for common mistakes like over-detailing the crackwork too small, which blurs after healing.
Studio Day Picks
Those first six placements ask for different prep and protection. Forearm and wrist pieces need different session wear than thigh or collarbone work, and a few targeted items make the chair day easier.
-
Australian Tea Tree Aftercare Spray. Lightweight spray appreciated by people with forearm work because it avoids greasy residue that can soften fine line definition.
-
Greenfoot Tattoo Salve. Breathable hemp salve that forum users report performs well on darker skin for bold geometric outlines without clogging.
-
Japanese Kintsugi Ink Balm. Fast-absorbing balm that is handy for shoulder and thigh pieces where too much ointment pools near seams.
-
Unko Giko Balm. Thinner than heavy ointments which helps preserve crisp polygons on dense blackwork.
-
H2Ocean Healing Spray. Spray-on option people favor after day three for detailed forearm work because it clears lymph without gumming the lines.
7. Minimal Polygon Halo Behind the Ear, Hidden Edge

This placement is great for a subtle shard of geometry that hides under hair most days. Behind-ear work needs careful stencil alignment, so tell the artist you want the halo offset slightly toward the neck for natural concealment. Pain is low but proximity to bone can twinge. If you work in a conservative environment this keeps visibility minimal. One professional note, ask for an artist experienced with neck hairline placement since movement and shampoo can affect early healing.
8. Geometric Halo on the Neck Nape, Dotwork Fade
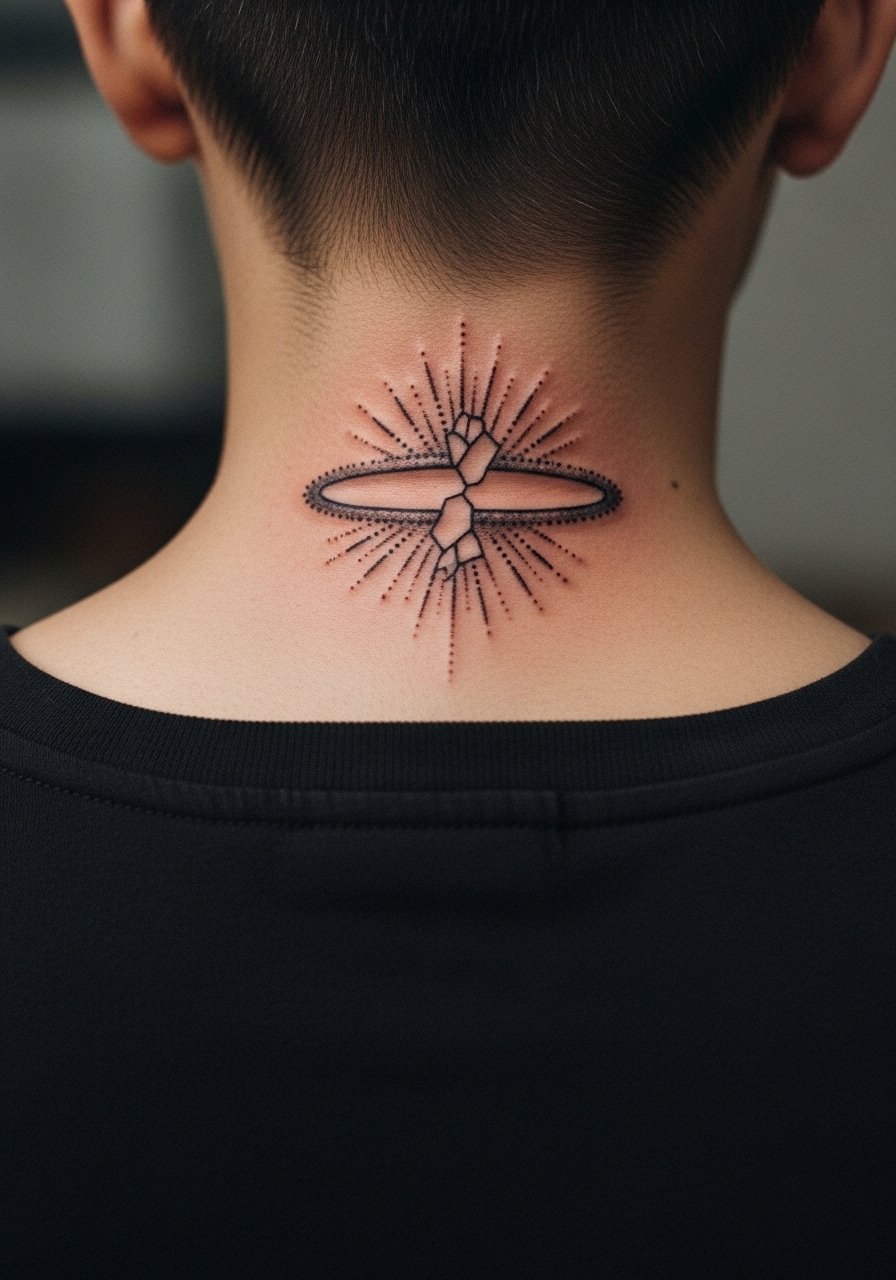
The nape is subtle and pairs cleanly with chokers or open collars. During consultation request stipple shading rather than solid fills near hairline to reduce contrast loss over time. Healing can be fiddly because of hair and collars, so wear a loose shirt the first week. For show-off wear a thin metal choker or a high-neck top pulled aside for reveal. Expect a touch-up if the area rubs against backpack straps.
9. Geometric Sternum Halo, Fine Line Fracture
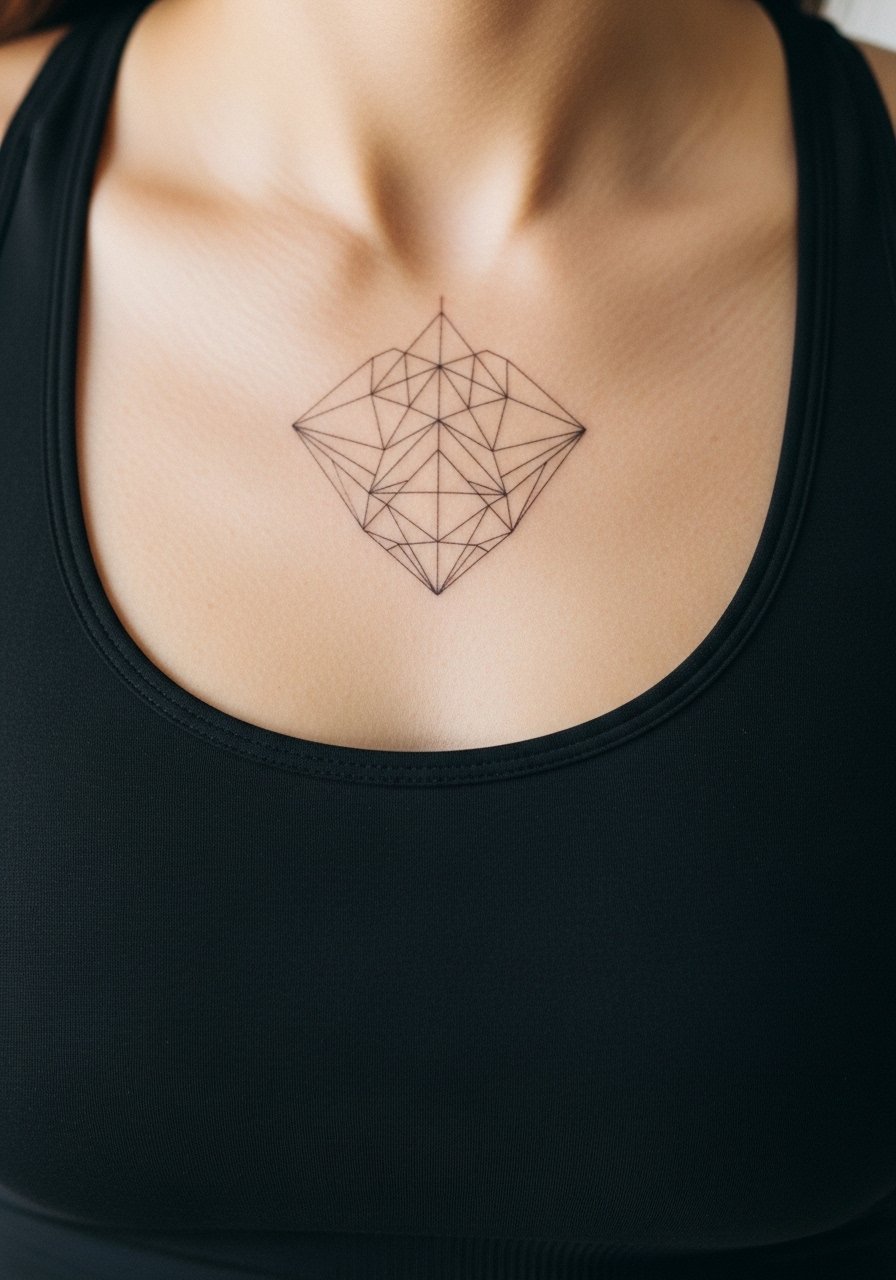
Sternum work bites into bone proximity and can be one of the more painful sessions. The payoff is excellent central placement that reads well under low-cut shirts. Artists disagree about fine line here. One camp says the tension and stretch of the chest cause fine details to blur quickly. The other camp says careful depth and slightly larger spacing keeps lines intact. Ask the artist which side they come from and see healed photos from similar placements. For the session, a fitted sports bra makes access simple and modest.
10. Thigh Layered Angel with Negative Space
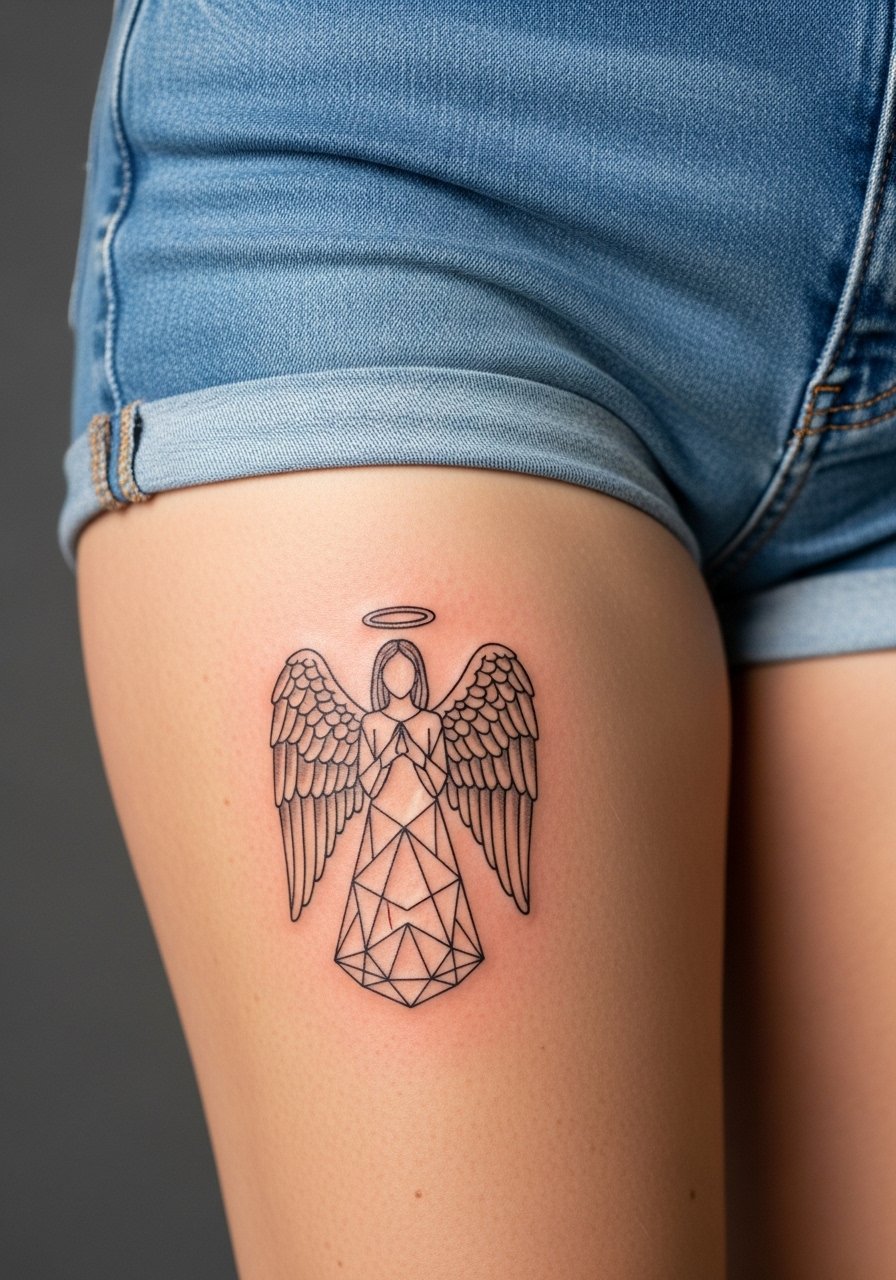
Thigh gives room to let layered forms breathe so polygons overlap without crowding. Tell your artist you prefer negative-space breaks within the form rather than heavy fill. Sessions take longer for 5-7 inch concepts and may be split into two sittings. For showing off, high-waisted denim shorts open the area nicely so the negative space reads in sunlight, try high waisted denim shorts with simple tops. Expect a lower touch-up rate here compared with hands or wrists.
11. Micro-Polygon Halo on the Ankle
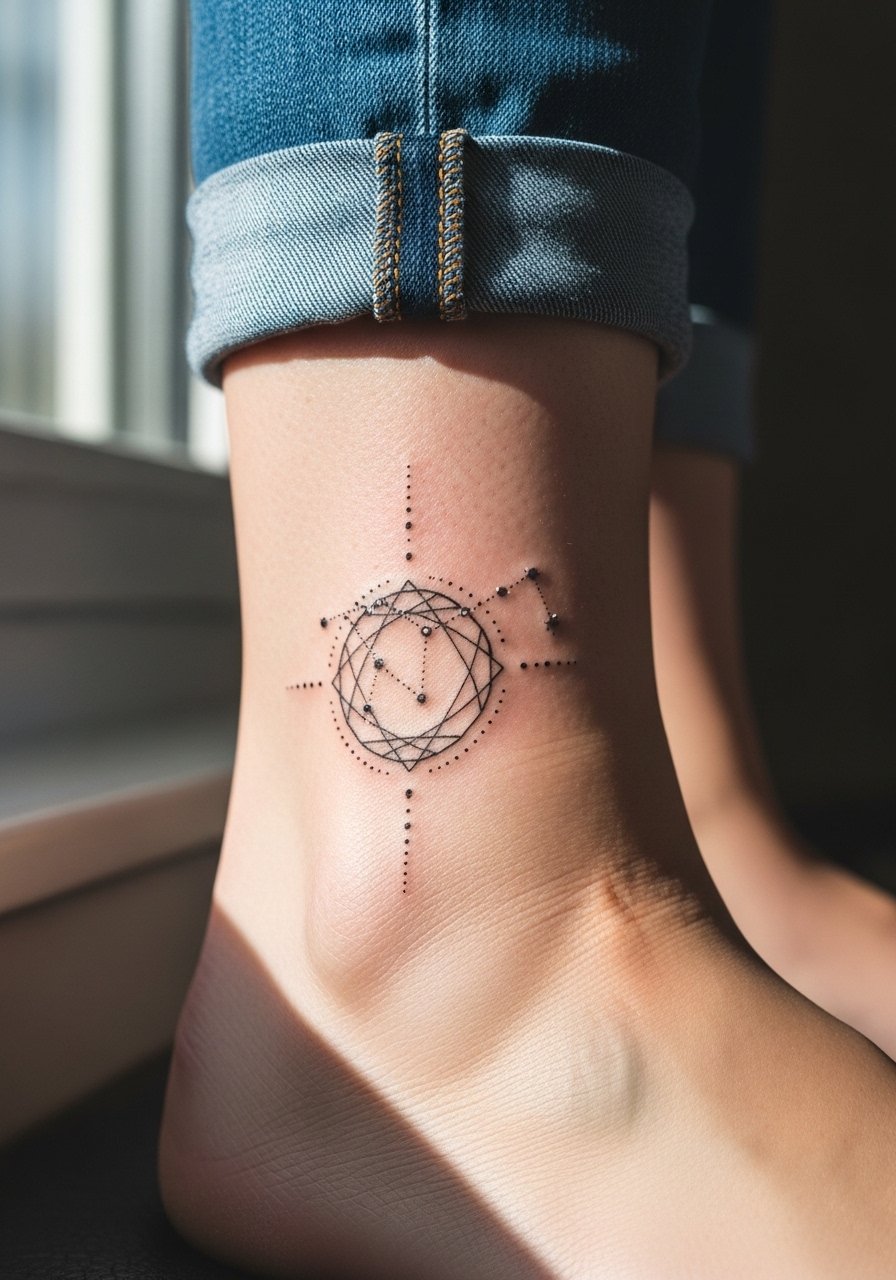
Ankle geometry survives best when lines are kept bold enough to resist rubbing from socks and shoes. The common error is ultra-fine single-needle work in this zone. Pain is moderate and swelling can make the area feel tight the first 48 hours. Roll pants for the session so the artist has access, and consider sandals post-appointment. Fine work on ankles often needs touch-ups at year two if you walk a lot or wear tight boots.
12. Geometric Angel Chest Piece with Fractured Halo
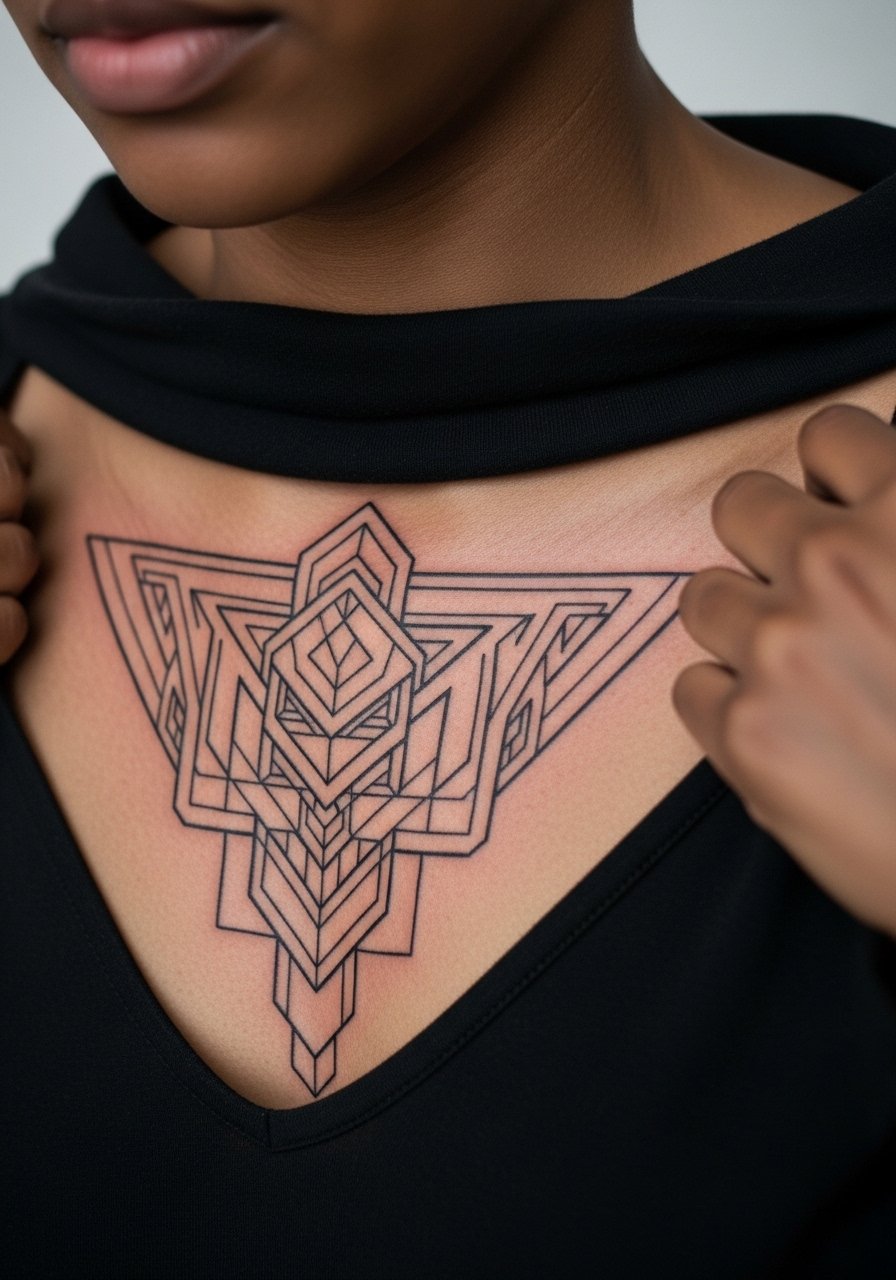
Chest tattoos age differently because of sun exposure and shirt friction. For a fractured halo, ask for heavier line anchors where cloth contact is likely and more negative space across the center to avoid early fill-in. Pain near the sternum is higher and a 4-6 inch chest piece may need two short sittings. A good session wear option is a wide-neck shirt you can pull aside for the artist. Plan for a light touch-up around year three if you run into collar friction.
13. Back Shoulder Blade Tessellation

The shoulder blade is excellent for sweeping tessellations because the skin stays relatively stable. The biggest mistake people make is collapsing polygons into a narrow band along the spine where stretch creates distortion. During consultation, say you want the pattern to follow muscle flow outward. Session time is moderate and heals predictably. For session day wear a loose button-down shirt so the artist can access the area easily.
14. Inner Wrist Micro Halo with Chain Motif
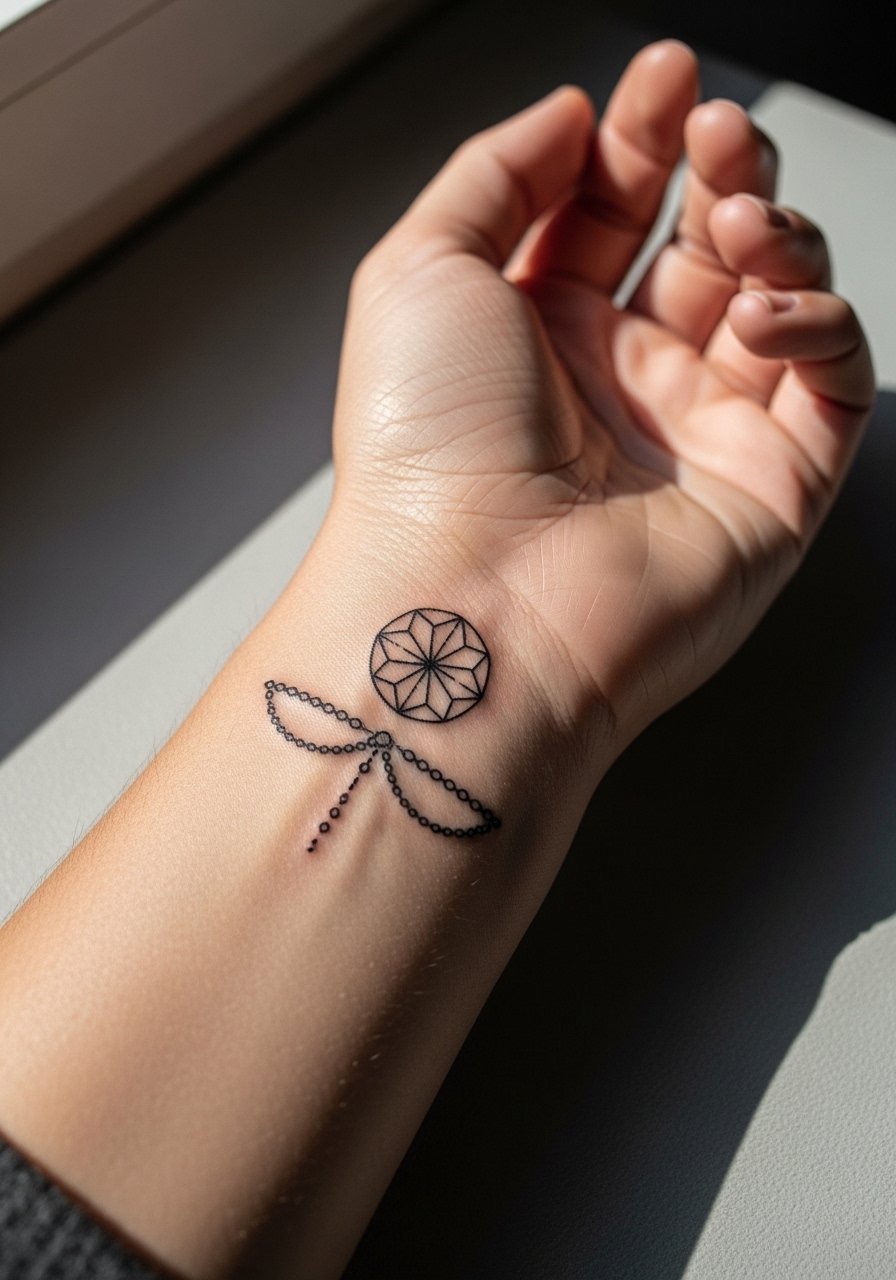
Inner wrist pieces look delicate but the skin there is exposed to constant washing which eats micro detail. I recommend slightly heavier guide lines and small negative-space gaps along the chain motif to keep visual separation over time. Pain is low and sessions are short. Pair the healed piece with a dainty chain bracelet that echoes the chain motif without crowding. Expect touch-ups by year two if you swim frequently or wear tight bracelets.
15. Geometric Back-of-Neck Halo, Hidden or Heard
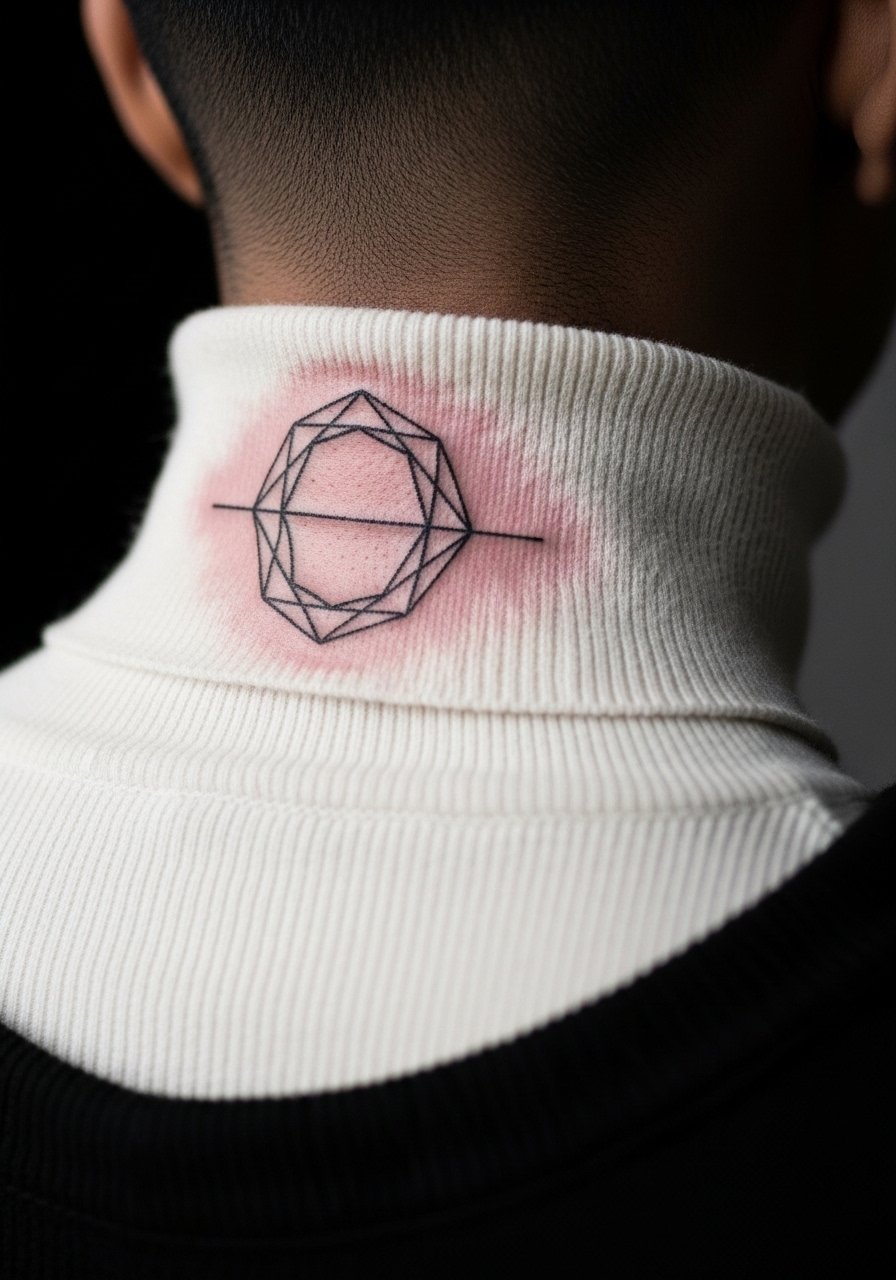
Back-of-neck pieces are a blend of reveal and conceal which makes them practical for people wanting a private design. Keep polygons larger than you think to avoid dot blur where hair meets skin. The session is quick and pain is tolerable. Pull a turtleneck down slightly for the appointment so the artist can see the exact placement. If you wear tight collars daily plan for a touch-up when lines show friction loss.
16. Geometric Ribcage Form with Kintsugi Lines

Fair warning, the ribcage is one of the higher pain placements, so plan for breaks. The beauty of kintsugi-style crack lines here is they follow natural stretch and look intentional even as the body moves. Artists disagree on fine line use on ribs. One side says the stretch blurs too fast. The other side says with proper spacing and depth it stays crisp. Ask your artist for healed examples on ribs before you book. For the session, a cropped top you can lift without removing makes adjustments easier.
17. Micro-Polygon Halo on the Finger Pad
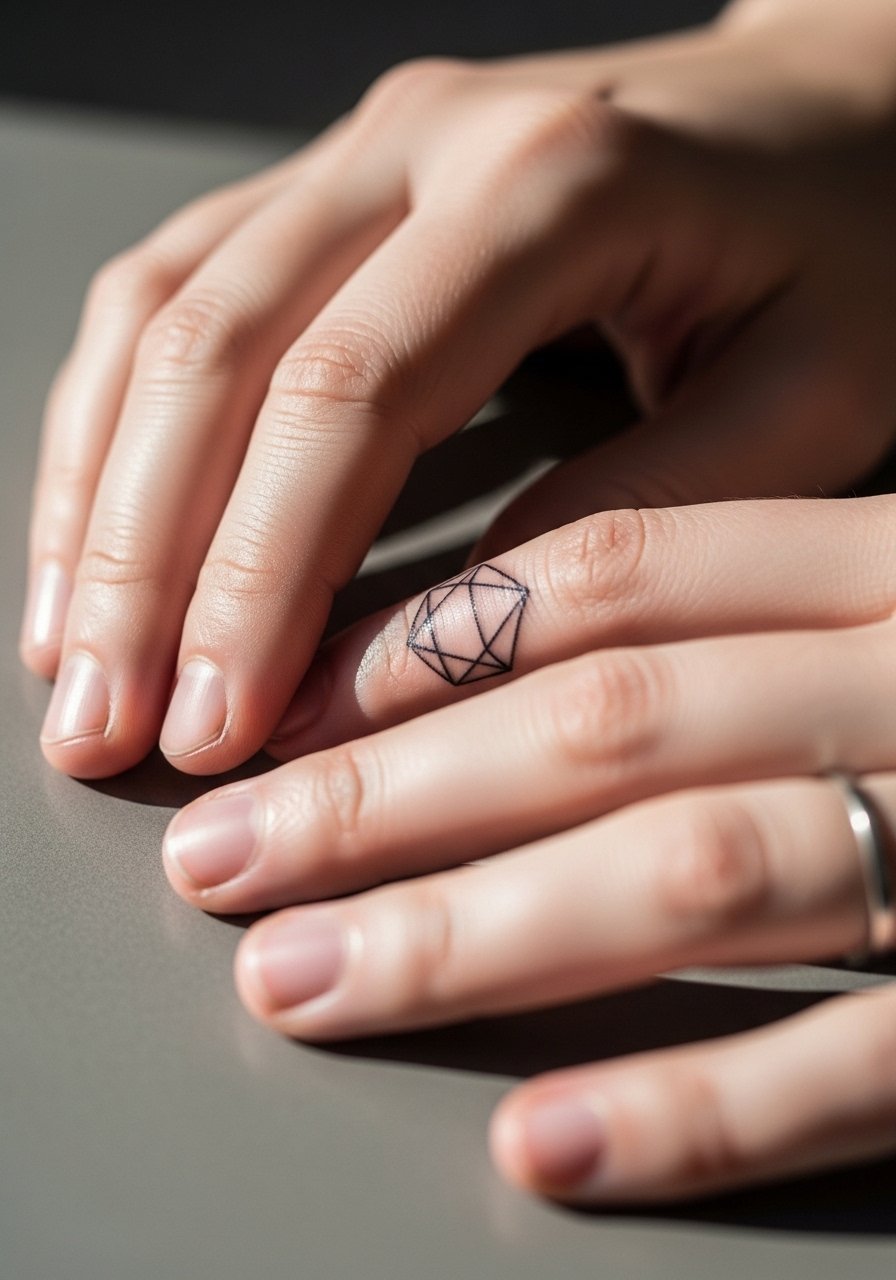
Finger tattoos are high-maintenance because of constant abrasion. Keep polygons simple, with bold anchors rather than feather-thin lines. Pain is sharp and healing can be tricky with frequent washing. If you want this look, plan for yearly touch-ups and expect some lines to soften. A minimalist leather watch can offset attention from the fingers and balance the hands when showing the piece.
18. Geometric Halo Over the Sternum with Pendant Echo

This placement reads central and pairs well with delicate jewelry. Ask for symmetry that complements a pendant rather than competes with it. Sessions are sensitive but short for a compact halo. For evening looks pair with a delicate pendant necklace silver that echoes the halo shape. Expect less friction than underbust work but be mindful of bra straps during the first two weeks of healing.
19. Layered Shoulder Cap with Negative Space Wings

There is a real longevity advantage to keeping strong negative-space channels in shoulder caps. They let large black areas read without filling in over time. Tell the artist to map the shapes across muscle contours and avoid mirror-image repetition near the deltoid. Sessions are comfortable and healing is fast. For summer wear a charcoal muscle tee that frames the cap while keeping attention on polygon edges.
20. Geometric Ankle Cuff Halo
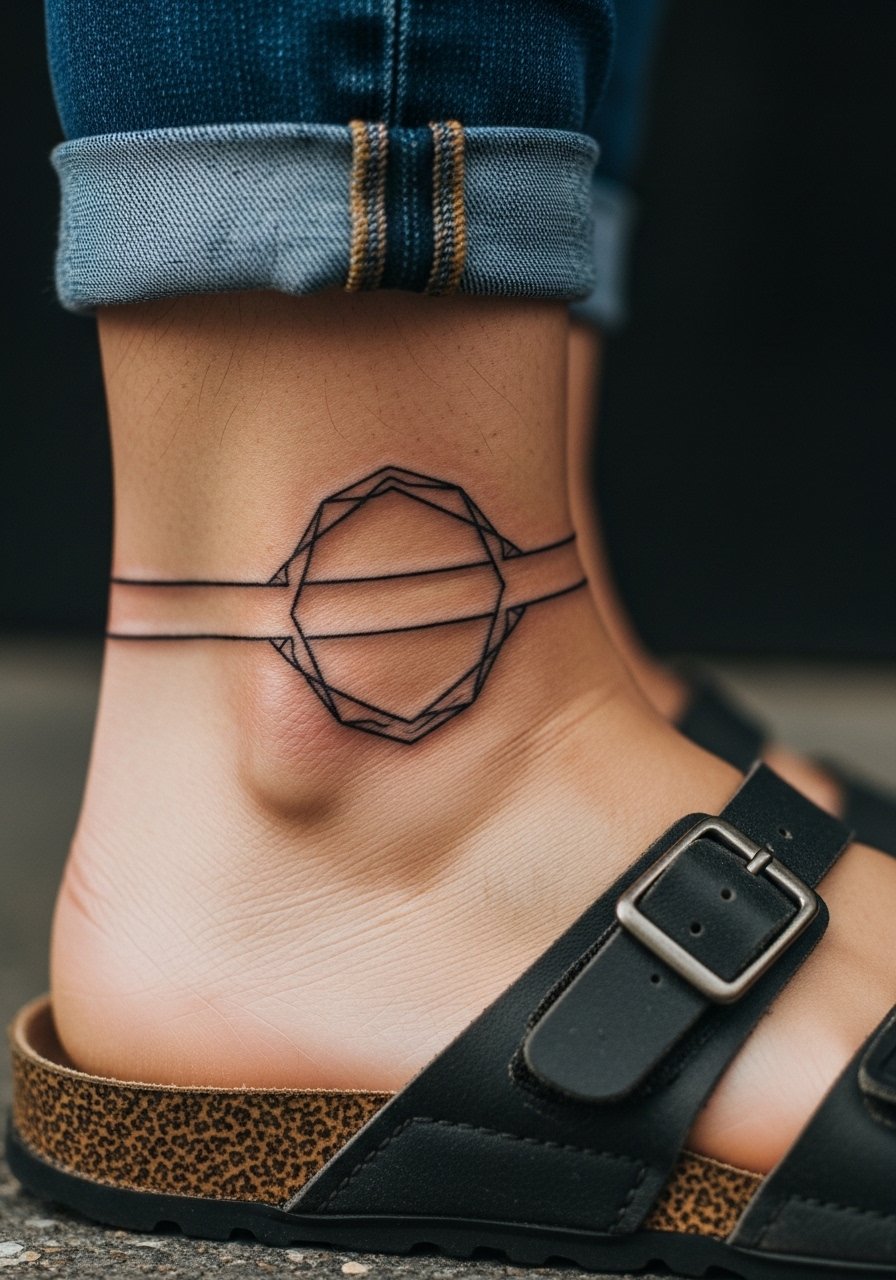
Ankle cuffs work well as circular halos when lines are bold and spacing is generous. The most common mistake is trying ultra-thin bands that catch shoe and sock abrasion. Pain is moderate and swelling matters for sizing, so confirm final placement after standing. For session comfort, bring sandals or loose shoes and plan light activity for 48 hours. Expect touch-ups by year two with heavy footwear use.
21. Outer Thigh Geometric Angel in Blackwork
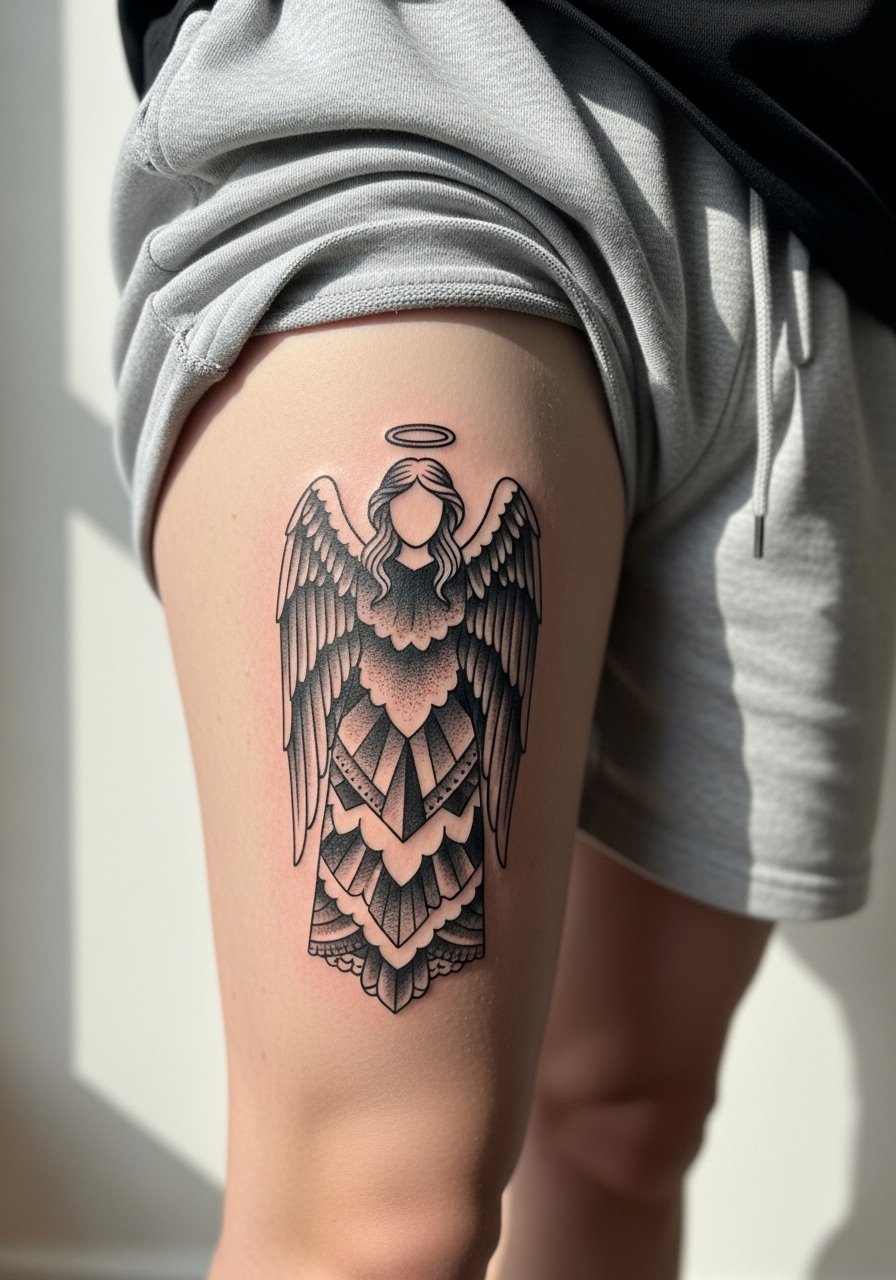
Outer thigh is one of the most stretch-stable places for dense blackwork, making it ideal for large geometric angels. Tell the artist you want strong anchors where clothing seams hit to avoid early friction lines. Sessions can be longer and split for 6-7 inch pieces. For session wear choose loose cotton shorts so the artist can roll the leg up without pressure. Bold outlines here age very well compared with fine detail in high-movement zones.
22. Geometric Halo Behind the Collarbone

A halo tucked behind the collarbone plays with glimpses and concealment. The trade-off is bone proximity which makes lighter lines disappear if placed too fine. Ask for slightly heavier linework near the collarbone and lighter stippling below to maintain depth. Pain is brief and manageable. Pair the healed work with a v neck tank black for casual showing. Expect minor touch-ups if necklaces rub the area.
23. Geometric Upper Arm Sleeve Accent

Upper arm accents let you build into a sleeve without committing to full coverage. The benefit is artery-stable skin that keeps polygons crisp. Common mistakes include compressing polygons into a narrow band where the arm flexes. Sessions are predictable and usually done over one or two sittings depending on size. For showing the piece, a charcoal muscle tee or sleeveless top shows off the geometry while keeping the rest of the arm neutral.
24. Micro Tessellation Above the Wrist Bone
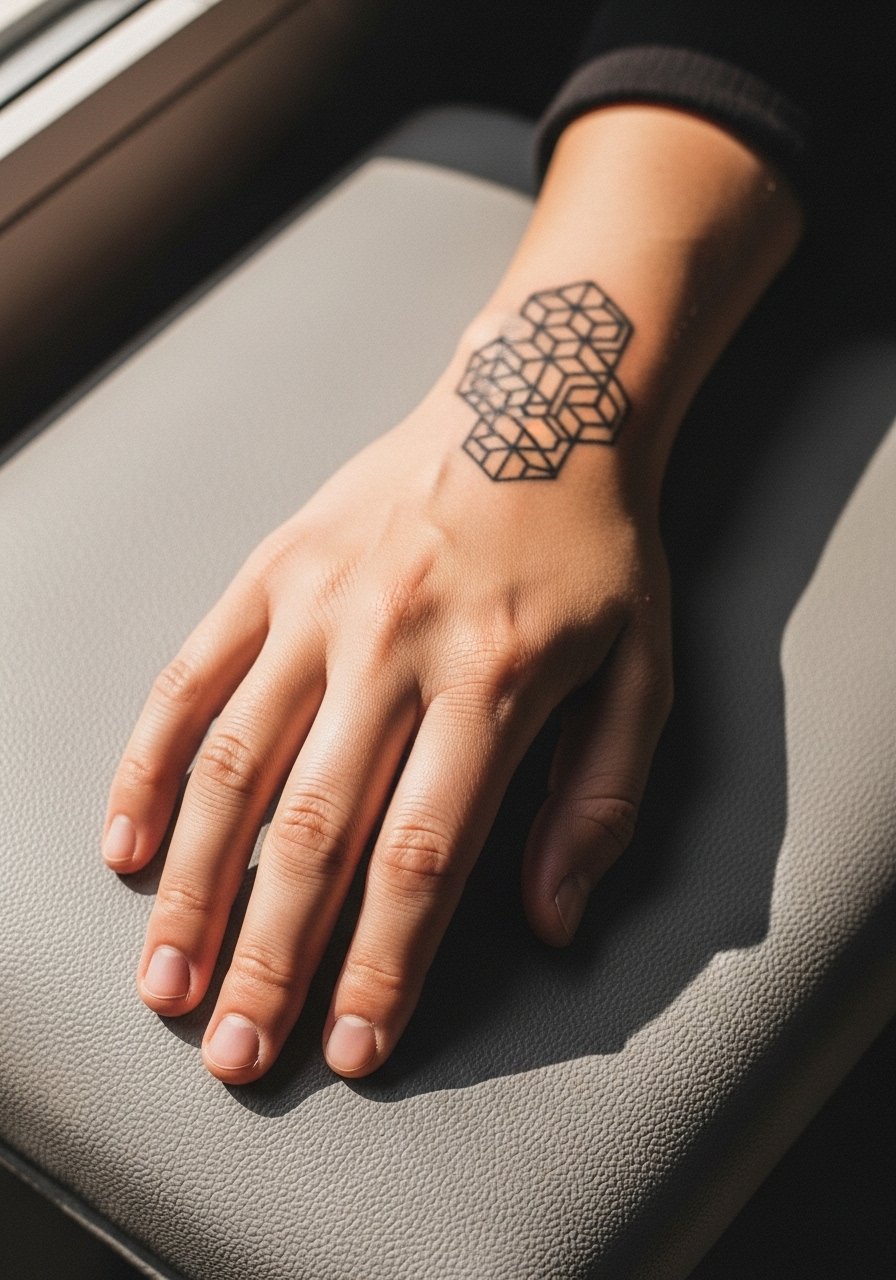
The zone above the wrist bone is high-visibility but high-friction. The trick is a slightly larger grid and bold node points so the pattern survives repeated washing and bracelets. Pain is low and sessions are very quick. Keep bracelets minimal while healing. A minimalist leather watch helps balance the micro tessellation without crowding the banded look. Plan on light touch-ups if you frequently wear snug watches.
25. Geometric Collarbone Halo with Pendant Space
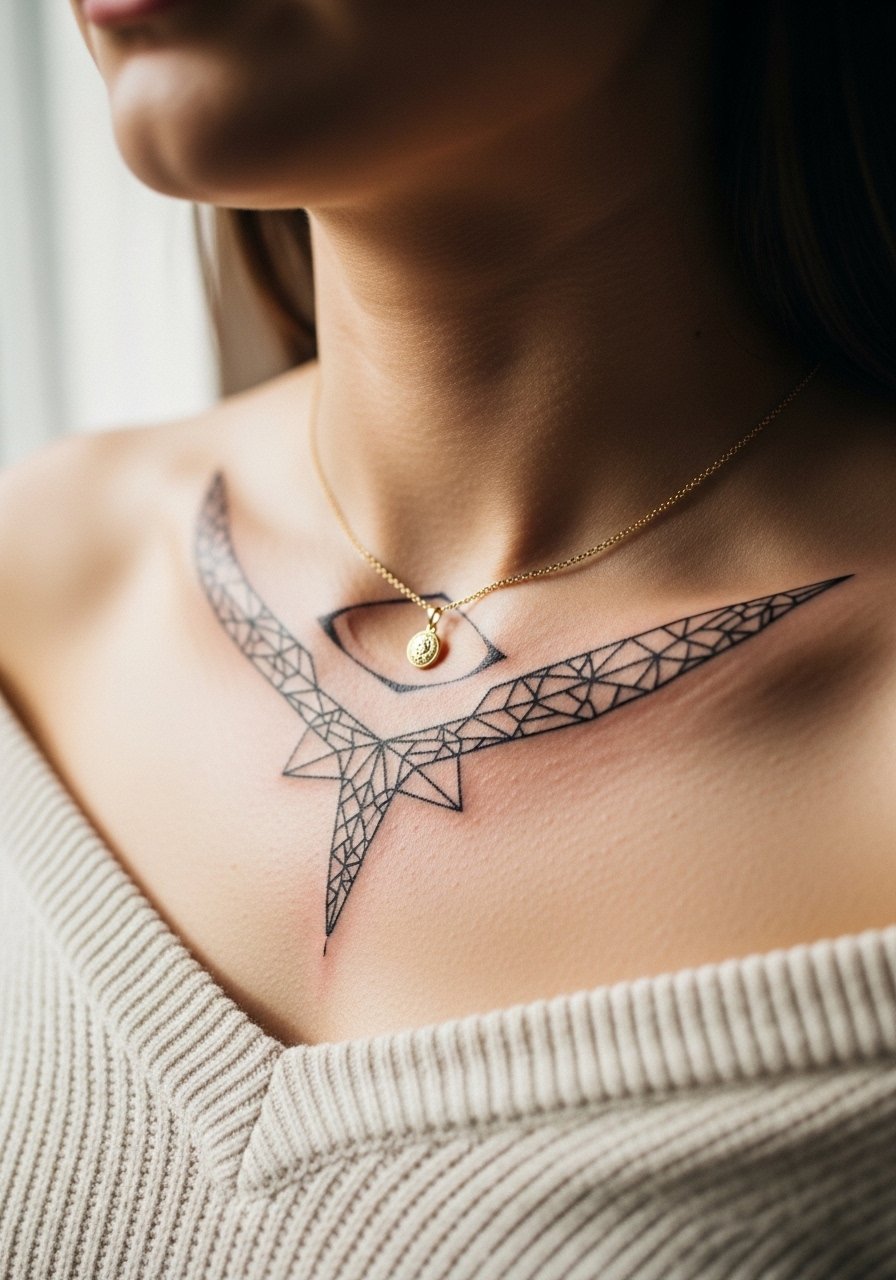
Leaving reserved negative space for a pendant is a small consultation detail that looks intentional when done right. Tell the artist you want a clear channel for a necklace chain so the pendant sits central to a fracture rather than on top of busy dotwork. Pain is brief and this is a one-sitting job for a compact halo. For evening looks a light off shoulder sweater frames the area. Expect minimal touch-up needs unless necklaces frequently rub the lines.
26. Geometric Lower Back Mini Halo
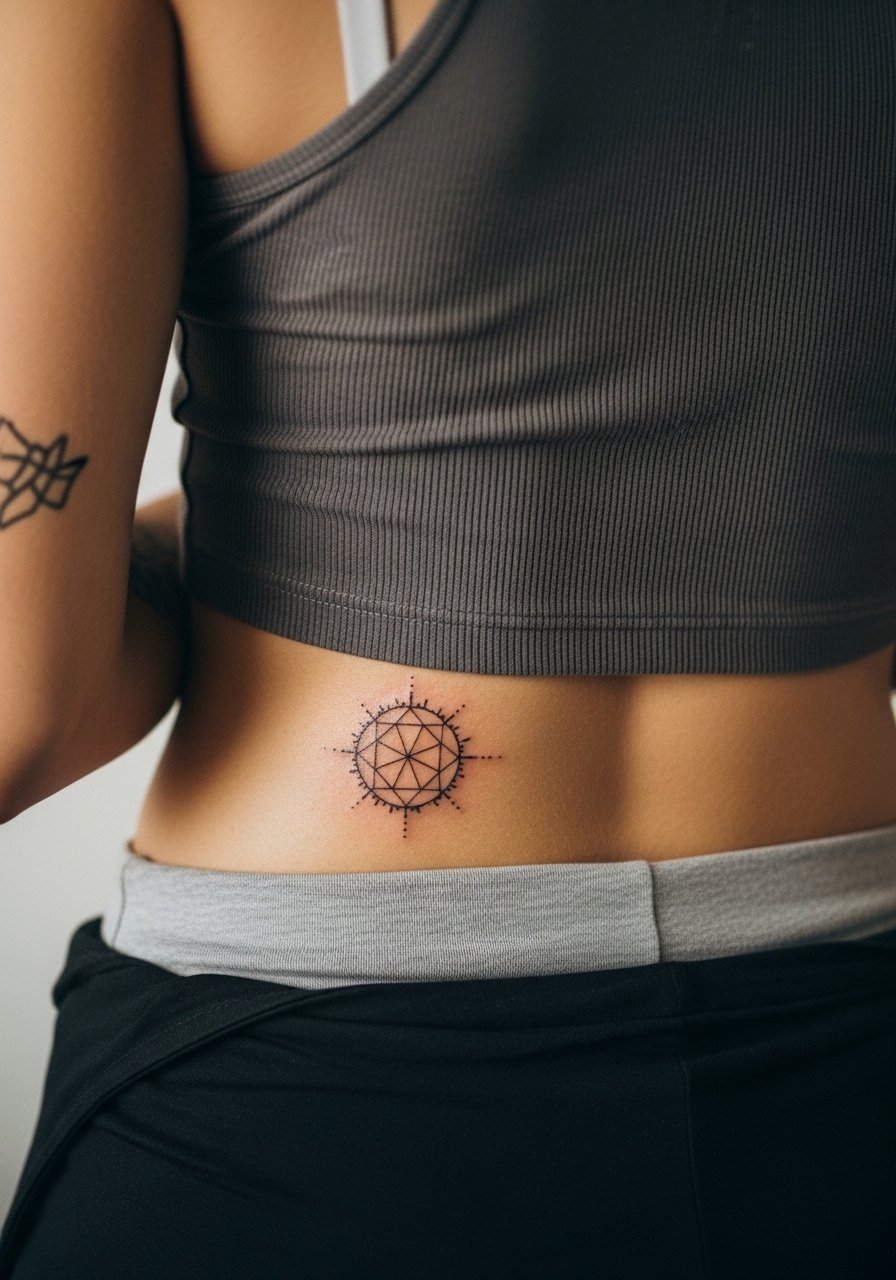
Lower back mini halos age well when placed low and centered. The error to avoid is placing everything too high where waistbands rub. Tell the artist where your typical waistband sits while standing to avoid constant abrasion. Sessions are short and healing is simple with breathable clothing. A low-rise skirt or high-waisted pants that you can shift during the session keeps pressure off the area as it heals.
27. Geometric Neck Side Halo, Hidden Under Hair

Side-neck pieces hide well under hair and peek out with certain hairstyles. For longevity ask for slightly thicker outline nodes since hair oils and shampoos can soften micro work. The session is short and surprisingly low on pain. Style the reveal with high collars you can pull aside or with hair up for a cleaner show. If you need to keep things discrete for work, this placement gives options without sacrificing design.
Frequently Asked Questions
Q: Will fine single-needle geometric halos blur faster on darker skin tones?
A: From what I've seen, very fine single-needle work can soften faster on darker skin tones because contrast is lower and micro lines need more saturation to hold. Many people opt for slightly heavier guide lines or negative-space spacing to preserve definition. Ask to see healed photos on similar skin tones before booking so you know how the line weight reads after healing.
Q: Do shoulder and thigh geometric pieces heal differently than wrist and finger pieces?
A: Yes, shoulder and thigh placements usually heal with cleaner edges because they experience less daily abrasion and sun. Wrist and finger pieces hit friction from washing and accessories which accelerates fading. Adjust line weight and expect more frequent touch-ups on high-friction zones.
Q: How should I prepare for a ribcage session with geometric detail to minimize distortion?
A: Plan for breaks, hydrate, and wear a cropped athletic top you can lift without removing. Ask your artist to size polygons larger and to follow muscle flow so the pattern moves with your body instead of against it. A staged two-sitting approach also helps the artist maintain consistent depth.
Q: Is Saniderm better than dry healing for detailed polygon work?
A: Artists and hobbyists are split. One group swears protective film reduces scabbing and keeps lymph localized which helps lines stay crisp. The other group says it can trap moisture and cause weeping. My suggestion is to ask your studio about their protocol and inspect healed photos from clients who used both methods on similar geometry.
Q: How much do these geometric fractured halos generally need touch-ups?
A: It depends on placement and line weight. Low-friction areas like thigh and shoulder often need little touch-up before year three. High-friction spots like fingers, wrists, and ankles commonly need a small touch-up around year one to two. Be realistic about yearly maintenance if you pick a visible micro design.
Q: What should I wear to show a collarbone halo without competing with the tattoo?
A: Light neutrals and open shoulder cuts help the design read cleanly. An off shoulder sweater in cream or slate frames the collarbone and echoes the lines without overwhelming them.
