
Fine line forearm trends flood feeds, but longevity is the quiet test. Fresh photos and healed reality can tell different stories. Pick designs that give the linework room to breathe, pick placements that avoid constant friction, and bring wardrobe plans for showing them off. Below are 27 inner forearm tattoo ideas with the technical heads-up and styling notes that actually matter when you are booking, sitting, and living with the ink.
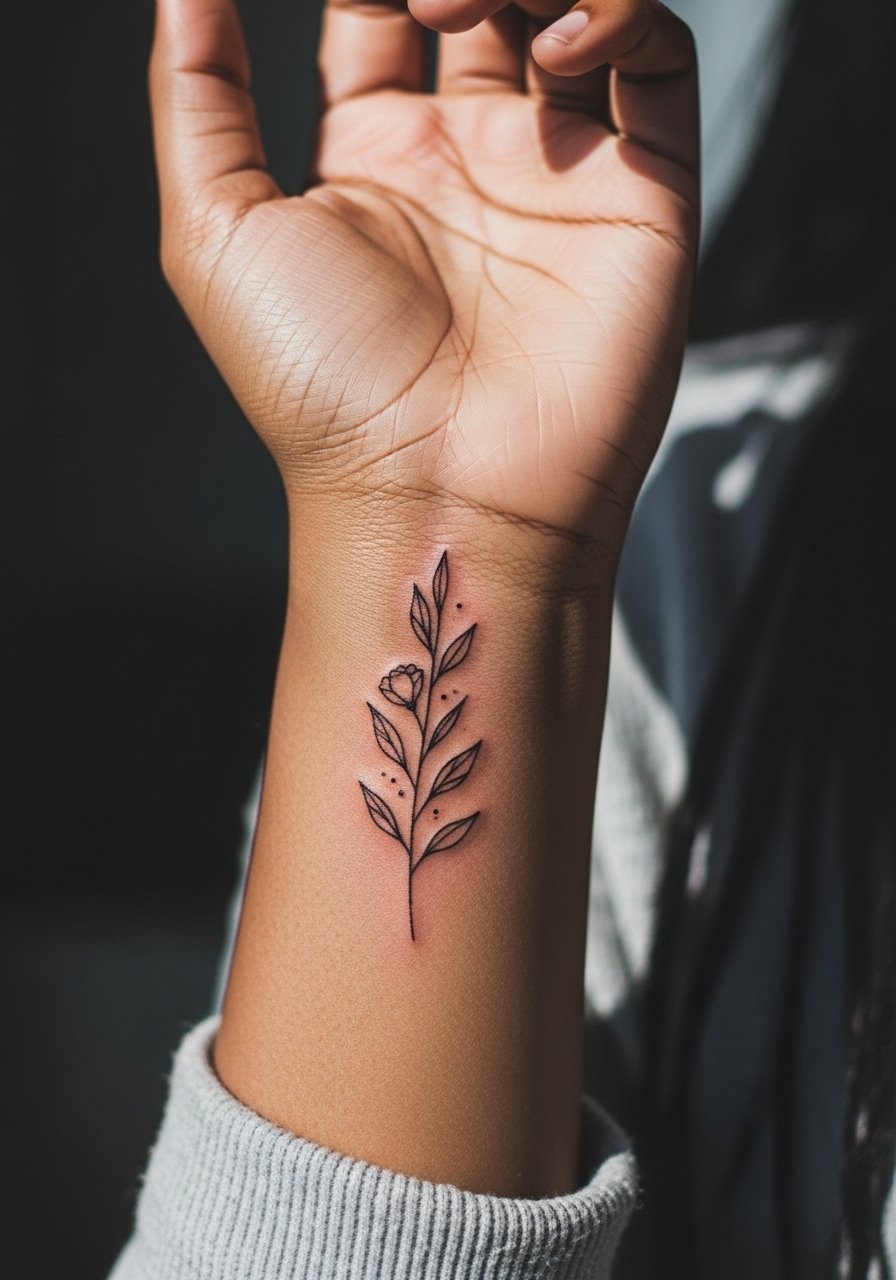
1. Fine Line Botanical Sprig on Inner Forearm

I recommend this when you want an elegant look that still reads from a short distance. Tell your artist to keep spacing between stems and leaves, and to use single-needle linework with light saturation so the negative space remains clear. The biggest mistake is asking for ultra-fine, cramped details that merge after a couple of years. Expect mild fading at six months, softening by year two, and a likely touch-up window around year three for crisp edges. For showing it off, roll a sleeve up and layer with a thin chain bracelet that sits above the sprig.
2. Minimal Script Phrase on Inner Forearm
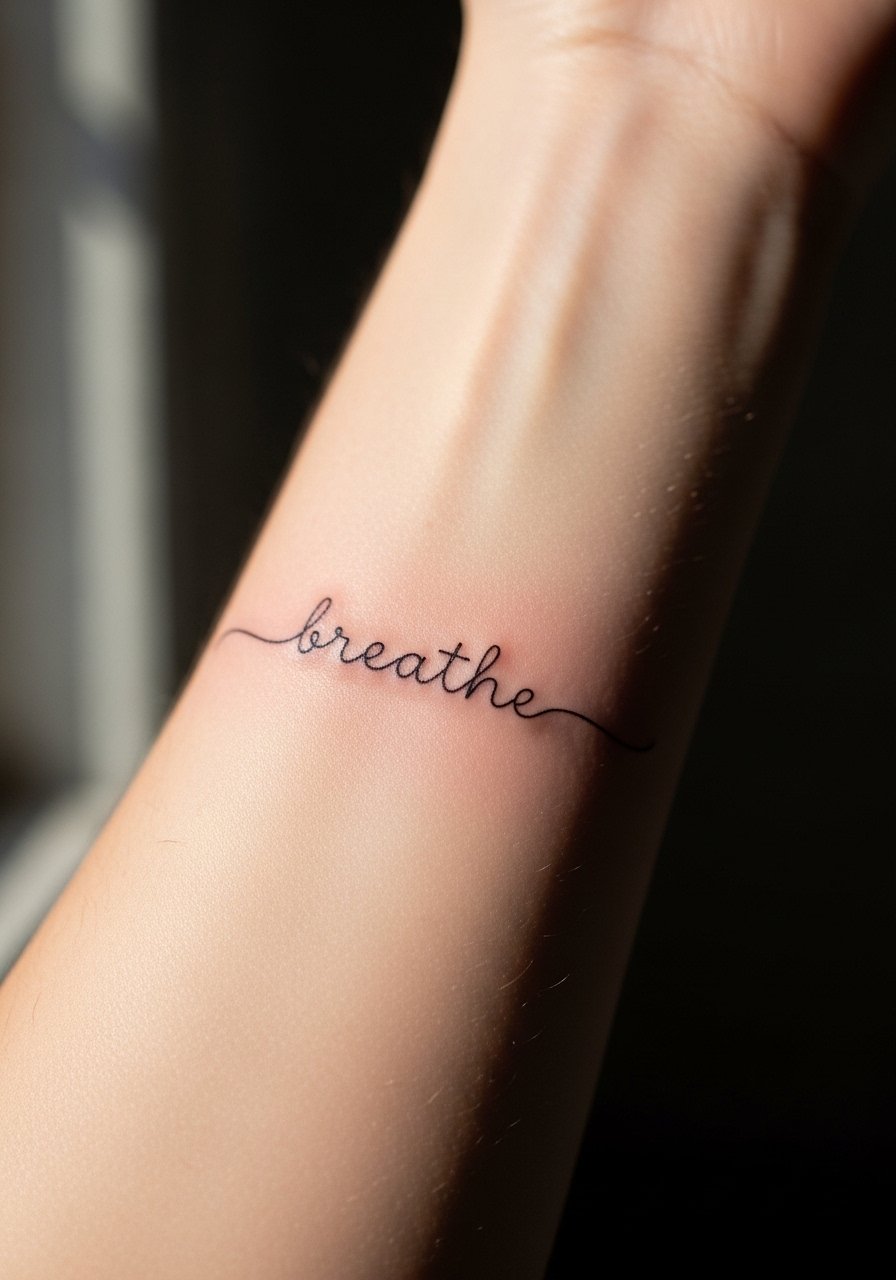
Go for slightly larger letter spacing than you think you need. During consultation say you want readable kerning when healed, not cramped calligraphy. Small script often blurs if placed too close to wrist bends or if letter strokes are too thin. Pain is mild to moderate for inner forearm work and a single session usually lasts 20 to 40 minutes. For casual wear pair the phrase with a minimalist leather watch worn a touch higher on the arm so the type stays visible and the metal does not press on the fresh ink.
3. Delicate Constellation Cluster Along the Vein Line
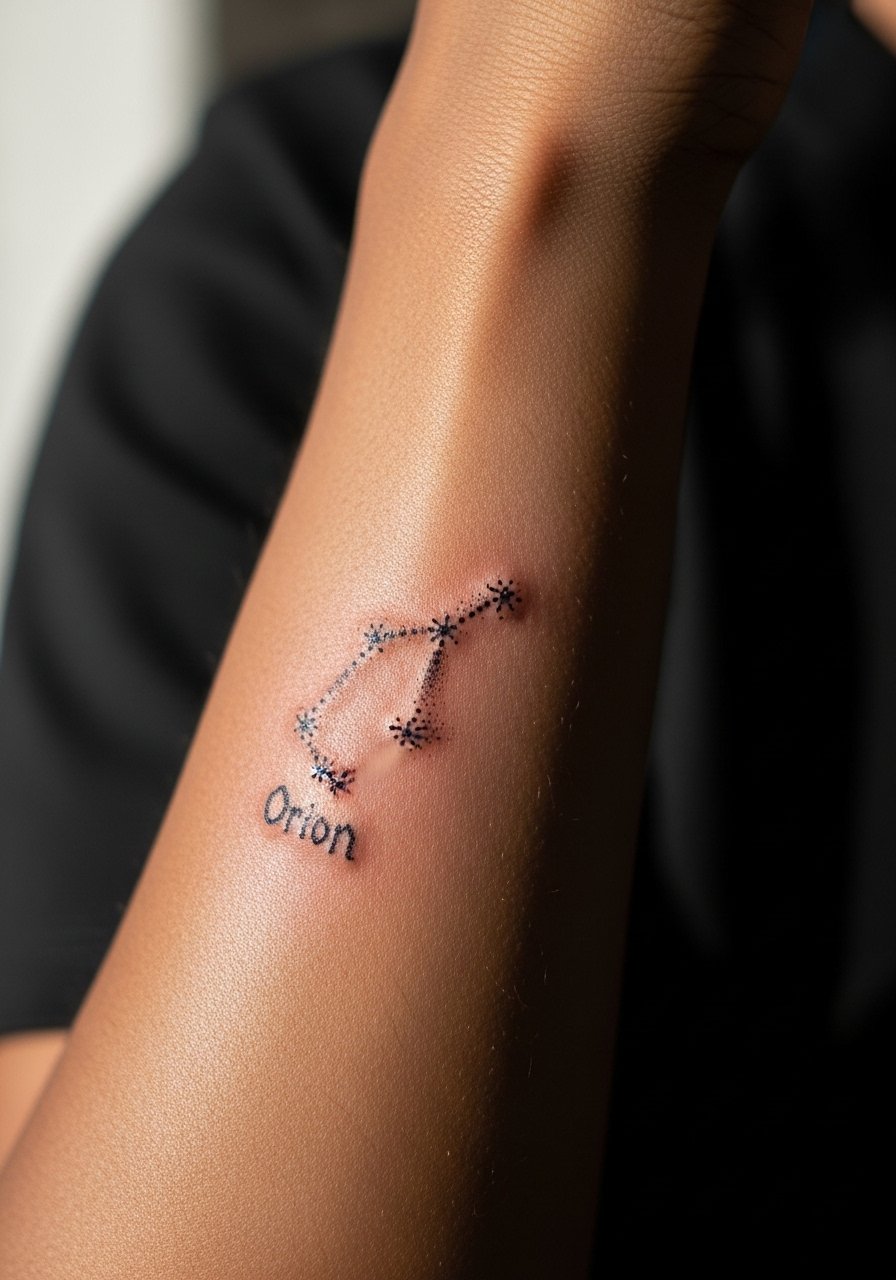
Constellation clusters suit people who prefer small, symbolic work that can expand later. Ask for slightly larger stars and clear spacing between points. There is an active debate in the community about tiny dot work on thin skin. One camp says the dots blur too quickly on moving skin. The other camp argues that with proper needle depth and spacing the dots remain crisp. Name the debate to your artist and ask which approach they use for inner forearm skin. During the session expect a focused 30 to 60 minute pass. To show it off, stack a thin beaded bracelet that sits beside the cluster for subtle framing.
4. Geometric Line Band That Wraps the Inner Forearm
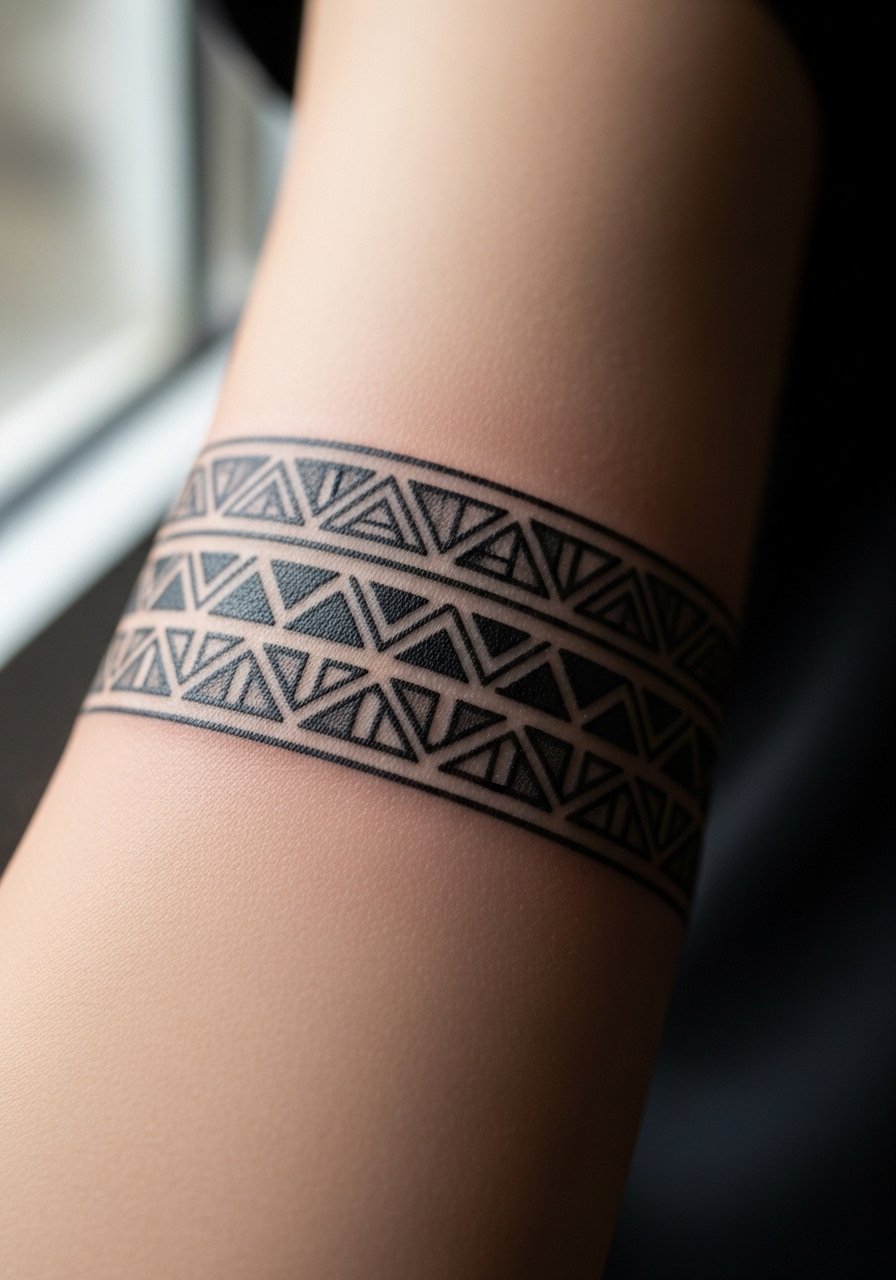
This works best when the pattern is given breathing room. Tell the artist you want negative space between repeats so the band keeps its definition as you age. Common mistakes include squashing too many repeats into a small circumference, which looks sharp on day one and muddied twelve months later. Pain is moderate around the inner elbow crease, so expect slight discomfort near bends. Pair this band with a rolled short sleeve linen shirt when you want it visible without competing colors.
5. Micro-Realism Bloom, Petal Detail

Micro-realism reads beautiful when large enough to allow shading to settle. Tell your artist you prefer slightly more space around shadow areas so stipple shading does not merge. A common failure is requesting photo-size detail in an area too small for the technique. Sessions for a piece like this often run 90 minutes to two hours. Expect the midtones to soften at the six-month mark and for a touch-up at two to three years depending on sun exposure. A simple way to show it off is with a short sleeve cotton tee pushed up so the bloom sits in the center of the exposed forearm.
6. Single-Line Continuous Wave Motif Near Wrist

This minimalist motif looks modern but the wrist is a friction zone from watches and bracelets. Ask for a slightly bolder line weight than you imagine so it survives daily wear. Most artists will suggest a session under 30 minutes for a clean single-line piece. A common error is making the line too thin. For the session wear a racerback tank or a short sleeve you can roll so the artist has full access to the wrist and lower forearm.
Pre-Session Essentials
The first six ideas include wrist and near-wrist placements that handle friction differently from the upper inner forearm, so a few small items make the session and early healing easier.
-
Stencil transfer paper kit. Lets you preview spacing and orientation on the forearm before the needle touches skin, which is useful for script and constellation layouts.
-
Topical numbing cream. Applied as directed before the appointment it can ease wrist sensitivity without changing linework when the artist works shallow.
-
Thin protective film roll. Ideal for wrist pieces that rub against clothing during the first few days.
-
Fragrance-free body wash. Gentle cleansing keeps fine line and micro-realism work clean without irritating healing channels.
-
Aquaphor healing ointment. A thin layer in the opening days locks in moisture for delicate linework without suffocating the skin.
7. Botanical Half-Sleeve Panel Toward Inner Elbow

When you want a cohesive botanical panel, plan negative space between motifs for long-term clarity. In consultation request varied leaf sizes and intermittent stipple shading rather than heavy filled black. Sessions will likely be staged over two shorter visits rather than one long marathon. A common mistake is compressing too many elements into a single sitting. For outfits, a button-down linen shirt rolled at the cuff shows the panel without distracting from the artwork.
8. Blackwork Geometric Cluster Near Mid-Forearm
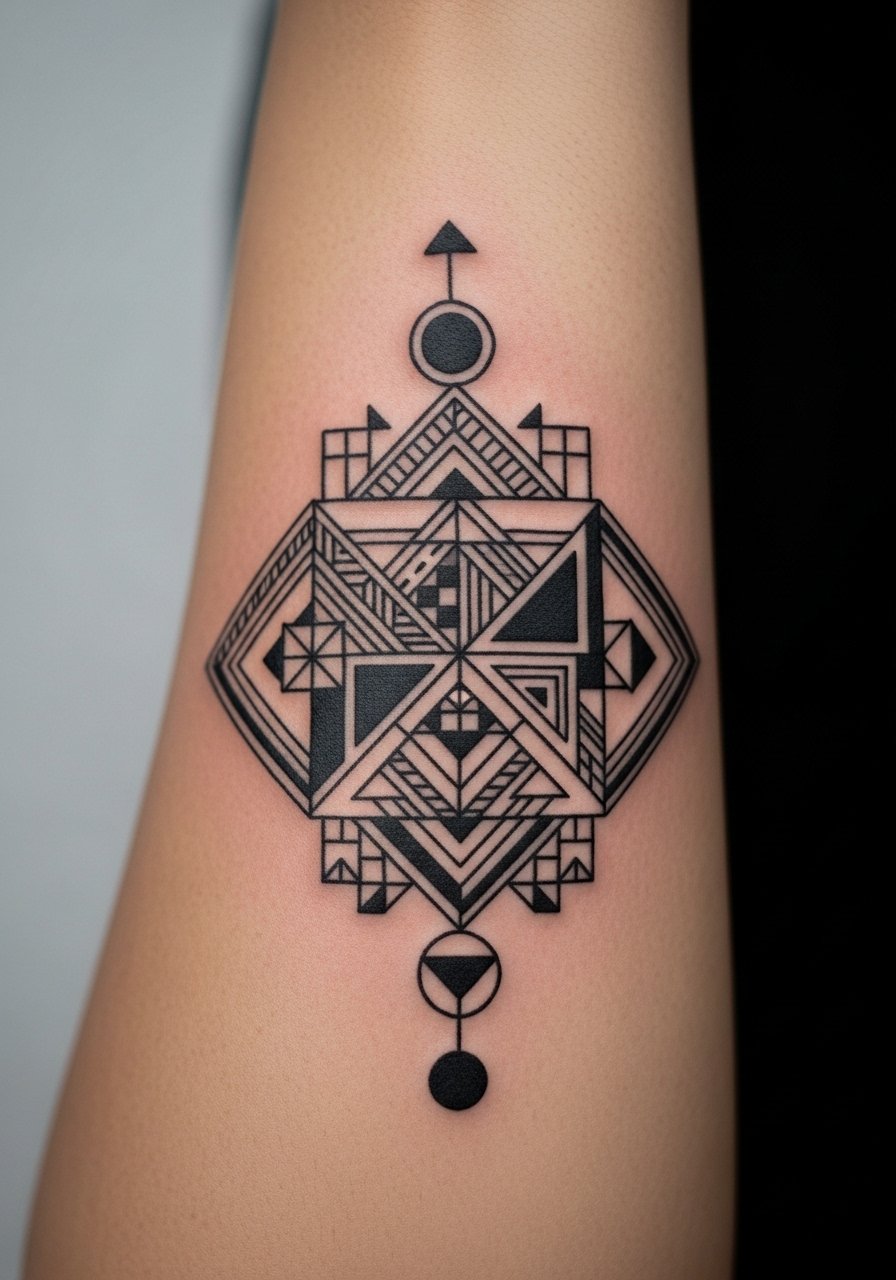
Blackwork brings visual longevity through saturation, but heavy black close to the wrist can feel dense over years. There is a clear split in opinion about how much saturation suits inner forearms. One camp favors dense black fills for durability. The other camp suggests lighter black outlines and negative space to preserve skin texture. Ask which they prefer and why. Pain is moderate for mid-forearm saturation and sessions may be longer. Pair with a minimalist black cuff bracelet when you want a coordinated look.
9. Mini Portrait Linework Along the Inner Forearm
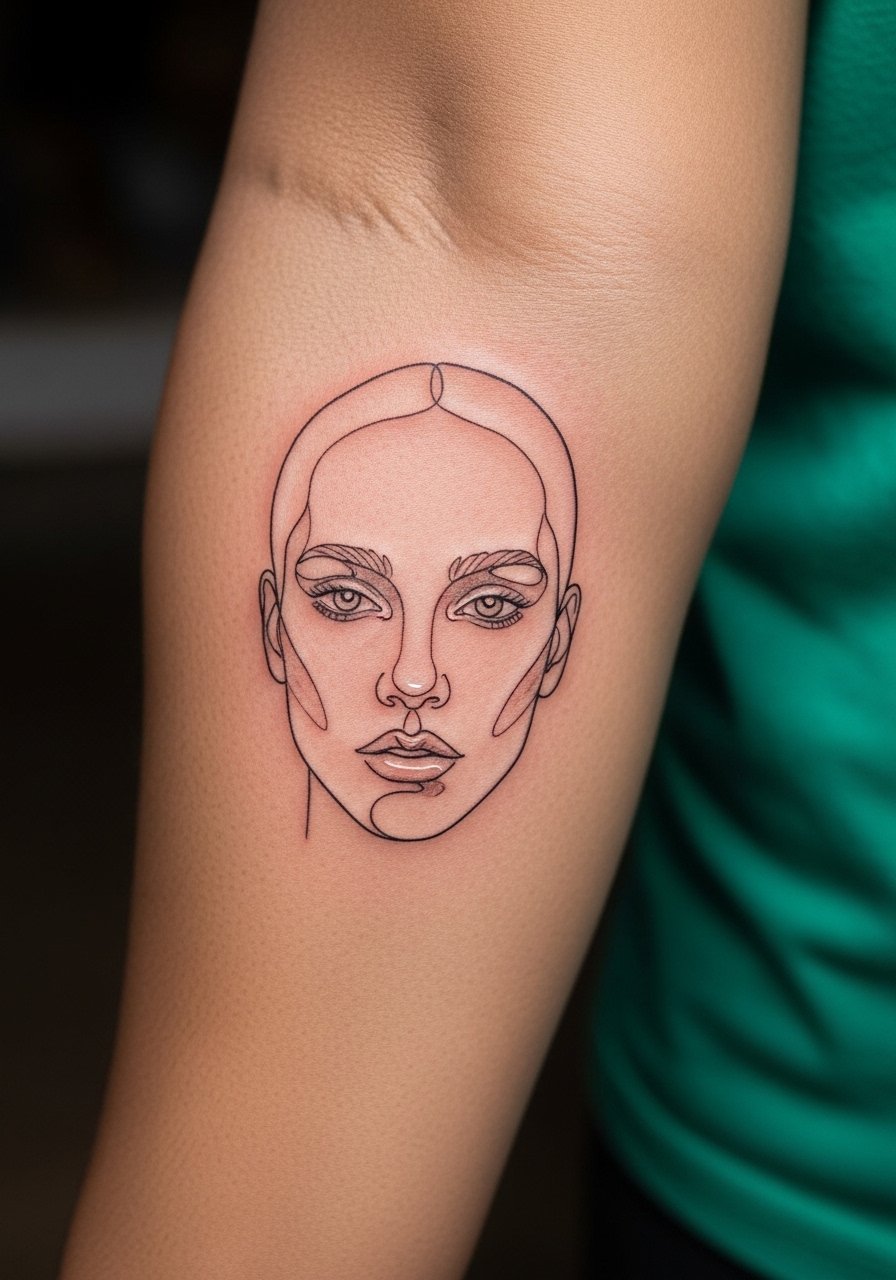
Micro portraits need scale. Tell your artist the intended physical size and ask to see healed portfolio examples at a similar scale. A common error is expecting photoreal detail in an area too small for the technique. Sessions run one to two hours. Expect softer edges by year two without a touch-up. For showing it off, simple rolled sleeves and a delicate pendant necklace create balance so attention rests on the portrait.
10. Single Fine Line Arrow Pointing Toward Elbow

Arrows are classic and age well when not drawn too thin. During your consult request a slightly thicker shaft and a simple feather that has breathing room. Common mistakes include ornate feathering that loses detail as the ink settles. Session time is short. For the appointment wear a short sleeve tee you can slide up to the elbow without tugging at the skin.
11. Stippling Mandala Segment Running Along the Inner Arm
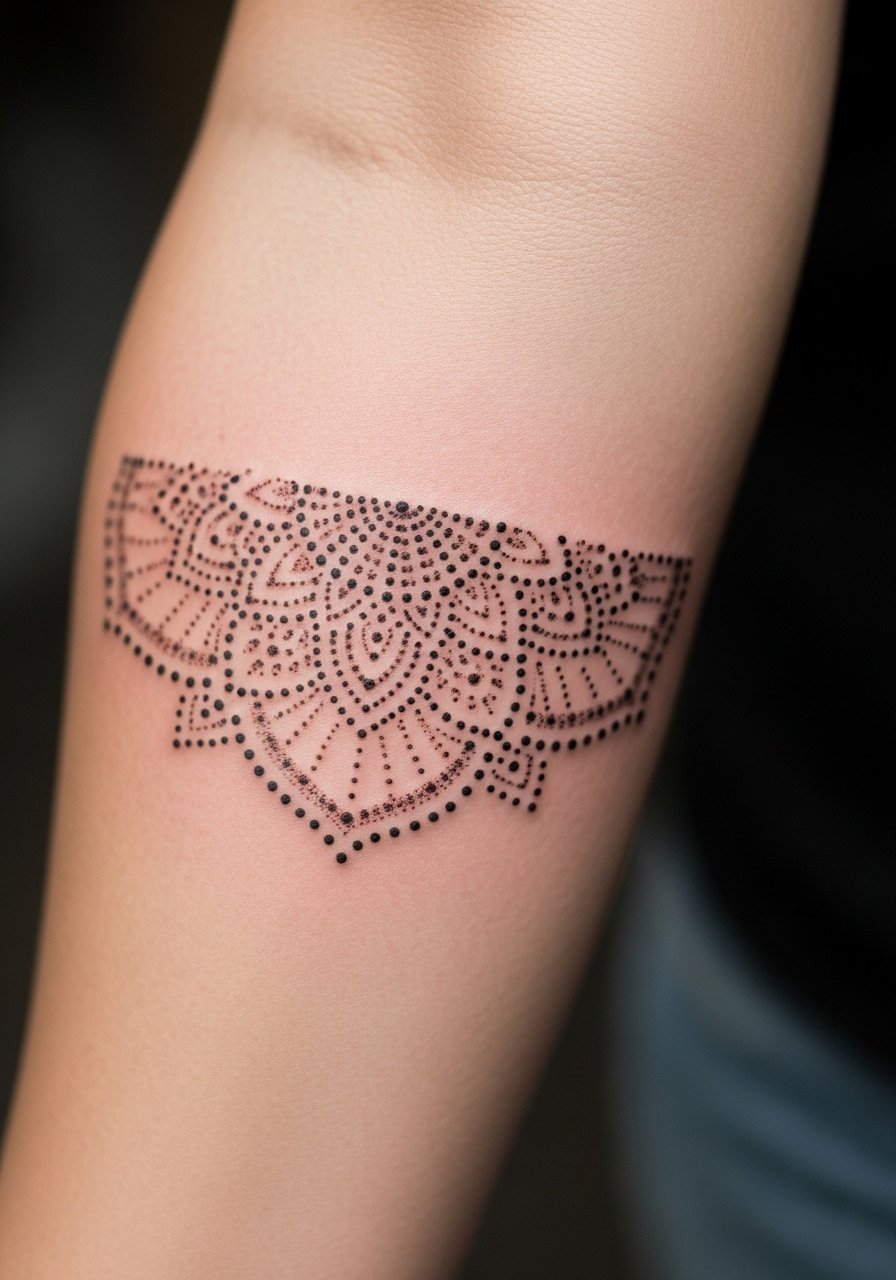
Mandala segments deliver intricate texture but need space to avoid dot merging. Ask for a test patch or reference images of healed dot work so you understand how densely the dots can sit. The most common mistake is compressing radial detail into too small a radius. Sessions are meticulous and can be broken into passes. For style, a flowy boho sleeve shirt frames the mandala without tugging the skin where it sits.
12. Tiny Botanical Wrist Wrap That Extends Inward
Design wrist wraps with the wrap end thicker than the connecting tendrils to prevent early blur. Tell the artist you want stronger anchor points near the wrist and lighter connecting lines inward. Frequent wrist movement increases blowout risk so choose moderate line weight. Expect a short session that may need a touch-up after a year. For showing it off, use a thin gold bangle worn above the wrap so the tattoo remains central.
13. Scripted Coordinates Down the Inner Forearm

Coordinates feel personal and read well when spaced vertically. Specify exact typography and ask for proof of the numeral spacing on skin before inking. A frequent mistake is mixing font sizes that complicate legibility. Sessions are brief and usually one pass. For a styling touch try a minimal leather wrap bracelet placed higher on the forearm so the coordinates remain clear.
14. Tiny Animal Silhouette Near Inner Elbow
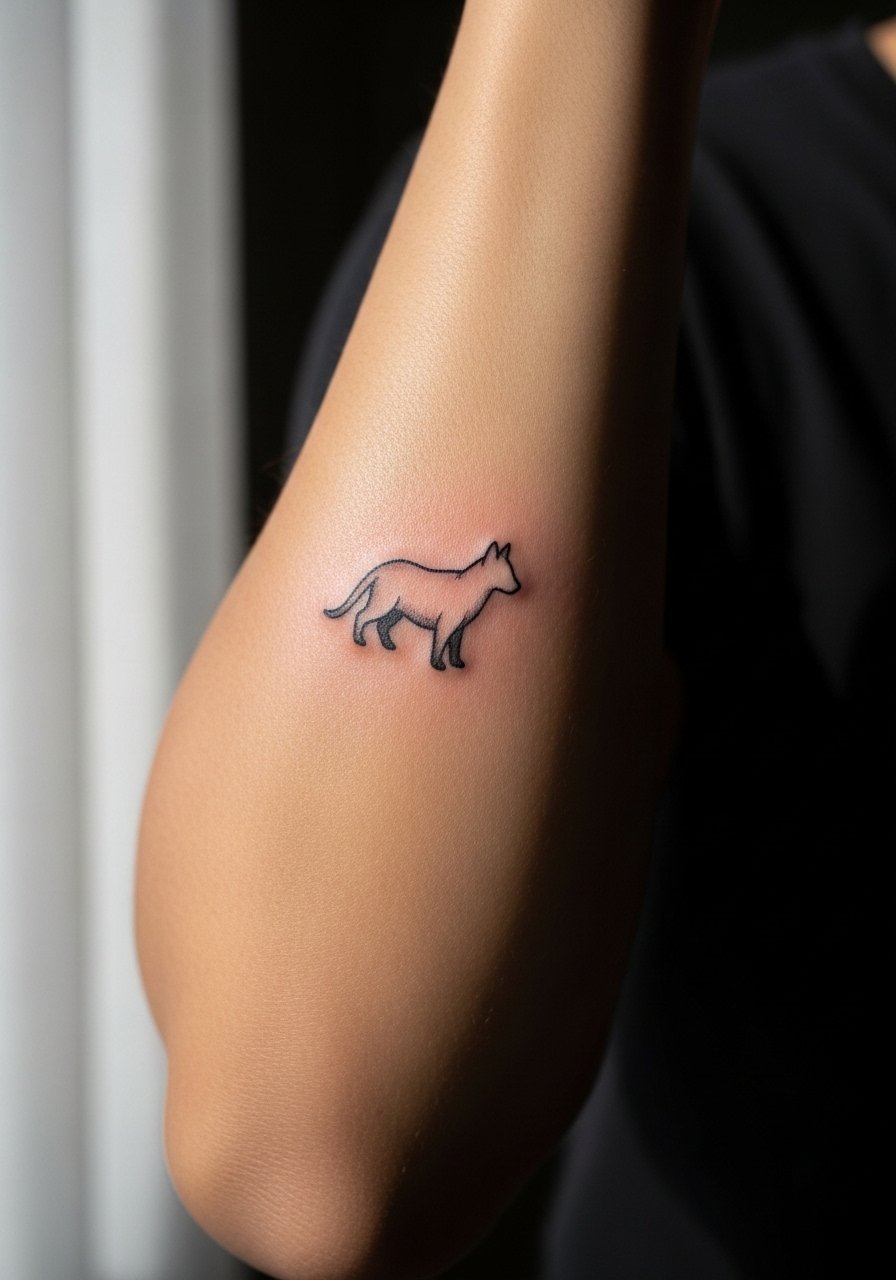
Silhouettes are forgiving if given enough size. Tell your artist you prefer bold silhouettes rather than tiny detailed shapes that flatten over time. The elbow crease can distort imagery, so place it just clear of the crease. Sessions are short but the location can be prickly. For the session wear a button-down shirt with the sleeve rolled to the upper arm so the artist has clean access.
15. Minimalist Waveform or Soundwave Tattoo
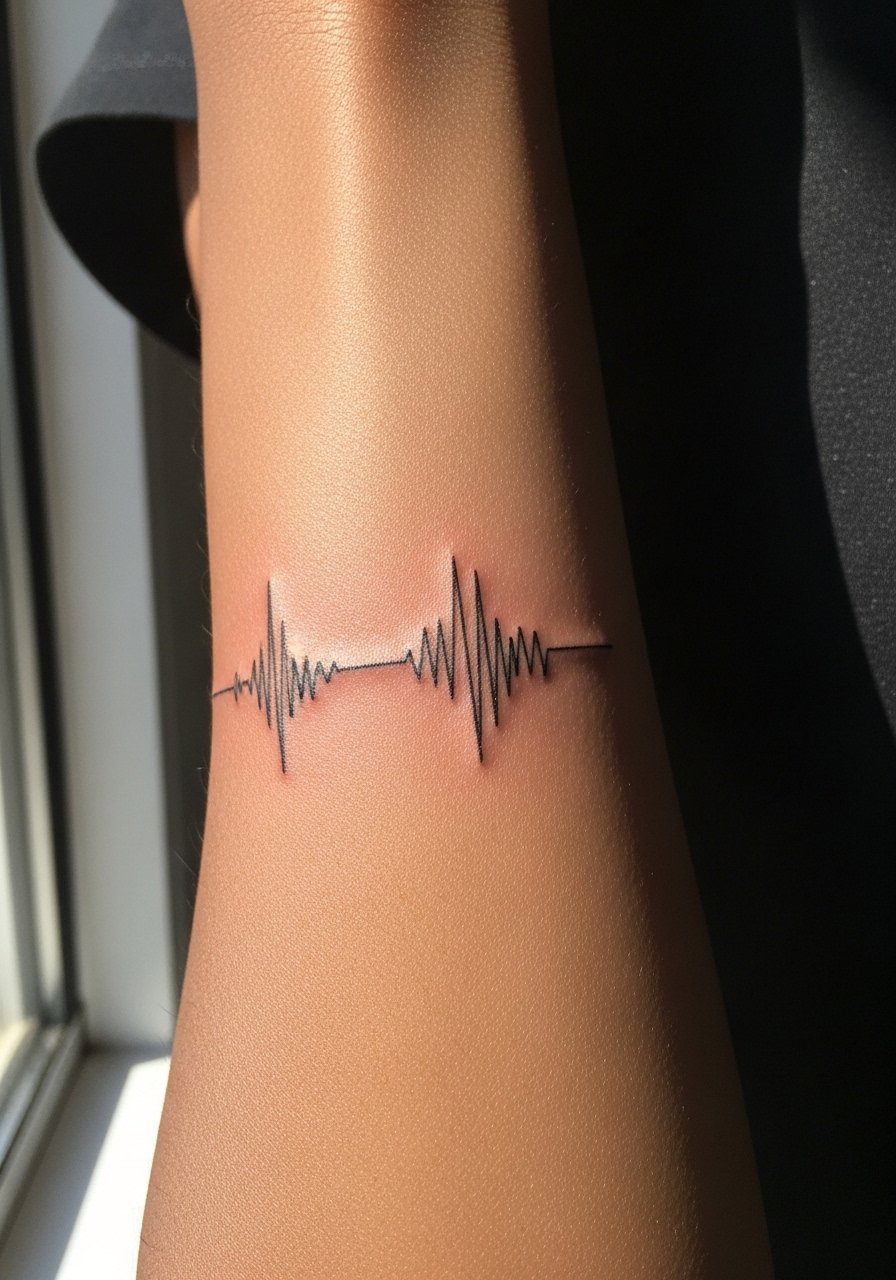
Soundwaves must be captured at the exact scale you want to keep them readable. Bring the exact audio-to-wave conversion and ask for a test print placed on skin. Small mistakes in scale turn a waveform into an indecipherable line after healing. These take 20 to 40 minutes. For showing it off, wear a short sleeve denim shirt with the cuffs rolled, keeping the waveform centered on the exposed forearm.
16. Single Dot with Tiny Halo Near Wrist

A single dot can be impactful but placement matters. Put the dot in an area that avoids constant rubbing from watches and sleeves. Ask for slightly larger diameter than you think so it does not disappear into skin texture. The session is extremely brief. For showing it off pair with a minimalist leather watch positioned just above the dot.
17. Geometric Arrow Cluster Pointing Up the Arm
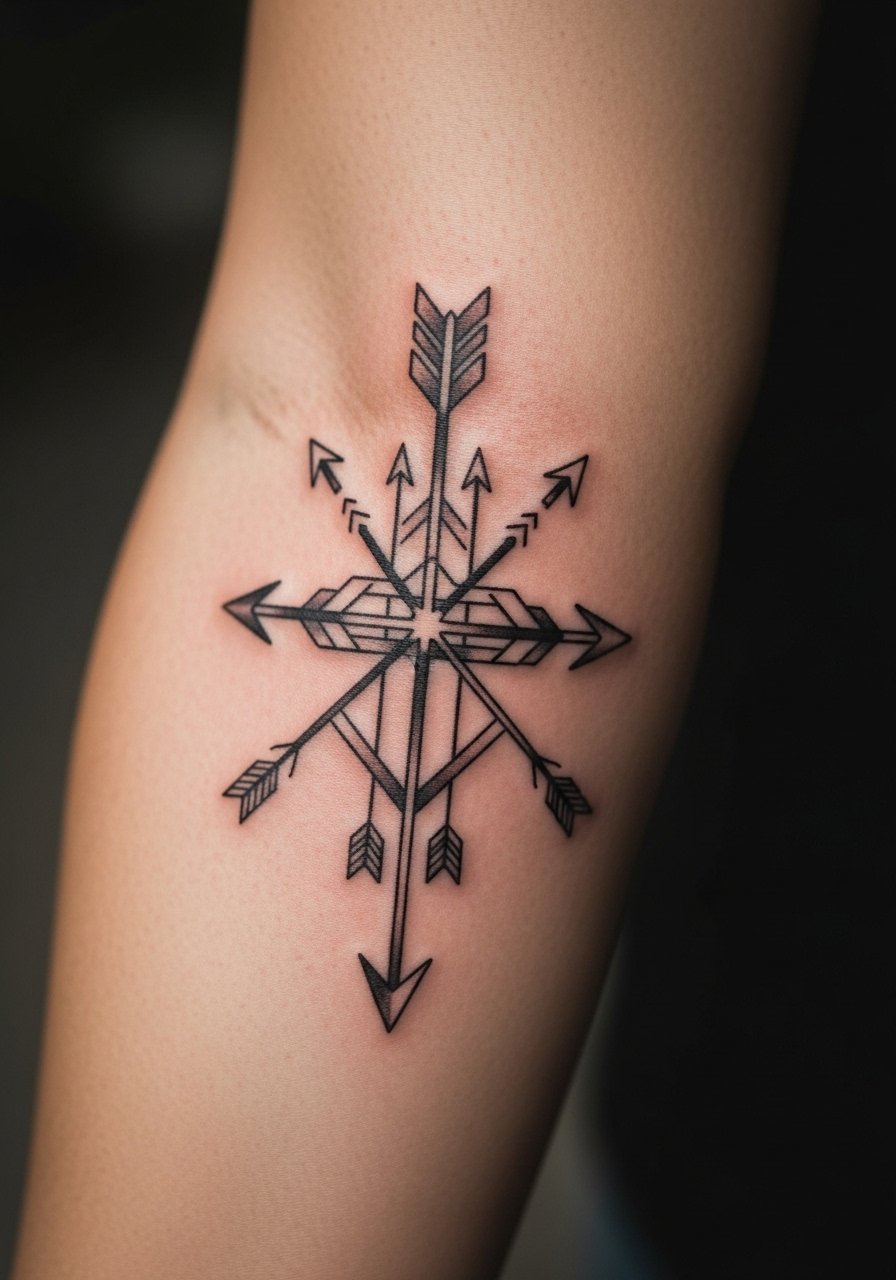
Arrow clusters work when each arrow has breathing room. Ask the artist to stagger the shaft widths so the cluster reads clearly at different angles. A mistake is drawing arrows with identical tight spacing that merge with motion. Sessions are moderate in length depending on complexity. To show the cluster wear a rolled sleeve linen blazer that reveals the design while keeping a polished silhouette.
18. Chain Link Thin Band Along the Inner Forearm
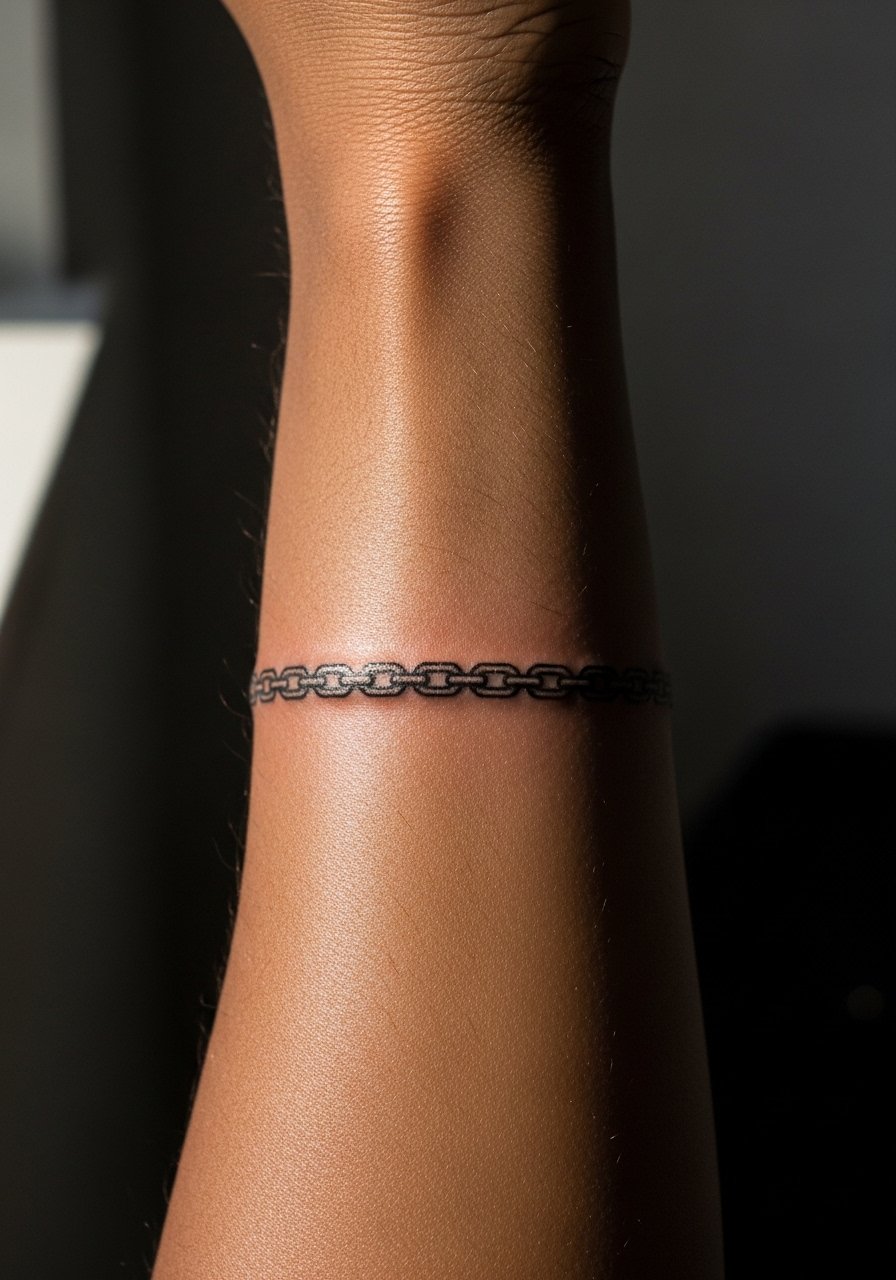
Repeating link patterns need consistent spacing to age uniformly. During consult request a mockup wrapped on the arm so you can check link spacing. Common errors include uneven link rhythm and too-tight repetition. Expect a single session under an hour for a simple band. For pairing, a delicate watch chain bracelet complements the tattoo without adding bulk.
19. Negative Space Floral Crescent
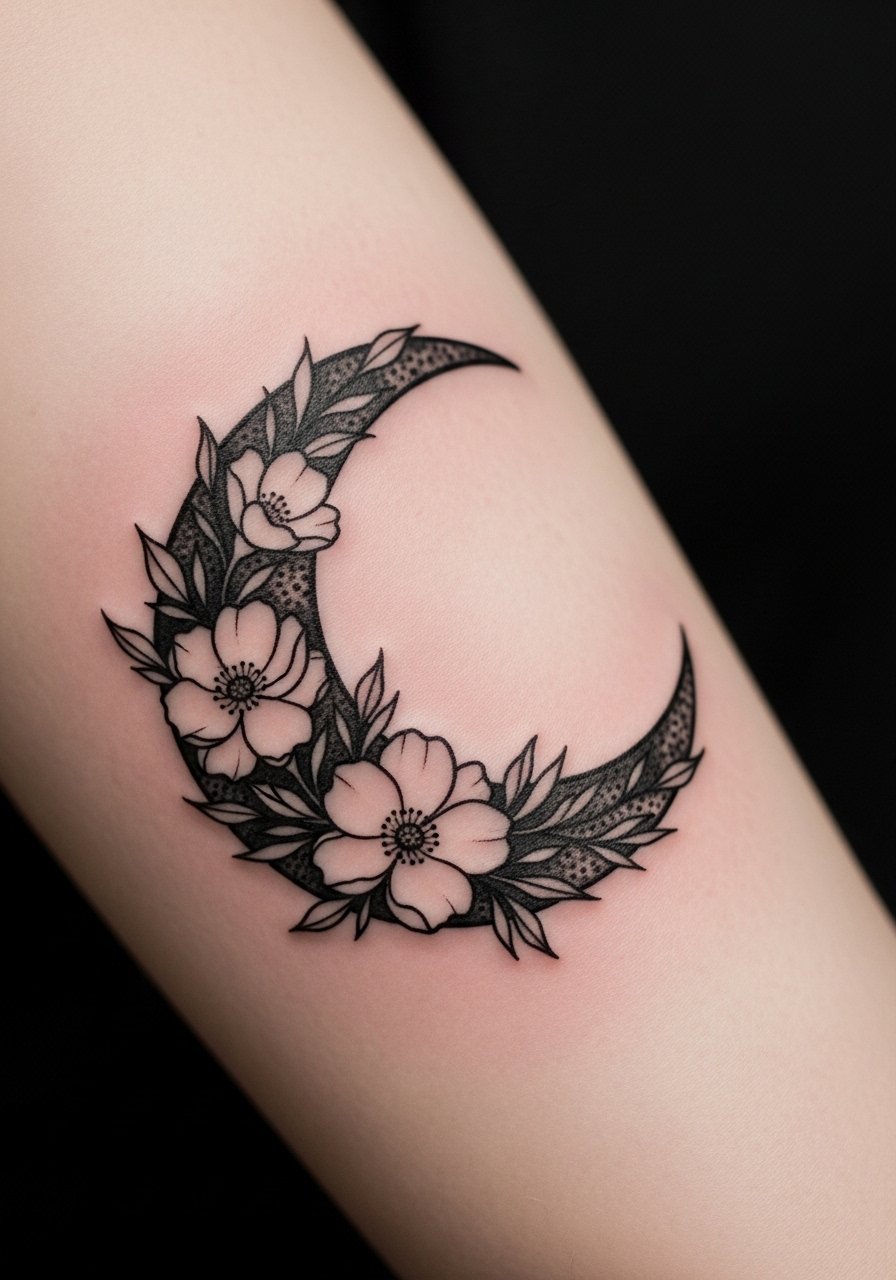
Negative space work demands crisp edges against saturated fields. Tell the artist you want slightly more skin showing inside the petals so the flowers remain distinct as the black softens. Mistakes occur when the black field is too dense against tiny skin islands. Sessions often require careful passes and a follow-up check. A plain rolled cuff shirt shows the crescent without competing patterns.
20. Tiny Map Outline Running Lengthwise
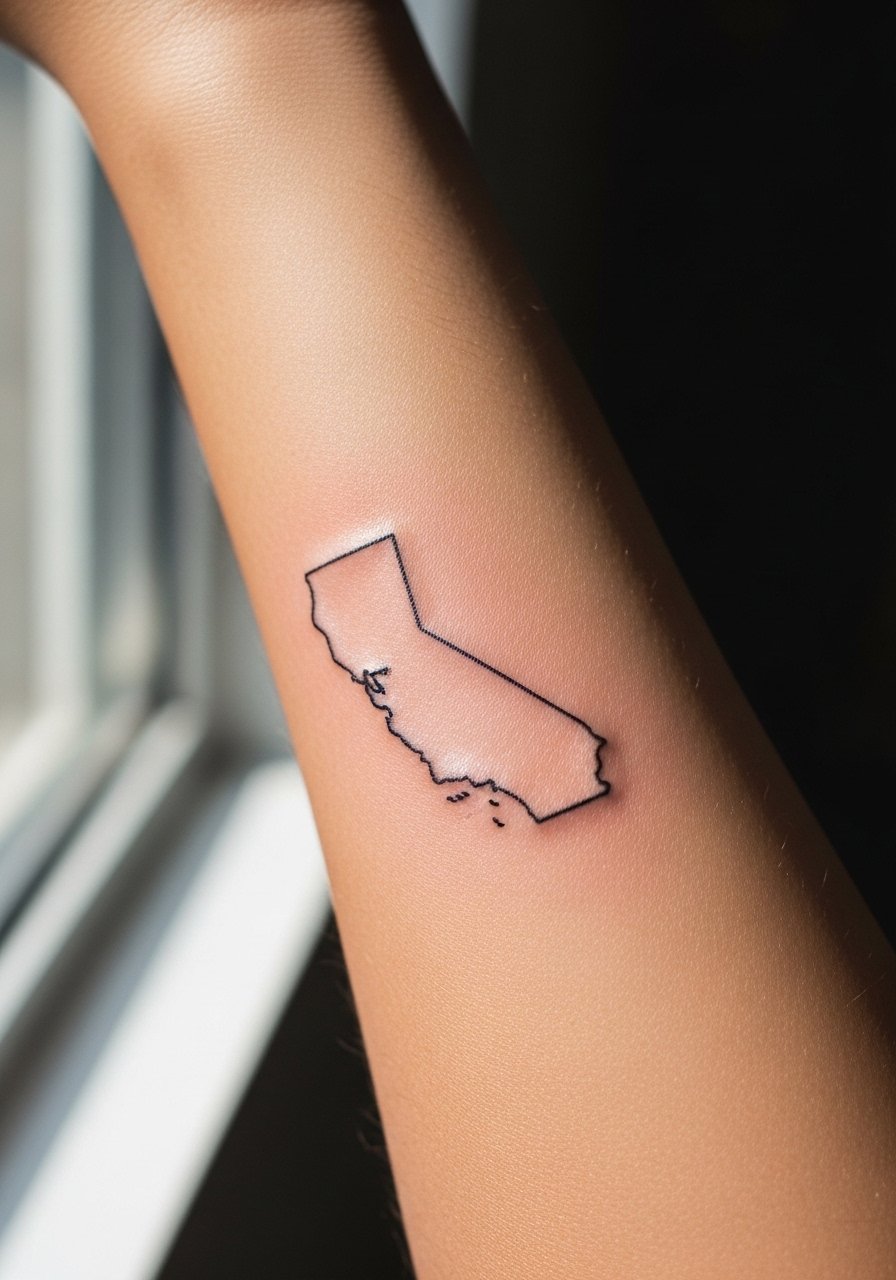
For map outlines bring precise reference and specify a scale that keeps coastlines readable. The common error is cramming intricate geography into a very small silhouette. Sessions are short but expect the need for one light touch-up if edges soften. A simple cuff bracelet positioned higher on the arm frames the outline without obscuring it.
21. Floral Stem with Tiny Color Accent
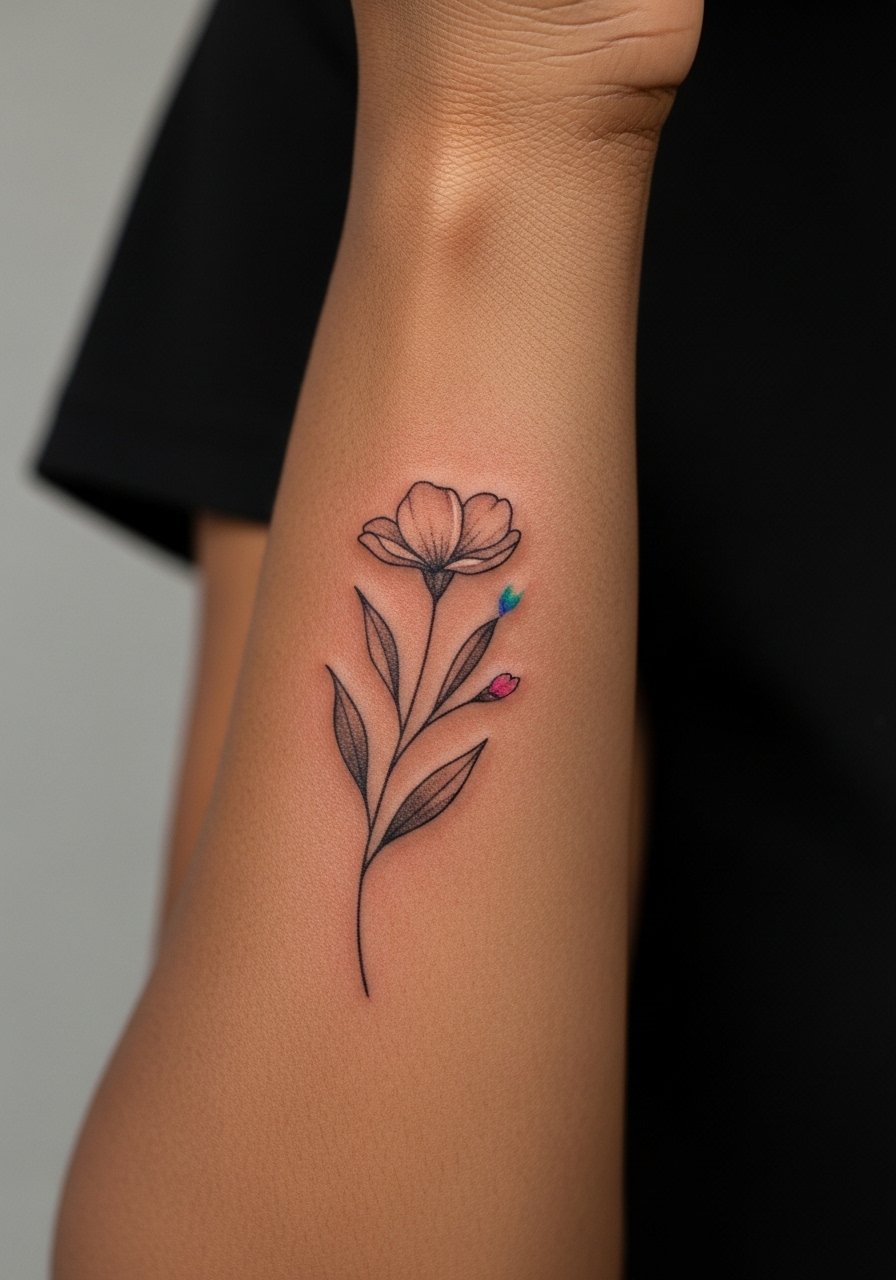
Adding a single color accent can draw the eye while keeping the piece mostly fine line. Request low-saturation pigment in a tiny area so color fades predictably. A common mistake is expecting bright solid color in a micro area which can look patchy after healing. Sessions will be slightly longer than pure linework. For evening wear pair with an open cuff bangle that sits beside the color accent.
22. Minimalist Anchor Close to Wrist

Anchors are small and symbolic but the wrist friction zone affects clarity. Ask for a slightly thicker shank and a compact base so the symbol reads at a distance. The session is brief and most people tolerate wrist work well. For the appointment wear a short sleeve hoodie or a top you can easily roll up without tugging.
23. Scripted Single Word with Decorative Tail
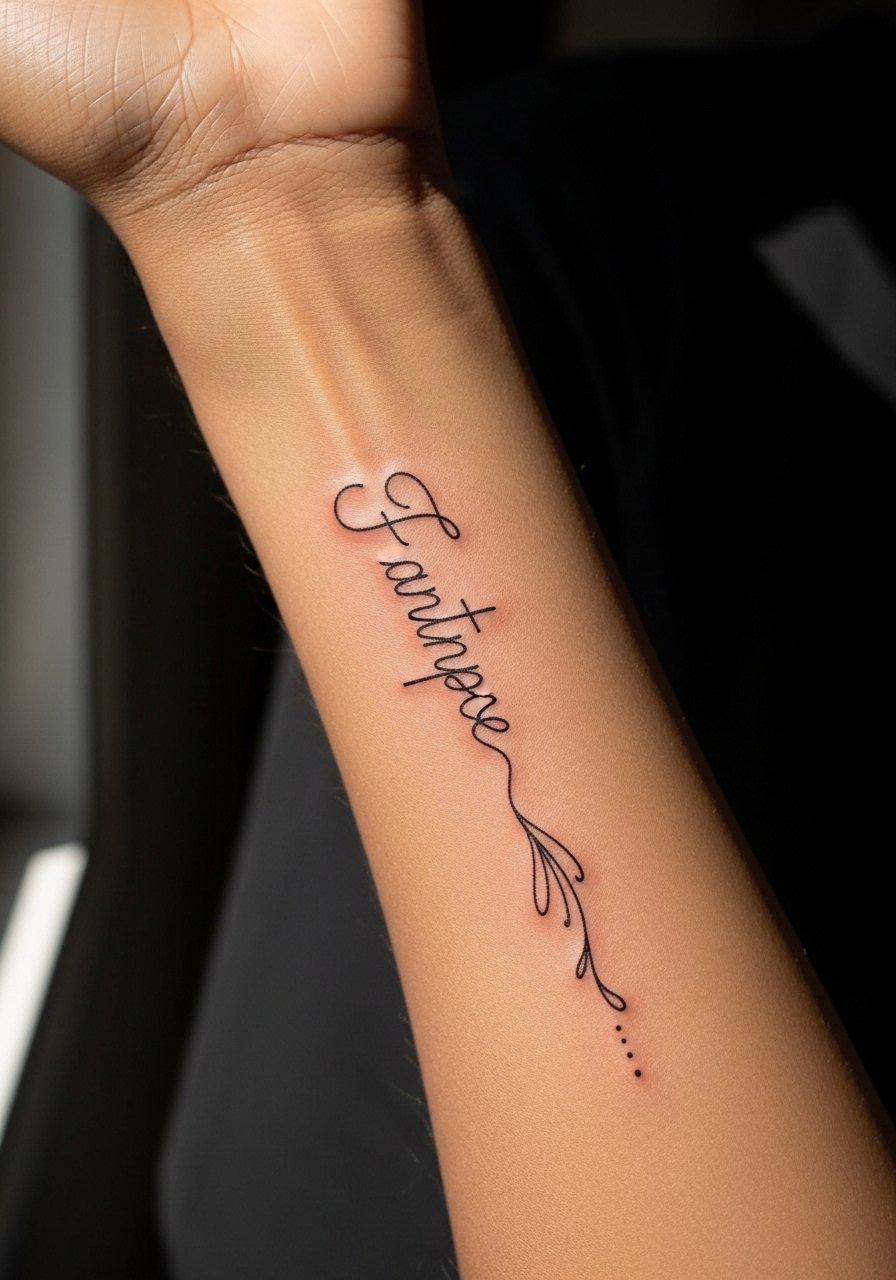
Decorative tails can add personality but keep the tail proportionate to the word height. Tell the artist you want the tail to avoid high-friction areas. Tiny tails and flourishes are frequent mistakes because they blur first. Sessions are short. Pair the script with a thin chain bracelet placed just above the tail so both elements breathe visually.
24. Small Celestial Sun or Moon Near Inner Elbow
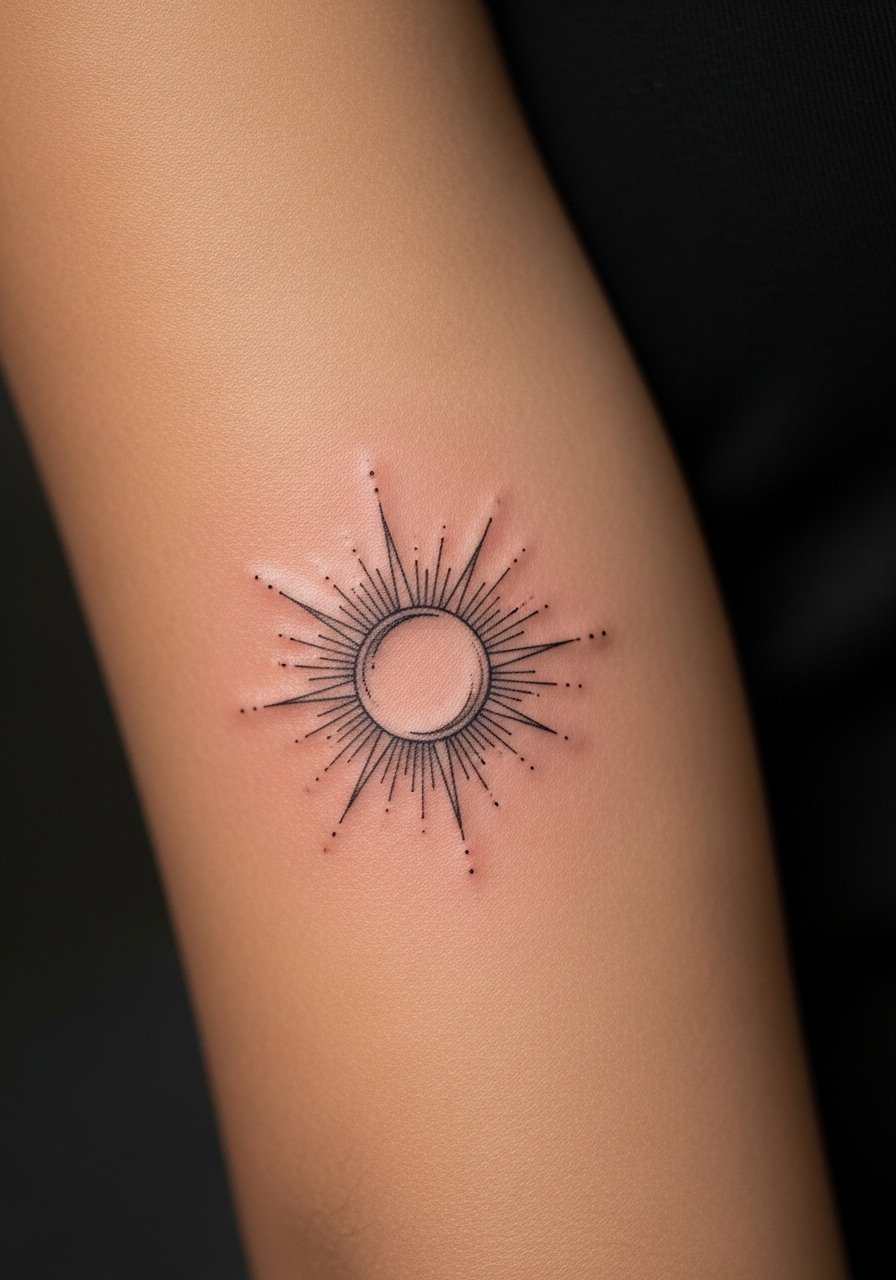
Sun and moon designs need contrast to read across tones. Ask for slightly bolder outlines around rays so the symbol keeps definition. The inner elbow area moves a lot so place the piece where stretching is minimal. Sessions vary depending on detail. For showing it off, a lightweight knit sweater with rolled sleeves keeps the symbol visible without friction.
25. Tiny Anchor Chain Dots Along the Inner Forearm
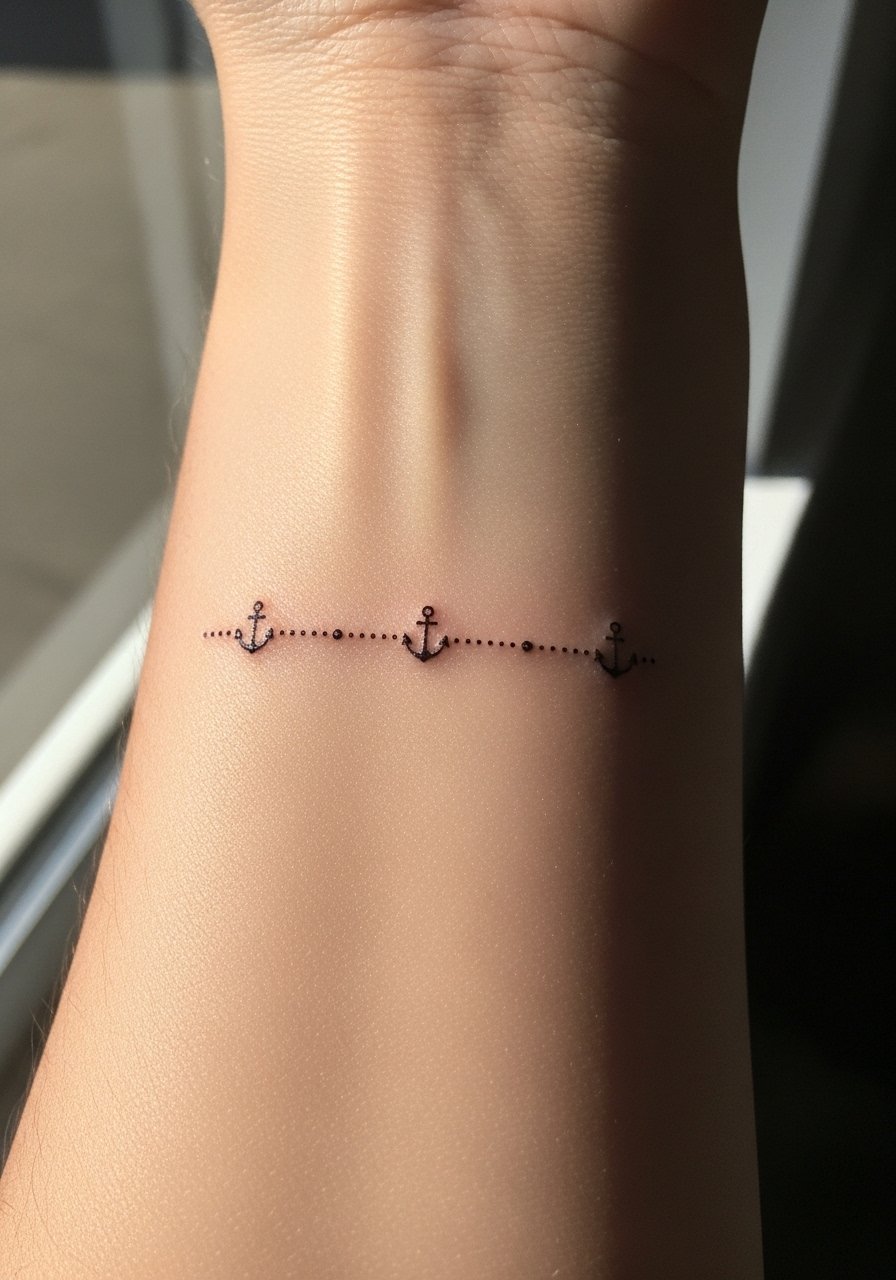
A dotted chain effect can be delicate but needs consistent dot spacing. Ask your artist to mark spacing on your arm before the first pass. Dot work often softens unevenly if dots vary in depth. Sessions are short and may need a touch-up to maintain rhythm. For showing it off, a rolled short sleeve blouse keeps the dotted chain front and center.
26. Whip Shaded Leaf Row Along the Inner Forearm

Whip shading delivers soft gradients but is sensitive to technique. Request a gentle whip approach and ask to see healed examples from similar skin tones. A common mistake is too heavy a hand that creates mud in the midtones. Sessions run moderate in length. For a casual look wear a rolled cuff denim jacket so the leaves peek out.
27. Tiny Morse Code Line Representing a Word

Morse code pieces are neat and private but demand spacing accuracy. Bring the exact sequence and ask for proof of spacing on skin. Mistakes happen when dots and dashes are too close causing runs of ink to merge. Session time is short. For showing it off, a minimalist cuff bracelet creates a clean frame without covering the code.
Frequently Asked Questions
Q: How does fine line inner forearm work age compared with bold blackwork?
A: Fine line tends to soften earlier than bold blackwork because the thin channels carry less pigment. Bold blackwork can look strong longer because saturation resists light and movement. That said, spacing, skin type, and sun exposure matter a lot. I recommend planning a touch-up timeline around year two to three for fine line pieces and protecting the area from UV.
Q: Can I get a tiny portrait on the inner forearm that still reads after a few years?
A: Yes if you scale the portrait appropriately and request softer stipple shading instead of micro-photo detail. Ask for healed portfolio examples at the same size. Expect a longer session and a likely light touch-up after a year to preserve edges.
Q: Are there wardrobe choices that help inner forearm tattoos heal and look better while they age?
A: Wear loose sleeves during the first week to reduce rubbing and choose breathable fabrics in the healing window. For showing the work off afterward, rolled sleeves and short sleeve shirts frame the forearm without crowding the design. A simple rolled short sleeve linen shirt is an easy everyday option.
Q: If an artist says fine line will not hold on my skin should I get a different style?
A: This depends on the artist's experience and your skin. One group of artists will avoid ultra-fine work on textured or very oily skin because lines blur faster. Another group will adjust spacing and depth to make fine line work. Ask them to show healed samples from similar skin types and make the call based on those examples.
Q: How often do inner forearm pieces need touch-ups for most styles shown here?
A: Expect light touch-ups at roughly two to five years depending on style. Fine line and micro-realism sit toward the earlier side. Bold blackwork and well-spaced geometric work can stretch longer without touch-ups. Sun protection and avoiding constant friction extend the time between sessions.
