
Fine line kanji are trending hard on feeds, but the pieces that still read clean after a few years are the ones planned with spacing and placement in mind. I've noticed tiny text on high-friction spots needs a different approach than the aesthetic-only references people save. Read these 21 micro Japanese tattoo words with placement tips, what to tell your artist, and wardrobe ideas to help the design age better.
1. Shoshin Kantetsu (初志貫徹) on Inner Forearm
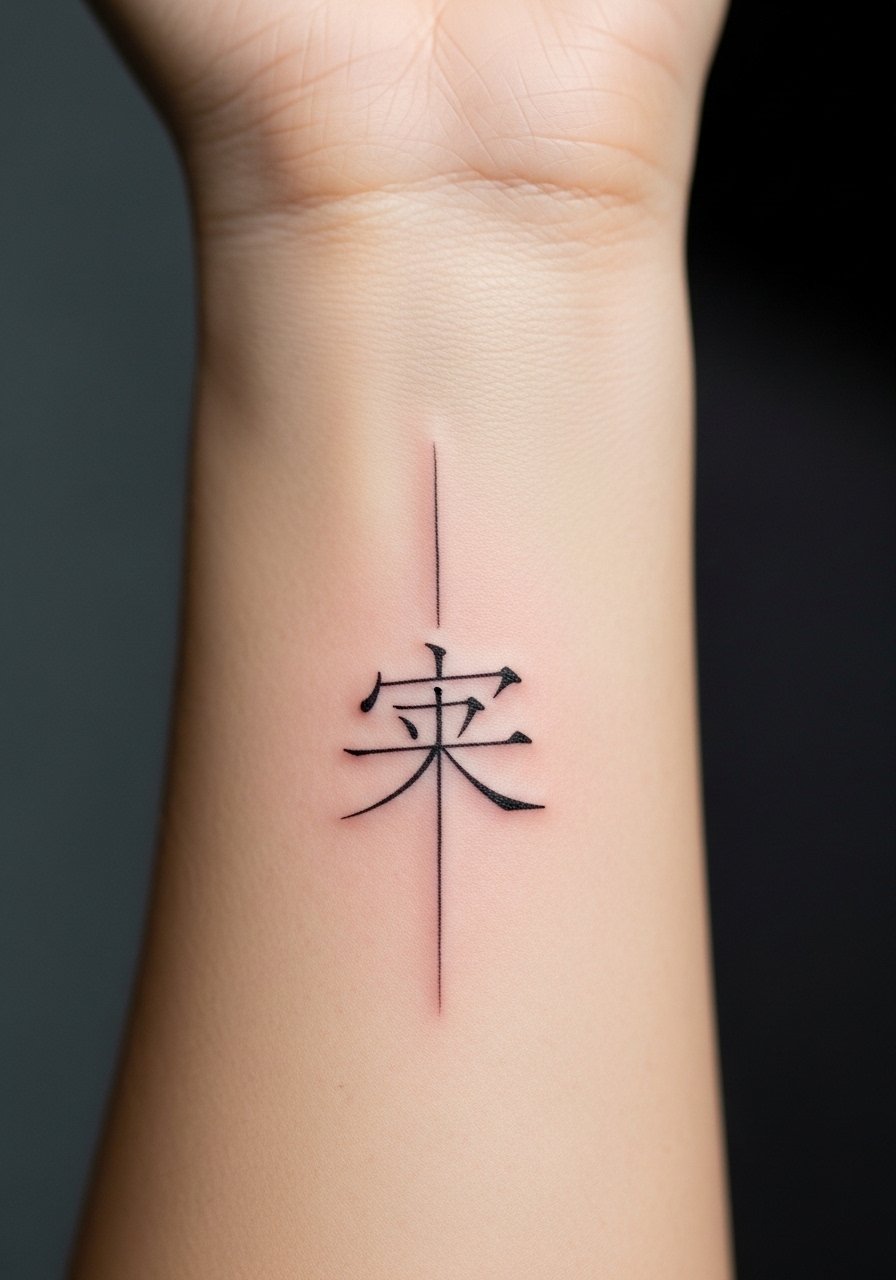
I've seen shoshin kantetsu on wrists and forearms for people who want a daily nudge to finish what they start. For the inner forearm pick 1.5 to 2 cm of height so the characters breathe and do not blur into each other over time. Tell your artist you want slightly increased spacing between kanji and single-needle thin strokes that sit a bit deeper than feather-light work. Common mistake is asking for the tiniest possible size because it looks delicate in a photo. That version often needs touch-ups at year two. Pain is low on the inner forearm and sessions run about 20 to 40 minutes. For showing it off pair with a rolled sleeve cotton button down shirt in dark tones.
2. Ishin Denshin (以心伝心) on Collarbone

This phrase reads poetic and works well as a vertical or horizontal stack near the collarbone. The collarbone skin can shift with movement so ask for slightly bolder lineweight than you'd pick for a wrist piece. Artists split on fine line here. One camp says the area handles fine line if the needle depth is spot on. The other camp warns the bone and shallow tissue make lines blowout faster. Ask your artist which camp they sit in and show portfolio photos of healed collarbone work. Expect a 30 to 50 minute session and low to moderate pain. For evenings pair the piece with an off shoulder blouse that frames the script.
3. Isshoukenmei (一生懸命) behind the Ear, Below Hairline
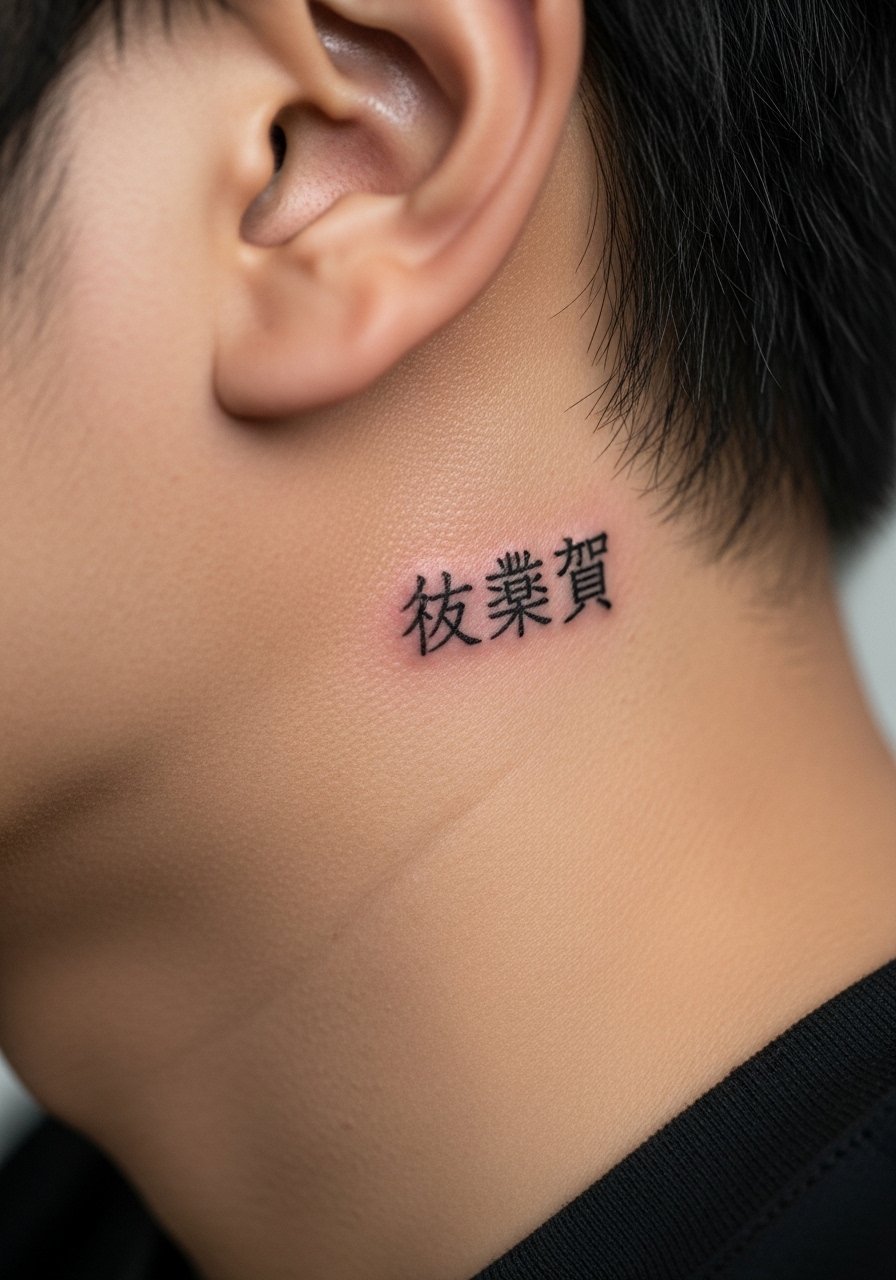
Behind-the-ear placements read private and strike a quiet note for a phrase like isshoukenmei. Because the area sits below the hairline tell your artist you want the stencil adjusted to follow the neck curve. The skin is thin so ask for slightly thicker strokes than you would on the forearm to avoid early blurring. Sessions are brief under 20 minutes and pain is mild to moderate. A common mistake is insisting on ultra-tiny kanji that end up looking muddy once healed. If you plan to reveal the tattoo often, style with a thin chain necklace and wear hair up on show days. For the appointment bring a loose top and pin your hair up so the artist has clear access.
4. Danshari (断捨離) on Inner Wrist
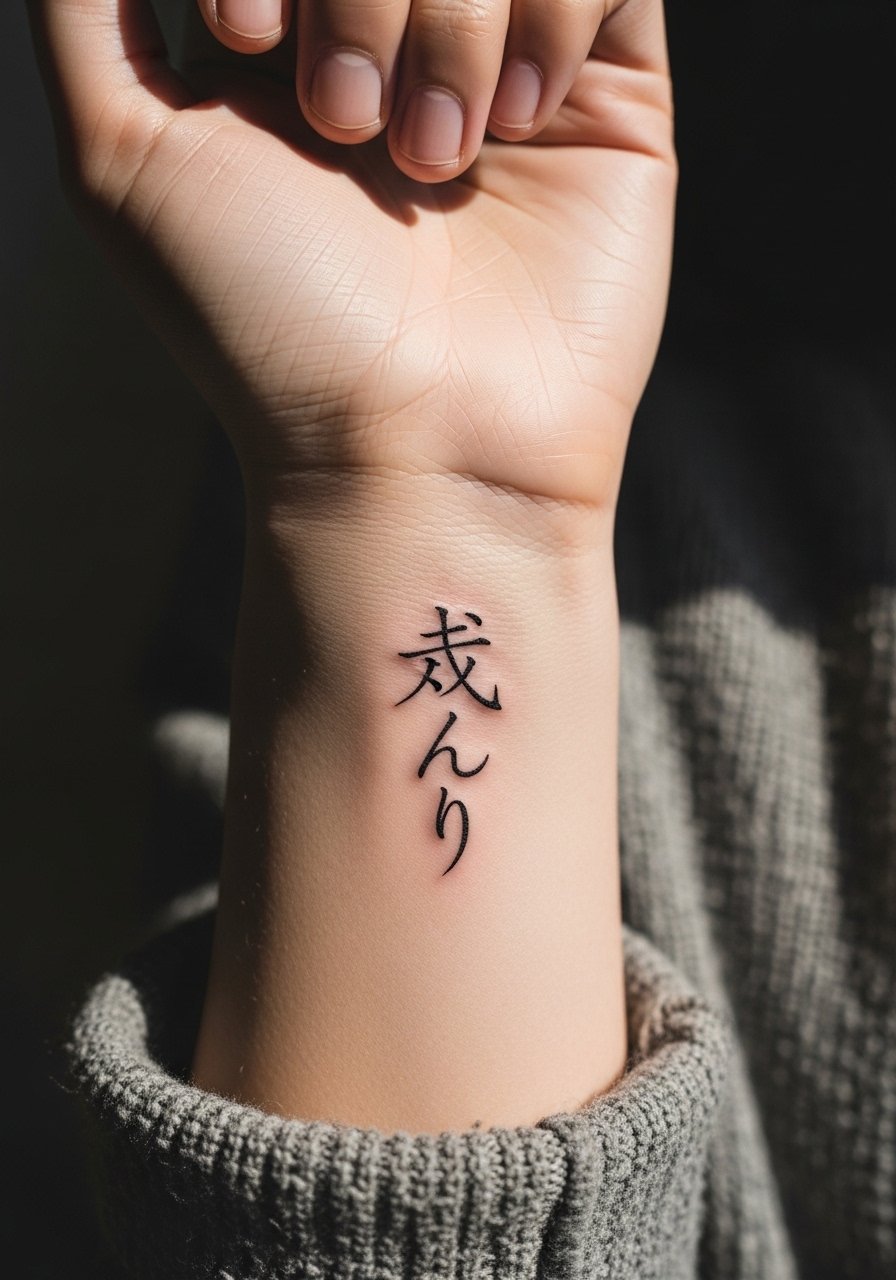
Inner wrist is the poster child for visibility and friction. Danshari suits that spot if you want a daily prompt about decluttering. Warn your artist you live a hands-on life and ask for slightly bolder contour to hold up against washing and bracelets. Fine line purists will argue thin strokes are part of the look. Practicalists will recommend a sturdier outline for longevity. Expect low pain and a 15 to 30 minute session. The mistake I see most is placing the script too far toward the palm where abrasion is worst. Show-off pairing is a thin leather cuff on the opposite wrist. Try a thin leather cuff bracelet when the piece is healed.
5. Zen (禅) on Finger
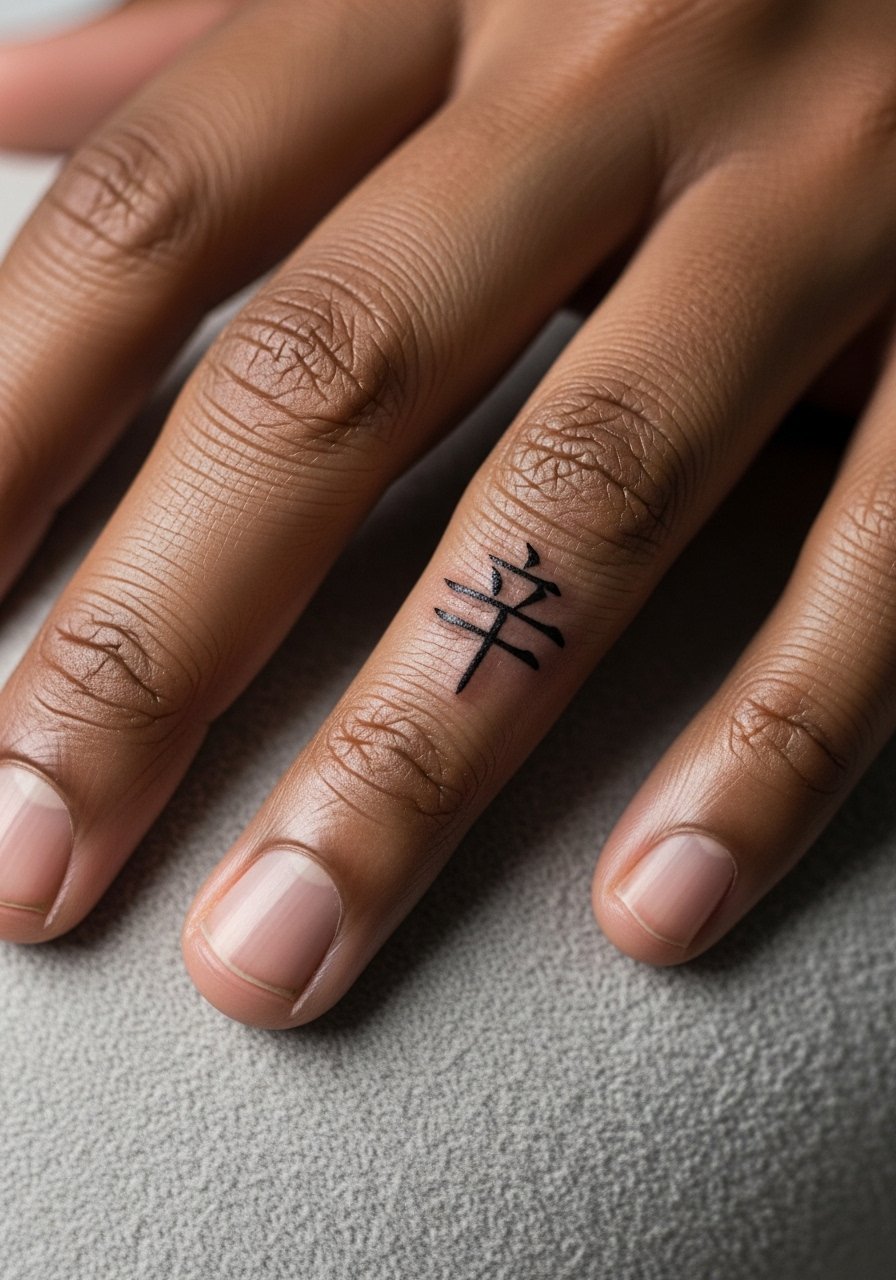
Finger tattoos age differently than arm work because of constant washing and skin turnover. For a small zen kanji go bold enough that the strokes still read after a year. The trade-off is a slightly heavier look fresh compared with ultra-fine work. Tell your artist you expect a yearly touch-up and ask whether they recommend negative space elements to keep the character legible. Session time is short but pain is high for the finger. A frequent mistake is choosing the smallest size possible. If you like the ring illusion, plan jewelry that avoids covering the tattoo while it heals. Stackable rings look good when the ink is healed.
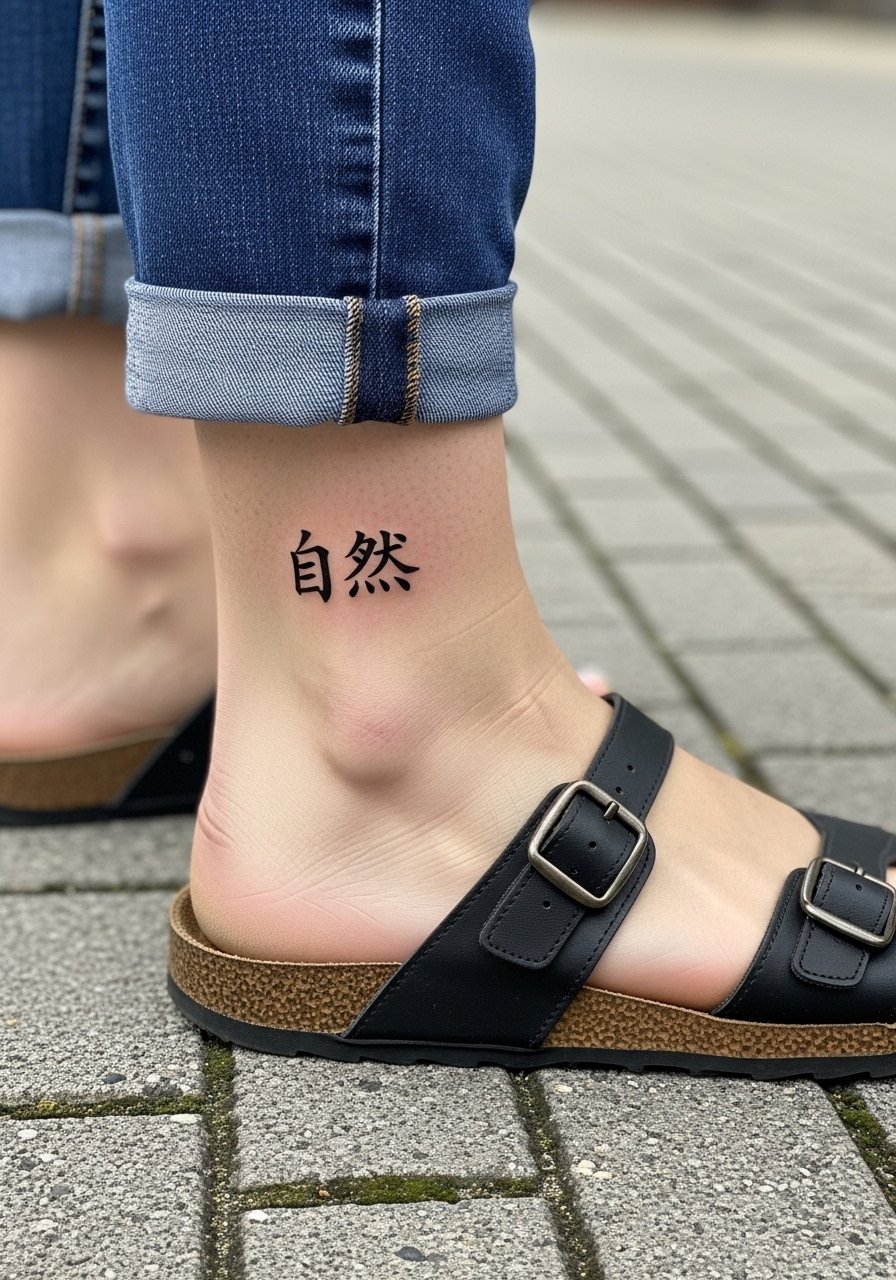
6. Shizen (自然) on Outer Forearm
Shizen fits the outer forearm where it can stretch with movement and still read clean. For a 2 cm width ask your artist for slightly increased spacing between kanji so stipple shading or light gray wash does not fill the counters over time. The outer forearm offers low pain and sessions take 25 to 45 minutes. A mistake I see is adding unnecessary tiny decorative flourishes that age into clutter. For showing this design, rolled sleeves and a slim gold chain on the opposite arm frame the script nicely. Wear a rolled sleeve tee to your appointment for easy access.
Pre-Session Essentials
The wrist and finger work above heal under more abrasion than collarbone or forearm pieces, so a few targeted items smooth the session and the first week.
-
Hikari Tattoo Balm. A thinner balm option that many people use for fine line areas because it moisturizes without heavy occlusion.
-
Unscented CeraVe Healing Ointment. A low-fragrance choice some prefer for dry healing on ankles and wrists where greasiness feels heavy.
-
Japanese rice bran oil balm. Natural-feeling moisture that absorbs fast and can help visibility on darker skin tones without a heavy sheen.
-
Mizutoki aftercare spray. No-touch spray option useful for finger and hand work when movement makes ointment tricky.
-
Aquaphor healing ointment. Thin layer for the first few days that many people find keeps fine line work supple during the critical initial healing.
7. Minimalist (ミニマリスト) on Shoulder Cap
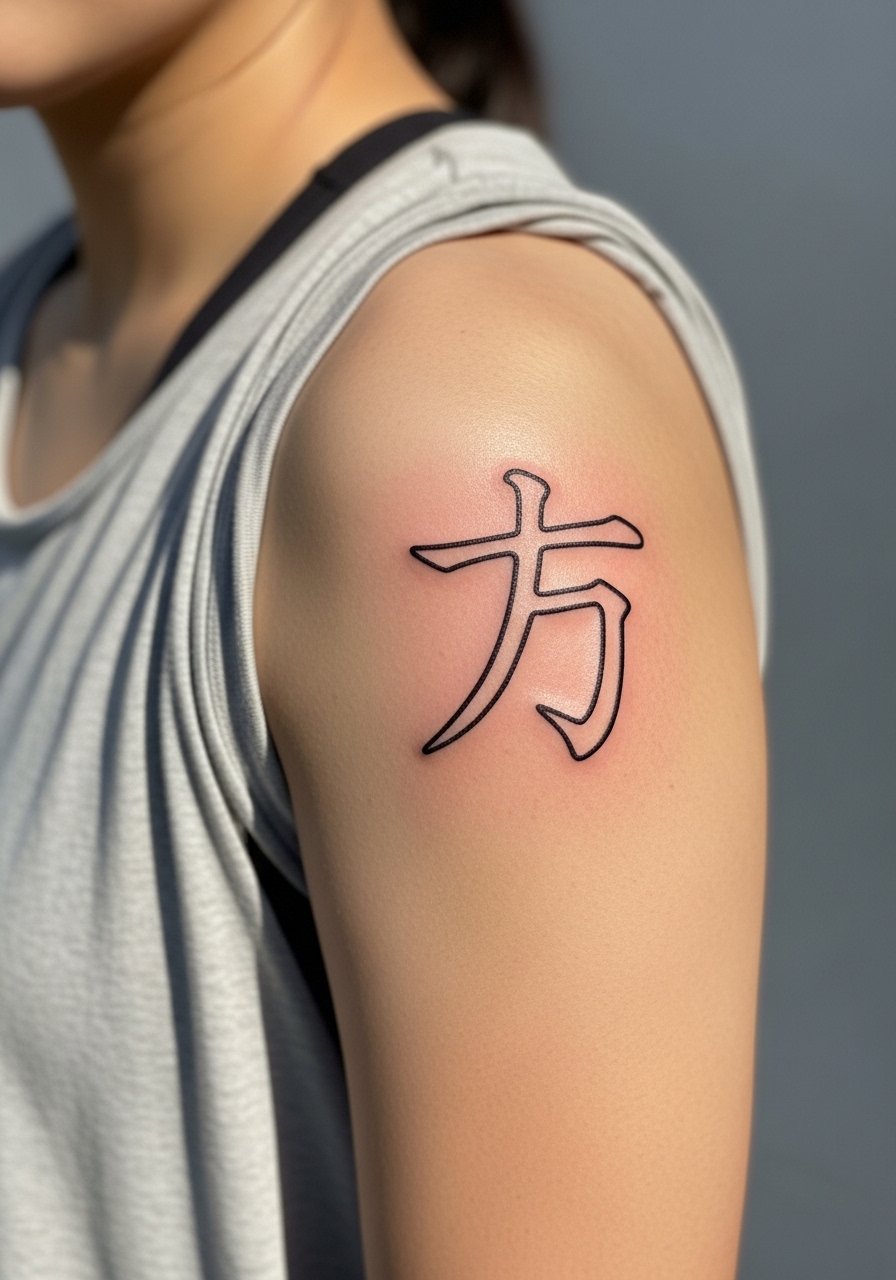
Shoulder placements handle single-needle outlines well because they sit on thicker tissue and move less than wrists. For the katakana minimalist script pick 1.2 to 1.8 cm and ask for outlined strokes instead of ultra-thin fills. A common mistake is wrapping the script too close to the shoulder seam where shirts rub. Pain is low and sessions run 20 to 35 minutes. For sessions wear a loose tank top so the artist can pull fabric aside comfortably. For show days off-shoulder blouses pair nicely with the placement.
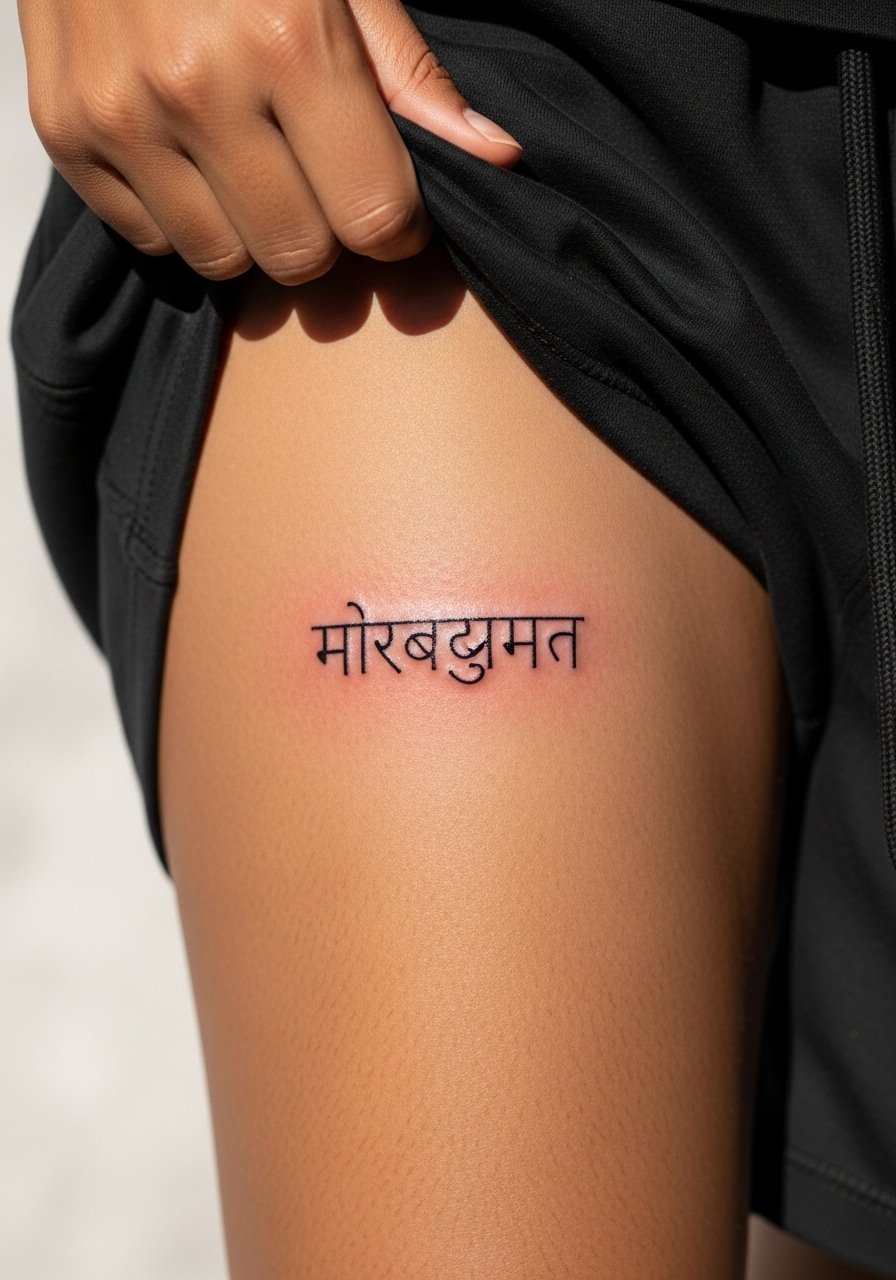
8. Simple Life (シンプルライフ) on Inner Thigh

Inner thigh is intimate and heals differently because of friction from clothing. Choose 2 cm length and tell your artist you want the text slightly raised in thickness to maintain legibility after movement. Sessions can be 30 to 50 minutes and pain varies by person. Mistakes include tight clothing choices during the first two weeks that cause rubbing. For the appointment wear loose shorts or a skirt for quick exposure. Style-wise the piece looks great with high-waisted shorts in summer for a low-key reveal. Link for session comfort: high waist shorts.
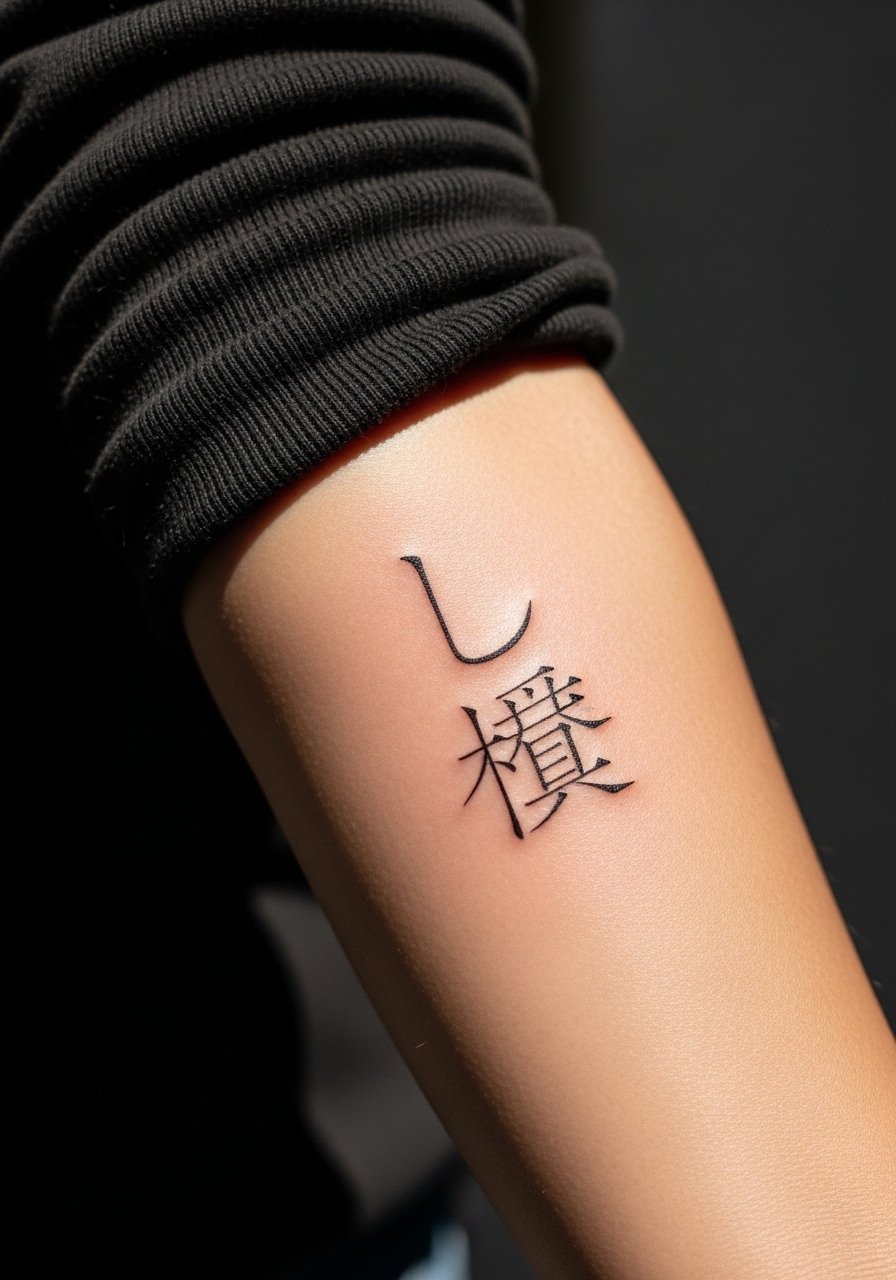
9. Simple Stack: Seiri Seiton (整理整頓) on Upper Arm, Vertical
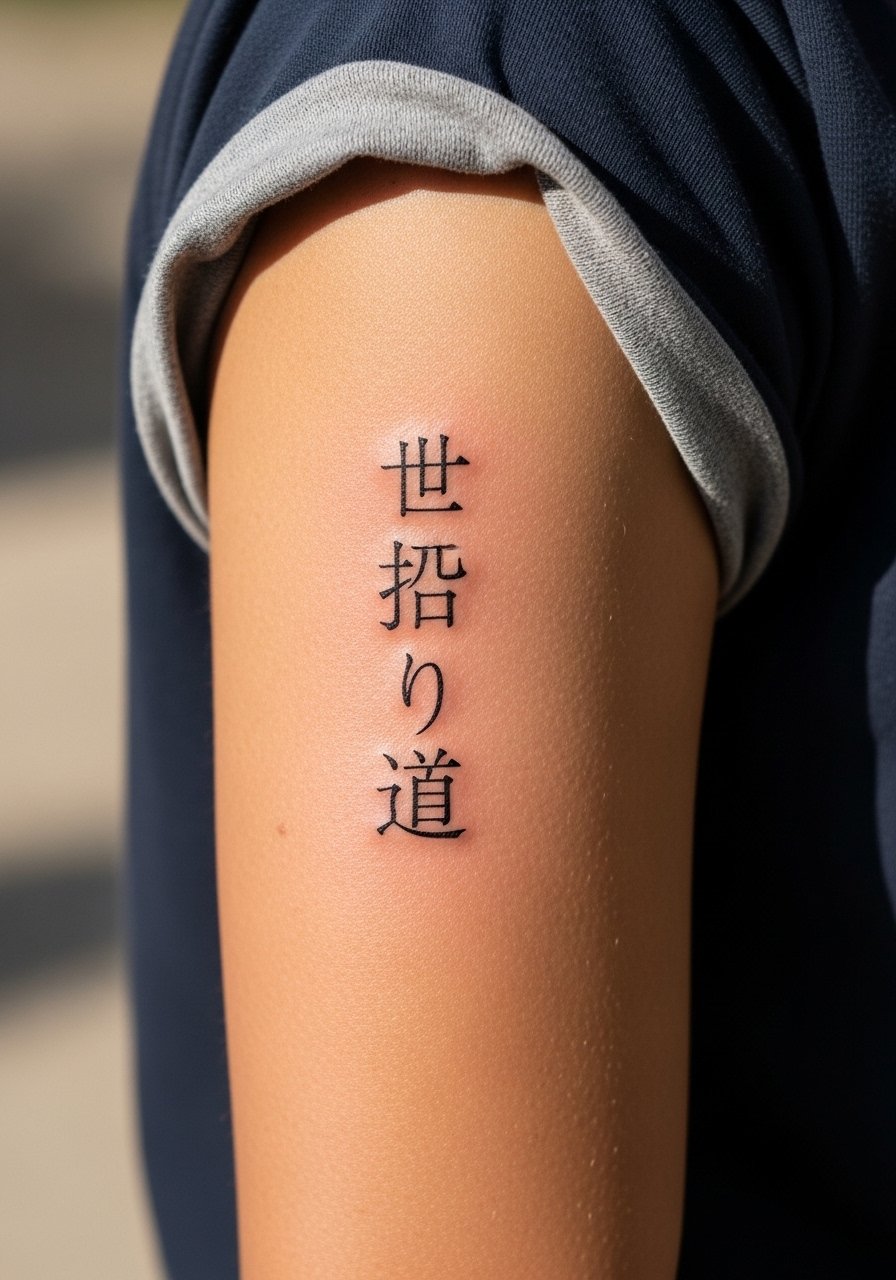
A vertical stack suits the upper arm where there's room for 3 cm of height without crowding. Seiri seiton is crisp as a productivity reminder when the characters are spaced evenly. In consultation say you want consistent vertical rhythm and no extra decorative shading. The upper arm is forgiving for fine line and touch-up timelines are modest. A frequent error is stacking characters too tightly which leads to merged counters down the road. Session time is around 30 to 45 minutes with low pain. For showing the work wear a loose button-down shirt with sleeves rolled.
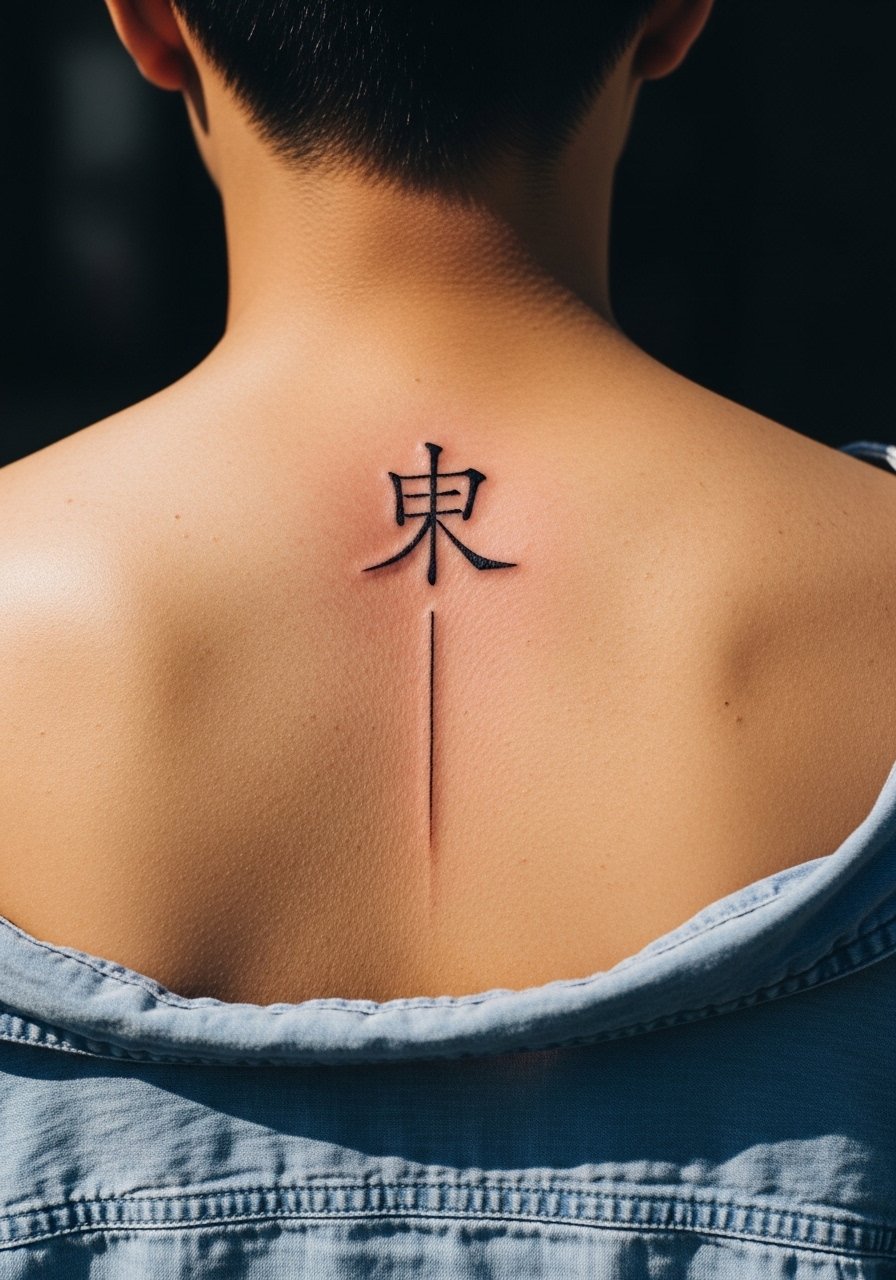
10. Konmari (コンマリ) Along the Spine
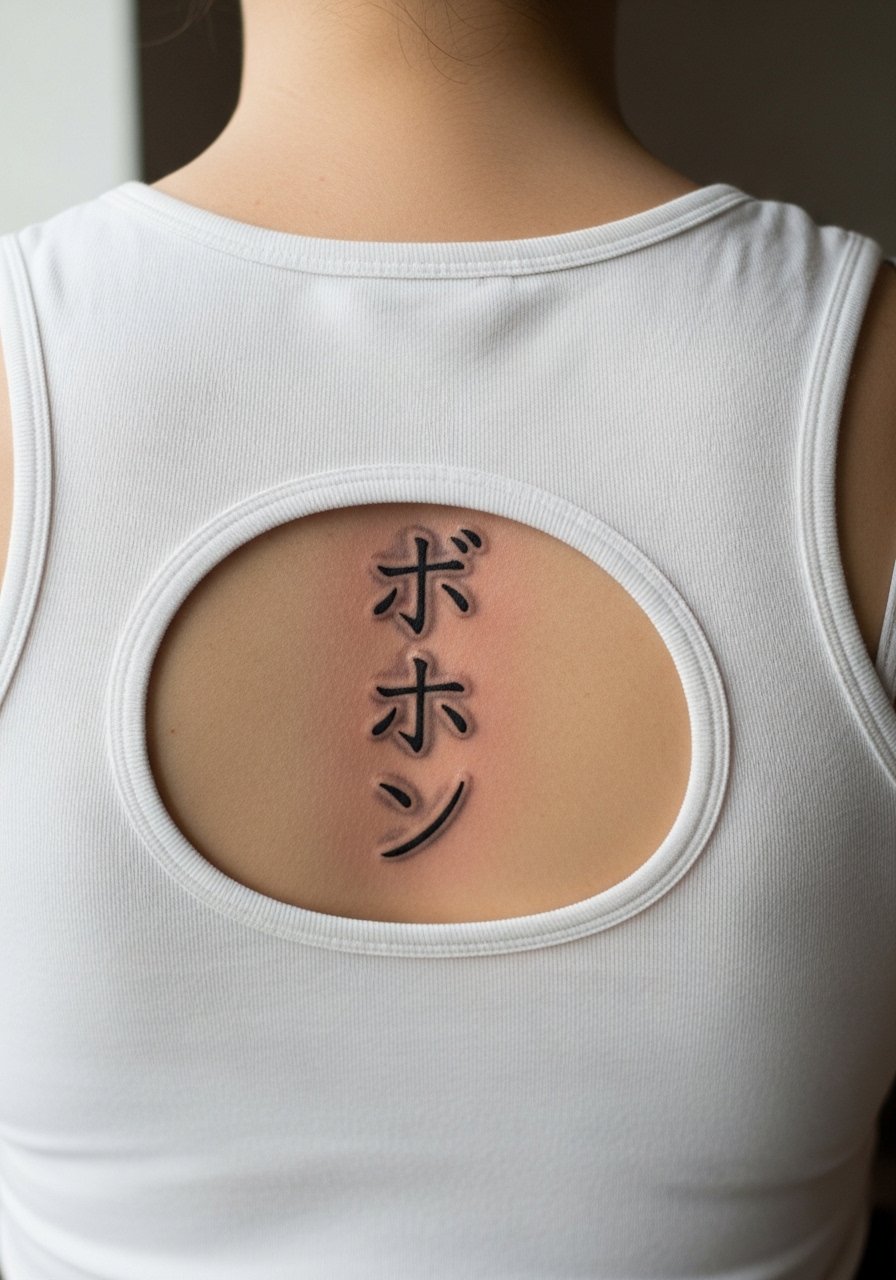
Spine placements create a peekaboo effect with narrow vertical scripts like konmari. Ask for 1.8 cm character height and a subtle gray wash only if you want softness. The spine can be sensitive and sessions run 30 to 60 minutes depending on length. One mistake is underestimating movement when bending, which can distort how the characters sit. For the session wear a racerback top or a button shirt you can pull aside for access. For evenings an open-back dress frames the line elegantly.
11. Fudoshin (不動心) on Side Neck

Side neck placements read bold and demand a confident line. Fudoshin benefits from blackwork weight because the area sees sun and clothing contact. This one is on the higher-pain side and sessions may be 30 to 50 minutes. Artists debate whether heavy blackwork is preferable to fine line here. One camp favors bold fills for longevity. The other camp says with correct depth fine line can settle nicely. Ask your artist where they stand and show healed neck photos. For show-off styling, pull down a V-neck tee or wear stud earrings to frame the kanji. For session access pick a v neck cotton tee.
12. Ganbarimasu (頑張ります) on Outer Wrist
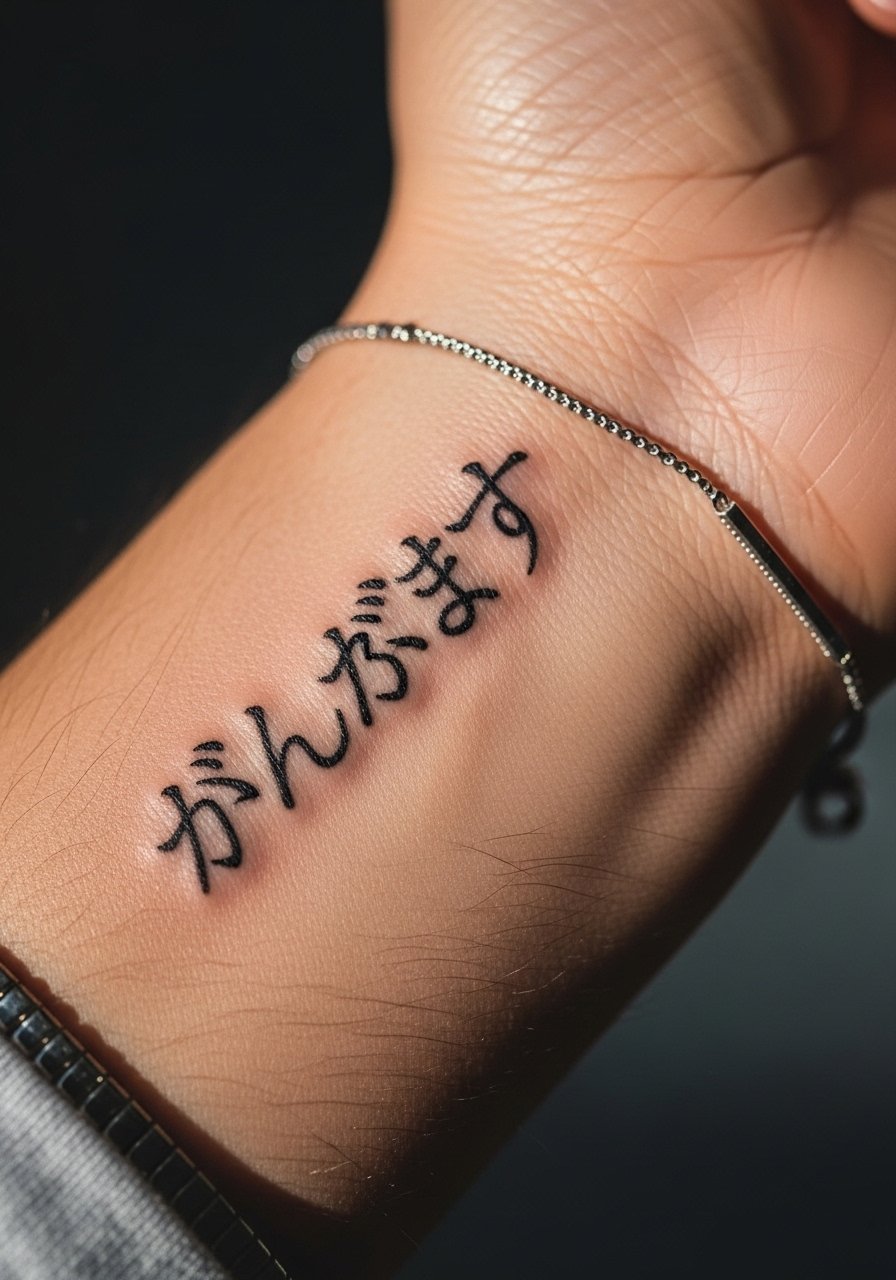
An outer wrist script is readable to others and works as a motivational daily reminder. Ganbarimasu on the outer wrist should be slightly larger than an inner wrist piece to combat abrasion. Tell your artist you prefer reinforced stroke on the outer contour and expect a small chance of a touch-up at year two. Sessions are quick and pain is low. A common mistake is placing the script on the inner wrist crease where ink migrates. For showing the piece, a minimalist watch or thin bracelet on the opposite wrist keeps attention balanced. Consider a minimalist leather watch to complement the look.
13. Kontrast Micro Pair: Danshari + Konmari on Ankle
Pairing two tiny phrases at the ankle creates a conversation between ideas when you want both decluttering nods. Ankle skin sees shoe friction so pick slightly bolder outline and place the work where socks or shoe straps do not rub. I recommend telling your artist you want the two pieces offset slightly so they do not merge visually over time. Sessions are short but the area can sting. A common mistake is placing both too low near the shoe line. For showing these against summer outfits roll straight-leg jeans or wear linen pants rolled up. Try cropped straight leg jeans to reveal the ink.
14. Tiny Kanji Chest Accent on Upper Chest

Upper chest placements demand clothing planning for sessions and healing. Small kanji near the collarbone read intimate but visible. Ask your artist for a mock stencil in several sizes so you can see scale against your collarbone. Pain is moderate and sessions are usually 20 to 40 minutes. The mistake is choosing a size that looks right on a phone screen but reads too small on real skin. For easy access wear a wide-neck shirt you can pull slightly aside. A thin chain pendant that sits above the script keeps focus on the kanji while layering.
15. Negative Space Wave with Kanji on Side Torso

This idea leans into a less-covered angle pairing a small kanji with negative space wave shapes to make an "invisible irezumi" effect. Ribcage work is sensitive and artists debate fine line vs bold here. One camp says ribs are too mobile for thin strokes. The other camp achieves durable results by increasing spacing and slightly thickening contour. Tell your artist you want negative space wedges and that the kanji should breathe from the wave shapes. Expect higher pain and a session of 40 to 70 minutes. For the appointment wear a cropped top that can be lifted easily. The result pairs well with open-back tops for occasional reveal.
16. Micro Realism Kanji on Calf
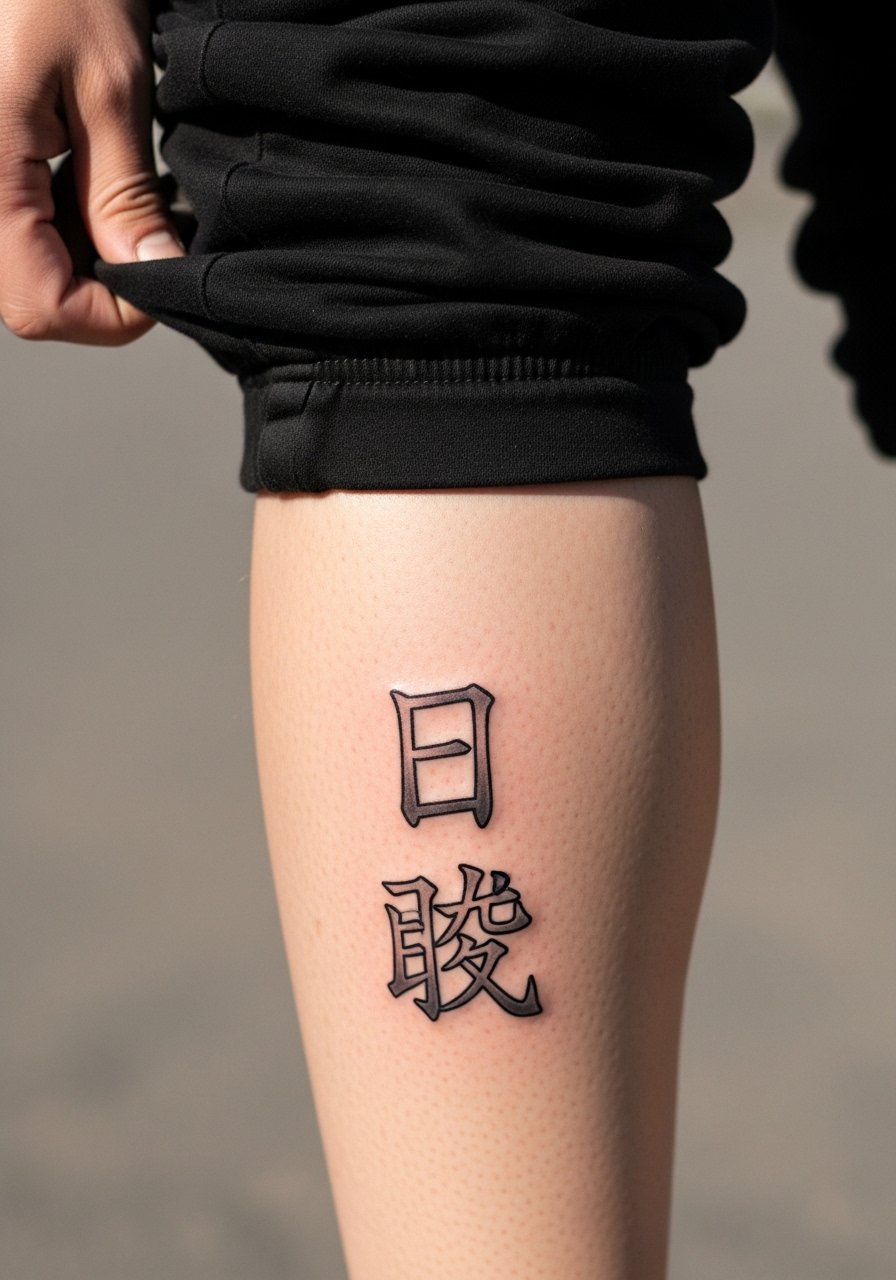
Calf placements are forgiving for micro-realism styles because muscle and tissue add depth. For this four-kanji phrase choose a slightly larger scale so the micro-realism counters read after healing. Tell your artist you want subtle gray wash that does not fill narrow counters. Sessions are comfortable and usually 30 to 60 minutes. A mistake is choosing dense shading that eats the character counters over time. For showing the piece try cropped pants or linen trousers rolled up. For the appointment wear loose drawstring linen pants that can be adjusted easily.
17. Ring Illusion Finger Script with Small Kanji Band
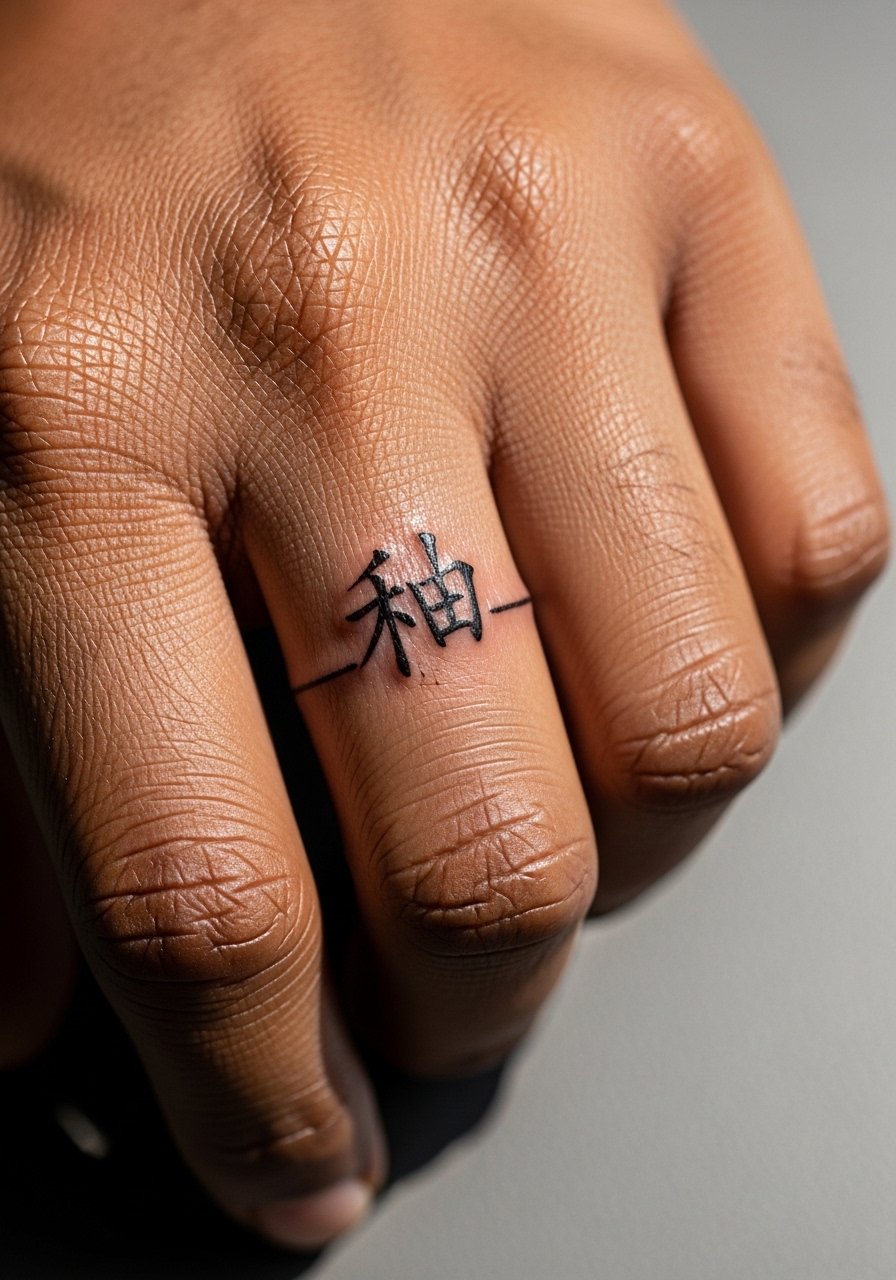
The finger ring illusion works well when you want the look of a band without a metal ring. Boldness helps longevity here because rings see the most wear. Ask for slightly heavier contour and plan for touch-ups at year one or two. Pain is noticeable and sessions are brief. A common mistake is asking for microscopic characters that blur quickly. For styling keep stacked thin rings on other fingers and avoid a ring directly over the fresh ink while it heals. Thin stackable rings pair well once healed.
18. Minimalist Spine Words for Peekaboo
The spine creates a subtle vertical canvas for single-character words or short phrases. For peekaboo effect pick spacing and height so the script aligns with garment openings. Pain varies and sessions are 30 to 60 minutes. The error I see is not previewing the stencil with the clothing you plan to wear so the piece ends up off-center. For showing the work pick tops with open backs or halter straps. For session day wear a button-down you can remove without tugging over your head.
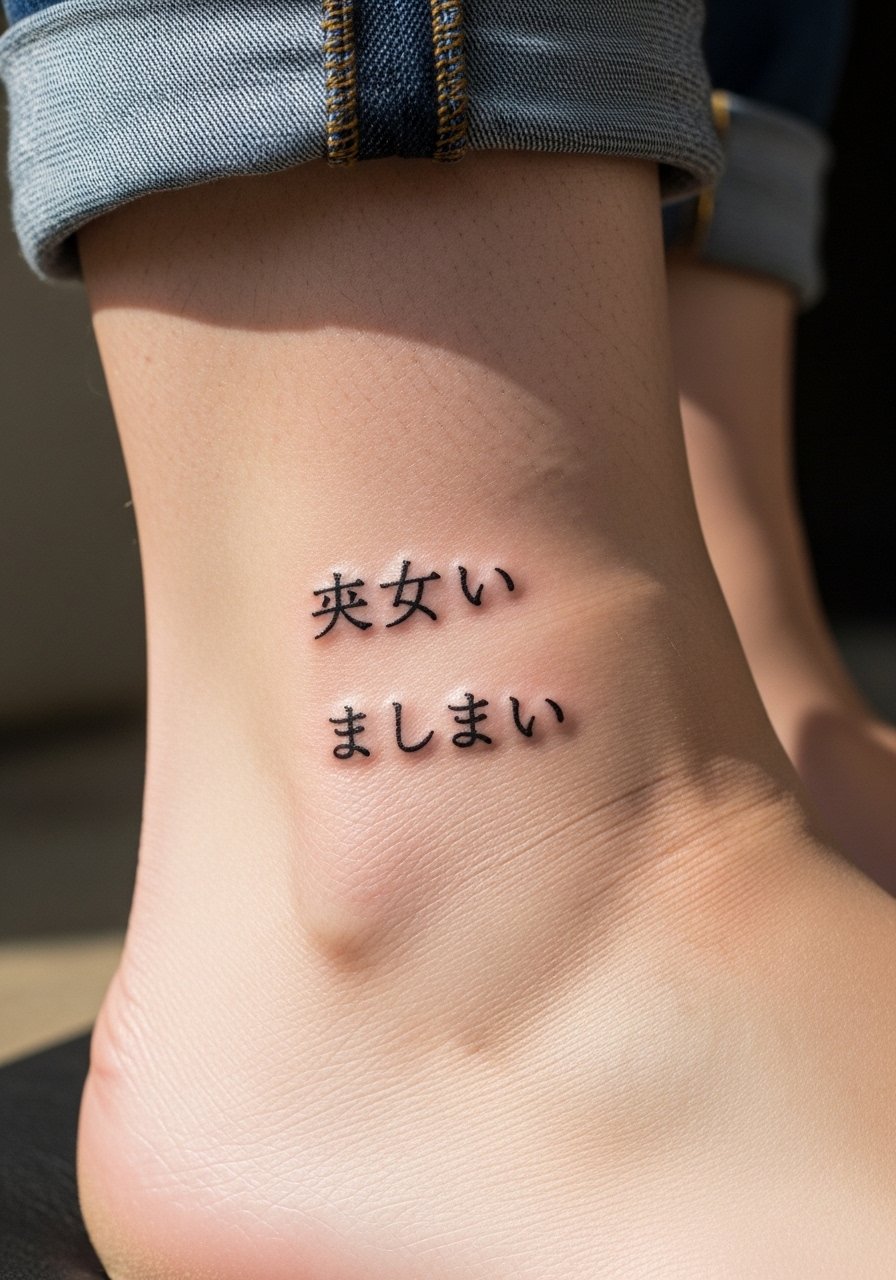
19. Ankle Horizontal Script with Delicate Kanji
Outside ankle placements read well in summer but face friction from walking and socks. Ask for slightly reinforced outlines and avoid placing text near strap lines. Sessions are short and pain is low to moderate. A common mistake is choosing placement too low near the shoe. For style pair with delicate ankle chains on the opposite leg and wear cropped trousers to show the ink. A thin ankle chain gold complements the placement.
20. Minimalist Hiragana on Thigh Inner Edge
Inner thigh ink is private and benefits from larger scale than a wrist script because skin texture varies there. Ask your artist for 2 cm length and a placement that avoids seams from underwear. Sessions are usually 30 to 60 minutes with moderate pain. A mistake I see is tight session wear that binds against the area during healing. For appointments wear loose boxer briefs or a skirt that can be shifted. For later reveals high-waisted shorts work well.
21. Small Back-of-Neck Kanji with Framing Studs
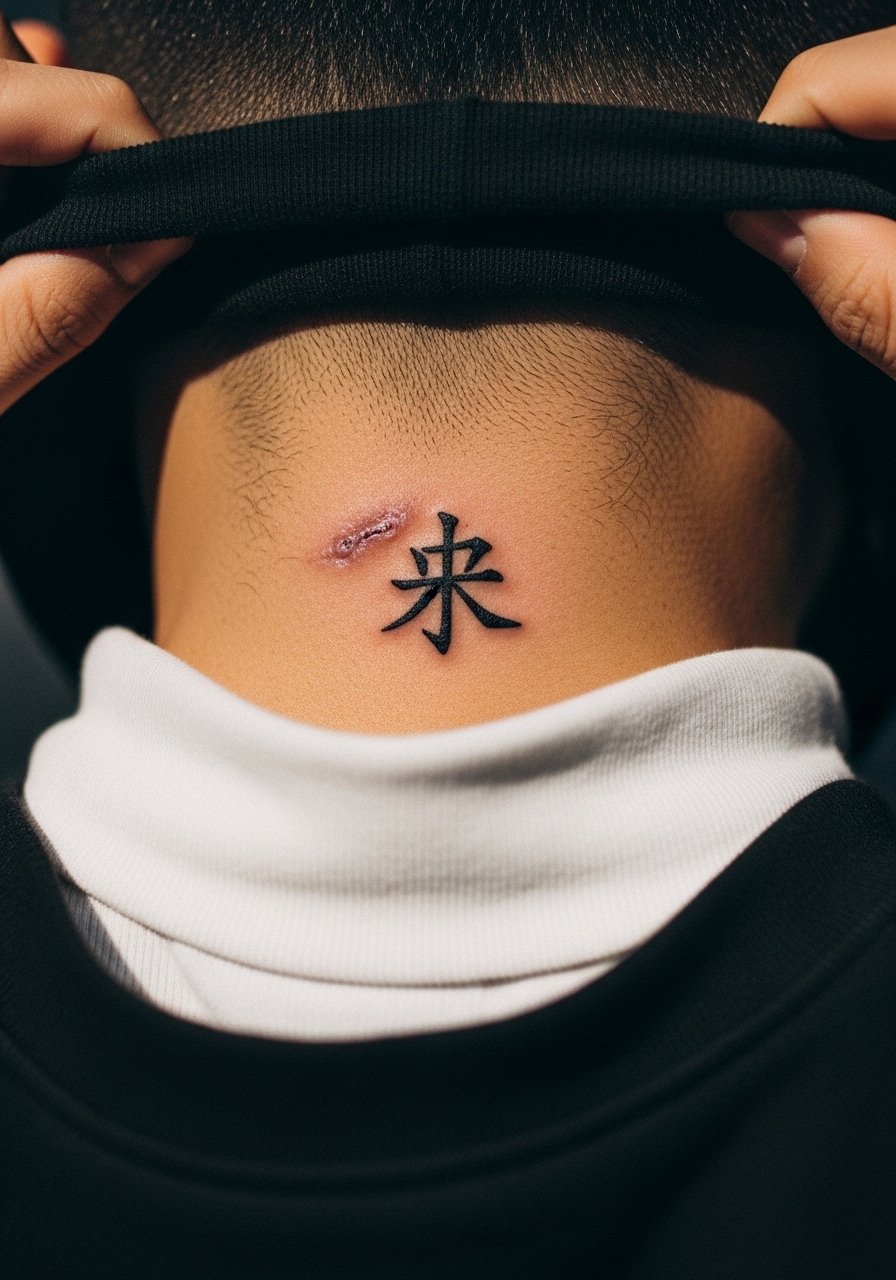
Back of neck placements balance visibility and discretion. Ask for a size that reads when hair is up and for boldness that handles sun exposure. Pain is mild and sessions are around 20 to 30 minutes. One mistake is placing the kanji too low where collars rub constantly. For showing the piece pull hair up or wear wide-neck tops. Small stud earrings or a thin chain at the nape can frame the tattoo when hair is off.
Frequently Asked Questions
Q: Will a fine line kanji on my wrist blur faster than a bold version?
A: Fine line on the wrist is more vulnerable because of washing and bracelets. One group of artists favors fine line and accepts softer aging as part of the look. The other group recommends a bolder contour for longevity. If you prefer fine line, plan for a possible touch-up around year two and ask to see healed wrist photos from the artist.
Q: How should I check a phrase for translation before booking a kanji tattoo?
A: Verify a phrase with multiple native-language resources and ask someone fluent to confirm nuance. I also recommend searching the phrase in image feeds to see how kanji render visually. Use community boards and language blogs for cross-checking rather than a single translation source.
Q: What should I wear to a collarbone or chest session to make the appointment smoother?
A: Wear a wide-neck shirt or a strapless camisole so the artist can expose only the area needed. A loose button-down that can be pulled aside also works. For small collarbone scripts a thin pendant that you can remove is ideal.
Q: Do dark skin tones need different lineweight for tiny kanji?
A: In my experience slightly thicker strokes or the use of negative space helps characters read on darker skin tones. Ask an artist who has healed examples on similar skin and request a stencil check in multiple sizes before inking.
Q: Are hand and finger tattoos worth it if I want low maintenance?
A: Hand and finger work demand upkeep because of constant use and washing. If low maintenance is the priority choose bolder strokes and accept that touch-ups may be needed at one to two year intervals. Keep expectations realistic about longevity.
Q: How do I find artists who specialize in micro Japanese script without naming people?
A: Search hashtags like #MicroKanjiTattoo and #YojijukugoInk on image platforms, filter for location, and use portfolio apps with the keyword "japanese script micro." Check community forums for healed photos and ask for guest-spot openings or apprentice pricing if budget matters.
