
The first session matters more than most people expect. Small traditional work reads crisp when the stencil sits right and the artist spaces the linework with future aging in mind. Pick placement with movement in mind, ask for slightly heavier line weight in tiny pieces, and plan for a touch-up around year three so the micro old school pieces age like they were meant to.
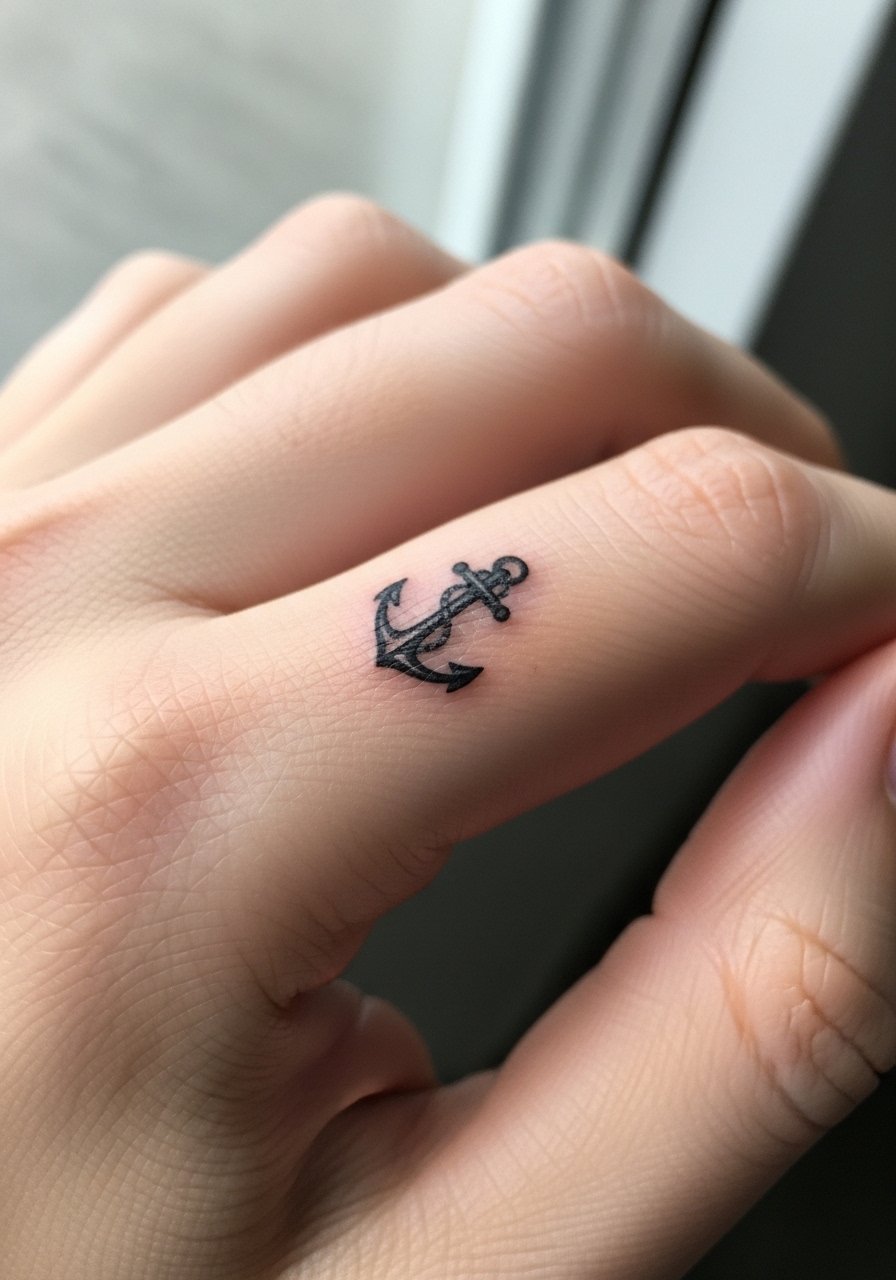
1. Micro Anchor with Rope on Inner Forearm
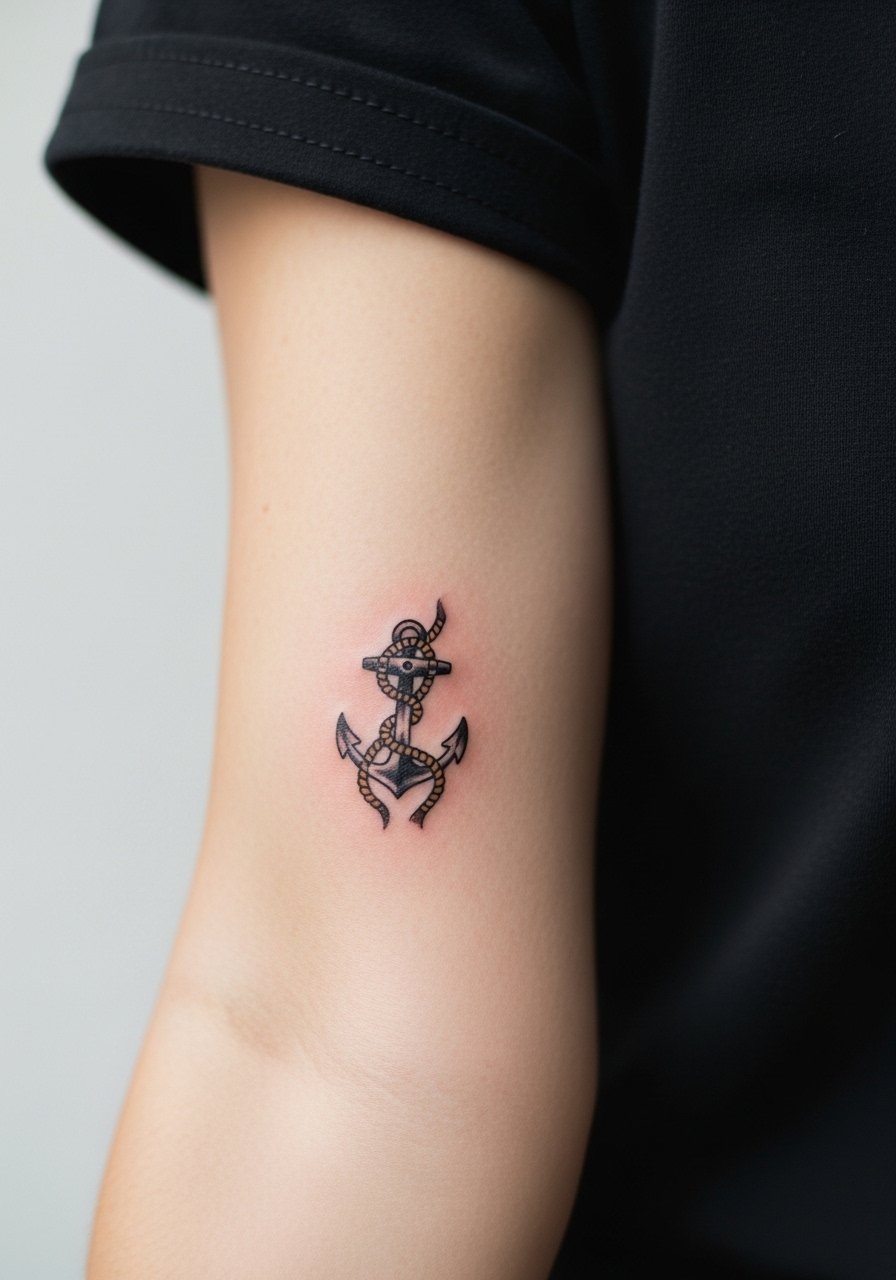
I recommend the inner forearm when you want a nautical nod without committing to a sleeve. Expect a low to medium pain level and a single short session. Tell your artist you want slightly thicker linework and compact negative space so the rope reads after a few years. Common mistakes include squeezing too many details into a one-inch piece, which leads to merging after two years. At six months the anchor will look crisp, at two years the rope may soften, and a touch-up at year three refreshes the contrast. For showing it off, roll the sleeves of a navy henley and add a leather cuff bracelet for a rugged look.
2. Tiny Swallow in Flight on Wrist

The wrist is a high-visibility spot so plan for frequent sun exposure and friction. The swallow is a classic that reads masculine even at micro scale. During consultation ask for slightly simplified wing feathers to prevent overcrowding. Pain is moderate. A common error is requesting ultra-fine feathers on the wrist surface, which blur faster than expected. At six months the color will settle and at two years expect some softening around the feather tips. For session day wear a mens tank top so the artist has clean access and the bracelet wrist opposite it keeps attention balanced.
3. Mini Lighthouse Beacon on Upper Arm

Upper arm pieces take well to micro traditional because the muscle provides a flat canvas. This design is a good fit if you want a symbolic piece that can later tie into a patchwork arm. Tell the artist you want a clear yellow beam with simplified waves so the light reads at small scale. Pain is low to moderate and most sessions finish quickly. A mistake is over-detailing the base, which turns into a dark blob. Healed at two years the lighthouse keeps shape with modest touch-up needs. Show it off in a sleeveless muscle tank for casual flexes.
4. Small Panther Head on Calf
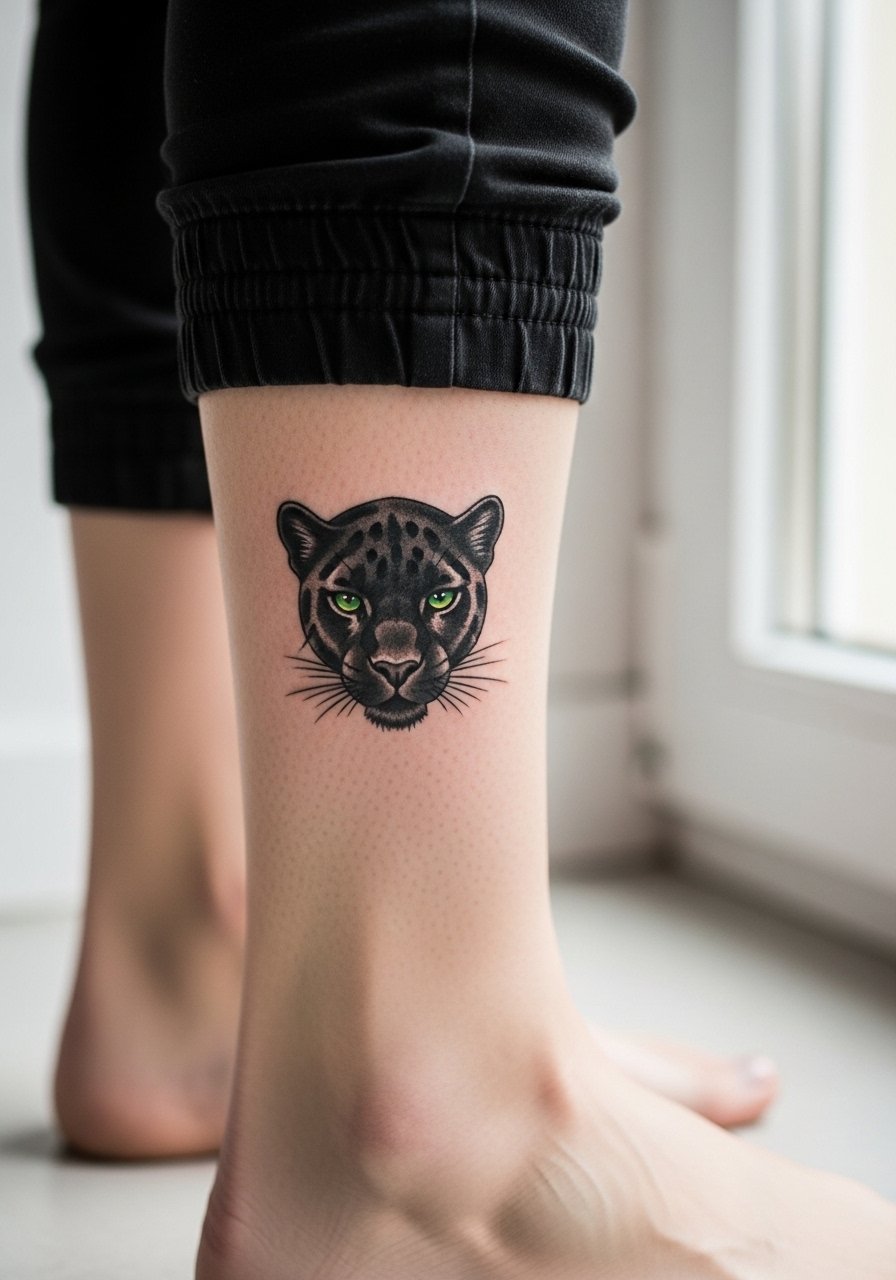
Calf pieces sit well on masculine builds and handle dense black work better than thin-line placements. The panther works for men who want a compact fierce image or a cover-up option. Tell your artist to prioritize solid saturation and to leave a small light area for the eye to pop. Pain is low for most people and sessions are quick. There's a debate among artists about using heavy saturation on smaller areas. One camp favors dense fills because they hold decades. The other warns that too much packed ink can cause blowout if depth is off. Ask where your artist stands and plan a conservative touch-up schedule. For summer visibility pair this with slim joggers rolled at the ankle.
5. Micro Heart with Banner on Upper Chest

Chest placement reads personal and controlled. The micro heart with banner is perfect for short names or dates. The biggest mistake is choosing tiny lettering that slumps into the red of the heart. Ask for strong negative space between letters and a slightly larger banner height than on paper. Pain varies but many report moderate discomfort near the sternum. Expect the red to remain strong at six months and need color refreshes by year three if exposed often. For session day wear an open button down shirt so the artist can expose only the area needed without discomfort.
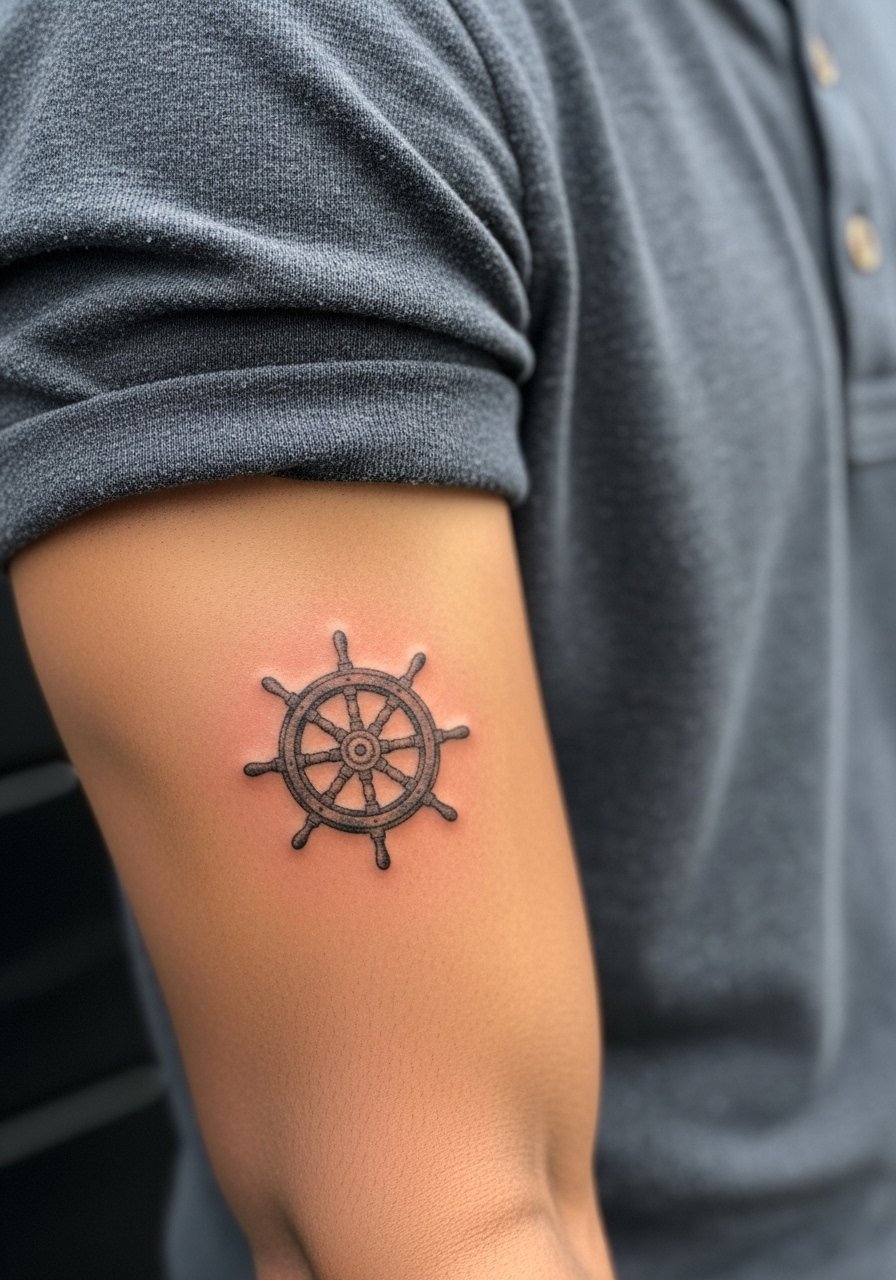
6. Tiny Ship Wheel on Shoulder
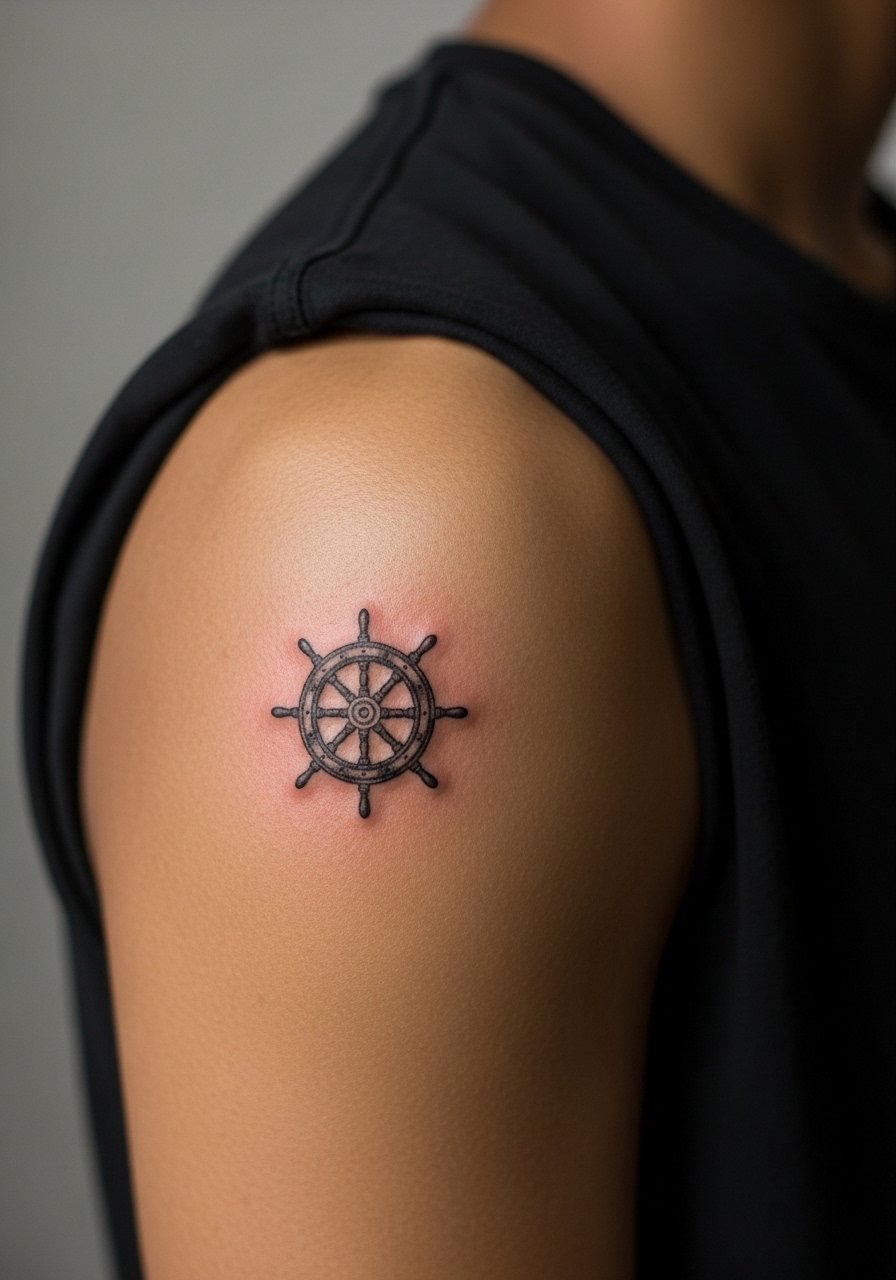
A shoulder placement frames the wheel for anyone who wants a nautical motif without arm saturation. Mention wood-grain hints rather than tiny wood lines to avoid clutter. Pain is low and one session usually does it. A misstep is asking for too many spokes which blur together after a couple of years. At five years this design generally keeps shape better than fine-line alternatives. Pair the piece with an athletic sleeveless tee for warm-weather show-offs.
Studio Day Picks
The wrist, chest, and shoulder pieces above each ask for slightly different prep and a couple of simple items make the session and first week easier.
-
Stencil transfer paper kit. Lets you preview the placement on skin, which is useful for the inner forearm anchor and the chest banner so sizing feels right before the needle hits.
-
Topical numbing cream. Applied before sessions on sensitive spots like the wrist or rib area it can reduce the edge of pain while still allowing the artist to work.
-
Thin protective film roll. Helps protect wrist and hand tattoos from constant washing and friction during the first week.
-
Fragrance-free gentle body wash. Gentle cleansing matters when you have chest or shoulder pieces that see sweat and sunscreen.
-
Aquaphor healing ointment. A thin layer for the first few days locks in moisture and supports scab formation for small traditional work.
7. Mini Rose Bouquet on Outer Bicep
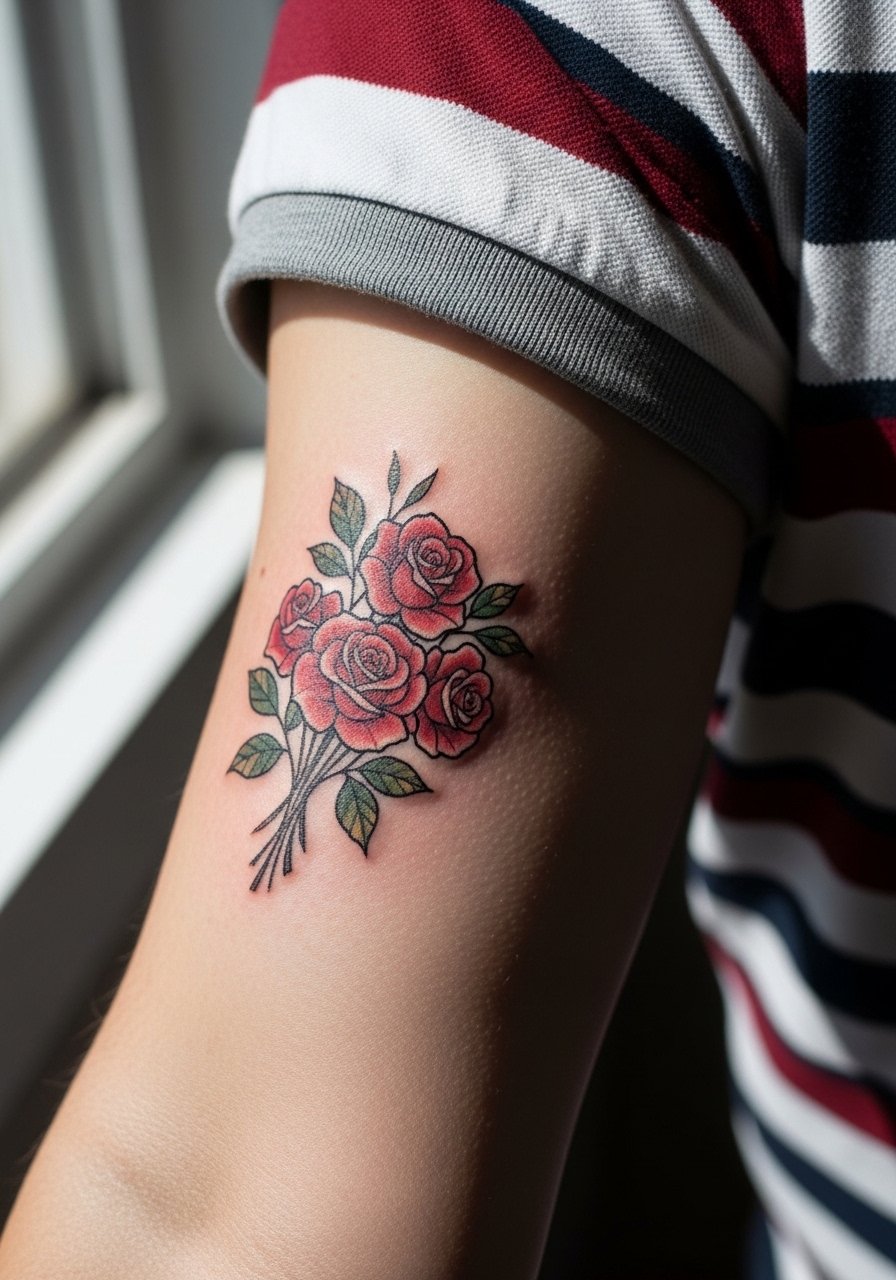
The bicep gives the rose room to breathe and flex in a way that flat placements do not. Ask for separated petals and a limited leaf count so the bouquet does not become a green mass over time. Pain is moderate and a single session usually suffices. A common error is packing three roses into an area meant for one, which forces tiny petals that merge later. At two years the rose keeps contrast if saturation is balanced. For showing off consider rolled sleeve polos with green or red accents and try a polo shirt short sleeve that frames the arm.
8. Small Eagle Head on Side Neck
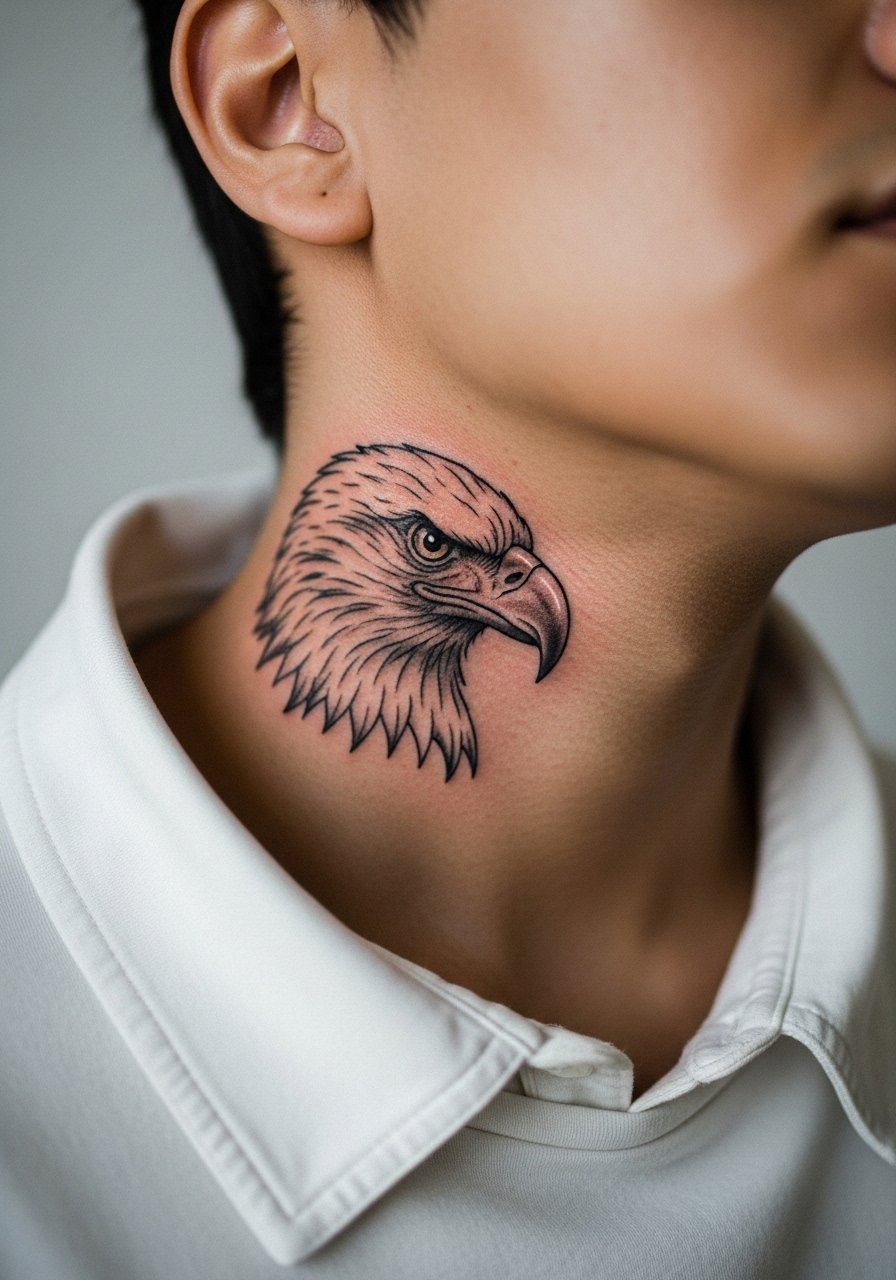
Neck tattoos carry visibility and social considerations. The eagle head at micro scale reads bold when placed on the side neck. During consultation say you want a simplified beak and negative space for the eye to avoid filling in. Pain is higher around the neck and healing needs careful sun protection. Artists split on neck placements for micro work because of motion and thin skin. One group thinks reduced detail and heavier linework is safer. The other says an experienced hand can do finer work if depth is spot on. Ask your artist which approach they use. For session wear a wide-neck shirt so the collar can be adjusted without rubbing the fresh piece.
9. Micro Dagger Through Heart on Ribcage

Fair warning: ribs are among the more painful spots for micro work. That said, the dagger reads strong there because the vertical shape follows the torso lines. Tell your artist you want clear separation between the blade and the heart to avoid smudging in dense shadow areas. A frequent mistake is over-shading the blade in a tiny space which becomes a single gray patch later. At six months the contrast will be visible and by year three expect touch-up needs if you often sunbathe. For the session wear a cropped top you can lift easily so the artist has full access without tugging.
10. Tiny Compass Rose on Ankle

Ankle tattoos face a lot of rubbing from socks and shoes so pick a compact compass with open negative points. The session is low pain for most and healing can be slower because of friction. A common misstep is requesting very fine points that smear into gray at the six-month mark. Expect some softening by two years and factor in a touch-up after seasonal wear. For showing off pair the design with low-profile footwear or rolled chinos and try boat shoes leather for summer days.
11. Mini Tiger Paw on Outer Thigh

The thigh is forgiving for micro pieces and tolerates saturated color well. A tiny tiger paw plays with muscle shape and keeps masculinity without loud placement. Tell your artist to keep the pads simple and to avoid tiny stipple for the claws. Pain is low to moderate and sessions are comfortable. A mistake is making the paw too close to the hip bone where stretching shifts the image. At two years color holds well on thighs compared to wrists. For session wear loose shorts so the artist can roll the leg up without pressure, for example try loose drawstring linen pants before and after the appointment.
12. Small Skull with Crossbones on Back of Hand

Hand tattoos are visible and see heavy daily wear from washing and contact. A micro skull does well if you accept the higher touch-up likelihood. Ask for heavier linework and minimal interior shading so the negative space keeps the skull readable. Pain is sharp but brief. The common mistake is intricate jaw detail that disappears by year two. Hands are also subject to social scrutiny in some professions, so think about career implications. Keep conversations with your artist specific about touch-up plans.
13. Micro Anchor with Rope, Inner Wrist Variant

This smaller pivot of the anchor works well on wrists for guys who want subtle maritime meaning. The inner wrist moves a lot so plan for slightly heavier linework and clear spacing in the rope knots. Pain is moderate. The usual error is requesting tiny rope detail that blurs into a dark line after a year. Tell your artist to simplify the knot and to avoid tiny lettering in the banner. For the appointment remove all jewelry and wear a mens tank top so wrist access is unhindered.
14. Tiny Ship in a Bottle on Calf Side

A ship-in-bottle compresses a nautical scene into a neat shape that fits the calf curve. The calf handles small scenes better than the wrist because it tolerates some shading without blowout. Ask the artist to prioritize silhouette over tiny interior sails so the bottle reads at distance. Pain is low and session time is short. A mistake is trying to cram micro lettering or multiple tiny flags inside the bottle. Show this piece with rolled chinos or boat shoes. Try chino pants slim fit for warm weather.
15. Micro Script Banner with Initials on Chest

Script on chest demands spacing and letterform clarity. For a micro banner with initials request bold counter space in each letter and avoid italic swashes that close up when healed. Pain can be moderate near bone. A common mistake is picking cursive that looks great on paper but merges on skin. Expect the ink to read well at six months and plan for a refresh if the chest sees regular sun. For showing it off a v neck tee frames the collarbone and the small banner nicely.
16. Tiny Sparrow Pair Behind Ear Variant
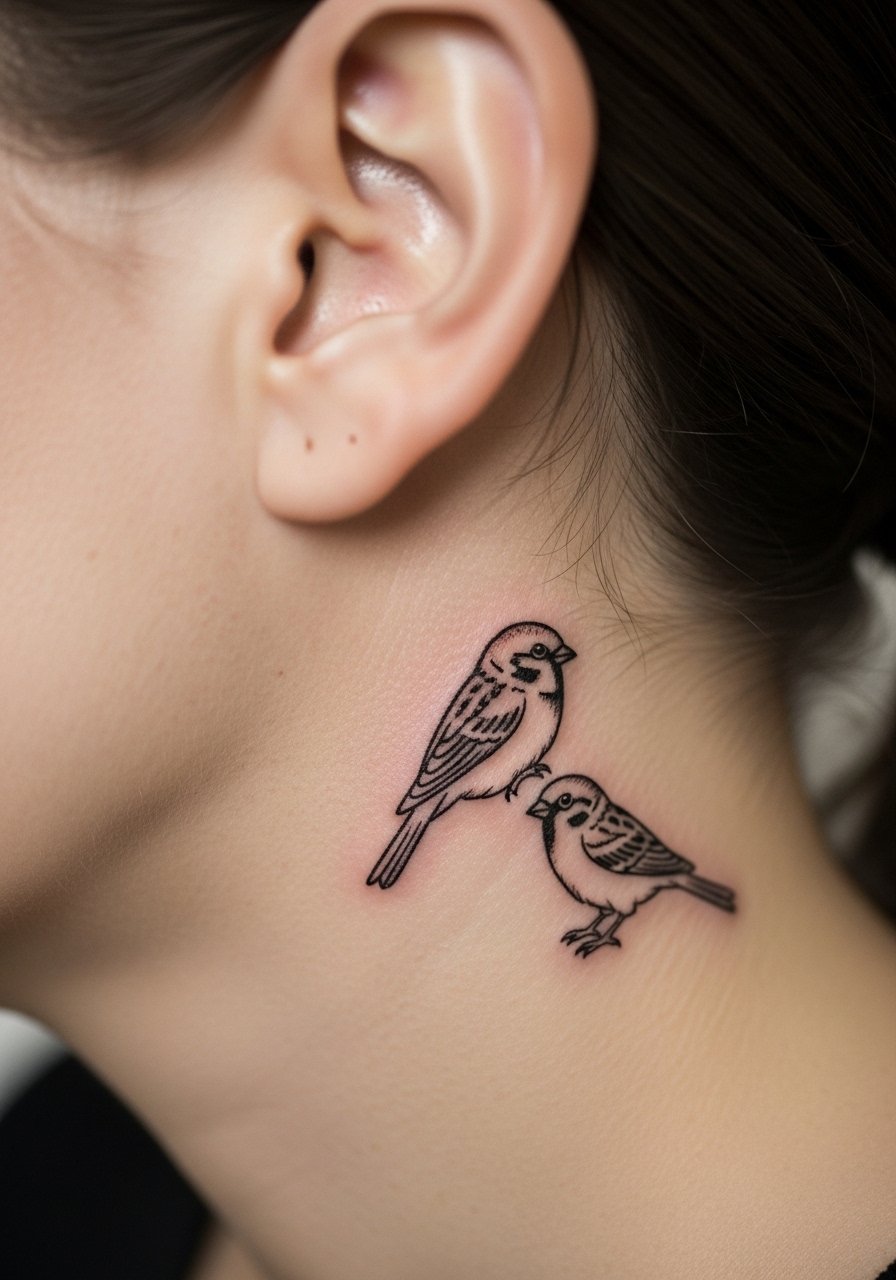
Behind-the-ear placements require careful framing and artist experience. The sparrow pair looks delicate and can be placed to peek from hairstyles. Tell the artist you want each bird simplified to solid shapes without micro feathers. Pain is moderate and the area heals uniquely because of hair and oils. A mistake is asking for thin feather detail here. If you have a low hairline show the placement in the mirror to avoid misplacement. Expect a touch-up within a couple years if you expose the area to products or repeated shampooing.
17. Micro Nautical Star on Shoulder Blade

The shoulder blade is forgiving for tiny stars and holds symmetrical points well. Ask for crisp negative points and avoid tiny dot shading in the center. Pain is low to moderate and healing is straightforward. A common mistake is making the star too small which can blur at the tips by year three. For session access wear a tank top you can pull aside without tugging.
18. Tiny Traditional Ship Wheel on Upper Forearm
The upper forearm is ideal for small traditional maritime imagery because it sits flat and resists skin stretch. Tell your artist to use slightly thicker spokes and to keep wood-grain hints minimal. Pain is low and most guys do this in one short session. There is a debate on micro detail here. One camp prefers heavier components for longevity. The other likes finer detail for visual elegance and accepts a touch-up later. Choose based on how often you expect to show the area and your tolerance for maintenance. Pair it with a navy henley shirt men when you want that maritime look.
19. Micro Rose Cap on Outer Forearm

Forearm roses make excellent caps for future patchwork sleeves and they age better when given room. In consultation ask for simplified petals and a small leaf cluster so it does not crowd adjacent pieces. Pain is low to moderate and sessions are quick. A mistake is squeezing multiple roses with overlapping petals into a small band which forces micro detail that merges. Healed at two years these pieces remain readable and complement larger work later. Roll sleeves or wear a button up chambray shirt to let the flowers peek through.
20. Tiny Dagger on Thumb Side of Hand

Hand placements near the thumb get lots of abrasion and sunlight. A dagger here reads bold if the shaft is left clean and shading is restrained. Pain is sharp and healing needs careful protection. People often ask for filigree on the tip which disappears over time. Plan for a heavier outline and expect touch-ups more often than on the upper arm. Because of the visibility think through workplace norms before committing.
21. Mini Rose on Calf Inner Edge

The inner calf is a quieter spot that keeps color vibrant longer due to less sun. A mini rose here works if you want a piece that stays private unless you show it. Ask the artist to anchor the stem to the curve of the muscle so it reads in motion. Pain is low and healing is typically fast. Avoid tiny stipple textures that can blur. For session wear loose shorts so the area is easy to access and does not chafe after.
22. Tiny Eagle Talon on Side of Neck

Side-neck micro pieces need careful placement because of constant motion and skin thinness. The talon is a compact symbol that can be bold if the claw lines are kept open. Pain is higher and you should expect strict aftercare and sun avoidance. The common mistake is over-detailing the talon pads which blend with time. Ask your artist how they handle neck work at follow-up to understand touch-up needs. A wide-neck shirt keeps the area from rubbing immediately after the session.
23. Tiny Compass on Inner Ankle

Inner ankle work needs negative space and simplified points for clarity. The inner ankle moves with tendons so avoid tiny interior lines. Pain is moderate and healing can be tricky due to shoe friction. People often ask for extremely fine point detail that fades into a gray mark after a year. Keep the design open and plan for a small touch-up cycle. Pair with sandals or rolled jeans when you want the piece visible, and consider slim joggers men for off-duty wear.
24. Micro Skull on Side of Thigh

Thigh placements allow denser shading without immediate blowout risk. A compact skull on the outer thigh reads masculine and lasts well. Ask for clear eye sockets and to avoid tiny teeth detail which disappears with time. Pain is typically low and sessions are comfortable. Expect the white highlights to mellow at two years. For session day wear loose bottoms so the artist can access the area easily.
25. Tiny Anchor Finger Accent
Finger tattoos are high-risk for early fading because of frequent washing and thin skin. A single petite anchor can be striking if you accept that yearly touch-ups are common. Ask for minimal interior detail and thicker contour lines to increase longevity. Pain is sharp but brief. The mistake is choosing micro shading on the digit which is the fastest to blur. If you want the look with less maintenance consider a ring-side placement or a small band design instead.
26. Micro Rose Cap Above Elbow

Placing a rose just above the elbow gives movement when you bend the arm and it catches light on flex. Ask for separated petals and avoid heavy stipple at the base. Pain is moderate near the joint and healing needs gentle motion. A mistake is placing too close to the crease which forces distortion. Keep the cap slightly above the joint and show it off with a cut off sleeve shirt for casual looks.
27. Tiny Swallow Pair on Collarbone Edge

Collarbone swallows peek out from shirts and complement chest banners well. For two tiny birds request mirrored spacing and simplified wing shapes so motion reads instead of fine feather detail. Pain varies with proximity to bone and many report a stinging sensation. A common error is asking for tiny feather lines that blur in the first year. For session day wear a wide-neck shirt you can adjust without rubbing the fresh ink.
Frequently Asked Questions
Q: How much should I expect to touch up micro traditional pieces, and which placements demand it most?
A: Expect a touch-up every two to five years for small traditional work, with hands, fingers, and wrists needing the most frequent upkeep because of constant use and washing. Thighs, calves, and upper arms often keep color longer. Plan touch-ups into your maintenance routine rather than treating them as a failure.
Q: Are micro old school tattoos likely to experience blowout on the ribcage or neck?
A: Blowout risk depends on needle depth and skin stretch more than the image itself. Ribs and neck have thinner, more mobile skin which raises the risk if an artist packs too much ink. Ask your artist about their approach to depth on thin skin and whether they prefer a slightly larger size for those spots.
Q: Should I choose heavier linework or finer detail for a forearm micro traditional piece?
A: For forearms I usually recommend slightly heavier linework so the piece keeps its definition over time, while still preserving some interior detail. If you prefer finer lines accept a higher chance of a touch-up. Discuss a KISS-style simplification with your artist to balance clarity and aesthetic.
Q: Do certain skin tones need different color choices for micro traditional tattoos?
A: Yes. Darker skin tones can make some reds and yellows read differently, so ask your artist about tested pigment choices and how they plan to space highlights and negative areas. A well-executed micro piece uses contrast and spacing rather than relying on a single bright hue.
Q: What should I wear to the studio for a calf or thigh micro session?
A: Wear loose shorts you can pull up without pressure, like a pair that ties at the waist. That keeps the area exposed without fabric rubbing the fresh ink while you travel home. Comfortable layers that do not stick to healing skin are best.
