
Fine line minis flood feeds right now, and what looks delicate on screen often tells a different story after a year. Bands can warp with muscle gains, thin lines can soften into a blurred trace, and small bookings sometimes cost more than you expect when a shop enforces a minimum. Below are 27 compact forearm wrap ideas, with what to ask for in the consult and how each option holds up on moving skin.
1. Thin Arrow Line on Inner Forearm
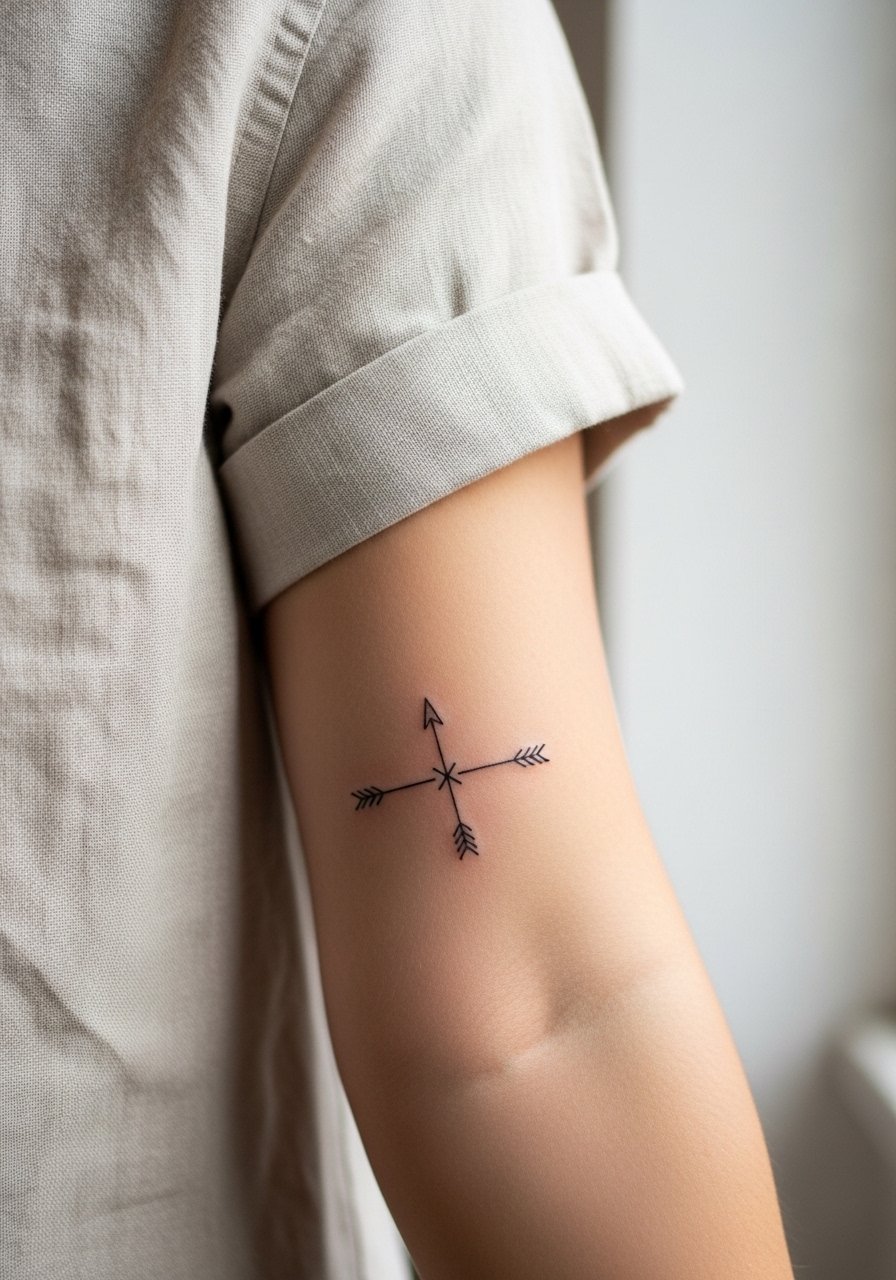
I suggest this for anyone who wants a directional motif that reads small but intentional. Tell your artist you want a 1 to 2 centimeter band with single-needle linework and a slightly heavier spine so the arrowheads stay crisp. Fair warning, fine line lovers are split on longevity. One camp says fine line fades twice as fast on arms and asks for bolder weight. The other camp argues correct depth and spacing solves the problem. Ask where your artist stands and get a clear touch-up plan. Expect low to moderate pain on the inner forearm and a single short session. Pair it with a rolled cuff shirt when you want to show the stripe.
2. Tribal Geometric Mid-Forearm Wrap
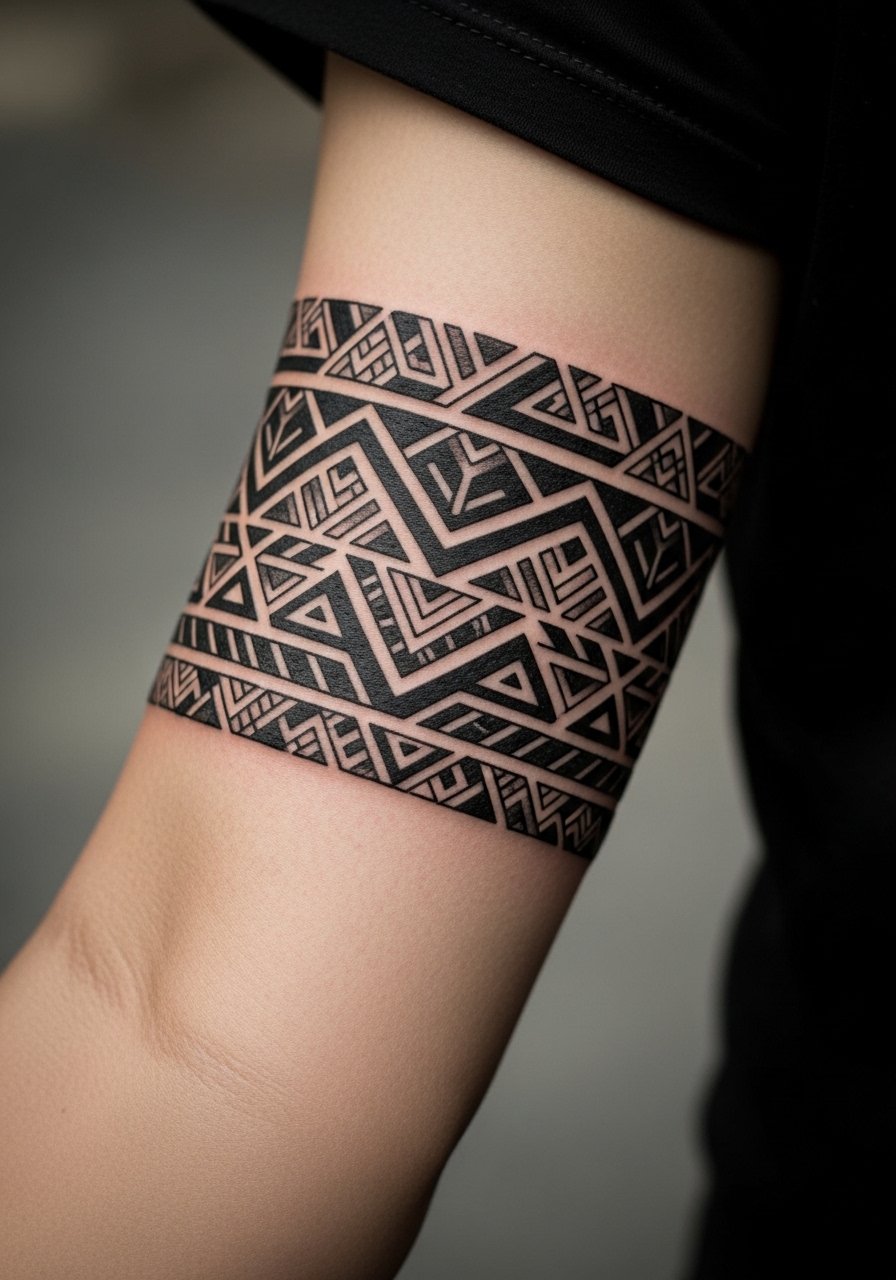
This version keeps cultural geometry tight but scaled so the pattern breathes. Ask for 2 to 3 centimeter repeat elements with slightly rounded corners to reduce blowout risk. The mid-forearm handles movement well, though thicker bands age better than single thin lines. Expect a one-session booking and medium pain while the needle travels over muscle. Common mistake is shrinking a pattern too small so the cords merge over time. For showing it off, try a fitted crewneck t-shirt in a solid dark color and roll the sleeves for clean visibility.
3. Dotwork Mandala on Upper Bicep
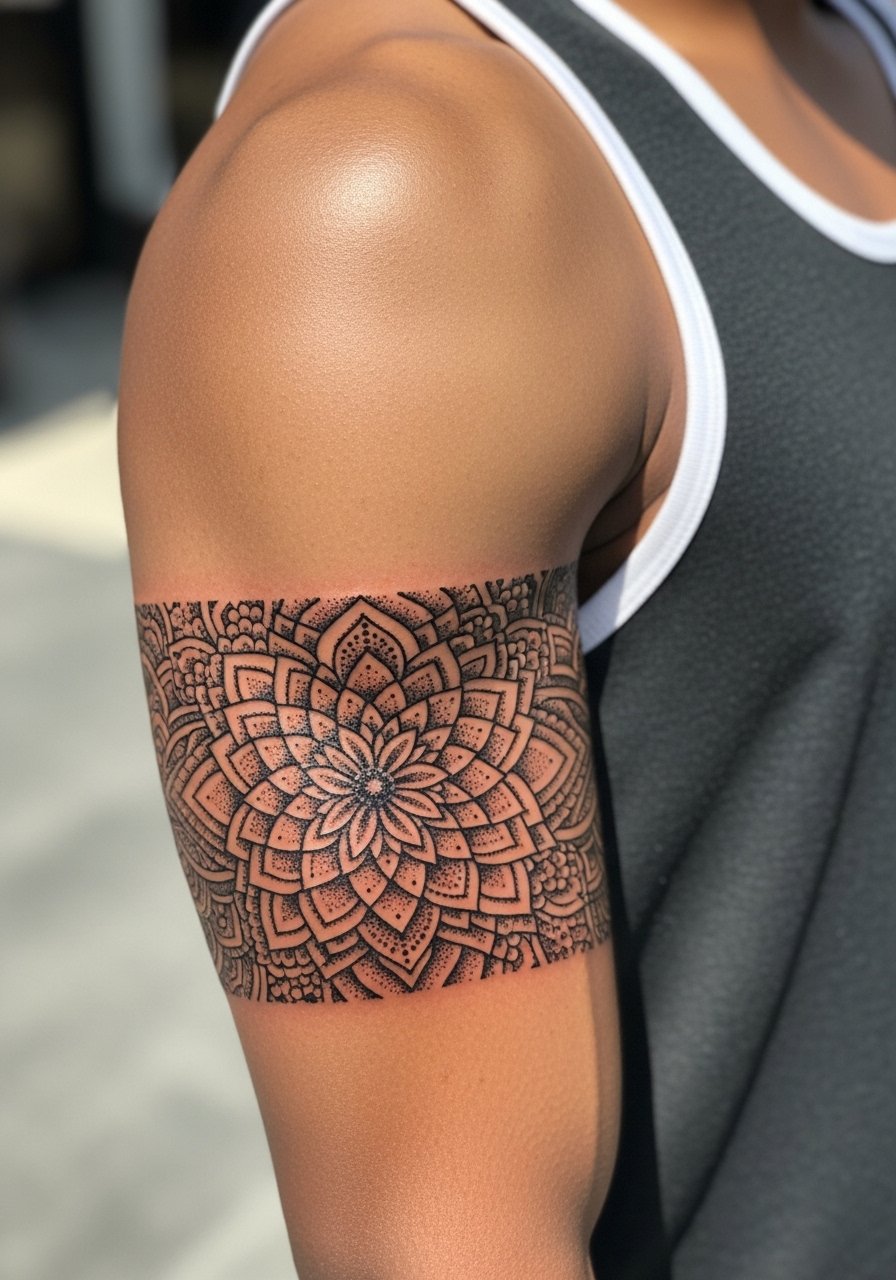
A mandala built with stipple shading plays with flexing and looks hypnotic when the bicep moves. Ask for larger negative space inside dense areas so dots do not merge as the skin shifts. Dotwork often needs a second short session to tighten saturation. The bicep offers lower blowout risk than wrists but expect more movement during healing. Aftercare has a debate around protective film versus dry healing. One side champions Saniderm for a sealed first week and faster cleanliness. The other camp prefers dry scab healing to let natural scabs set the ink. Discuss both approaches with your artist before you leave the chair. Wear an earth tone tank to highlight the wrap without distraction.
4. Feather Quill on Inner Forearm
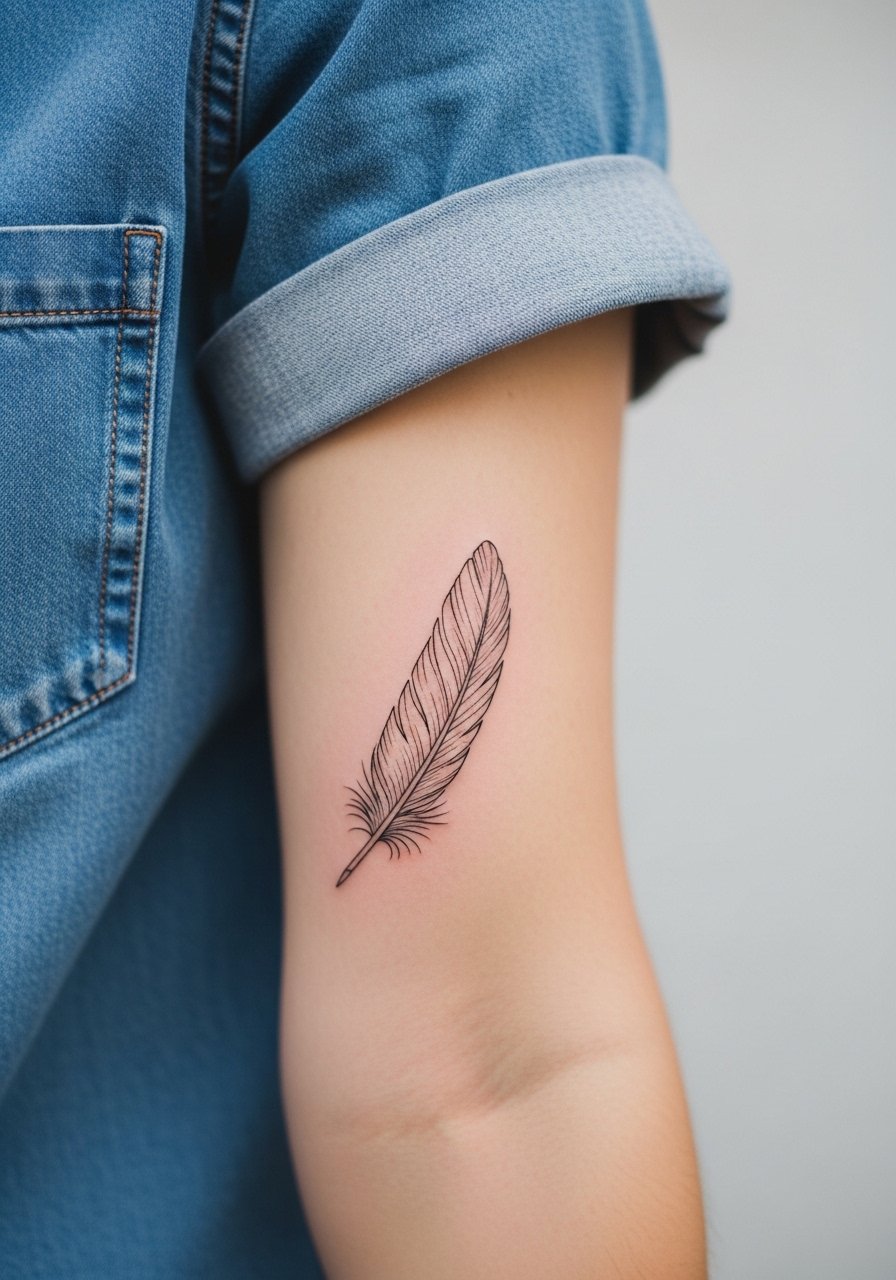
This illustrative strip reads delicate and elongates the forearm when placed along the inner edge. Ask for slightly thicker quill spine and tapered barbs so the texture remains visible at year two. The inner forearm is forgiving for detail, though very thin barbs can fade faster. The most common error is asking for hairlike barbs with no supporting spine. Expect mild pain and a single session under an hour for a mini length. For the appointment, a short sleeve linen shirt makes access simple and keeps the fabric from rubbing the fresh work.
5. Celtic Knot Upper Arm Torque

Celtic knots need room to show interlacing. Ask for 2 centimeter bands with subtle gray shading to separate overlaps. This placement is more stable than the forearm when muscles change, but bulky knots scaled too small will fuzz. Two sessions may be needed for clean interweave saturation. A common mistake is requesting maximum detail in a one-centimeter band. For show-off days, a muscle tank top or a loose kimono cover-up frames the wrap without masking it.
6. Solid Black Torque on Outer Forearm

If longevity matters, a saturated black torque resists fading and reads bold even on darker tones. Ask the artist for even saturation and a clean edge to avoid patchy healing. Expect a slightly longer single session because filling takes time and can be a bit more uncomfortable. The outer forearm tolerates well but friction from shirts can affect early scabbing. This design pairs well with rolled denim sleeves and hoodies. Try a rolled sleeve denim shirt when you want the band visible without competing prints.
Studio Day Picks
The first six wraps above range from delicate inner-forearm work to solid forearm fills, so a few small items make the session and first week smoother.
-
Stencil transfer paper kit. Lets you preview placement and wrap continuity before the needle touches skin, which helps with any rotation or size changes for bands.
-
Topical numbing cream. Useful for wrist and inner forearm sensitivity when you want a calmer first experience without sacrificing line fidelity.
-
Thin protective film roll. Keeps delicate thin-line work from constant soap and water abrasion during the first days of healing.
-
Fragrance-free body wash. Gentle cleansing avoids irritating tiny needle channels on fine line bands while you shower.
-
Aquaphor healing ointment. Thin application in the first few days helps retain moisture for small, single-session pieces without clogging.
7. Wave Pattern Near the Wrist
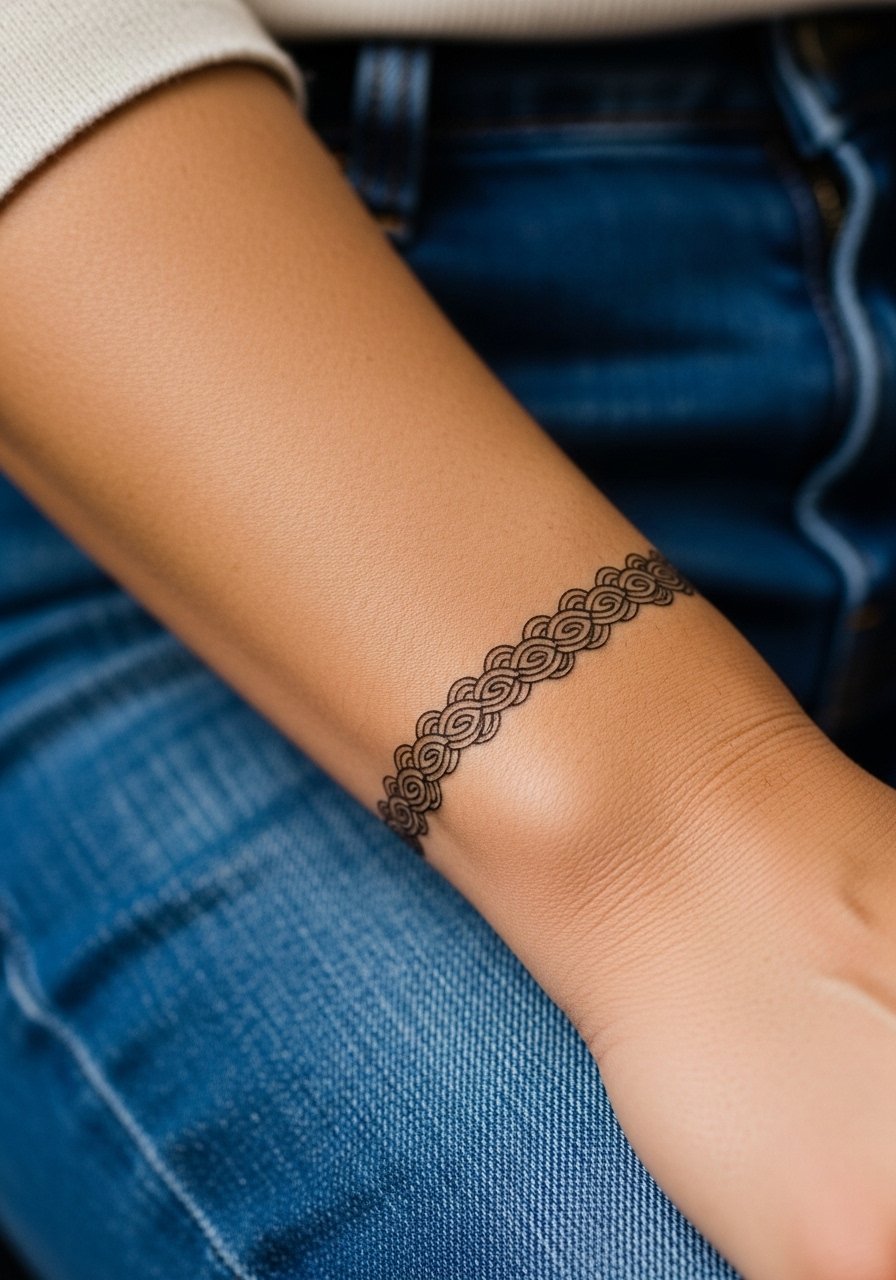
Wrist wraps read intimate and rhythmic. Ask for 1 to 2 centimeter repeating waves with negative spacing so each crest keeps clarity as you move. Healing can be fussy because wrists get washed often and rub against clothing. One session usually suffices, though touch-ups are common around high-friction spots. The mistake I see most is crowding too many repeats into a skinny band. For jewelry that complements without crowding, try a thin leather cuff bracelet on the opposite wrist during show-off days.
8. Arrowhead Cluster on Lower Bicep
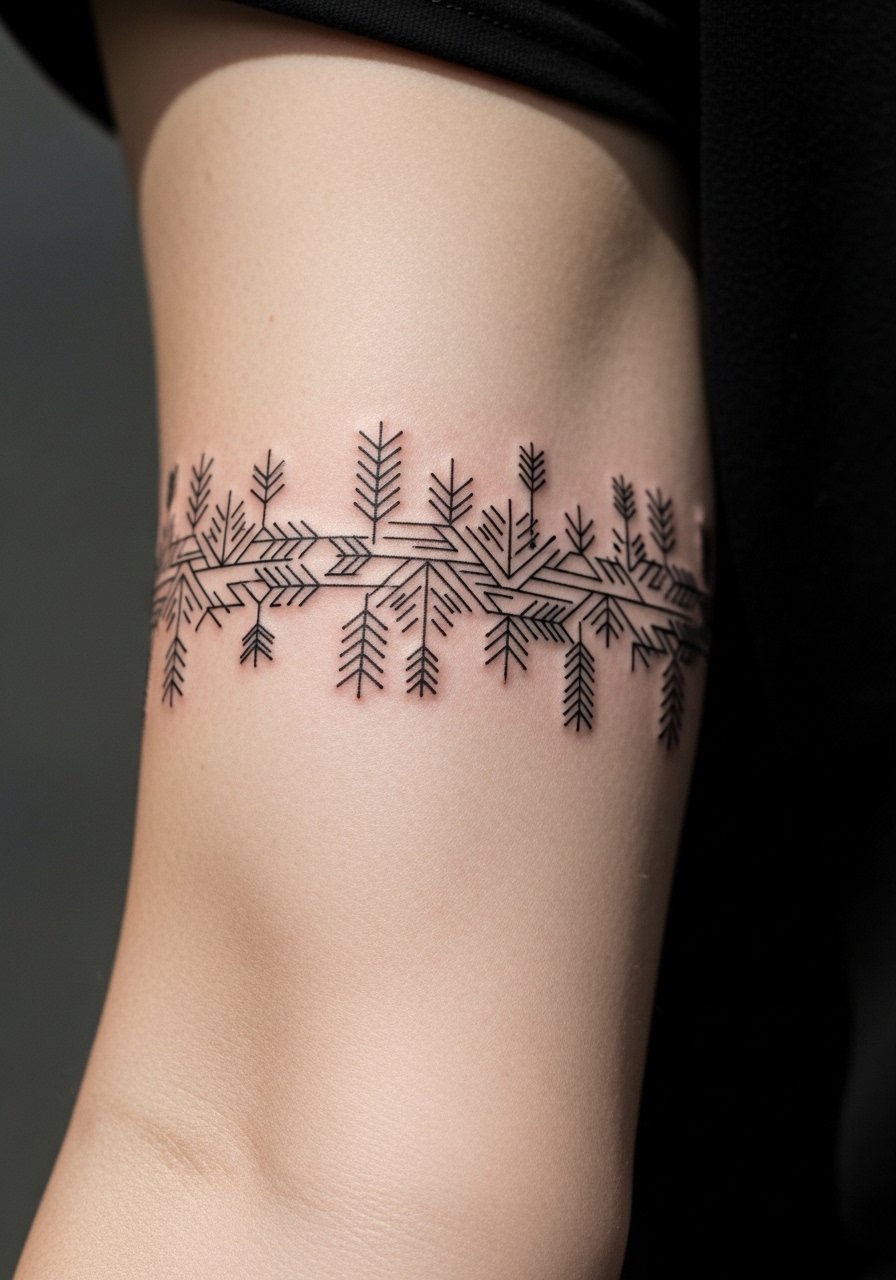
Stacked arrowheads read modern and protective without being literal. Request slightly denser ink in the arrow bases so points remain crisp over time. The lower bicep is a middle ground for movement, so this placement will flex with muscle changes. A common mistake is asking for ultra-fine triangles that blur into a single dark band. Expect moderate pain and a single session for minis. If you plan to stack other bands later, mention spacing rules in the consult so future wraps do not overlap.
9. Floral Vine on Inner Upper Arm

A botanical wrap follows the arm's natural line and flatters when the vines are scaled to 1 centimeter stems. Tell your artist you want light negative space between leaves to avoid merging. Inner upper arm detail can hold surprisingly well, but thin stems may need touch-ups at year two. The mistake is requesting dense blooms in a tiny band. For the session, wear a muscle tank top or a loose top so the artist has clean access and you stay comfortable.
10. Braided Rope Mid-Forearm
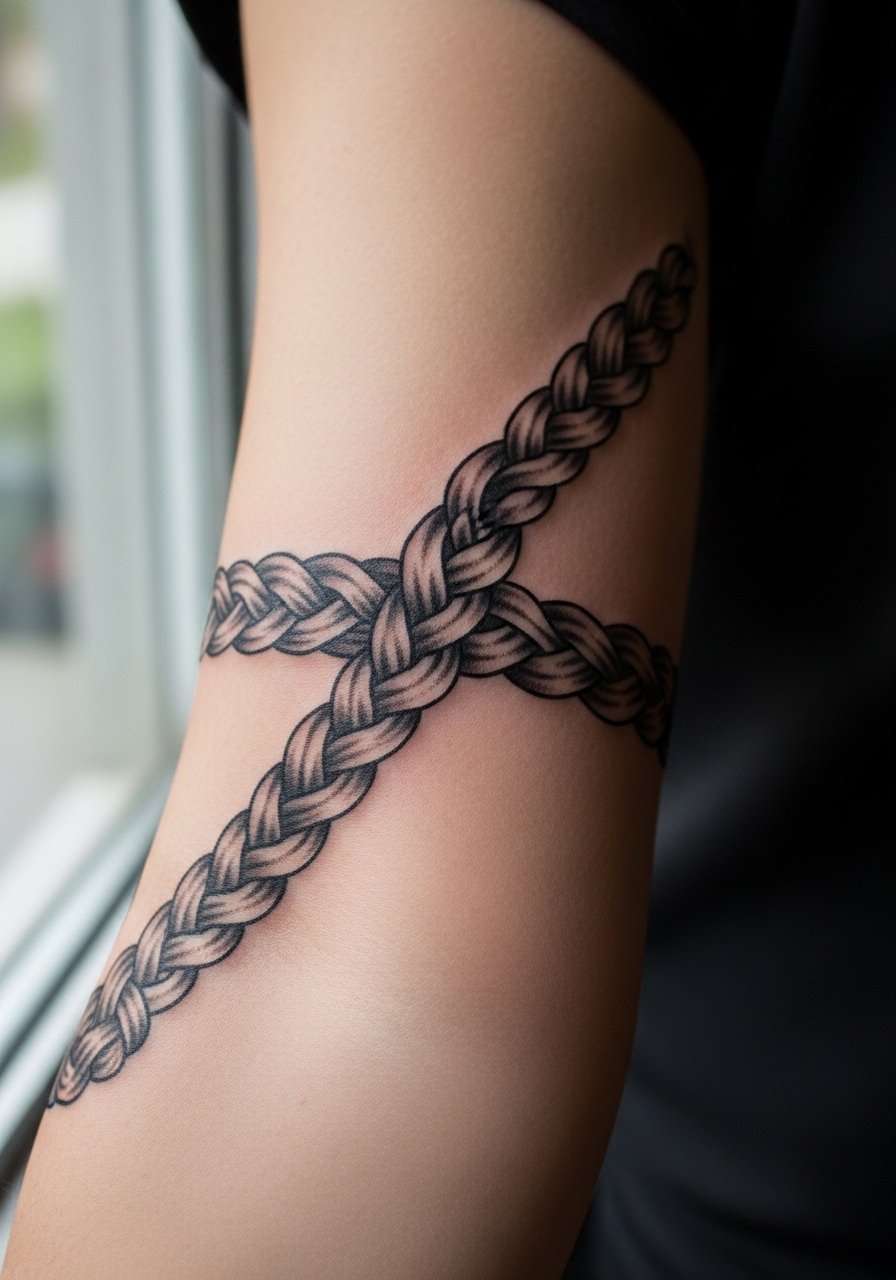
A textured braid gives nautical energy without literal rope. Ask for 2 centimeter width with subtle gray shading in twist valleys to sell the weave. Mid-forearm placement keeps texture readable as muscles move. Common error is a flattened braid made too thin. Expect one to two short sessions if shading is layered. For long-term wear, note that heavy friction from tight long sleeves can dull edges during healing.
11. Sacred Geometry Bicep Band
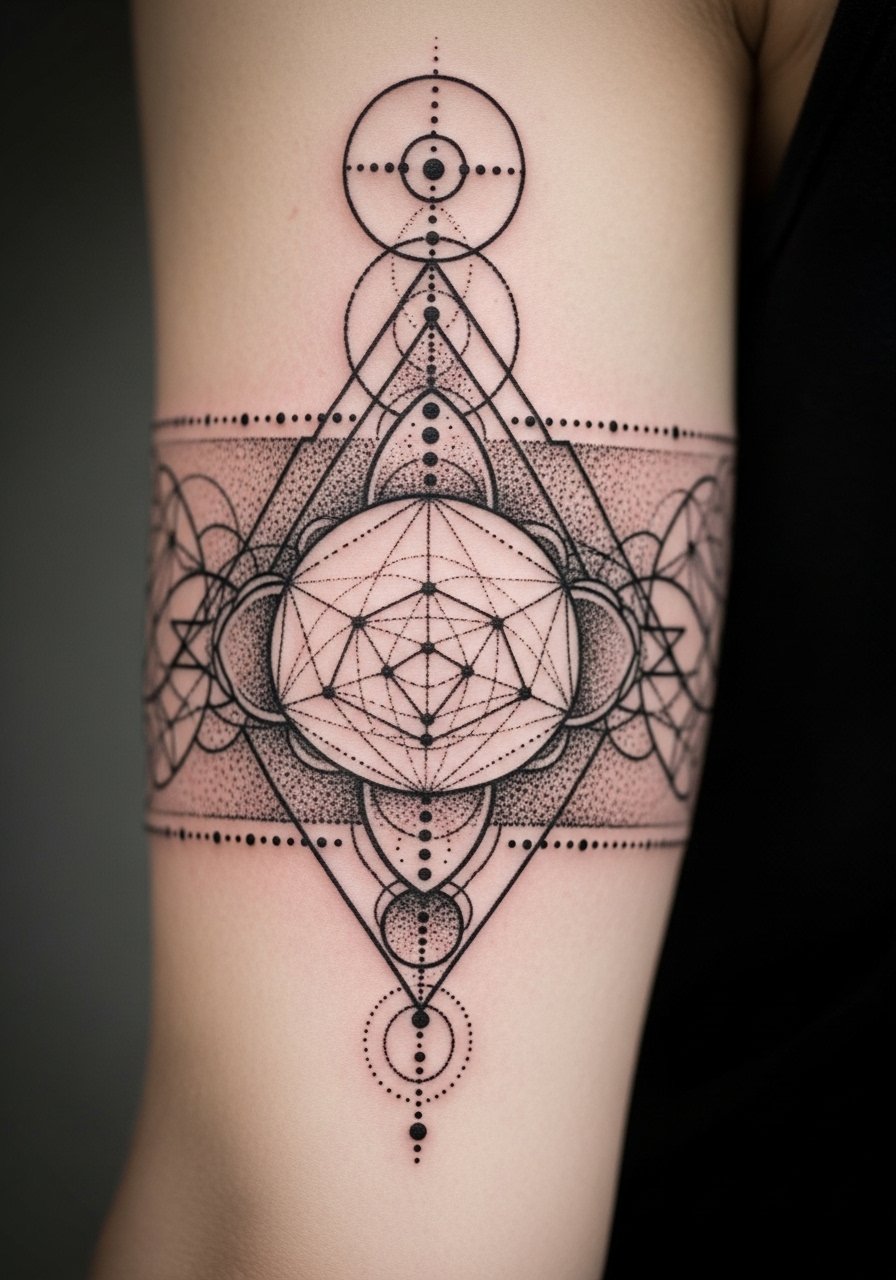
Interlocking geometry looks hypnotic on the upper arm when scaled for the bicep. Ask for larger separations between tessellations so dots do not settle into blocks over time. Dotwork here can require two sessions to reach consistent saturation. The real mistake is compressing intricate patterns into a 1 centimeter strip. For easy showing, pair with an earth tone tank or loose cover-up to let the geometry breathe.
12. Minimalist Ring at the Wrist
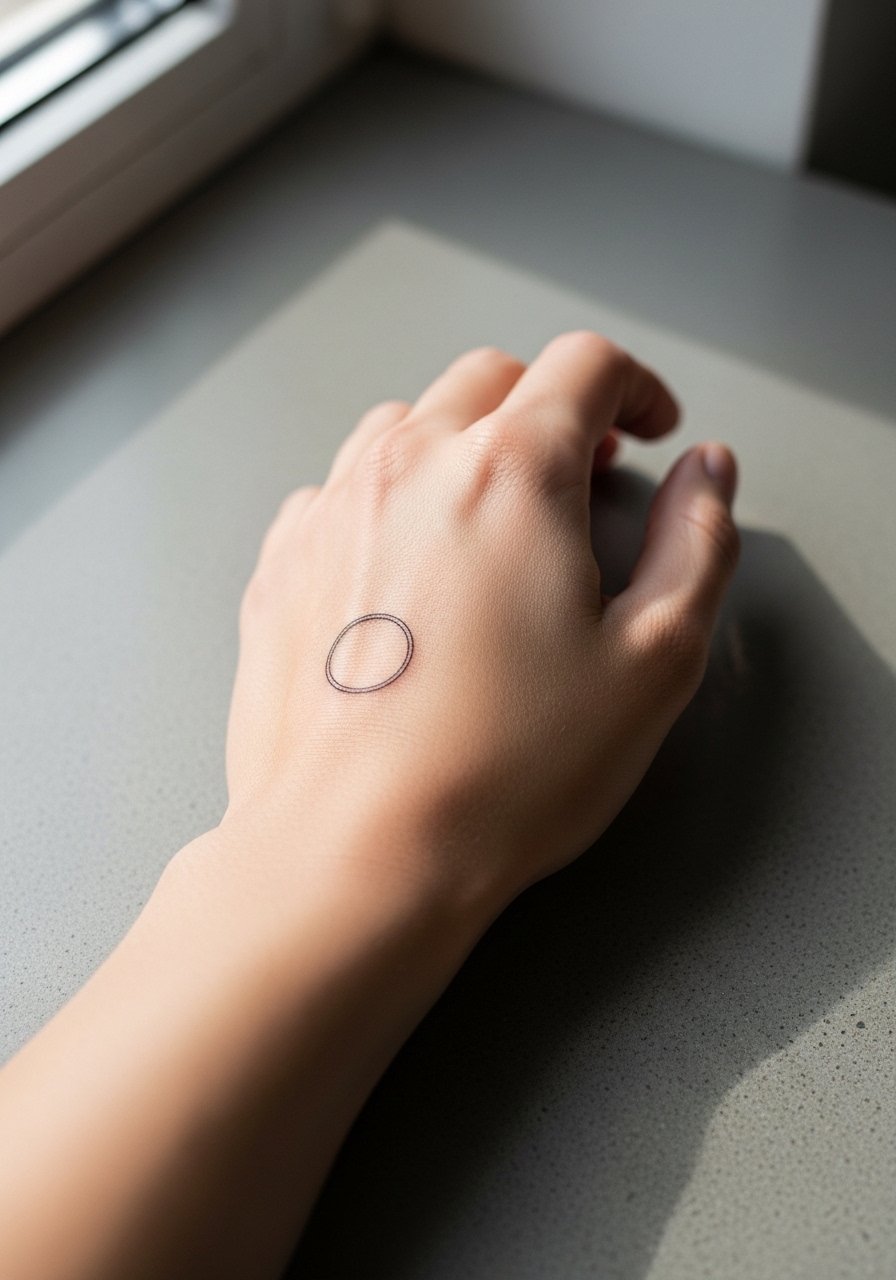
A tiny ring around the wrist reads delicate but asks for precise execution. Ask your artist for a slightly heavier core line than you think you want, because too thin often fades into a faint halo. The wrist is high movement and gets frequent washing, so expect touch-ups sooner than on the forearm. One common mistake is requesting mirror-perfect symmetry without checking how the band sits when the hand is relaxed. For the session, avoid bracelets that will press the area and wear a sleeveless crop top if you want clear access and minimal fabric friction.
13. Micro-Chain Link on Outer Forearm
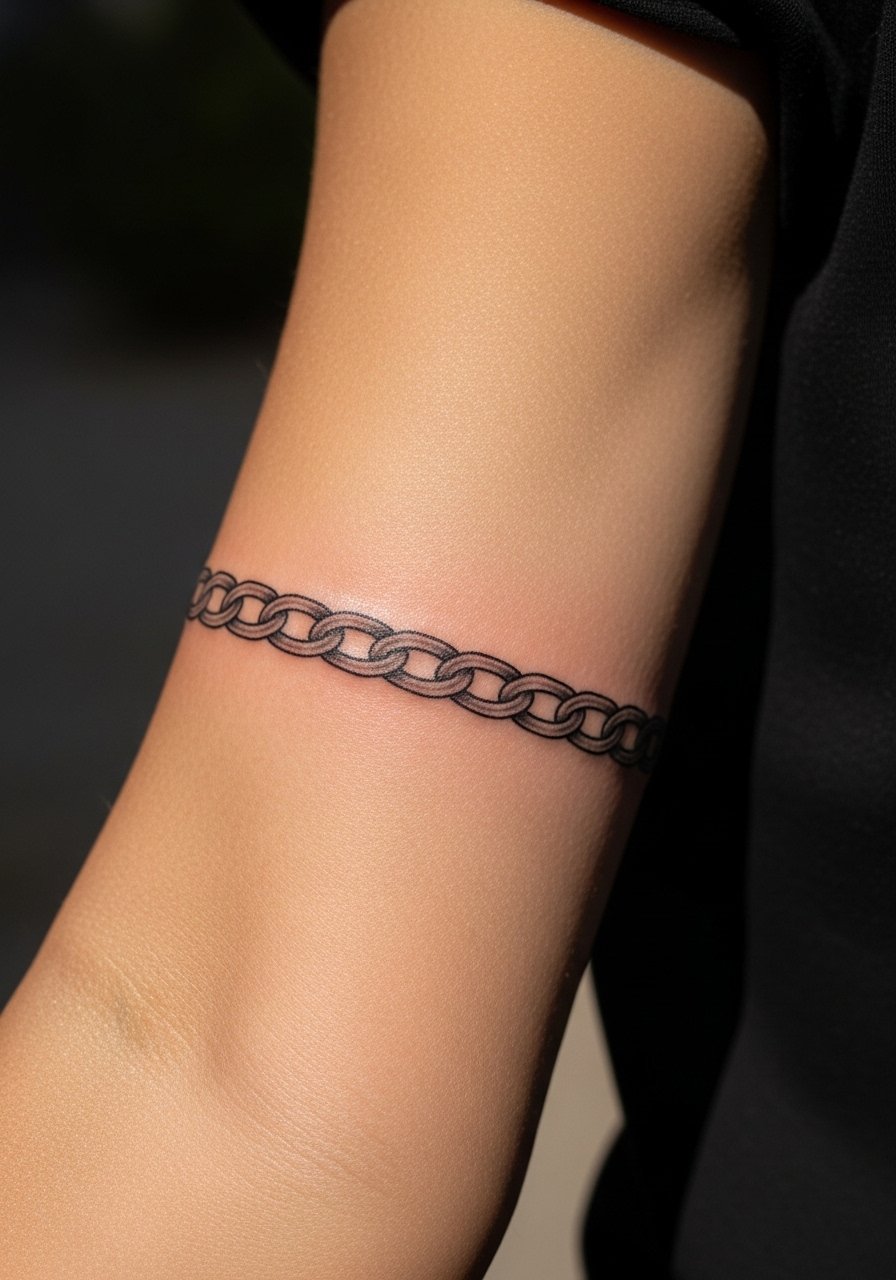
A repeating micro-chain reads industrial and neat when links are slightly rounded to reduce blowout risk. Ask for spacing that leaves room between each loop so the pattern ages cleanly. Outer forearm placement tolerates this well, but very tight links will merge into a solid line on active skin. Expect mild pain and a single session under an hour. For show-off days, a fitted crewneck t-shirt in a neutral shade frames the band without distraction.
14. Tiny Musical Staff Around the Arm
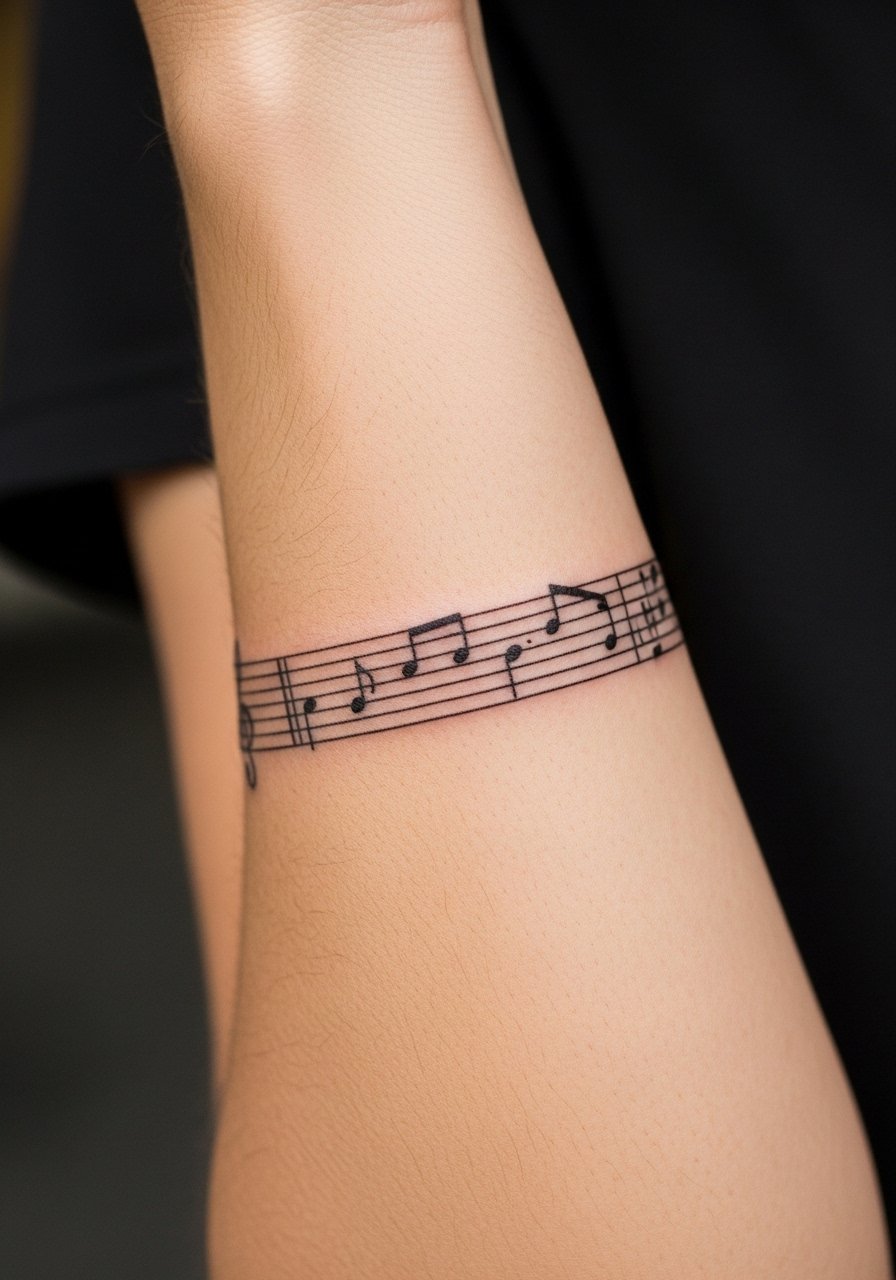
Musical notation demands consistent line spacing so notes remain readable as you age. Ask for slightly heavier stave lines and thinner note lines for contrast. The main error is shrinking the staff so notes blur together over time. Expect low to moderate pain on the forearm and a single session. If you play instrument or wear a watch, mention that friction point so the artist avoids placing the knot where it rubs.
15. Tiny Constellation Band by Wrist
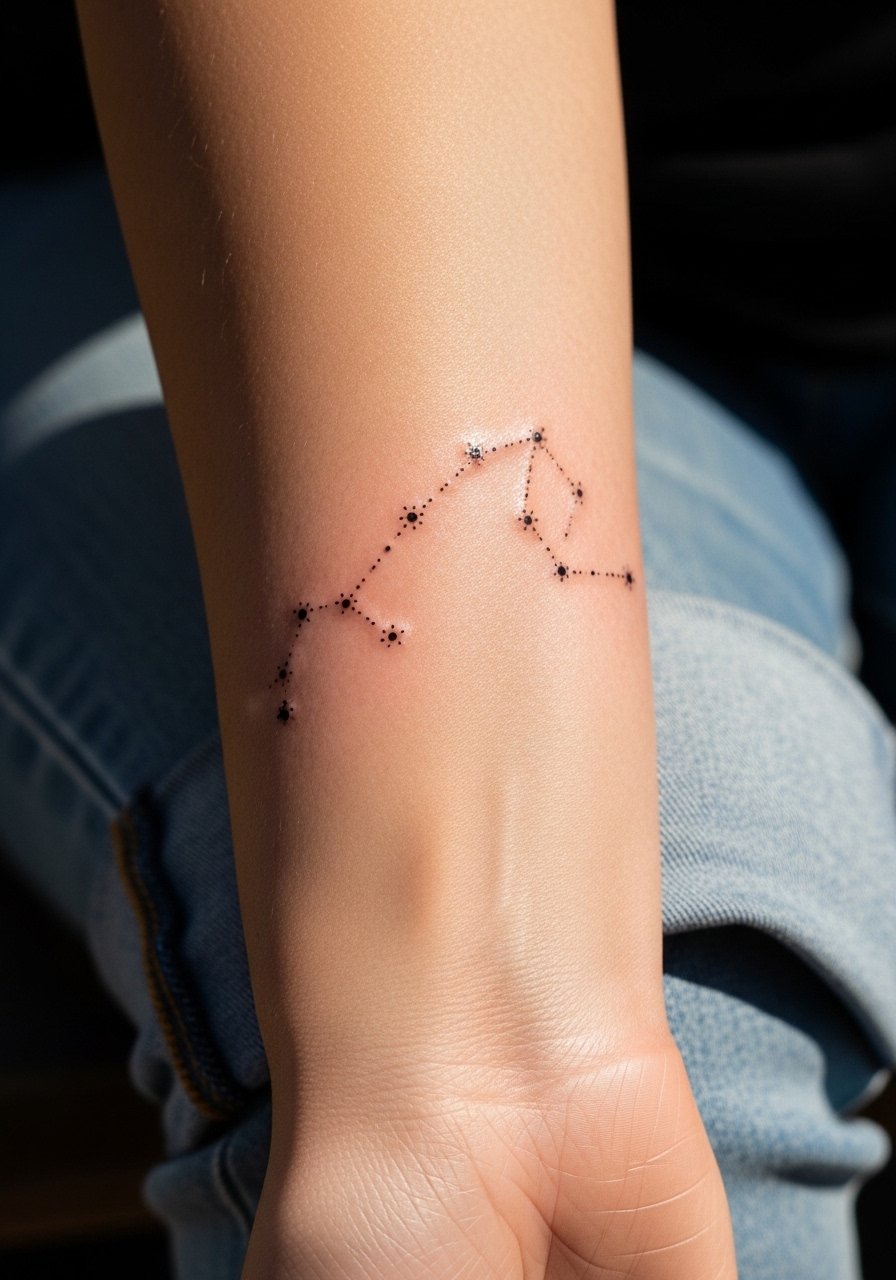
A string of small star groupings reads subtle and personal. Ask for slightly larger spacing between stars and thin connective lines to avoid the dots merging. Wrist placement means frequent washing and friction from sleeves. The typical mistake is crowding many constellations into a short band. For daily style, pair with a thin leather cuff bracelet on the opposite wrist to balance visual weight.
16. Tiny Script Loop on Inner Arm
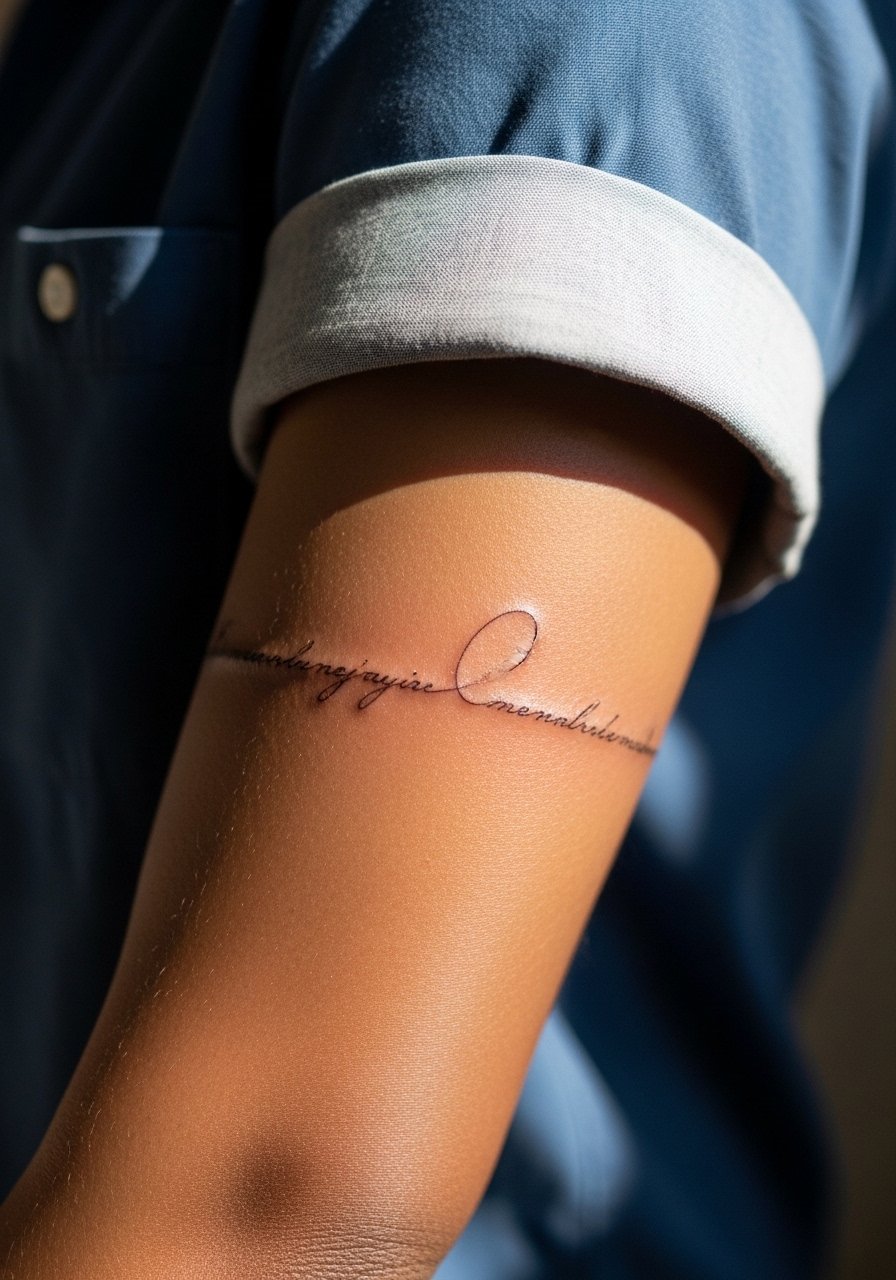
Script bands need exact spacing so letters do not become illegible as the skin settles. Ask for slightly larger negative spacing and simplified letterforms to keep clarity long term. Inner arm script can soften over a few years if lines are too thin. The usual mistake is asking for ornate flourishes that age poorly. Expect mild pain during the single short session and bring a shirt you can roll up easily for access.
17. Geometric Arrow Repeat on Forearm
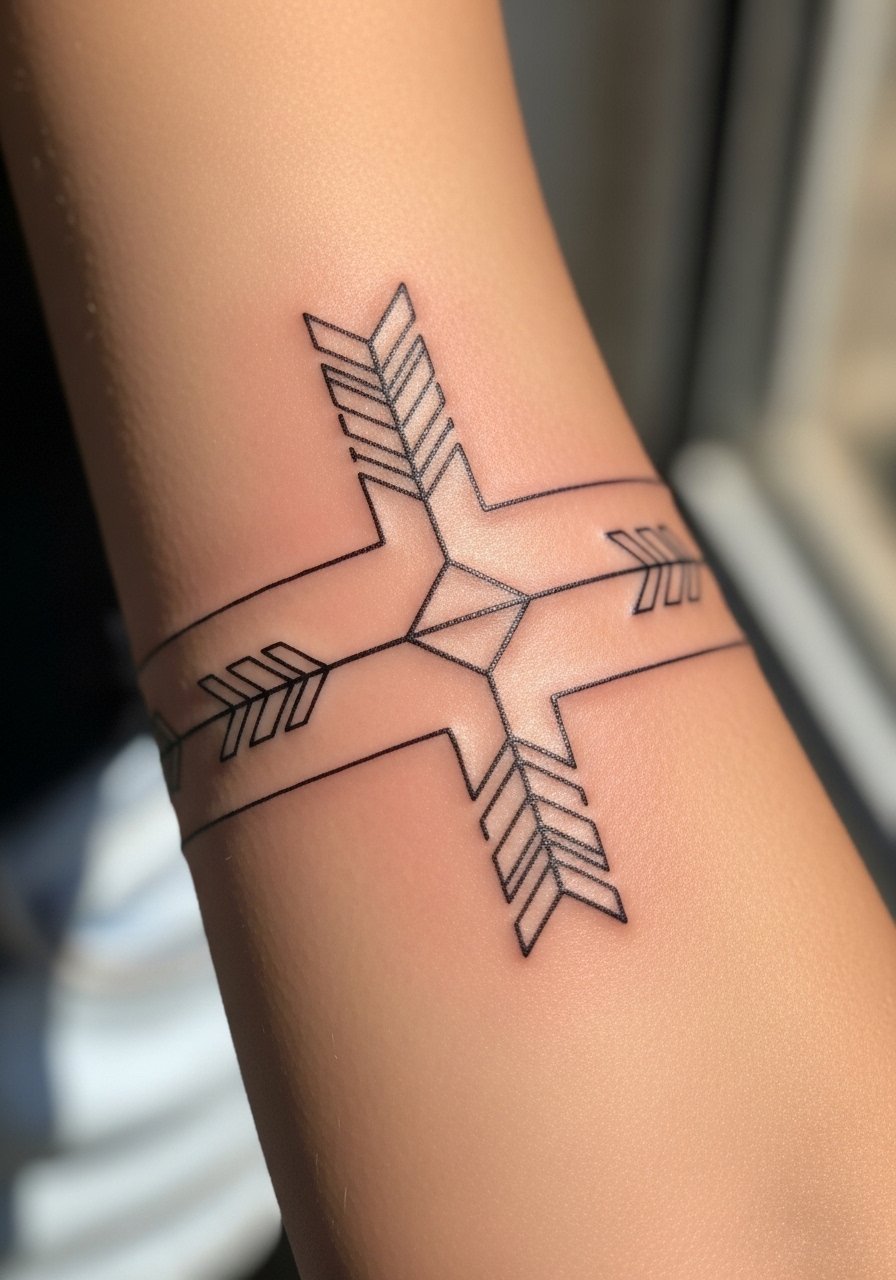
This pattern blends minimalism with motion. Request a uniform negative space and a single consistent arrow angle so the band reads coherent when the arm flexes. The main aging issue is compressing arrowlets so points lose shape. Expect a short single session and medium pain if shading is included. For show-off styling, roll sleeves or wear a navy athletic tee to let the pattern stand against clean fabric.
18. Tiny Floral Chain on Mid-Arm
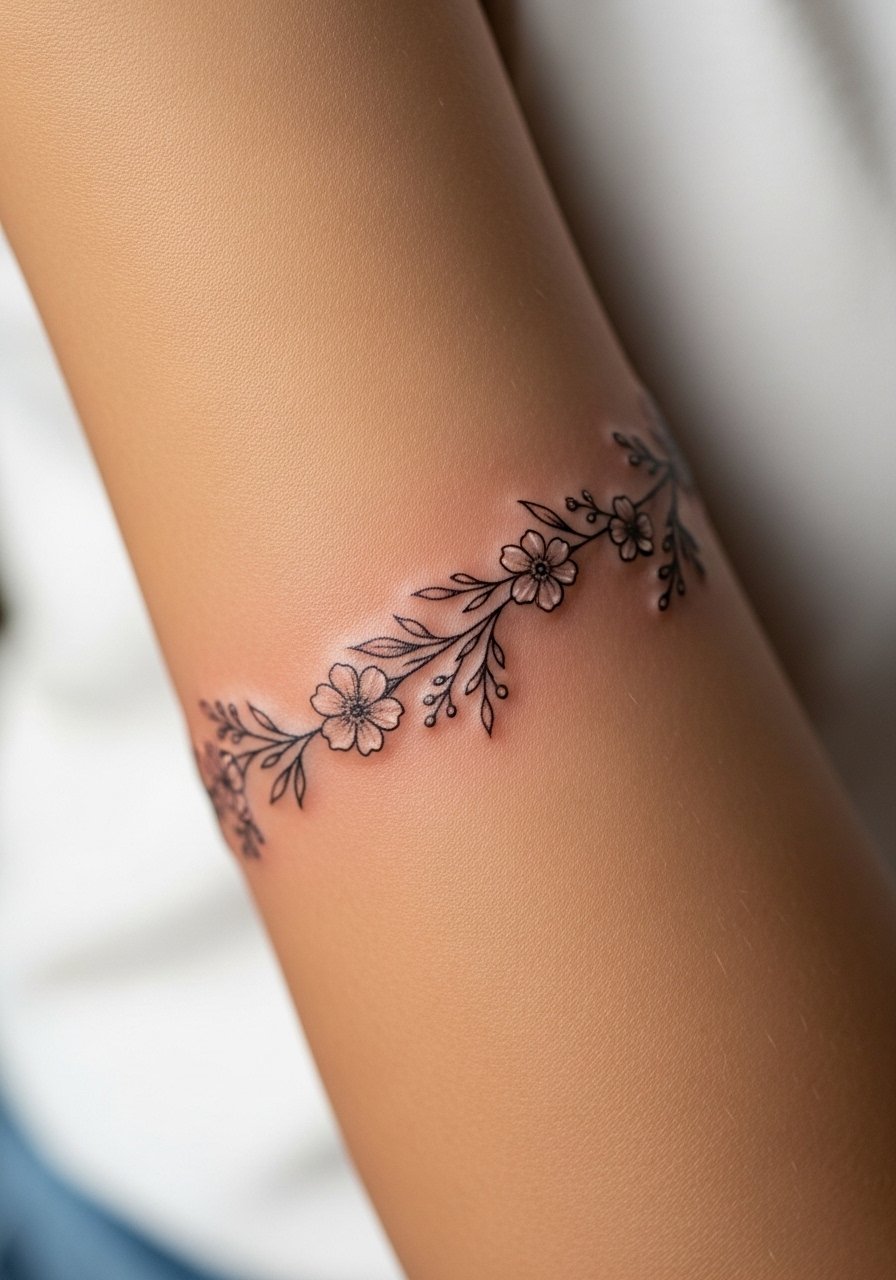
A chain of tiny blooms works as a feminine, organic wrap when stems maintain breathing space. Ask for leaves with small negative pockets and avoid filling fine textures that will blur. Mid-arm placement balances motion and visibility. The common error is packing too many petals into a slim band. Expect low to moderate pain and a single session. Mention future stacking plans so spacing allows a second band later if desired.
19. Arrowhead Band with Negative Space
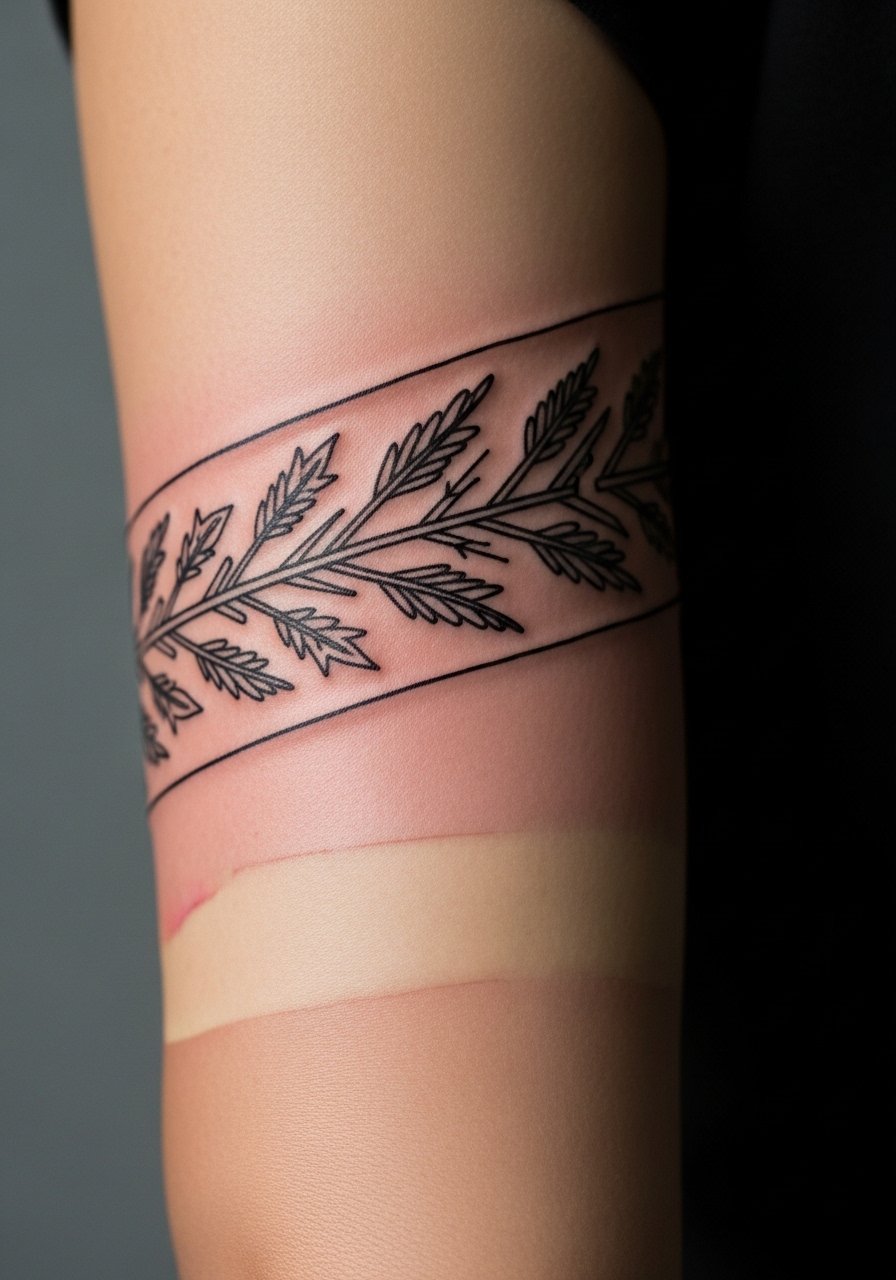
Here the negative space is the main design move. Ask the artist to map stencil flex across the arm so gaps align while you move. The lower bicep flex can change how the band reads so test the stencil in both relaxed and flexed positions. A common mistake is ignoring how the design shifts when muscles contract. Expect moderate pain and a brief session. For session comfort, wear something like a short sleeve linen shirt you can roll without annoying fabric lines.
20. Thin Rope Twist on Outer Upper Arm
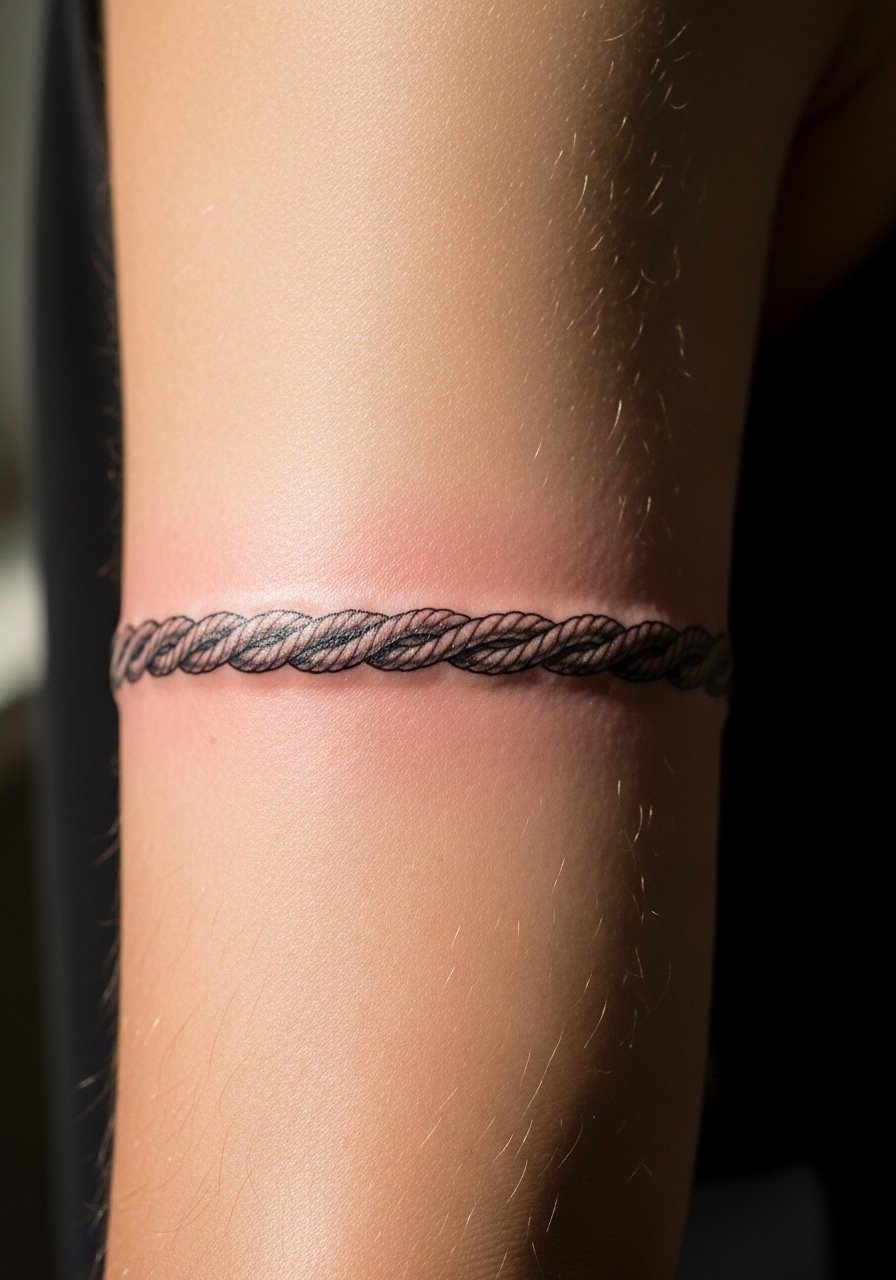
A small twist imitates rope within a narrow band. Ask for subtle valley shading to sell the twist without overworking the skin. Upper arm handles the texture well but very thin twists lose impact with time. Two short sessions may be needed for texture saturation. Common mistake is squeezing too much texture into a tiny width. For long-term clarity, avoid placing the rope where clothing seams repeatedly rub.
21. Micro-Compass Surrounding the Arm
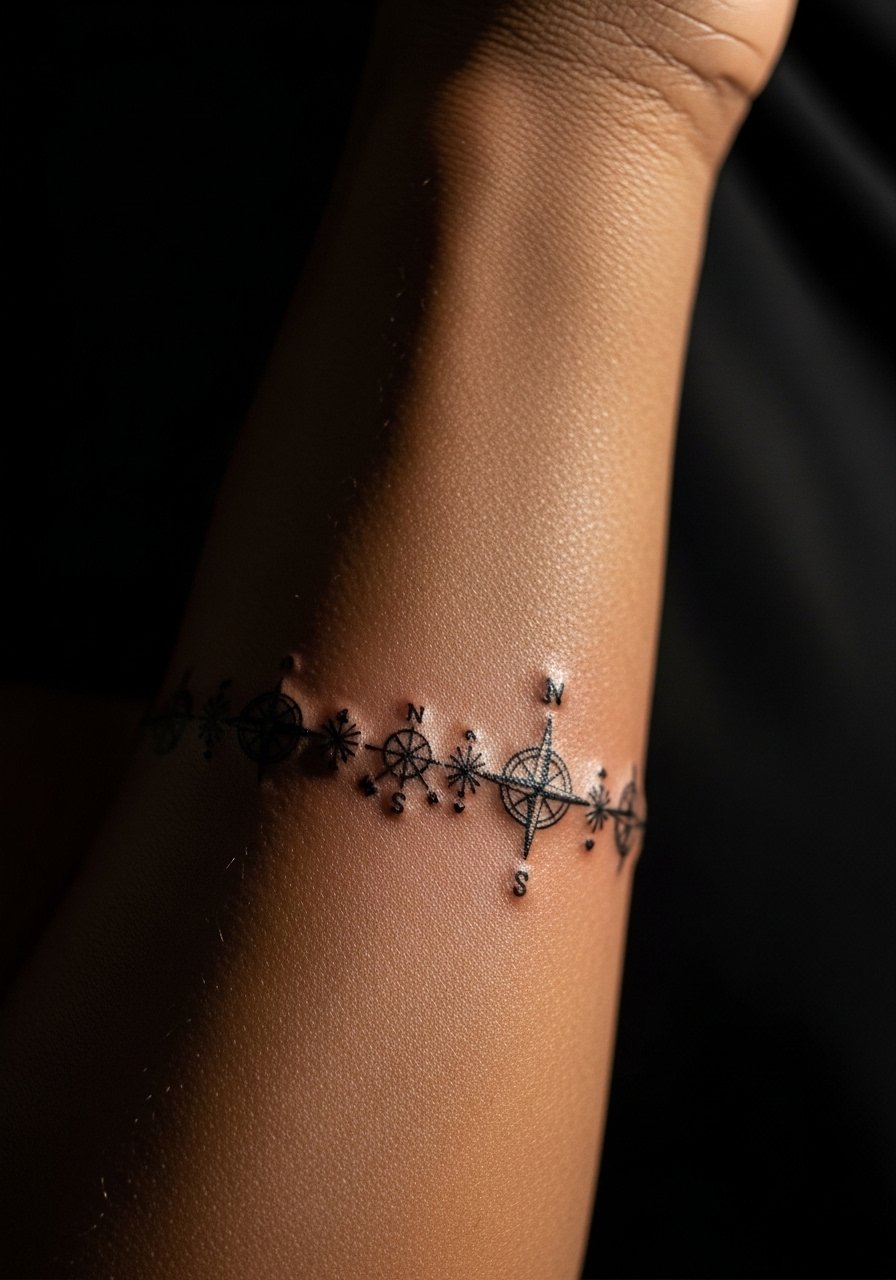
A compass motif made of small points and dots works best with slightly heavier cardinal ticks so orientation remains legible over time. Ask for scaled ticks and larger dot anchors. The forearm is forgiving but tiny points can fade faster. Expect a single session and mild discomfort. Pair with a fitted crewneck t-shirt for casual show-off days.
22. Minimal Geometric Dots With Lines
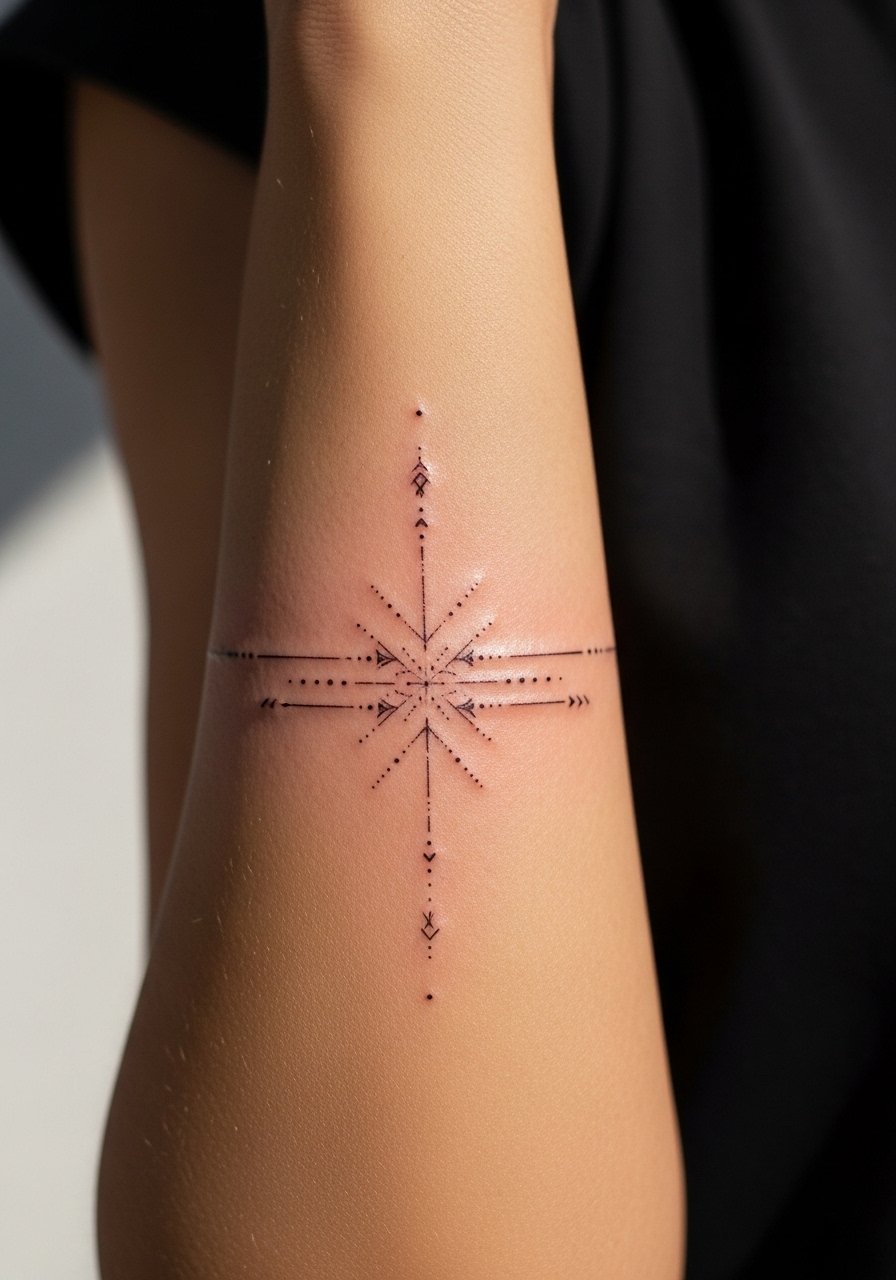
Dot-and-line bands read modern and spare. Ask for a hierarchy of dot sizes and slightly thicker connecting strokes so the eye sees pattern rather than a single blur. The outer forearm tolerates this well, but tiny dots placed too close will soften into a smudge. Expect a short single session and low to moderate pain. Keep in mind the ring of dots around the arm can be harder to touch up than a flat band.
23. Tiny Oak Leaf Wreath on the Arm
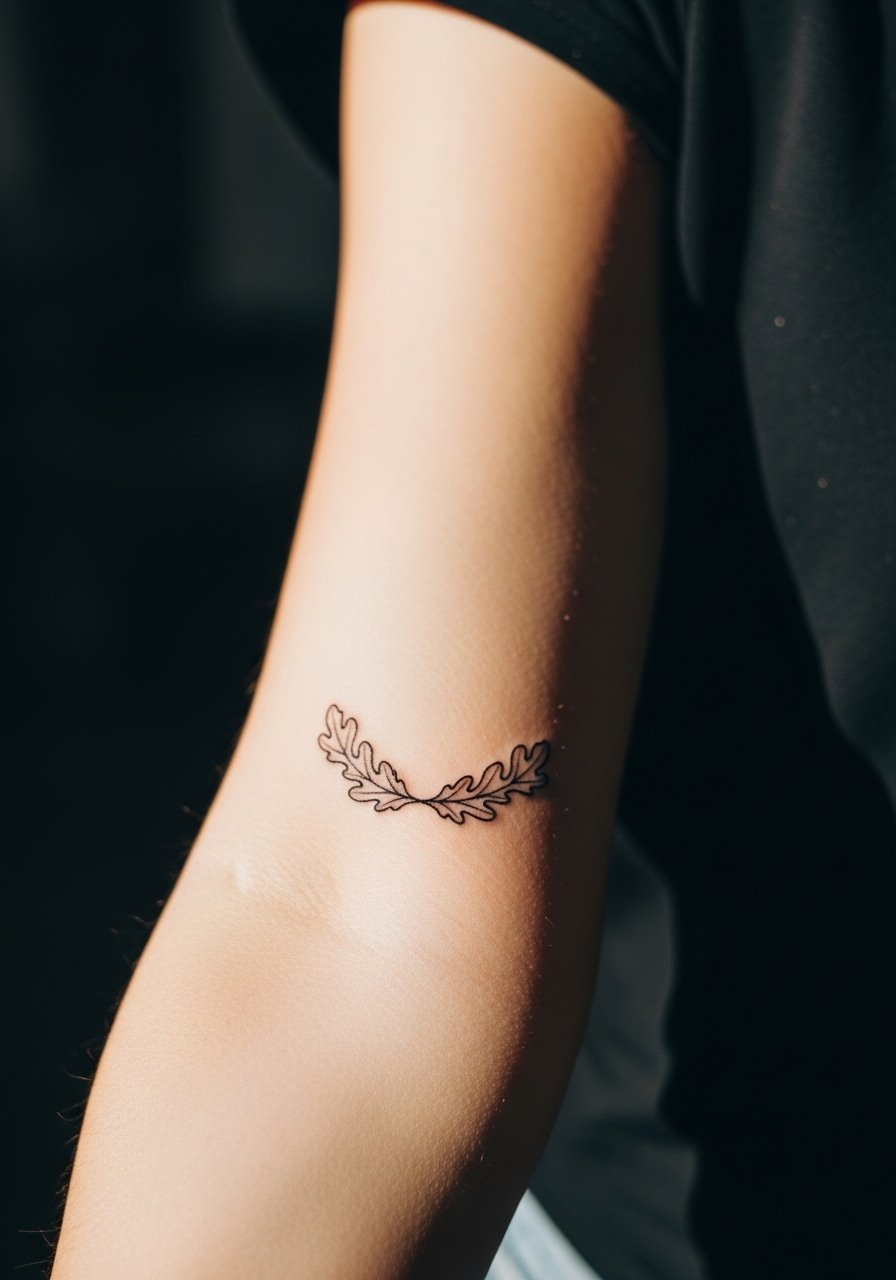
A wreath motif needs consistent leaf spacing and small negative pockets. Ask for simplified leaf shapes rather than detailed veins so the silhouette holds over time. Mid-forearm placement is forgiving, yet collision with other tattoos later is a common oversight. Expect mild pain and one session. Mention future plans to stack so the artist spaces the wreath appropriately.
24. Simple Wave Dots Around Wrist
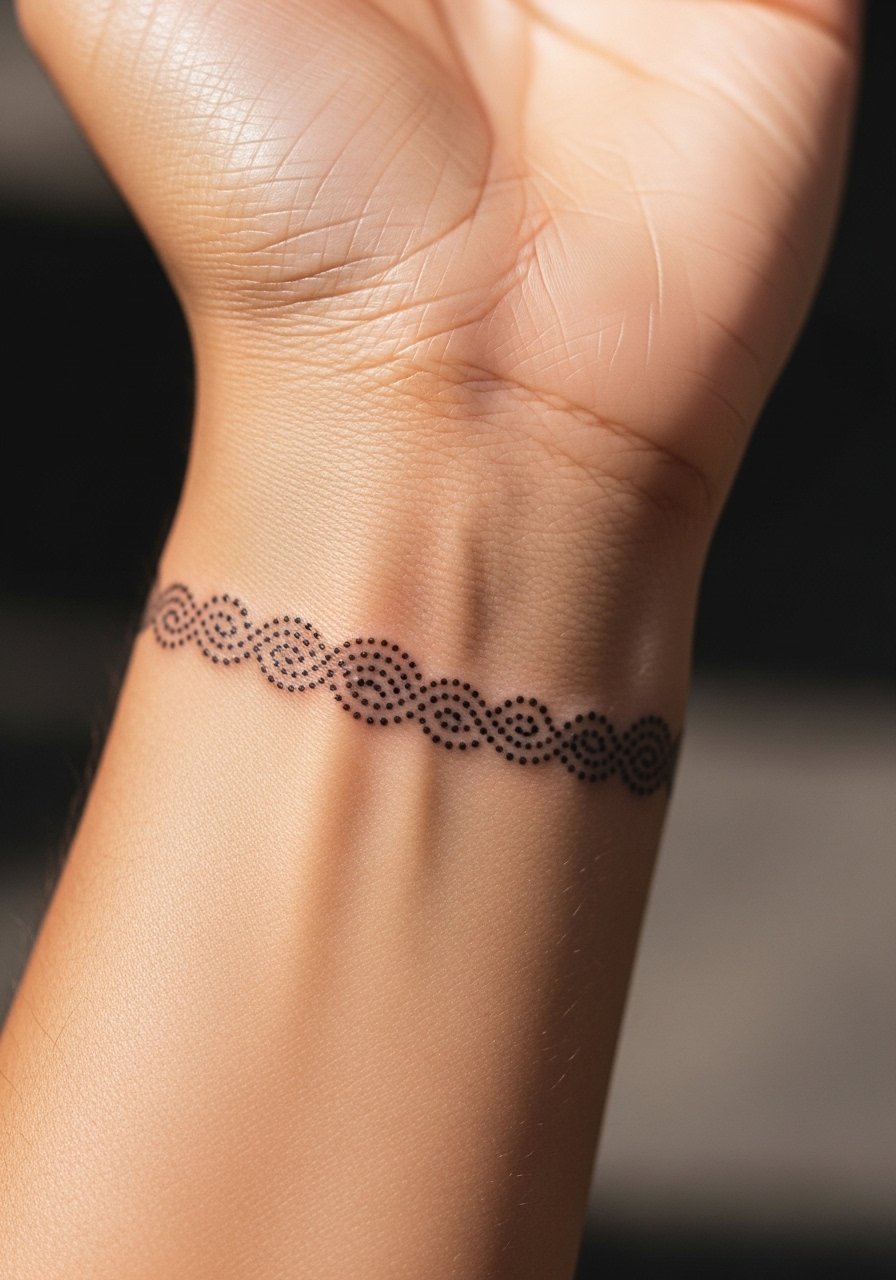
Micro wave dots give movement in a tiny footprint. Ask for consistent dot spacing and small arcs with defined ends. The wrist is a high-traffic area so expect touch-ups earlier than on the forearm. A frequent mistake is compressing the motif into too thin a band. For show-off days, pair it with thin bracelets after healing to balance the composition.
25. Thin Chevron Band on the Forearm
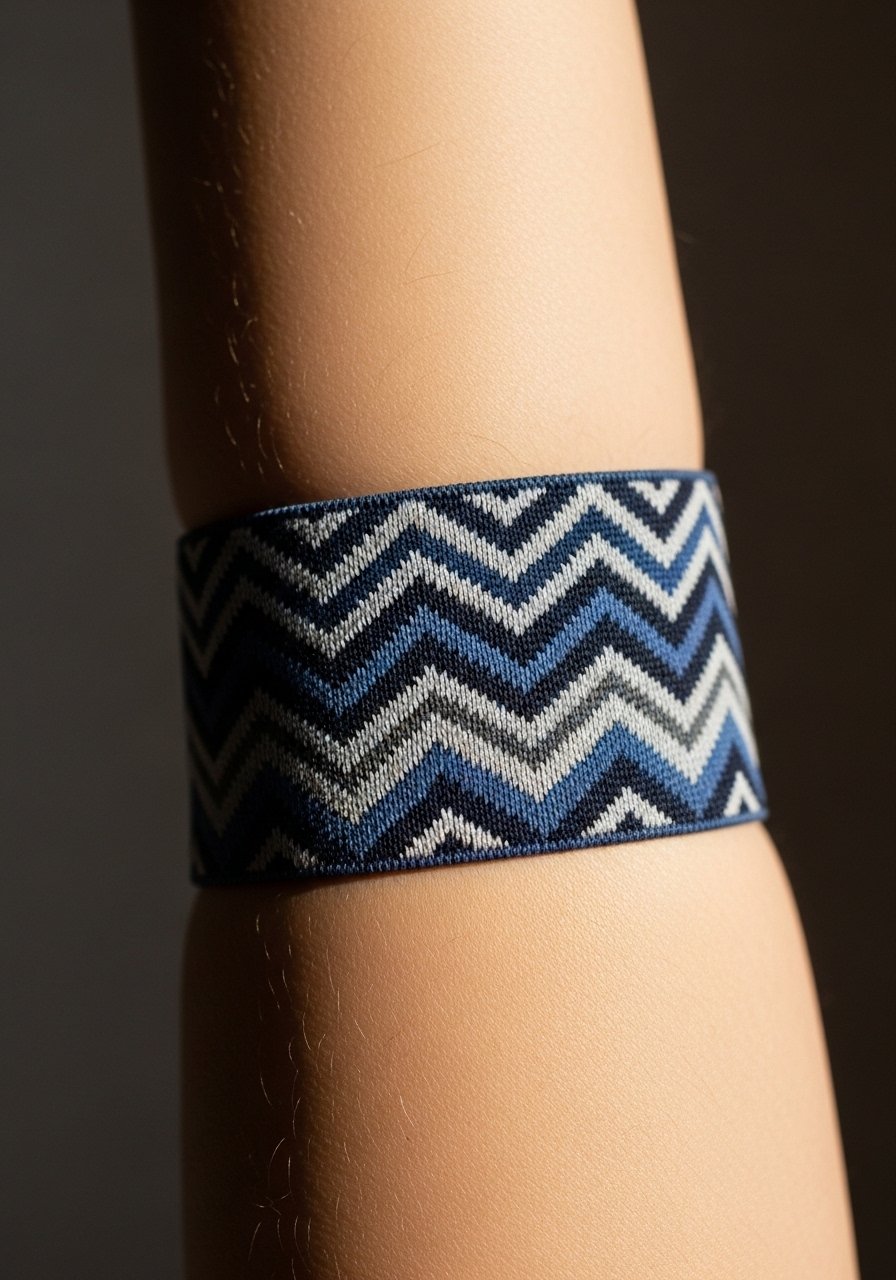
Chevrons need consistent angle and equal spacing to avoid looking lopsided on the arm. Ask your artist to mock the stencil with your arm relaxed and flexed to ensure the V apexes land where you expect. Tiny chevrons scaled too small tend to blur and lose their geometry. Expect a short session and mild pain. If planning other wraps, discuss vertical spacing during the consult.
26. Tiny Bead String Around the Arm
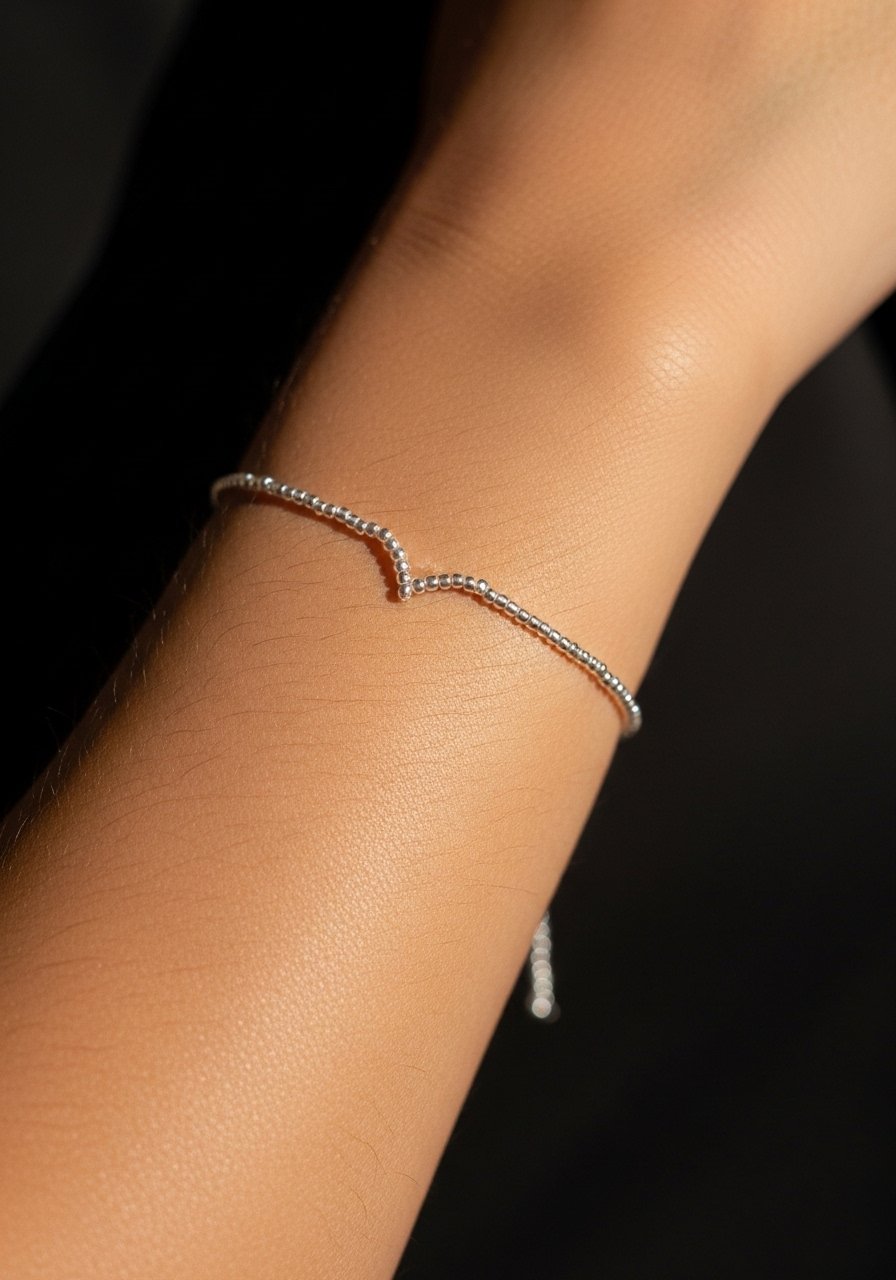
Beaded looks depend on consistent bead size and even negative space. Ask for slightly larger beads than you think you want to avoid early blur. The forearm is forgiving for bead work but tiny dots will soften with time. A common error is wanting a 0.5 centimeter bead when the skin needs 1 centimeter to read. Expect a short appointment and low pain.
27. Micro-Map Coordinates Band
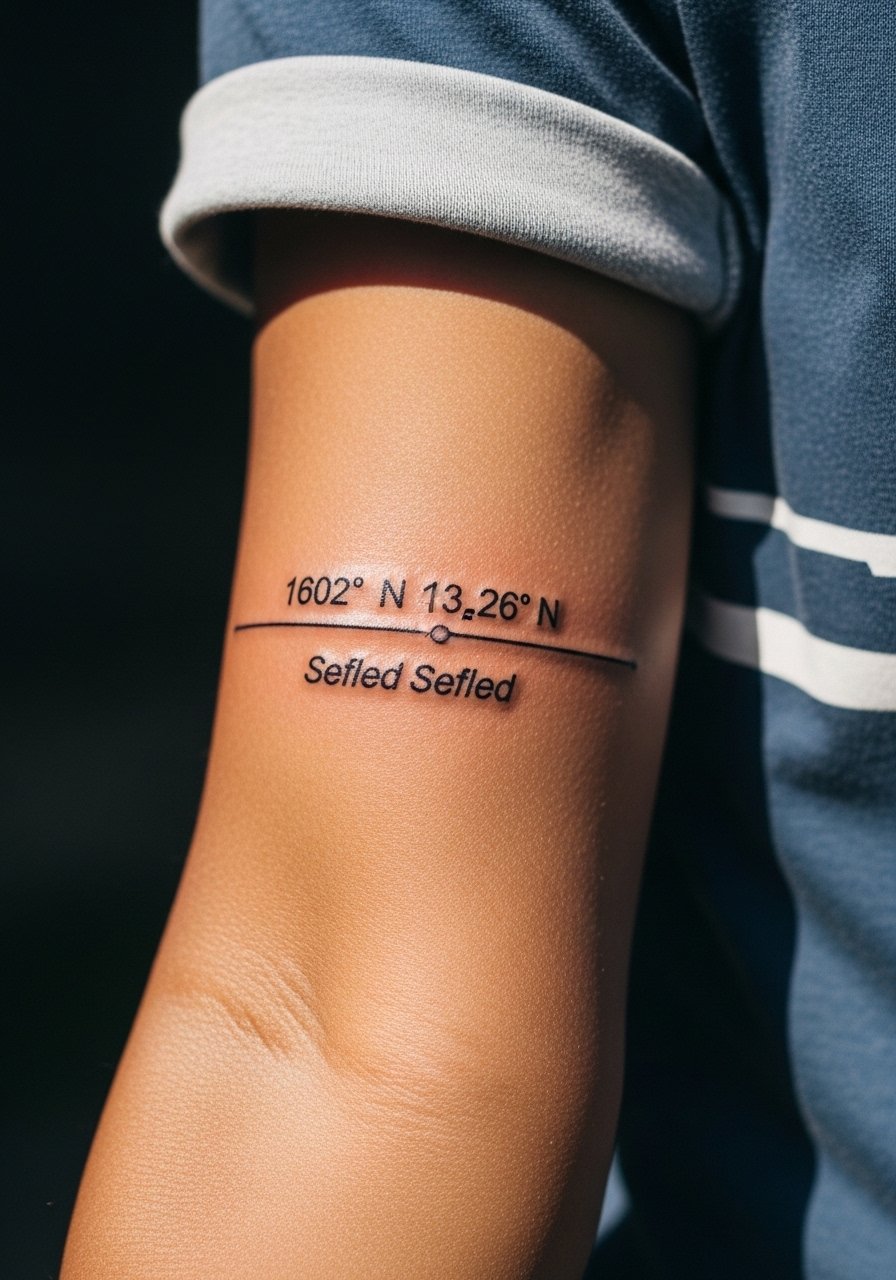
Coordinates or small numeric bands need exact text in the stencil so they do not become illegible. Specify the precise characters you want etched and ask the artist to space numerals larger than normal. Inner forearm keeps text readable longer than the wrist. The usual mistake is choosing overly stylized digits that fade into unreadable marks. Expect mild pain and a single session. This one pairs cleanly with rolled cuffs and neutral shirts.
Frequently Asked Questions
Q: How much does a mini forearm wrap usually cost and what should I budget?
A: Prices vary by region and shop, but expect mini wraps to often fall into a range determined by session length and shop minimums. Many shops impose a minimum that can make a small piece cost more than you expect. I suggest budgeting for a single short session plus a potential touch-up in year one or two if the lines are very fine.
Q: Will thin line forearm wraps blur if I gain muscle?
A: They can change with significant muscle gain. Biceps and lower arms flex differently, so designs that hug the muscle may distort. For cleaner aging, choose the forearm over the bicep when possible or ask your artist to mock the stencil on both relaxed and flexed positions so spacing works in movement.
Q: What about Saniderm versus dry healing for small bands?
A: There are two clear camps. One camp uses protective film for a sealed first week and finds it reduces external contamination and friction. The other camp prefers dry healing to let scabs form naturally, arguing this helps ink set. Both have pros and cons, so ask the artist what they use for fine line work and follow their timeline for washing and reapplication.
Q: How visible are thin bands on darker skin tones and what should I ask for?
A: Visibility depends on contrast and saturation. On darker skin tones, slightly heavier lines and uniform saturation help the band read in photos and from a distance. Ask for clear edge work and discuss tone with your artist so they adjust line weight rather than using the same scale for every client.
Q: What should I wear to my appointment for a forearm or wrist wrap?
A: For forearm and wrist work, pick clothing that gives the artist clean access and avoids fabric pressure on the fresh tattoo. A short sleeve linen shirt or a loose tank makes the session easier and keeps sleeves from rubbing the healing area.
