
Fine line tattoos are trending on every feed, and a lot of people assume the smallest, most detailed pieces will age the same as fresh photos. In reality the placements you pick and the line weight you choose determine whether a mini Dragon Ball Z mark still reads like an idea or needs a touch-up at year three. Below are 17 compact DBZ designs that balance nostalgia with how they actually heal, plus practical notes for the appointment.
1. Mini Goku outline on inner wrist
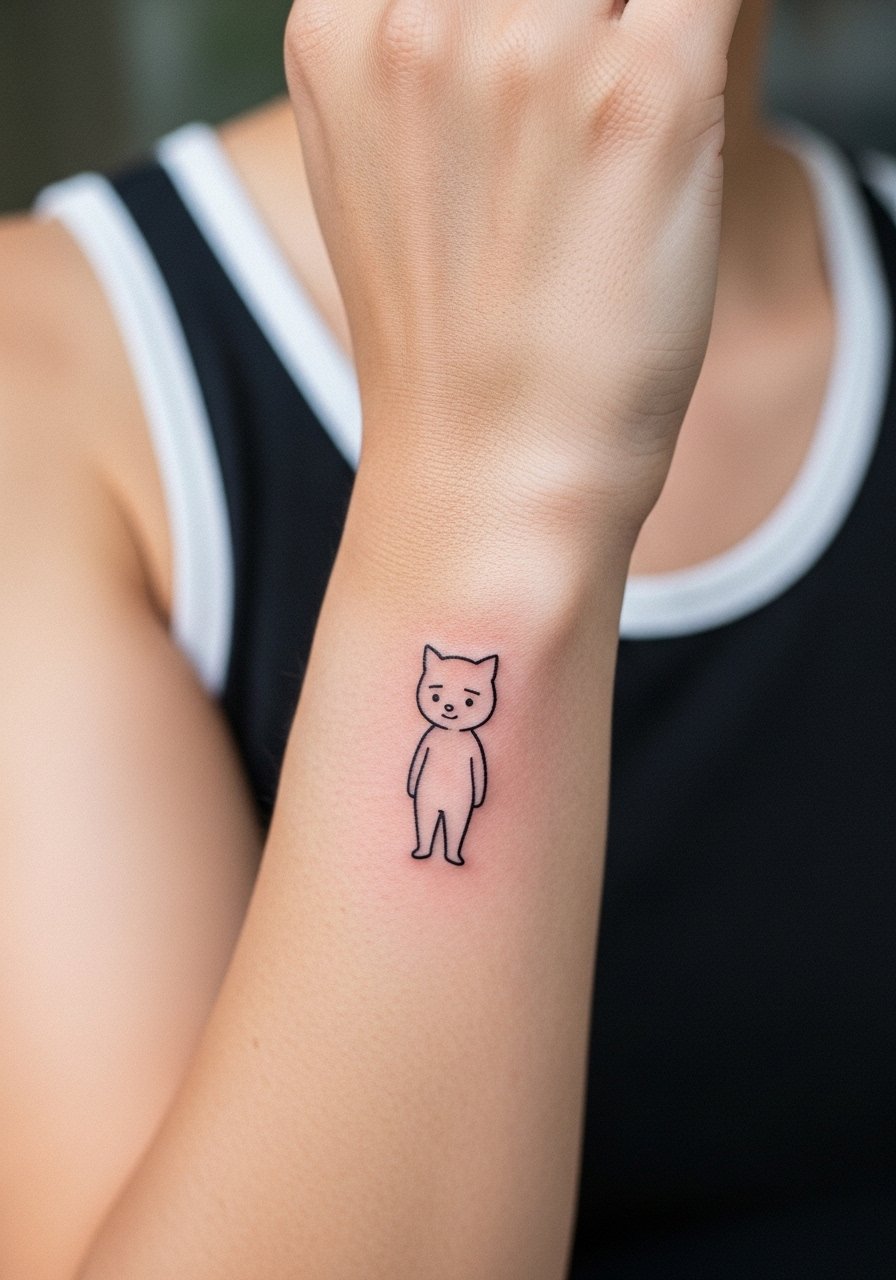
I've seen this one on dozens of people who wanted a daily-visible nod to the series. Fair warning, the inner wrist moves a lot so ultra-fine hairline work can blur into a soft line after a year. Tell your artist you want slightly thicker linework than an Instagram reference so the silhouette keeps its shape at year two and beyond. The session is quick, usually under 30 minutes, and the wrist rates around a 4 out of 10 for pain. For the consultation bring a clear silhouette photo and ask about touch-up timing, because small black outlines often benefit from a light refresh at year two.
2. Shenron dragon coil on forearm
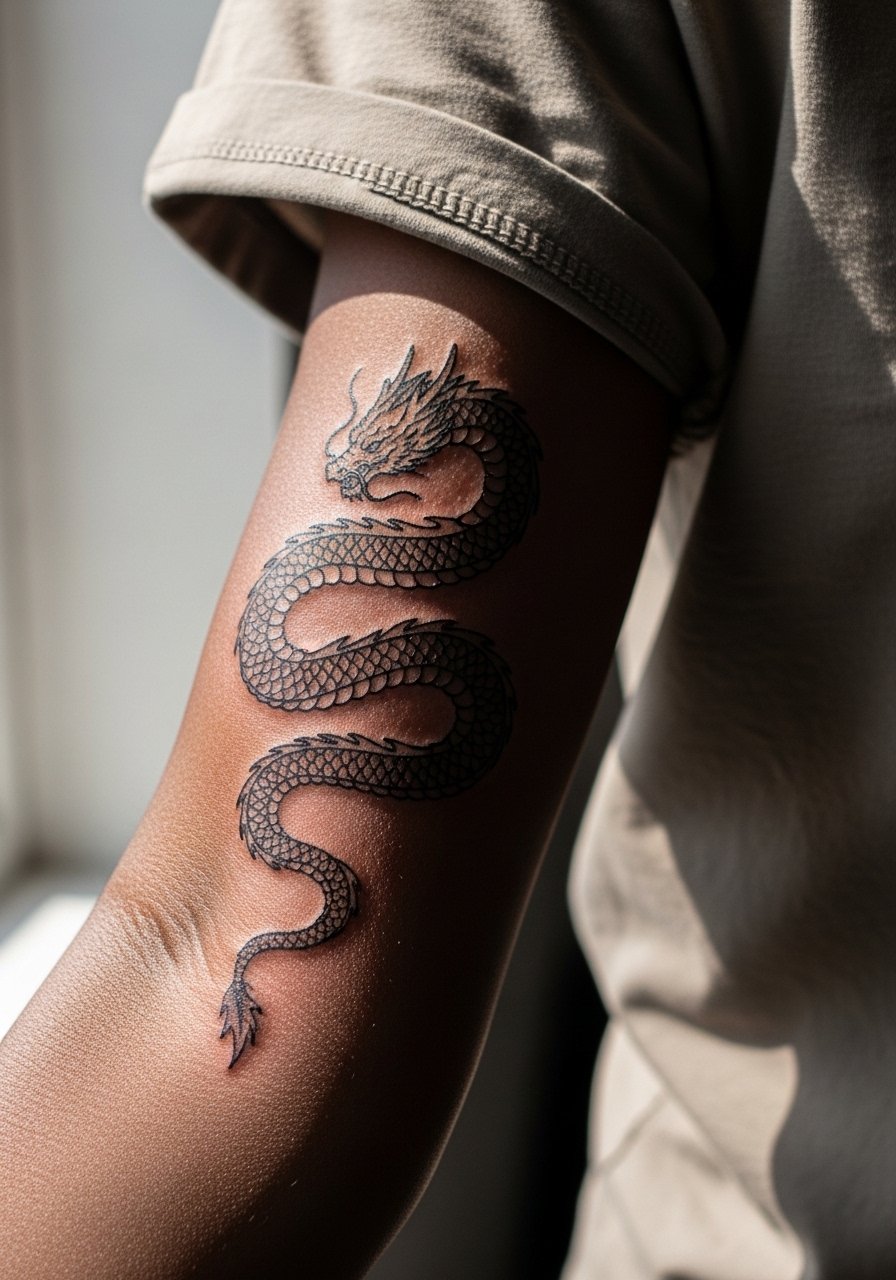
When you want a sense of motion without a full sleeve, a 2-3 inch Shenron coil reads strong on the outer forearm. Artists are split on fine line here. One camp says fine line captures the serpentine details and looks elegant. The other camp warns bold linework lasts longer on a high-movement canvas. Ask your artist which approach they prefer and why, then agree on spacing so the coil does not turn to a blur in dense areas. Sessions run about 45 to 90 minutes depending on stipple shading. For showing this off, roll sleeves or wear a linen button up shirt with the cuff hitched to reveal the coil.
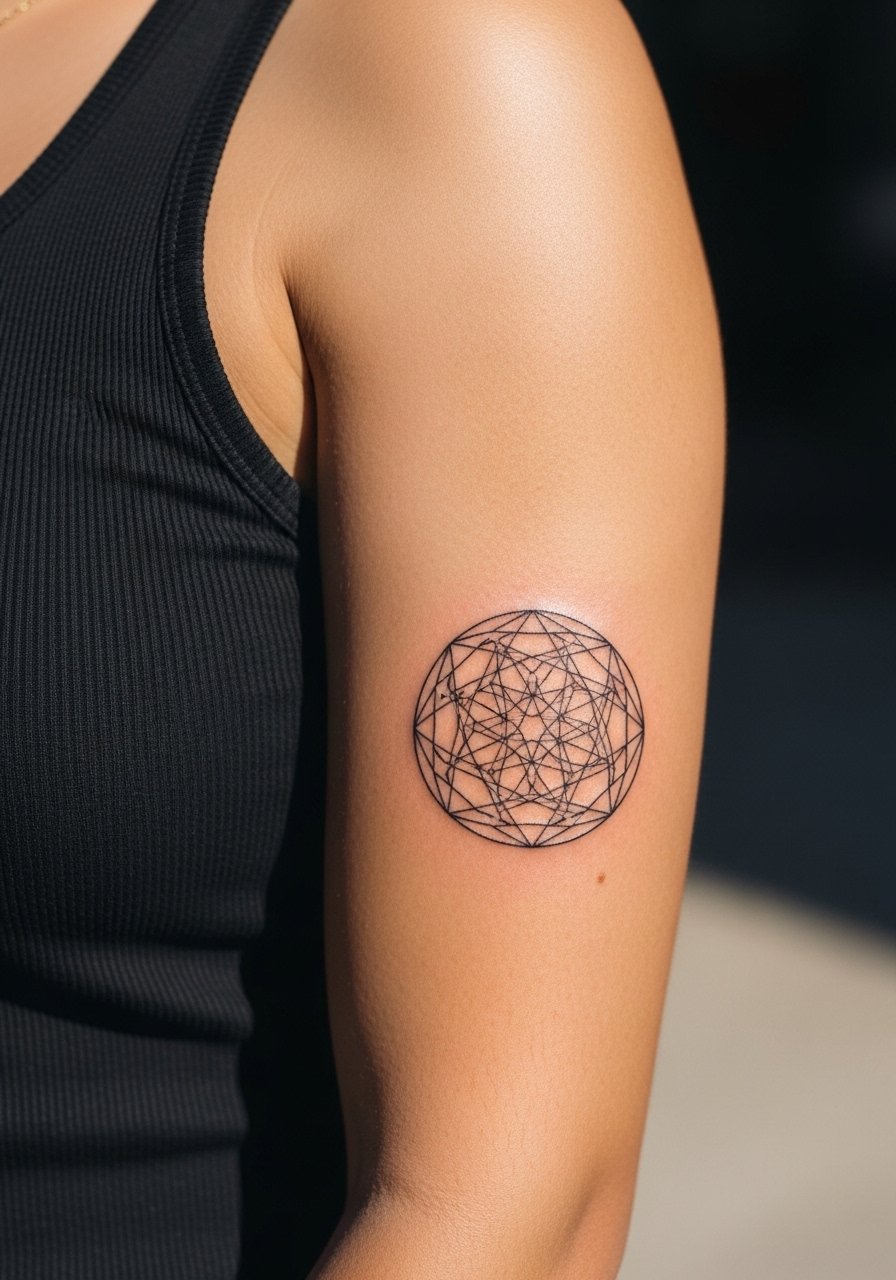
3. Spirit Bomb dot circle on the ankle
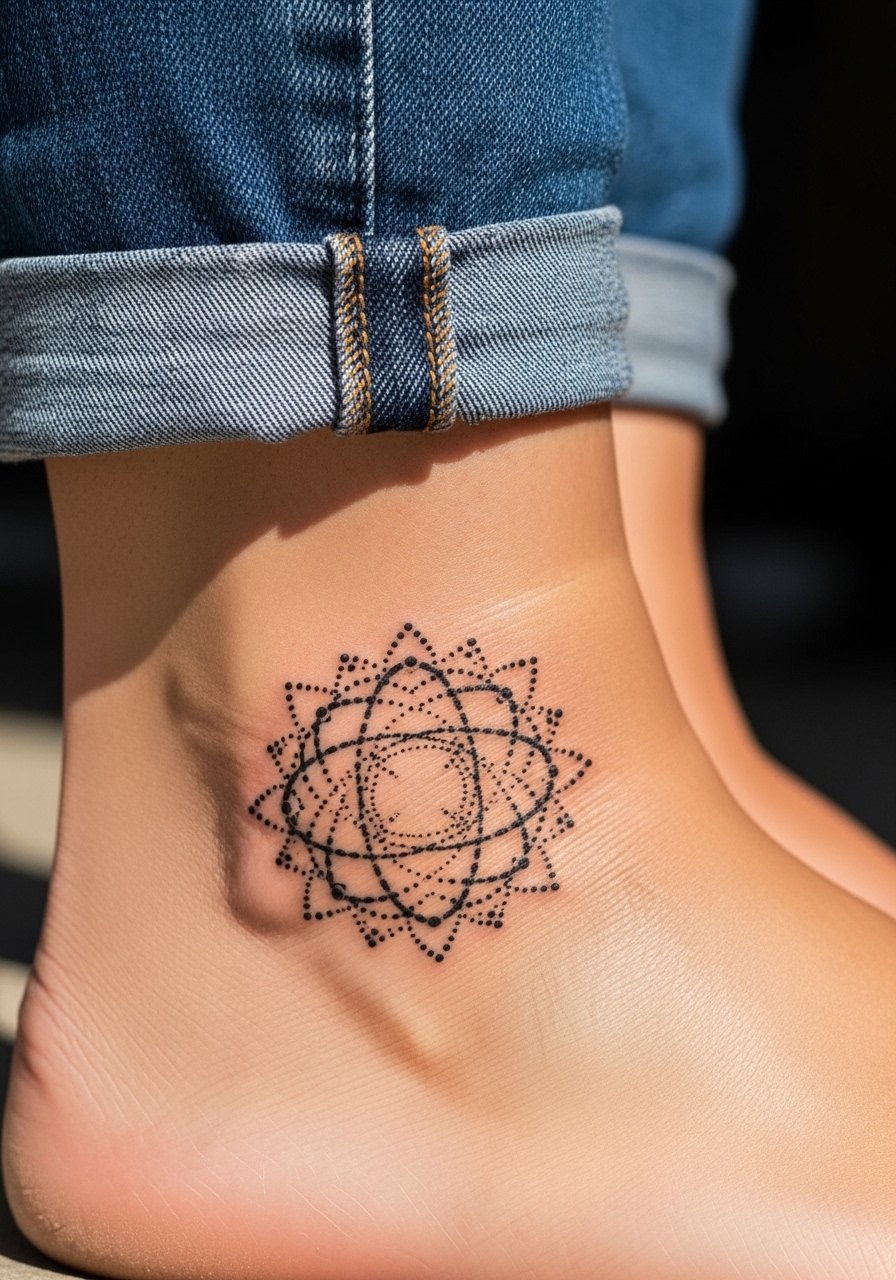
The Spirit Bomb rendered as a dotted circle is a neat geometric take that fits the ankle perfectly. Expect the session to be under 45 minutes and the pain to be mild to moderate depending on ankle sensitivity. The most common mistake is packing dots too tightly; give the dots breathing room so they do not smear together after a year. Tell your artist you want high-contrast spacing and a faint halo of single dots around the perimeter to maintain the energy effect over time. For summer visibility pair this with cuffed slim chinos and no-show socks, and slip into summer loafers men when you want the ankle to show.
4. Super Saiyan hair spikes behind the ear

This placement is small and playful, and it benefits from bold concise spikes rather than ultrafine hairlines. The biggest session note is hair management, so arrive with hair pulled up or half-up so the artist has clear access. The area rates a 3 to 5 on common pain charts depending on proximity to bone. A frequent mistake is requesting tiny, dense spikes that merge during healing. Ask for clean negative space between spikes and a single-session approach so you know exactly how the silhouette will sit when healed. Pair this with a half-up ponytail and a hair ties pack for easy session prep.
5. Dragon Ball stars in a collarbone constellation

A cluster of five tiny stars mapped like a constellation translates the dragon balls into a wish motif that sits beautifully on the collarbone. The collarbone can feel like a 5 to 7 in pain, but most people tolerate a small piece in one session. A common error is placing the cluster too close to the clavicle where movement and clothing rub accelerate fading. Ask your artist to place the cluster just below the bone line and to space stars for clarity at six months and three years. For show-off looks, an off-shoulder blouse or layered necklaces frame the design; try an off shoulder blouse when you want the cluster visible.
6. Kamehameha wave lines on the outer forearm
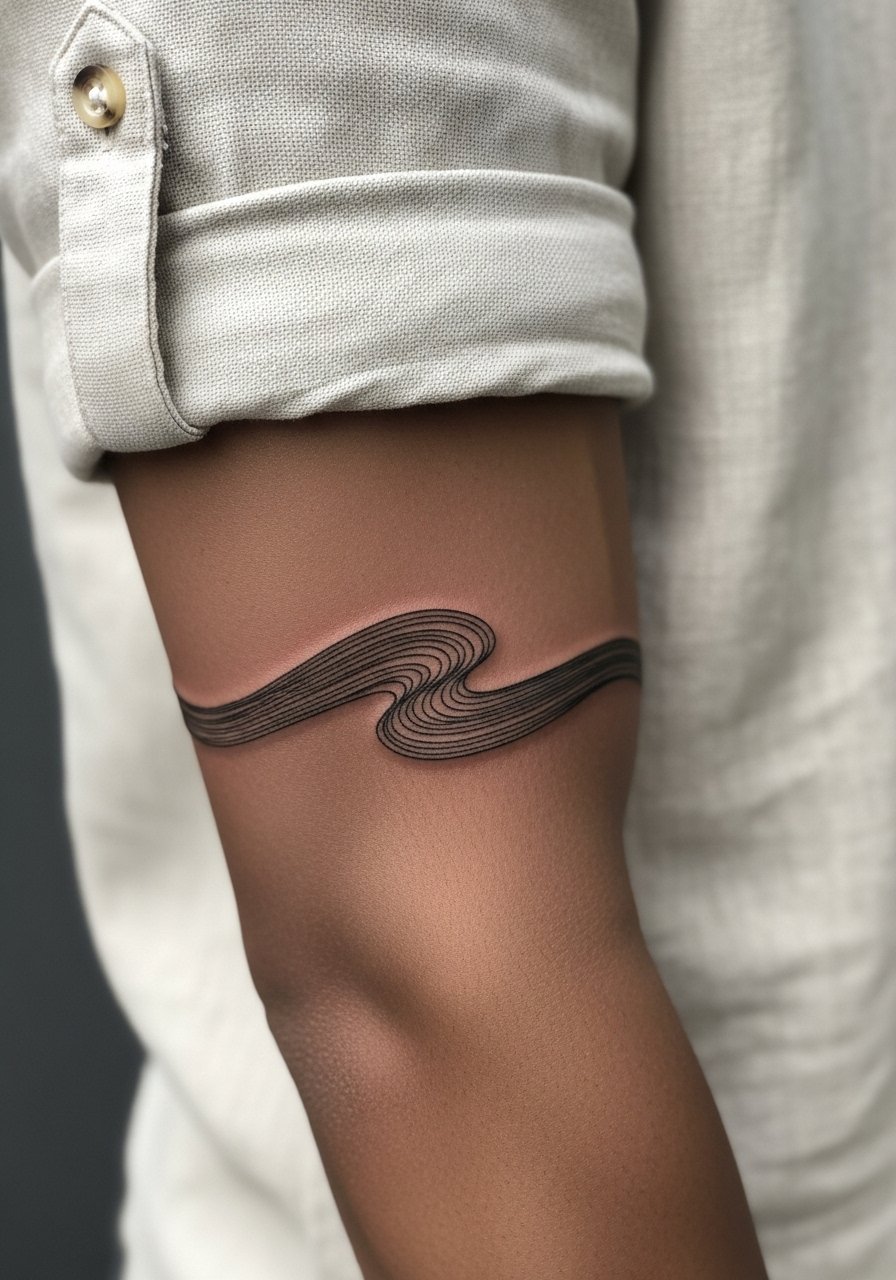
This design reads like motion captured in a single stroke and looks great on the outer forearm. There is a split in opinion about fine line here. One group favors fine line for its flow and delicate energy. The other group insists thicker lines hold up better under daily friction. A practical middle ground is a mix of a slightly heavier primary contour with refined inner hatch lines. Plan for 1 to 2 sessions if you want subtle shading added, and ask your artist about blowout risk along the outer forearm. During the appointment wear a loose short sleeve tee so the artist can work with your arm relaxed.
Pre-Session Essentials
The wrist and forearm pieces above need different prep than collarbone or rib work, and a few specific items make the session and first week smoother.
-
Tattoo Goo healing balm search. A non-greasy balm often recommended for people who want light moisturizing during the peeling stage, useful for tiny linework on wrists and ankles.
-
Hustle Butter Deluxe. Liked for dry climates because it is thinner than some heavy ointments, which helps small blackwork pieces breathe without feeling clogged.
-
Sorbolene cream. A simple, unscented moisturizer gentle on sensitive skin types, handy if you have darker skin and want to avoid added pigment contrast during healing.
-
Fragrance free gentle body wash. Use for tender areas during showers so soap does not strip the newly tattooed skin, especially important for collarbone and rib placements.
-
Aquaphor healing ointment. A thin layer for the first few days helps lock in moisture for fine line work without excessive buildup, which matters for wrist and finger pieces.
7. Vegeta "It's over 9000" text script on the ribcage
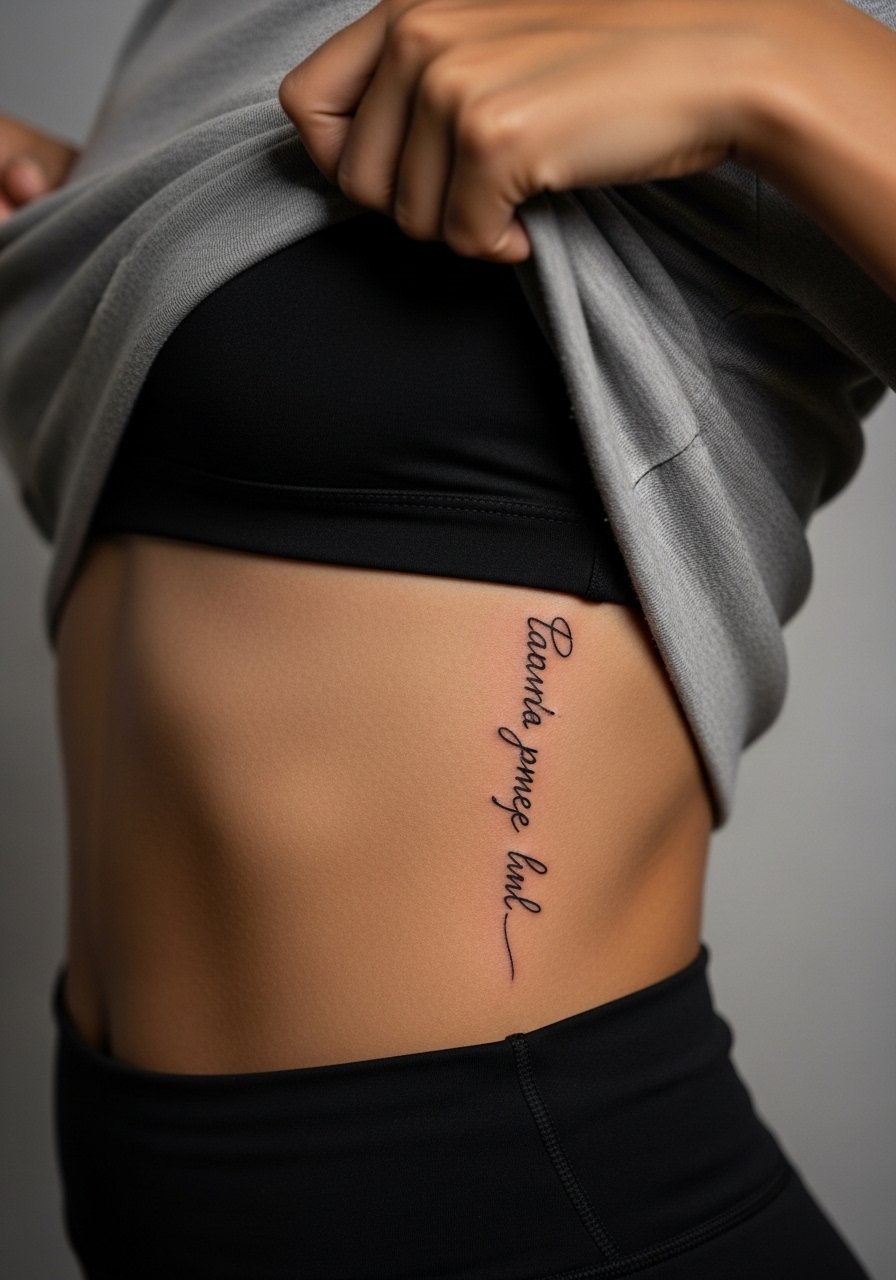
Rib text can be dramatic, but ribs are one of the higher-pain spots and a 7 to 9 for many people. The biggest mistake is asking for hairline script in this location; with movement and breathing, letters can blur if spacing is too tight. For durability, request a modestly bold script with comfortable letter spacing. Note that fine line on ribs is controversial. One camp says ribs stretch and blur lines within two years. The other camp says with correct needle depth and spacing it holds up well. Ask where your artist lands and whether they would increase line weight for longevity. Recovery requires sleeping positions that avoid pressure on the area for a few nights.
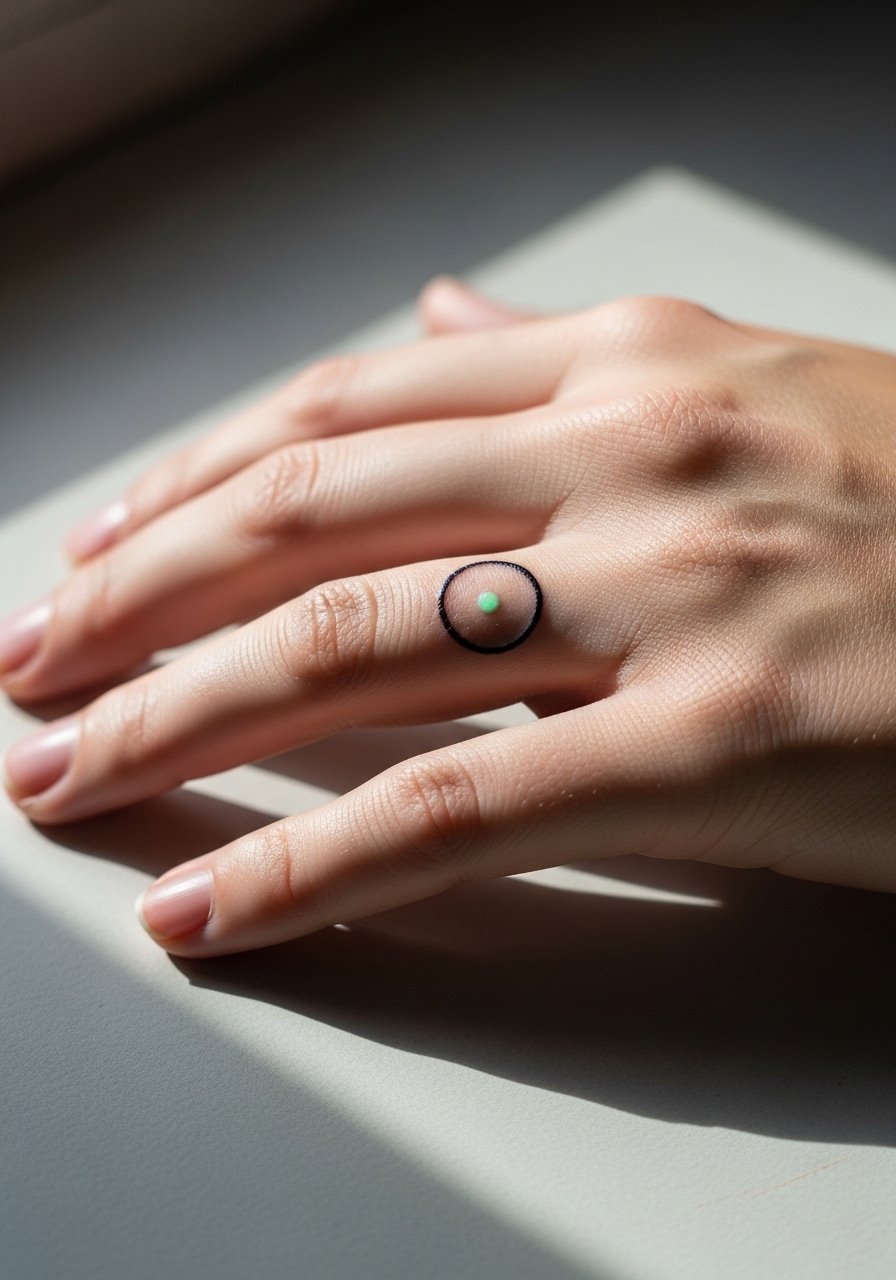
8. Genki Dama orb outline on the finger
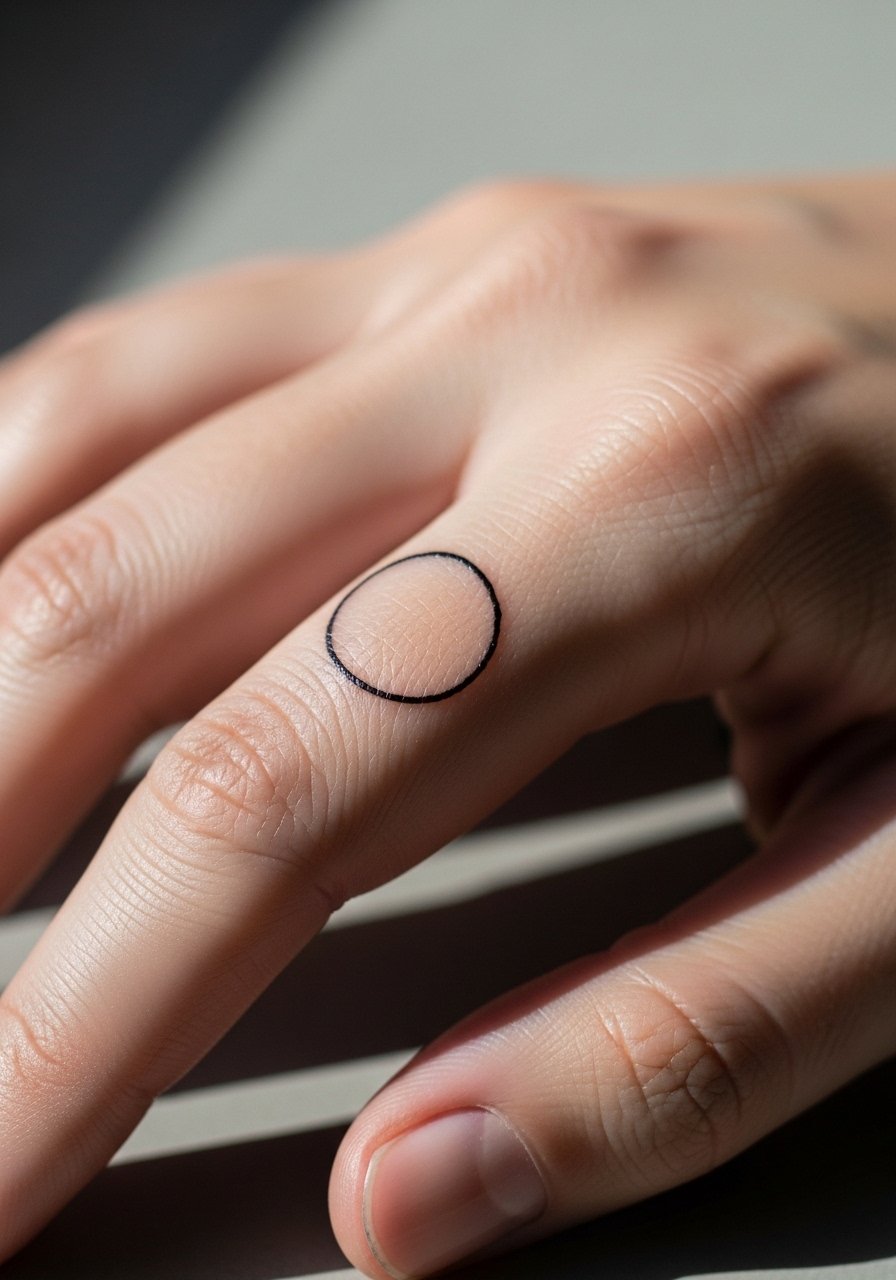
Finger tattoos are trendy for micro fandom pieces but they face constant friction from hand washing and rings. The common tip is to avoid ultra-fine lines here and to accept that touch-ups are likely at year one or two. Tell the artist you prefer a clean one-inch outline with minimal internal detail so it stays readable as it wears. The session is short and the pain is usually a 5 to 6. For showing this off, keep rings minimal and consider a thin ring stack on the opposite hand, or no rings during the first six weeks; a good piece of session wear is to come without jewelry. If you want the orb to glow, read the UV ink note in section 13 first.
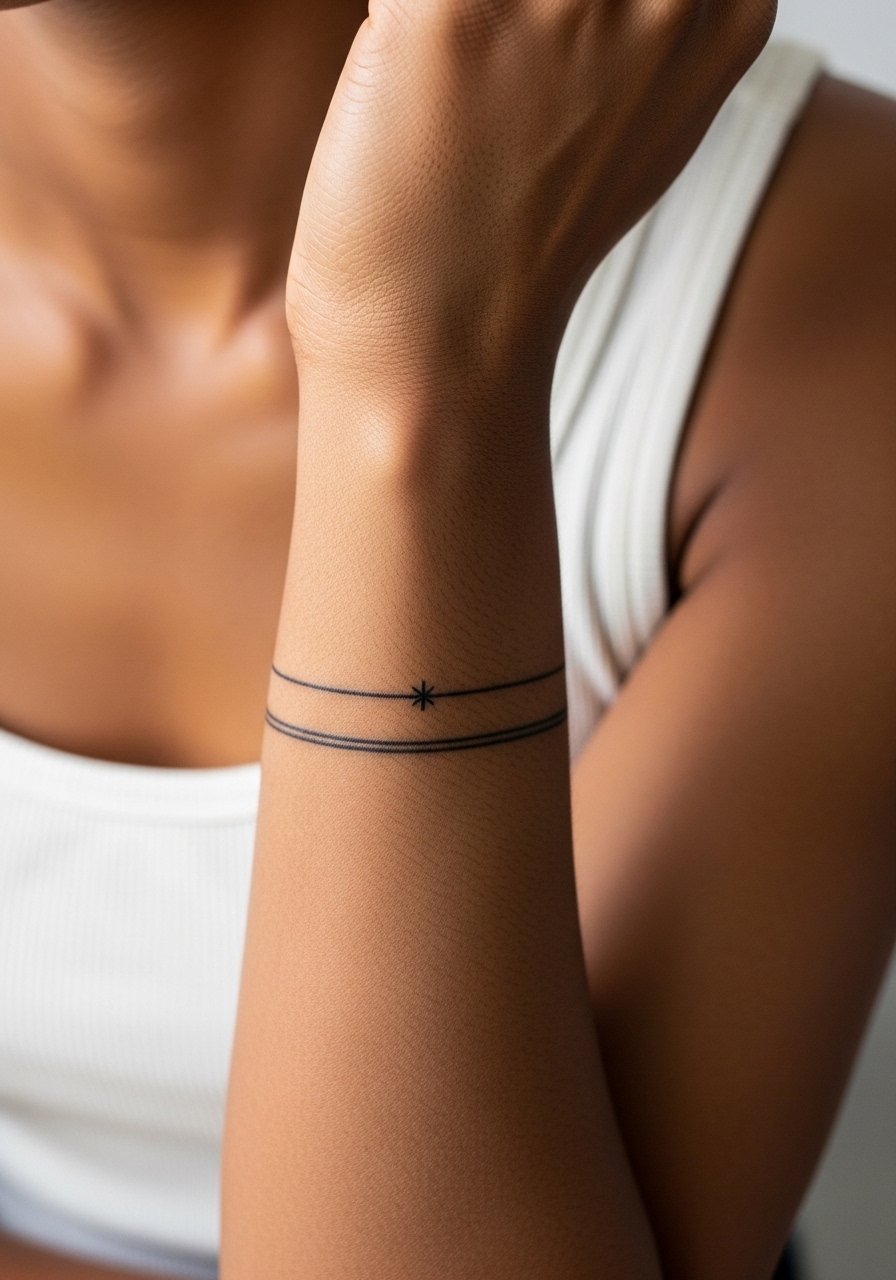
9. Piccolo armband pattern on the upper arm

An armband gives a subtle nod to the armor patterns without shouting fandom. For a wrap that ages well choose solid shapes instead of tiny decorative filigree, because fine decorative work in a 2-inch band can melt into blotches over time. The upper arm is forgiving and rates low on blowout risk when done with even spacing. Expect two shorter sessions if the band is wide and fully saturated. During consultation say you want crisp negative space between repeats and ask about stretch lines when you flex, especially if you lift weights frequently. Session wear is a sleeveless top so the artist can position the band without shifting fabric.
10. Frieza final form horns silhouette on the shoulder blade
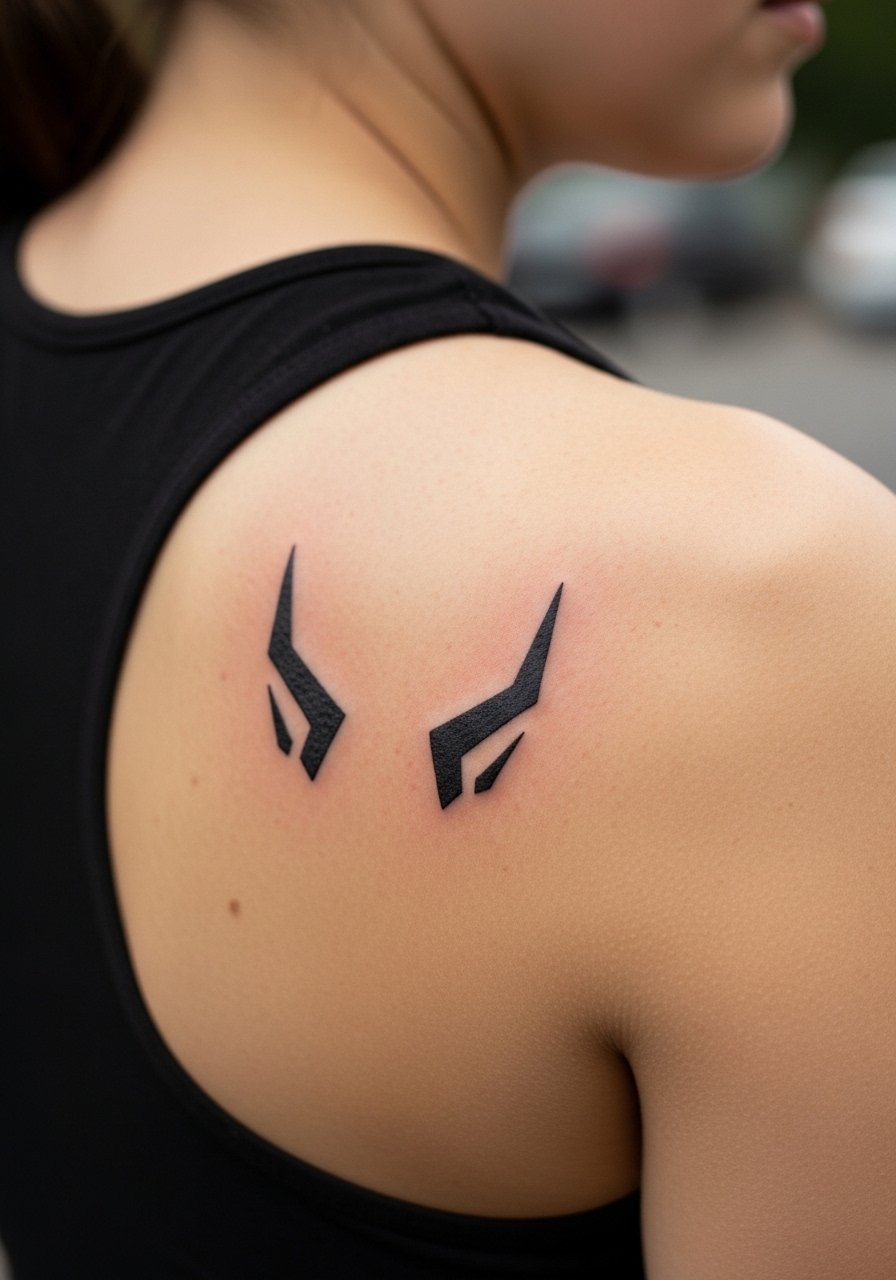
The shoulder blade is a forgiving canvas for a compact villain silhouette, and an angular silhouette reads well at two to three inches. The most common mistake is overfilling with black on a curved area which can look heavy when the shoulder moves. Ask for a slightly tapered silhouette that follows the scapula line so it looks balanced when you wear racerbacks or open-back tops. The session is usually a single quick sitting and pain is moderate. For evenings out pair with a racerback tank so the silhouette sits cleanly beneath the fabric line.
11. Saiyan tail curl as an ankle wrap
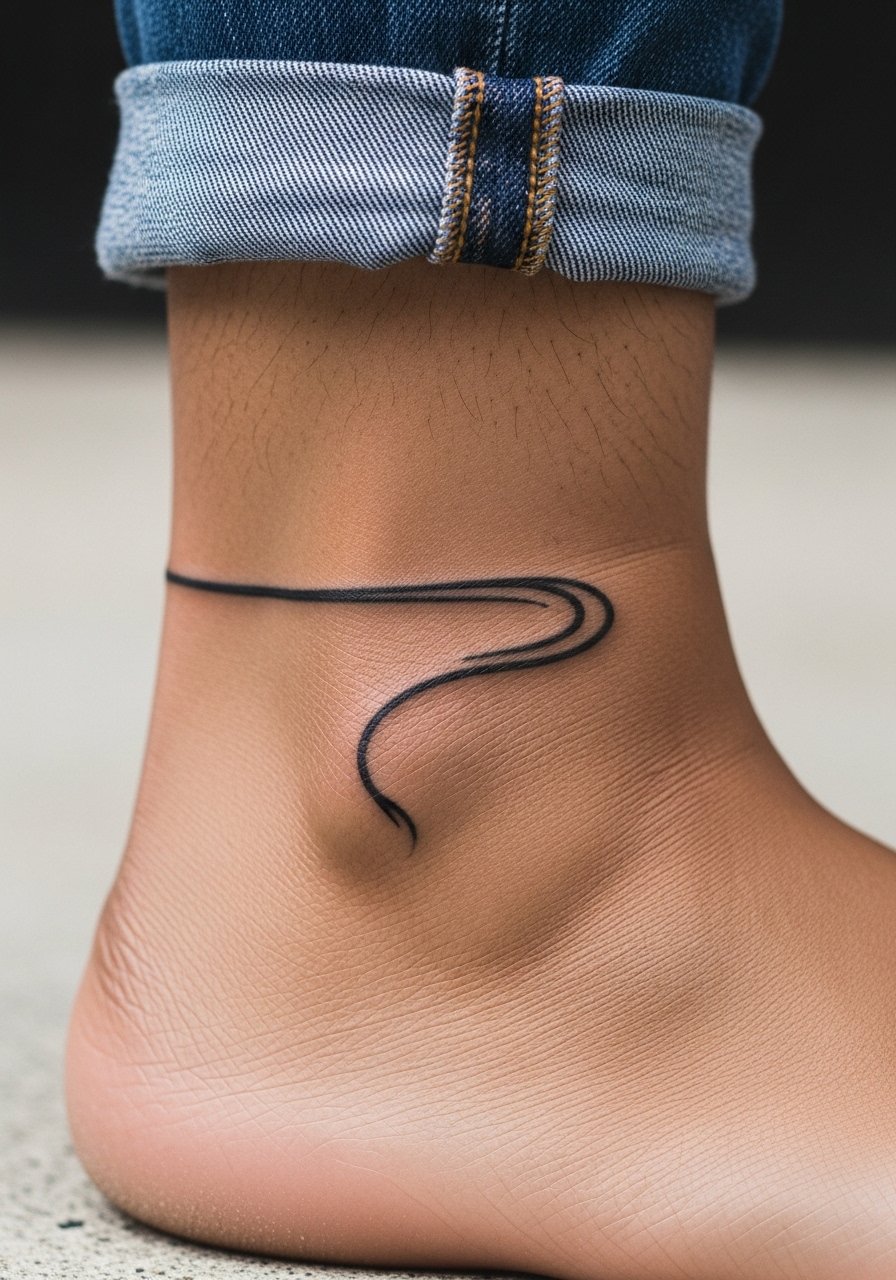
Ankle wraps are playful and work well with curved organic lines. The ankle sees a lot of motion and contact with socks or shoe collars, so ask for a slightly thicker contour than the thinnest Pinterest reference. A typical session is quick and pain is low to medium. Avoid placing the design under points of recurring friction where shoes rub, or it will fade faster. For show-off outfits consider cuffed slim chinos and no-show socks. During the appointment wear loose joggers so the artist can roll the leg up without tight fabric pressing on the area.
12. Cell core symbol on the inner bicep
Inner bicep work is intimate and can be surprisingly sensitive during the session. The area offers steady skin, which helps geometric motifs hold crisp edges, but heavy detail too small will lose clarity after a year. When you book ask for slightly wider negative space and a clean border so the symbol remains striking at six months and two years. Sessions can be 30 to 60 minutes, and the arm position may cause mild fatigue so plan for short breaks. If you work out a lot, discuss how muscle changes might affect long-term placement. This area is great for a personal symbol you do not want on constant public display.
13. UV Genki Dama orb on a finger
UV ink can create a hidden reveal for micro fandom pieces, but it behaves differently than black. UV pigments can be less saturated in daylight and may require periodic touch-ups, and they can be harder to photograph on darker skin tones. If you want a UV Genki Dama, pair a solid black outline with a small UV accent so the design reads in daylight and reveals under black light. Tell your artist you want the black line to be the primary readable element and the UV as an extra layer. The finger placement still faces heavy wear, so expect touch-ups sooner than an ankle piece.
14. Capsule Corp cuff on the inner wrist
A cuff-style brand stamp fits the inner wrist nicely when kept compact. Because the wrist flexes and the skin is thin, avoid ultra-fine filigree inside the cuff. I usually advise a clear border line and open inner space to prevent the cuff from looking solid after a couple of years. The session is short and many shops will treat this as a small custom flash. For the appointment wear a sleeveless tank so the artist has unobstructed access, and for everyday wear a thin silver chain on the opposite wrist balances the look; try a thin silver chain bracelet.
15. Krillin six-dot cluster on the nape of the neck

A simple cluster of dots referencing a character mark is subtle and carries personal meaning without being literal. The nape can be sensitive and requires careful stencil placement because of hairline and clothing friction. Ask your artist to position the cluster low enough that your collar or shirt collars do not rub it repeatedly. The piece is quick, and pain varies by person. If you have long hair, plan to pin it up for the session and during the first week while scabbing completes.
16. Patchwork micro panels on the outer forearm
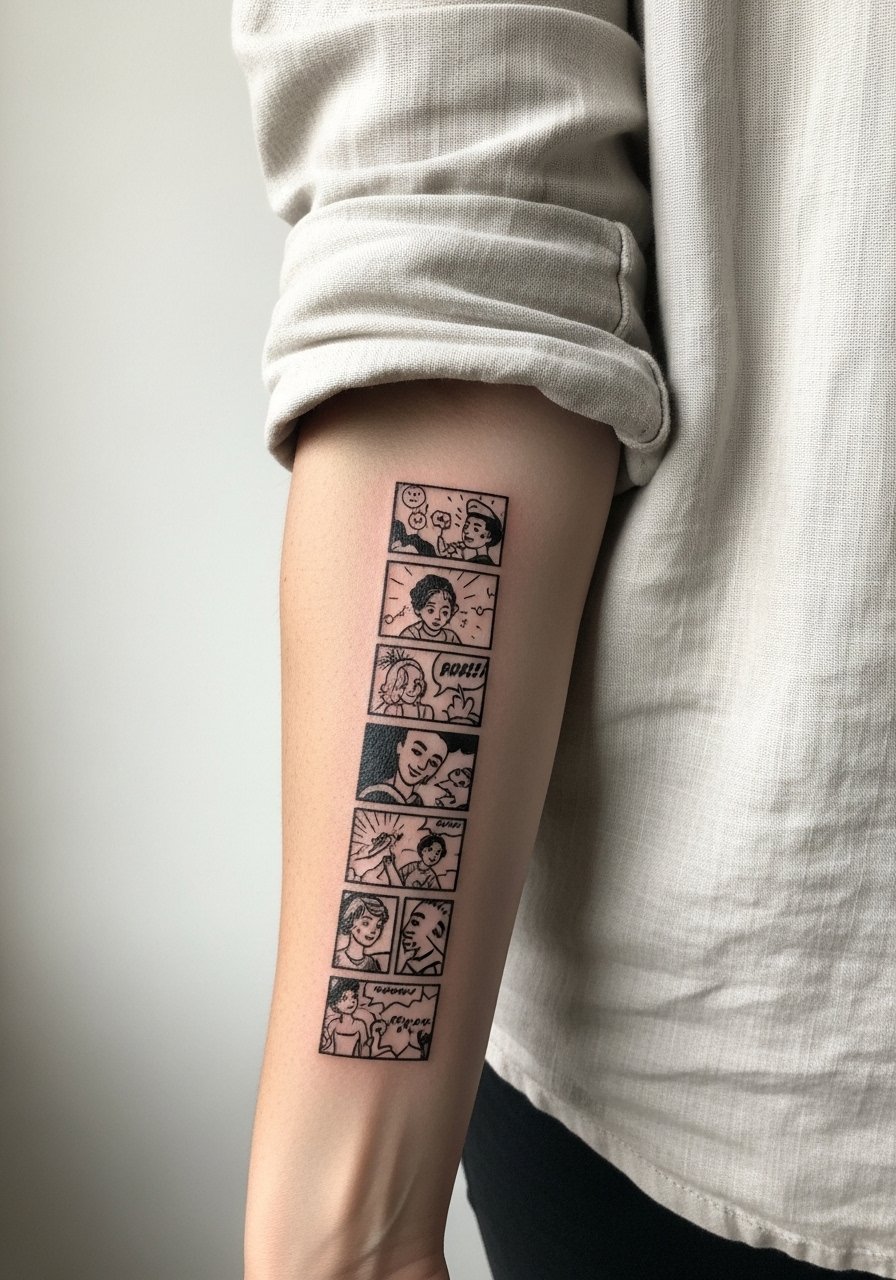
Patchwork micro panels let you pack several tiny DBZ moments into a readable strip. The outer forearm is forgiving and lets each panel breathe. A common mistake is making each panel too small and over-detailed; keep each panel to at least one square inch to preserve crispness at year two. Plan the layout in a single consultation and confirm spacing so future additions can slot in. Sessions usually break into multiple short sittings. For show-off and session ease, wear a rolled cuff chambray shirt so the artist can expose the forearm cleanly during work and you can reveal panels later.
17. Tiny Dragon Radar chevron on the shoulder cap
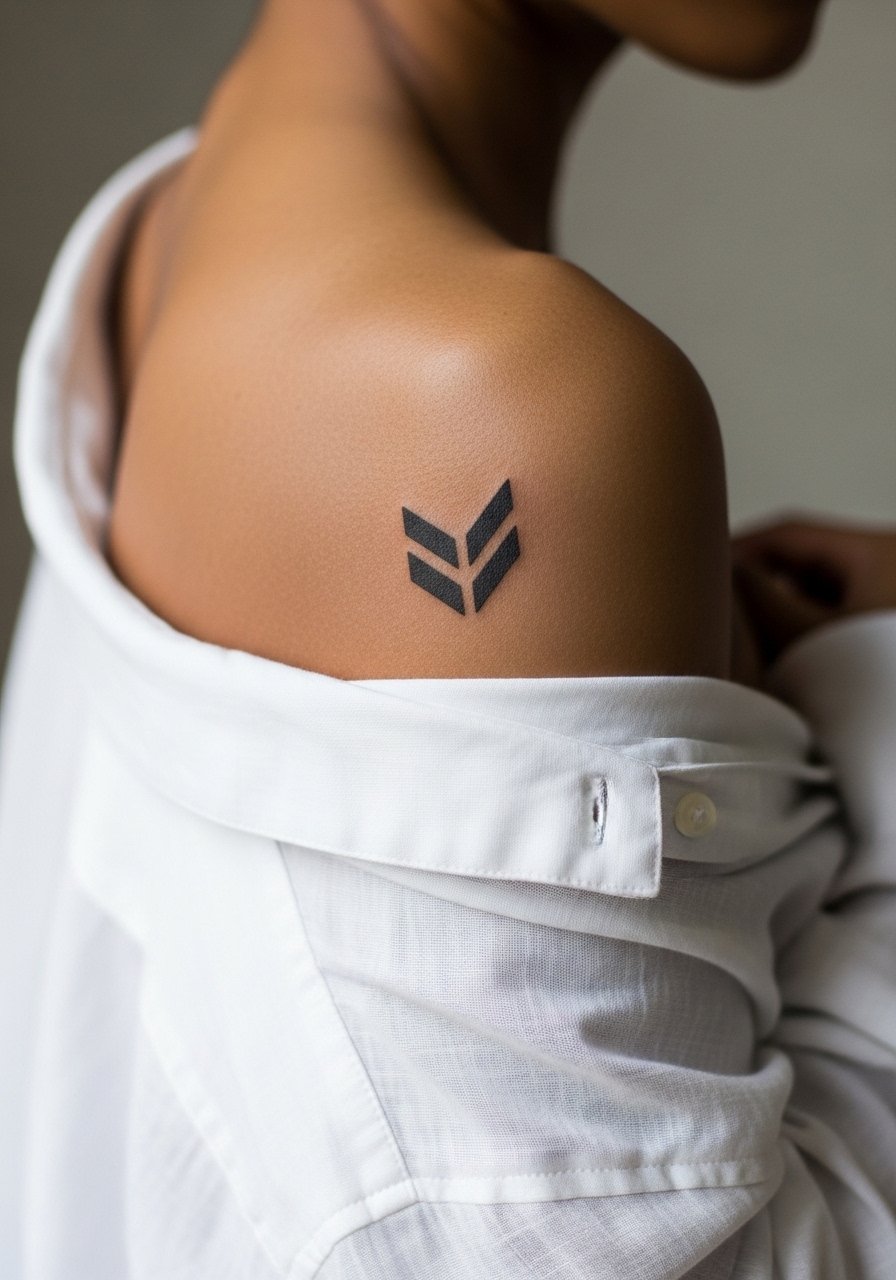
A miniature Dragon Radar chevron sits well on the shoulder cap and can act as a subtle marker on tank-top days. Because the shoulder moves often, avoid dense internal details. Keep the chevron crisp with negative space and a clear angle so it reads from a distance. The session is brief and pain is typically low. During consultation ask about how the shape will sit when you wear tees with different sleeve cuts so you get the placement that shows where you want it.
Frequently Asked Questions
Q: Will fine line wrist tattoos fade faster than bold lines for mini DBZ pieces?
A: From what I have seen, ultra-fine lines on high-movement spots like the wrist tend to soften sooner than slightly bolder contours. If longevity matters, ask your artist to thicken the primary outline and keep inner details sparse. Expect a possible touch-up around year two to three.
Q: How do finger tattoos like the Genki Dama hold up on darker skin tones?
A: Finger work faces the same wear regardless of skin tone, but contrast plays a role in photos. For darker skin consider a stronger primary outline and minimal interior detail so the shape remains visible. Be honest about touch-up expectations because fingers almost always need refreshes.
Q: Is UV ink safe and visible on dark skin for a tiny DBZ reveal?
A: UV pigments behave differently across skin tones and may not glow as brightly on darker skin. A smart approach is to pair a solid black outline with a small UV highlight. That way you have daytime readability and a hidden reveal under black light.
Q: What should I wear to a ribcage or collarbone session to make the appointment smoother?
A: For collarbone pieces bring a wide-neck or off-shoulder top you can pull slightly aside so only the treatment area is exposed. For ribs wear a cropped athletic top or a zip hoodie you can lift to reveal the side. If you need a specific suggestion try a loose button down shirt for shoulder and upper chest access.
Q: How often should I plan touch-ups for ankle and finger minis?
A: Plan for a likely touch-up between 12 and 24 months for ankle and fingers because of friction and washing. The exact timing depends on your activities and how thick the original contour was. Budget one short session rather than expecting lifetime permanence without maintenance.
Q: Should I choose fine line or subtle bold work for a forearm Shenron coil?
A: Both work, but consider lifestyle. Fine line emphasizes detail and looks delicate at first. A slightly stronger contour with inner stipple will endure more predictably. Discuss the trade-offs with the artist and ask for healed photos of similar placements before deciding.
