
Fine line work is everywhere online right now, and the outer forearm is where small, clean tattoos read best over time. Go too tiny or pick the wrong spacing and the design will blur into a smudge, but get the composition, line weight, and placement right and the piece looks deliberate for years. Below are 17 compact outer forearm ideas that hold up, what to ask for in consultation, and how to wear them.
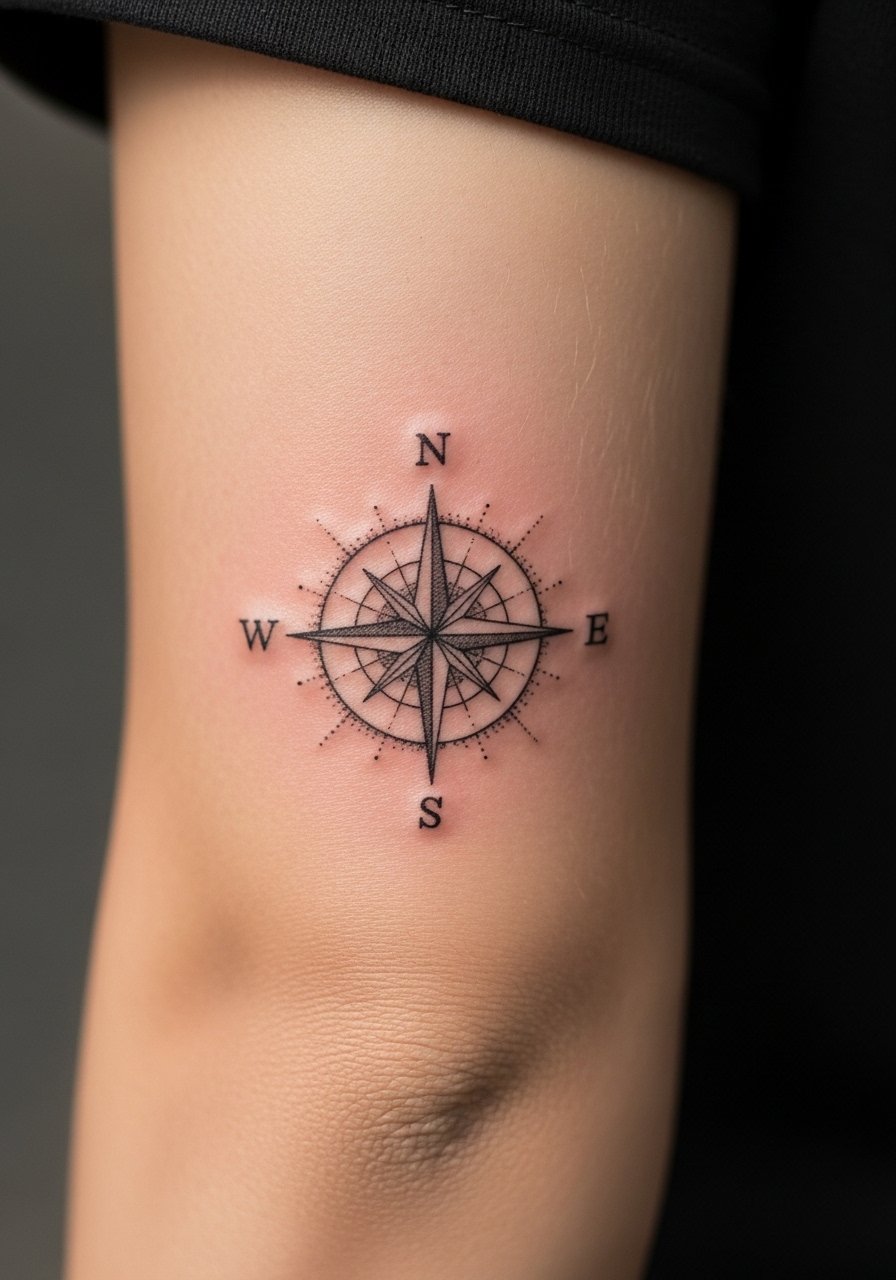
1. Fine-Line Compass on Outer Forearm
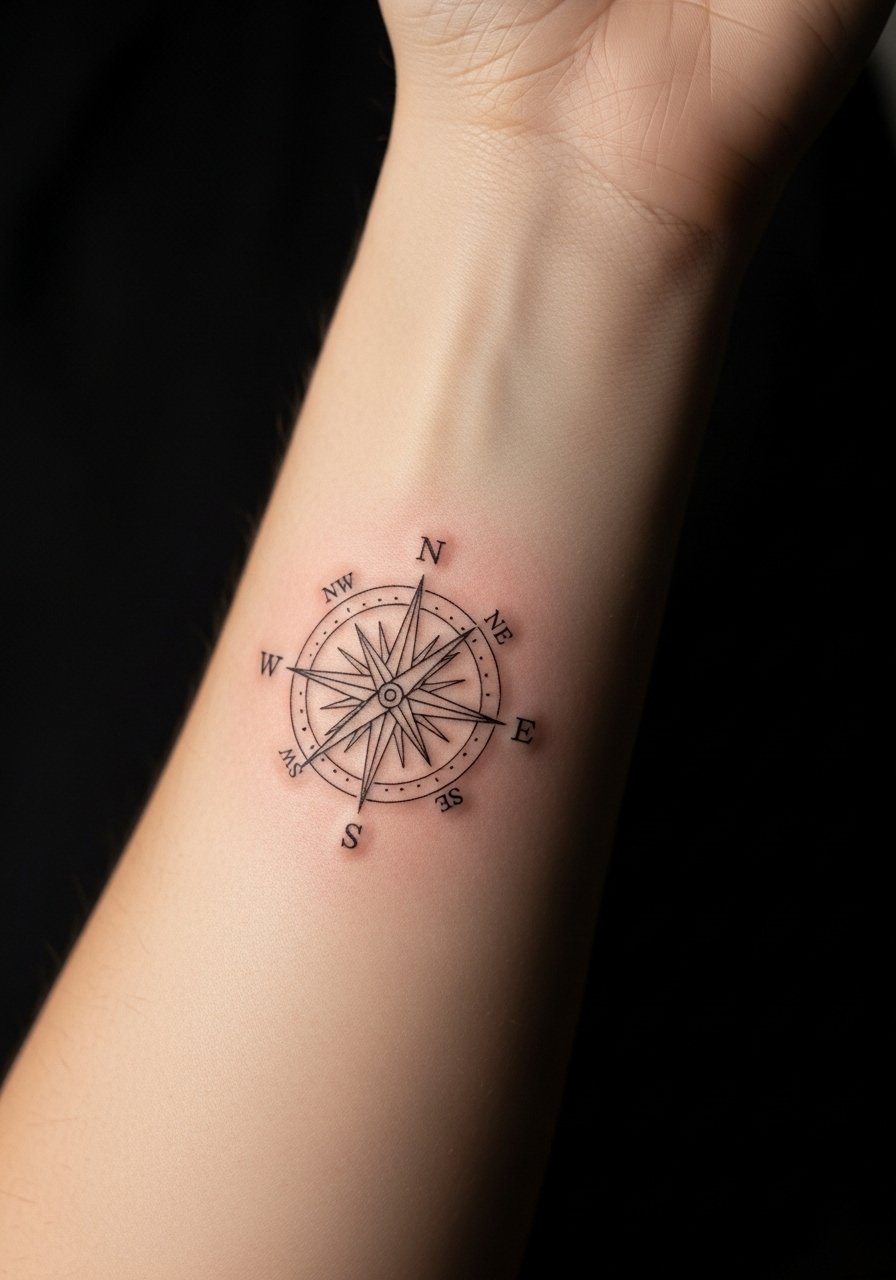
I’ve seen tiny compasses age well because they rely on clear negative space around the points. Ask your artist to leave breathing room between the needle and the outer circle during the consultation so the lines do not crowd each other as they settle. Pain is low to moderate and most sessions finish in under an hour. Common mistakes include cramming extra symbols into the compass and choosing needle work that is too thin. For showing it off, roll sleeves up and wear a loose button-down shirt to frame the design without distraction.
2. Micro-Realism Pocket Watch

Fair warning, micro-realism asks for tight contrast and steady depth, and on the forearm that means a slightly bolder line than you might expect. The session can take 60 to 90 minutes depending on dial detail. Tell your artist you want the numbers legible at arm’s length, not microscopic, and insist on reference photos that show the needle thickness you prefer. Blowout risk is low on the outer forearm, but tiny details can soften by year three. For weekend outfits pair the watch with a minimalist leather strap watch so the arm reads intentional, not accidental.
3. Single-Needle Arrow
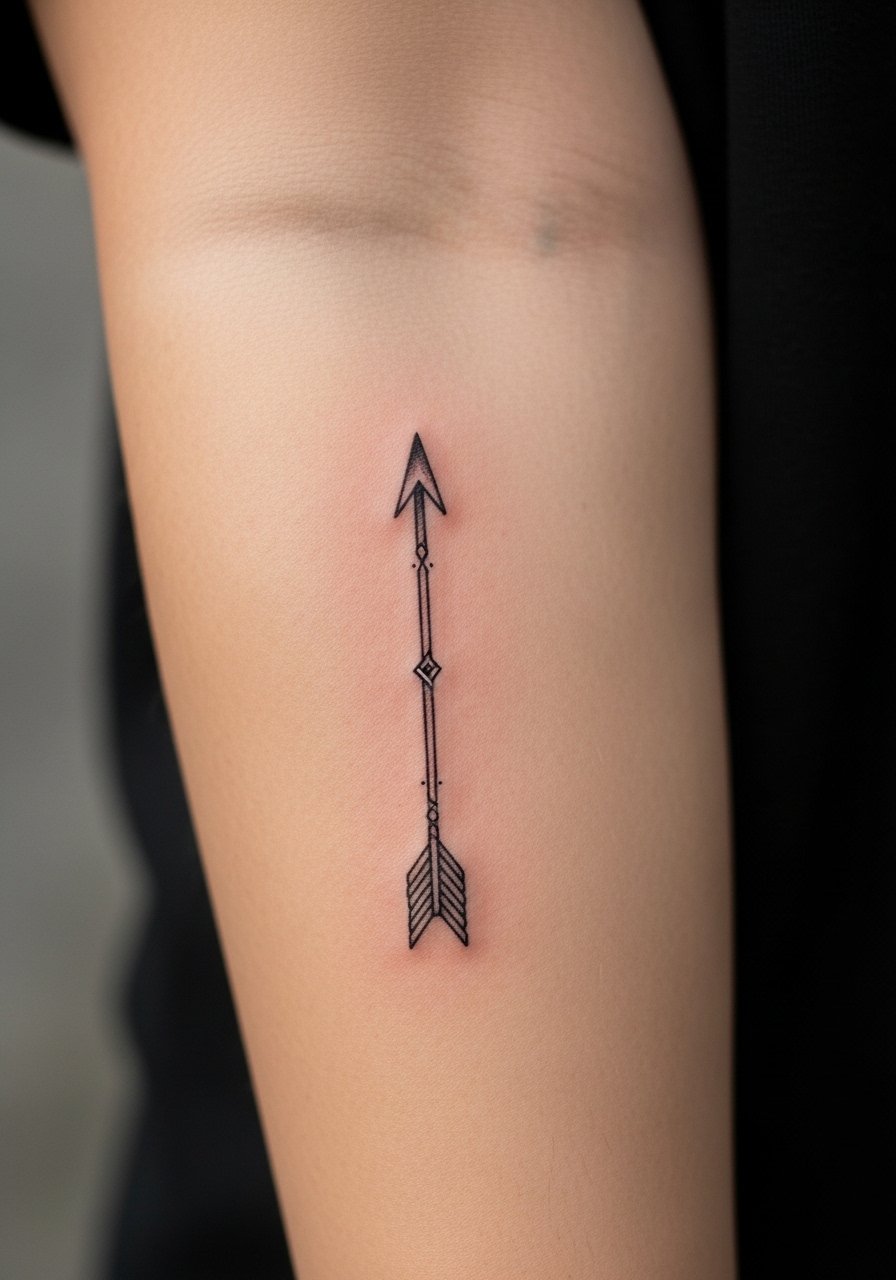
Most single-needle arrows look crisp at six months and then soften if spacing is too tight. The key detail is how the shaft meets the fletching. Ask for slightly larger negative gaps in the feathering so the silhouette stays readable at year two and beyond. Pain is low and session time is usually under 30 minutes. A common mistake is requesting hairline points that the skin cannot hold long term. Expect a touch-up at year two for the fine points. Wear rolled sleeves or a short-sleeve henley to show the piece without covering it.
4. Minimalist Mountain Range

There is something about a low-saturation, single-stroke mountain range that reads like an intentional mark rather than a trend. Most people take about 45 minutes for this piece. During the consult say you want the highest peaks spaced at least four millimeters apart so the ridgelines do not merge over time. The outer forearm handles thin outlines well, but denser shading in valley areas will age faster. A styling note is to wear a rolled-sleeve linen shirt in neutral tones to keep attention on the crisp horizon.
5. Tiny Geometric Arrow Cluster
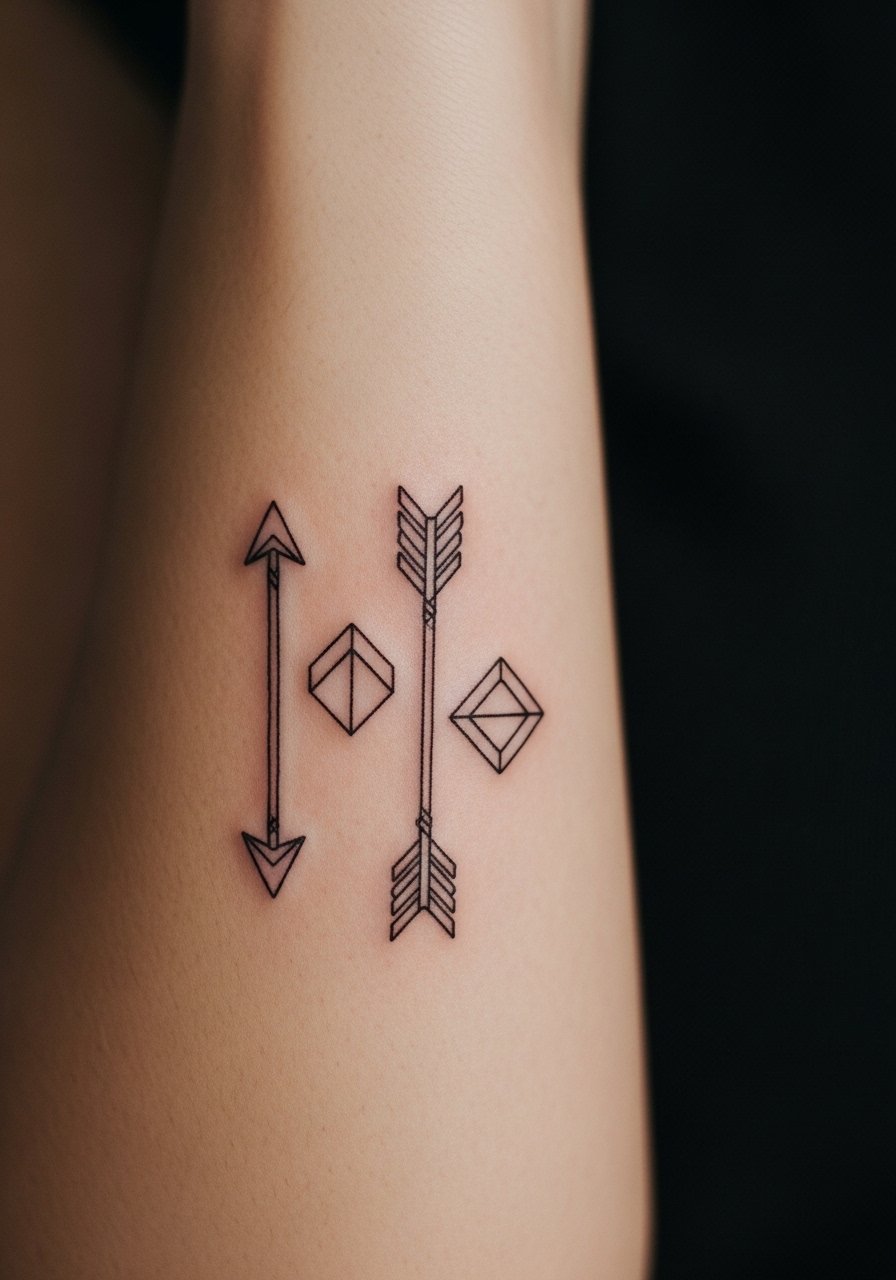
The biggest mistake with clustered geometrics is going too small. Artists split into two camps here. One camp says tiny geometry always blurs if lines are under a threshold. The other camp argues that with correct depth and spacing, small clusters hold. Name both camps in your consultation, then ask how the artist spaces lines. Expect 45 to 75 minutes and plan for a touch-up around year three if you choose the denser layout. For everyday wear the piece pairs well with a thin chain bracelet that does not cover the cluster.
6. Scripted Single Word
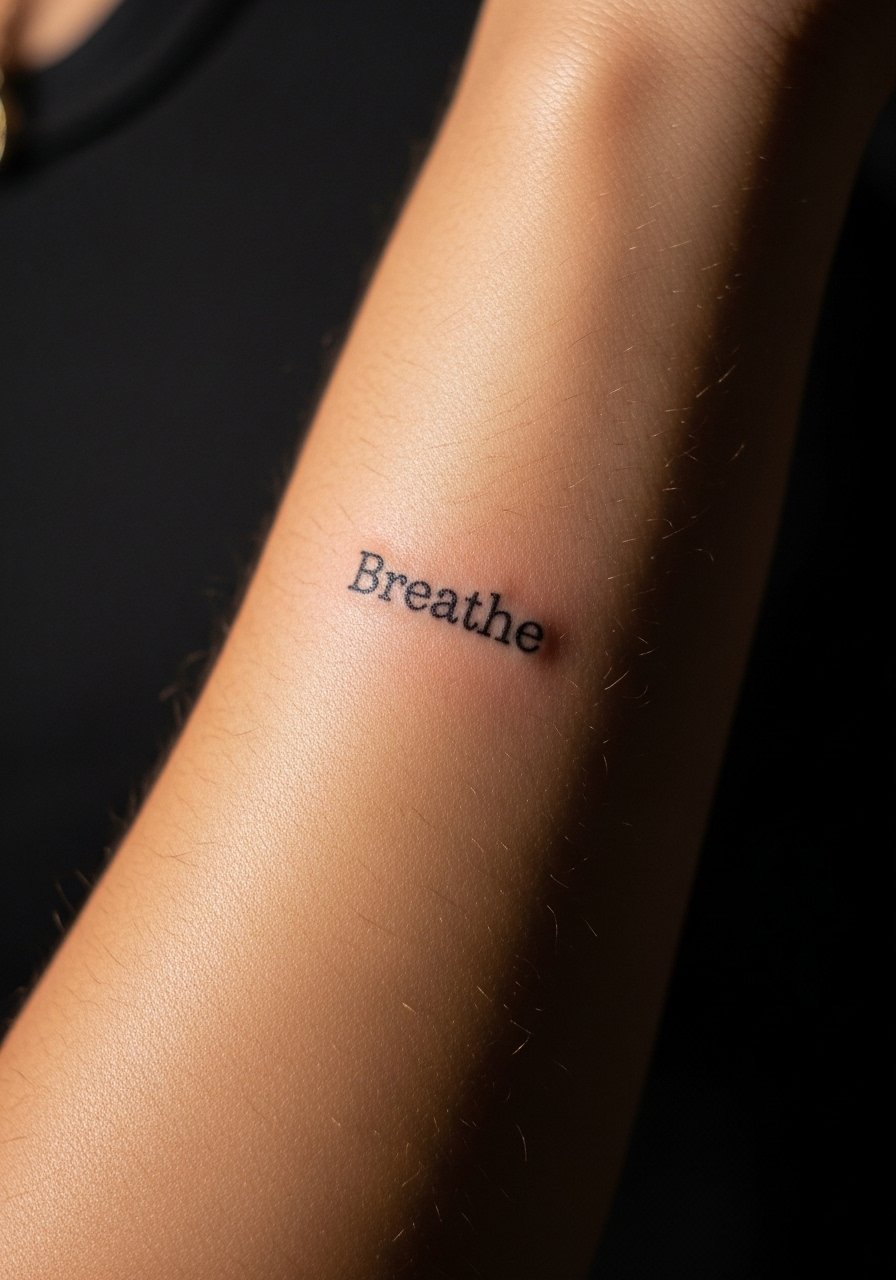
When you want a word that stays legible for years, ask for slightly heavier downstrokes and open counters in the letters. The outer forearm is forgiving, but cursive with connected letters tends to merge if written too tightly. The session is usually quick, under 30 minutes, and pain is low. Tell your artist the exact font weight and spacing you want, and bring printouts at actual size. To show it off without competing pieces, wear a minimalist pendant necklace that sits above the forearm line.
Studio Day Picks
The compact symbols and scripts above heal differently from dense blackwork, so a few targeted items smooth the session and the first week.
-
Stencil transfer paper kit. Lets you see the line placement on skin before the needle hits, helpful for precise compass and script work above.
-
Topical numbing cream. Use per the instructions to ease wrist-adjacent sensitivity during short, focused sessions.
-
Thin protective film roll. Shields outer forearm pieces from friction while you sleep and keeps the linework clean in the first days.
-
Fragrance-free gentle body wash. A soap that rinses without stripping oils helps fine lines settle evenly in the early healing window.
-
Aquaphor healing ointment. Thin layers for the first few days keep the skin supple around micro-realism and fine line work without clogging.
7. Tiny Blackwork Triangle Stack
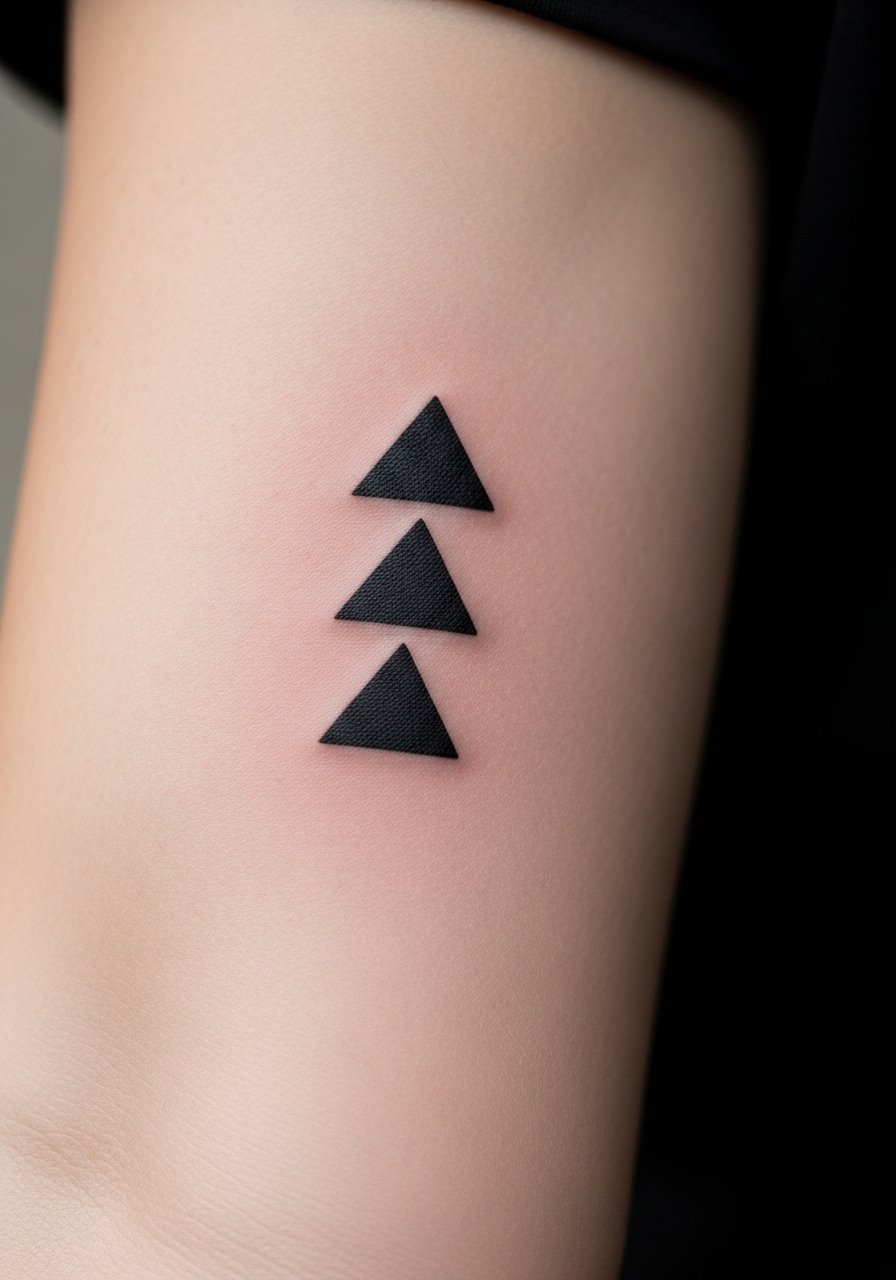
Artists split on how bold small black fills should be on the forearm. One group argues dense black holds and ages into a clean silhouette. The other group warns that over-saturated tiny fills can create a fish-eye look as the skin moves. I recommend medium saturation and slightly larger negative gaps between stacks. The session is short but can sting a bit more because saturation asks for repeated passes. For an evening outfit the stack pops with a minimalist cuff bracelet that sits below the tattoo without overlapping.
8. Single Needle Laurel Branch
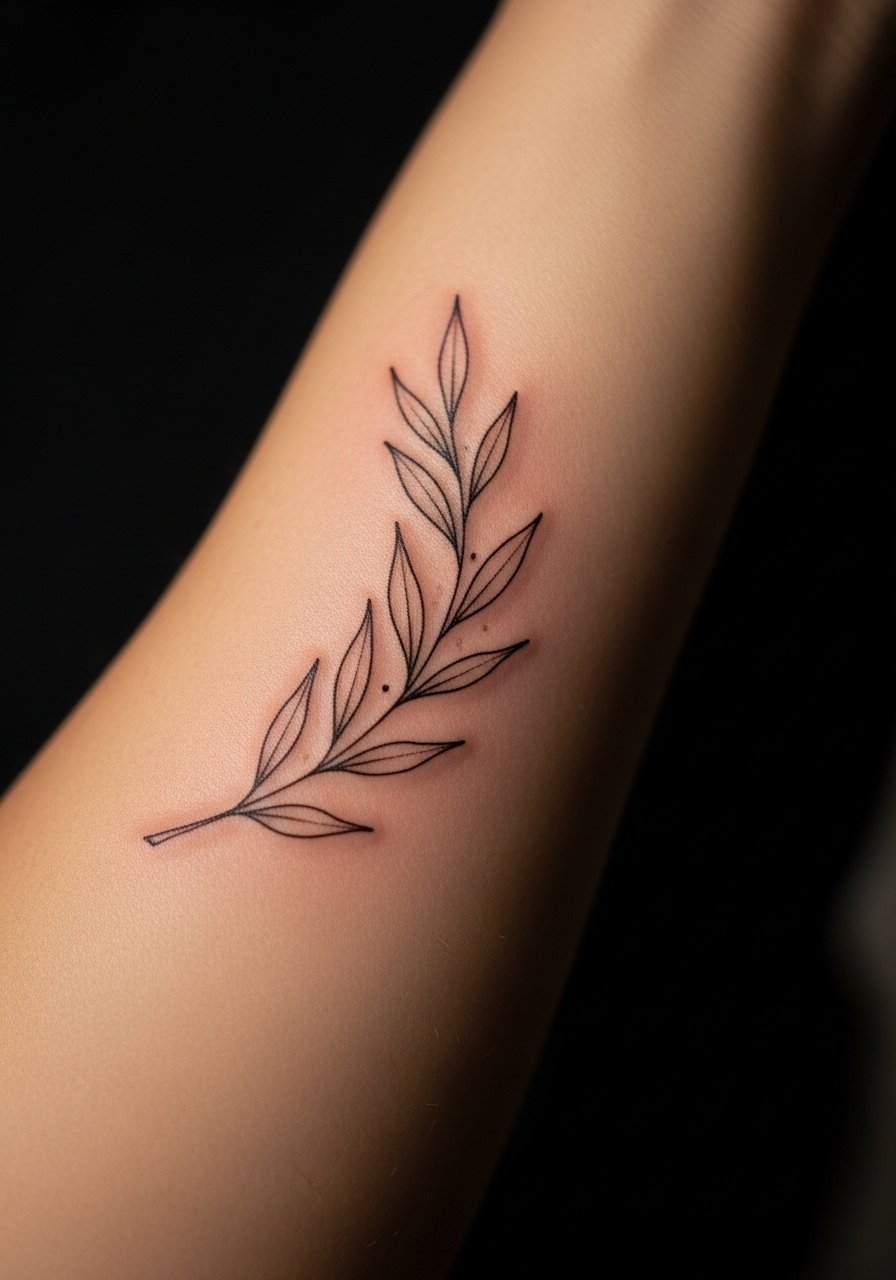
This placement favors the curve of the forearm and looks like it was made to sit there. Tell your artist you want alternating leaf spacing and slightly heavier stems so the wreath still reads at arm's length after two years. Pain is low and most sessions finish in 30 to 45 minutes. A common error is asking for ultra-fine leaves without enough negative space between them. For casual wear pair the laurel with a rolled-sleeve oxford shirt so the pattern is visible when you move.
9. Micro-Dot Solar System
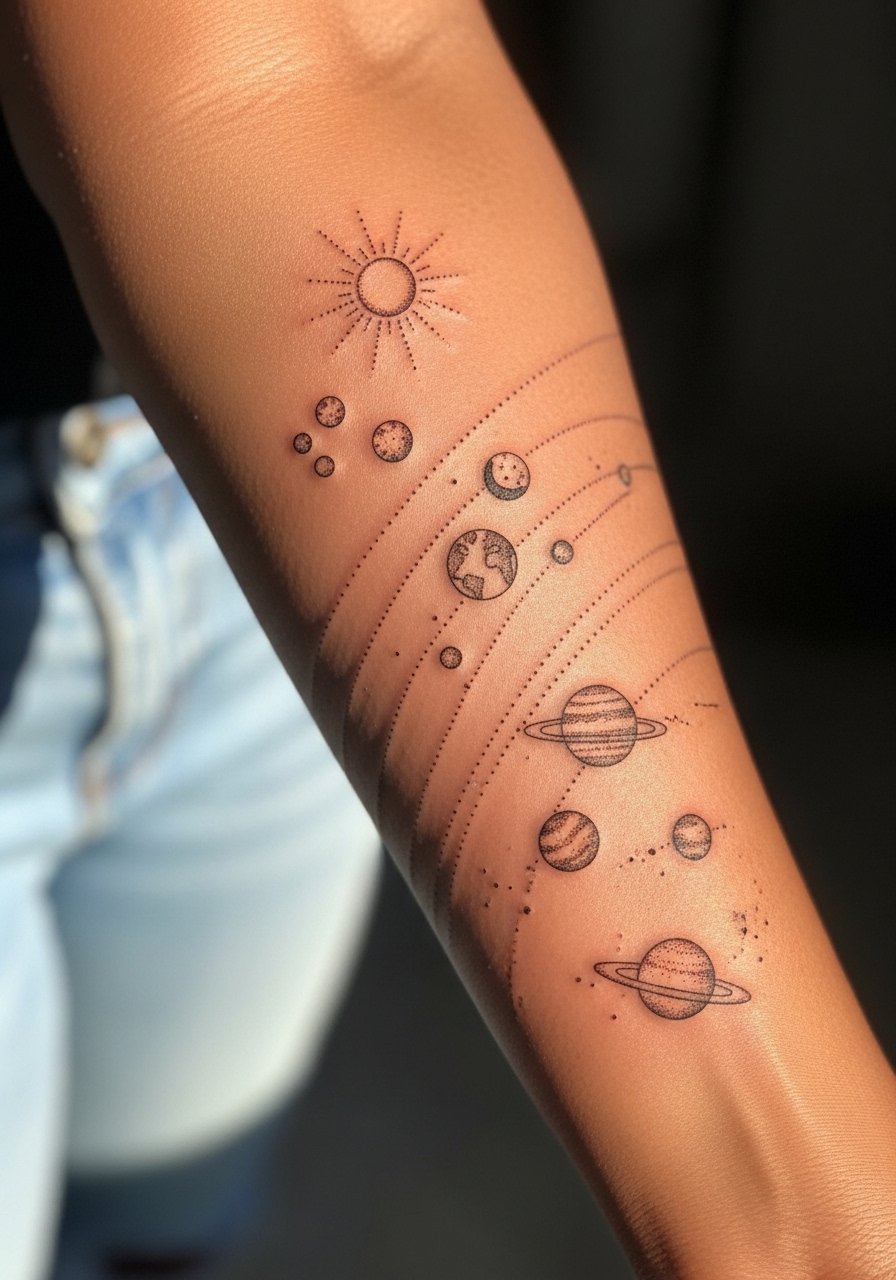
I've seen dot work age predictably when the dots are spaced to allow for skin migration. During the consult specify minimum dot diameters and larger orbit spacing to avoid merging. Expect 60 to 90 minutes depending on how many planets you want. A realistic touch-up timeline is two to four years for dense clusters. For a clean kit approach, wear a short-sleeve crewneck tee so the orbits can read unobstructed.
10. Miniature Anchor Near Wrist
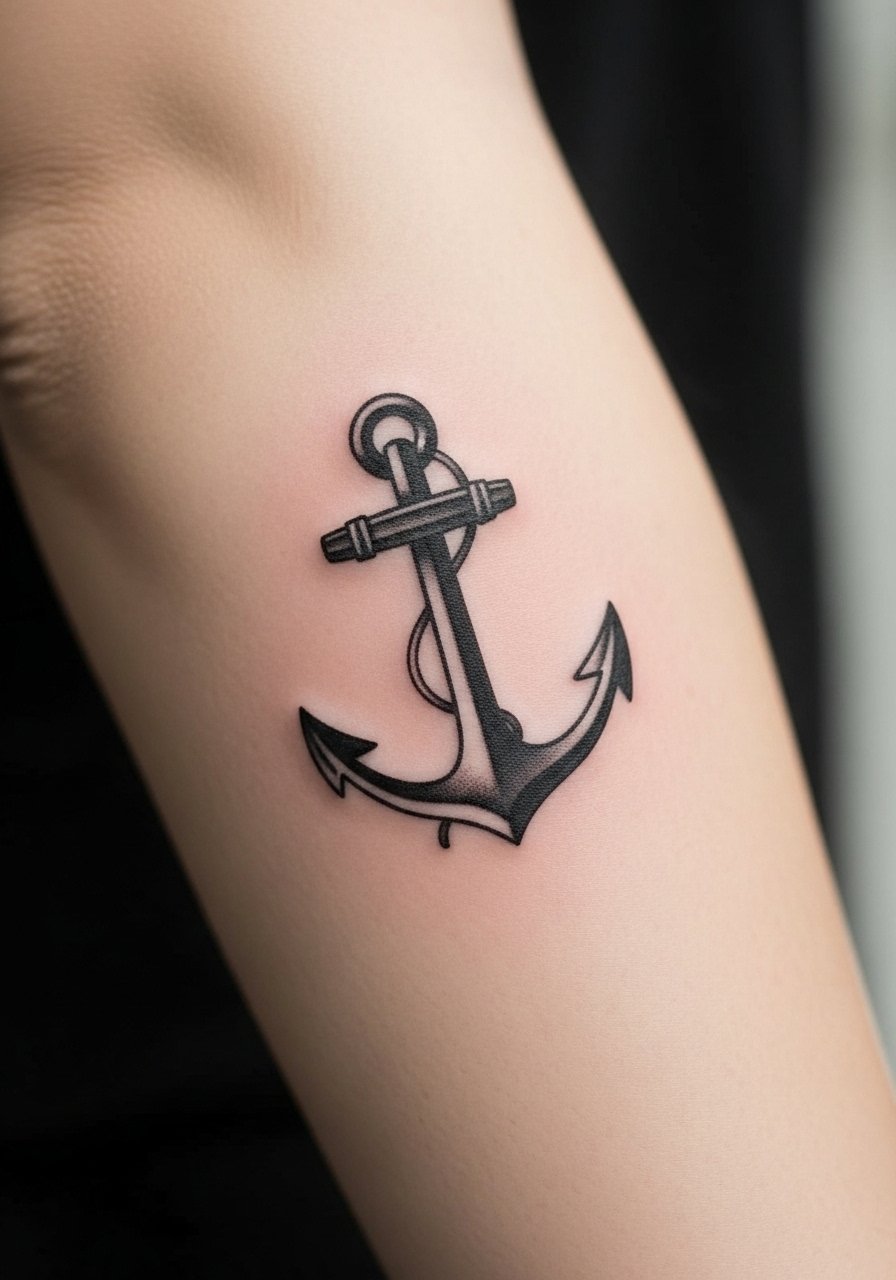
Fair warning, pieces near the wrist face more wash friction from handwashing and watches, so design slightly inward from the wrist line. The session is quick and pain is moderate because of tendon proximity. Ask for reinforced outer strokes and modest interior shaping so the anchor keeps its silhouette at year three. A common mistake is placing the design too close to the wrist crease. Wear a minimalist leather strap watch positioned to avoid direct contact with the tattoo during the first month.
11. Tiny Nautical Star

There is a visual impact to a small nautical star that reads from a distance thanks to bold negative space choices. The session is short and discomfort is low. Tell your artist you want solid corner points and a modest gap between inner angles so the star keeps its geometry years later. A mistake people make is requesting micro points that the skin cannot retain. Pair this piece with a rolled sleeve chambray shirt to let the star serve as an accent rather than the whole outfit.
12. Minimalist Wave Line
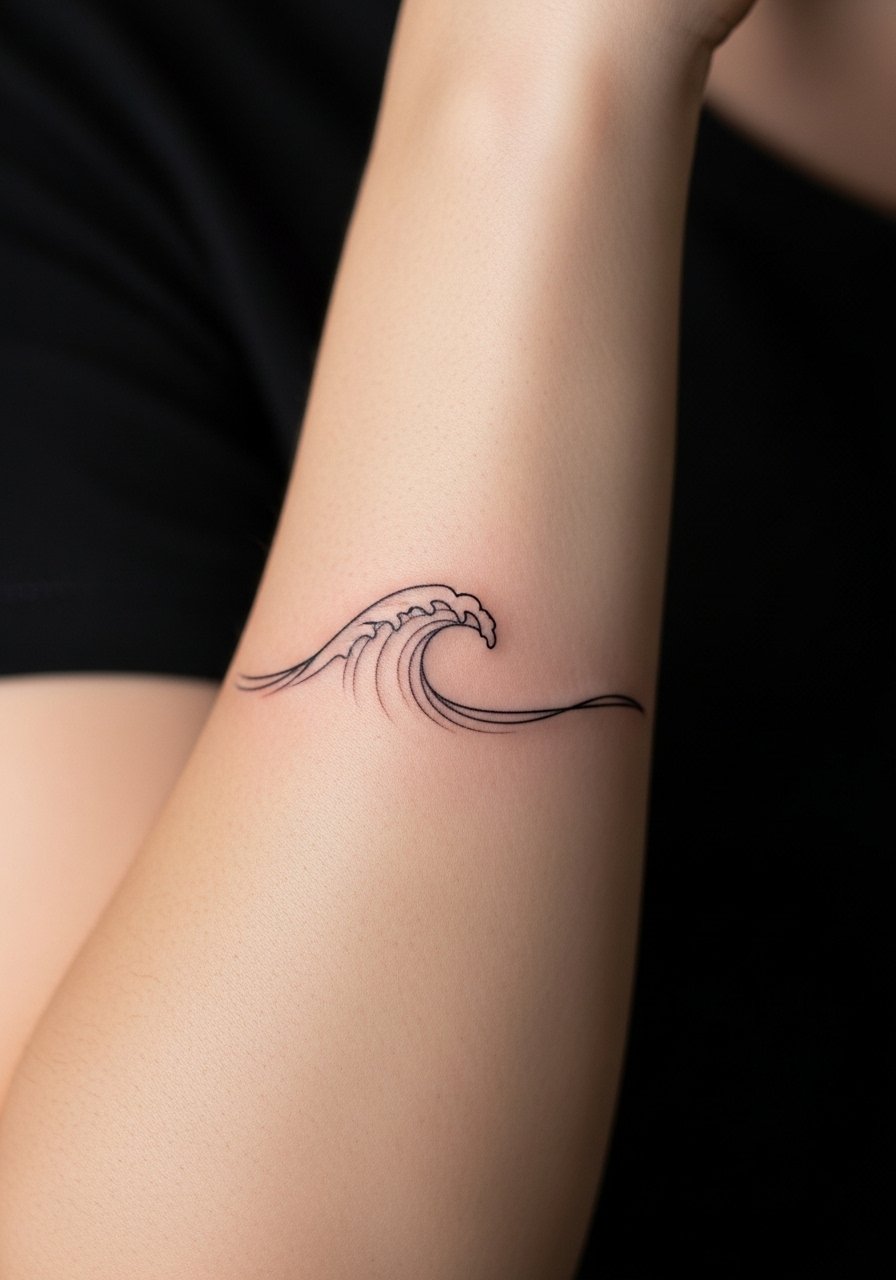
The outer forearm is ideal for a horizontal wave. Most sessions take 20 to 40 minutes. Ask for a slightly thicker primary stroke and thinner ancillary lines so the motion reads from across a room. The common error is making the wave too thin where the skin movement causes breaks in continuity. Expect a small touch-up in a few years if you like the very thin variants. For a weekend look wear a loose tank top to keep the arm exposed without fuss.
13. Tiny Botanical Sprig
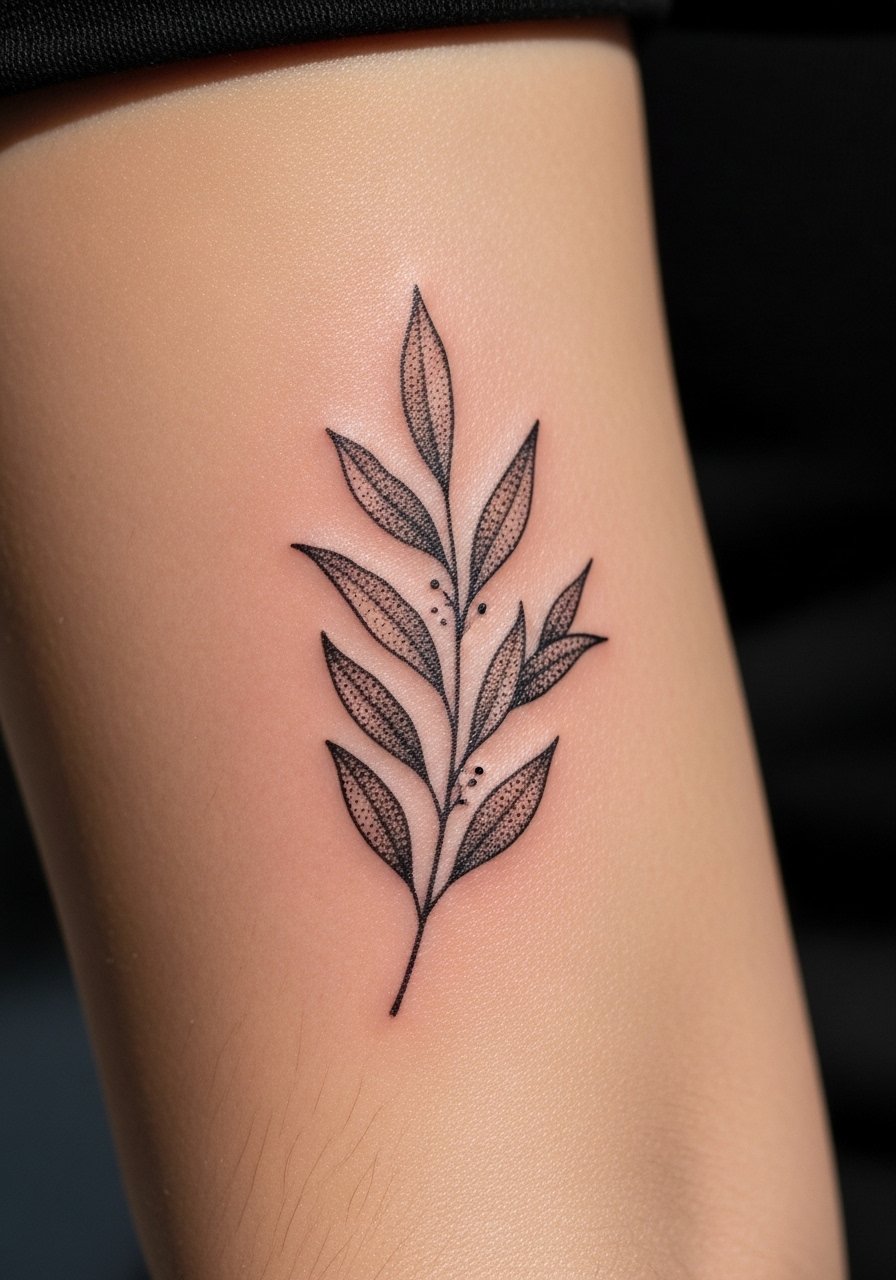
The stipple shading gives a soft texture that ages differently than solid black. The session can take 45 to 75 minutes depending on leaf count. In consultation ask for separated stipple clusters rather than continuous dots so the shading does not pool into a single tone over time. A mistake is asking for very dense stippling in a compact area. For a clean aesthetic pair the sprig with a thin ring set that keeps attention on the forearm without competing.
14. Mini Anchor-Locked Key
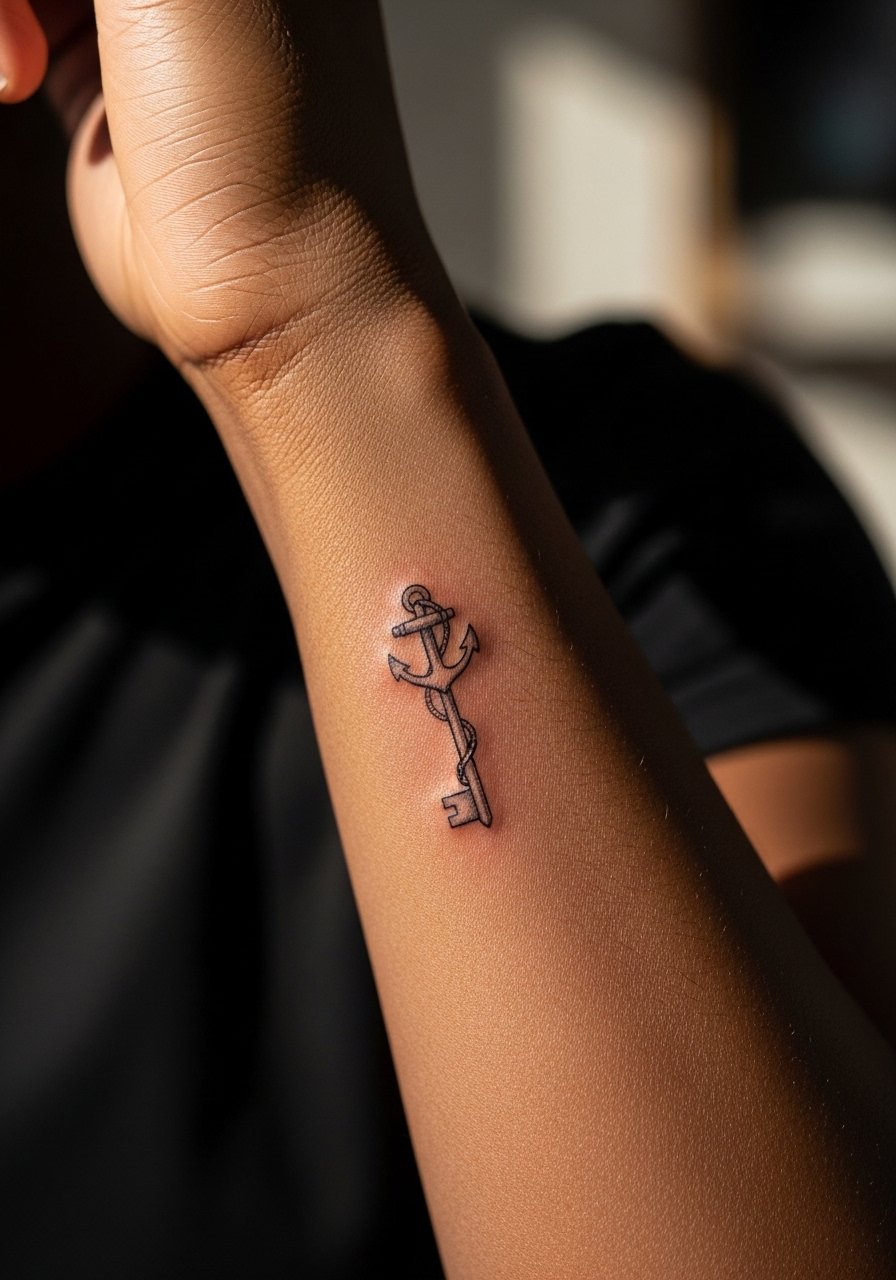
This one looks custom but reads small. When you sit down for the consult, show two clear references and ask the artist to combine elements into a single balanced silhouette. The outer forearm holds small hybrids well if the negative space between motifs is respected. Session time is about 60 minutes. A common mistake is wanting every tiny flourish included, which muddies the iconography. For understated evenings pair it with a button-up shirt with rolled sleeves.
15. Micro-Barcode Band

Bar codes split artists into camps. One camp says tight parallel bars hold if ink depth is consistent. The other camp warns that repetitive parallel lines can blur into an indistinct block as the skin ages. If you want the barcode aesthetic, ask the artist to space bars slightly wider than in a digital mock-up. Session time is short, but precision matters. A practical tip is to avoid wearing tight wristbands that compress the area for the first month. Show this with a minimalist silicone wristband that sits below the tattoo.
16. Tiny Compass Rose Close to Elbow
For designs placed higher on the outer forearm, mention how the piece will read when the arm is bent and extended. During consultation say you want the main points oriented so the compass reads upright when your arm hangs naturally. Expect moderate discomfort near the elbow crease and a session under an hour. A styling tip for casual layers is a lightweight bomber jacket you can roll or pull back to reveal the upper forearm when you want to show the piece.
17. Micro-Chain Link
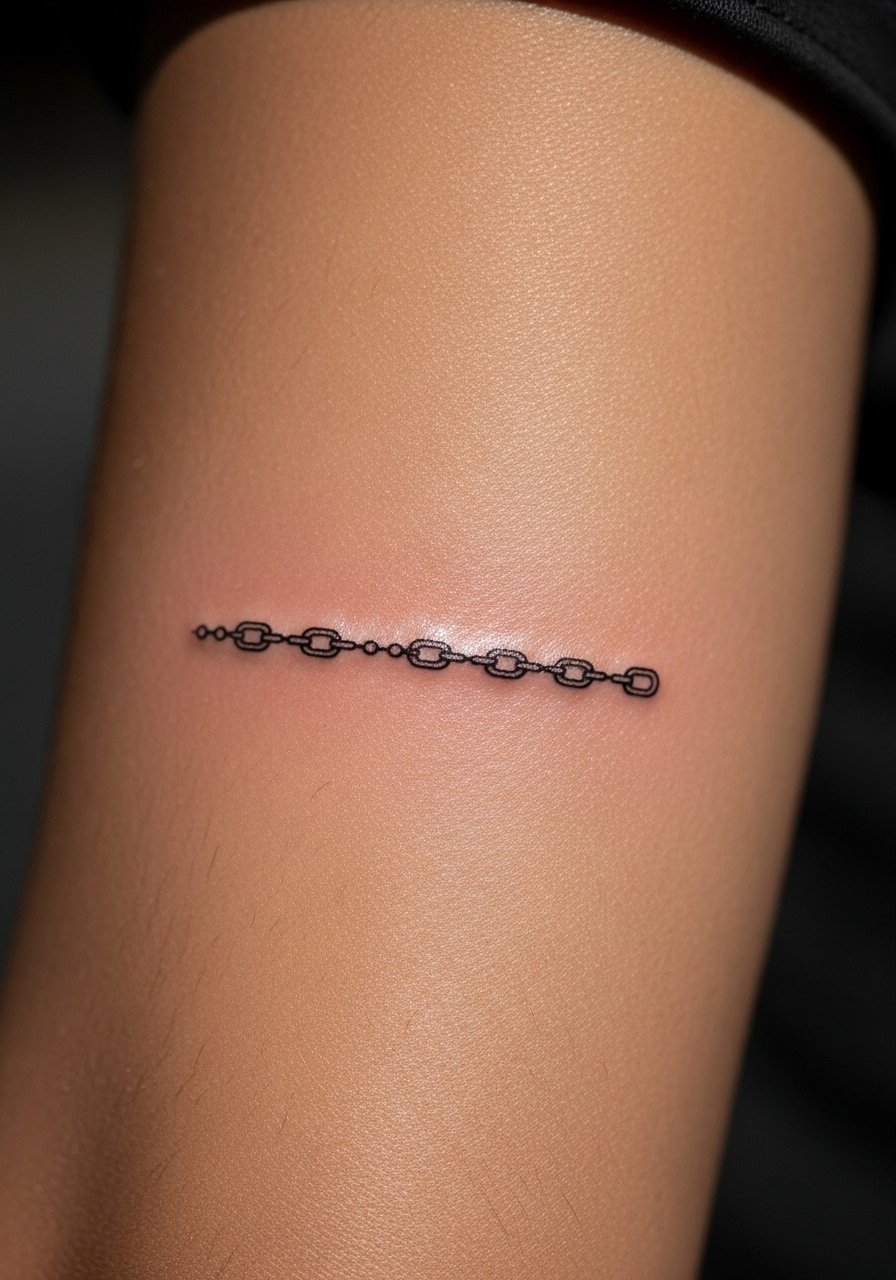
I’ve seen small chain motifs read as subtle bands when the links have slight spacing and modest line weight. Tell your artist you prefer airy links that maintain separation over time rather than tightly interlocked links that risk merging. Sessions are typically 30 to 45 minutes and pain is low. A common oversight is picking line weights that are too thin for repetitive patterning. For daily wear this pairs neatly with a thin leather bracelet that sits beside the design without rubbing it.
Frequently Asked Questions
Q: Will fine line forearm tattoos blur faster than bolder styles on the outer forearm?
A: In my experience fine line tattoos are more sensitive to spacing and ink depth. Bolder lines hide minor skin migration better. If you love fine line, prioritize spacing and slightly heavier downstrokes in the consultation so the piece reads clean at year three.
Q: How should I dress for a forearm session to give the artist access and stay comfortable?
A: Wear a loose, short-sleeve top or a button-down you can pull aside. For longer sessions consider a loose button-down shirt so the artist can work without you feeling exposed. Comfort and easy access speed the appointment.
Q: Do tiny black fills need different touch-up timelines than line work on the outer forearm?
A: Yes. Tiny black fills often settle into a solid silhouette and may need touch-ups for edge crispness at year two to four depending on how saturated the original work was. Line work touch-ups typically focus on thin points and can come earlier if spacing was too tight.
Q: If I want a script word, what should I ask my artist to ensure legibility over time?
A: Ask for open counters and slightly broader downstrokes, and bring the exact font printed at the actual size. Ask the artist to test-print a stencil at life size so you can see how spacing looks on your arm before tattooing.
Q: How do I find an artist who does small clean forearm work without naming individual accounts?
A: Search local shop portfolios, check community hashtags for your city, and use tattoo directories that show healed photos. Look for healed shots of similar sizes. If you see multiple healed examples of the same technique, that artist likely understands longevity for compact pieces.
