
Fine line tattoos look effortless at first glance, but the choices you make before the needle matters more than the flash you screenshot. Trends push ever-finer lines and smaller details, and some of those choices show aging faster than people expect. Read these 21 minimal line ideas with notes on placement, longevity, and what to ask during the consultation so your piece still reads intentional years from now.
1. Fine Line Arrow on Inner Forearm
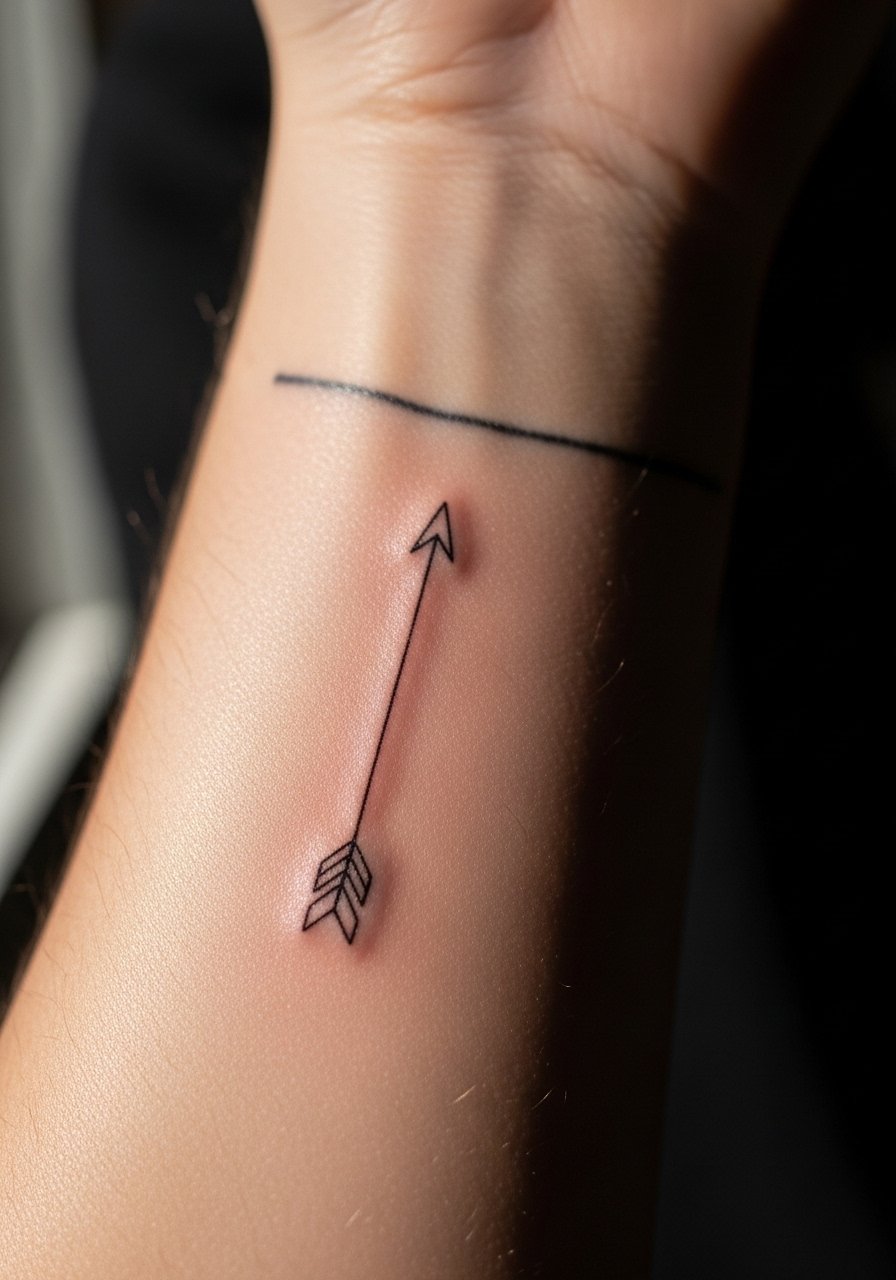
A narrow arrow along the inner forearm reads clean for years if the artist keeps the line weight steady and doesn't try to force hairline strokes too shallow. I often recommend this over a filled arrow when someone wants a subtle directional motif that will not merge into skin texture. Tell your artist you want consistent linework with a hairline weight that still reaches proper depth so it heals without patchy gaps. Expect low pain and a single short session. Common mistakes are asking for ultra-thin needles with no spacing, which increases blowout risk. For showing it off, rolled sleeves and a thin chain bracelet frame the forearm without crowding the linework.
2. Micro Script Along the Collarbone
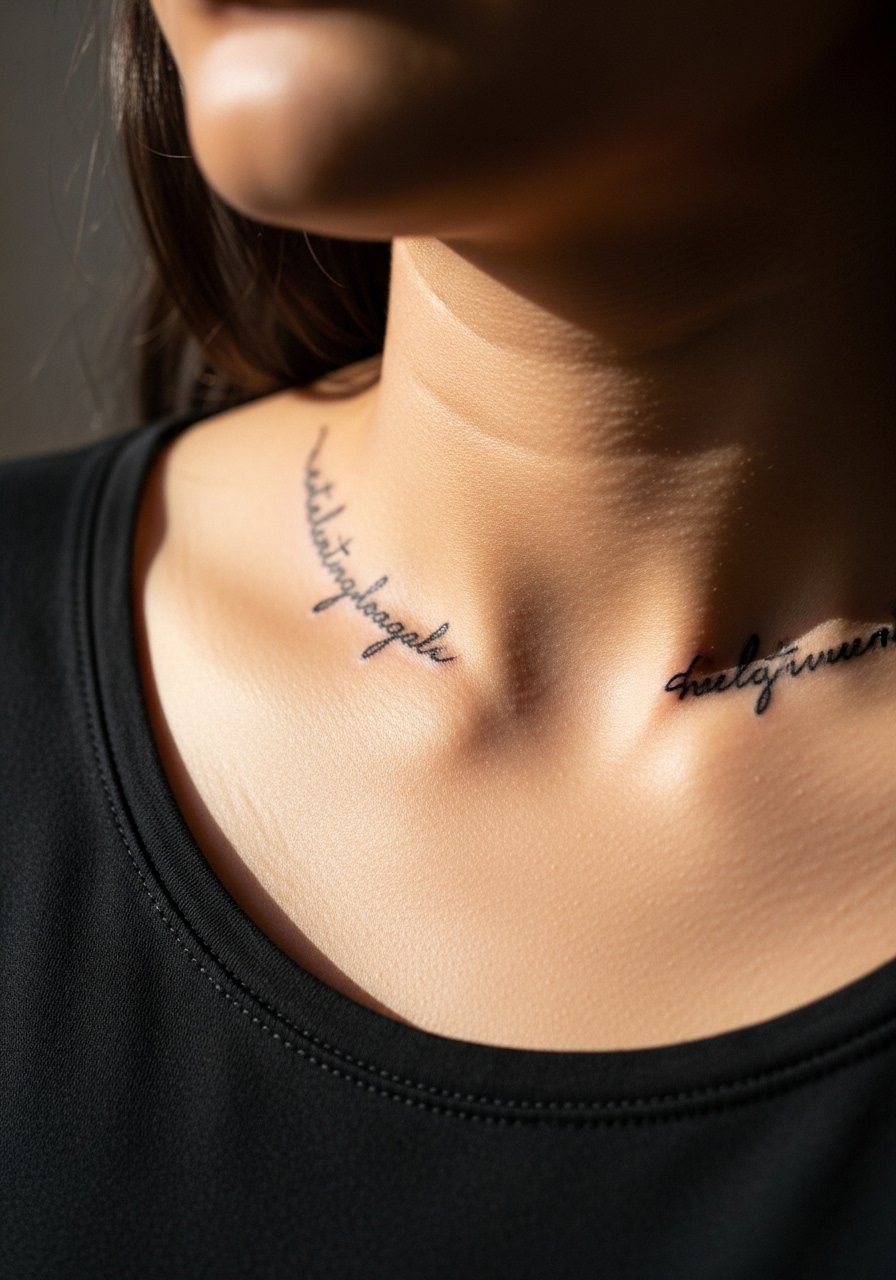
A slim, lowercase script along the collarbone can feel intimate and timeless when spaced for the anatomy. For this area, ask the artist to mock the exact placement with a stencil and check it while standing, not just lying down. The skin there sees sun and movement, so choose slightly larger letter spacing than you would for a wrist script. A typical session is short and mildly sensitive. One real mistake is requesting micro kerning that reads fine on a phone but crowds on living skin. For session wear bring a loose wide-neck tee you can pull aside easily.
3. Tiny Constellation on the Ankle
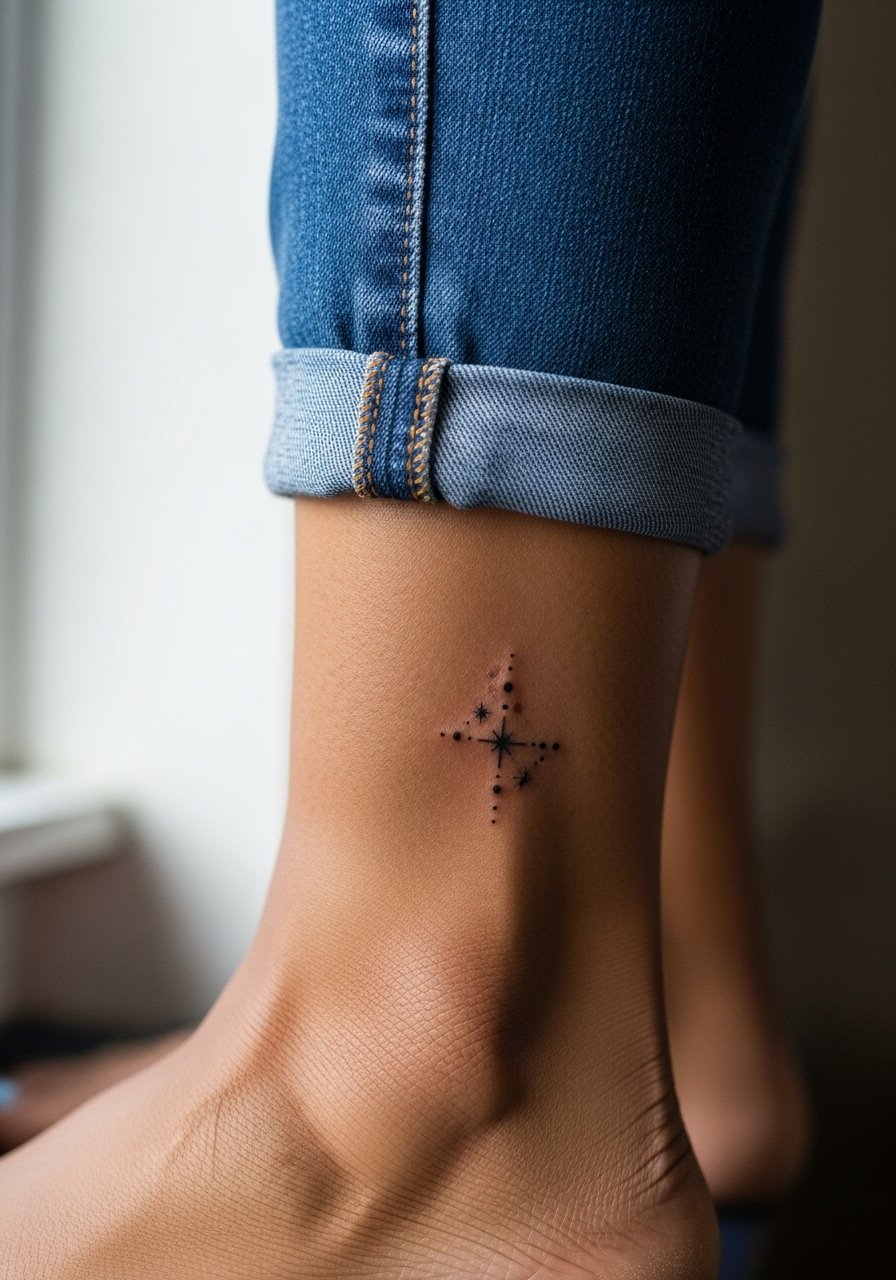
Ankle constellations stay charming because they live in a low-friction zone when you wear socks and shoes that fit properly. I recommend slightly bolder dots than in hyper-minimal references so the cluster reads after a year of wear. Tell your artist you want heavier dot anchors and lighter connecting points so the pattern breathes. The session is quick and tolerable. A typical aging issue is under-scaled stars that fade into speckles because the area gets knocked and washed often. For showing it off, sandals or braided ankle bracelets complement the design while keeping attention local.
4. Minimalist Mountain Range on the Ribcage
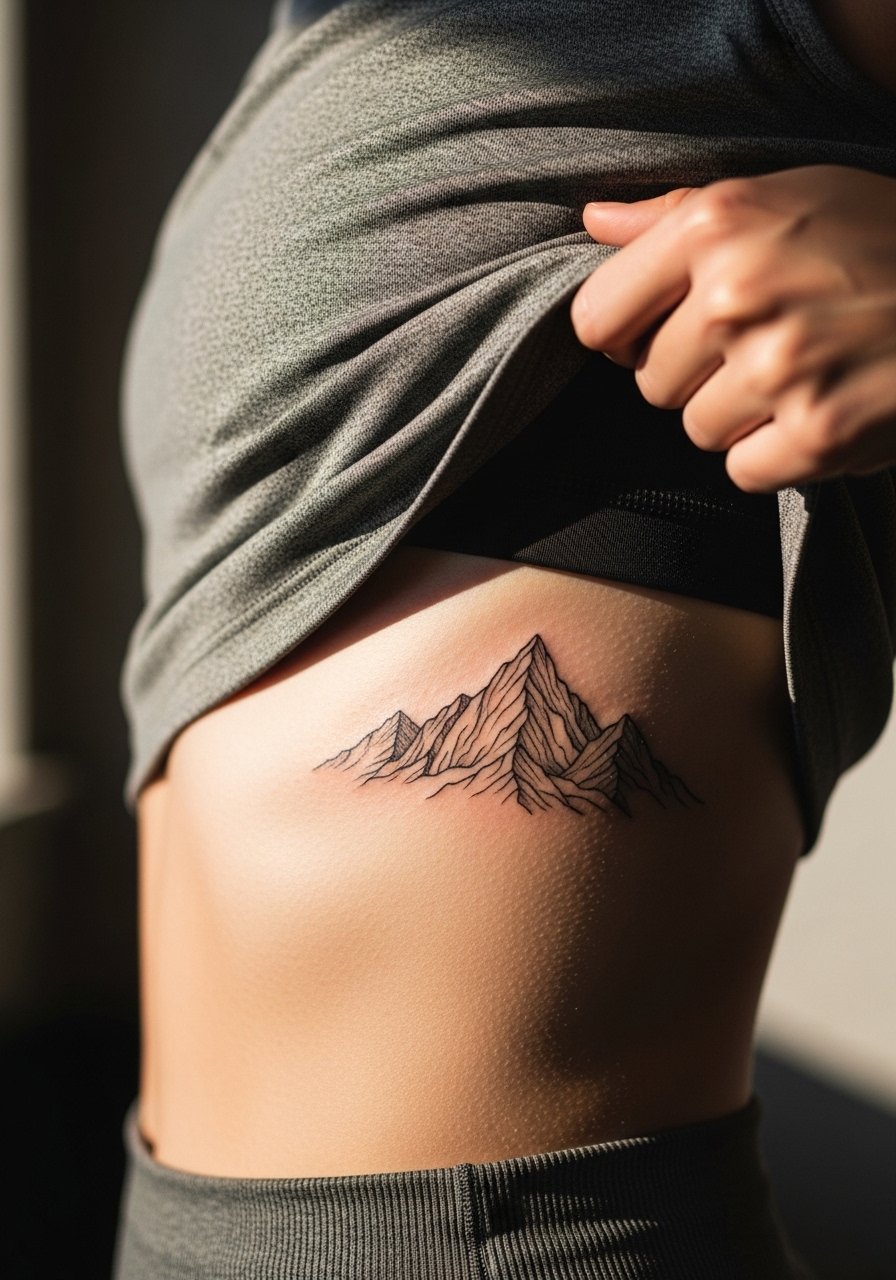
Ribcage placements are dramatic and personal but present a real longevity question. Artists split into two camps. One camp says the skin here stretches with breathing and movement, so fine line details will blur within a couple of years. The other camp argues that with proper depth and spacing, fine line can settle nicely on ribs. My take is to plan for more spacing and slightly stronger line weight than you'd choose for a wrist. Expect higher pain and a longer session. A common mistake is copying a tiny flash meant for forearms directly onto the ribs. For the appointment wear a cropped top you can lift so the artist only reveals the tattoo zone.
5. Single-Stroke Wave Behind the Ear
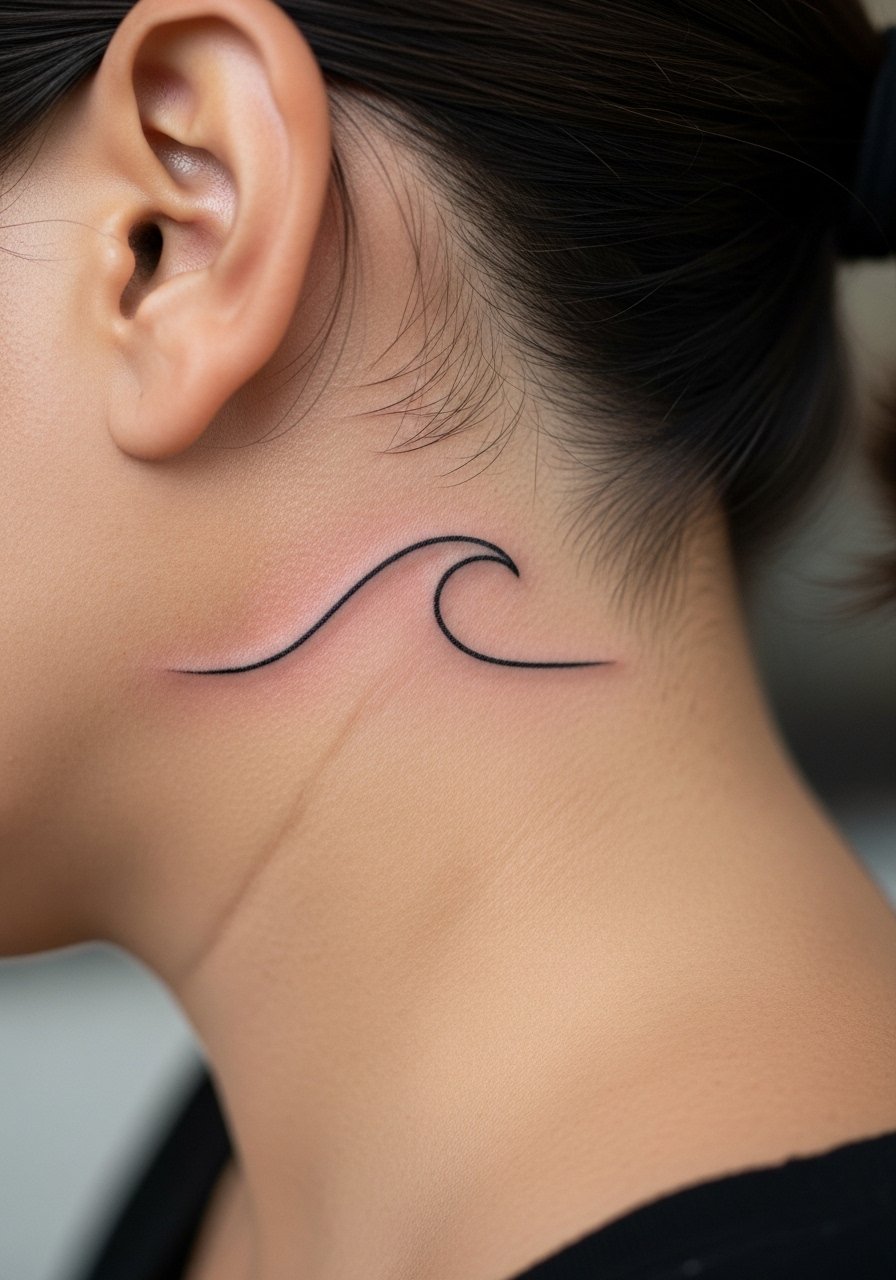
Behind-ear pieces play on small negative space and read best as part of a layered hair look. Keep the wave single-stroke and slightly bolder than a whisper line so the shape survives hair growth and light abrasion. Tell your artist to set the stencil just below the hairline on the neck so it tucks into the hair naturally. This placement is low pain and fast. Mistakes include asking for filigree-level detail that the micro skin there cannot hold. Because this area is often covered by hair, session wear is simple and discreet.
6. Continuous Line Face Silhouette on Outer Upper Arm
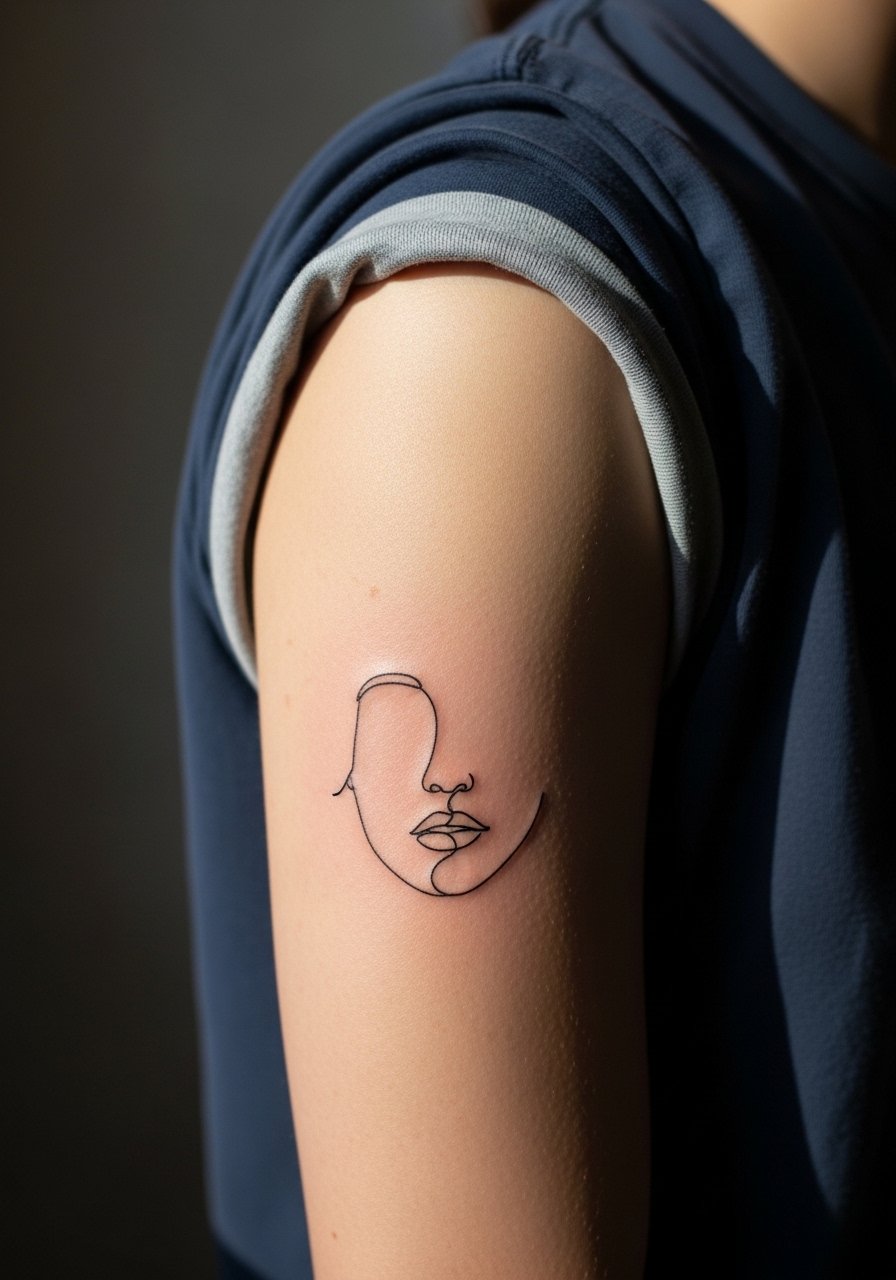
This simple one-line portrait works well on the outer upper arm because the skin is stable and it handles slightly lighter linework. When you bring references, show the artist the exact line density you like and ask for a single continuous pass rather than multiple overlapping strokes. Aging is forgiving here compared to hands or neck. A common mistake is squeezing extra facial details into one small area which creates a muddled look later. For outfits that highlight it, roll up sleeves or wear a short-sleeve linen shirt and pair with a minimal cuff bracelet to balance the silhouette.
Pre-Session Essentials
The small placements above need different prep than larger pieces, so a few targeted items smooth the session and the first week.
- Stencil transfer sheets. Useful for confirming exact collarbone and forearm placement before the needle goes down.
- Topical numbing cream. Helpful for heavier ribcage sessions and tight inner bicep work when you want the pain to be manageable.
- Thin protective film roll. Keeps ankle and wrist pieces clean during the first days when friction is highest.
- Fragrance-free gentle body wash. Cleans the delicate collarbone and behind-ear zones without stripping moisture or irritating the linework.
- Aquaphor healing ointment. Thin, breathable layer for the first few days helps fine lines heal without crusting excessively.
7. Dot-Work Crescent Moon on the Wrist
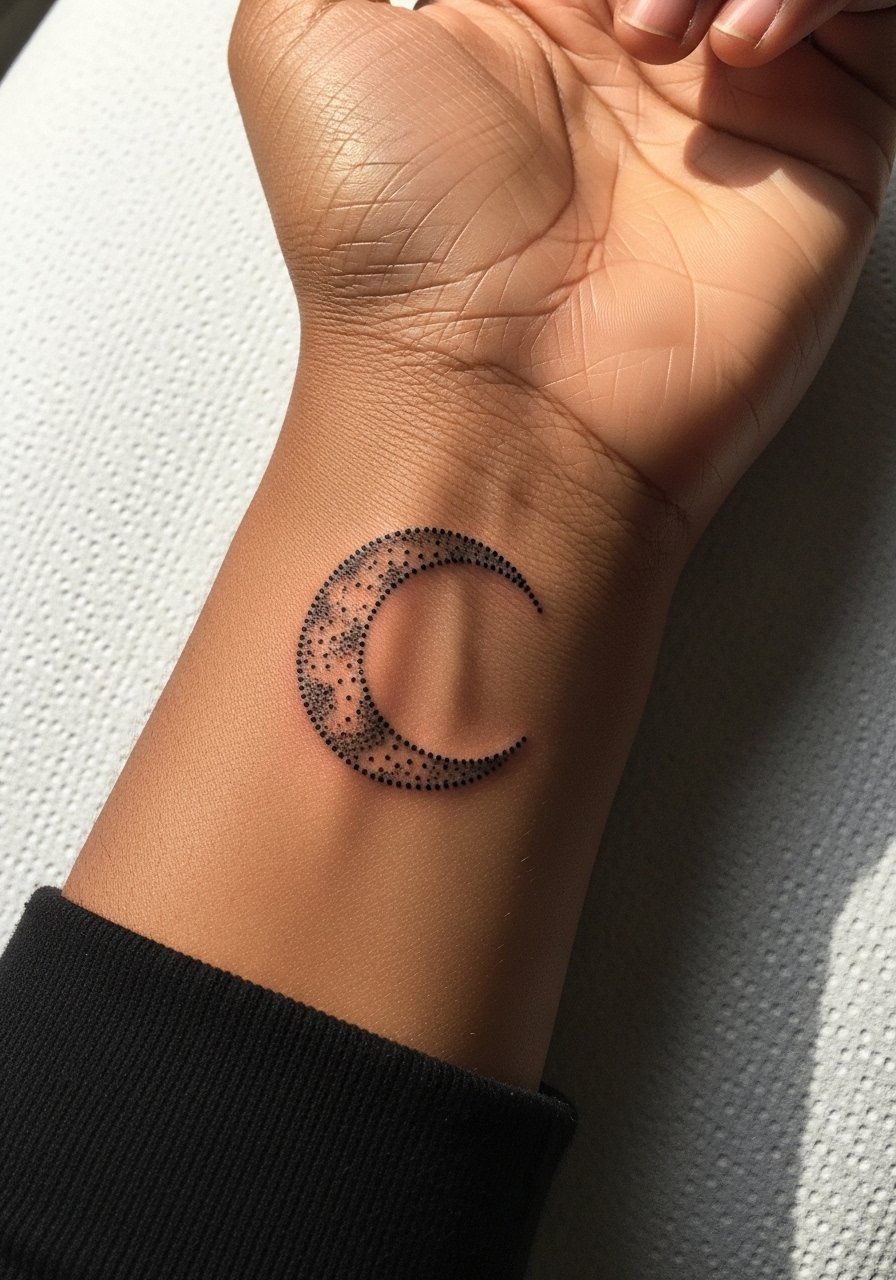
Wrist dot-work reads delicate but the area handles stipple shading well if anchors are placed for longevity. Ask for slightly denser dots in the crescent edge so the shape keeps contrast after a year of sun exposure. The wrist gets frequent washing and friction, so expect some early softening and plan for a touch-up if you want crisp edges at year two. A common mistake is requesting ultra-fine stipple without heavier anchor points. For showing it off, stacked bracelets can enhance the crescent. Try a minimal leather wrap bracelet to keep the focus on the wrist.
8. Delicate Stem Rose on the Inner Bicep
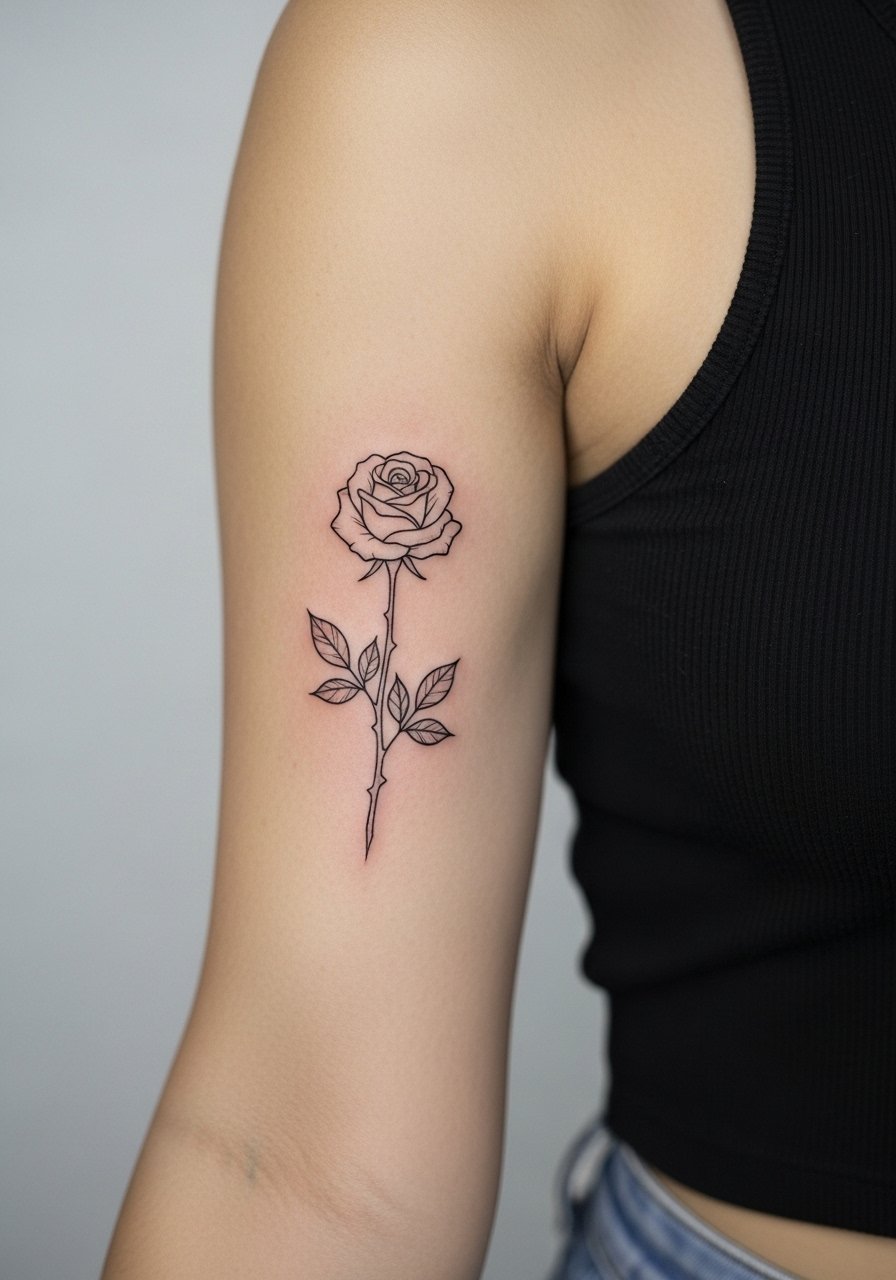
The inner bicep offers a private canvas with soft skin that can hold delicate linework if given room. I tell people this area is shy and often looks better slightly larger than expected, because the inner arm compresses when relaxed. Pain is moderate to high depending on proximity to the armpit and the session may require multiple passes. A frequent error is choosing too-small petal detail that blurs when the arm moves. For the session wear a sleeveless top so the artist can access the area cleanly.
9. Geometric Triangle Cluster on the Back of Neck
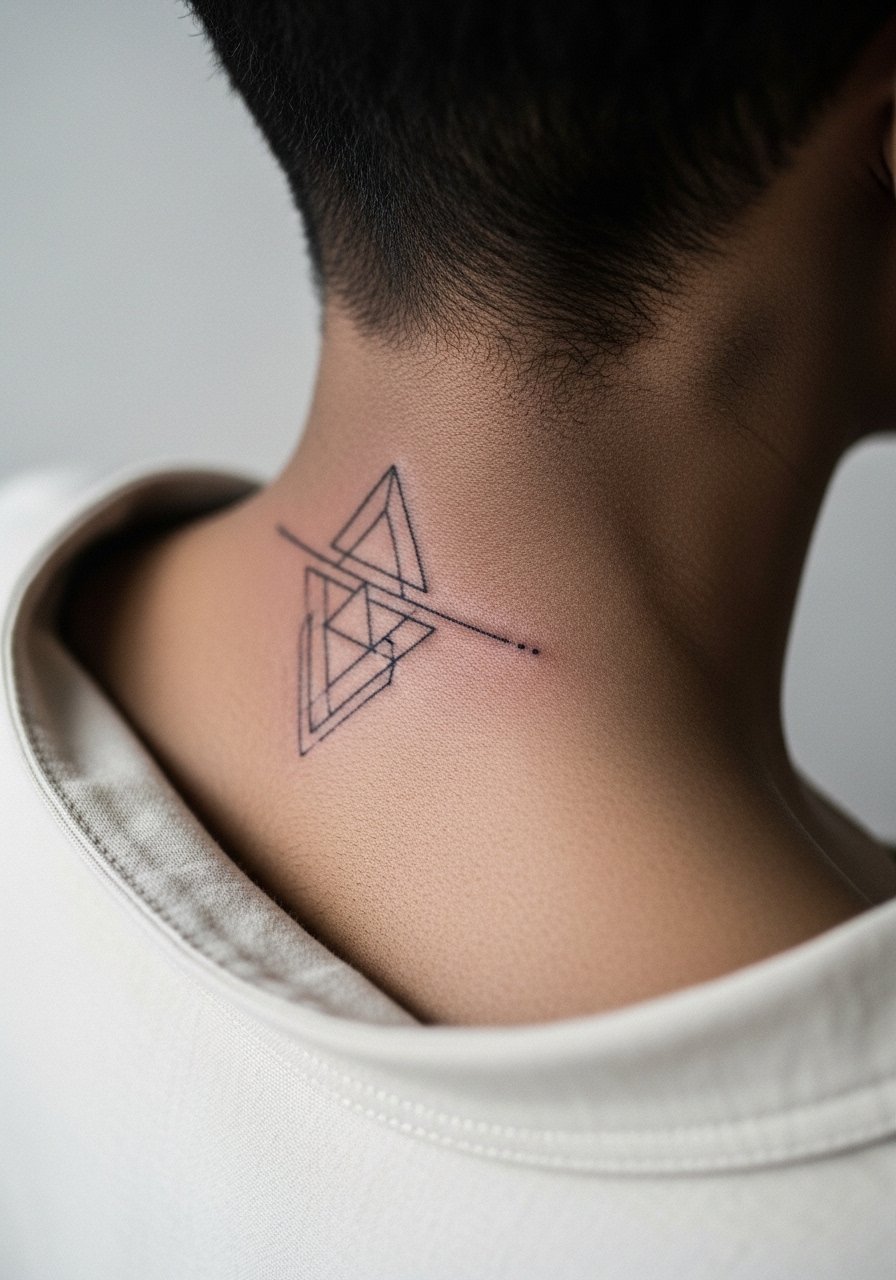
Back-of-neck designs need stronger lines than face or finger pieces because of movement and clothing contact. Ask your artist for clean, slightly bolder linework and to show a mock stencil while you move your head so you can assess how the cluster shifts with posture. Sessions are short and the sensitivity is low to moderate. A mistake is copying a micro-neck flash with no spacing. Consider how often collars or necklaces will touch the area and choose placement accordingly.
10. Minimal Laurel Wreath on Upper Thigh
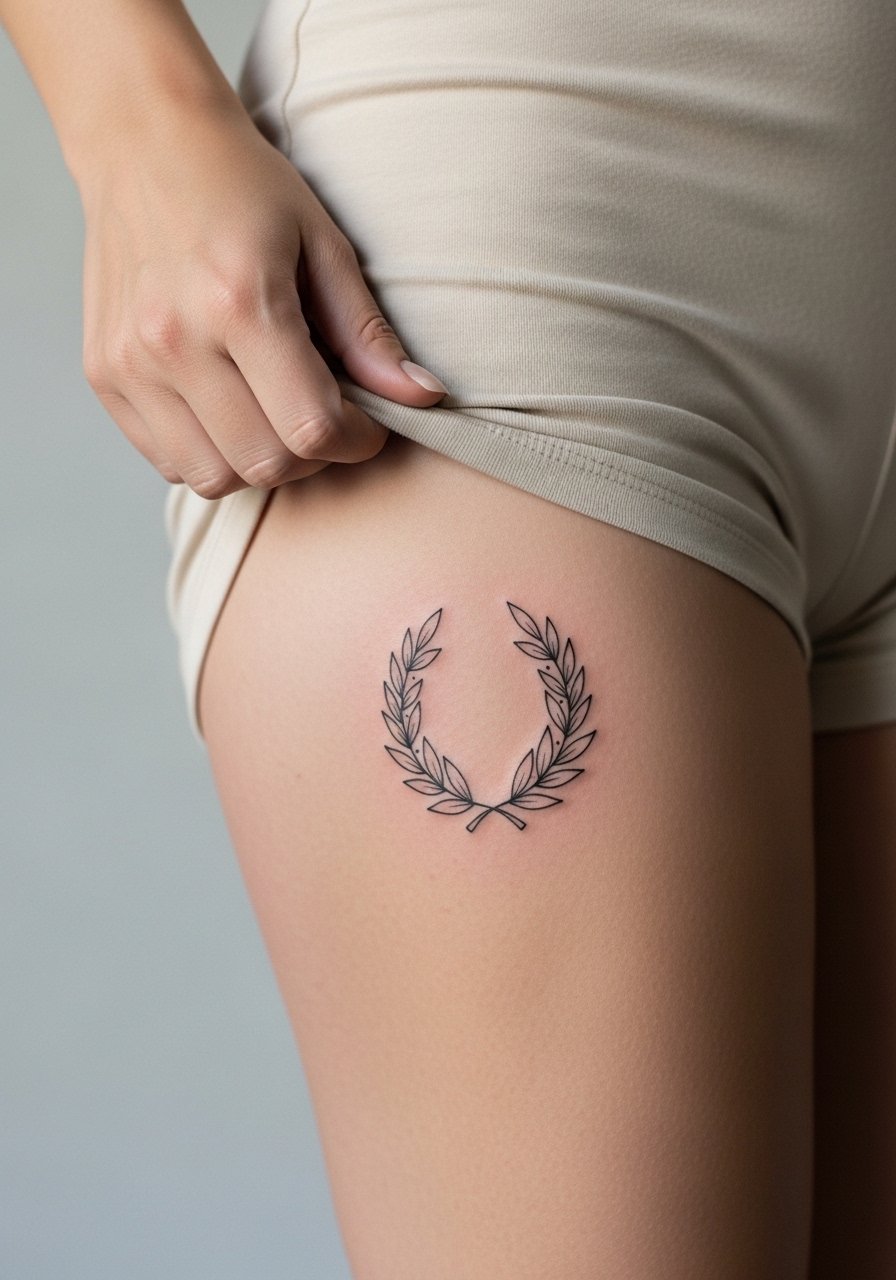
Upper thigh tattoos sleep under clothes much of the time, which can preserve linework. A laurel wreath benefits from balanced spacing and slightly heavier stem lines so leaves do not blur into one another over time. Tell the artist you want midweight linework with clear negative space between leaves. Pain is generally low on the fleshy thigh and sessions are comfortable. A common error is overly tight leaf clusters that age into smudges. For session comfort wear loose shorts or a drawstring linen pant so the artist can work without fabric pressure.
11. Tiny Anchor on the Lateral Ankle
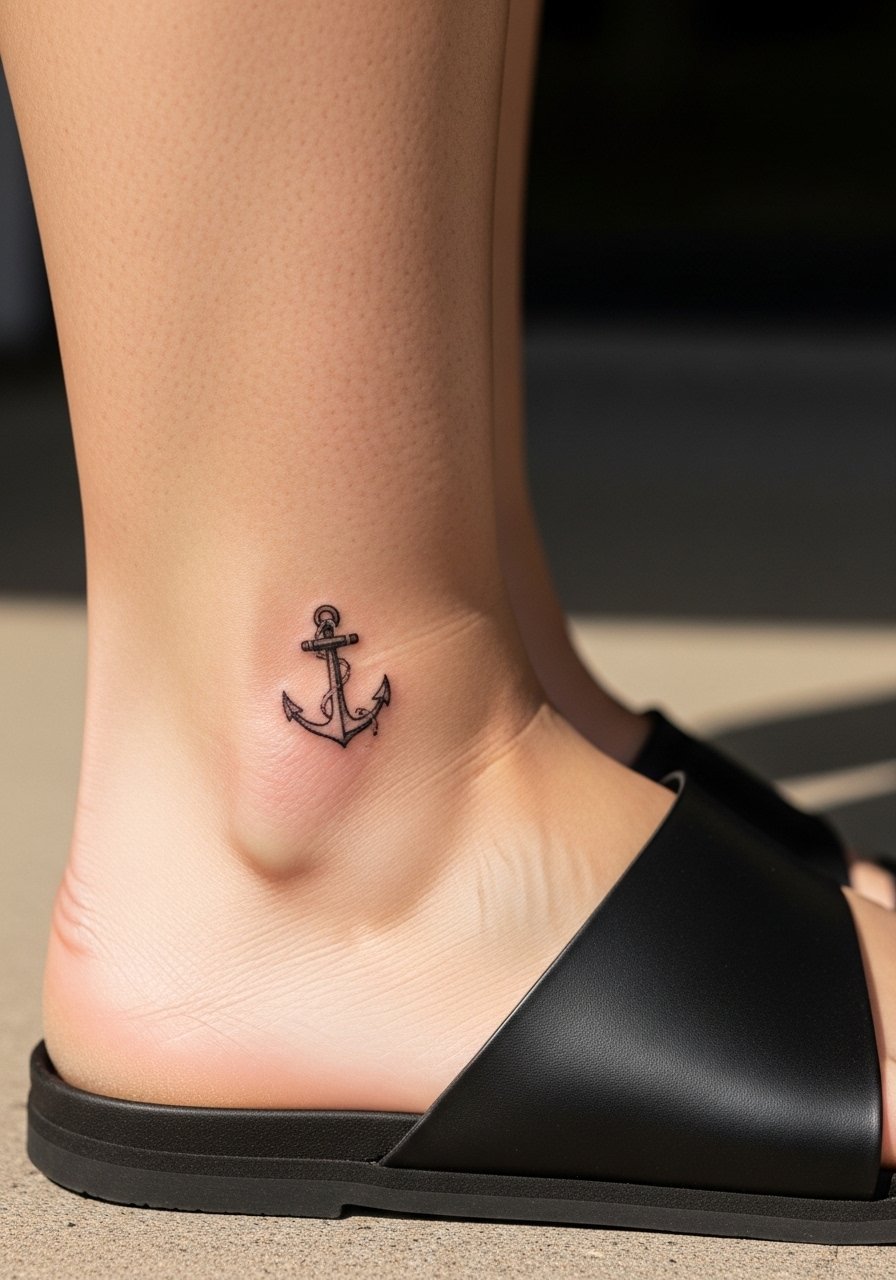
Ankle anchors are classic because they are small and discreet but need slightly bolder anchors due to constant movement. Ask for a reinforced stem and compact negative space so the tiny symbol stays legible. The session is quick and mildly sensitive. A mistake is asking for ultra-hairline strokes that disappear under footwear friction and repeated washing. For showing it off, pair with sandals or a thin ankle chain that draws attention without smudging the area.
12. Tiny Script Inside the Wrist
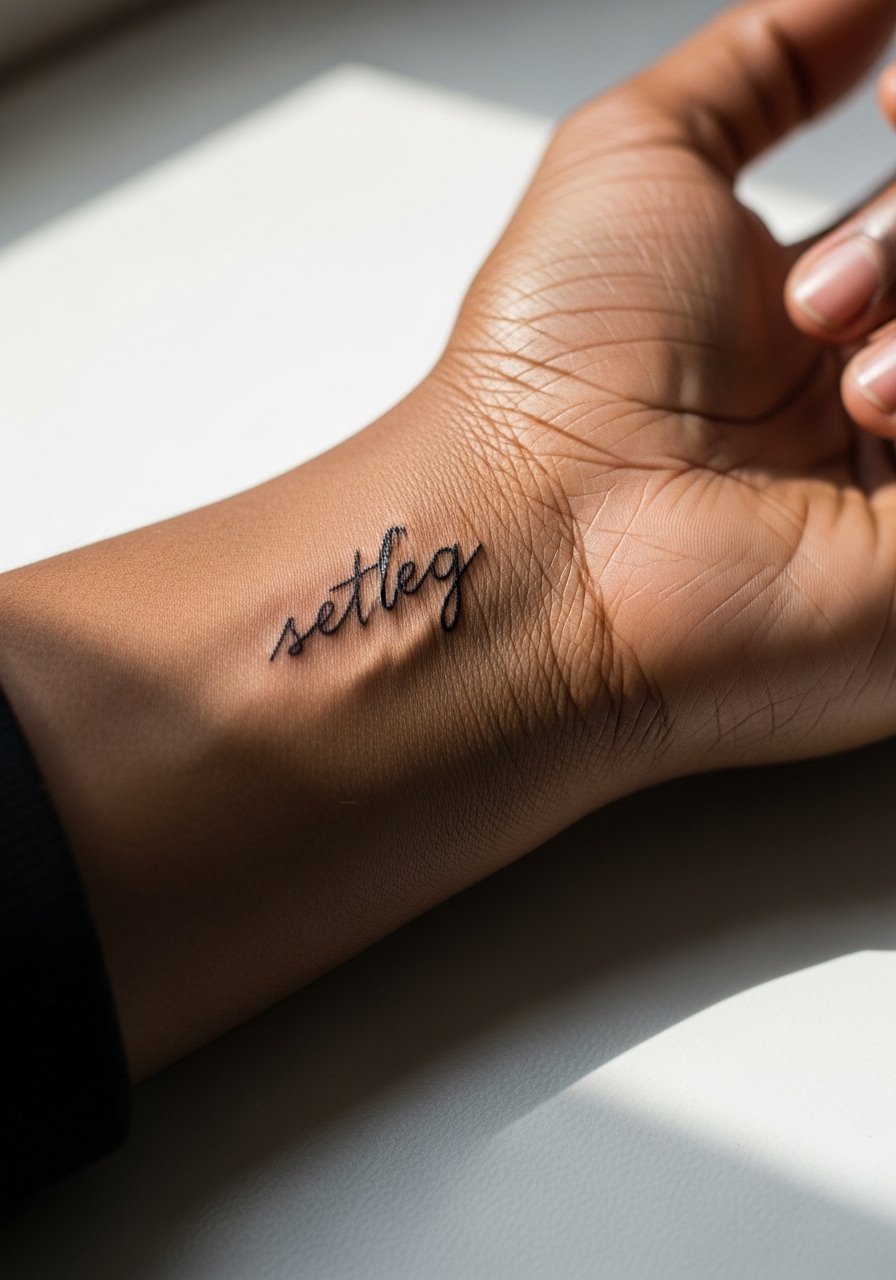
Inner wrist script is intimate and readable, but the skin there moves a lot and sees sun. I advise slightly increased letter spacing and a small boost in line weight for letters so they do not fuse after a year. During consultation ask the artist to stencil the phrase and check it while you hold your arm in common positions. Sessions are short and sensitivity is low to moderate. A frequent mistake is copying ultra-tight type meant for paper. For showing it off, a slim delicate watch band sits nearby without covering the ink.
13. Micro-Realism Bee on the Shoulder Blade
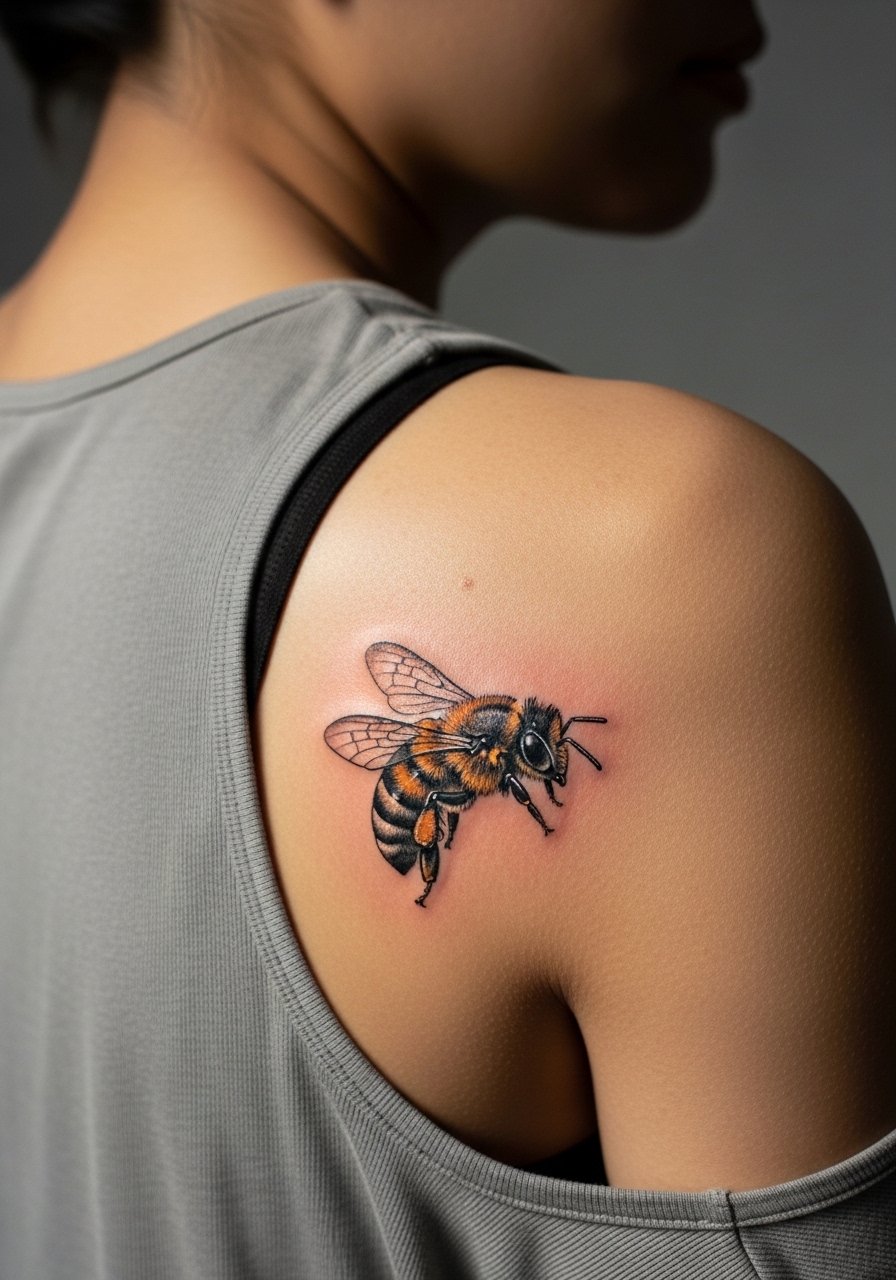
Shoulder blade skin is stable and accepts micro-realism better than fingers or neck. For a small bee, ask for slightly simplified wings and clear shadows so the image ages into a readable icon rather than a smudge. Sessions are comfortable and the area allows for precise linework. A mistake is overloading the bee with tiny veins and dots which can blur. For showing it off, open-back tops or a simple halter tank frame the shoulder blade neatly.
14. Thin Band Finger Tattoo

Finger tattoos are polarizing because the skin is thin and prone to fading and blowout. One camp points out that fingers live in high-friction zones and often need frequent touch-ups. The other camp says a modest line weight and realistic expectations keep the design looking fine for longer. I tell people to expect touch-ups and to choose a slightly heavier band than the hairline lines shown online. Sessions are fast but can sting more than an ankle. Be aware of career considerations since hand tattoos are still visible in some workplaces.
15. Minimal Compass on the Upper Back
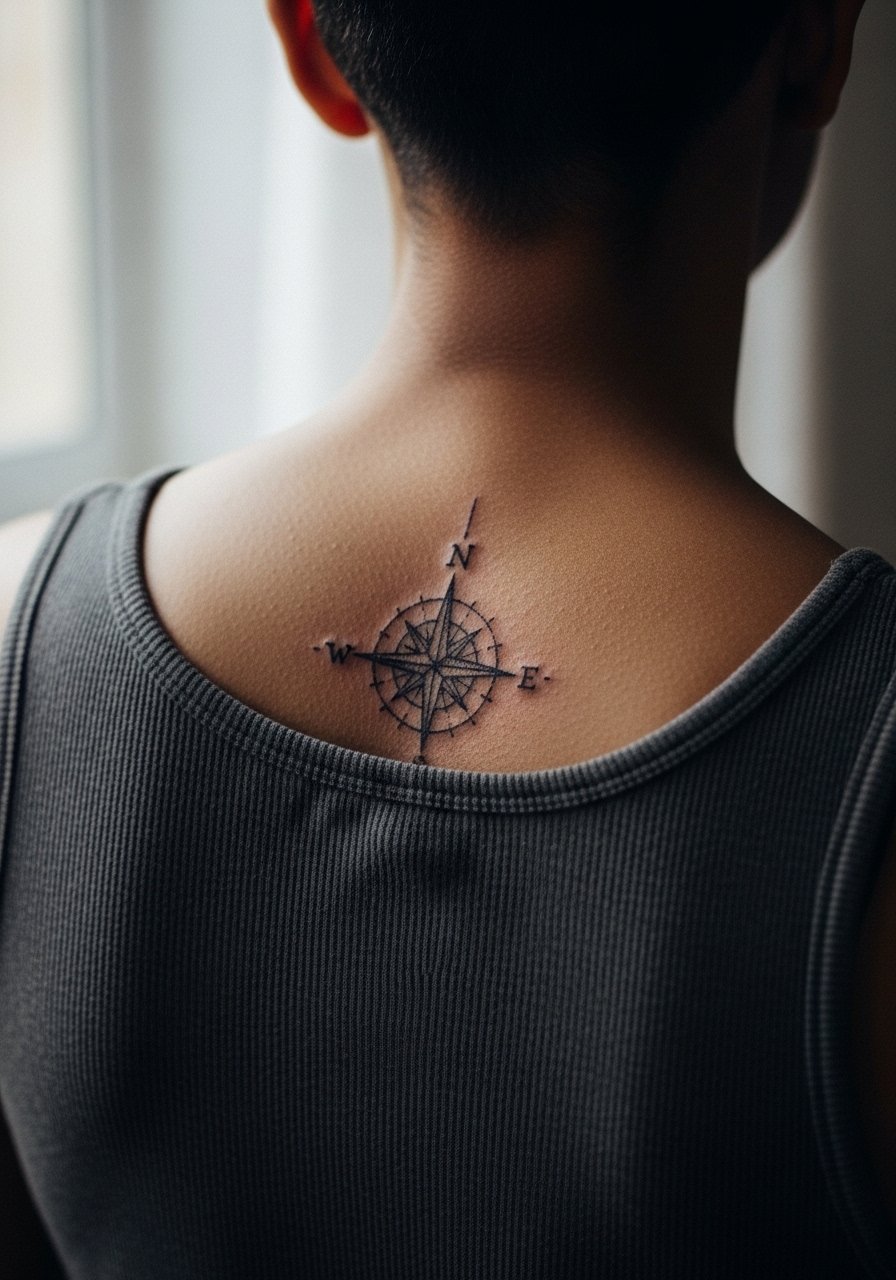
The upper back is forgiving for minimal line geometry. A tiny compass with clean cardinal points holds well because the skin is relatively flat and not handled daily. Ask for crisp points and moderate spacing so the negative space stays obvious as the piece heals. Expect low to moderate discomfort and a smooth session. A common mistake is making the compass too small, which reduces the visual anchor over time. For evening outfits, open-back dresses or tops highlight the piece without crowding it.
16. Stipple Shaded Crescent on the Calf
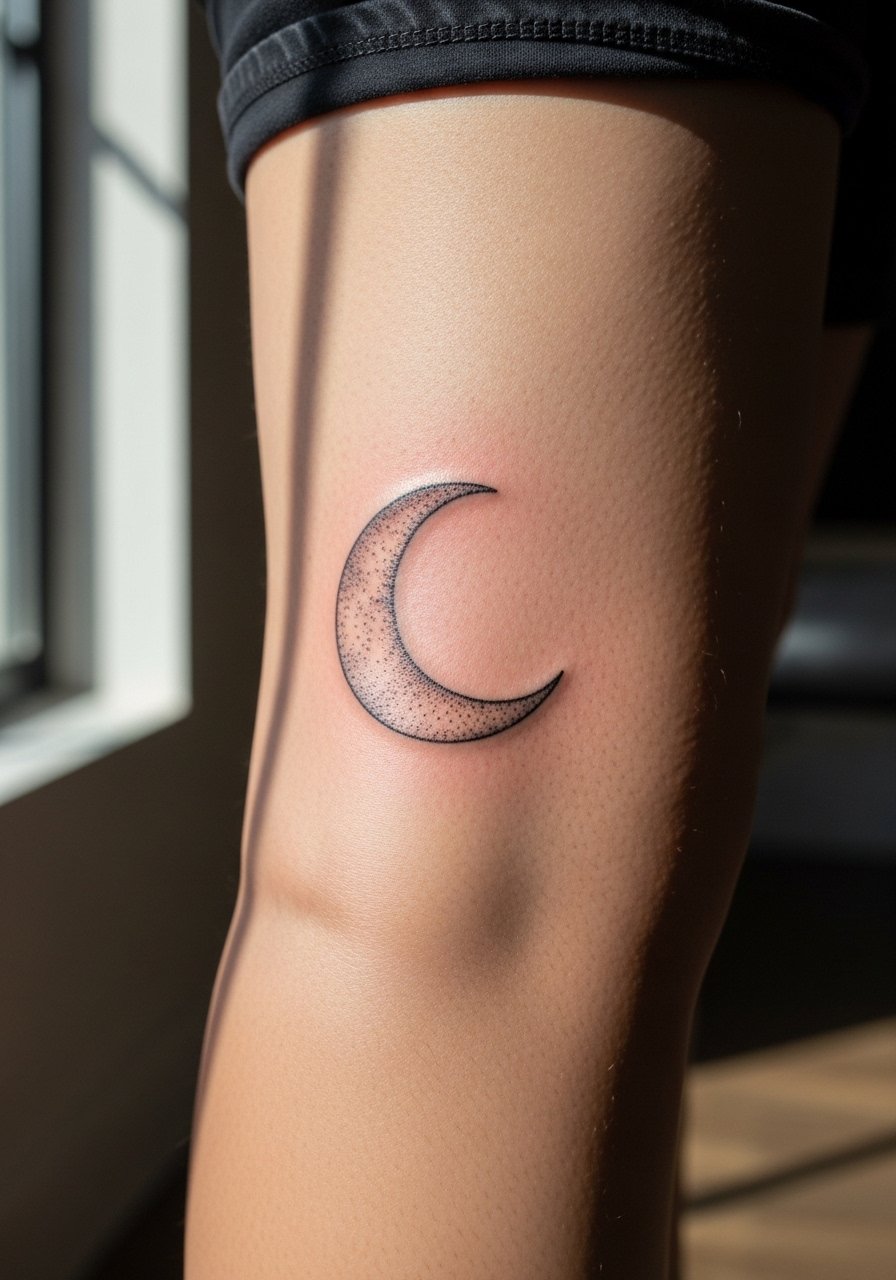
Calf placements offer longevity for stipple shading because they avoid constant friction and sun when you wear pants. For a crescent built with dot work, plan for denser shading on the crescent edge so it keeps form at two and five years. Tell your artist you prefer visible anchor dots and not a wash of speckling. Sessions are comfortable and usually done in one visit. A mistake is using near-invisible stippling that fades to an indistinct smudge. For casual show-off wear, pair with mid-calf boots or a simple slip-on sandal.
17. Simplified Mandala on the Sternum
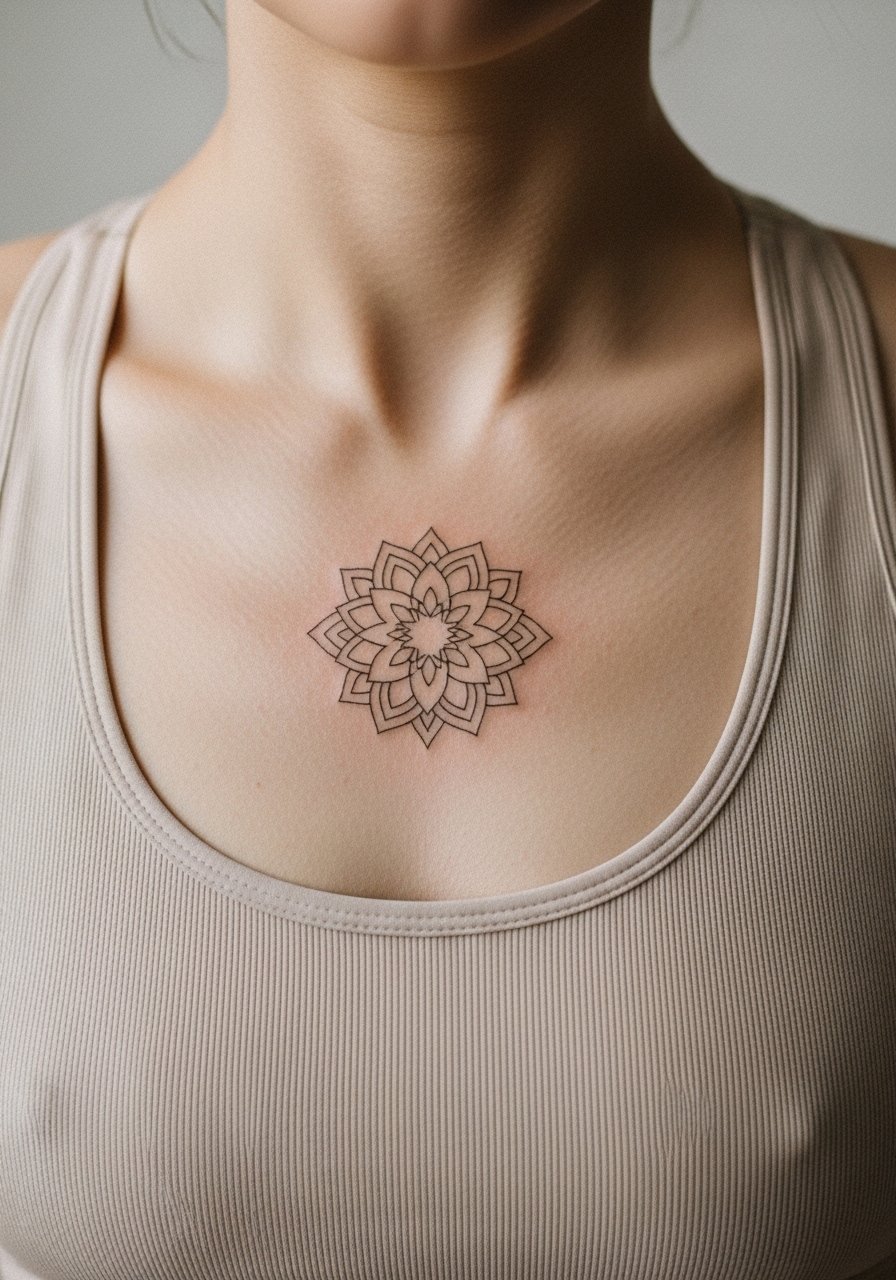
Sternum designs require a specialist approach because of curvature and movement. This pattern draws from mandala tradition, so consider a simplified version that echoes the origin rather than a direct cultural copy. Artists split on whether ultrafine mandala detail is appropriate here because the central area moves with breathing. I suggest scaled spacing and midweight lines to preserve the pattern over time. Sessions are fairly painful and often need short breaks. For the appointment wear a fitted sports bra so the artist can access the area without exposing more than necessary.
18. Tiny Key on the Hip
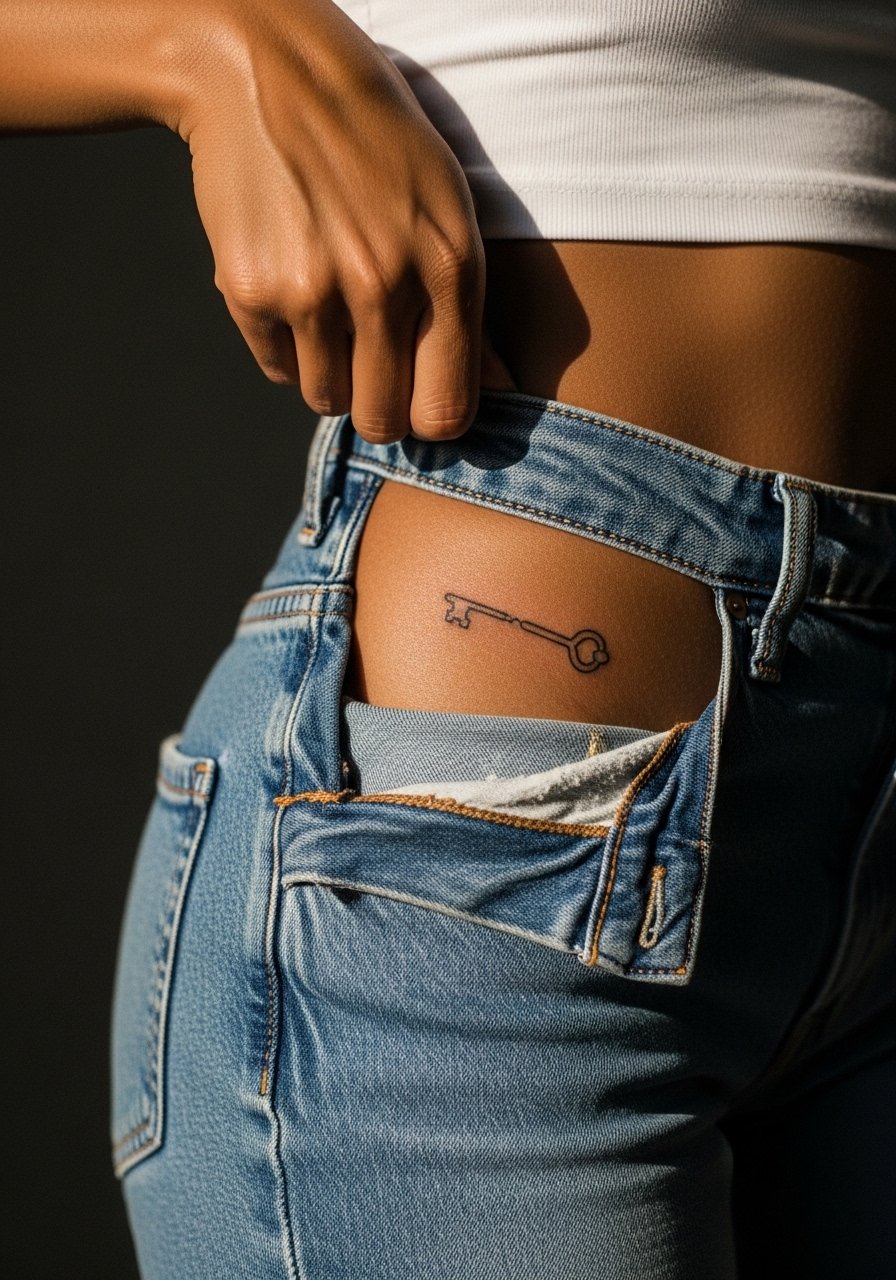
Hip tattoos are intimate and tend to age well because they avoid constant sun and abrasion when dressed. A tiny key should have a slightly reinforced base and a clear negative space loop so the silhouette remains readable. Ask the artist to place the design with you standing so you can see how it sits in motion. Sessions are low to moderate pain depending on proximity to bone. Avoid requesting filigree that is too small, which will fill in with time. For the session wear low-rise shorts or high-waisted bottoms you can shift for access.
19. Micro Geometric Sun on the Outer Thigh

Outer thigh skin tolerates crisp geometry and often keeps its shape because of softer tissue and less daily rubbing. For a geometric sun, ask for balanced rays with clear negative lines between them so the motif does not melt into a disk. Sessions are easy to sit through and usually complete in one visit. A common mistake is compressing the ray spacing for a smaller silhouette which ages into a blob. Show it off with high-slit skirts or swim bottoms and a lightweight beach cover sarong that frames the thigh.
20. Subtle Barcode on the Back of the Neck

Barcodes on the nape read modern and minimal but need deliberate spacing and bolder outer bars to survive contact with collars. Ask for slightly thicker vertical bars and measured gaps so the code remains visually coherent after repeated friction with clothing. Sessions are quick and sensitivity is low to moderate. A mistake is copying tiny barcode art that lacks spacing for real skin. Consider collar types you wear often and how they will interact with the tattoo.
21. Petite Line Bouquet Behind the Knee
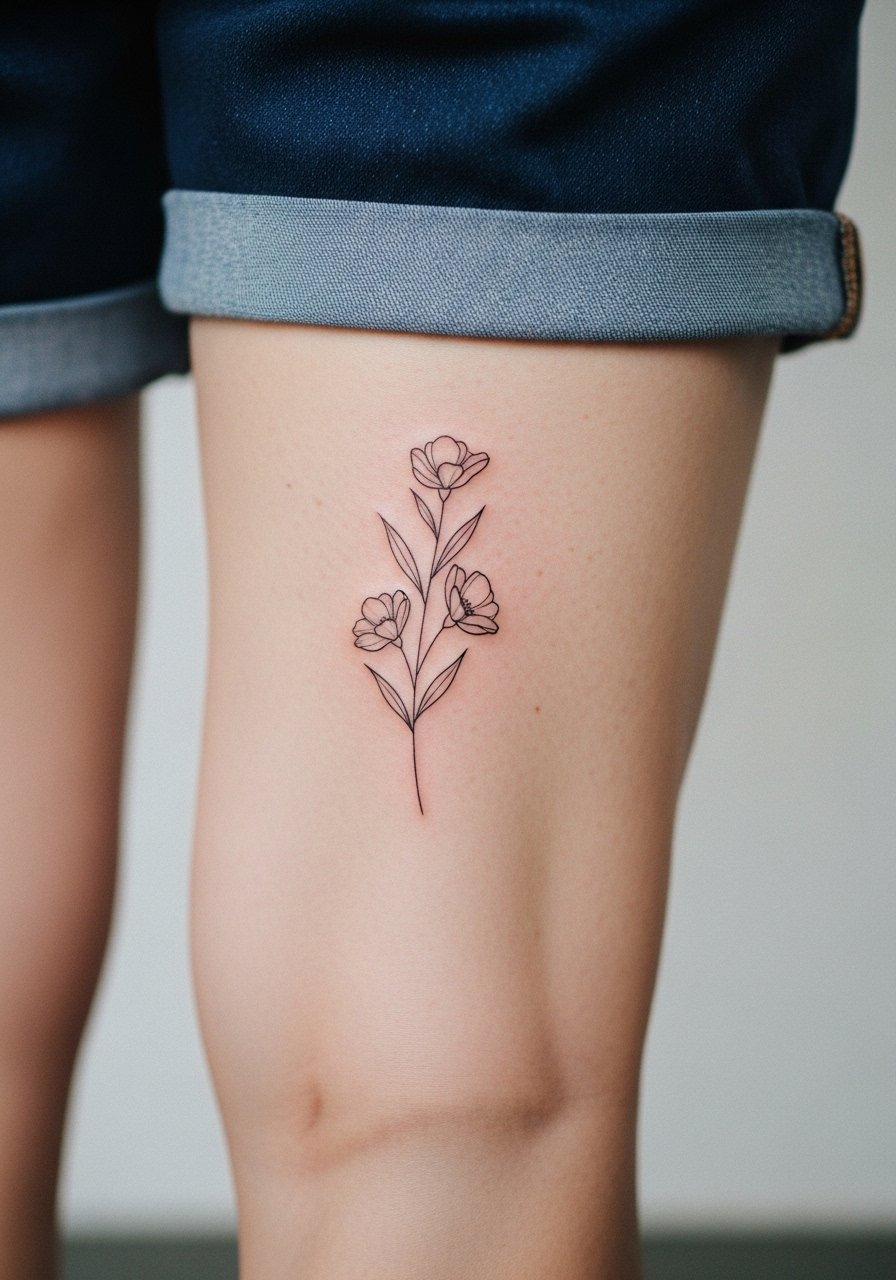
The back of the knee is a playful, slightly hidden spot that handles curvilinear linework well when scaled for movement. Ask the artist to preview the piece with your leg bent and straight so you can see how stems and blooms distort. Expect a ticklish session and a spot that may need touch-ups because of constant motion and occasional pressure from tight clothing. A common error is choosing overly dense florals that merge when the knee flexes. For the session wear comfortable shorts so the artist can position the leg and keep the area relaxed.
Frequently Asked Questions
Q: How long will a fine line tattoo like these stay crisp on different placements?
A: It depends on placement, sun exposure, and your skin type. Areas with high friction such as fingers, wrists, and ankles commonly soften first. Stable zones like the upper arm, shoulder blade, and thigh often keep line clarity longer, but expect gentle fading and possible touch-ups around year three to five for the most delicate pieces.
Q: Are ribs and sternum bad places for fine line work?
A: They are more challenging than forearms because breathing and skin stretch affect how ink settles. One group of artists avoids the smallest, hairline details on ribs and sternum for that reason. Another group will do them with increased spacing and slightly heavier lines. Discuss your tolerance for pain and willingness to schedule a touch-up before you book.
Q: What should I wear to a session for a collarbone, sternum, or shoulder blade piece?
A: Pick clothing that exposes only the area while keeping you modest and warm. For collarbone and shoulder blade, a loose button-down shirt you can pull aside is ideal. For sternum, a fitted sports bra works best so the artist can see the exact fabric line and ink only the exposed strip.
Q: How often do finger and hand tattoos need touch-ups compared with forearm pieces?
A: Fingers and hands usually need touch-ups more often because those areas encounter soap, sun, and repeated abrasion. Forearms and upper arms tend to hold pigment better. If you want minimal maintenance, favor placements away from constant friction.
Q: Is dot work more durable than hairline strokes?
A: Dot work can be more forgiving because denser anchor dots create contrast that lasts longer than tiny hairline strokes. For stipple designs ask for clear anchor points and moderate density rather than a faint mist of dots.
Q: If I want my minimal piece to remain readable for five plus years, what are the top things I should ask the artist?
A: Ask for slightly increased line weight, clear spacing between elements, and a placement mock while standing or moving. Ask whether they recommend touch-ups and how long they typically suggest waiting before scheduling one. That practical guidance beats vague assurances and gives you a realistic care plan.
