
Fine line tattoos dominate social feeds right now, and the same designs that look flawless fresh often need touch-ups within two years. I see three recurring headaches at consultations: tiny scripts that blur on the wrist, guest-spot cancellations that push plans months out, and placement choices that warp after weight changes. Read on for 17 reduced designs that actually hold up, where to place them, and what to tell your artist when you sit in the chair.
1. Single Perfect Circle on the Inner Forearm
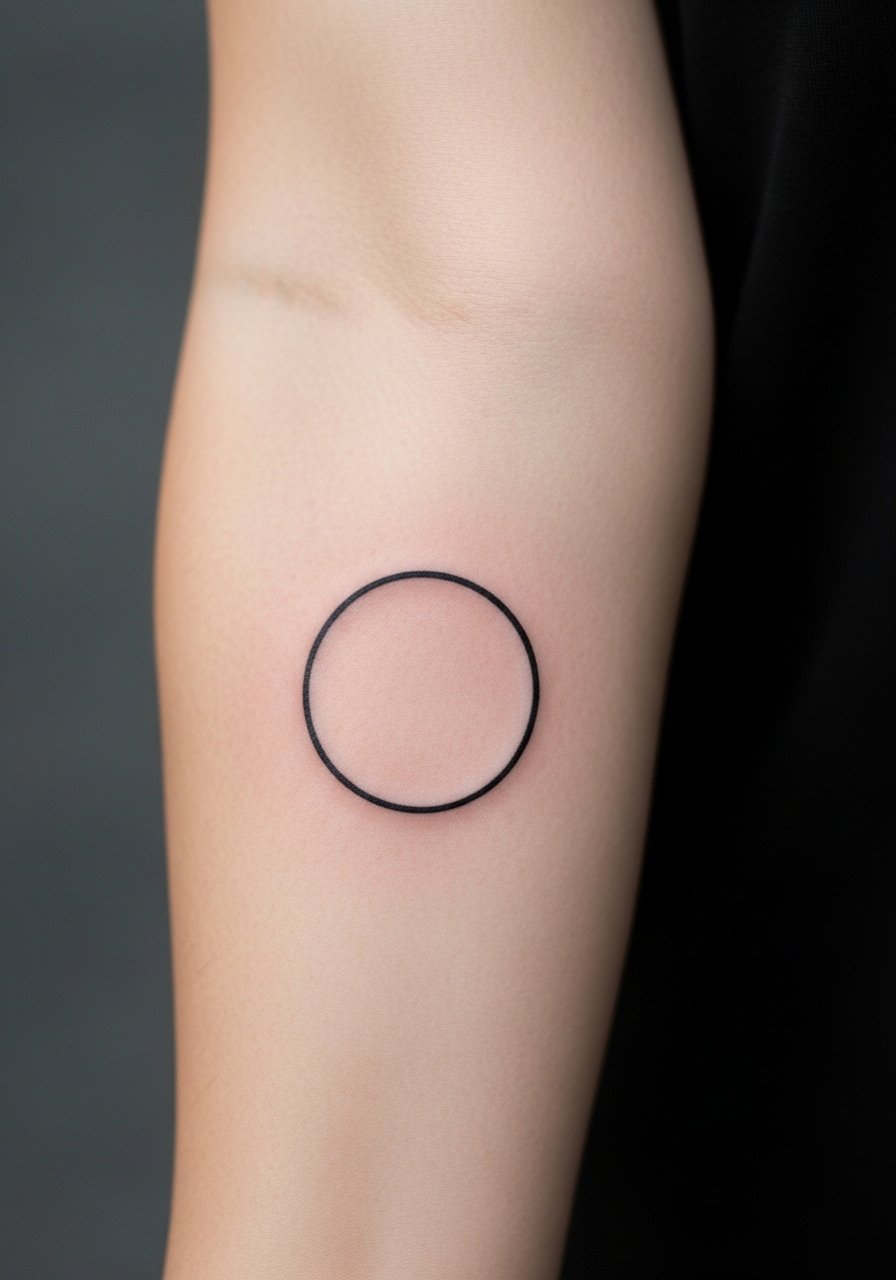
I recommend the circle when you want geometric impact without fiddly detail. Fair warning, the inner forearm is forgiving for touch-ups but it moves and stretches with muscle changes. During consultation ask for a slightly heavier line weight than a hairline so the ring holds its circumference at year two. A common mistake is shrinking the circle to micro size, which invites blur and patchy saturation. Expect one short session and mild soreness, like a firm long massage. For showing it off, a minimalist leather watch on the opposite wrist keeps attention on the forearm without competing with the shape.
2. Sacred Triangle at the Collarbone
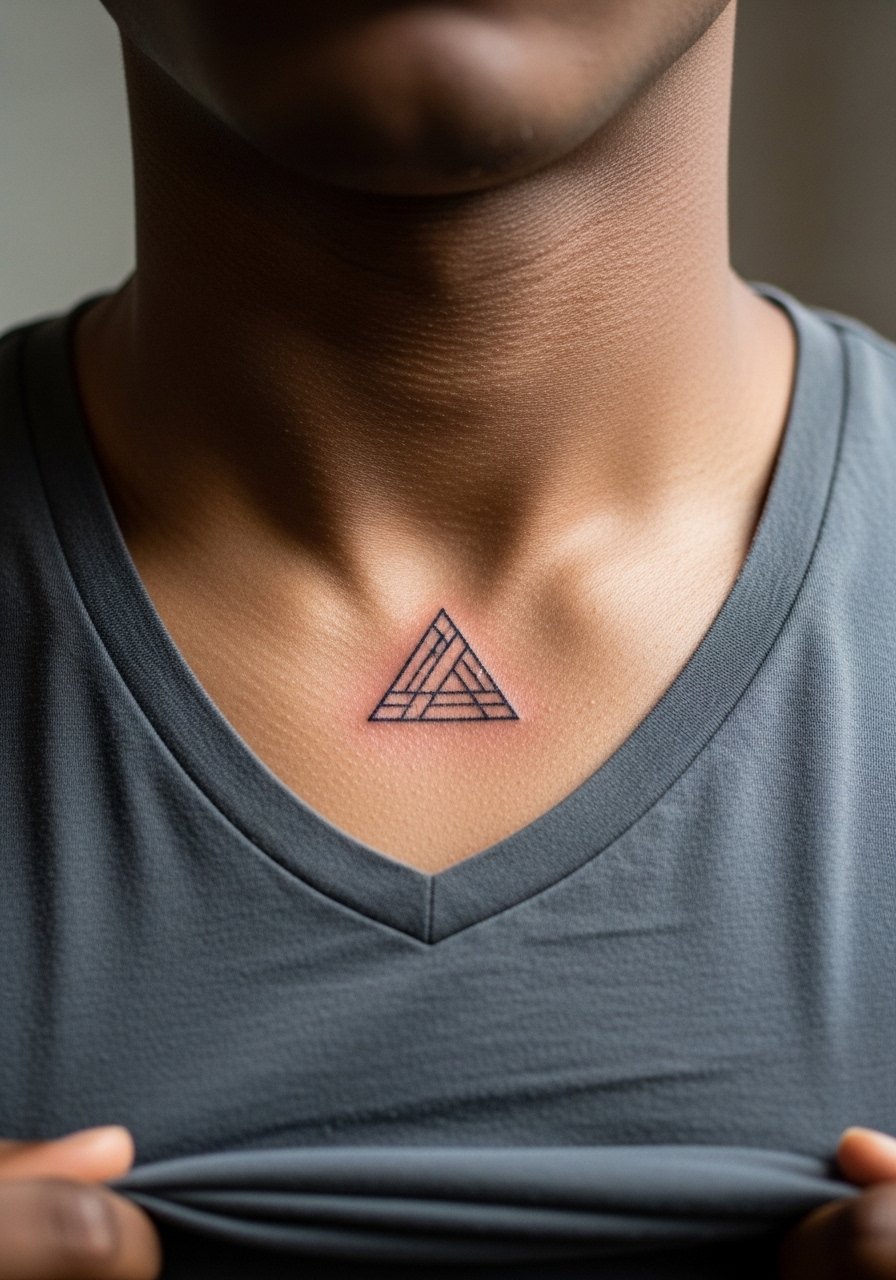
I've seen small collarbone triangles read as refined or fussy depending on placement. The collarbone curves require the stencil to sit exactly where you want it. Tell your artist you want the apex to follow the clavicle line, not the center of the chest. Pain runs moderate since the bone is close, but session time is short. One trap is requesting ultra-fine lines that the collarbone area cannot support long term. The safer route is micro size with deliberate spacing so stipple shading, if used, breathes. For evenings out pair this with a thin silver chain necklace that sits just above the mark.
3. Mountain Silhouette on the Upper Arm
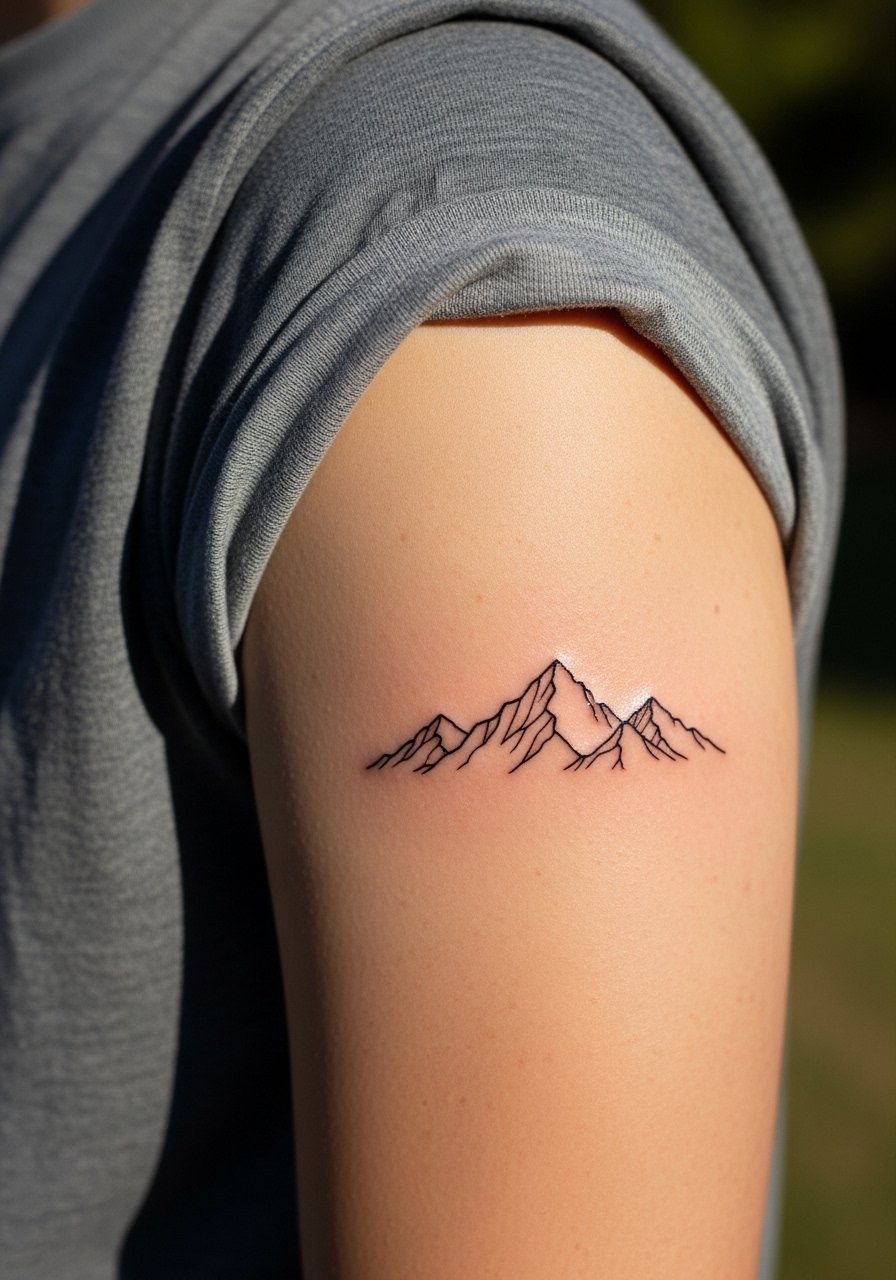
Personal observation: mountain silhouettes age well on the upper arm because the area sees less abrasion. Ask your artist for a slightly staggered ridge line rather than perfect symmetry to keep it legible at distance. The session feels brisk and a bit buzzy rather than sharp since the upper arm has meat over the muscle. A typical mistake is packing too many tiny peaks into a small canvas. If you want the piece visible with casual outfits, a fitted crewneck tee in charcoal frames the chest and shoulder without stealing focus.
4. Wave Form Abstraction on the Inner Forearm
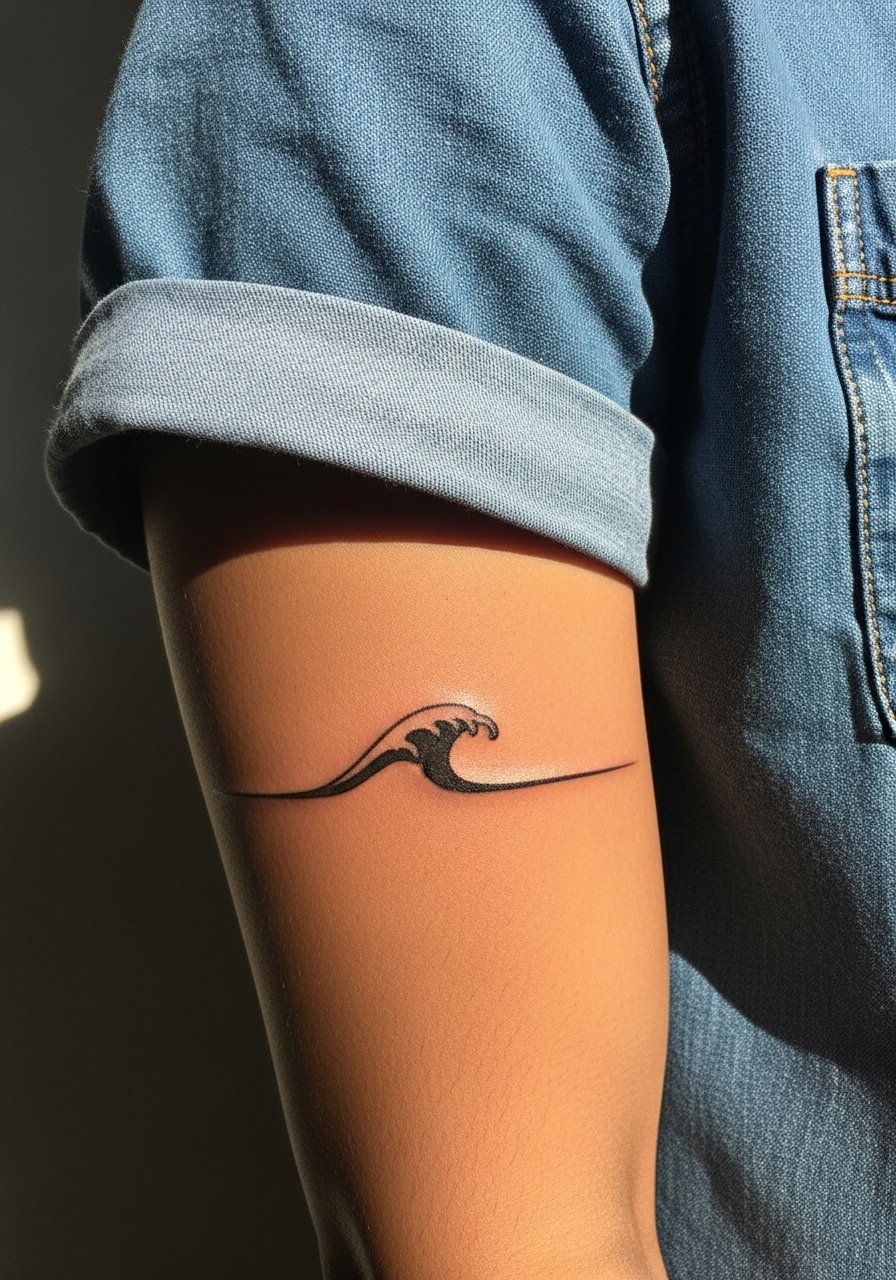
Most people want a wrist wave but the inner forearm offers more canvas and less early blur. Artists split on fine line longevity for forearm work. One camp says fine hairlines blur faster on hands and wrists, and bold weights last longer. The other camp argues that precise spacing and proper needle depth preserves a fine wave even on forearms. When you sit for this one, ask the artist which approach they prefer and why. A common error is requesting a series of near-parallel micro-lines that merge with friction. For showing it off, roll the sleeves on a mens chambray shirt rolled cuff to frame the wave against neutral fabric.
5. Geometric Wolf Silhouette on the Chest or Shoulder
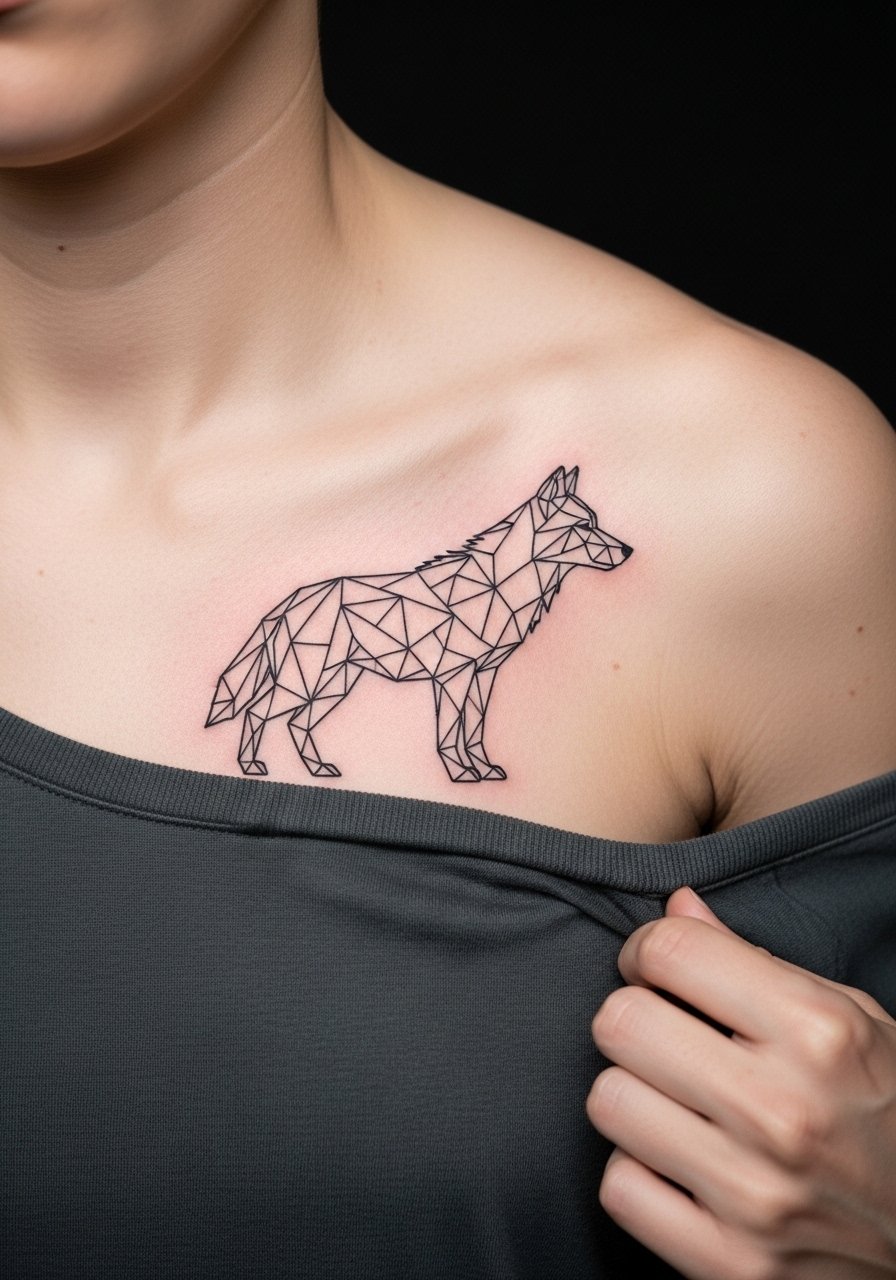
There's real presence in reducing an animal to angled planes, especially on the chest. Consultation tip: decide whether the snout points inward or outward before the stencil goes down. Chest placement reads larger than it is, so keep the silhouette at about three inches to preserve negative space. The chest experiences movement and breathing, so expect a touch-up at year two if you want the edges razor-sharp. A common mistake is crowding the silhouette with added background elements that dilute the geometry. For wardrobes, a fitted crewneck tee in solid charcoal keeps attention on the shoulder line without competing.
6. Single-Word Sans-Serif Lettering on the Wrist
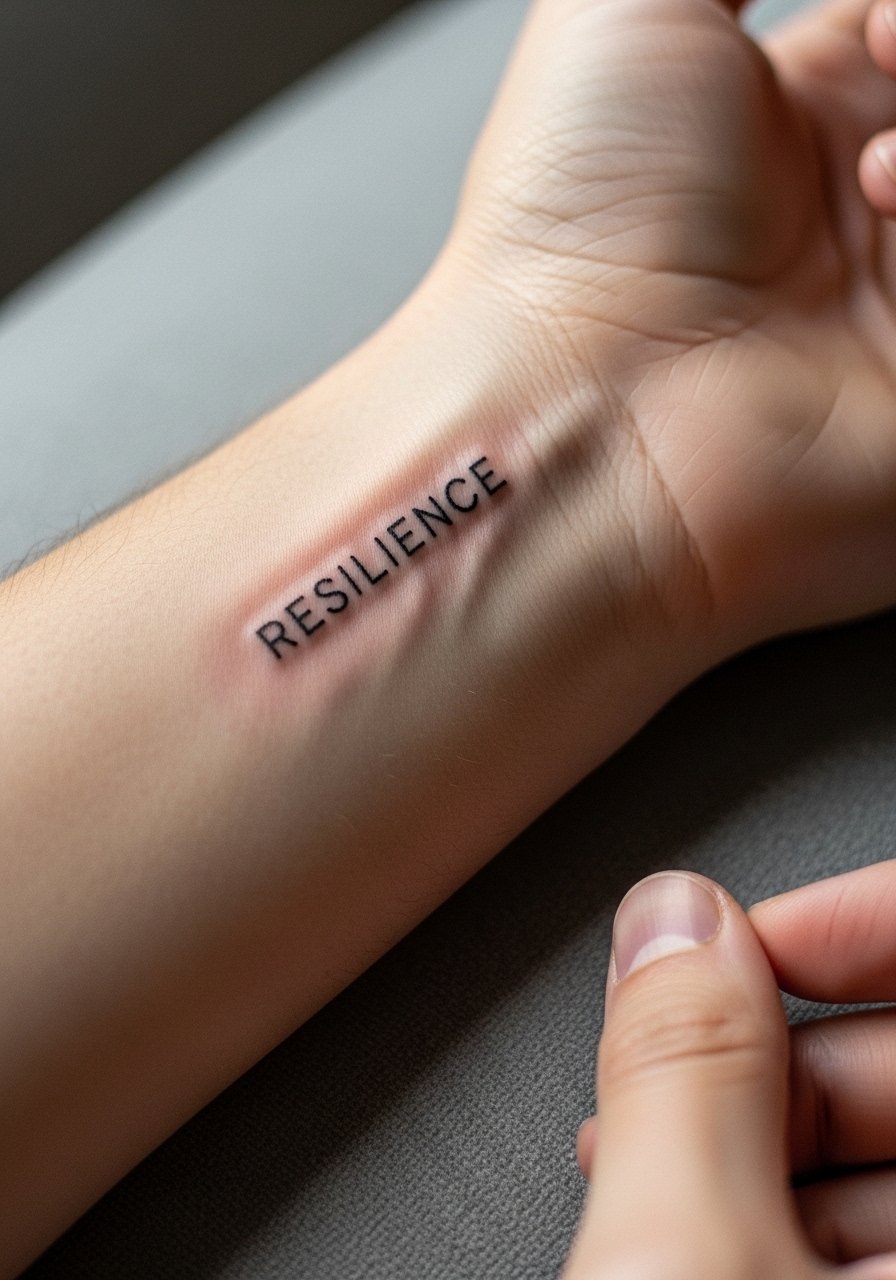
Fair warning: small lettering on the wrist is where fine line meets reality. The cheapest option is the least durable. Pick a bold sans-serif, not a filigreed script, so each letter has negative space to survive daily washing and friction. During consultation request a slightly thicker stroke and a proof print on skin to check kerning. Pain can spike near the wrist bone, and the session feels like a concentrated vibration. Expect a touch-up window in two to three years if you want the word to stay crisp. For subtle stacking, pair it with a minimalist leather watch on the opposite wrist.
Session Day Picks
The small surface work above heals differently from large chest pieces, so a few session day items make the chair and the first week easier.
-
Stencil transfer paper kit. Lets you preview placement on forearms and wrists before the needle hits, which helps avoid the "looks smaller on skin" surprise.
-
Topical numbing cream. Applied under guidance ahead of wrist or collarbone sessions takes the edge off without interfering with linework when used sparingly.
-
Thin protective film roll. Keeps fine-line wrist work clean during the first week of frequent hand washing.
-
Fragrance-free gentle body wash. Cleanses healing areas without stripping pigment from thin linework.
-
Aquaphor healing ointment. A thin layer in the first days helps skin repair around tight lines without clogging delicate channels.
7. Geometric Pattern Strip on the Forearm
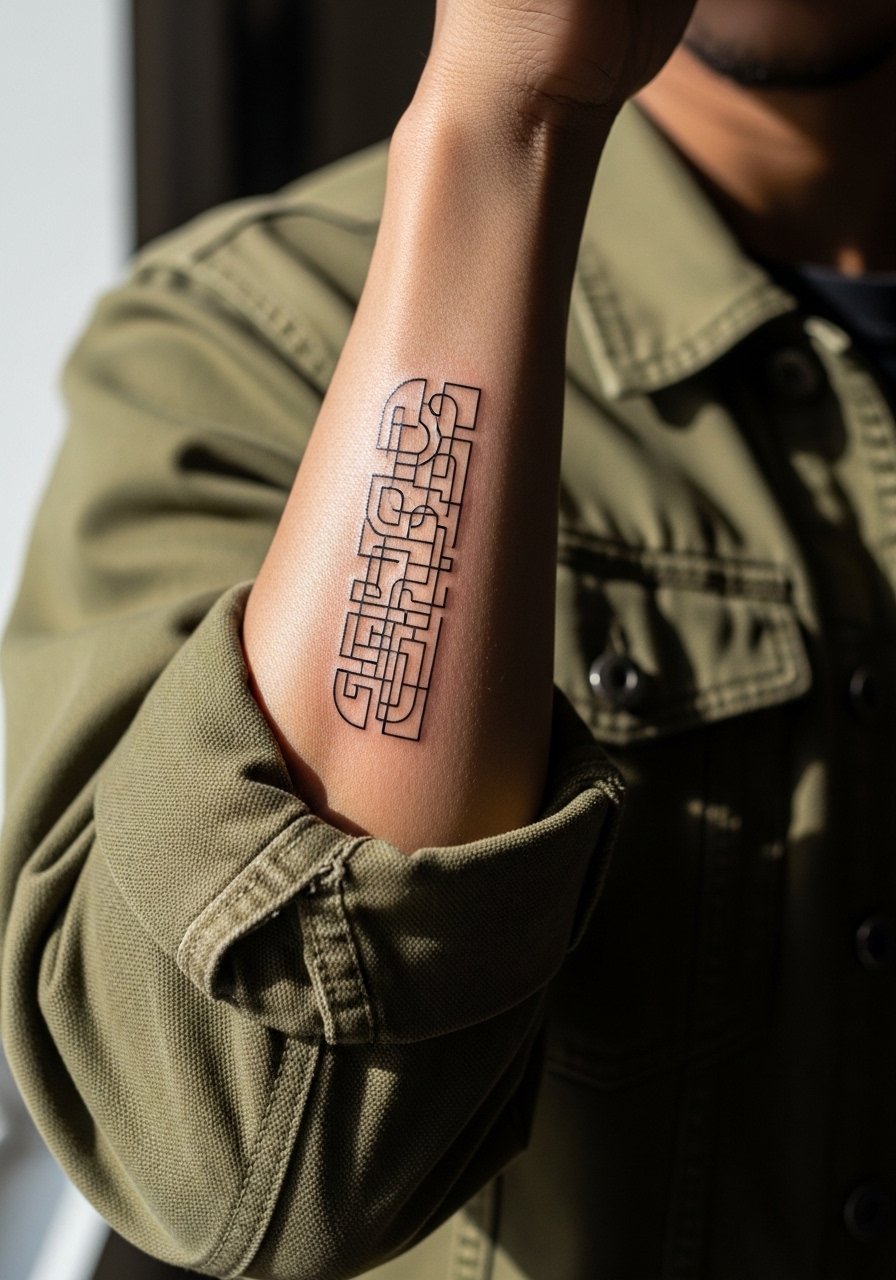
Visual impact lead: repeating motifs read like a pattern when the forearm is relaxed, and like rhythm when the arm moves. If you want longevity, ask for clear spacing between elements so dot work does not merge over years. The forearm tolerates touch-ups well, but hands-on jobs mean you will notice gradual softening in three to five years. A frequent mistake is cramming too many repeats into a small band. Session time varies with complexity but plan for a single medium session. Wear an olive canvas jacket with rolled sleeves for easy access when showing it off.
8. Minimalist Feather With Optional Birds on the Ankle

Styling lead: ankle work is discreet and seasonal. The ankle sees a lot of friction from shoes and socks, so avoid ultra-fine feather barbs that will blur against fabric. During consultation request a single spine line with negative space for the birds to keep them distinct. Pain is low to moderate, though the tibia area can sting. Common mistake is asking for a long feather that tucks into shoe lines and gets rubbed constantly. For summer visibility, cuffed chinos are a smart pairing so the piece shows with minimal distraction, try a mens slim chinos cuffed.
9. Line Art Face Portrait Behind the Ear
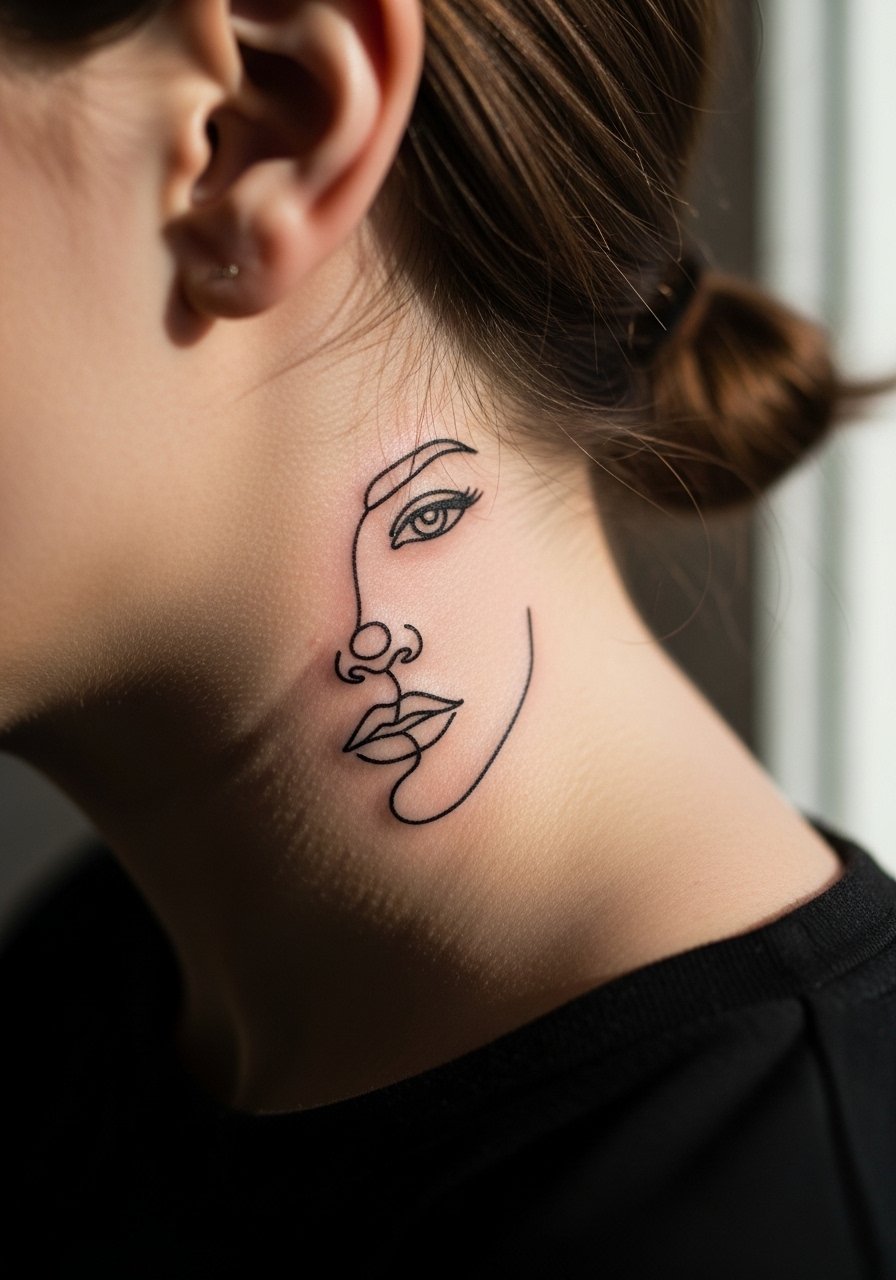
Consultation lead: behind-ear portraits read intimate and need precise scale work. The skin behind the ear is thin so fine single-line portraits can survive if they are truly micro. The controversy on this placement is practical. Some artists avoid fine detail here because movement and hair oils speed fading. The other group says micro-portraits settle if the stencil is placed just below the hairline and the client keeps hair and product off the area during healing. Mention long hair or regular headphone use in the consult so they can adapt aftercare. Note that behind-ear work requires specialized experience, so book a shop with consistent micro-line samples.
10. Compass Form on the Upper Arm
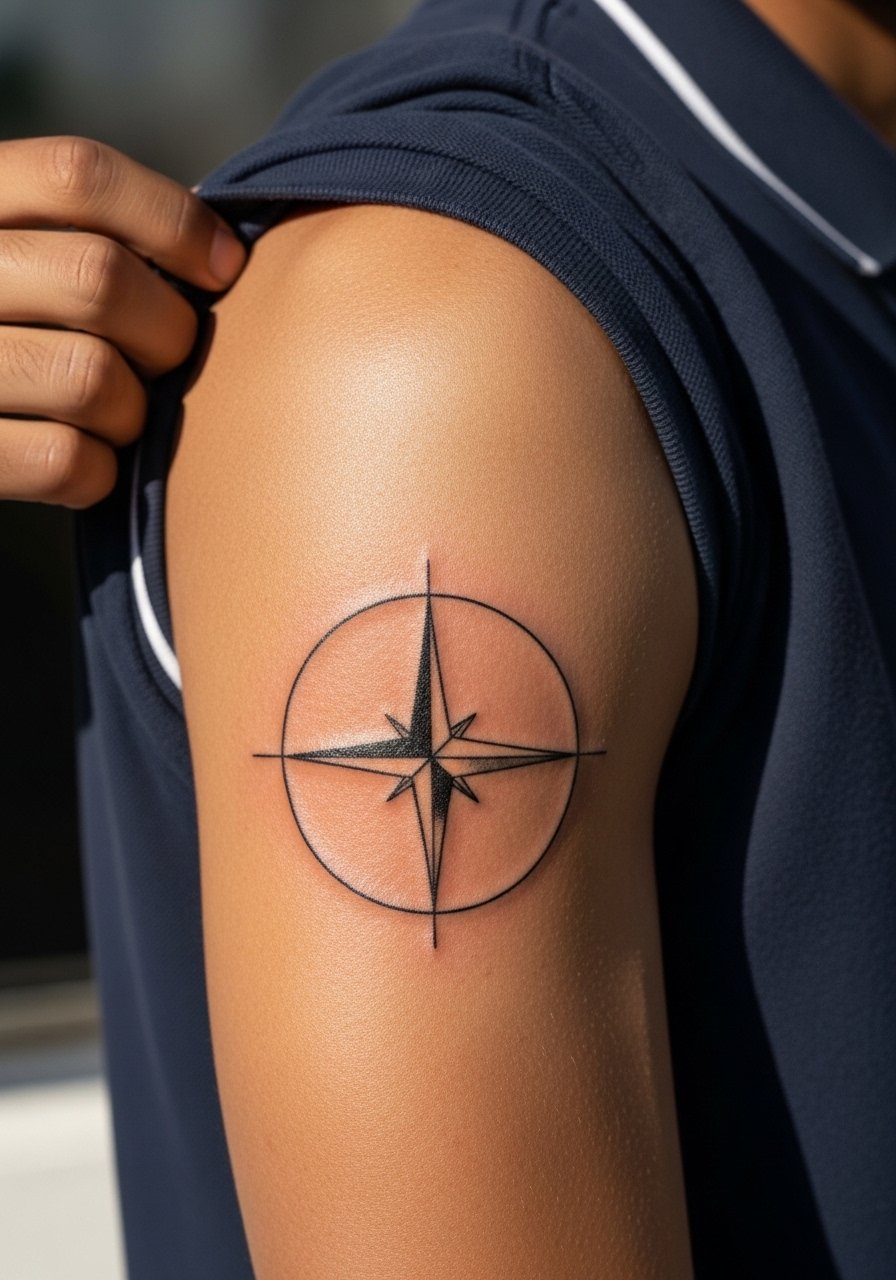
Mistake lead: the compass only reads as navigation when the marks are crisp and the cardinal points are uncluttered. Ask for open negative space between the ring and the inner marks so the compass does not blur into a shaded blob. The upper arm is an excellent site for this piece since it avoids constant rubbing. Pain is mild and session time short. For smart-casual wear try a mens slim polo short sleeve to show the compass with neat sleeves.
11. Geometric Bear Silhouette on the Chest
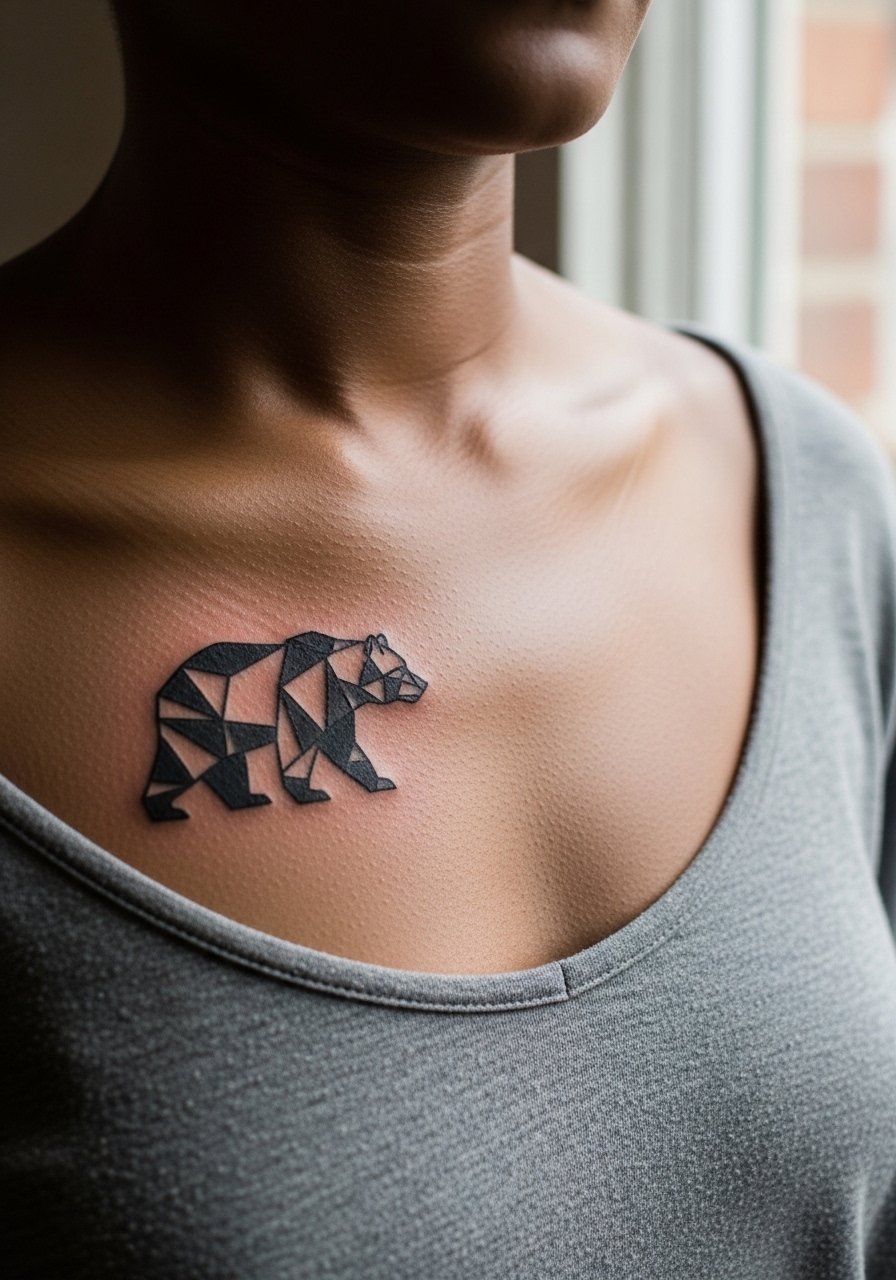
Aging lead: chest pieces see stretching with weight changes and age. If you expect muscle bulk shifts or weight fluctuation, place the bear slightly off-center where the skin moves less. Common error is asking for a three-inch bear with heavy interior lines. Keep the silhouette bold and let the negative space do the work. This is typically a one-session piece but plan for a touch-up if you care about razor edges at year three. Mention any chest hair grooming plans to your artist so they can position the silhouette around natural hair patterns.
12. Eagle Outline Abstract on the Calf
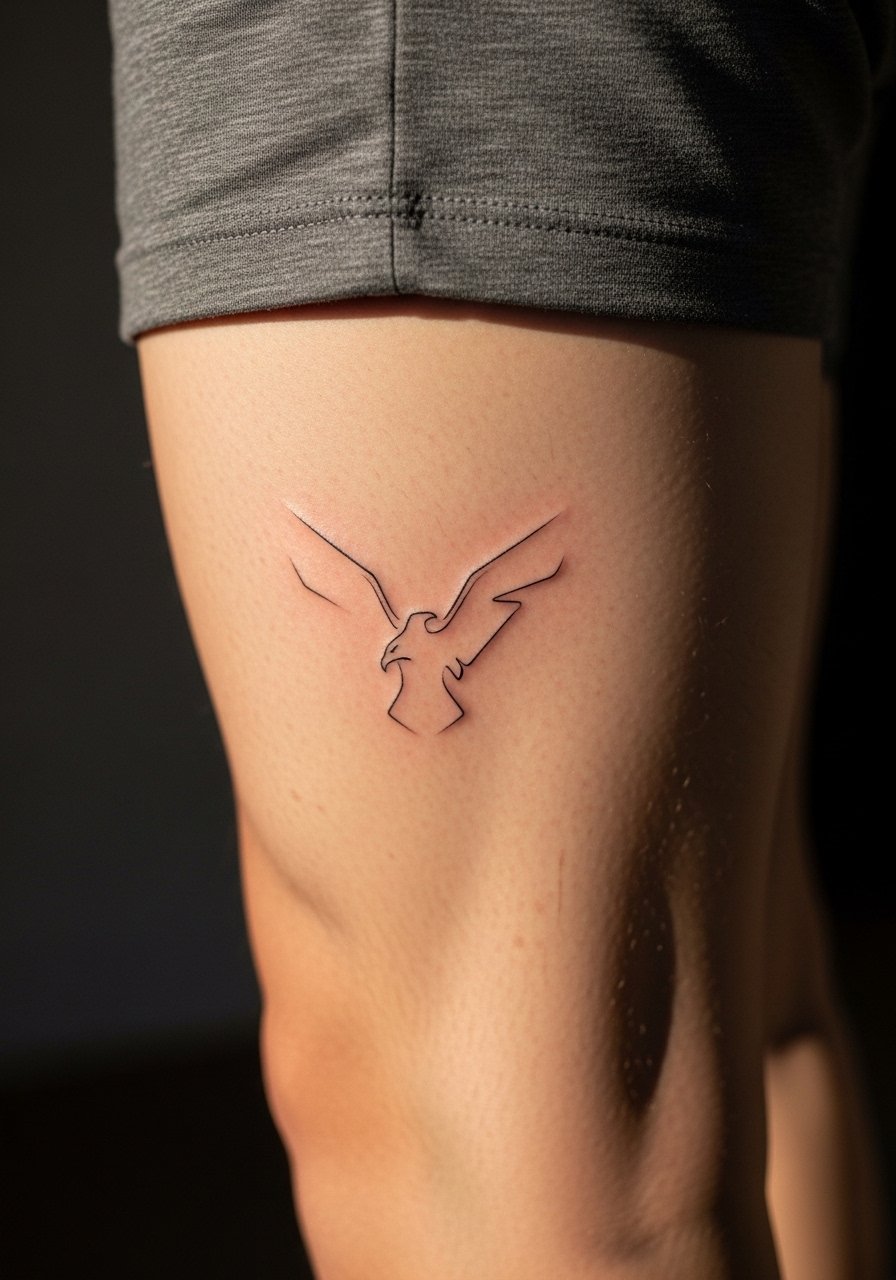
Visual impact lead: calf placements show well when you walk or sit. The calf tolerates crisp linework and is less likely to suffer daily abrasion. Tell your artist how often you wear long socks or tall boots because that friction can mute crisp wings over time. A frequent mistake is crowding wing feathers into tiny strokes. Session feels like a long steady buzz but not intense. For summer wear, pair with mens athletic shorts rolled neatly to show the piece.
13. Initial Lettering Micro Behind the Ear
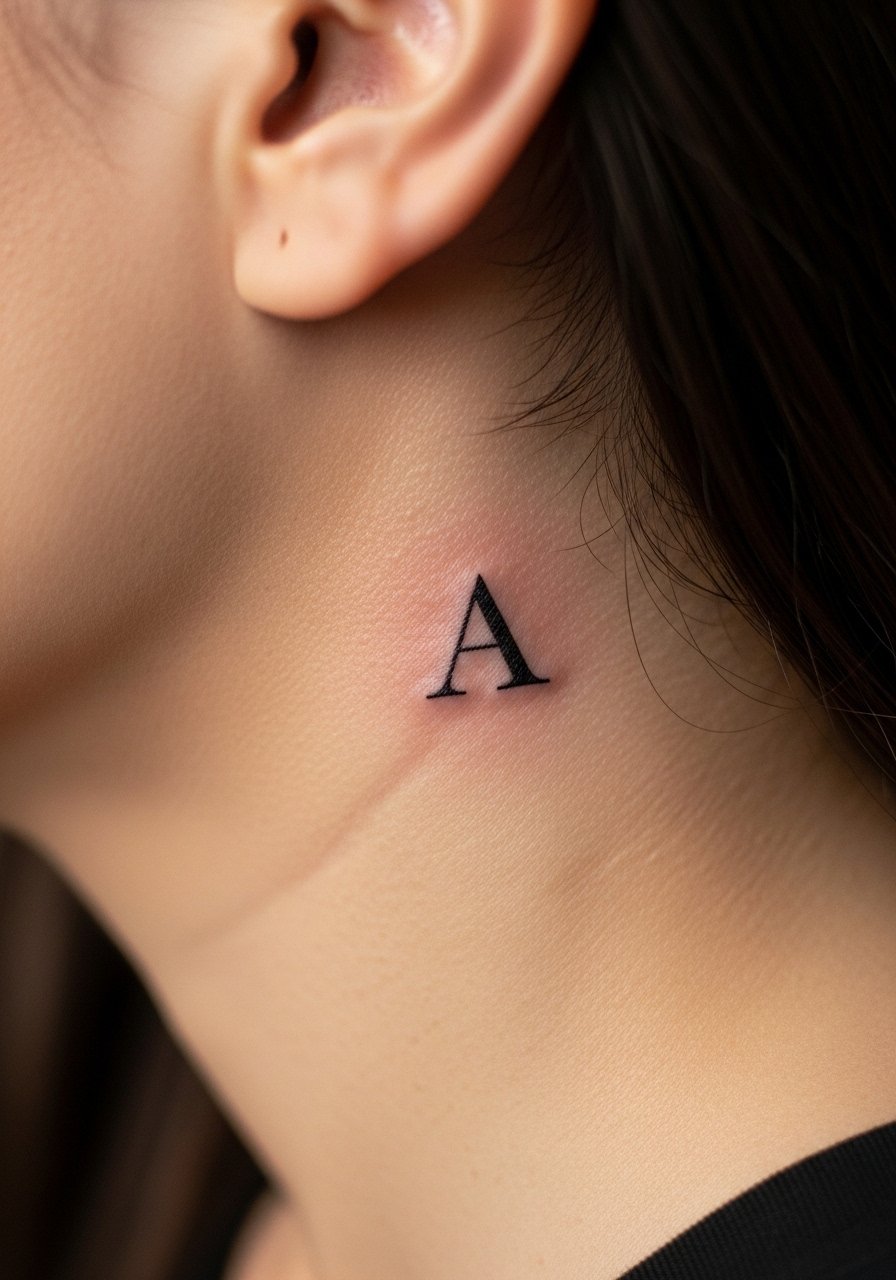
Personal observation: initials behind the ear read private in a way wrist initials do not. Keep the letter micro and use a bold sans or a small serif so the counterspace survives daily shampooing. Let your artist place the initial lower if you wear high collars often. This spot is simple to hide and easy to show with short hair. Mention any regular hair products in the consult because oils affect healing there.
14. Fine-Line Arrow on the Wrist
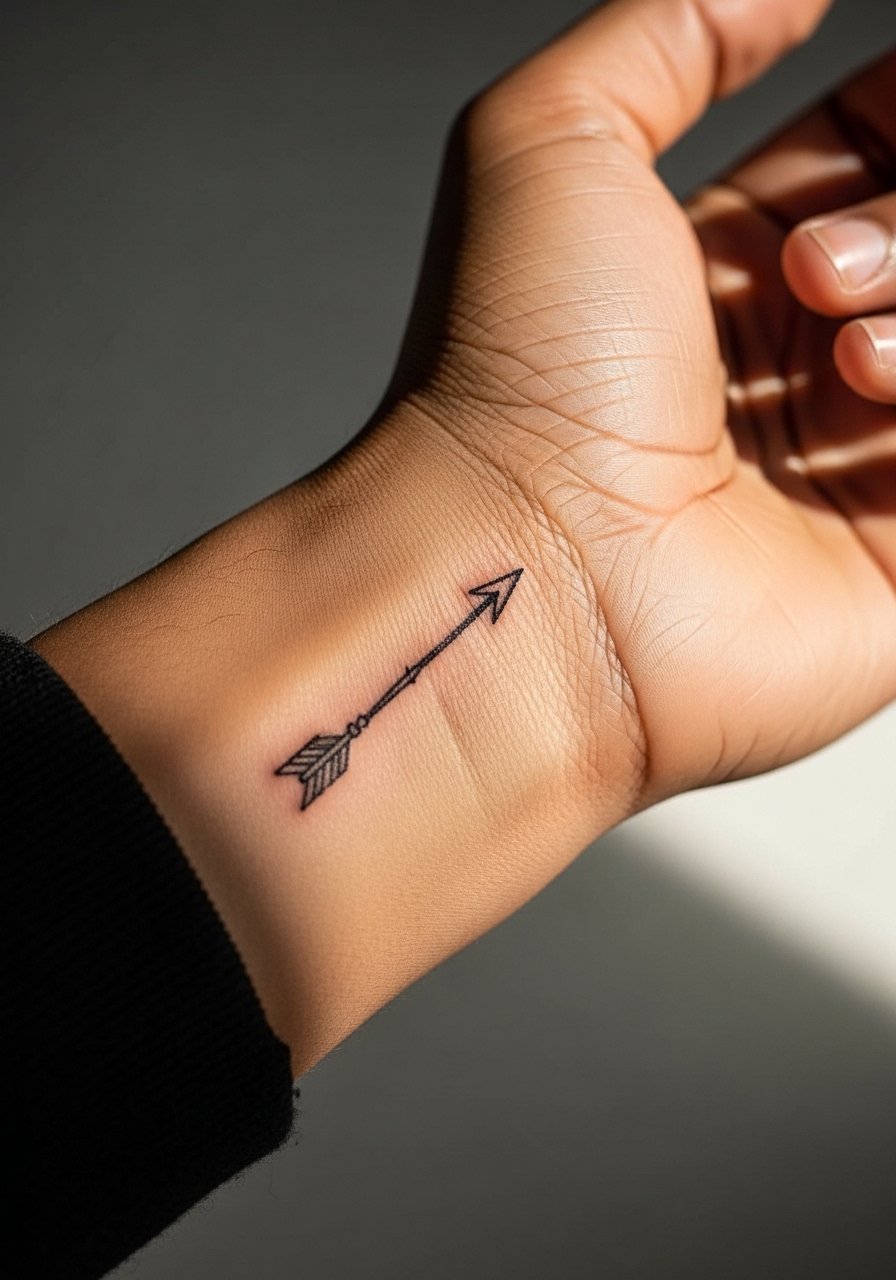
Mistake lead: arrows are popular but they suffer on wrists when reduced to single-needle hairlines. There is a clear debate among artists about fine lines on wrists. One camp says fine needlework done shallow blurs within two years, especially on high-friction sites. The other insists that correct depth and a slightly bolder shaft prevent early loss of definition. Tell your artist you prefer a slightly heavier shaft and a crisp fletching so the arrow remains legible. Expect a twinge of pain at the bone and a short session. For a session wear keep jewelry off and let the artist work without constraints.
15. Constellation Cluster on the Inner Bicep
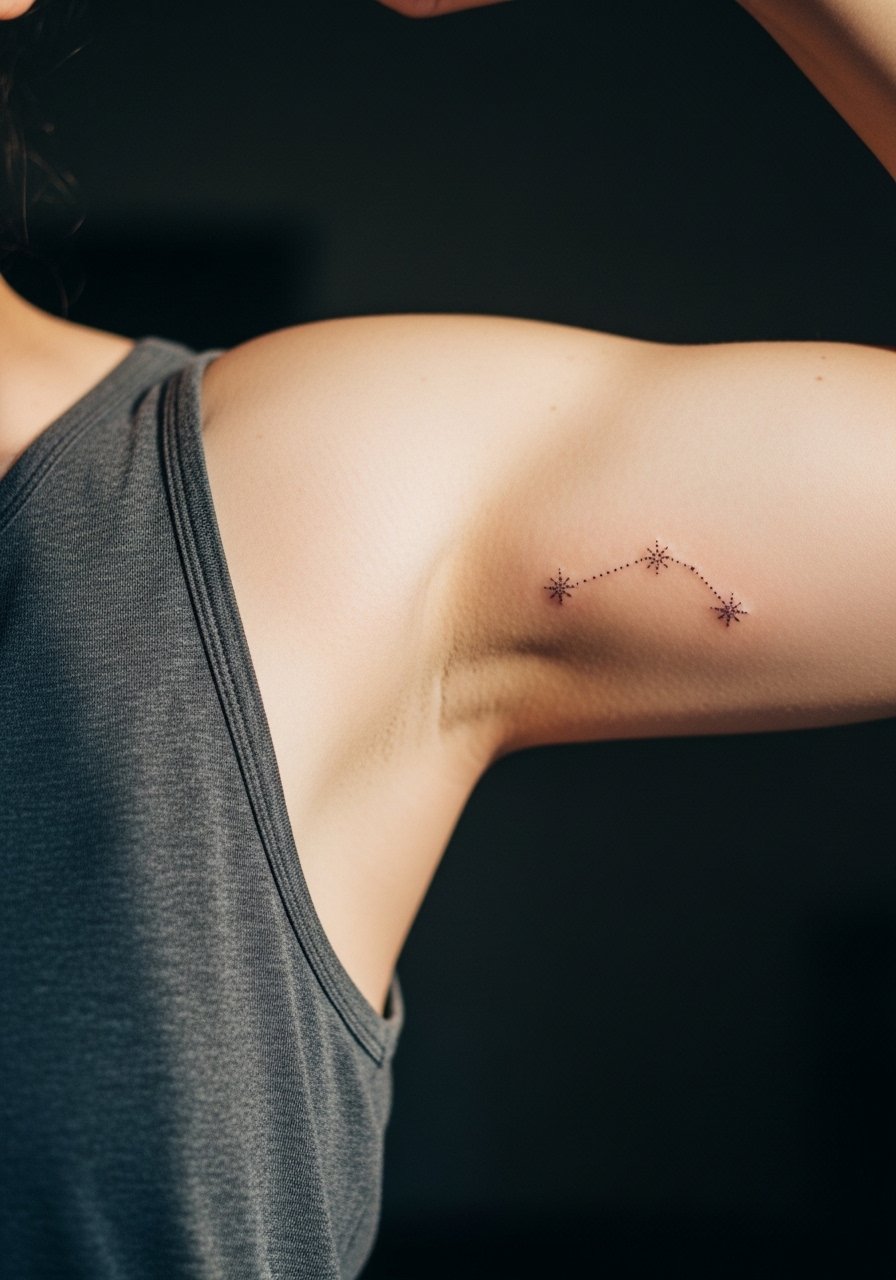
Styling lead: inner bicep work is intimate and sits where sweat and motion can challenge early healing. The biggest mistake is packing dots too tightly. Ask for spaced dot work using stipple shading and moderate needle depth for longevity. The session can feel tender because the skin is thin. For the appointment wear a muscle tee sleeveless so the artist can easily access the inner arm without moving the torso.
16. Single-Line Crescent on the Collarbone
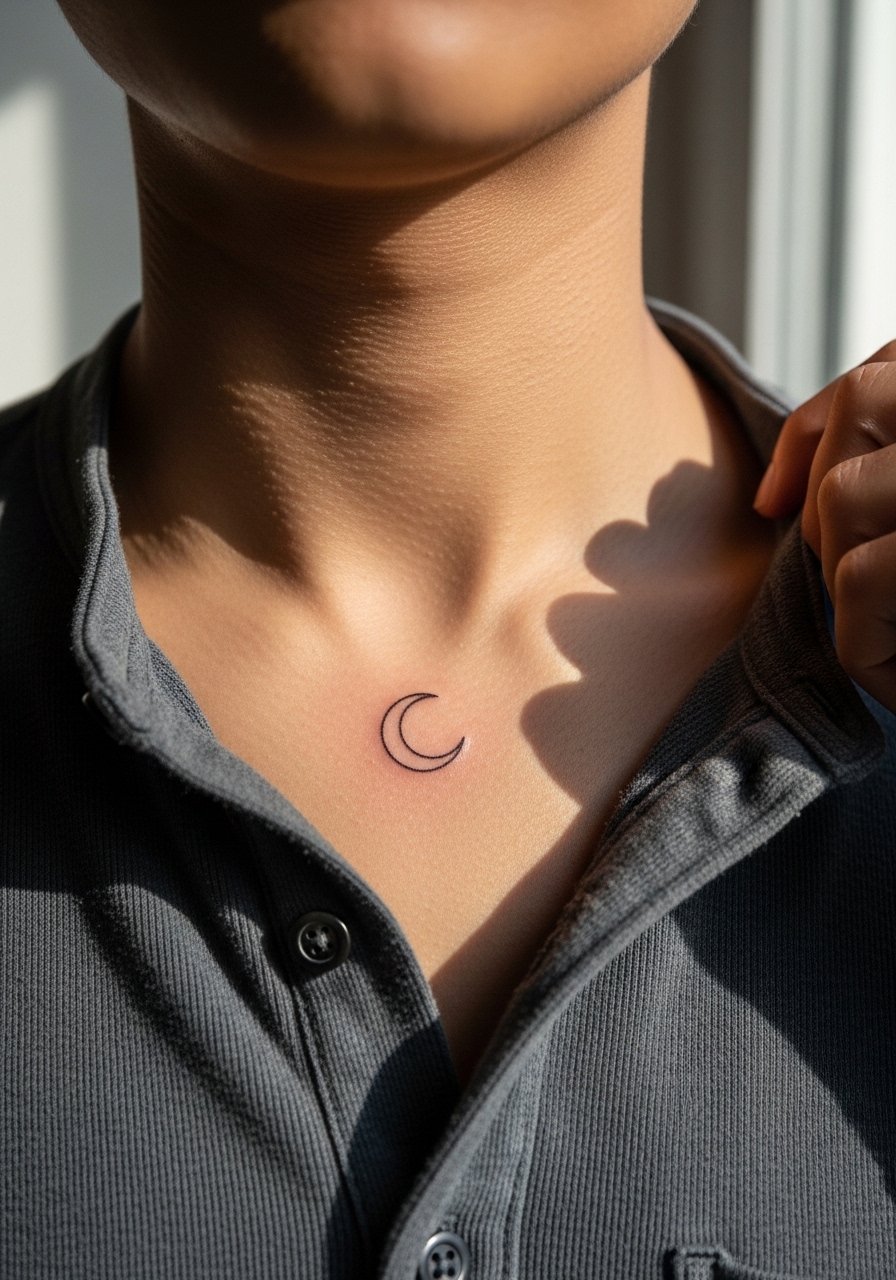
Consultation lead: single-line collarbone marks need to follow the bone contour to look intentional. Tell the artist the exact point you want the crescent to hug so it reads like part of your anatomy. Pain is higher near bone and session time is brief. A common misstep is asking for twin crescents crowded together which makes the area look busy at six months. For showing this piece, a minimal open collar henley works with the crescent sitting just above a thin chain.
17. Wave Form on the Calf for a Coverable Adventure Mark
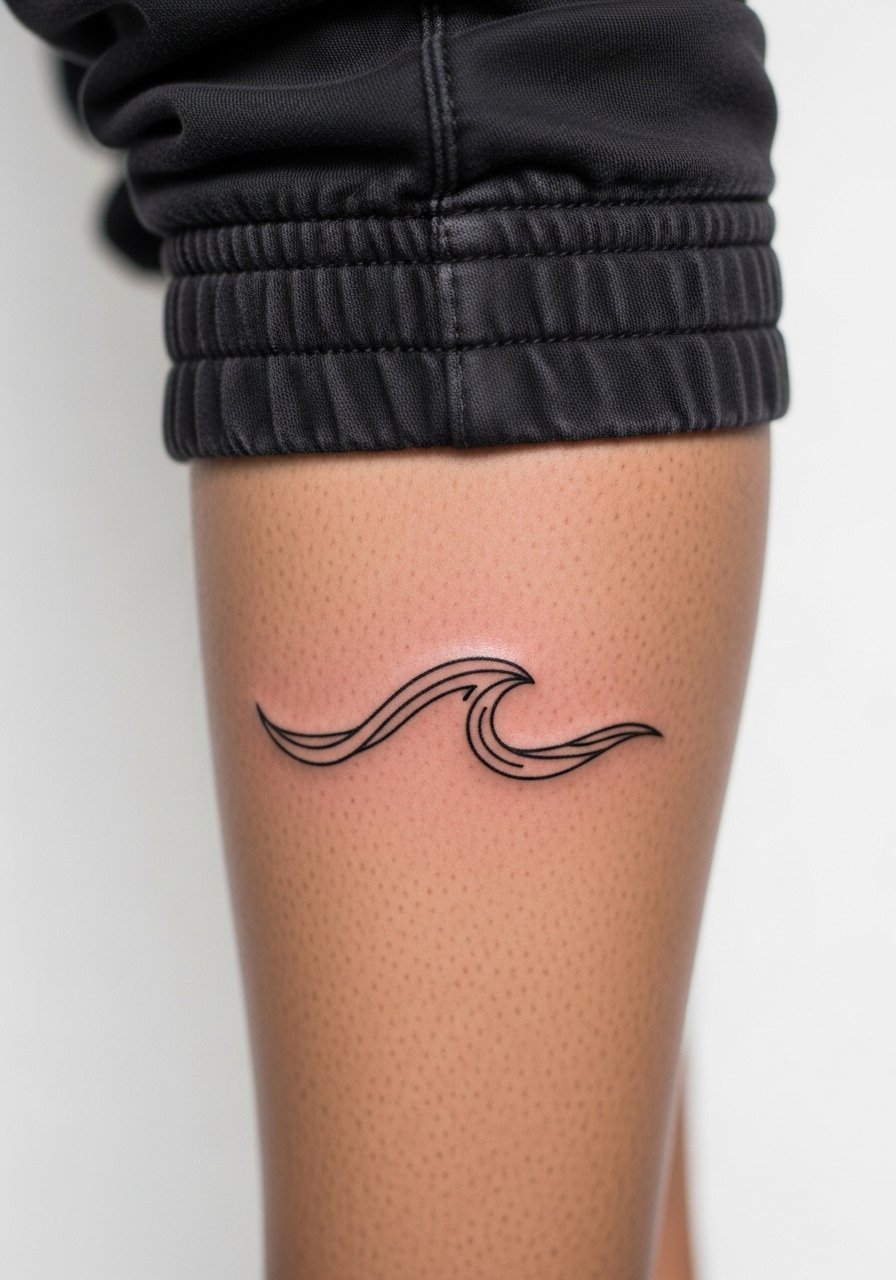
Unique angle: calf waves are coverable and sit where they avoid constant UV exposure. If you want a low-maintenance adventure mark, this is a good fit because the leg experiences less daily abrasion than hands or feet. A common error is placing the wave where socks rub it regularly. Ask the artist to orient the wave slightly to the outer calf so shorts show it clearly. Session discomfort is low and touch-ups are uncommon if you avoid prolonged boot friction.
Frequently Asked Questions
Q: Will fine line tattoos blur faster on wrists and hands than on other placements?
A: Yes, in my experience thin single-needle work on wrists and hands tends to soften faster than on fleshy areas. Artists are split on this. One group argues that fine detail on high-friction spots will merge within a few years. The other group says careful depth and spacing prevents early blur. Ask your artist which camp they follow and request a slightly heavier stroke if you want longevity.
Q: How much does a minimalist tattoo typically cost?
A: Expect a range from about 100 to 700 depending on size, placement, and whether it needs multiple sessions. Micro pieces on wrists or behind the ear sit at the lower end when quick. Larger chest or shaded geometric work can approach the higher end, especially if the appointment requires precise stencil revisions or a touch-up plan.
Q: What should I wear to a session for collarbone, chest, and inner arm tattoos?
A: Dress so the artist can expose only the area they need. For collarbone wear a V-neck or open-collar henley. For chest bring a wide-neck tee you can pull aside. For inner arm bring a tank or loose button-down. If you want a quick option, a crewneck shirt you do not mind tugging works at the shop. A simple accessory like a thin silver chain necklace can sit above collarbone pieces for show-off photos after healing.
Q: What happens if an artist cancels a guest spot and I need to reschedule?
A: Booking risk is real. I have seen people pushed months out after last-minute cancellations. Book through platforms with clear cancellation policies when possible, and ask the studio if they can slot you with another artist who does similar work. If timing matters, prioritize local shops that keep multiple artists on rotation rather than a single guest artist.
Q: Are there placements I should avoid if I expect weight changes or muscle bulk shifts?
A: Yes. Areas like the forearm and chest stretch visibly with body composition changes. If you anticipate major weight fluctuation, favor placements such as the collarbone or outer calf that move less with body shifts. Also discuss expected changes during your consult so the artist can scale the design appropriately.
Q: Can I use numbing cream for bone-heavy placements like the collarbone?
A: You can, and many first-timers use topical numbing for sensitive spots. There is a debate in the community about it. One side says numbing helps newcomers get through bone areas without flinching. The other side worries it masks how the skin reacts and minimises the client-artist communication during the session. If you plan to use it, tell the studio ahead of time so they can advise on brand and timing.
