
Fine line Tree of Life tattoos are getting the most reposts right now, but they are not always the pieces that age best. Neo traditional variants that pair bold outlines with controlled saturation often hold shape longer, and small spacing choices matter more than fresh flash. Below are 27 neo traditional Tree of Life takes, with what to ask for, how they heal, and the wardrobe tricks that actually show them off.
1. Compact Forearm Tree With Root Wrap
A compact neo traditional Tree of Life on the outer forearm works well for people who want visibility without committing to a sleeve. I recommend asking your artist for a slightly thicker outline around the trunk and thinner internal linework so the main silhouette reads from a distance while details soften gracefully over time. Expect a 2 to 3 hour session and moderate pain. Common mistake is packing tiny leaves too close together, which leads to blurring after a few years. For the session wear, pull on a loose button-down shirt so the artist can roll the sleeve easily. Healed at six months the trunk stays crisp, by year three the tiny leaf detail may need a touch-up.
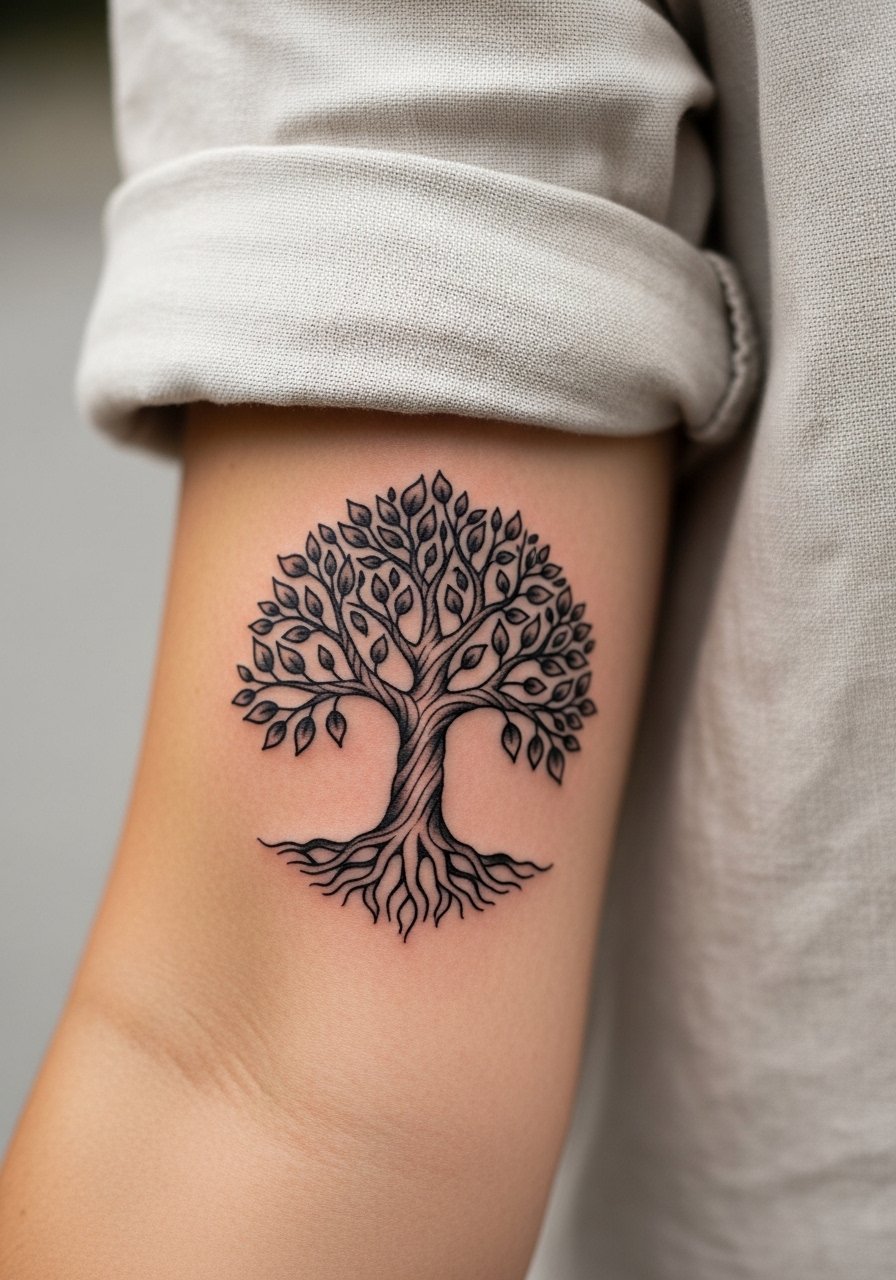
2. Inner Forearm Linocut-Style Tree
The inner forearm is forgiving for line detail and a linocut inspired Tree of Life looks graphic and readable there. Fair warning, inner forearm skin shifts with muscle movement so ask for stronger linework in the trunk and more spaced dot work in foliage. Session feels like steady vibration rather than sting, and it usually takes two hours. A common aging issue is too-fine stippling that fills in by year two. For showing it off, pair this with a simple racerback tank when the weather allows, the open sleeve frames the design. Tell your artist you want the trunk saturated and the leaves airy to avoid early muddiness.
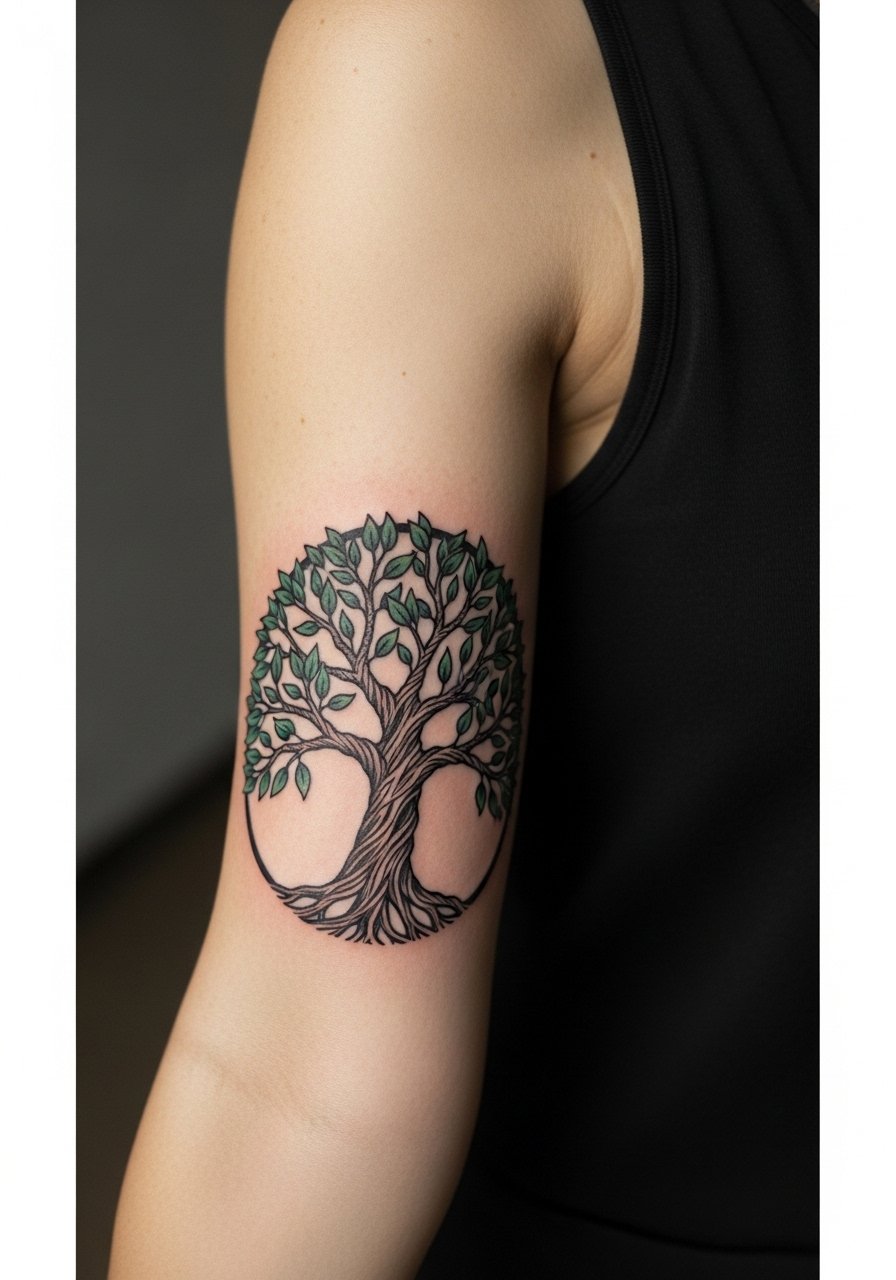
3. Half-Sleeve Tree With Floral Canopy
A half-sleeve Tree of Life lets you mix botanical neo traditional elements, like roses and peonies around the canopy. This design is best when planned across multiple sessions. Tell the artist which element you want to read from afar and which can sit in fine detail. The biggest mistake is overcrowding the negative space, which makes the piece age into a muddle. Pain varies across the arm but expect multiple three to four hour sessions. Over time the saturated flowers will hold color better than micro leaves, so reserve tiny dot work for sheltered spots near the elbow. No styling link here to keep the focus on layering decisions.
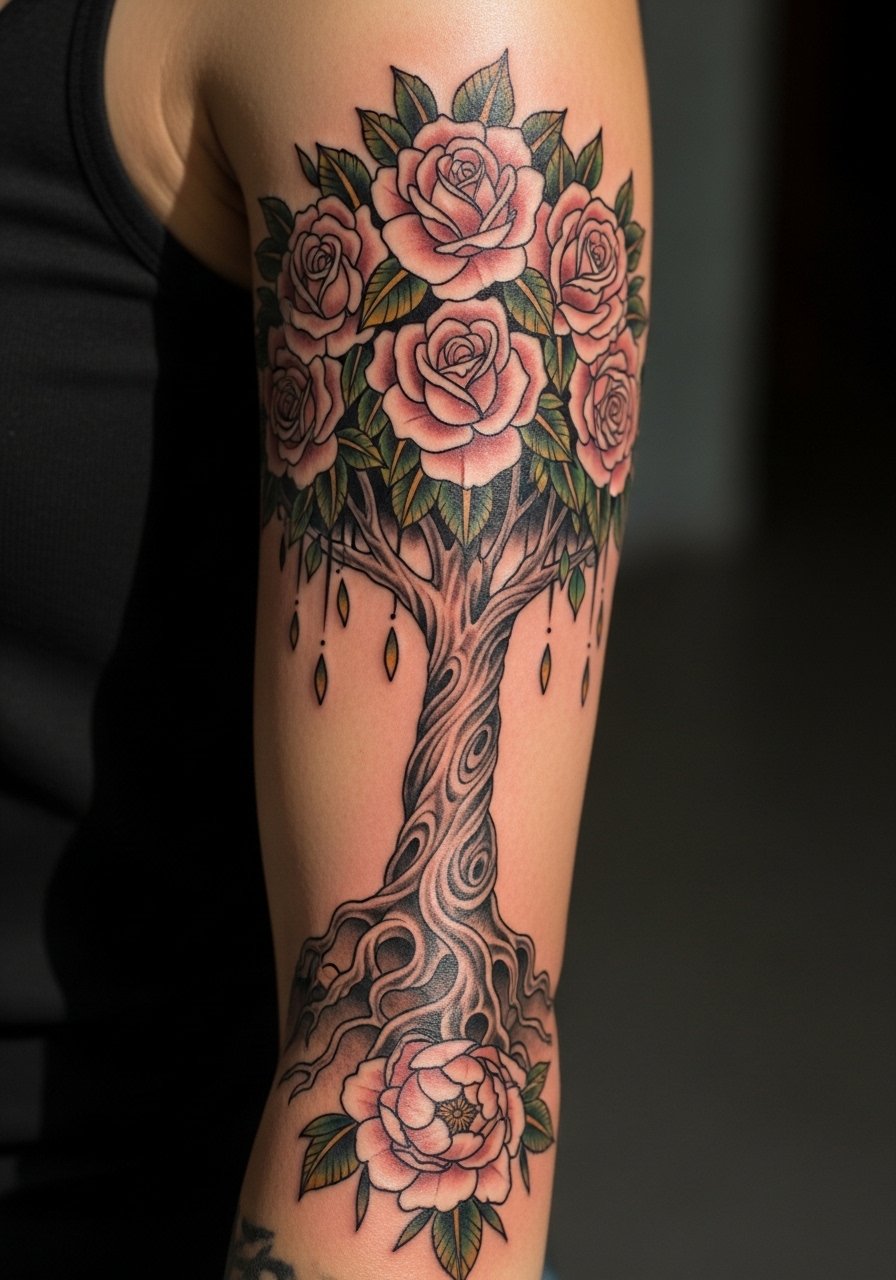
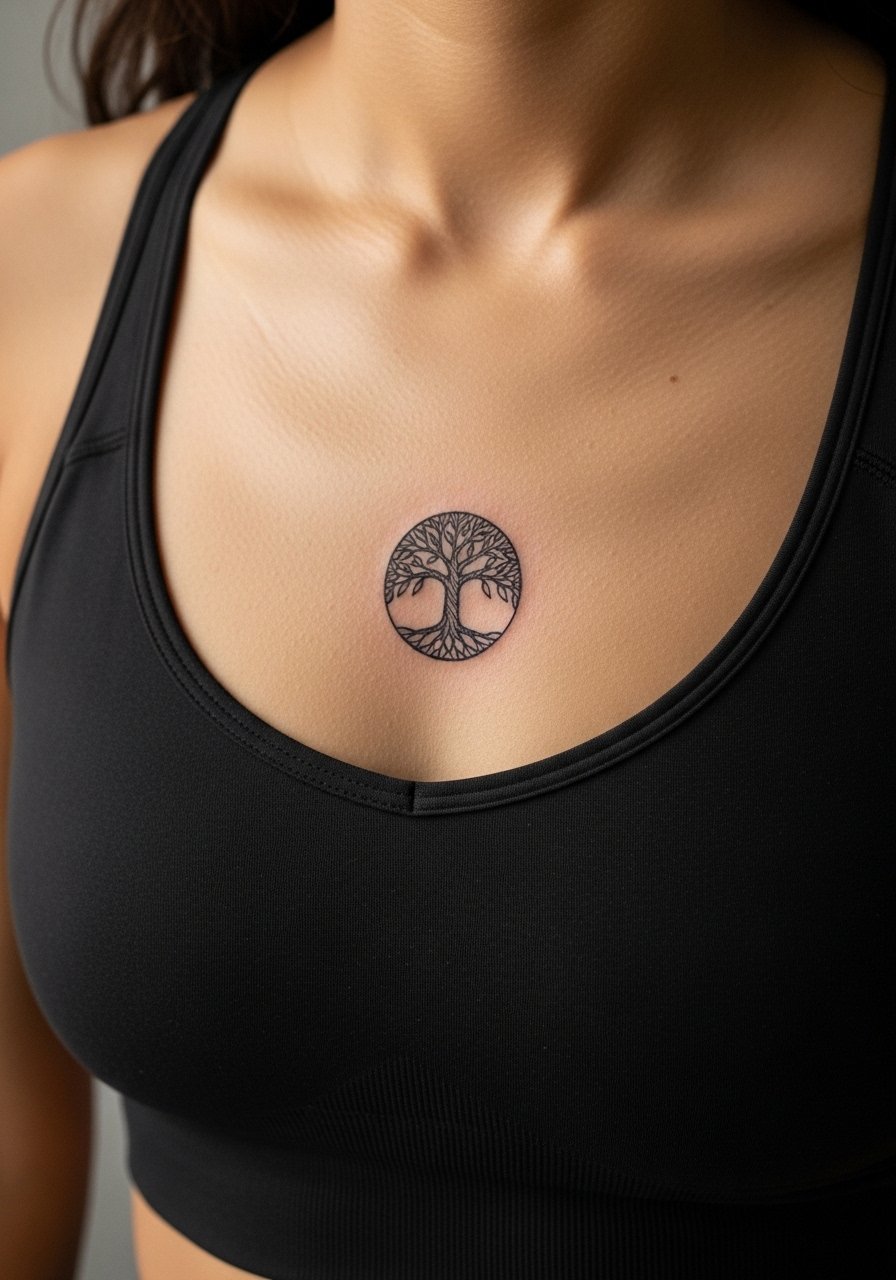
4. Sternum Tree With Mirror Roots
Sternum placements give Tree of Life tattoos an intimate central anchor. For sensitive chest work, wear a fitted sports bra or bandeau so the artist can access only the sternum region. Tell the artist you want mirrored roots that tuck under the rib line for movement with breath. Controversy exists around fine line on the sternum. One camp says the stretch and healing there wash out delicate lines within a short time. The other camp points out that with correct depth and spacing, a neo traditional approach that uses more saturation can last. Expect a high pain level and plan for a touch-up at year two. Because this is a private spot, no showing-off styling is necessary.
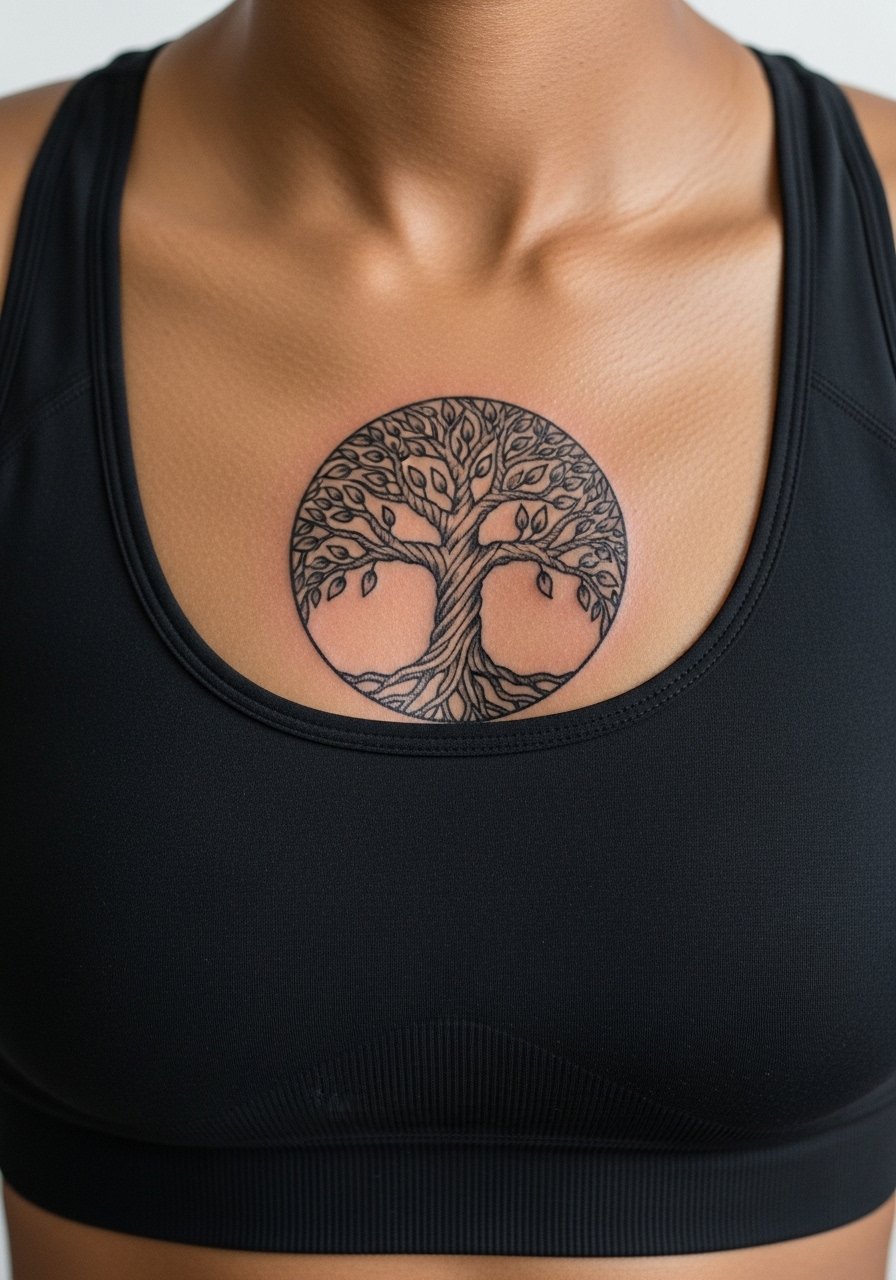
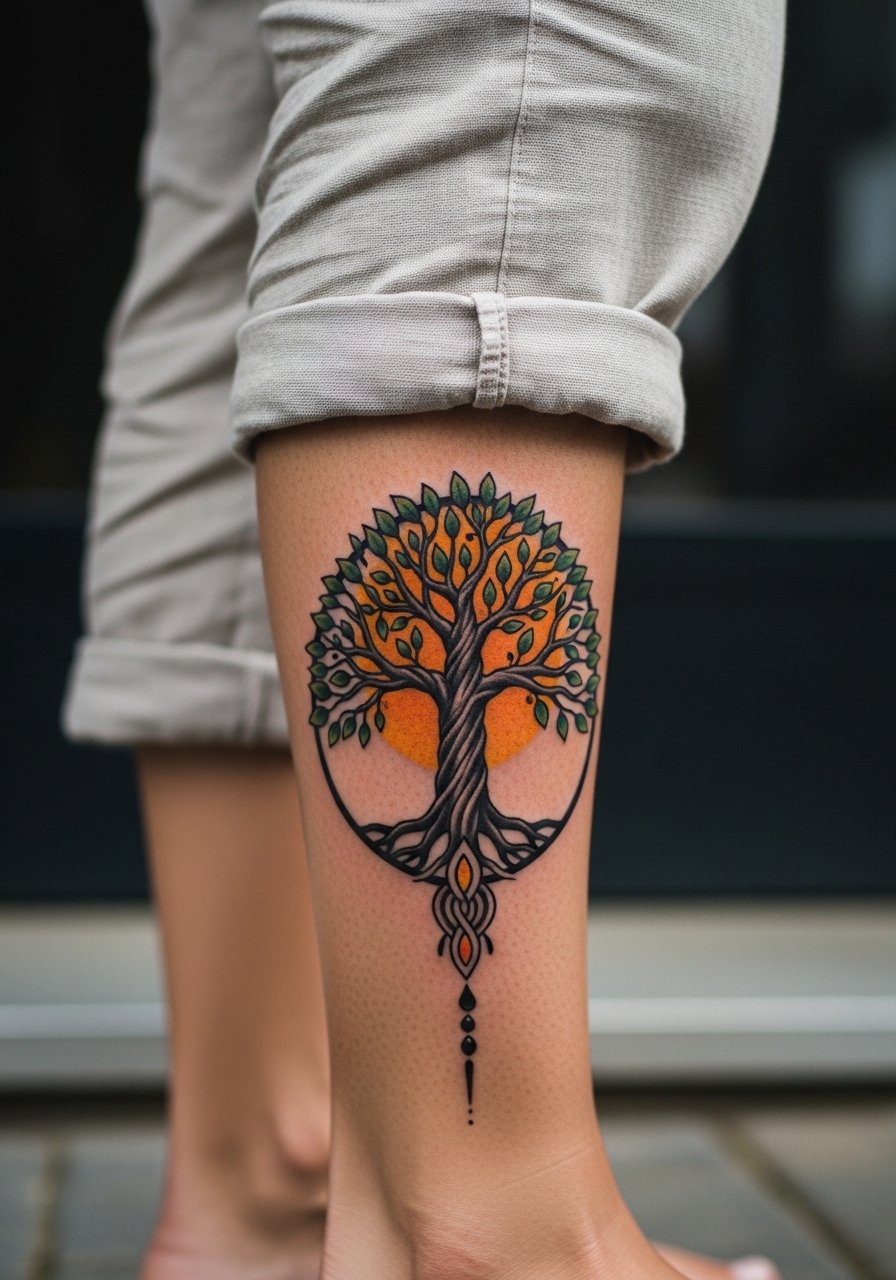
5. Calf Tree With Twining Branches
A vertical Tree of Life on the calf reads beautifully walking down a leg. The calf provides enough surface to play with long roots and twisting branches. Expect moderate pain and a two to three hour session. The common mistake is making the trunk too narrow which leads to early blowout in the lower leg. For session comfort wear loose drawstring linen pants so the artist can roll the leg without pressure. Healed, the saturation in the trunk will hold better than tiny leaf veins, so ask for slightly bolder branch outlines than you think you need.
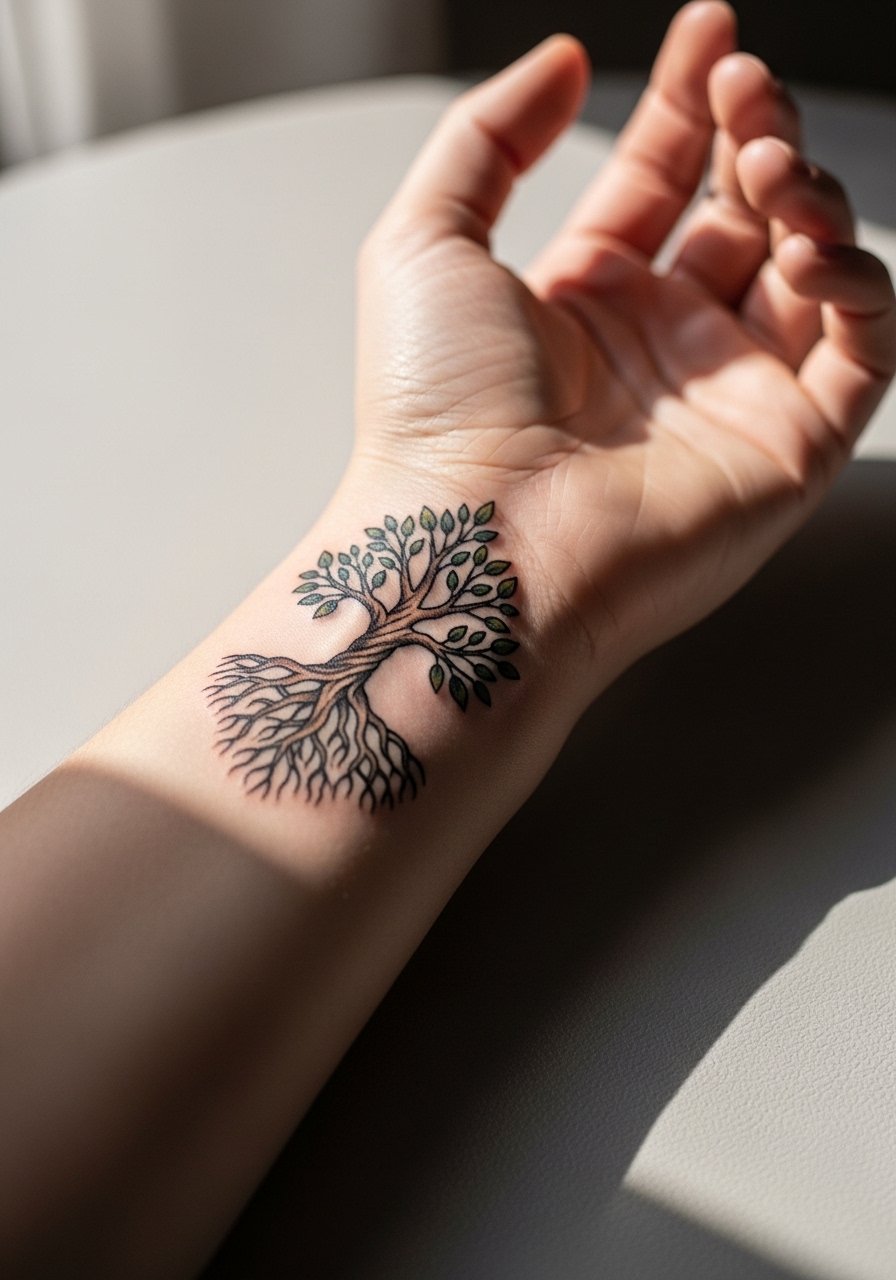
6. Wrist-Wrap Mini Tree With Crescent Roots
Tiny Wrist-wrap Tree designs are charming but they live in a high-friction zone. Thin details on the wrist blur faster than on the forearm. If you want a wrist piece, ask for a compact silhouette with bolder outer linework and trimmed inner detail. Session is short and the pain is sharp but brief. For showing and protecting this spot, match the piece with a thin chain pendant necklace if it sits near the cuff of sleeves, or keep a stack of delicate bracelets that do not rub the ink. Expect touch-ups sooner than larger pieces, often around year two.
Studio Day Picks
The forearm, calf, and wrist pieces above ask for different prep and first-week protection, so a few targeted items make the session and early healing smoother.
- Stencil transfer sheets. Helps you preview placement on tricky curves like the wrist and calf before the needle hits skin.
- Topical numbing cream. Applied as directed reduces sharpness for high-sensitivity areas such as sternum and inner arm.
- Thin protective film roll. Keeps small zones like the wrist and ankle clean during the first few days of heavy handwashing.
- Fragrance-free gentle body wash. Cleans healing tattoos without irritating fine linework in compact designs.
- Aquaphor healing ointment. A thin layer during the initial days helps keep moisture balanced for small detailed neo traditional pieces.
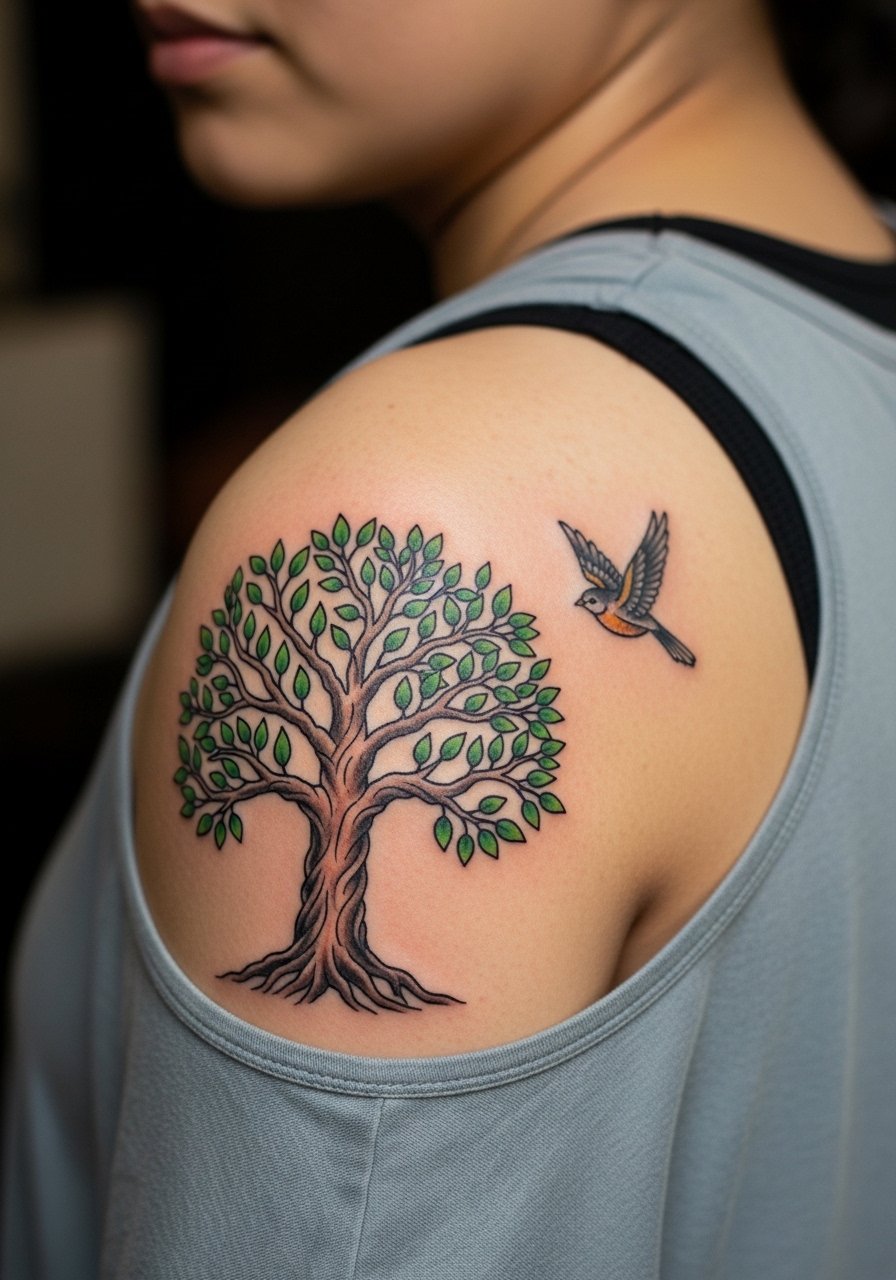
7. Shoulder Blade Tree With Bird Accents
A shoulder blade Tree of Life gives scope for negative space under the canopy and it sits well under tops. For the session wear a loose tank top so only the blade is exposed. I often suggest adding a small bird or two in flight to give a focal point that holds over time, because tiny leaf work fades faster than a bold bird silhouette. Pain is low to moderate and session time ranges from two to four hours. When asking an artist, specify which direction you want the bird to face to preserve composition with clothing. Pair this with an open-back midi dress for evenings out that show the piece without full exposure.
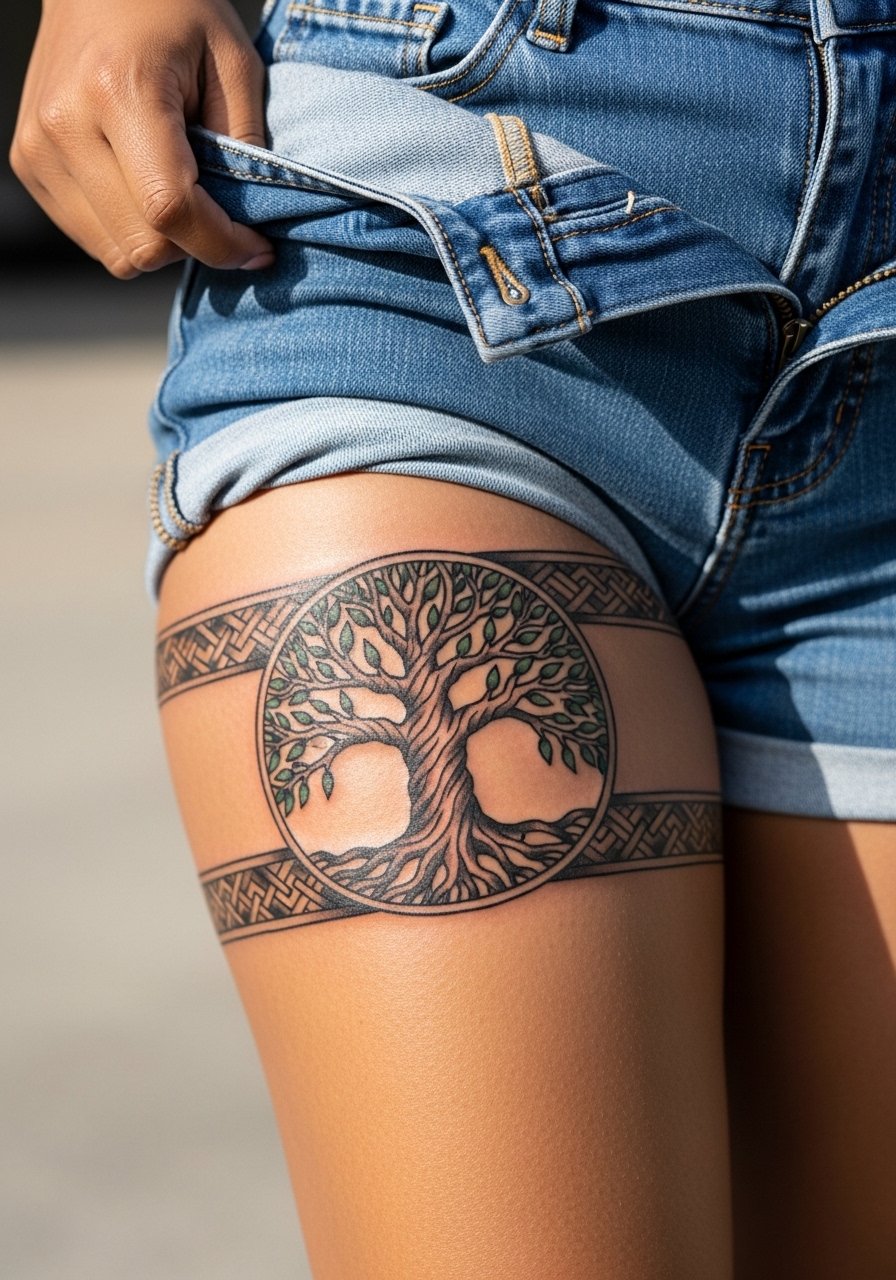
8. Thigh-Banded Tree With Root Lace
A thigh Tree can stretch into a band that wraps slightly around the leg. This placement lets you include more decorative roots and lace-like negative space that reads well in motion. For the session wear shorts shifted slightly to expose only the tattoo area. The inner thigh is more sensitive so placement closer to the outer thigh balances comfort and visibility. A common mistake is making the band too tight then filling it with micro detail. Larger motifs age better here. Expect a longer session and plan for modest swelling. Because it is intimate, consider whether you want public display before booking.
9. Behind-the-Ear Miniature Tree Symbol
Behind-the-ear Tree of Life marks read as subtle symbols. For safety framing, describe it as on the skin behind the ear below the hairline so only a close cropped area shows. Tiny pieces here need clear negative space or they blur. One mistake is asking for extensive shading in such a small zone. Tell your artist you want a bold outline with minimal interior detail. Pain is short but sharp. For show-off styling try a delicate thin chain pendant necklace and hair pulled back, it keeps the area visible without full exposure.
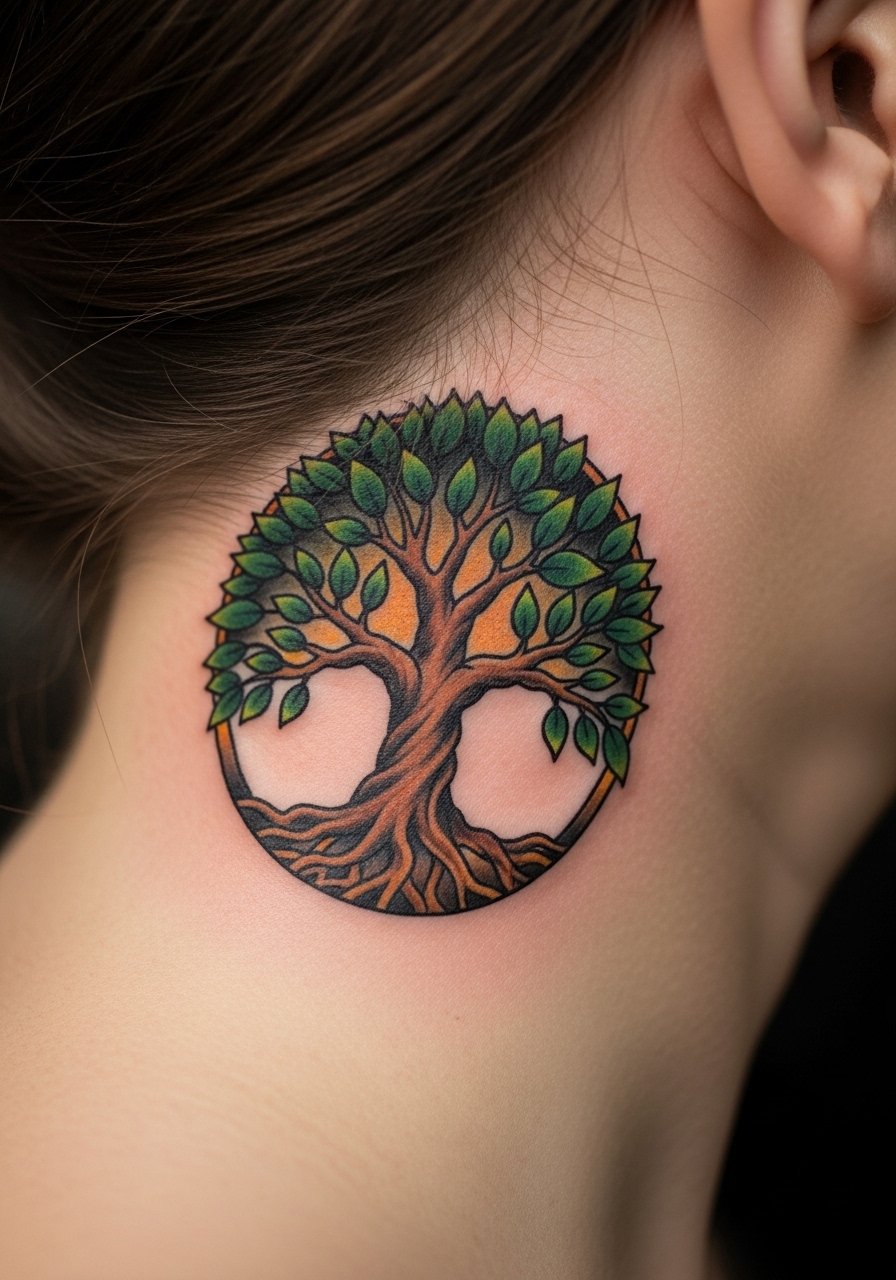
10. Throat-Side Tree With Script Branches
Side-neck Tree designs can incorporate script as branch elements but remember visible text must be chosen carefully for legibility. Frame the shot with a wide-neck shirt pulled to one side for the session. Neck skin moves and ages differently so debate exists between those who advocate bold neo traditional outlines for longevity and those who believe any neck work will need more frequent touch-ups. Name both camps when discussing placement. If you pick script as branches, specify the exact wording to avoid gibberish. Pain is moderate and healing needs extra sunscreen when exposed.
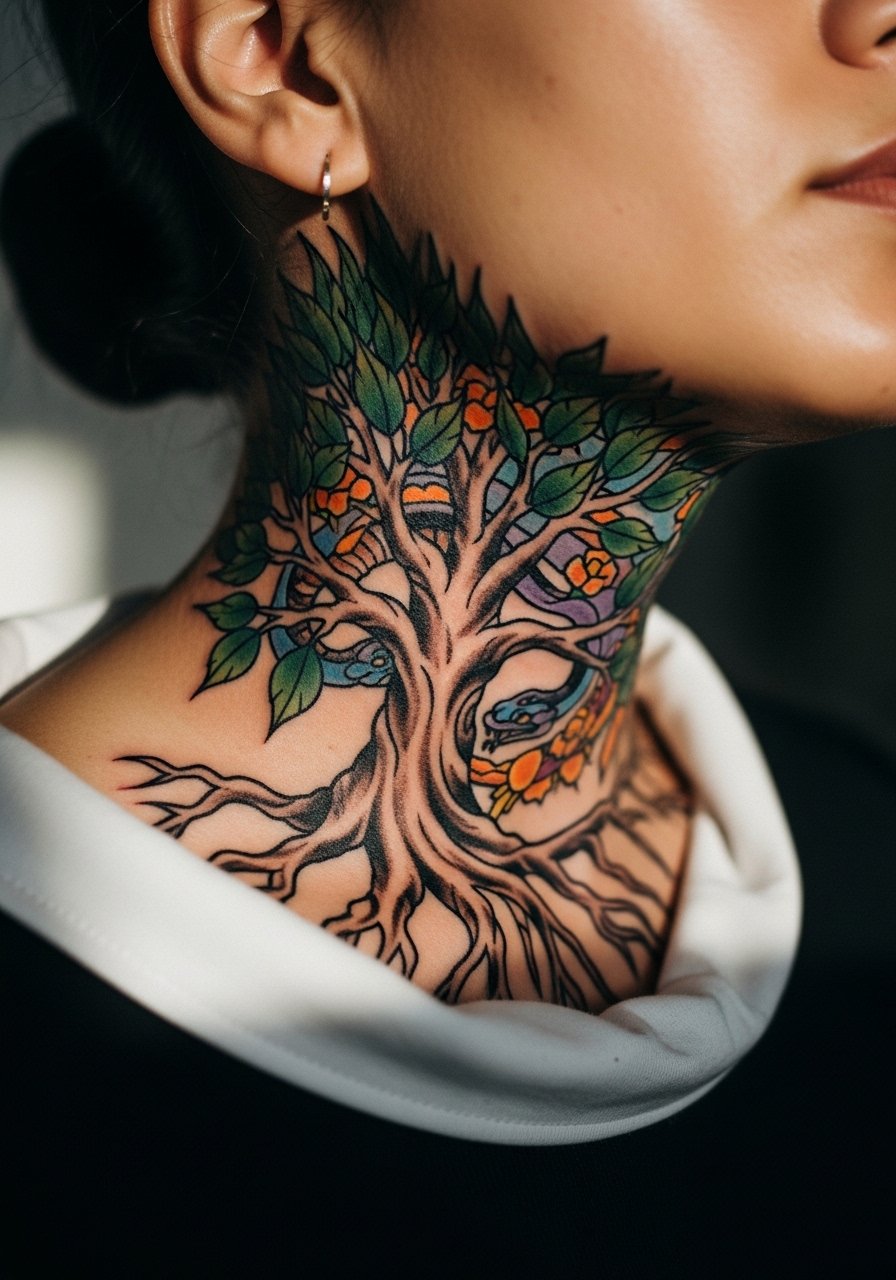
11. Sternum-to-Rib Semi-Vertical Tree
When you want drama under clothing, a sternum-to-rib Tree stretches into a semi-vertical composition that reads under low necklines. Wear a fitted sports bra for the session so only the work area is visible. This placement has higher pain and swelling. A common error is pushing for super fine branches too close to the ribs. That detail blurs with breathing and time. Ask for slightly more spacing and solid trunk saturation. Because this touches sensitive zones, plan a two-session approach and expect a touch-up window in year two.
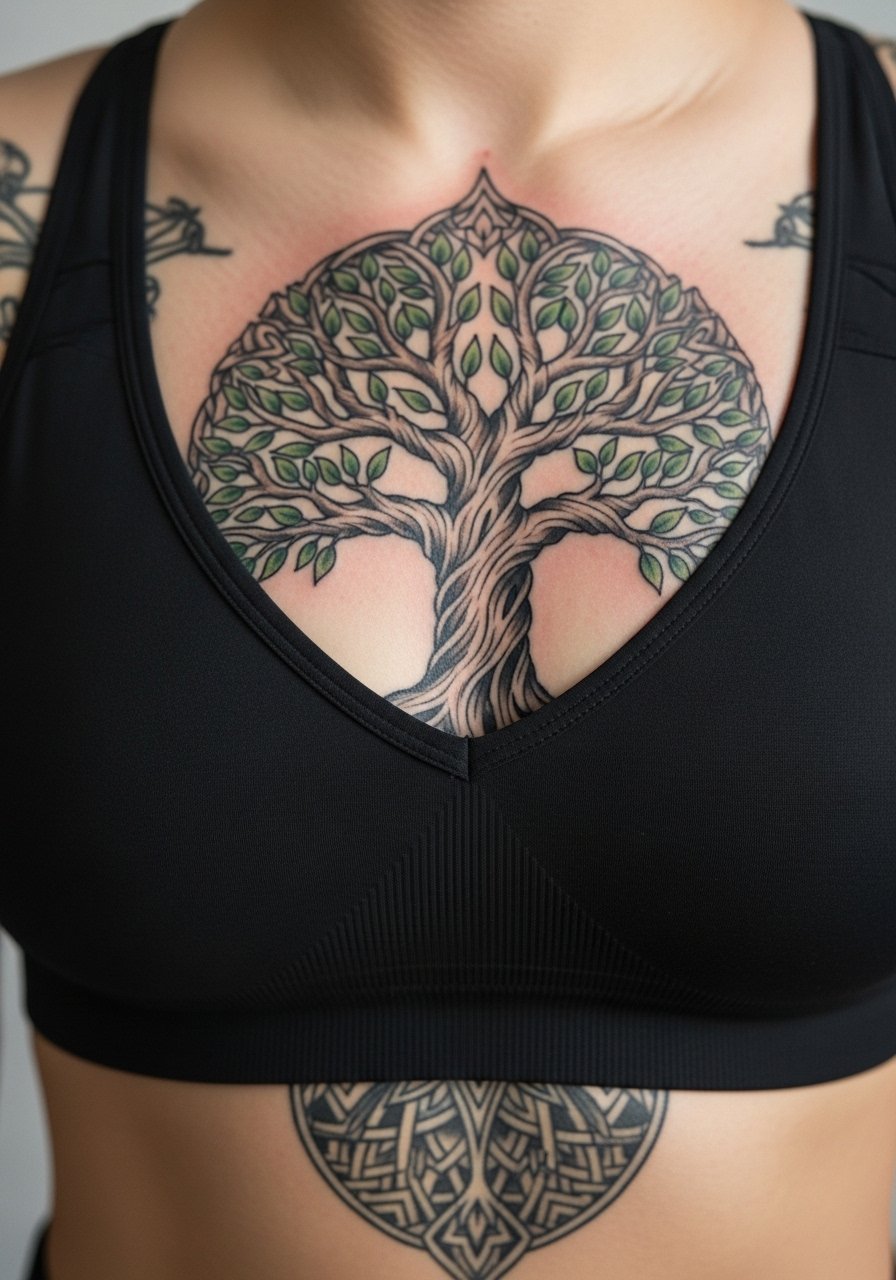
12. Collarbone Tree With Sun Motif
A collarbone Tree of Life paired with a small sun motif sits nicely with open-neck clothing. For session access wear a wide-neck shirt pulled aside so only the collarbone area shows. The collarbone area can be sharp during tattooing which makes planning important. Ask the artist to keep lines slightly bolder near the bone to prevent early feathering. A styling trick is to wear a thin chain pendant necklace that sits above the design, it frames the tattoo without crowding. Expect a one to two hour session and check the artist's healed collarbone pieces in their portfolio.
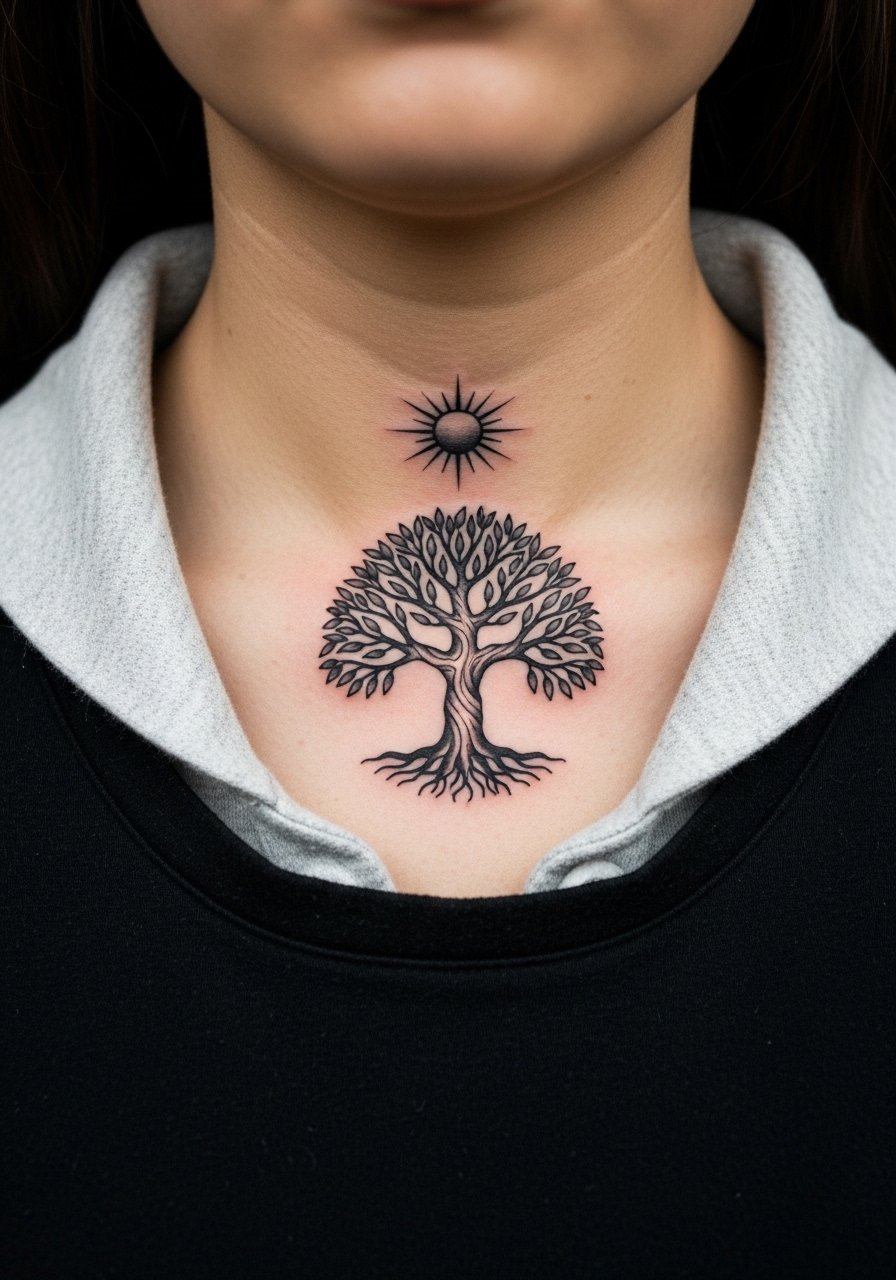
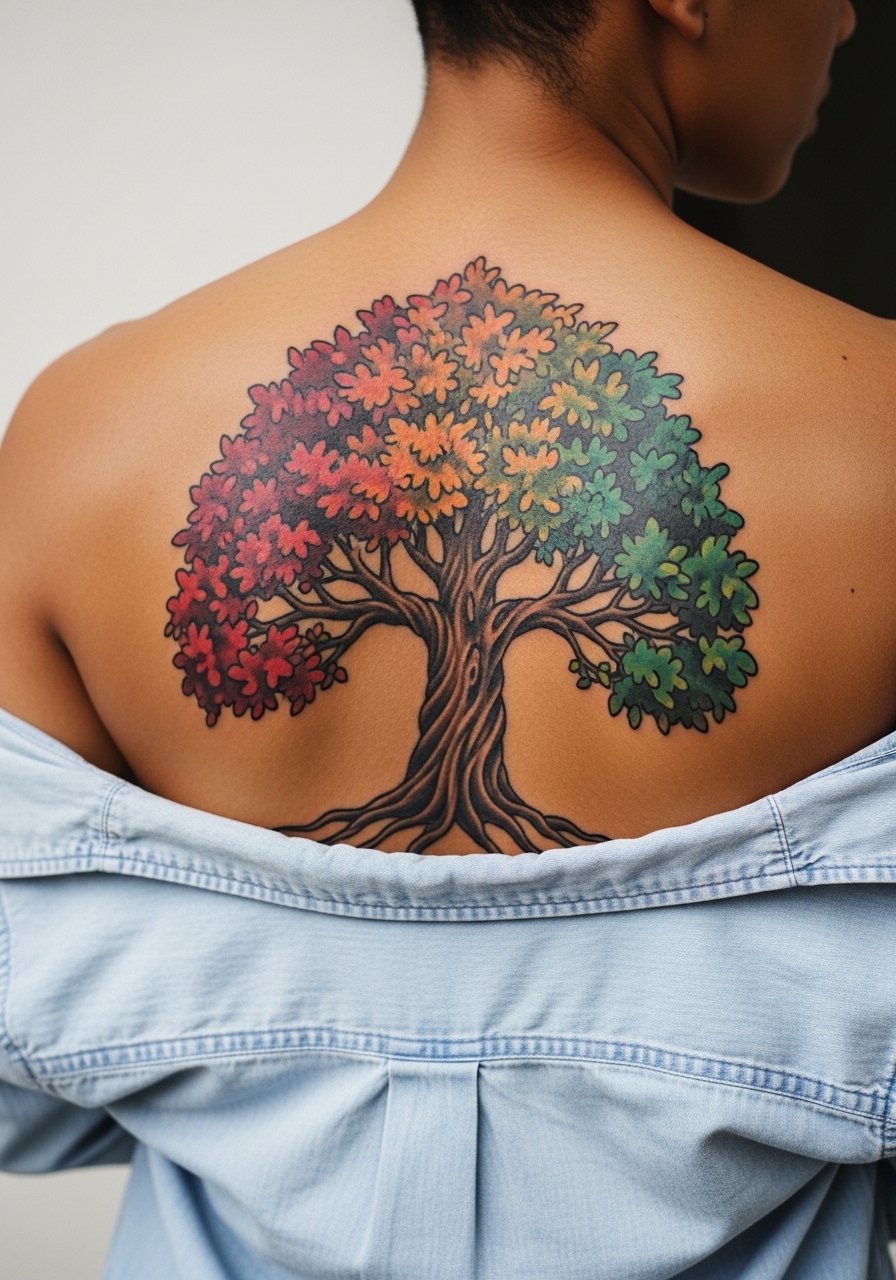
13. Full Back Tree With Seasonal Canopy
A full back Tree of Life lets you stage seasons across the canopy. If you want color variance across branches, ask for planned saturation zones so some leaves are intended to fade softer while others stay bold. Sessions span multiple days. A frequent mistake is over-detailing every leaf which becomes visually noisy when healed. For the session wear a loose button-down so the artist can expose only the upper back. This piece ages well when the trunk and major branches are given clear weight. No styling link here as the back is best revealed selectively.
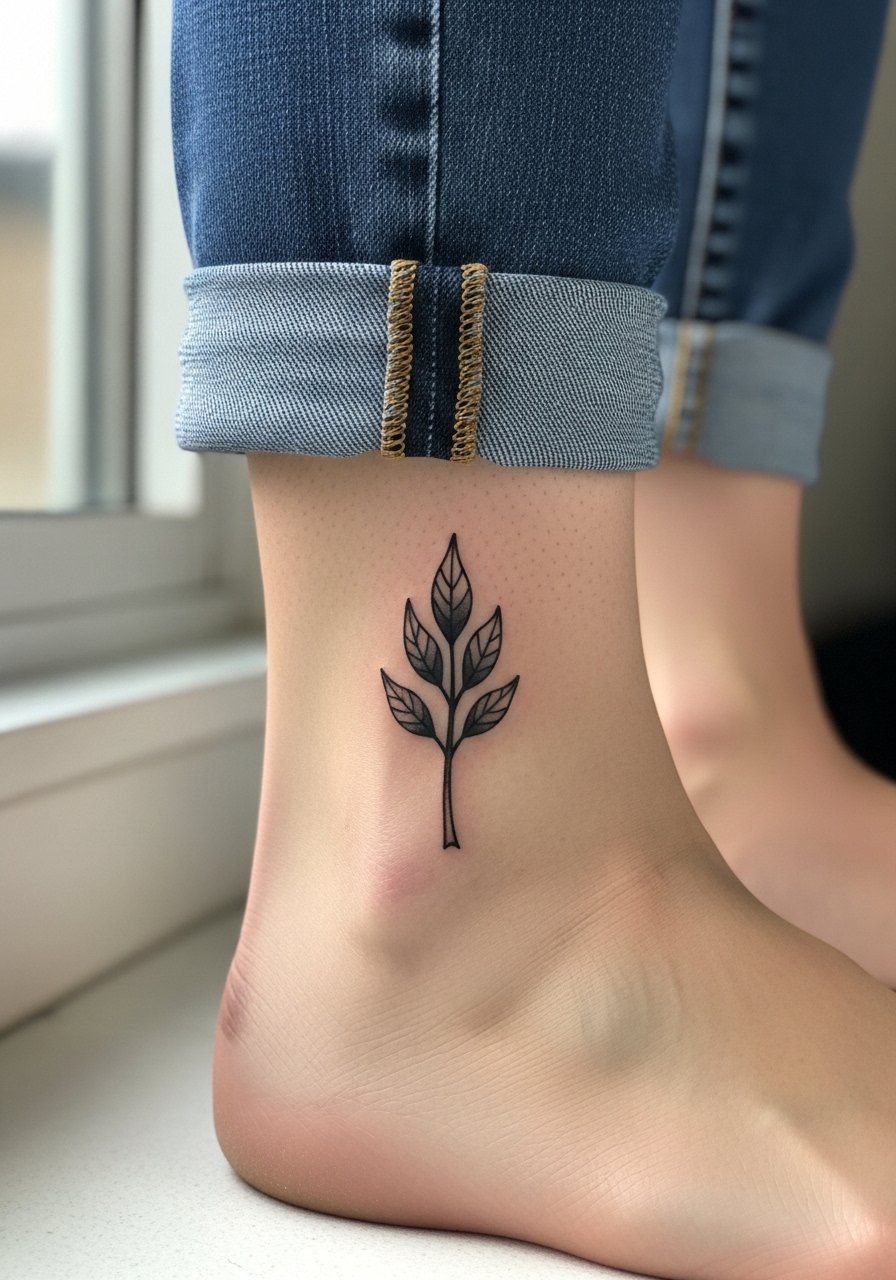
14. Ankle Sapling With Delicate Roots
Ankle Trees are tiny and live in boots and socks. The common problem is friction from shoes rubbing at the first week. For session wear jeans rolled up or sandals so only the ankle area is exposed. Ask for a compact silhouette and slightly heavier outer line to prevent early fading. Pain is low but the area sees constant movement. Pair with a neutral summer sandal look using minimal leather sandals when you want the piece visible. Plan for earlier touch-ups given constant abrasion from footwear.
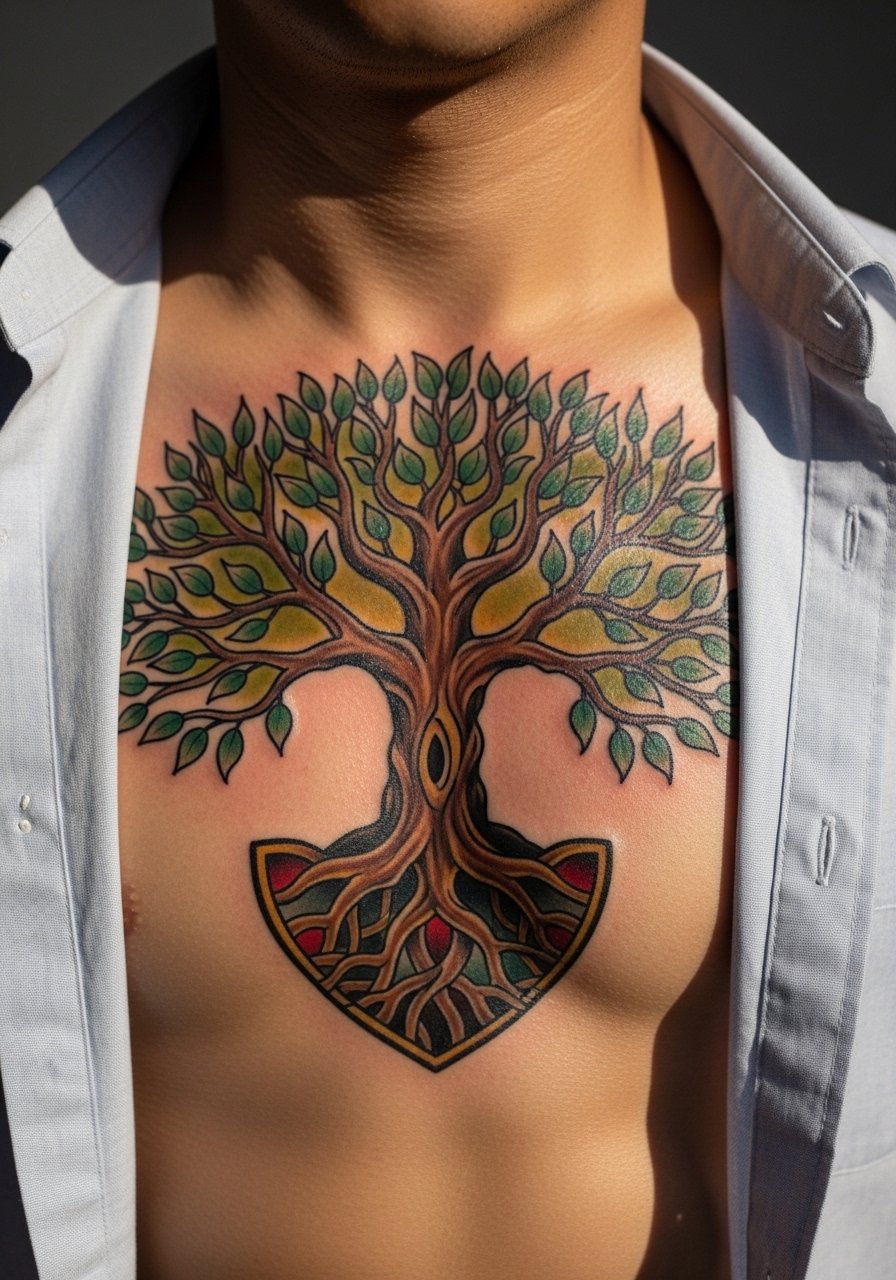
15. Chest-Center Crest With Shield Roots
A centered chest Tree as a crest works well with symmetric roots forming a shield motif. For session comfort wear a wide-neck shirt pulled slightly to one side to show only the upper chest near the sternum and collarbone. Expect higher pain and potential swelling. Tell the artist you want the trunk saturated and the leaf clusters less dense to keep long-term legibility. There is a debate in the community about large chest saturation vs lighter linework. State both camps so you can decide which approach you prefer. For show nights wear an open-collar button-down so the piece peeks through.
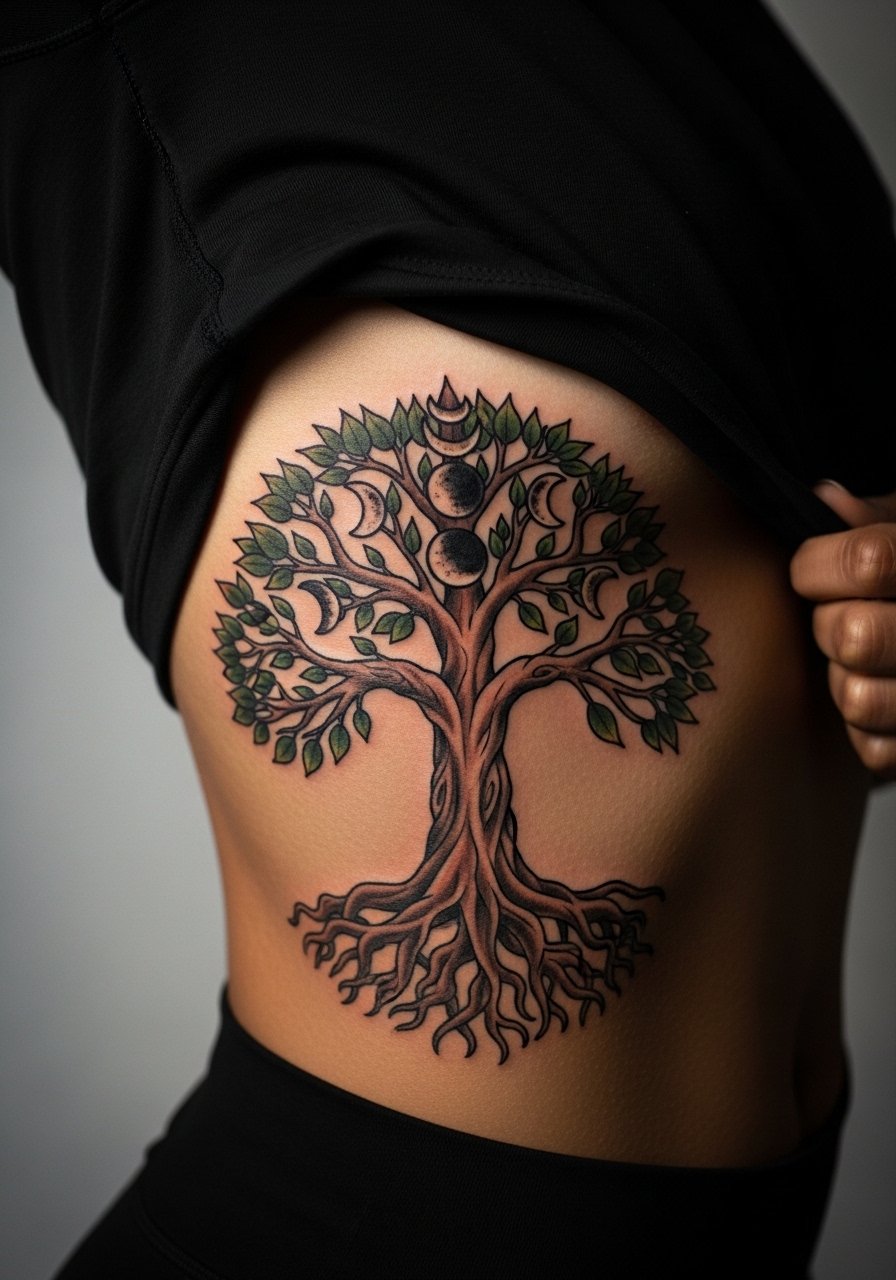
16. Ribcage Tree With Moon Phases
Ribcage Trees allow sweeping roots and moon phase accents. The rib area is known for sensitivity and a higher pain rating. For the session wear a cropped top or lift a shirt so only the side torso is exposed. One common mistake is over-detailing fine line moons which can blend with breathing movement. Ask for spaced moon phases with slightly bolder edges. Expect considerable soreness afterward and plan for slow recovery. If you want visual contrast under clothing pick deeper saturation for the trunk and muted tones for the moons.
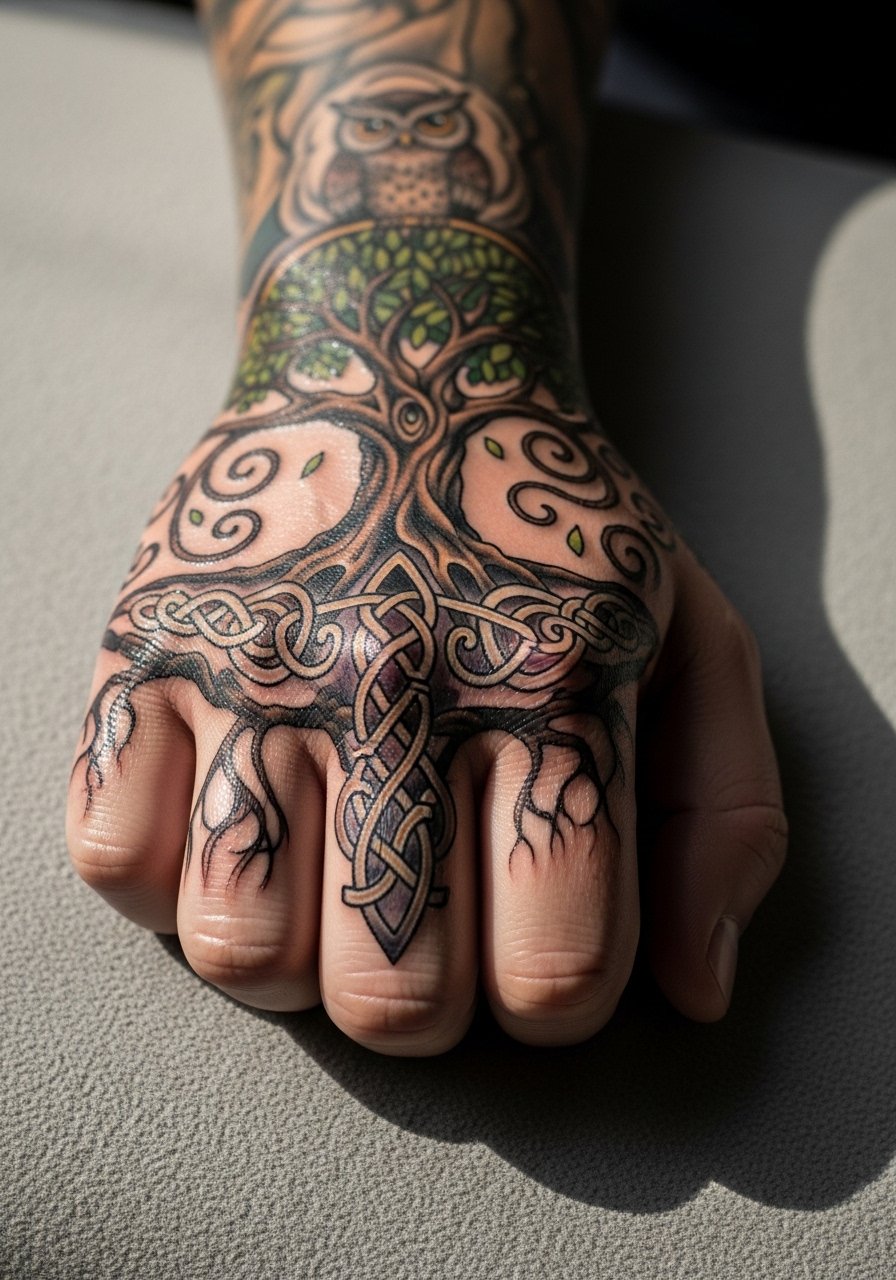
17. Hand-Edge Tree With Branch Finger Links
Edge-of-hand Tree motifs that crawl toward fingers are striking but heal under heavy wear. Hand tattoos face frequent washing and friction which shortens clarity. If choosing this, ask for bold outer lines and simplified finger links that can be reworked easily in a touch-up. Session pain is high and healing needs attentive first-week care. For showing it off, pair with stacked thin rings or a minimalist watch band but avoid bands that rub the tattoo. Try a minimalist watch that frames the wrist rather than the hand. Hand work still affects some job searches so consider placement carefully.
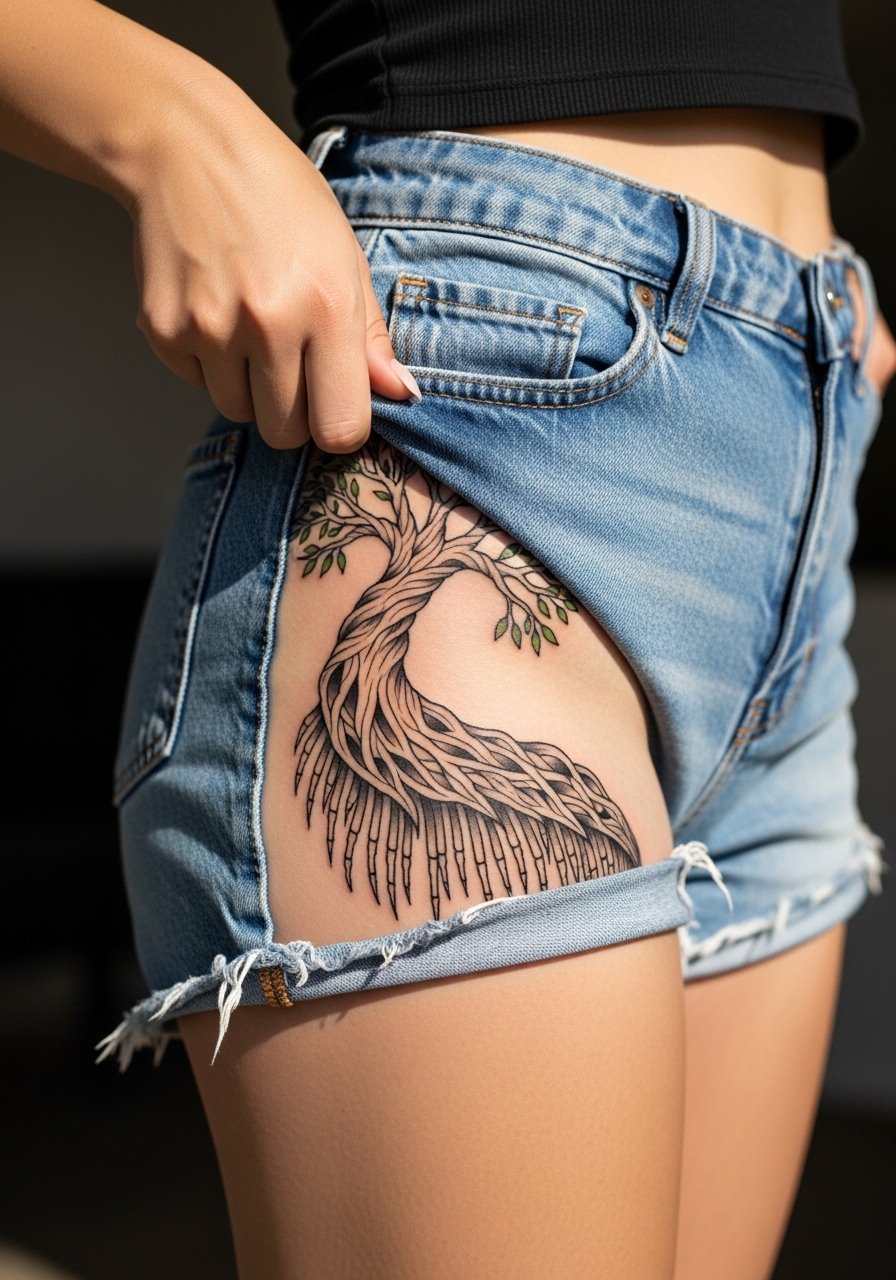
18. Hip-Arch Tree With Vine Fringe
Hip Trees arch along the hip bone and can be framed by swimwear. For session framing wear high-cut shorts or a swimsuit bottom to expose only the tattoo zone. The hip holds pigment well but movement and clothing can irritate the area while healing. A common mistake is placing complex micro detail near the hip crease. Ask for a bold primary silhouette and decorative vine fringe that reads from a short distance. Pain is moderate to high depending on proximity to the bone. Consider an outfit plan that shows the piece selectively rather than daily.
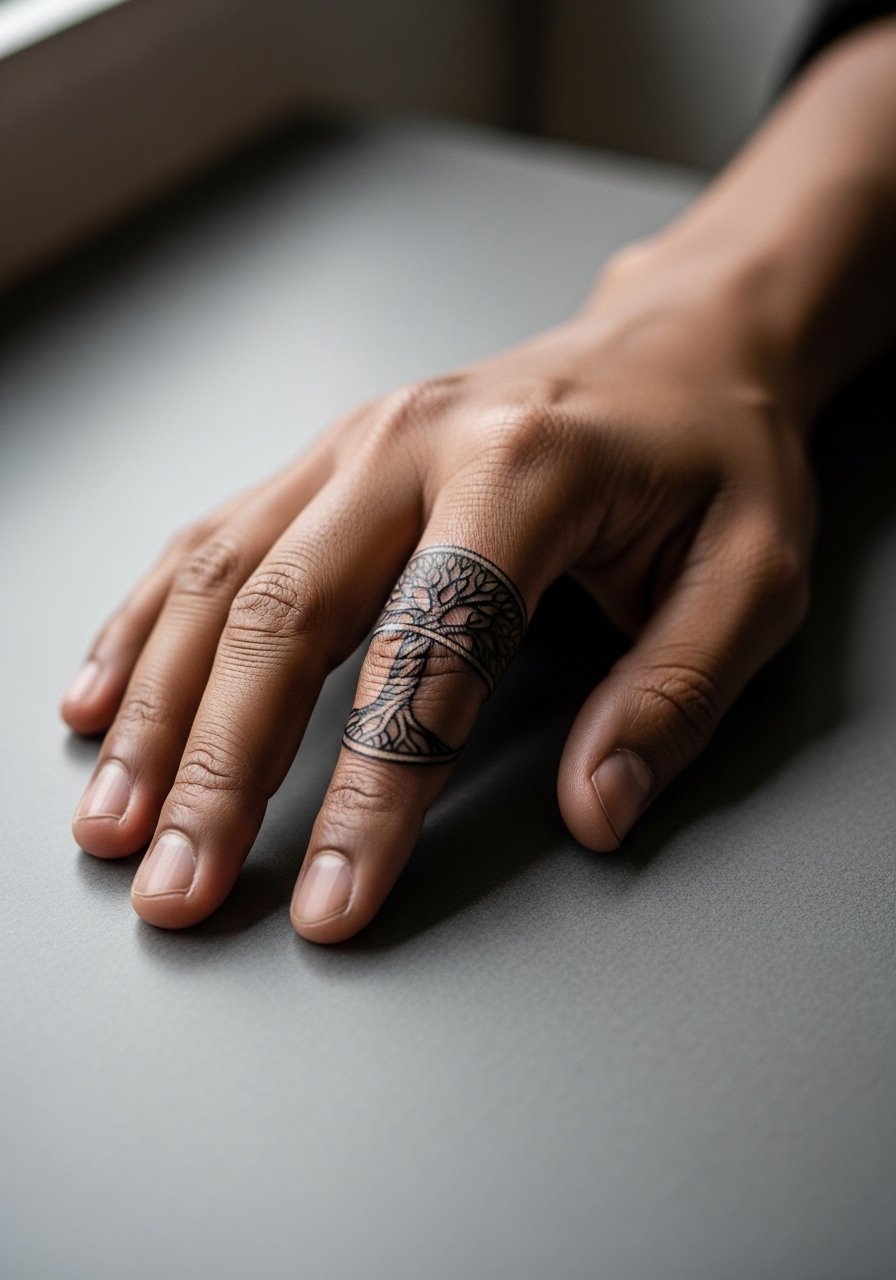
19. Finger Ring Tree Band
Ring-style Tree bands on fingers are delicate and live in a high-contact environment. The biggest mistake is relying on fine detail that will wear with hand use. Ask for a simple repeating motif and bolder outlines. Sessions are brief but healing takes extra care with handwashing. For showing off pair with thin stacking rings that do not rub the tattoo itself. Consider a set of thin stacking rings that complement the band without abrasion. Expect touch-ups more often than on the forearm.
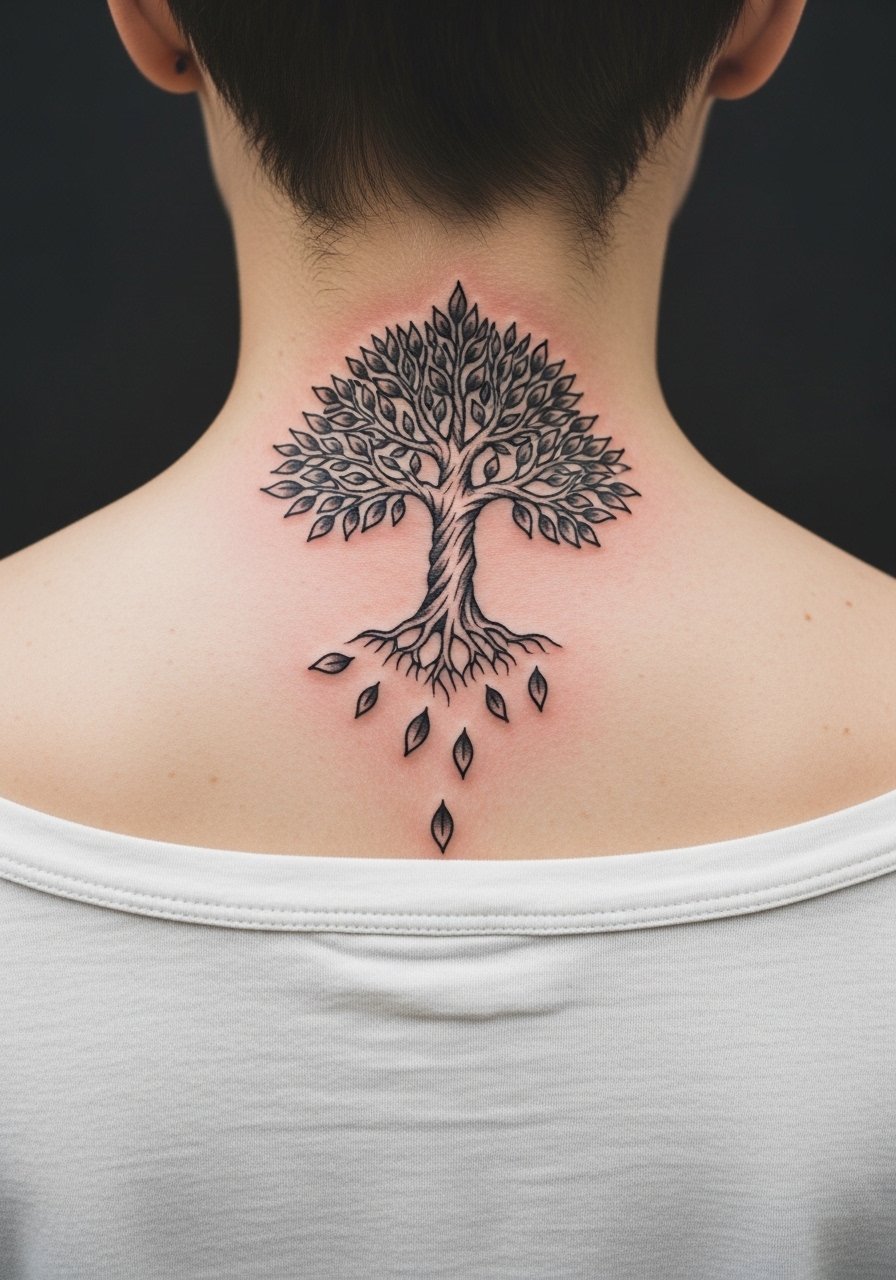
20. Nape Tree With Falling Leaves
A nape Tree of Life sits at the base of the skull and pairs well with hairline framing. For the session wear a wide-neck shirt so only the neck area is shown. This spot is sensitive but small sessions work well. Ask for leaves that fall down the spine rather than dense clusters near the hairline which can blur with hair growth and oils. For nights out, pull hair into a low bun to reveal the piece. Keep the design balanced so it still looks intentional when partially obscured by hair movement.
21. Shoulder Cap Tree With Mandala Halo
A tree centered on the shoulder cap with a mandala halo makes for a bold single-session focal point. The shoulder tolerates saturation well which helps the mandala hold detail longer than thin leaves. In consultation, specify how bold you want the halo lines because tight mandala work can blur on rounded surfaces. For the session wear a loose tank top so the shoulder is accessible. Pair the piece with rolled sleeves or a loose rolled-sleeve linen shirt to show it off while keeping the halo visible. Expect a two to three hour session.
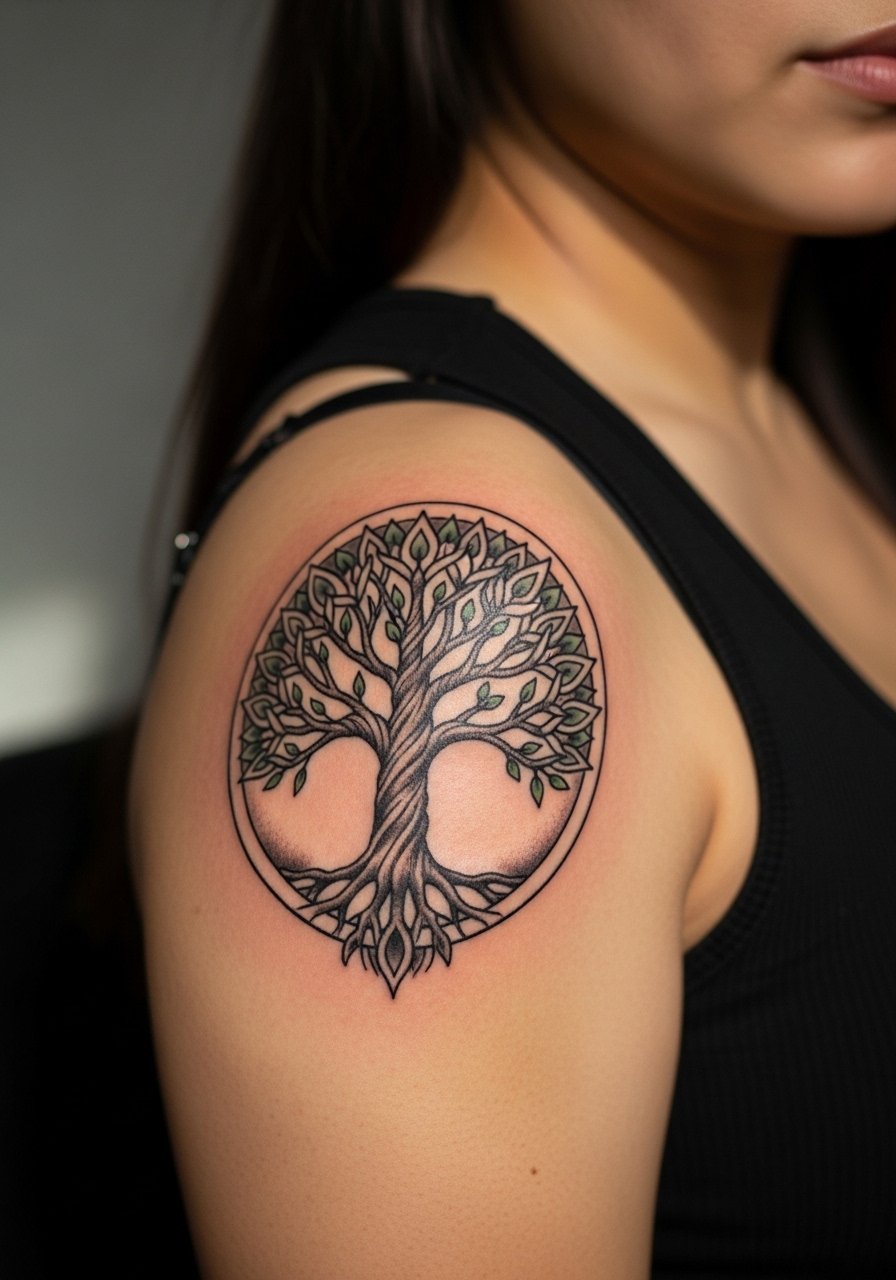
22. Lower Back Tree With Rooted Filigree
Lower back Trees can be decorative without full exposure. For the session wear a tank top or t-shirt pulled slightly low to reveal only the lower back zone. The lower back accepts saturation well and filigree can last if kept bold. Avoid ultra-fine filigree near high-movement areas. I recommend a clear trunk silhouette with filigree that reads from short distance. Pain is low to moderate. This placement is less visible daily which can help longevity, but consider clothing with lower waistlines for moments you want to show the piece.
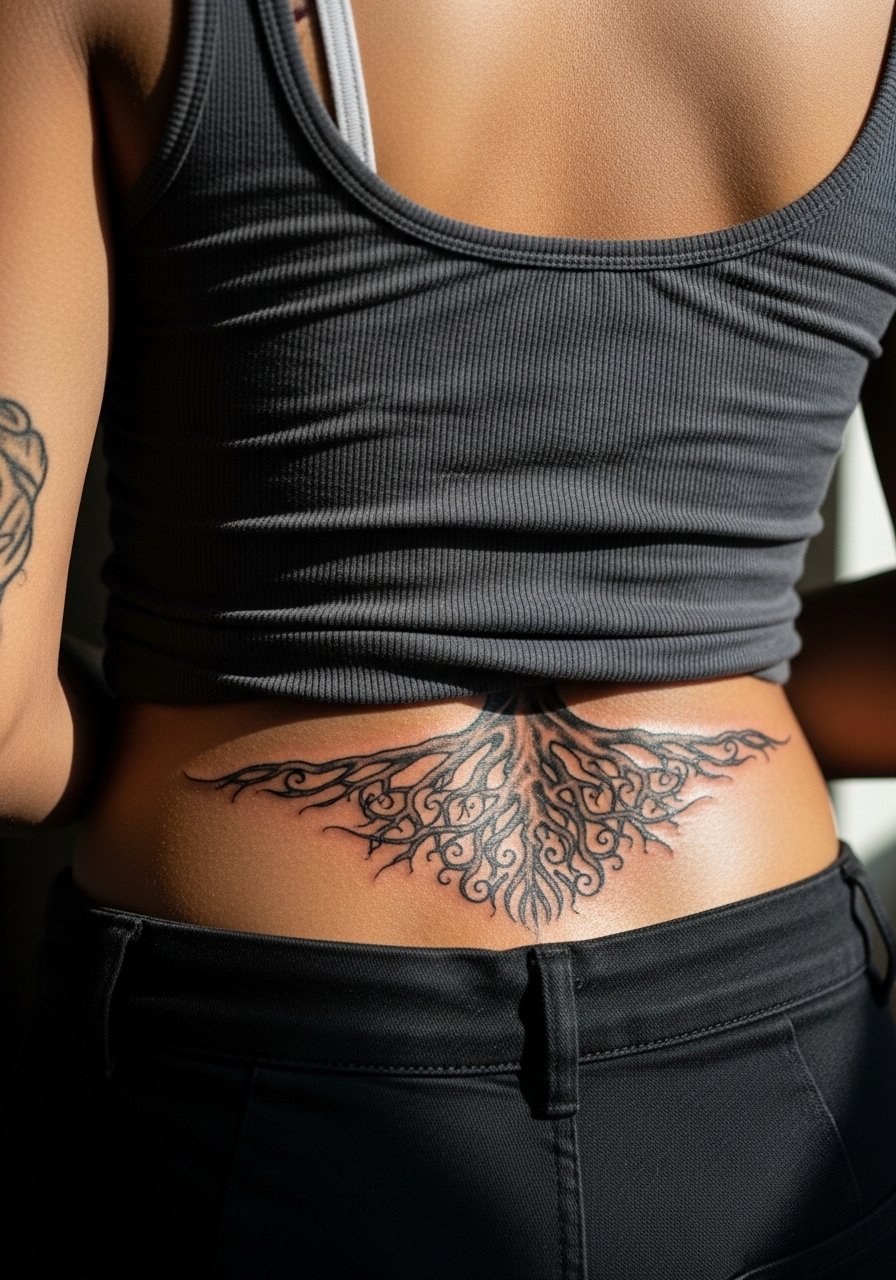
23. Elbow-Halo Tree With Radiant Lines
Elbow-area Trees use the halo around the elbow to create a radiating trunk effect. The elbow sees frequent motion and folding so ask for spaced lines that leave room to settle. Sessions include short bursts because of sensitivity around the joint. A frequent mistake is trying to fit micro detail across the fold. For showing off, wear short sleeves or rolled cuffs and coordinate with a minimalist watch that sits just above the halo and draws attention upward. Expect touch-ups if the piece crosses the joint fully.
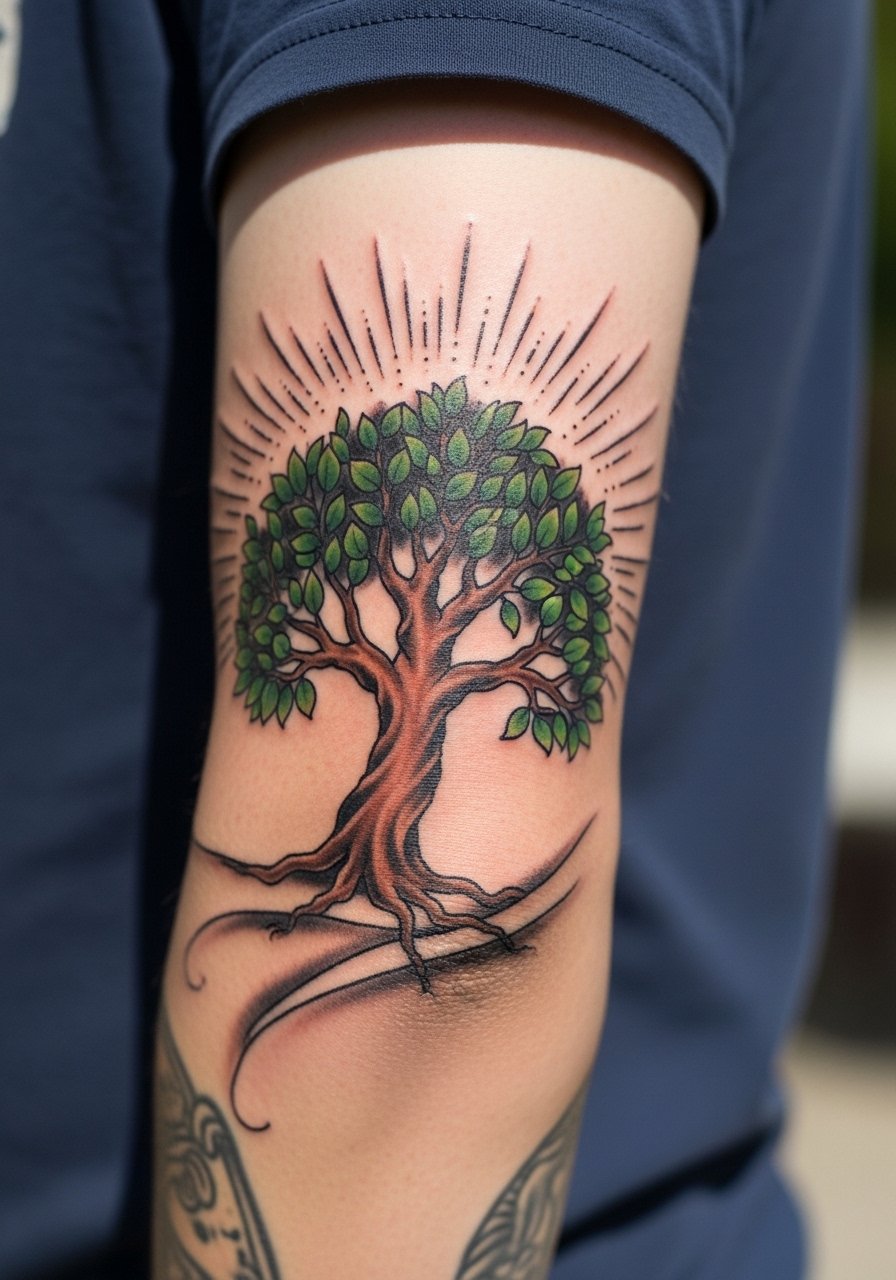
24. Solar Plexus Tree With Geometric Base
A solar plexus Tree placed above the stomach can sit under high-waisted clothing. For the session wear a cropped tee and high-waisted bottoms that expose only a narrow strip of the abdomen. The area moves with posture so keep geometric bases simple with bolder edges for longevity. Pain is variable and often higher near the upper abdomen. A common mistake is intricate dot work that fills in over time. The piece pairs well visually with high-waisted outfits that reveal the top edge when desired.
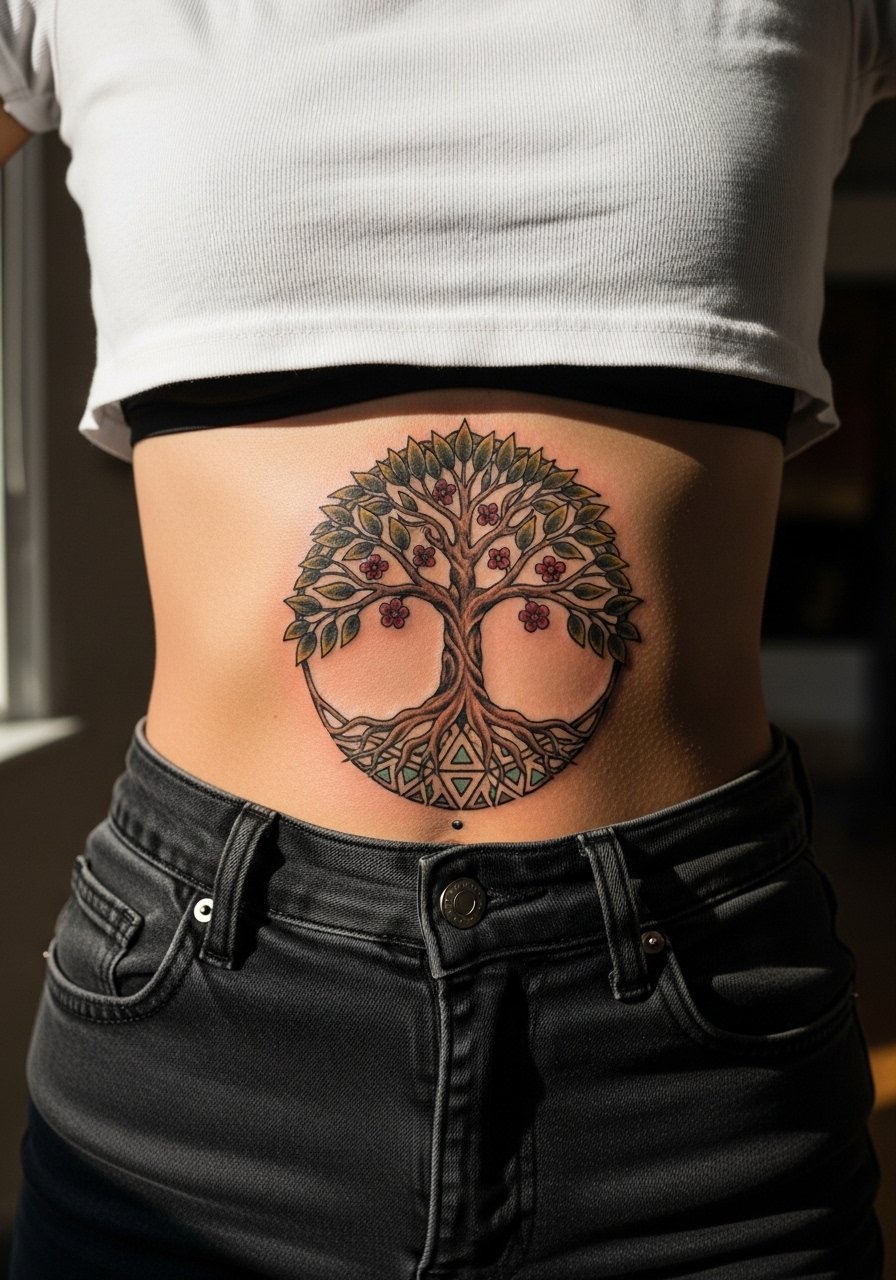
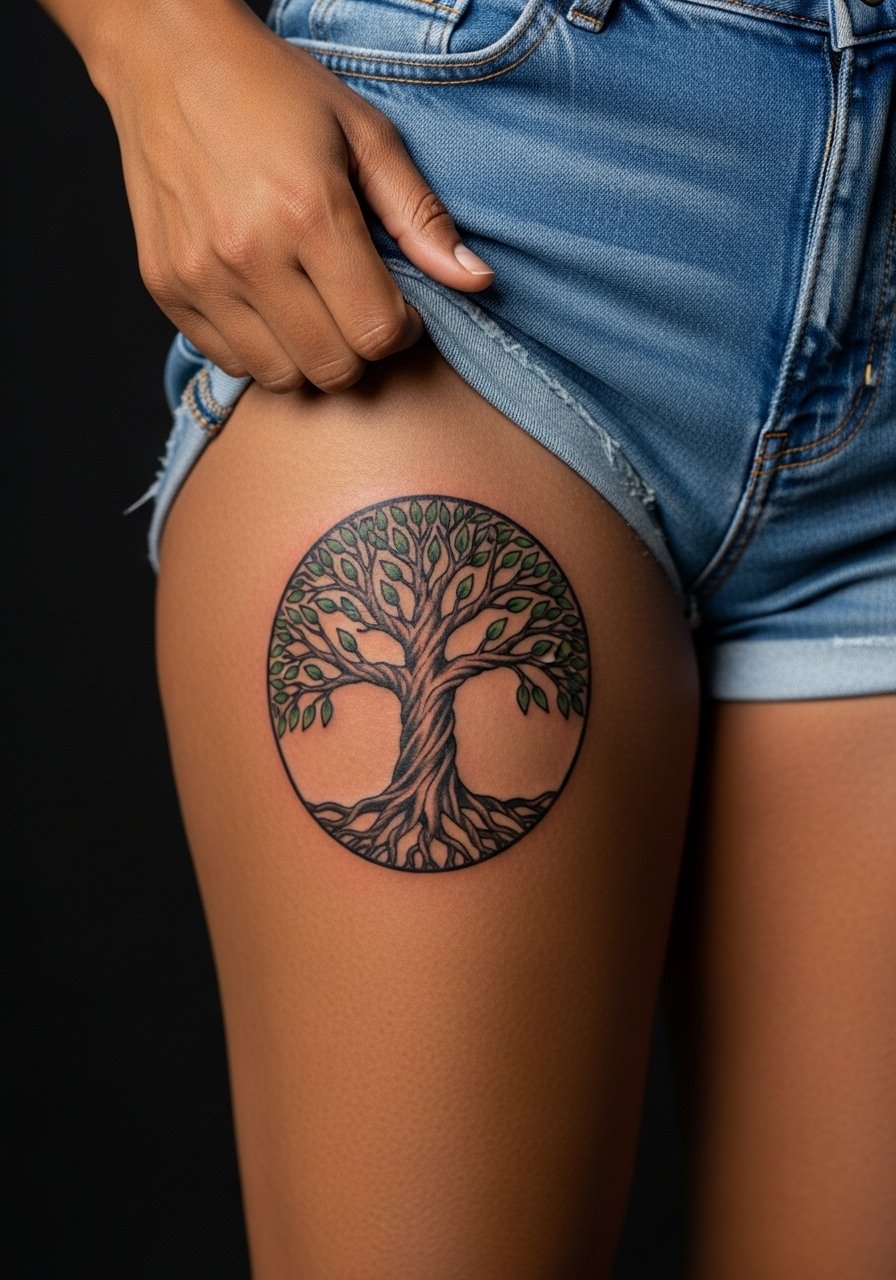
25. Upper Thigh Tree With Hidden Roots
An upper thigh placement lets you hide a larger Tree that peeks out with swimwear or shorts. For the session wear shorts shifted slightly to reveal only the tattoo zone. The thigh tolerates saturation well which favors color-rich neo traditional palettes. A mistake is overloading the outer edge with micro detail that becomes indistinct. For showing off pick clothing like high-waisted shorts that reveal the top of the piece. Expect a longer session and plan for lying down recovery time after.
26. Nipple-Encircling Tiny Tree Ring
A tiny ring around the areola can form a Tree of Life motif but sensitive placement demands experience. For the session wear a zip-up hoodie or sports bra so only the area is accessible. This placement requires an artist comfortable with breast and nipple-area tattoos. Pain is high and healing can be different from other chest work. Ask about scarring risk and check healed examples in the artist portfolio. Because of sensitivity and visibility concerns, many people choose subtlety over heavy saturation here.
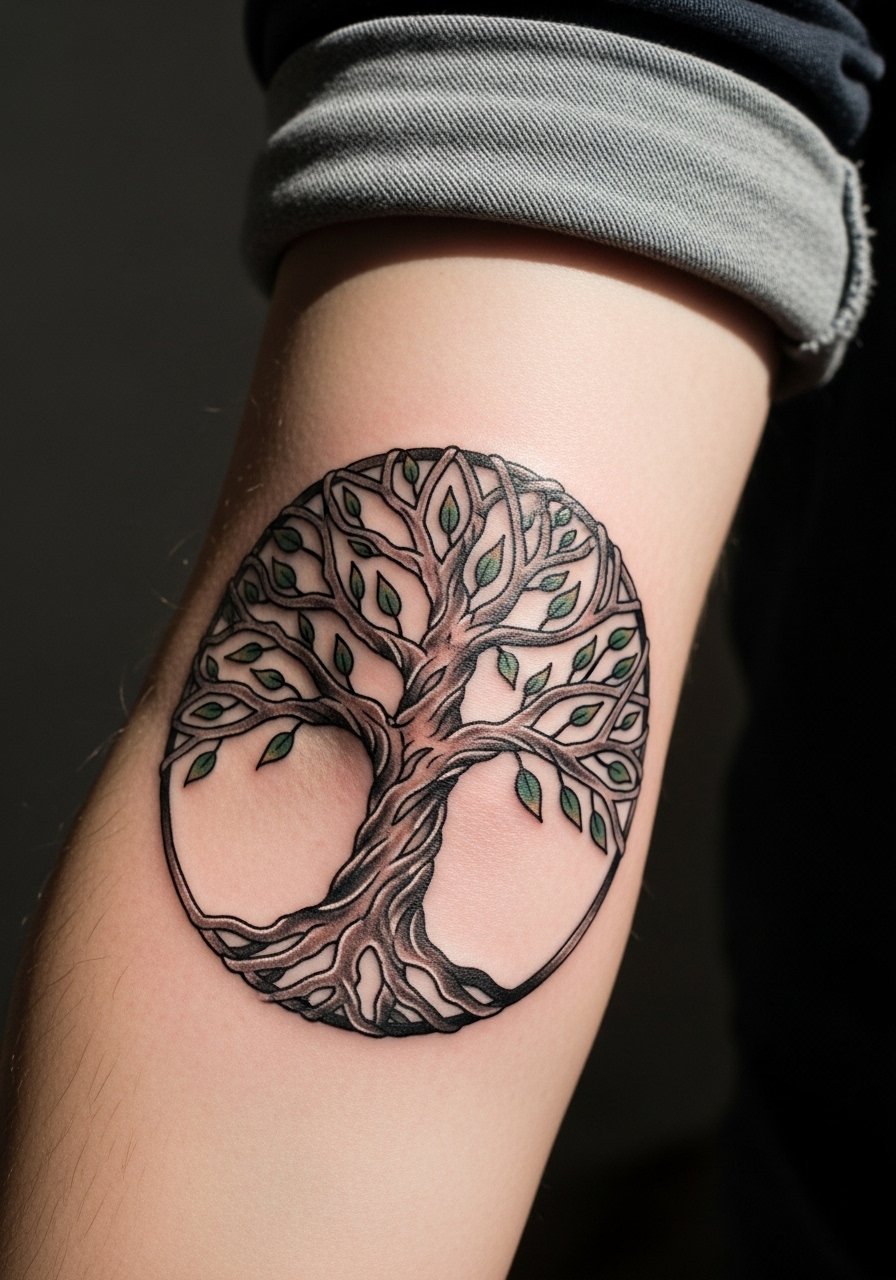
27. Oxidized Metal Look Tree With Metallic Wash
A neo traditional Tree of Life treated to look like oxidized metal uses muted greens and warm browns with crisp outlines. This aesthetic reads like a small sculpture on skin and can be placed on the forearm, shoulder, or calf depending on size. For the session ask for controlled saturation and a slightly higher contrast in the trunk so the "metal" patina reads after a year. A mistake is overloading with tiny highlights which age into gray patches. For showing this off choose rolled sleeves or cropped hems that keep attention on the piece rather than covering it.
Frequently Asked Questions
Q: Will a neo traditional Tree of Life with heavy color hold up better than one with fine leaves?
A: From what I've seen, pieces that prioritize bold outlines and selective saturation tend to preserve shape longer than those built almost entirely of tiny leaves. Fine leaf clusters often merge with time, especially on high-friction areas. If longevity matters, ask your artist to reserve micro detail for protected spots.
Q: How should I discuss cultural motifs or sacred versions of the Tree of Life with my artist?
A: There are two camps. One camp treats the Tree of Life as a universal symbol and adapts it freely. The other camp urges careful sourcing and respectful variation for designs rooted in specific traditions. Tell your artist which cultural elements matter to you and ask how they handle respectful references or adaptations.
Q: Do ribcage and sternum Trees need special aftercare beyond normal practice?
A: They can require extra attention because movement and tight clothing can irritate healing skin. I recommend loose tops for the first week and avoiding heavy exercise that stretches the area. The specifics depend on your artist's instructions and the exact placement.
Q: Can I show off a chest or collarbone Tree at an event without it looking unfinished?
A: Yes if you plan wardrobe around it. Wide-neck shirts, open collars, and delicate necklaces help reveal the piece intentionally. For example, a thin chain pendant necklace sits above collarbone work without competing for attention.
Q: How often should I expect touch-ups on tiny wrist or finger Tree tattoos?
A: Tiny wrist and finger work typically needs touch-ups sooner than larger pieces because of friction and frequent washing. From what artists tell me, expect a touch-up within two to three years for clean longevity.
Q: If I want a Tree that reads well from a distance, what should I ask for in consultation?
A: Ask for a strong silhouette first, then internal detail as a secondary layer. Request bolder outlines for trunks and major branches and lighter interior mark-making. Also check healed photos from the artist to see how their line weights age.
