
Fine line forearm trends look effortless on feeds, yet what usually gets left out is how movement and sun reshape those lines. I’ve seen delicate silhouettes soften by year two while saturated blackwork keeps its edge. These 21 outer forearm ideas balance what's popular today with what actually holds up through sweat, sleeves, and summer. Start with the horse head below and note the styling and session tips that follow.
1. Bold Traditional Horse Head on Outer Forearm
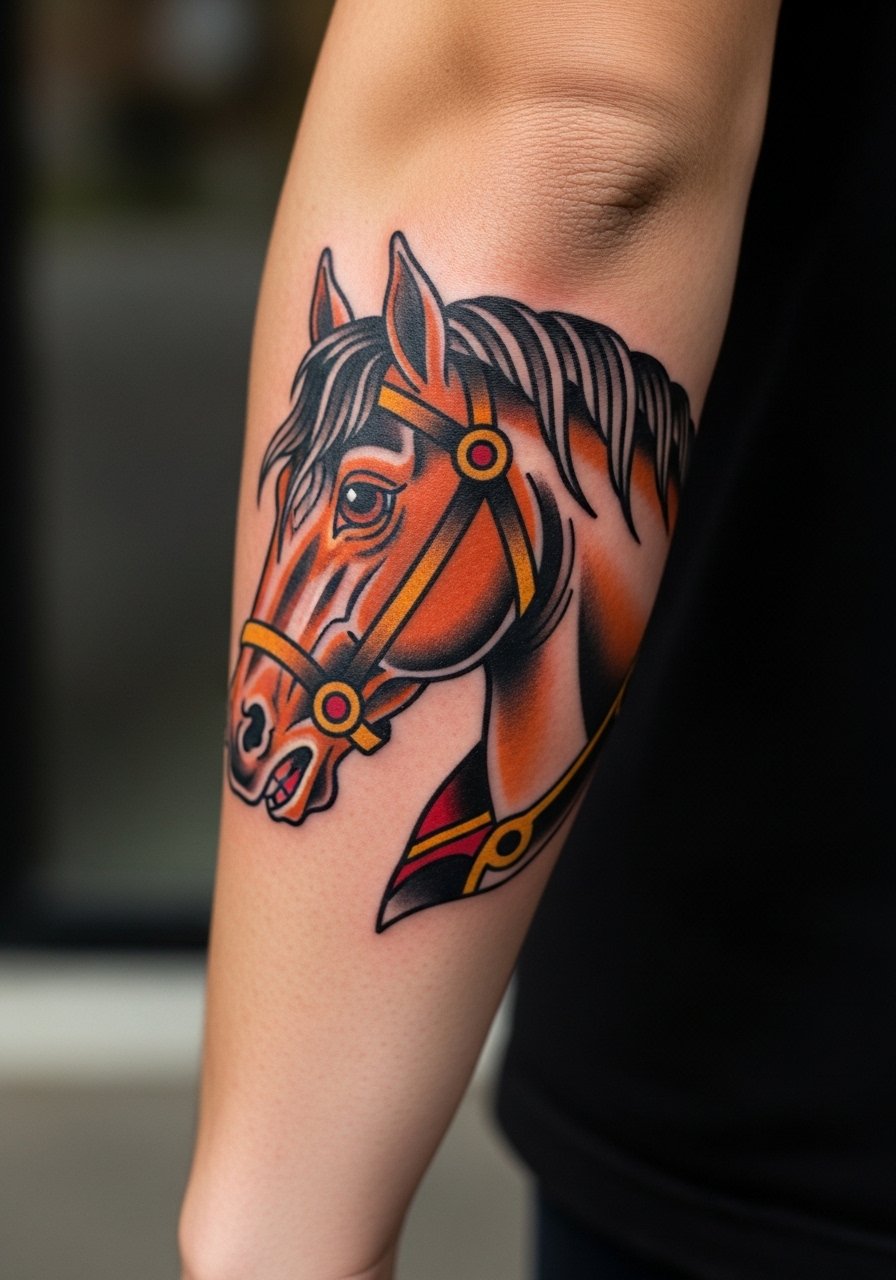
This is the billboard option for men who want a design that still reads from across a room. I recommend a vertical placement, roughly 4 to 6 inches, so the stencil follows the forearm’s long grain and resists flex distortion. Tell your artist you want heavy outline contrast and saturated fill, not tiny decorative flourishes that will muddle over time. Common mistakes include shrinking the horse to a wrist emblem, which loses detail and ages into indistinct shading. For showing it off, roll a sleeve over a henley shirt men short sleeve in black or navy and add a leather cuff bracelet on the opposite wrist. Session feel is moderate, about 1 to 2 hours with focused lining.
2. Fine Line Wolf Silhouette Mid-Forearm
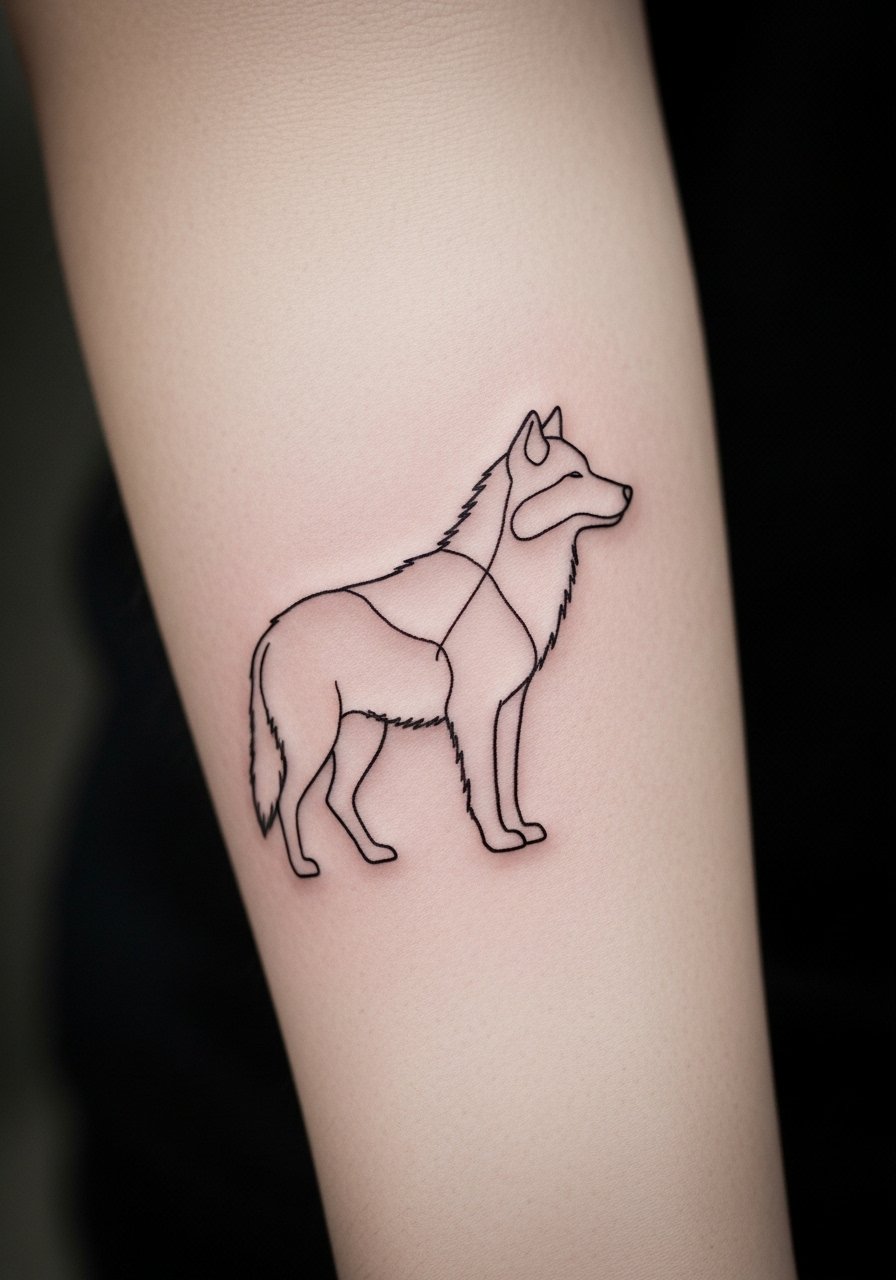
If you want subtle symbolism that ages without shouting, a fine line wolf works well here. Plan for a 3 to 5 inch height and ask your artist to space elements so the negative space survives natural skin shifts. The key consult line is "keep linework sparse and slightly bolder at anchor points" so the silhouette keeps form at year two. A common mistake is cramming fine details into a small area, which blurs into a grey patch later. For wearing, pair the piece with a slim fit button down shirt with sleeves rolled once to highlight the subtlety. Expect a single focused session under an hour and a half.
3. Neo-Traditional Anchor with Waves Lower Forearm
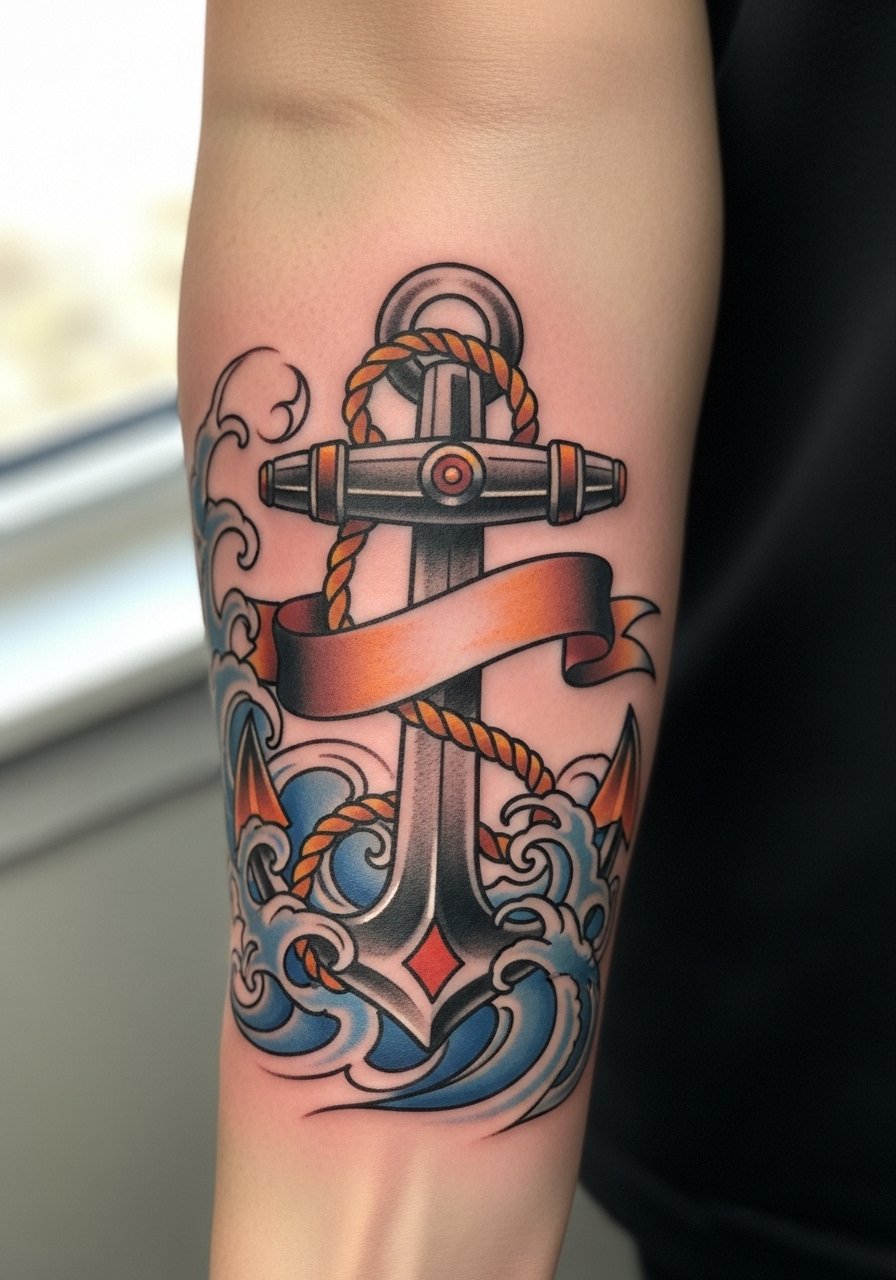
Nautical motifs age well when given room and a bold outline. Place this design lower on the forearm so it tucks under a sleeve edge when needed but still looks intentional when exposed. During consultation, request gradient fills rather than washed watercolor blends so the color keeps its shape with sun exposure. A mistake is letting waves overlap the anchor without clear separation, which can read messy after a year. Pain is mild near the lower forearm, and you can expect two shorter sessions if you want layered color. For show-off wear, a clean crewneck or rolled-sleeve tee complements the palette without competing.
4. Blackwork Geometric Arrow Upper Forearm

This design solves visibility problems on hairy arms because solid fills read through hair better than faint lines. Pick a vertical arrow of about 4 inches and ask for consistent saturation in the solid areas so touch-ups are predictable. The most common mistake is breaking the arrow into too many fine segments, which lose separation as hair regrows and ink settles. Expect a single session of about an hour, and plan for touch-ups around year two on very sun-exposed arms. Pair with a fitted crewneck tshirt in black or white for a monochrome look that mirrors the ink.
5. Minimalist Compass Rose Wrist-Adjacent
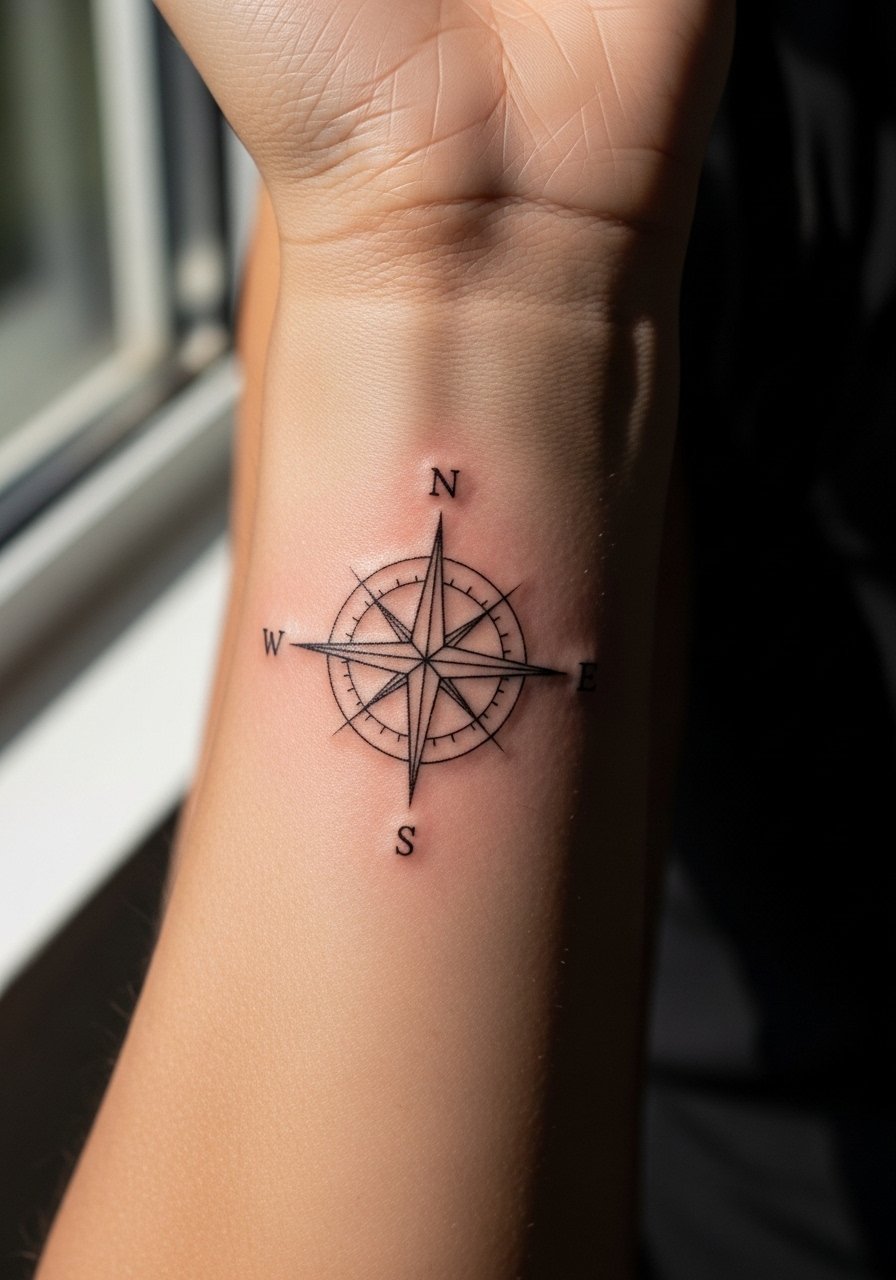
A compact compass is ideal if you need a discreet piece that can be hidden for work. Keep it 2 to 3 inches and ask for slightly stronger outer stroke on each cardinal point so it survives daily friction from watches and shirts. The usual error is doing the compass too small and too tight; that makes the points merge after sun exposure. Pain is lower near the wrist-adjacent outer forearm but sensitivity increases toward the wrist bone. For display, wear a slim leather watch on the opposite wrist and slim chinos to keep the look editorial. Expect a single short session.
6. Micro-Realism Lion Portrait Center Forearm
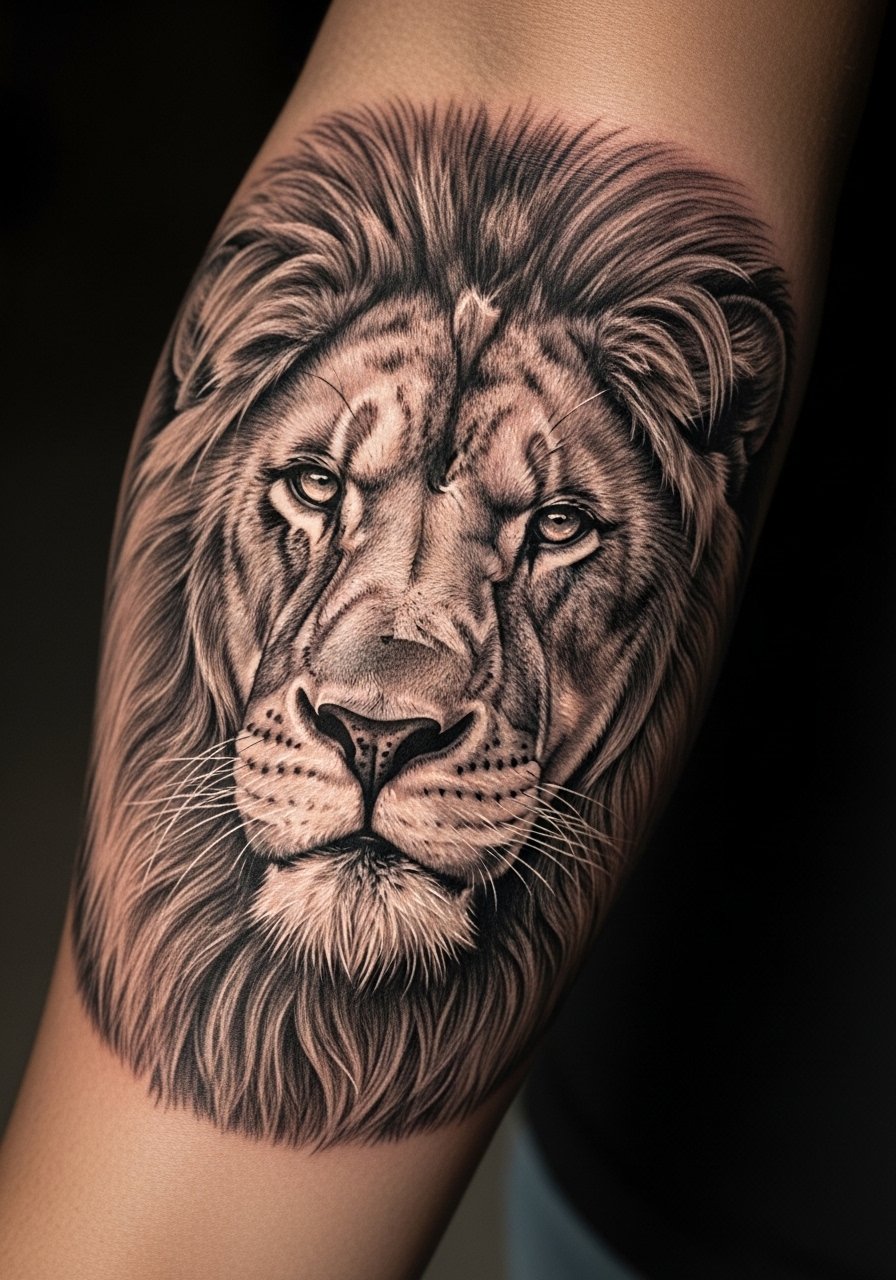
Micro-realism gives dramatic photos but demands time and a patient fade plan. This placement benefits from a square 4×4 inch layout so the artist can render facial texture without packing lines too tightly. Tell your artist you want a balance between contrast and soft stipple shading so eyes and mane keep definition at 6 months, 2 years, and beyond. A real mistake is asking for maximum photoreal detail in a piece that is too small; the detail blurs. Expect two to three sessions and a touch-up window around year two. For session comfort, bring a loose tank top so the artist can position the arm without fabric tugging.
7. Ornamental Skull with Vines Vertical Flow
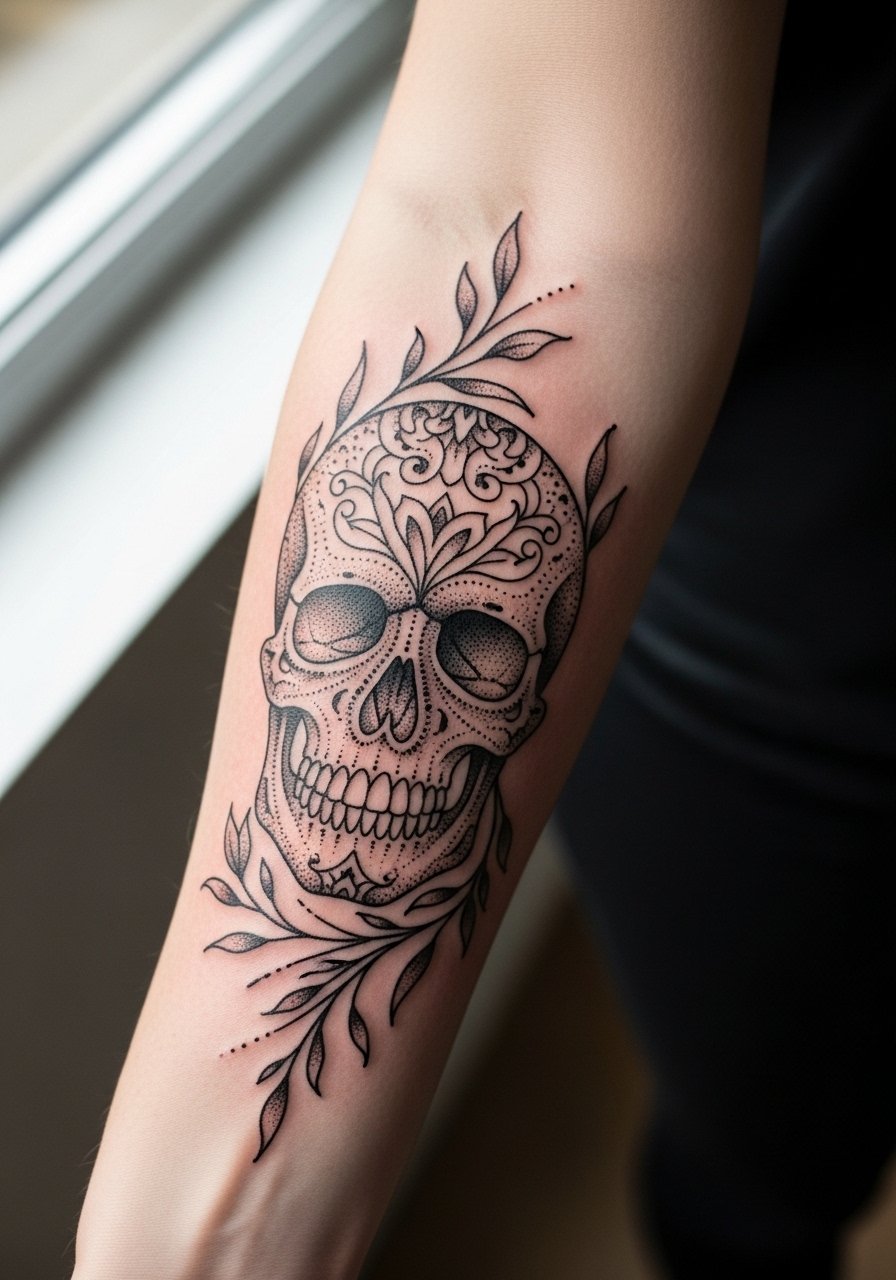
An ornamental skull balances edge with organic flow and makes a natural half-sleeve starter. Ask for deliberate spacing between the skull and vines so dot work retains texture as the skin ages. A frequent mistake is making the vines too dense; they often blur into the skull’s shading and lose the open feel. Expect about two sessions for a 6 to 8 inch vertical piece, and budget a touch-up at year two if you plan to extend into a sleeve. Style it with rolled sleeves and a neutral oxford for contrast, or a oxford shirt men when you want a cleaner frame for the design.
8. Watercolor Eagle in Flight Tapering to Elbow
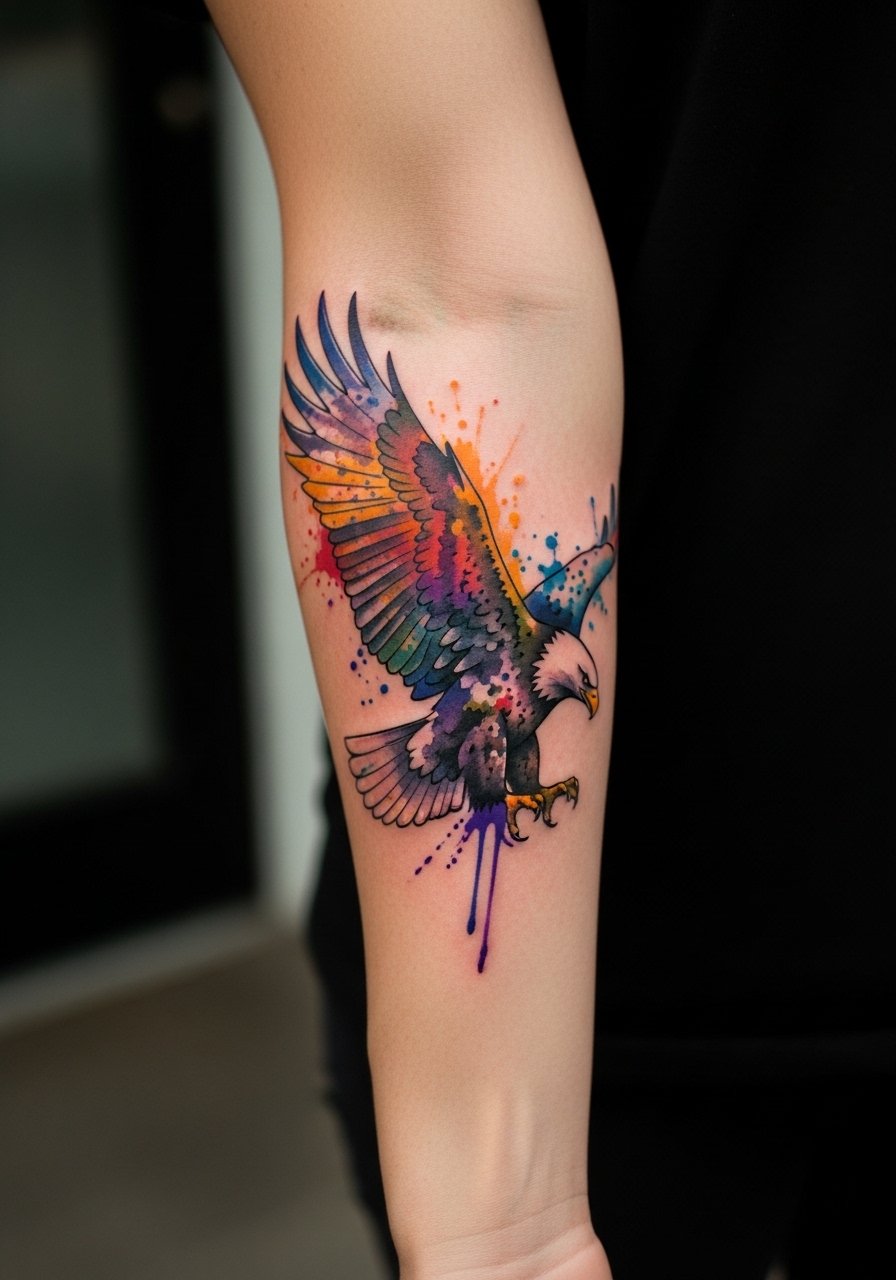
Watercolor brings motion but trades longevity for vibrancy, especially on sun-exposed forearms. If you choose this, ask the artist to anchor the feather tips with thin dark lines so the silhouette survives fading. The common problem is pure splash fills with no defining edges; they dissolve first. This style usually fits in 1 to 2 sessions and looks best when kept slightly larger, around 5 inches, so color fields have room to breathe. For wearing, a loose tank or an open collar shirt keeps the motion visible. Plan a refresh at year three if you want the original saturation.
9. Ignorant Style Dagger Outline Narrow Strip
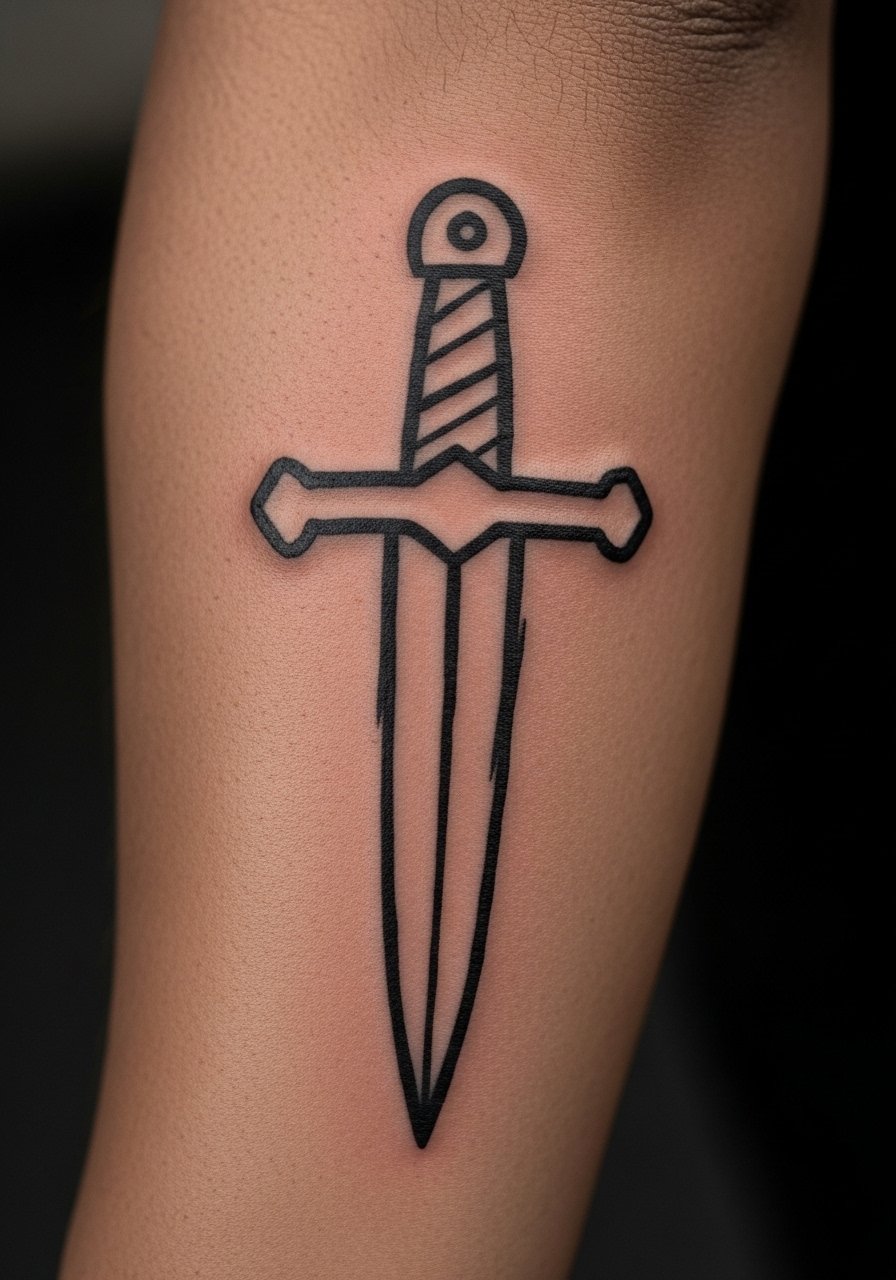
This raw, punk-leaning dagger is about attitude rather than polish. Request intentional irregularity in the linework so the imperfection is a design choice, not a shaky hand. A mistake is asking for "wobbly" but getting thin, under-saturated lines that disappear into the skin texture. Sessions are short, often under an hour, with high contrast that reads on hairier arms. Pair with a black polo shirt men or fitted tee to keep the punk vibe tidy. For touch-ups, expect to return if any thin areas fade in the first year.
10. Fine Line Mechanical Gears Horizontal Band
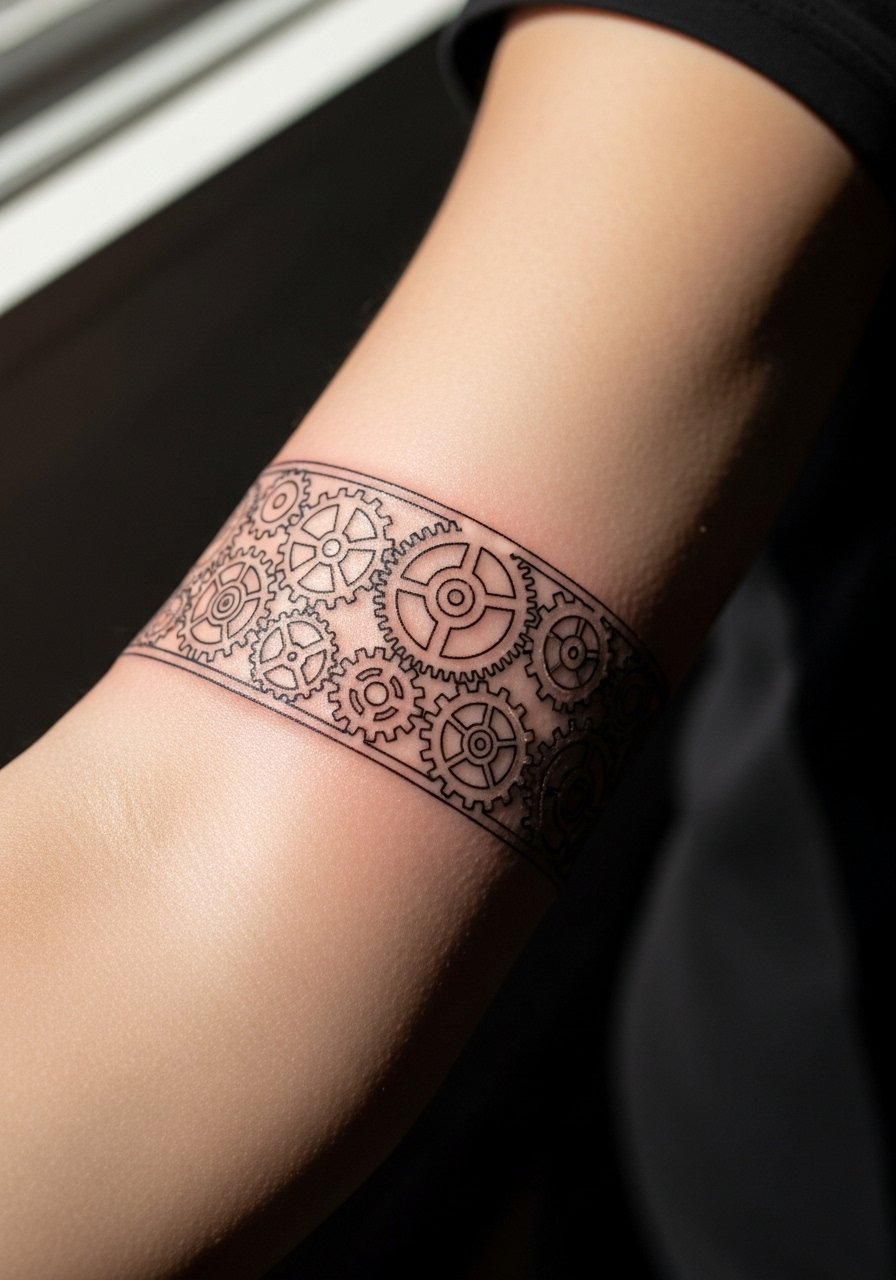
This one suits engineers or makers who want subtle steampunk cues. Keep the band about 4 inches wide and avoid cramming too many tiny gears into the space. Tell your artist to emphasize a few larger gears and let smaller cogs be implied by negative space so the design breathes as it heals. The main mistake is overly dense detail that merges into indistinct grey by year two. Session time is usually one focused block, and touch-ups may be needed at year three if you live outdoors. Show it with a slim fit button down shirt with sleeves rolled once to highlight the band.
11. Scripted Quote Along the Forearm
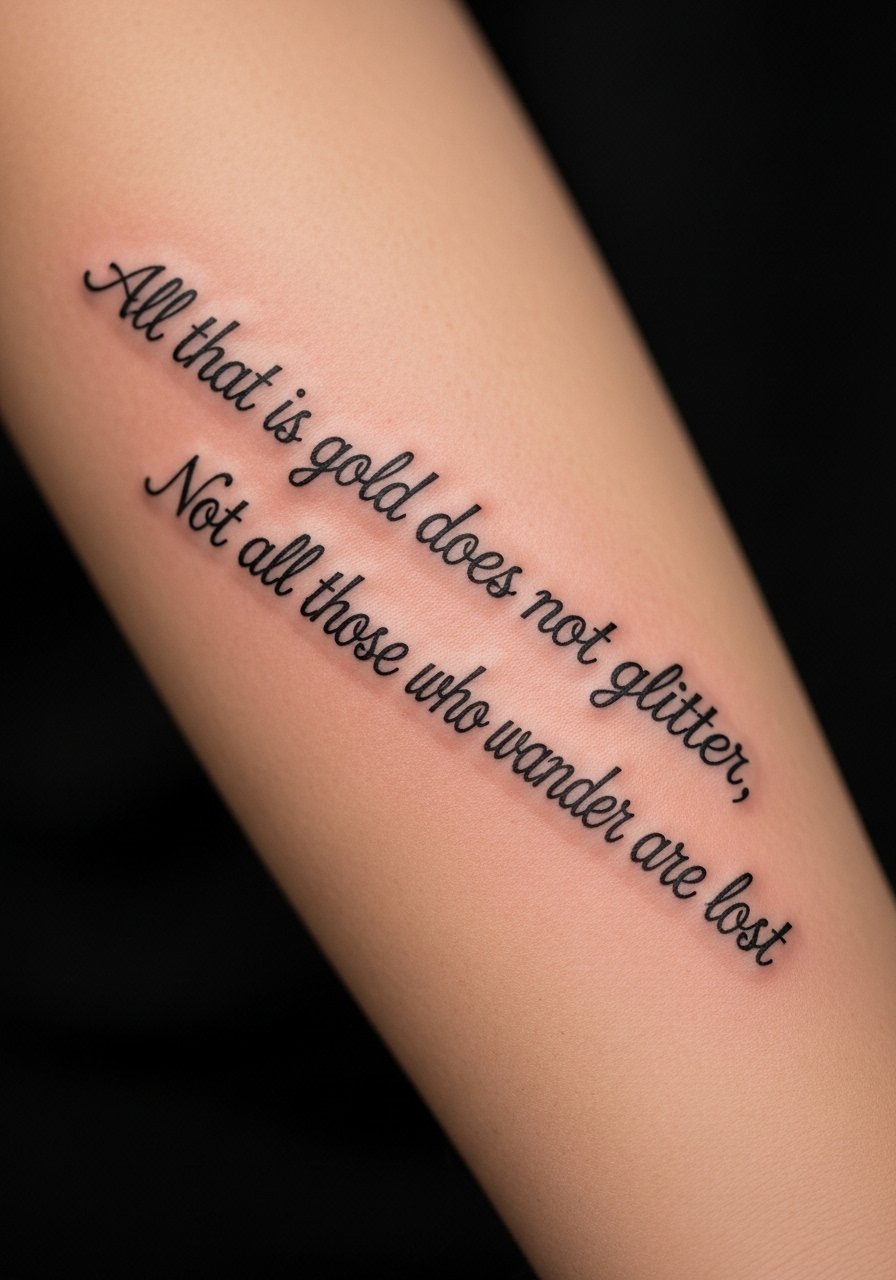
Text here is powerful when sized right. Choose a phrase no longer than a line when written in the chosen font and ask for mockups at life-size on the skin first. Big errors include selecting tiny, ornate scripts that blur or using too many words that require tiny letters. For longevity, thicker primary strokes help letterforms hold up while keeping the overall feel delicate. Pain is low to moderate and a single session usually suffices. If you want to show it off with minimal fuss, a minimalist leather strap watch on the opposite wrist frames the lettering without crowding.
12. Single-Needle Floral Stem Along the Forearm
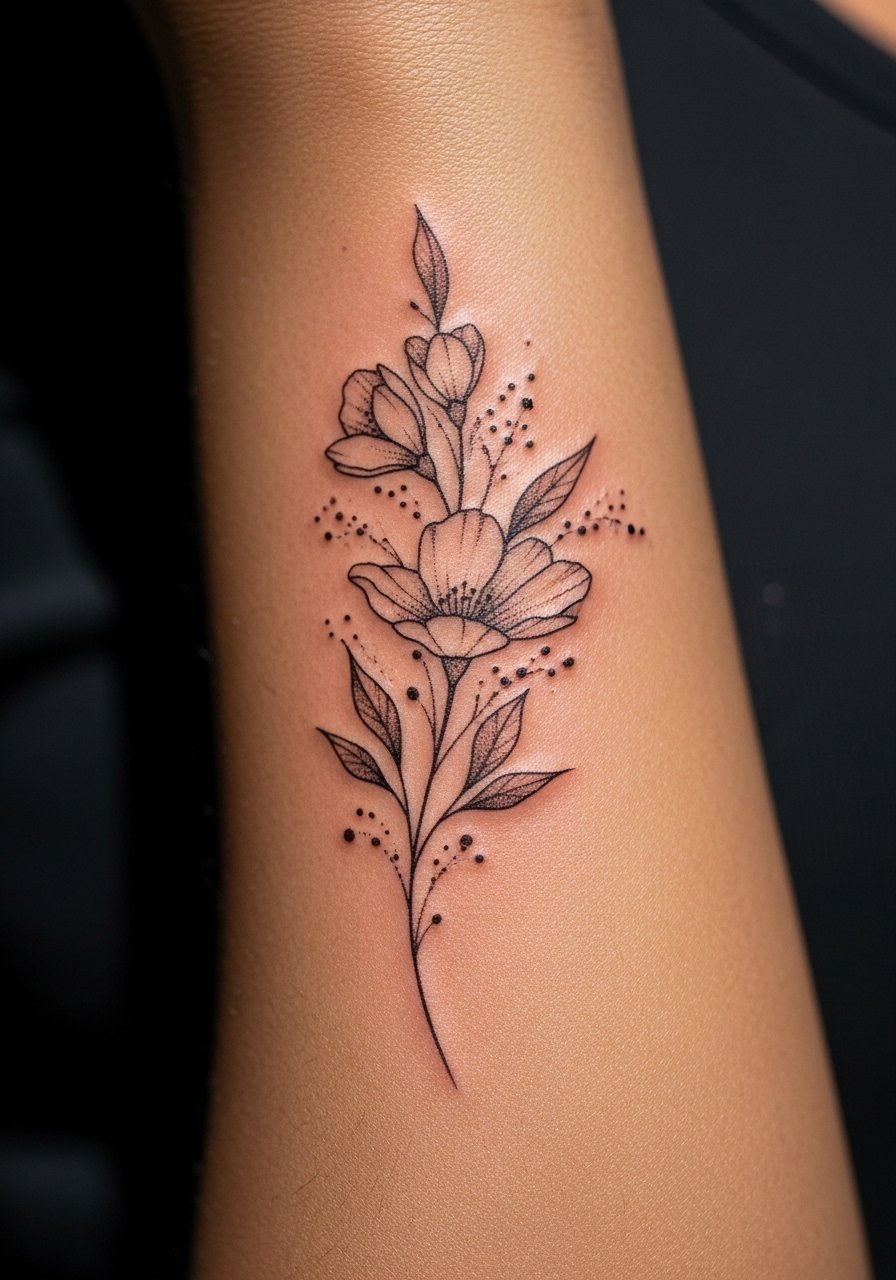
Vertical floral stems suit the forearm grain and age gracefully if you keep spacing between petals. Tell the artist to lean toward simple silhouettes rather than packed textures so the petals do not merge over time. A common misstep is requesting a dense bouquet in a narrow strip, which becomes visually muddy. Session time is short and healing is straightforward, but plan a gentle touch-up after two years if you live in strong sun. For the appointment, wear a loose tank top men so the artist has unhindered access to the arm.
13. Geometric Mandala Half-Wheel Near Elbow
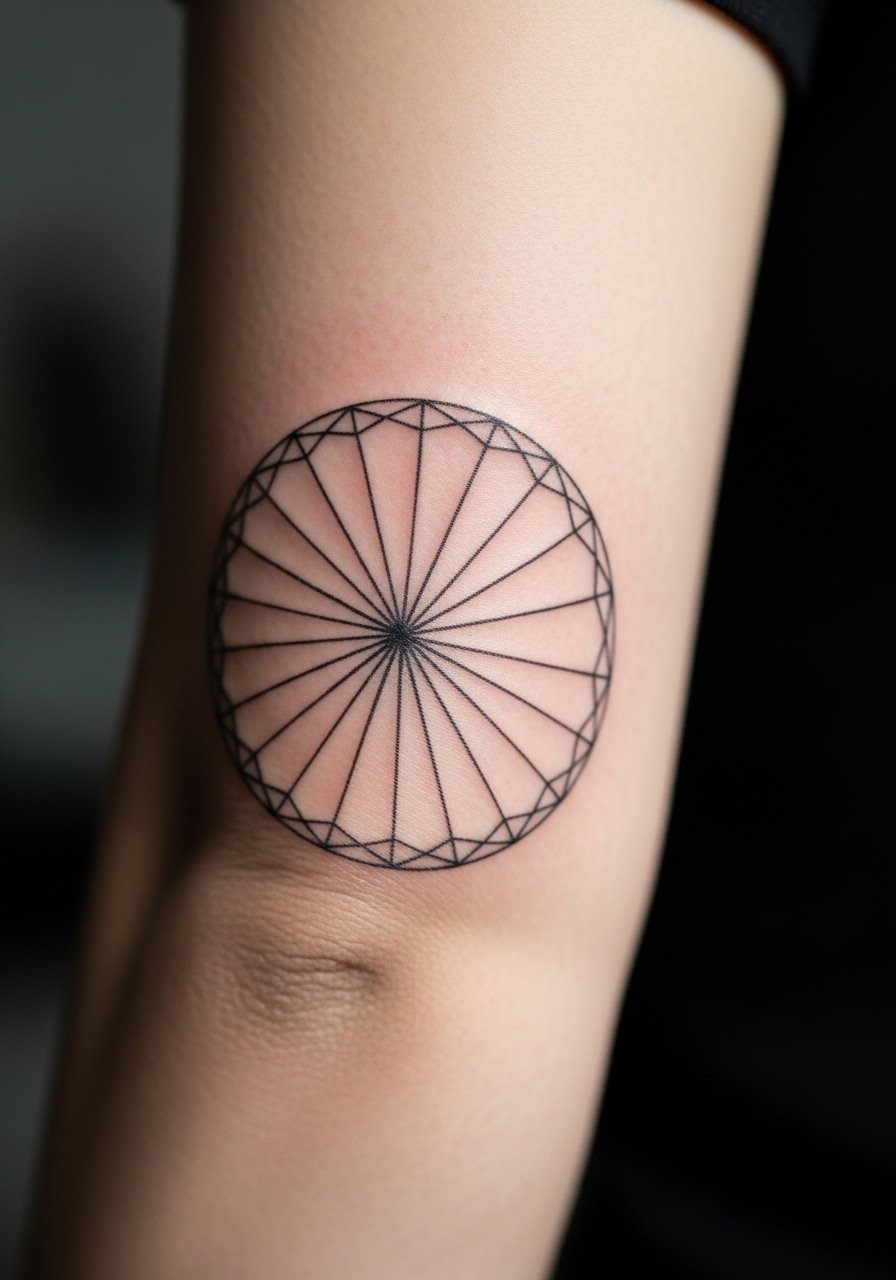
Placing a half-mandala near the elbow lets the pattern radiate without being crushed by joint flex. Ask for open spacing in dense areas and slightly bolder outer rings so the pattern stays readable at year three. The classic error is shrinking the mandala too small and packing lines tightly, which leads to merging. Pain increases near the elbow crease but the visual payoff is high. Pair the piece with rolled sleeves or a fitted crewneck so the geometry sits cleanly in photos. Expect a single long session or two shorter ones depending on size.
14. Heraldic Shield with Initials Mid-Forearm
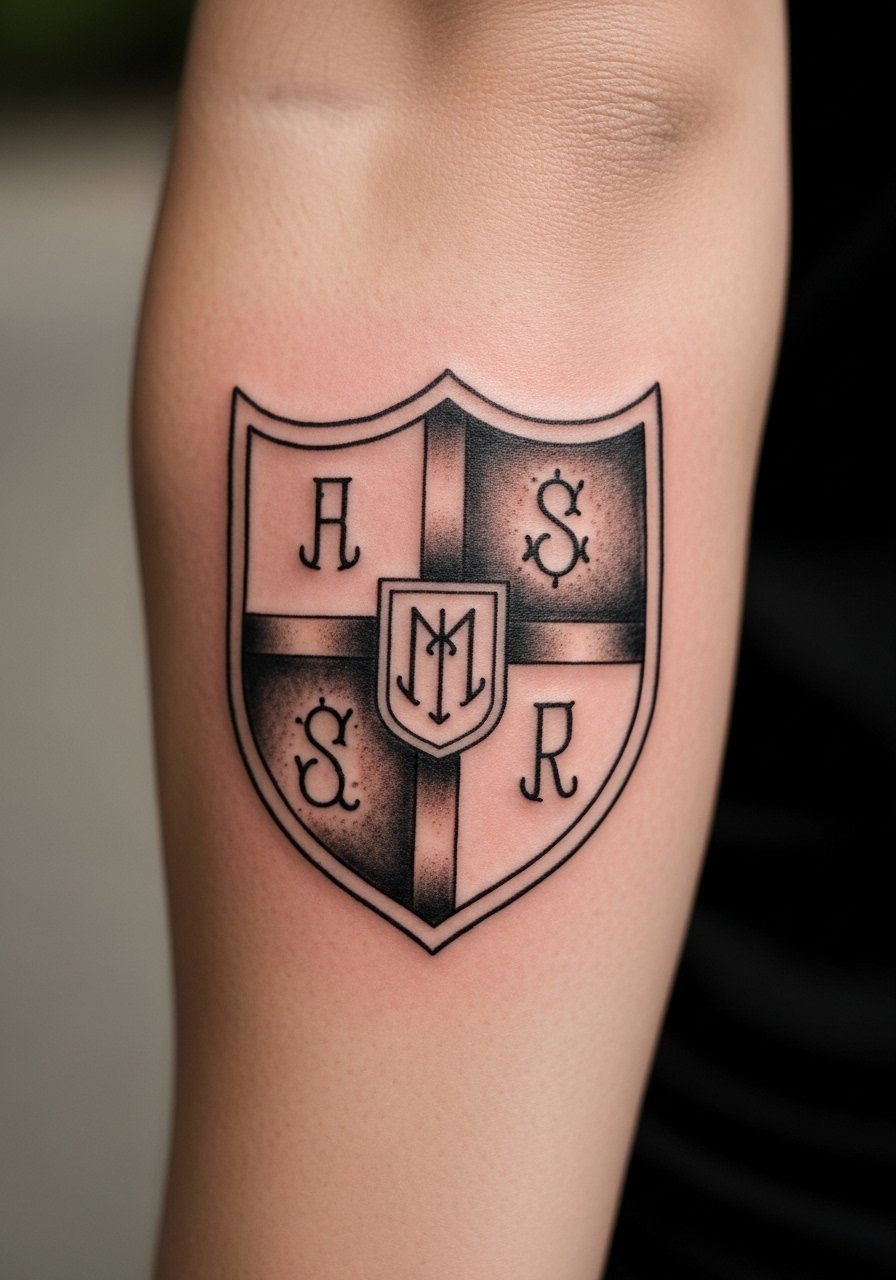
A shield with initials reads like a modern family crest and works best around the mid-forearm where it reads naturally while flexing. Ask your artist to outline the crest with confident strokes and keep initials in a clear, legible type. The mistake people make is using ornate scripts that blur, so choose a simple serif or monoline style. Sessions are moderate and touch-ups may be requested if outlines soften against frequent sun exposure. For showing off the crest, a half-unbuttoned earth tone button down keeps the look tidy without competing.
15. Patchwork Flash Strip for Sleeve Starters
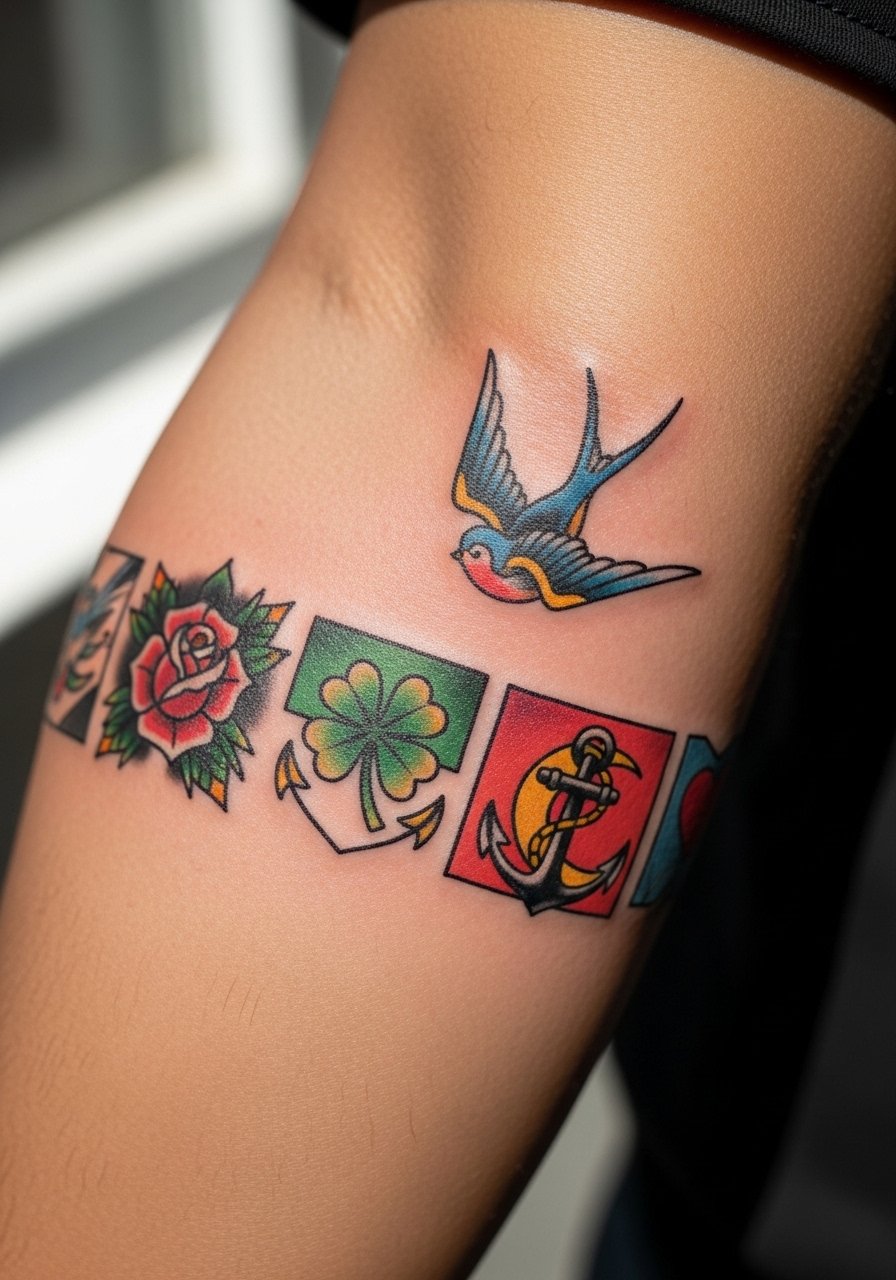
If you plan to build a sleeve later, a patchwork strip of flash motifs along the forearm is strategic. Space each motif with breathing room so future fills can be added without crowding. A common misstep is dropping four tiny flash pieces too close together, which limits expansion options. Sessions for strips are typically quick walk-ins or a single block if you want matching line weight. For session day, wear a short-sleeve button-up you can easily roll or pull aside. These pieces forgive aging well when outlined boldly.
16. Negative Space Arrow with Dot Work
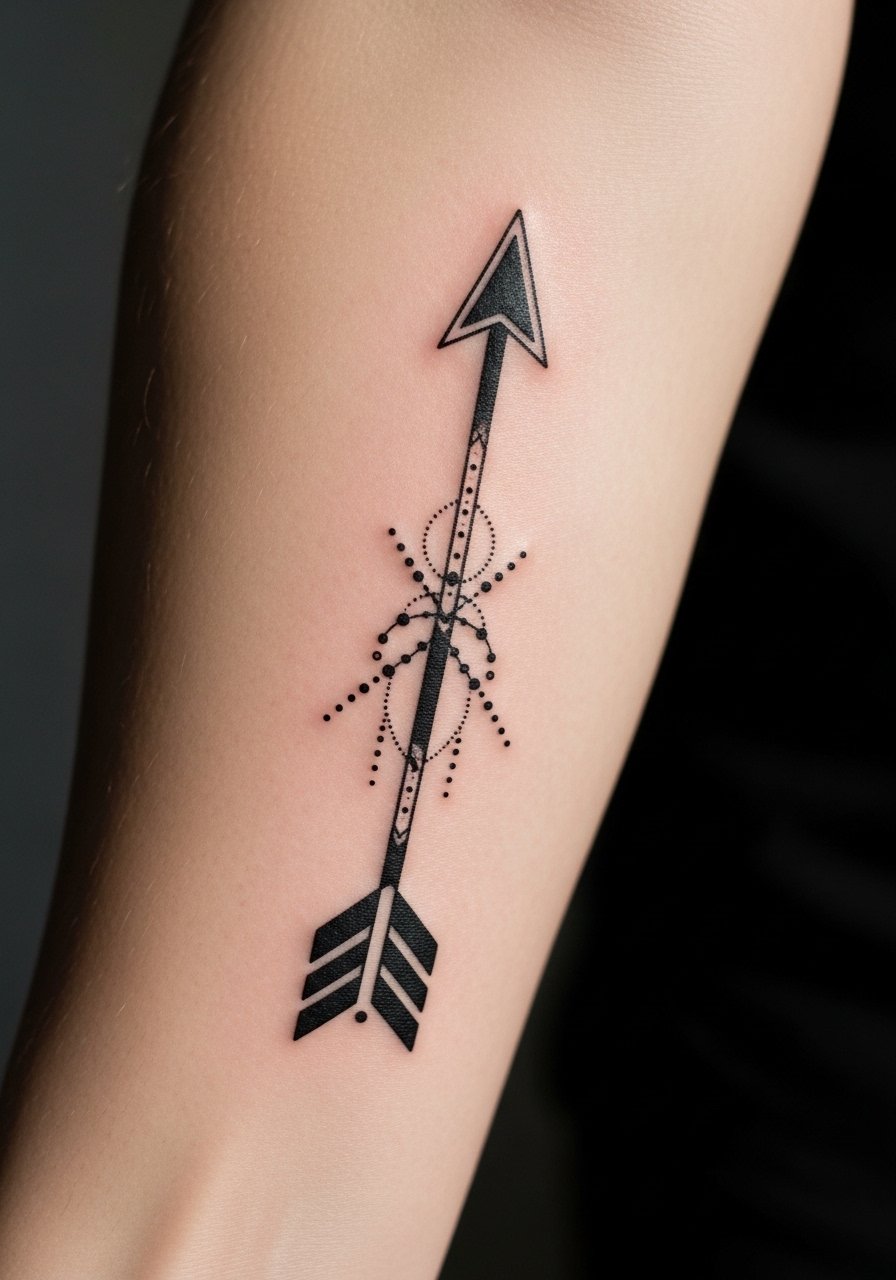
Negative space designs rely on contrast rather than lines, so sit with your artist and test the skin-to-ink balance on your forearm. Ask for a strong black surround and stipple shading to keep the arrow crisp as hair returns and ink settles. The mistake is leaving the negative arrow too narrow, which reduces readability over time. Sessions are short and generally comfortable, though dense blackwork can feel hotter in the chair. Pair with a simple fitted crewneck tshirt for evenings out.
17. Sailor Rose in American Traditional Style
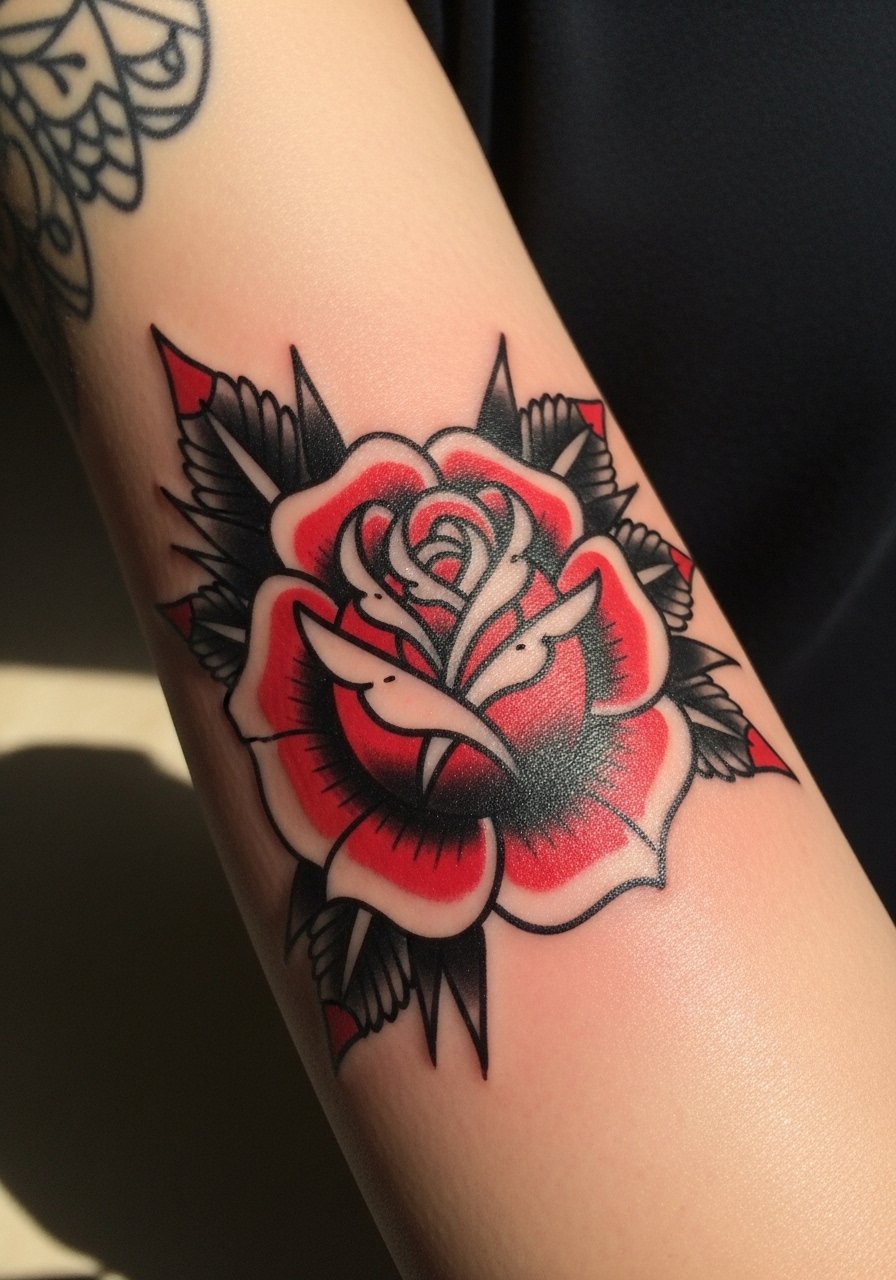
The sailor rose is a timeless outer forearm pick because it ages into a solid graphic if executed with proper saturation. Tell your artist you want saturated color blocked within thick outlines and avoid tiny petal details that will melt into shading. The usual error is asking for painterly petals that look great fresh but flatten as the ink settles. Expect a single session and solid longevity for the bold areas. Show it with rolled sleeves or a navy henley for a classic look and contrast.
18. Compass and Map Fragment Combined Piece
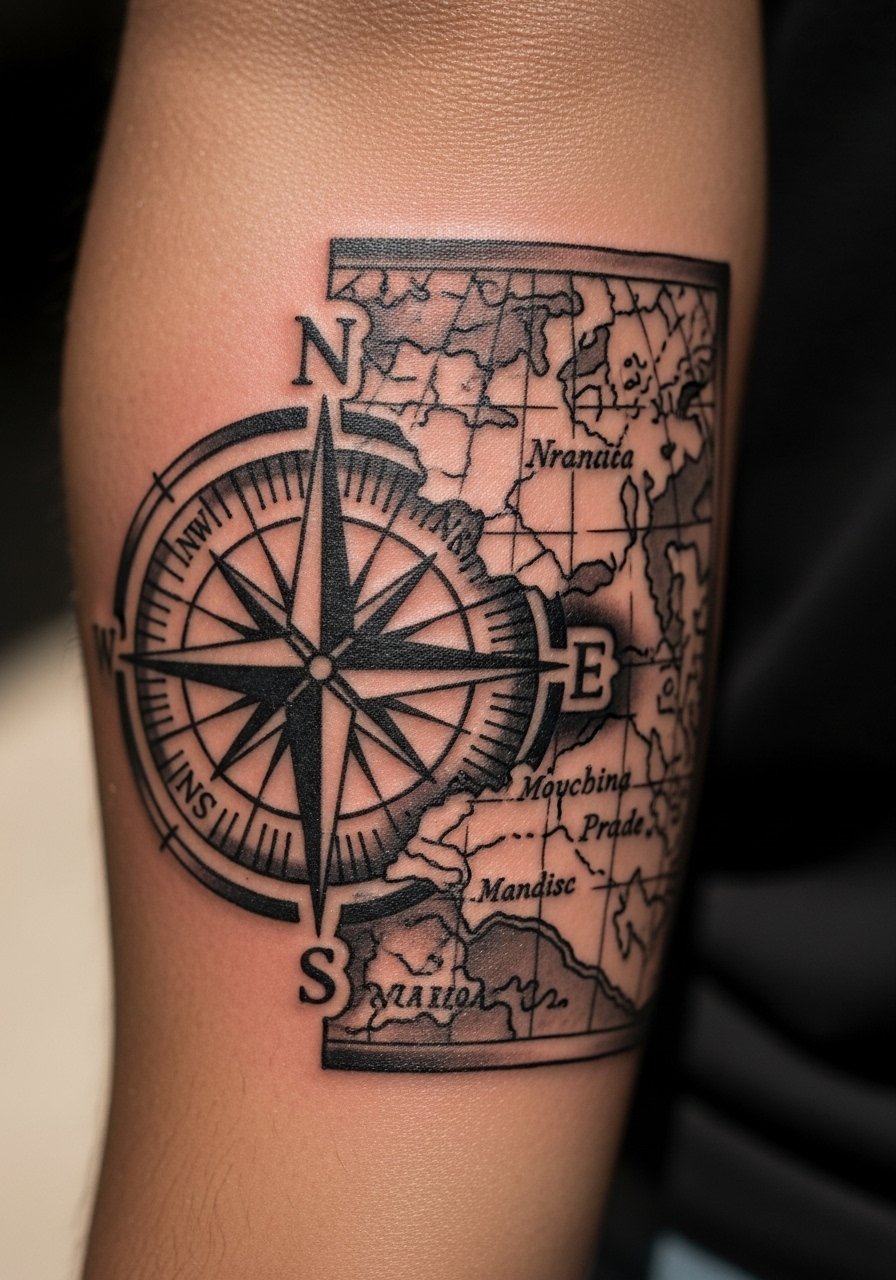
Combining map fragments with a compass is a way to keep travel symbolism readable at larger sizes. Keep the map fragment light and let the compass hold the visual weight so the piece does not get muddy. A common mistake is making the map too detailed for the forearm scale, which becomes indistinct after healing. This requires about one to two sessions depending on map detail. For travel-friendly styling, a slim leather watch on the opposite wrist complements the compass without pulling focus.
19. Single-Needle Constellation Wrist Band
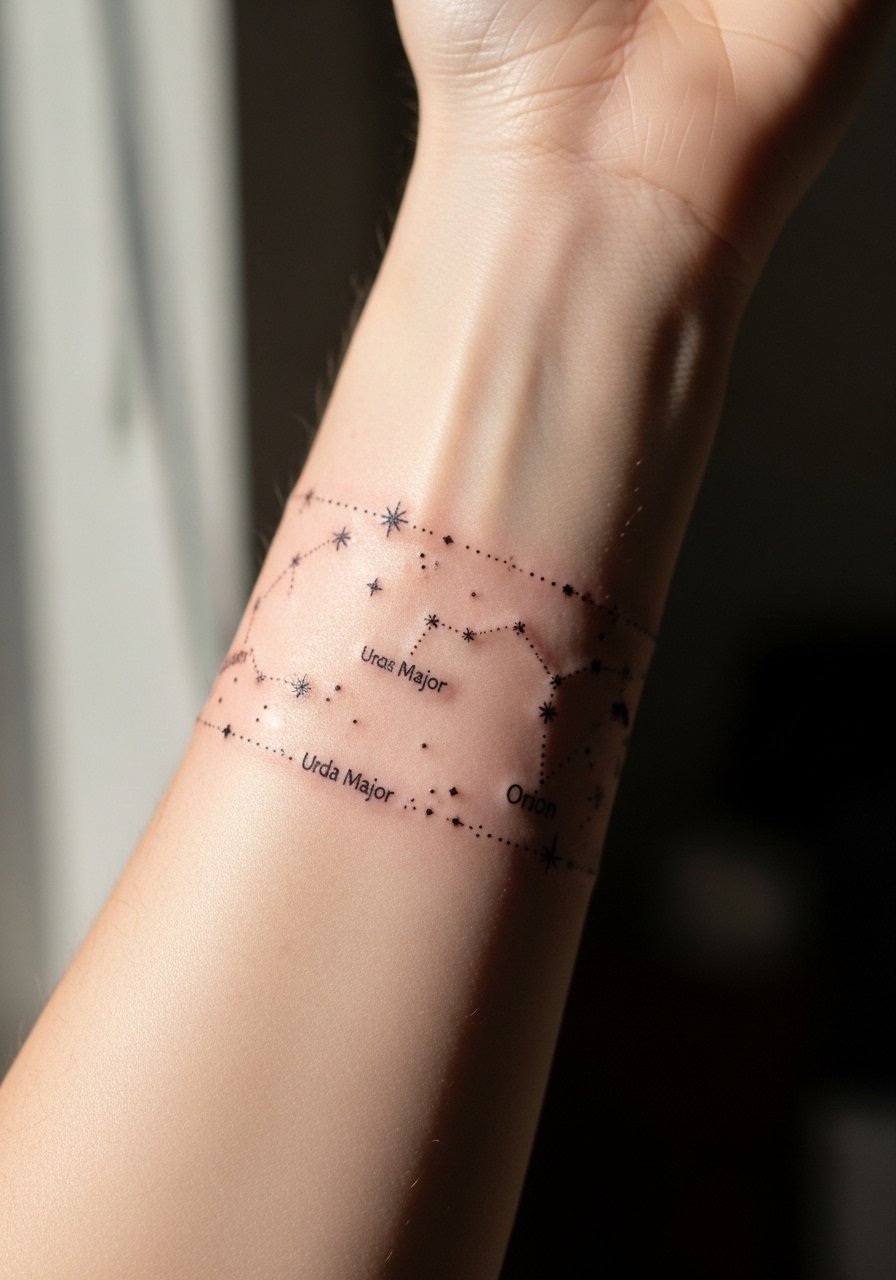
Constellations are delicate and need space between dots to survive years of hand use and washing. Ask for slightly bolder dot anchors at main star points so the pattern keeps shape when minor merging happens. The main error is over-clustering stars into a narrow band, which blurs quickly. Sessions are short and healing is straightforward, but expect a touch-up if you spend a lot of time outdoors. For evening wear, a minimalist leather strap watch on the other wrist frames the band without crowding.
20. Mechanical Spine That Tracks the Forearm Curve
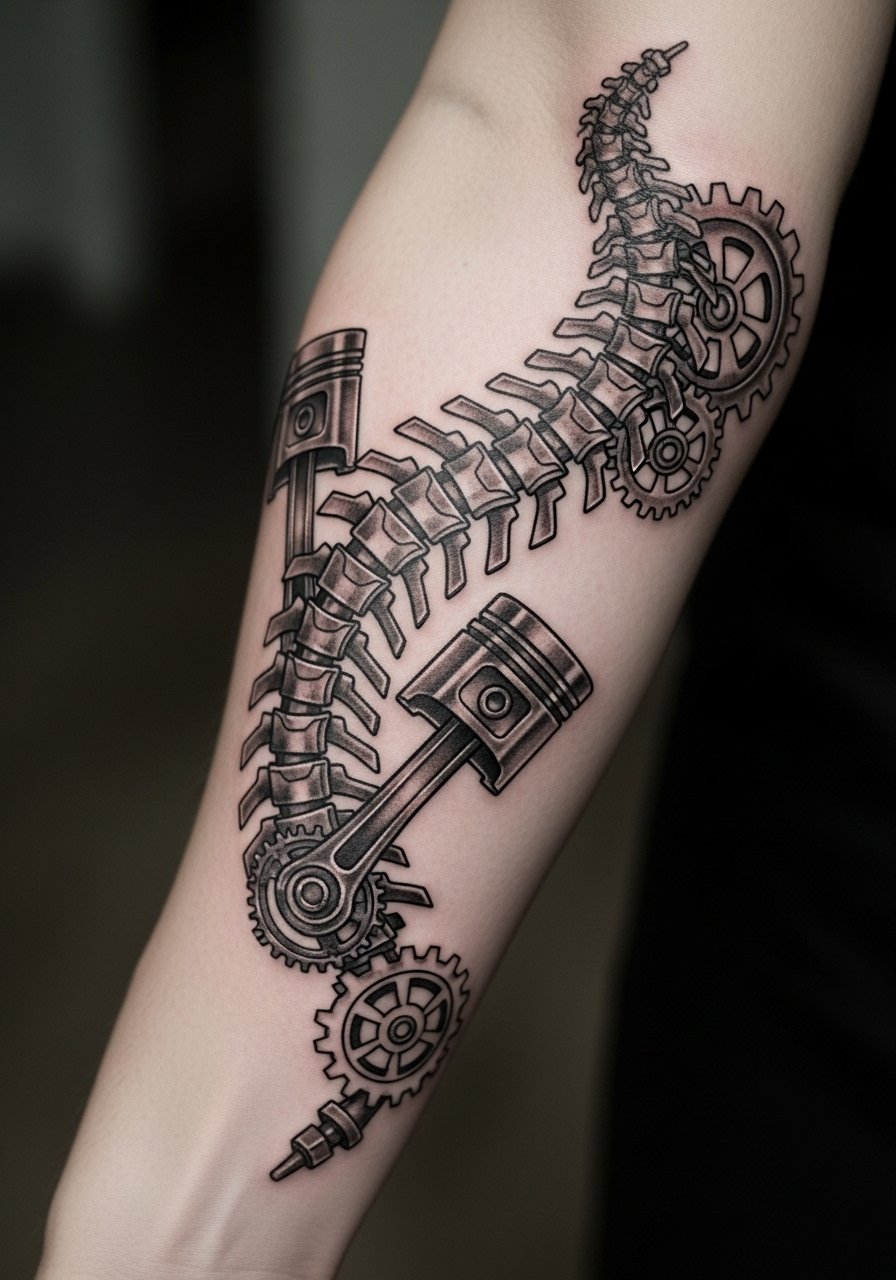
A mechanical spine plays with the arm’s anatomy by following its curve and reads particularly well when elongated. Ask for a composition where larger mechanical elements anchor near the elbow and smaller cogs taper toward the wrist to avoid confusion during flex. People often pack too many micro-details into the wrist area, which clogs as skin texture changes. Expect a single long session or two shorter ones. Pair the finished piece with a half-unbuttoned oxford shirt men in earth tones to frame the mechanical lines.
21. Abstract Black Brushstroke Tapered Design
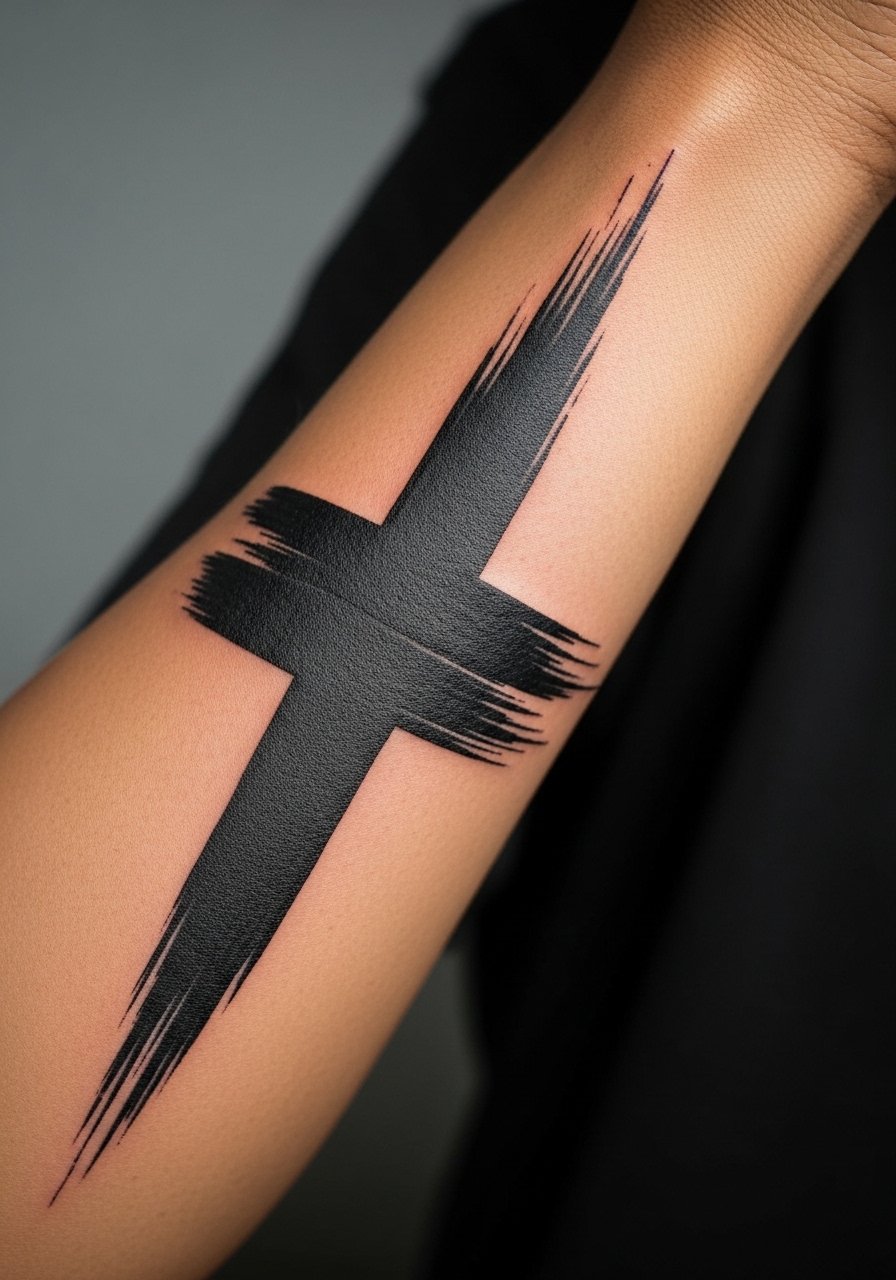
For a modern, minimal male aesthetic, a tapered brushstroke uses bold blackwork and negative space to dramatic effect. Request confident, single-pass strokes rather than a collection of thin hatched lines so the texture stays intentional as it ages. The mistake is layering multiple thin strokes to mimic a brush, which often looks patchy after a year. Sessions are fast and the piece holds up well with simple touch-ups. Wear it with a black crewneck or a short-sleeve navy tee to echo the tonal contrast.
Pre-Session Essentials
The horse, wolf, anchor, blackwork arrow, compass, and lion above present different session needs. These small picks smooth the appointment and early healing window for forearm work.
-
Stencil transfer paper kit. Lets you preview placement and size on the skin before the needle hits, which is crucial for vertical forearm pieces that must follow muscle grain.
-
Topical numbing cream. A thin application before the session helps with wrist-adjacent sensitivity and keeps you comfortable during longer portrait or realism blocks.
-
Thin protective film roll. Useful for the first 24 to 48 hours after hairy-arm work, it reduces friction from sleeves without smothering fine line pieces.
-
Fragrance free gentle body wash. Cleanses the forearm without irritating dot work or delicate single-needle lines during showers.
-
Aquaphor healing ointment. A thin layer in the first two days helps maintain moisture for crisp linework and limits heavy scab formation on dense black areas.
Frequently Asked Questions
Q: Will fine line work on the outer forearm fade faster than bold blackwork?
A: From what I’ve seen, fine line tends to soften sooner on sun-exposed forearms. Bold blackwork usually holds shape longer because saturation resists UV breakdown. If you want fine line, plan for touch-ups around year two and talk to your artist about slightly heavier anchor points.
Q: How do I prevent a forearm tattoo from warping when I flex?
A: Choose a vertical composition that follows the arm’s grain and ask the artist to avoid wide horizontal bands that cross the muscle. Also mention this concern in your consult so the stencil can be mocked up while you flex the arm in the chair.
Q: Are blackwork designs better for hairy arms?
A: Yes, solid black fields and geometric shapes read through hair more reliably than thin single-needle work. If you want fine detail and you have a lot of hair, discuss shaving or temporary removal options with your artist ahead of time.
Q: Should I use a protective film or dry heal on my forearm tattoo?
A: Artists split into two camps on this. One camp favors protective film for moist healing and faster epithelialization. The other prefers dry healing to encourage natural scab shedding and lower infection risk. Ask your artist which approach they use and why, then follow their protocol for the best result.
Q: What should I wear to the appointment for an outer forearm piece?
A: Bring a loose tank or a short-sleeve button-down you can roll, depending on how high the stencil sits. For pieces near the wrist, a short-sleeve tee is easiest. If you like, a loose tank top men lets the artist position your arm without fabric tug.
Q: How often will I need touch-ups on these outer forearm styles?
A: It depends on style and sun exposure. Bold blackwork and traditional motifs often go longer between touch-ups, sometimes five years or more. Fine line and watercolor styles usually need attention by year two to three if you want them to look like day one. Ask your artist about expected timelines for your chosen style before booking.
