
Fine line florals are everywhere online, and they photograph like a dream on the grid. The reality is different. The pieces that keep looking deliberate after five years are the ones designed with spacing, saturation, and placement that account for how skin moves and wears. Below are 21 realistic flower tattoo designs and the exact consultation language, wardrobe tricks, and longevity trade-offs to ask about before you book.
1. Realistic Rose with Dew Drops on Forearm
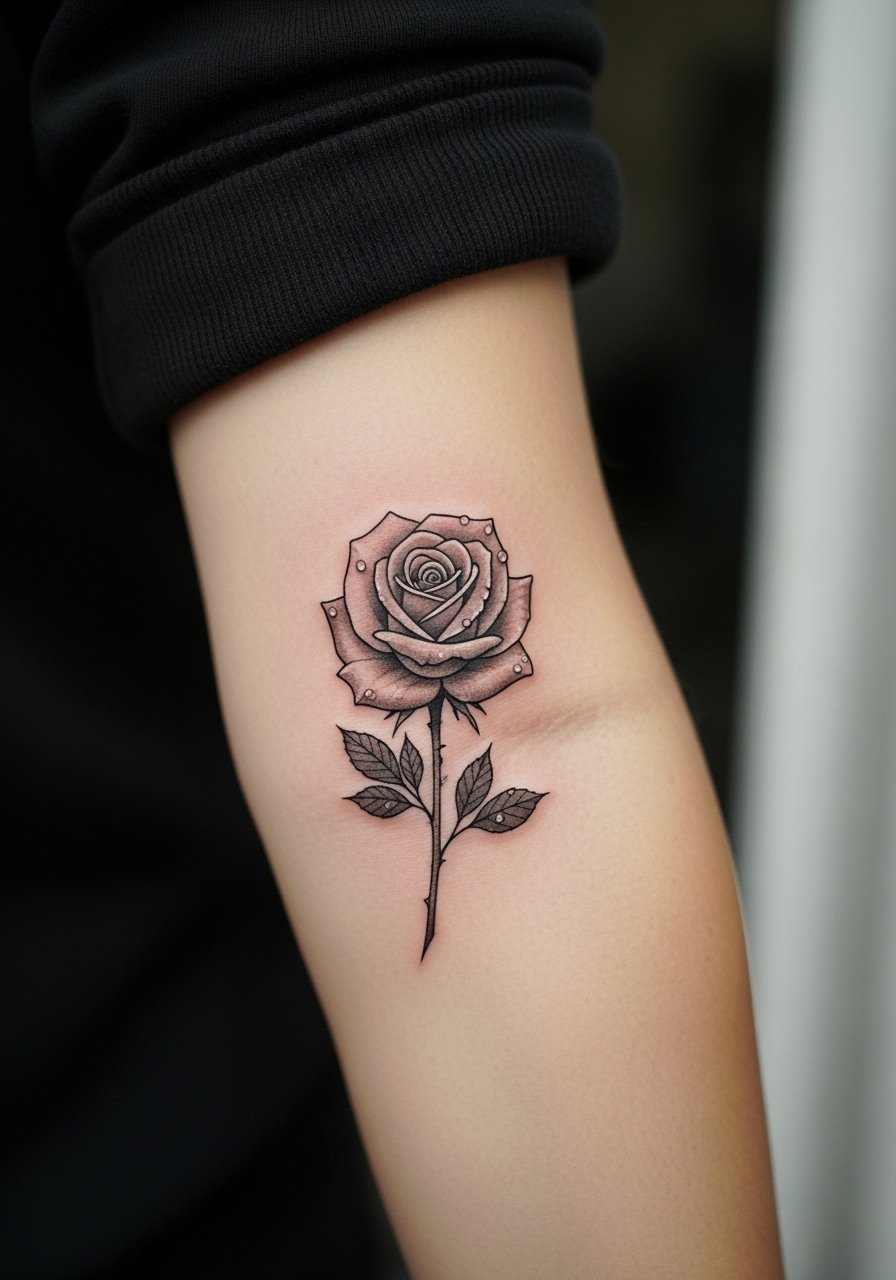
I recommend this when you want photoreal depth without a full sleeve. Tell your artist you want slightly increased saturation in the petal creases and small white highlights in the reference so the dew reads after healing. Fair warning, forearm sessions run two to three hours and are a public spot that gets sun. A common mistake is asking for ultra-thin lines right at the edge of the petals. Those vanish faster. Expect touch-up talk at year two to three depending on sun exposure. For the session wear a white crewneck tee you can roll up and a thin cuff on the opposite arm to frame the photo.
2. Photorealistic Peony Bloom on Thigh
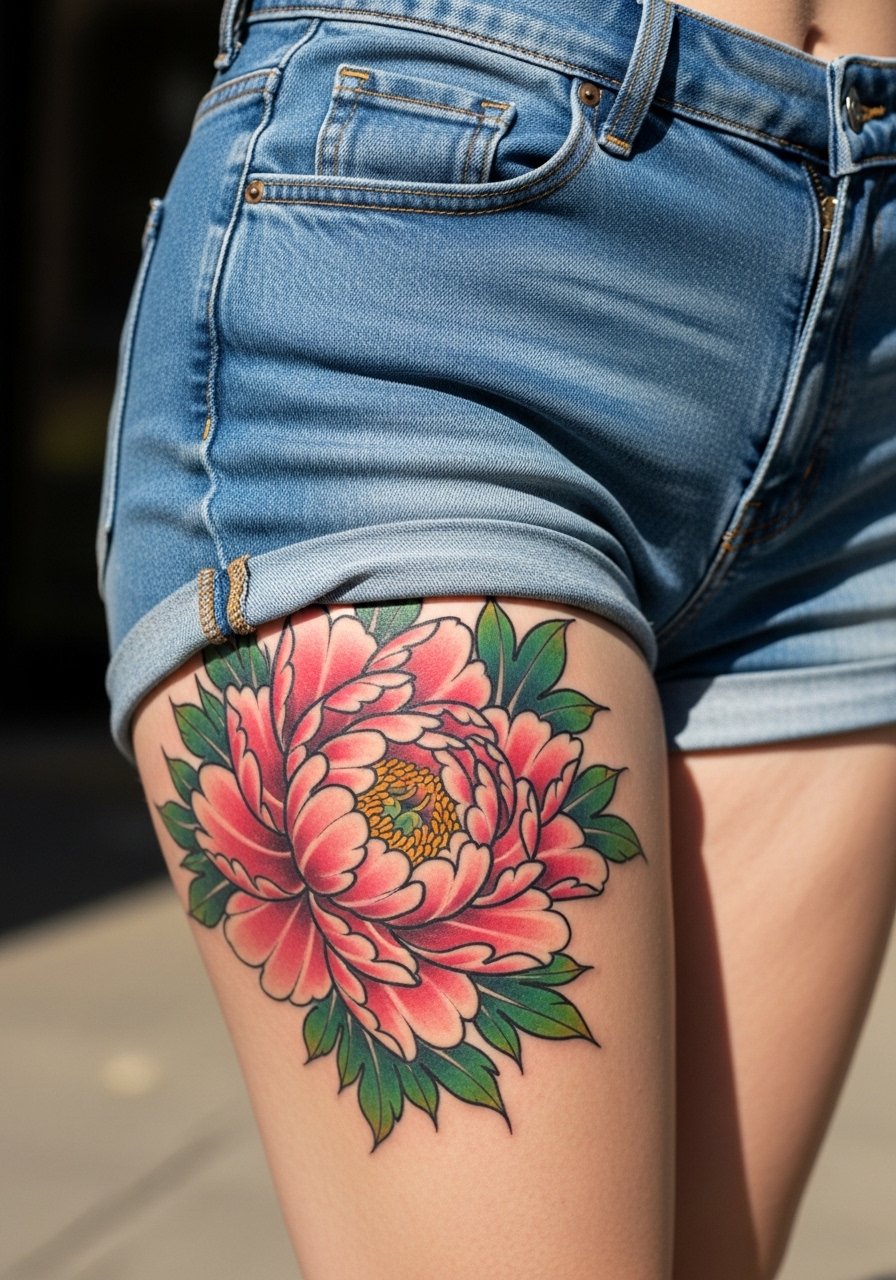
Thigh pieces let color sing at a larger scale and they tolerate denser saturation. When you consult, specify whether you want the bloom centered on muscle or on the plane that sits when you stand. Muscle-facing placements can distort with weight or gym gains. Sessions usually run three hours per sitting and may split into two appointments. The mistake is packing too many small blooms close together on a moving area. If you plan summer shorts, pair the healed piece with high waisted denim shorts for photos that show the whole bloom without awkward cropping.
3. Detailed Lily with Stem on Collarbone
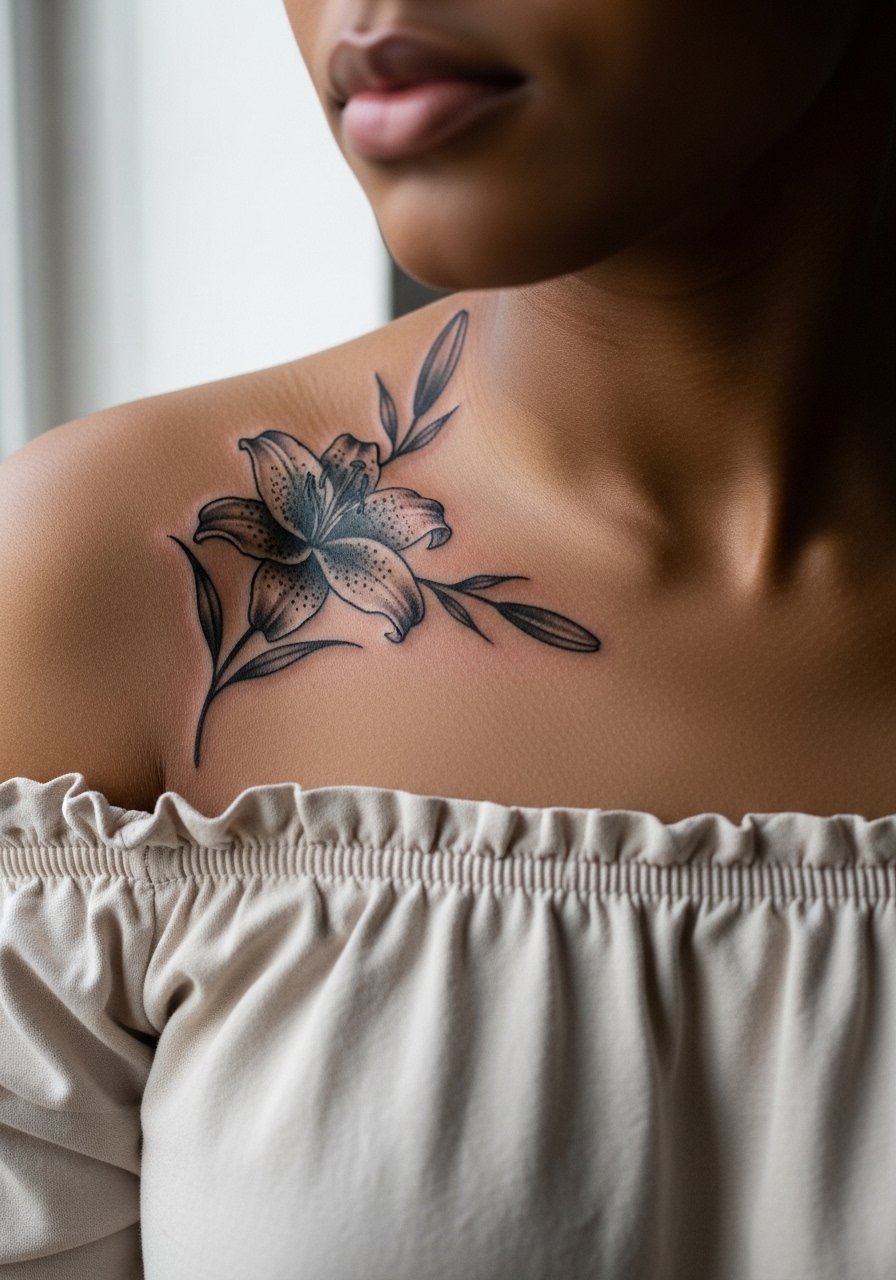
Collarbone lilies are elegant and relatively quick. Expect a one to two hour session and moderate pain where bone meets skin. Ask for the stem to follow the collarbone contour rather than sit perpendicular to it. A frequent error is sketching the flower too small for that horizontal canvas, which flattens the visual lift. Black and gray holds better on medium-to-dark tones than very pale pastels do. For showing it off, try an off shoulder blouse silk that frames the curve without competing with the linework.
4. Hyper-Realistic Sunflower on Shoulder
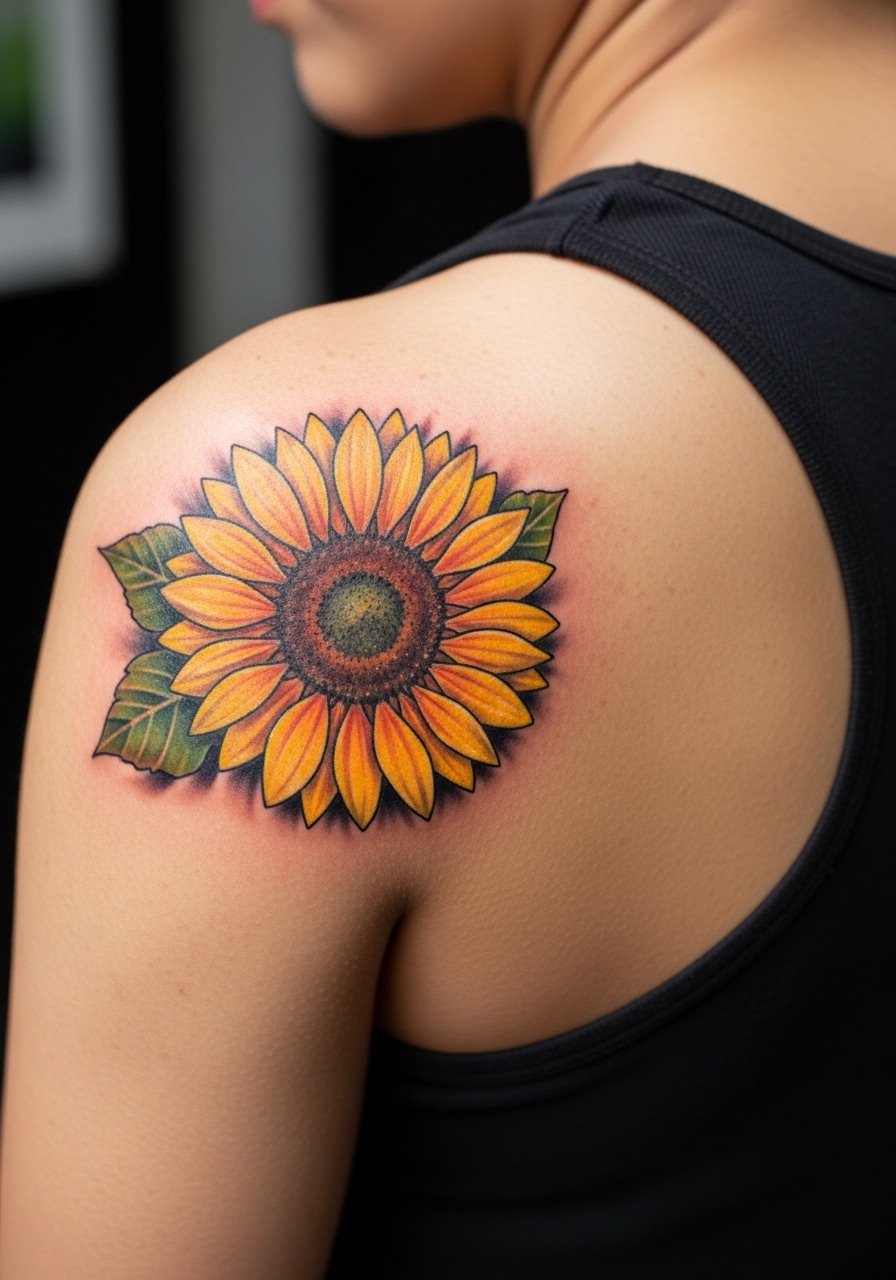
Shoulder tattoos gain depth from natural curve and motion. The sessions are two to four hours depending on diameter. Bring photos that show how the petal shadow should fall on the curve so the artist can plan highlights. There is a debate in the community about fine line versus heavier saturation for floral realism. One camp argues that denser saturation and slightly heavier linework age better on curved areas. The other camp insists that with precise needle depth, fine line micro-realism can last as long. Ask your artist which approach they favor and why. For the session wear a sleeveless racerback tank so the artist has clear access without fabric rubbing the fresh ink.
5. Realistic Cherry Blossom Branch on Ribcage
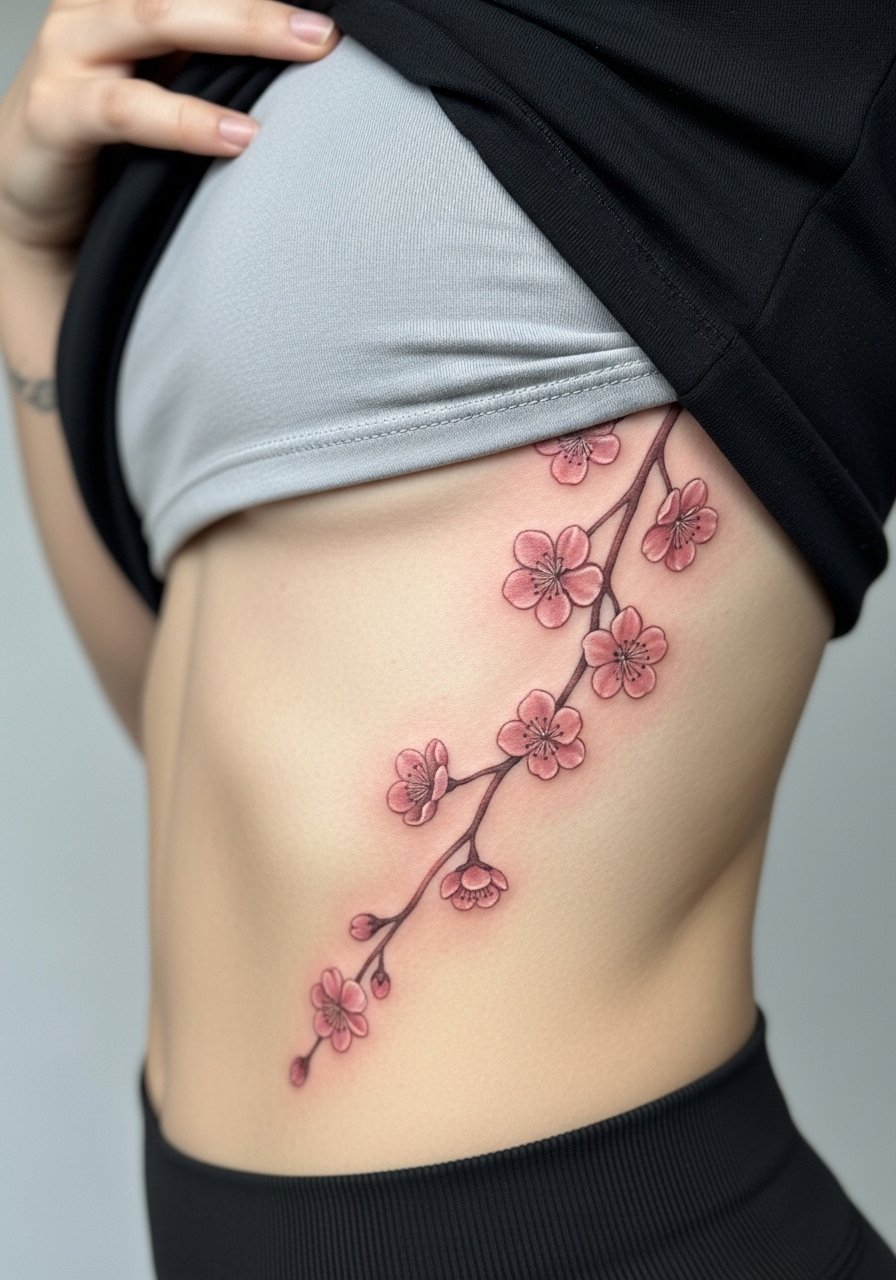
Fair warning, ribs rate high on most pain scales but yield beautiful contour-following results. Plan three sessions for layered blossoms and background shading. During consultation say whether you want the branch to flow with inhale and exhale, which affects how the petals sit when your torso moves. A common mistake is picking tiny fine line petals on the ribs; they blur faster because of skin stretch. If you want discreet show-off moments, think crop tops or side-slit dresses and bring a crop top cotton for photos after healed.
6. 3D Lotus in Bloom on Inner Bicep
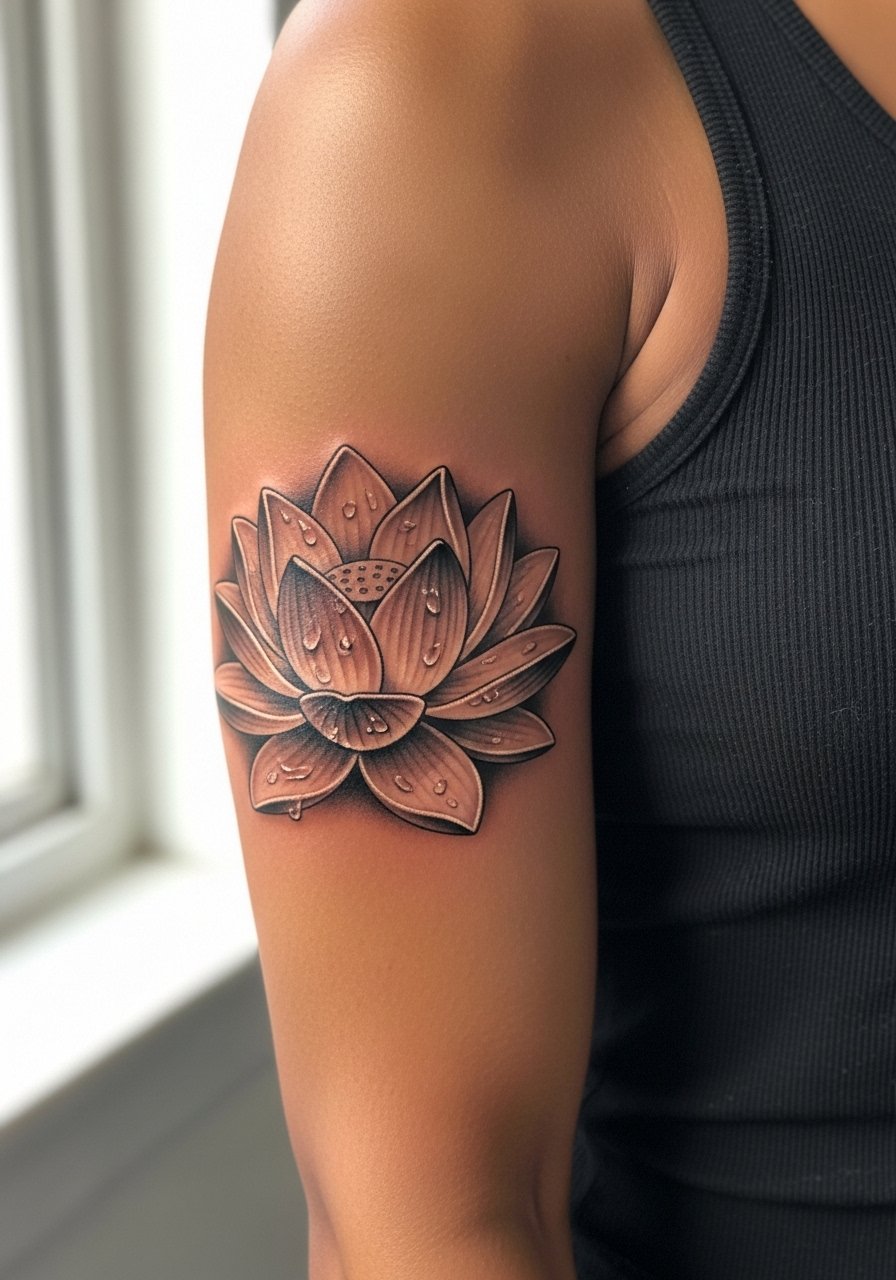
Inner biceps are private when relaxed and surprising when flexed. The area handles 3D shading well but can be ticklish during longer sessions. Tell your artist you want visible water droplet highlights and slightly higher contrast between petal edges and base shading. People often underestimate touch-up needs here because the inner arm sees frequent rubbing against clothing. For the session, wear a loose linen tank top that lets you raise your arm without tugging fabric through the fresh area. Also, note the Saniderm versus dry healing debate. One camp says occlusive film reduces scabbing and preserves micro-real highlights. The other worries it traps moisture and can cause soft color blending. Ask your artist which method they use and why before you commit.
Studio Day Picks
The forearm, collarbone, and ribcage pieces above ask for different prep and first-week care, so a compact kit focused on friction zones and gentle hydration makes chair day smoother.
- CeraVe Healing Ointment. A non-greasy barrier many people use in the first 48 hours for forearm and collarbone pieces where excess shine shows in photos.
- Badger Tattoo Balm. Natural balm that users report avoids yellowing on pale areas and helps small ankle and wrist clusters during the scab phase.
- Green People Tattoo Balm. Thinner texture for humid climates, useful for larger thigh sessions that risk moisture trapping.
- Aussie After Inked. Alcohol-free lotion people favor post-Saniderm for color pieces on calves and thighs to reduce early scabbing.
- Hustle Butter Deluxe. A buttery finish that absorbs quickly and helps prevent dry cracking on dense color like peonies and sunflowers.
7. Photorealistic Daisy Cluster on Ankle
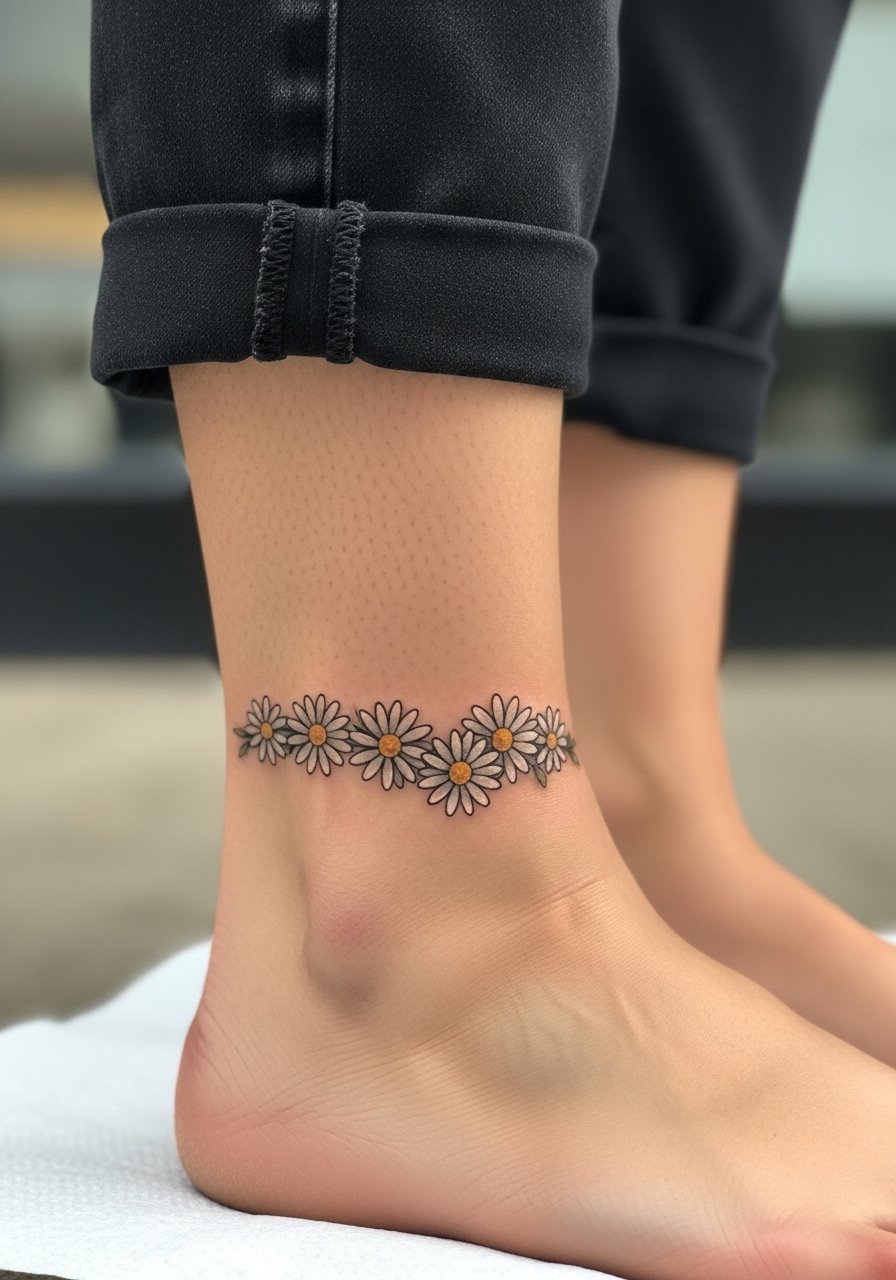
Ankle tattoos heal under a lot of friction from socks and shoes. A single-session small cluster is typical, around 60 to 90 minutes. Ask for slightly bolder petal edges than the reference so the whites and tiny yellows keep shape in a year. A common mistake is packing several tiny daisies into a narrow band, which can read muddy after washing and wear. For showing it off, cropped ankle pants and strappy sandals frame the work. Try cropped ankle pants linen and sandals that leave the tattoo visible without rubbing.
8. Realistic Orchid Petal Detail on Wrist
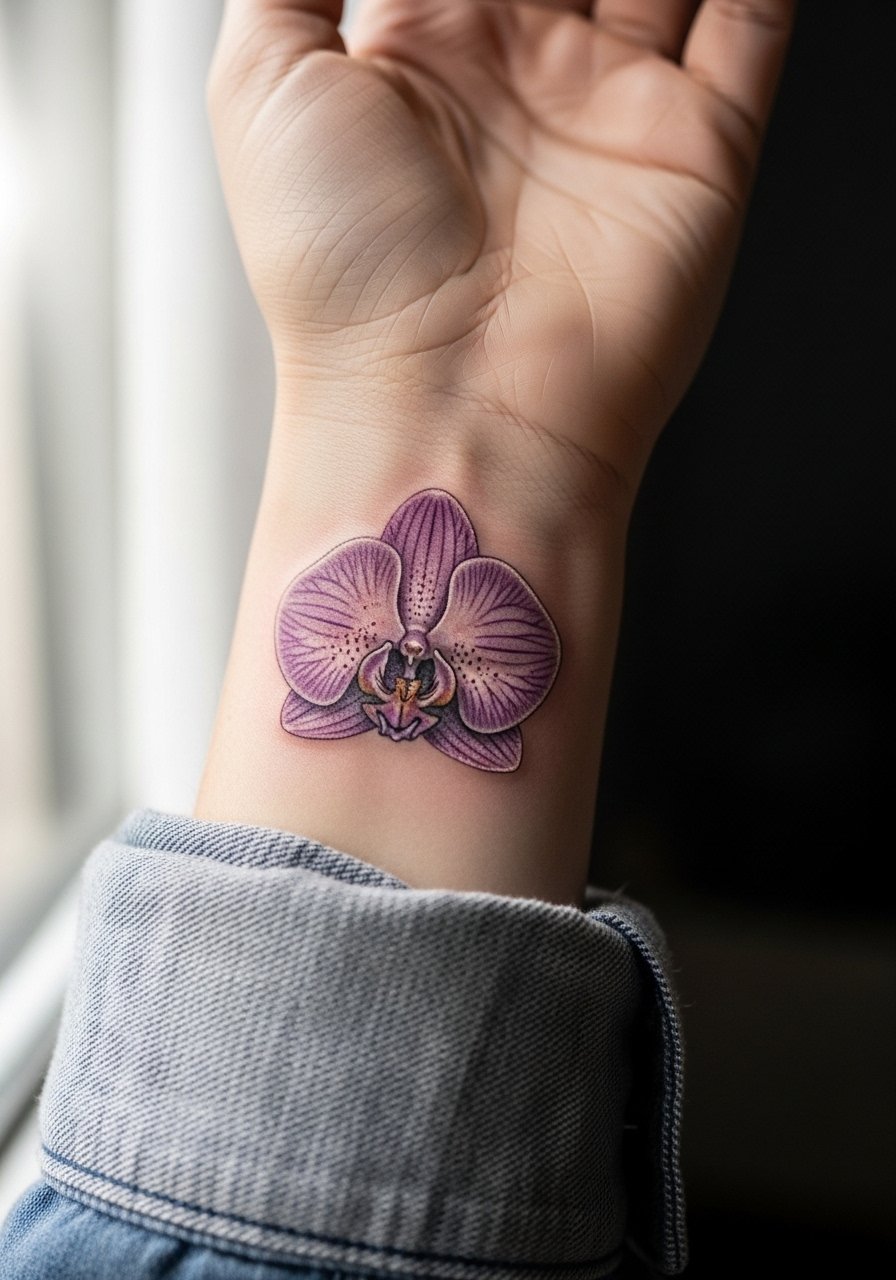
Wrist pieces are visible but get washed and rubbed a lot. Sessions for small orchid detail are often one to two hours. Ask for slightly increased saturation near the core so contrast survives frequent hand washing. The biggest error is overfilling with tiny script or border too close to the bloom. If you want a polished display, style with an oversized linen shirt women rolled cuff and a minimalist watch on the other arm to balance the visual weight.
9. Hyper-Realistic Poppy Field Snippet on Calf
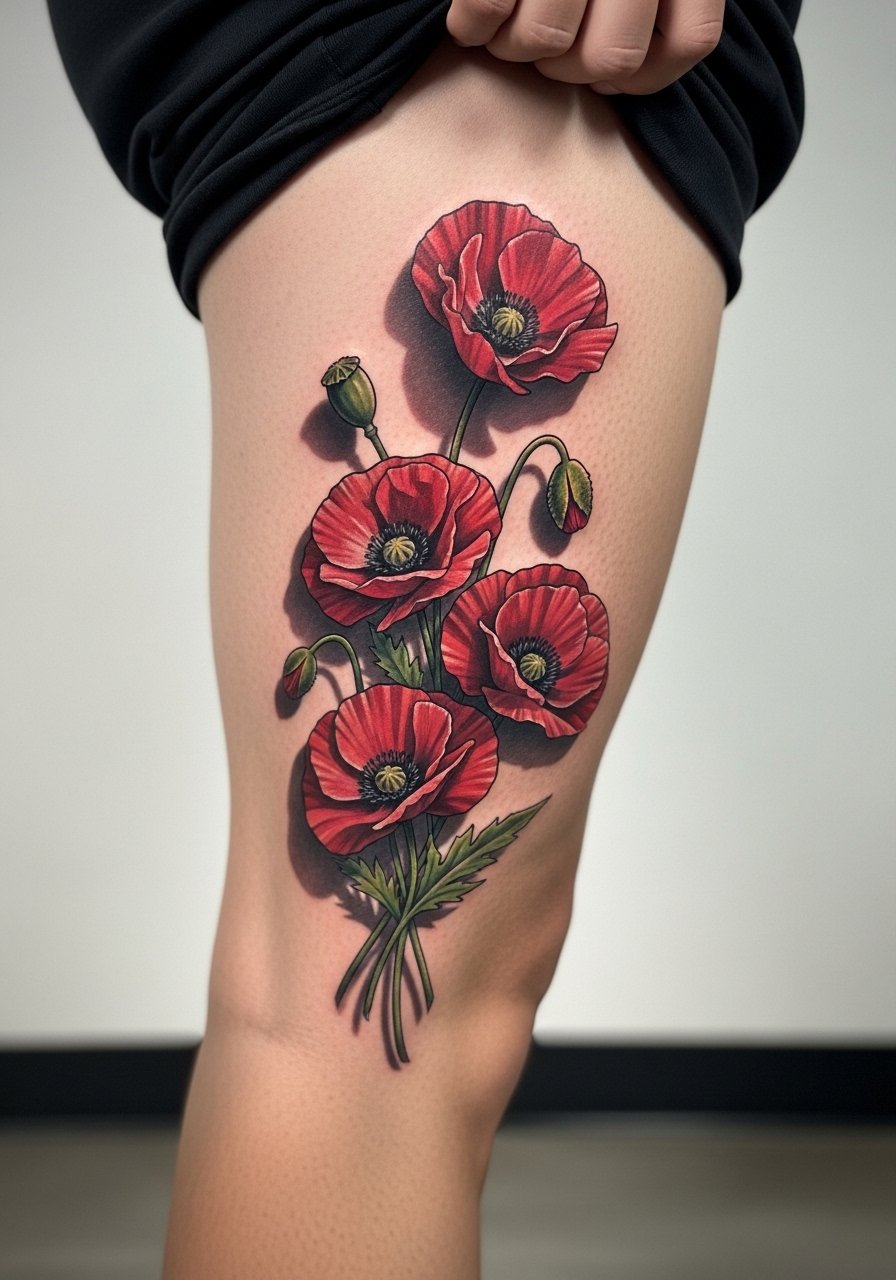
Calf pieces work well for motion and movement illusions. Expect two to three sessions for layered poppy fields with background value shifts. When you consult, mention whether you want the poppies to read singly when wearing jeans or as a connected vignette that reads only in shorts. A common mistake is too many small red elements pressed close together, which can bleed into a single mass over time. For the session wear loose joggers or shorts you can pull up easily and plan photos in sandals or cropped pants.
10. Detailed Magnolia on Upper Arm
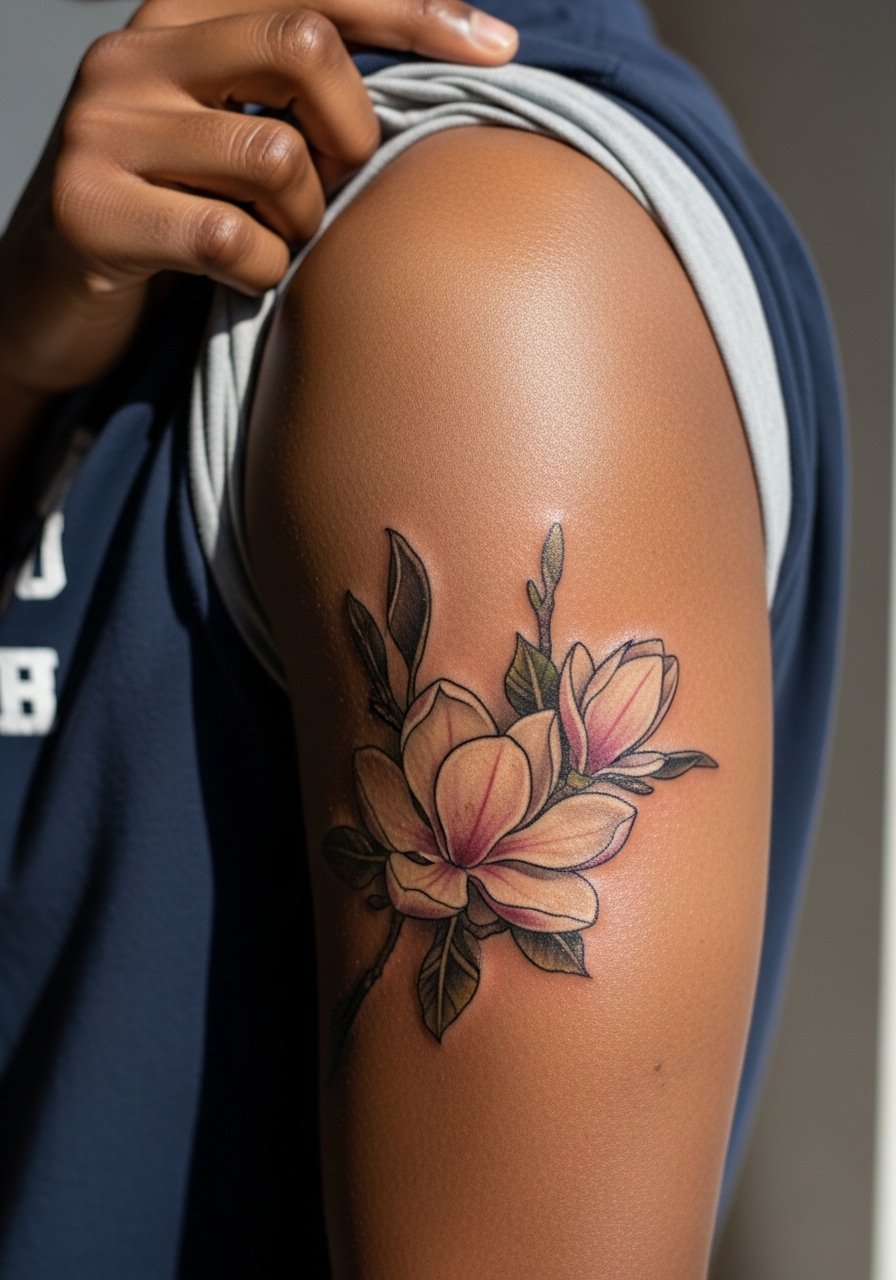
Upper arm canvases tolerate larger scales and moderate sessions. Magnolias benefit from soft edge-blending and stipple shading under petals to suggest volume. Ask the artist for slightly increased midtone contrast so white petals do not wash out on darker skin. People sometimes pick pale fills that disappear in photos. Touch-ups at year two are common for white-heavy flowers. For showing the healed piece, a sleeveless racerback tank or a button-down worn open provides good framing.
11. Realistic Vine of Jasmine on Spine
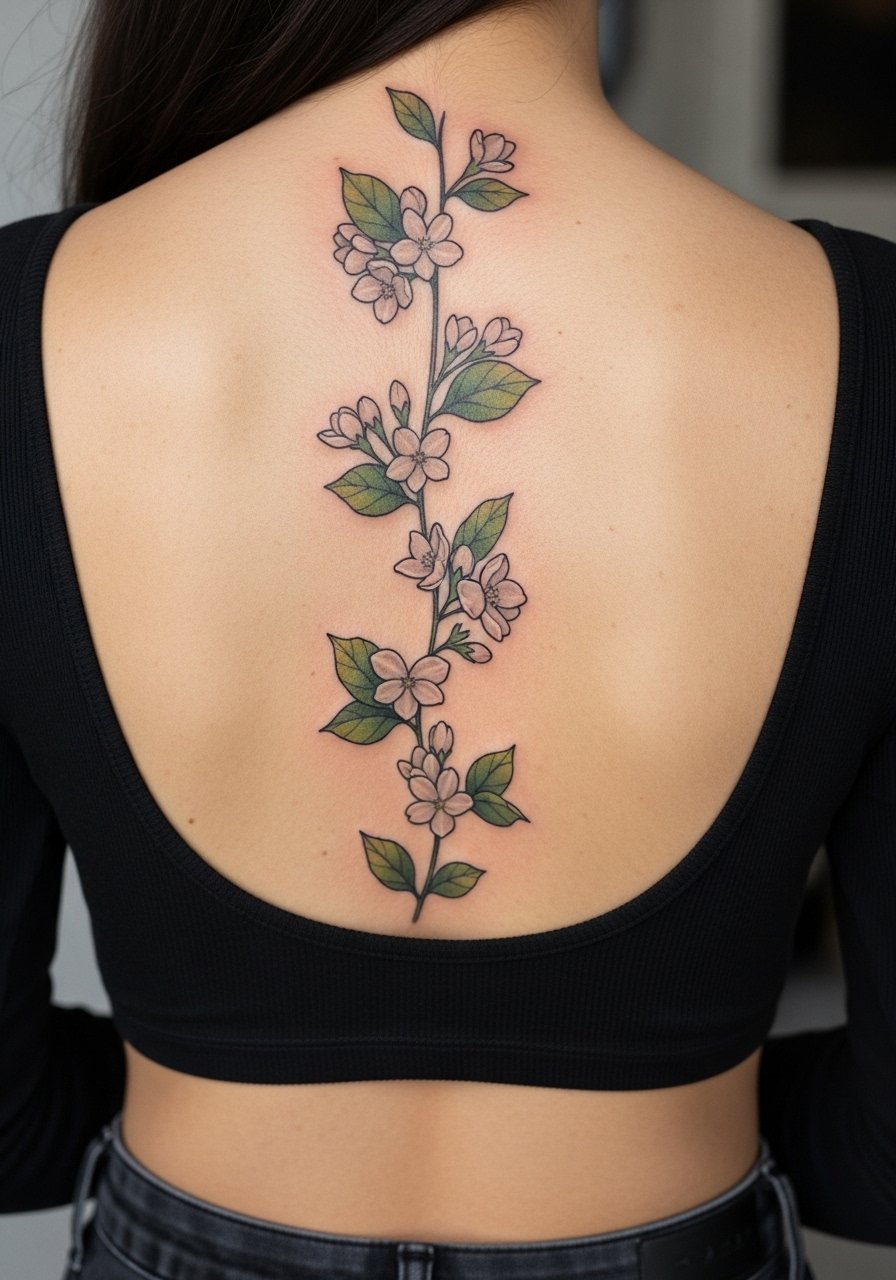
Spine pieces read as a vertical anchor and can be subtle or bold depending on spacing. This design usually requires multiple sessions to layer leaves and blossoms. Be explicit about how high and low the vine should run relative to the natural waist. A mistake is making the vine too dense across vertebrae where skin curves and stretches, which makes detail merge. For evening wear, backless tops or halters frame the vine. Try a backless crop top for event photos.
12. 3D Hibiscus on Inner Thigh
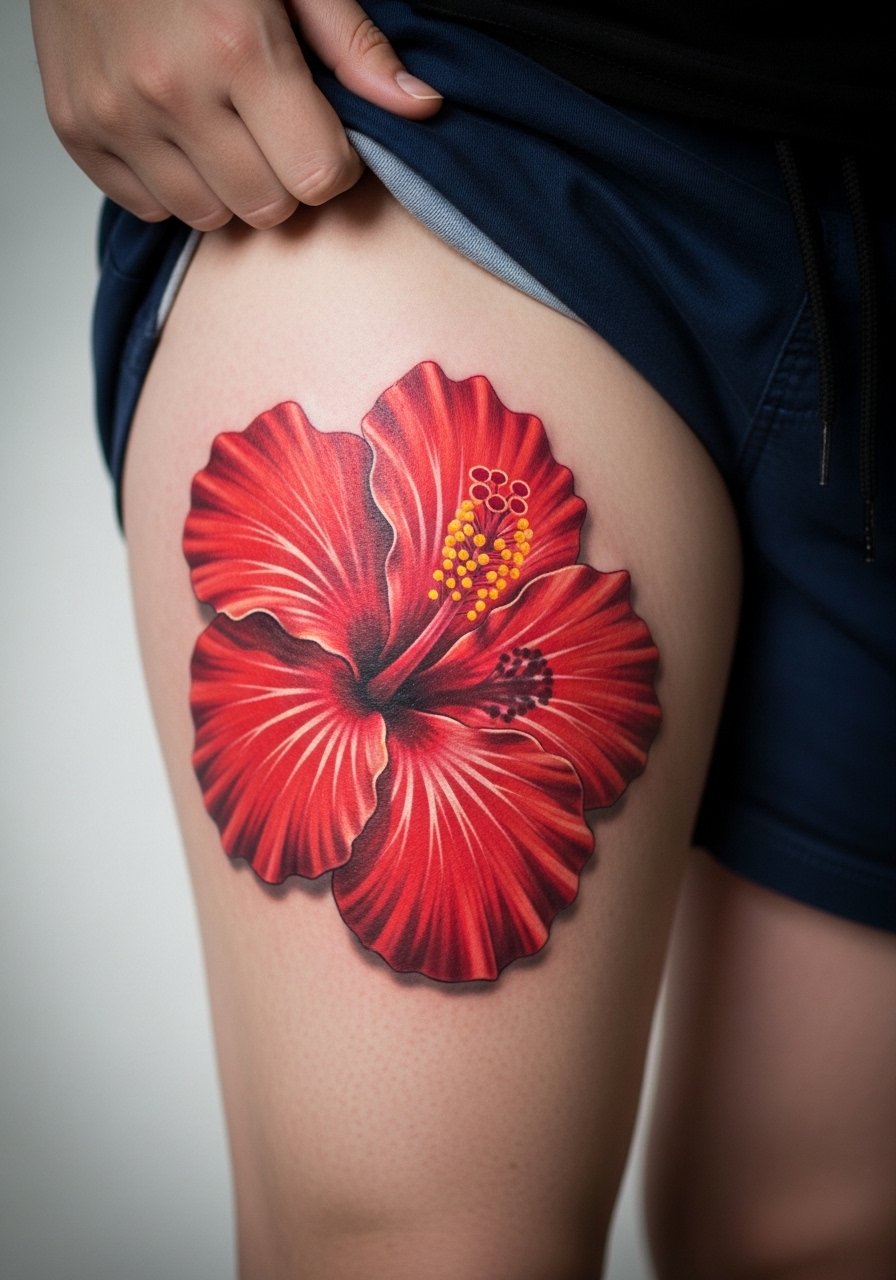
Inner-thigh work is intimate and tends to heal with less sun exposure, which preserves color. Sessions run two hours per pass and can be split for sizing. Coaches and gym-goers should note muscle gain or loss can subtly change proportions. A mistake is trying to cram surrounding filler into the tight inner-thigh space. For the session, wear loose joggers you can pull up or a sports short so the artist can work without constant fabric adjustment.
13. Micro-Realism Garden on the Side of a Finger

Finger work reads like jewelry but it is high-risk for early fading. Expect shorter sessions but faster touch-up needs, often around year one. Ask for slightly thicker contour points and avoid full saturation fills in tiny petals. A common mistake is requesting full photoreal shading at a knuckle scale; the skin there moves and sheds differently. If you want the ring look, ask for a spaced chain of tiny blooms rather than packed petals. Hand tattoos can carry professional implications in some environments, so think about visibility.
14. Vein-Textured Leaf Accent in a Botanical Cluster
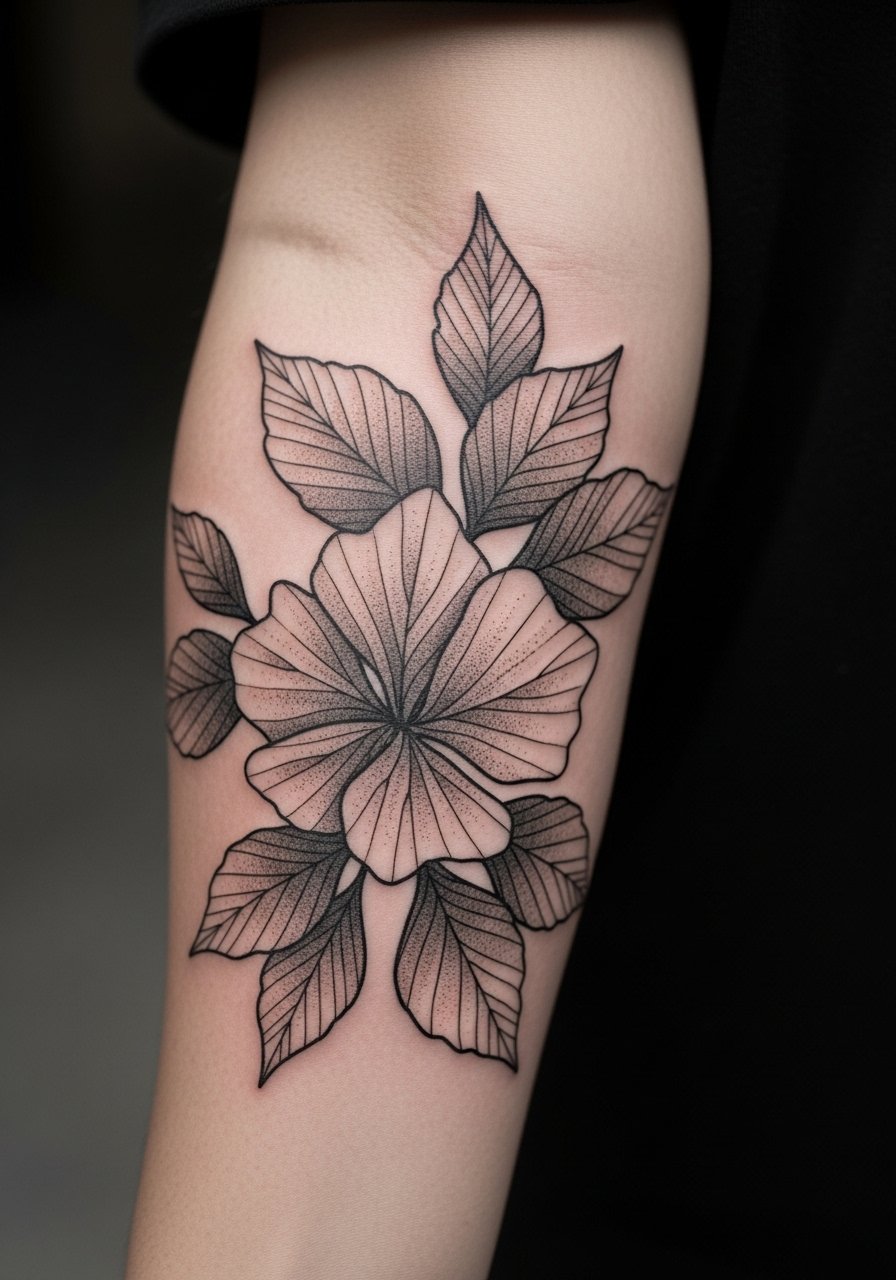
This under-covered idea gives realism extra depth by borrowing subtle vein textures from leaves. Sessions are detail-heavy and benefit from stipple shading and fine whip shading to suggest translucency. Tell your artist you want vein texture emphasized in the midtones, not by adding tighter lines that age into blur. A typical mistake is over-rendering veins so they compete with the petals. For a casual shoot, pair the healed work with a white crewneck tee and roll the sleeve for a clean frame.
15. Black and Gray Rose for Darker Skin Tones
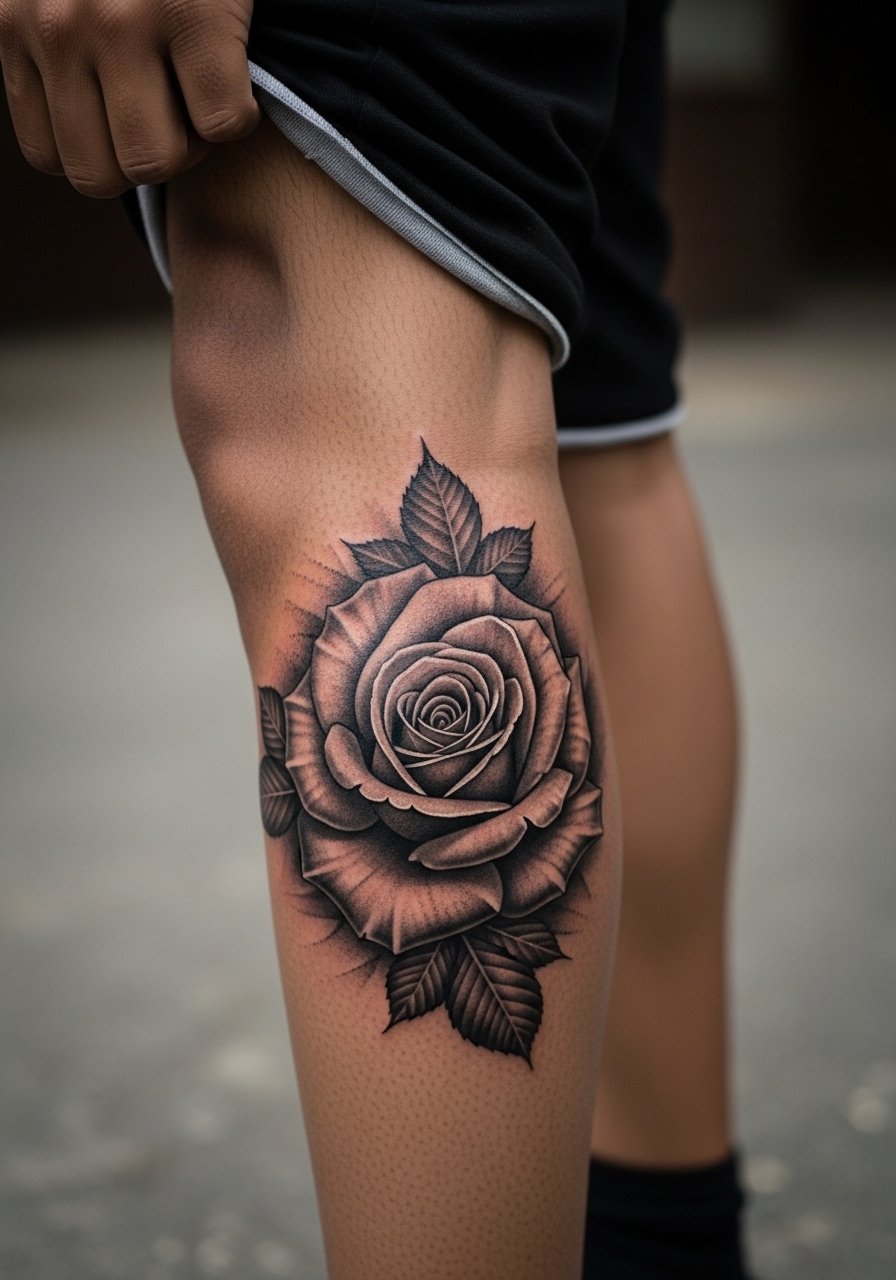
On darker skin, black and gray realism often maintains contrast longer than pale pastels. The session should emphasize value contrast rather than thin line highlights. A common regret is asking for faint pinks that do not register later. Ask the artist to show healed examples on similar skin tones during the consultation. Expect two sessions for layered saturation and touch-up discussion in year two. For everyday wear choose cropped pants or skirts that let the piece show without abrasive seams.
16. Negative-Space Dew-Drop Illusion on a Single Petal
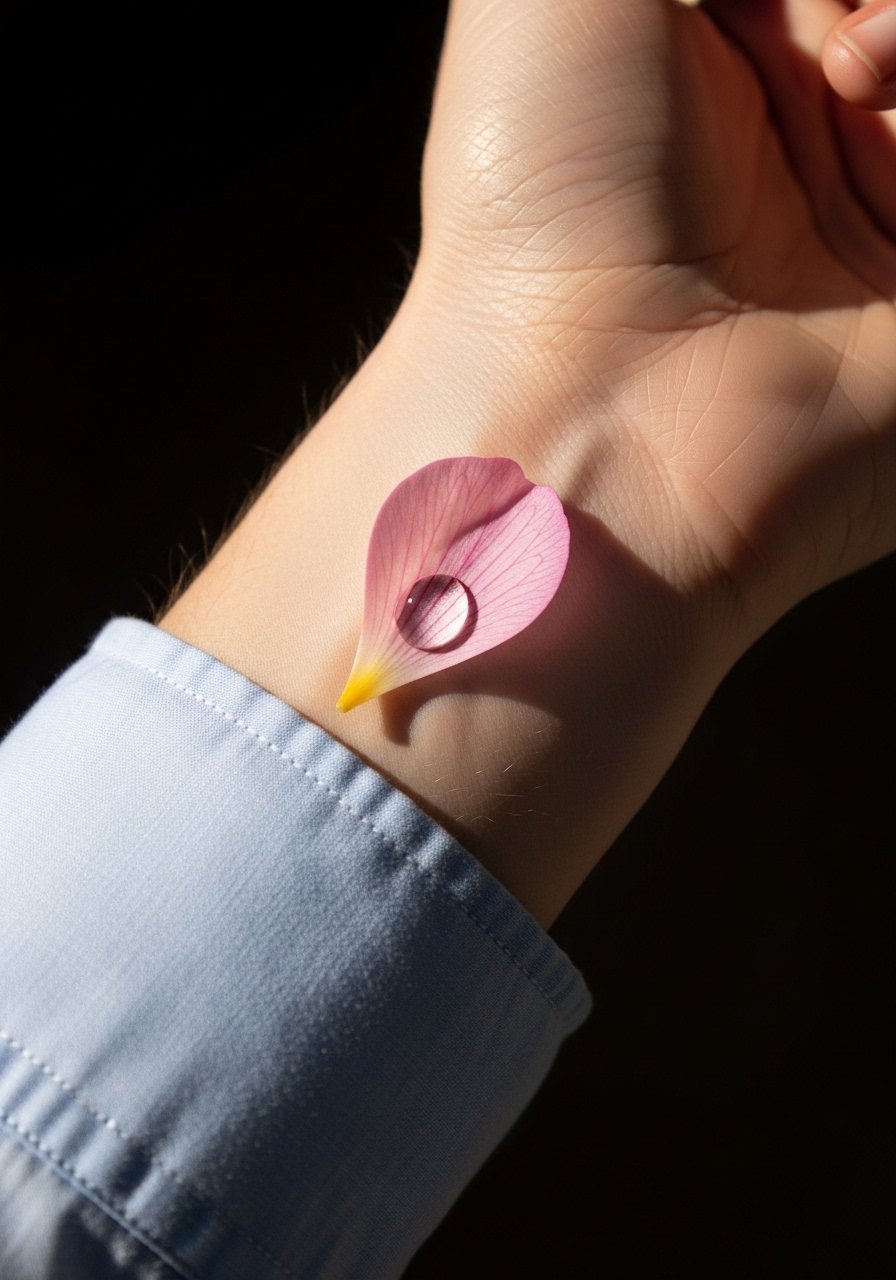
Using negative space with precise highlights can make one petal pop without heavy color. This technique relies on white space and subtle shading, so the artist must plan spacing carefully. A mistake is compressing the dew drop into a tiny area where capillary loss blurs the effect. For wrists, expect yearly touch-up conversations. Style the healed wrist with a minimalist leather watch on the opposite arm to balance attention.
17. Patchwork Stems to Link Older Tattoos
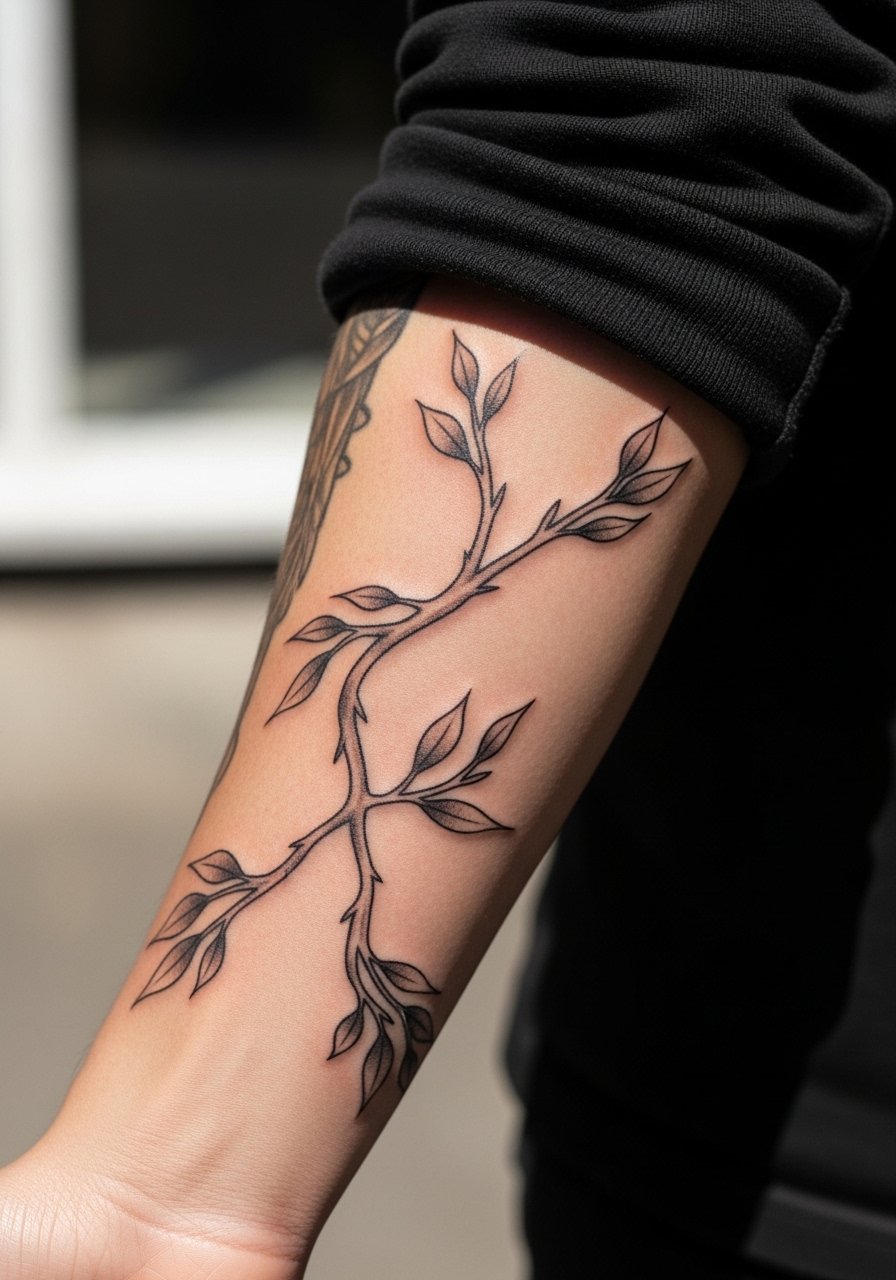
Patchwork stems are practical and creative. They let you integrate older flash pieces into a coherent botanical flow. In the consult, bring photos of each existing piece and ask for negative-space stems that avoid covering prior saturation. A mistake is trying to hide mismatched styles with heavy filler, which can read clumsy. Sessions vary in length depending on how much integration is needed. For post-session photos, a loose button-down shirt pulled aside can reveal the flow cleanly.
18. Palm-Sized Sunflower Behind the Shoulder
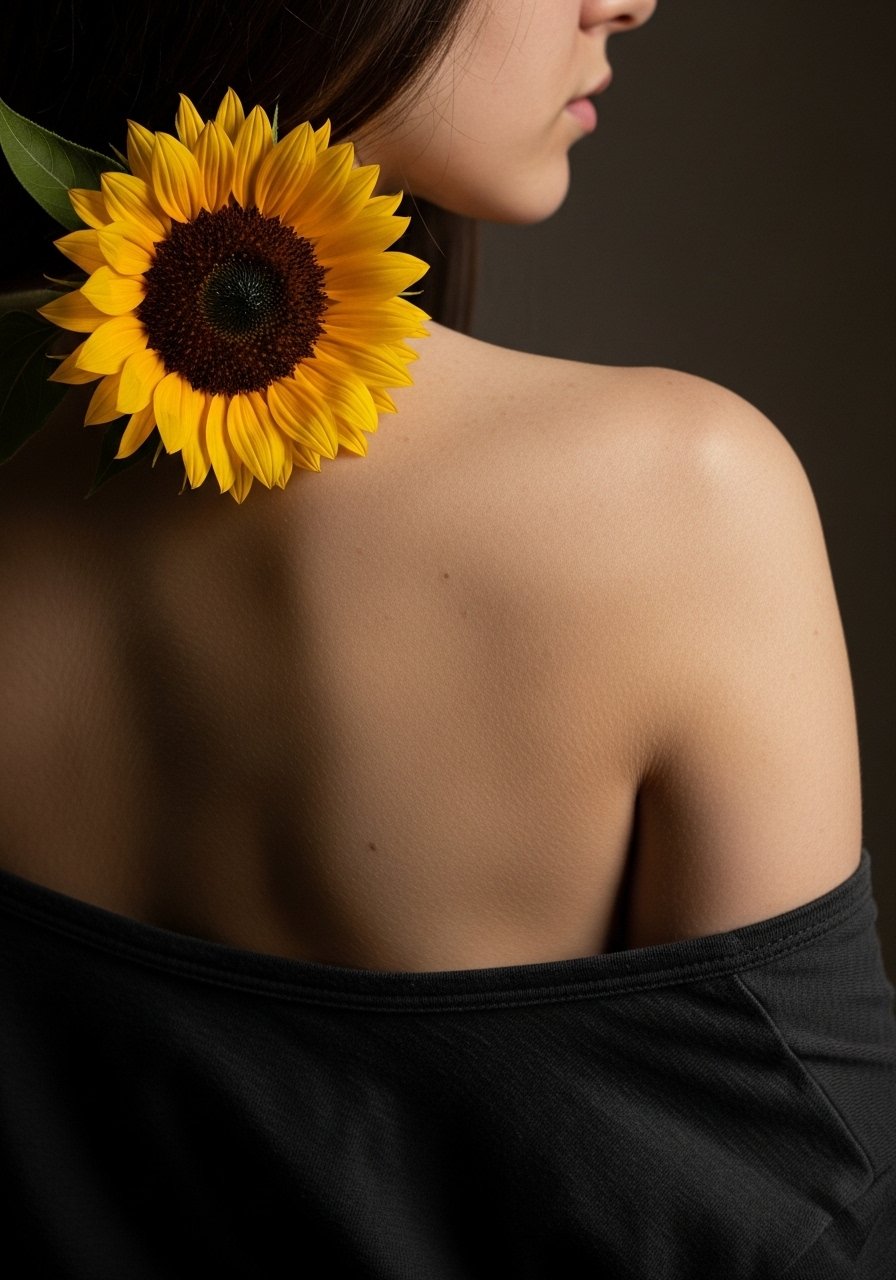
Behind-the-shoulder placement hides easily but reads strong when exposed. Two-hour sessions are common for a palm-sized sunflower. Specify how much of the petal should wrap onto the deltoid so photos in tanks read balanced. The mistake is placing too much detail where shirts will continually rub, which can accelerate touch-ups. For session comfort, wear a wide-neck shirt you can pull slightly aside without exposing the whole back.
19. Mini-Realism Jasmine Sprig Behind the Ear
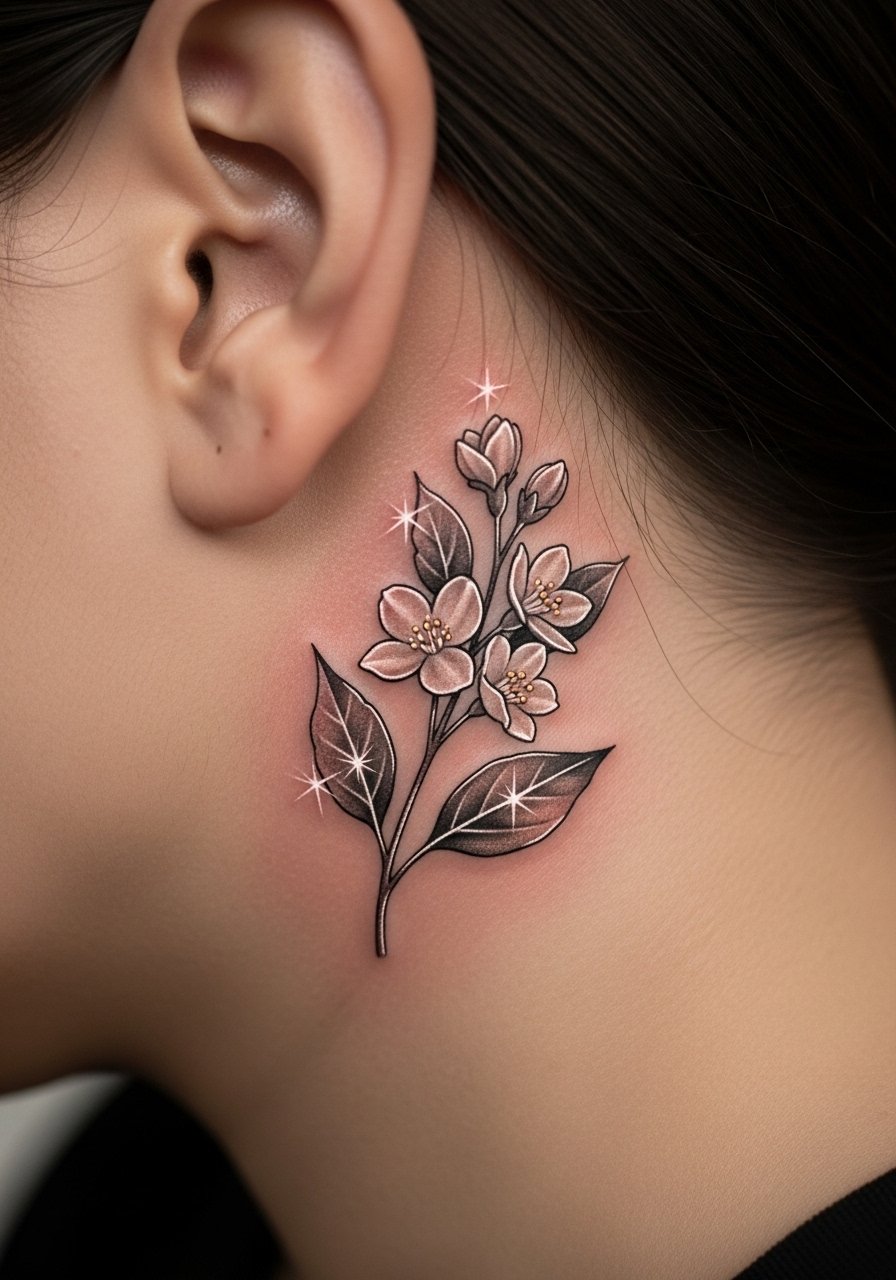
Behind-the-ear placements are subtle and photograph intimately. Expect a short session and light touch-up needs but also note how hair and oils affect longevity. During consultation tell the artist to avoid long thin strokes that sit right at the hairline where fading accelerates. A mistake is requesting mirrored symmetry on a curved small patch, which rarely reads balanced. Keep your hair styled away from the area for a few weeks to reduce friction.
20. Photoreal Poppy and Grass Motion on the Lower Leg
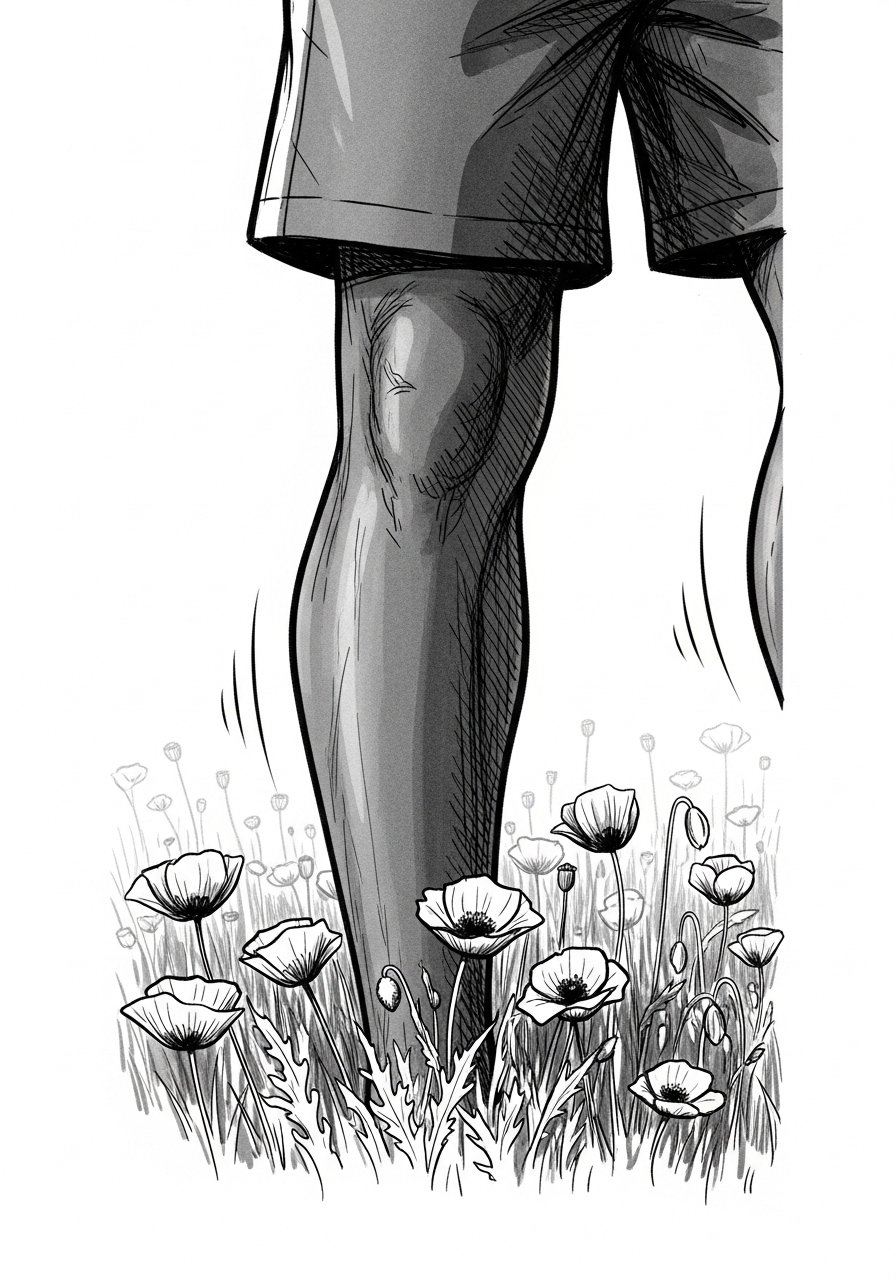
Lower-leg pieces read well in motion and are great for layered movement effects. Plan for two to three hours across sessions if you want depth and foreground blur. Tell your artist whether walking or standing photos are priorities because the angle changes how the grass flows visually. A common error is clustering too many red elements that merge from a distance. For showing off in summer try strappy heeled sandals or cropped pants.
21. Small Realistic Camellia Near the Collar of a Shirt
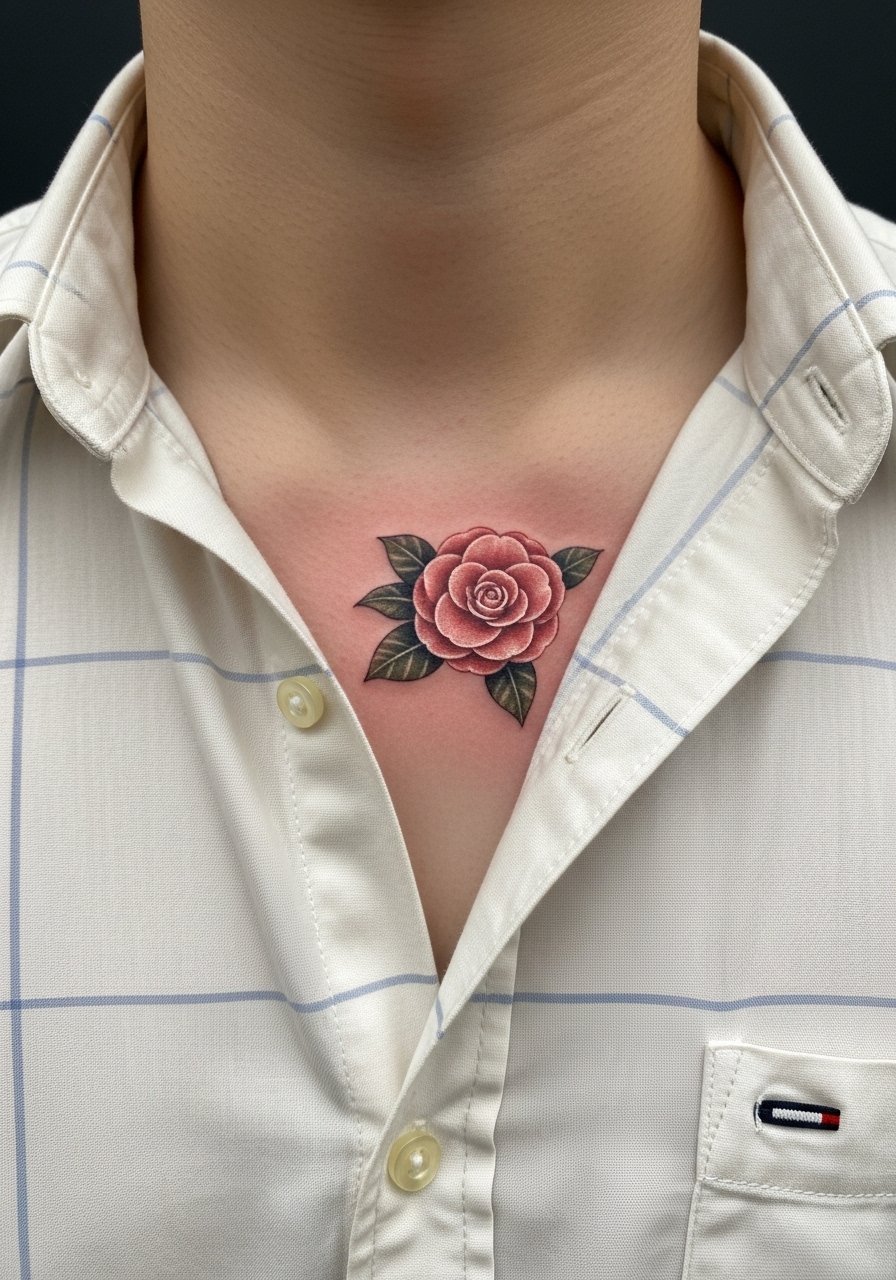
This is a refined placement for a first realism piece. Sessions are typically under two hours and pain is moderate near bone. Ask the artist to place the bloom where necklace lines will not cut across petals. The mistake is choosing too many small extra marks around the bloom that compete with collars and necklaces. For immediate photos try a thin chain pendant necklace that sits below the flower so the eye moves cleanly.
Frequently Asked Questions
Q: Will fine line realistic flowers on my ribs blur faster than on my forearm?
A: Ribs and forearms age differently. Ribs stretch and compress with breathing and weight changes, so dense fine line work can merge sooner there. Forearms face more sun and abrasion from sleeves. Ask your artist about spacing and line weight for ribs and expect touch-up planning sooner rather than later.
Q: How should I pick a realistic flower design if I have medium or dark skin?
A: Prioritize value contrast over pale tints. Black and gray realism often holds better and shows healed texture clearly. Ask to see healed portfolios on similar skin tones and request slightly higher midtone contrast in the initial session.
Q: Is Saniderm really better for micro-realism petals, or should I dry heal?
A: Artists split into two camps. One camp prefers occlusive film because it reduces scabbing and preserves delicate highlights. The other camp worries it can over-hydrate and blur tiny contrasts if not applied correctly. Decide with the artist who will be present for your touch-ups and follow the method they handle most reliably.
Q: How do I choose clothing for a thigh peony session so the artist can work comfortably?
A: Wear loose joggers or athletic shorts you can pull down a bit without tight seams digging in. For after photos, high-waisted denim shorts or a flowy midi skirt frame the bloom well and keep the area from rubbing against fabric during the first week.
Q: I want a finger flower that looks like a ring. What are realistic expectations for touch-ups?
A: Finger tattoos almost always need a touch-up within the first year. The skin there sheds and sees constant friction. Ask the artist for slightly bolder anchor points in the design and plan a touch-up slot during booking so you can keep the ring look crisp.
Q: Do I need to tip more for multi-session photoreal work?
A: Tipping norms vary by region and shop. Many people tip around 20 percent for standard sessions and expect to tip more for multi-session custom realism. Ask the shop for their preferred method and discuss tipping expectations at booking.
Q: Can I test a placement before committing to a larger realistic piece?
A: Yes. Many people use henna or temporary transfers to test size and flow, especially on curved areas like collarbones and ribs. That preview helps with final placement and reduces surprises when the stencil goes on.
