
Fine line sketch work looks effortless on a mood board, but the real test is how those dashed strokes and hurried cross-hatching behave on moving skin. Some sketch-book pieces soften into a lived-in look that still reads like art. Others lose the delicate negative space that makes them feel hand-drawn. Below are 21 sketch style book tattoo ideas, each with consultation notes, aging expectations, and practical styling tips to help the design hold up.
1. Inner Forearm Quick-Study Flower
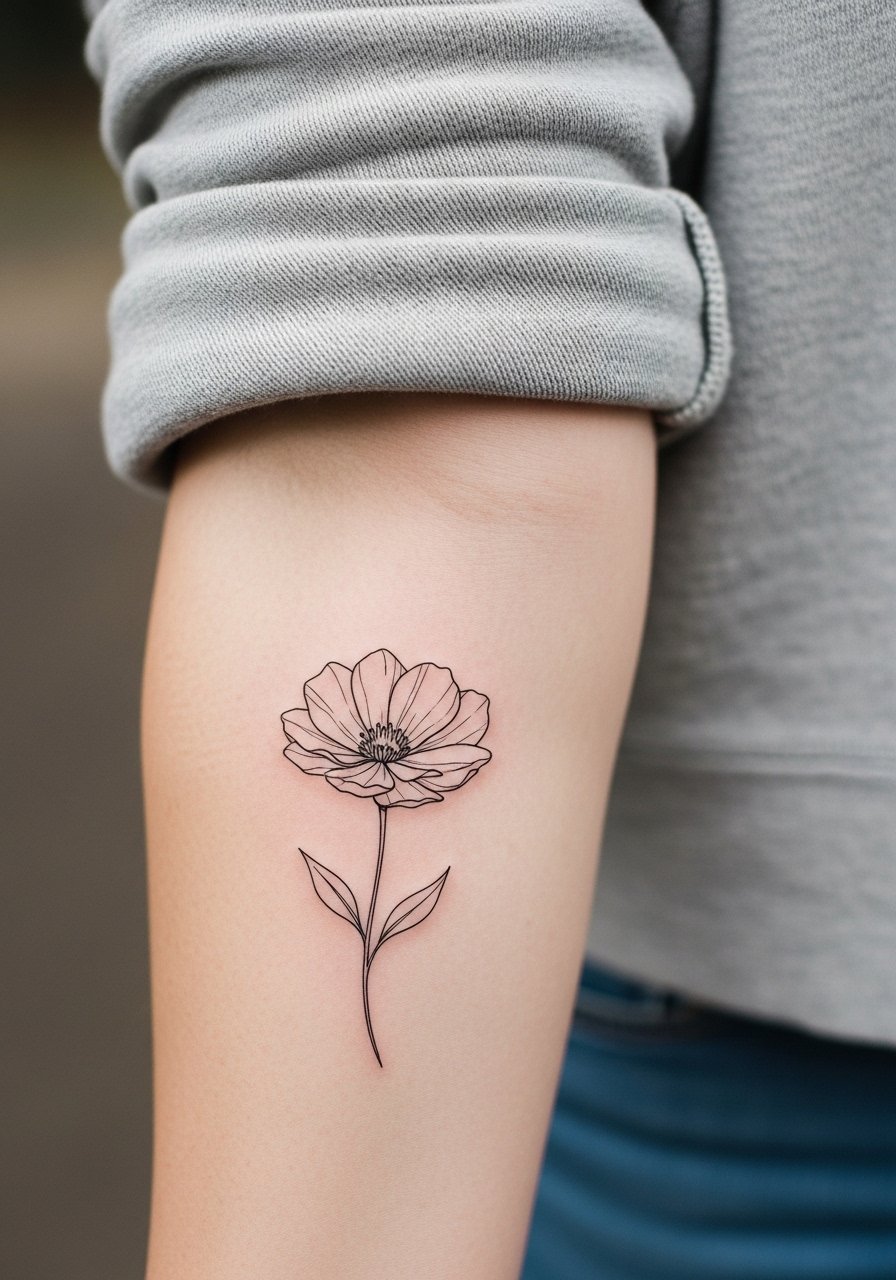
This one reads like a page torn from a sketchbook, loose cross-hatching and interrupted linework. I recommend it for someone who wants visible art without heavy saturation. Tell your artist to prioritize varied line weight and leave breathing room around dense hatch areas so the shading does not merge over time. Expect the inner forearm to feel moderate on pain scales, with a single session around 45-75 minutes. The common mistake is asking for the tiny version of this exact drawing. Too small, the hatch shading clumps after two years. For showing it off, roll your sleeves or go with a loose button-down shirt that frames the forearm without covering the linework.
2. Sketchbook Spine-Edge Book Page
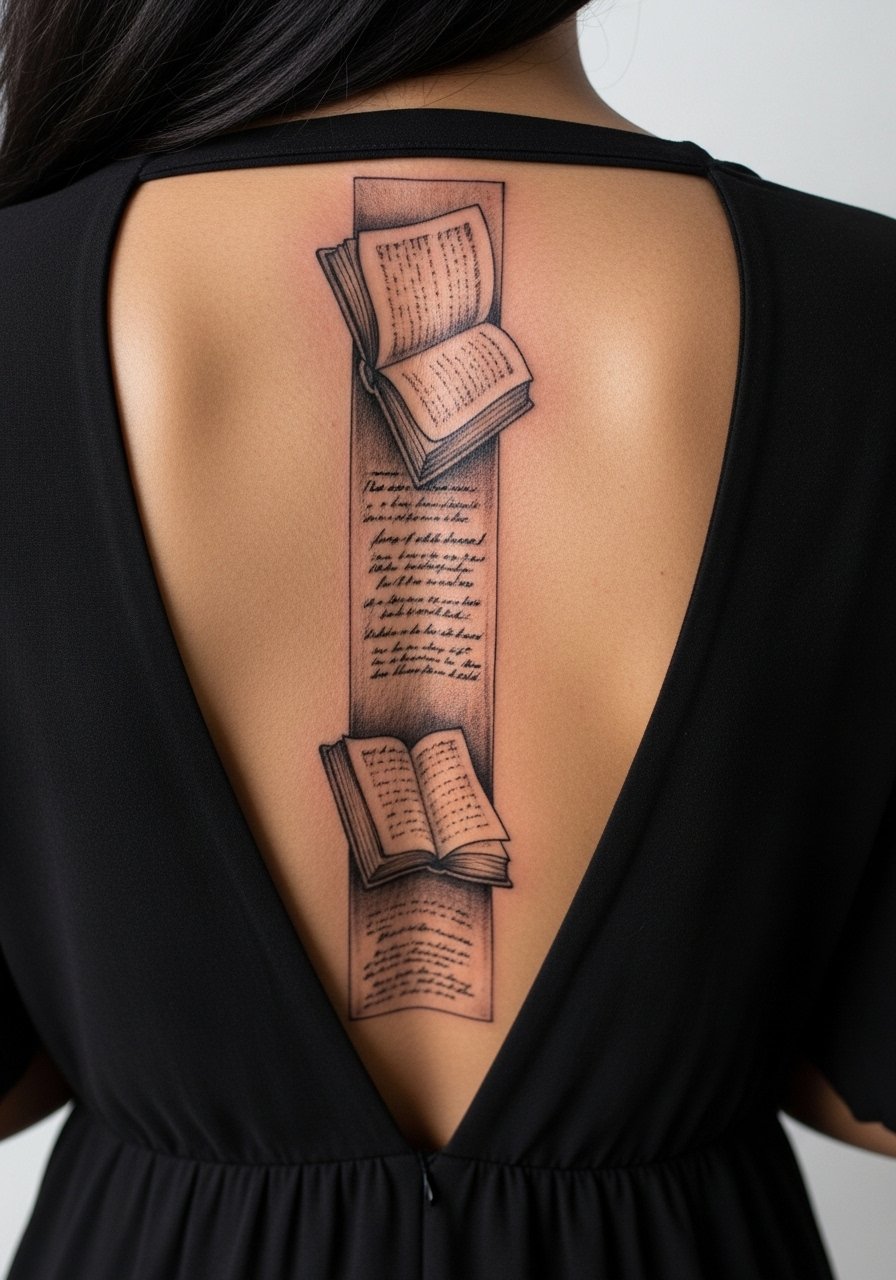
A narrow vertical page along the spine captures the idea of a sketchbook spilling onto skin. The inner back is lower pain but sessions may feel long because you hold still for contours. During consult, ask for a single focal sketch element per "page" and avoid dense background shading. Healed at six months this looks crisp, but at five years the fine cross-hatching can soften, so budget a light touch-up around year three. For access at the session, wear a strapless or open-back top so the artist can work without fabric shifting. If you plan to show this at events, open-back dresses keep the look intentional and gallery-like.
3. Collarbone Corner Botanical Sketch
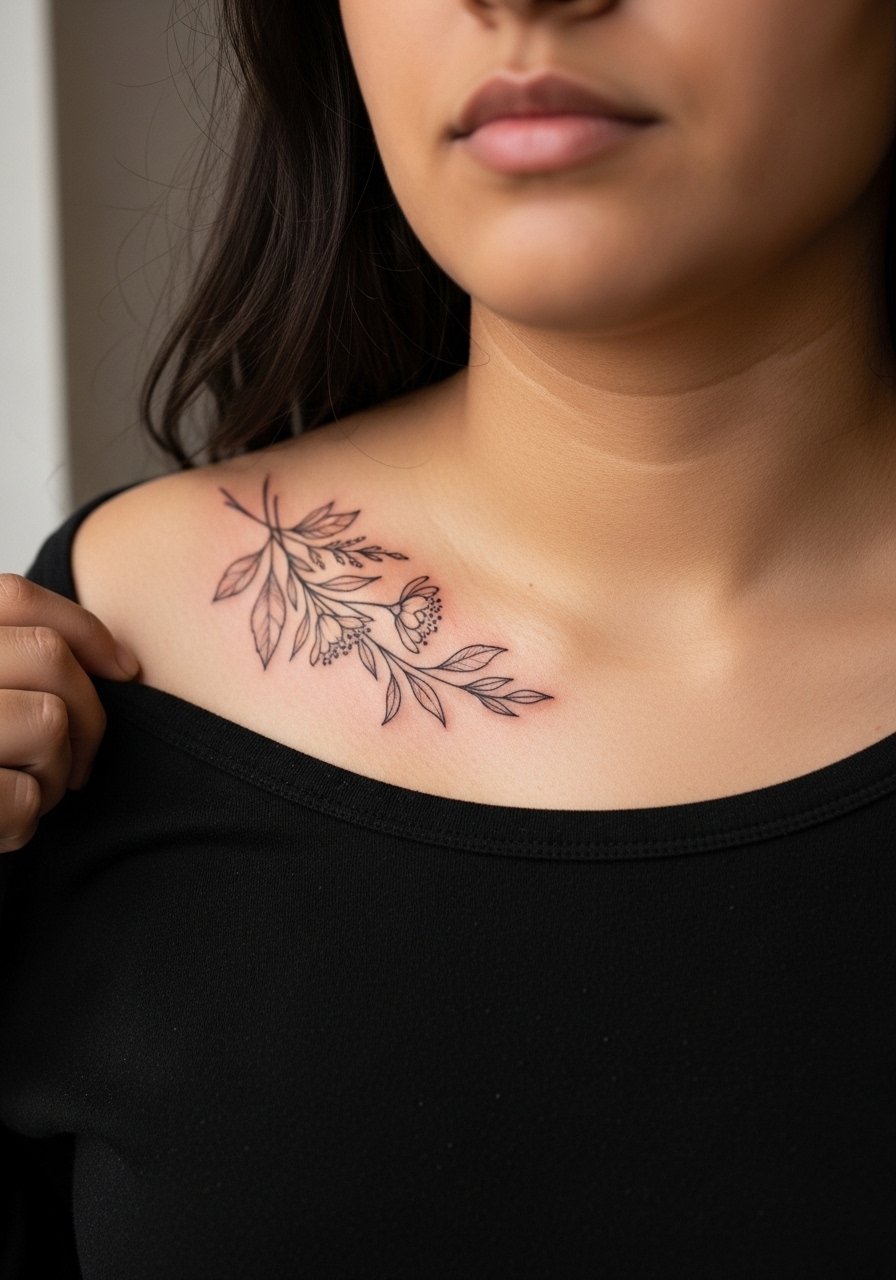
The collarbone frames sketch details nicely, it makes small hatch marks feel airy. Pain is low to moderate here. Ask your artist to keep linework slightly bolder where the bone pops, so the lines do not disappear as the skin moves. A common error is packing too many tiny details toward the bone. That area sees a lot of friction from straps and necklaces, so expect touch-ups earlier than forearm pieces. To make the art sing, pair with a thin chain pendant necklace that sits just above the sketch and draws attention without crowding it.
4. Wrist Mini Page Sketch
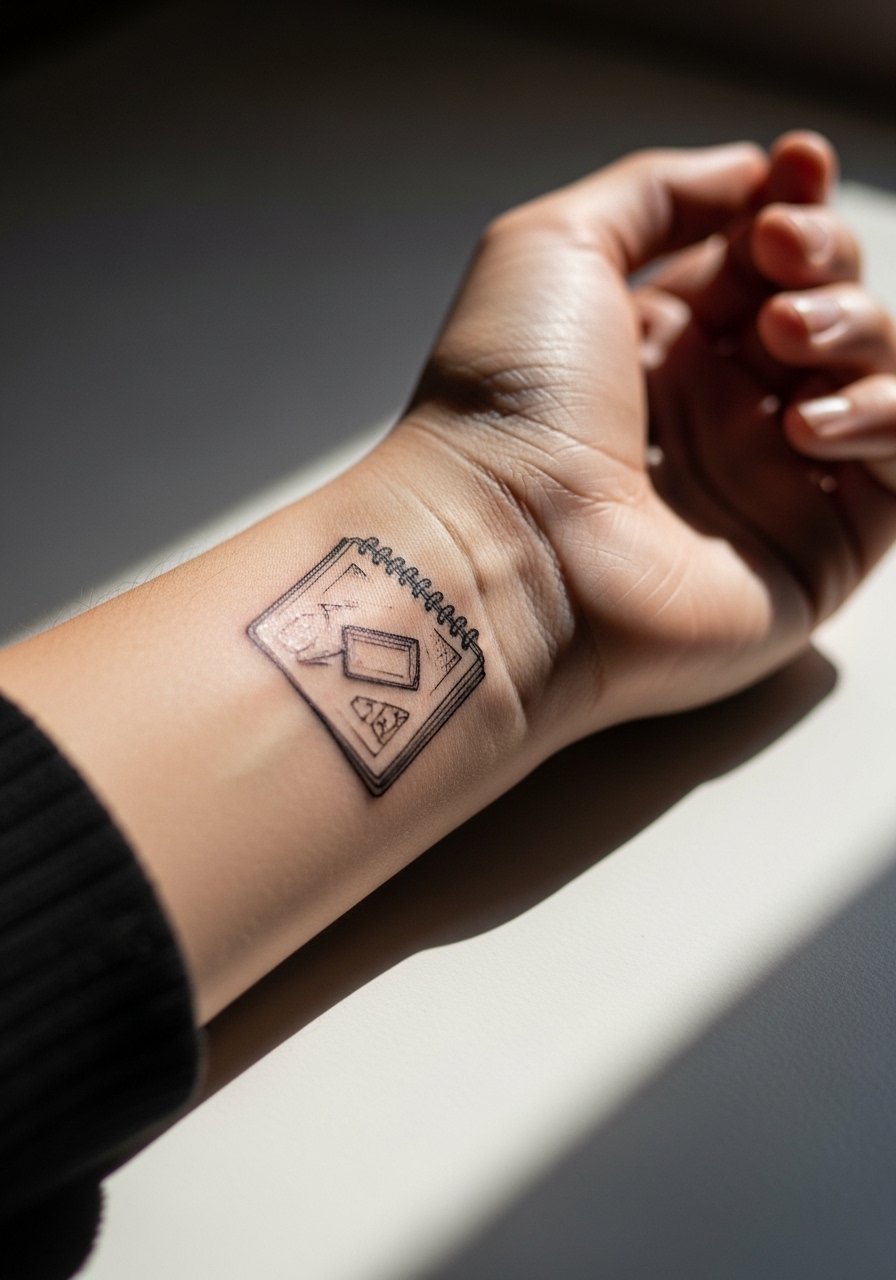
Wrist tattoos are show-off pieces that demand careful spacing. The biggest mistake is asking for dense hatchwork at finger-width. Tell the artist you want the sketchbook edge visible, not a full composition compressed into a thumbnail. Expect higher touch-up needs because wrists endure washing and friction. Session time is short but recovery is fussy. For the appointment, wear a racerback tank or a shirt with sleeves you can roll easily, so the artist has clean access. If workplace norms matter, bear in mind the wrist remains visible in many professional settings.
5. Ribcage Loose Sketch Bouquet
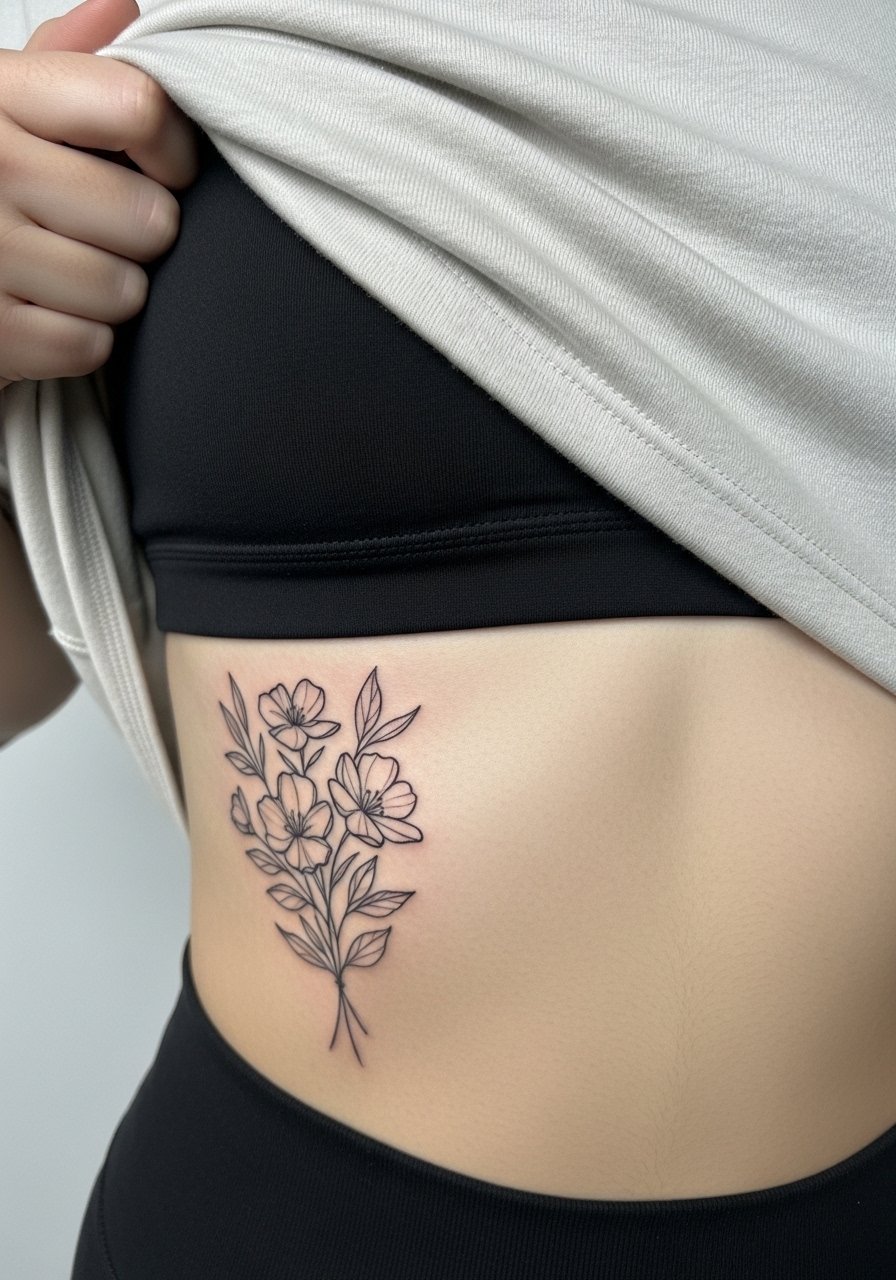
Fair warning, ribs are one of the more sensitive spots and healing can change how cross-hatching reads. Artists split into two camps on fine line there. One group argues the skin stretch makes lines blur within two years. The other group says with correct needle depth and spacing it can settle fine. Ask your artist where they stand and show them your sleep and clothing habits. Sessions may take longer because breathing changes the canvas. For the session, pick a loose top you can lift without pressure, like a cropped athletic top, so the artist can work comfortably.
6. Sketch Portrait Study on Upper Arm
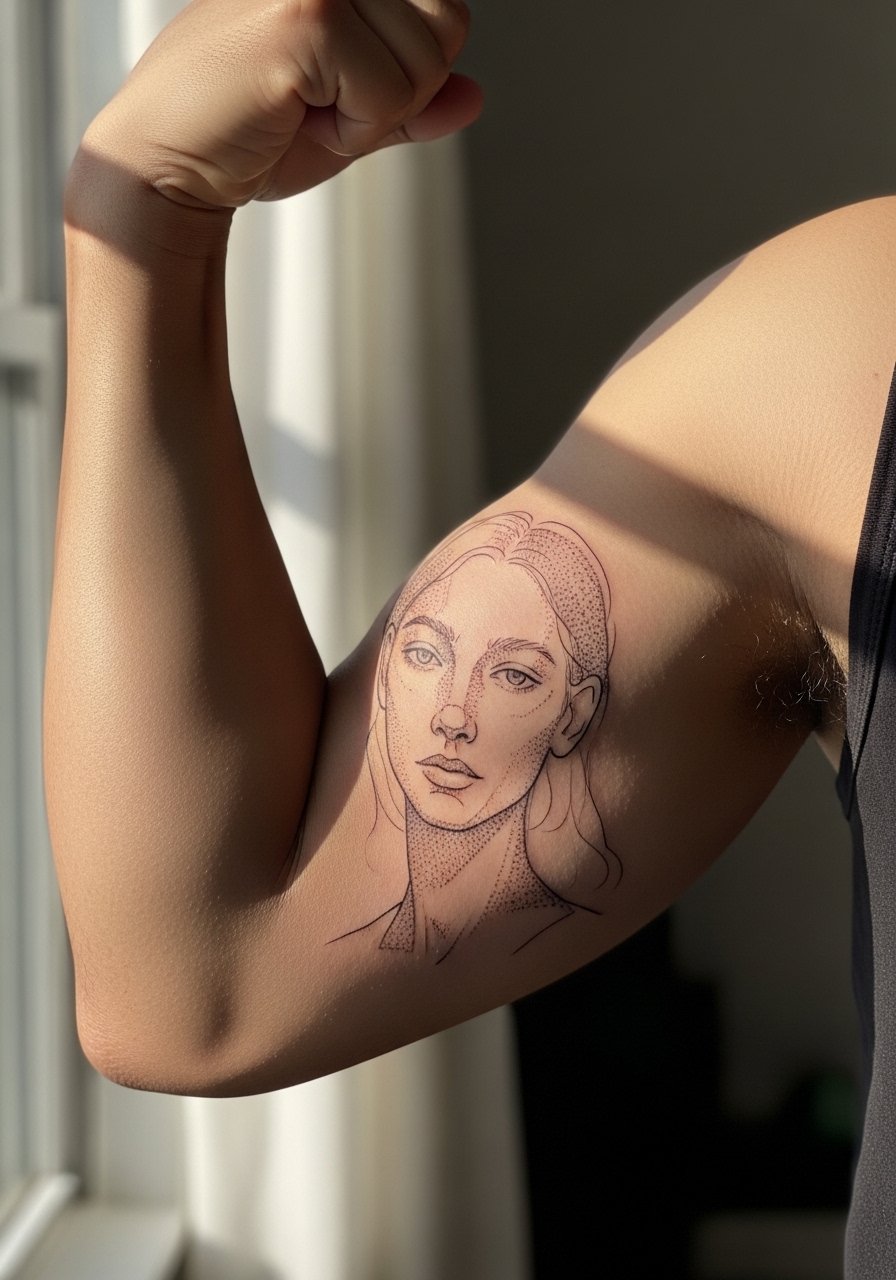
Sketch portraits translate well into upper-arm canvas. They feel deliberate and age with character if the stippling is spaced. In consultation, bring 2-3 references that show the exact line weight and tonal balance you want. The common mistake is asking for ultra-small facial detail. When faces are too tiny, features blur into a smudge at year three. Expect a two-hour session if the design includes stipple shading and contour hatchwork. For showing this off, a loose linen shirt with sleeves rolled frames the bicep without hiding the portrait.
Studio Day Picks
The ribcage bouquet, collarbone sketch, and upper-arm portrait above ask for different prep, so a small kit aimed at access, comfort, and clean first-week care helps the session run smoothly.
- Stencil transfer paper kit. Lets you preview placement on skin so the sketchbook edges land exactly where you want them, which matters for collarbone and wrist pieces.
- Topical numbing cream. Applied per instructions eases the ribs and sternum sessions without blurring fine line work.
- Thin protective film roll. Useful for wrist and finger pieces that face constant friction during the first week.
- Fragrance-free body wash. Gentle cleansing keeps delicate hatchwork clean without irritating fresh ink.
- Aquaphor healing ointment. A thin protective layer in the initial days locks in moisture for fine line sketches while still allowing the skin to breathe.
7. Ankle Sketched Map Fragment
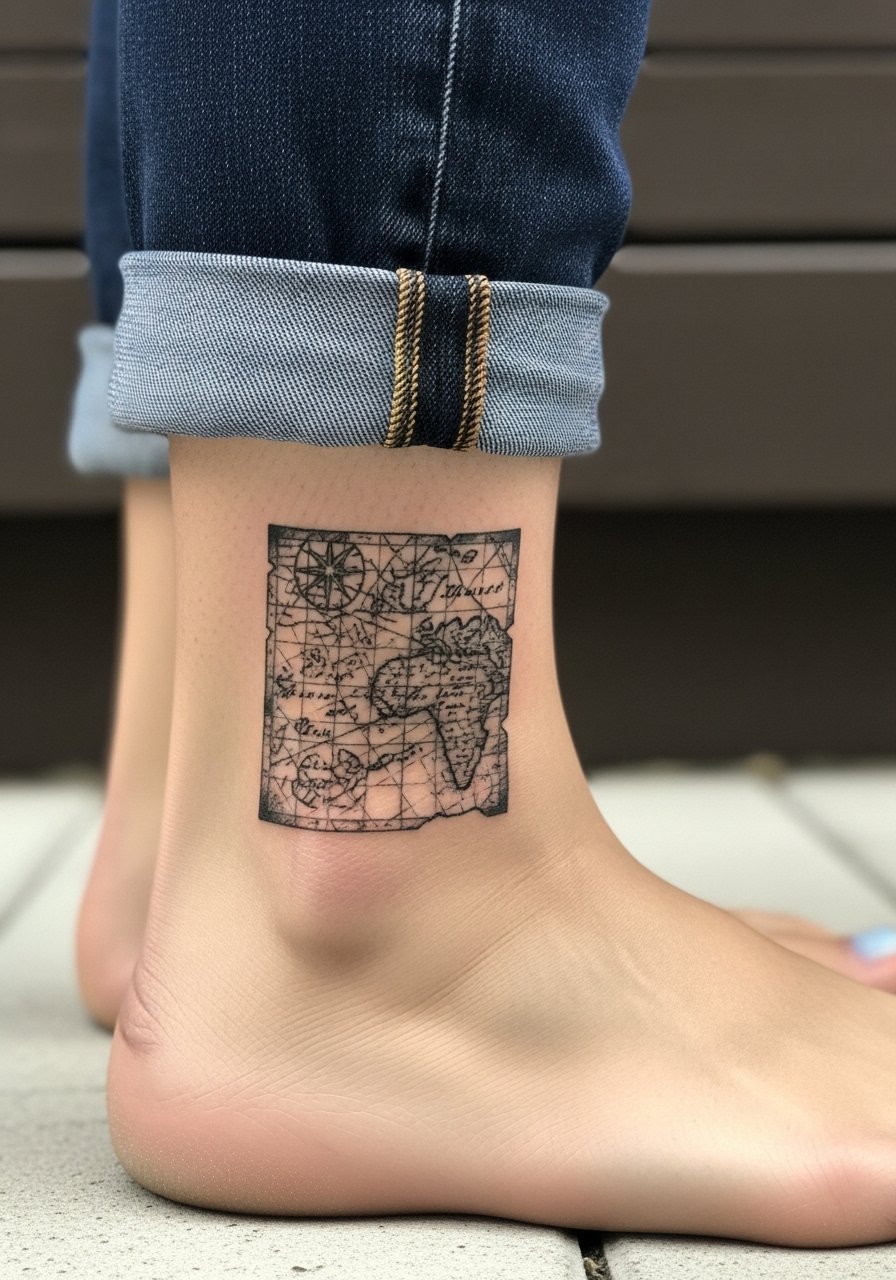
Ankle tattoos are delicate and great for small sketch fragments. The ankle sees high wear from shoes and socks, so keep design compact and avoid tiny cross-hatching near the bone. Ask for bolder anchor lines around intricate hatch areas so the map's contours remain readable over years. Sessions run short but expect the first week to need protection from rubbing. For outfits, a pair of sandals or rolled jeans shows the piece off and avoids boot friction while healing.
8. Sketch-Style Open Book on Thigh
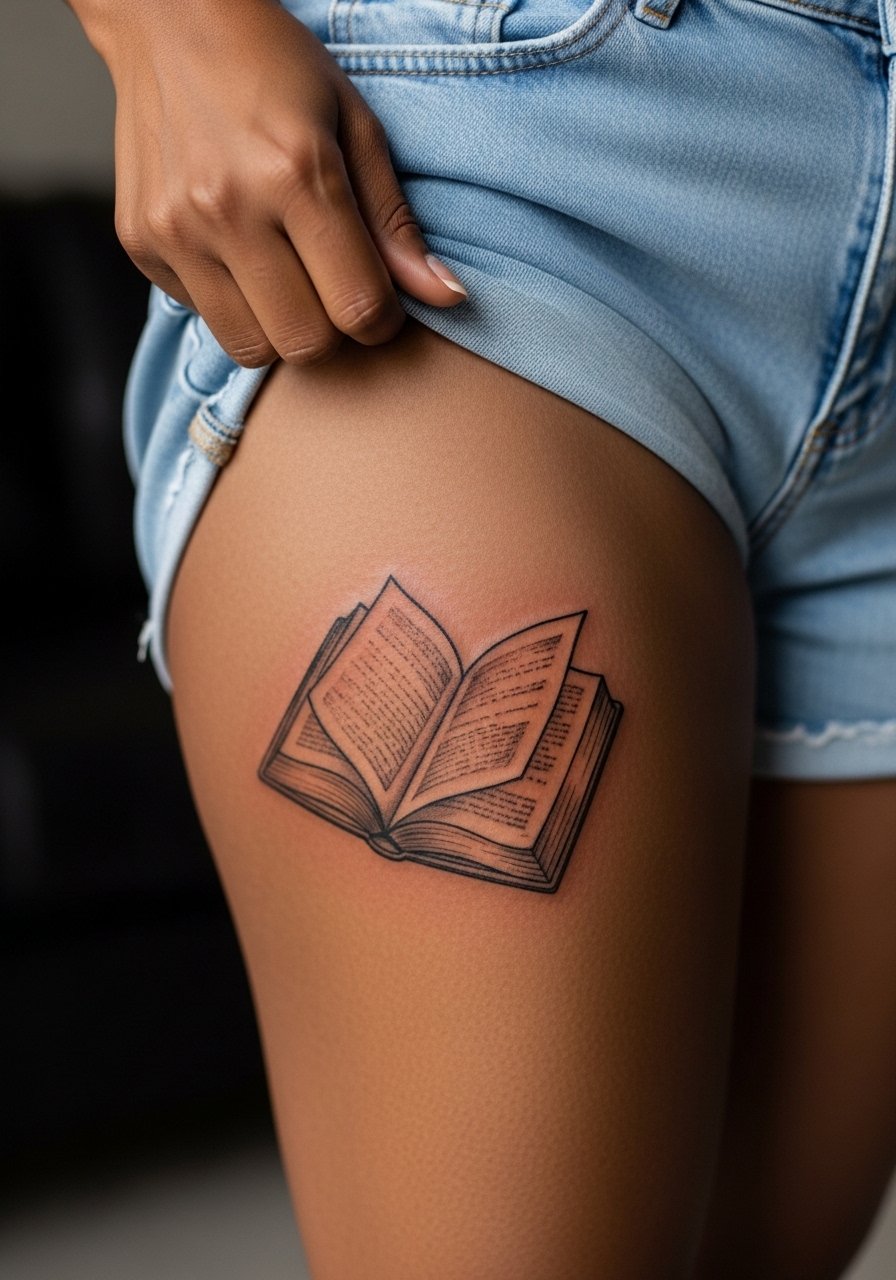
The thigh gives room for a full page composition and is forgiving on density. Tell your artist you want patchy hatch areas rather than continuous shading, which keeps the sketch look intact as the skin changes. Pain is lower, session time scales up with detail, and touch-ups are less frequent than on wrists. The common mistake is compressing too much text-like linework into one area. For the appointment, wear loose drawstring shorts or high-waisted shorts so the artist can access the thigh without fabric pulling.
9. Pocket-Sized Pen Sketch Behind the Ear
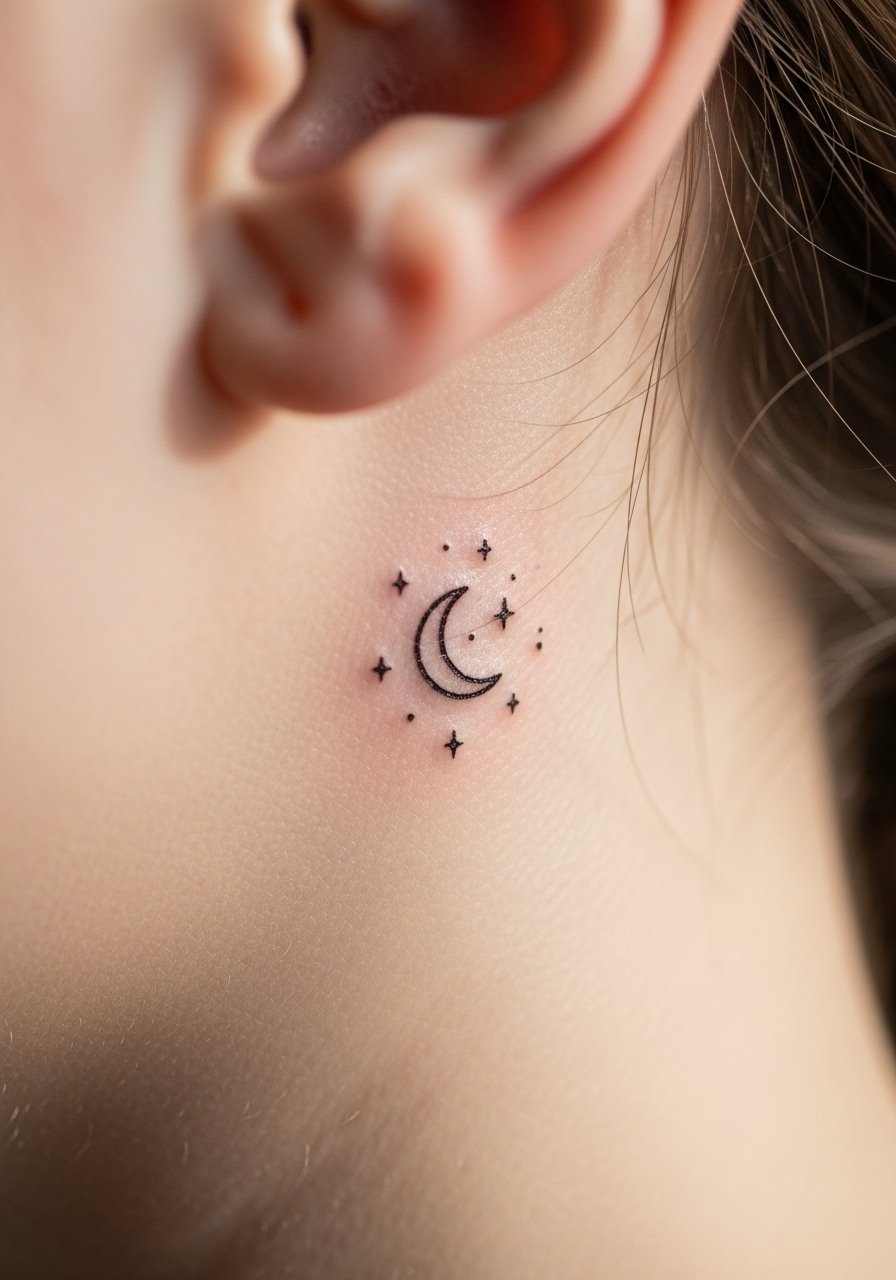
Tiny behind-the-ear sketches read like an afterthought in the best way. Because the area is small, keep the hatchwork minimal and emphasize a single motion stroke. Make sure the artist frames the design slightly larger than you think is necessary, since lines tighten during healing. This placement requires skilled linework because skin there is thin. For session wear, keep hair tied up and wear a wide-neck shirt so the area stays accessible.
10. Sketchy Book Spine Stack on Inner Bicep
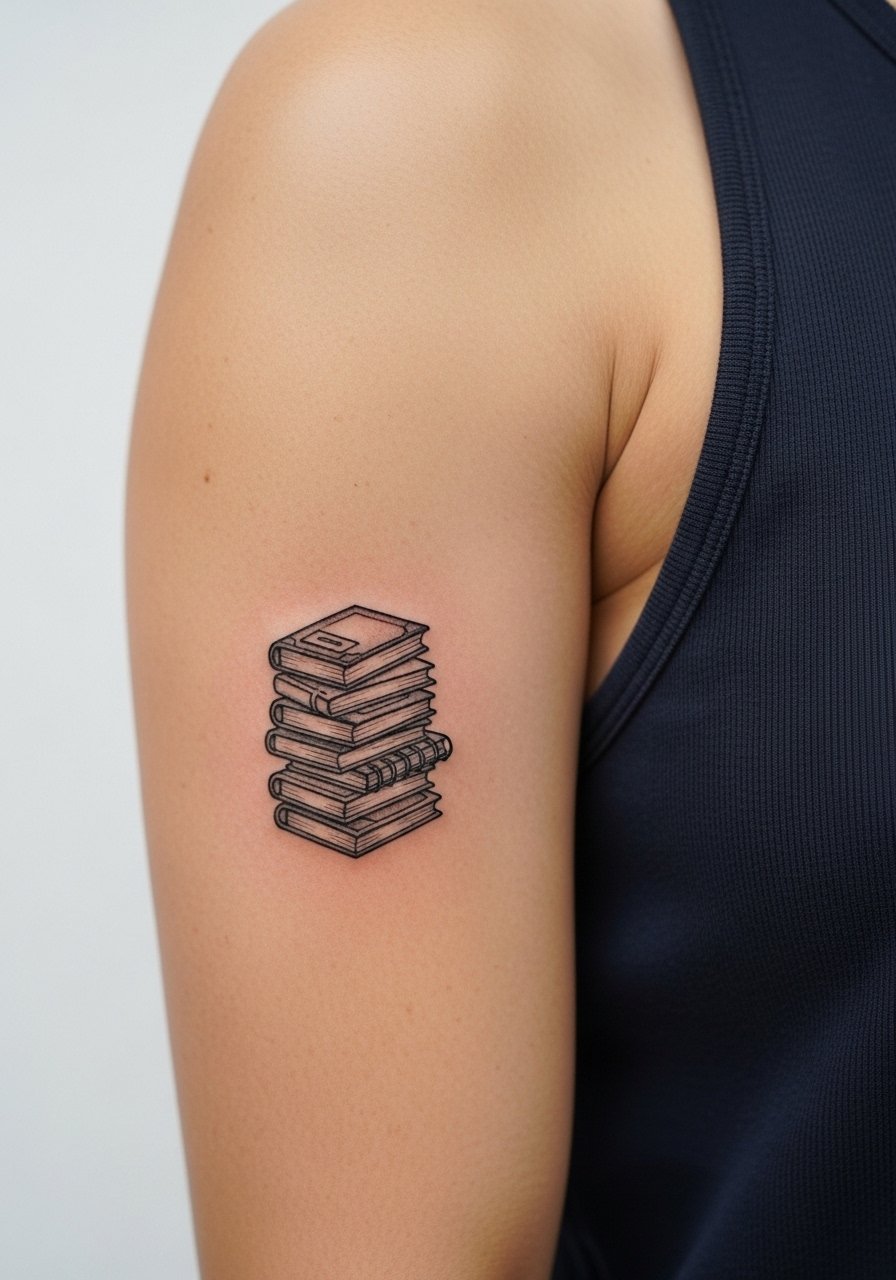
Inner bicep canvas is intimate and moves a lot. The biggest mistake is placing heavy hatch shading where the arm creases. Ask for horizontal orientation with light stipple between spines. The session feels more tender because the skin is softer there. Expect a lightweight touch-up at year two. For the appointment, wear a tank top so the artist can reach the inner bicep without you pulling at clothing.
11. Pocket Creature Sketch on Calf
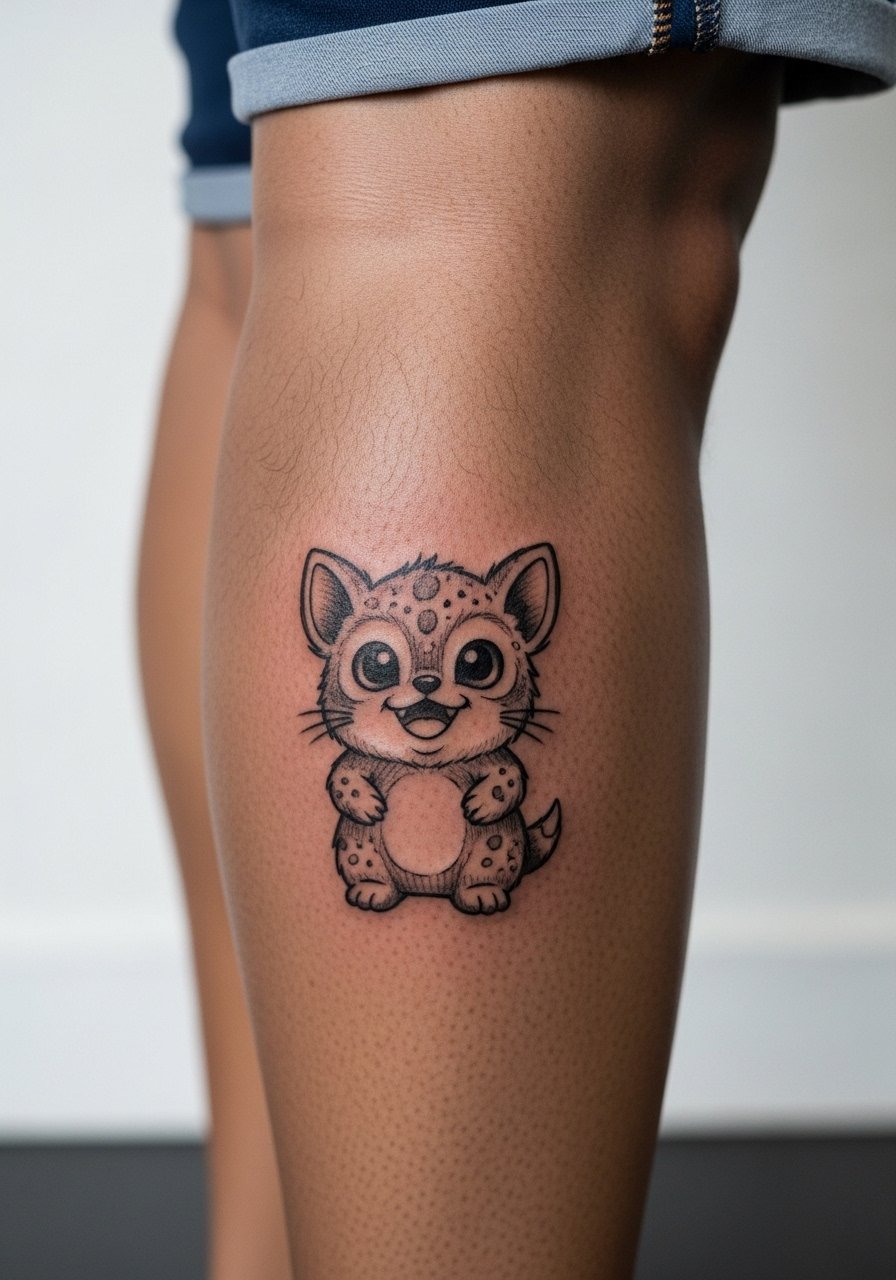
Calf tattoos work well with loose sketch characters because the area accepts motion and scale. Tell the artist you want sketchy motion lines to convey movement that will age into character instead of a stuck snapshot. Pain is tolerable and sessions are short. The common mistake is over-detailing the limbs. For casual wear, a pair of casual shorts keeps the tattoo visible and pairs with sneakers or sandals for a laid-back look.
12. Sketch-Style Script on the Side Neck
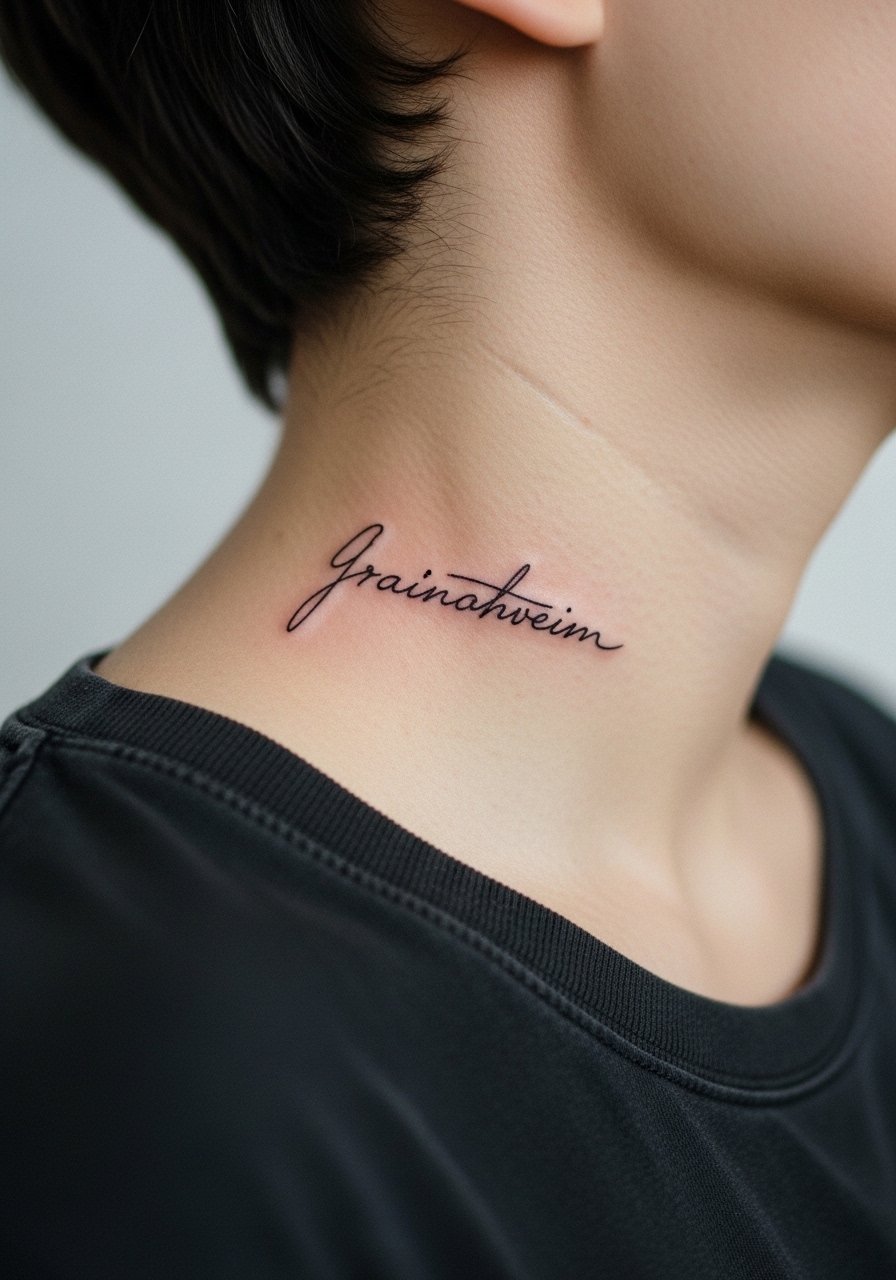
Neck script reads bold even when faint. The risk is that tiny strokes can blur, especially on the side neck where movement is frequent. One camp of artists recommends slightly heavier line weight for neck text. Another recommends micro-spacing and conservative sizing. Ask your artist about their preferred approach and show reference scripts that match the exact stroke thickness. For sessions, wear a wide-neck shirt so the collar can be moved without scraping the fresh lines.
13. Sketchy Cityline on the Ribcage
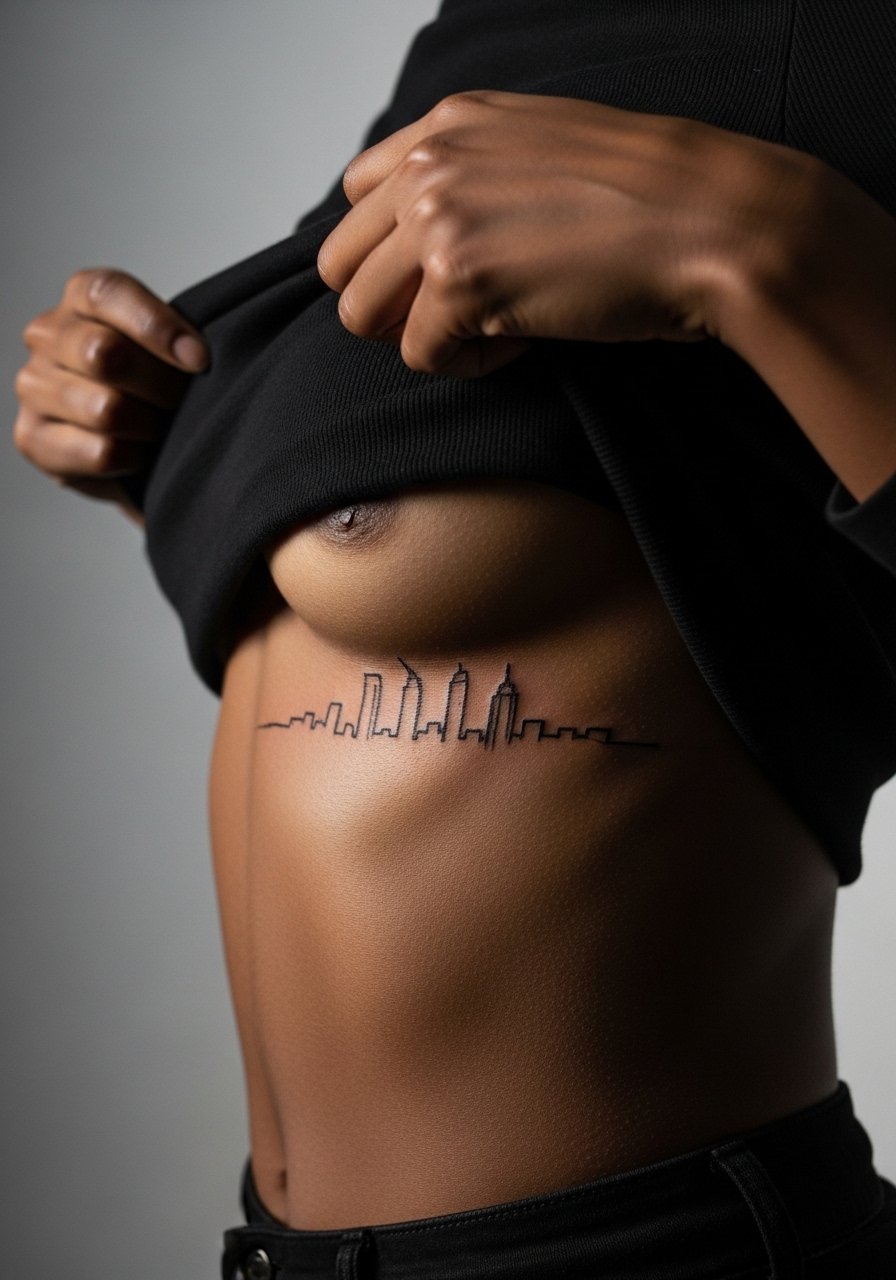
Ribcage skylines read well horizontally, but the area bends with breath. The common mistake is compressing too many architectural details into a thin band. Ask your artist to simplify the skyline into readable silhouettes and to space hatch shading to allow for stretching. Sessions can be interrupted by breath control, so break the session into shorter passes. Expect a touch-up in a few years for line clarity. For the session, a cropped top or sports bra lets you lift fabric without discomfort.
14. Sketch-Style Quill and Ink on the Wrist
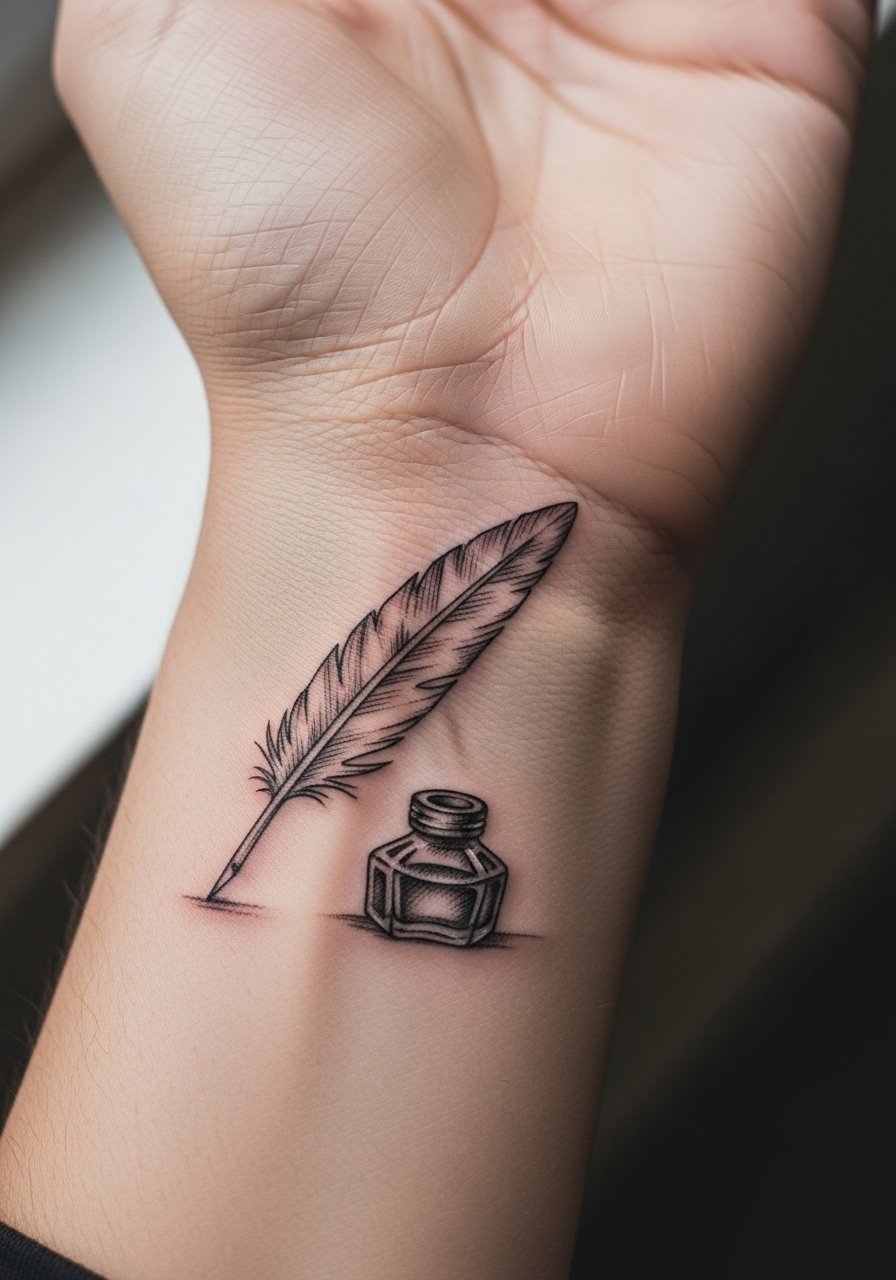
A quill sketch on the wrist pairs the idea of drawing with the place you check time. The region sees lots of friction, so ask for slightly reinforced anchor lines where the quill meets the bottle. The biggest mistake is overly dense cross-hatching at the bottle base. Expect the first week to be delicate and plan clothing accordingly. For wearing out, a slim cuff bracelet or minimalist watch frames the wrist without hiding the artwork. Consider a minimalist watch strap that complements the piece.
15. Sketch-Style Open Page Sleeve Accent
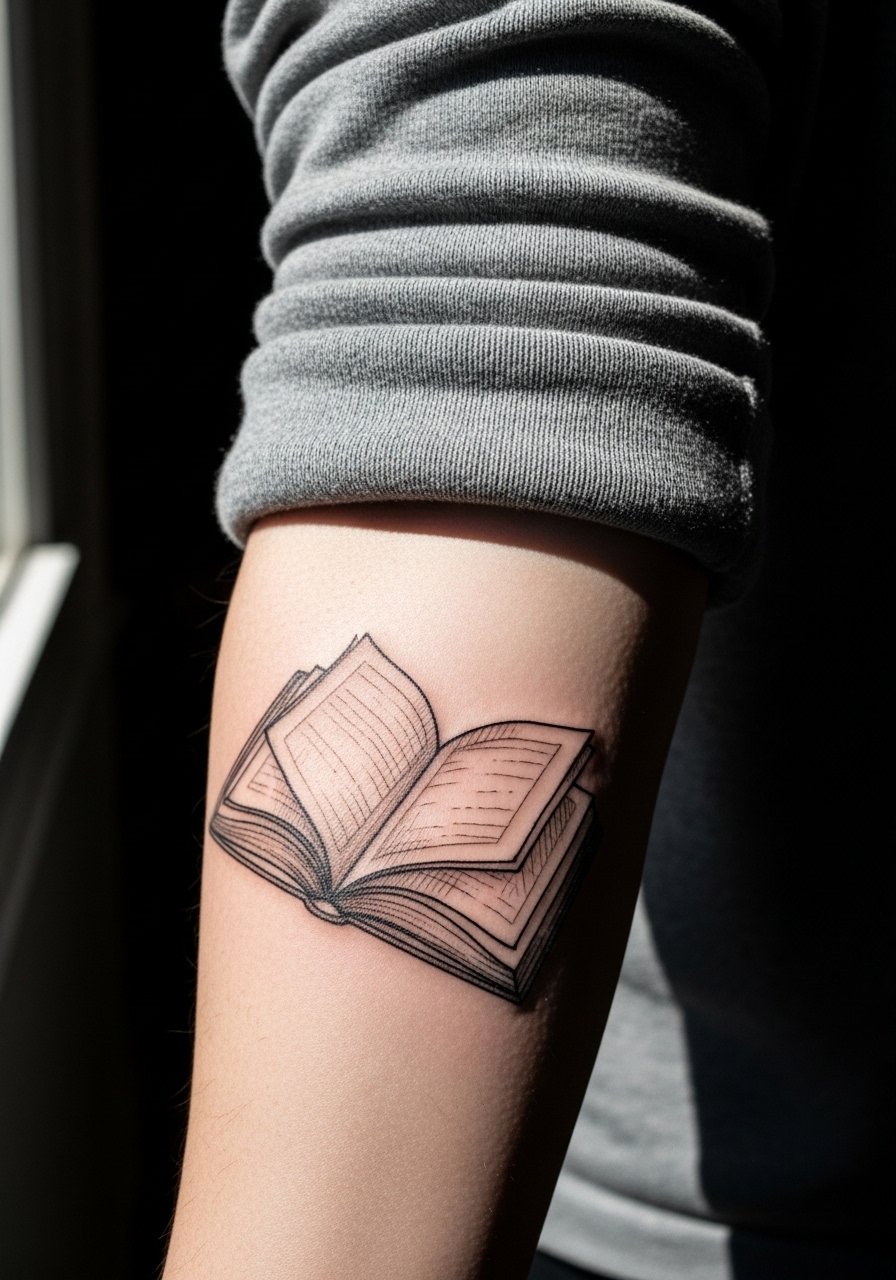
An accent that looks like a sketchbook page against a sleeve works best when negative space is preserved. Tell your artist to design with margins so the hatchwork does not read as a block later. The forearm tolerates detail well, but dense cross-hatching still softens over time. Plan for a small touch-up around year three if you want crisp edges. For showcasing, roll sleeves or choose short-sleeve linen shirts that keep attention on your forearm artwork.
16. Sketch-Style Minimal Map on the Foot
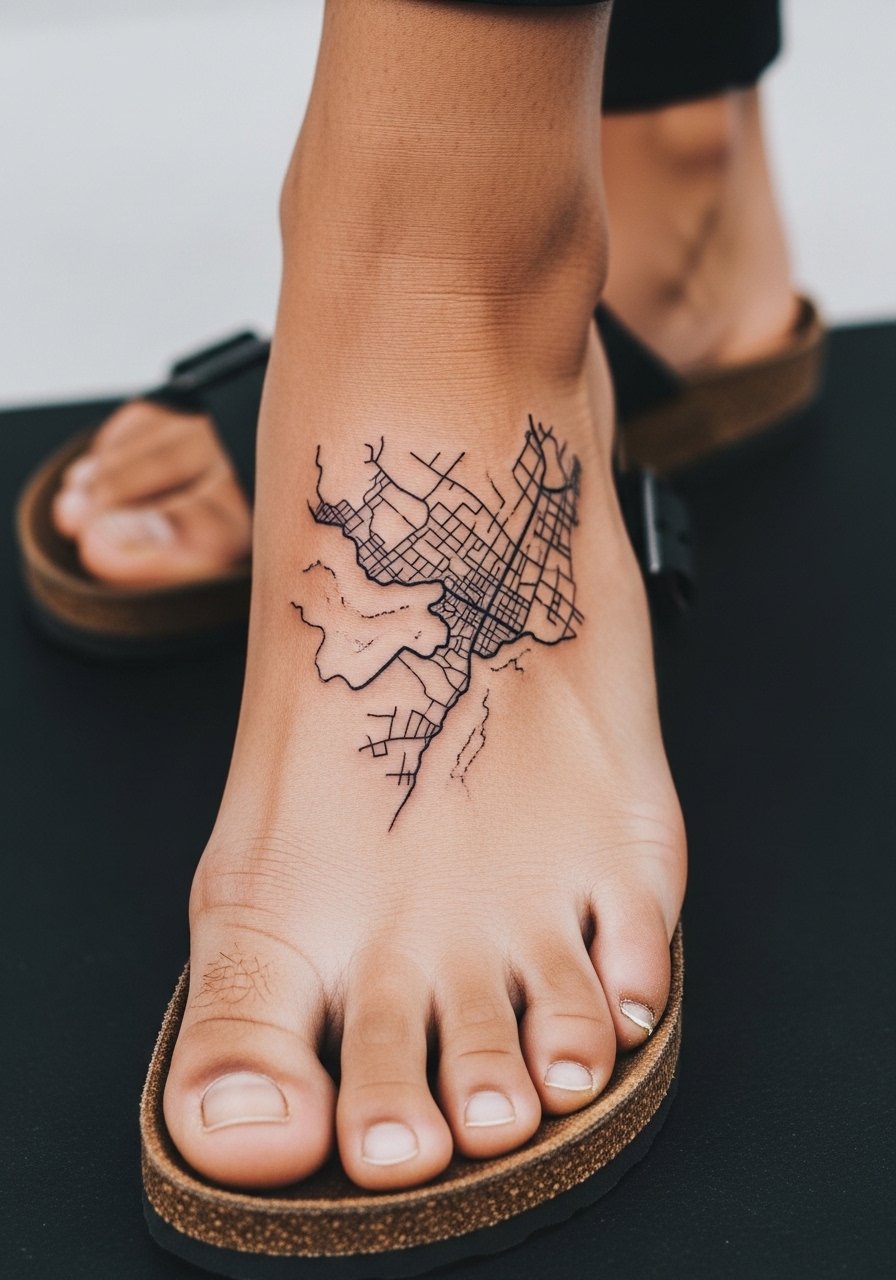
Foot tattoos face heavy wear from shoes and weather. Keep hatchwork sparse and anchor lines bold so the map reads despite the rough healing environment. Sessions can hurt because of proximity to bone. A common mistake is packing delicate hatch into the toe area where movement erases detail quickly. For the session, choose sandals on appointment day and after, so the tattoo avoids rubbing. A pair of flat sandals keeps the area breathable while it settles.
17. Inner Thigh Sketched Figure
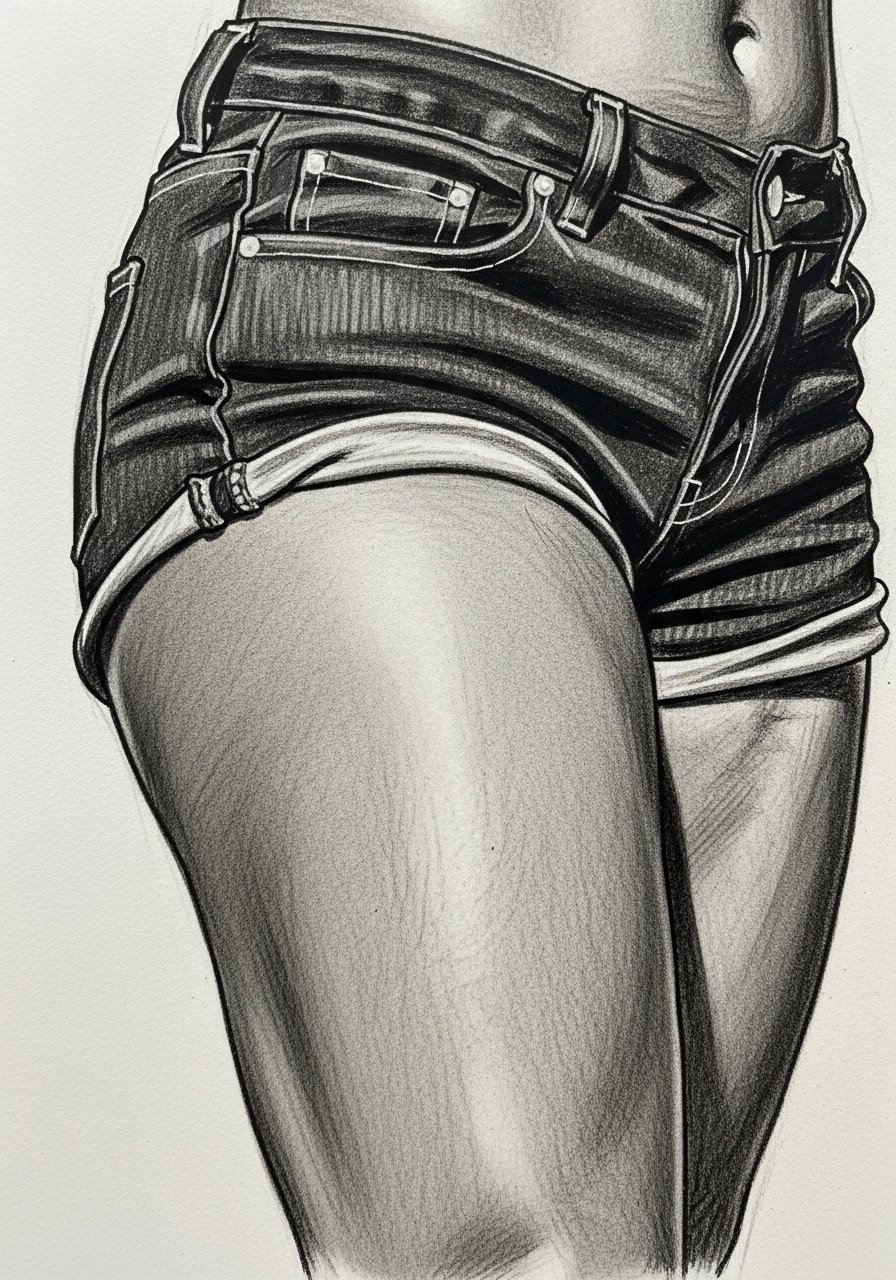
Inner thigh pieces age gracefully because they are protected, but the skin there is sensitive and swelling can affect fine hatch. Tell your artist you want soft stippling rather than dense cross-hatching near seams. Sessions feel tender and often require breaks. For comfort, wear loose shorts you can pull aside easily. If the design draws on cultural motifs, note origins and consider subtle variations out of respect.
18. Sketch-Style Small Palm Leaf on the Hand
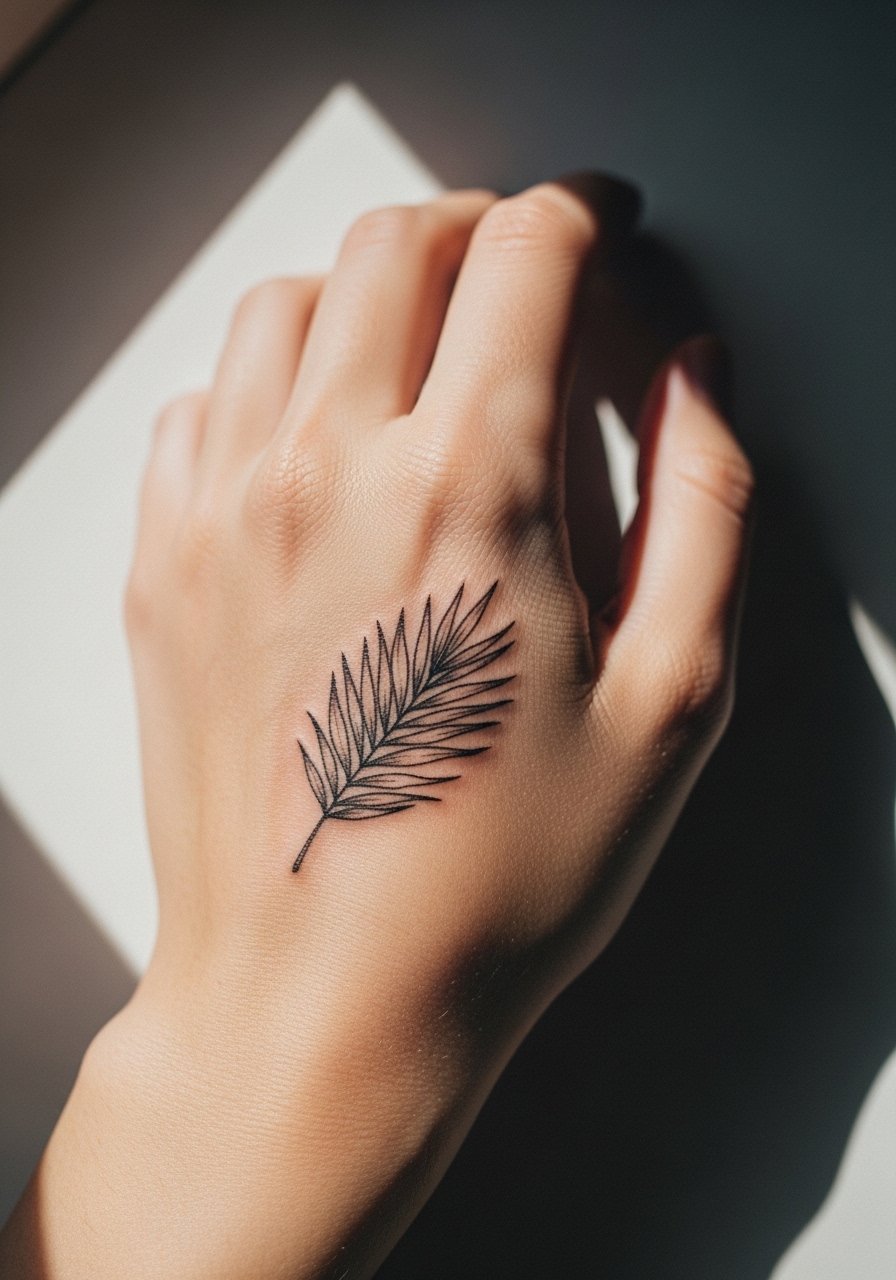
Hand tattoos are controversial for career and longevity reasons. Artists split on the technique. One camp avoids sketch hatch on hands because daily friction from work and washing erodes detail quickly. The other camp uses bolder anchor lines and says careful placement lasts longer. If you want a hand sketch, accept that touch-ups are likely and ask for slightly stronger outer lines. Sessions are quick but healing is fussy. Consider a discreet simple ring or band to draw attention away from areas that may soften first.
19. Sternum Botanical Sketch
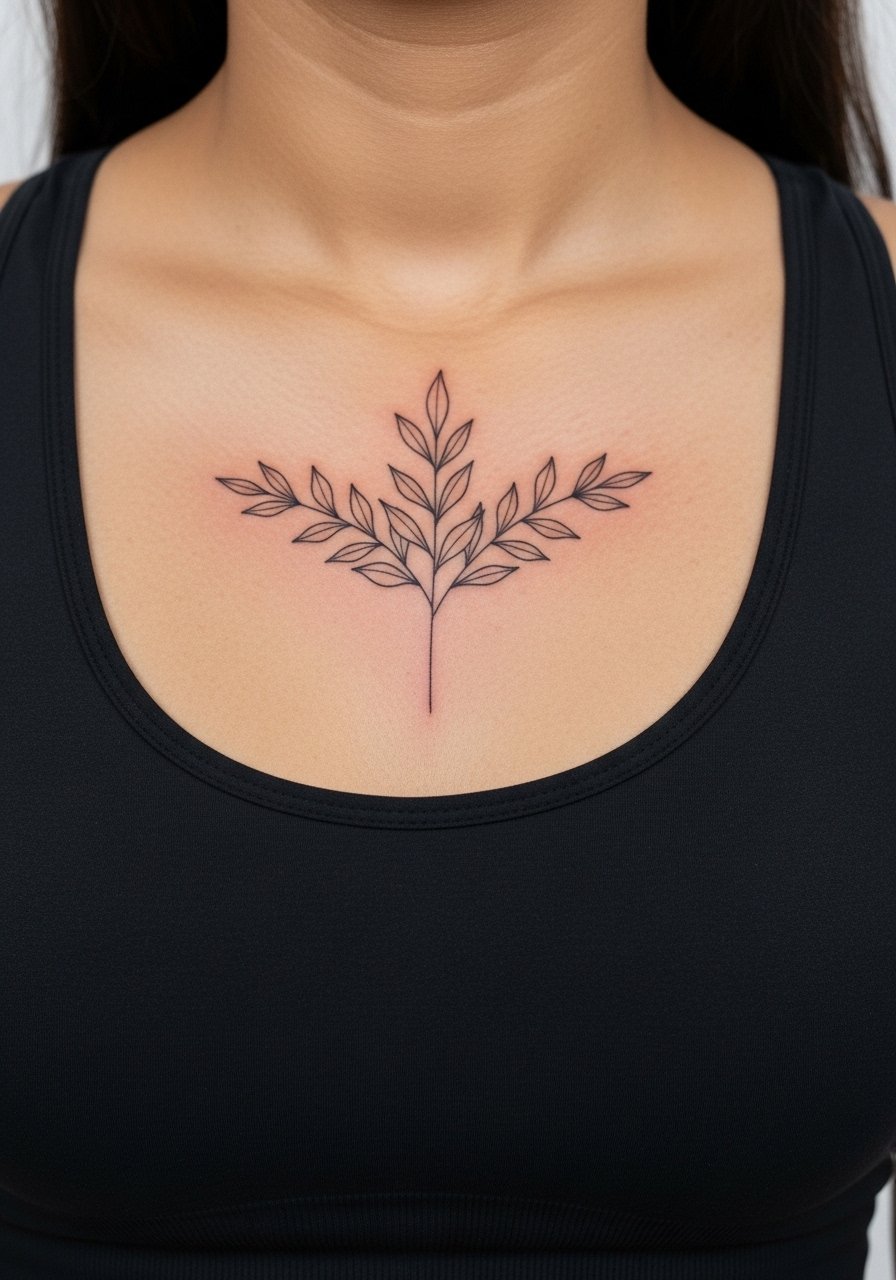
Sternum pieces look intimate and bold even when sketchy. The key is spacing. Too much hatch in the center becomes a muddy gray as skin moves and heals. Ask your artist for radial spacing that uses the sternum as a compositional anchor. Sessions can be sharp in pain, so short passes help. For the appointment, a fitted sports bra makes access clean. If the motif references specific cultural flora, mention origin respect and flavor the design subtly.
20. Little Folded Crane on the Ankle
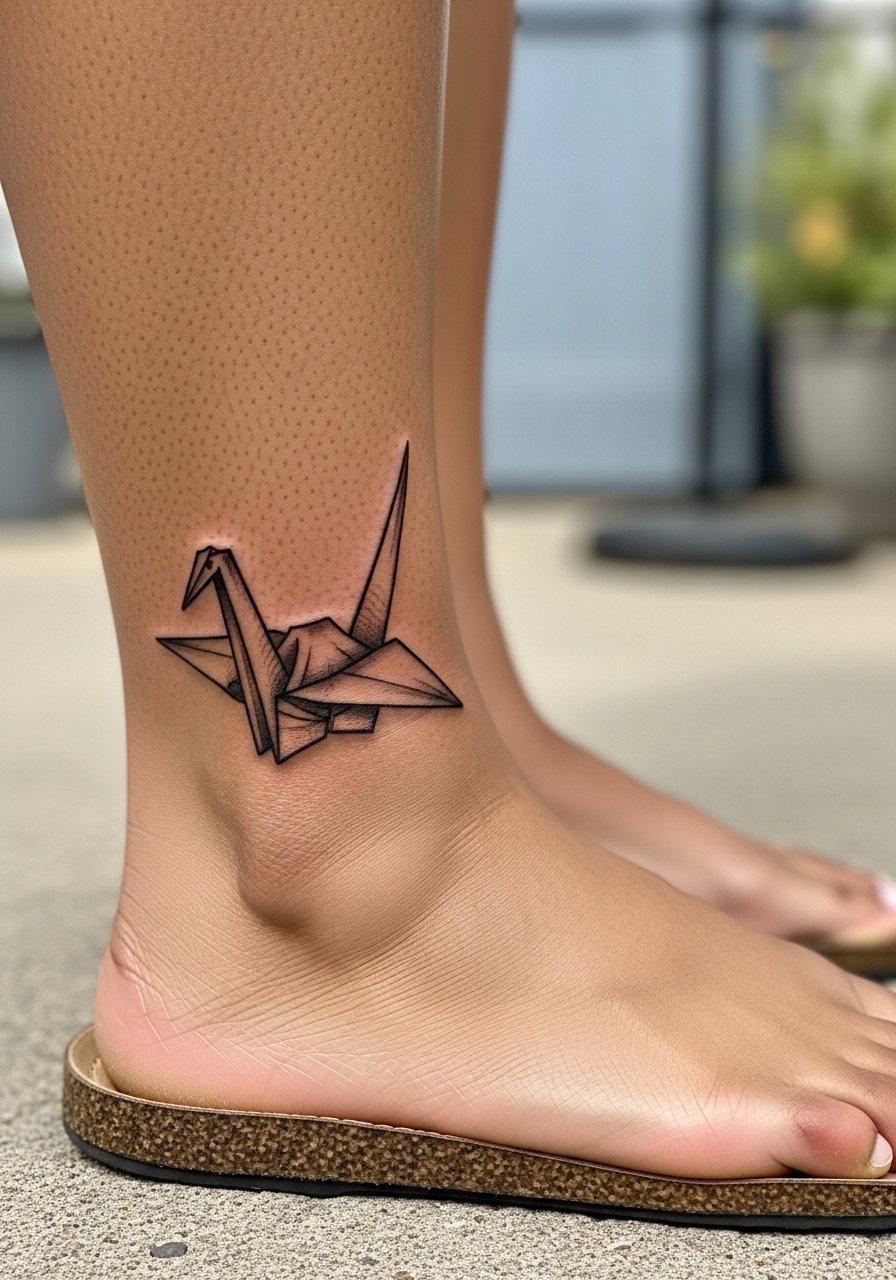
Small origami cranes in sketch style work well at the ankle because folding lines read clearly with minimal hatch. The main mistake is adding shading that fills the empty spaces that make the fold readable. Keep shading economical and rely on line breaks. Sessions are brief and recovery is straightforward if you avoid tight shoes for the first week. A pair of lightweight sandals keeps pressure off the area and shows off the piece.
21. Tiny Sketch Notation at the Finger Base
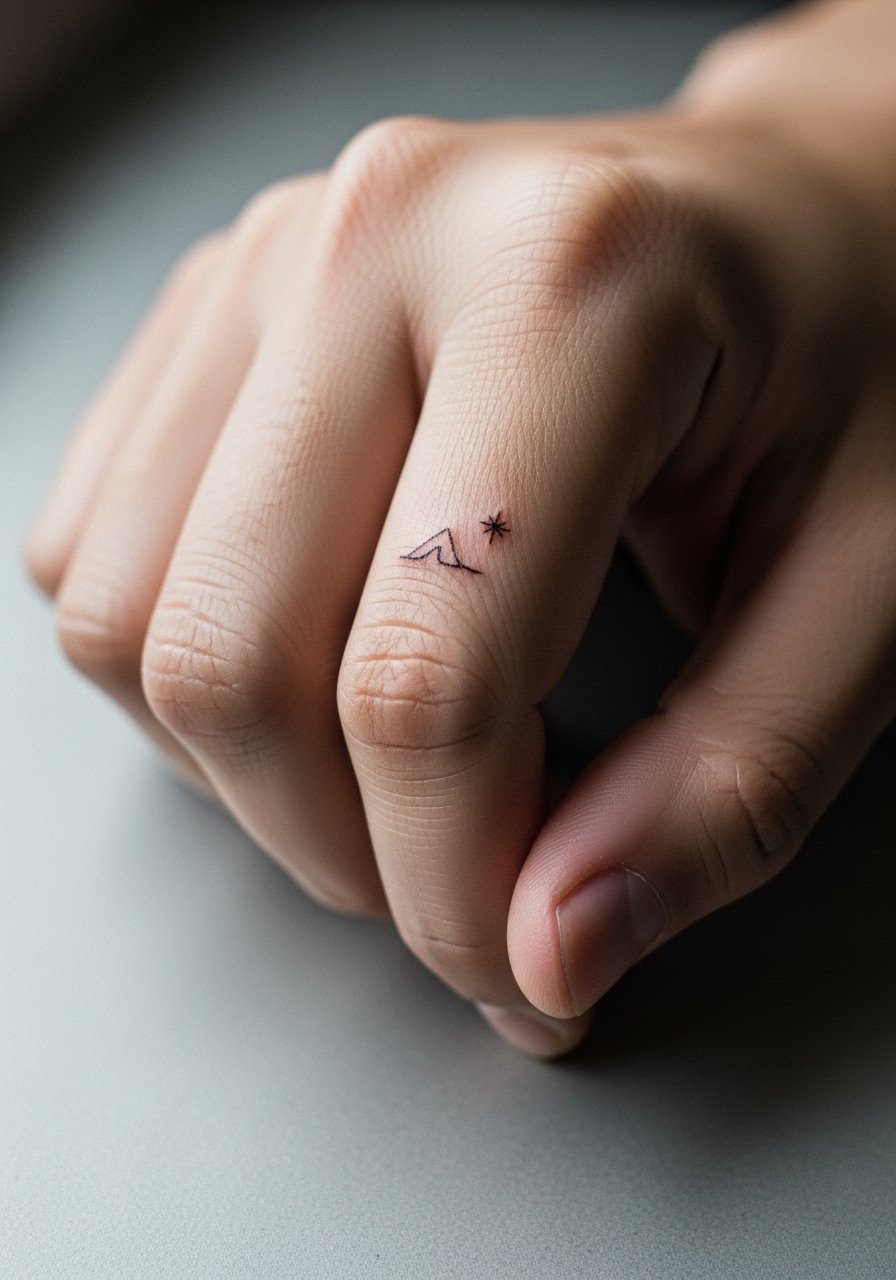
Finger-adjacent sketches read charming but fade fastest because of washing and use. The common mistake is placing dense hatch at the knuckle or pad where skin flexes most. Ask your artist to place the notation on the lateral base and to use slightly thicker anchor strokes. Sessions are short and the healing window is active, so expect a touch-up in a shorter timeline. For showing off, pair with a thin stackable ring that complements the small sketch without crowding the detail.
Frequently Asked Questions
Q: How do sketch-style hatch marks age compared with solid blackwork on the forearm?
A: From what I have seen, hatch marks soften more quickly than solid blackwork. The forearm is forgiving, but if you want the sketch look to last, ask the artist to leave negative space and to use slightly varied anchor lines. Plan on a light touch-up around year three for dense hatch areas.
Q: Will a sketch-style ribcage bouquet hold up if I plan to gain or lose weight?
A: It depends on how much the skin will stretch. Big changes can distort cross-hatching and spacing. One approach is to design with larger open areas and bolder contours so the bouquet keeps form even if proportions shift. Discuss your body plans honestly with the artist before booking.
Q: Are hand and finger sketch tattoos worth it if I work in a conservative office?
A: Hand and finger pieces remain visible and can affect perception in some workplaces. If career impact is a concern, pick a placement that sits lower on the wrist or the outer ankle. If you proceed, expect more frequent touch-ups because hands endure constant wear.
Q: What should I wear to a session for a sternum or upper-chest sketch commission?
A: Wear a fitted sports bra or a wide-neck top you can pull aside comfortably. A sports bra makes access clean and keeps you covered while giving the artist a stable surface to work on. A zip-up hoodie can be clumsy for this area, so avoid it.
Q: How do I find an artist who understands sketchbook-style linework without naming specific shops?
A: Look through local portfolios on community directories, use hashtag searches for sketch-style tattoos, and check convention guest lists for artists who list sketch or illustrative work. Ask for healed photos specifically and request a short consultation to confirm they can translate hatch and broken lines into lasting tattooing.
