
Fine line tattoos are the trend everyone saved to a folder last year, and the conversation now is about what actually lasts. Hyper-delicate pieces look incredible on camera but need deliberate placement and spacing to stay readable for years. These 27 small "forever young" ideas focus on designs that age into character, with practical notes on placement, consultation points, and how to dress the piece so it reads like it was always meant to be there.
1. Fine Line Arrow on Inner Forearm

I see this one in portfolios and on wrists for a reason. The skinny arrow reads clean if the artist keeps linework single-needle and gives the arrow 12-15 millimeters of length so the tip and fletch do not merge over time. Fair warning, the inner forearm is prone to sun exposure that softens thin lines, so plan for a touch-up at year two or three. When you sit with the artist, ask them to show healed examples of single-needle work on this placement. For showing it off, roll up a sleeve or wear a loose linen button-down to frame the arrow without covering it.
2. Tiny Micro-Realism Wolf Head on the Bicep

Fair warning, the bicep can hold micro detail better than most spots because of stable muscle and thicker skin. Expect a 45- to 90-minute session depending on the level of shading. The common mistake is requesting extreme tiny teeth or fur texture that looks crisp at first and blurs into muddiness by year three. Ask your artist for slightly bolder contrast around key edges to preserve the silhouette. Pain is moderate. For a consultation bring clear reference photos that show the scale you like and ask to see healed photos of similar pieces in the same placement.
3. Script "Forever Young" Along the Collarbone
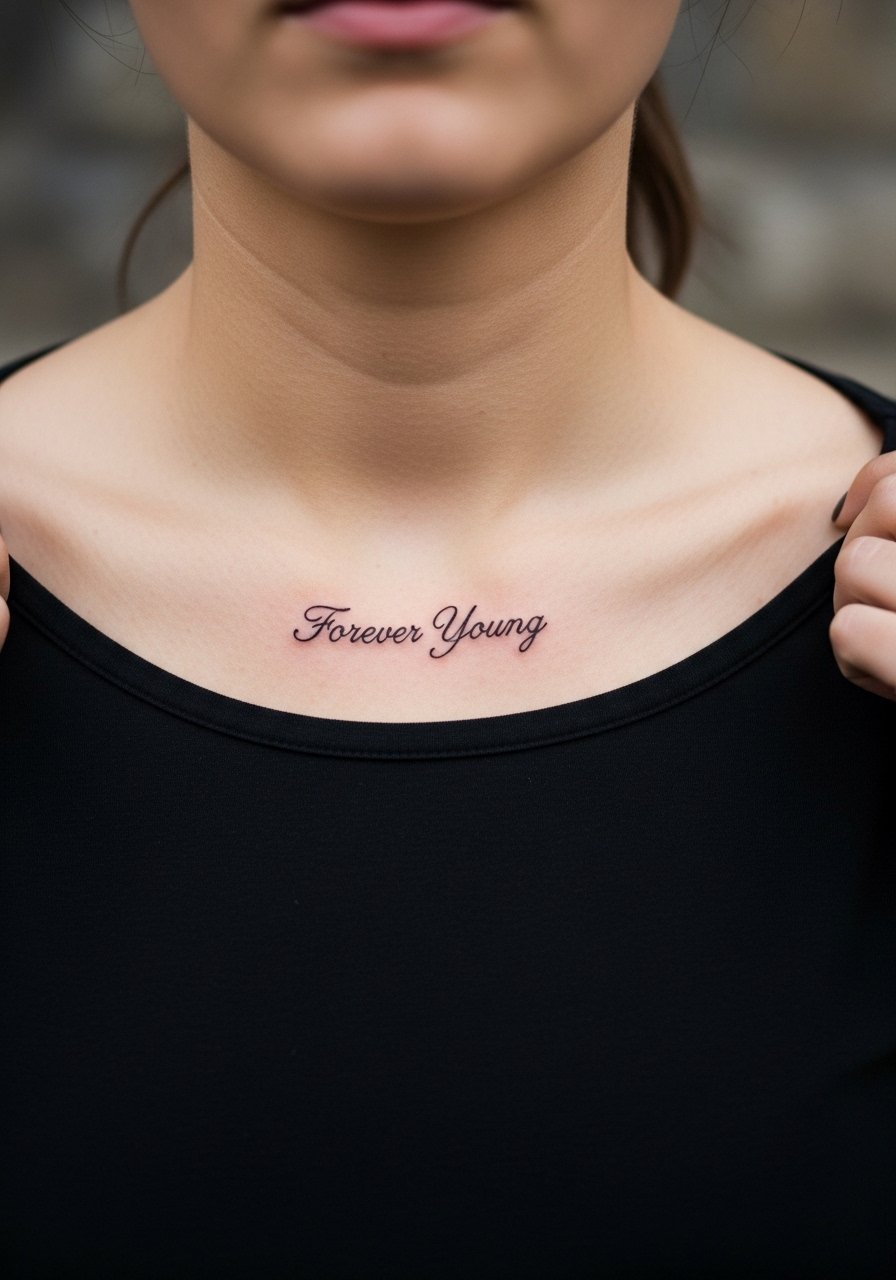
Most collarbone script looks elegant because the bone frames the lettering. The risk is sizing letters too small. Letters should be spaced to remain legible as the skin moves. Tell your artist you want 3.5 to 4 millimeter x-height for lowercase letters so the weight reads in a year. The collarbone sees clothing friction, so pair the piece with a thin chain pendant necklace that sits above the script rather than competing with it. Expect mild soreness and a touch-up by year three for light script.
4. Tiny Hourglass on the Wrist

There is something about a compact hourglass on the wrist that reads personal and discreet from across a room. The wrist is high friction and thin-skinned, so the main mistake is requesting overly thin interior lines. Ask for slightly bolder frame lines and minimal internal stippling rather than dense shading. Session time is short, twenty to forty minutes, but expect the need for a touch-up around year two. For showing it off, stacked dainty bracelets are a classic choice and a minimalist watch band in leather or mesh keeps attention on the tiny silhouette.
5. Micro-Realism Tiny Sunflower Behind the Ear

Behind-the-ear pieces need a careful hand because the skin there is thin and the area moves with hair growth and washing. A common mistake is cramming petals into a 10-millimeter circle. Give the motif 15 to 20 millimeters where possible. During consultation ask the artist how they handle touch-ups in that friction zone. This placement is discreet and best for someone who wants a private symbol. For session wear, tie your hair up or wear a collared shirt you can lift slightly so the artist has clear access.
6. Minimalist Swallow on the Ankle

When you pick the ankle, know it is a high-motion spot with constant rubbing from shoes. The mistake is choosing extremely thin tail feathers. Ask for slightly stronger anchors and simple negative-space wings that keep the image readable after frequent wear. Sessions run short, twenty to forty minutes, but touch-ups are common by year two thanks to constant abrasion. For showing it off, roll your jeans or wear low sandals and a minimal leather anklet so the bird feels intentional with your outfits.
Pre-Session Essentials
The wrist, ankle, behind-the-ear area, and collarbone pieces above all need small prep items that make the studio visit and the first week easier.
-
Stencil transfer paper kit. Lets you preview the script and tiny motifs on skin before the needle starts, helpful for collarbone and ear placements.
-
Topical numbing cream. Apply 30 to 45 minutes before the session for sensitive spots like the ankle and behind the ear without changing linework.
-
Thin protective film roll. Useful for wrist and ankle tattoos to shield against friction during the first few days.
-
Fragrance-free gentle body wash. Cleans the area without irritating delicate fine line work that relies on crisp channels.
-
Aquaphor healing ointment. A thin layer in the early days helps maintain moisture for small, detailed pieces without clogging.
7. Tiny Script on the Side Ribcage

Artists split on fine line on ribs. One camp says the constant expansion and contraction blurs the thinnest letters within two years. The other camp says proper spacing and needle depth keep lines stable. The safe path is to size letters larger and add breathing room between words. Rib sessions are painful for most people. Expect a 30- to 90-minute session with longer breaks. For the appointment wear a loose zip-up or a cropped top you can lift. Consider a slight bolding of key letter edges to preserve legibility over time.
8. Tiny Geometric Mandala on the Inner Wrist
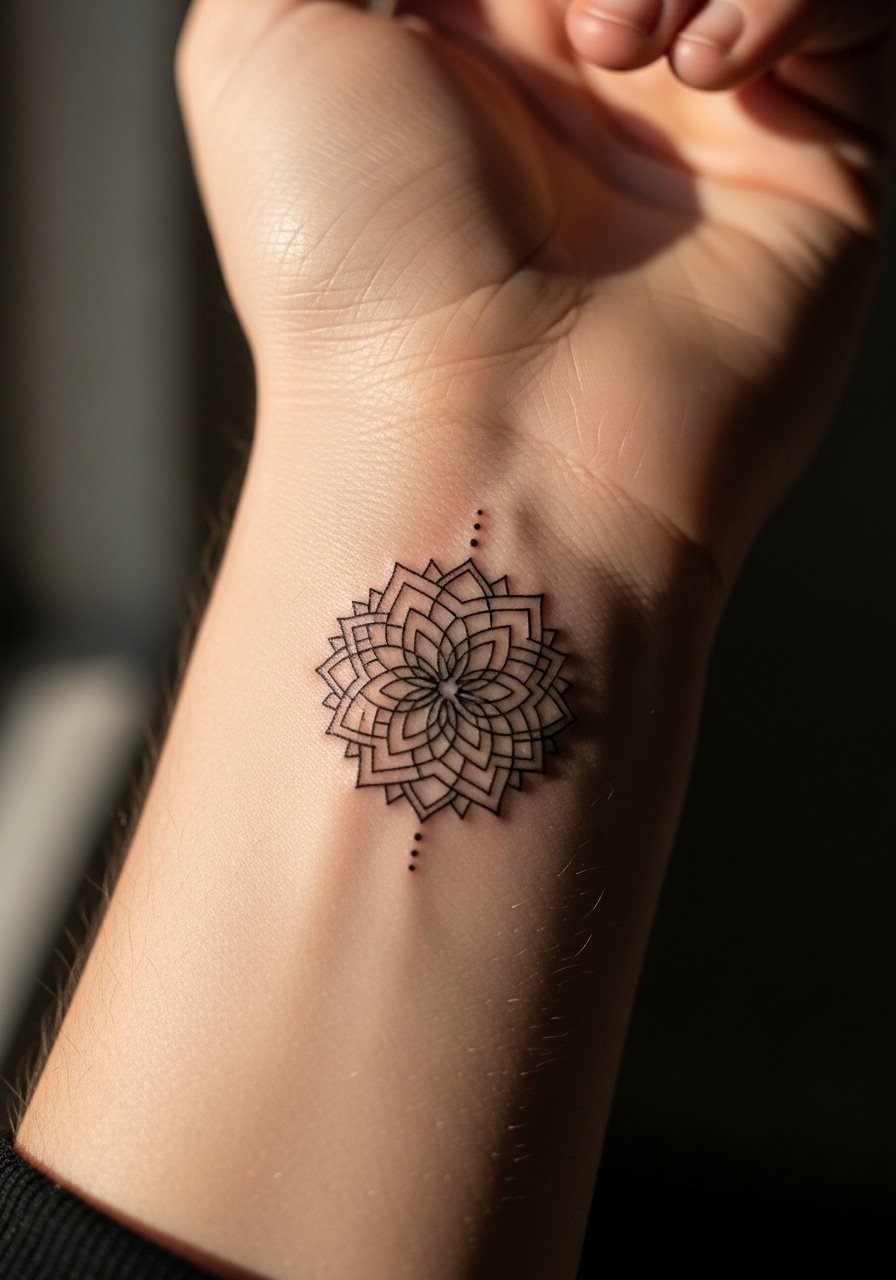
The inner wrist is visible and moves a lot. The biggest mistake is requesting a mandala cramped into a 20-millimeter circle with too many concentric rings. Ask your artist to simplify the central geometry and to use stipple shading in open areas rather than dense whip shading that can fill in. For showing it off, wear a racerback tank top that lets the wrist peek out when you roll a sleeve. Expect touch-ups by year three for the tightest filigree.
9. Tiny Anchor Near the Ankle Bone

I've seen this on people who travel a lot. The ankle holds bold outlines better than fine filigree because of shoe friction. Make the anchor frame slightly bolder and avoid interior micro-details. The session is quick and the pain is mild to moderate. For the appointment wear loose pants you can roll up easily and bring slip-on shoes. To style the finished piece, a low-cut sandal and a simple ankle chain highlight the placement without overwhelming it.
10. Tiny Botanical Stem on the Side of Finger

Fair warning, finger tattoos have a high rate of fading and blowout because of thin skin and frequent washing. The common mistake is trying to cram a long stem into a narrow vertical space with ultra-fine strokes. Ask your artist for slightly thicker stems and simplified leaf shapes. Touch-ups are likely within one to two years. Expect quick sessions but plan for maintenance. For showing off on occasion, wear a thin stacking ring on the adjacent finger so the stem reads as a curated detail.
11. Tiny Watercolor Star Cluster on the Shoulder Blade
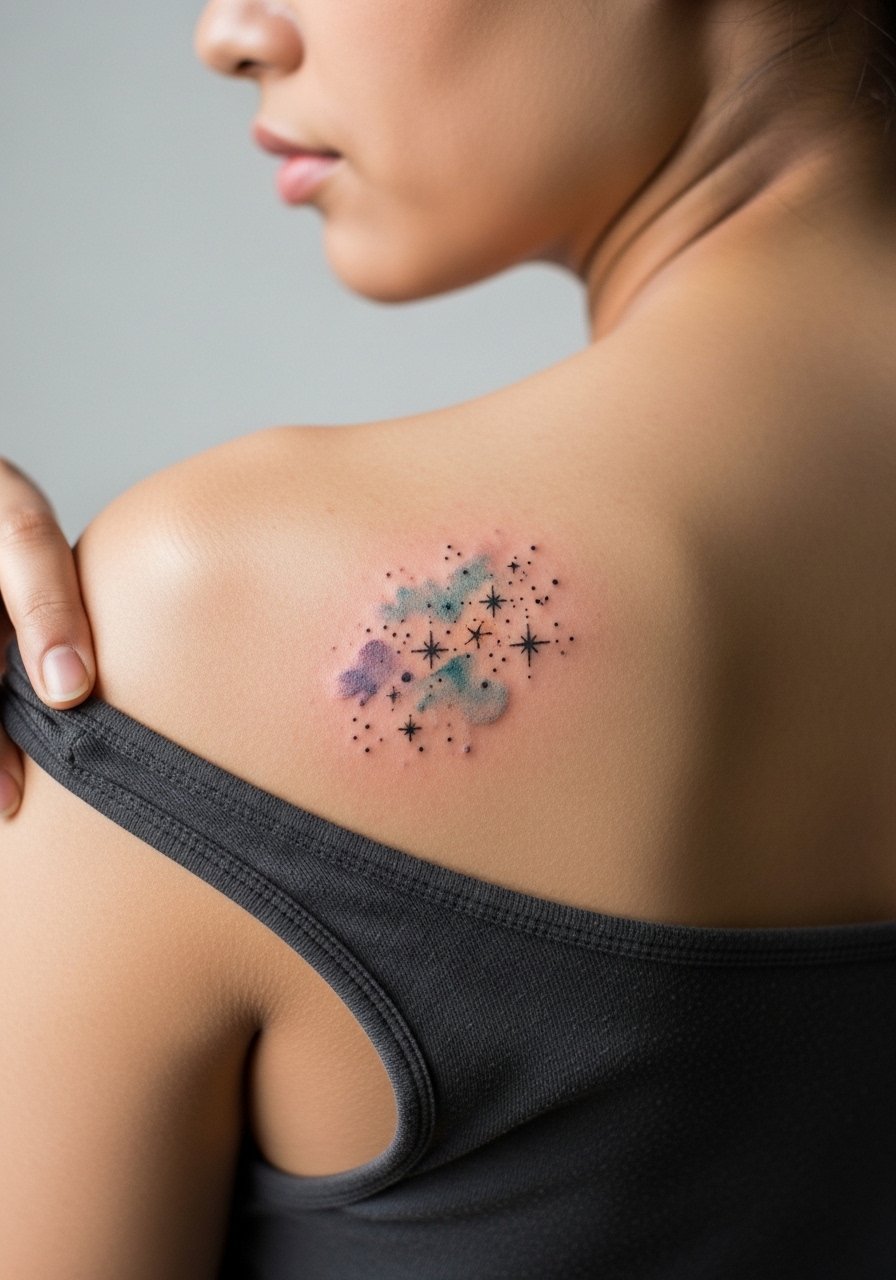
Watercolor-style techniques can be charming but they age differently than solid blackwork. The mistake is relying on soft wash effects without solid anchors. Request a few small black pinpoints or thin outlines within the color wash to keep the stars readable as the pigments soften. The shoulder blade is a forgiving spot for diffusion because it is not constantly sun-exposed. For session wear choose a loose tank top so the artist can work unhindered. Expect a touch-up by year three for color reintensification.
12. Tiny Traditional Matchstick with Flame on the Wrist
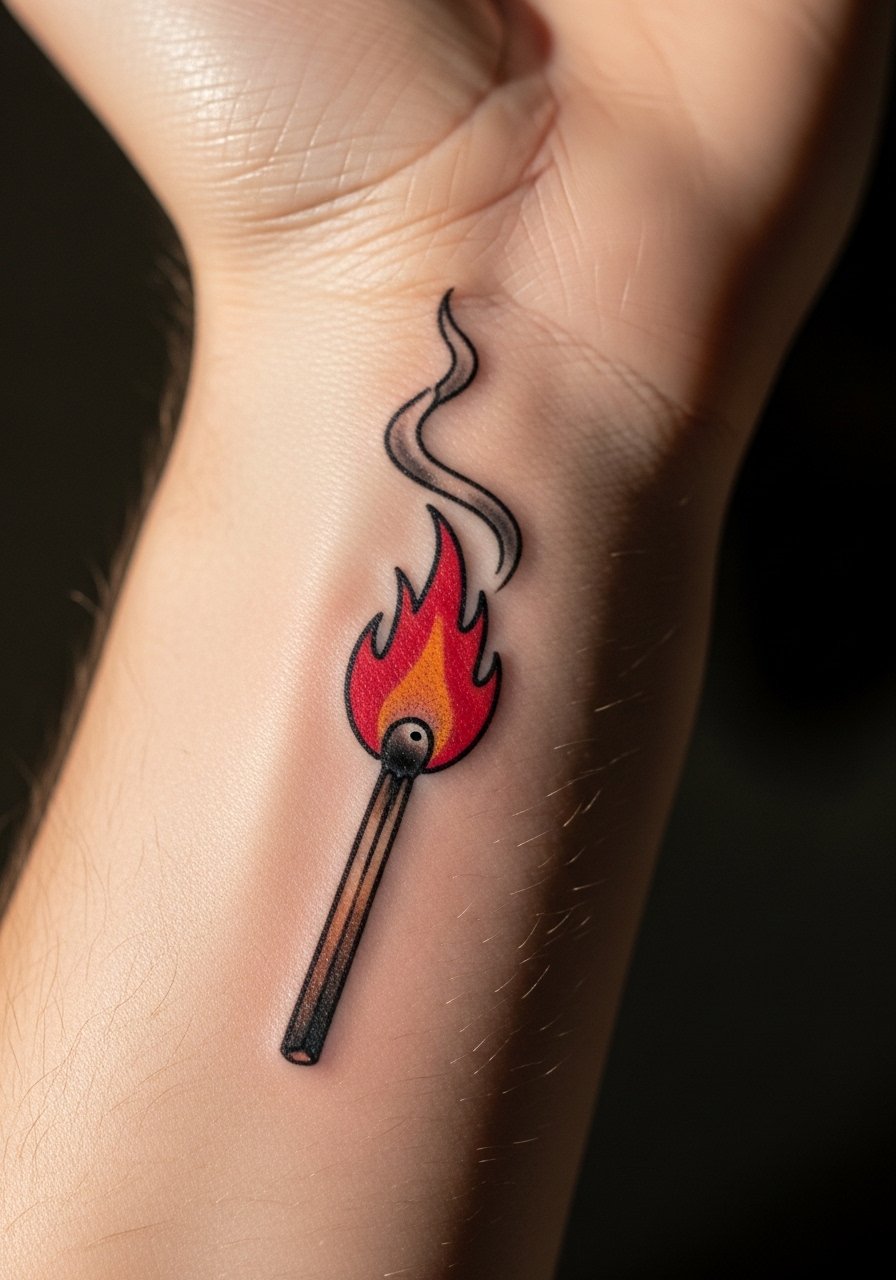
Traditional pieces age into a durable silhouette because they rely on saturated black outlines and punchy color. The wrist works if you prefer longevity over micro detail. The usual mistake is requesting color gradients smaller than the outline, which can blur into the black over years. Tell your artist you want strong edge saturation and limited micro-shading. Sessions are short and pain is mild. For showing off, rolled sleeves or a simple cuff bracelet complement the bold outline without competing for attention.
13. Tiny Crescent Moon Behind the Knee

The back of the knee is a high-motion area and the risk is lines that blur from constant flexing. The mistake is making the crescent too narrow. Ask for a slightly thicker outer curve and a simplified interior. Expect more fading because of friction, and plan for a touch-up at year two. The session often requires the leg to be bent at a specific angle which can feel strange but is manageable in short bursts. For session wear choose loose shorts you can hike up temporarily.
14. Tiny Geometric Dot Work on the Back of the Hand

Hand tattoos are visible and may impact professional settings. The technique that keeps the piece readable is spacing dot work so points do not merge. The common mistake is dense stippling too close to knuckles. Ask the artist to map the geometry around natural creases. Expect the most touch-up attention here of any small placement, often within one year. For showing off choose a minimal leather glove or cuff to create a deliberate contrast between skin and design.
15. Tiny Script on the Back of the Neck

When you pick neck script keep the text short and the line weight consistent. The mistake is long phrases that sag visually as skin shifts. Neck skin is different than the forearm, so ask for healed photos in that area. For session wear bring a button-down you can pull aside or a wide-neck top for access. When styling, pair the script with a delicate choker necklace that sits above the lettering to frame without crowding.
16. Tiny Mandala Sternum Accent

Fine line work on the sternum divides opinion. One group argues the motion and thinner skin in the center lead to blurring within a few years. The other group says careful spacing and spot-anchoring lines preserve the mandala. The practical approach is to keep the central elements slightly bolder and to avoid tiny internal dots. Sternum sessions can be sensitive and often require breaks. For the appointment wear a fitted sports bra you can lift or a bandeau so the artist can work cleanly.
17. Tiny Sun on the Upper Inner Arm

I've seen suns in this spot hold well because the upper arm sees less abrasion and sun than forearms. The trick is avoiding excess micro-shading within the rays. Ask for clean, slightly thicker rays and a clear negative space center. Pain is low and sessions are short. For the session wear a loose shirt you can slide off one shoulder, or a loose button-down you can remove without disturbing the area. Expect a touch-up in three to five years depending on sun exposure.
18. Tiny Minimalist Anchor on the Finger Base

The base of the finger is better than the knuckle for small symbols but still sees heavy use. The common mistake is tiny interior ornamentation. Keep shapes bold and minimal. Sessions are quick, but plan for annual touch-ups if you want permanence. For showing off, a slim signet ring on the adjacent finger gives the anchor a curated look. Ask the artist about their experience with finger healing in different skin tones.
19. Tiny Line Landscape on the Forearm

Forearms are forgiving for thin line landscapes if you plan size correctly. The error is compressing too many peaks into a short span. Ask for a simplified silhouette with negative space valleys so the image does not become a bar of gray in a few years. Expect low to moderate pain and a one-hour session. For showing off, roll sleeves and pair the piece with a rolled-cuff linen shirt so the art becomes part of the outfit.
20. Tiny Minimalist Crown Behind the Ear
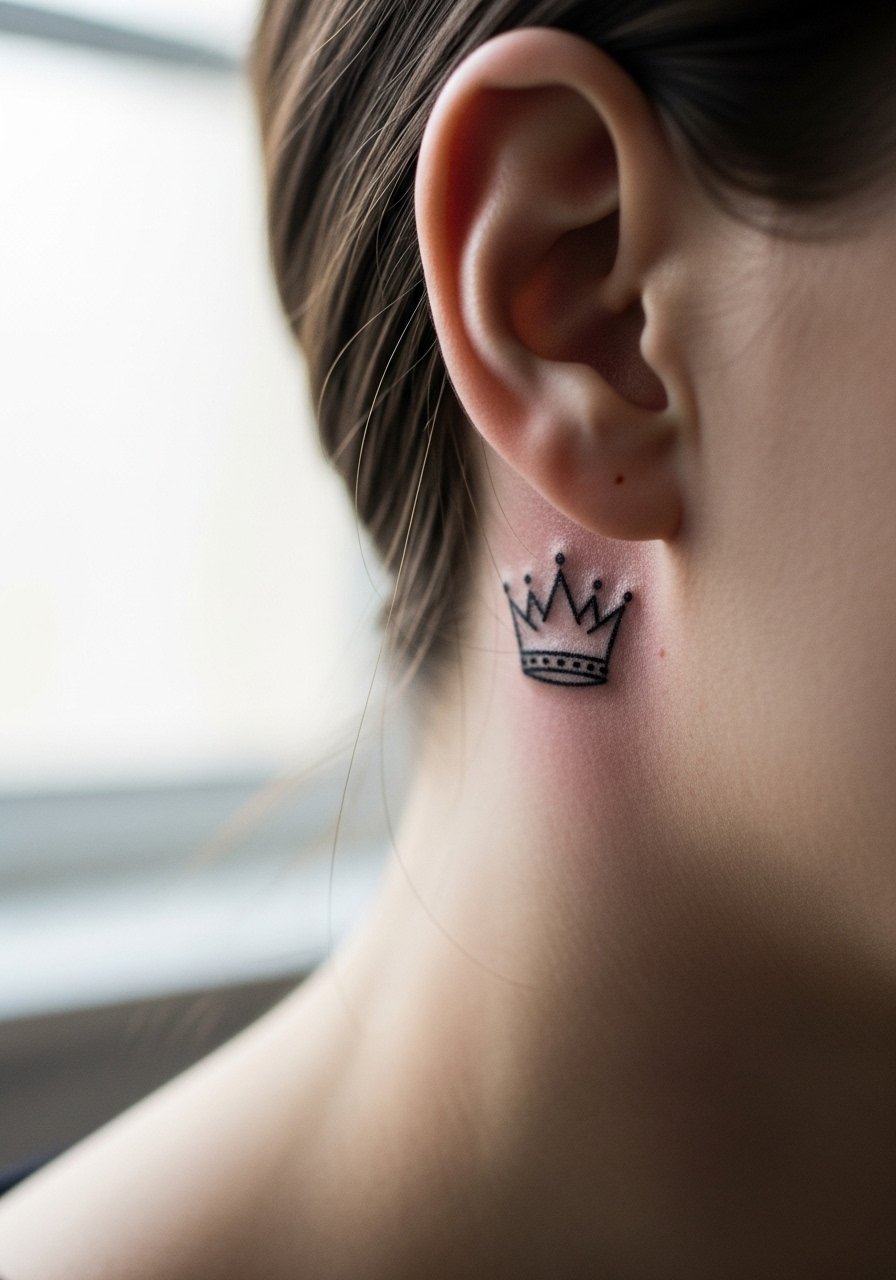
Behind-the-ear placements are private and subtle. Keep the crown simple with a bold outer line rather than interior filigree. The mistake is expecting micro detail to survive against hair oils and shampooing. Sessions are short but require careful aftercare. For the appointment, tie your hair up and wear a collared top you can lift slightly for access. Consider very rare touch-ups as the area softens from washing over time.
21. Tiny Daisy Chain Around the Ankle

A daisy chain around the ankle needs rhythm in spacing. The error is uneven petal sizing that shows quickly. Ask the artist to plot the chain around your ankle circumference so each motif breathes. Expect low pain and a one-hour session. For showing off, sandals and cropped trousers work well. Add a woven ankle bracelet on rotation to accent the floral rhythm without covering the art.
22. Tiny Minimalist Wave on the Side of the Rib

Most small rib pieces suffer from sizing mistakes. The skin shift means a shallow, ultra-fine wave can become a smudge. Ask for a slightly thicker crest and a clear end point to anchor the design. Rib sessions are sensitive and often take breaks. Expect touch-ups by year two or three. For the appointment wear a cropped top so the artist can access the area without you having to undress fully.
23. Tiny Constellation on the Collarbone Arc

When constellation pieces follow the collarbone curve they look intentional rather than random. The mistake is strict precision at tiny scales that stops reading after a year. Ask your artist to slightly space stars and to anchor with one small black dot that resists fading. For showing off, pair the arc with an open-back midi dress or a scoop-neck tee. Expect modest touch-up needs depending on sun exposure.
24. Tiny Botanical on the Inner Bicep

I've seen inner bicep botanicals age well when the artist spaces veins and leaves. The biggest mistake is tiny vein work that disappears as the skin settles. Ask for bolder leaf outlines and light stipple shading rather than dense blocks. Inner bicep sessions feel uncomfortable because of nerve clusters but are short. For the session wear a tank top so the artist can raise your arm without issue. Expect a touch-up in three to five years for fine detail.
25. Tiny Minimalist Stacked Triangles on the Back of the Shoulder

Geometric stacks work on the shoulder because of smoother skin and less constant friction. The controversy here is whether micro spacing holds when triangles are tiny. One side argues that tiny angles merge fast. The pragmatic approach is to size triangles at twelve to fifteen millimeters tall with clean negative spaces between them. Sessions are short and pain is low. For showing off, wear an off-shoulder top or a halter tank so the shapes sit in the open.
26. Tiny Lotus on the Lower Back
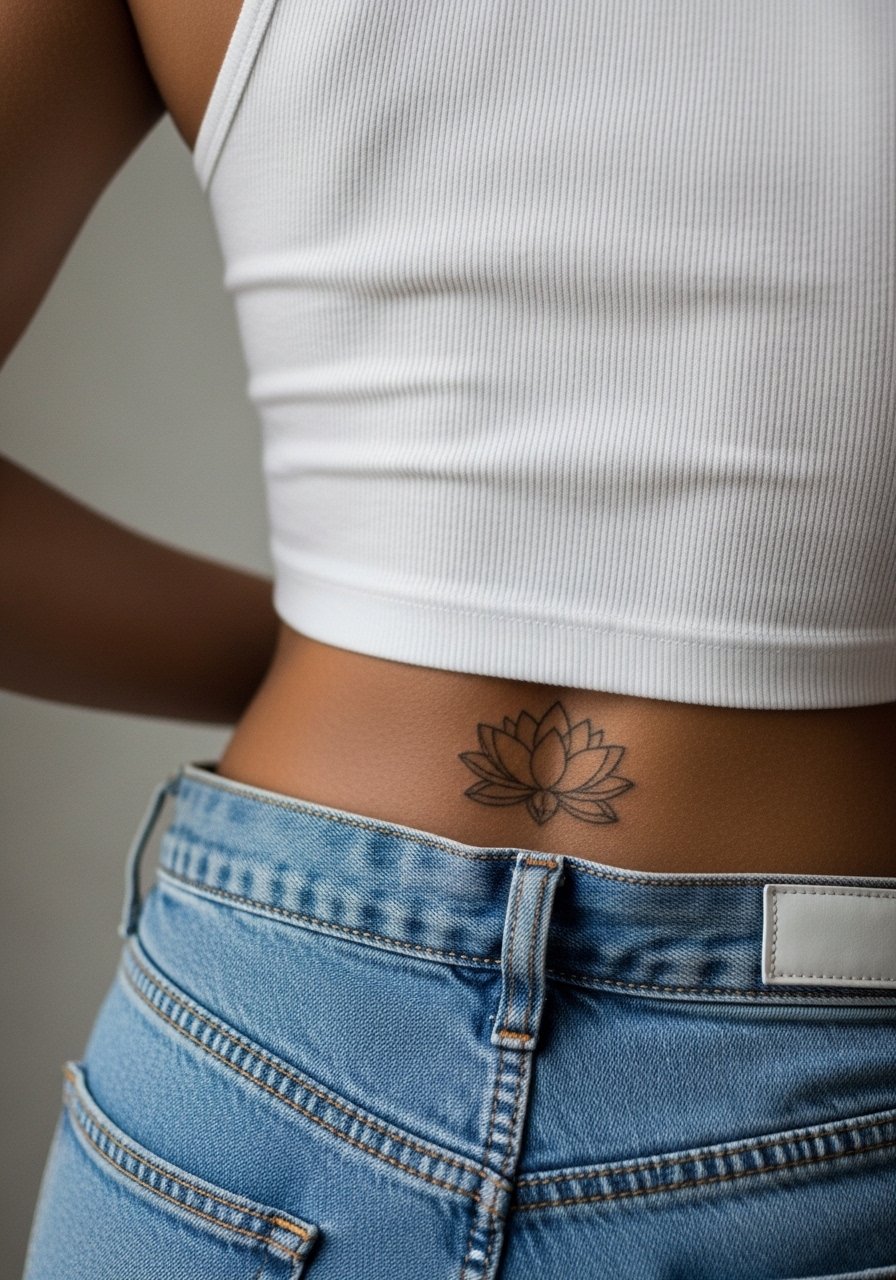
Lower back pieces can stay crisp when placed away from waistband friction. The common mistake is centering the design where belts or waistbands rub. Ask the artist to position the lotus slightly above typical pant lines and to use clean negative space at the base. For the session wear high-waisted bottoms you can lower just a touch so the artist can work without full exposure. For occasional showing off, a cropped tee pairs cleanly with a low-rise skirt or jeans.
27. Tiny Moon Phase Line Along the Spine
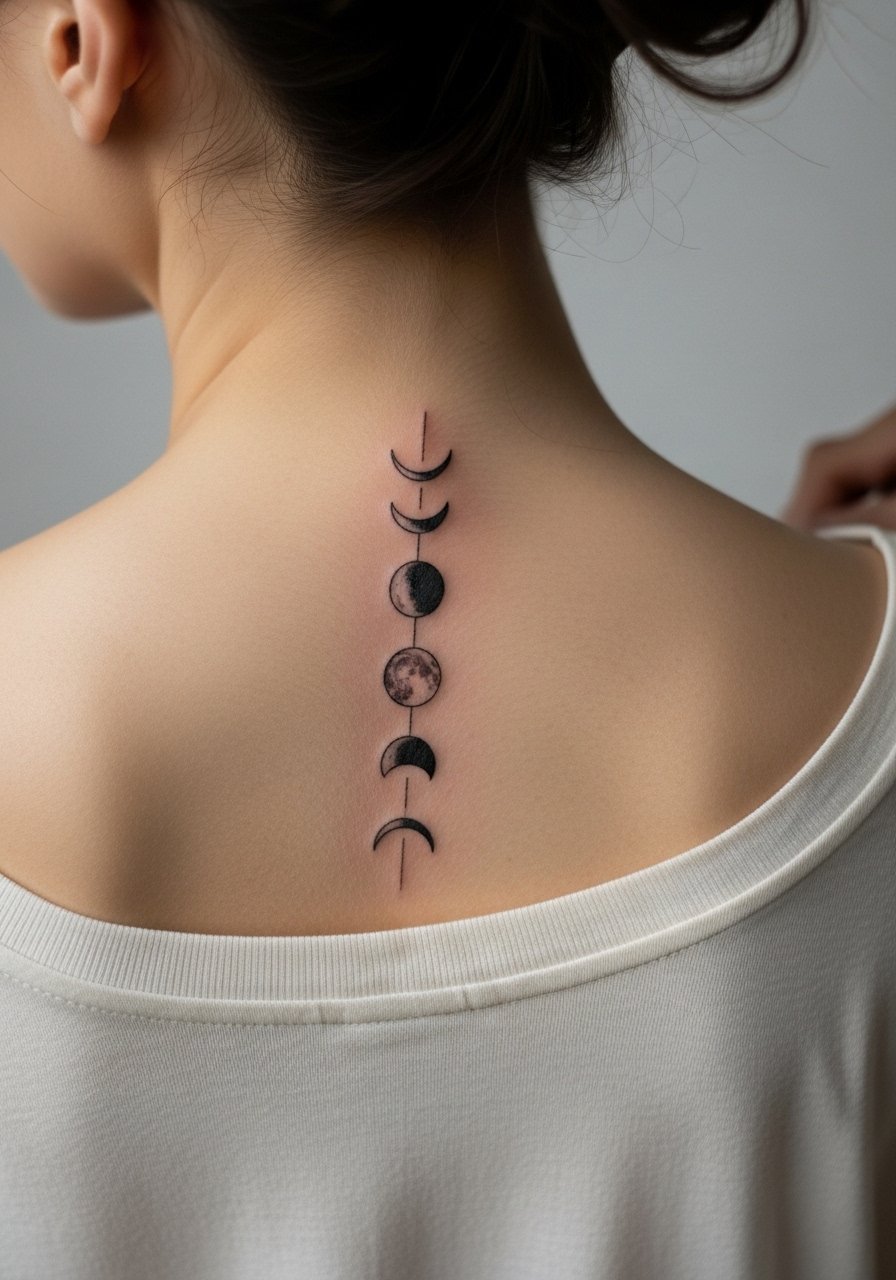
When placing a vertical sequence along the upper spine, spacing matters more than micro detail. The mistake is compressing phases too tightly and expecting each crescent to remain distinct. Ask for deliberate gaps and slightly bolder crescent edges so the phases read as a band rather than a blur. Spine sessions can be sensitive depending on how close to the vertebrae the ink goes. For the appointment wear a wide-neck shirt you can lower on one side or a button-down you can pull aside. Expect touch-ups in a few years if you want the phases crisp.
Frequently Asked Questions
Q: Will fine line tattoos like the collarbone script still be legible after five years?
A: It depends on placement and sun exposure. Collarbone script sized with a 3.5 to 4 millimeter x-height and given breathing room usually holds readable shape at year five, though a light touch-up may refresh the thin strokes. For longevity, plan to use sun protection on the area when possible.
Q: Are finger and hand tattoos worth it if I want them to last?
A: Finger and hand tattoos fade faster due to washing and constant friction. If you want durability pick bolder shapes with simple silhouettes and expect touch-ups within one to two years. A slim ring or thin stacking ring can help visually integrate the tattoo while you decide on maintenance.
Q: How should I dress to get a sternum or ribcage tattoo in the studio?
A: Wear a fitted sports bra or bandeau for sternum work and a cropped top for rib sessions so the artist can access the area without full undressing. Bring layers you can easily adjust and shoes that slip on for comfort after the session.
Q: Do watercolor-style small tattoos need different care than traditional black line work?
A: Watercolor pieces often rely on softer pigment layers and therefore can require gentler cleaning and more frequent color touch-ups. Ask your artist about how they seal color washes during the session and when to schedule a color-refresh.
Q: How much pain should I expect for a ribcage script versus an ankle bird?
A: Ribcage sessions are commonly rated higher on pain scales because of thin, bony areas and sensitive skin. Ankle pieces are variable but often feel sharp near the bone. Both are tolerable for short sessions, and topical numbing can help for sensitive clients.
Q: If I want a small tattoo that still reads from across a room, which styles are best?
A: Bold black outlines, simplified silhouettes, and slightly larger scales tend to read farther away than ultra-fine filigree. Traditional small motifs and micro-realism with clear contrast keep presence without needing large surface area.
