
Fine line trends look gorgeous on feeds, but they do not always age the way people expect. What tends to last is spacing, needle depth, and placement choices more than the original flash. If you want a restrained Hunter X Hunter nod that still looks intentional at year five, think small anchors of design rather than full character portraits. The list below pairs gentle motifs with practical placement and wardrobe notes so you can pick one that actually holds up.
1. Tiny Gon Silhouette on the Inner Forearm

I recommend this placement if you want a personal nod without being obvious. Ask your artist for a slightly larger negative-space outline and a single thicker anchor line so the silhouette keeps its shape as linework softens. Common mistake is asking for an ultra-tiny silhouette that loses definition around year two. Expect a one-hour session and mild pain that feels like steady scratching. For showing it off, roll sleeves and reach for a rolled up linen shirt to frame the forearm without overshadowing the linework.
2. Minimal Killua Lightning Dot Cluster on the Wrist
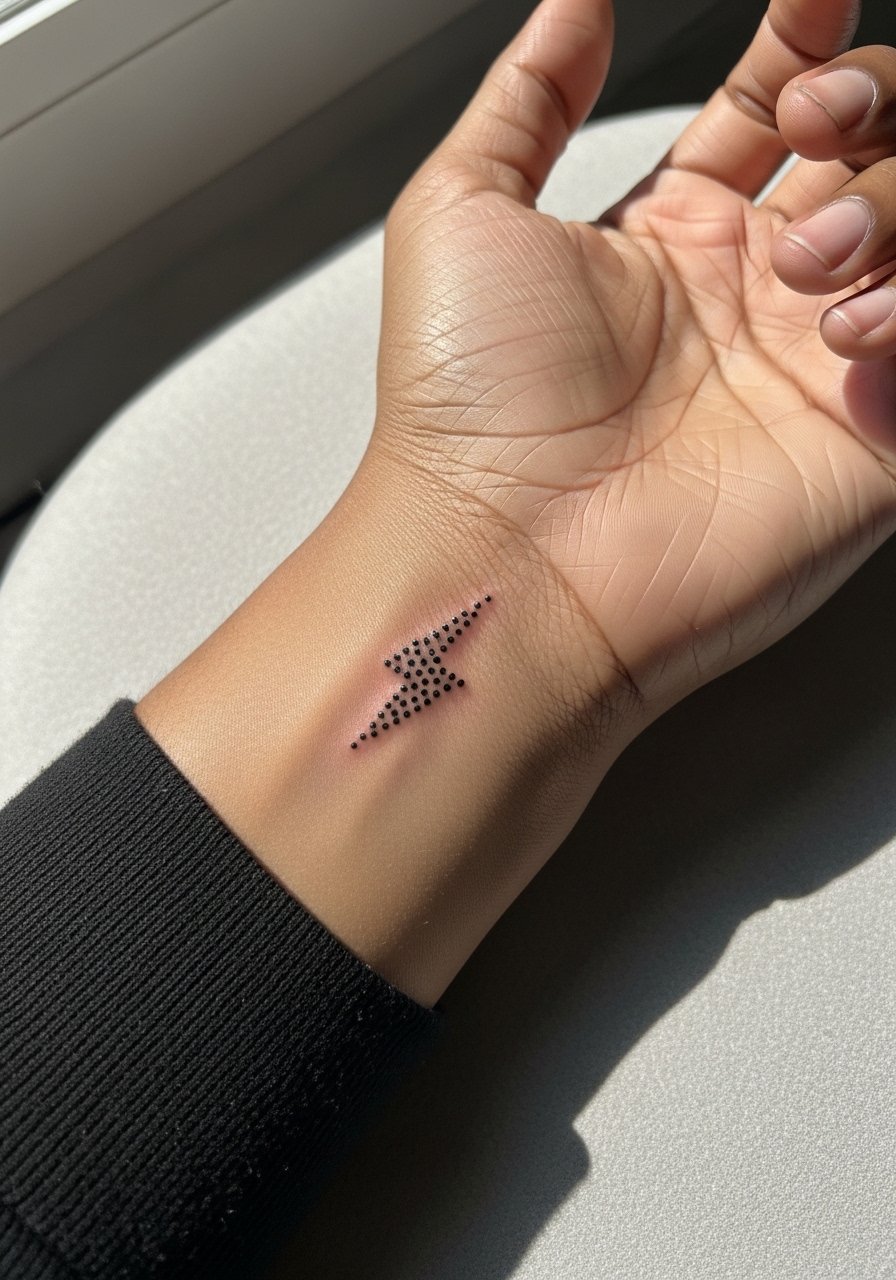
Wrist tattoos take more washing and friction than forearms. Ask for slightly spaced dots rather than a single continuous thin line to reduce the chance of merging. The session is short but sensitive, like an ongoing pinch. A common error is placing the design too close to the radial artery where swelling can distort the dots. For everyday wear, a simple stack of bracelets helps frame the piece without hiding it. Try a stacked bracelet set when you want the tattoo to read as an accessory.
3. Tiny Hunter Badge Behind the Ear, Below the Hairline
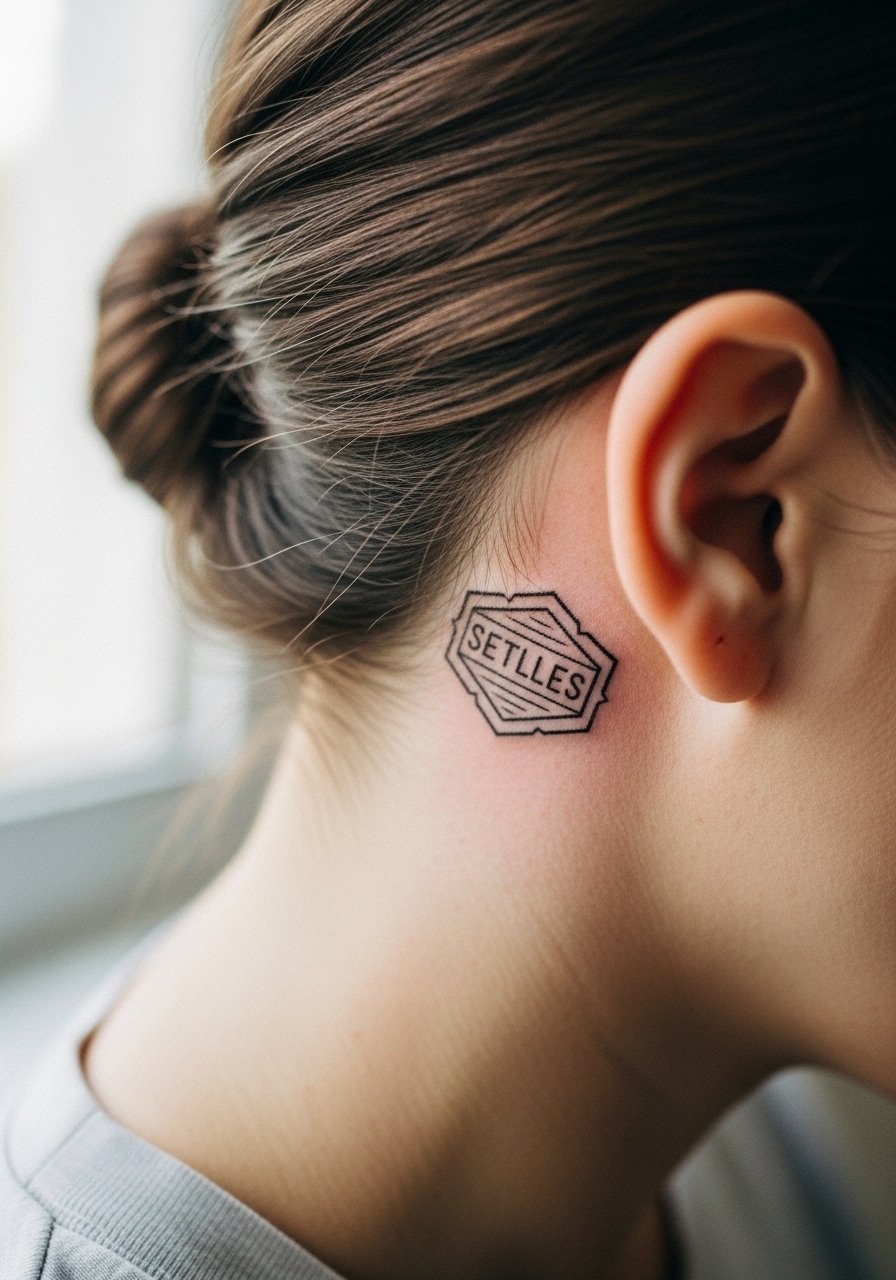
Behind the ear is a discreet spot that suits fans who want a hidden reference. Note the location is sensitive so expect a quick but sharp sting. The community debates whether very fine detail survives here because the skin is thin and moves with hair. The safe route is a bold outline with minimal interior detail. For the session, wear hair clipped up and bring a hair claw clip so the artist has clear access without tugging.
4. Micro-Constellation of Characters Along the Ankle
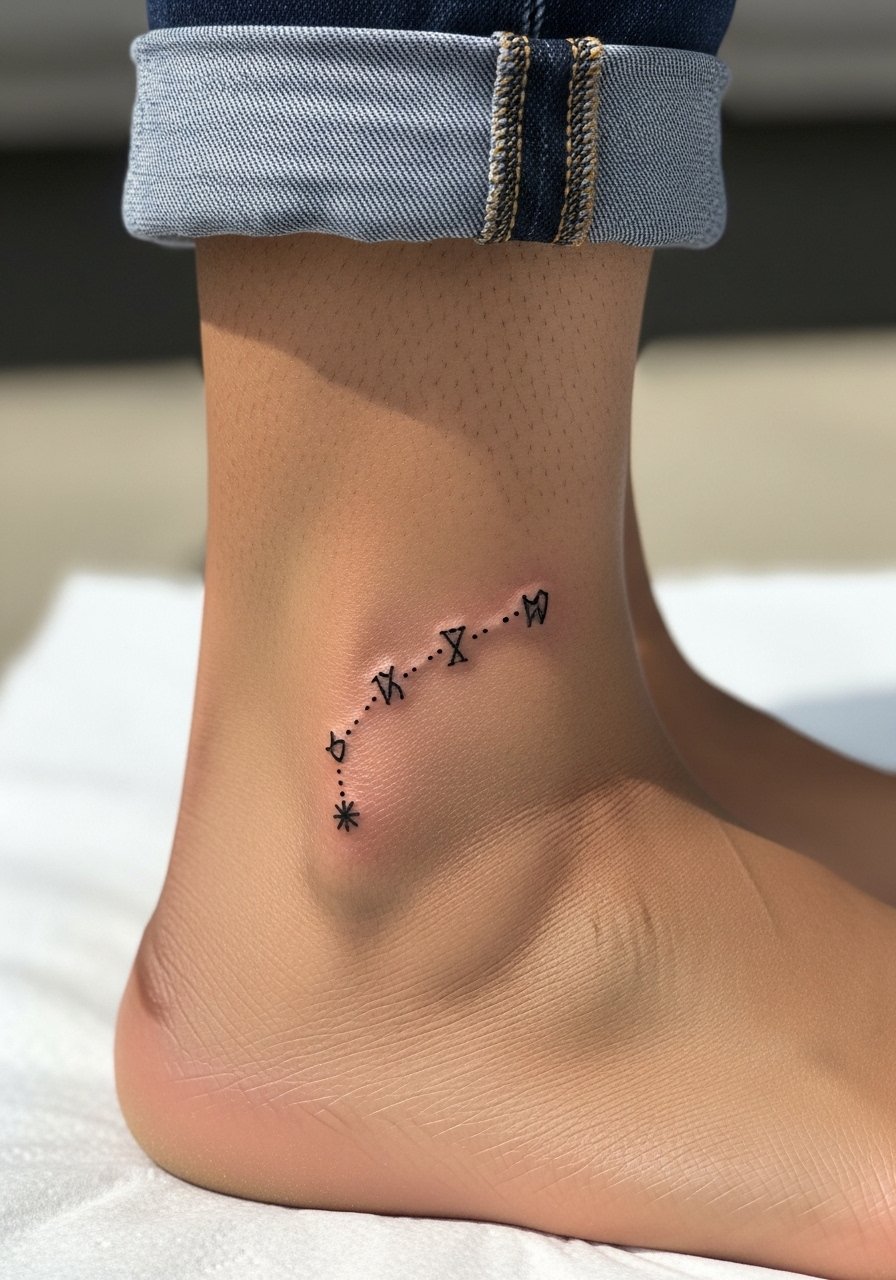
Ankle pieces are charming and they handle small geometric clusters well if you give each element breathing room. Common mistake is cramming multiple glyphs into a too-small arc which leads to merging after a year. Expect light to moderate pain, especially near bone. For wear, low-top ankle strap sandals or cropped trousers put the cluster on display without rubbing from socks.
5. Tiny Nen Symbol on the Ribcage, Shallow Placement
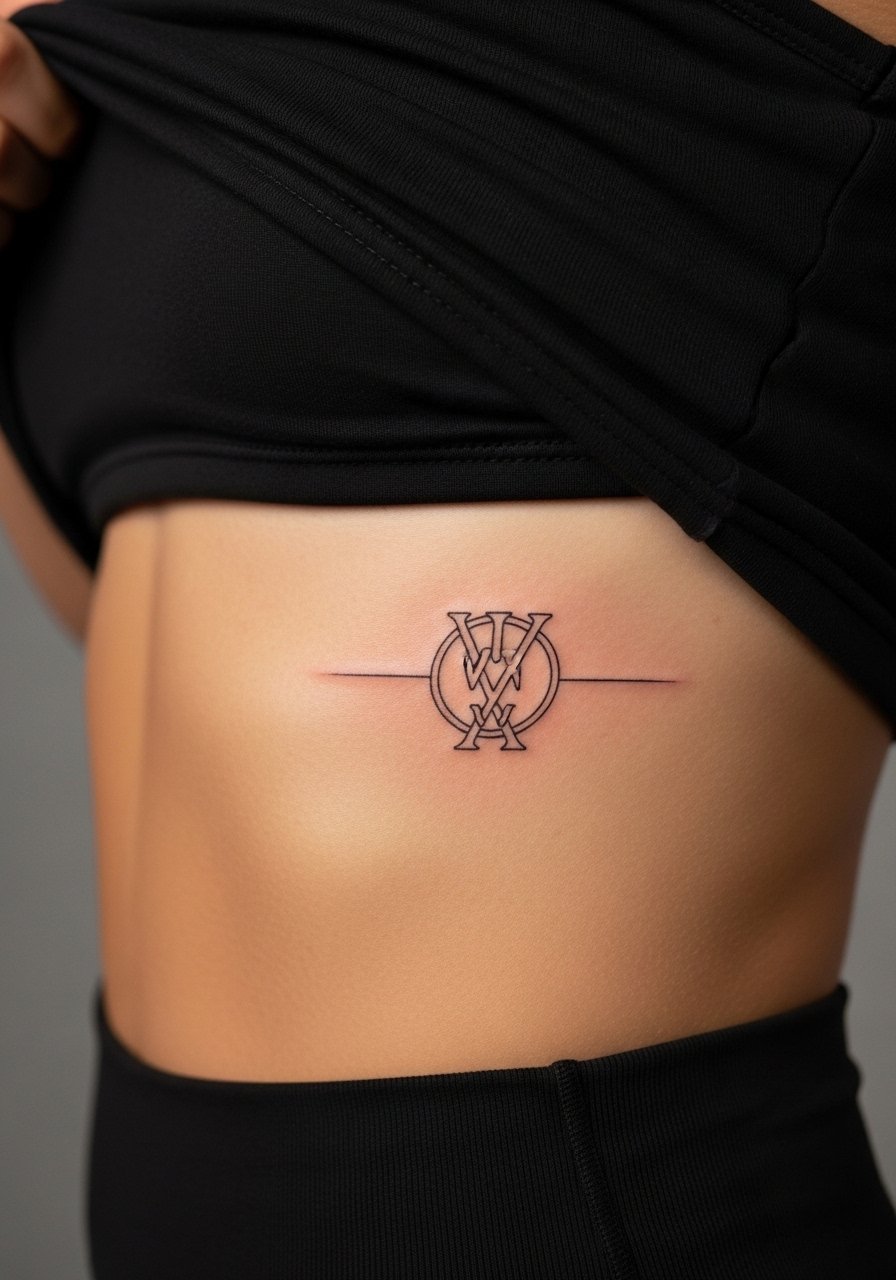
Ribcage sessions are intense but forgiving visually because the skin sits flat when you breathe out. The controversy here is clear. One camp says fine line on ribs blurs within two years because the skin shifts with breathing and body changes. The other camp argues that with correct depth and spacing it can settle cleanly. Name both camps and ask your artist where they stand before booking. Expect a longer session and strong pain in waves. If you plan to reveal the piece occasionally, a fitted cropped top can frame it without full exposure.
6. Delicate Script Along the Collarbone
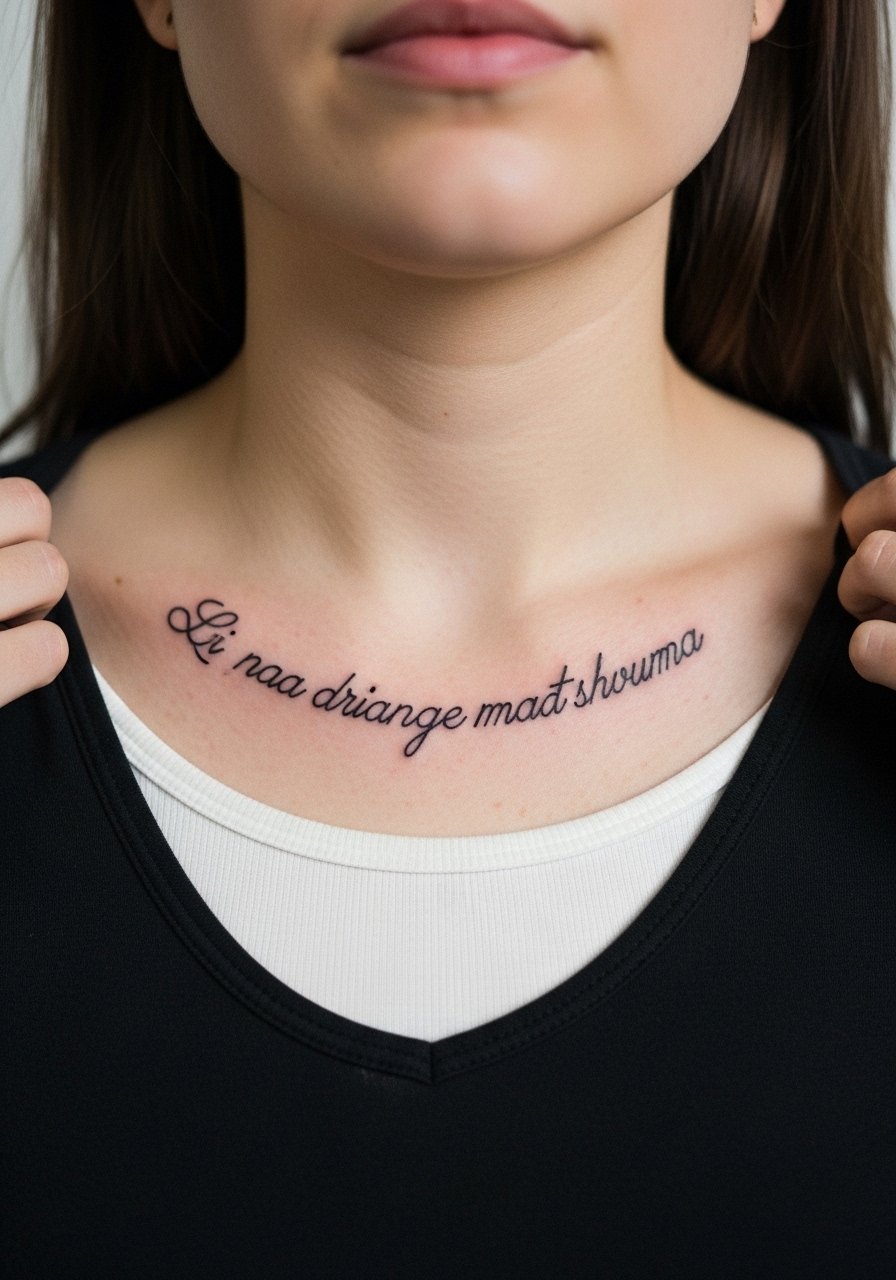
Collarbones handle elegant script well if the letters have room and slightly heavier downstrokes to anchor the type. The biggest mistake is choosing a script that relies on ultra-fine hairlines. Ask for bolder key strokes in letters that see the most tension. Session pain is moderate because the bone is close but the area photos beautifully as it heals. Pair the piece with a thin chain pendant necklace that sits just above the text.
Pre-Session Essentials
Those first six placements include both high-friction spots and sensitive chest work so a few targeted items smooth the session and the early healing window.
-
Stencil transfer paper kit. Lets you preview placement on skin so you can adjust scale and angle for wrists and forearms before the needle hits.
-
Topical numbing cream. Applied as instructed before the appointment eases sharp rib and collarbone sensitivity without changing how the ink settles.
-
Thin protective film roll. Helps finger and ankle pieces survive the first week of friction from socks and shoes.
-
Fragrance free gentle body wash. Cleans the area without stripping oils that support fine line healing.
-
Aquaphor healing ointment. A thin layer in the first days keeps tight linework from drying into flakes that pull pigment unevenly.
7. Single-Needle Portrait Dot on the Upper Arm
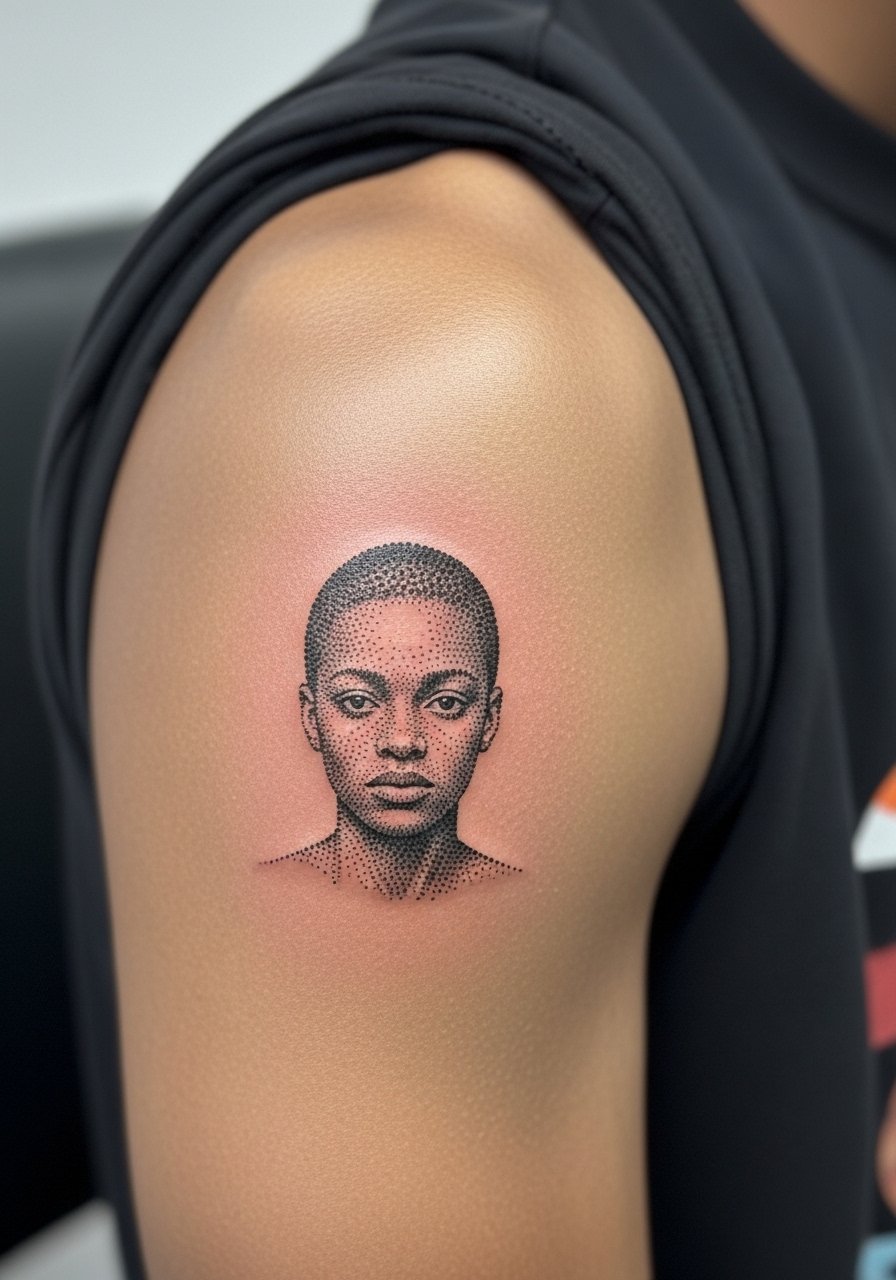
Micro-realism can be a tasteful nod to a character without full-color commitment. The key consultation point is to request suggestion of negative space rather than dense shading. Dense stipple in a tiny area tends to lose contrast as the skin ages. Expect a longer session for a small portrait than for plain linework because the dot work takes time. If you want to show it casually, short sleeves that hit above the bicep put the piece on view. For session wear, bring a loose button-down shirt you can slide aside without tugging the fabric across fresh ink.
8. Tiny Palm-Edge Symbol That Hides in Your Hand
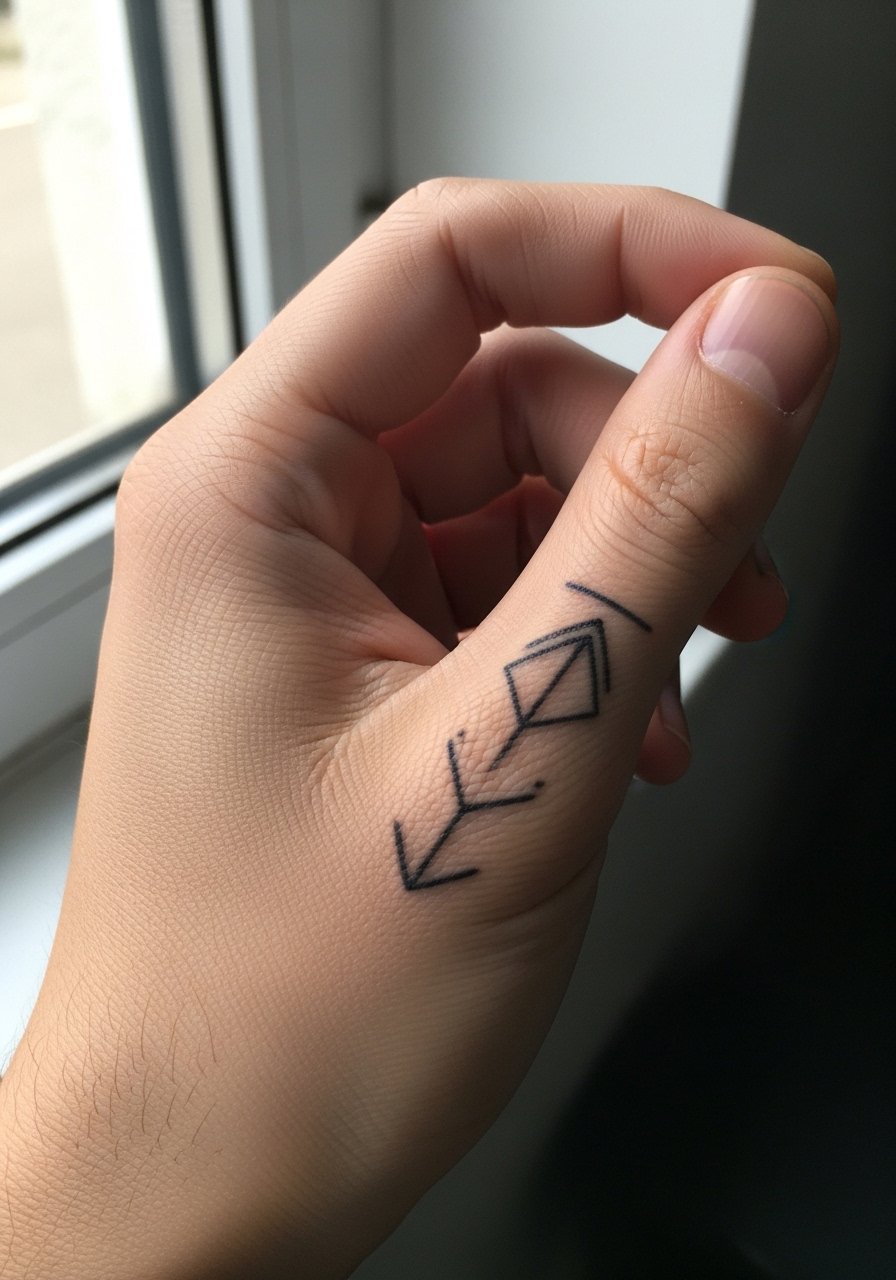
Palm-edge tattoos age differently because skin there regenerates fast and is exposed to constant use. The usual mistake is expecting permanence. These are best as short-lived statements or inking with bolder shapes that tolerate early fading. The session feels abrasive and healing is patchy, so plan on touch-ups. If you need it for a discreet reminder, it does the job. Because this area sees heavy wear, think of it more like wearable ink than a life-long portrait.
9. Small Script on a Finger Joint
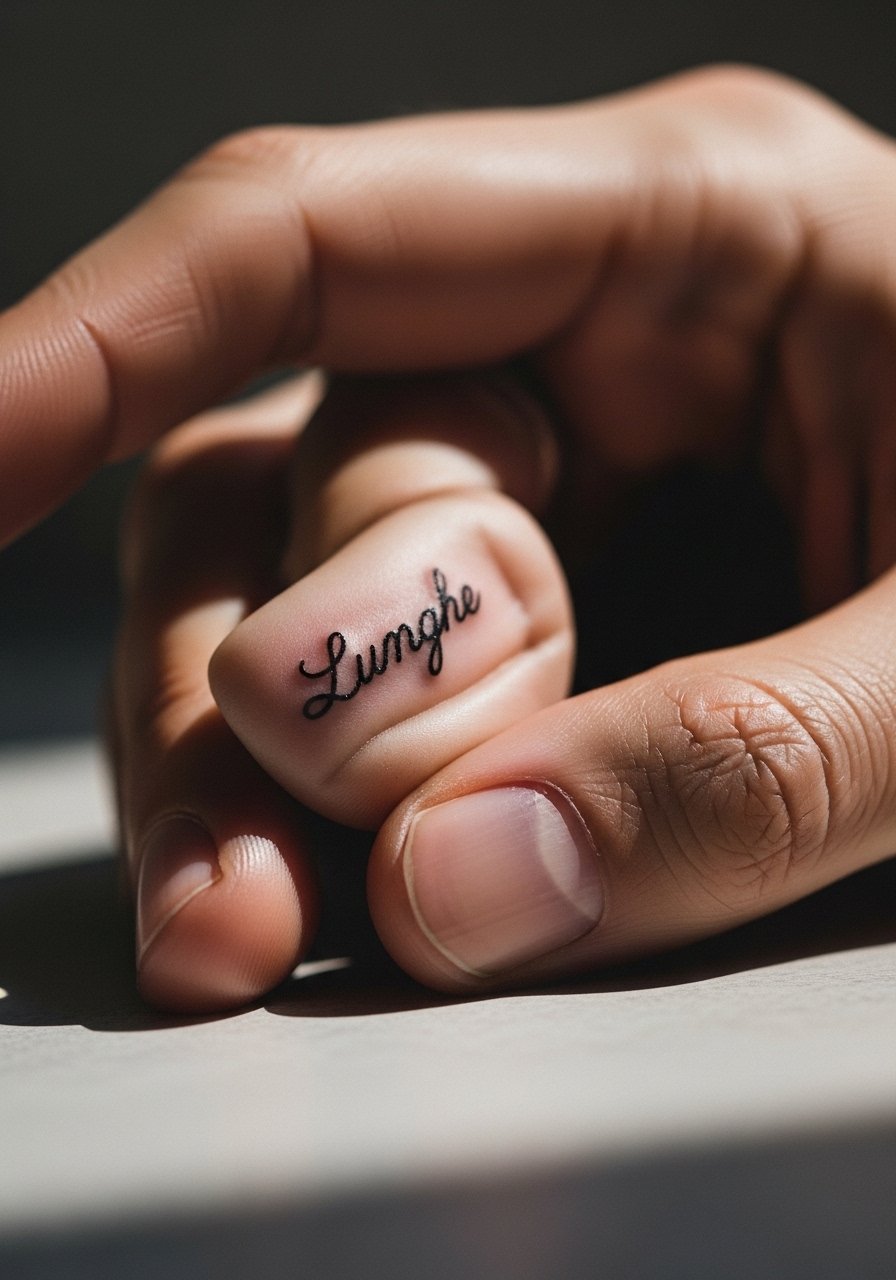
Finger joints are high motion and high fade, so keep letters bold and minimal. A common error is requesting micro-cursive that relies on hairlines. For durability ask for slightly thicker strokes and accept annual touch-up possibilities. Pain is sharp and quick. If you want to style the area, stacked rings and a thin signet ring complement small script without covering it.
10. Single-Needle Halo on the Back of the Neck
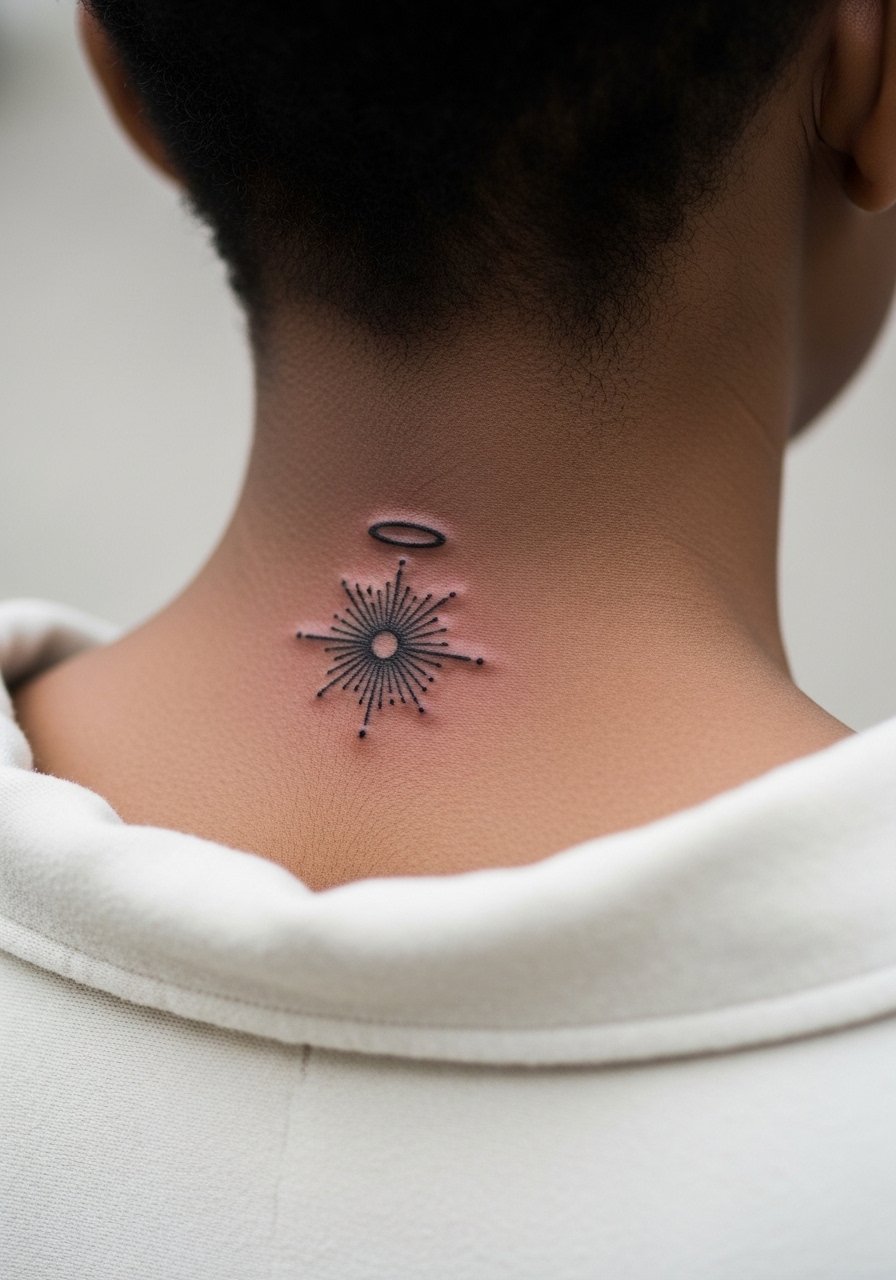
Back of the neck tattoos read well with clean, bold outlines and spare interior detail. The debate among artists about this spot is that short hair and job considerations still matter. Expect moderate pain and a session that is quick. If you plan to reveal it, a loose turtleneck pulled down slightly frames it without full display. For the appointment wear a wide-neck shirt you can move without stretching the area.
11. Micro-Realism Knife on the Outer Calf
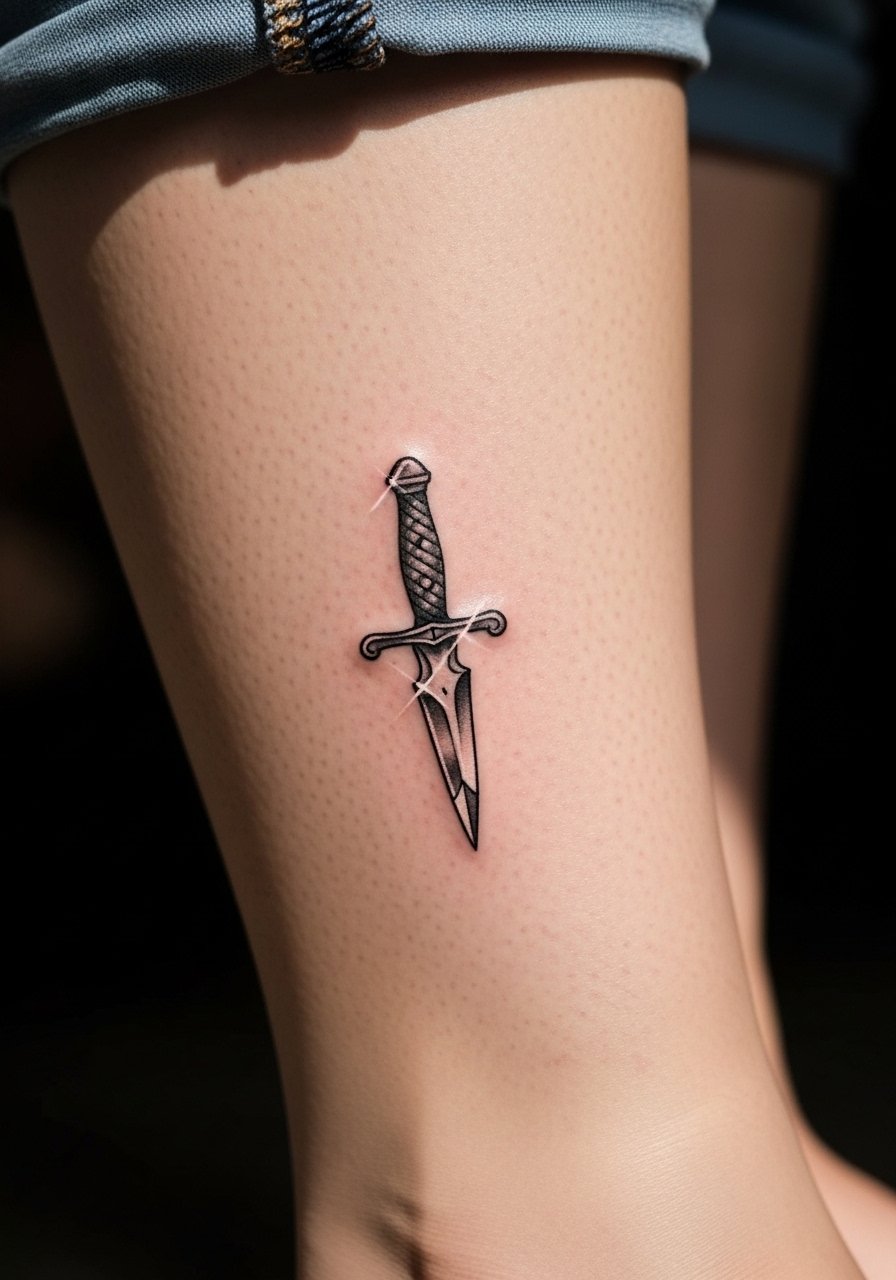
Calves handle tiny realistic motifs well because the skin is thicker and less prone to blowout. The key is spacing the highlights to maintain contrast. People often ask for extreme detail that reads fine fresh but flattens as the pigments settle. Sessions are comfortable compared to ribs. For showing off, cropped shorts or a mid-length skirt give the design room. Try a loose drawstring linen pant for the session so the artist can roll the leg up easily.
12. Small Open-Back Emblem on the Shoulder Blade
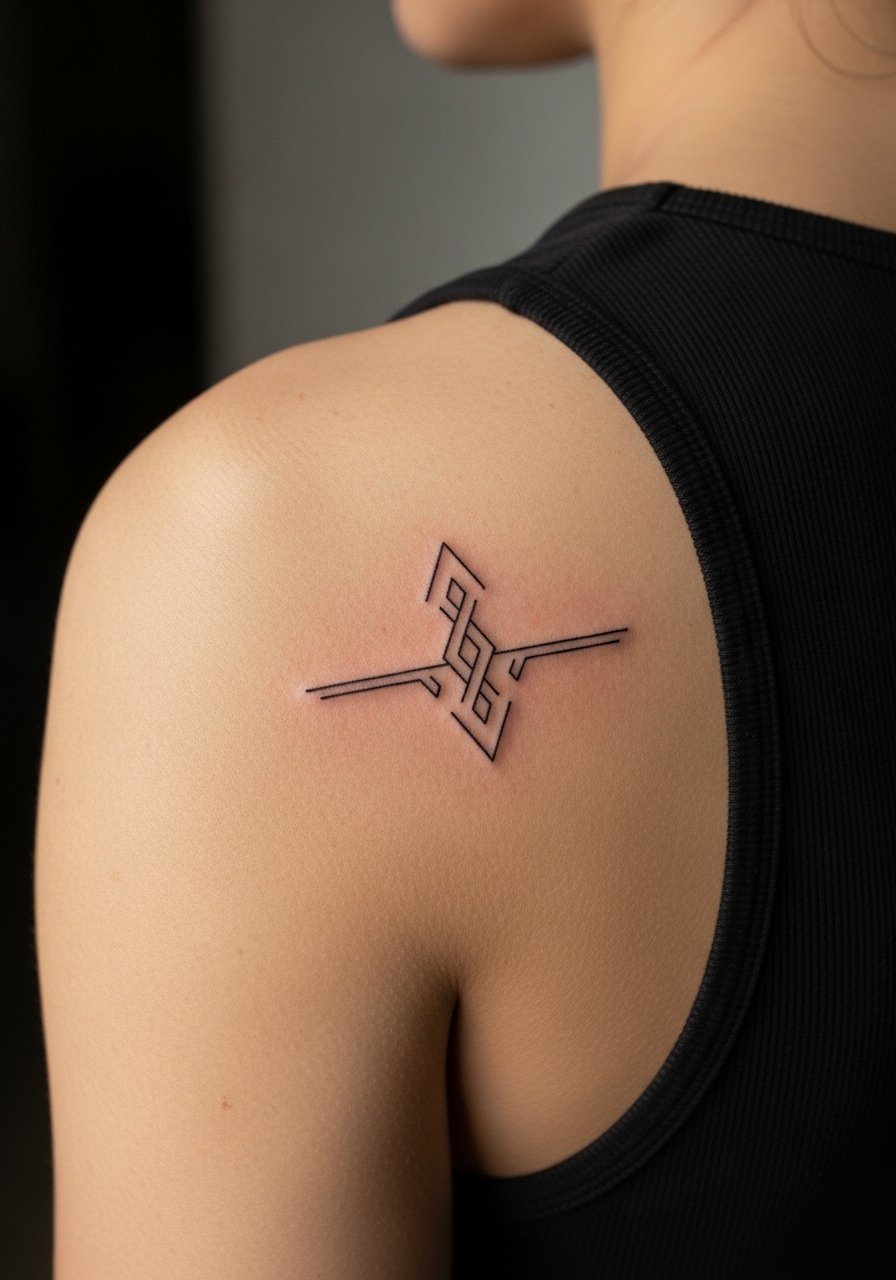
Shoulder blades are forgiving spots for modest fan emblems because the skin does not stretch as visibly. A common error is pushing detail into very tight spaces under the scapula where movement can blur fine shading. Ask for an outline with light stipple rather than continuous tone. The session is moderate in discomfort and easy to keep clean. An open-backed top or a racerback tank frames the area when you want it visible.
13. Micro-Mandala Nod on the Crest of the Hand
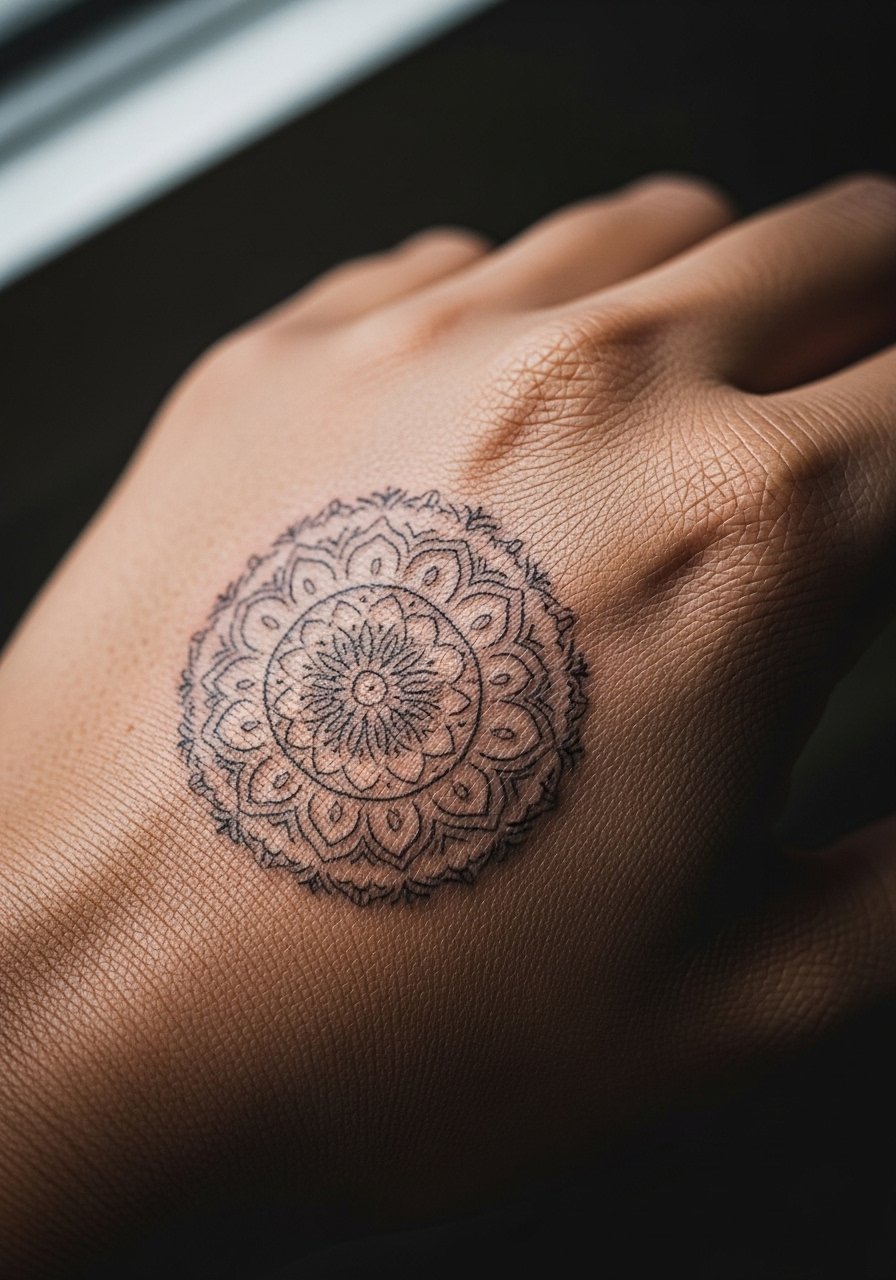
Hand crests see fast wear but they show immediately. If you want a mandala hint, favor larger petal spacing and avoid ultra-fine filigree. Artists split over how long dense patterns last on hands. Some say bold spacing keeps clarity. Others prefer advising against hands for detailed mandalas. If you go forward, plan for touch-ups. A simple half-day session with heavier lines keeps the piece looking intentional longer. For style, understated rings highlight the hand without competing.
14. Minimalist Spade on the Lower Rib with Gentle Spacing
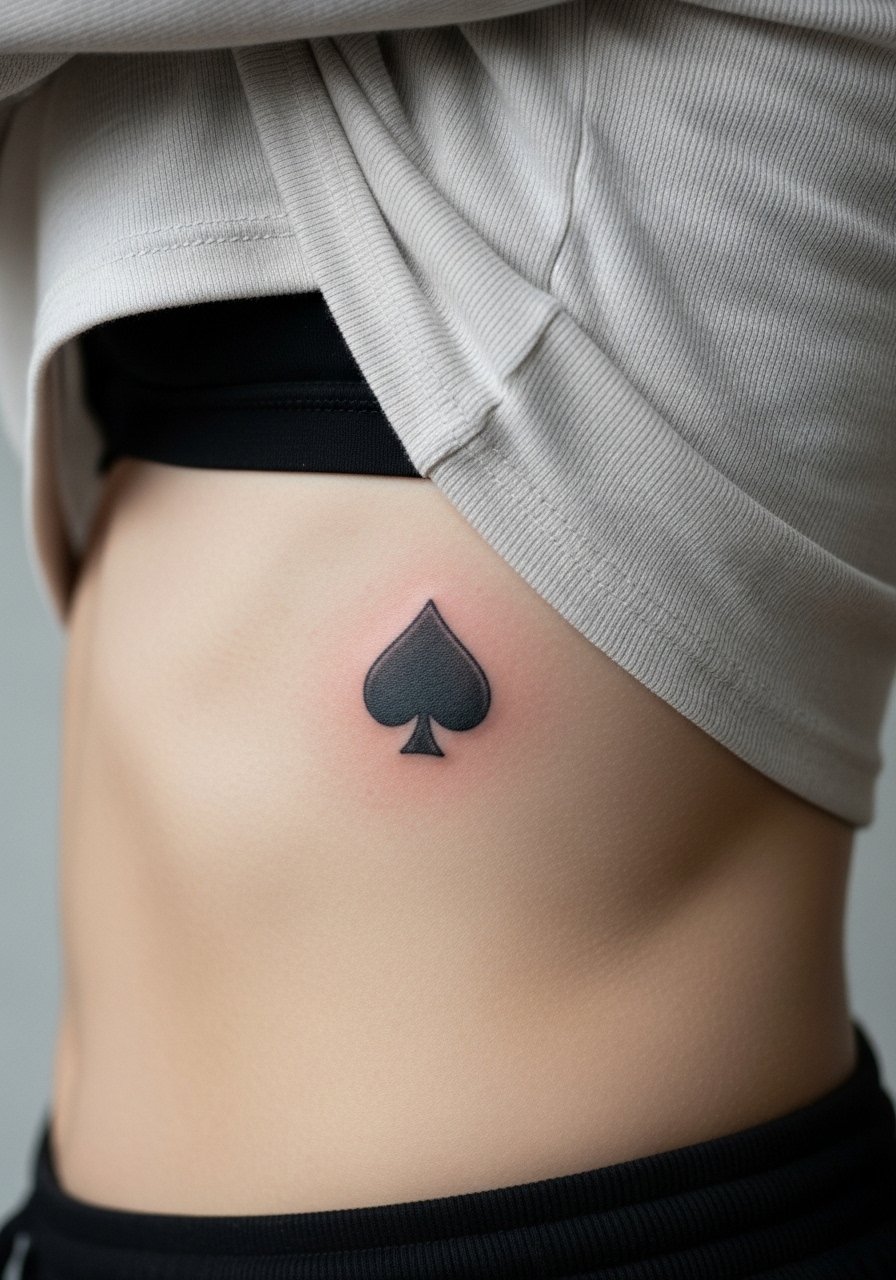
Lower rib work needs breathing and movement consideration. The best trick is to give the shape negative space around its edges, which reduces the chance of edges softening into blur. The big mistake is asking for a micro emblem with a full interior fill; dense fill there often breaks up. Sessions are painful and require breath control. If you want it visible occasionally, a high-waisted bottom or cropped top does the job.
15. Fine Line Arrow Along the Side of the Thumb
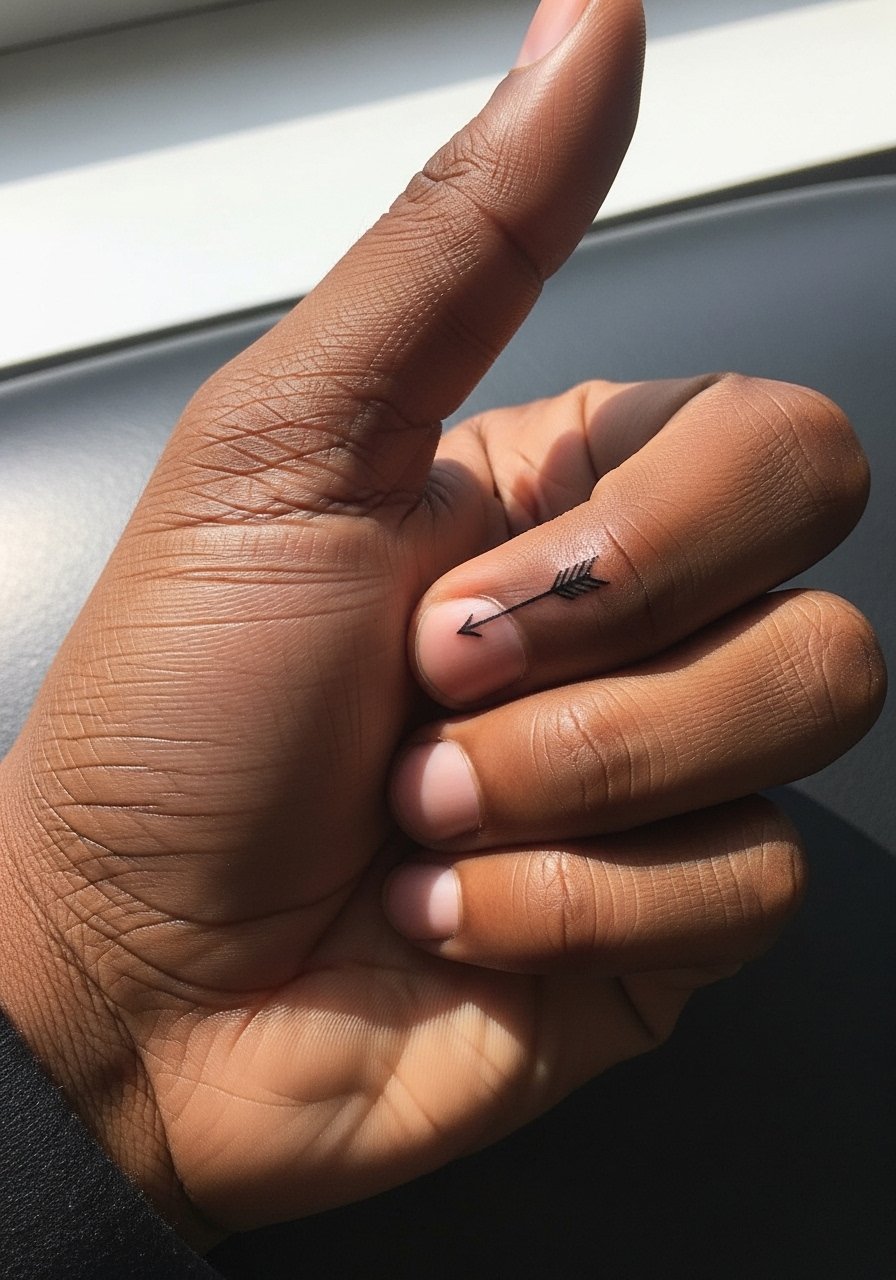
Thumb-side pieces meet constant movement and friction, which is why the recommended approach is a bold, simple silhouette. Delicate arrows that include feather details are the usual regret request because the fill and barbs blur. Expect sharp but brief pain. If you want to accessorize, a minimalist watch or a thin leather cuff bracelet balances the hand without covering the arrow.
16. Tiny Back-of-Shoulder Crescent That Peeks with Tank Tops
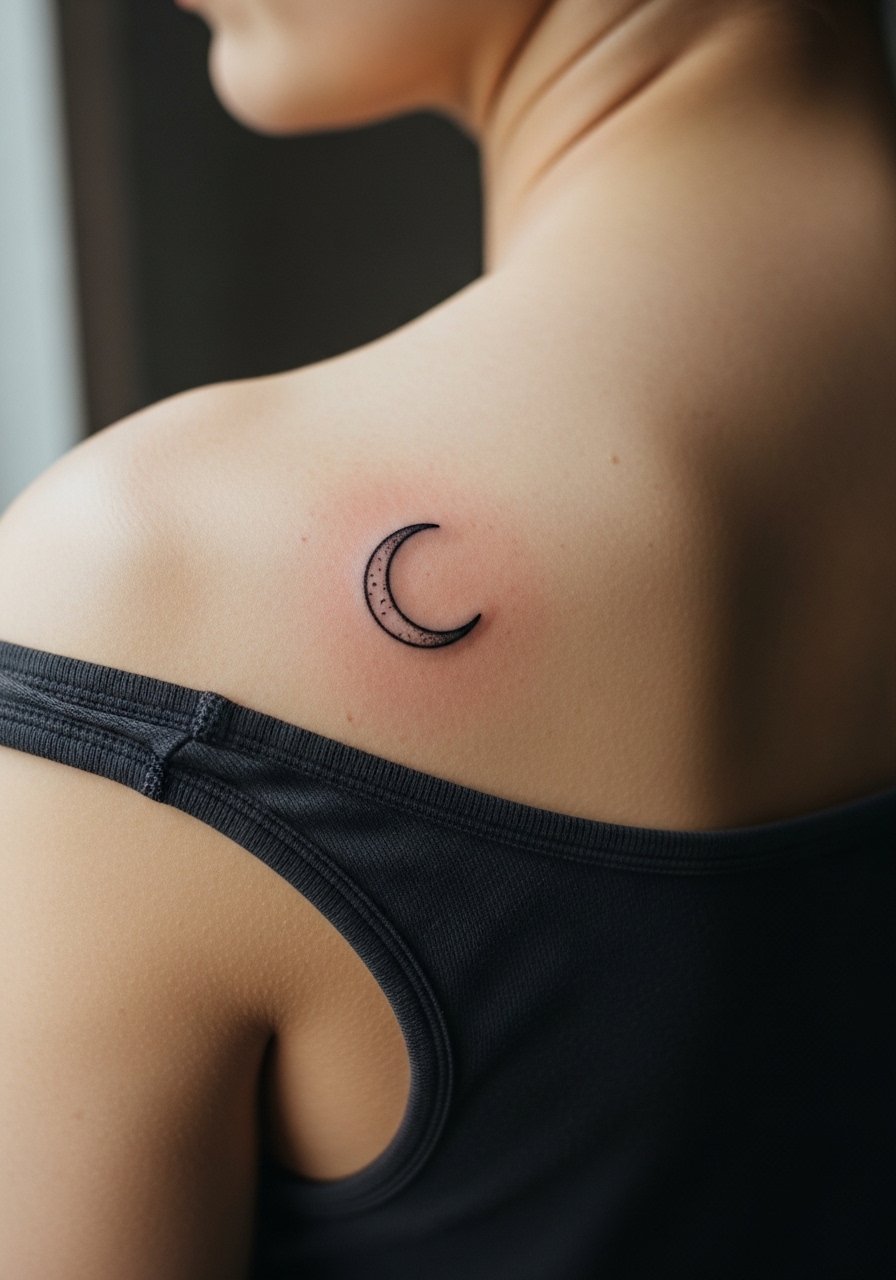
The back of the shoulder is a great reveal spot because it rarely rubs against clothing. Ask for slight saturation in the outline so the crescent retains contrast after a few years. The typical mistake is under-saturating that leads to a ghost image later. Sessions are comfortable and quick. Wear a loose tank top to the appointment so the artist can access the area easily.
17. Script Coordinates Along the Side Rib, Small Roman Numerals
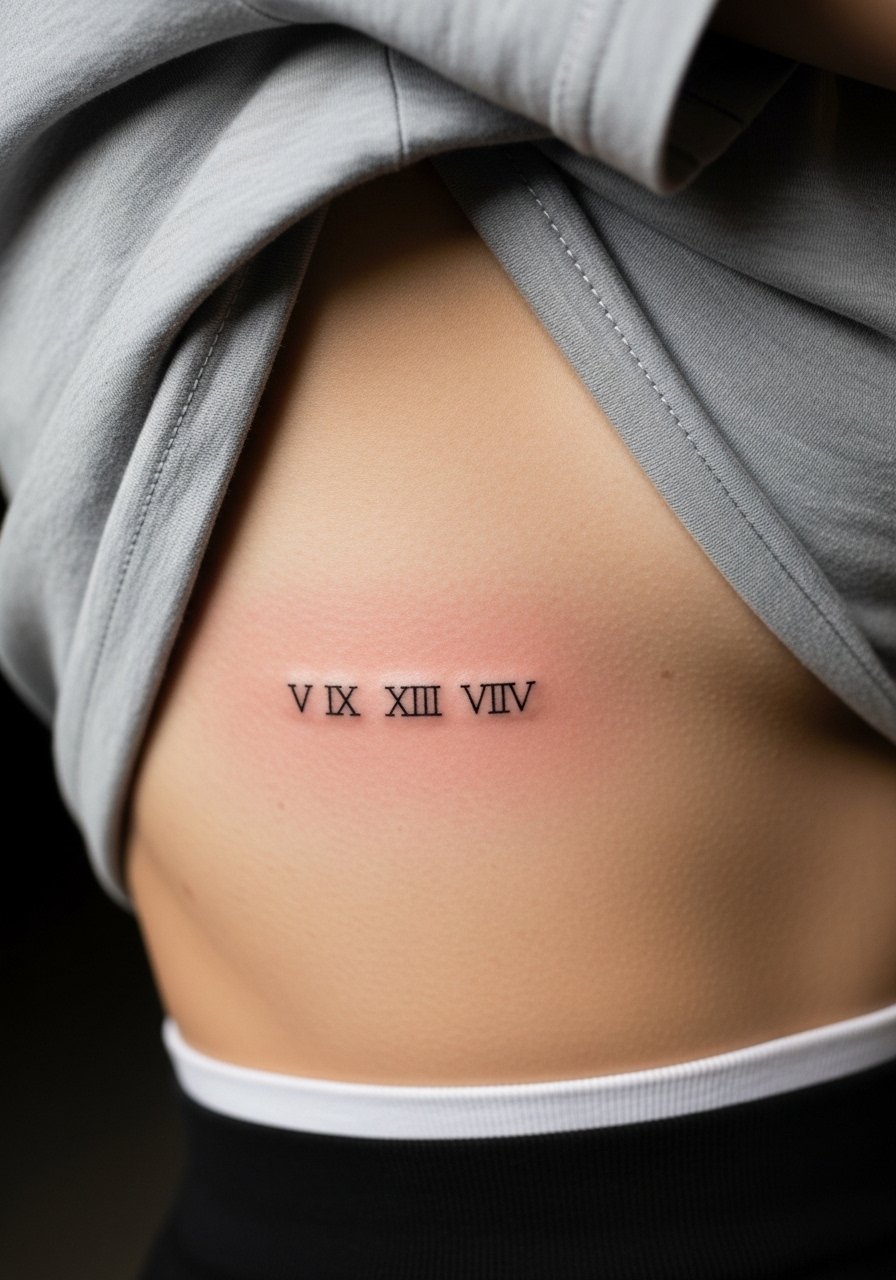
Scripted coordinates or dates on the side ribs read clean when the characters have steady weight and spacing. The mistake is choosing a very narrow serif that depends on hairline strokes. Artists split on whether ribs favor thin scripts. One camp says the stretch and torso movement blur letters in a few years. The other camp says with consistent stroke width and careful spacing it holds. If you book this, ask to see healed rib examples in the artist portfolio. Sessions are painful and demand deep breathing control.
Frequently Asked Questions
Q: Will fine line emblems on ribs or sternum blur faster than on forearms?
A: In my experience the ribs and sternum are higher risk for early softening because the skin moves with breathing and body changes. Some artists mitigate this with slightly heavier strokes and more spacing between elements. Ask to see healed photos of similar placements in the artist's portfolio so you know which approach they use.
Q: How often should I expect touch-ups for finger and hand glyphs?
A: Expect touch-ups sooner than for arm or back work, often within one to two years depending on daily wear. Hands and fingers face constant washing and abrasion which fades tight linework. Plan a conversation about expected maintenance during the consultation.
Q: Are behind-the-ear designs appropriate for professional settings?
A: Yes in many cases. Behind-the-ear placements are easy to hide under hair and many people choose them for that reason. If you have a job with strict visible-ink rules you can keep the area covered during work hours and show it only when you want.
Q: What should I wear to the studio for a shoulder blade or upper back appointment?
A: Wear something loose you can pull aside without stretching the area, such as a racerback tank or a button-down you can slide off one shoulder. That keeps the artist's access clear and prevents dragging fabric across fresh ink.
Q: How do I balance wanting fine detail with long-term legibility for a micro-portrait?
A: The practical approach is to accept some simplification. Ask your artist to convert extreme detail into high-contrast areas and negative space. That preserves recognition at small scale and reduces the chance the piece flattens as it heals.
