
Tiny henna work proves that small details can read loud without ever claiming center stage. If you worry about faint stains, messy lines, or chemicals in premade cones, these tiny designs address each problem with placement and technique you can replicate at home or ask a henna artist for. Read on for straightforward motifs, how they age on skin, and what to wear to keep the design visible.
1. Back-of-Hand Mini Floral Cluster

I recommend a tiny floral cluster here when you want a visible piece without full-hand coverage. Tell your henna artist to keep petals separated by negative space so the stain does not blur into one shape as it fades. Common mistakes are overfilling petals and stacking dots too close together, which looks muddy after a few days. Expect the darkest stain at 24 to 72 hours, then gradual softening over two weeks. For showing it off, rolled short sleeves in a neutral tone let the tiny petals breathe, and a slim silver ring stack on a non-henna finger frames the design during casual gestures.
2. Tiny Finger Petal Trio
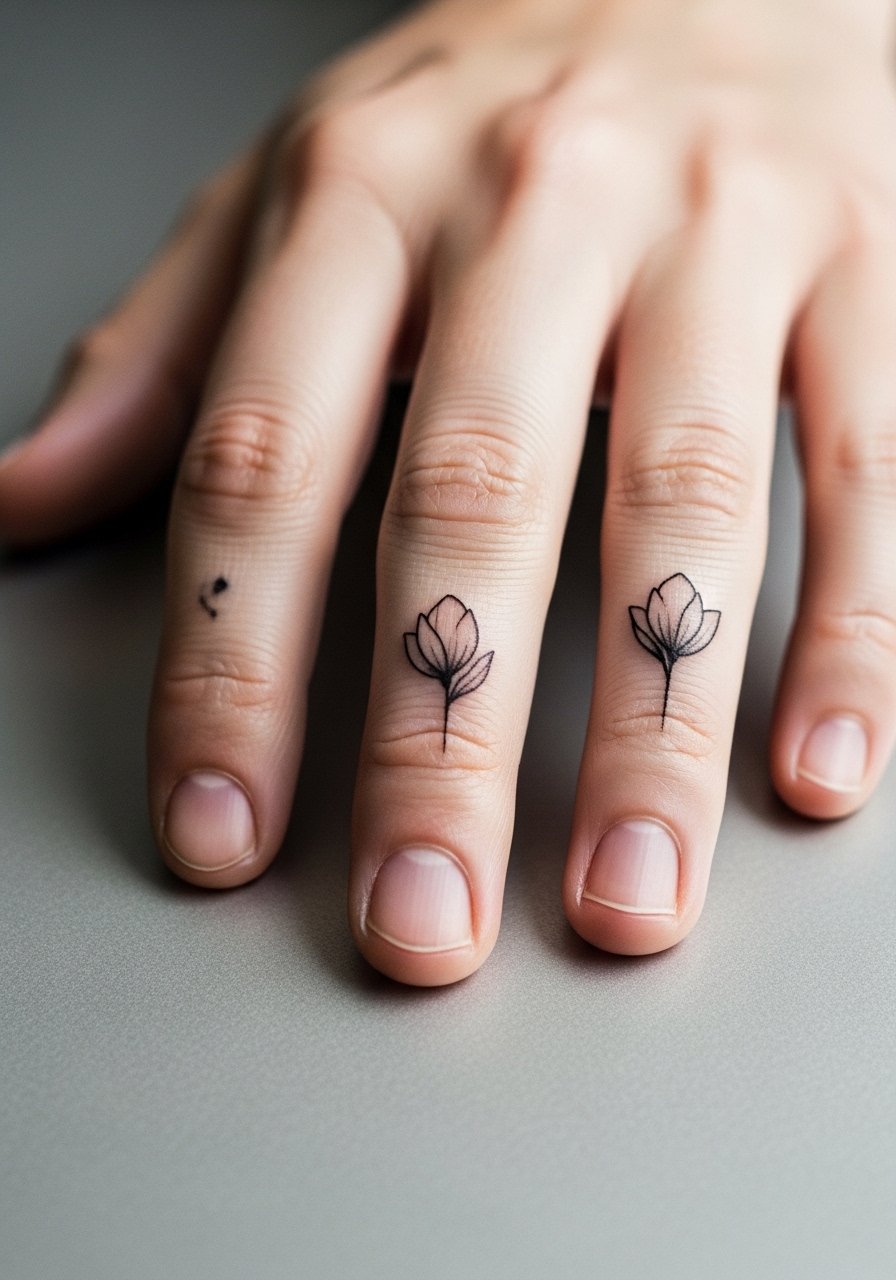
Finger henna fades faster because of frequent washing and friction. If you want something tiny on fingers, ask for thin-tip application and minimal fill. The usual error is making the petals too solid. Solid fill looks great for a day then breaks up unevenly. For session wear, remove rings and bring a neutral nail polish set so fresh nails do not compete with the fine lines. Pain is low, session time is short, and touch-ups are an easy fix if you want the shape darker after the first 48 hours.
3. Wrist Chain Dotwork

A dotted chain across the wrist reads like jewelry without metal. Ask for evenly spaced dots and a small connecting line to avoid early fading into a blur. The common mistake is tiny dots packed too closely. That compresses the design as the stain lifts. This placement handles touch-ups well at day three if you want stronger contrast. Pair with a thin chain bracelet on the opposite wrist so the henna stands out rather than competes. Session time is a few minutes and discomfort is minimal.
4. Palm Minimal Mandala
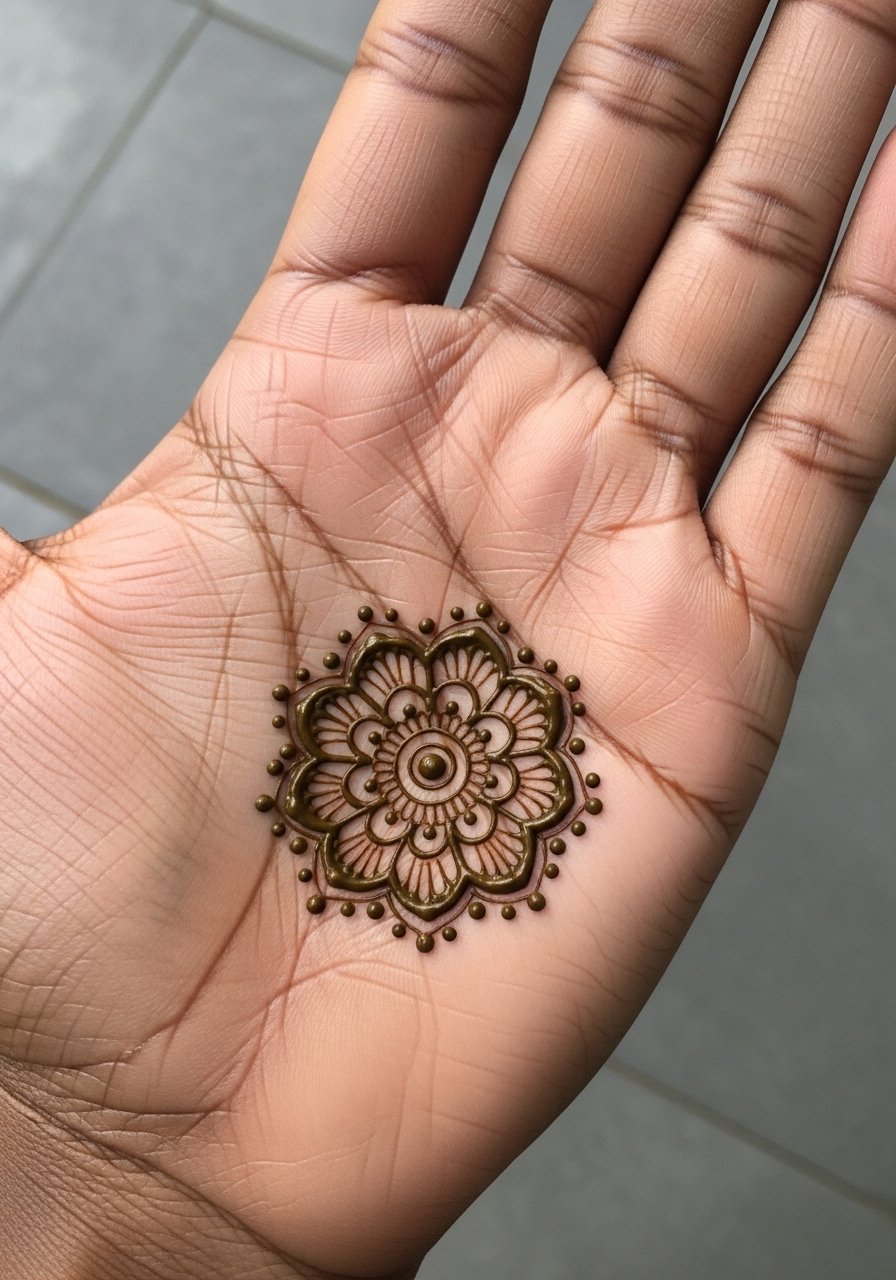
Palms show intense initial stain but fade faster because skin sheds more there. For a lasting look, keep the mandala linework simple and avoid heavy fill. Tell the artist to build from a single center dot and expand with spaced petals. Most people overdo the density and then wonder why the design looks patchy by week two. A session here can feel waxy from the paste and lasts longer to dry, so plan to keep the hand still for a while. Healed timeline is dramatic at first and noticeably lighter by day five.
5. Ankle Tiny Crescent
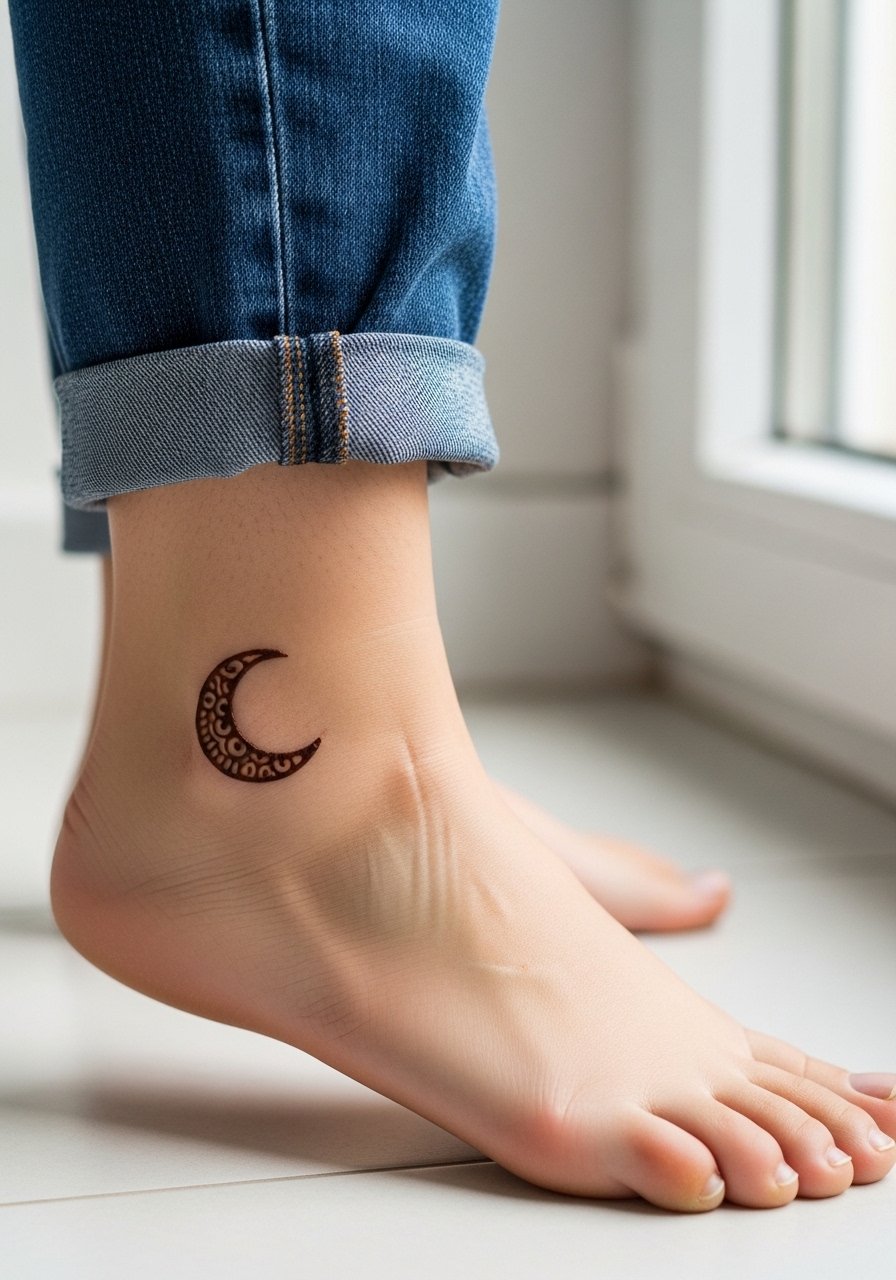
Ankles are forgiving for tiny motifs and they peek out with cropped pants or sandals. The mistake is placing the crescent too low where socks rub. Ask for the crescent above the ankle bone and a little spacing from the edge of shoes. Session wear advice is to bring slip-on shoes or rollable pants that can be adjusted without rubbing the fresh paste. For evenings out, a pair of simple sandals complements the design and keeps it visible.
6. Tiny Collarbone Motif

This spot reads intimate and delicate. Request a single confident line and avoid multiple overlapping elements that age into blotches. One error I see is trying to cram a complex mandala into this narrow zone. Instead, keep a single focal mark that sits just above the collarbone. For the session wear, choose a wide-neck shirt you can pull to the side so the artist has clear access without tugging. Expect visible contrast for a week then gradual softening at two to three weeks.
Pre-Session Essentials
The wrist, fingers, ankles, and collarbone pieces above need different prep than a full hand pattern, and a few small items make the session and first week easier.
- Stencil transfer paper kit. Lets you preview placement and spacing on skin, especially helpful for the collarbone and wrist pieces above.
- Topical numbing cream. Applied per package instructions eases sensitivity on the ankle and palm areas without changing paste behavior.
- Thin protective film roll. Useful for finger and wrist motifs to prevent immediate smudging from daily activities.
- Fragrance-free body wash. Gentle cleansing matters during the first few days as thin linework is most vulnerable to irritation.
- Aquaphor healing ointment. A thin layer after initial paste removal locks in moisture and helps the stain set on delicate zones like palms and fingers.
7. Tiny Toe Dot Cluster

Toe and foot motifs live or die by placement relative to footwear. Keep the cluster near the top where sandals sit, not under straps. The common mistake is heavy fill that matches shoe pressure points and fades unevenly. A light dot cluster works well with summer shoes. Session feels low pain but you must avoid putting on socks for a day. For showing it off, rolled jeans or a flowy short sleeve blouse for a coordinated summer look keeps attention moving upward.
8. Tiny Back-of-Neck Sunburst
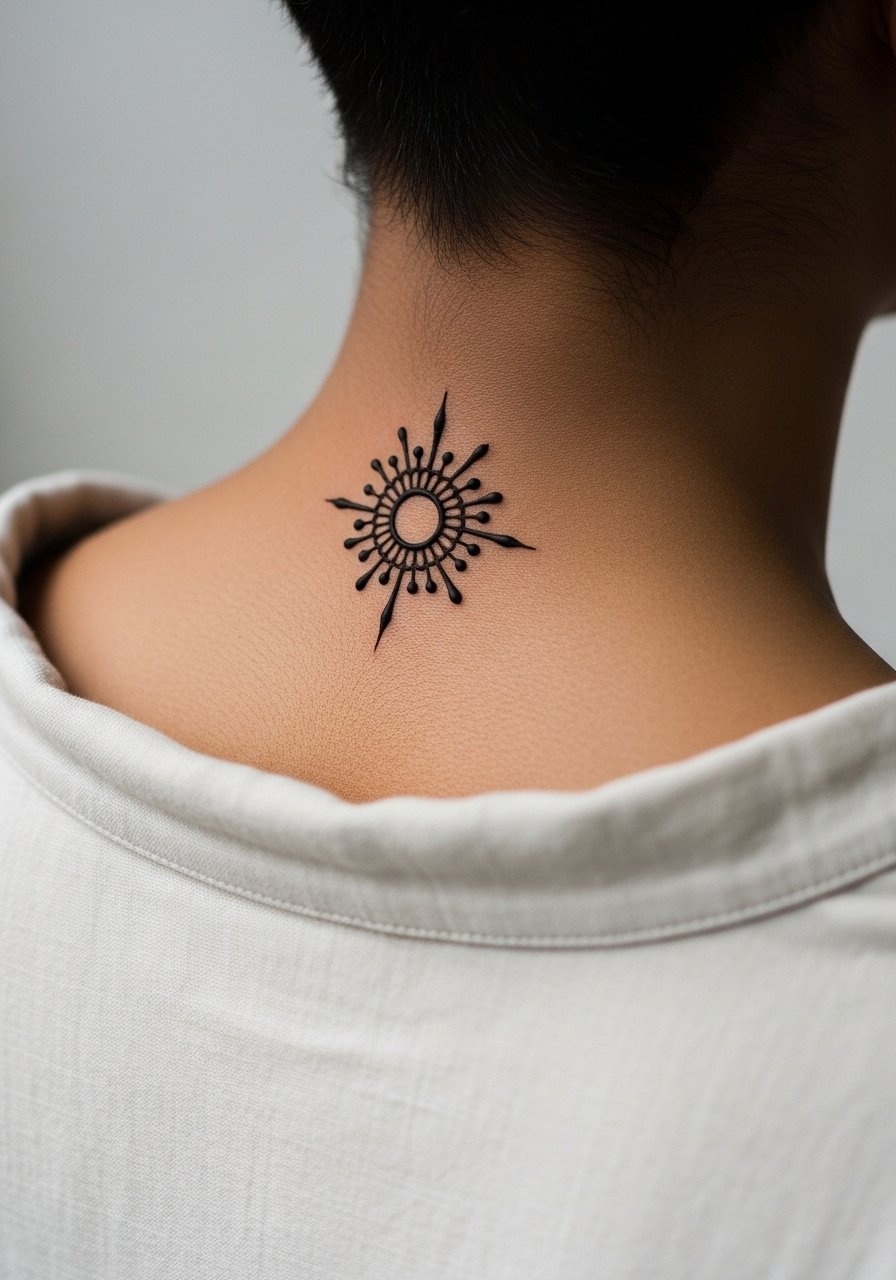
A tiny sunburst at the nape reads surprising when hair is up. For sensitive neck skin, ask for clean single strokes and avoid dense shading. One camp prefers natural paste only and says store cones risk skin reaction. The other camp points out convenience and consistent flow from pre-mixed cones. Both sides have valid points. If you have a history of sensitivity, choose natural paste and do a small patch test. Wear a wide-neck top for the session so the artist can access the area without tugging.
9. Tiny Thumb Lotus
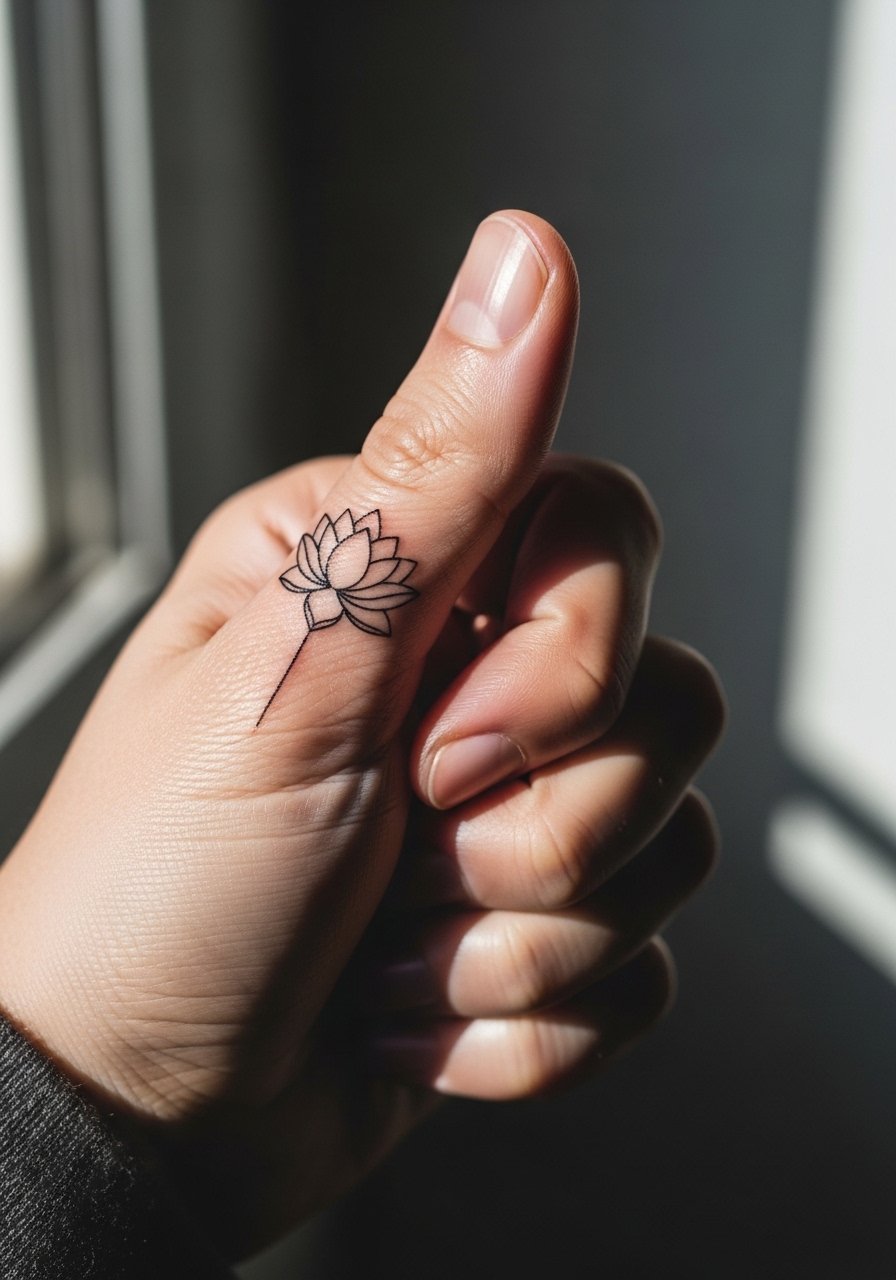
Thumb bases handle tiny motifs that peek during gestures. Tell the artist to avoid heavy fill near the creases. The biggest mistake is dense petals crossing lines that move with the thumb. That causes the shape to break apart as the skin flexes. Expect strong contrast for three days and then faster fade where the skin folds. For session comfort, remove gloves and rings and consider a quick hand soak before paste application to improve adhesion.
10. Tiny Inner Wrist Script Dot

Small script on the inner wrist needs exact spacing or letters can blur into each other. I advise lowercase minimalist lettering with spacing between characters. The usual error is tight cursive that looks elegant fresh then smudges as it lifts. Session time is short and sensitivity is low. For showing the piece, a minimalist gold watch or stacked bracelets can frame it but avoid tight bands that press on the paste. A thin chain pendant necklace sits above the wrist area without distracting.
11. Tiny Ankle Arrow

An arrow here reads subtle and directional. The common mistake is making the shaft too thin. If it is razor thin the line gaps as the stain lifts. Ask for a steady line that is thin but consistent in width. This placement tolerates a touch-up at day two if you want a darker stain. Session discomfort is minimal and a single small bandage overnight protects it from shoe friction.
12. Tiny Behind-Ear Crescent

Tiny marks behind the ear show when hair is up. The area is sensitive and requires precision. Do not ask for layered dots there because the skin is thin and the design will blur. A single crescent or small glyph holds better. For the session, wear hair pulled up and a shirt you can remove without rubbing the spot. Consider a brief patch test if you have sensitive skin. This placement needs an experienced hand because of motion and sweat in the hairline.
13. Tiny Spine Dots

A small vertical dot column on the upper spine reads like a subtle center line that peeks under low backs. The mistake is spacing dots too closely which compresses as the skin moves. Tell your artist to space each dot for negative space breathing room. For the session wear a loose tank so the artist can access the area without full undressing. Expect the stain to mature over 48 hours and remain visible for a couple of weeks depending on clothing friction.
14. Tiny Hip Floral Accent
Hip motifs are private and show with low-rise or swimwear. The common mistake is placing the flower where waistbands will ride. Ask for placement a little higher on the hip crease to avoid rubbing. Session wear should be high-waisted bottoms you can shift without pressure on fresh paste. A small floral here lasts longer than palms and fingers because it sees less washing and abrasion.
15. Tiny Inner Thigh Crescent
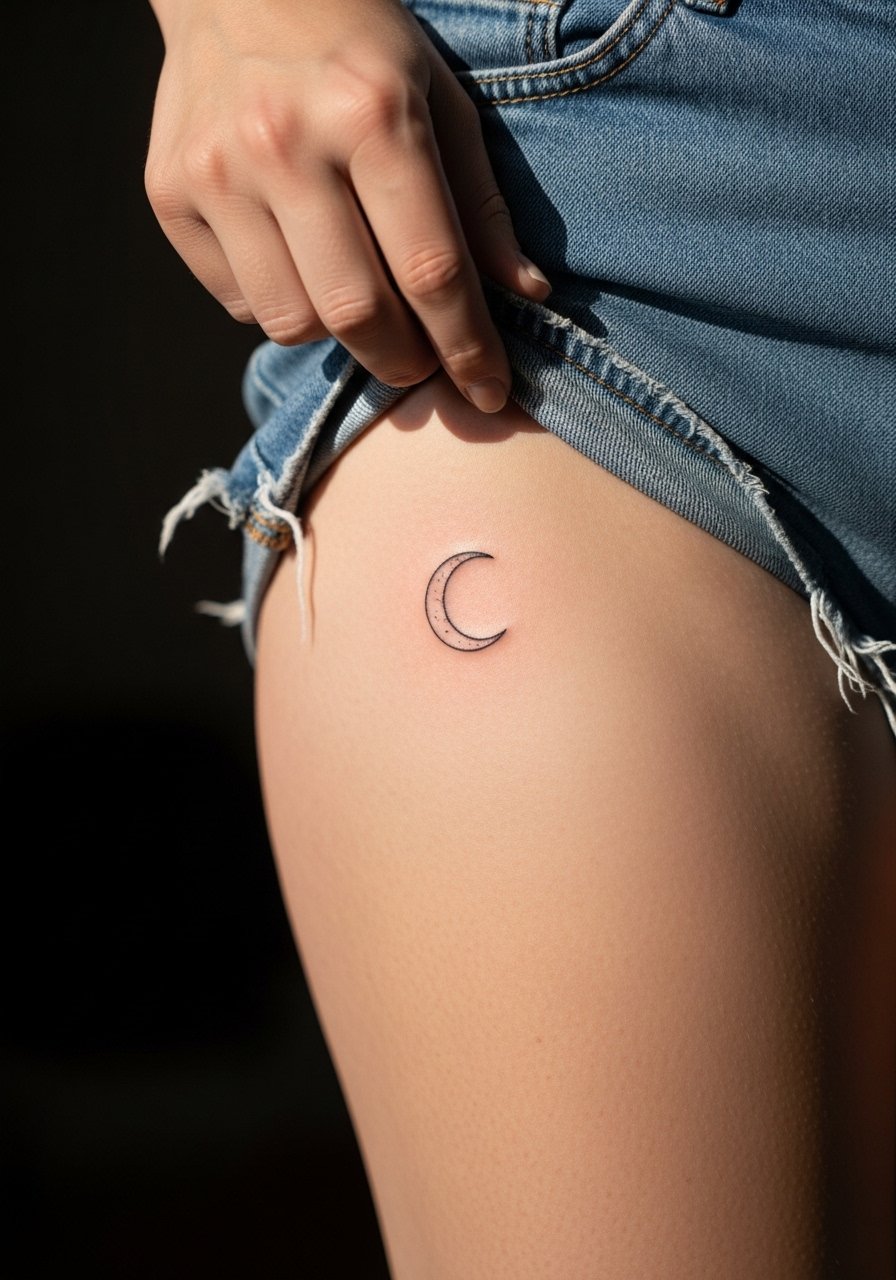
Inner thigh pieces are intimate and need careful placement to avoid clothing rub. The biggest error is using dense fill that transfers to underwear lines as it dries. Keep lines thin and centered away from seams. Session feels more private so bring a partner or friend for transport if you prefer. Because of sweat and friction, the stain can last a week to two but will vary with how active you are.
16. Tiny Shoulder Blade Star
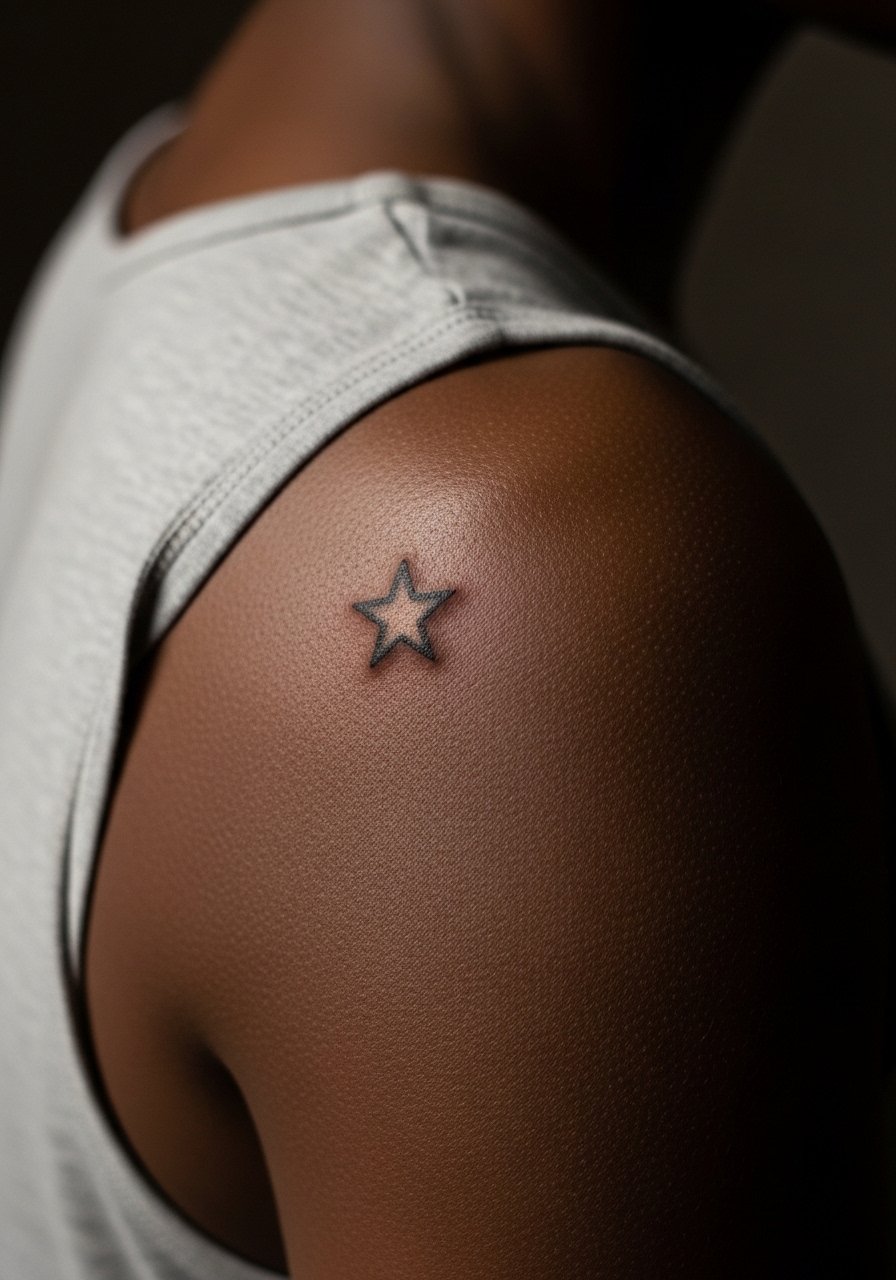
A small star on the shoulder blade sits hidden until you choose to show it. Common mistakes include trying to make it too detailed. Keep it bold enough to remain a crisp shape as the stain ages. For session access, wear a loose tank top or button-down you can pull aside without tugging. This placement tends to favor longevity since it sees little daily abrasion.
17. Tiny Ring Henna Design
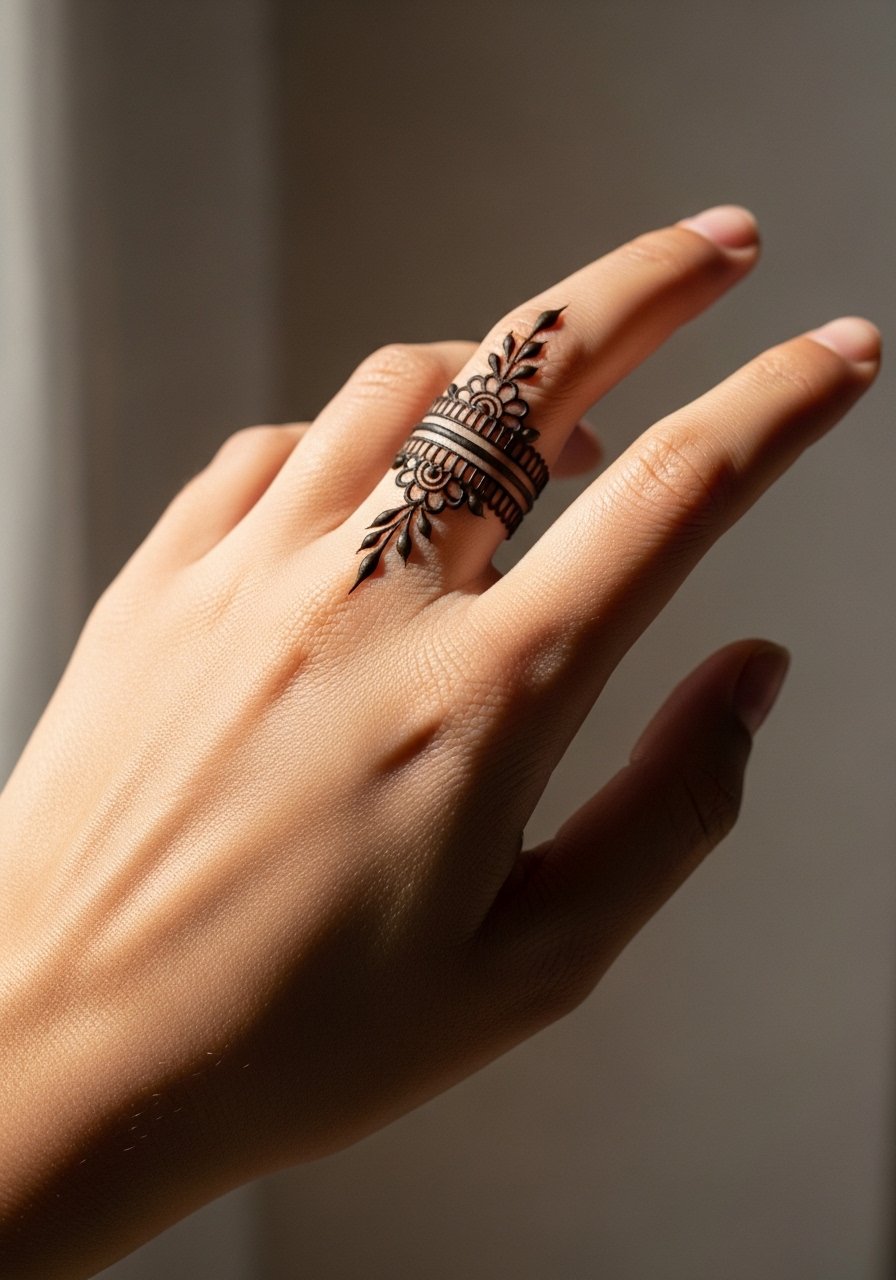
Henna ring motifs are classic and low commitment. Ask for slight negative space between the pattern repeats so the ring does not merge into a band when the stain softens. Typical mistakes are overly dense patterns that blur into one block. These last several days and are perfect for testing how your skin takes henna before committing to larger work. Pair with a matte gold thin ring set on other fingers to keep attention balanced.
Frequently Asked Questions
Q: How long should I leave natural henna paste on for the darkest stain on tiny designs?
A: For most skin types leave paste undisturbed for four to six hours if possible. The longer it stays, within reason, the deeper the initial stain tends to be. For palms you may get a good result in two to four hours, while areas like the forearm do better with the longer window.
Q: Are premixed cones safe or should I only use natural henna paste?
A: Artists split into two camps on this. One camp favors natural henna paste made the same day to avoid additives. The other values the consistent flow and convenience of premixed cones for fine line work. If you have sensitive skin, test a small patch and ask the seller for ingredient lists before applying a cone to a visible area.
Q: Why do hand and finger designs fade faster than ankle or shoulder pieces?
A: Hands and fingers face constant washing, friction, and skin turnover. That combination lifts stain faster. Ankles and shoulders see less abrasion and usually keep crisp shapes longer. Plan designs and placement with that in mind so tiny motifs last in the way you expect.
Q: How do I choose clothing for a session so the artist has good access?
A: Pick loose or adjustable clothing that exposes only the zone being worked on. For collarbone or upper chest wear a wide-neck shirt you can pull aside. For rib or hip work choose high-waisted bottoms you can shift. Clean access speeds the process and reduces accidental smudging.
Q: How can I find a reliable henna artist or safe products without following named accounts?
A: Use local directories, tattoo convention booths, community marketplace listings, and recent hashtag searches to find active artists. Read for recent photos and consistent results over time. Drop-in booths at markets and conventions let you see work in person before booking a longer appointment.
