
Fine line Virgin Mary pieces are everywhere on saved boards right now, but the tattoos that still read sacred after five years are usually the ones planned with spacing, placement, and clothing in mind. Tiny religious imagery needs room to breathe even when small. These 21 ideas move past the obvious picks and show how to get a Mary that looks intentional now and healed later.
1. Tiny Virgin Mary on the Inner Wrist

I've seen tiny wrist Mary pieces that read like jewelry and ones that blur into an undecipherable smear. Tell your artist you want slightly thicker contour lines around the face and halo so the design survives daily washing and sun exposure. Fair warning: the wrist gets a lot of friction, so expect a touch-up around year two or three for most fine line versions. The session feels quick, under an hour, but the skin there is thin so pain sits at a five out of ten for many people. Show-off tip, pair it with a thin chain pendant bracelet that doesn't compete with the linework but frames the piece.
2. Micro Mary Behind the Ear
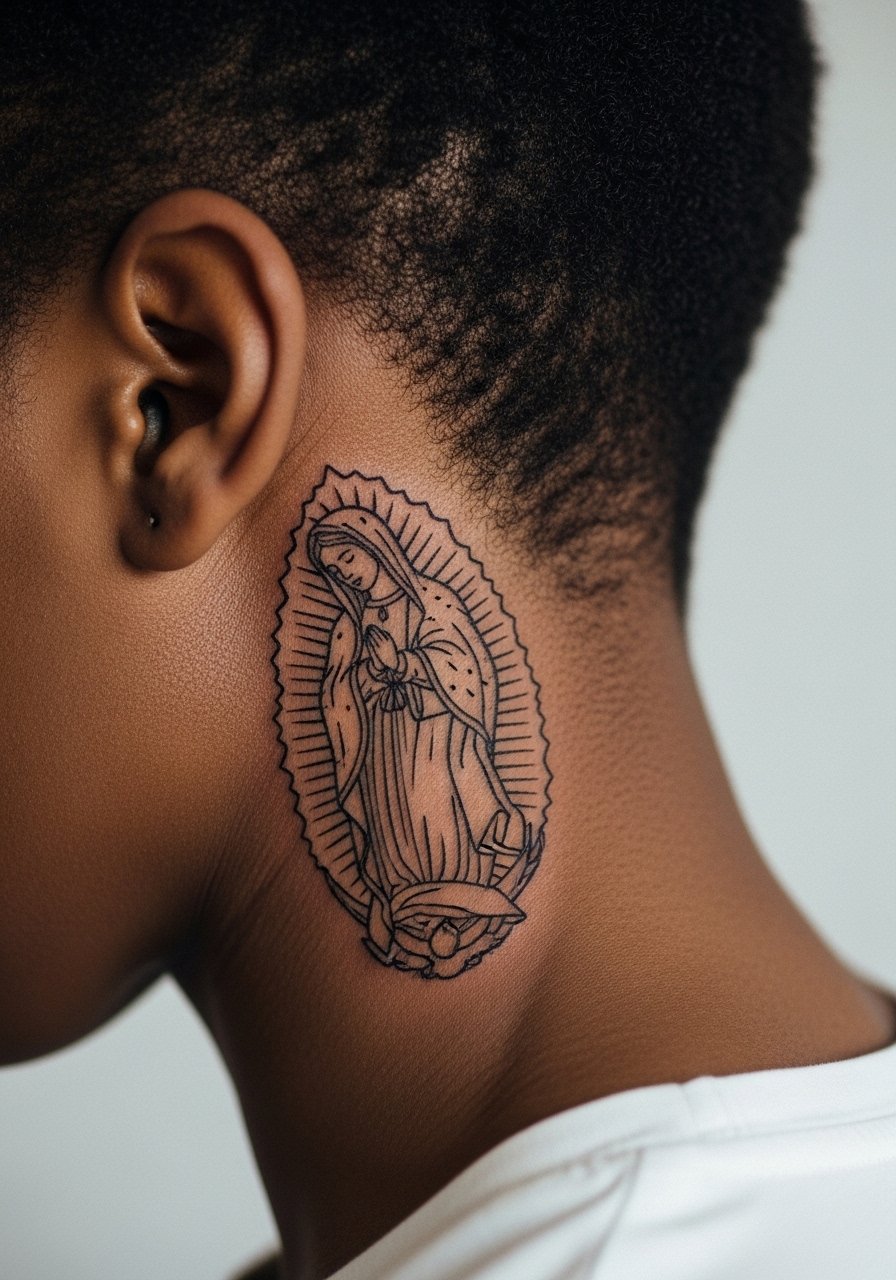
This placement reads private yet leaks into view when hair is tucked up. During consultation specify you want the scale around one to two centimeters so the facial details do not become muddy. Many artists split into two camps on behind the ear work. One camp treats it like any small fine line piece and says careful spacing is enough. The other camp cautions that constant neck movement and hair oils can soften lines faster. Ask where your artist stands and plan a follow-up touch-up if they recommend it. For the session wear a low bun or a shirt with a loose collar so the artist can access the area easily.
3. Tiny Mary on the Ankle

Ankle tattoos live in a high-friction zone thanks to socks and shoes. For a lasting tiny Mary, request a slightly bolder outline and simplified halo details so the silhouette stays readable. Expect the session to be under an hour and the pain to register around a six for many people. A common mistake is asking for ultra-fine details that disappear after the first winter of boots. For showing it off, wear strappy sandals or roll your jeans when you want the piece to be visible. Plan for a thin protective film in the first week to cut down on rubbing.
4. Micro Immaculate Heart at the Sternum
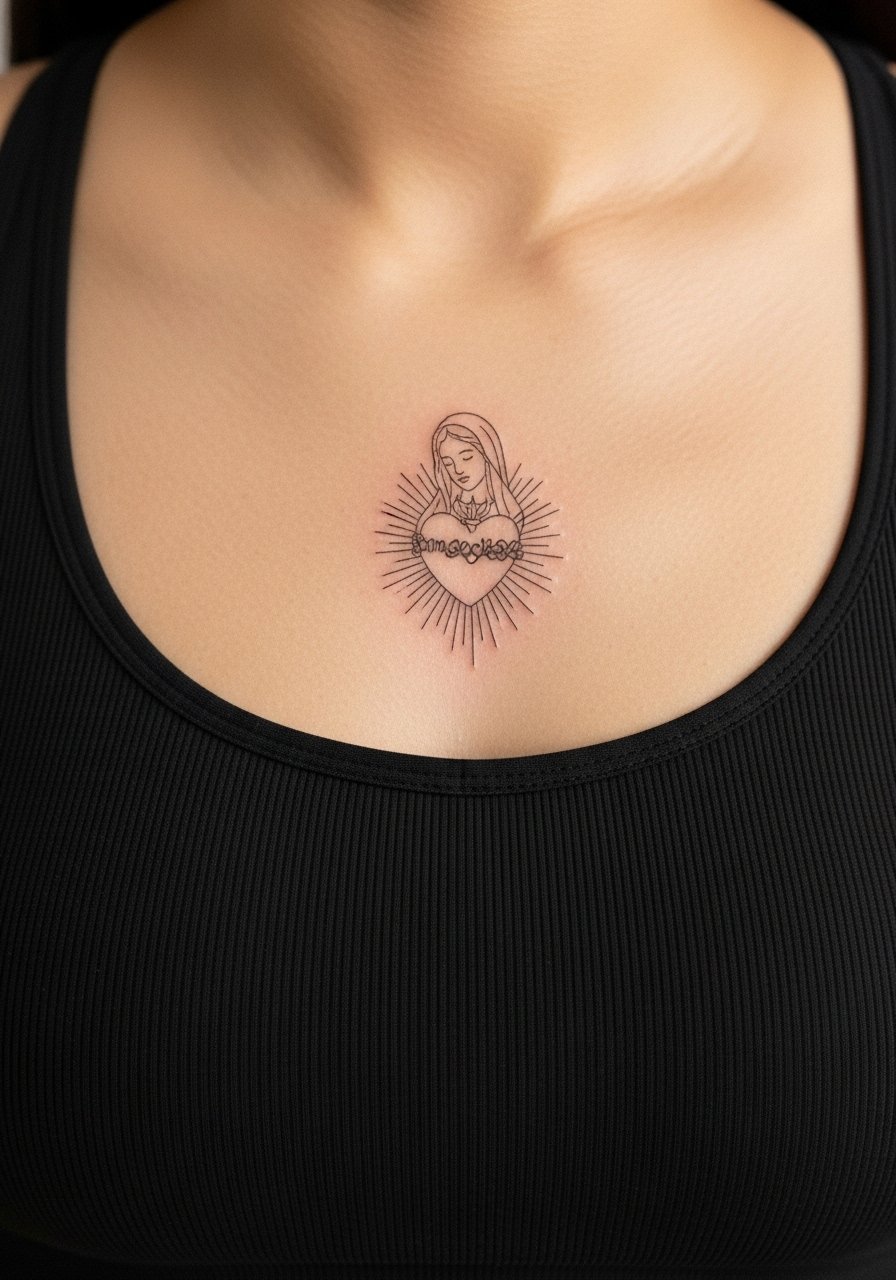
Sternum pieces read intimate and sacred because they sit close to the center line. Ask for a compact design with open negative space around the heart so breath and movement do not crowd the details as it heals. The session can be more intense for pain because of the thin tissue there, often a seven out of ten. A frequent error is packing too many tiny rays or dots into the halo which fill in over time. For the appointment wear a sports bra you can unclip if needed so the artist sees the area without full torso exposure. If you plan medical or professional discretion, note that this placement is easy to conceal.
5. Tiny Mary on the Side of a Finger
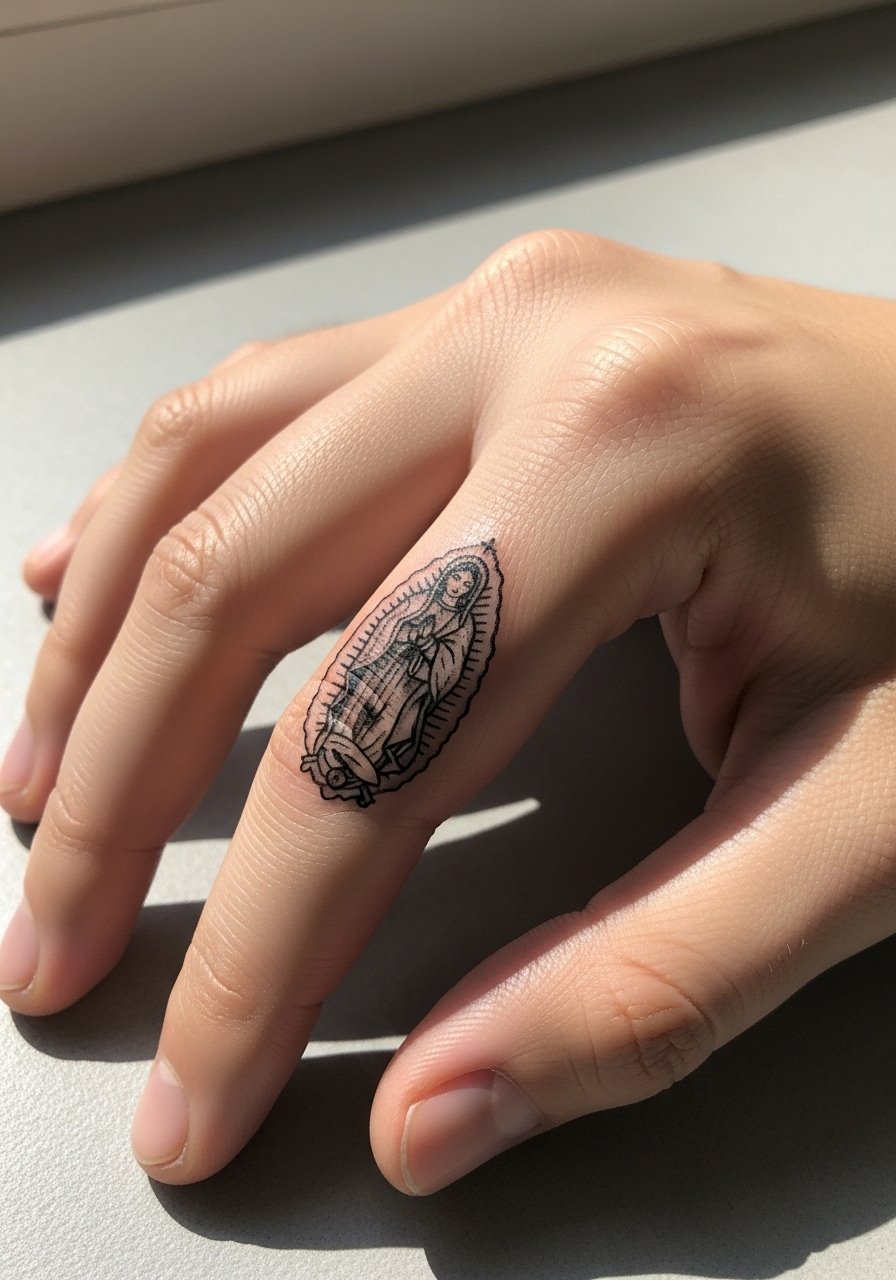
Finger work ages differently because of constant washing and thin skin. For a Mary that lasts, opt for a silhouette or simplified face with a small halo rather than intricate facial shading. The blowout risk is higher here, so ask the artist about line depth and needle selection. Expect frequent touch-ups, often sooner than wrist or forearm work. Hand and finger tattoos can affect some industries, so consider career implications before committing. A quick styling trick is to pair this with a slim signet ring that complements the minimal scale without covering the art.
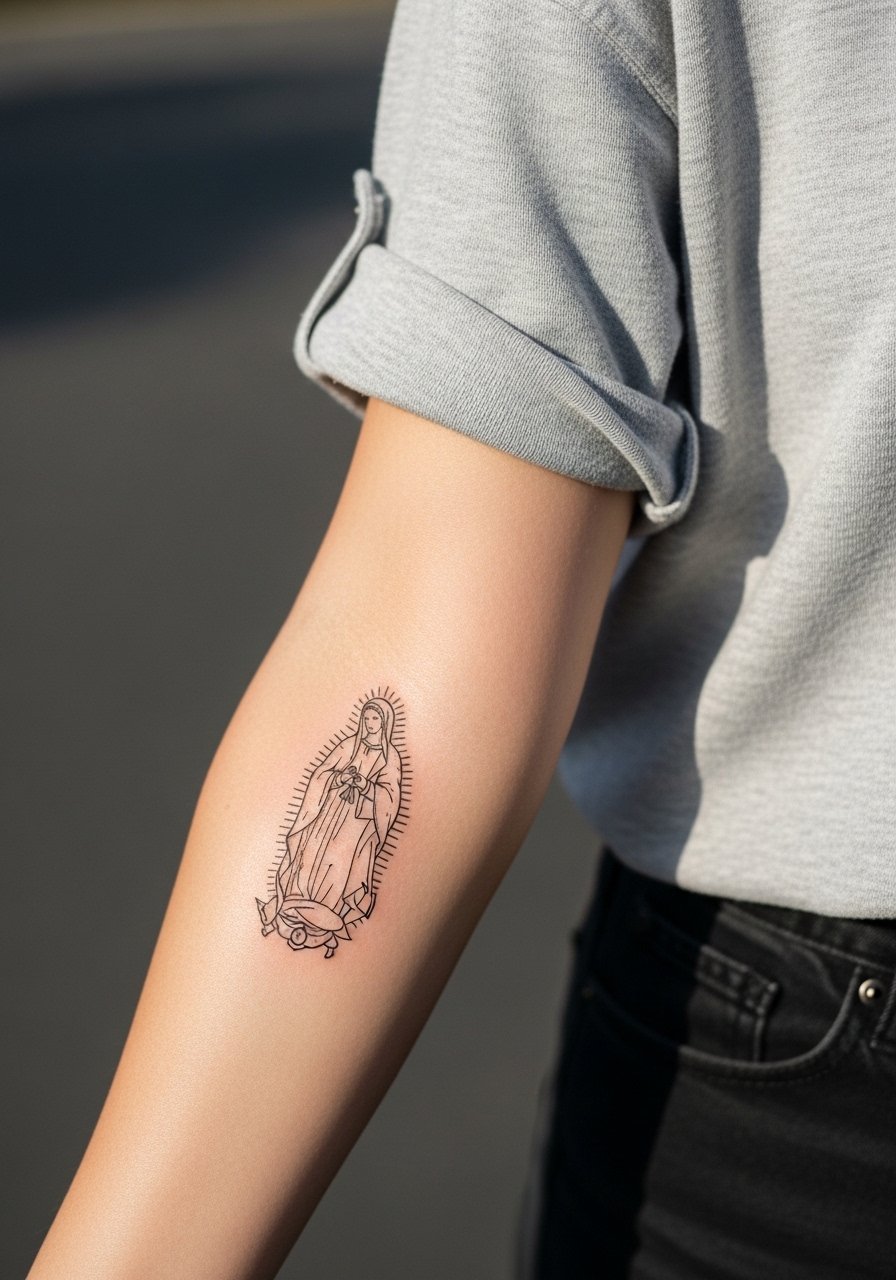
6. Neo-Traditional Tiny Mary on the Inner Forearm
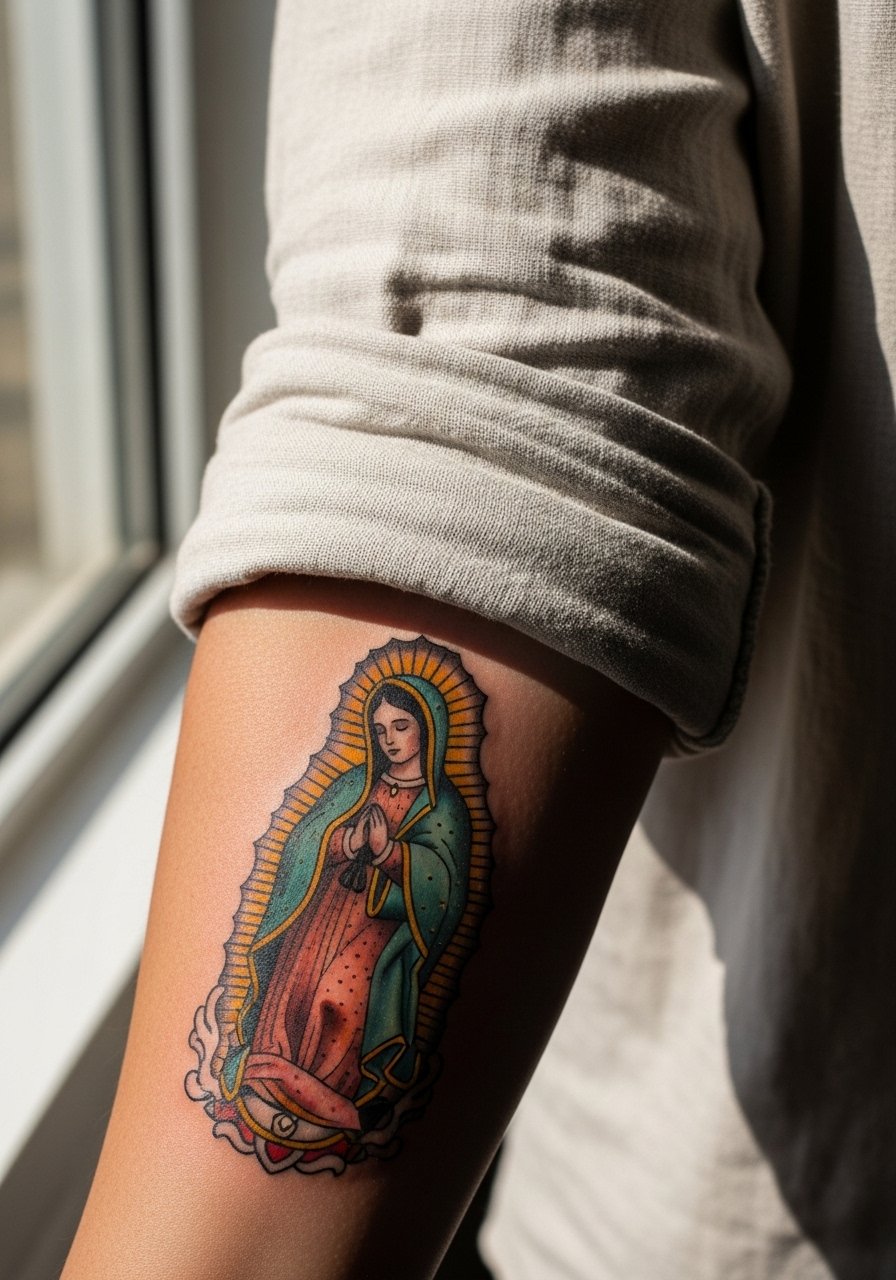
The inner forearm is forgiving for detail and placement, and neo-traditional saturation holds well there. Tell your artist you want moderate saturation and clearer negative space around the face so the piece does not muddle after a few years. This placement feels like a five on pain scales and sessions usually run one to two hours depending on color. A common mistake is asking for too-dense stipple shading close to the edges, which tends to compact. For show-off outfits, roll up sleeves or wear lightweight linen shirts that let the artwork sit in clean contrast to the fabric.
Studio Day Picks
The forearm, wrist, and finger pieces above need different prep from chest and rib work, so a few targeted items smooth the session and the first week.
-
Stencil transfer paper kit. Lets you preview how the Mary will sit on curved areas like the wrist and ankle before the needle touches skin.
-
Topical numbing cream. Applied as directed before the appointment eases discomfort on sensitive sternum and rib sessions without numbing larger muscle groups.
-
Thin protective film roll. Keeps small high-friction zones like fingers and ankles clean during the first few days of healing.
-
Fragrance-free body wash. Helps maintain the healed linework on forearms and chest without introducing irritants.
-
Aquaphor healing ointment. A thin layer in the first 48 hours can protect delicate fine line areas while still allowing the skin to breathe.
7. Geometric Frame with Tiny Mary on the Upper Arm
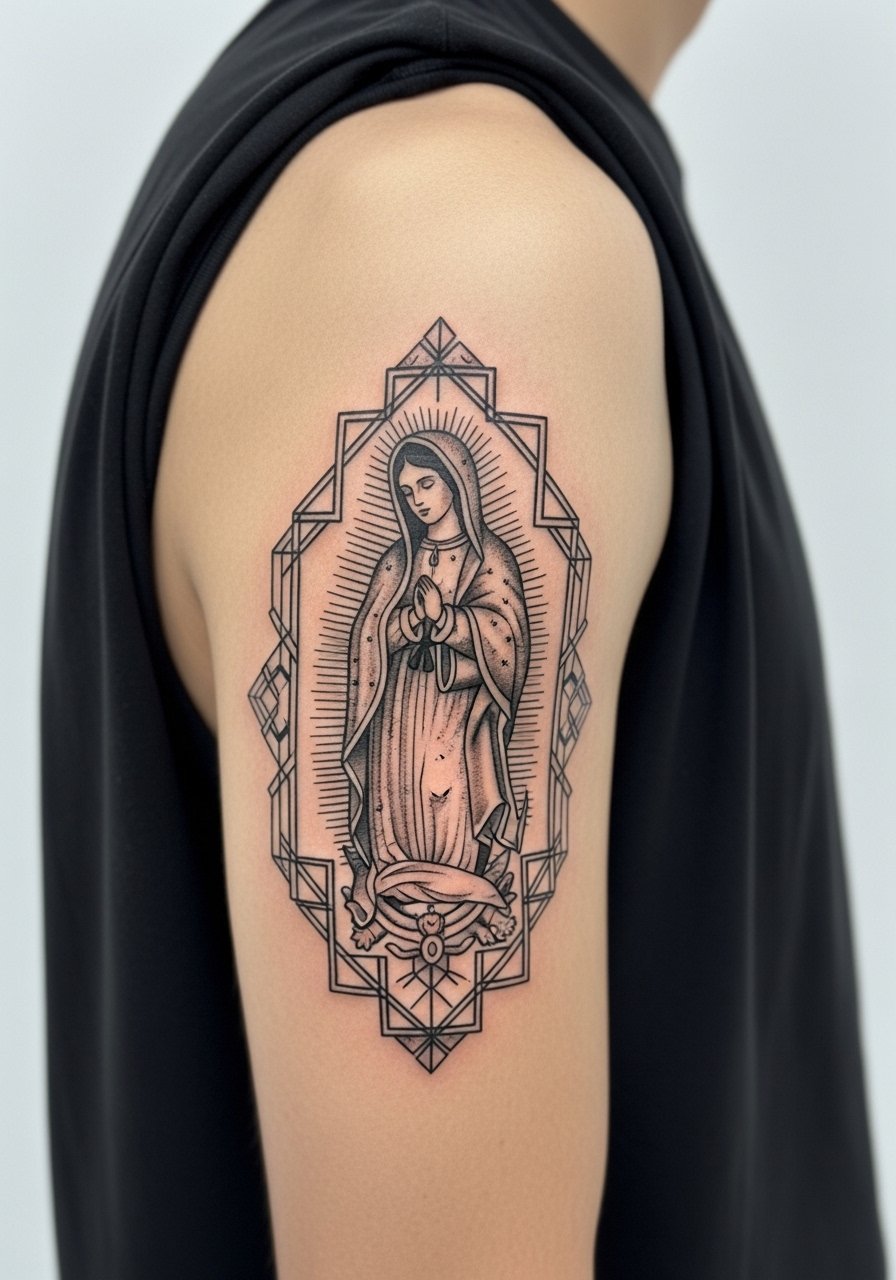
Framing a small Mary in a simple geometric halo keeps the icon readable at tiny scale. For this one, ask for distinct spacing between geometric lines and the portrait so the two elements do not compete. The upper arm is forgiving, pain rates low, and the piece usually finishes in a single short session. A common error is crowding the frame with dots and micro-patterns which compress when healed. For evenings out pair this piece with a sleeveless knit top that showcases the round of the shoulder and keeps attention on the framed work.
8. Tiny Mary on the Collarbone

Collarbone pieces read elegant because they sit where clothing naturally frames them. Ask for a compact vertical composition so the halo and face maintain distance from the bone edge. The site has moderate pain due to thin tissue over bone, often a six out of ten during the session. A common mistake is placing the design too close to the clavicle where movement and shirts rub. Show-off tip, pair it with an open-neck blouse that leaves a narrow strip of skin visible and keeps the piece centered.
9. Stippled Virgin Mary on the Ribcage

Ribcage tattoos are divisive among artists. One camp warns that fine line on ribs blurs within two years because the skin stretches and flexes with breathing. The other camp argues that with measured needle depth and slightly increased line weight the design settles fine and stays readable. Name both camps to your artist and ask which method they use. Sessions here can be long and painful, often a seven or eight out of ten, but the canvas lets you keep small details if you plan spacing. A mistake is asking for too many micro-dots near the edges. Expect a touch-up conversation during your consult.
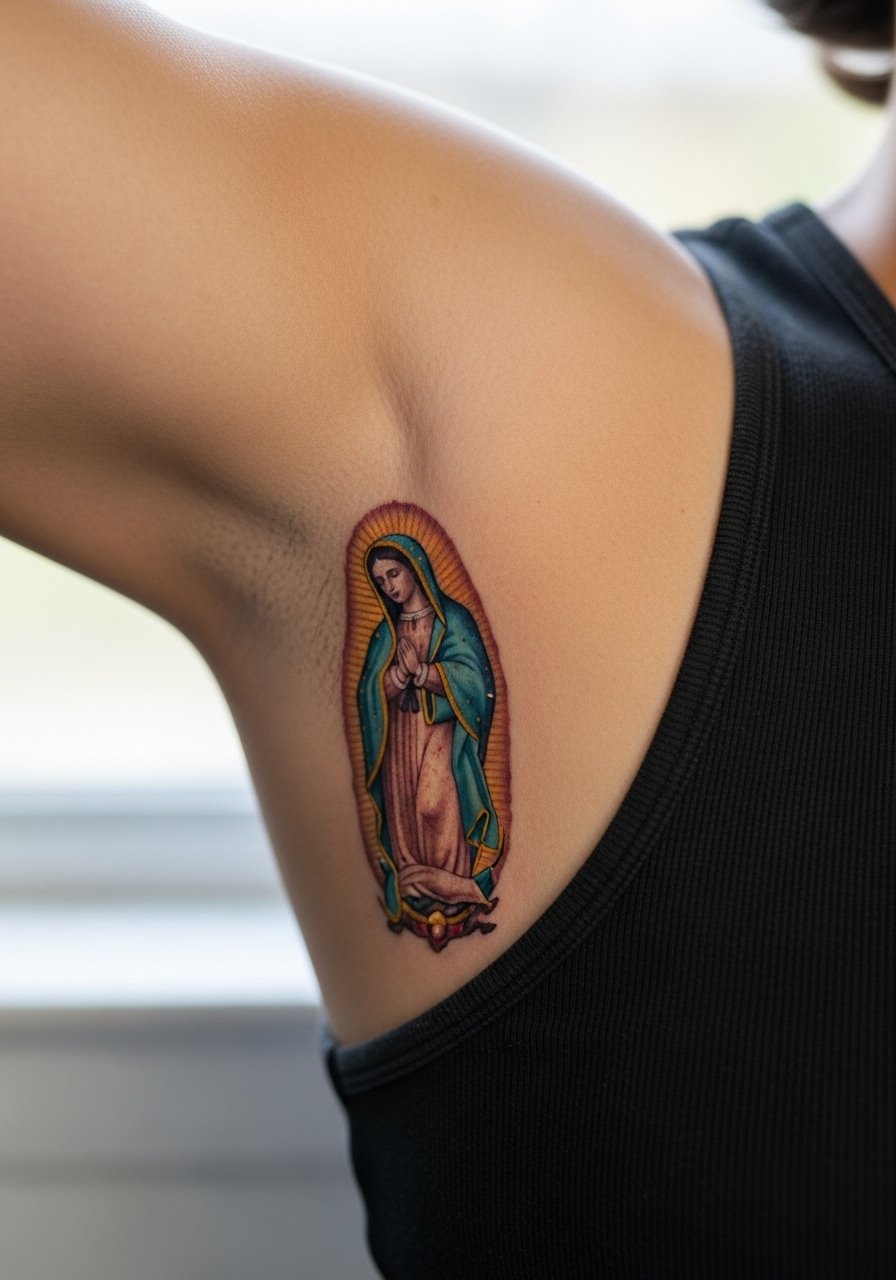
10. Tiny Colored Mary on the Calf

Calf placements are great for slightly more color without compromising clarity. Ask for conservative color saturation and clear outlines so the hues age into a soft, readable wash instead of muddy patches. Sessions are usually calm and sit around a four on pain. One common error is heavy layering of reds and blues in small zones, which can bleed together as the skin ages. When you want to show it off, a pair of high-waisted athletic shorts or a skirt with a side slit puts the calf on display.
11. Tiny Mary at the Nape
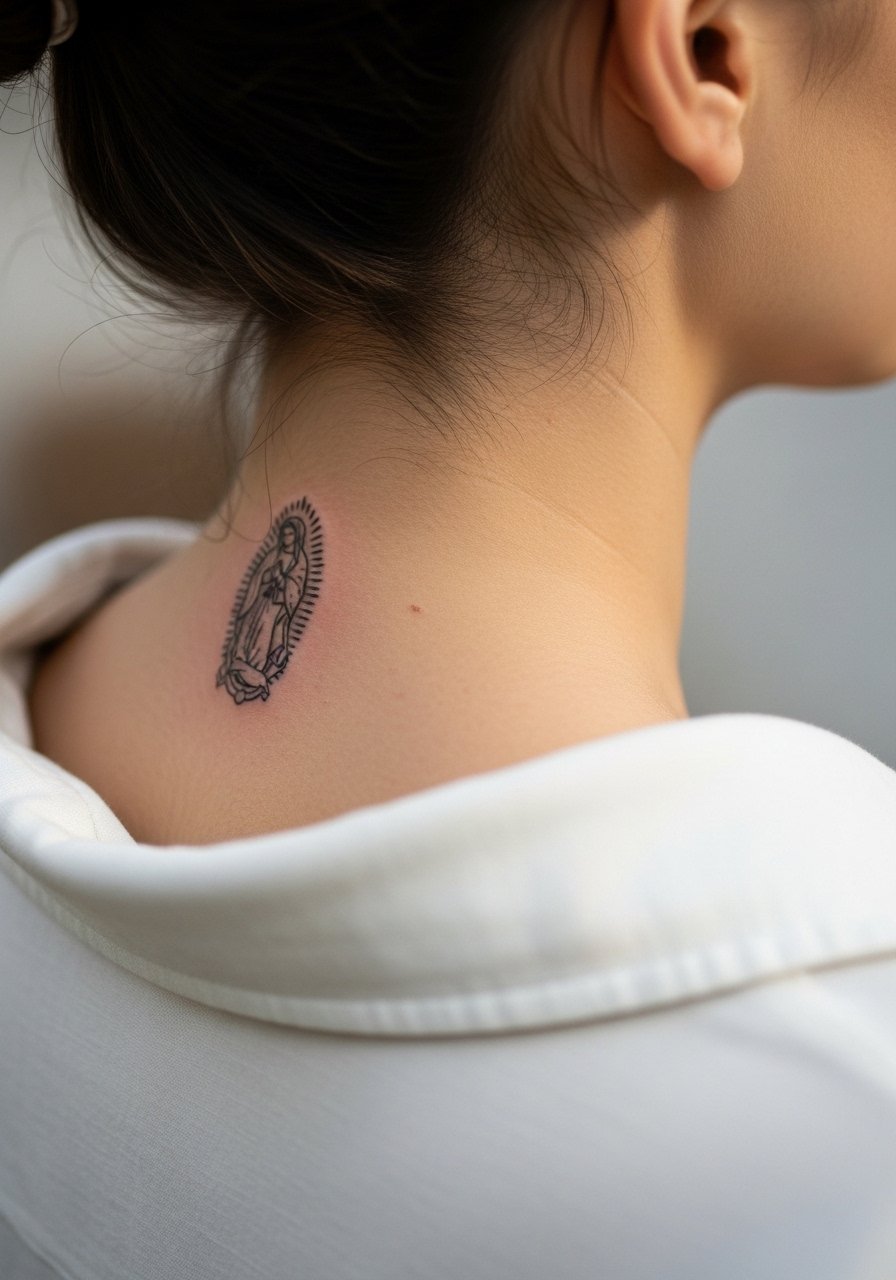
The back of the neck is a deceptively visible spot that still feels private. For longevity, choose a simplified silhouette or medallion form rather than micro-realism. The area tolerates short sessions, and the pain is usually moderate. A frequent mistake is asking for very fine facial detail which quickly loses definition. For the appointment wear a wide-neck shirt or one you can pull aside. If you work in a conservative environment remember that nape tattoos can peek above collars.
12. Tiny Mary on the Shoulder Blade
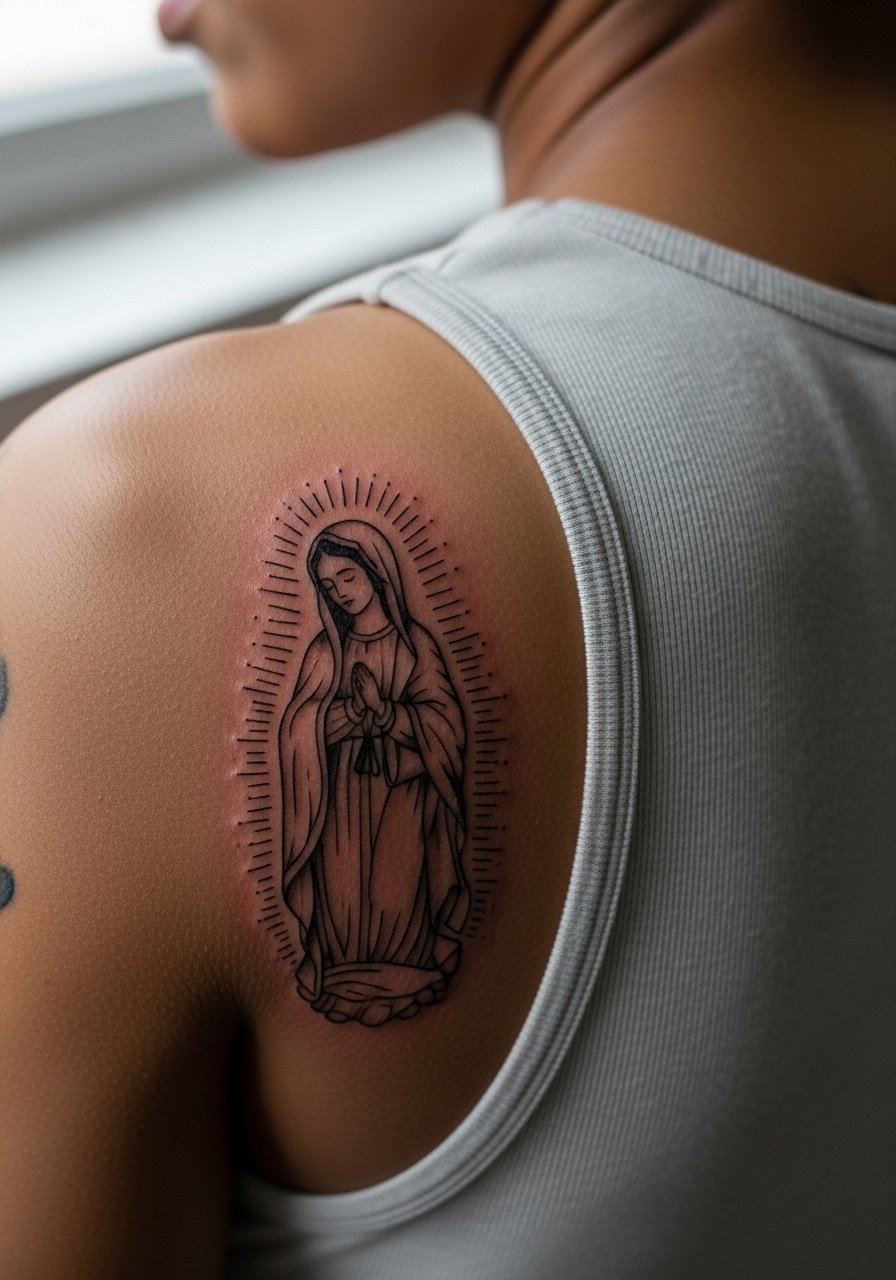
Shoulder blade canvas lets you place tiny imagery with breathing room. Ask for an off-center vertical composition so the linework follows the shoulder blade contour and does not warp with movement. Sessions are comfortable for most people and take under an hour. A common error is compressing the design into too small an area which causes future blurring. For showing it off choose a tank top with open back or thin straps that frames the shoulder blade and keeps the piece in focus.
13. Inner Bicep Tiny Mary
Inner bicep skin is soft and forgiving for small portraits. For a Mary here, request softer shading and a slightly larger halo gap so the faces do not lose definition as the skin settles. The session can be tender because the area is sensitive, often a six out of ten. A recurring mistake is squeezing too much stippling into the face region. For appointment ease wear a sleeveless shirt you can lift and a pair of loose pants so turning onto the table is simple.
14. Tiny Mary on the Hip or Upper Thigh

Hip and upper thigh pieces are intimate and age well because they avoid constant UV exposure. Ask for a slightly simplified hairline and halo so the design keeps clarity through weight and movement changes. Sessions are usually relaxed and pain rates vary from four to six. A common error is asking for dense micro-detail in an area that may stretch. For the session wear high-waisted bottoms you can lower just enough to expose the tattoo zone while remaining covered.
15. Tiny Mary on the Lower Back

Lower back tattoos let you run slightly wider compositions that still read small. Ask for open negative space above and below the portrait to prevent compression with movement and clothing. Sessions are generally low pain and finish quickly. A common misstep is putting the piece too close to the waistline where constant belt and waistband friction dulls lines. For showing it off choose a low-rise skirt or high-waisted jeans worn lower at the back so the artwork can peek out neatly.
16. Tiny Mary on the Outer Forearm
Outer forearm pieces are durable and great for micro-portraits that still show detail. Ask for a slightly sturdier outline so the facial features keep contrast under sun exposure. This placement tends to be a four on pain and sessions are short. The mistake is asking for densely packed stippling near edges. For everyday wear, a rolled sleeve or short-sleeve tee keeps the piece visible without overexposing it to UV. Try pairing with a lightweight watch strap that sits above the tattoo rather than over it.
17. Tiny Mary on the Top of the Foot

Foot tattoos face heavy friction from shoes and near-constant movement. For durability, request bolder contours and minimal internal texture. Pain can be higher here, often a seven out of ten, and touch-ups are common. A standard mistake is packing a lot of tiny facial detail into a very small footprint. For showing it off wear open sandals when you want the piece visible and keep socks to a minimum while healing.
18. Tiny Mary on the Upper Chest Near the Heart
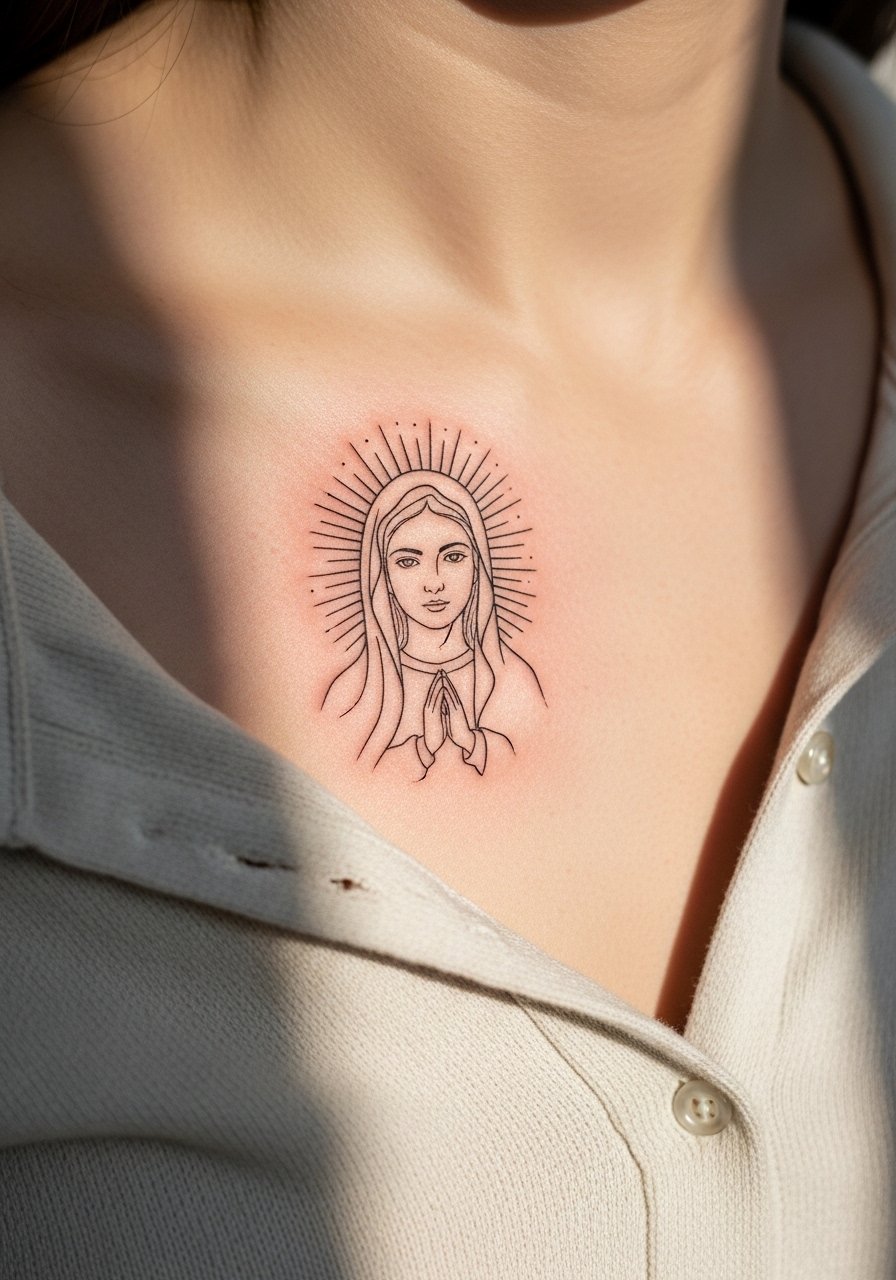
This spot feels symbolic because it sits close to the heart. Ask for a compact composition with breathing room between the halo and the collarbone so shirts do not abrade the healed ink. Sessions are more sensitive here and pain is often a six or seven. A common error is placing the design too close to bra lines. For the appointment wear a wide-neck top or a zip-up hoodie you can shift to grant access.
19. Tiny Mary with Rosary on the Rib Edge
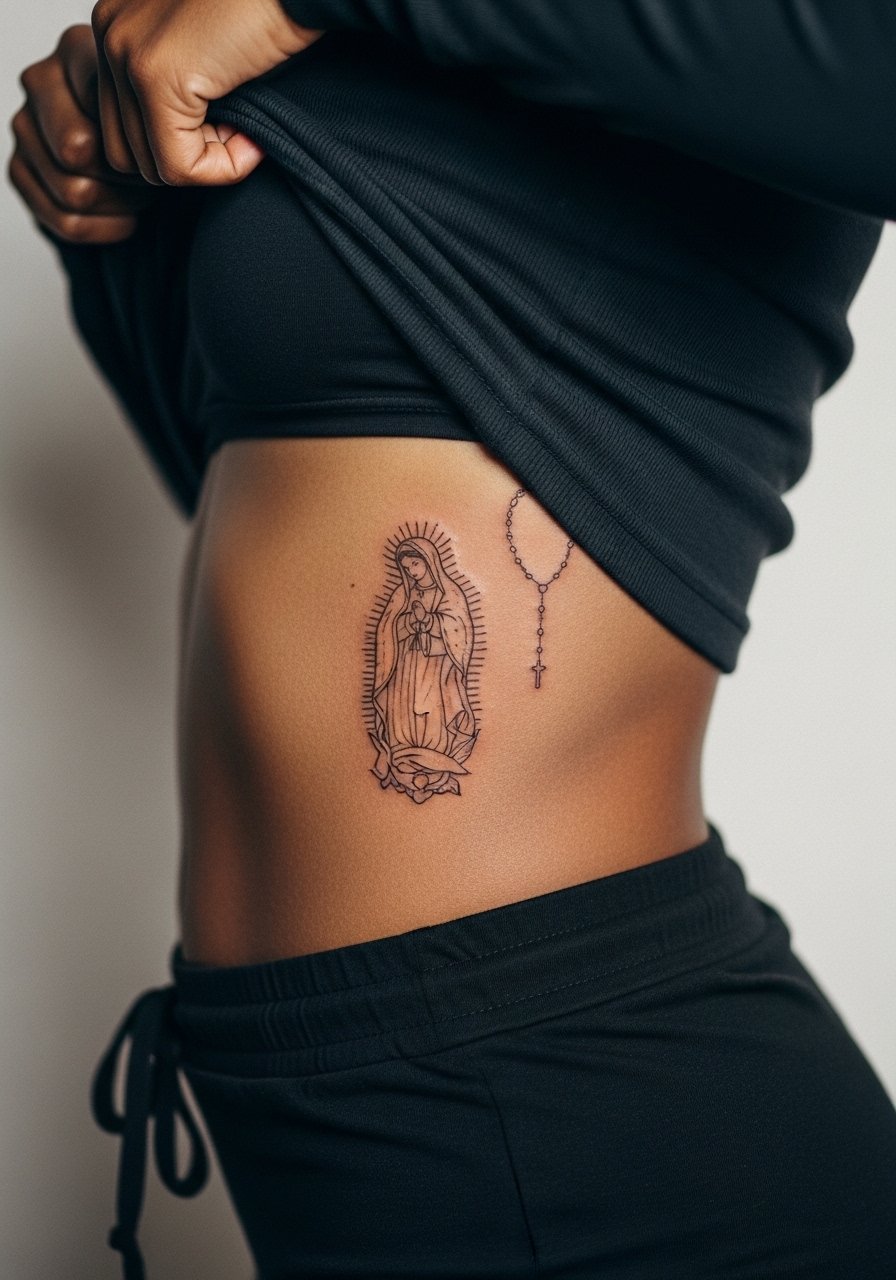
A trailing rosary gives motion to a small portrait and lets the design flow with the body's curves. On the rib edge, spacing matters more than fine detail. The session is usually longer and more painful. Artists again split into two camps on how aggressive to be with line weight here. The safe middle ground is slightly bolder main lines and subtle dot work along the rosary chain. Avoid tiny knots or beads tightly packed together since they tend to blur.
20. Tiny Mary Cameo on the Tricep Cap

The tricep cap lets a tiny cameo sit where clothes can either hide or reveal it. Ask your artist to orient the portrait to the arm's natural fall so the face reads upright when your arm hangs. Session pain is often low and touch-ups are uncommon if spacing is respected. A mistake is requesting too many tiny background motifs which clutter the cameo. For wardrobe, a sleeveless athletic top frames the tricep without competing with the tattoo.
21. Tiny Mary on the Top of the Hand

Top-of-hand tattoos remain highly visible and are prone to faster fading because of frequent exposure and washing. If you want a Mary here, aim for a bold silhouette and skip intricate facial shading. Expect touch-ups and consider industry implications since hand tattoos can still affect hiring in some sectors. The session can sting, and healing takes attention in the first two weeks. A common mistake is asking for detailed micro-realism on this site. Keep it graphic and allow for a slightly heavier line weight.
Frequently Asked Questions
Q: Will a tiny Virgin Mary on my ribs need more touch-ups than one on my forearm?
A: The ribs see a lot of stretch and movement while breathing, so tiny pieces there often need touch-ups sooner than forearm work. The difference comes down to spacing and the initial line weight. If your artist recommends slightly stronger contours for ribs, follow that advice.
Q: Can fine line Mary portraits work on dark skin tones without losing detail?
A: Yes, they can, but they need thoughtful contrast and slightly adjusted line weight compared with very light skin. Ask to see healed examples on similar skin tones in the artist's portfolio and discuss spacing for highlights versus shadow.
Q: Are there wardrobe tips for hiding or highlighting a collarbone Mary during professional events?
A: A wide-neck blouse or a shallow V-neck keeps the collarbone area visible when you want to show the art and lets you layer a light scarf when you prefer coverage. A structured blazer unzipped at the front can also either frame or conceal the piece.
Q: How long should I expect a finger or hand Mary to stay crisp before a touch-up?
A: Many people see softening in the first one to three years because of washing and friction. Expect a touch-up conversation around year one or two depending on your daily routines and sun exposure.
Q: What should I ask during consultation to ensure the tiny Mary ages well?
A: Ask the artist about healed examples in the same placement and scale, their approach to line weight for that skin zone, and their suggested touch-up timeline. Saying you want longevity rather than simply "fine detail" helps steer the session planning.
Q: Can I get a colored tiny Virgin Mary and still keep the piece lasting?
A: You can, especially on lower friction placements like the calf or shoulder blade. Ask for conservative saturation and solid outlines so colors age into a soft wash instead of blending together.
Q: Where should I look to find an artist who specializes in tiny religious portraiture?
A: Search local shop portfolios, browse hashtag galleries that show healed work, and check artist pages on directory sites to compare healed photos. Visiting a convention or a few shops in person to see healed examples is also helpful.
