
Fine line beach motifs are everywhere online, and the trend-versus-reality gap shows up fast when sun and salt meet ink. Some artists argue traditional pieces with bold saturation handle coastal wear better, while others say carefully spaced fine line can last just as well with the right placement. I pull examples that hold up, note the ones that demand touch-ups sooner, and start with a versatile piece you can actually wear to the shore.
1. Tiny Anchor on the Outer Ankle

I've seen small ankle anchors survive beach seasons when placed with breathable spacing and bold outlines. For this placement expect a moderate pain level and a quick session under an hour. Tell your artist to use slightly heavier linework than a micro tattoo so the anchor keeps shape through sandals and sun exposure. Common mistakes include going too tiny or using faint shading that fades into salt and sunscreen abrasion. At six months the outline should hold, at two years expect some softening, and a touch-up around year three is common. For showing it off with sandals try a pair of minimalist leather sandals that keep the ankle visible and reduce rubbing during summer walks.
2. Sailor Swallow on the Shoulder Blade

Fair warning: the shoulder blade sits low on most pain charts but the positioning can change how the piece ages. I recommend a session of one to two hours with solid black outlines and restrained color saturation. During the consultation ask for slightly thicker wing tipping and a flatter belly area so the swallow keeps its silhouette under sun exposure. A common mistake is overfilling with gradients that blur over time. The session feels relaxing since the area is easy to access, and touch-ups are usually optional unless you want color refreshed. Pair this with a loose button-down shirt you can pull aside for sessions and summer layering.
3. Traditional Wave Band on the Calf

Most watercolor-like waves from five years ago look soft now, but classic bold wave bands hold shape because of heavy linework and strong saturation. Expect a two-hour session depending on wrap complexity and a medium pain level. Tell your artist you want clear negative-space highlights to read as foam rather than tiny white touch-ups. A mistake is making the band too thin around the back of the leg where skin rubs against clothing, which invites faster fading. At six months the color will settle, at two years expect mellowing, and a refresh at year three keeps contrast crisp. Show this off with loose athletic shorts that keep the calf exposed without constant fabric friction.
4. Shell and Starfish Wrist Stack

There is something about bold outlines and compact shading that reads clearly at the wrist from across a room. The wrist is high on the friction risk scale, and sessions are usually under an hour but feel sharper. Ask for slightly bolder linework and avoid tiny stipple fills that trap sunscreen and wear into the grooves. A common mistake is crowding multiple elements without breathing room, which speeds up merging in the first two years. Expect crispness at six months and gradual softening by year two. For evenings out, pair the stack with a thin chain bracelet that frames the art without covering the key lines.
5. Lighthouse on the Upper Back

The biggest mistake with upper-back pieces is ignoring how clothing straps rub during healing. This placement needs a one to three hour session depending on detail and a moderate pain report. In consultation say you want bold contrast on the lighthouse tower and simplified waves so the silhouette reads from a distance. Session wear is key here, so bring a loose button-down shirt you can pull aside to give the artist clean access. At six months the open shapes remain strong, and touch-ups are seldom required unless you want renewed color.
6. Compass Over the Sternum

When you sit down with your artist for a sternum compass, bring reference images that show exact line weight and compass face size. This area is one of the more sensitive spots, so expect higher pain and a session that can be one to three hours depending on size. The common failure is tight, overly intricate needlework that contracts and looks blurred after healing. Ask for slightly wider spacing between cardinal points so the center holds. For the session wear a fitted sports bra you can easily lift or unzip for clean access. Sternum pieces age well if lines are bold and spacing is respected.
Studio Day Picks
The small visible pieces above, especially on the wrist and ankle, need different prep than upper-back and sternum work. These five things help across those placements and smooth the first week.
-
Stencil transfer paper kit. Lets you preview line placement on skin before the session, which is useful for ankle anchors and wrist stacks where proportions matter.
-
Topical numbing cream. Applied per directions about forty-five minutes before the session takes the edge off the sternum and wrist without altering linework when used correctly.
-
Thin protective film roll. Keeps ankle and wrist pieces clean during the first week of showers and reduces friction from socks and sleeves.
-
Fragrance-free gentle body wash. Cleans healing areas like the upper back and calf without irritating fresh linework.
-
Aquaphor healing ointment. Thinly applied in the first days helps lock in moisture for fine or traditional linework without clogging the needle channels.
7. Tiny Constellation on the Side Rib
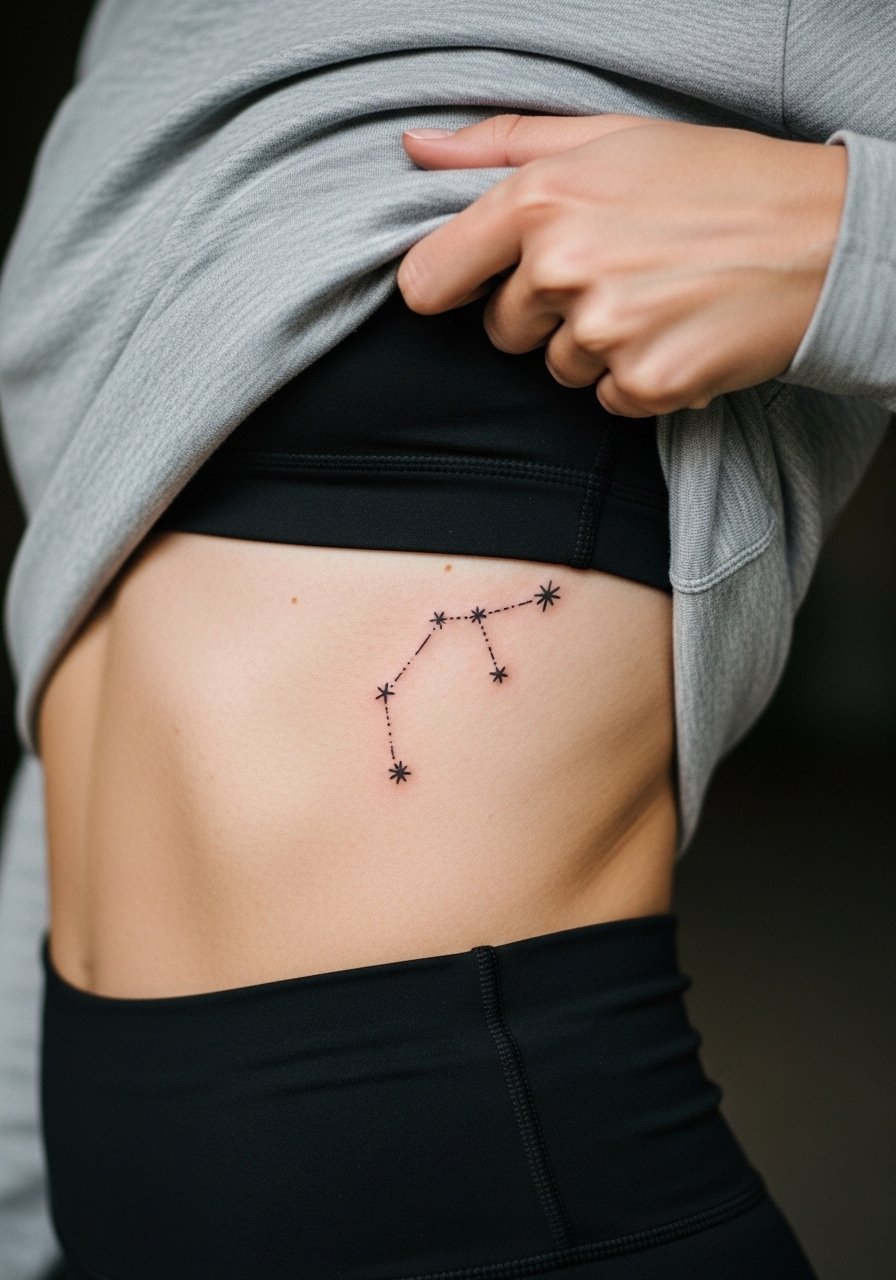
Artists split on fine line on ribs. One camp says the stretch and movement blur those lines within two years. The other camp says with careful depth and spacing fine line settles fine on ribs. I recommend treating this as a two-part decision. If you love delicate dots and tiny stars, ask for slightly thicker anchor points and more spacing between elements to guard against merging. The session feels sharp because the rib sits close to bone, and touch-ups are common if you want the constellation to read clearly after sun seasons. For the appointment wear a cropped athletic top you can lift slightly so the artist has clean access.
8. Bold Nautical Star on the Collarbone

This placement looks best when the star is slightly offset and shielded from constant necklace friction. For most people the collarbone is a moderate pain placement and a one-hour session is typical. During consultation request bold outlining with simplified interior shading so the contrast endures against sun exposure. A frequent mistake is placing the star too close to the neck where clothing and jewelry constantly rub. To show it off, layer a thin chain pendant necklace that sits above rather than on the tattoo so both elements breathe.
9. Mermaid Silhouette on the Hip
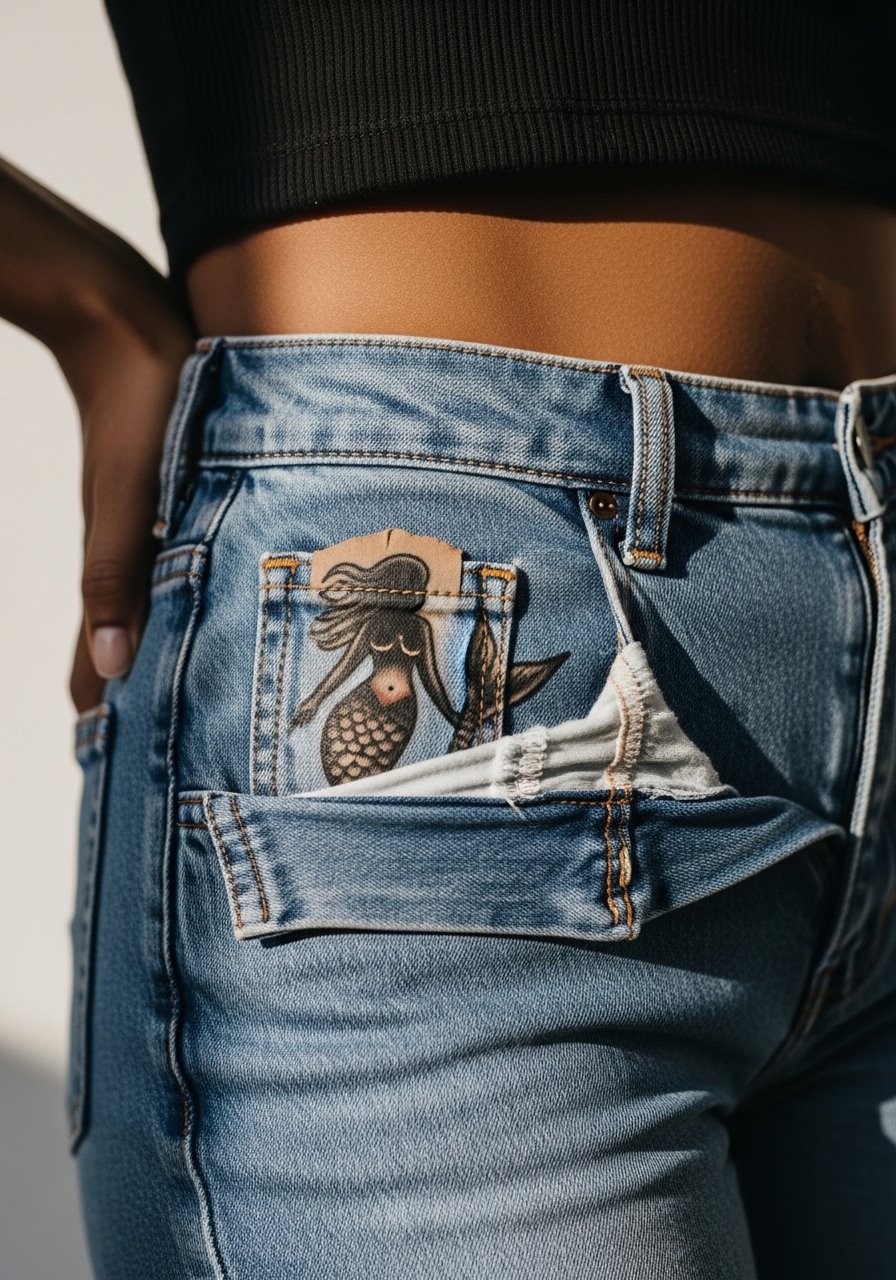
I've seen hip work stand up well to beach wear when artists plan for fabric friction. The hip usually needs one to two hours and feels like a steady discomfort rather than sharp pain. Ask your artist to keep large flat blacks slightly separated from edge lines so the silhouette does not spread under tight waistbands. Common errors include placing the design under waistbands that rub constantly during healing. At six months the silhouette reads solid, and you might want touch-ups after frequent sun exposure. For the session choose high-waisted bottoms you can lower a little, and bring a high-waisted denim pair you can shift for access.
10. Tiny Tide Line on the Heel
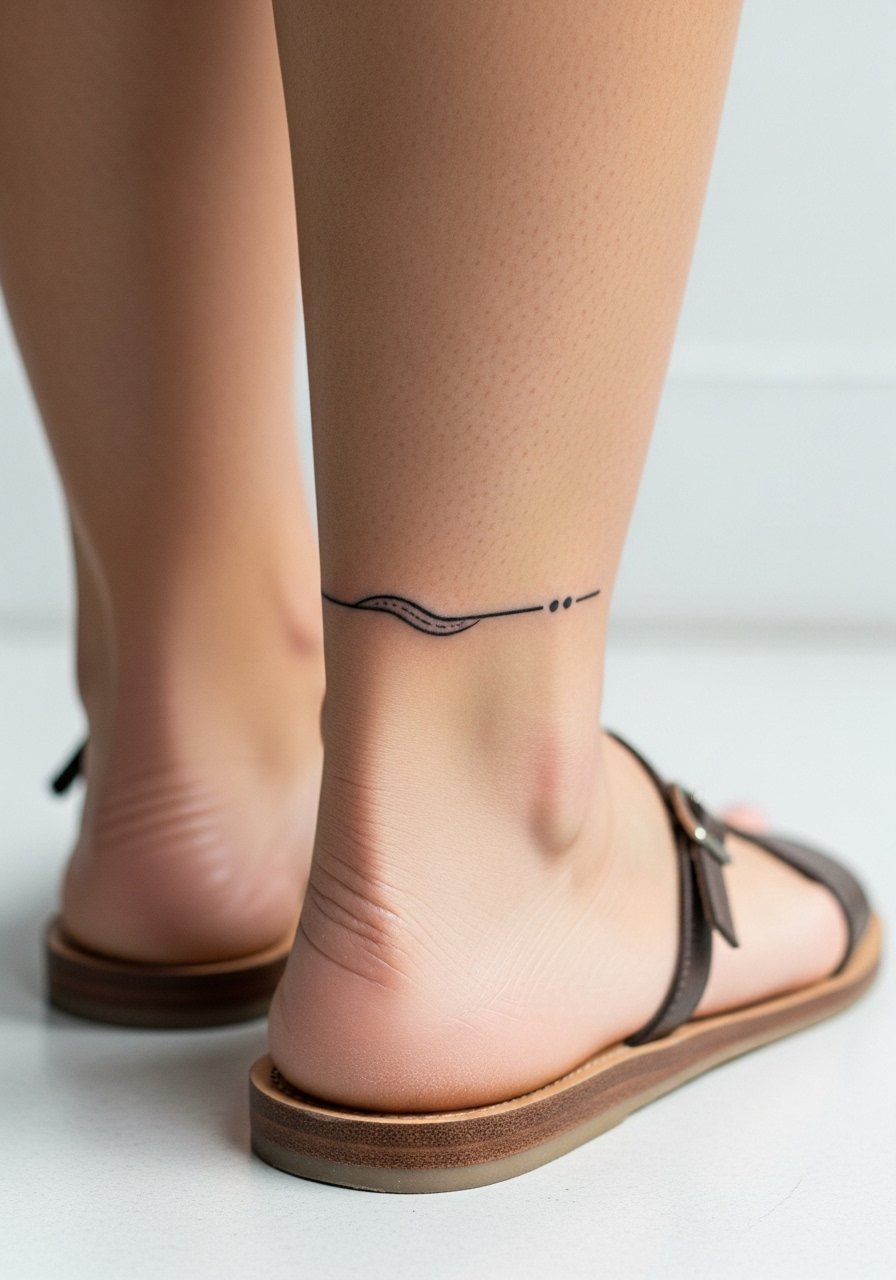
Fair warning: the skin near the heel moves differently and suffers abrasion from shoes and socks. Sessions are short but sensitivity varies. Tell your artist you prefer a slightly higher placement above the shoe line to reduce constant rubbing. A mistake is placing delicate tiny lines where repeated friction will erode them within months. At two years expect softening unless you avoid tight footwear during the healing window. For appointments wear easy slip-on sandals so the artist can access the area without pressure on the fresh tattoo.
11. Anchor and Rope on the Bicep
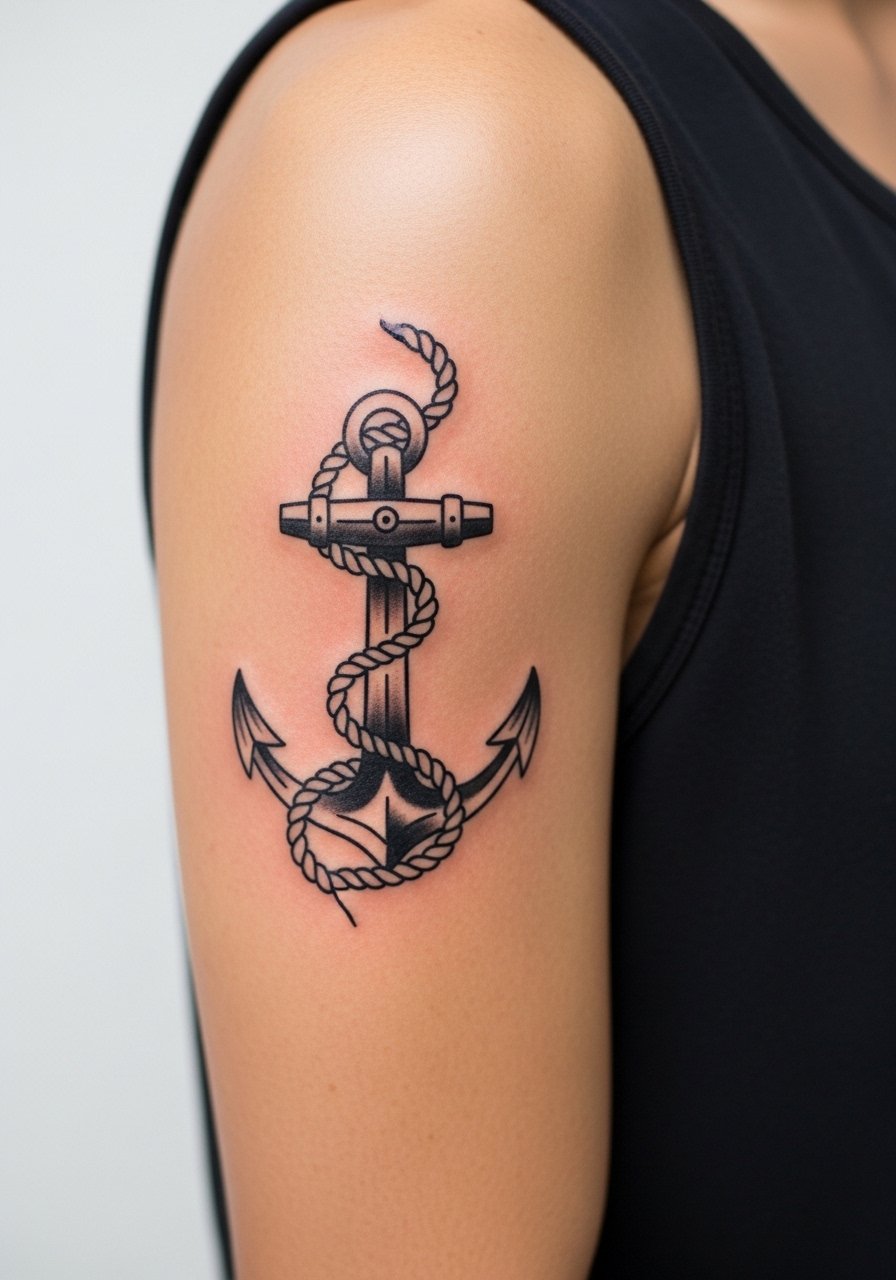
Most traditional anchors with rope age reliably on the bicep because the skin there is thicker and moves less during daily activity. Expect a one to two hour session and moderate pain. Ask for saturated fills and a clearly defined rope spiral to avoid the rope dissolving into shading over time. A common mistake is tiny rope details that do not read once healed. At six months the piece should retain shape, and a touch-up at two to four years keeps saturation strong. Pair this with a racerback tank for sessions and summer visibility.
12. Palm-Edge Compass on the Side of the Hand

There is a clear visual impact when bold black anchors or compasses sit on the hand, yet hand tattoos have the highest fade and touch-up rate. Expect a short session that feels sharp and a higher likelihood of touch-ups each year. During consultation say you want thicker linework and less internal micro-detail so the compass reads after frequent washing. A mistake is asking for tiny numerals or delicate dot shading that disappears under skin movement. Artists are split on employment implications and professional visibility, one camp says hands are fine and another says they limit opportunities. Think through career and daily hand use before committing.
13. Sun and Wave Chest Piece

The chest takes more beating from sun and shirts than people expect, so I often suggest simplified shading and stronger outlines for chest pieces. Sessions range from one to three hours depending on size and pain varies with the sternum proximity. Tell your artist to prioritize clear negative space between sun rays and wave crests to slow merging. A common mistake is over-detailing the center where sweat and fabric meet. At one year expect mellowing but good silhouette. For showing it off, a wide-neck top that pulls slightly aside keeps the piece visible without full exposure.
14. Scripted Beach Coordinates on the Rib Side
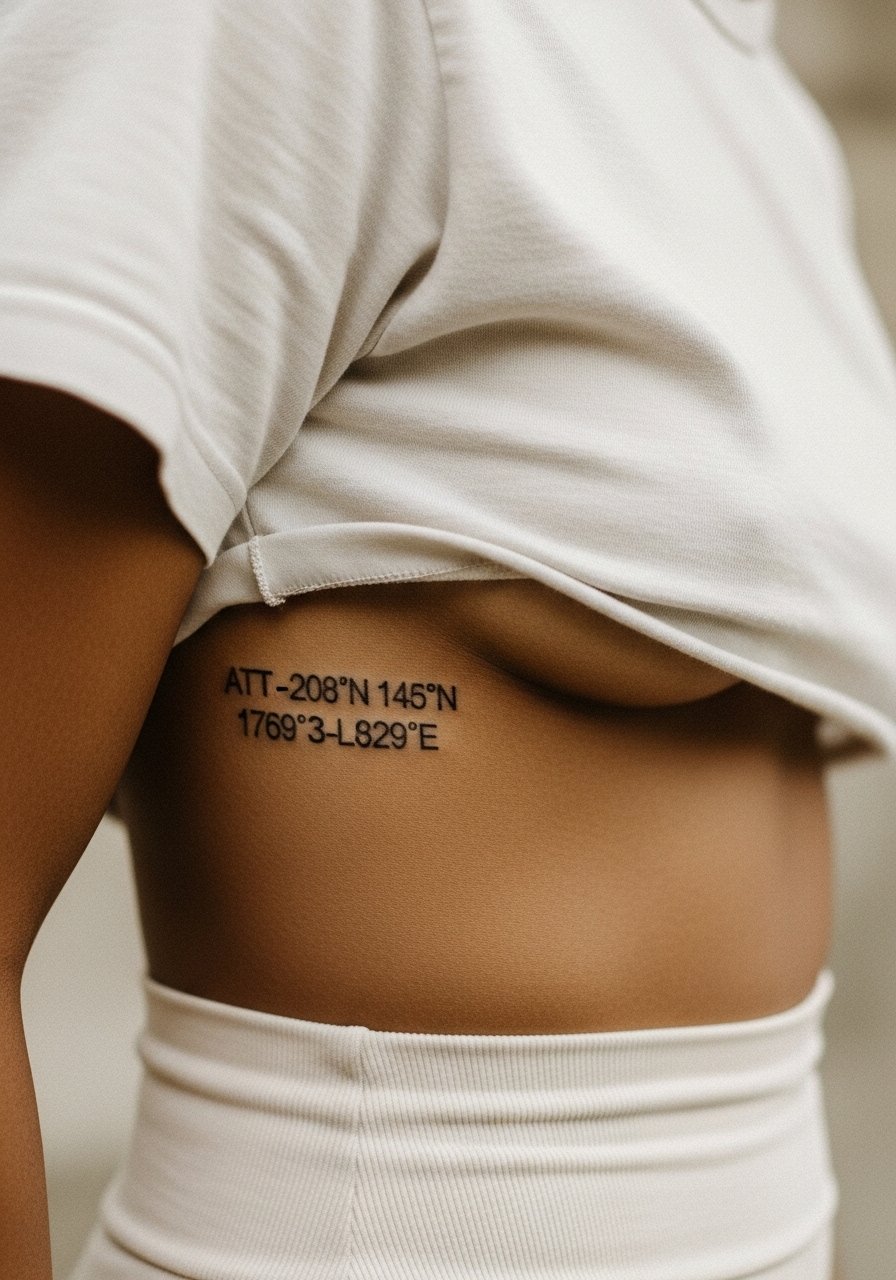
When you sit down with your artist for rib-side script, bring the exact font and spacing reference and state the exact coordinates you want. The rib is sensitive and the session can feel intense in short bursts. The common failure is choosing a hairline script that the skin cannot hold through movement and sun. Ask for a slightly heavier script stroke that keeps numbers legible after a year. Expect neatness at six months and potential blurring by year two. For the appointment wear a cropped tee and high-waisted bottoms that reveal only the strip the artist needs.
15. Wave Crest Sleeve Accent

Artists sometimes disagree on how dense sleeve accents should be, and the debate centers on saturation versus spacing. One camp favors packed saturation to keep pieces legible in years of sun. The other camp prefers breathing room so each motif holds its identity. For a wave crest accent I lean toward bold outlines with negative-space highlights that prevent the crest from fading into neighboring motifs. Sessions vary widely depending on existing work and the process can be two to four hours. Tell your artist you want clear separation from other sleeve elements and expect touch-ups in mid-decade if you swim a lot.
16. Tiny Surfboard on the Toe Box

This placement reads playful and pairs well with beachwear when executed with bold outlines to resist shoe abrasion. The foot is sensitive and sessions can be brief but sting. Ask your artist for clean, simplified shapes and avoid internal texture that wears out quickly. A mistake is placing too much detail that blurs from socks and sandals. For the session wear slip-on summer sandals so the artist can work without pressure and you can keep the area clean while it heals.
17. Sunburst with Palm Silhouette on the Thigh
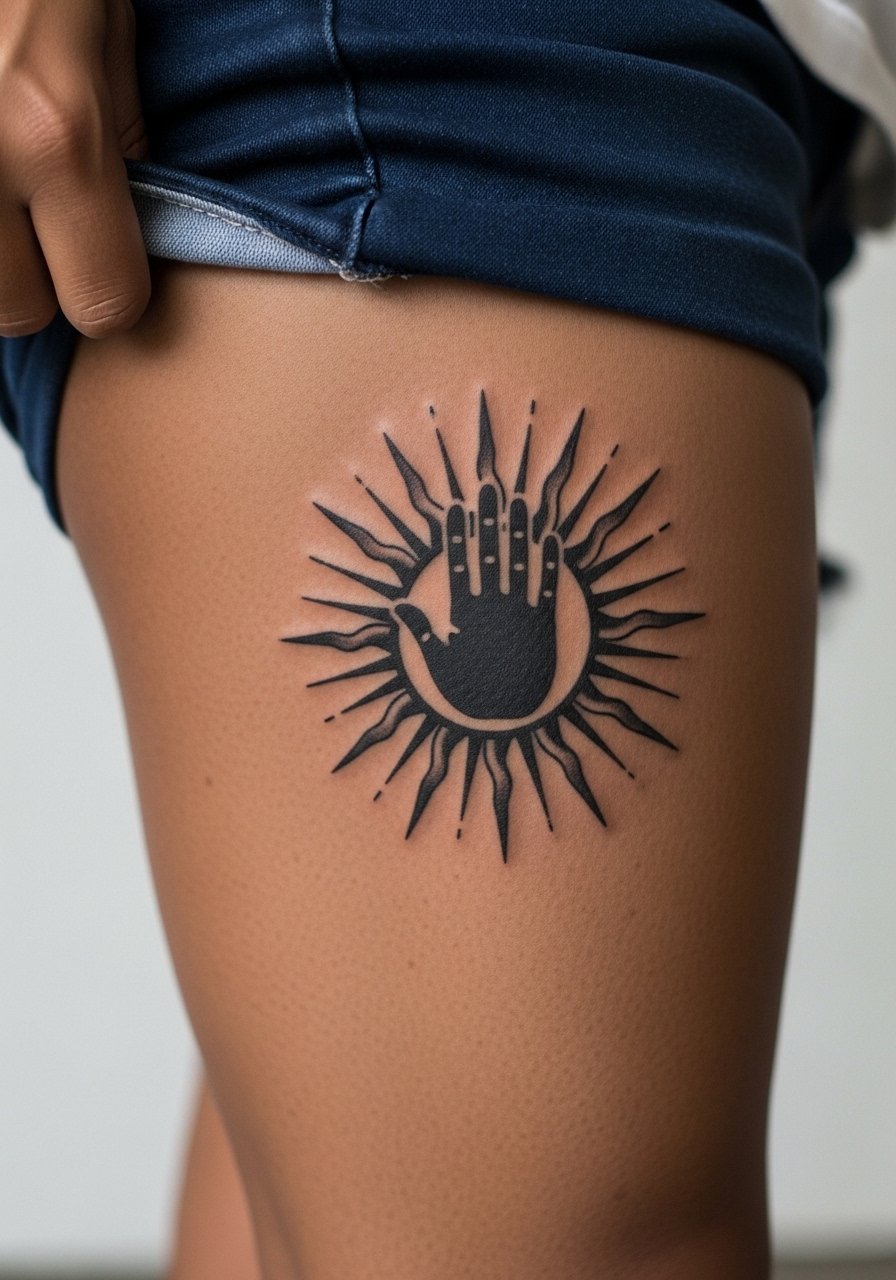
I've seen outer-thigh pieces age well thanks to lower friction and cooler sun exposure compared with shin or ankle work. Expect a one to two hour session and moderate pain. Tell the artist you want the sunburst edges bold and the palm silhouette simplified so it reads even when seated or walking. Common mistakes include making the sun too small, which loses impact at distance. At two years the thigh keeps shape nicely and touch-ups are rarely needed unless you intentionally expose it to heavy sun. For the appointment wear loose drawstring shorts you can easily shift for access.
Frequently Asked Questions
Q: Do traditional bold outlines really last longer on beach-exposed skin than fine line pieces?
A: From what I've gathered, heavier outlines and solid saturation do better under repeated sun and salt exposure because they resist early softening. Fine line can last if placed where friction and UV are low, and if the artist talks about spacing and depth during consultation.
Q: How should I discuss a rib or sternum piece with an artist given the debate about fine line there?
A: Name the debate out loud and ask which camp the artist falls into. Ask for examples of their healed ribs or sternum work and request slightly increased spacing or bolder strokes if you want longevity. Real portfolios and healed photos tell you more than promises.
Q: What should I wear to a wrist or ankle session to make access easiest?
A: Wear loose sleeves you can roll up or slip-on sandals that expose the ankle without rubbing. A loose button-down shirt and easy footwear save time and keep the area clean during the session.
Q: Will hand or finger tattoos affect job prospects long term?
A: Opinions are split. Some industries and employers remain cautious about visible hand ink. If career flexibility matters, pick placements you can cover for interviews and ask employers about policies before committing to hands.
Q: How often should I expect touch-ups for wrist and hand pieces if I spend lots of time at the beach?
A: Expect more frequent touch-ups than for torso or thigh pieces. In my experience a wrist or hand piece may need attention every one to three years depending on sun exposure, friction, and how much you use sunscreen during the healing window.
