
Bold black outlines and patient spacing often outlive tiny showy details. I say that because the half sleeve is a commitment you see every day, and the choices you make about line weight, placement, and flow decide whether the piece reads sharp at year five. If you worry about healing, session length, or how to actually wear a half sleeve while it settles, this list gives 21 vintage half sleeve tattoo ideas with notes on aging, session feel, and how to show them off.
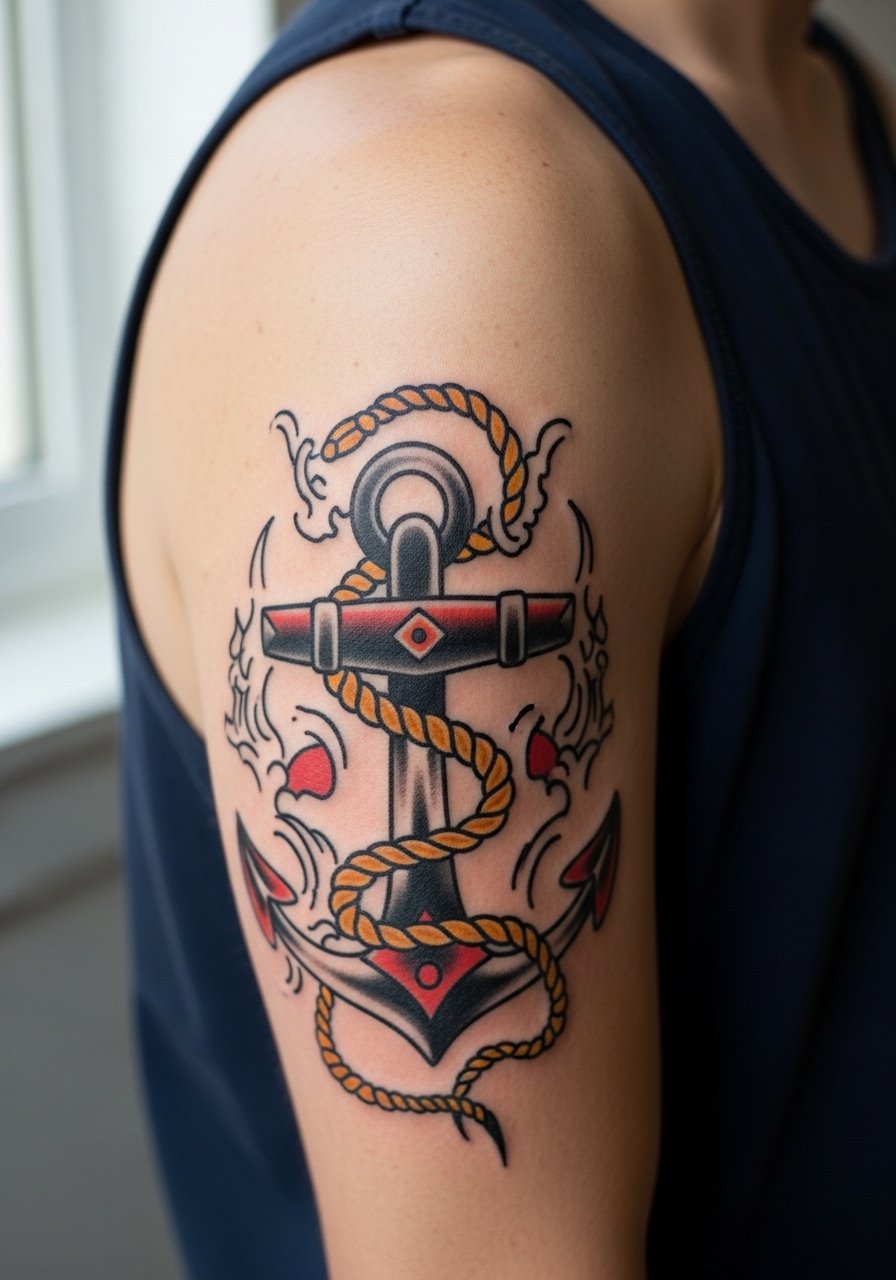
1. Sailor Jerry Anchor with Rope and Banner
I've seen this on upper arms that get regular sun and it still reads decades later when the linework is bold and the banner is sized to breathe. Ask your artist for heavy linework around the anchor and slightly larger lettering in the banner so the words do not collapse over time. Fair warning, the outer upper arm is lower pain but still needs multiple sessions for solid saturation. For the session wear a fitted white tank top so the artist can access shoulder-to-elbow without fabric bunching. Common mistake is asking for tiny script in the banner, which blurs by year three. Expect a touch-up window at year three to five for banner crispness.
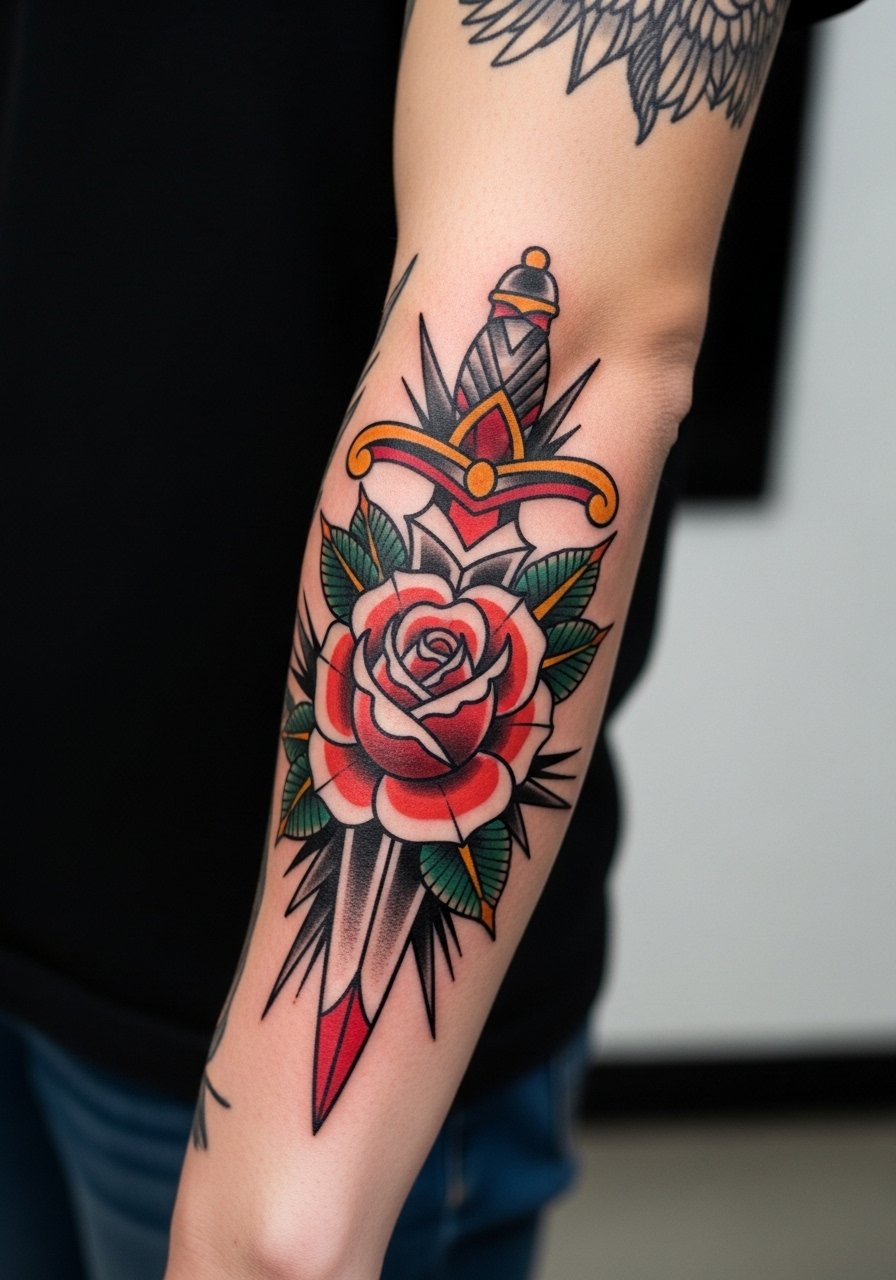
2. Neo-Traditional Rose and Dagger, Elbow-to-Forearm Flow
Personal observation: roses with dagger points that follow the forearm contours read more organic than stacked motifs. Tell your artist to map the dagger so the tip avoids the elbow crease. The forearm can be one of the more comfortable spots for longer sessions, but expect the elbow area to sting more. Roll-up show-off outfits pair well, so wear a rolled cuff chambray shirt to reveal the work without competing with color. A common aging mistake is over-detailing petal veins with superfine needle work, which softens into grey blobs at two to three years. Space detail and prioritize saturation for longevity.
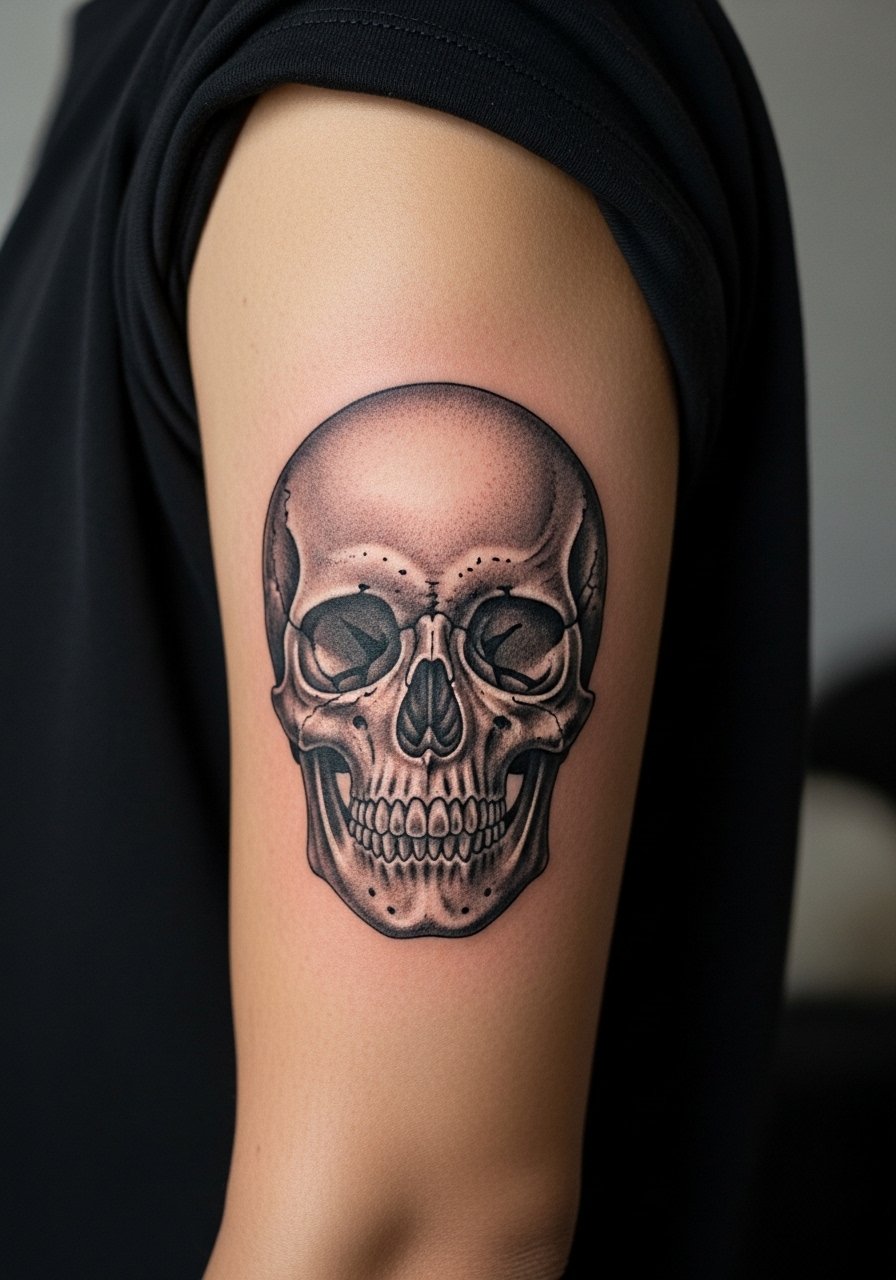
3. Black and Gray Realism Skull with Swallow on Inner Upper Arm
Most clients I talk to pick this when they want storytelling without loud color. The inner upper arm has softer skin so the shading settles smoothly but it is at higher risk from deodorant and friction. Mention to your artist that you plan a dense mid-tone wash and avoid micro-dot highlights in the deepest shadows. For the session wear a loose long sleeve tee you can push up easily, which prevents underarm rubbing. There is a debate about film versus dry healing for inner-arm pieces. One camp favors protective film for less mess and less external irritation. The other camp prefers dry healing for breathability. Ask the artist where they stand before you book.
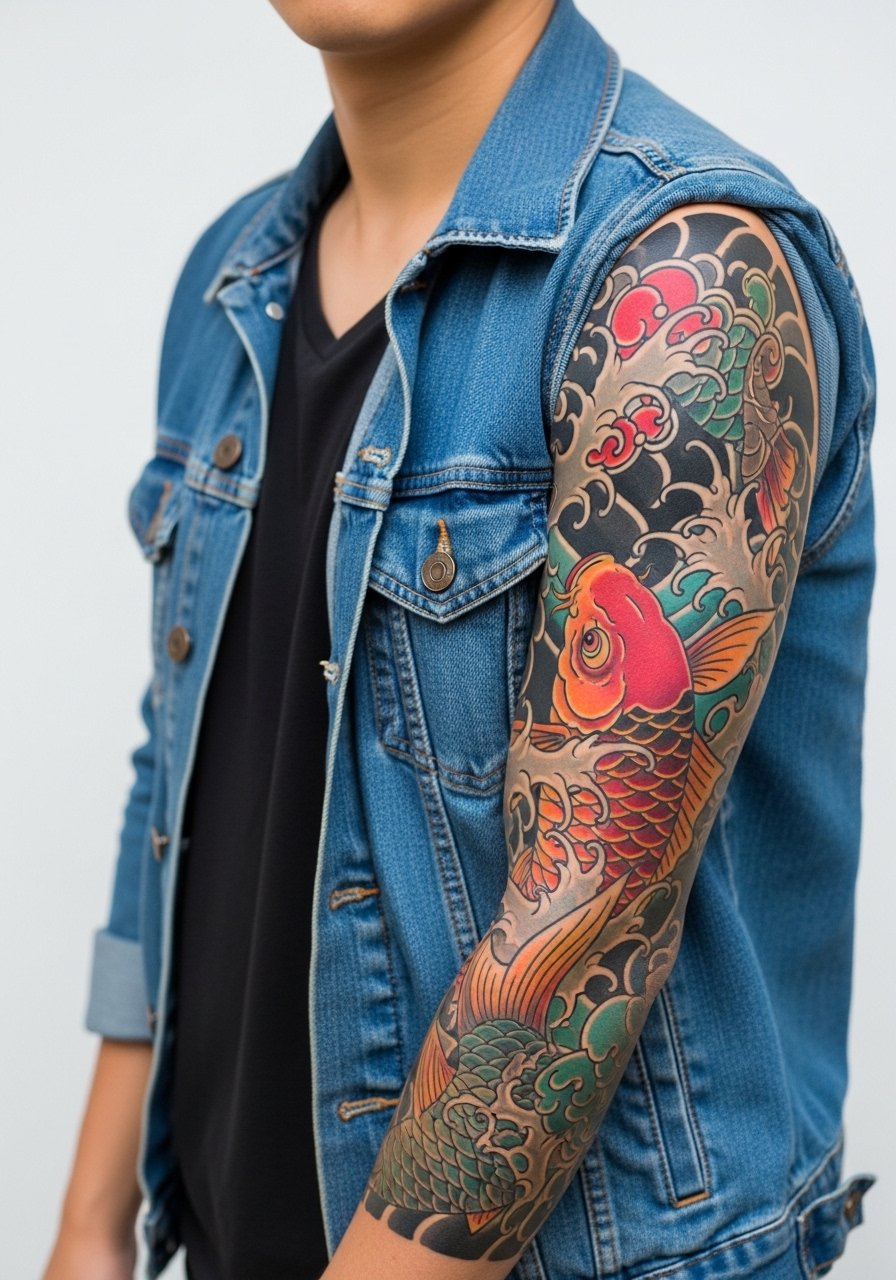
4. Japanese Irezumi Koi Climbing Wave, Shoulder-to-Elbow Sweep
Visual impact lead: nothing reads as cinematic in a half sleeve like a koi curling through wave panels. For a coaster of movement, map the fish to coil toward the shoulder so it complements chest flow if you later extend the work. This placement needs multiple long sessions to layer color and saturation properly, and you will sit for five or more shorter appointments rather than one marathon. For show-off nights layer an open denim jacket over a plain tee so the coiling koi pops. The main mistake is cramming too many tiny waves into the space, which reads noisy after healing. Expect strong color retention where saturation is prioritized.
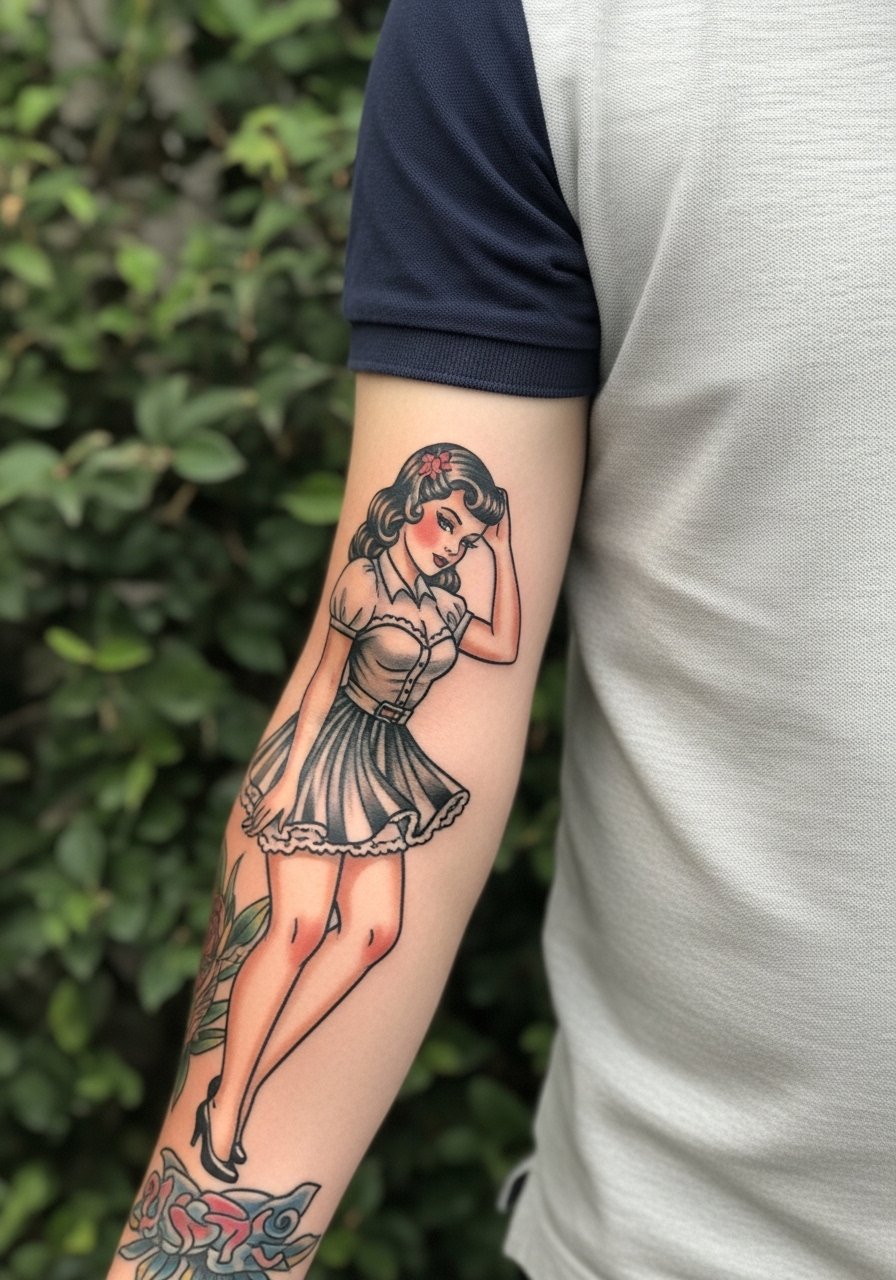
5. Traditional Pin-Up Girl with Banner, Lower Arm Accent
Mistake lead: pin-ups get overworked when artists try to add photo-real detail in a half sleeve scale. The lower arm shines when the figure is stylized and contrast is prioritized. This area can be tetchy around the elbow and wrist, so plan two or three sessions of mid-length work. For a retro reveal, pair the finished piece with a slim-fit short sleeve polo that lets the figure sit center stage. When you ask for custom text in the banner, use slightly heavier letterforms to avoid early blurring. Touch-ups for skin tone blending may be needed at year three.
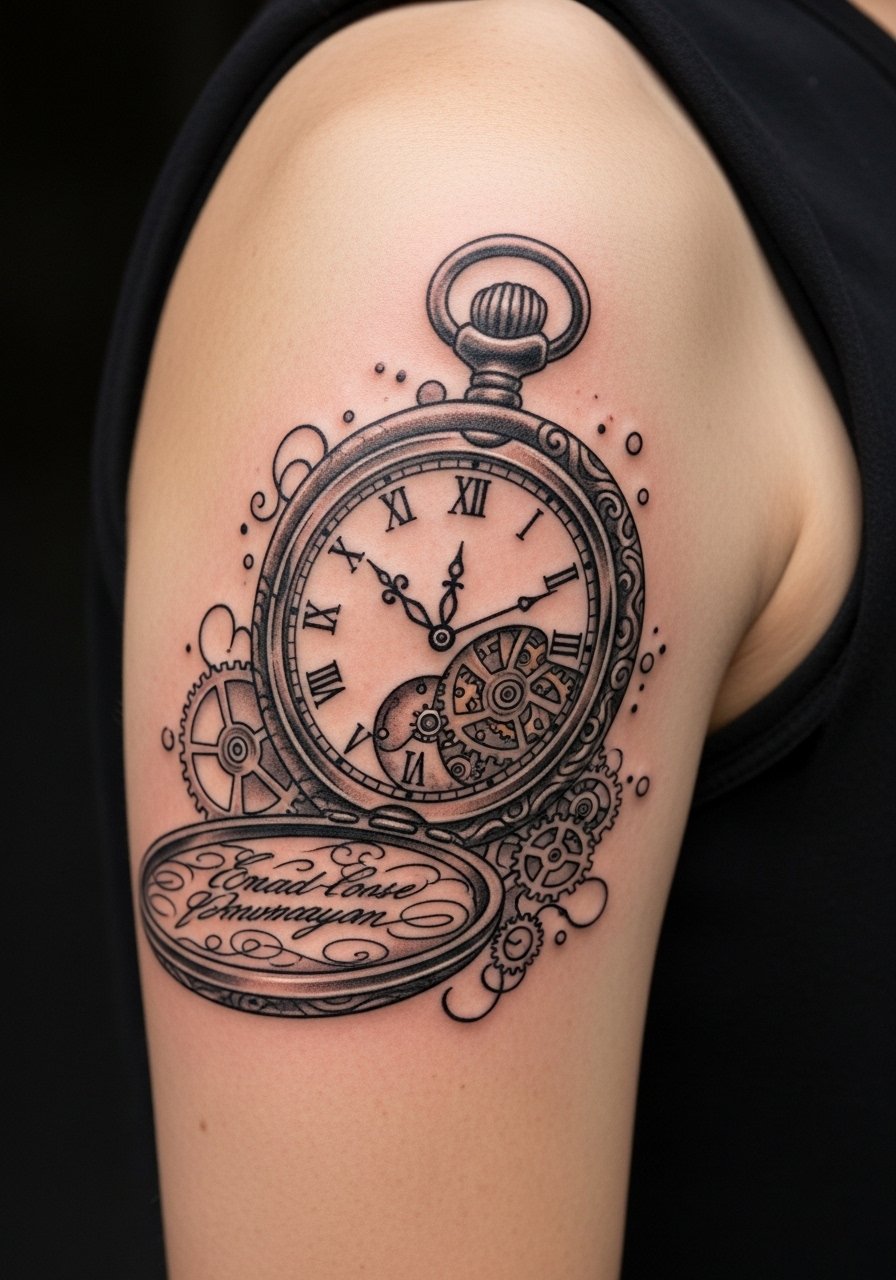
6. Ornamental Vintage Clock with Gears on Upper Arm
Aging lead: clocks with lots of tiny gear teeth can look crisp fresh and congested once settled. I recommend larger teeth and clear negative space between gears so the clock keeps mechanical clarity at year five. Upper arm flesh handles long sessions well but expect increased tenderness as saturation builds. For session comfort bring a loose button-down shirt with rolled sleeves you can slide aside easily. The clock motif adapts to both black and gray and color palettes. A real mistake is overfilling tiny gear gaps that later merge into muddy tones.
Studio Day Picks
These first six ideas span sensitive inner-arm pieces and high-saturation upper-arm work, so a few prep items make the session smoother.
-
Stencil transfer paper kit. Lets you preview line placement on skin, which is helpful when mapping banners and anchors on the arm.
-
Topical numbing cream. Useful for longer half-sleeve sessions especially around elbow or inner-arm areas where sensitivity spikes.
-
Thin protective film roll. Keeps upper-arm and forearm work cleaner during the first few days when sleeves rub.
-
Fragrance-free body wash. Gentle cleansing avoids irritation on shaded black and gray sections while you shower.
-
Aquaphor healing ointment. Thin layers for the first 48 hours can lock in moisture on denser saturation work without smothering needle channels.
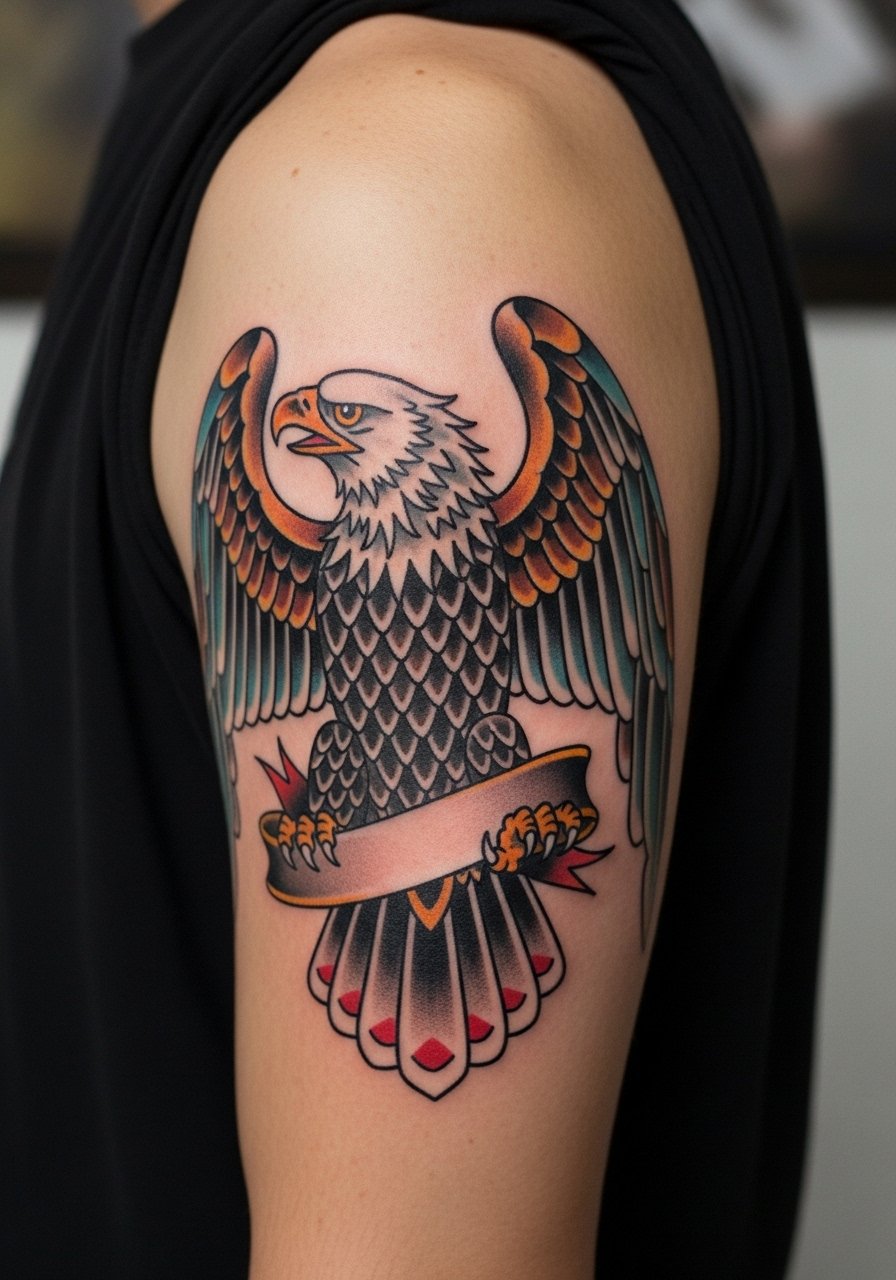
7. Neo-Traditional Eagle with Banner on Outer Arm
Consultation lead: tell the artist you want wings that read in motion when the arm moves. Outer arm placement is forgiving for bold linework and will hold heavy outlines well over time. The session feels moderate in pain but can be longer if you request saturated color fields. For showing off the spread, an open denim jacket or a sleeveless top frames the wings without competing. A common error is putting tiny feather details too close together. If you prefer longevity, aim for defined feather bars and stronger saturation rather than micro-feathering.
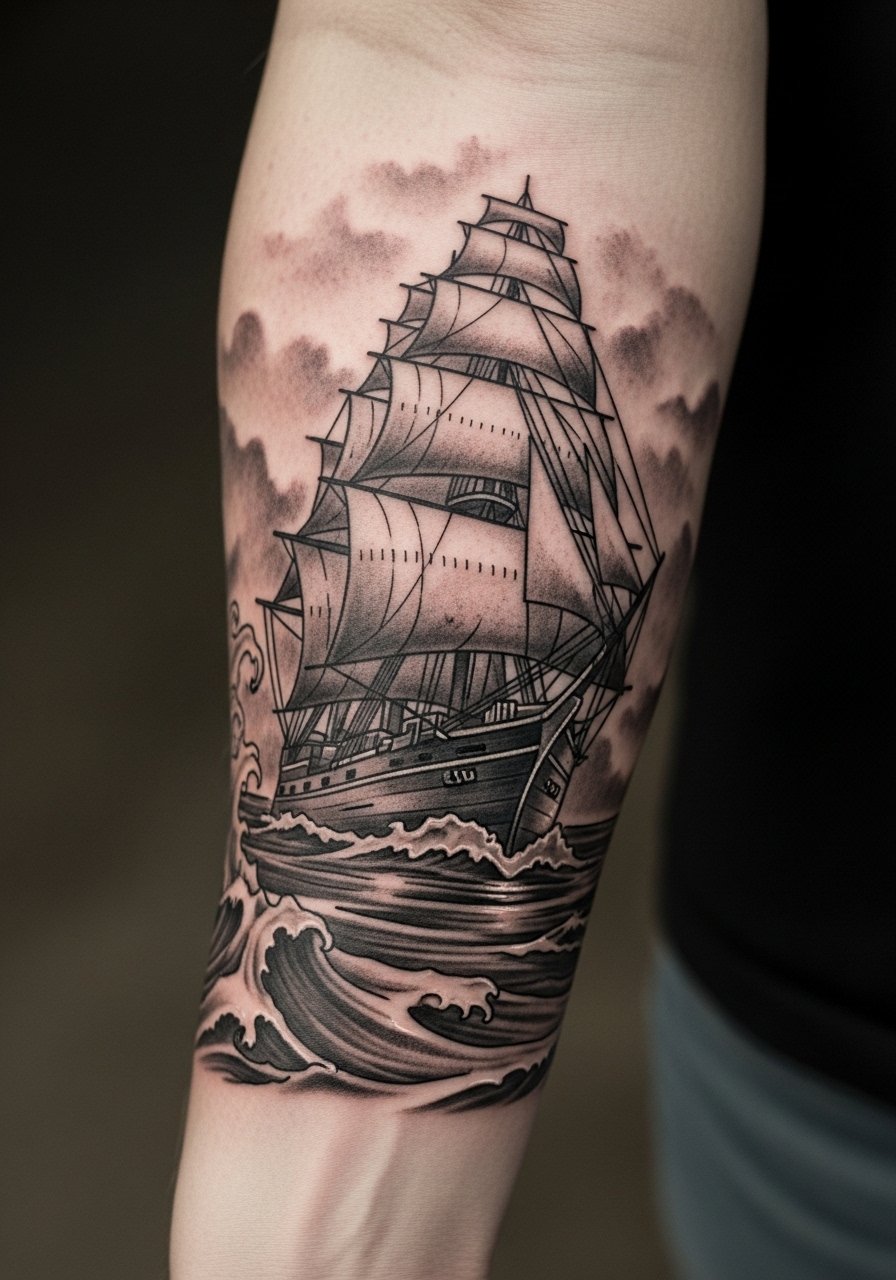
8. Black and Gray Portrait of a Ship at Sea, Outer Forearm Story
Visual impact lead: portraits and ships work when negative space gives the waves room to breathe. Forearm placement shows every detail up close but also faces more UV exposure, so placement and future sunscreen use matter. Expect several sessions for smooth gradients and atmospheric clouds. For session comfort pick a loose short sleeve button down so the artist can access elbow-to-wrist. The common mistake is cramming too many tiny ship lines into a small forearm area, which loses definition with time. Touch-ups for mid-tone smoothing are common at year two to four.
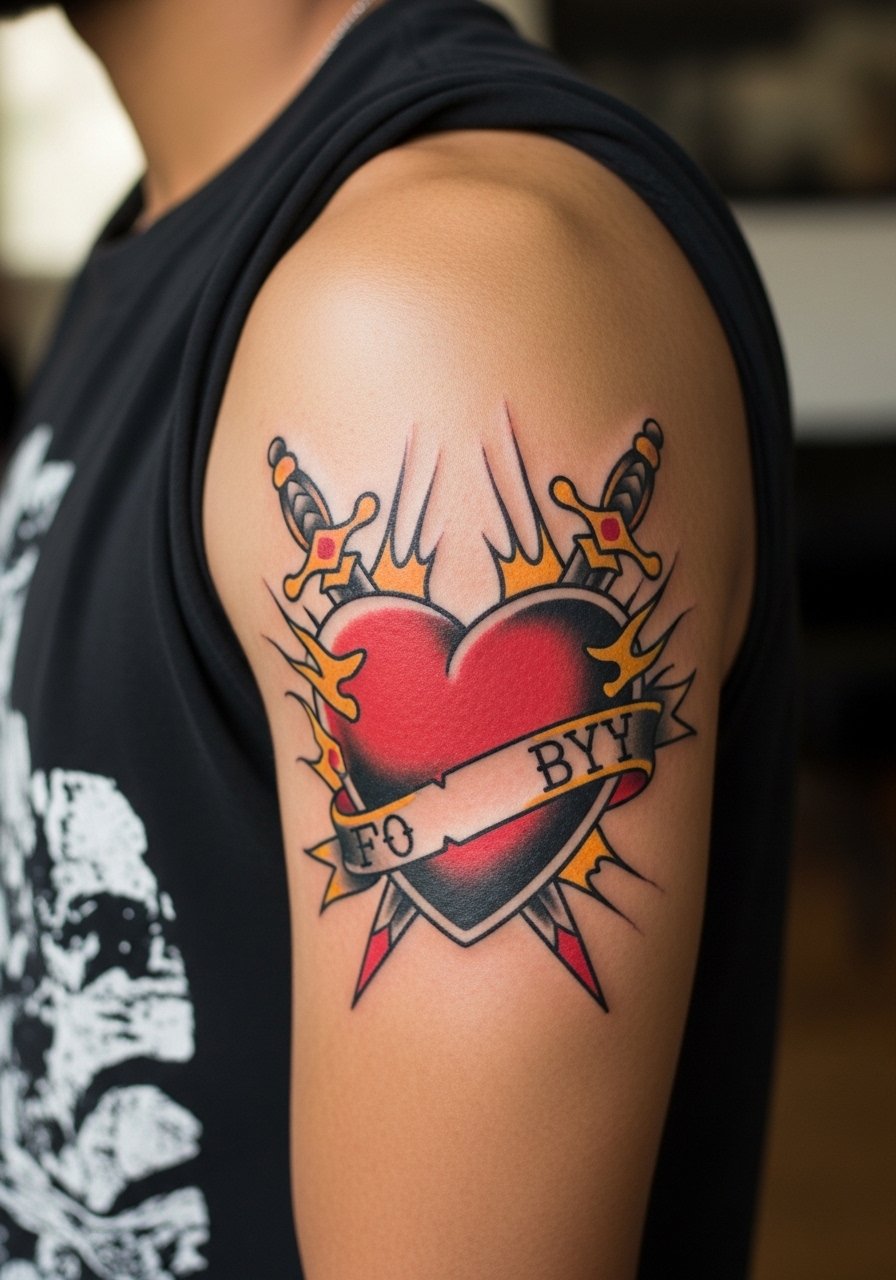
9. Traditional Heart with 'Mom' Banner and Daggers, Upper Arm Tribute
Mistake lead: hearts with tiny banners often blur when the script is too delicate. Go for slightly heavier type and negative space around daggers so the sentiment reads at a distance years later. Upper arm location is forgiving and the session tends to be comfortable. For a retro touch pair the piece with a vintage leather cuff bracelet on the opposite wrist to balance the throwback vibe. A real-world mistake is asking for thin serif script inside a narrow banner. Aim for bolder letters that hold up better.
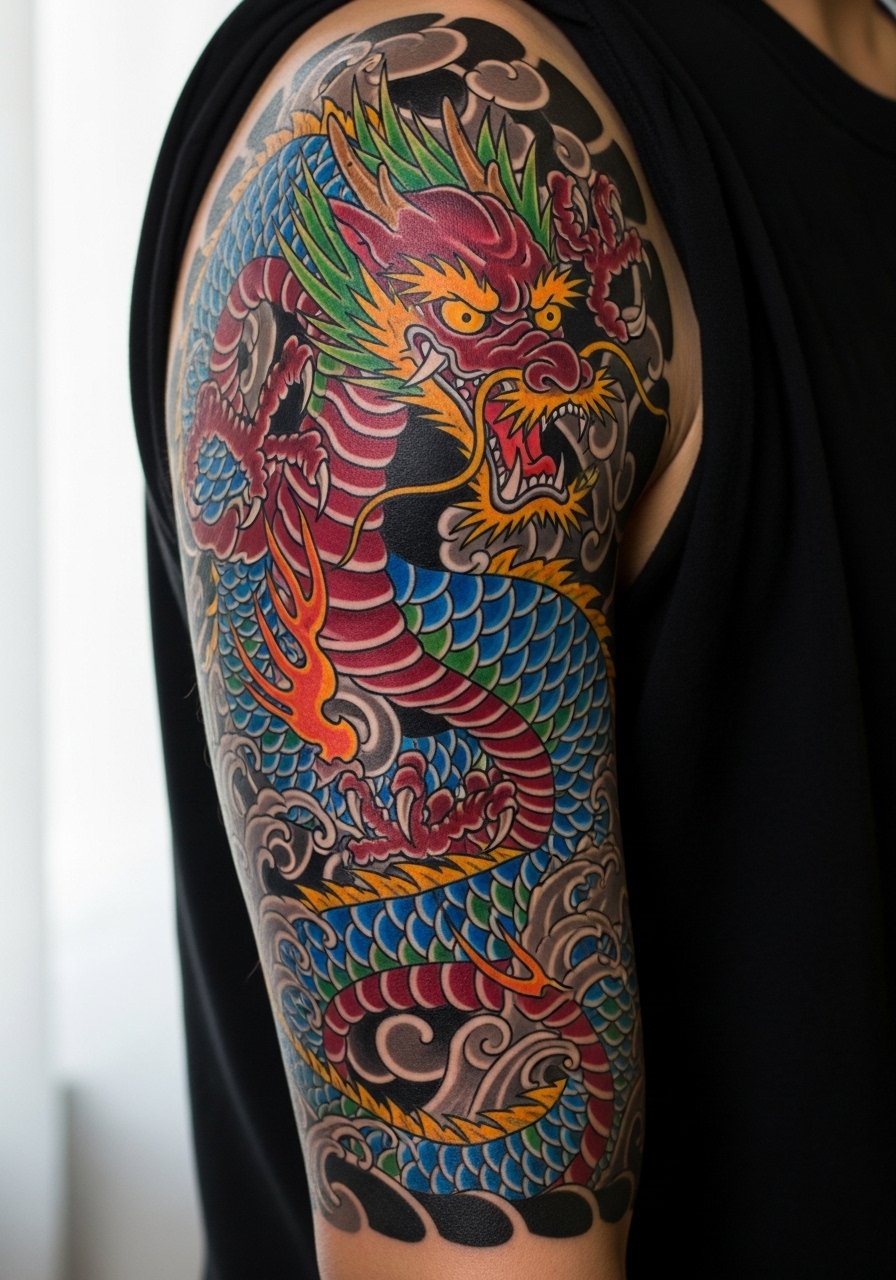
10. Japanese Dragon Coiling Half Sleeve from Shoulder to Elbow
Personal observation: dragons that follow muscle lines feel alive when you flex. Ask for scales with varied saturation rather than endless micro-detail, which can soften into murk. This runs into longer sessions with time in the chair. For the appointment wear a sleeveless performance tank to give full shoulder-to-elbow access. The main mistake is over-detailing the belly scales in a small area rather than stepping back for larger, bolder elements that age cleanly. Plan for multiple appointments spaced by at least two weeks.
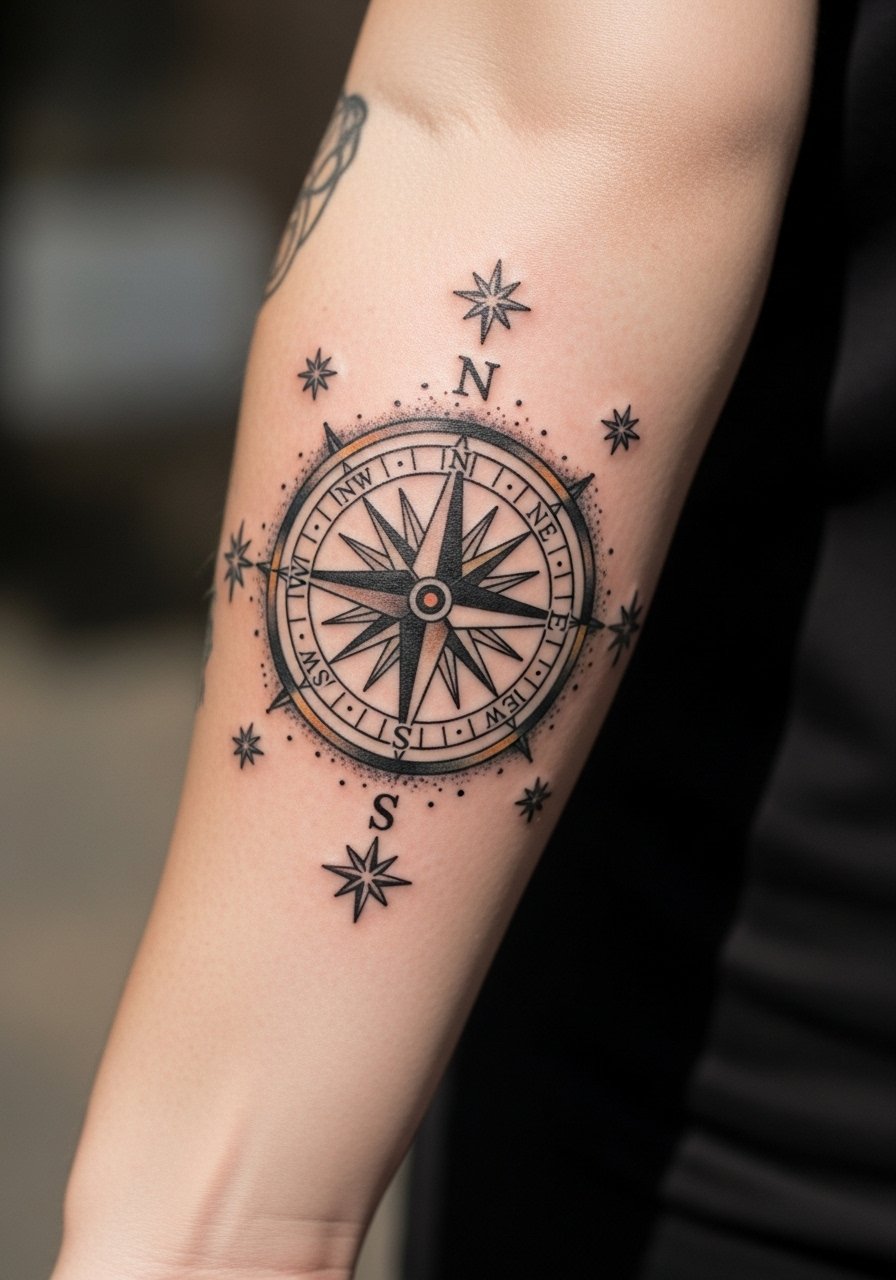
11. Vintage Compass Rose with Stars, Lower Arm Placement
Visual impact lead: compass roses work best with crisp outer points and roomy internal lines. Lower arm pieces get noticed and are easy to show off but they face regular sun exposure. For a clean reveal wear slim-fit short sleeve polos so the compass centers on the sleeve gap. A common aging error is filling tiny star details that lose their edges when exposed to sunlight. If you travel a lot, consider touch-ups for saturated color every few years.
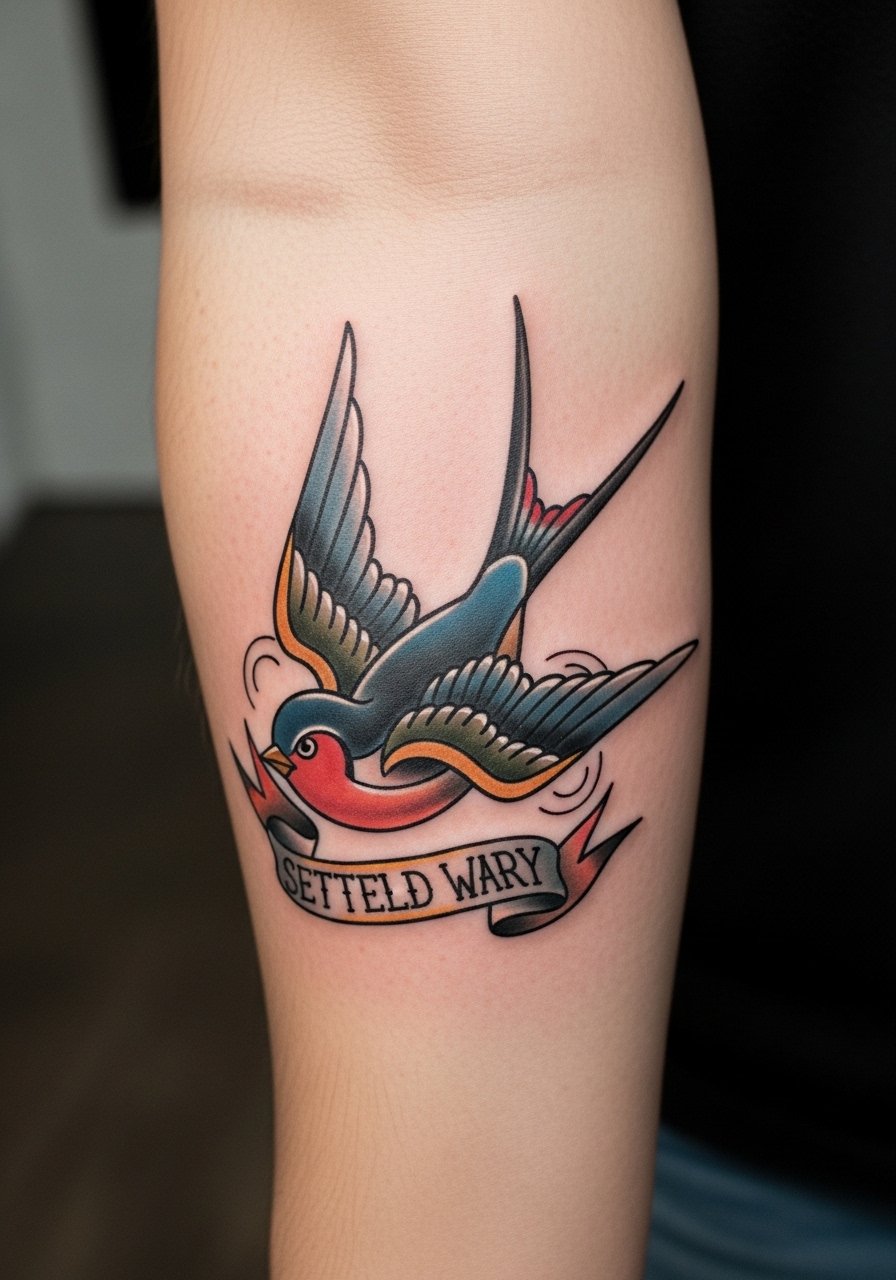
12. Neo-Traditional Swallow with Banner on Inner Forearm
Consultation lead: ask for the swallow to follow your forearm grain so it seems in flight with your arm motion. Inner forearm is a good spot for mid-detailed neo-traditional work. Sessions are tolerable but the inner skin can bruise easier. For session wear a loose short sleeve button down so the artist can roll the sleeve without pressure on the elbow crease. A common mistake is tiny banner text that collapses during healing. Larger lettering in the banner avoids that problem.
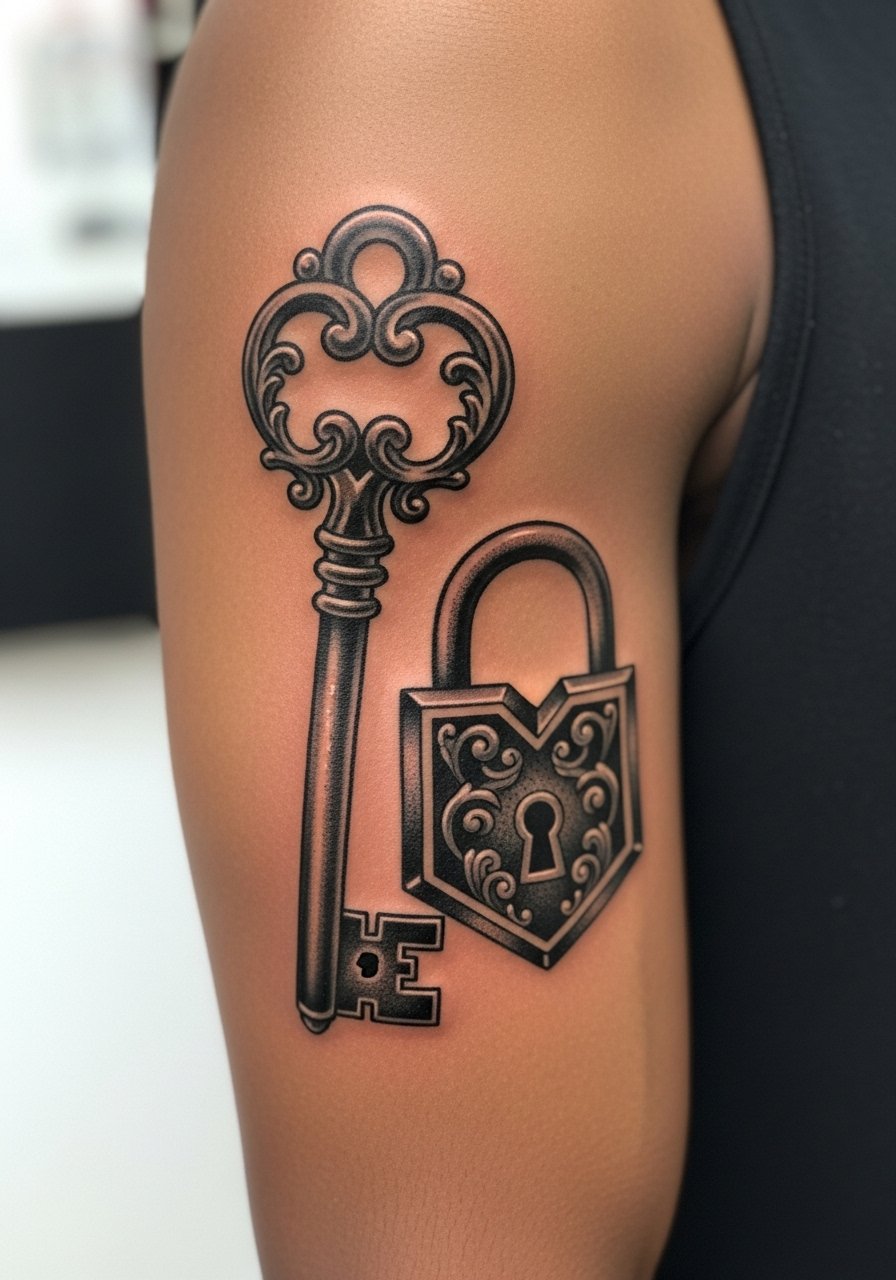
13. Blackwork Vintage Key with Lock on Upper Arm
Mistake lead: solid black fills look striking now and age into bold silhouettes that read well across skin tones. The upper arm tolerates large black fills, but heavy saturation needs time to heal between sessions. For an understated reveal wear a neutral henley shirt with sleeves rolled so the lock sits framed and steady. One controversy around blackwork is that dense fills can feel heavier during sessions. If you plan a blackout or large fill, discuss session pacing and aftercare film versus dry healing.
14. Pocket Watch with Script and Gears, Upper Arm to Bicep Blend
Aging lead: pocket watches with tiny Roman numerals often lose legibility if the numbers are too small. Opt for bolder numerals and generous negative space between gears. The area from upper arm into the bicep gives a flattering curve that reads in photos. The session feels moderate, longer for fine shading. For the appointment pick a loose button-down shirt that you can slide aside to show only the arm. The main mistake is compressing too many tiny elements into a narrow band which later merges visually.
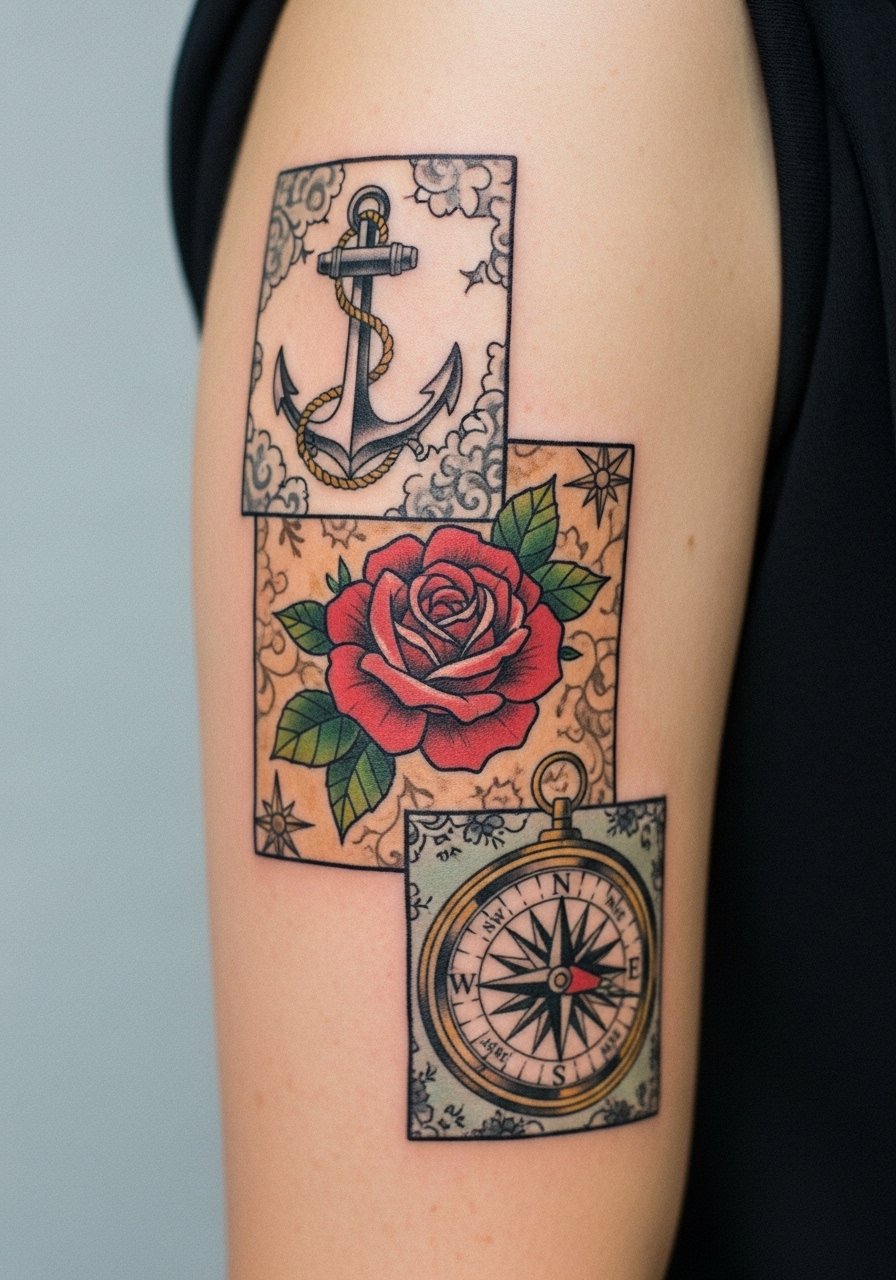
15. Patchwork Half Sleeve: Start Small and Fill Later
Styling lead: start with discrete vintage motifs like small anchors, roses, and compass pieces and leave breathing room for future additions. This patchwork approach works well if you want to build over years. Expect each small element to take one session so plan spacing and skin recovery. For session comfort wear a sleeveless tank so the artist can move easily between zones. The advantage is flexible pacing and lower per-session cost anxiety. A real mistake is too-tight clustering that forces early cover-ups.
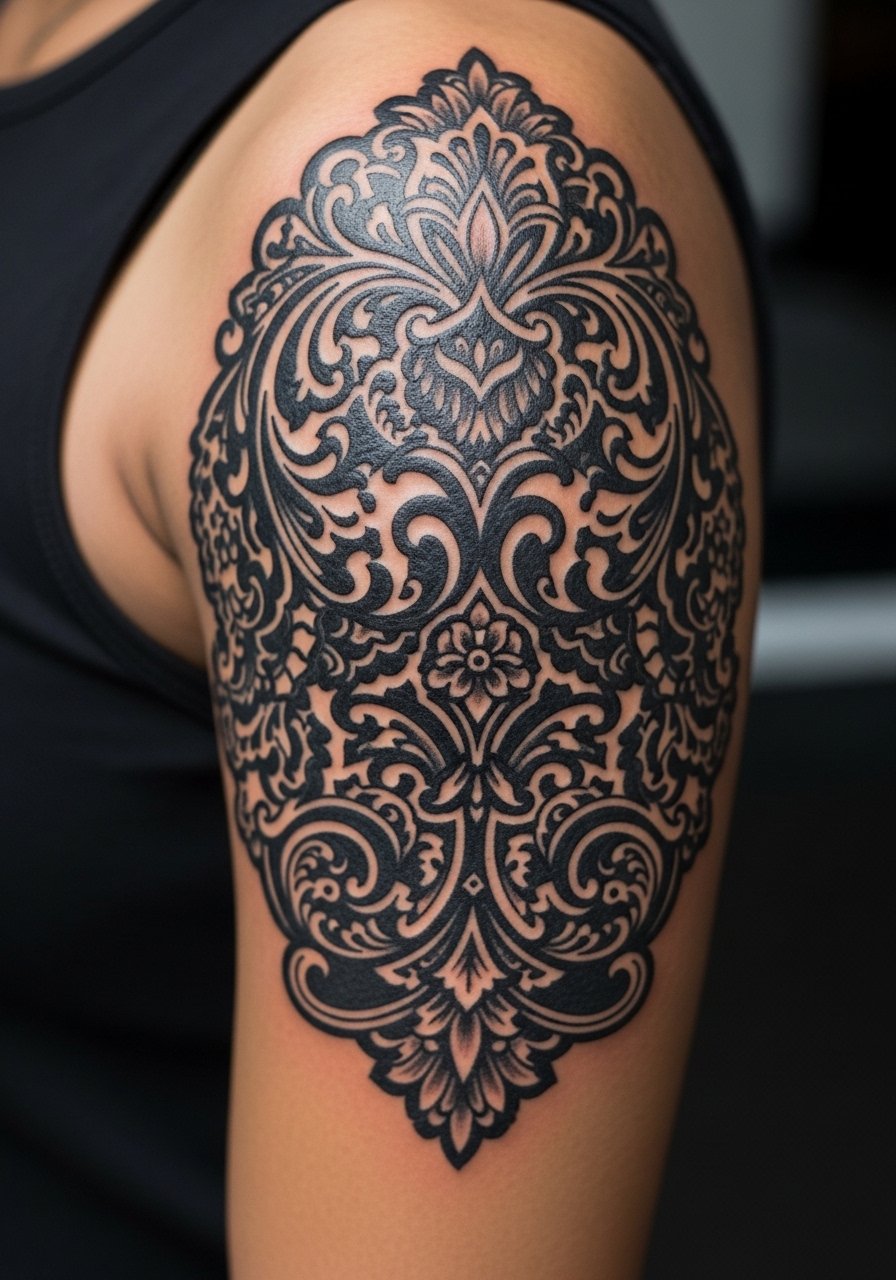
16. Blackout Cover-Up with Vintage Patterns
Controversy lead: blackout cover-ups divide opinion because some artists see them as bold restorative work and others view them as losing the original vintage detail. One camp values the graphic result and clean silhouette, while the other argues for reworking original motifs instead. If you choose blackout, expect multiple long sessions to let skin recover between saturation passes. This approach hides older tattoos while giving room for vintage motifs etched in negative space afterward. For showing off the graphic result, heavier bracelets frame the negative space well but avoid tight cuffs during healing.
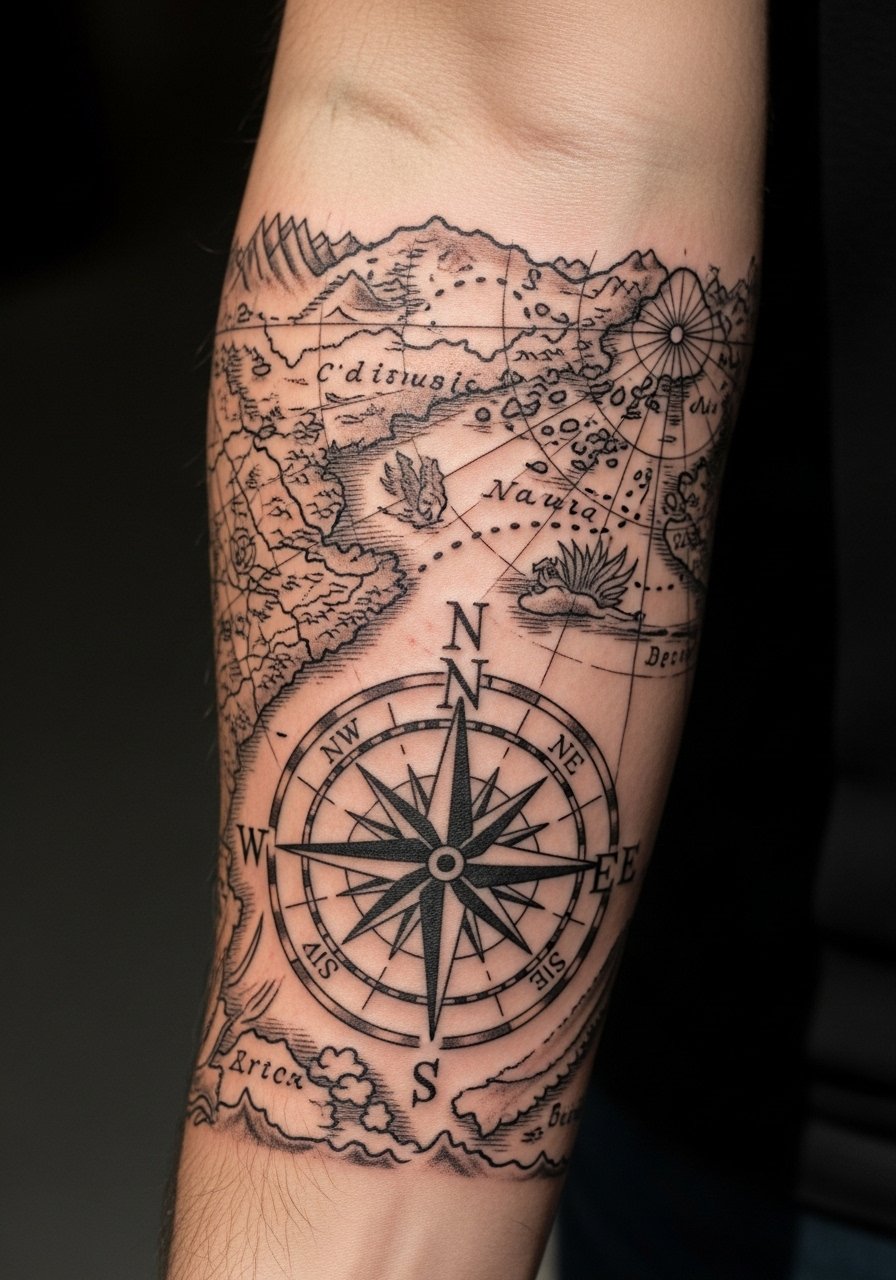
17. Vintage Map with Compass and Ship, Forearm Storyline
Visual impact lead: lining a coastline across the forearm works when the map lines are bold and not overly detailed. Forearm exposure means more sun and faster visual fading, so spacing and saturation matter. During the session wear a loose short sleeve button down to give clear access. A common mistake is trying to cram micro-legends and tiny place names into a small forearm map. If you want text, pick a few larger place names that age legibly.
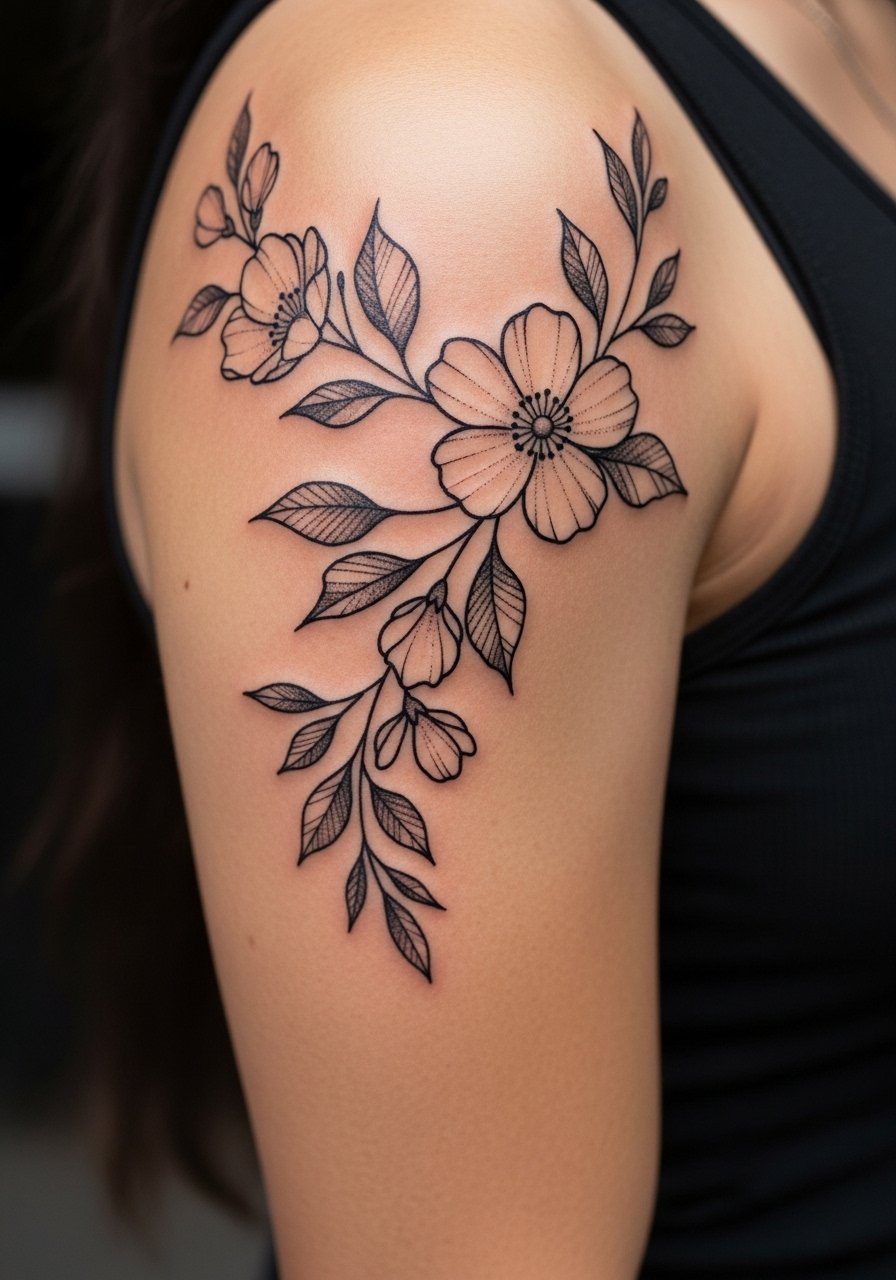
18. Floral Garland with Stipple Shading, Outer Upper Arm
Personal observation: stipple shading gives a vintage engraving feel that keeps detail longer than washed greys in some skin types. The outer upper arm is forgiving for dotted transitions but demands consistent stippling to avoid patchy healing. Sessions are steady and can be split into background and foreground passes. For evenings out pair this with an open denim jacket or a neutral henley so the garland reads cleanly. The common mistake is mixing stipple and heavy whip shading without clear boundaries which makes the piece look inconsistent when healed.
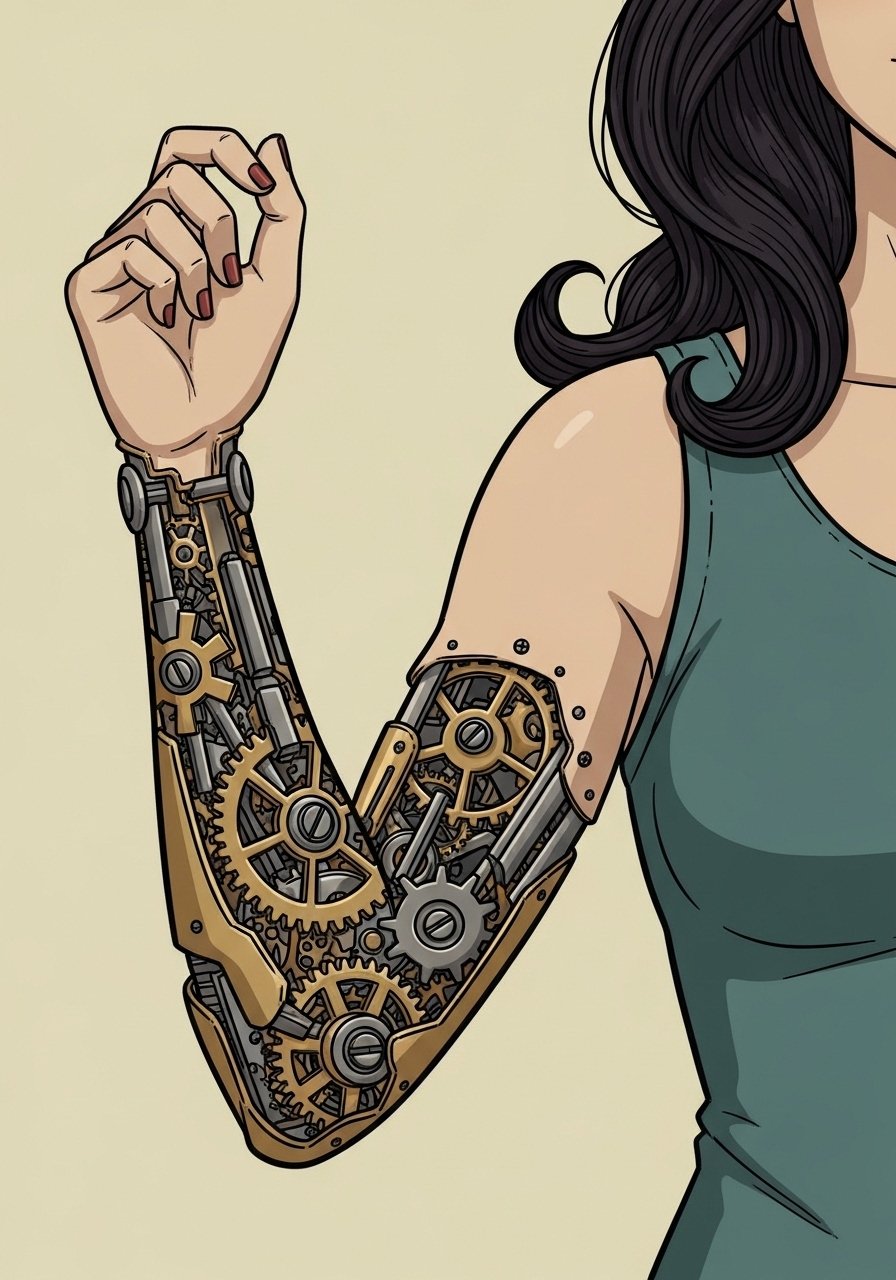
19. Mechanical Pin-Up Mix: Gears and Classic Figure, Lower Arm
Consultation lead: combining mechanical elements with a pin-up figure needs clear hierarchy so the motifs do not compete. Lower arm placement is visible and interactive, which is great if you want the mechanical parts to peek from under sleeves. Sessions feel fine but the wrist edge can be sensitive. Pair with aviator sunglasses for a retro night look that echoes the motif. The main mistake is equal visual weight for both figure and gears. Pick a focal point and let the rest support it.
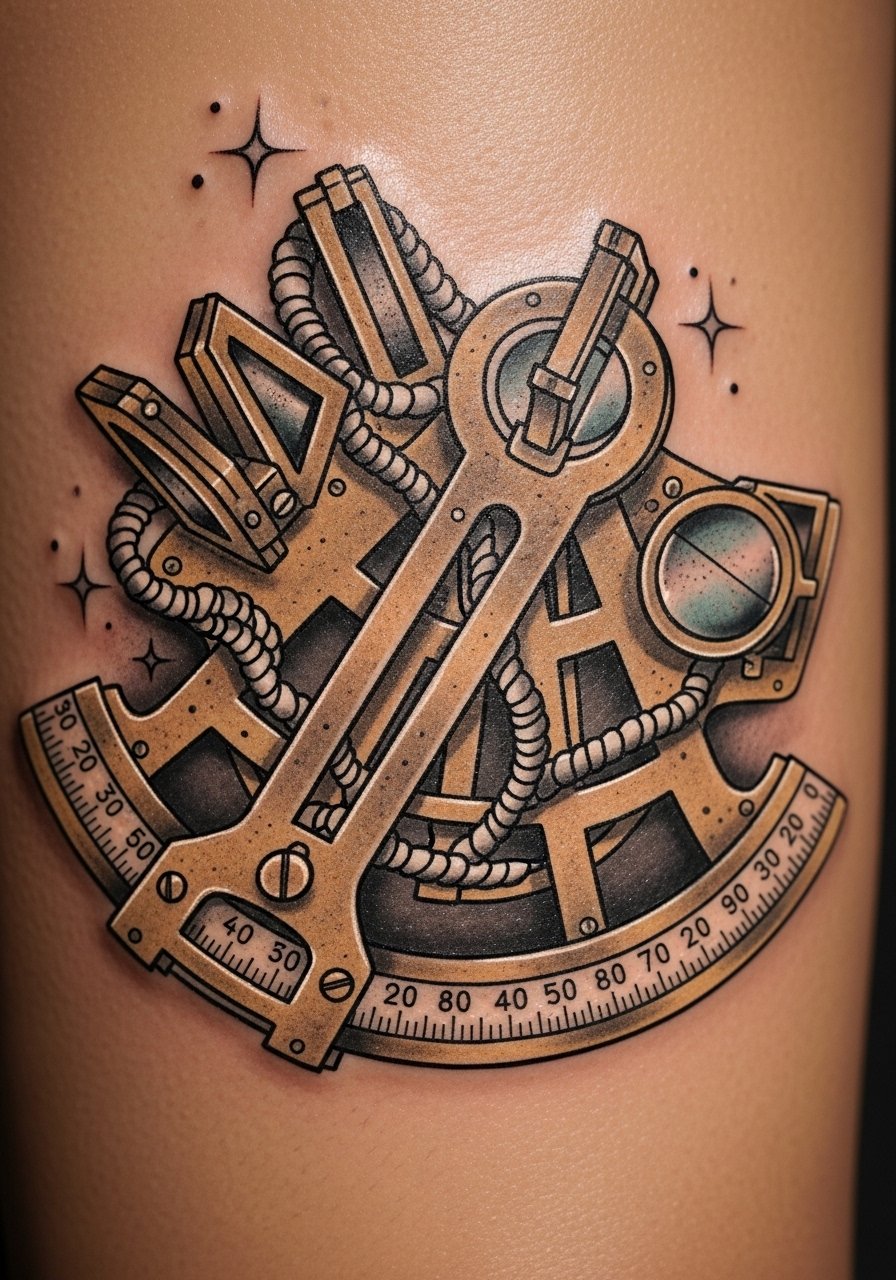
20. Nautical Sextant with Ropes and Stars, Upper Arm Nautical Set
Mistake lead: sextants look best when the measurement lines are slightly bolder than you'd expect, because tiny mechanical lines disappear over time. Upper arm placement allows the ropes to wrap naturally and still be readable years later. The session pace is moderate and benefits from breaks. For the day of your appointment pick a fitted white tank top so the shoulder area is free. Avoid tiny cross-hatching in the sextant face if you want long-term clarity.
21. Script Banner with Important Date in Roman Numerals, Outer Forearm
Consultation lead: text pieces live or die by sizing. Roman numerals look crisp when the characters are slightly larger than you think you need. Forearm placement shows script regularly, so pick letter weights that are still legible at arm distance. For session day wear a loose short sleeve shirt so the artist can access the forearm cleanly. A common mistake is choosing a delicate serif for narrow bands. Choose strong, readable lettering to avoid early blurring.

Frequently Asked Questions
Q: Will fine line elements in a vintage half sleeve blur faster than bold traditional linework?
A: It depends on placement and spacing. Fine line work tends to soften sooner on high-friction or high-stretch areas. Bold traditional linework usually reads longer without frequent touch-ups. If you want fine detail, ask your artist to scale up line weight slightly and space tiny elements to prevent early merging.
Q: How should I dress to keep a half sleeve from rubbing in the first week when the piece crosses elbow or inner arm zones?
A: Favor loose, breathable tops with easy access. For shoulder-to-elbow pieces wear a sleeveless tank or a loose button-down with rolled sleeves so fabric does not press on the fresh ink. Avoid tight cuffs and heavily textured fabrics near the area.
Q: Some artists recommend protective film and others recommend dry healing. How do I choose for a half sleeve?
A: Name both camps and ask yourself which fits your routine. One group likes protective film for less mess and protection from shirts rubbing the area. The other group prefers dry healing for breathability and natural scab formation. Ask the artist what they use on similar placements and why, then align with your skin history and activity level.
Q: If I start with a patchwork vintage motif, how long should I wait between additions to the half sleeve?
A: Space new sessions by at least two to three weeks so the skin fully settles. Many people stagger small motifs over months or years to check aging and flow before committing to fill. That approach reduces touch-up clustering and keeps options open for cover-up or extension.
Q: Do numbing creams distort the artist's work on half sleeves during long sessions?
A: Some artists caution that numbing creams can slightly change skin response and texture, while others use them routinely for long half-sleeve appointments. The camps argue for performance versus tactile fidelity. Be upfront with your artist if you plan to use numbing cream and follow their guidance on brand and timing.
Q: For vintage pieces on the upper arm, how often should I expect to need touch-ups?
A: For bold traditional elements you may go longer between touch-ups, often several years. For fine details and small script expect touch-ups sooner, around two to five years depending on sun exposure and skin changes. Plan for occasional maintenance rather than a fixed timetable.
Q: Are there workplace considerations for visible forearm half sleeves?
A: Yes, some industries still have conservative policies about visible arm tattoos. If your career path could be affected consider outer upper arm placements that are easy to cover with sleeves or plan a forearm design that can be strategically positioned away from visible interactions.
