
The stencil came off the inner forearm and everyone in the shop leaned in for the first pass. The artist wiped, adjusted the angle, and started the outline again until the curve read clean at arm length. Small resets like that make a forearm piece read crisp on a crowded subway years from now. Below are bold forearm ideas that photograph well, age predictably, and wear with everyday clothes.
1. Bold Blackwork Band on Outer Forearm
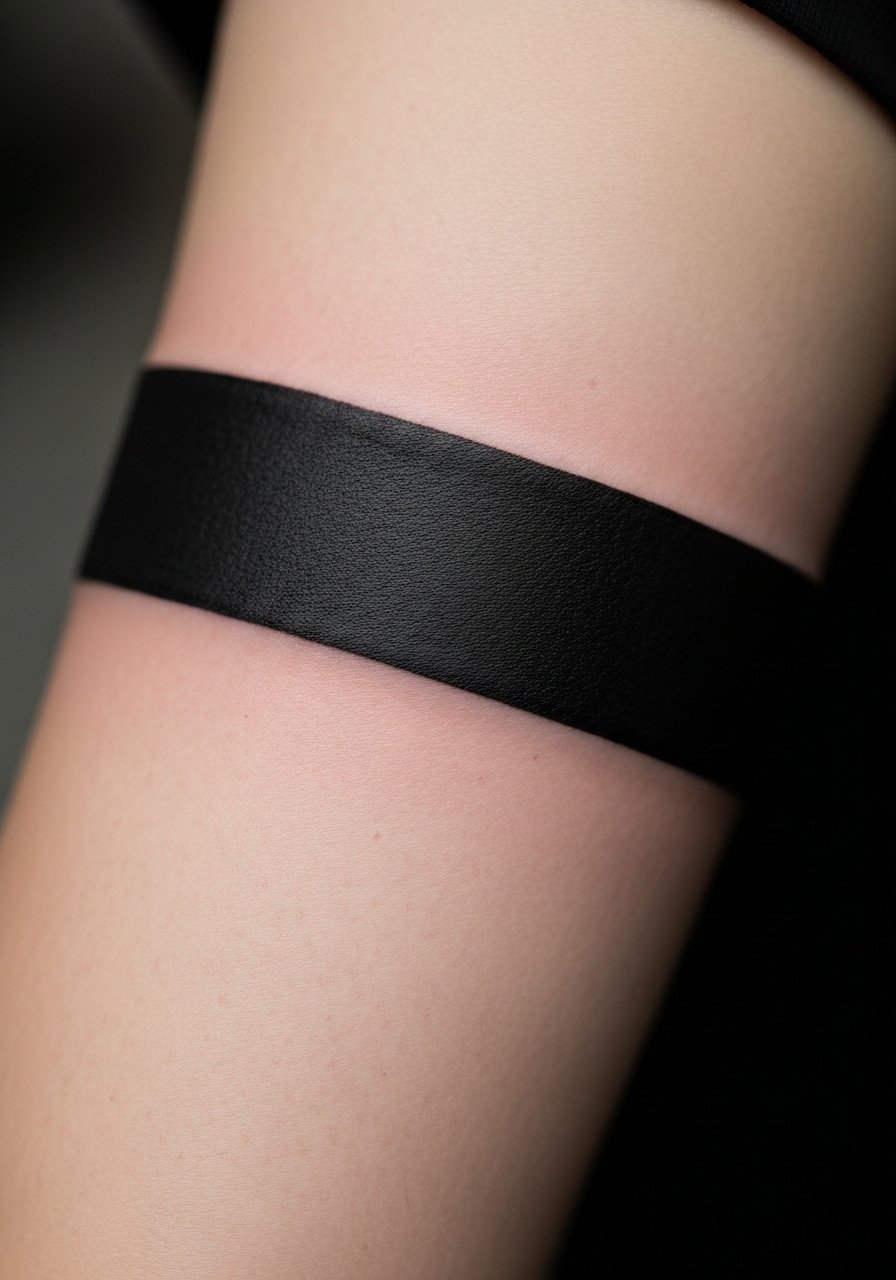
There is a reason solid black bands read so clean from a distance. The heavy saturation hides early fading and frames the arm without relying on fine detail that blurs. For a one-session outer forearm band expect moderate pain and about 60 to 90 minutes of work depending on width. Tell your artist you want crisp edge consistency and slightly softened corners so the band does not look surgical when you bend your wrist. Avoid asking for extremely thin negative-space lettering inside the band, because that detail is a common version that ages poorly. For showing it off, roll the cuff of a short-sleeve linen shirt so the band sits flush with your sleeve.
2. Fine Line Script Along the Inner Forearm
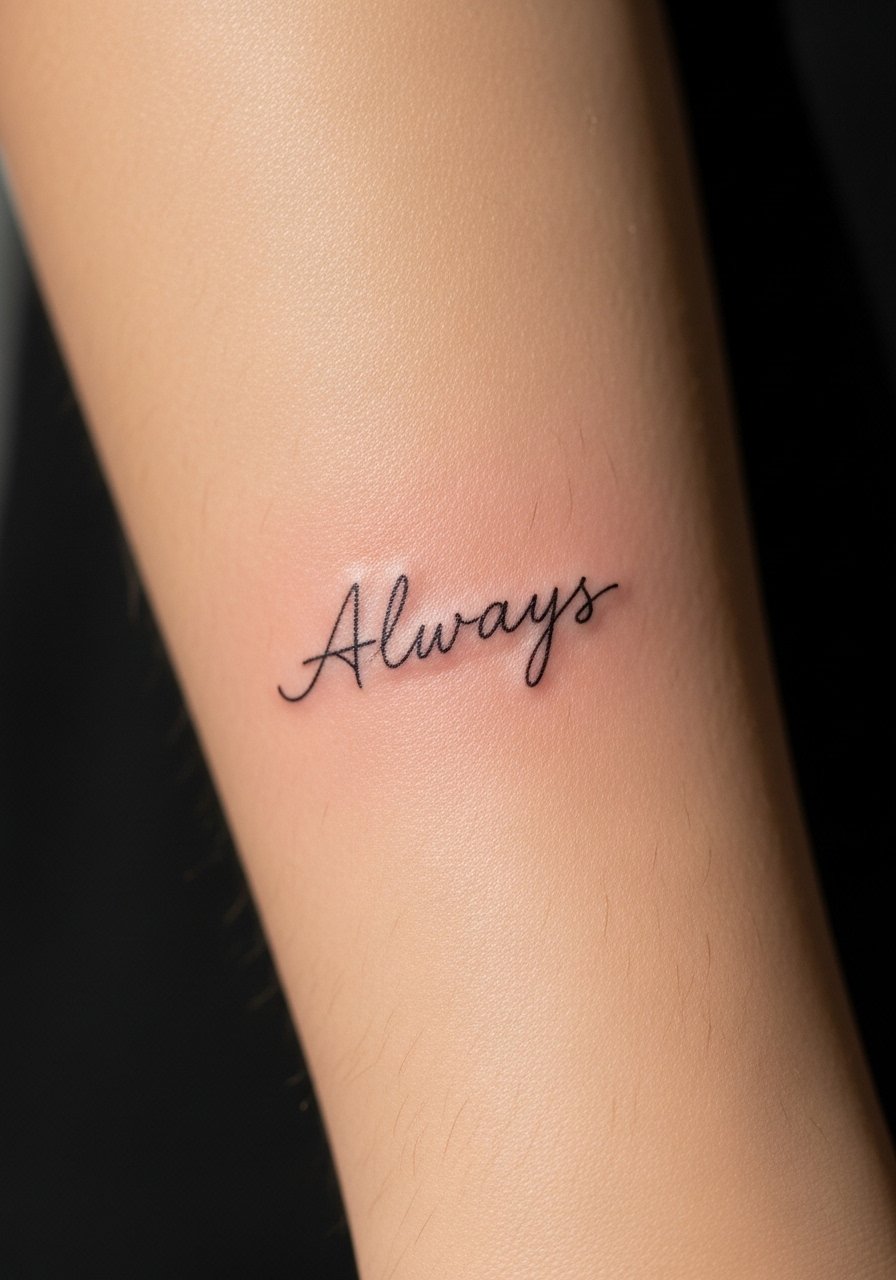
Fine script on the inner forearm looks intimate and readable when spaced correctly. Fair warning: artists split into two camps on this one. One camp says fine script blurs faster on the inner forearm because of constant washing and friction. The other camp argues that with the right depth and slightly heavier line weight, script holds surprisingly well. Ask which camp your artist falls into and request a portfolio showing ink at two or three years healed. Sessions run short, usually 30 to 60 minutes, and the biggest mistake is asking for tiny letters packed tightly. Pair a thin cuff watch or a few minimalist bracelets to frame the text, like a minimalist watch band that keeps attention on the script.
3. Geometric Mandala on the Center Forearm
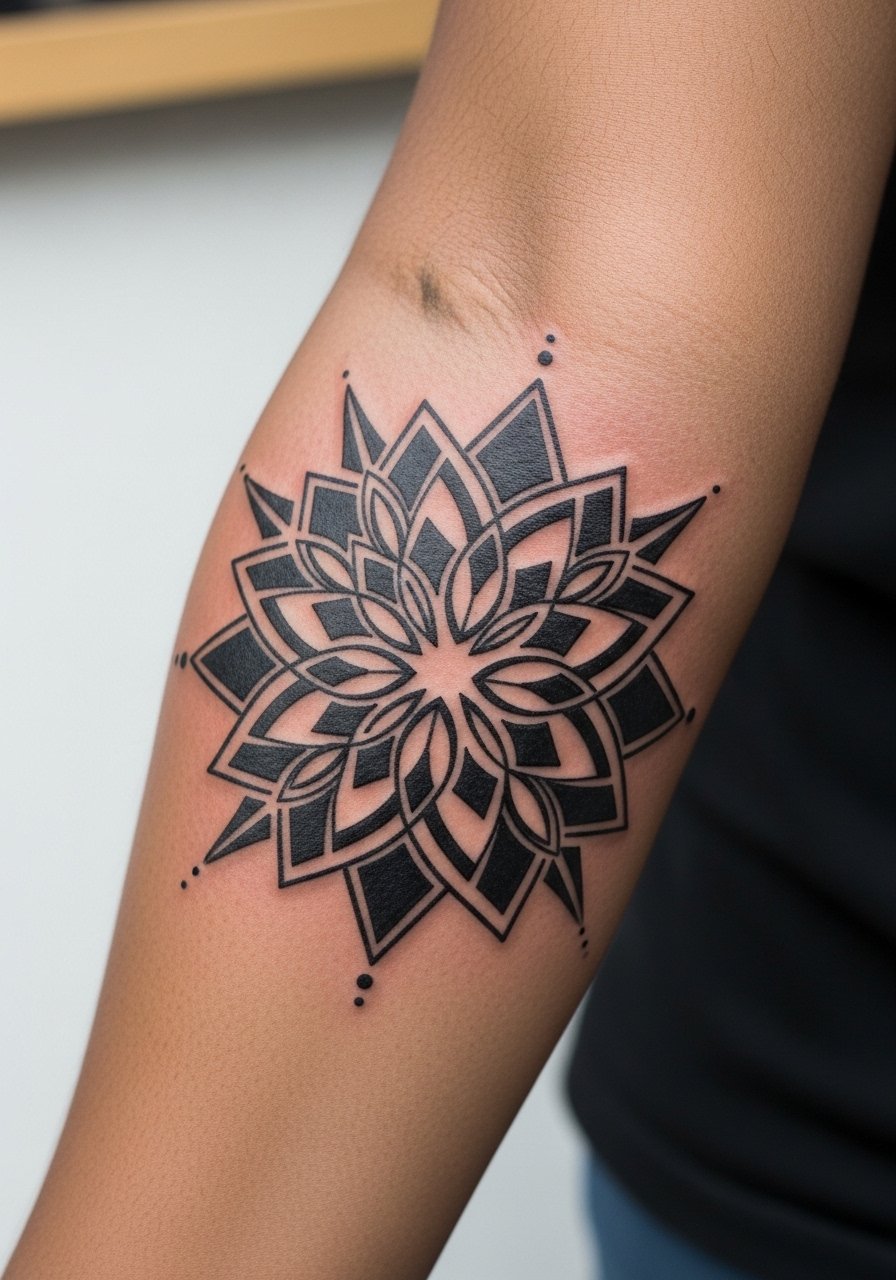
There is a lot of debate about mandalas and tight geometry on the forearm. One side argues that dense mandalas done too small will lose their definition as lines feather. The other side says strategic spacing and heavier primary rings keep the pattern readable. I recommend scaling the central motifs larger than you think and asking for clear breathing room between dense elements. The session time depends on complexity and could be two to four hours. A common mistake is insisting on every tiny ring visible at first glance. For visibility, wear a rolled-sleeve denim jacket to show the mandala edge without covering the center.
4. Micro-Realism Fragment, Small Portrait or Object
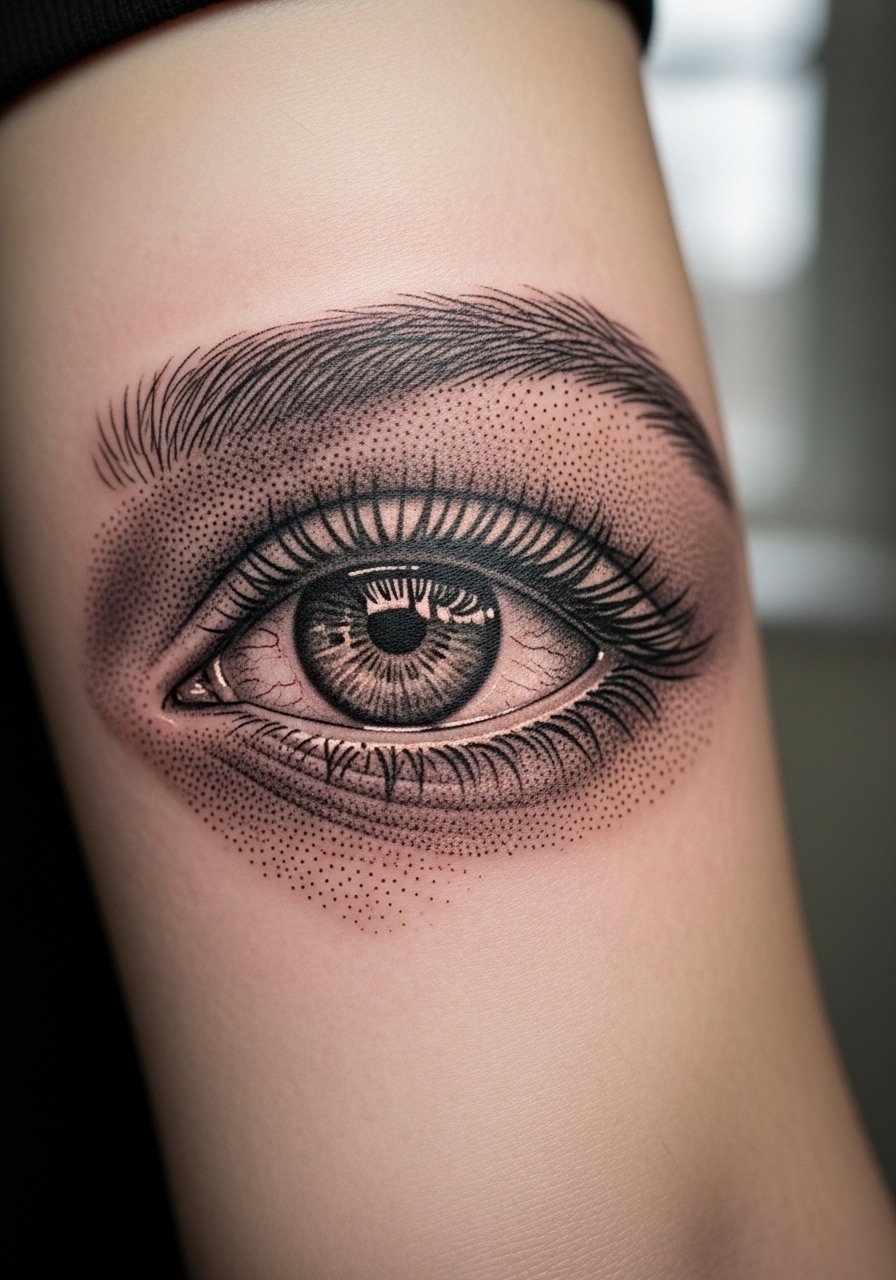
Micro-realism on the forearm reads like a cropped photograph when done at a scale that still gives the shading room to breathe. Bring clear reference photos and tell your artist which area of the reference you want translated. Expect a focused 90 to 180 minute session for a fragment size that stays crisp. The common mistake is shrinking the reference down until the stipple and tiny highlights collapse. Healed at six months the edges will hold, at two years expect some softening in halftones and plan for a touch-up then. Wear a loose short-sleeve tee during the session so the artist can work without fabric tugging across the arm.
5. American Traditional Rose with Bold Outlines
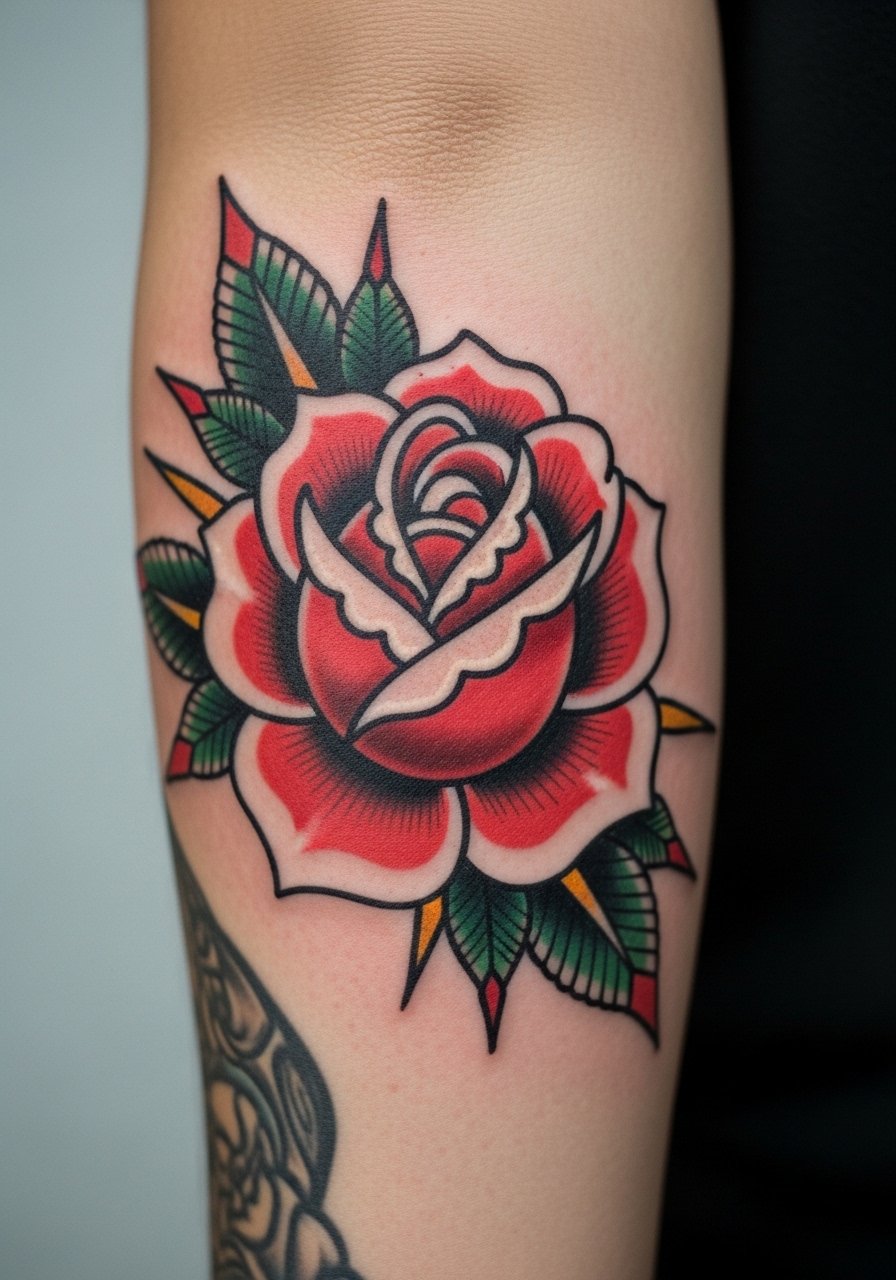
Traditional roses age into their look because of thick outlines and dense color packing. For a forearm rose, ask for slightly exaggerated outline weight around the petals and deliberate areas of negative space so the piece breathes when the arm flexes. Expect moderate pain and one two-hour session for a medium-sized rose. The mistake I see is adding too many tiny petals and shading gradients that compete with the bold outline. Over five years the color may fade but the outline keeps the silhouette readable. This style pairs easily with rolled sleeves or a casual button-down shirt if you want the arm visible in cool weather.
6. Minimal Compass or Arrow Near the Wrist
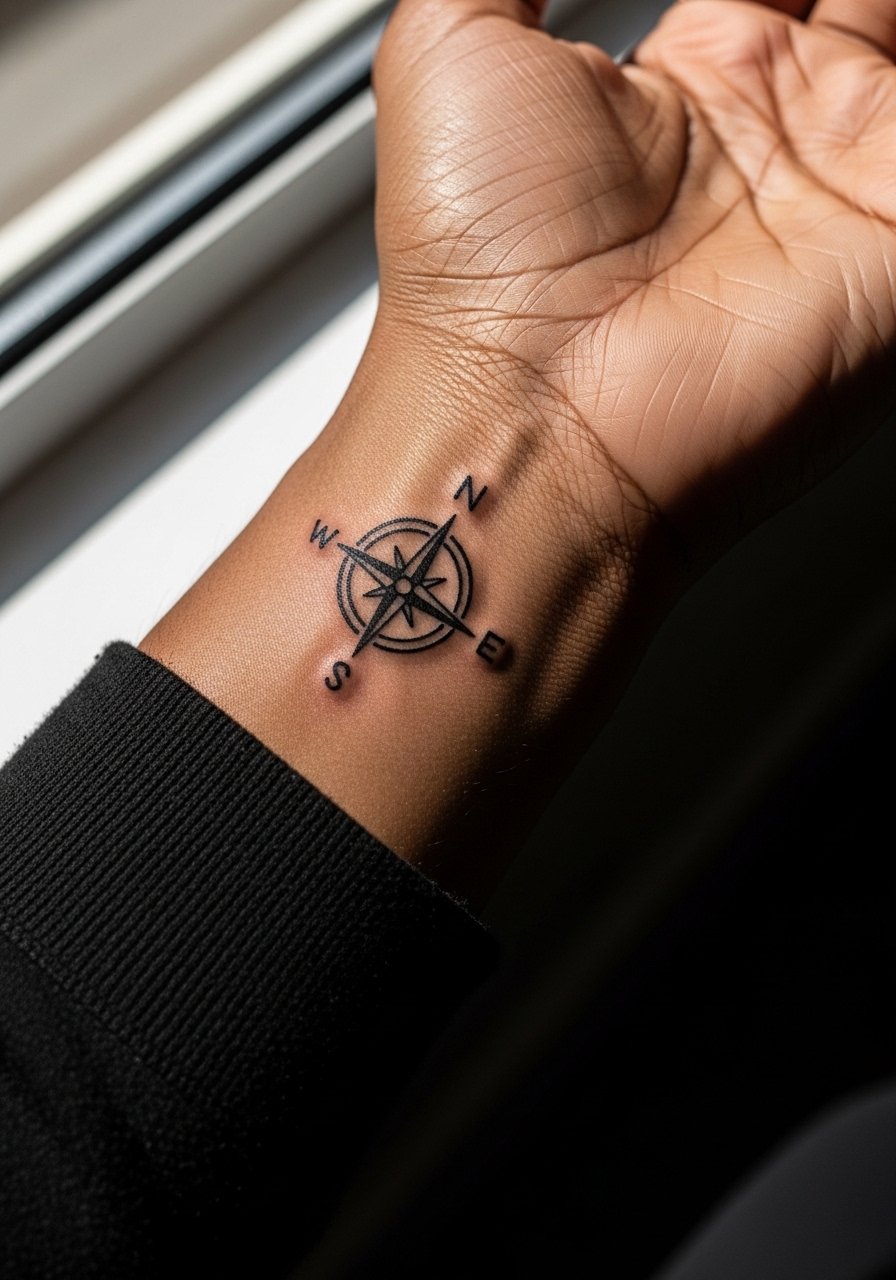
Minimal directional symbols are low-commitment looking and still make a statement on the forearm. These small pieces are quick, usually under 45 minutes, and they tolerate touch-ups well. Tell your artist whether you want the compass fully detailed or a simplified silhouette. A common mistake is placing a compass too close to the wrist crease where movement and washing create early softening. For the appointment, wear a loose cuffed sleeve hoodie so you can expose the wrist without rubbing the area on the way out.
Studio Day Picks
The outer and inner forearm pieces above have different access and friction concerns, so a few practical items smooth the session and the first week.
-
Stencil transfer paper kit. Lets you preview placement on the forearm and tweak the orientation before the first pass.
-
Topical numbing cream. Applied per product directions about 45 minutes before can ease wrist and inner forearm sensitivity.
-
Thin protective film roll. Useful for finger-adjacent forearm work where sleeves brush the area during the first few days.
-
Fragrance-free gentle body wash. Cleans the area during showers without stripping delicate linework.
-
Aquaphor healing ointment. Thin layers in the first days keep new ink moisturized while allowing the skin to breathe.
7. Polynesian-Inspired Armband with Modern Negative Space
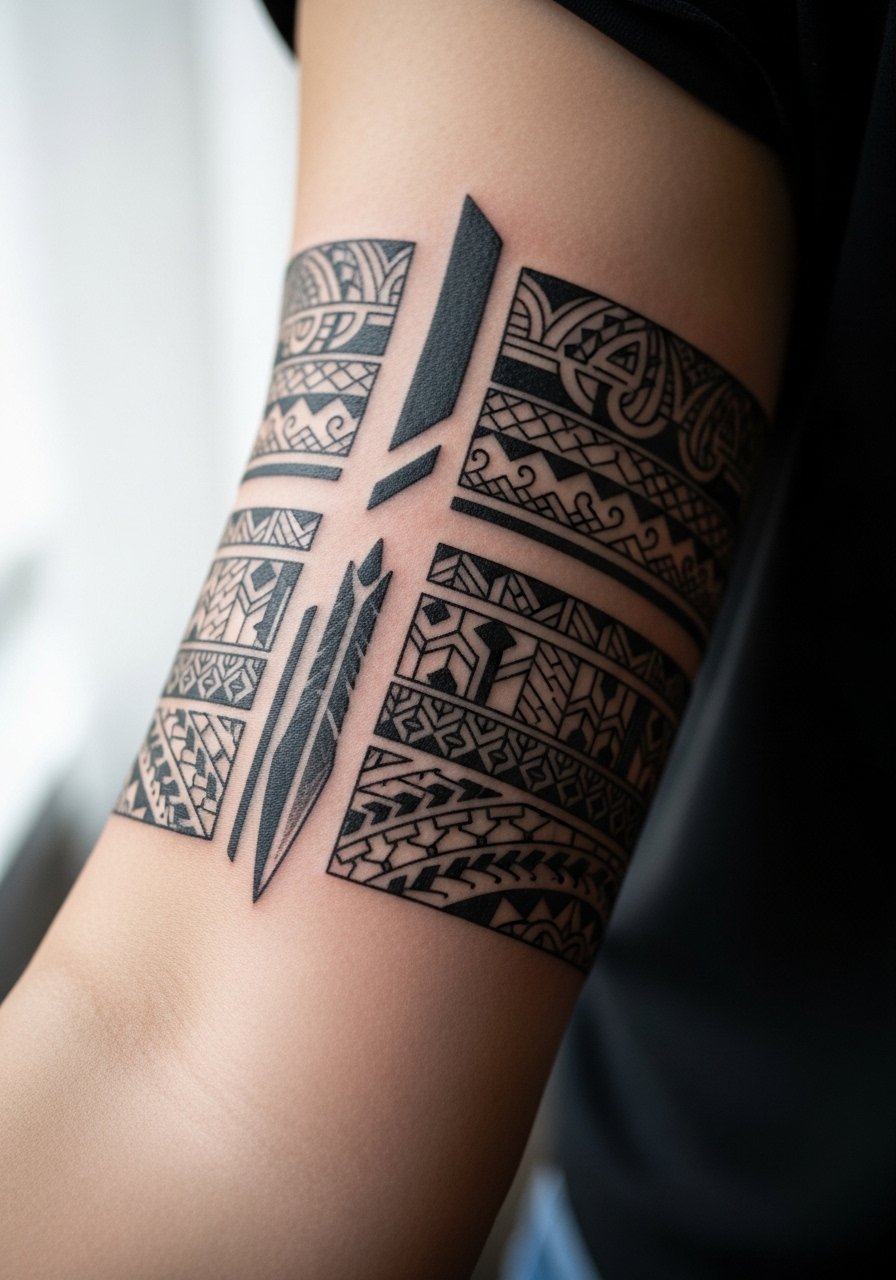
When working with patterns that draw from Polynesian tradition, acknowledge origin and opt for personal motifs rather than direct copies of sacred symbols. The armband format on the forearm reads well because the curved placement follows muscle lines. Sessions vary from one to three hours depending on complexity. A typical error is asking for overly dense repetition without alternating scale, which flattens the rhythm on healing. For appointments, a sleeveless tank top gives the artist full access while keeping the rest of your shirt clean and intact.
8. Stipple-Shaded Wolf Head on the Outer Forearm
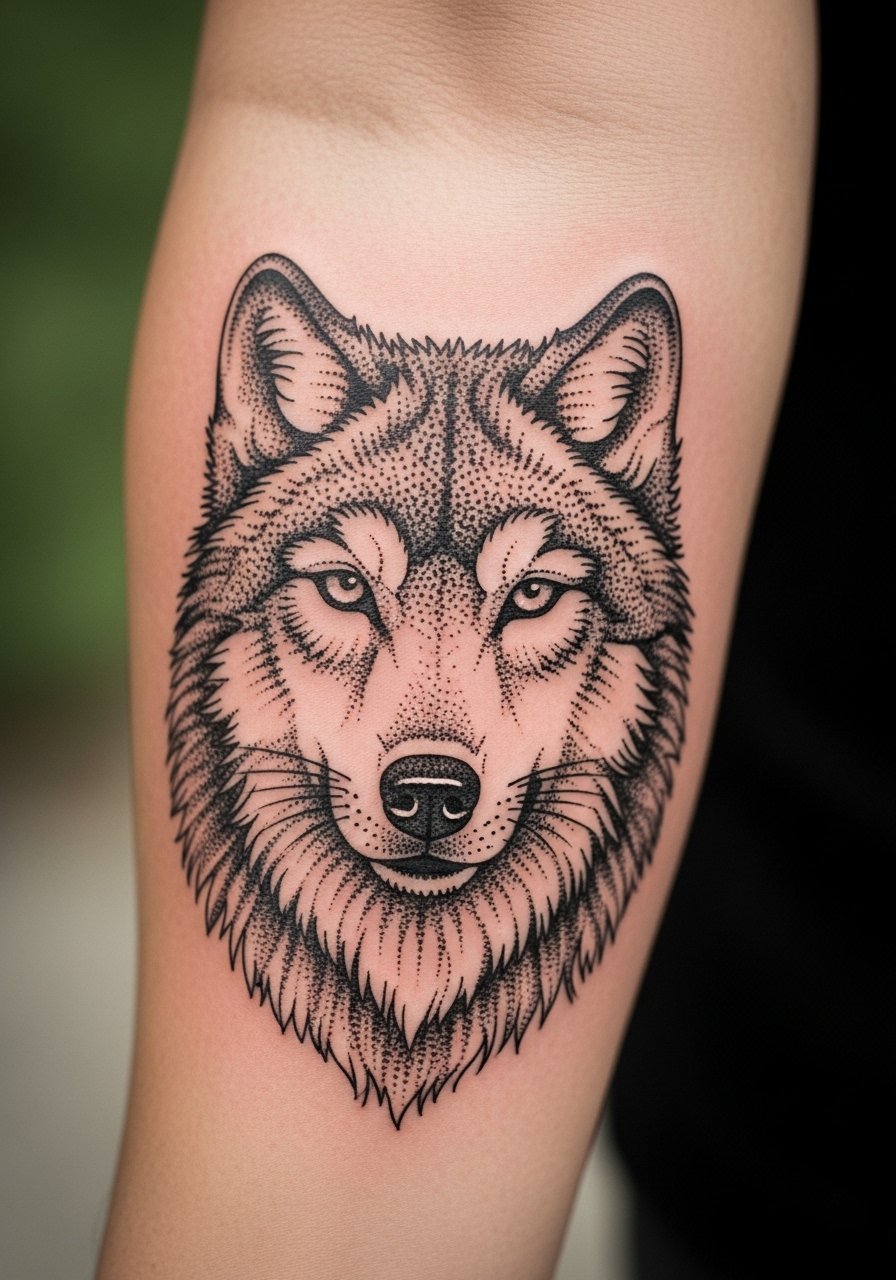
Stipple shading reads as texture rather than flat gray, so scale matters. Request that the artist map out the darkest core and build dots outward to keep the fur detail from turning into a flat patch after a couple of years. The session can be two to three hours. A common mistake is asking for every whisker and strand at a size that will blur. Expect touch-ups in three to five years for upper halftone areas. If you plan to show off the piece, rolled sleeves or short sleeves give the wolf a natural gallery.
9. Single Continuous Line Portrait on the Inner Forearm
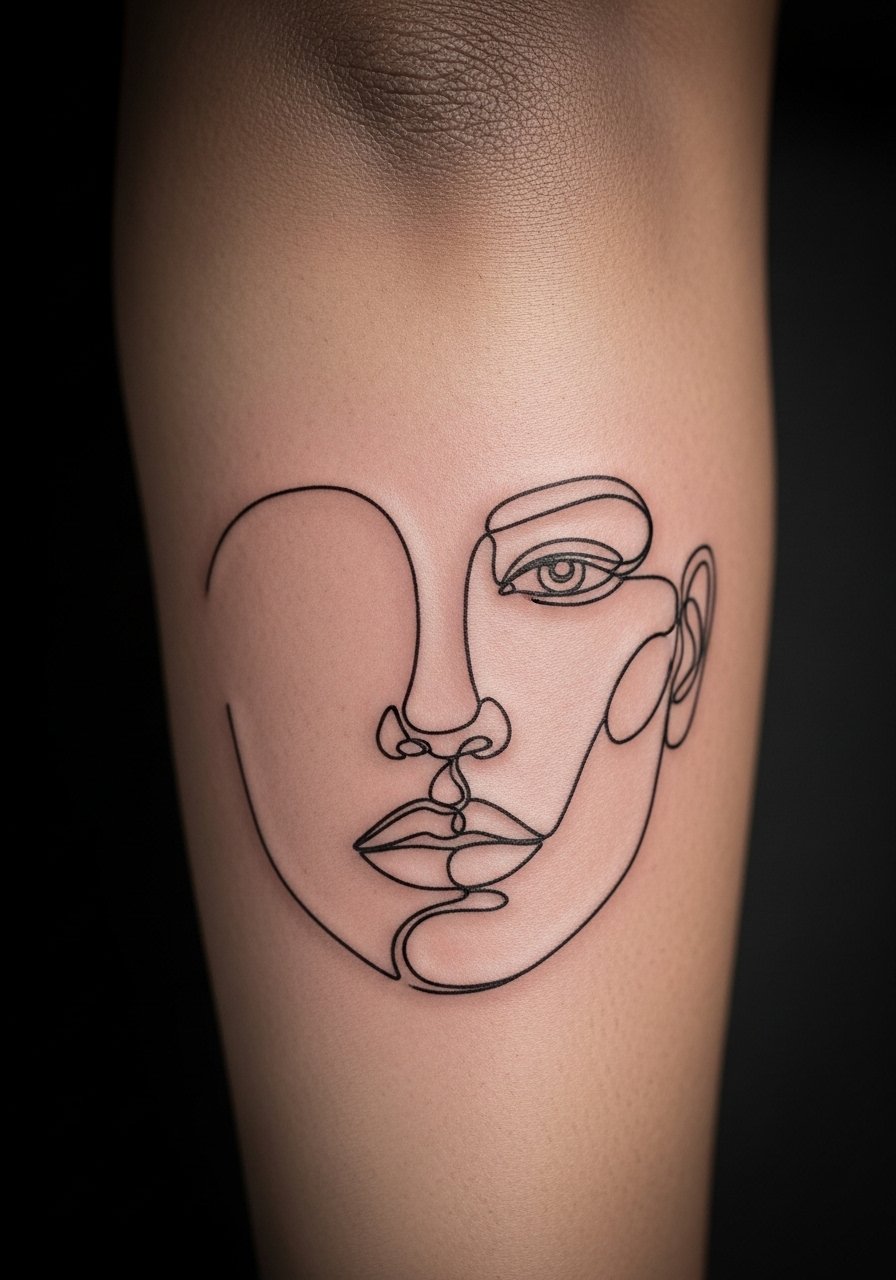
Continuous line portraits look effortless but are technically unforgiving. The consultation should include exactly where the line starts and ends on the arm so the face reads correctly when you move. Expect a focused 45 to 90 minute session. A common mistake is requesting too many tiny details inside the single line concept. For an everyday angle, pair the piece with a thin chain bracelet to keep attention on the flowing contour without competing motifs.
10. Nautical Blackwork Anchor with Rope Detail
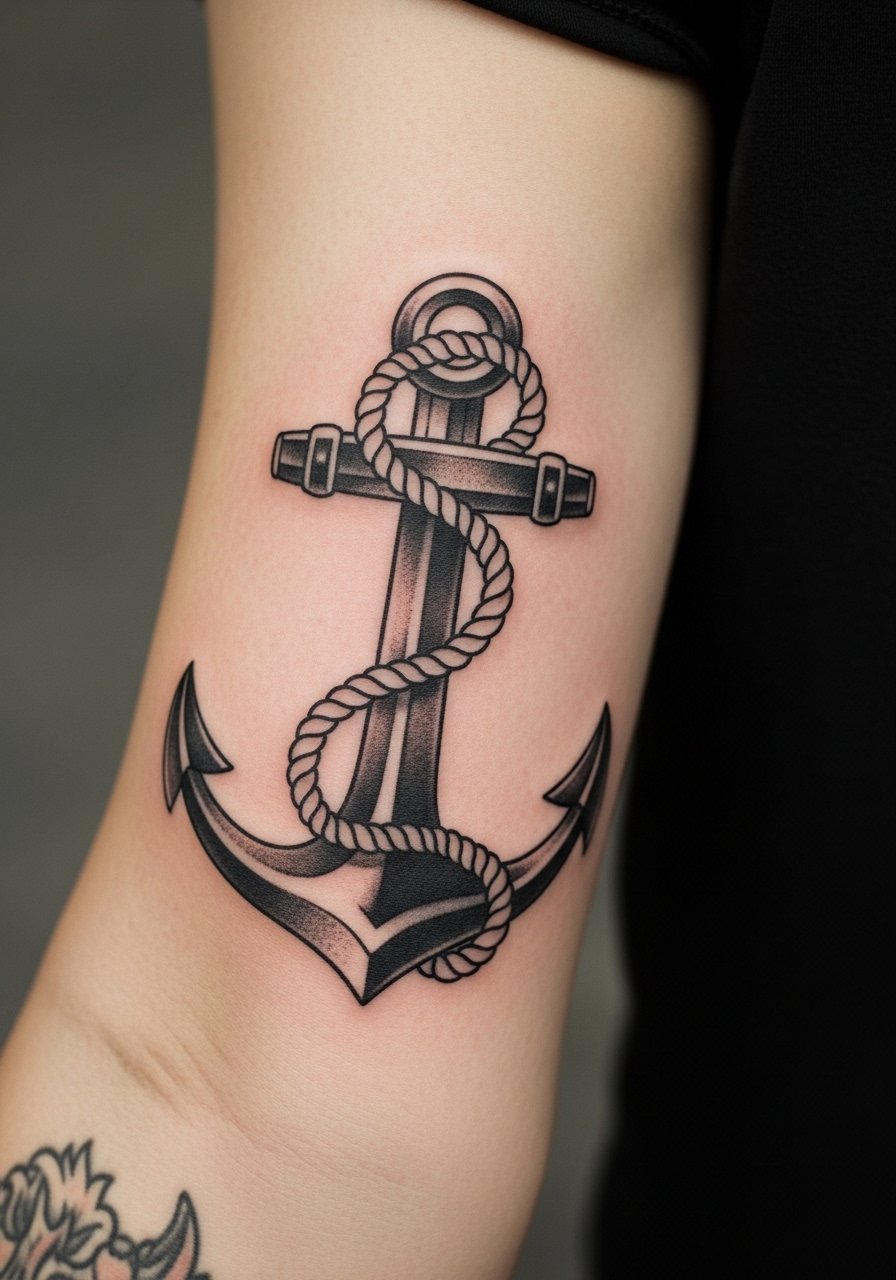
A traditional anchor on the forearm reads like a classic emblem. Ask for rope twists with consistent negative space so the texture survives washing and sun exposure. Sessions are usually one to two hours. People often overcomplicate the surrounding elements, which makes the anchor look crowded as it ages. This design holds up well even with heavy use of sunscreen and regular exposure to water if the saturation is strong from the start.
11. Technical Sketch Style, Blueprint Lines and Labels
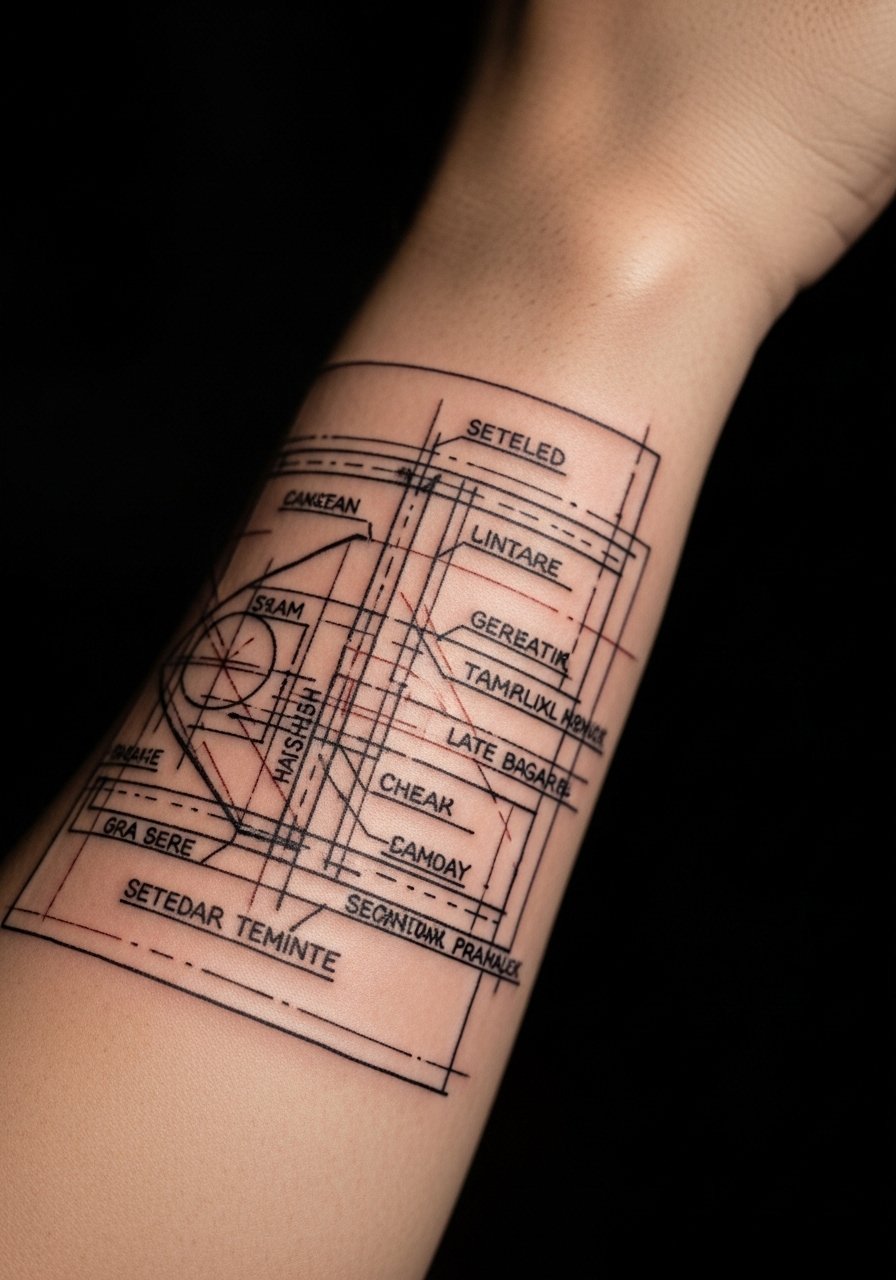
Blueprint or schematic tattoos look smart on the forearm when scaled to keep labels legible. Plan for a longer session if you want crisp tiny lettering because that is where the design will soften first. The usual mistake is cramming too many callouts into a small area. Healed at six months the main diagram still reads, but expect the micro-labels to need touch-ups in a few years. During consultation, agree on minimum letter height so the artist uses an appropriate line weight.
12. Scripted Lyric Band Wrapping the Forearm
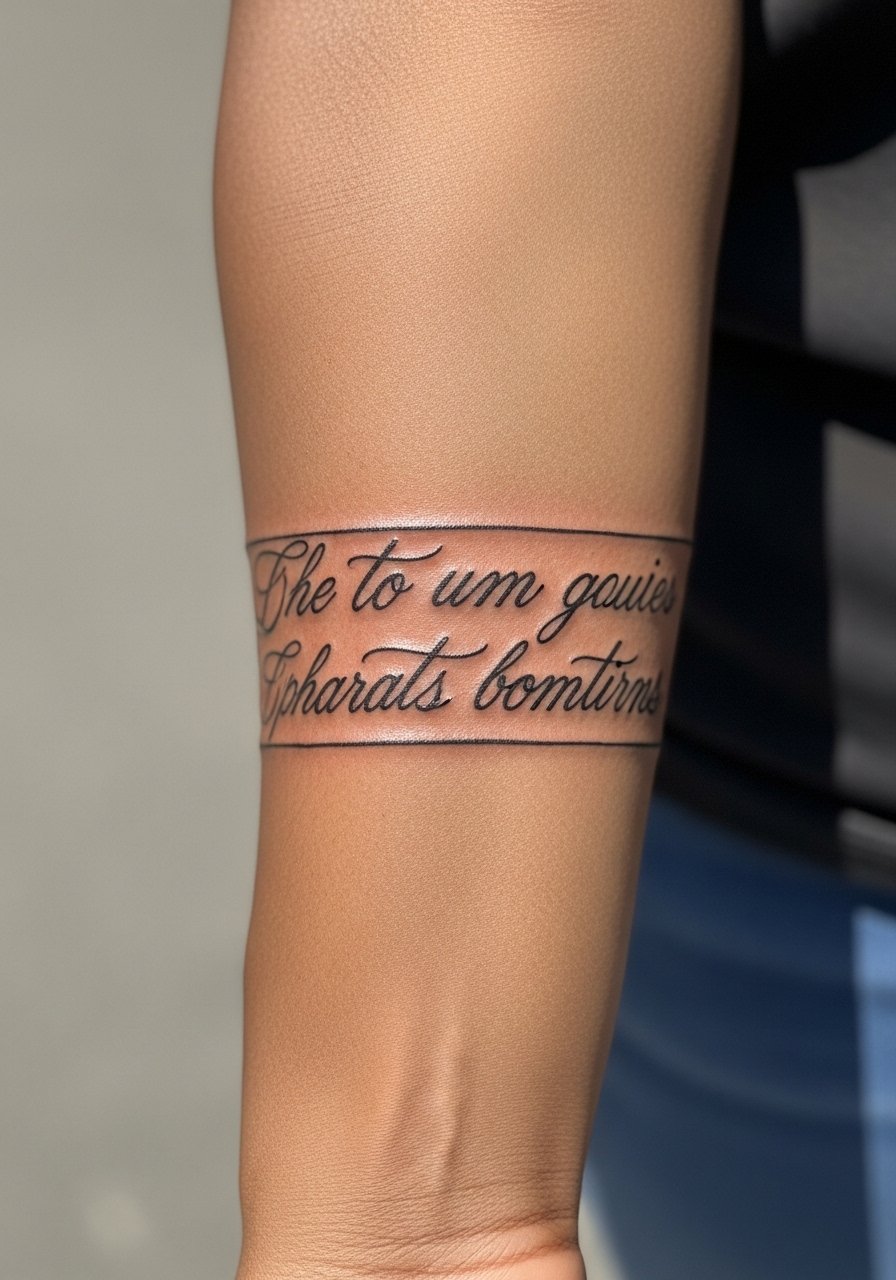
Lyrics that wrap the forearm can feel personal and continuous if spacing is consistent. Have the artist stencil the wrap so you can see where the line meets on your wrist and elbow before committing. Sessions depend on length but most runs are 60 to 120 minutes. The main error is choosing a script with too many hairline flourishes that disappear with time. For styling, a slim leather cuff bracelet sits above the lyric band without crowding the text.
13. Botanical Branch That Follows Forearm Lines
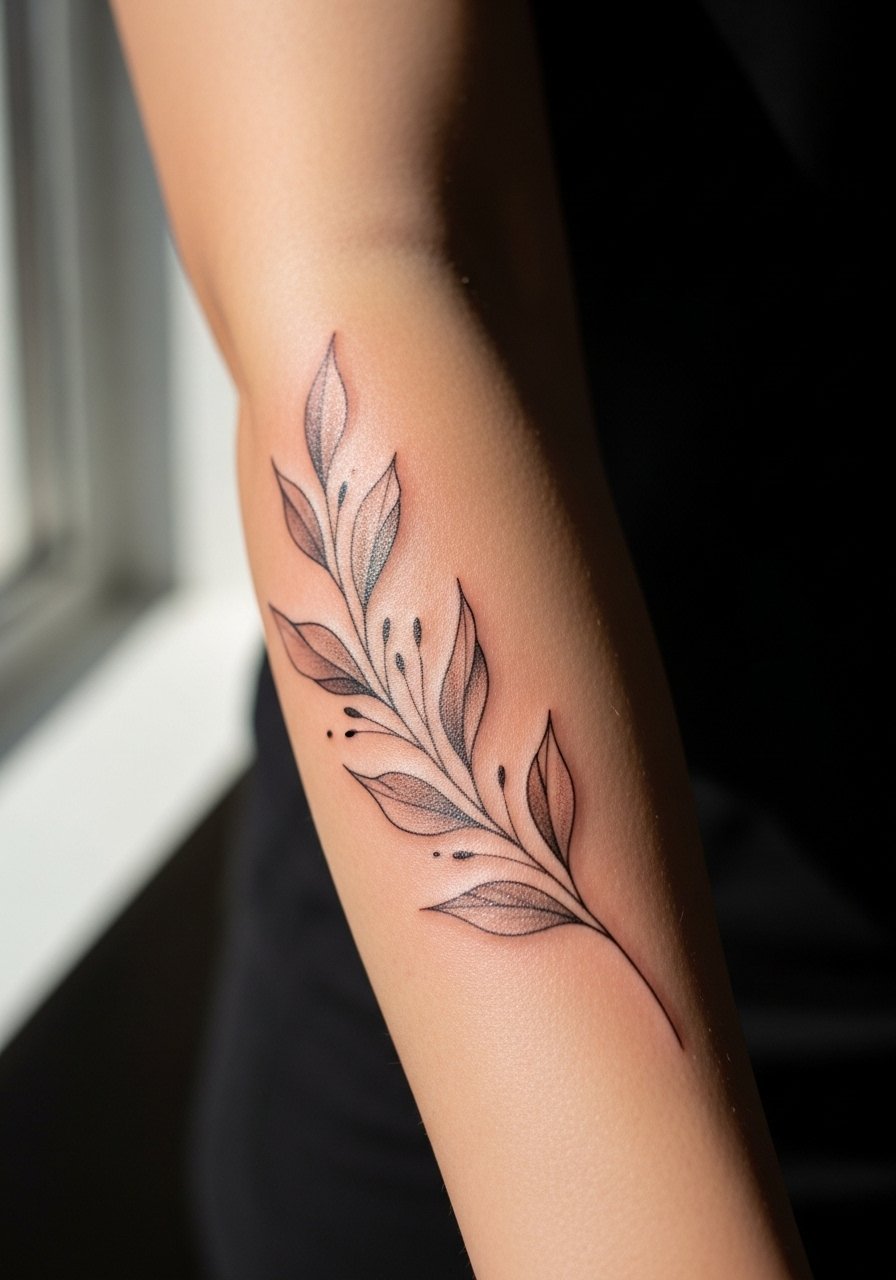
A branch that traces the forearm's curve looks organic when the stem takes advantage of muscle flow. Tell your artist which movement you want emphasized so the leaves align with your arm at rest. Sessions range from 60 to 120 minutes. People often pick too many small leaves close together which leads to early merging on healing. For showing it off, roll the sleeves of a linen button-down so the branch reads like part of your everyday silhouette.
14. Skull with Negative Space Highlights

Skull work on the forearm benefits from strong contrast. Ask for deliberate negative-space highlights instead of tiny white ink spots that can disappear. Expect a two to three hour session for medium complexity. The common mistake is overloading the piece with small filler motifs that compete with the skull's silhouette. Over time the black will soften but the negative space will keep the form readable.
15. Circuit-Board Geometry, Tech-Inspired Band
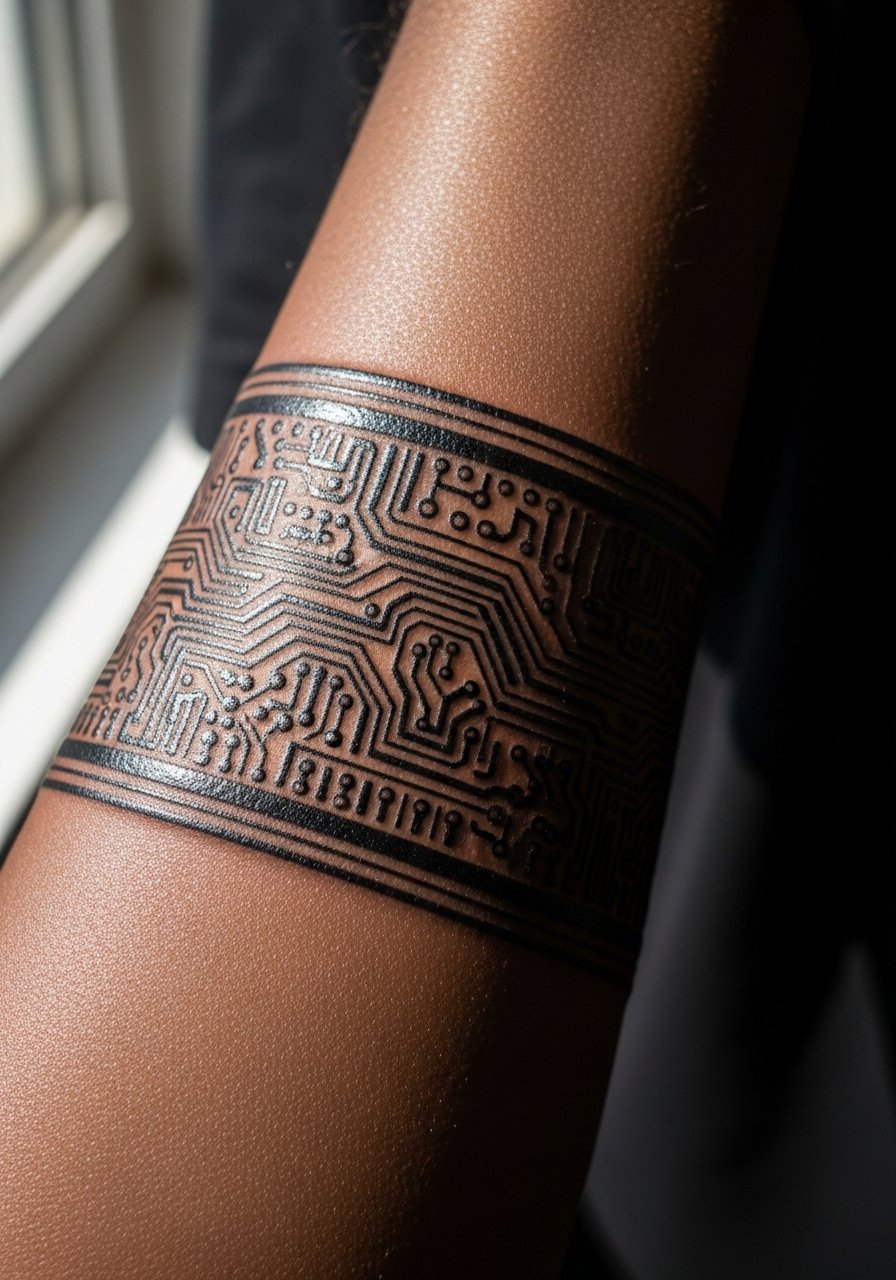
Tech geometry reads modern when executed with clear hierarchy between main traces and tiny detail pads. Tell your artist which areas should be focal and which are background texture. Sessions can run two to three hours. A frequent mistake is packing identical detail density around the entire band which flattens the piece on healing. For daily styling, a slim black silicone watch complements the graphic feel without covering the ink.
16. Optical Illusion Pattern That Wraps the Forearm
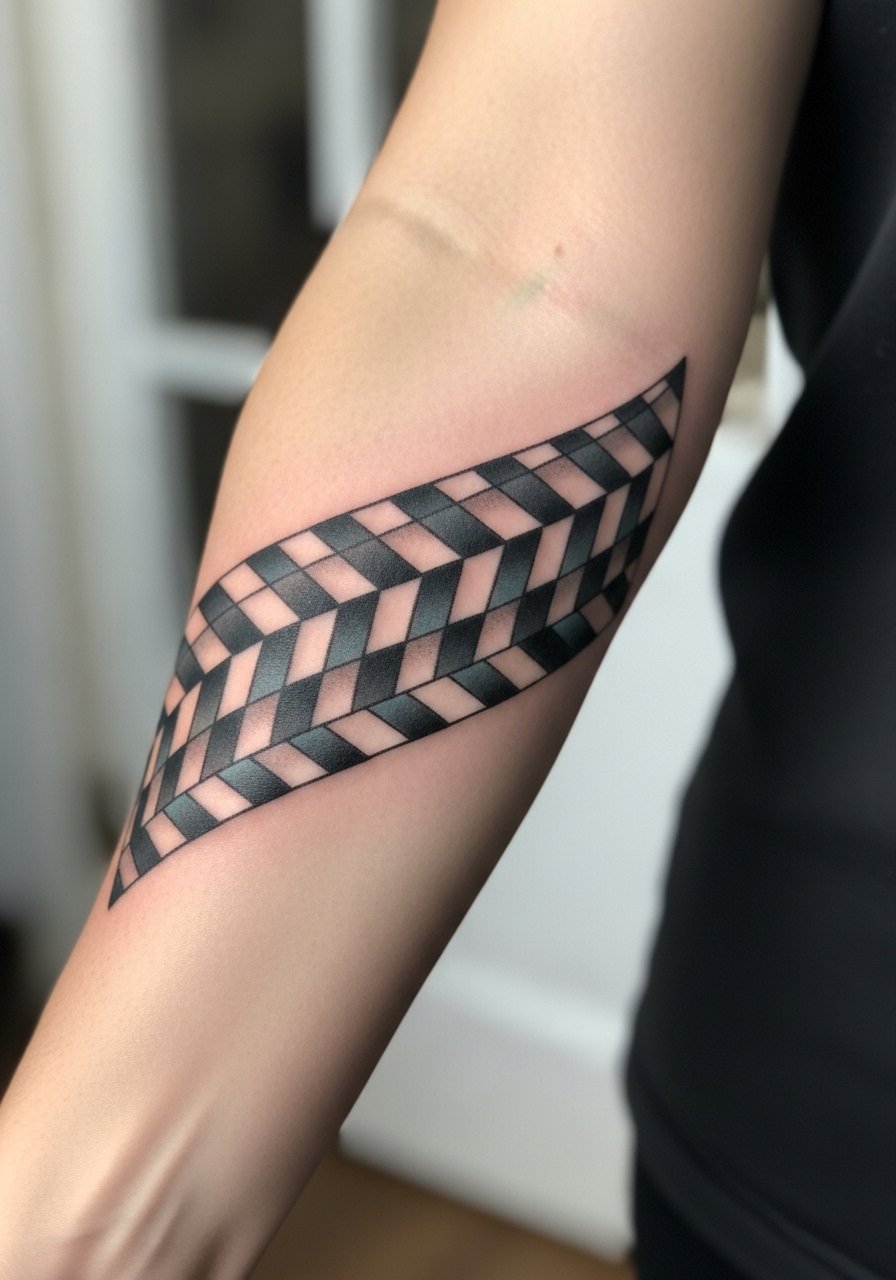
Optical patterns need breathing room between repeating units so the illusion reads even as lines soften. The consultation should include a mock-up on your arm to confirm the flow. Session time varies by complexity but plan for two hours. The most common error is insisting on the smallest repeat size possible, which makes the effect collapse on healing. Expect to revisit high-contrast sections for a touch-up in a few years if you want the 3D pop preserved.
17. Bold Roman Numerals or Block Numbers Near the Wrist
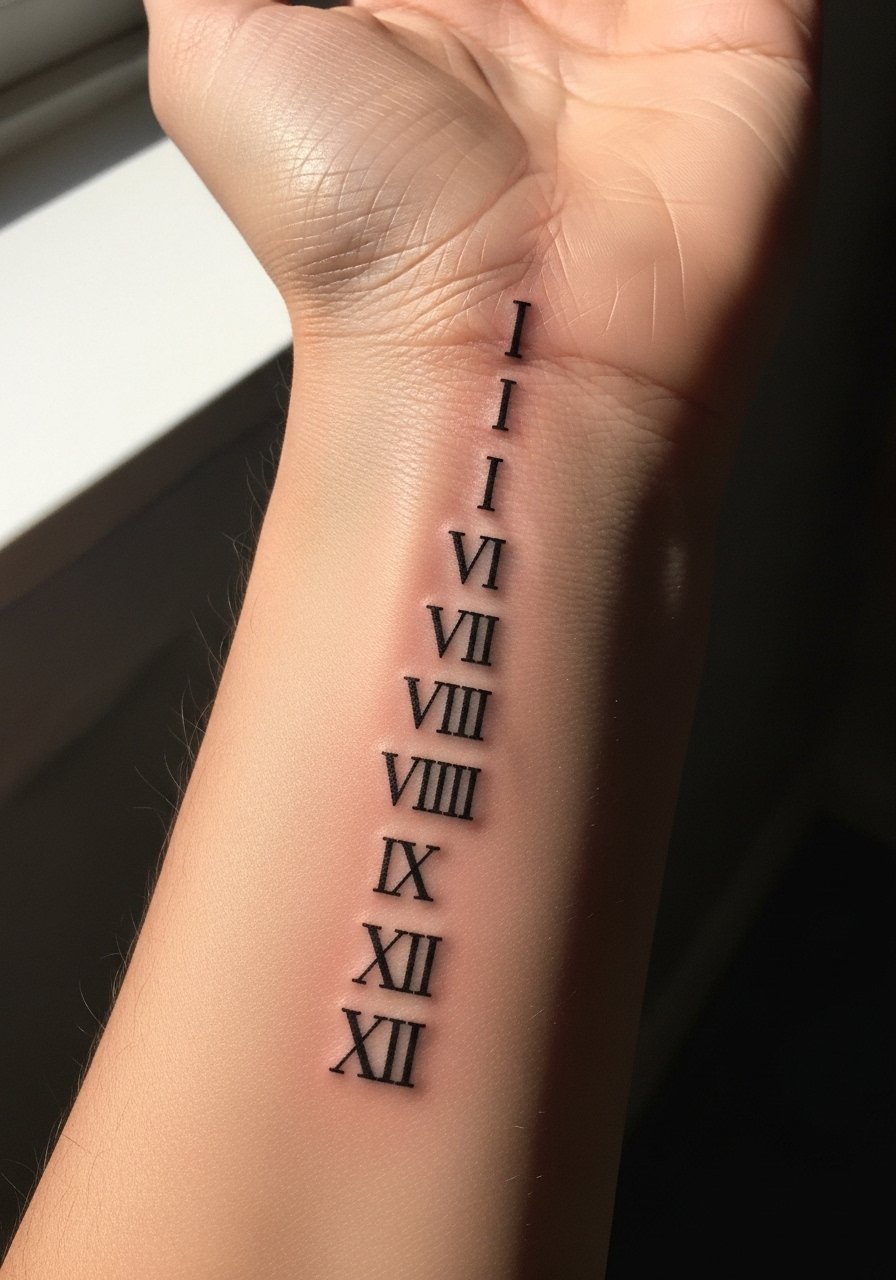
Roman numerals and block numbers are clear statements when the characters are sized properly for motion and washing. Keep numerals slightly larger than you think to avoid merging lines in the years ahead. Sessions are usually quick, under an hour for a simple string. Avoid ultra-thin serif flourishes close to the wrist crease. If you like to accessorize, a thin metal bracelet sits above the numerals and draws the eye without obscuring the ink.
Frequently Asked Questions
Q: Will fine line script on the inner forearm need touch-ups more than bold blackwork?
A: It depends on placement and daily wear. Fine line script on the inner forearm sees a lot of washing and friction, so expect it to soften sooner than thick black outlines. Ask your artist about slightly heavier initial line weight and plan for a touch-up around year three if you want the original crispness.
Q: How should I choose between a dense mandala and a spaced geometric piece for the forearm?
A: Choose geometry that allows space between radiating elements. Dense mandalas can look great fresh but they often require larger scale to avoid line merging. If you want intricate detail, agree with the artist on minimum line spacing and preview a stencil on the arm before inking.
Q: Are there career concerns with visible forearm tattoos and how do I test placement?
A: Some industries still view visible tattoos skeptically, while others accept them readily. I test placement by wearing a rolled sleeve for a week to see how often the piece would be visible in real situations. If you need occasional concealment, consider the inner forearm or slightly higher placement closer to the elbow.
Q: What should I wear to the studio for a forearm session?
A: Wear clothing that gives clear access without rubbing the fresh tattoo on the way home. A loose short-sleeve tee or a button-down you can pull aside works well. For wrist work, a cuffed hoodie you can push up helps keep the area protected during transit.
Q: How do I find an artist who specializes in the forearm style I want without contacting specific people?
A: Use local shop directories, curated shop lists, and tattoo convention guest lists. Search hashtags tied to your city and the style, check Reddit threads where people post healed photos, and look for portfolios that show healed work at two to three years. That will tell you more than a fresh photo of a flash piece.
