
Fine line Arctic Monkeys references look amazing on someone else and then age in surprising ways. Trends push tiny geometric lyric snippets and mandala riffs, and fans book them fast. The reality is that placement, spacing, and the skin you have matter far more than how detailed the stencil is. Start with a design that breathes and the first idea below shows how to do that on the forearm.
1. Minimalist Lyric Bar on Inner Forearm
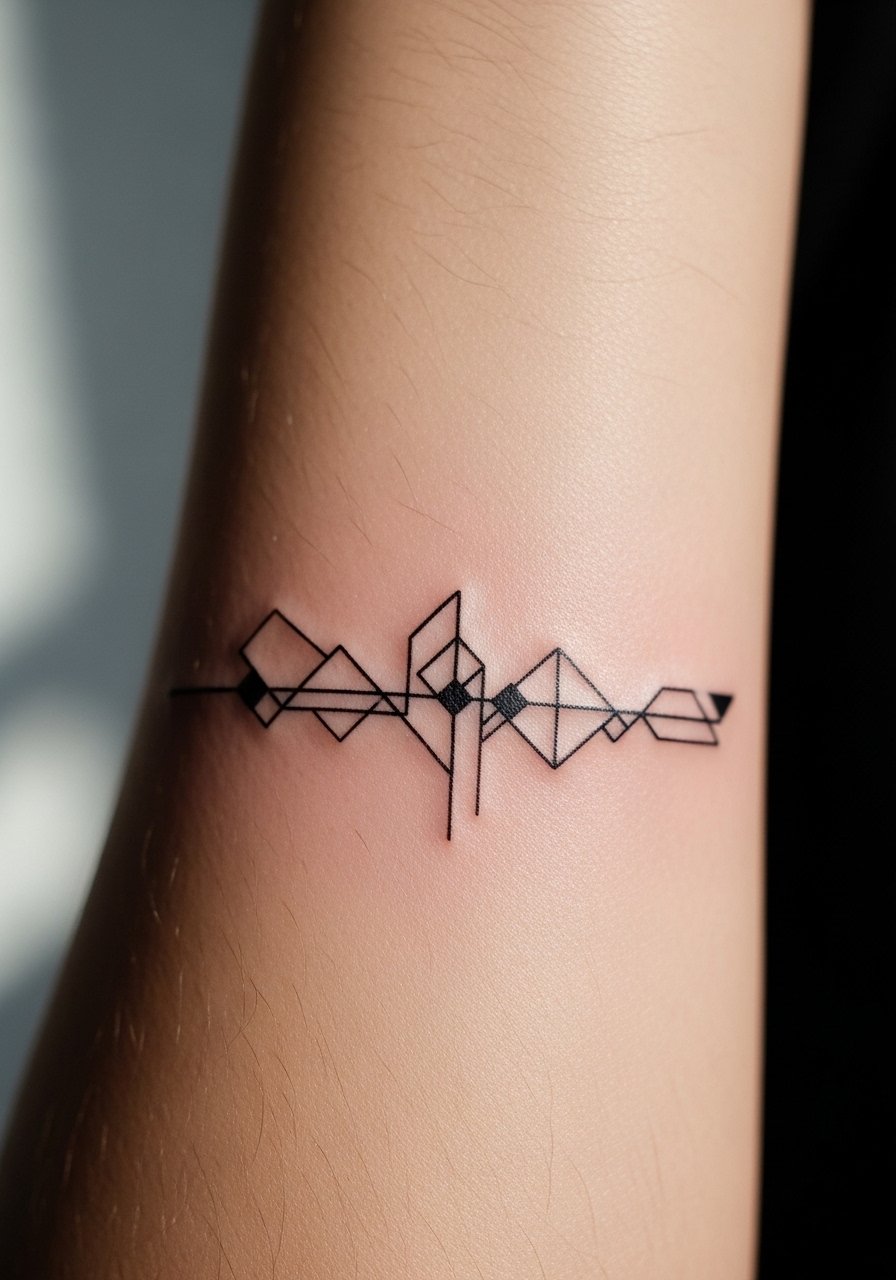
I've seen this tiny bar under the forearm age well when the lines were spaced slightly wider than clients asked for. Fair warning, the inner forearm is forgiving on pain but fine line work there softens if you go too dense. Tell your artist to map the line weight and leave breathing room between strokes so stipple shading does not merge in two years. Session time is usually short, around 30 to 60 minutes. For showing it off wear a rolled-sleeve linen shirt that frames the forearm without competing with the script.
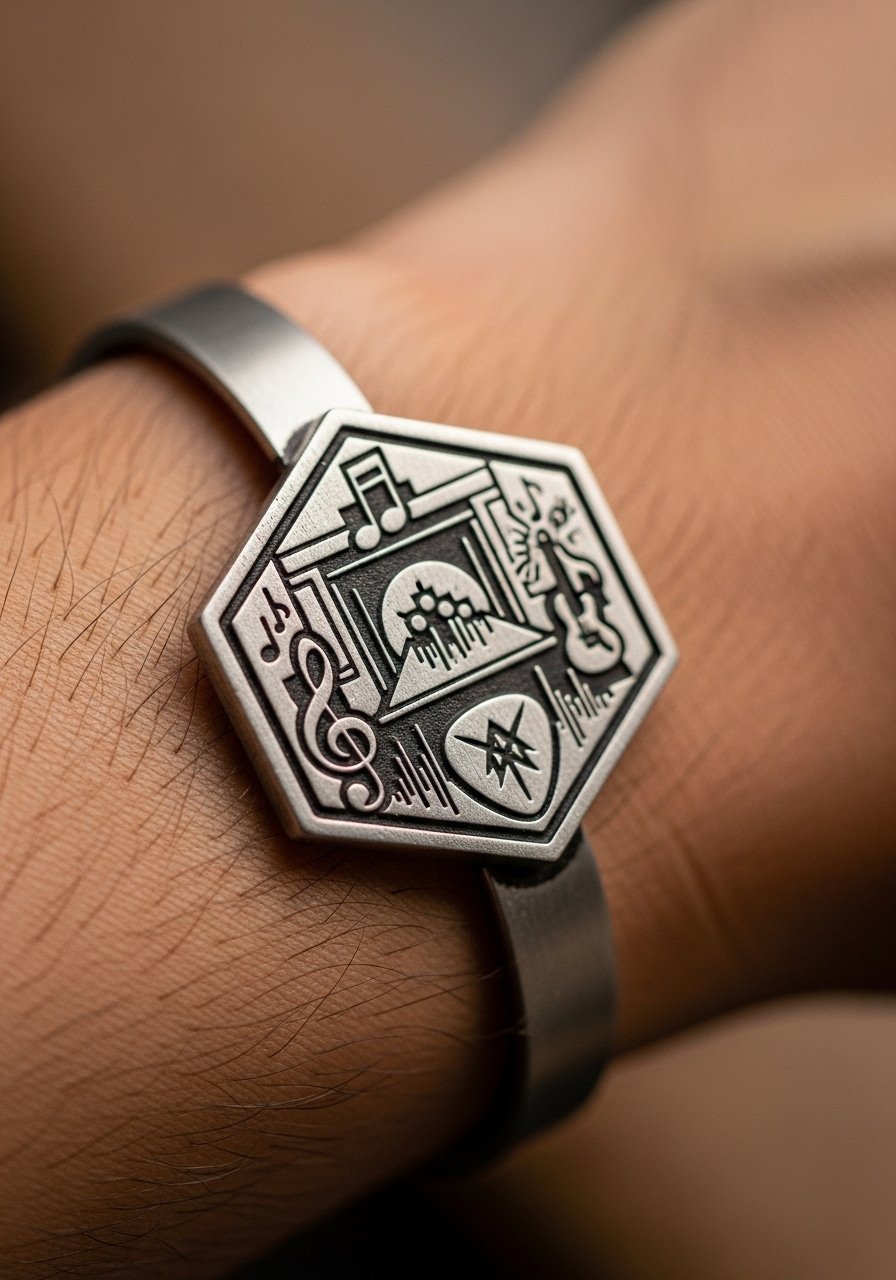
2. Geometric Album Glyph on Upper Arm
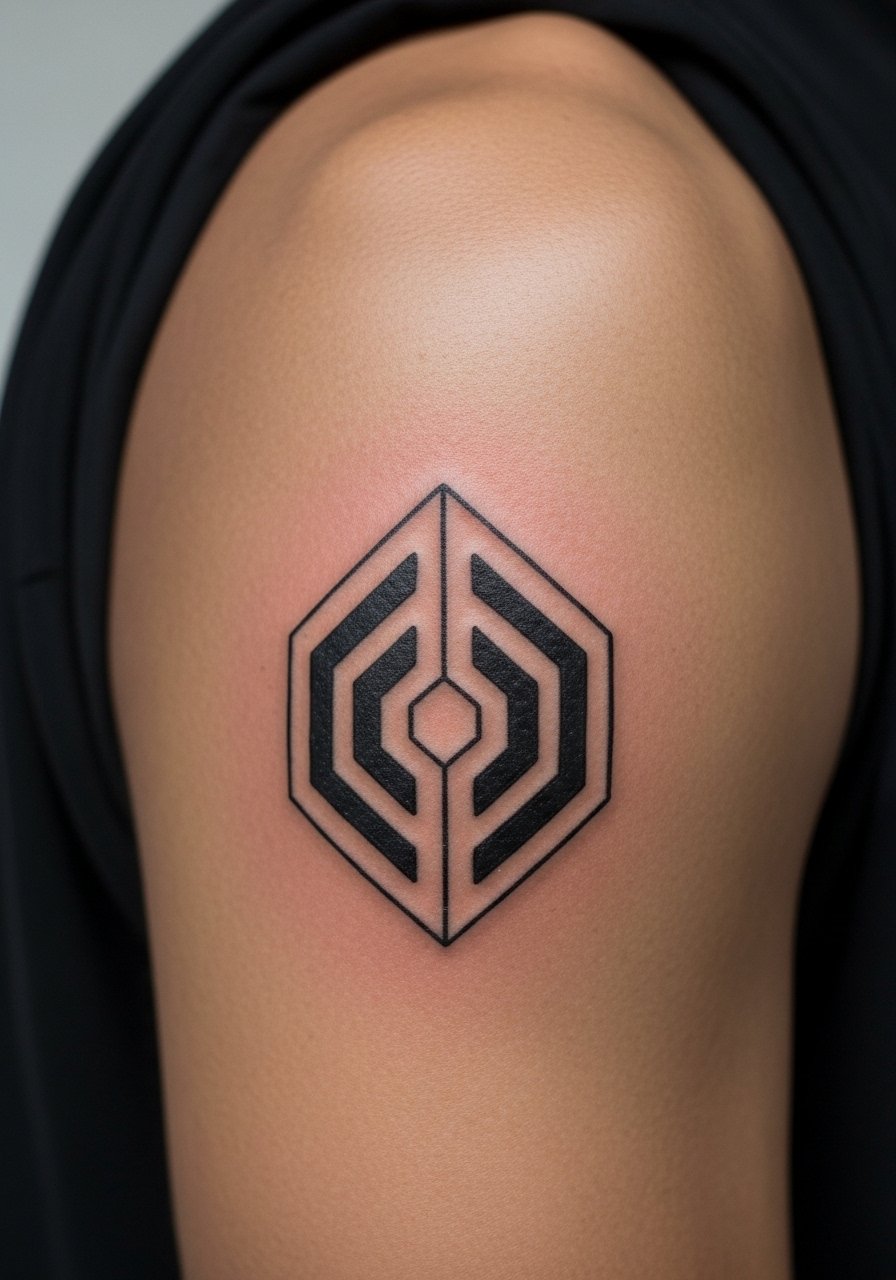
Personal observation: upper arm work survives sun exposure better than forearms. This piece benefits from bold linework around negative space so the central motif does not drown. Ask the artist for clean linework with stipple shading in the background rather than heavy saturation. Expect a 60 to 90 minute session and mild soreness for 24 to 48 hours. The biggest mistake is packing too many tiny details into a small circle. For evenings out, pair the piece with a short-sleeve cotton shirt that keeps the shoulder visible.
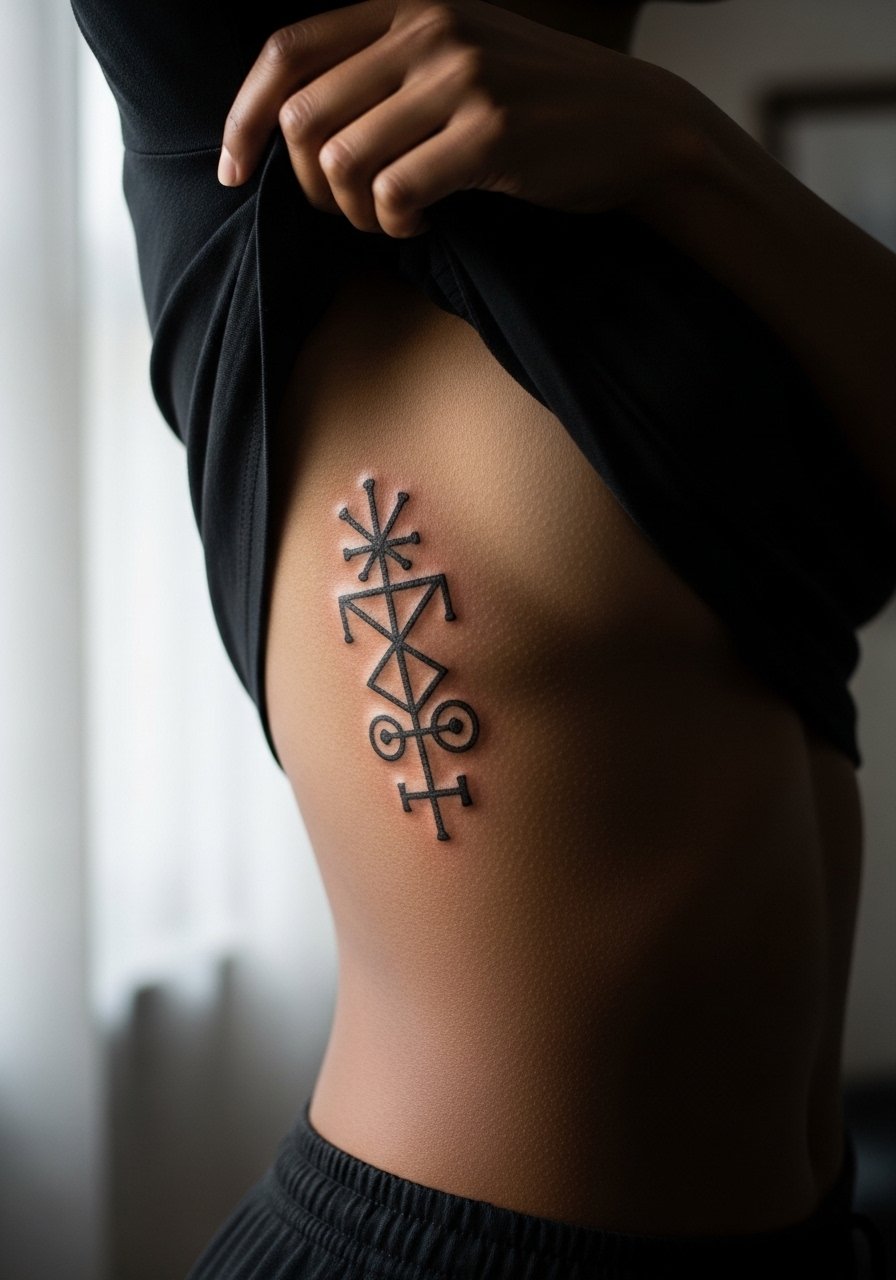
3. Angular Arctic Monkeys Icon on the Side Ribcage
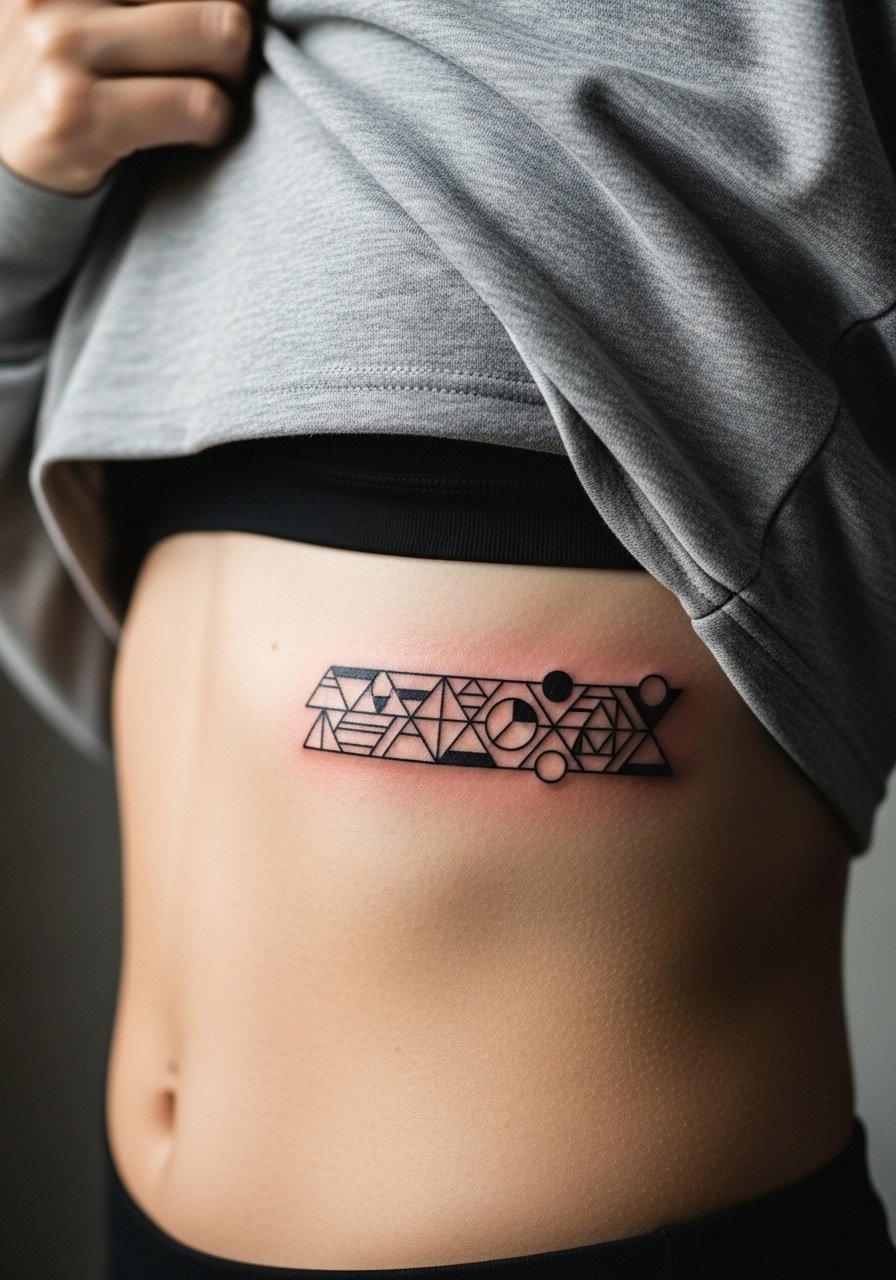
Fair warning: the ribcage is a high-pain placement and fine line there provokes debate among artists. One camp says the skin stretch blurs lines within two years. The other camp argues that with proper needle depth and spacing it settles fine. If you choose ribs, book an artist experienced with thin line on torsos and plan for a longer session with breaks. Common mistake is asking for overly dense geometry in a small rib area. For the appointment wear a cropped athletic top so the artist can work without pulling at fabric.
4. Stacked Triangle Sleeve Accent on Outer Forearm
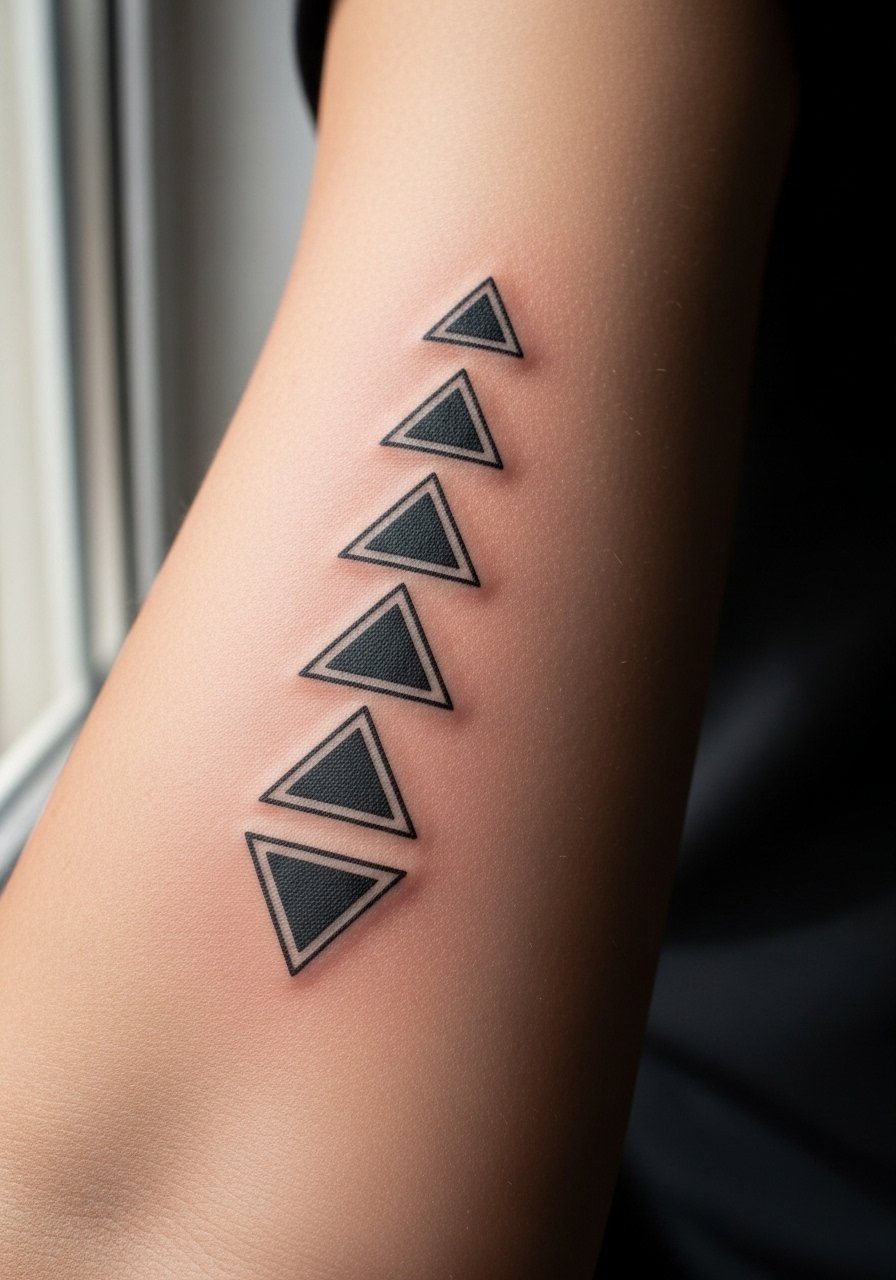
There is something about repeated geometric shapes that reads like a signature from across a room. This outer forearm placement takes 90 to 150 minutes depending on spacing. In my experience the piece holds best when each triangle has deliberate negative space, which prevents blowout and merging over time. Tell the artist you want slightly heavier outer linework and lighter inner lines to maintain contrast as the tattoo heals. A common session mistake is trying to cram this into a micro size. To show it off, cuff your sleeves or choose a linen button-up with sleeves rolled that lets the pattern read cleanly.
5. Minimal Monochrome Mandala at the Nape
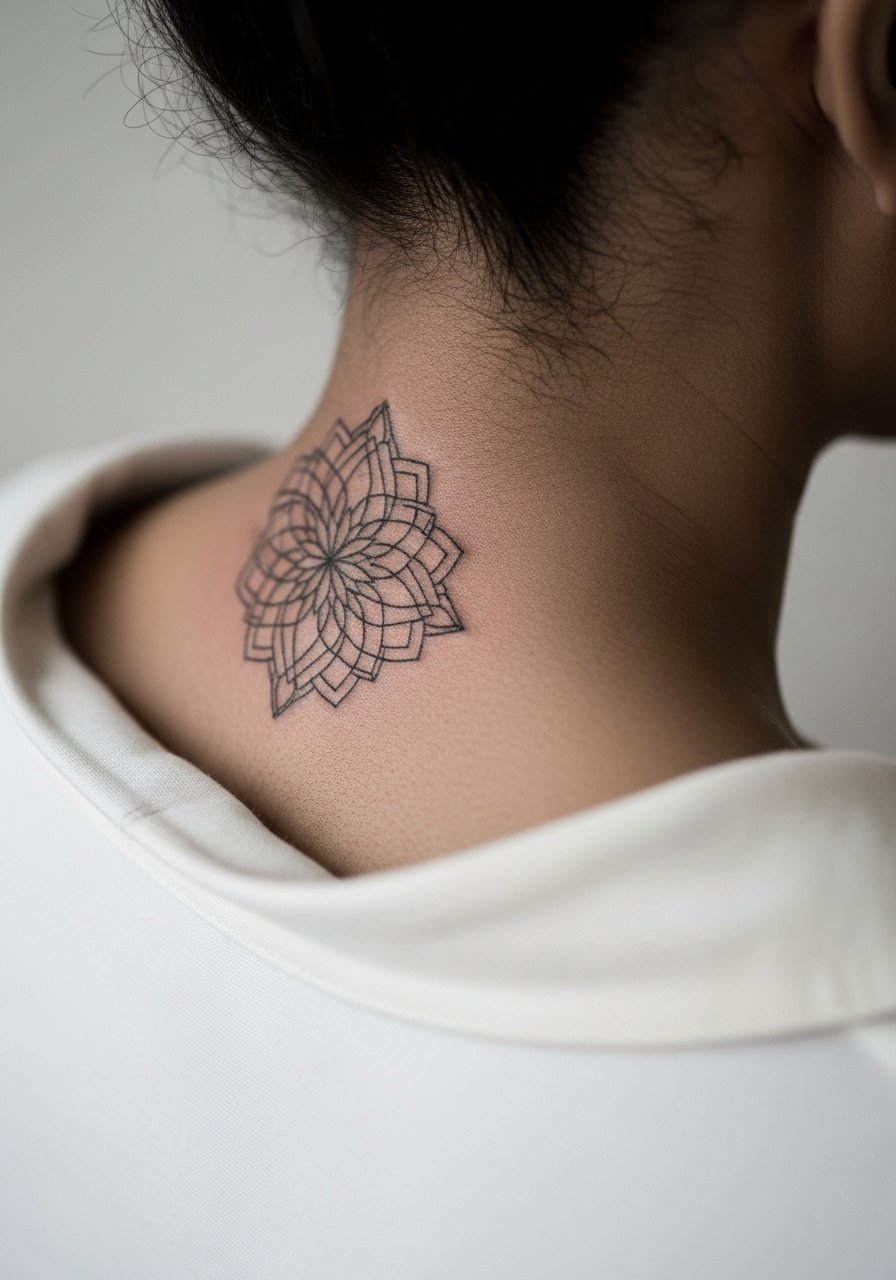
Consultation lead: ask for a mandala that scales with the curve of your neck, not a flat circular stamp. The nape moves a lot with hair and clothing, so spacing matters for longevity. Sessions here run 45 to 90 minutes and the pain is moderate. A mistake I see often is requesting dense central stippling in a small nape piece which tends to soften badly. For the session, wear a wide-neck shirt you can pull to the side so the artist has clean access.
6. Angular Arctic Wave Around the Elbow
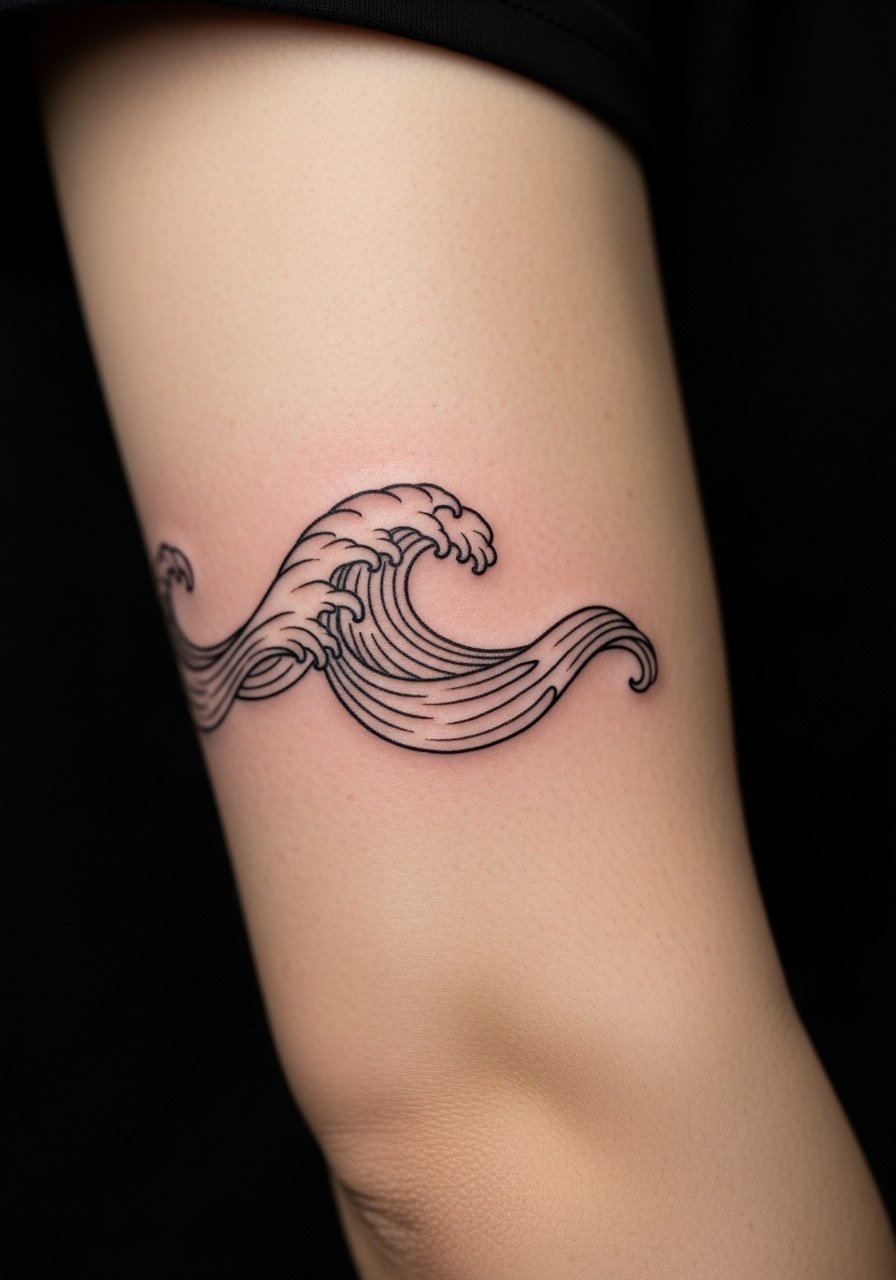
Mistake lead: the elbow is a high-motion, high-wear spot and tiny geometric details rarely last. The trick is to use bold anchor points with thinner internal lines so the piece reads as shape when healed. Expect longer sessions with touch-up discussion up front. Blowout risk increases if the lines are too fine across the joint. For the appointment choose a loose sleeve top you can slide up without tugging the skin.
Session Day Picks
The nape, forearm, and elbow pieces above demand different prep, and a few key items make the session itself smoother and the first week easier.
-
Stencil transfer paper kit. Lets you preview the exact placement on skin before the needle starts, helpful for inner forearm and rib pieces.
-
Topical numbing cream. Applied about 45 minutes before reduces edge pain on ribs and elbows without changing linework when used correctly.
-
Thin protective film roll. Useful for nape and elbow pieces that rub against clothing during the first week.
-
Fragrance-free body wash. Gentle cleansing prevents irritation on fine line forearm work and mandalas.
-
Aquaphor healing ointment. Thin layers in the initial days help keep fine lines moisturized without suffocating the skin.
7. Constellation Lyric Dots Across the Collarbone
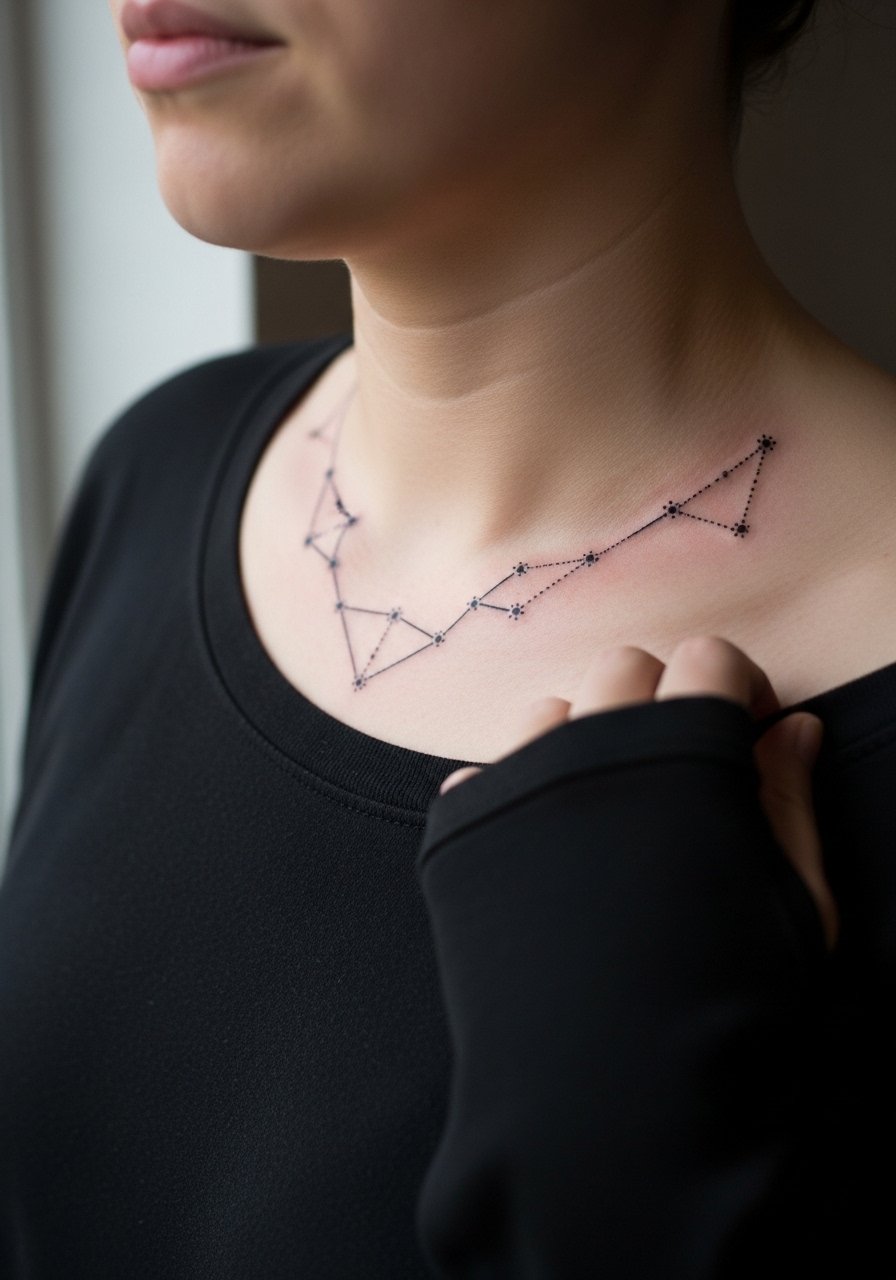
Visual impact lead: collarbone pieces read like jewelry and photograph well. The area is sensitive but placement allows small designs to breathe. Tell your artist to stagger the dots and connect them with faint negative space so the geometry keeps clarity as the skin moves. Session time is usually 30 to 60 minutes, with soreness that fades in a couple days. A common mistake is placing the design too close to the bone where it looks compressed. Pair this with a thin chain pendant necklace that sits above the design for night events.
8. Geometric Arctic Monkeys Album Hex on the Calf
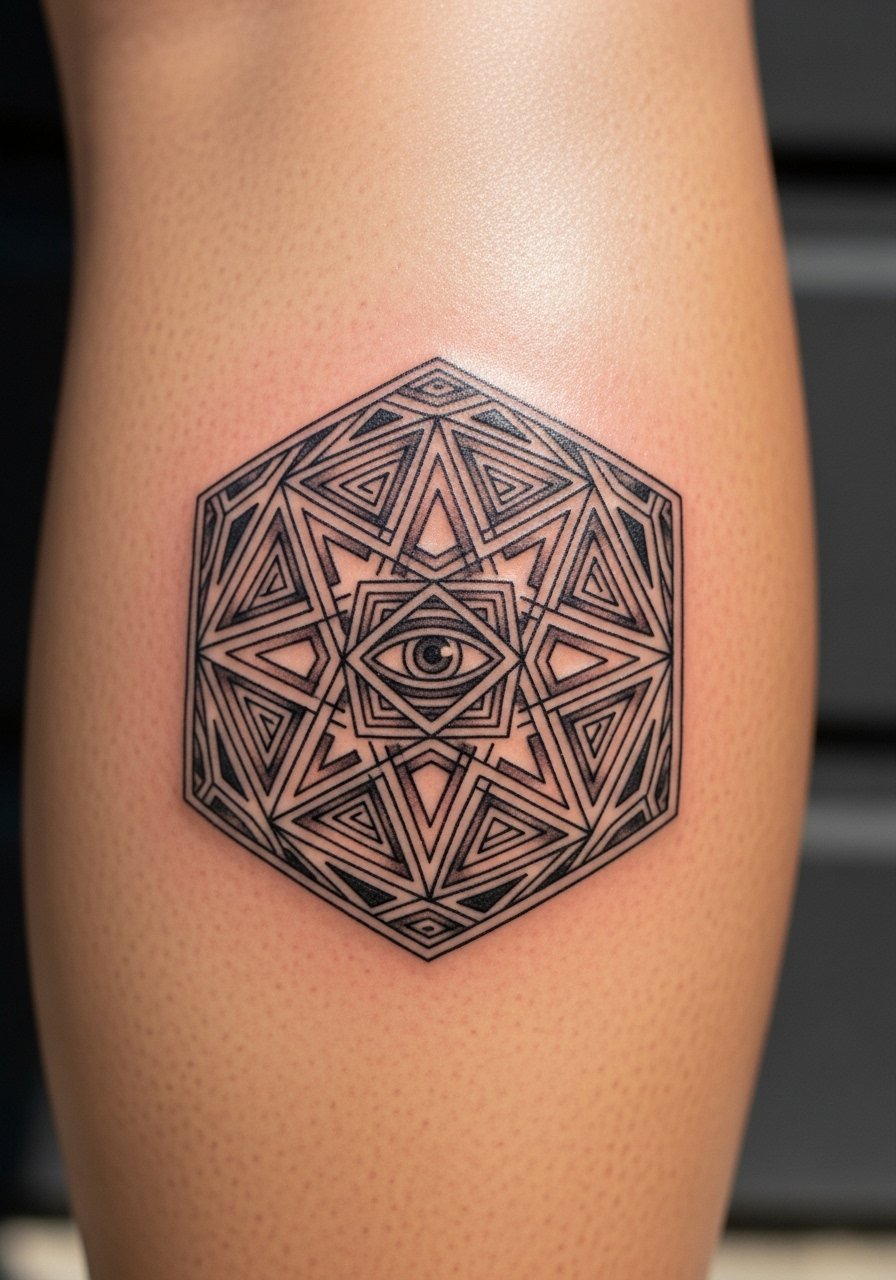
Pain warning lead: the calf is moderate on most pain scales and wears well with bigger shapes. The hex benefits from a mix of bold outline and stipple shading inside to add depth without heavy saturation. Tell the artist you want a medium-sized hex to avoid the common micro-detail trap that fades into blur. Expect a 60 to 120 minute session depending on fill. For casual show-off, wear mid-length shorts that keep the calf visible without rubbing.
9. Finger Glyph Sequence Along the Knuckles

Mistake lead: fingers are unforgiving for geometric detail because of constant washing and thin skin. The biggest error is asking for tightly packed geometry across the knuckles. If you want knuckle symbols, opt for slightly thicker linework and accept a higher touch-up timeline of maybe every one to three years. Sessions are short but often painful. Hand tattoos still affect some hiring situations, so consider longevity and career before committing. Matching this with a dainty minimalist ring draws attention without crowding the knuckle art.
10. Symmetric Mandala Between the Shoulder Blades
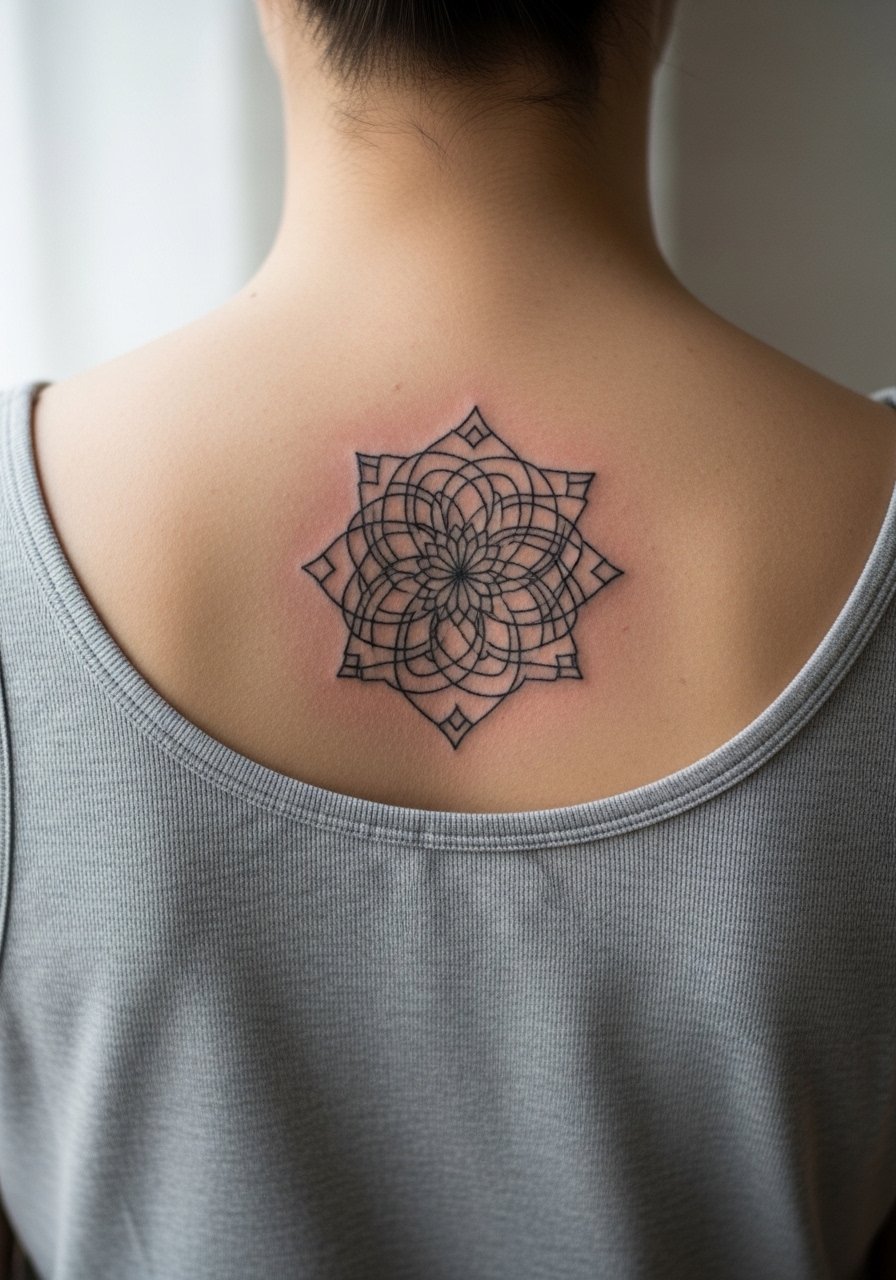
Aging lead: back pieces often hold up because they avoid sun and friction, but dense mandalas can still lose internal detail over years. I advise spacing mandala elements slightly wider in large central back pieces so the design reads from a distance and keeps detail when healed. Sessions can be long and divided across two visits. The common mistake is trying to force a full sleeve of tiny mandala elements into one session. For show-off outfits choose an open-back dress or a halter that frames the center design.
11. Micro-Geometric Ear Folds Behind the Hairline
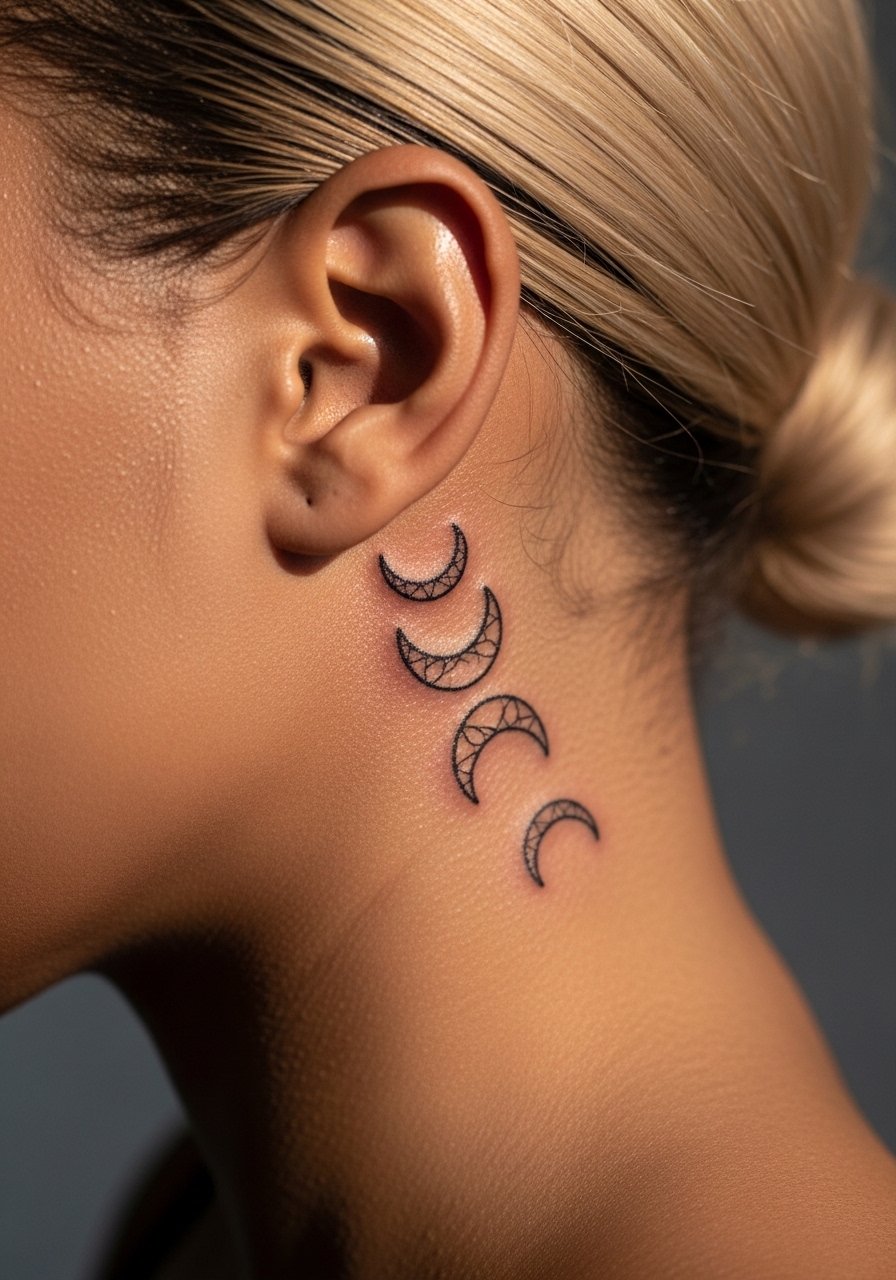
Consultation lead: behind-the-ear pieces need precise placement near the hairline so the geometry does not sit on bone or hair. Sessions are short and the pain is mild. The common mistake is letting the design creep onto irregular skin near the ear which can distort the linework. Ask your artist to show a transfer and to consider negative space for longevity. For the session wear hair tied back and a crew-neck tee so the artist can access the area without moving your hair excessively.
12. Tiny Geometric Script on the Inner Wrist
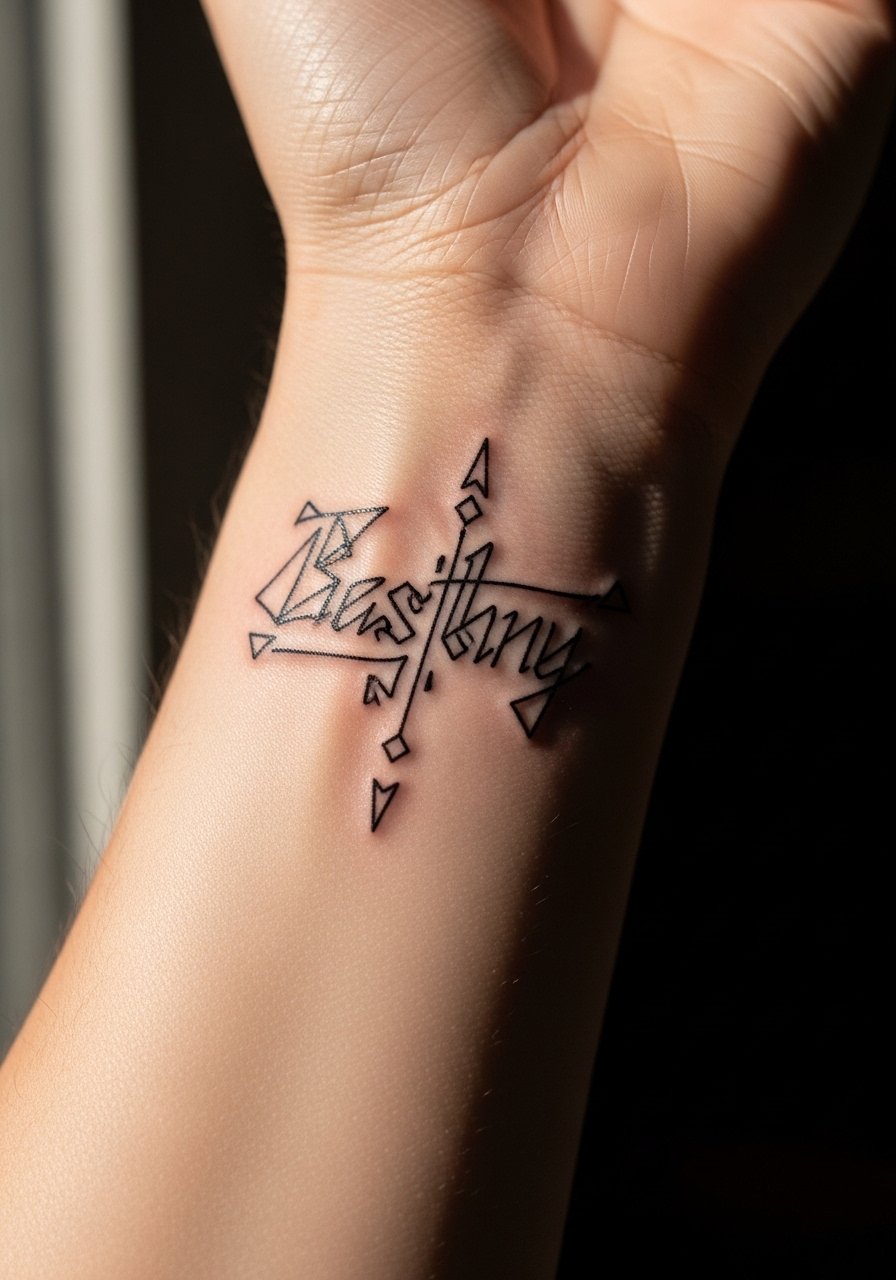
Visual impact lead: the inner wrist is one of the most photographed spots, so consider how the line weight looks at arm's length. Avoid overly thin internal details that are likely to fade with constant washing. Tell your artist to keep the primary strokes slightly bolder while keeping internal dots light. Sessions run 20 to 45 minutes and require careful aftercare. For daily wear a minimalist watch or thin bracelet balances the wrist without pressing on fresh ink.
13. Geometric Sleeve Panel with Lyric Fragment
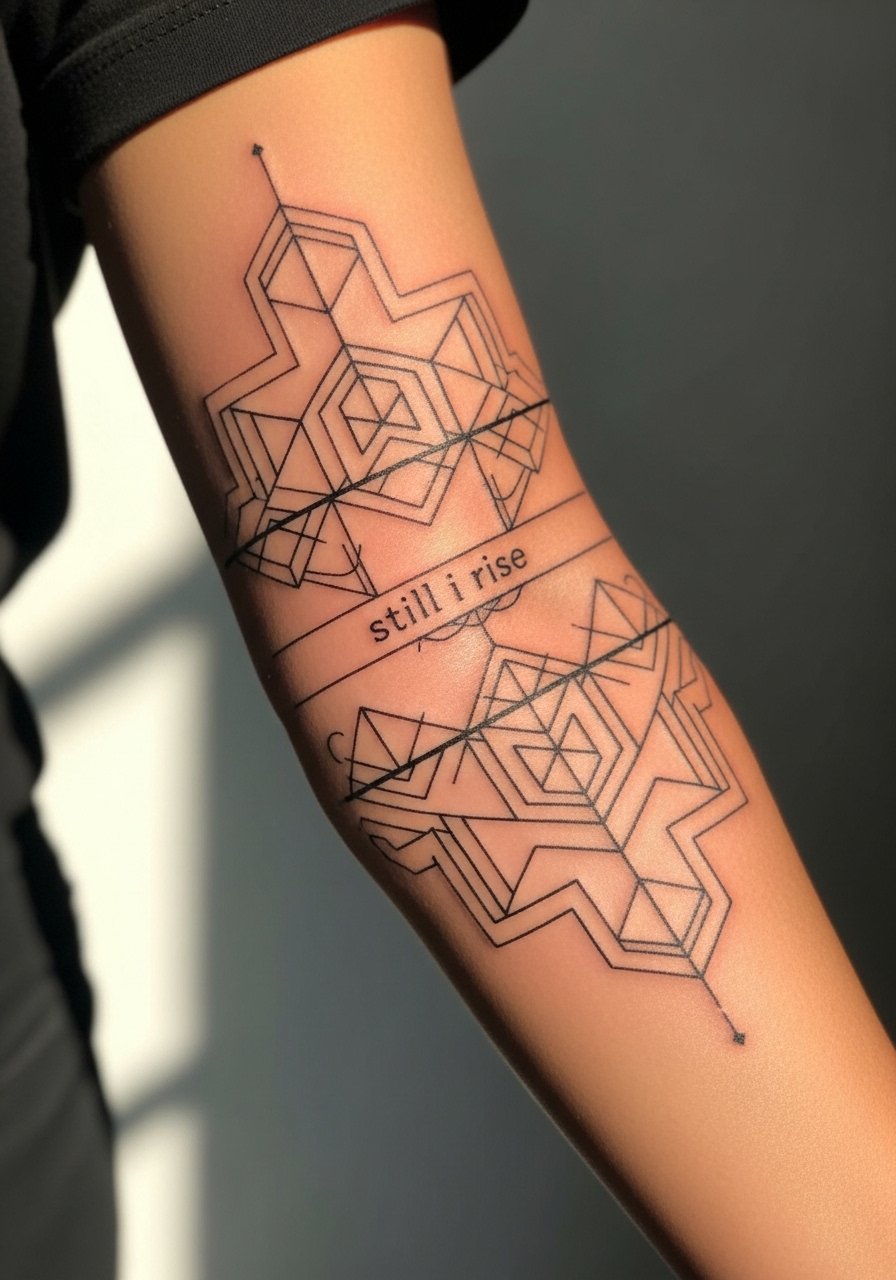
Personal observation: panels that stagger negative space across the sleeve age better than continuous dense geometry. In consultation ask for a panel layout that leaves narrow bands of skin between clusters of shapes. The session will likely span multiple appointments and require more time under the needle. A common mistake is asking for an entire sleeve of micro detail in one go which leads to overworked skin and longer healing. For the studio day wear a loose button-down shirt you can pull aside so the artist works comfortably.
14. Blackwork Geometric Compass on the Sternum
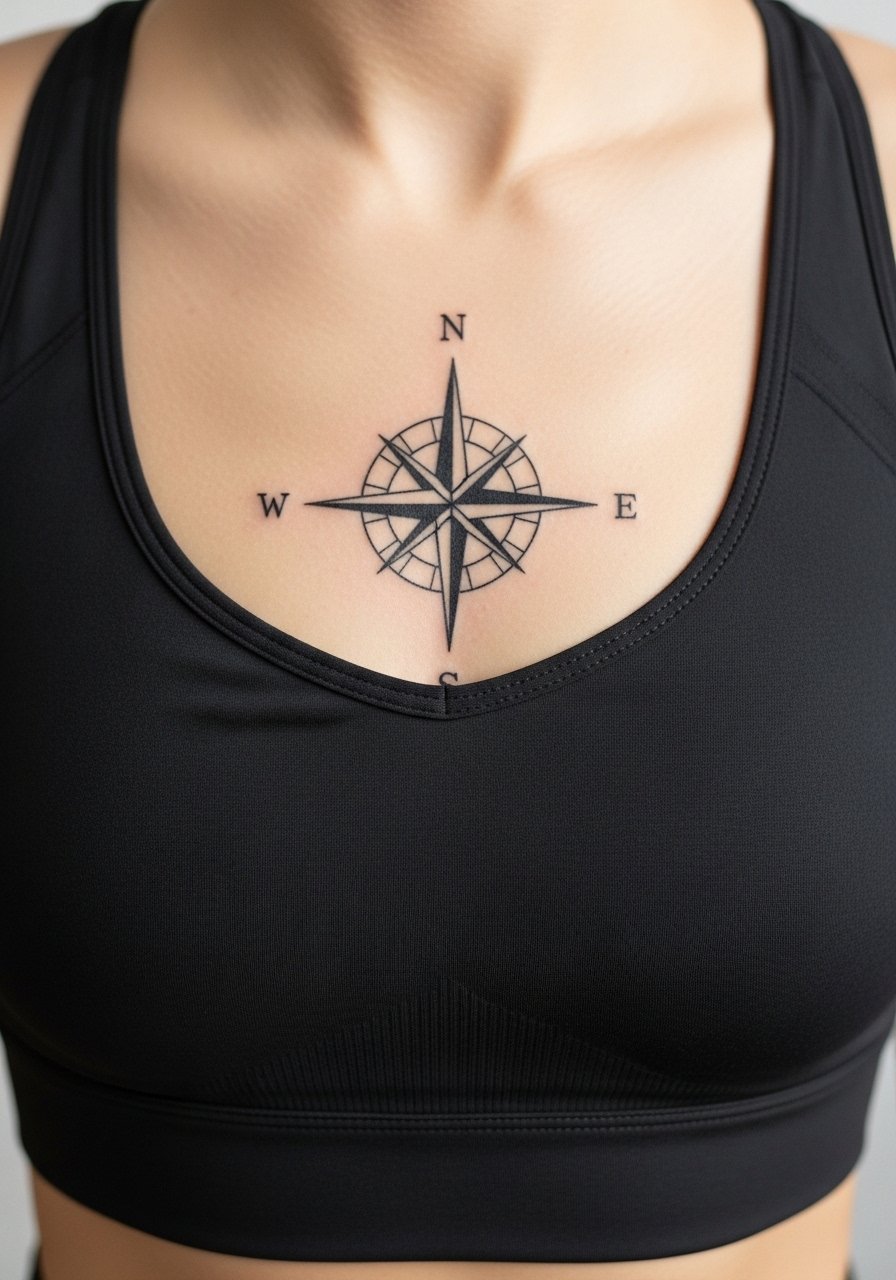
Controversy lead: sternum placements split opinion. One camp highlights the skin stretch and says fine line will blur quickly. The other camp notes that with correct depth and strong anchors the piece can last. If you go sternum, discuss spacing and touch-up expectations explicitly. Sessions are painful and may need breaks. Common mistakes include too much micro stippling near the center which can compact during healing. For the appointment choose a fitted sports bra so clothing does not shift the stencil mid-session.
15. Geometric Arrow Cluster Near the Ankle
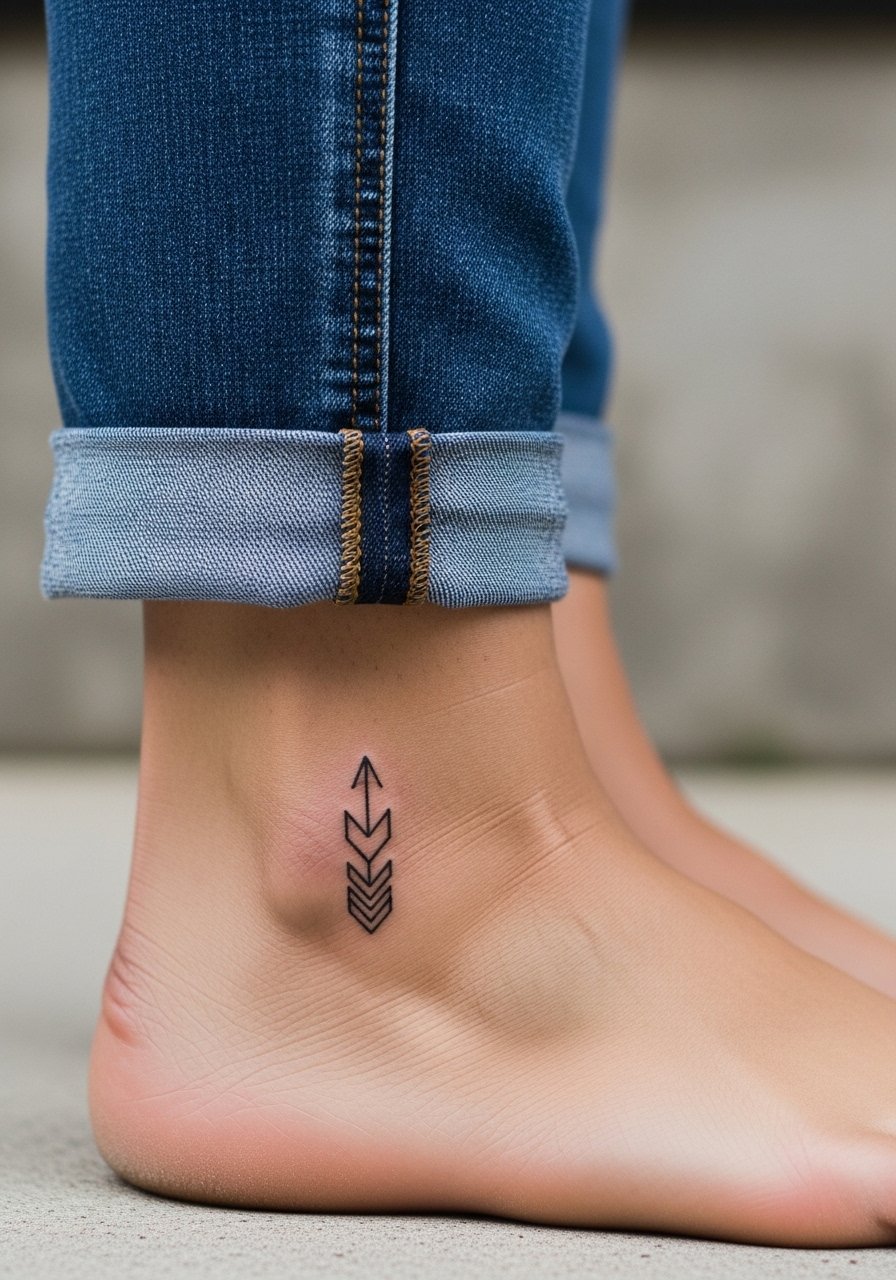
Pain warning lead: ankles and feet heal under lots of friction and are prone to touch-ups. This cluster reads well if you keep arrows slightly larger and use negative space to avoid smudging. Tell the artist you prefer thicker anchors at points that will take wear. Sessions are short but healing can be slow and scabby. For travel and showing it off, wear sandals or rolled jeans to avoid pressure on the area.
16. Monochrome Geometric Heart on the Chest
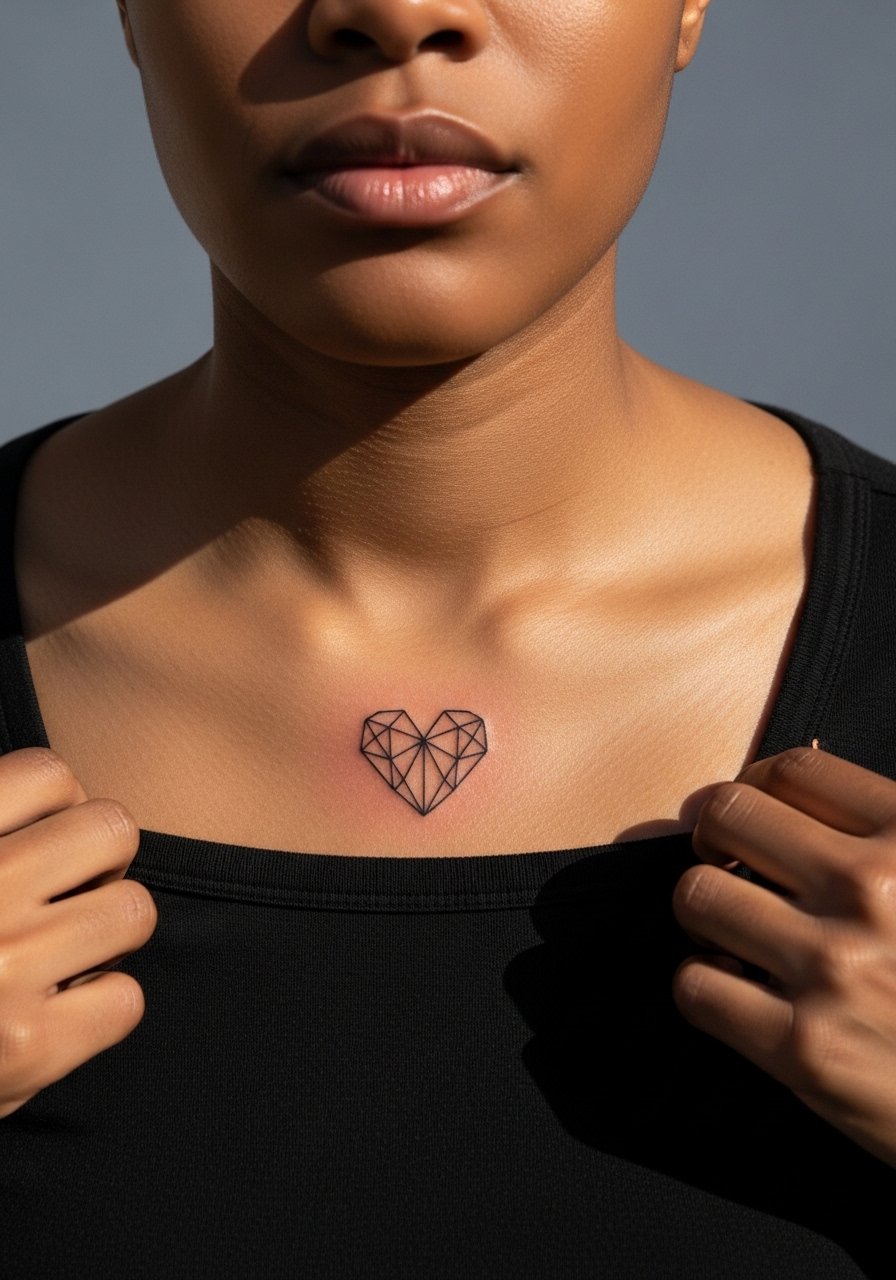
Mistake lead: chest placements can look compressed against the bone if placed too close to the sternum. Ask for a mockup that accounts for your collarbone shape. Sessions are moderate in pain and usually under two hours for a small piece. The error most people make is insisting on micro detail near the center which loses contrast. To frame it in outfits, try a v-neck tee so the geometric heart shows without exposing the entire chest.
17. Interlocking Polygons for a Bicep Wrap
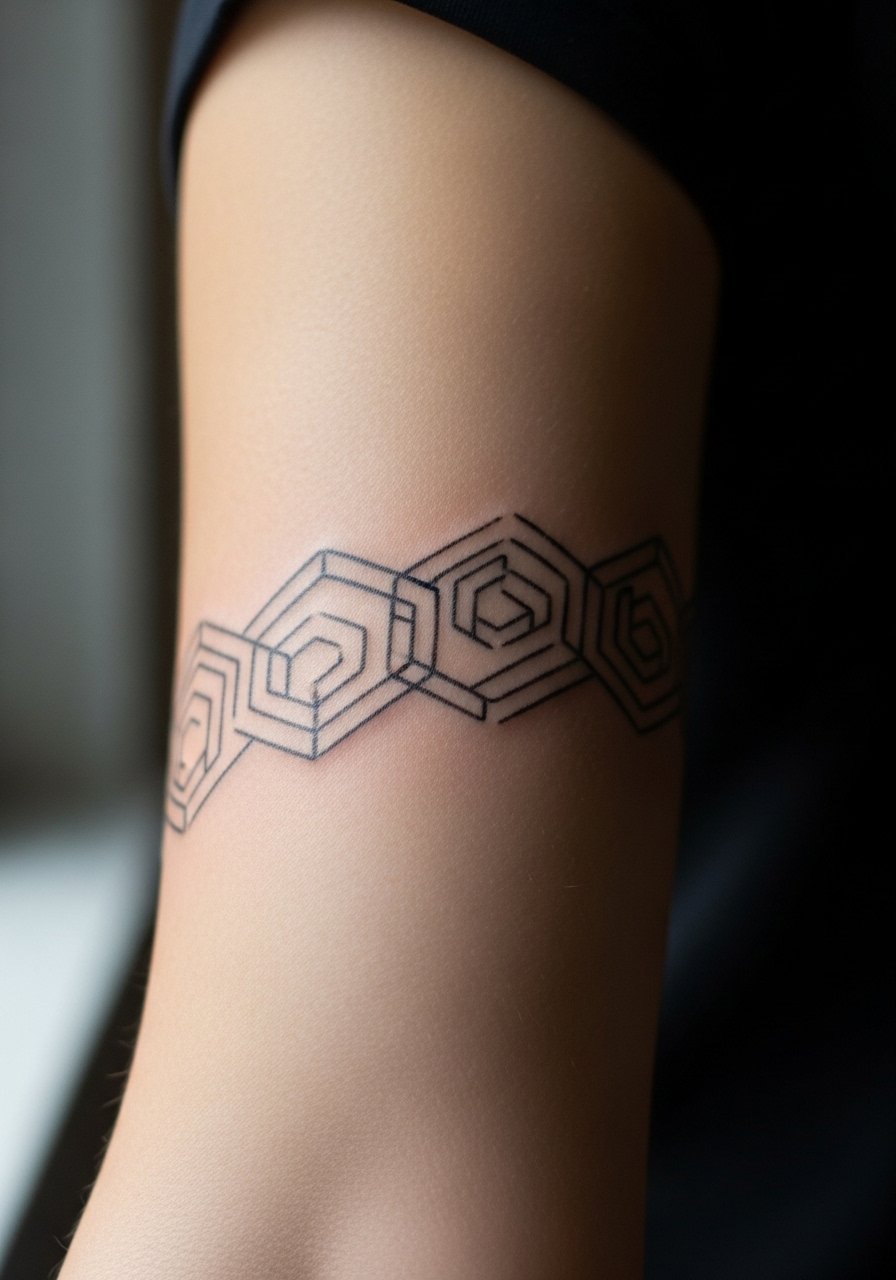
Consultation lead: the bicep allows wrap-around geometry but it must align with muscle curvature. Ask the artist to preview the wrap with a stencil while your arm is relaxed and then tensed so placement reads well both ways. Sessions are comfortable for most and last 60 to 120 minutes. The common mistake is creating a perfect geometric grid without compensating for arm rotation, which leads to misaligned seams. For the session wear a sleeveless tank so the area is easy to access.
18. Micro-Realism Geometric Arctic Monkeys Badge on the Wrist
Visual impact lead: the wrist is highly visible and subject to friction. For a badge-style piece choose slightly larger internal shapes so the design reads after the first year. Avoid tiny text or pinprick dots close together. Sessions are brief but touch-ups may be needed by year two. Tell the artist you plan for a moderate line weight and ask about moisture management during healing. Pair with a thin cuff bracelet that complements without pressing on the area.
19. Chevron Spine Accent Down the Upper Spine
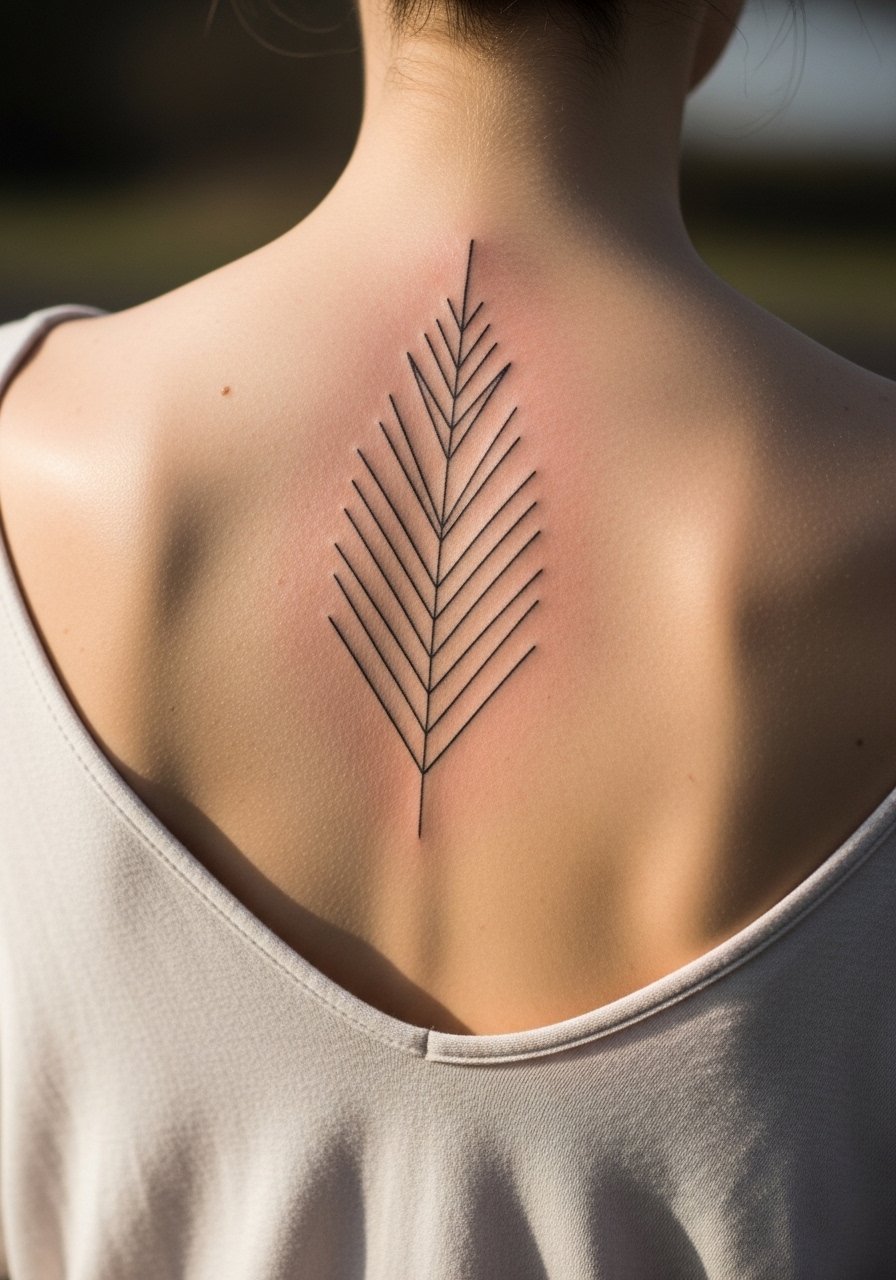
Aging lead: spine work is protected from daily friction but can be exposed to sun if you wear open-back clothes often. Spaced chevrons with smaller negative gaps hold up better than dense fills. Sessions might be split and the pain varies with proximity to the spine. A common mistake is compressing too much detail near vertebrae which warps as the body moves. For showing the piece, select an open-back top.
20. Small Geometric Rose on the Hip

Personal observation: hip tattoos sit in a high-friction zone when wearing waistbands, so spacing matters. A geometric rose with moderate negative space and slightly bolder outlines at the outer petals resists early bleed. Sessions are comfortable though touch-up timelines can be a year or two due to movement. The common mistake is placing it where the waistband will rub every day. On appointment day wear high-waisted jeans that you can lower without discomfort.
21. Geometric Script Curve Along the Ribcage
Pain warning lead: it is one of the more painful placements and fine line there is controversial. The two camps are vocal. One says thin line loses structural clarity quickly under chest movement. The other believes careful depth and spacing maintain it. If you pick ribs, plan for breaks and ask about a staged touch-up. A frequent mistake is choosing tiny connected lettering without negative spacing. For the session, a cropped top you can lift slightly works best.
22. Minimalist Geometric Sun on the Back of the Hand
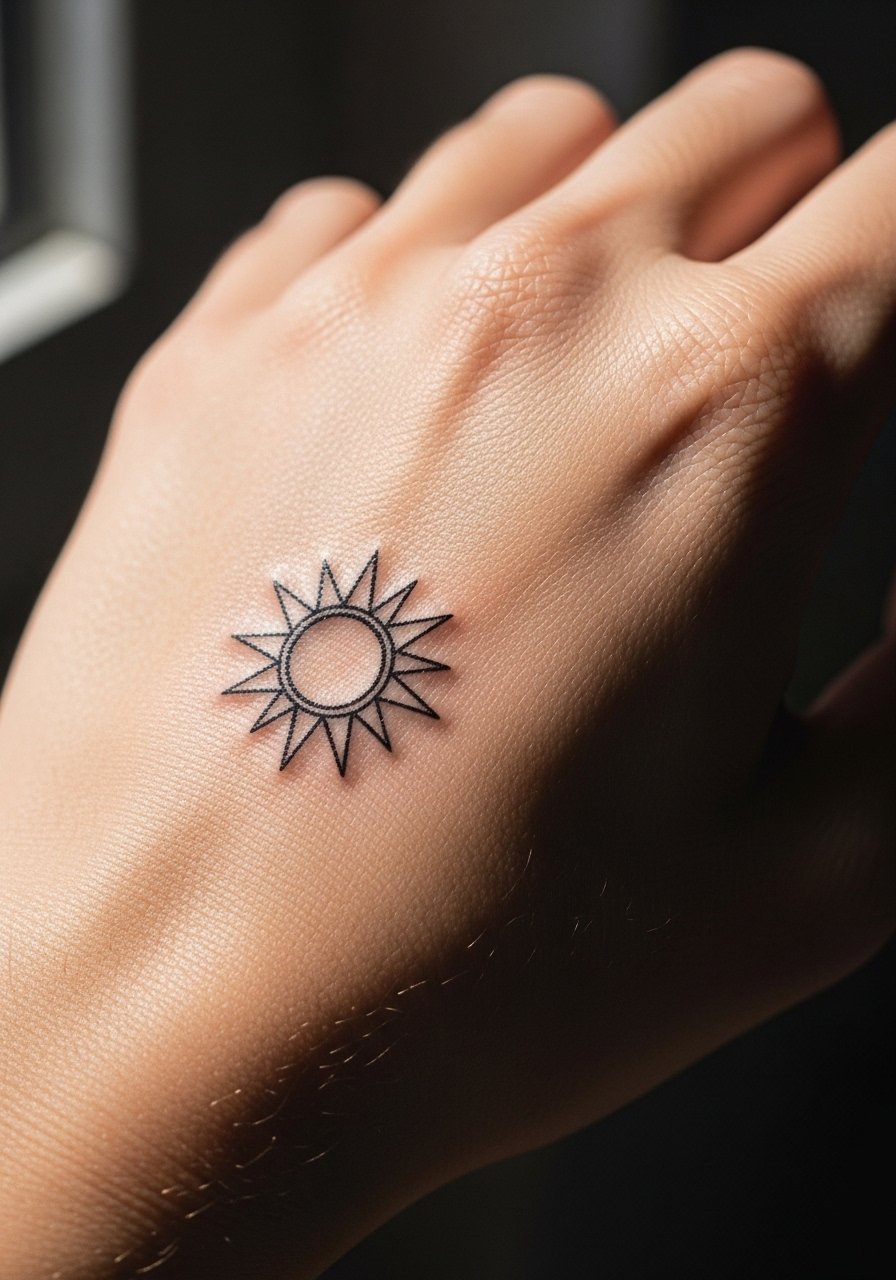
Mistake lead: the back of the hand is high-wear and often fades quickly. I recommend slightly bolder geometry and a plan for touch-ups. Sessions are short but painful and the piece will need more frequent maintenance than arm work. Also consider professional implications since some workplaces remain conservative about visible hand tattoos. Pair with a simple band ring if you want to balance visibility while keeping it discreet.
23. Angular Mandala Over the Hip Bone
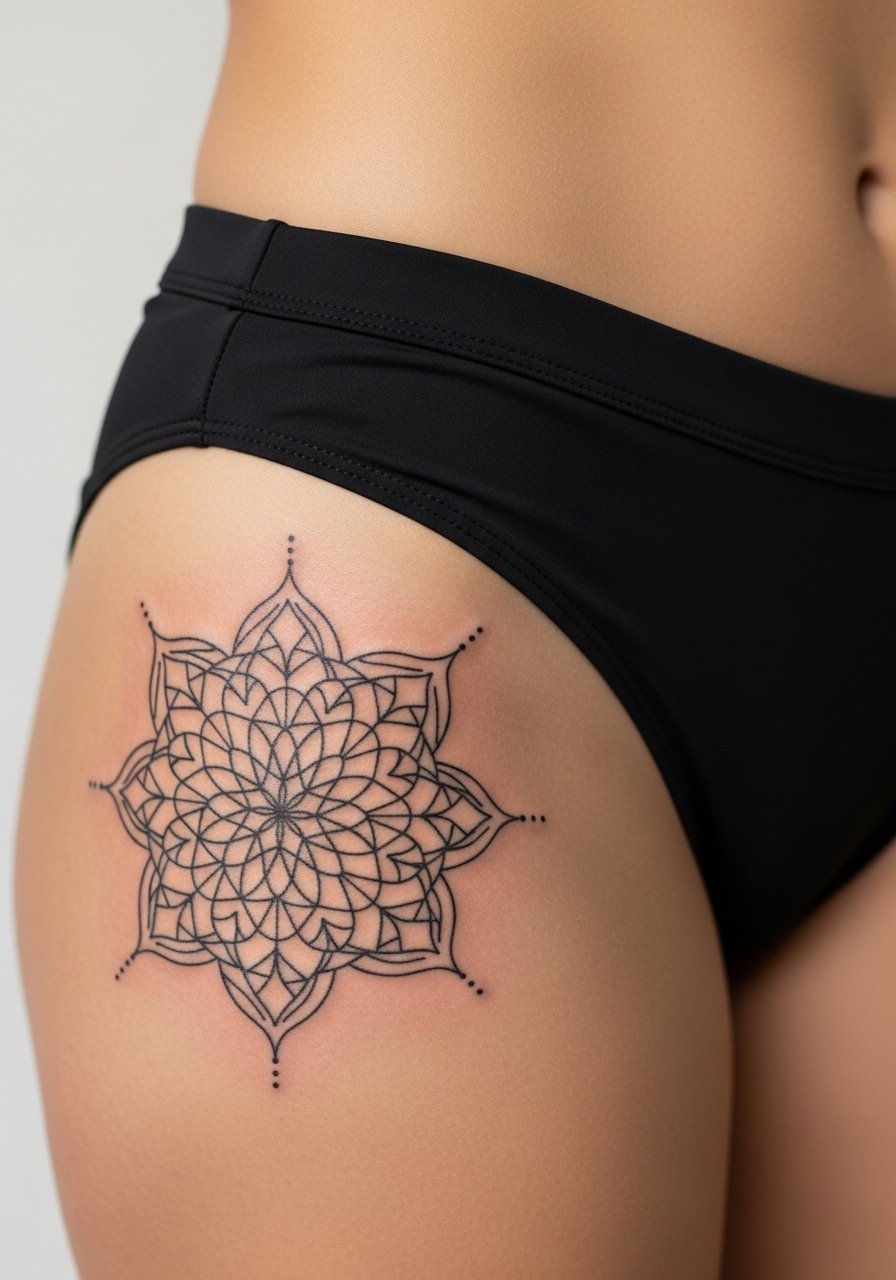
Consultation lead: hip bones create a natural ridge that can distort circular geometry. Ask your artist to draft the mandala around that contour and keep inner details slightly simpler than usual. Sessions are moderate and may need two appointments for larger pieces. A standard mistake is insisting on dense inner rings that compress after healing. For showing it off choose a high-cut swimsuit bottom.
24. Geometric Collarband Around the Base of the Neck
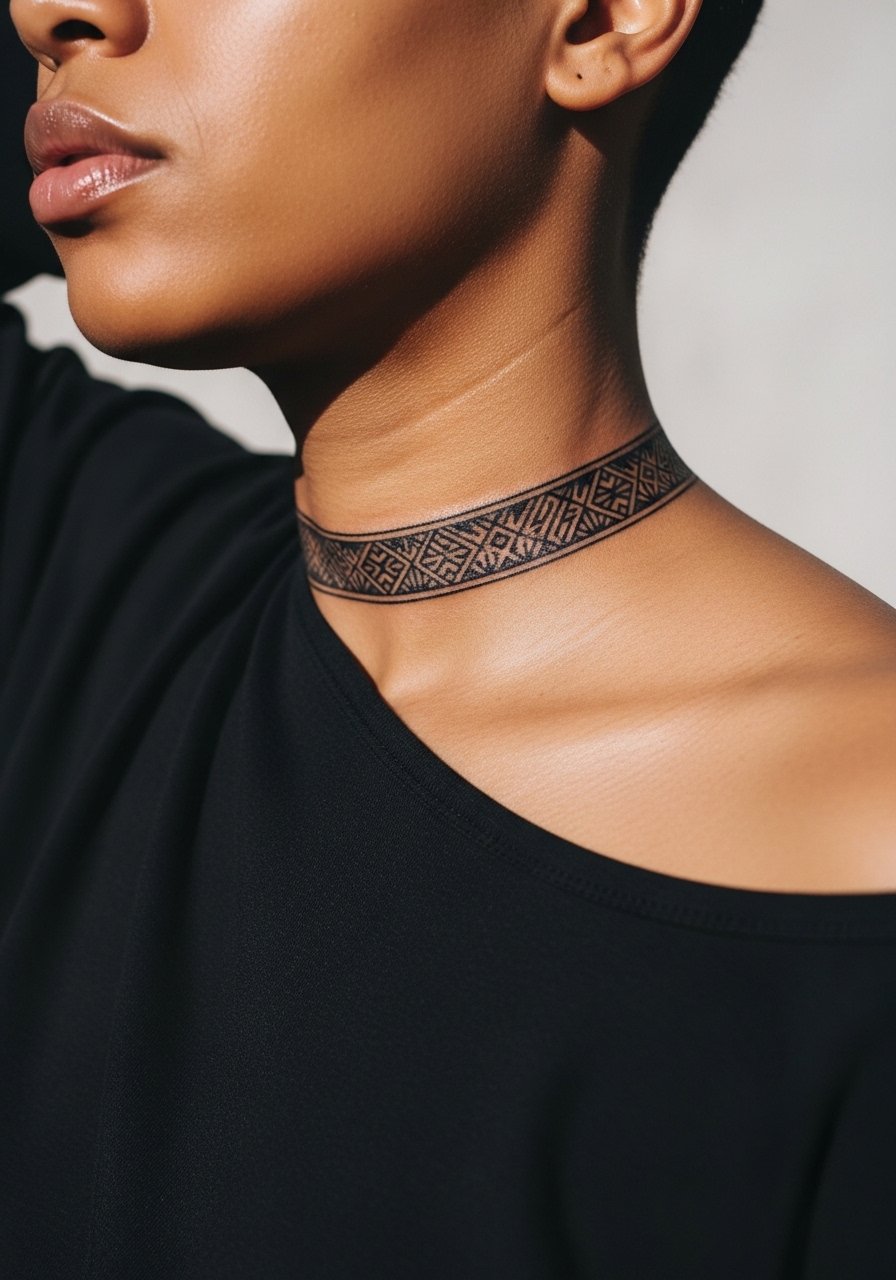
Visual impact lead: collarband pieces act like a piece of jewelry. They require careful siting to avoid resting on the collarbone and losing shape. Sessions are brief but placement is visible, and small adjustments in spacing pay off long term. A common mistake is placing the band too tight around the neck curvature which leads to distortions. For the appointment wear a wide-neck shirt so the artist can adjust easily.
25. Tiny Geometric Tattoo Behind the Knee

Personal observation: behind-knee placements are tricky because of constant flexing. Keep the design simple and avoid tight circular mandalas there. Sessions are short but healing requires patience since the area folds a lot. The mistake I see is crowding tiny elements that will blur into each other after movement. For the session pick loose shorts so the artist can access the area without stretching the skin.
26. Dot-Work Geometric Crescent on the Inner Thigh
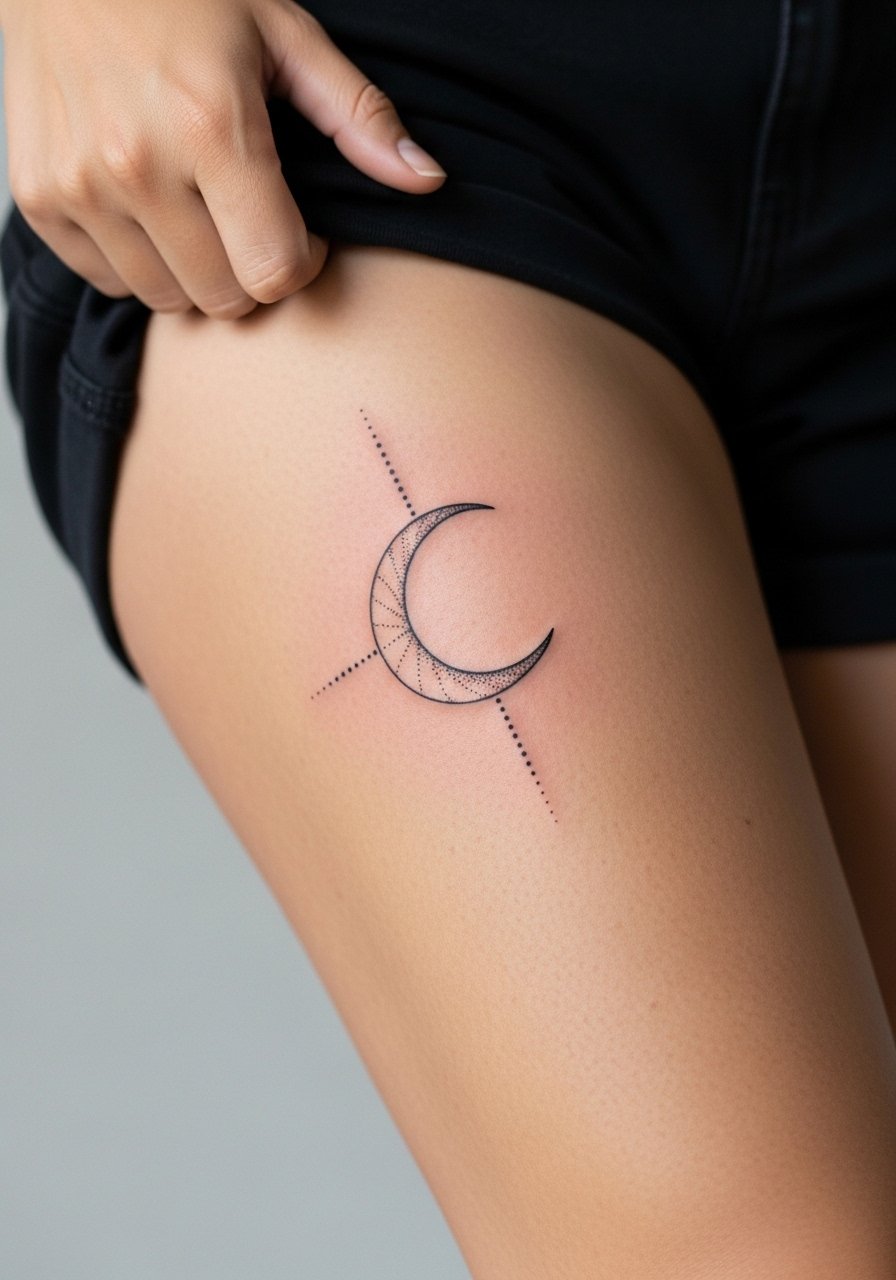
Consultation lead: inner thigh skin is softer and absorbs dot work differently than limbs. If you want crisp dot gradients, ask for slightly larger dots and wider spacing to prevent merge. Sessions are moderate and private, and healing needs minimal friction from clothing. A common mistake is expecting the same density as outer-thigh work. For the day wear loose shorts that you can move without rubbing the area.
27. Geometric Arctic Wave Across the Shoulder Blade Edge
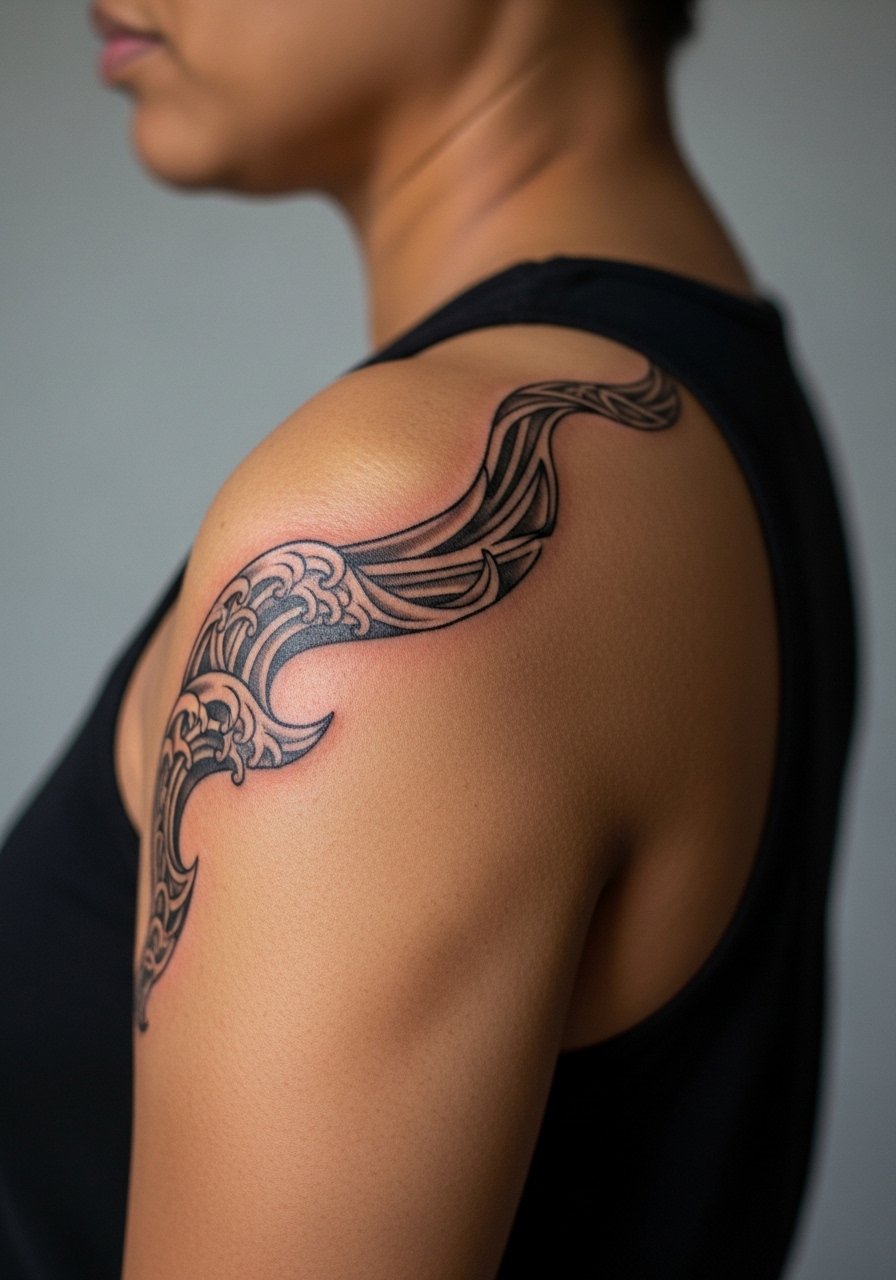
Mistake lead: shoulder blade edges show beautifully if the design accounts for shoulder movement. Ask your artist to test the stencil with arm raised and lowered to make sure the wave reads in both positions. Sessions are comfortable for most and typically finish in one long appointment. The usual error is not compensating for fabric rub when wearing backpacks. For showing it off pick a tank top that keeps the shoulder visible without constant friction.
Frequently Asked Questions
Q: Will tiny geometric details in a forearm design blur faster than larger shapes?
A: Yes, tiny details have less staying power because the skin's texture and cell turnover blur micro lines faster. In my experience, designs with slightly increased spacing and small anchor lines keep their form longer and reduce early touch-ups.
Q: Are geometric mandalas on the ribs worth the pain given the upkeep?
A: It depends on your tolerance and patience for touch-ups. Ribs are painful and require spacing concessions for longevity. If you want a dense mandala, plan for a staged session and a possible touch-up in two to three years.
Q: How often should I expect touch-ups for finger and hand geometric pieces?
A: Fingers and hands typically need touch-ups more often than limbs, often every one to three years depending on lifestyle and washing frequency. Picking bolder anchors and accepting a maintenance schedule makes sense for these placements.
Q: Can I wear makeup or perfume near a fresh collarbone or chest geometry piece?
A: Avoid makeup and perfume close to fresh ink until it has scabbed over and begun to knit, usually the first few days. For nights out after healing, a thin chain pendant complements collarbone geometry without rubbing the area.
Q: How should I prep for a sternum or ribcage geometric tattoo session?
A: Wear clothing that gives easy access like a fitted sports bra or a cropped top you can adjust. Sleep and hydration help, and plan for breaks. Discuss pain management options with your artist so you know what to expect.
