
Fine line koi tattoos are everywhere online right now, and what gets saved most often is not always what lasts. The bright, hyper-detailed plates that rack up likes fresh from the chair tend to need touch-ups sooner than chunkier, saturated work, and placement matters more than you expect for longevity and pain. Read the first idea for a forearm version that balances detail and staying power.
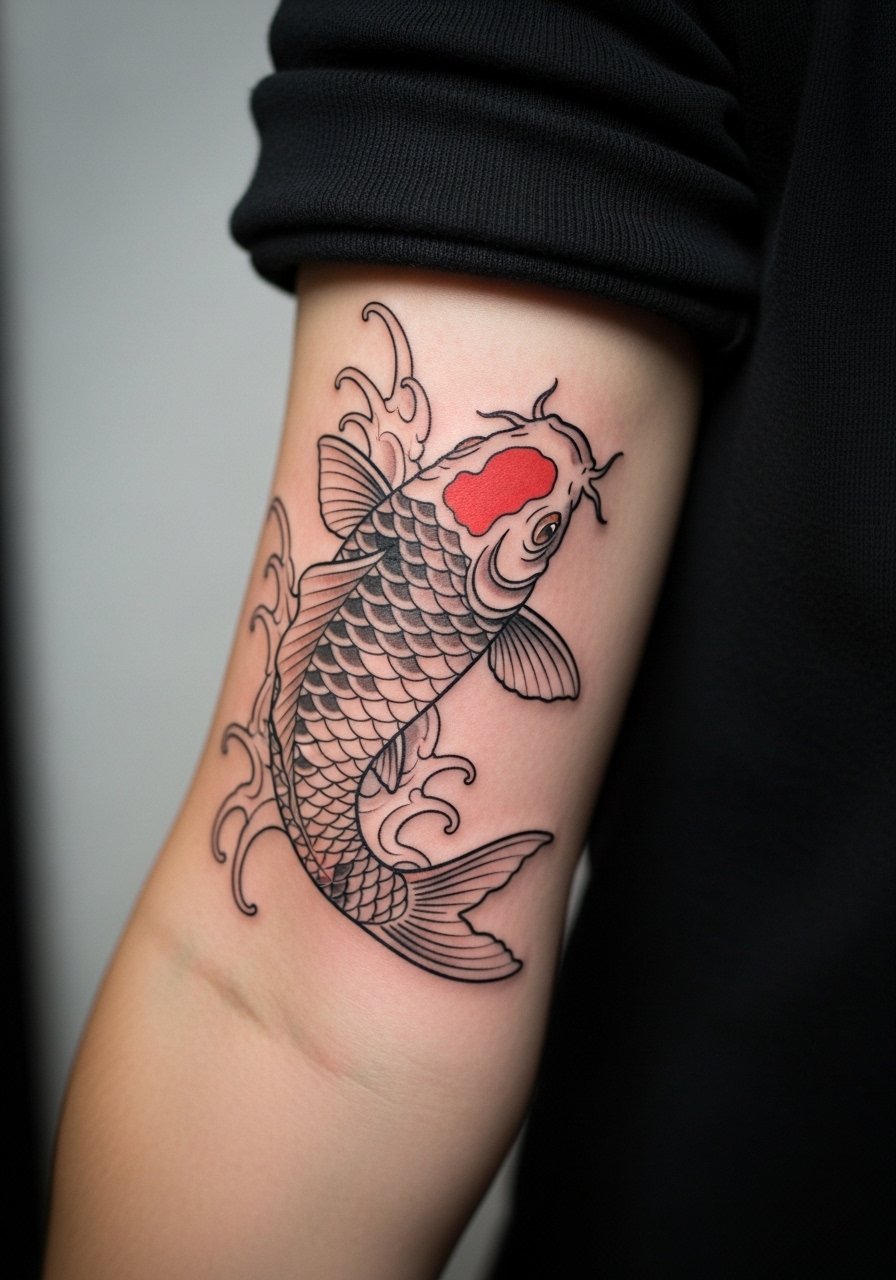
1. Forearm Micro-Realism Koi That Holds Up
I've seen forearm koi age in two different ways. The tiny scales and micro shading that look incredible at first can blur in tight placements if the linework is too crowded. Ask for slightly larger scale texture and moderate saturation so the details have room to breathe. Forearm pain is mild to moderate and sessions run one to two hours. Expect a touch-up around year three if you want crisp scales. For the session wear a loose button-down shirt you can roll or pull aside so the artist has clean access without stretching the arm.
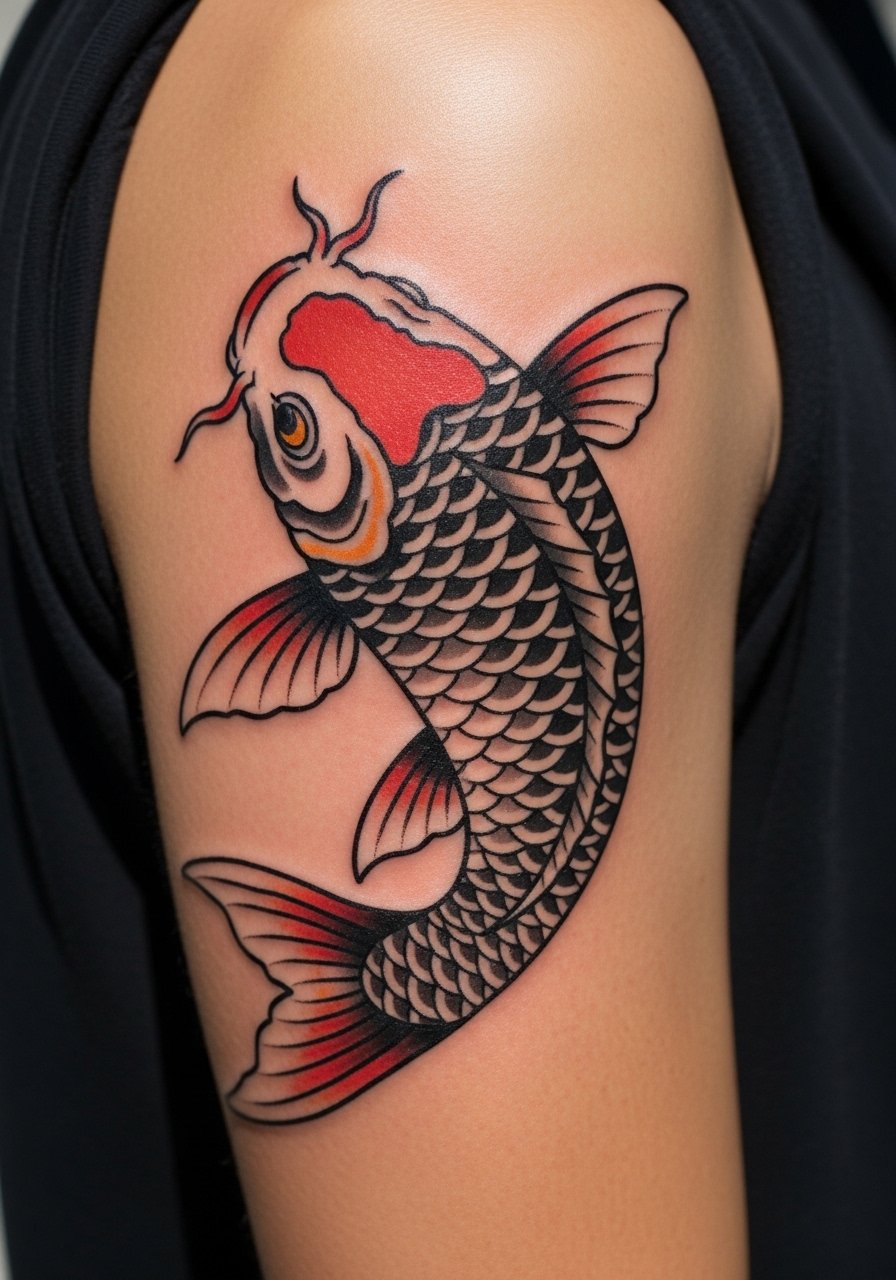
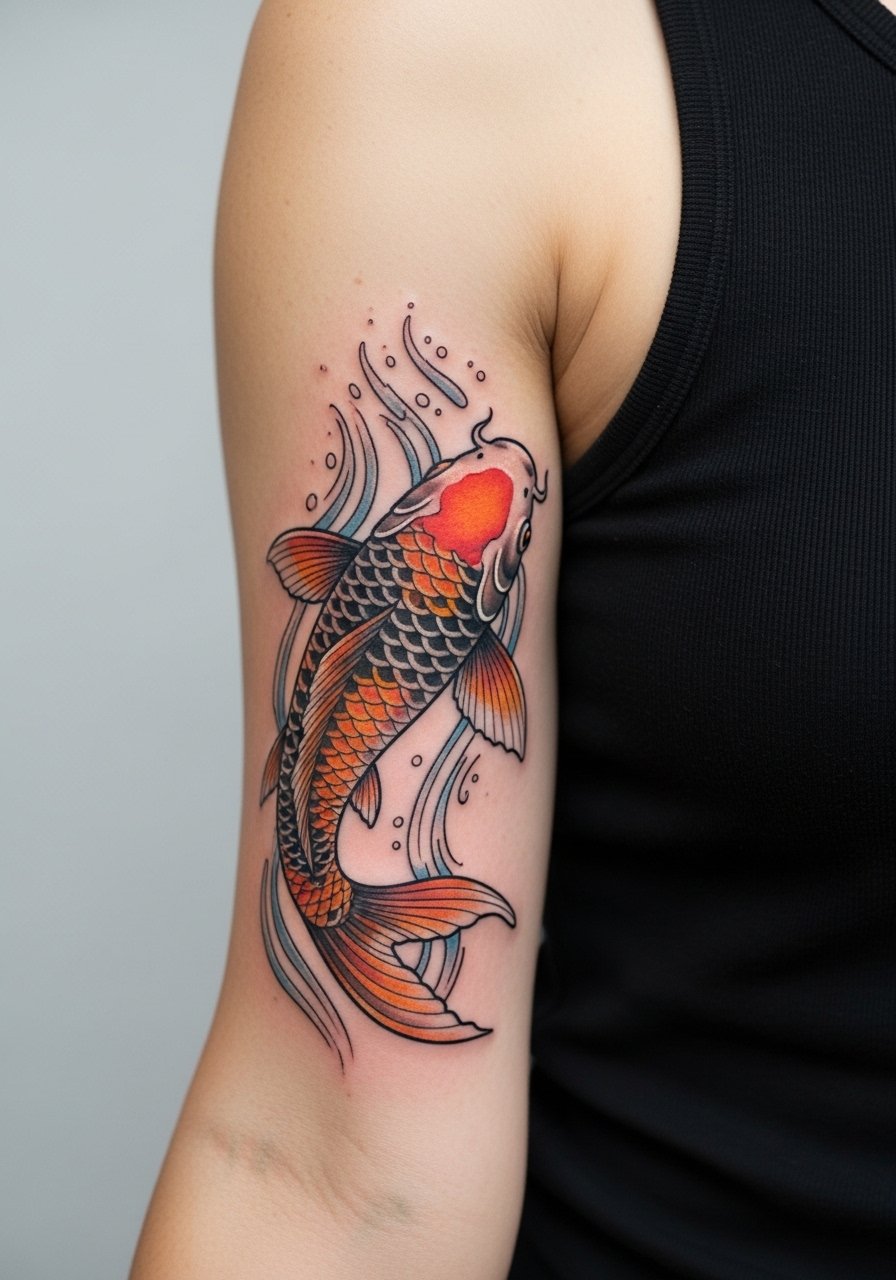
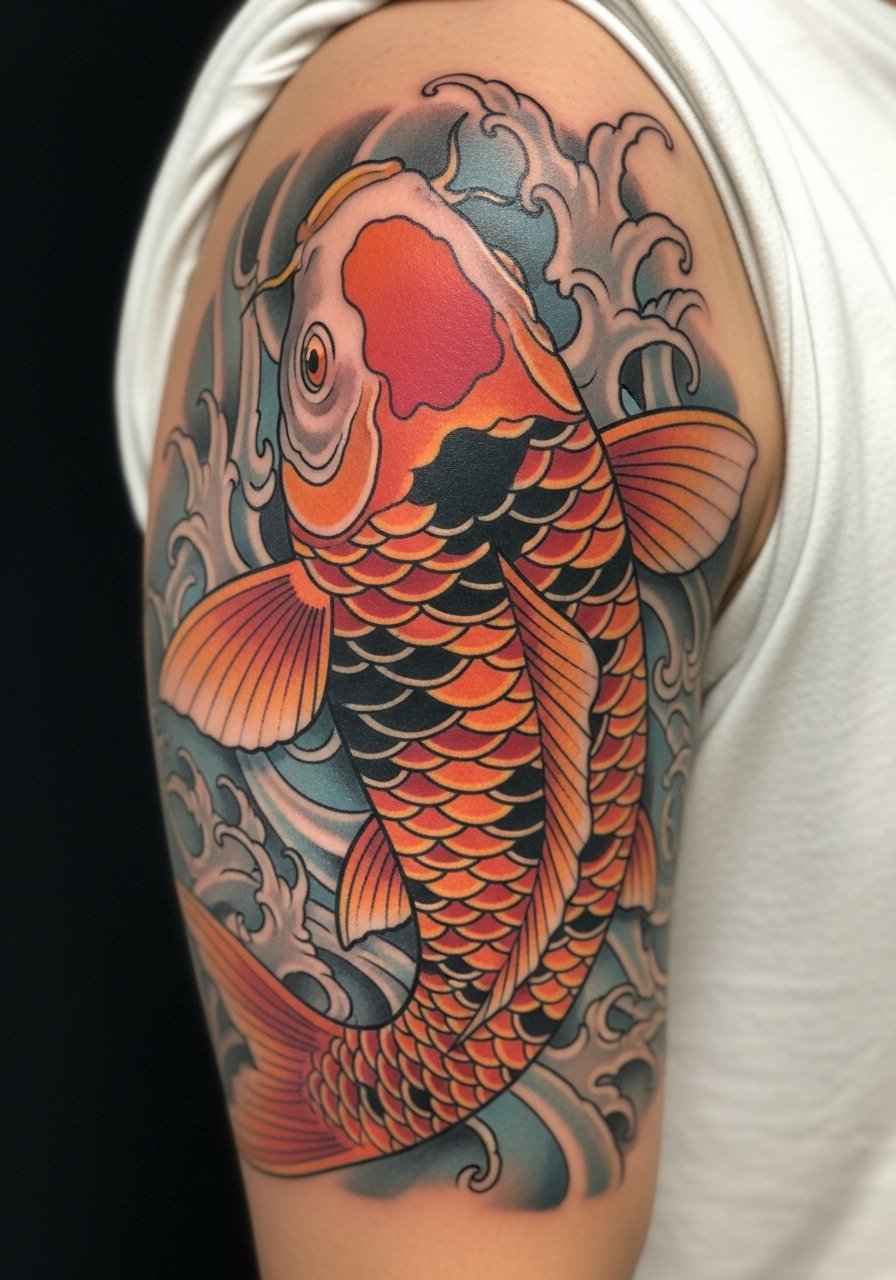
2. Traditional Bold Koi on the Upper Arm
There is something about saturated, bold outlines that keeps koi readable years later. The upper arm can take heavier saturation with less risk of blowout than the inner wrist. Tell your artist you want contrast between thick outlines and saturated fills so the silhouette stays legible from across a room. Pain is moderate and sessions may take two to four hours. A common mistake is asking for tiny traditional details that crowd the scale pattern. Pair this piece with short sleeves on warm days and a loose linen tee for evenings when you want the arm on show.
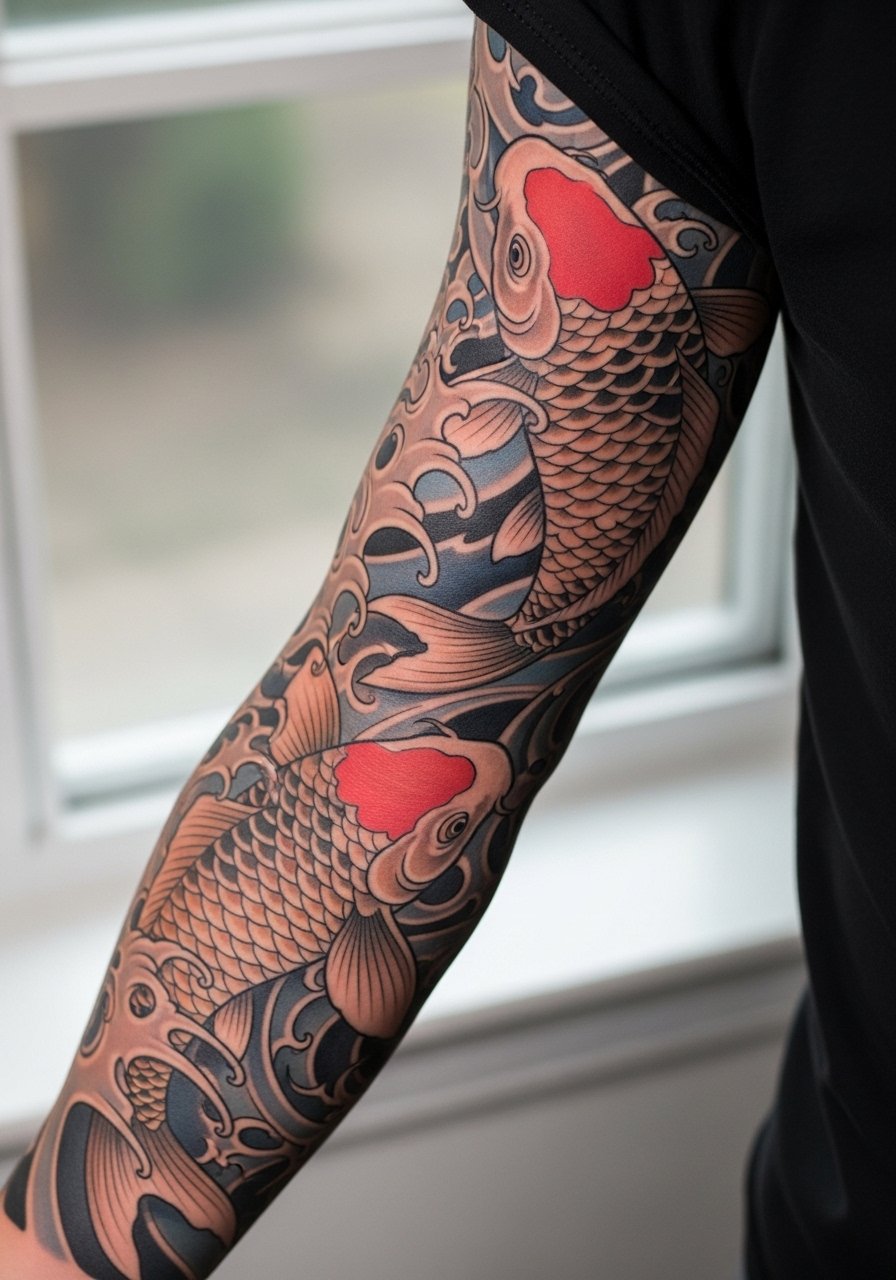
3. Sleeve-Ready Koi and Water Composition
If you want a half or full sleeve, the composition matters more than any single fish. I recommend planning negative space for breathing room and letting water flow connect elements rather than forcing everything tight. On the forearm and shoulder the session time adds up, expect multiple sittings of two to four hours. The challenge is keeping small linework large enough to survive years of sun exposure. At six months the shading looks soft, at two years the blacks deepen, at five years the fine stipple may need refreshing. For showing it off, a rolled-up linen shirt frames the sleeve without stealing focus.
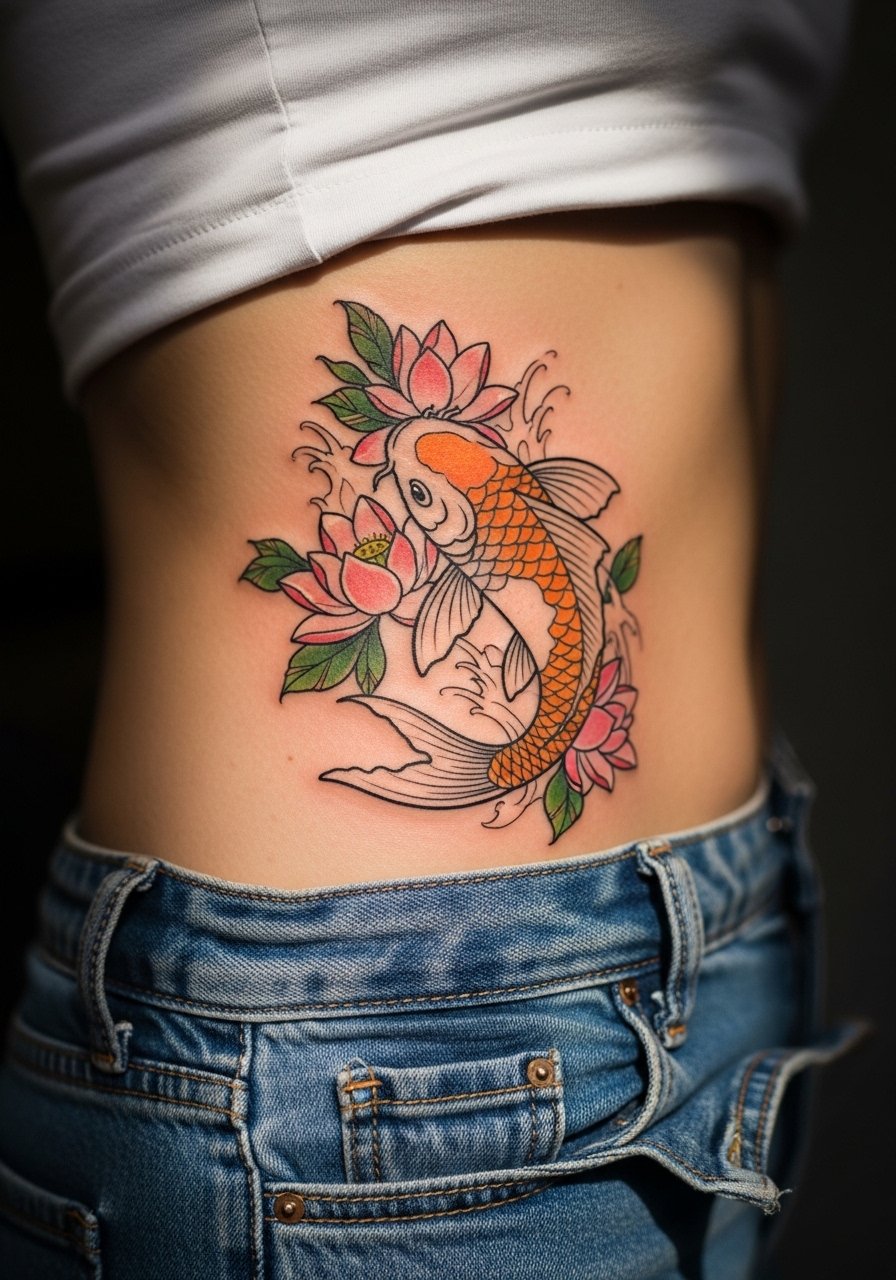
4. Delicate Waistline Koi with Floral Accent
Placement on the hip and upper thigh lets koi curves follow the body. Pain on the hip can be higher than the outer thigh, so plan for breaks. Ask your artist for slightly larger line spacing and softer stipple shading so the floral accents do not merge after healing. Sessions are commonly split into shorter blocks to manage discomfort. For the session wear high-waisted denim you can shift down a touch so the artist has clear access while you stay modest. Note that this placement is more private and may require an artist comfortable with intimate areas.
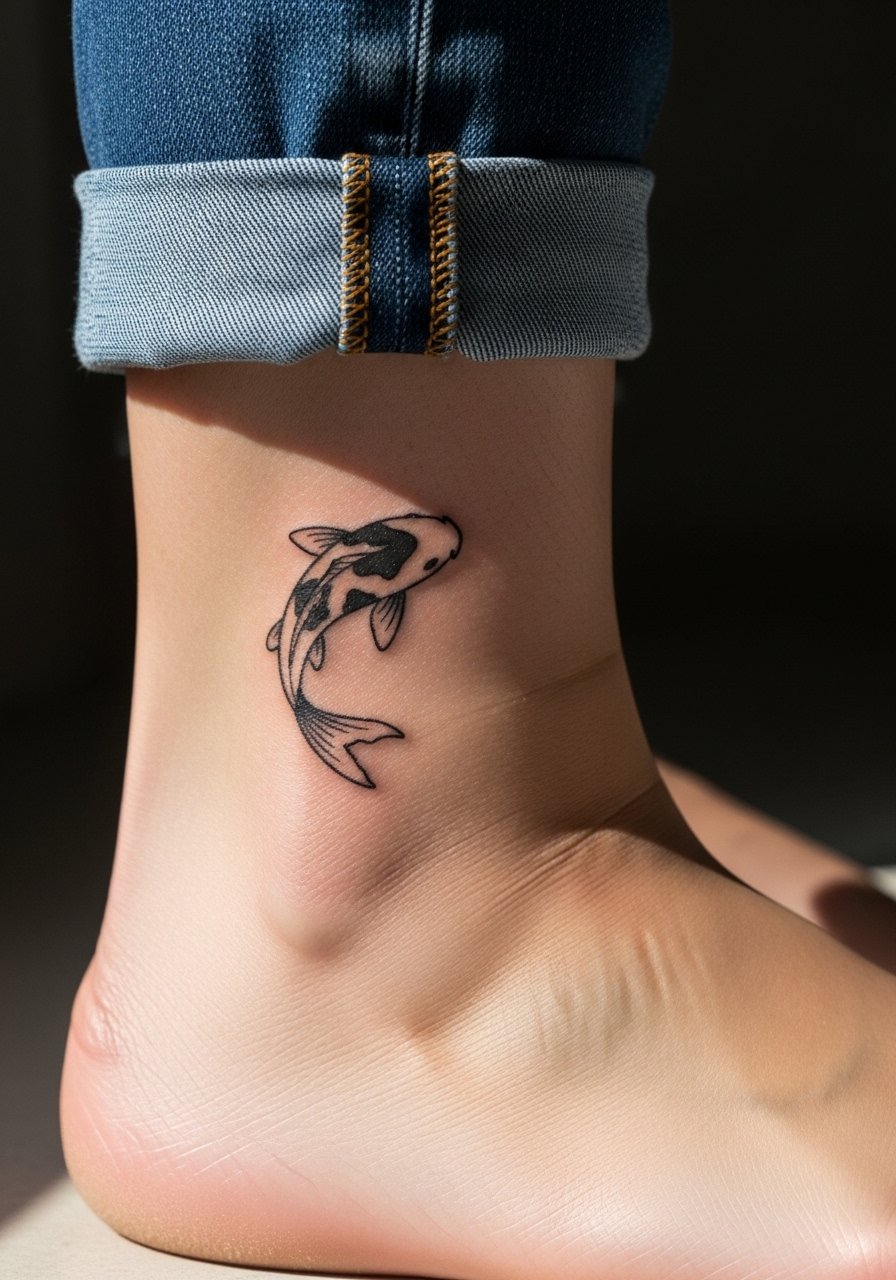
5. Ankle Koi That Reads Small and Clean
Ankle tattoos are charming but prone to early fading from shoe friction. For a koi here, keep linework slightly bolder than you might on the wrist and compress the shading into color blocks rather than tiny gradients. Pain is low to moderate depending on bone proximity and sessions are short, often under an hour. A common mistake is too many tiny details that wear away with socks and daily movement. To show it off, roll jeans or wear sandals so the ankle stays visible without rubbing.
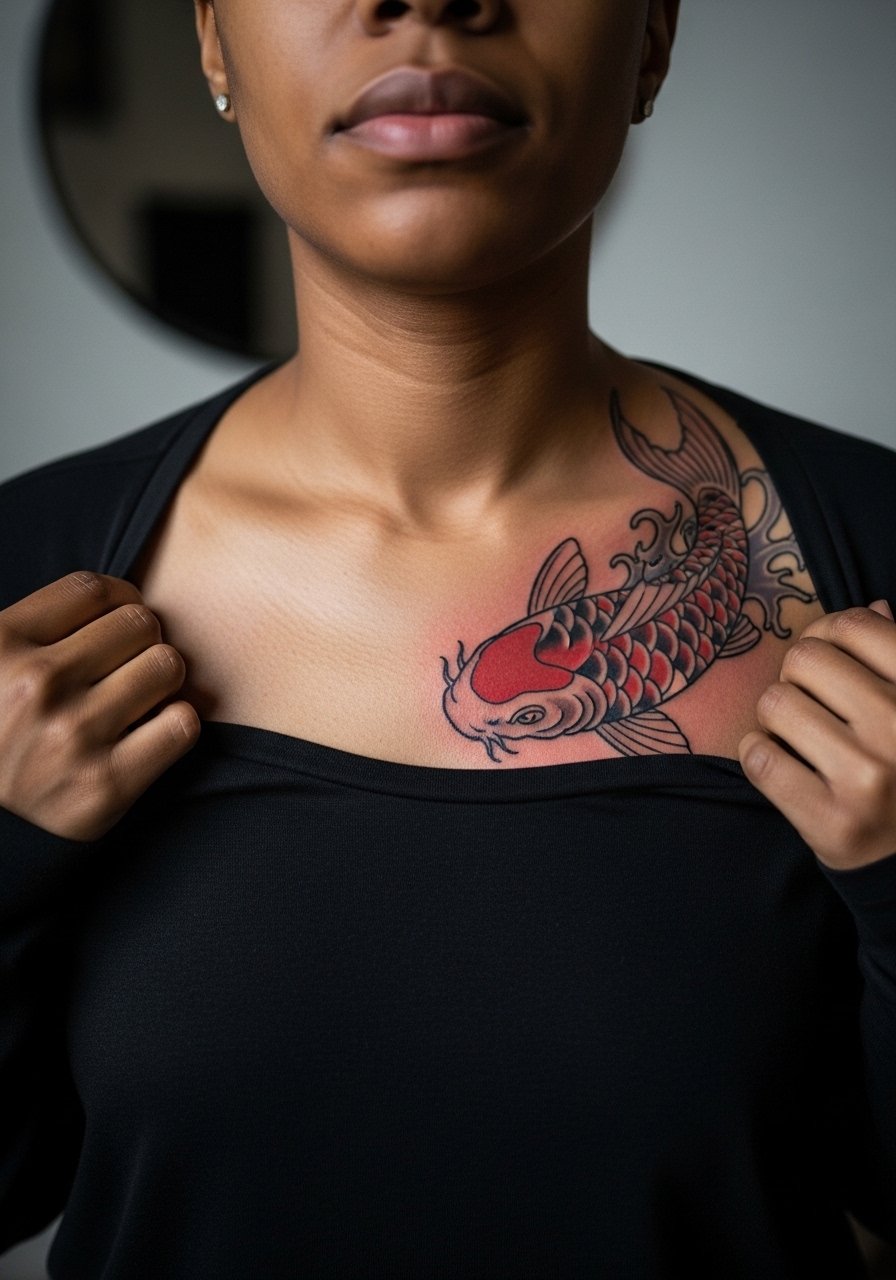
6. Chest Koi That Follows the Pectoral Curve
Chest placement gives koi room to breathe and the body curve can enhance motion in the design. The sternum and upper chest split artists into camps. One camp warns fine line on the sternum blurs early because the skin shifts. The other camp says careful depth and spacing can keep lines clean. Decide which side your artist falls on before booking. Expect moderate to high pain near the sternum and sessions that may be split. For access, bring a wide-neck shirt you can pull slightly aside so only the tattooed area is exposed.
Studio Day Picks
The pieces above involve wrists, ankle, hip, forearm, sleeve, and chest work, and each placement benefits from a small kit that addresses access, comfort, and the first week of healing.
-
Stencil transfer paper kit. Lets you and your artist test placement and scale on skin before the needle moves, especially useful for forearm and chest compositions.
-
Topical numbing cream. Applied before ankle or hip sessions it can make shorter, bone-adjacent appointments easier to manage.
-
Thin protective film roll. Ideal for ankle and finger areas that rub against clothing during the first week.
-
Fragrance-free gentle wash. Cleanses healing skin without stripping pigment, helpful for chest and hip areas where sweat and friction are common.
-
Aquaphor healing ointment. Thin application in the initial days helps keep fine line edges moisturized without clogging the skin.
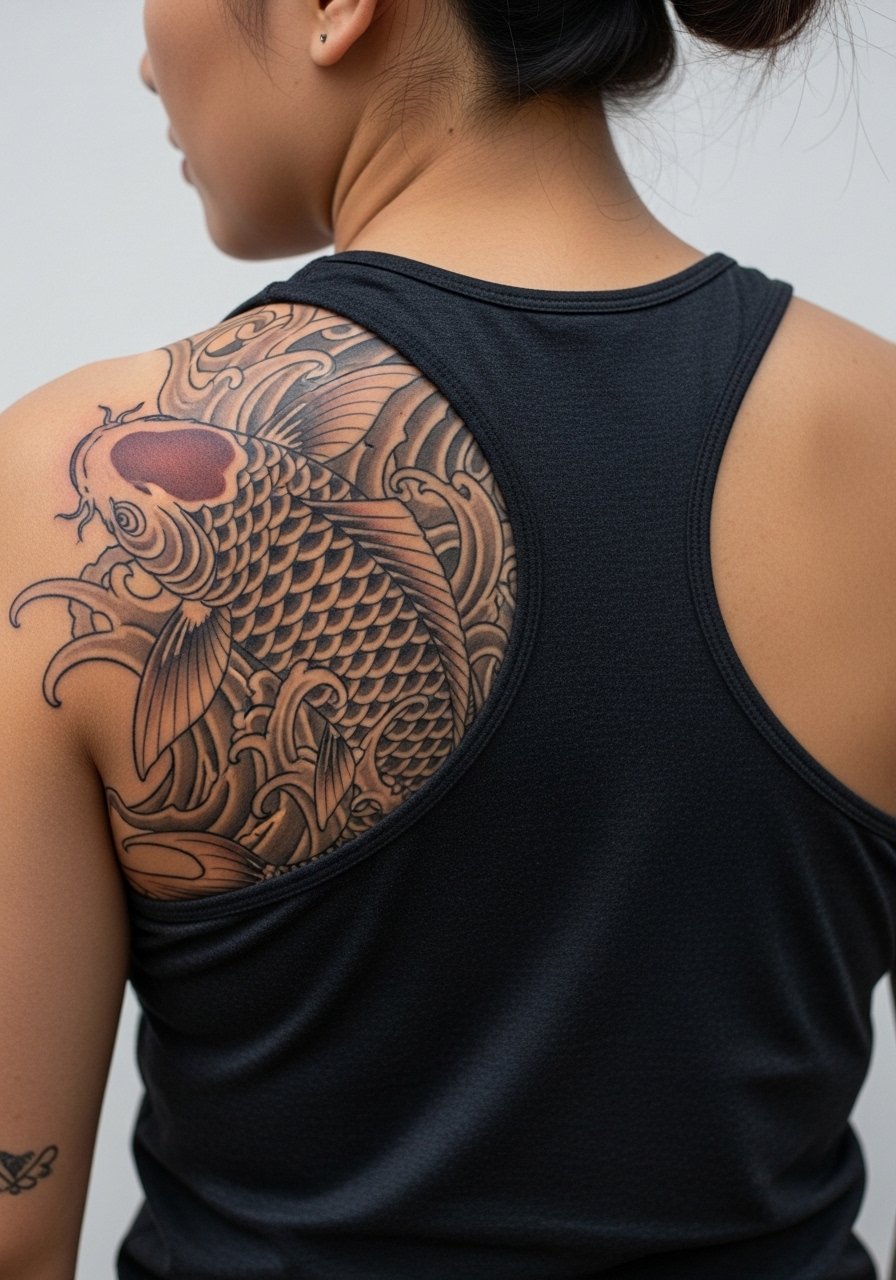
7. Back Piece Koi Flowing with Spine Movement
Back canvases let the koi travel and interact with spine movement. A full back koi reads dramatically when the fish follows the central line. Sessions are long and may require multiple appointments. Expect higher session time and moderate pain around shoulder blades. A common mistake is over-detailing in thin bands near the spine where blowout risk is higher. For visibility choose open-back tops or a racerback tank for special occasions. When scouting artists, search local shop pages, convention listings, and community forums to find someone who photographs healed back work consistently.
8. Inner Bicep Koi for a Subtle Reveal
The inner bicep keeps a koi private until you lift your arm. It is a placement that holds fine detail better than wrists but has a higher blowout risk near the armpit crease. Pain can spike when the arm is lifted for long periods. Ask for slightly denser linework and moderate saturation so the image reads after healing. Session times are often in one to two-hour blocks. For the session wear a tank top you can raise without discomfort. Also note inner arm work needs clean aftercare to prevent friction from sleeves during the first week.
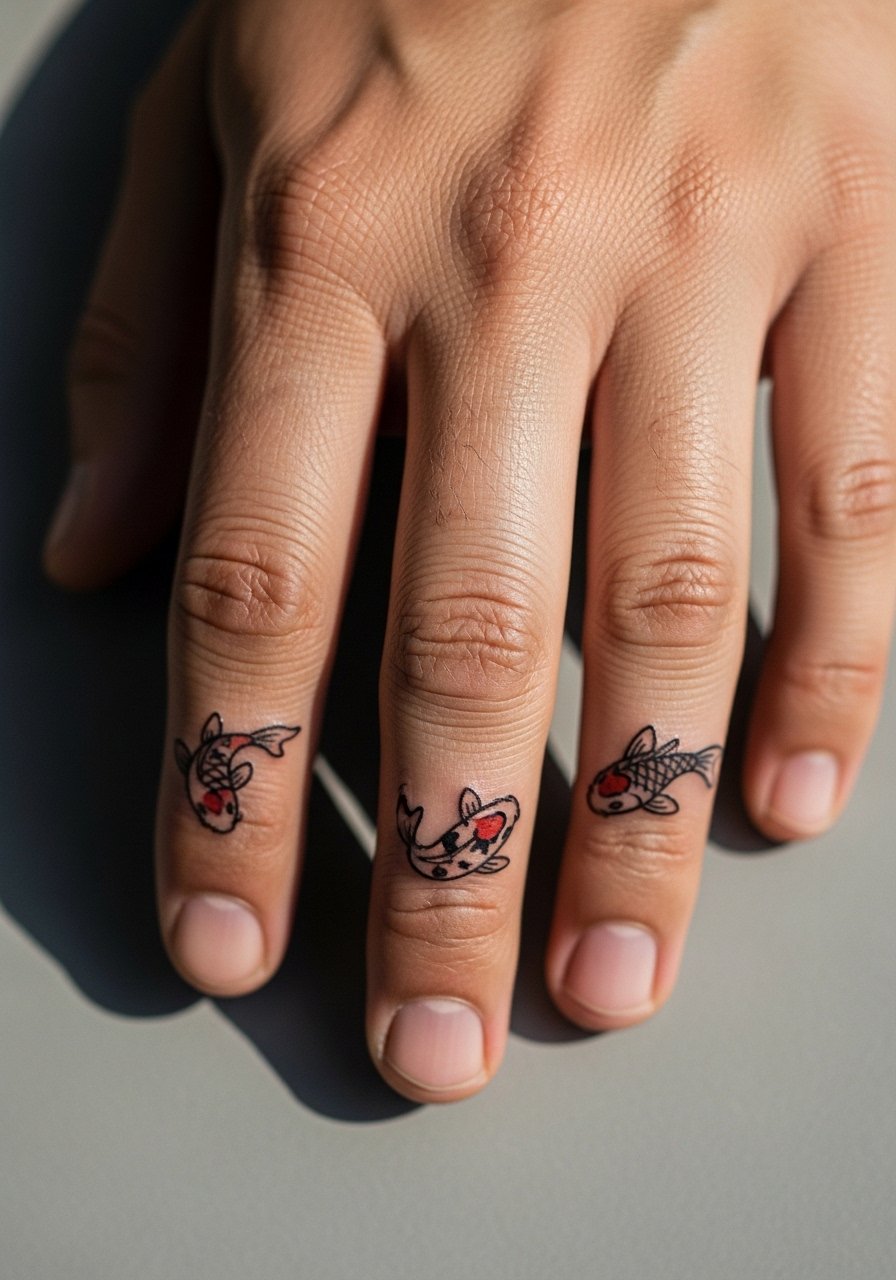
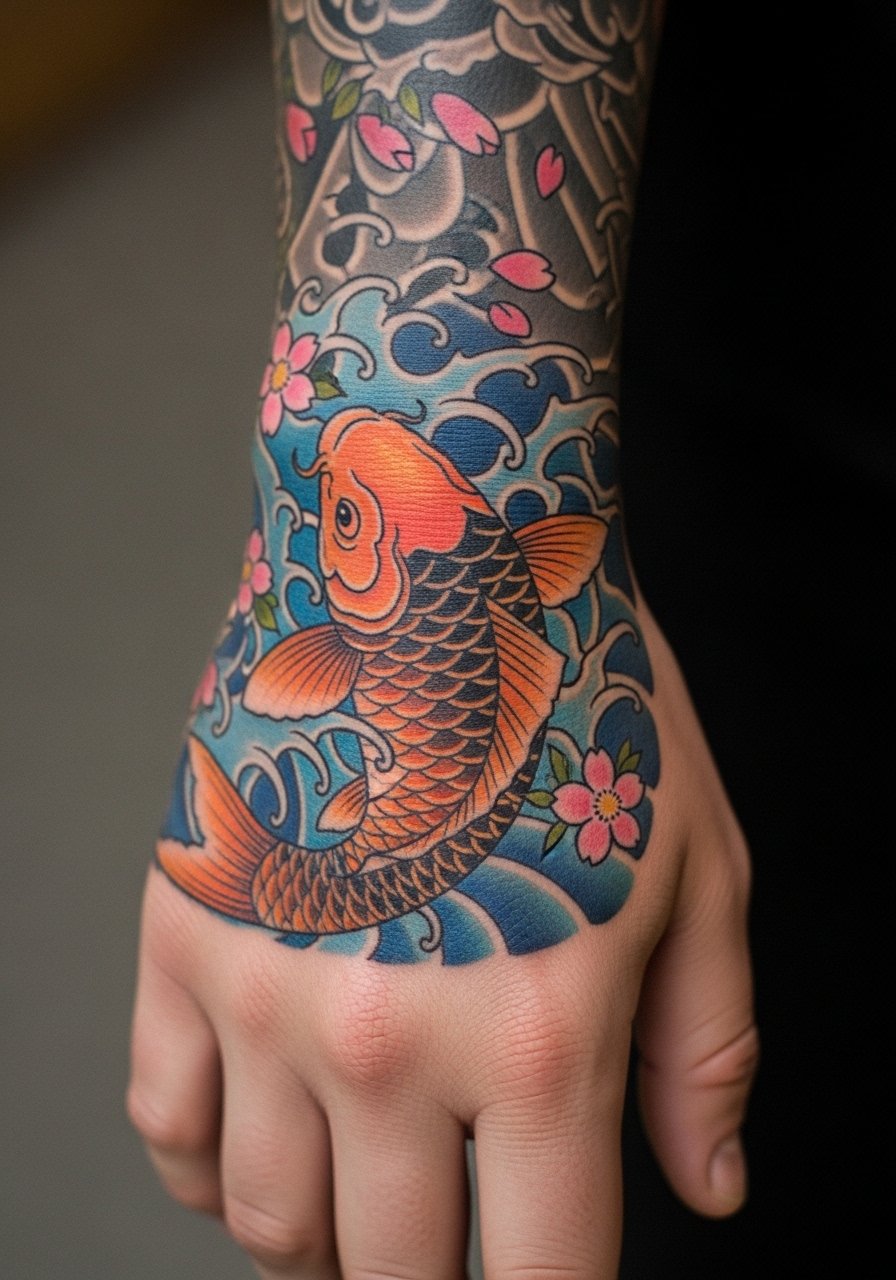
9. Finger and Knuckle Mini Koi Motifs
Tiny koi elements on fingers can be charming but are notorious for short lifespans. The skin here sheds faster and the needle goes shallow to avoid excess trauma, so expect fading and touch-ups. A common mistake is asking for dense color or fine details that the canvas cannot hold. Sessions are quick but often need follow-up. For daily wear consider minimal black outline with a touch of color rather than full saturation. Pair with a thin chain ring or minimalist stacked rings to keep attention aligned without covering the art.
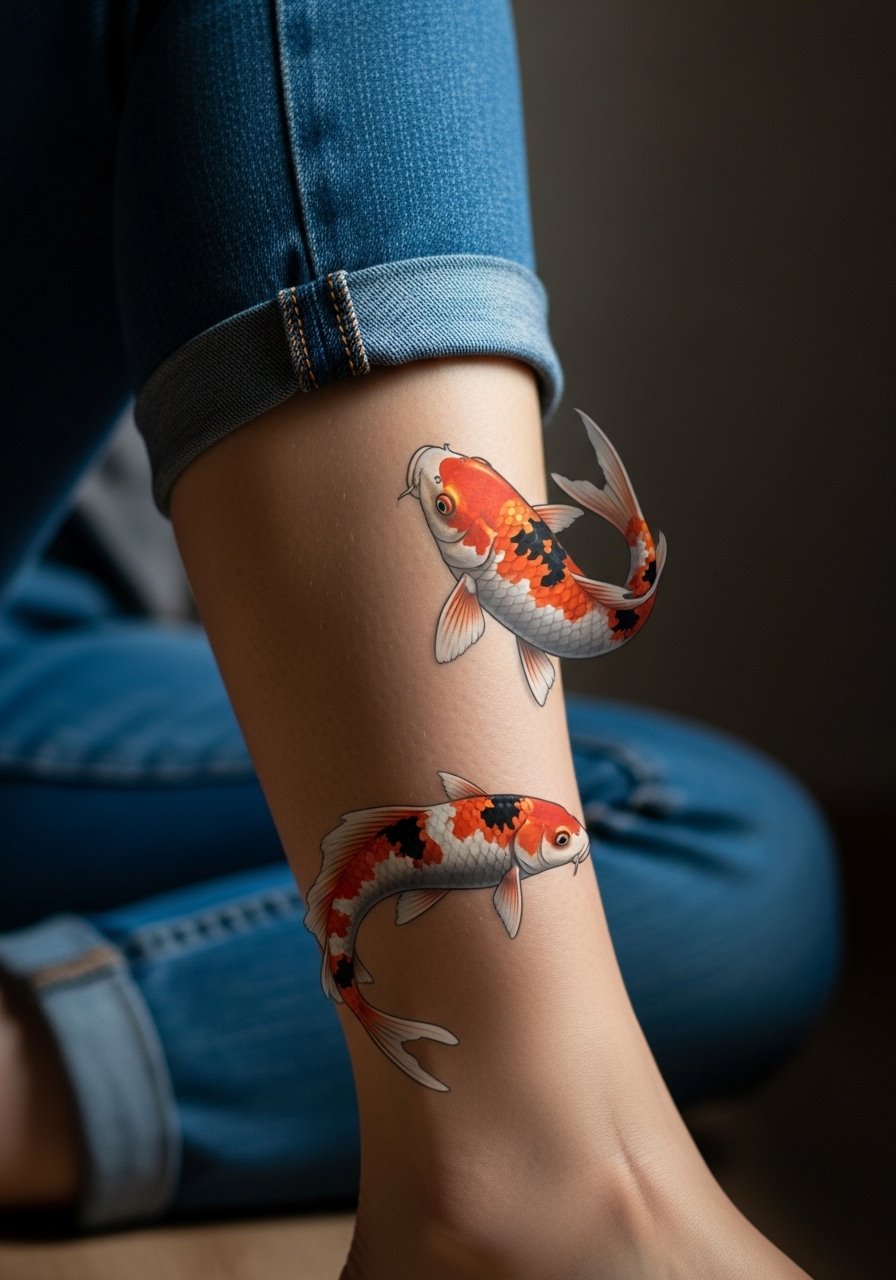
10. Calf Koi That Wraps for Motion
Calf placements let koi wrap naturally and show while walking. The muscle and skin here tend to hold saturated color well, and blowout is less common than on inner arms. Pain is low to moderate and sessions are comfortable for people who can sit with the leg supported. If you want the fish to read in motion, ask your artist to orient the head downstream from the ankle. For showing it off, wear mid-calf boots or rolled jeans on cooler days or shorts when you want full visibility.
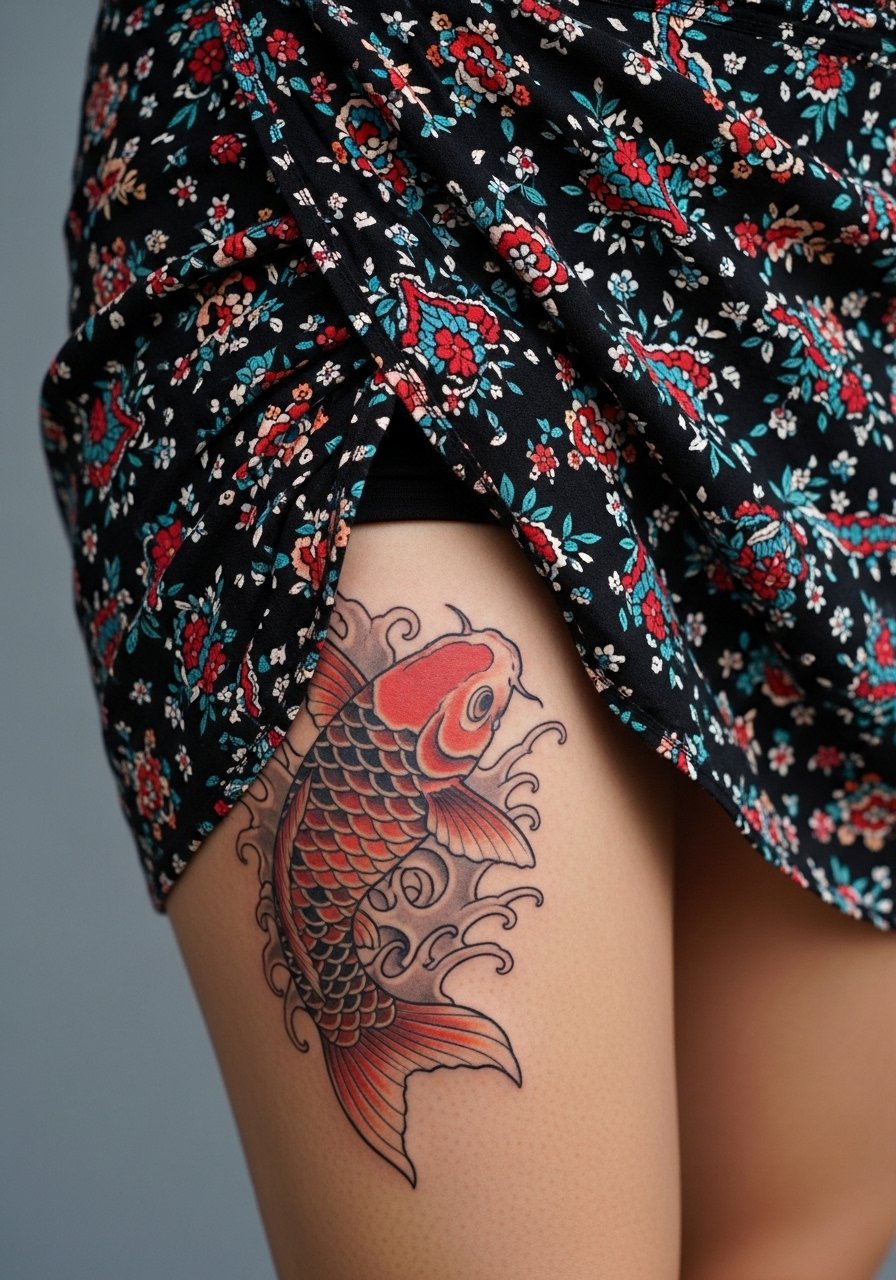
11. Thigh Portrait Koi with Bold Color
The upper thigh is forgiving for larger koi portraits and holds color well over time. Pain is moderate and sessions are often longer but tolerable. A common mistake is trying to cram very angular compositions into the rounded thigh surface. Ask your artist to mock the layout on skin while you stand so the composition reads both seated and standing. For the session bring a wrap skirt you can shift for access and modesty. This placement allows for larger, painterly blends that age into a soft wash rather than patchy fade.
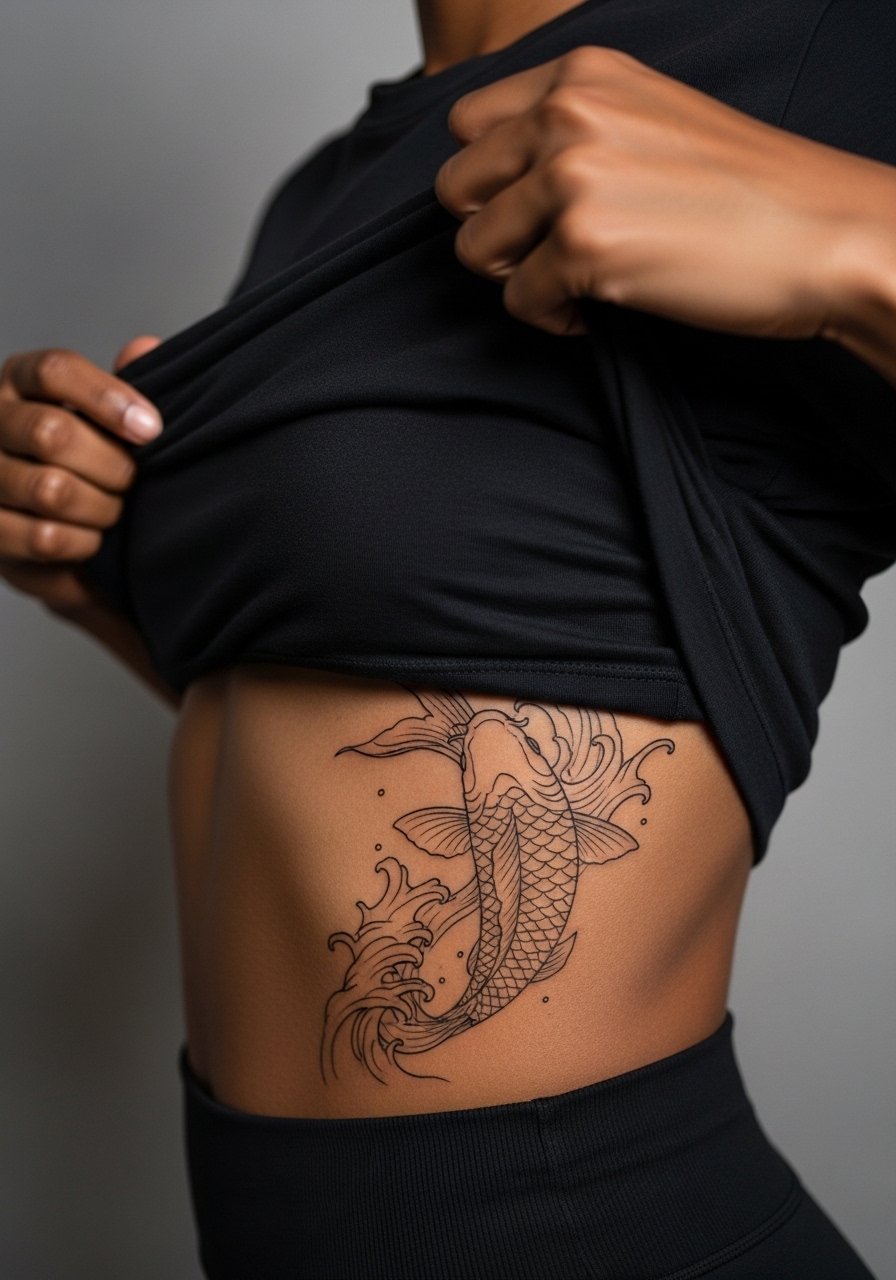
12. Ribcage Koi with Flowing Water Lines
Ribcage koi have high reward and high cost in comfort. Pain ranges high for most people and sessions may require breaks. Artists are split on fine line here. One camp says the skin shifts and blurs delicate work quickly. The other camp insists spacing and depth prevent that outcome. If you prefer fine detail, look for healed photos of ribcage linework in an artist's portfolio and ask where they fall on the debate. Wear a cropped athletic top you can lift slightly for access without being exposed. Expect touch-ups sooner than on the outer arm.
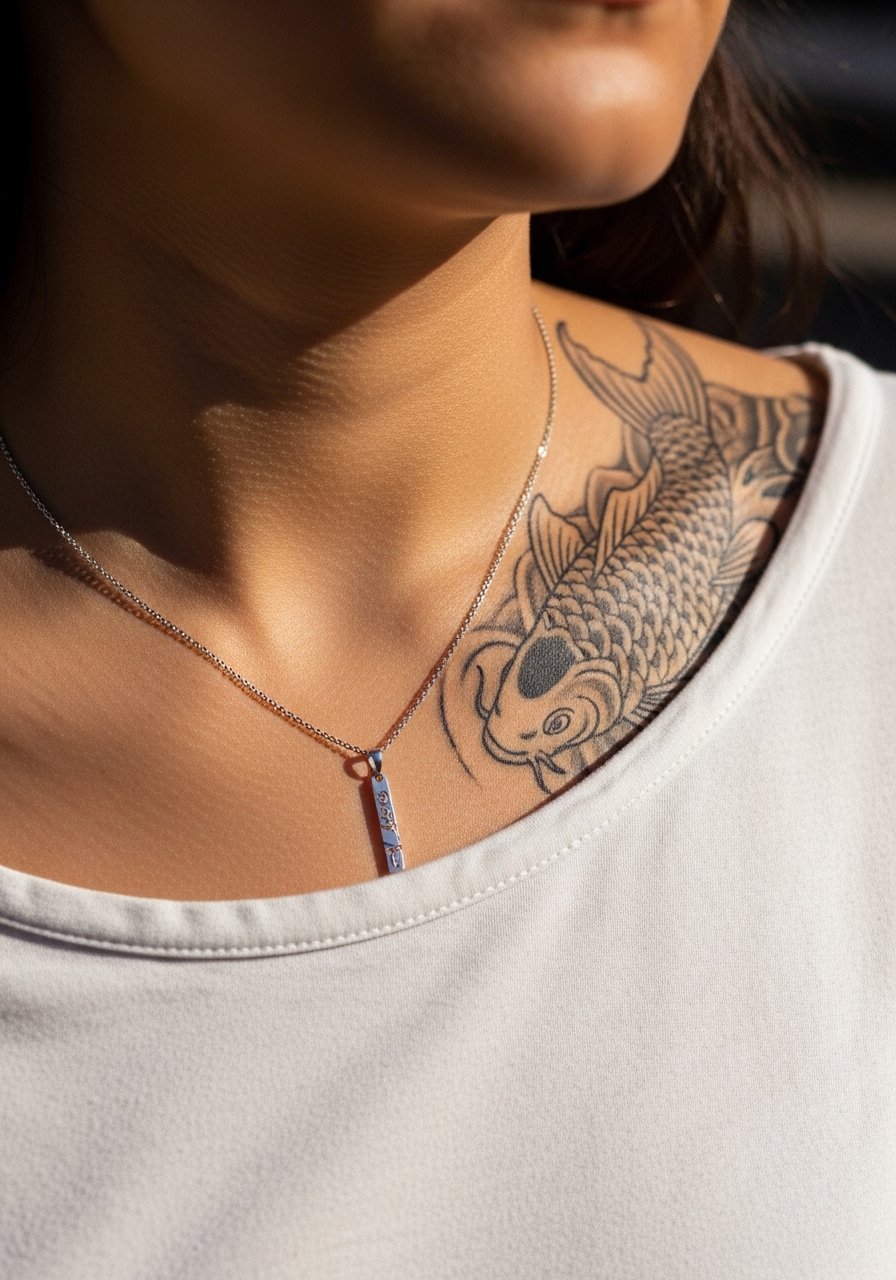
13. Collarbone Koi That Frames Jewelry
A koi sweeping near the collarbone reads well with necklaces and open-neck shirts. This area takes delicate linework nicely but can fade from sun if frequently exposed. Pain is moderate for most clients and session times are typically under two hours. Tell your artist you want the scales simplified near the collar so the silhouette remains crisp. For showing it off pair it with a thin chain pendant necklace that sits above the artwork without competing for attention. Also plan on sunscreen on healed pieces if you wear low necklines a lot.
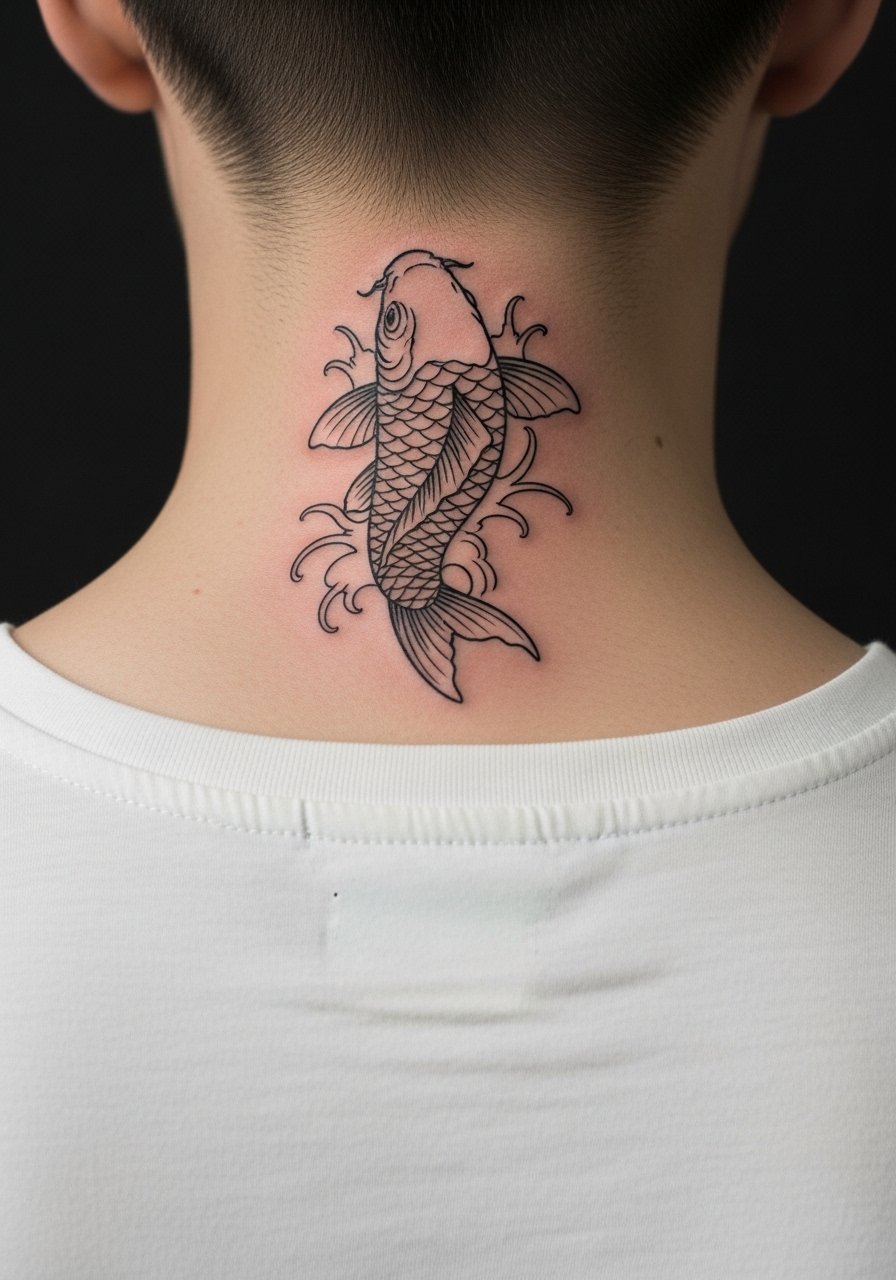
14. Back of Neck Koi for Subtle Verticality
The back of the neck is a small but impactful canvas. Fine line can work if the design uses vertical motion to complement the spine. Pain is typically low to moderate and sessions are short. A common mistake is packing too much detail into a tiny vertical space, which leads to loss during healing. For the session wear a wide-neck tee you can pull to one side so the artist has clean access. Keep in mind some workplaces still view neck tattoos differently, so consider your career pathway before committing.
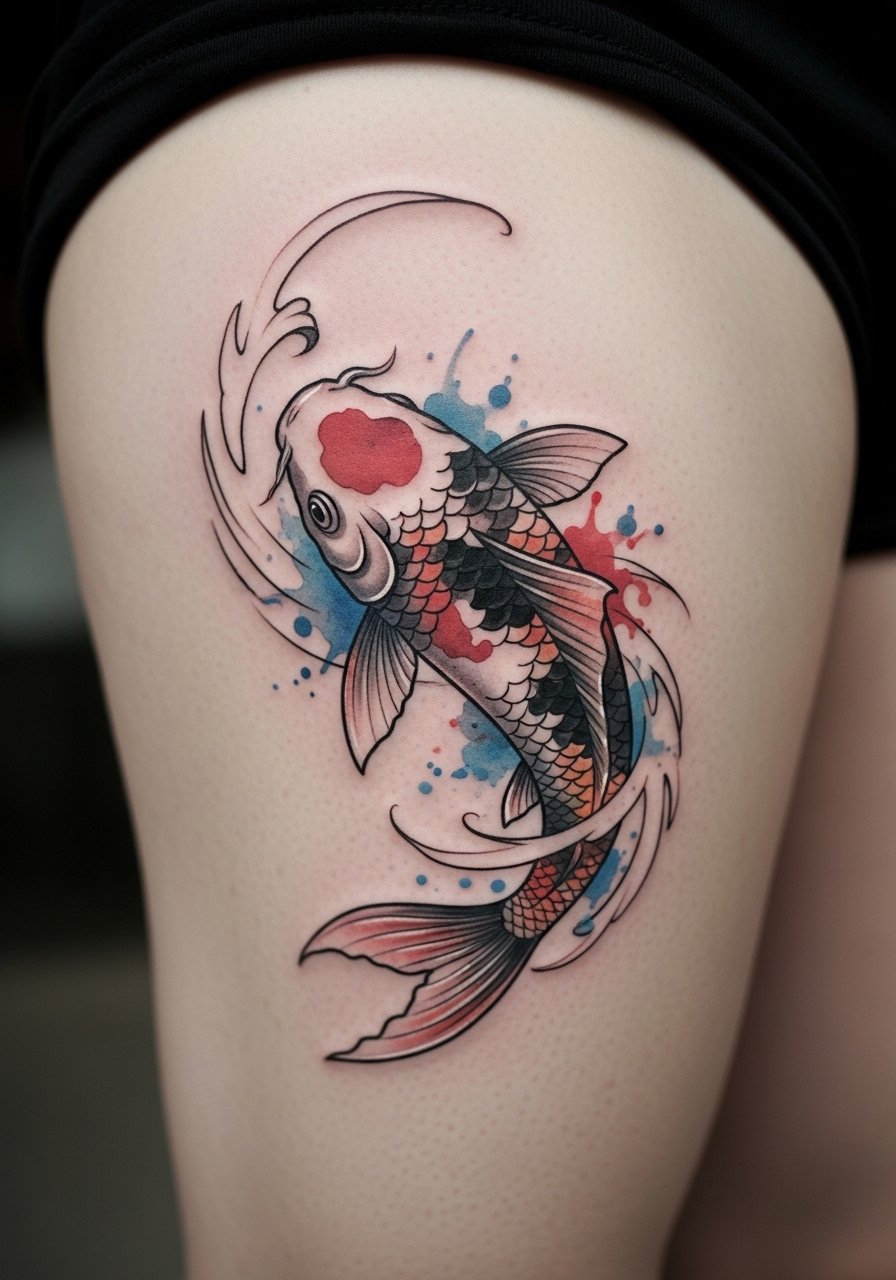
15. Watercolor Koi with Controlled Edges
Watercolor-style koi can look painterly and soft, but uncontrolled washes age into muddy patches. The trick is to ask for defined anchor lines or faint outlines that retain shape as the colors soften. This hybrid approach increases longevity. Placement that avoids constant abrasion, like the outer thigh or upper arm, works best. Sessions are moderate in length and often require an artist experienced in blending inks. For evenings out, pair this look with an open-back midi dress that lets the color show without UV overexposure.
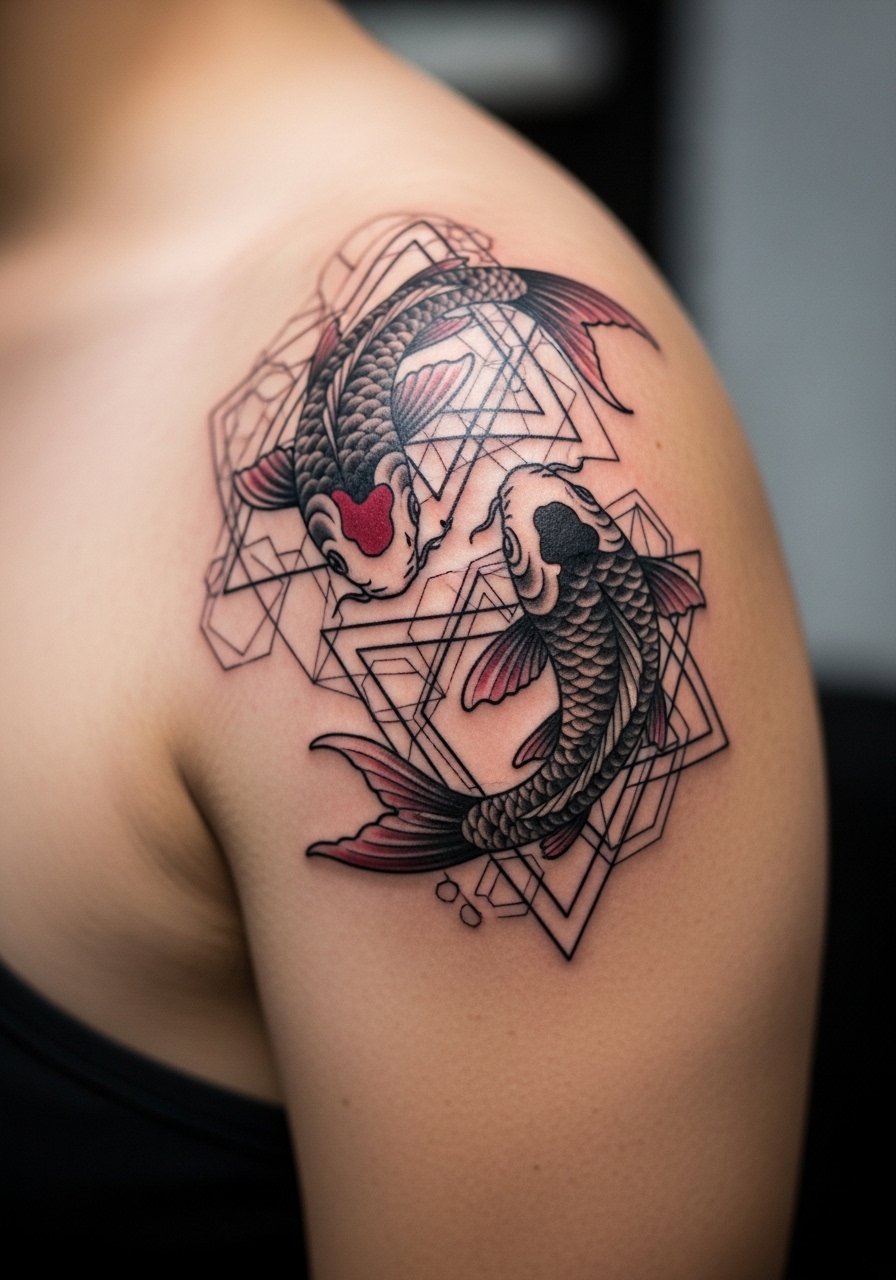
16. Geometric Koi with Linework Contrast
Geometric elements can modernize a koi motif by contrasting organic curves with straight edges. The balance depends on lineweight choices. Fine geometric lines need more spacing to avoid merging, especially near joints. Pain is placement dependent and session time varies with complexity. A common mistake is letting geometry crowd the fish's scales. Ask your artist for mockups with negative space considered as part of the design. For a clean presentation pair this with a loose linen blazer that frames the shoulder or forearm piece without competing.
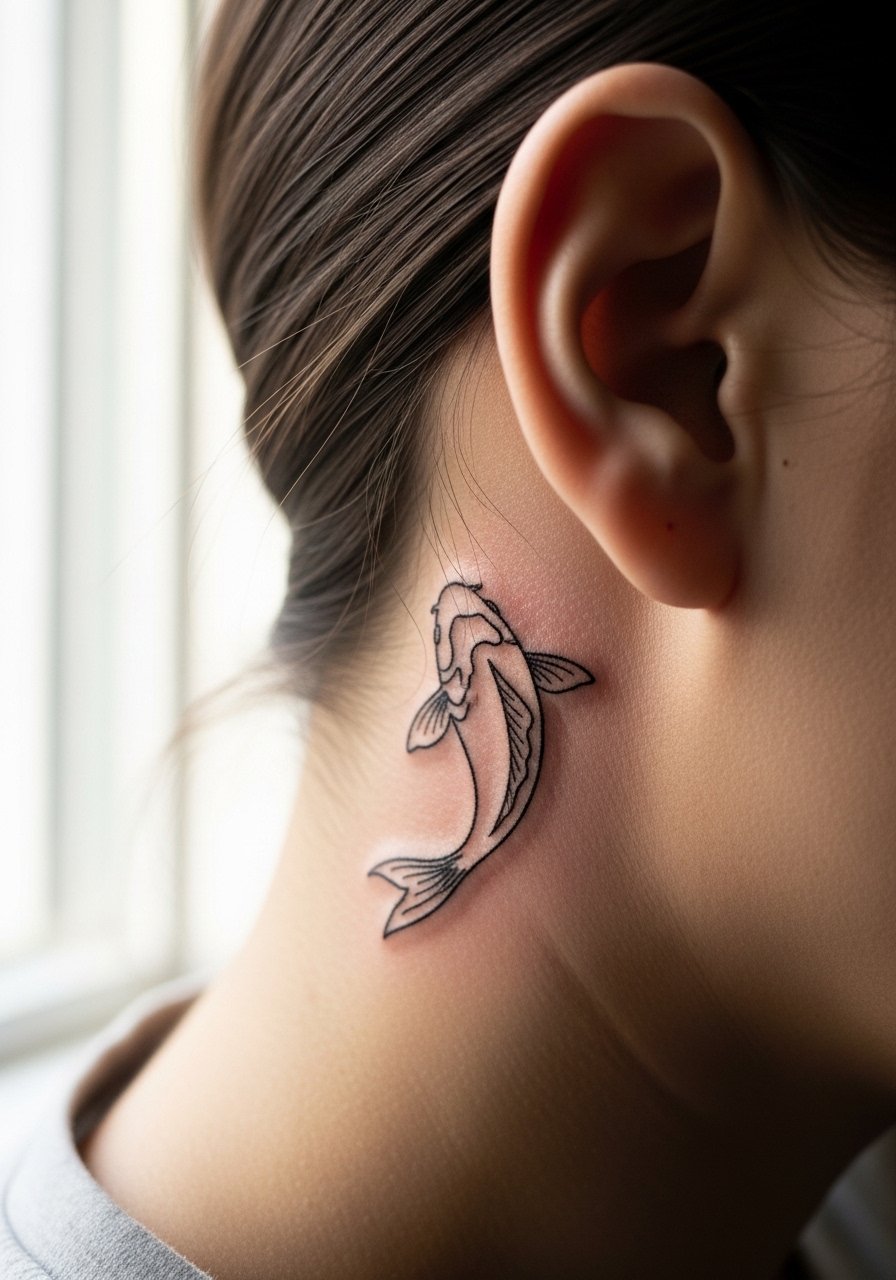
17. Minimalist Single-Line Koi for Small Canvases
Single-line or continuous-line koi read as intentional minimalism when executed at the right size. They are forgiving on the neck, wrist, and behind the ear when scaled correctly. The biggest mistake is scaling them too small, which collapses the single stroke into an illegible mark. Pain is minimal on the wrist and behind the ear areas. For behind-the-ear prompts the artist must show healed photos since hairline movement affects the result. To wear it daily, a small hoop earring keeps attention balanced without covering the piece.
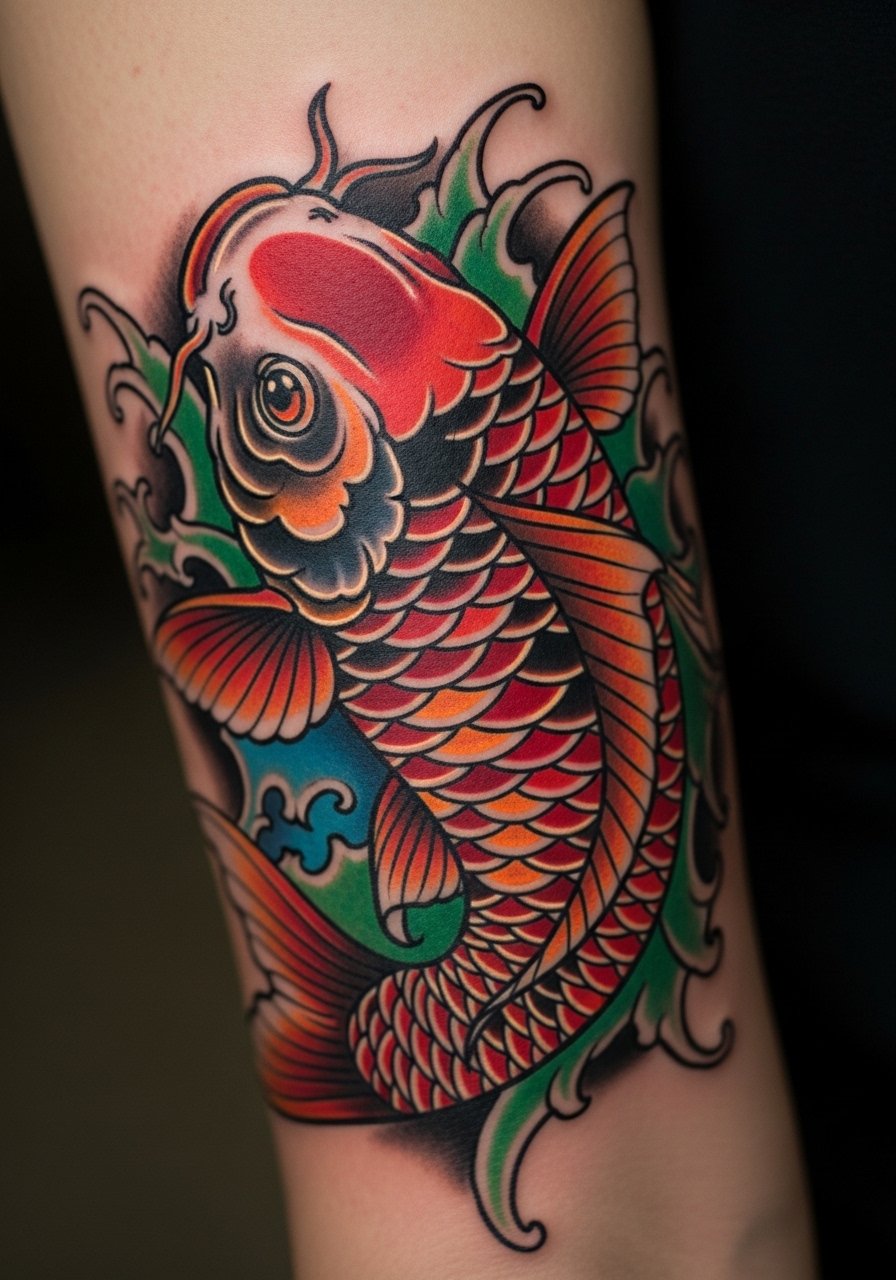
18. Neo-Traditional Koi with Dramatic Shading
Neo-traditional koi mix bold outlines with painterly shading and a richer palette. This approach ages well because the heavier outlines protect the softer internal shading. Sessions are longer and can be split into color and shading days. Pain is moderate and touch-ups are less frequent than fine-line-only pieces. A real mistake is asking for overly intricate inside work without strong outer edges. For day-to-day wear, short sleeves or rolled cuffs frame the arm and let the color stand out. Consider a short-sleeve henley when you want that pop.
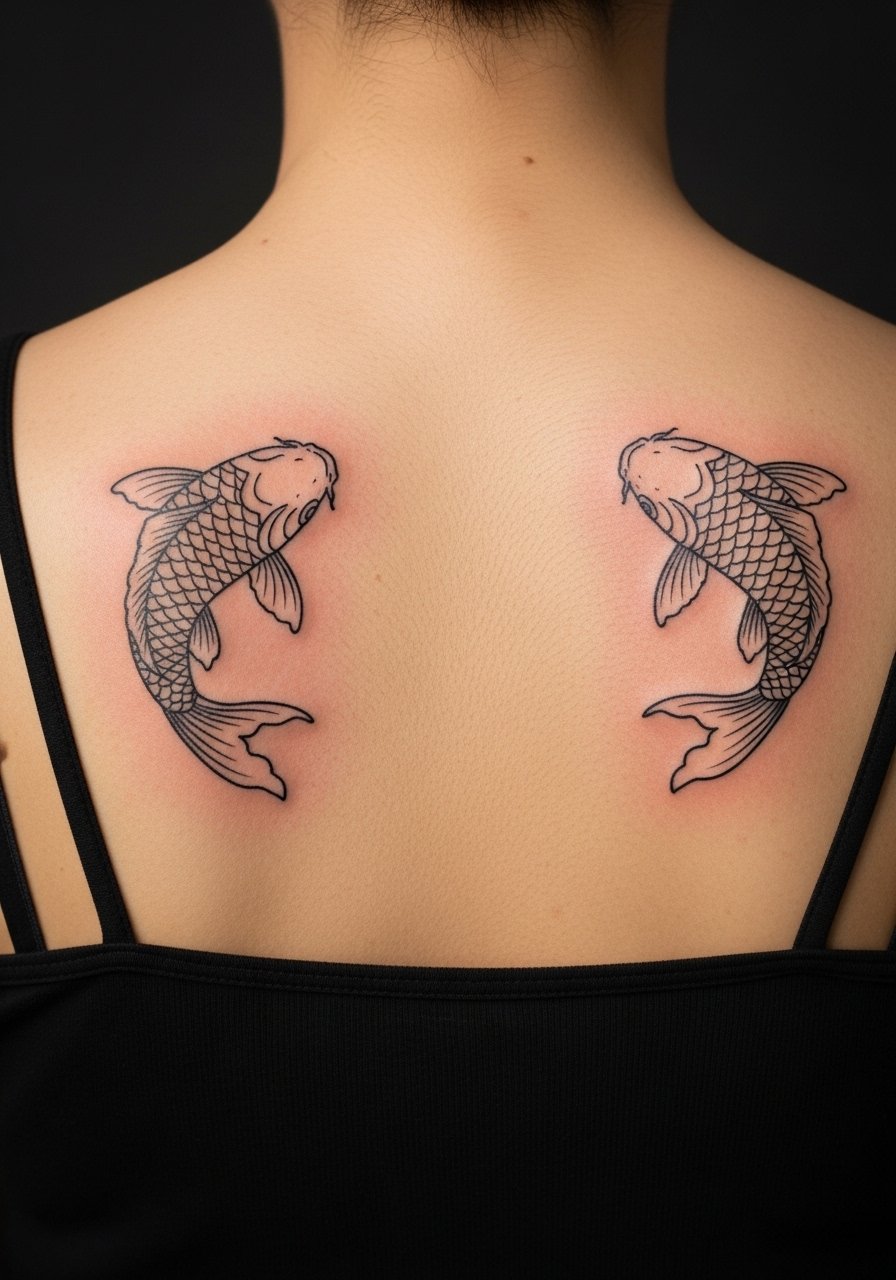
19. Pair of Koi Swimming as a Duo on the Shoulder Blades
Symmetry across the shoulder blades reads beautifully when koi mirror each other. Sessions are split across sides and coordination is key. Ask for matching composition sketches so both sides balance when you stand. Pain is moderate and healing requires care when wearing backpacks or straps that can rub. A common error is asymmetrical sizing. To show the duo wear a low-strap tank or open-back top that reveals both pieces cleanly.
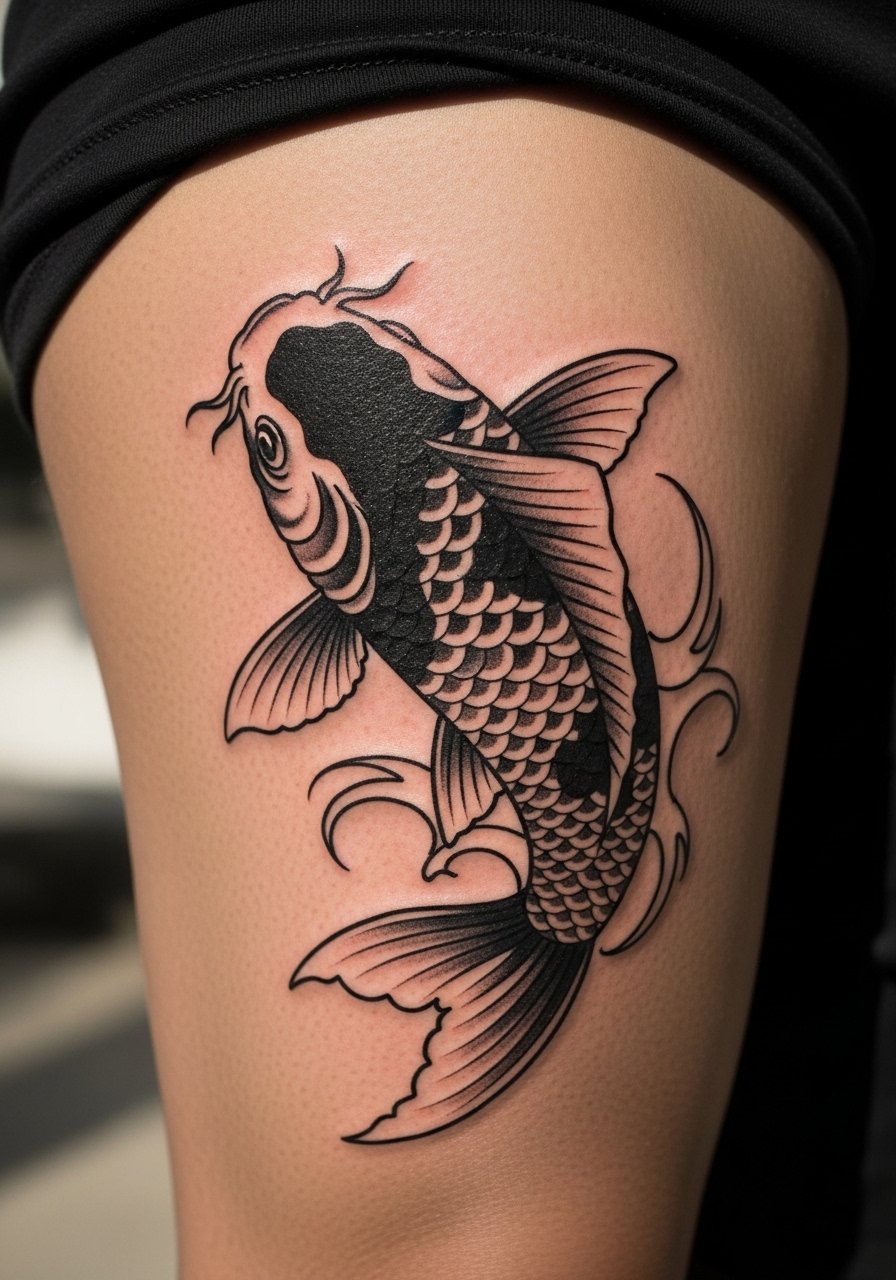
20. Blackwork Koi for High-Contrast Impact
All-black koi designs rely on saturation and silhouette. They age predictably because contrast remains even as small details soften. Expect longer packing sessions to build deep black saturation. Pain varies with placement and session times are often extended. A common mistake is too much negative detail inside large black areas, which can fade into unevenness. For a sleek look pair this with a black crew tee that complements the negative space without visual noise.
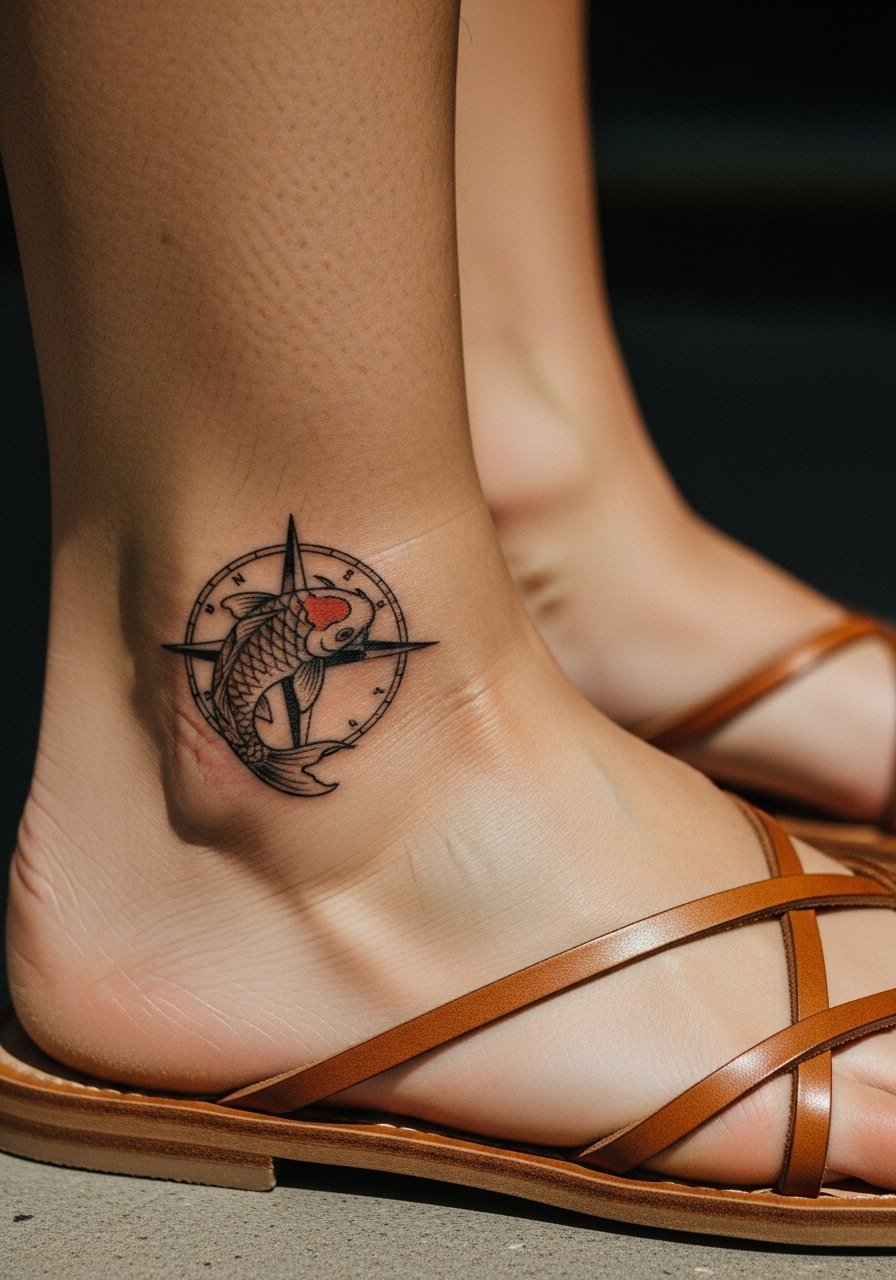
21. Small Compass Koi for Travel-Themed Ink
Combining a small koi with a compass or wave motif creates a travel nod without overwhelming small placements like the ankle or collarbone. The trick is limiting fine detail so the compass points remain clear after healing. Sessions are short and pain is low on these areas. A mistake people make is asking for tiny numerals or thin hash marks. During the appointment wear low-cut sneakers or sandals for ankle access so you do not have to tug footwear off and on repeatedly.
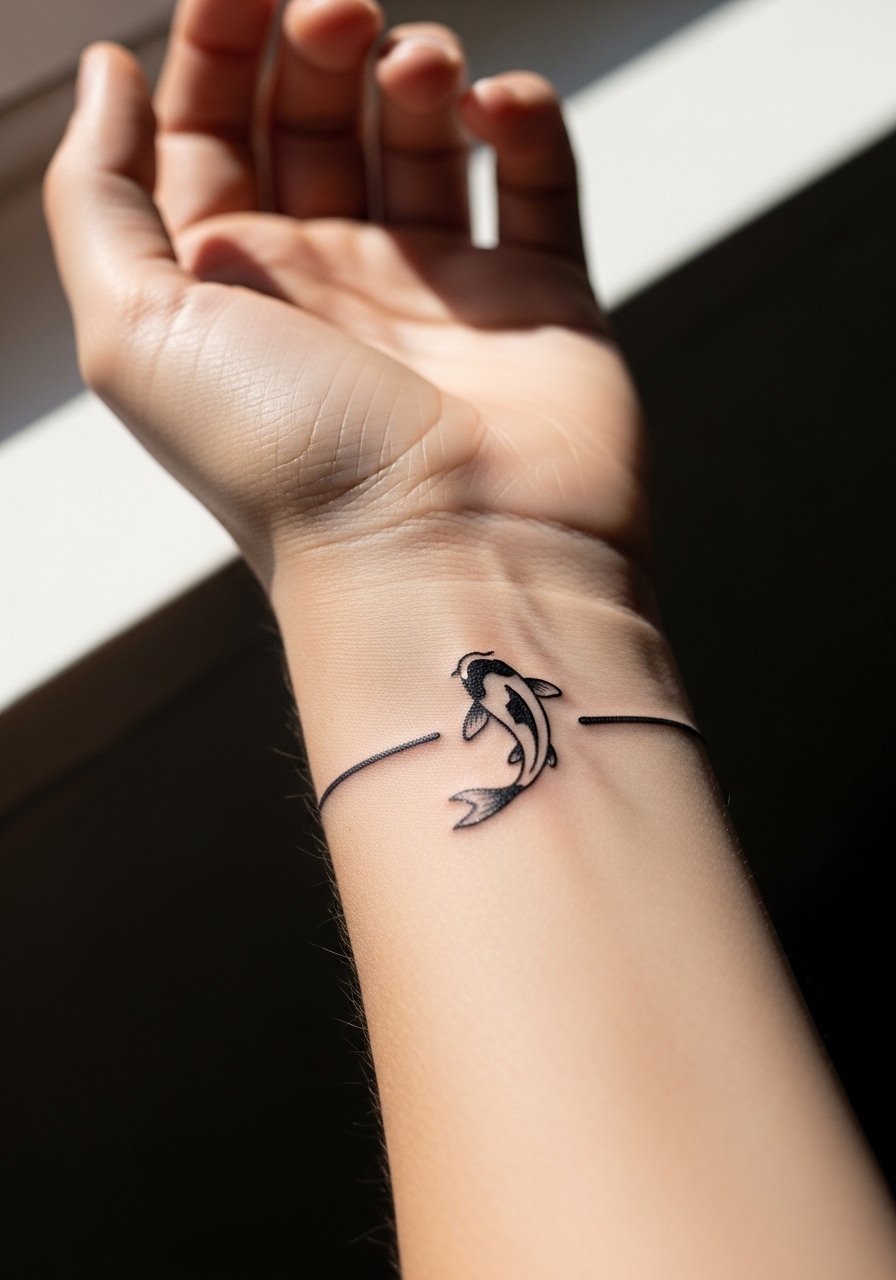
22. Sleeve Accent Koi Near the Wrist for Flow
Placing a koi near the wrist as an accent to a larger sleeve helps tie the lower arm to the rest of the design. The wrist area experiences a lot of wear and sun, so keep details simplified and reinforce with a slightly thicker outline. Expect a short session and earlier touch-ups than mid-forearm work. A common mistake is expecting wrist details to last as long as upper-arm pieces. For showing it off pair with a minimalist watch that sits above the artwork without covering or rubbing the tattoo directly.
23. Ornamental Koi with Mandala Backdrop
Merging koi with ornamental mandala elements can look elegant but requires cultural sensitivity. This pattern traces to sacred design traditions, so consider adapting rather than copying direct religious symbols. Keep mandala spacing open to avoid the dense merger that blurs over time. Pain is placement dependent and sessions are medium to long. A common mistake is over-detailing the mandala near thin linework. For an evening look pair it with an open-back dress that frames the ornamental piece without heavy straps.

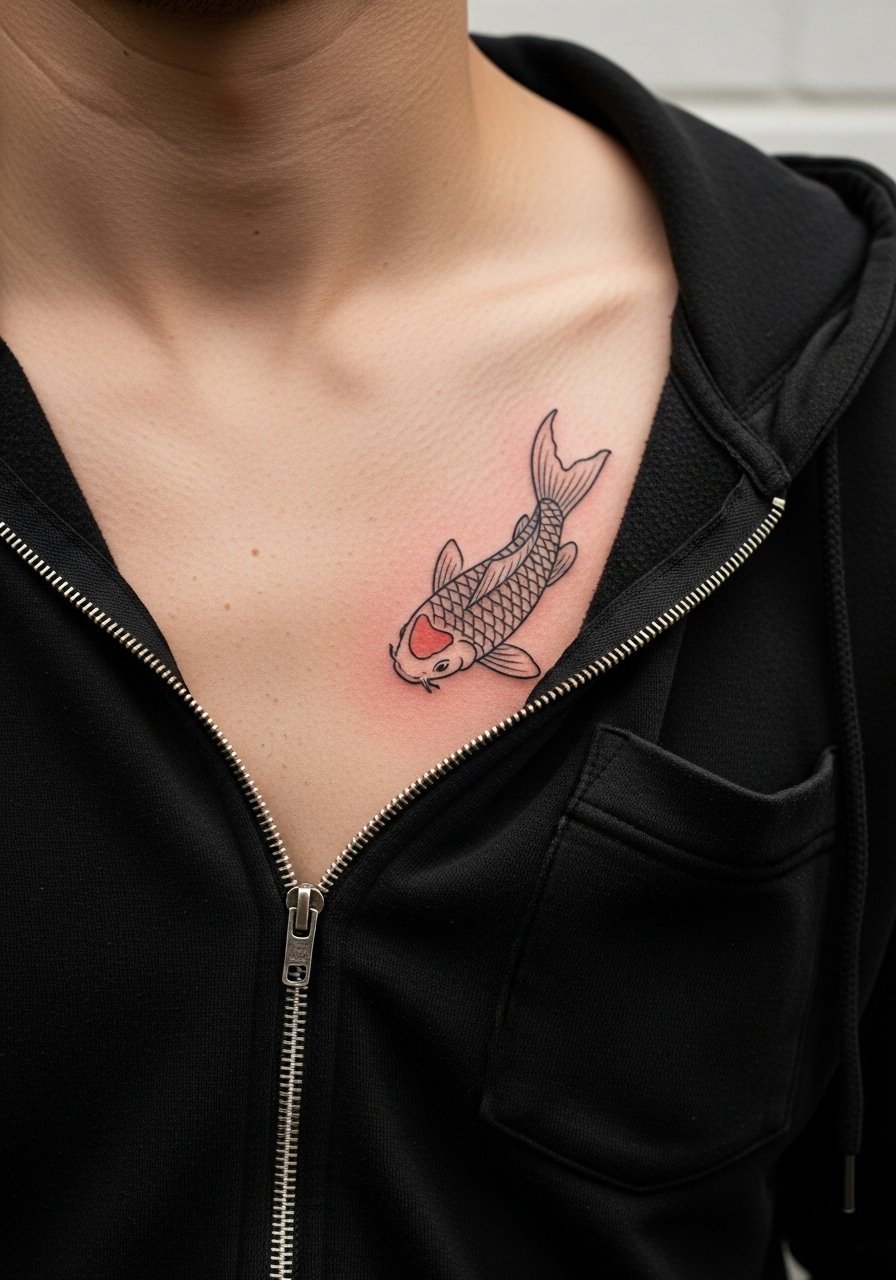
24. Small Chest Pocket Koi for a Hidden Statement
A tiny koi tucked near the heart makes a personal piece that reads intimate. The chest skin can shift and crease, so keep the motif simple and avoid dense internal shading. Pain is moderate and sessions are short. The main mistake is expecting large detail in a pocket-sized design. For access wear a zip-up hoodie you can open easily so the artist can work without tugging clothing. Remember that healed chest pieces can look different standing versus lying down because of skin movement.
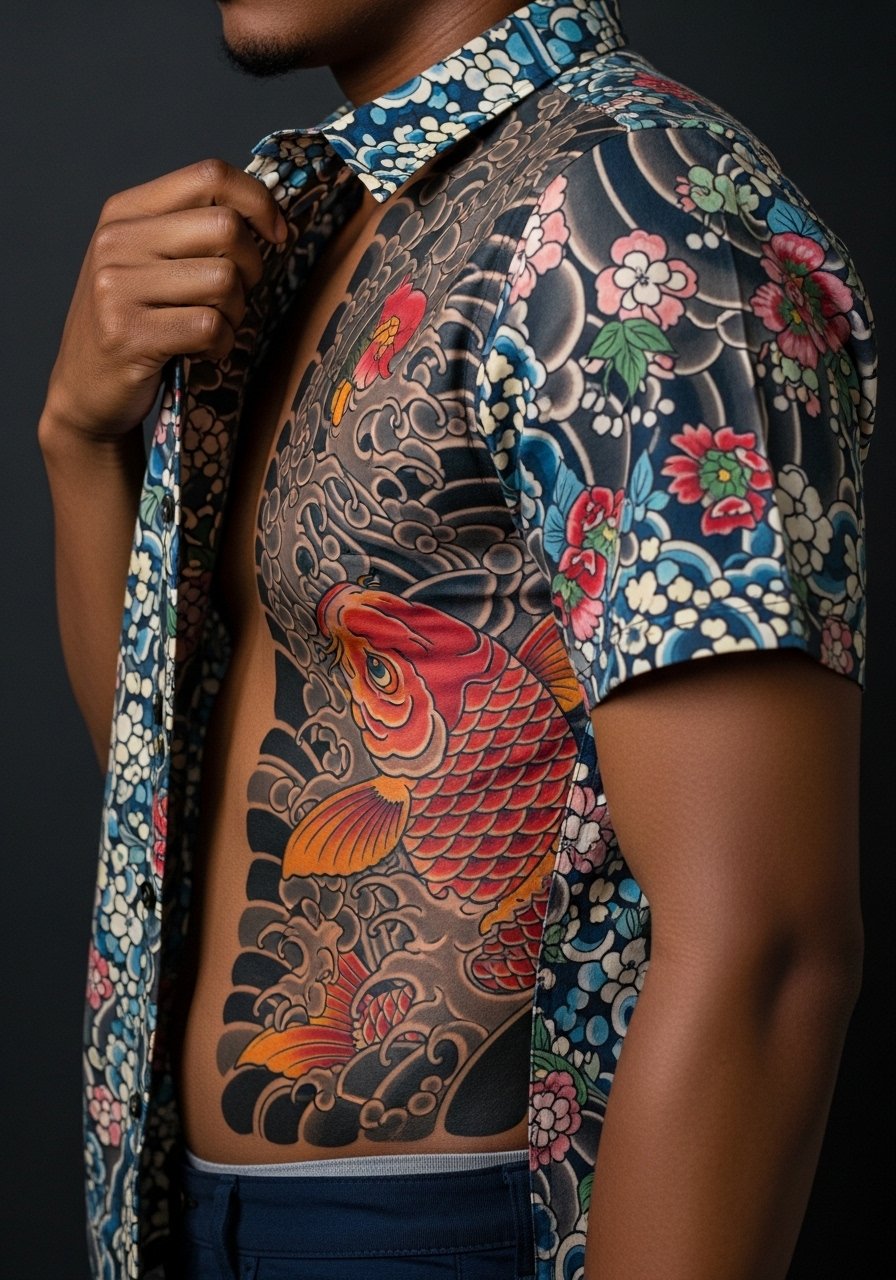
25. Irezumi-Inspired Koi Panel with Wave Background
Irezumi-style koi use scale, cloud, and wave motifs in bold combinations. This origin has deep cultural roots, so many people choose variation rather than literal replication to show respect. These panels age well when outlines are strong and saturation is consistent. Sessions are long and often require a plan across months. A common error is mixing too many different cultural elements without a coherent visual language. For a modern take wear a short-sleeve button shirt that complements the panel when you want to show part of it off.
26. Cover-Up Koi for Old Ink Renewal
Koi designs make solid cover-up options because of their shape and color variety. The secret is planning placement and saturation to mask old pigments without creating a muddy patch. Expect larger session time and multiple sittings. A common mistake is trying to hide dark, dense tattoos with scant color. Tell your artist the age and color of the existing ink so they can plan saturation and layering. For comfort in long cover-up sessions wear loose drawstring pants so the area is accessible without pressure.
27. Tiny Wrist Band Koi for Subtle Rhythm
A thin wrist band composed of tiny koi silhouettes creates rhythm without overwhelming the wrist. Keep individual fish simplified so the band does not read as clutter after healing. Pain is mild and sessions are quick. The mistake is packing too many small shapes into the band which leads to merging. For the session wear a loose button-down shirt you can roll without rubbing the wrist directly. Expect a light touch-up down the line to keep the band crisp.
Frequently Asked Questions
Q: How painful is a ribcage koi compared with a forearm design?
A: The ribcage generally rates higher on most pain scales than the forearm because the needle interacts with thinner tissue over bone. Forearm work is often mild to moderate. Plan for breaks during a rib session and accept that shorter sittings may be more comfortable.
Q: Will a fine line koi on the sternum blur quickly?
A: Artists split into two camps. One group warns that sternum skin movement can blur delicate lines within a couple of years. The other group says proper spacing and needle depth keep lines stable. Look at healed sternum photos from an artist before you book and be ready to schedule touch-ups if you choose fine line work.
Q: How should I dress to get a hip or thigh koi done without fuss?
A: Wear something you can shift to expose only the tattoo zone while staying covered, such as high-waisted shorts or a wrap skirt. Comfort and modesty matter because you will need to reposition during the session.
Q: Do watercolor koi need different upkeep than a blackwork koi?
A: Watercolor blends can soften faster because they rely on subtle gradients. Blackwork keeps its silhouette longer due to contrast. Both benefit from sun protection once healed and occasional touch-ups if you want to maintain brightness.
Q: How often should I expect touch-ups on wrist and finger koi?
A: Wrist and finger placements are high-wear zones and may require touch-ups as early as year one to three depending on lifestyle, sun exposure, and how conservative the original linework was. Plan for this reality when choosing style and placement.
Q: How do I find an artist who photographs healed koi work reliably?
A: Use discovery pathways like convention portfolios, local shop galleries, curated tattoo directories, and community forums. Look for healed photos in portfolios rather than only fresh work. Conversations with shop staff about healed images give a clearer sense of long-term outcomes.
